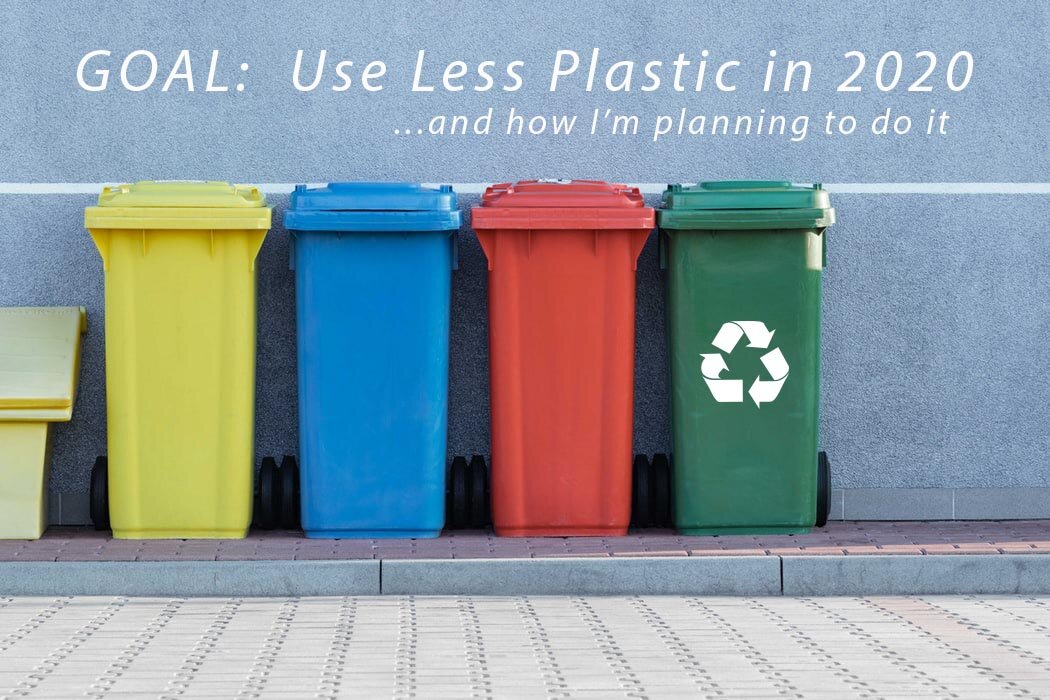
Goal: Use Less Plastic in 2020

As I had mentioned previously in my “Goals for the New Year” post, one of my goals is to use less plastic in our daily lives. We already make an effort to recycle as much as possible and not be wasteful but watching the documentary “Broken: Recycling Sham” on Netflix was eye-opening. So much of what people put in the recycling bin ends up in landfills or the ocean in the end, as a lot of plastic is too difficult or expensive to recycle and it’s sorted out and discarded. (PS - if you haven’t watched this documentary yet, I highly recommend it!) If everyone were to decrease their use of plastic in small ways it would eventually decrease the demand and less plastic would be made and end up in the environment. Here I’m sharing some small ways we’re working towards less plastic in our lives. | This post contains affiliate links |

GOAL:  Use Less Plastic in 2020

As Emily Ley would say, I’m striving for “progress, not perfection.” I am not planning on eliminating all plastic from our home overnight - after all that wouldn’t be environmentally responsible either. We have plenty of BPA-free Tupperware, kids plates, reusable bottles, containers, etc and they are serving us well - there’s no need to go chuck them in the trash now. It’s also impractical (and arguably impossible) for our family to totally eliminate plastic from our lives. - But moving forward, we will try to consume less plastic, and as things wear out and need replacing we will look to non-plastic or high-recycled-content materials for replacements.

Here are a few eco-friendly “swaps” we have implemented or are planning to in the future:

  • Reusable Water Bottles. This is a very easy one... find a Reusable Water Bottles that you like and carry it around with you, refilling it as needed. I personally prefer stainless steel bottles, but others prefer glass or plastic. Not only is a reusable bottle good for the environment, it's good for your wallet too as you'll never have to buy an overpriced bottle of water at a gas station or cafe again. Most office buildings, schools, and malls have bubblers (AKA water fountains for all you non-New Englanders) where you can fill your bottle, and most cafes and fast food restaurants will refill your bottle with water for free too.
  • Reusable Grocery Bags. This is another easy change - in fact, I can almost guarantee you have some Reusable Grocery Bags kicking around in your closet or car trunk this very minute since businesses often give out reusable bags for promotions and advertising. Dig those bags out and make a neat stash of them in your trunk or car door pocket and make a mental note to grab them before heading into the grocery store. (Side note: It's a good idea to periodically wash your reusable bags to keep them clean and reduce the spread of potential germs.)
  • Reusable Produce Bags. Purchase some small cotton Reusable Produce Bags to use when you go grocery shopping. Produce bags are often overlooked since they're small but they add up fast during a weekly grocery trip. By using reusable bags you're reducing your plastic consumption (and not to mention no more busted plastic produce bags when you're buying a decent amount of potatoes or apples - yay!).
  • Reusable Travel Mug for Coffee/Tea. Find a travel mug that you love (personally I love my Yeti Rambler - worth every penny in my opinion!) and take your coffee to go. A lot of coffee shops will give a small discount for bringing a reusable mug in too - it pays to be green ;)
  • Silicone "Plastic" Bags. Plastic snack and sandwhich bags are another thing that quickly add up, especially if you pack your own lunch. Switching out plastic for washable and reusable Silicone "Plastic" Bags will cut back on a lot of the single-use plastic in your life.
  • Silicone "Plastic" Wrap. Plastic wrap for covering leftovers also quickly adds up but can be replaced with washable and reusable Silicone Covers.
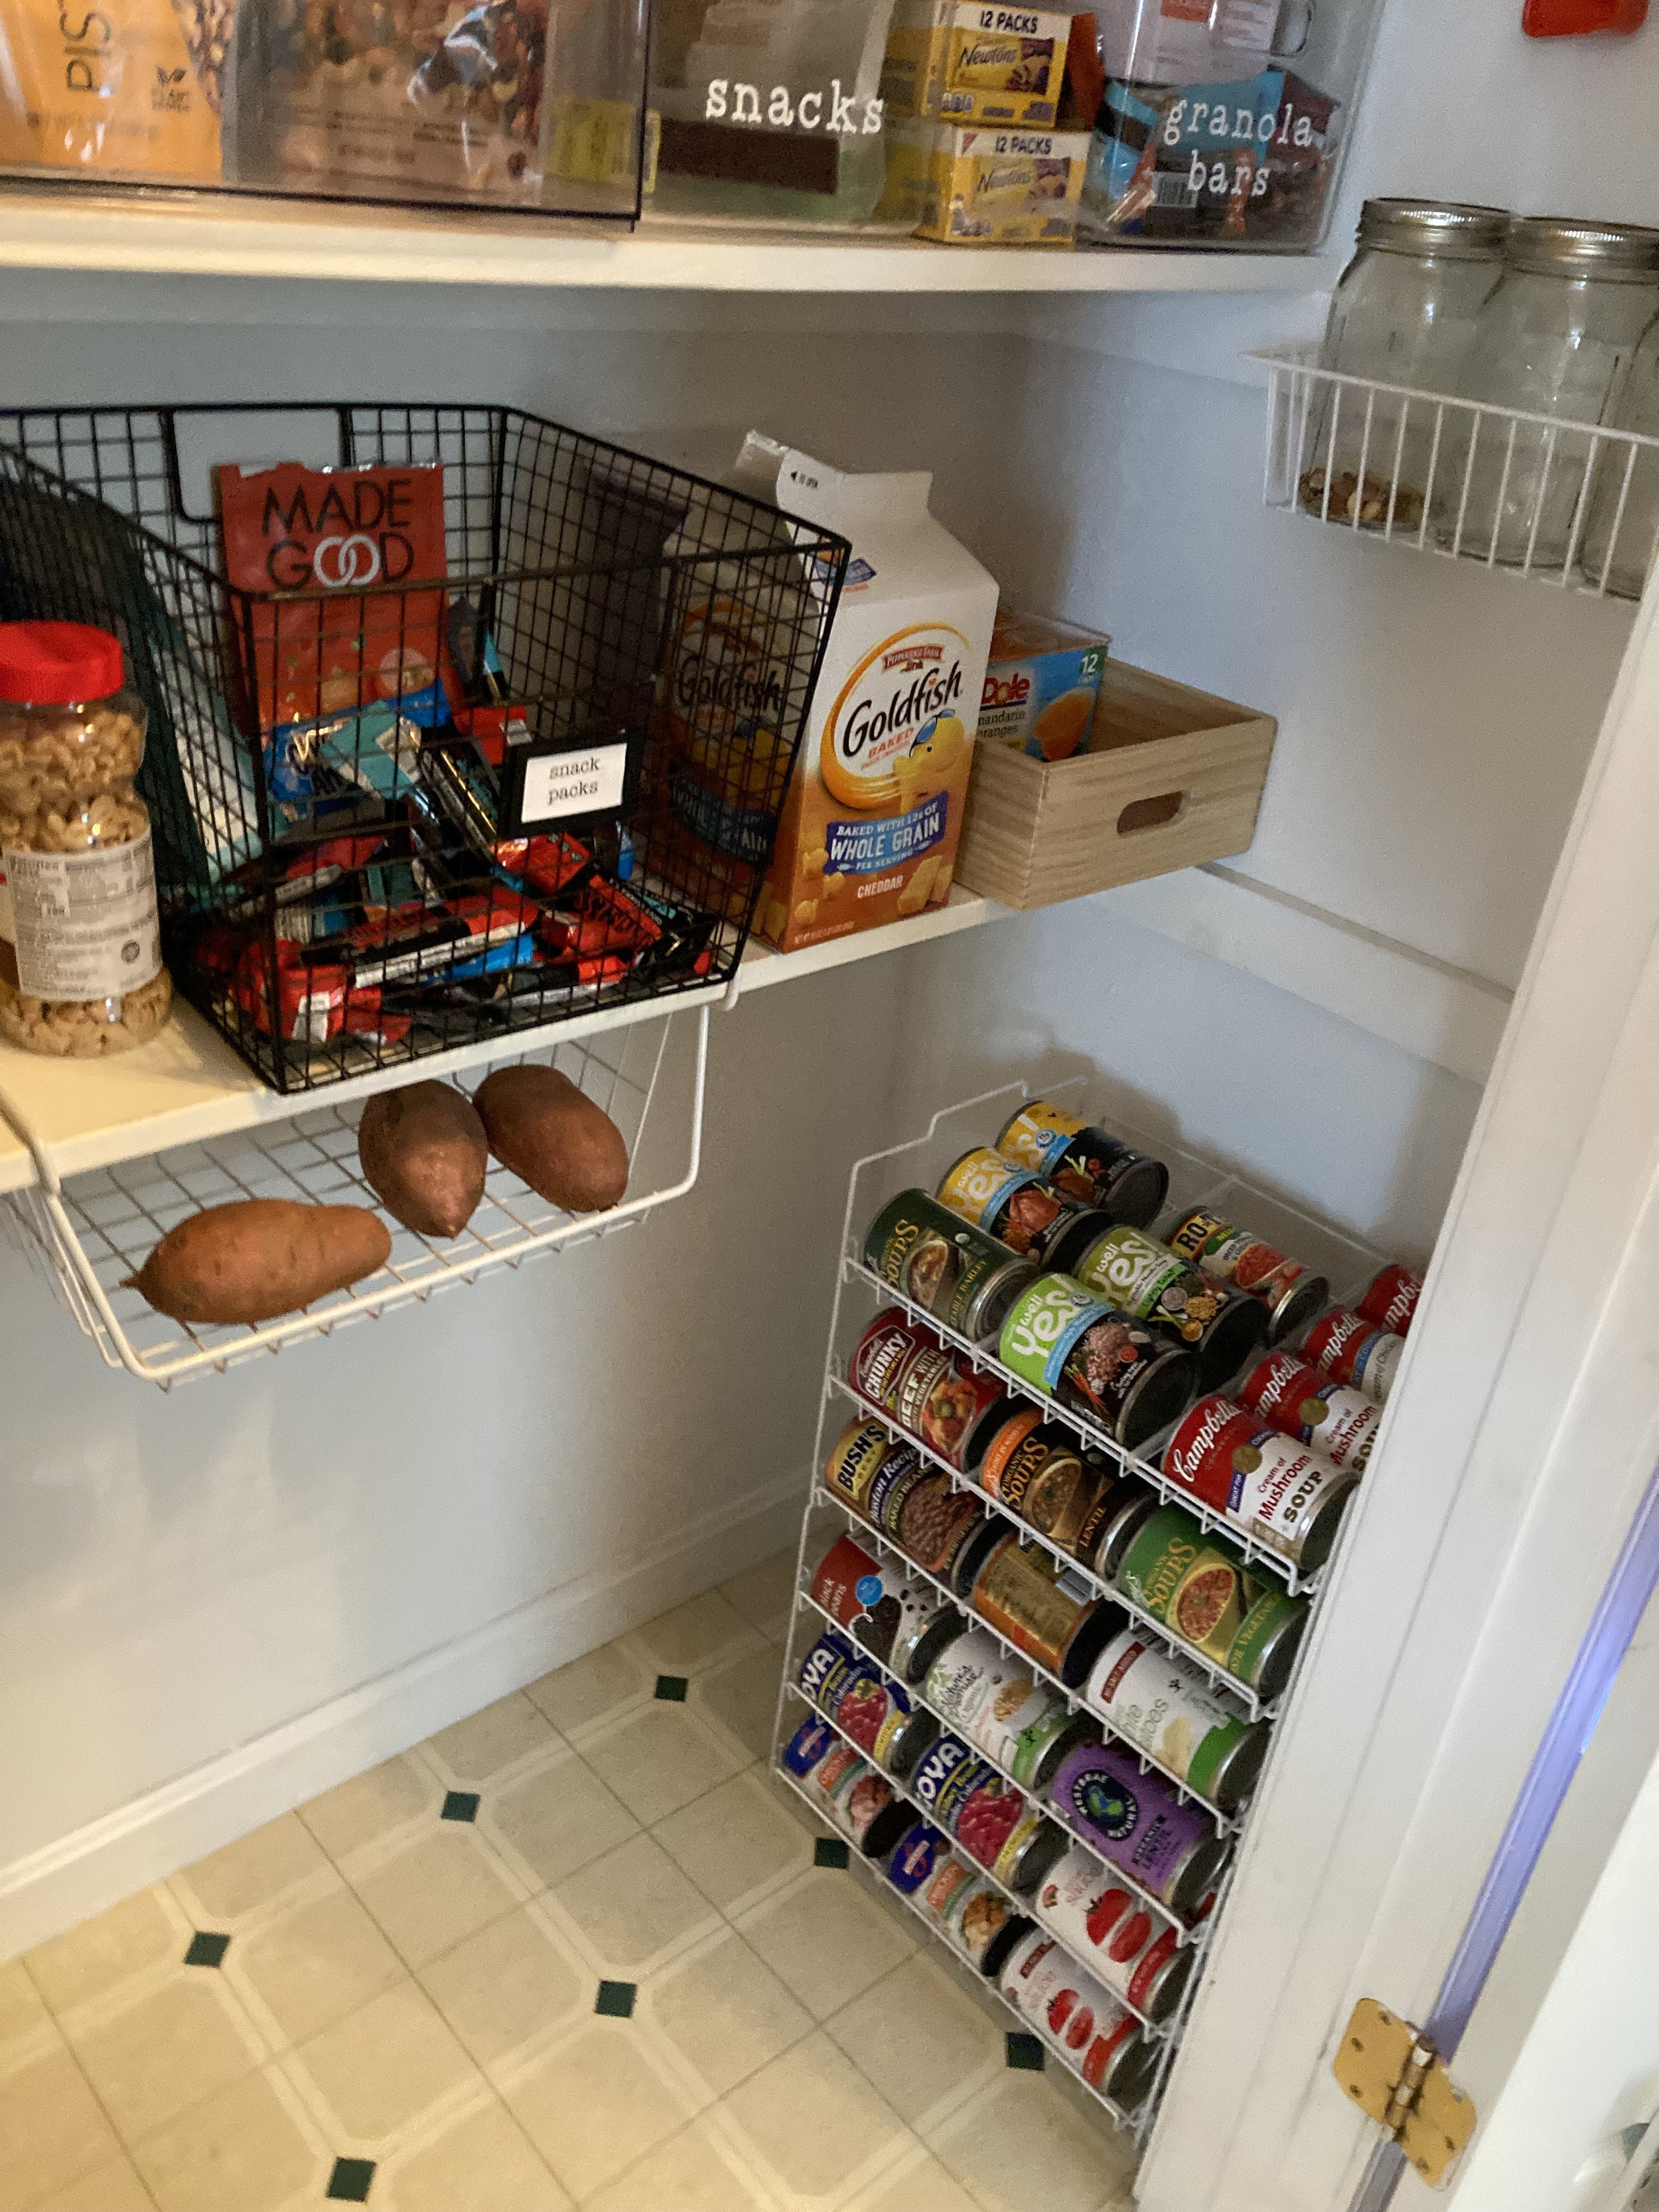
  • Glass or Metal "Tupperware". We have plenty of good quality plastic tupperware for packing lunches and leftovers, but as they need replacing we'll look to switching to glass or stainless steel.
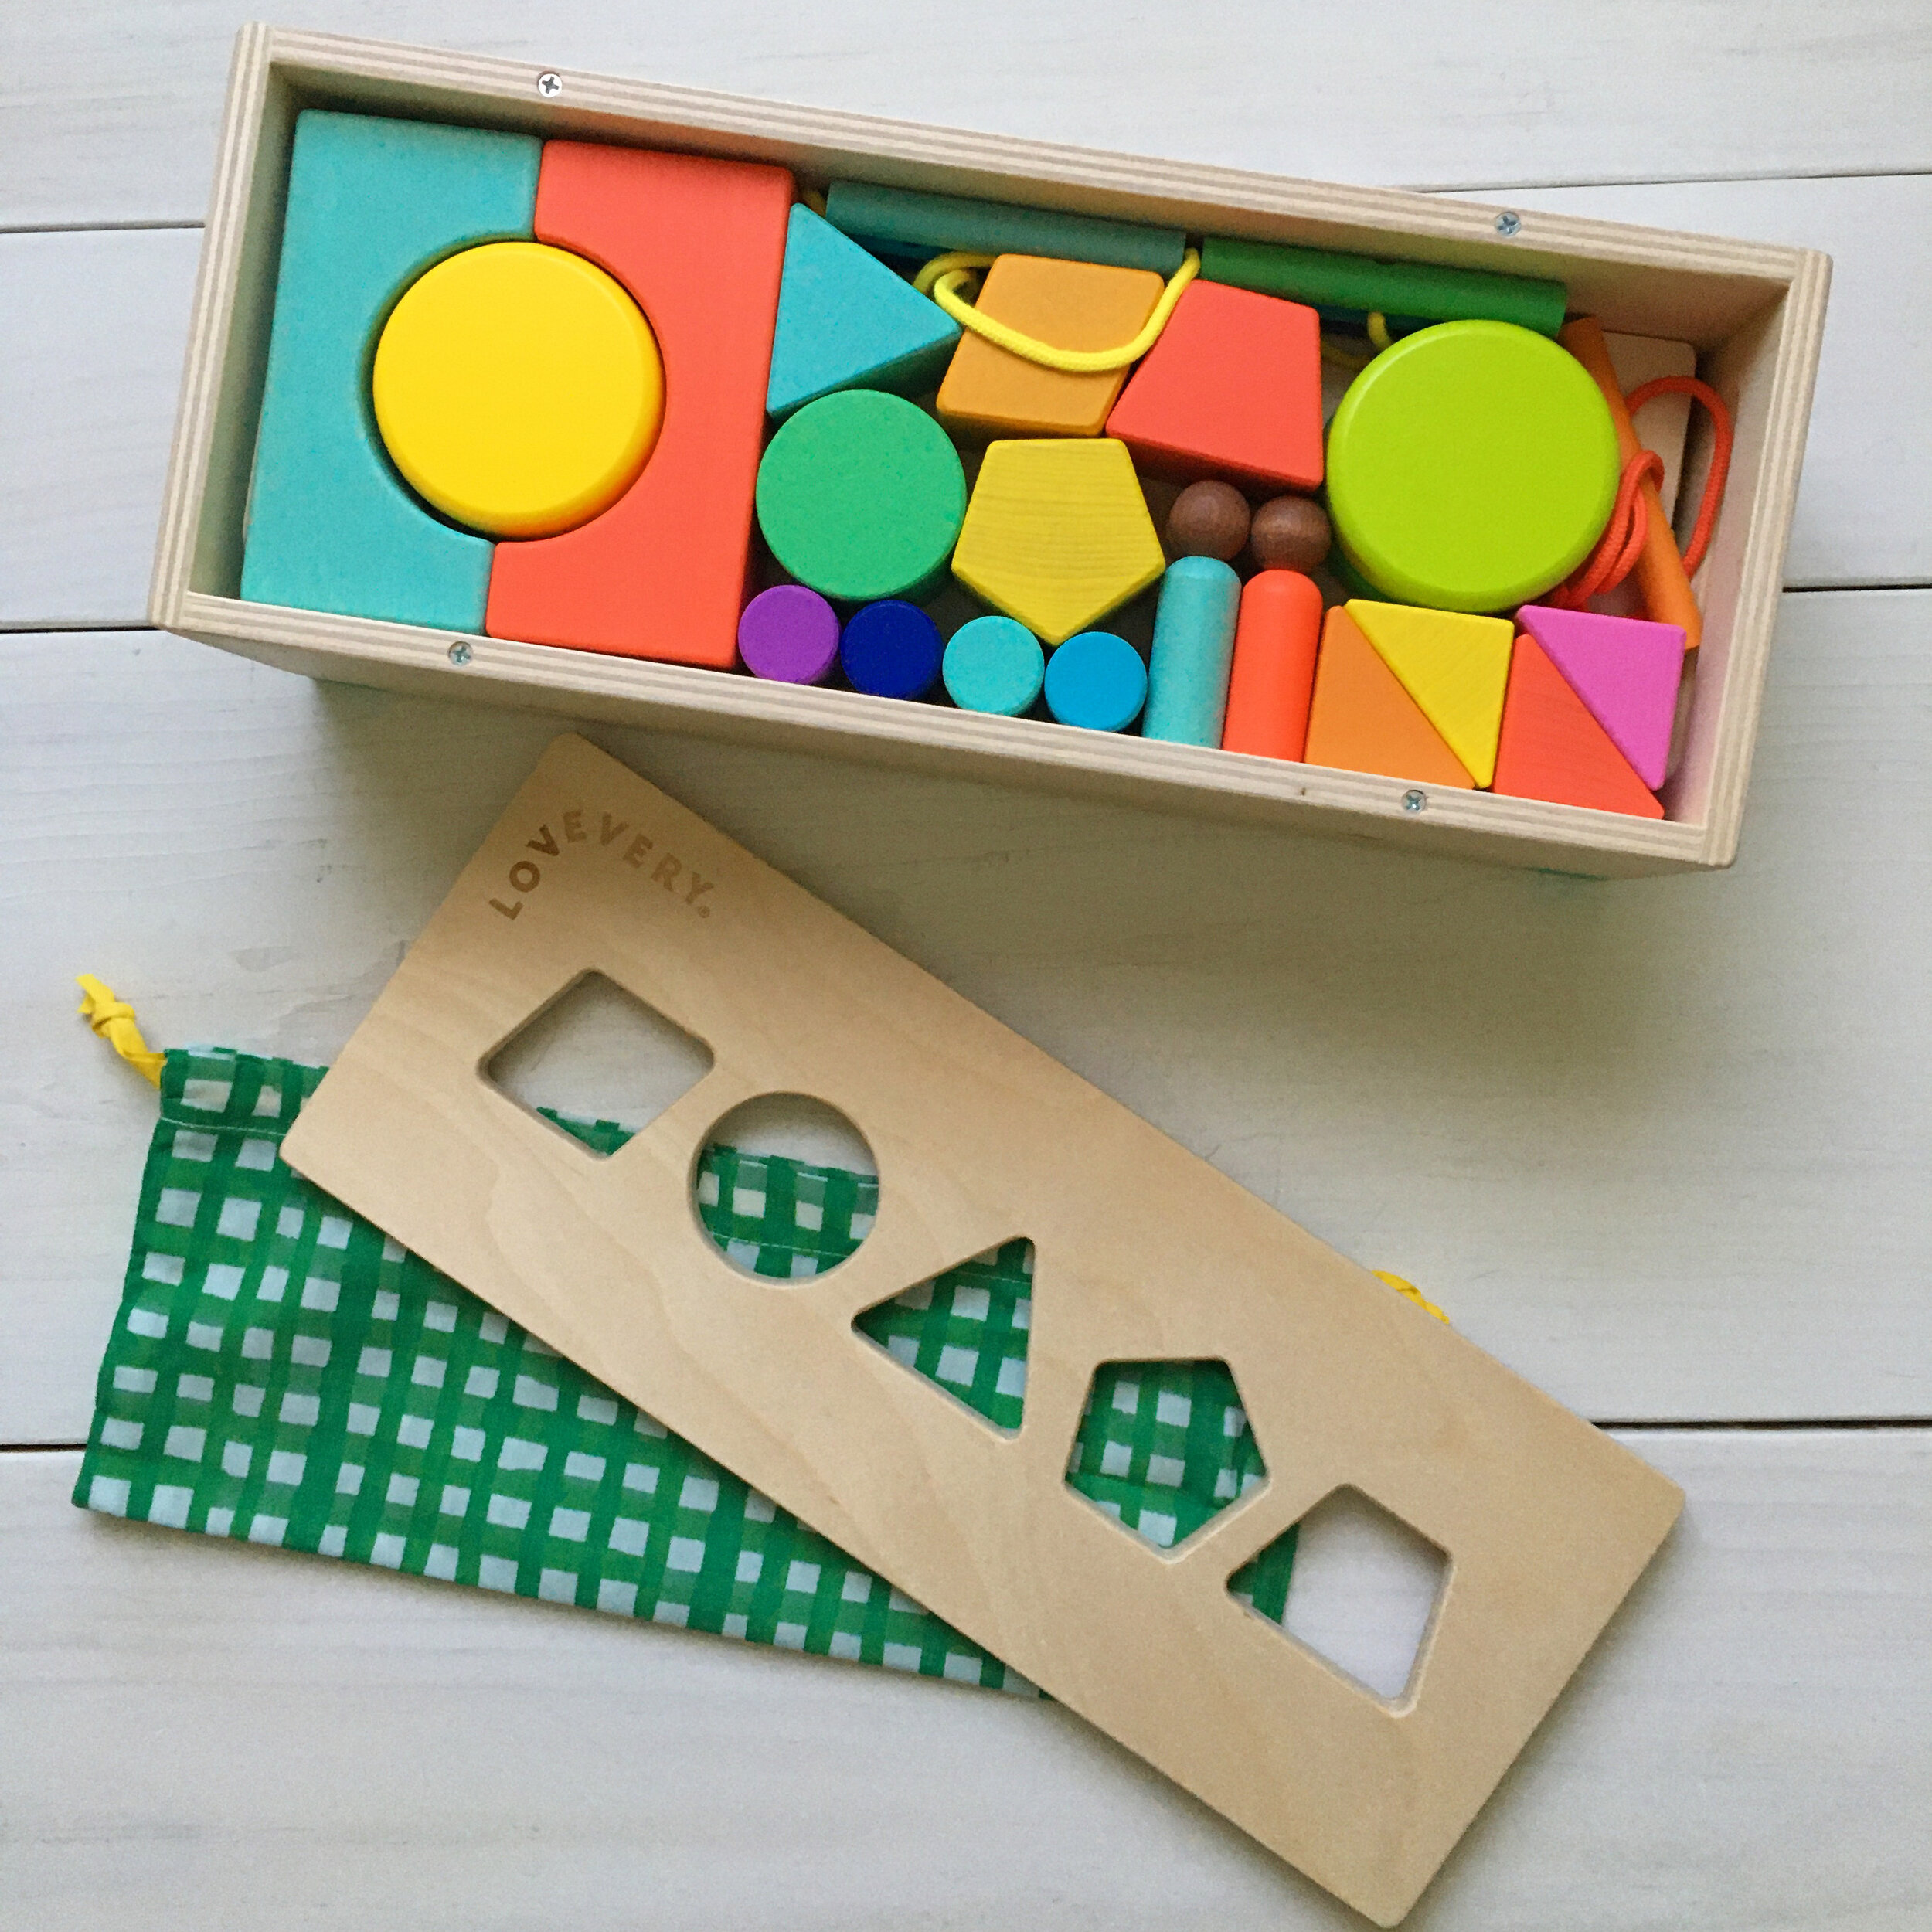
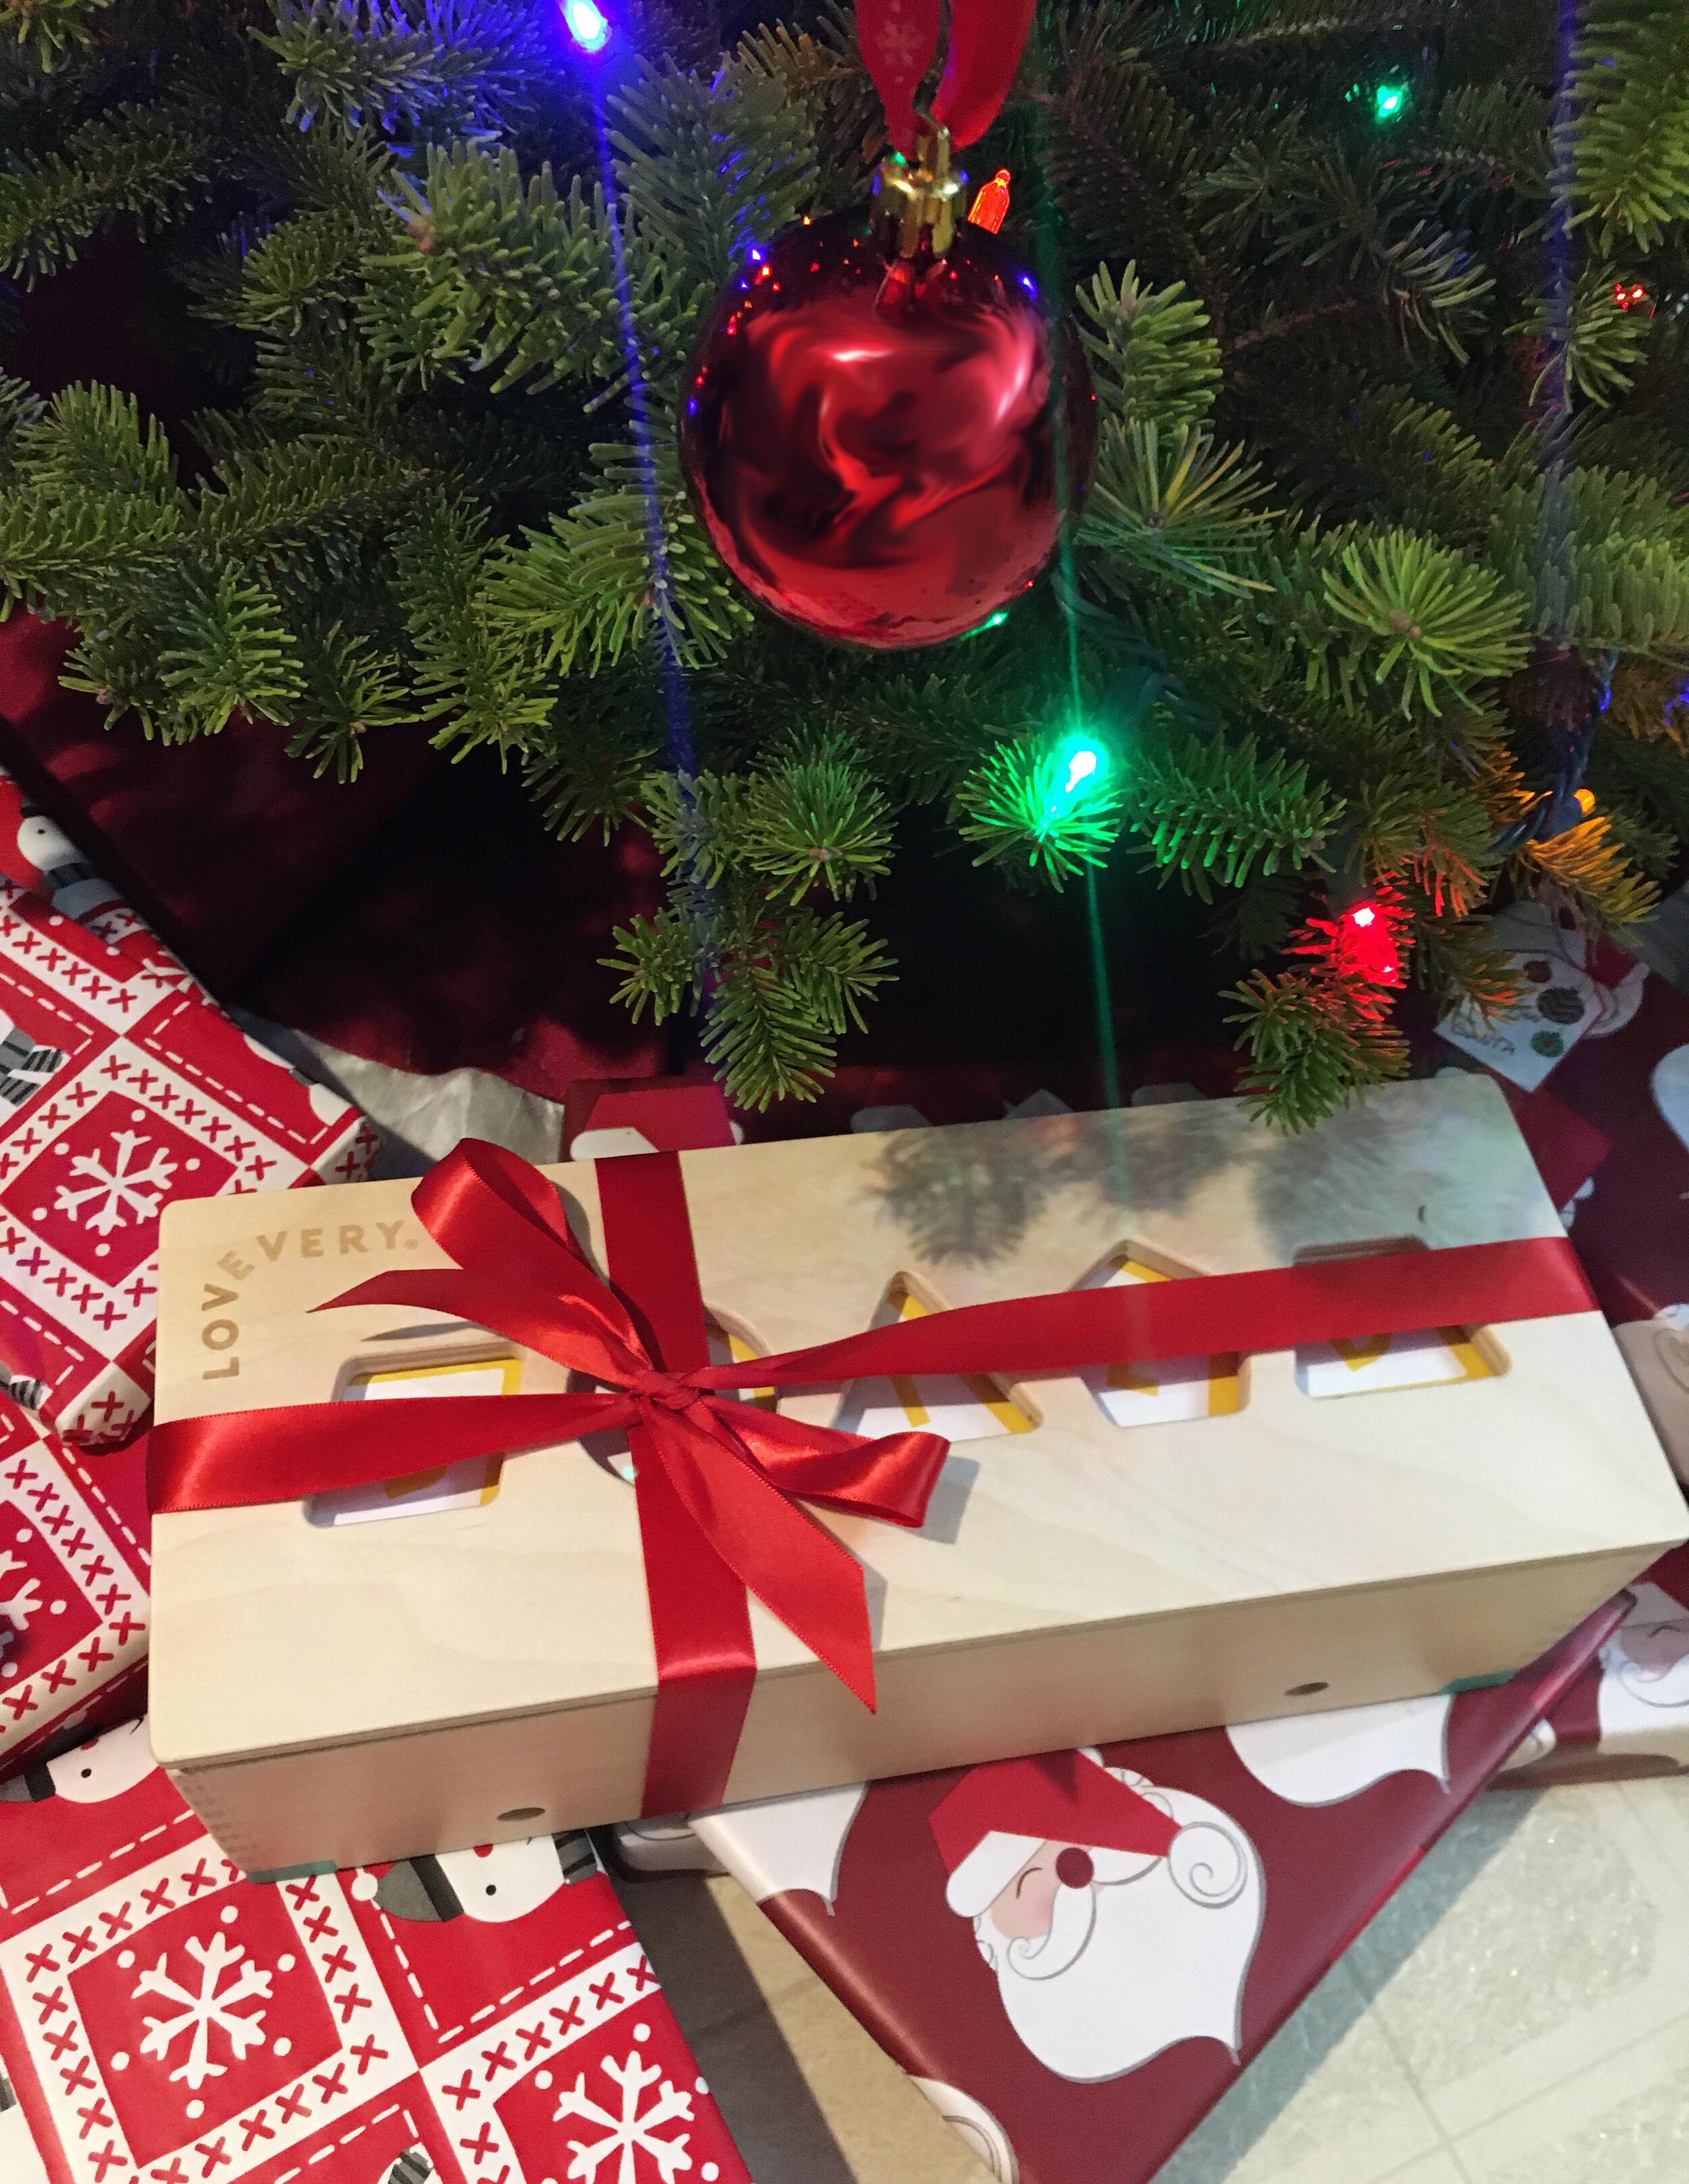
  • Sustainably Made Wooden Toys. Our kids will still play with plastic toys (legos, action figures, etc)... we're not going to forbid it. But we're definitely being mindful about what and how much plastic toys we do buy - and when we have the opportunity to provide them with sustaibably-made wooden toys like play food for their kitchen set or blocks we definitely will. (Side note: I had recently partnered with the company Lovevery to review their sustainably-made Block Set and was super impressed! Feel free to check out that previous post HERE, I highly reccomend them).
Shop more "Eco-Friendly Living" Items on Amazon

And while the recycling business is far from perfect, you should still always recycle whenever you can. That way your waste has a chance of being reused. If items are reusable things in good shape (toys, containers, etc), donate them to local charities or a "drop 'n swap" where people leave items to be taken for free by someone that can use them (check your local dump/transfer station to see if they have one).

If they are single-use items (like plastic bags, milk jugs, food packaging, etc) then sort and recycle as best you can. Setting up an in-home recycling system can make sorting and recycyling second-nature so everything (plastic, glass, paper, cans, etc) makes it to recycling center with the best chance of getting recycled.

Are there more ways to go plastic-free? Oh heck yes. But I’m personally looking for doable, attainable changes that fit with our lifestyle. I feel like these are changes most people could accomplish as well too. If everyone just reduced their plastic consumption with simple changes it would add up and make a huge difference.


KEEP UP WITH BIRCH LANDING HOME
|  Etsy  |  Facebook  |  Instagram  |  Pinterest  |  Bloglovin'  |  Hometalk  |

Educational, Sustainable Toys by Lovevery

We’re making more of an effort to be more conscious about what we buy our kids - less plastic “junk” that they will quickly loose interest in and more toys that are educational and encourage open-ended play. I was so excited when I stumbled across Lovevery - a company that is passionate about making educational and sustainably made heirloom toys for babies and young children. | This post contains an honest review of product provided by Lovevery |

Educational, Sustainable Toys by Lovevery

We received The Block Set from Lovevery right before Christmas and thought it would make the most perfect gift for our two-and-a-half year old. Lately with Christmas, birthdays, and other holidays we’ve been striving for “quality” over “quantity” for gifts - buying only thoughtful toys and books that will be enjoyed for a long time. This block set fit that requirement perfectly! We opted for a simple red ribbon to wrap it for Christmas morning and let our kids start enjoying it right away.

Educational, Sustainable Toys by Lovevery

What was I most impressed about with The Block Set? The quality and the variety of blocks that it came with! Everything is solid, sustainably-harvested wood which has been finished with brightly colored water-based non-toxic paints. There are 70+ pieces, and 18 different shapes and tools including little people with different skin tones. It even comes with an activity guide and planks which I haven’t seen in other block sets, making for lots of fun building and game opportunities (think bridges, houses, dominoes, and more)!

Educational, Sustainable Toys by Lovevery

Our two year old (and six year old)’s favorite feature of The Block Set? How the storage box turns into a car! The circle blocks have recessed magnets which connect to dowels that can be threaded through the box, making for a very sturdy and easy-to-build car. Every day since Christmas she has pulled this car all around our house collecting blocks, dolls, dog toys, and whatever else she can find!

Educational, Sustainable Toys by Lovevery

Another innovative feature of The Block Set is how the lid is also designed as a shape sorter, allowing for little ones to learn organization, as well as shape and spatial recognition. Lovevery consults with experts so their toys are designed to help promote cognitive and motor skill development as well as encourage pretend play.

Educational, Sustainable Toys by Lovevery

And as a mom, I love that it also came with a cute gingham drawstring bag for flexible storage or quick pick-ups!

Educational, Sustainable Toys by Lovevery

Lovevery has lots of other amazing, heirloom-quality toys and products as well - including play gyms, pull and push toys, and age-based subscription boxes for little ones from birth-24 months. I wish Lovevery had been around when our kids were first born - their subscription boxes are definitely something I would have loved to do for them! Everything I have seen from Lovevery is thoughtful and high-quality, and I honestly recommend them highly (and no, exceptionally high praise isn't something I normally throw around!). If you’re looking for something unique and thoughtful for your little one or as a gift, definitely check out Lovevery.

Educational, Sustainable Toys by Lovevery

- I received this item for review from Lovevery but all opinions expressed are my own.  Please see our full Disclosure Policy for more information -   


KEEP UP WITH BIRCH LANDING HOME
|  Etsy  |  Facebook  |  Instagram  |  Pinterest  |  Bloglovin'  |  Hometalk  |

Giving Back - Who We Donated to This Year

A tradition I started three years ago was to donate a percentage of profits from Birch Landing Home at year-end to Charity.  I’m so happy to say that this year we were able to help support the Myasthenia Gravis Foundation of America in addition to our donation to Susan G. Komen for the Cure.

Thank you so much for all your support for my Etsy shop and blog this past year, I hope to continue to grow them and be able to give back more each year in return. 

Giving Back - Who We Donated to This Year

KEEP UP WITH BIRCH LANDING HOME
|  Etsy  |  Facebook  |  Instagram  |  Pinterest  |  Bloglovin'  |  Hometalk  |

Happy 2020! Goals for the New Year

Happy New Year! Can’t believe a new year is here already. Overall 2019 was great and here’s hoping 2020 is even better and more productive! This morning we went out to breakfast with family and then the kids and I went on a short snowshoe hike, which was a fun start to the New Year!

I have several personal and professional goals for 2020 and thought I’d share a few of them:

  • Learn to ski. Even though I’m a life-long New Englander, we didn’t grow up doing winter sports so I never learned. Now that our kids are learning (and doing amazing) I need to catch up ASAP!

  • Use less plastic. We already make an effort to recycle as much as possible and not be wasteful but watching the documentary “Broken: Recycling Sham” on Netflix was eye-opening. So much of what people put in the recycling bin ends up in landfills or the ocean in the end, as a lot of plastic is too difficult or expensive to recycle and it’s sorted out and discarded. (PS - if you haven’t watched this documentary yet, I highly recommend it!)

  • Purge, purge, purge. Every year I have a renewed sense of motivation to go through our house and purge un-needed items. It feels so good to get rid of things you don’t need and make your house a little “lighter” and cleaner. After the holidays our house feels too heavy again, so it’ll be good to go through toys, books, etc and reevaluate what is getting used, what has been outgrown, and what is no longer needed.

  • Post more regularly. This last year I’ve just been feeling busy with the day-to-day… and the blog wasn’t updated as much as it should have been. I want to be better about sharing DIY projects and our day trips around New England, and hopefully 2020 will be much more consistent and productive!

Do you have any goals for 2020? I would love to hear them!

First Day Hike - 2020!

First Day Hike - 2020!

KEEP UP WITH BIRCH LANDING HOME
|  Etsy  |  Facebook  |  Instagram  |  Pinterest  |  Bloglovin'  |  Hometalk  |

Things I Wish I Knew Before my C-Section

I thought I knew what to expect going into our planned c-section. After all, I read all the books and thought I knew all the steps and heard all the stories - but I soon found out I didn’t feel prepared at all and it was VERY different than I expected. Our first baby we had naturally - in fact I was able to hypnobirth her pain-free (and drug free!) and remain calm, cool, and collected (you can read more about that in my previous post HERE). However our second baby was wedged in breech and would not turn so we opted for a planned c-section. The c-section was SUCH a different experience, with a lot of surprises (for me anyways)… | This post contains affiliate links |

Things I Wish I Knew Before My C-Section


Disclaimer: This post shares my personal experiences and realizations and is not medical advice. Please always check with your doctors for the best advice/recommendations and know that your experiences can be very different from mine.

Things I Wish I Knew Before my C-Section

The IV Fluids will Make You Puffy.
Prior to going into the OR, they will give you IV fluids as part of your prep to make sure you’re well hydrated. For me, they made me quite puffy (thanks water retention), especially around my face and neck. Seeing myself in photos after I was surprised how puffy and swollen I looked. (I also could not take my wedding rings off and thankfully they didn’t make me as my hands somehow didn’t swell.)

The Operating Room (OR) is Intensely White.
To be frank, this totally freaked me out. Walking down a normal hallway with decor and warm lighting into a very bright, very starkly white room was absolutely jarring. It kind of felt like that scene from the original Willy Wonka when they try to send Mike Teavee through Wonka Vision. Everything was just so white and so harsh-looking. I understand the need for it (for cleanliness and sterilization purposes) but if you’re not expecting it, it can kind of set you on edge.

You Can Feel So Helpless and Not in Control.
Inserting the epidural was thankfully very fast and not bad, but once they laid me down and it kicked in I felt so helpless. I HATED not being able to feel or move anything from my chest down. I felt groggy, extremely emotional (thanks hormones), and totally helpless.

You May Feel Non-Pain Sensations After The Epidural.
Right before they got started, they pulled a piece of tape off my stomach (I think they were repositioning the drape), but I could feel the tape pulling off. This scared me and I spoke up, but they assured me it was okay. Apparently epidurals numb your ability to feel pain, but sometimes you can feel other sensations (like tape being pulled off).

You’ll Feel Like You’re Being Dissected by Aliens.
Okay, so this sounds a little dramatic but it was the most accurate description for me. Even though everything was going well, the doctors and assistants were all cheery, and everything was perfect and professional - I still couldn’t help but feel like I was in some sci-fi movie in a stark white spaceship, being dissected while I was still alive.

They Squeeze the Baby Out.
Somehow I was not aware of this… they make the incision for the baby to come out, but then they push (and push hard) down on your uterus/upper abdomen/lower ribs so the baby starts to squeeze out of the incision, then they help guide and pull the baby out. Our baby was really wedged in there, so the assist had to jump and put all her weight on me to get the baby to come out.

The Whole Procedure is FAST.
The doctors and team were very skilled and experienced and very fast. Our doula had warned us it would feel like everything was urgent and rushed but that’s just how they go (and she said during an emergency c-section they can go even quicker which is incredible). From the time we walked into the OR to the time I was being stitched up it was maybe 20 mins tops. They were fast, efficient, and experts at this.

Those Moments After Delivery Can Feel so Lonely.
Immediately after delivery they showed me the baby but then she went over to a warming table to get a quick exam and her vitals checked. She was totally fine but it’s pretty standard for baby to be checked over nearby while they finish working on you and sewing you up. My husband understandably went over to stand with the new baby and watch her, and even though he and the baby were only feet away it felt like miles. I was emotional, numb from the chest down, and felt abandoned (dramatic, huh?)… I was crying and everyone was busy (taking care of me and baby) but I just felt so alone.

You Might Have a Catheter Longer Than You Think.
They leave the catheter in until the epidural wears off and you feel strong enough to get up which was quite a while for me. And even once they do take it out, be aware that sometimes your bladder is the last thing to “wake up” - it took a long time for me to be able to pee on my own.

You’ll Get an IV Port for Most of Your Stay.
Even though I was done with the IV right after the c-section procedure, they tend to leave the IV port (in my case it was in the side of my wrist) in for the remainder of your stay in the unlikely event you need an IV for an infection, dehydration, medication, etc. And every day they need to flush it with saline to make sure it stays clear and clean… the flushing feels very weird and extremely uncomfortable which I was not expecting.

Getting the Staples Out Surprisingly Didn’t Hurt (Whew!)
I was dreading the day when they removed the staples from my incision. I thought for sure it was going to hurt or pull or there would be blood but none of those things were true. For me it didn’t hurt at all thankfully and the doctor removed them quickly and easily.

You Will Regret Standing Too Long.
For me, especially in those early days, standing or walking for just a few minutes was HARD. I would be standing - feeling fine and great - and then all at once I would suddenly feel warm and get a deep burning sensation around my incision and I would have to immediately sit down because I felt like I was going to pass out.

You Will Still Have Postpartum Bleeding.

Even though they “clean you out” during the c-section there will still be residual material that will have to run it’s course and be shed just like from a normal delivery. So get those Depends ready and be prepared to still deal with that. For me, it definitely wasn't as heavy but it still lasted several weeks.

Your Incision Can Have No Feeling For a Long Time.
For weeks my incision felt numb or very “weird” to the touch… like I was touching it through a thick quilt even tough I was touching my own skin. Apparently sometimes it takes awhile for the nerves to reconnect so that numb feeling around the incision can linger for quite a long time. It slowly wore off though and I regained my feeling there over time.

You Will Be Defensive of Your Incision for Months.
My incision healed beautifully and well but even months after the surgery I was very subconsciously protective of it. Even much later when I picked up my kids, if they pressed their foot on my incision I thought for sure they were going to pull it apart. It was all in my head though.

Overall, my c-section and recovery were all textbook and went perfectly without any real setbacks thankfully. Still, in the moment and as I recovered I realized I wasn’t as mentally prepared for the c-section as I had thought. Just because a mama goes through a c-section and not a vaginal delivery doesn’t make it feel any less emotional. It definitely helps being prepared and asking questions ahead of time so you (hopefully) won’t have as many surprises.

Best of luck, Mamas!!

Shop my Favorite Baby/Pregnancy Picks on Amazon


Disclaimer: This post shares my personal experiences and realizations and is not medical advice. Please always check with your doctors for the best advice/recommendations and know that your experiences can be very different from mine.

KEEP UP WITH BIRCH LANDING HOME
|  Etsy  |  Facebook  |  Instagram  |  Pinterest  |  Bloglovin'  |  Hometalk  |

How we Turned a Coat Closet into a Functional, Organized Pantry

Our kitchen was lacking a pantry, so we often kept canned goods and backstock on a shelving unit at the foot of our stairs in the basement. But because half of our food and snacks were downstairs and half were upstairs it made for frequent mistakes when buying groceries… it was hard to visualize exactly what we had and where so we often ended up overbuying certain things and forgetting to buy others. Tired of wasting money, food, and time running up and down the stairs I decided to make over a coat closet into a functional pantry. | This post contains affiliate links |

How we Turned a Coat Closet into a Functional Pantry

Now while this coat closet (pictured below) was pretty jammed full, it was very underutilized. It’s where we kept our off-season coats, hats, and boots as well as some hiking gear and my daughters’ Art Cart - most things we did not need to use daily, or often at all. My solution to this was to relocate all these items to our basement - I hung a closet rod under the basement stairs and moved all our off-season clothing and gear to this new space where it was still easily accessible but out of the way.

How we Turned a Coat Closet into a Functional Pantry

The next step was to pull out the old wire shelf and closet rod system, patch the holes, and repaint the inside of the closet. Thankfully I already had spackle and some leftover white paint so I was able to get the closet to a clean slate easily and it didn’t cost a dime.

How we Turned a Coat Closet into a Functional Pantry

Now for the fun part! I got to decide how many shelves I wanted and the spacing, so I laid it out with painters tape to play with how I wanted it before I made a final decision. For our setup I decided on four shelves starting at about waist-height. I wanted to leave the bottom open to accommodate the dog food bin, the Art Cart, step stool, etc. Then I screwed in 1x3 inch “runners” that would support the shelves along the back wall. I used a stud finder to make sure I was screwing the runners into studs and a level to make sure everything was square.

How to build pantry shelves in a closet

Then I added runners to one side of the closet next, following the same routine - but with these pieces I had pre-drilled pocket holes with our Kreg Jig first so it would make for a clean and secure joint in the corners.

How we Turned a Coat Closet into a Functional Pantry

Before installing the runners on the opposite side of the closet, it’s wise to keep in mind how you will be able to maneuver the shelf boards in once all the runners are in place (it would be very difficult to get the top shelf in with all the runners installed, for example). So before installing the opposite side’s runners I slipped some of the trickier shelf boards into place first (I used 1x12”s cut to length for the shelves) before I finished screwing in all the side runners.

How we Turned a Coat Closet into a Functional Pantry

I secured the shelves into place with some finishing nails, then taped off the shelves and runners to get ready for paint. I used primer and then several coats of white semi-gloss paint since it’s a little easier to wipe down and keep clean.

How we Turned a Coat Closet into a Functional Pantry

I just love how farmhouse and “Shaker” the exposed rails on the sides look and I wanted to play it up. Once the paint was dry I added some functional hooks to hang aprons, lunchboxes, etc on the side rails.

How we Turned a Coat Closet into a Functional Pantry

And now the project is complete! I am so happy with how it turned out and it’s wonderful to have everything in one place. I can see this project saving us money on groceries in the long run now as everything will be in one place now and we’ll be less apt to waste food.

Eventually, I would love to replace the closet door with a fun screen door and get some more glass jars and baskets for a cleaner looking pantry - but all in good time.

Shop my Kitchen + Pantry Favorites on Amazon
How we Turned a Coat Closet into a Functional Pantry

| Similar Clear Plastic Storage Bins | Dog Food Container (on the floor, just out of the picture) |

How we Turned a Coat Closet into a Functional Pantry

| Flour, etc. jars were made using Cracker Jars with custom vinyl labels I made on my Cricut | Vintage Pie Tins |

Over this past winter I added a few simple add-on organizers to our pantry to maximize the space and love how functional they are. Here they are below (and please excuse the glimpses of clutter in the pantry… as it now holds extra groceries and our family board games too - because, real life):

Additional Storage for the Walls

How We Turned a Coat Closet into a Functional Pantry

| Similar Wire Wall Basket | Mason Jars to store Trail Mix |

Under-Shelf Storage

How We Turned a Coat Closet into a Functional Pantry

| Wire Under-Shelf Basket - Perfect for Storing Potatoes! |

Decal for Pantry Door

How we Turned a Coat Closet into a Functional, Organized Pantry

It turns out our door is an odd size and in order to get a screen door for it we would have to custom order one (at a cost of about $300+! Yikes). So instead I decided to cut a custom vinyl label to stick to the door to make it more finished. I could have designed my own but I found a design I really liked on Etsy and bought the digital design file. After purchasing the design file, I used my Cricut and 651 Permanent Vinyl to make the label and then transferred it to the door. In hindsight I probably should have made it slightly smaller, but overall I love how it came out and how budget-friendly it was since I already owned a Cricut Machine and the vinyl.

| Pantry Digitial Design File | Cricut Machine | 651 Permanent Vinyl in Matte Black |

Back of Door Organizer

How+we+Turned+a+Coat+Closet+into+a+Functional%2C+Organized+Pantry

Finally, we decided to add a ClosetMaid Adjustable Organizer to the back of the pantry door to fully utilize the space. It was very simple to install and I am impressed with how sturdy it is once it's assembled and screwed in. We used the lower baskets for foil, parchement paper, ziplocks, silicone bowl covers, etc. The middle baskets we designated for frequently used canned goods, smoothie mix-ins, as well as salad fixings and rice cakes. Finally on the top two baskets we put convenience foods that we rarely use since I'm so short. Note: If you have a hollow-core door, you might want to use a specialty set of anchors/screws to attach it to the door for stability, rather than just screw into the door with regular screws.

| ClosetMaid Adjustable Organizer (18 inch) | True Nature Silicone Food Covers |

Stackable Canned Goods Organizer

Another later addition to our pantry organization are these amazing stackable can racks for organizing canned goods. Before I had quite a few canned goods just sitting on the floor of the pantry and in a separate kitchen cupboard, but I never could see everything at once and often cans in the back got forgotten -- Now everything is in one spot where I can see them and I can meal plan more efficiently.

| Stackable Can Rack Organizer (I have two racks stacked here) |

OXO POP Containers with Scoops for Snacks

OXO Containers with Scoop

Another thing that's been a huge game changer is moving dry snacks into OXO POP Food Storage Containers. We love these for our snack crackers and pretzels. They keep everything fresh and it's easy to see if you're starting to run low on these staples. To keep the kids from going too wild with serving sizes we added clear OXO 1/2 Cup Scoops in each container too - making it easy to grab a serving.
I used my Brother Label Maker to make labels for the containers. These can easily be peeled off and relabeled as needed.

| OXO POP Food Storage Containers | OXO 1/2 Cup Scoops | Brother Label Maker |

Disclaimer

This website shares personal opinions and experiences regarding a variety of topics. Please do your own research regarding all things and use information/opinions stated here at your own discretion and risk.


Check out our Related Posts:

KEEP UP WITH BIRCH LANDING HOME
|  Etsy  |  Facebook  |  Instagram  |  Pinterest  |  Bloglovin'  |  Hometalk  |

Happy Giving Tuesday 2019! (+ Coupon Code)

Happy Giving Tuesday! Did you know we donate a percentage of profits from Birch Landing Home at year-end? So every time you place an order or visit my blog that donation gets the chance to grow. Last year I was able to donate to The American Cancer Society and Susan G. Komen.

I haven’t decided where this year’s donation is going yet so if you have a favorite charity please share! 

Giving Back 2019

And this week I’m giving back to you with a Coupon Code too! Use GIVINGBACK to get 10% off your Etsy orders through 12/11/19.

Shop the Sale Now

KEEP UP WITH BIRCH LANDING HOME
|  Etsy  |  Facebook  |  Instagram  |  Pinterest  |  Bloglovin'  |  Hometalk  |

DIY Vintage Pie Tin Clock

Rummaging around in my parents basement a few weeks ago, I stumbled across a stack of Vintage Table Talk Pie Tins that had been my Grandmother’s. Back in the day (approximately the 1930’s-1950’s), people would buy these store-bought pies with an extra 10 cent deposit that would be reimbursed if you returned the clean pie tin back to the store… but apparently my Grandmother chose not to, haha. These pie tins were a fun vintage find, and sentimental because they had once belonged to her. Since we didn’t have a kitchen clock I figured turning one of these tins into a clock would be a fun idea - and here’s how I did it. | This post contains affiliate links |

DIY Vintage Pie Tin Clock

The first step to creating your clock is to purchase a clock kit that has the right diameter hands for your pie tin, so when they are mounted in the center of the tin they can move freely all around the face without touching the sides (very important).

DIY Vintage Pie Tin Clock

After some measuring and browsing around on Amazon, I settled on this Mudder Clock Kit - I liked the style of the hands and they would fit perfectly in my particular pie tin.

DIY Vintage Pie Tin Clock

Next, carefully measure to find the center of the pie tin and poke a pilot hole through with a small nail and hammer. After that, make sure your pie tin is well supported and on a safe area for drilling (I used some scrap 4x4 posts as a work station). Then carefully drill out your hole, starting with your smallest drill bit.

In order not to “rip” the tin, it’s very important to start small and work your way up in drill bit size. I started with the smallest drill bit and then worked my way up, using every-other-drill bit in the set going up in size order.

Shop my Amazon Favorites
DIY Vintage Pie Tin Clock

If you get a large burr, carefully cut it off with a pair of small wire cutters before you move up to your next drill bit size.

Please note: Keep in mind that these pieces of tin are SHARP so use care and be mindful of the metal shavings you may drop while drilling. Make sure to clean up the shavings well after your project is done.

DIY Vintage Pie Tin Clock

Periodically check to see if the threaded clock mechanism can pass through your hole yet. For this clock kit, I needed to jump up to a larger drill set in order to finally work my way up to the size hole I needed (in this case it was a 5/16” drill bit).

Once the hole is the correct size, use a round file to clean up any little burrs around the edge.

DIY Vintage Pie Tin Clock

Now it’s time to assemble your clock - follow the manufacturer’s directions on the best way to assemble the clock hands for your particular kit. Keep in mind that clock kits and especially the hands are VERY delicate so take care assembling them.

Once your clock is assembled, install the battery and set the time - now you can enjoy your new Vintage Pie Tin Clock!

DIY Vintage Pie Tin Clock

Are you interested in making your own Vintage Pie Tin Clock but need a pie tin?

I’m selling some extra pie tins* in my Etsy shop, click the button below to shop:

Shop Vintage Pie Tins + More in my Etsy Shop

*Please note the tins I have listed for sale may vary slightly in size and style from the one I made my Pie Tin Clock with.


KEEP UP WITH BIRCH LANDING HOME
|  Etsy  |  Facebook  |  Instagram  |  Pinterest  |  Bloglovin'  |  Hometalk  |