Create an "Analog" Bag or Basket for You and Your Family
It’s more important than ever to incorporate screen-free time for yourself and your family into your daily lives. Most of us spend too much time on our phones or watching TV that we’ve forgotten how to entertain ourselves without a screen. Probably the biggest red flag is kids out and about (especially in restaurants or in the car) always need a tablet to keep them occupied - they don’t know how to sit and enjoy others’ company anymore or entertain themselves. Teens and adults are often guilty of it as well, we keep our noses in our phones and ignore who we’re with.
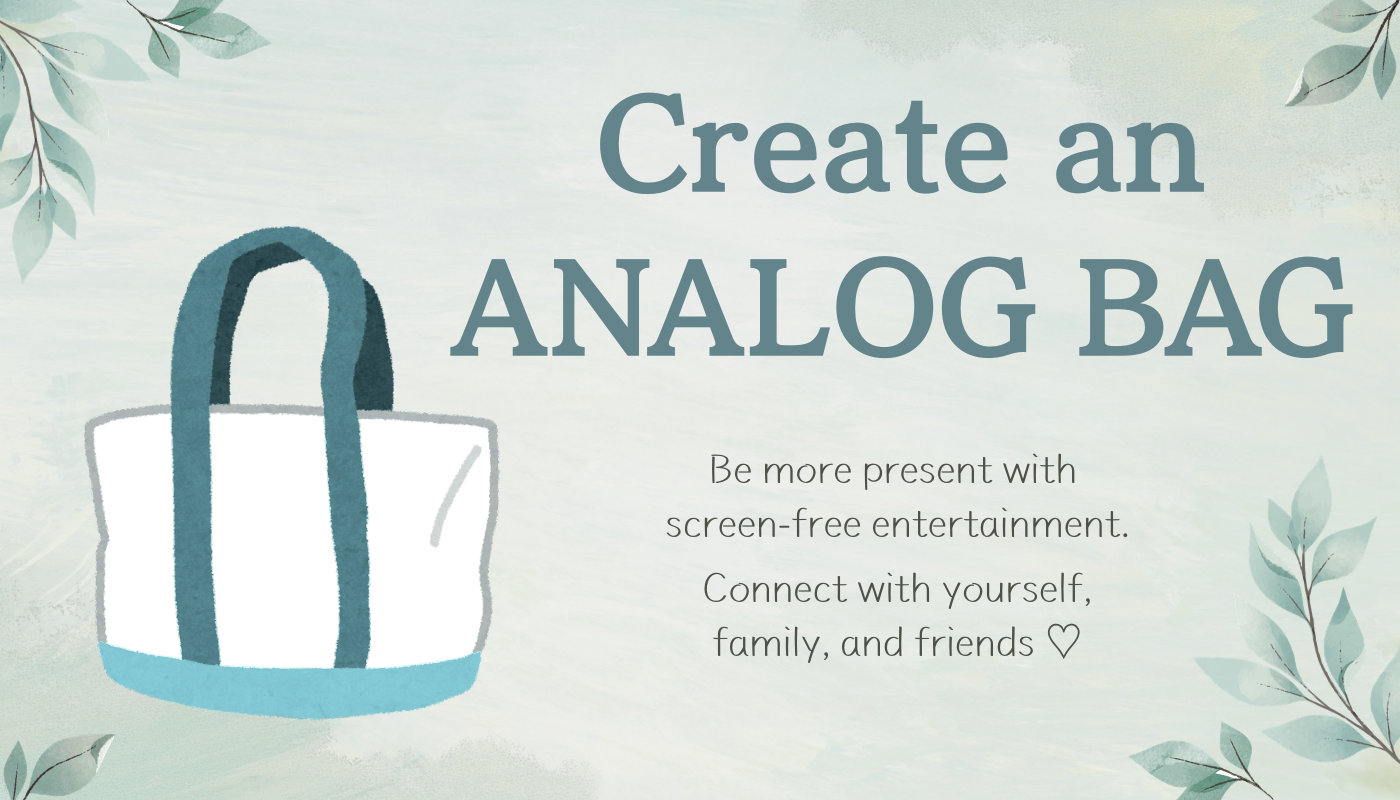
One easy solution is to create an “analog bag” - a bag that has screen-free activities in it. It can be travel games, puzzles, books or magazines, knitting, small toys, coloring, word searches, etc. You can make it for on-the-go or something to keep in your living room for designated screen-free time. Read on for more ideas on how to incorporate this easy modification into your lives.…
| This post contains affiliate links |
An Analog Bag is something you can make for yourself, your young or older kids, or the whole family! You can also tailor it to things to use on-the-go or something that you keep at home for quiet evenings. Whatever it is you can make it yours and change it up as much as you want! Here are some ideas:
Analog Bag Basics:
- a sturdy tote bag (this "Analog" embroidered L.L. Bean Bag is PERFECT!)
- something to help organize your things, such as a small canvas pouch or a tote bag organizer
- Now for the fun part - filling it with what interests you or your family! I've broken it down with ideas for different age groups below.
Ideas for Adults & the Whole Family:
- a beautiful coloring book
- colored pencils
- knitting kit
- mini watercolor travel set
- deck of cards
- magazines or your current library books
Ideas for Teens & Tweens:
- you may want to consider a different bag, like a trendy rubber tote
- a fun card game like UNO or Taco Cat Goat Cheese Pizza
- a cute crochet kit
- Rubik's Cube
Ideas for Young Children:
- you may want to consider a different bag, like a cute animal alphabet themed one
- Water Wow books (these were such a hit when my kids were little - a lot of fun and zero mess!)
- Paint by Sticker books
- fun activity book
Analog “Basket” Ideas for Home:
The Analog Basket is something that would stay in your living room or family room and your family can use everyday! The following ideas are for a mix of age groups.
- sturdy basket that will look nice in your room
- puzzle the family can do together
- games such as Jenga, Chutes & Ladders, or Chess (Chess is making a comeback!)
- a tabletop activity like wooden balancing "stones" (irregular-shaped wooden "rocks" that you can stack and balance)
- nice LEGO kit to make with the family
Shop some of our Analog Bag picks here:
Scroll sideways for more —>
KEEP UP WITH BIRCH LANDING HOME
| Etsy | Facebook | Instagram | Pinterest | Bloglovin' | Hometalk |