Are Stanley Tumblers Worth It? My Honest Opinion

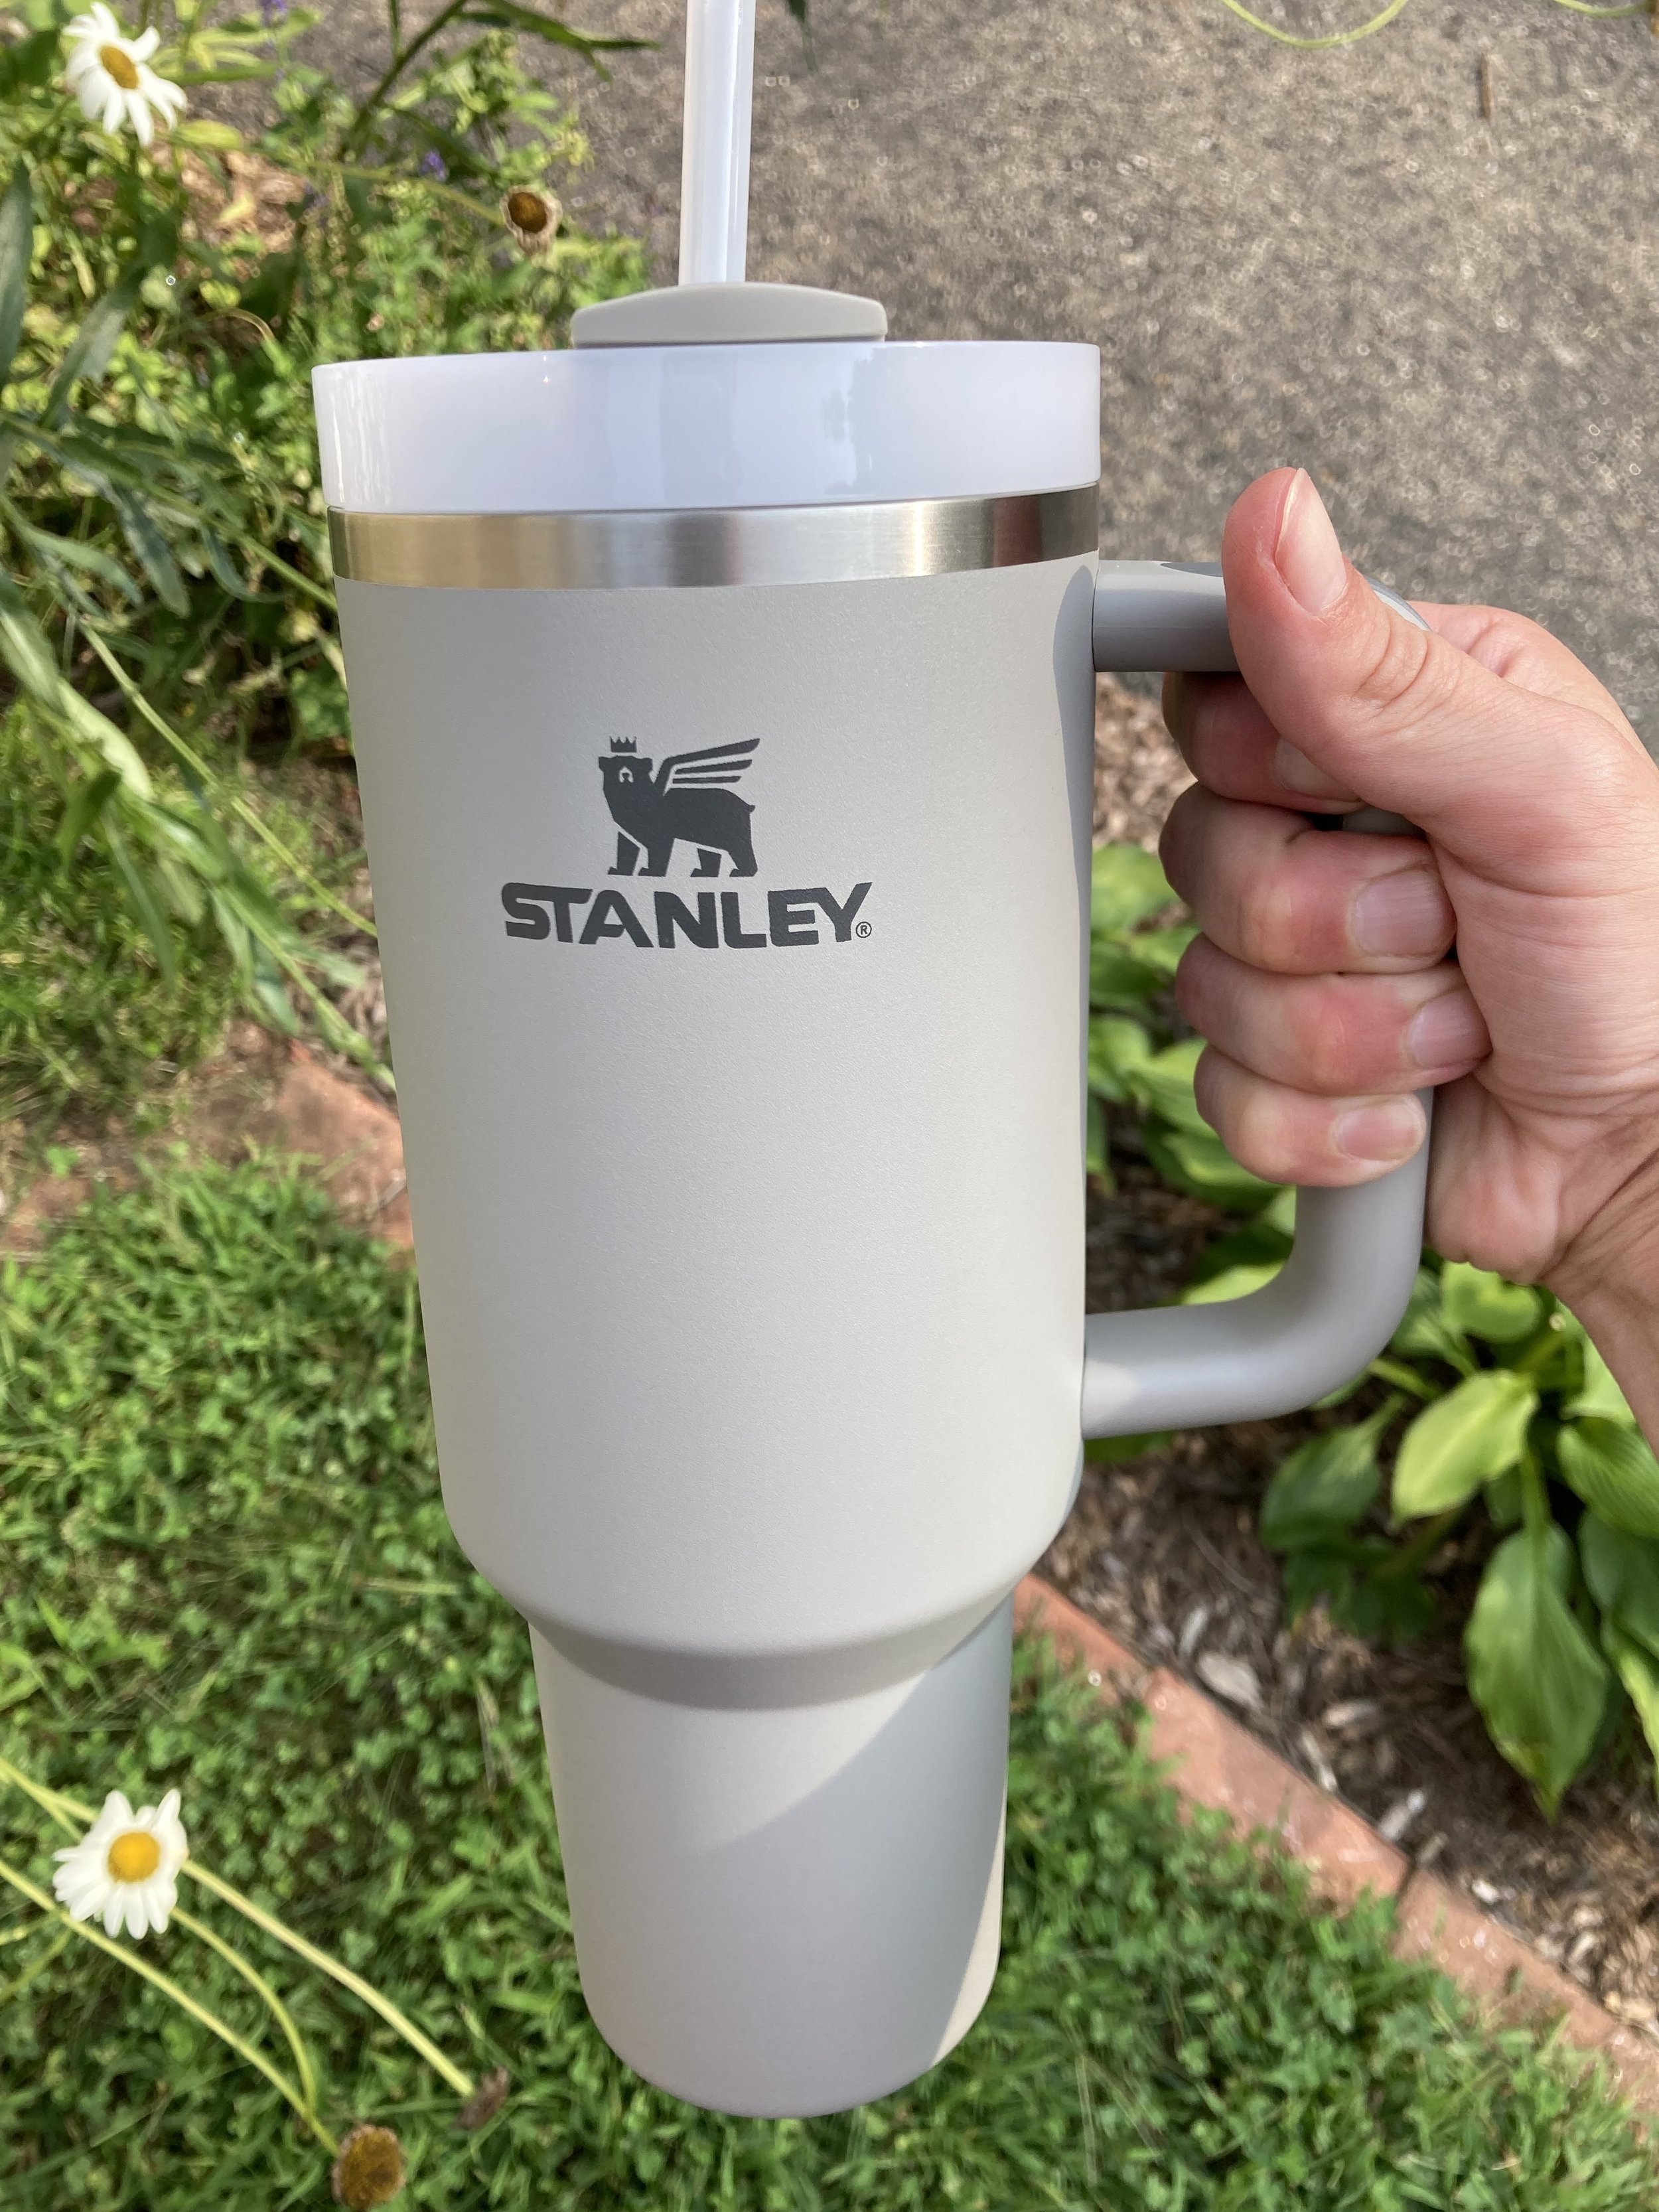
I finally did it… I jumped on the Stanley Tumbler bandwagon. The 40oz Stanley Tumbler cups are the “it” accessory at the moment and seen everywhere. But the big question is, are they worth it? In my opinion, yes… and no. Let me explain. | This post is not sponsored but contains affiliate links and an honest opinion of products |

First, I’ll share the reasons why I think you should *not* get one:

  • You already have a straw tumbler. So many of us already have another brand tumbler and we really don’t need another one just because this style is popular at the moment. If your current tumbler is doing it’s job just fine then don’t bother jumping on this bandwagon and save your money.

  • It’s HEAVY. Really heavy. At 40oz when this tumbler is full it is super heavy - it’s really not practical to carry around all day like you see those influencers on Instagram doing.

Now why I think you *should* get one:

  • You're in need of a straw tumbler. I actually was in need to upgrade my old tumbler. My old straw tumbler was 10(!) years old and not insulated... I was tired of it leaving condensation marks on our coffee table and it never kept my water cold for long.
  • You like your beverages cold (or hot). While I haven't tried my new Stanley Tumbler with hot beverages yet, I'm very impressed how it keeps things cold super long. I'll take a sip of water the next morning and it's still nice and cold from the day before!
  • You keep your beverage at your desk or in your car. The large size isn't an issue if you tend to leave your cup in the same place for long periods of time. I typically leave my tumbler on the kitchen counter or on the coffee table and constantly sip it throughout the day so the large size wasn't a problem for me. This cup also fits nicely in our car's cupholders.
  • You're trying to increase your water consumption. If you're looking drink more water, this large cup definitely helps get it done.

Overall - I am happy I jumped on the Stanley Tumbler bandwagon. I don't condone buying the "it" thing everytime if you don't need it, but if you are actually in need of a straw tumbler I have been very happy with my Stanley one.

KEEP UP WITH BIRCH LANDING HOME
|  Etsy  |  Facebook  |  Instagram  |  Pinterest  |  Bloglovin'  |  Hometalk  |

Easy Flag Cake For Fourth of July

We make this super easy Flag Cake every year on the Fourth of July - it’s a little cheesy but it’s fun, delicious, and a tradition our kids look forward to. It’s never picture-perfect but it doesn’t have to be, just enjoy and have a Happy Fourth :) | This post contains affiliate links |

Really this “recipe” couldn’t be any easier! You just need a few very basic ingredients/pre-made items and you’re good to go!

Ingredients:

  • box of lemon cake mix and whatever you need to make it according to package directions (eggs, oil, etc). If you don’t like lemon you can use white or yellow cake mix too.

  • Cool Whip or other whipped topping

  • blueberries

  • sliced strawberries

How To:

First bake your cake mix according to package directions in a rectangular baking dish/sheet pan.

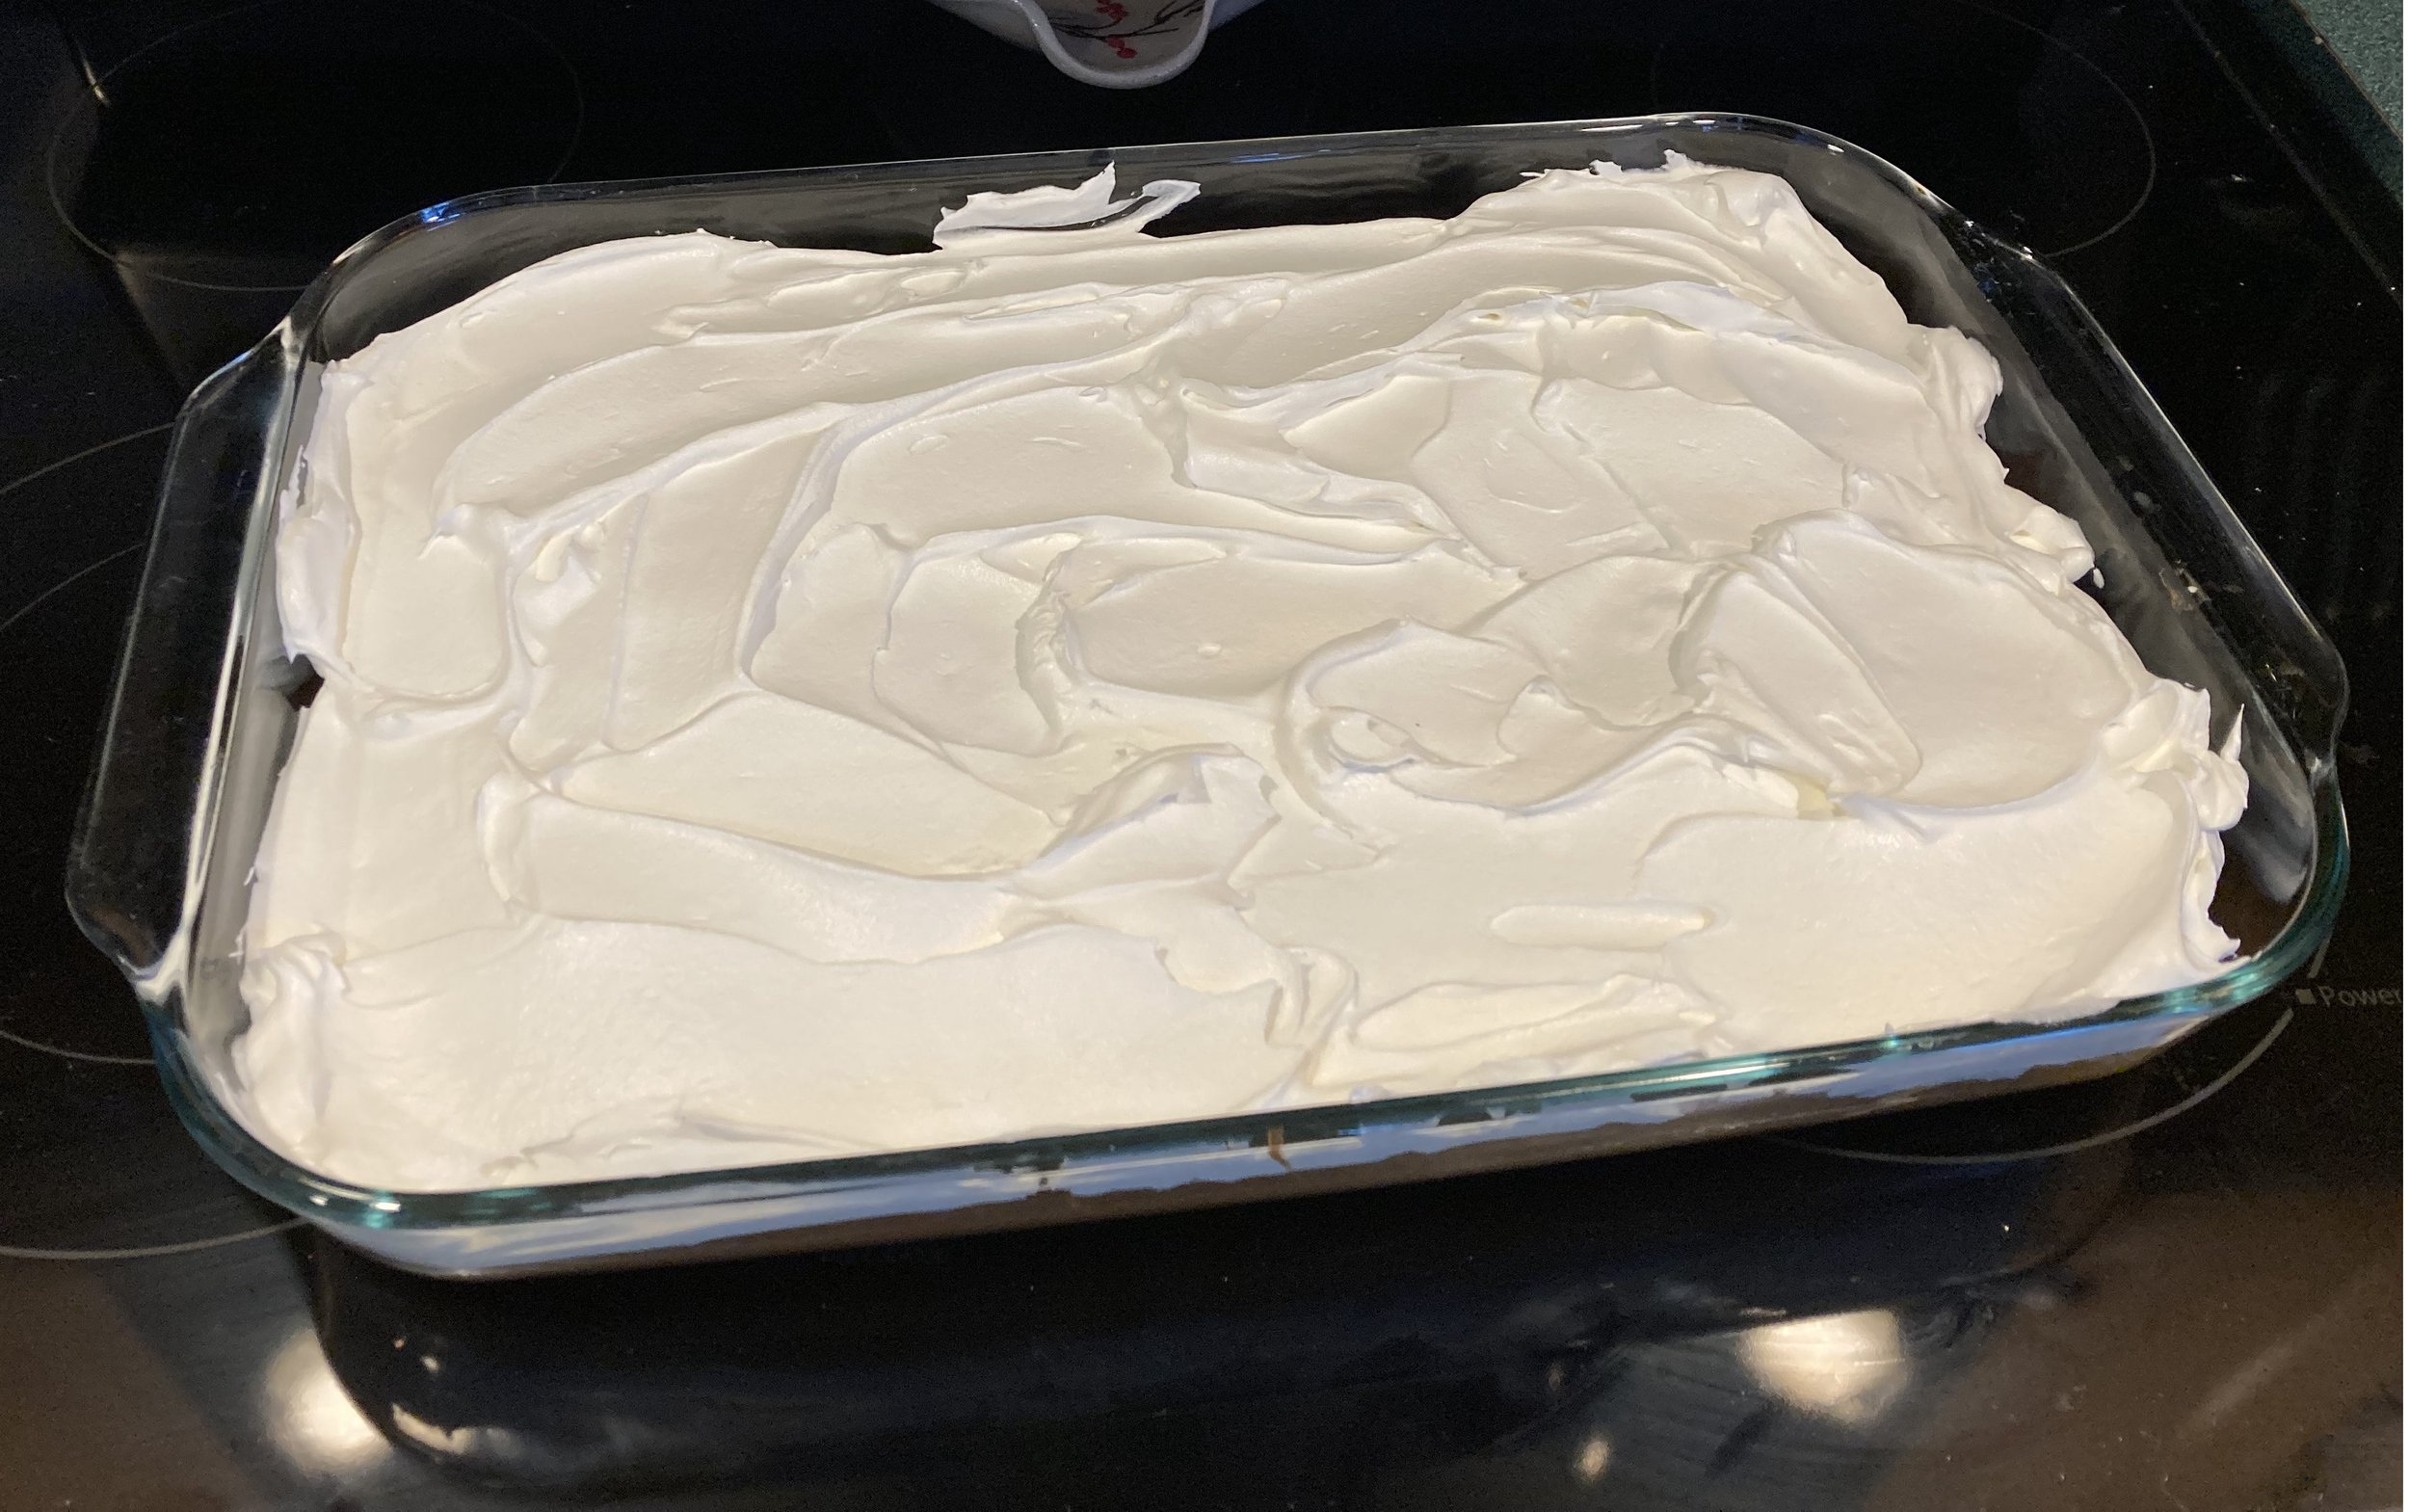
Once it has cooled completely, add your whipped topping. We always use Cool Whip but you could use homemade or store bought whipped cream too.

Once the cake is covered in your whipped topping, it’s time to make the flag! In the upper left corner, lay out the blueberries in a square shape. Then arrange sliced strawberries in lines to make the stripes. We use a strawberry slicer to make the process go quickly (I confess when I first got this strawberry slicer as a gift I thought I would never use it, but it's actually super handy and I've used it more times than I can count! It especially came in handy with young toddlers for cutting their fruit up). Don’t worry about trying to fit in 13 stripes, we’re going for simplistic here - just fit in as many as you can that look nice.

And that’s it! Super simple, super easy, and a great dessert to make with the kids. We absolutely love that combination of lemon cake, whipped cream, and berries - yum! I hope you all have a wonderful, healthy and happy Fourth!

KEEP UP WITH BIRCH LANDING HOME
|  Etsy  |  Facebook  |  Instagram  |  Pinterest  |  Bloglovin'  |  Hometalk  |
Giving Backyard Maple Sugaring a Try

We’ve lived in New England all our lives, but I’m ashamed to admit we’ve never tried maple sugaring ourselves until now. We have several family friends that own large-scale sugar shacks so we’re familiar with the process and had some great resources to ask questions. We kept it very small scale and simple, but you can get more technical with the process to make really consistent, great maple syrup. If you want to try this at home, I’d recommend doing your own research first to make sure your syrup is made safely and well. | This post contains affiliate links |

Trying Maple Sugaring at Home

I didn’t take too many photos of the process but we started by tapping the trees. We drilled into sugar maples at a slight upward angle so the sap will drip out, tapped in special metal spigots (also called spiles) with hooks, and hung buckets to catch the sap. It's important to do this at the right time of year when the sap is running, usually late winter/early spring when the days are above freezing and the nights are cold.

Once we got a total of 5 gallons of sap, which only took a day or two, we started boiling. It’s a good idea to boil outside as it takes a while and makes a lot of steam and you probably don’t want that much moisture inside your house. We used a stainless steel pot on a propane stove ring in our driveway to boil. Once the liquid was reduced by half, we added more sap, and just kept boiling it down until it was a good color/consistency.

Trying Maple Sugaring at Home

Serious maple sugar makers would reccomend you use a hydrometer to test the water content of your syrup to make sure it's at the right consistency. However, we totally just winged it and kept reducing until it looked pretty good. We prefer a lighter, more honey-tasting syrup so we didn't reduce it down to a dark amber syrup.

It takes a lot of sap to make a little syrup. We boiled down about 3+ gallons of sap to get the maple syrup you see in the jar. It takes a lot of work and a lot of time, but it was a fun experience for the kids and now we get to enjoy the fruits of our labor. Mmmmm, pancakes!

Disclaimer: This was a very quick overview on the process we did to make maple syrup. If you decide you would like to give it a try, I recommend researching it on your own and asking an experienced producer for advice before starting.

KEEP UP WITH BIRCH LANDING HOME
|  Etsy  |  Facebook  |  Instagram  |  Pinterest  |  Bloglovin'  |  Hometalk  |
One Year Later: How We Did on Our Goal to Use Less Plastic In 2020

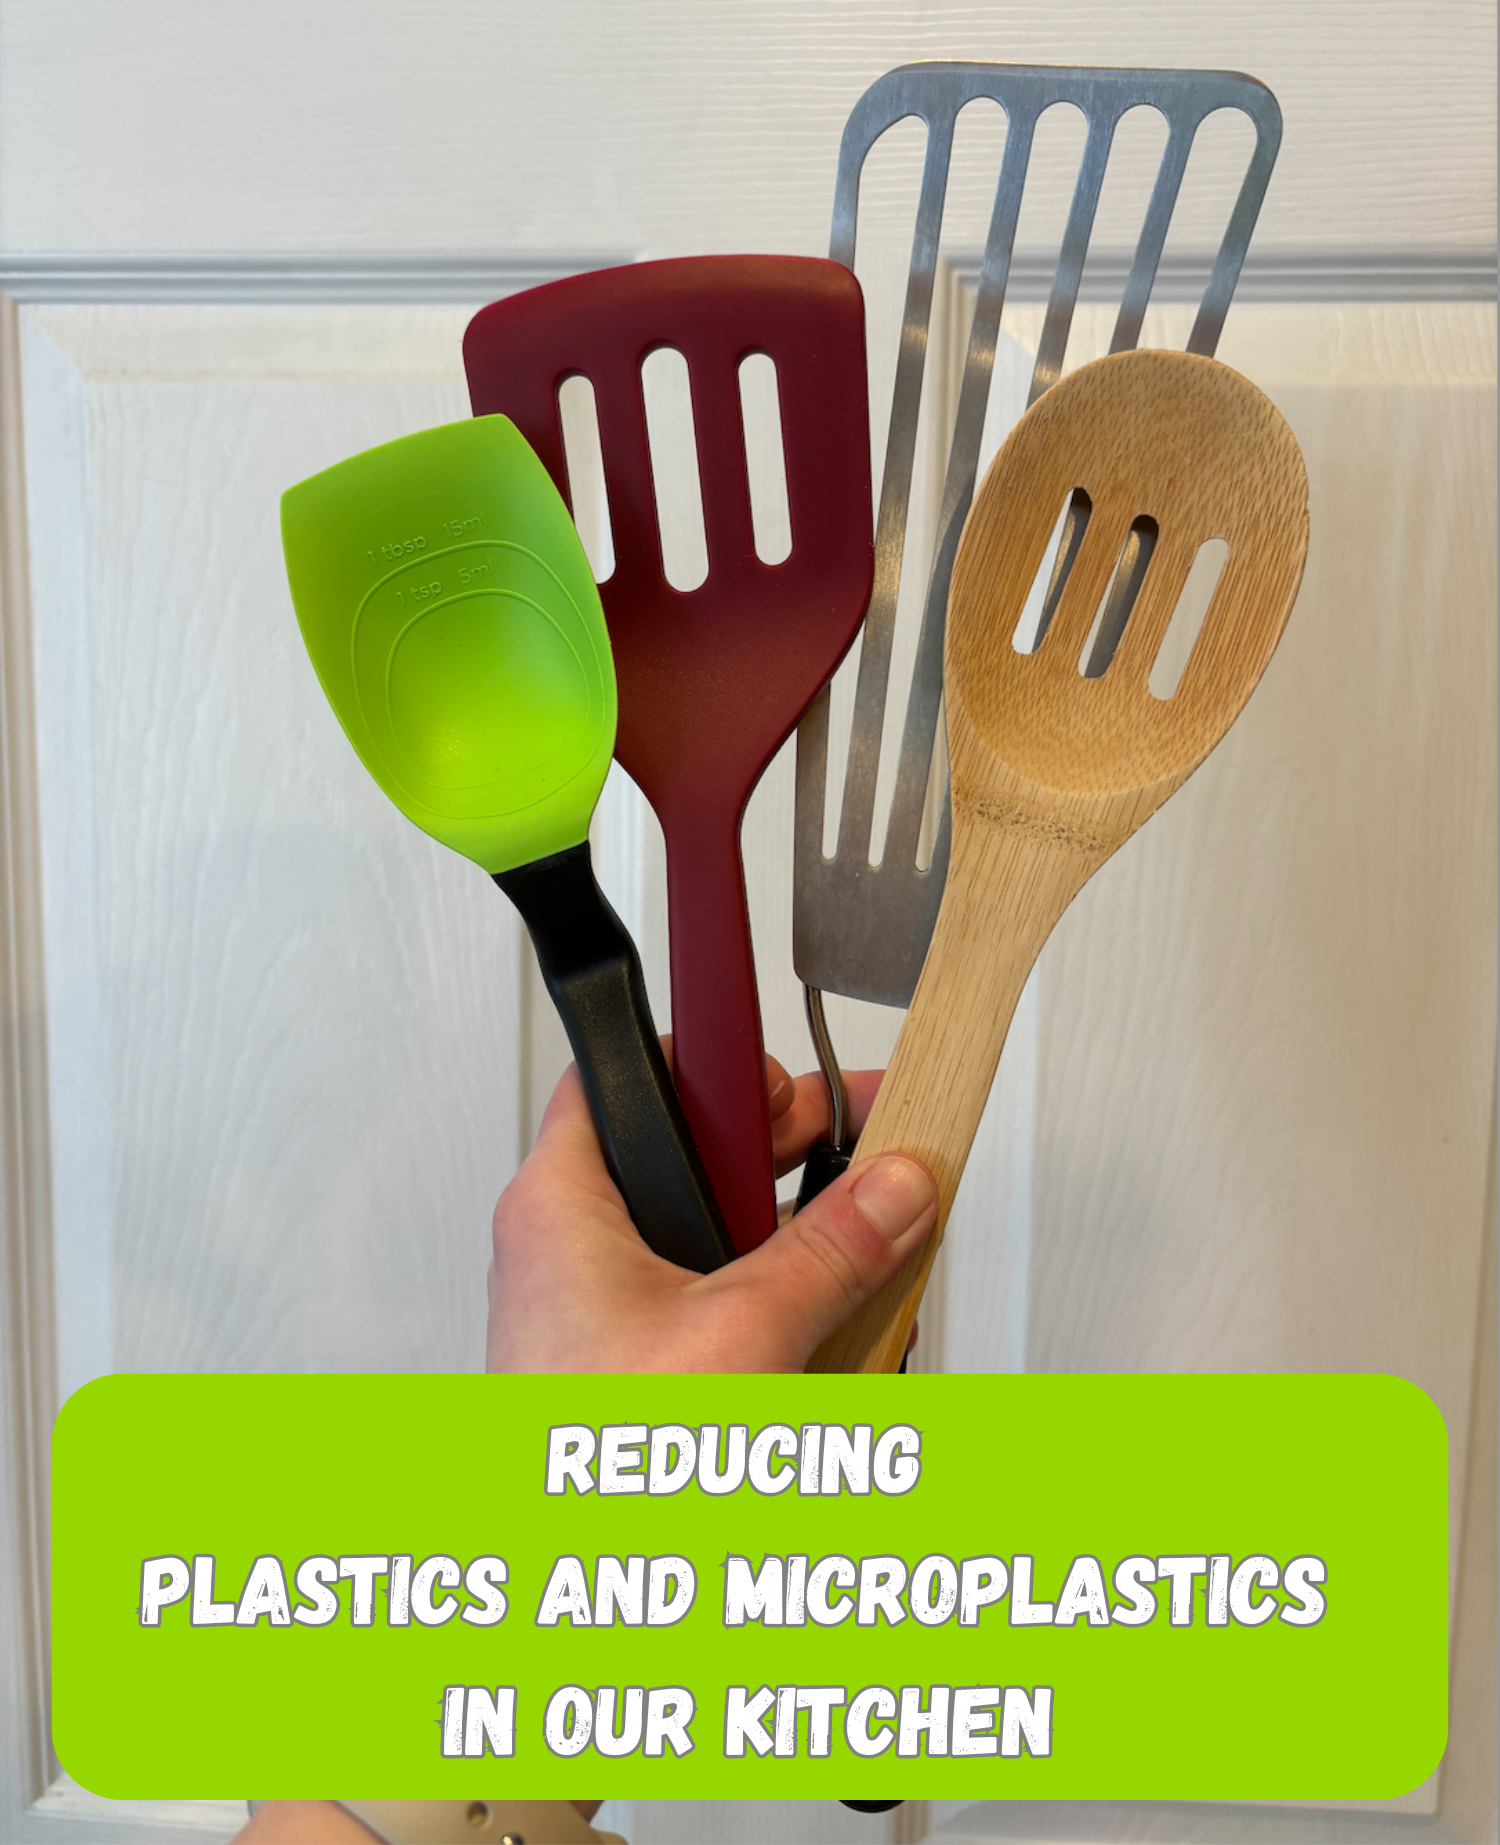
In January of last year I wrote a post about how one of my big goals for the year was to use less plastic in our daily lives…. but then as you know, everyone’s daily lives changed a lot due to the Covid Pandemic. Even though it was a very strange year that changed our normal, we still made some good progress towards our goal to use less plastic. | This post contains affiliate links |

Follow Up Post:  How We Did on Our Goal to Use Less Plastic in 2020

Below are the improvements we planned to make in 2020, and how well we carried them out one year later… and how we could have done better:

  • Reusable Water Bottles. We did great with our goal to use reusable water bottles and not buy bottled drinks when out... it especially helped that we didn't go out much for most of the year, so drinking water at home was very easy.
  • Reusable Grocery Bags. Through March we used our reusable grocery bags for every trip, but once the Covid Pandemic started our state banned reusable bags in order to try to curb the spread of germs. They have since allowed reusable bags again, but many stores still won't use them at this time. So until the pandemic is over and everyone feels comfortable about reusable grocery bags again, we plan to ask for paper over plastic.
  • Reusable Produce Bags. This fell to the same fate as Reusable Grocery Bags above, and I have been just using the store-provided plastic produce bags. Though, I did write to the grocery store chain to ask them to make the switch to compostable produce bags... hopefully they will eventually.
  • Reusable Travel Mug for Coffee/Tea. This was quite easy again since we didn't go out much this year. We made a point to avoid unneccessary stops and we didn't stop at coffee shops much... instead, if we were going for a drive we would make our coffee at home and take it to-go in one of our own reusable mugs.
  • Silicone "Plastic" Bags. Last year I told myself I would purchase some reusable silicone plastic bags for our kids' lunch boxes once we started to get low on our plastic bags (we had a very large box of them), but then school was cancelled soon after that and we haven't had the need for them yet. However, I have since come across these Compostable Wax Paper Bags, and once school is open again I think I will probably use these until our kids are a bit older and I know they won't throw away the expensive silicone ones by accident.
  • Silicone "Plastic" Wrap. We ended up getting some Silicone Covers and have loved them - they work great for covering leftovers in the fridge or cut-up fruit and it saves us from using a lot of plastic wrap.
  • Glass or Metal "Tupperware". We were planning on waiting on this one as we still have very functional plastic Tupperware and don't need to replace it yet. Once we need some new containers we will make a point to get more eco-friendly, non-plastic options.
  • Sustainably Made Wooden Toys. Our kids are still loving and playing with the wooden toys they have gotten in the past. I don't think we added any new ones this year, but I still think that getting some heirloom quality, sustainably made wooden toys for young kids is a great idea.

KEEP UP WITH BIRCH LANDING HOME
|  Etsy  |  Facebook  |  Instagram  |  Pinterest  |  Bloglovin'  |  Hometalk  |

Favorite Finds of 2020

I thought I would do a quick round up of my Favorite Finds of 2020. These are products or items that we loved or used frequently and were new to us this past year or became a staple in our routine - best of all, most are under $30! | This post contains affiliate links |

Favorite Finds of 2020

Favorite Finds of 2020

“Unpaper Towels”

Favorite Finds - Unpaper Towels

I know I've talked about this several times now, but making the switch to these "Unpaper Towels" has definitely been my top Favorite Find of 2020. They save us money every month on buying paper products and since they're reusable they're good for the environment in the long run. So happy we made the switch!

Stars Above Pajama Set

Favorite Find - Stars Above PJs

With the year that it's been having a cozy PJ set has been a must. I got this Stars Above Pajama Set from Target (just added it on to my online order) this winter and they have quickly become my favorite. They are SOO soft and luxurious feeling, perfect for lounging around at home.

OXO Cold Brew Coffee Maker

Favorite Find - OXO Cold Brew Maker

My husband got this OXO Cold Brew Coffee Maker as a birthday gift and we've both been enjoying it all year. Now that we can't go out for coffee all the time it's been really nice to be able to make our own cold brew concentrate right at home.

Mask Lanyards

Favorite Find - Mask Lanyards

Mask Lanyards have been the unsung accessory hero this year. We've been using them every time we go hiking so we can have our masks at the ready if we unexpectedly come across others. We chose ones with a breakaway feature for some added safety.

Aura Cacia Aromatherapy Spray

Favorite Find - Lavender Linen Spray

This year I've been using my Aura Cacia Lavender Aromatherapy Spray on our linens every night before we go to bed - it's so relaxing and spa-like and we find it helps us fall asleep. (Make sure to spot test on your linens first, but we've had no problems using it on our fabrics.)

Powdered Tide for Cleaning

Favorite Find - Powdered Tide

This year I jumped on the Powdered Tide bandwagon - for cleaning, not for laundry. Just a little Powdered Tide mixed with warm water does wonders for washing smudgy walls and built-up grime on surfaces. I keep it under my kitchen sink (in an airtight plastic bag so moisture doesn't get to it), so it's ready to use anytime. It's such a great cleaning hack!

Hug Patrol Shoulder Wrap

Favorite Finds - Hug Patrol

I mean, who couldn't use a hug this year? Hug Patrol makes weighted wraps, blankets, and more. I collaborated with them last January (you can read that previous post HERE), but the wrap became a wonderful addition to my routine. It's so peaceful and comforting to curl up on the couch with a good book and the weighted wrap across my shoulders.

L.L. Bean Sweater Fleece

Favorite Find - LL Bean Sweater Fleece

I've actually had this L.L. Bean Sweater Fleece for a few years now, but it's really gotten a lot of use this year as my go-to for "Driveway Visits" with family and friends. We've been having socially distant driveway visits (outside, everyone standing far apart and masked, no contact) to see our family and friends when we can. This Sweater Fleece has been great as a casual and cozy layer that still looks nice for those chilly visits outside.

KEEP UP WITH BIRCH LANDING HOME
|  Etsy  |  Facebook  |  Instagram  |  Pinterest  |  Bloglovin'  |  Hometalk  |

How to Cook Delicata Squash

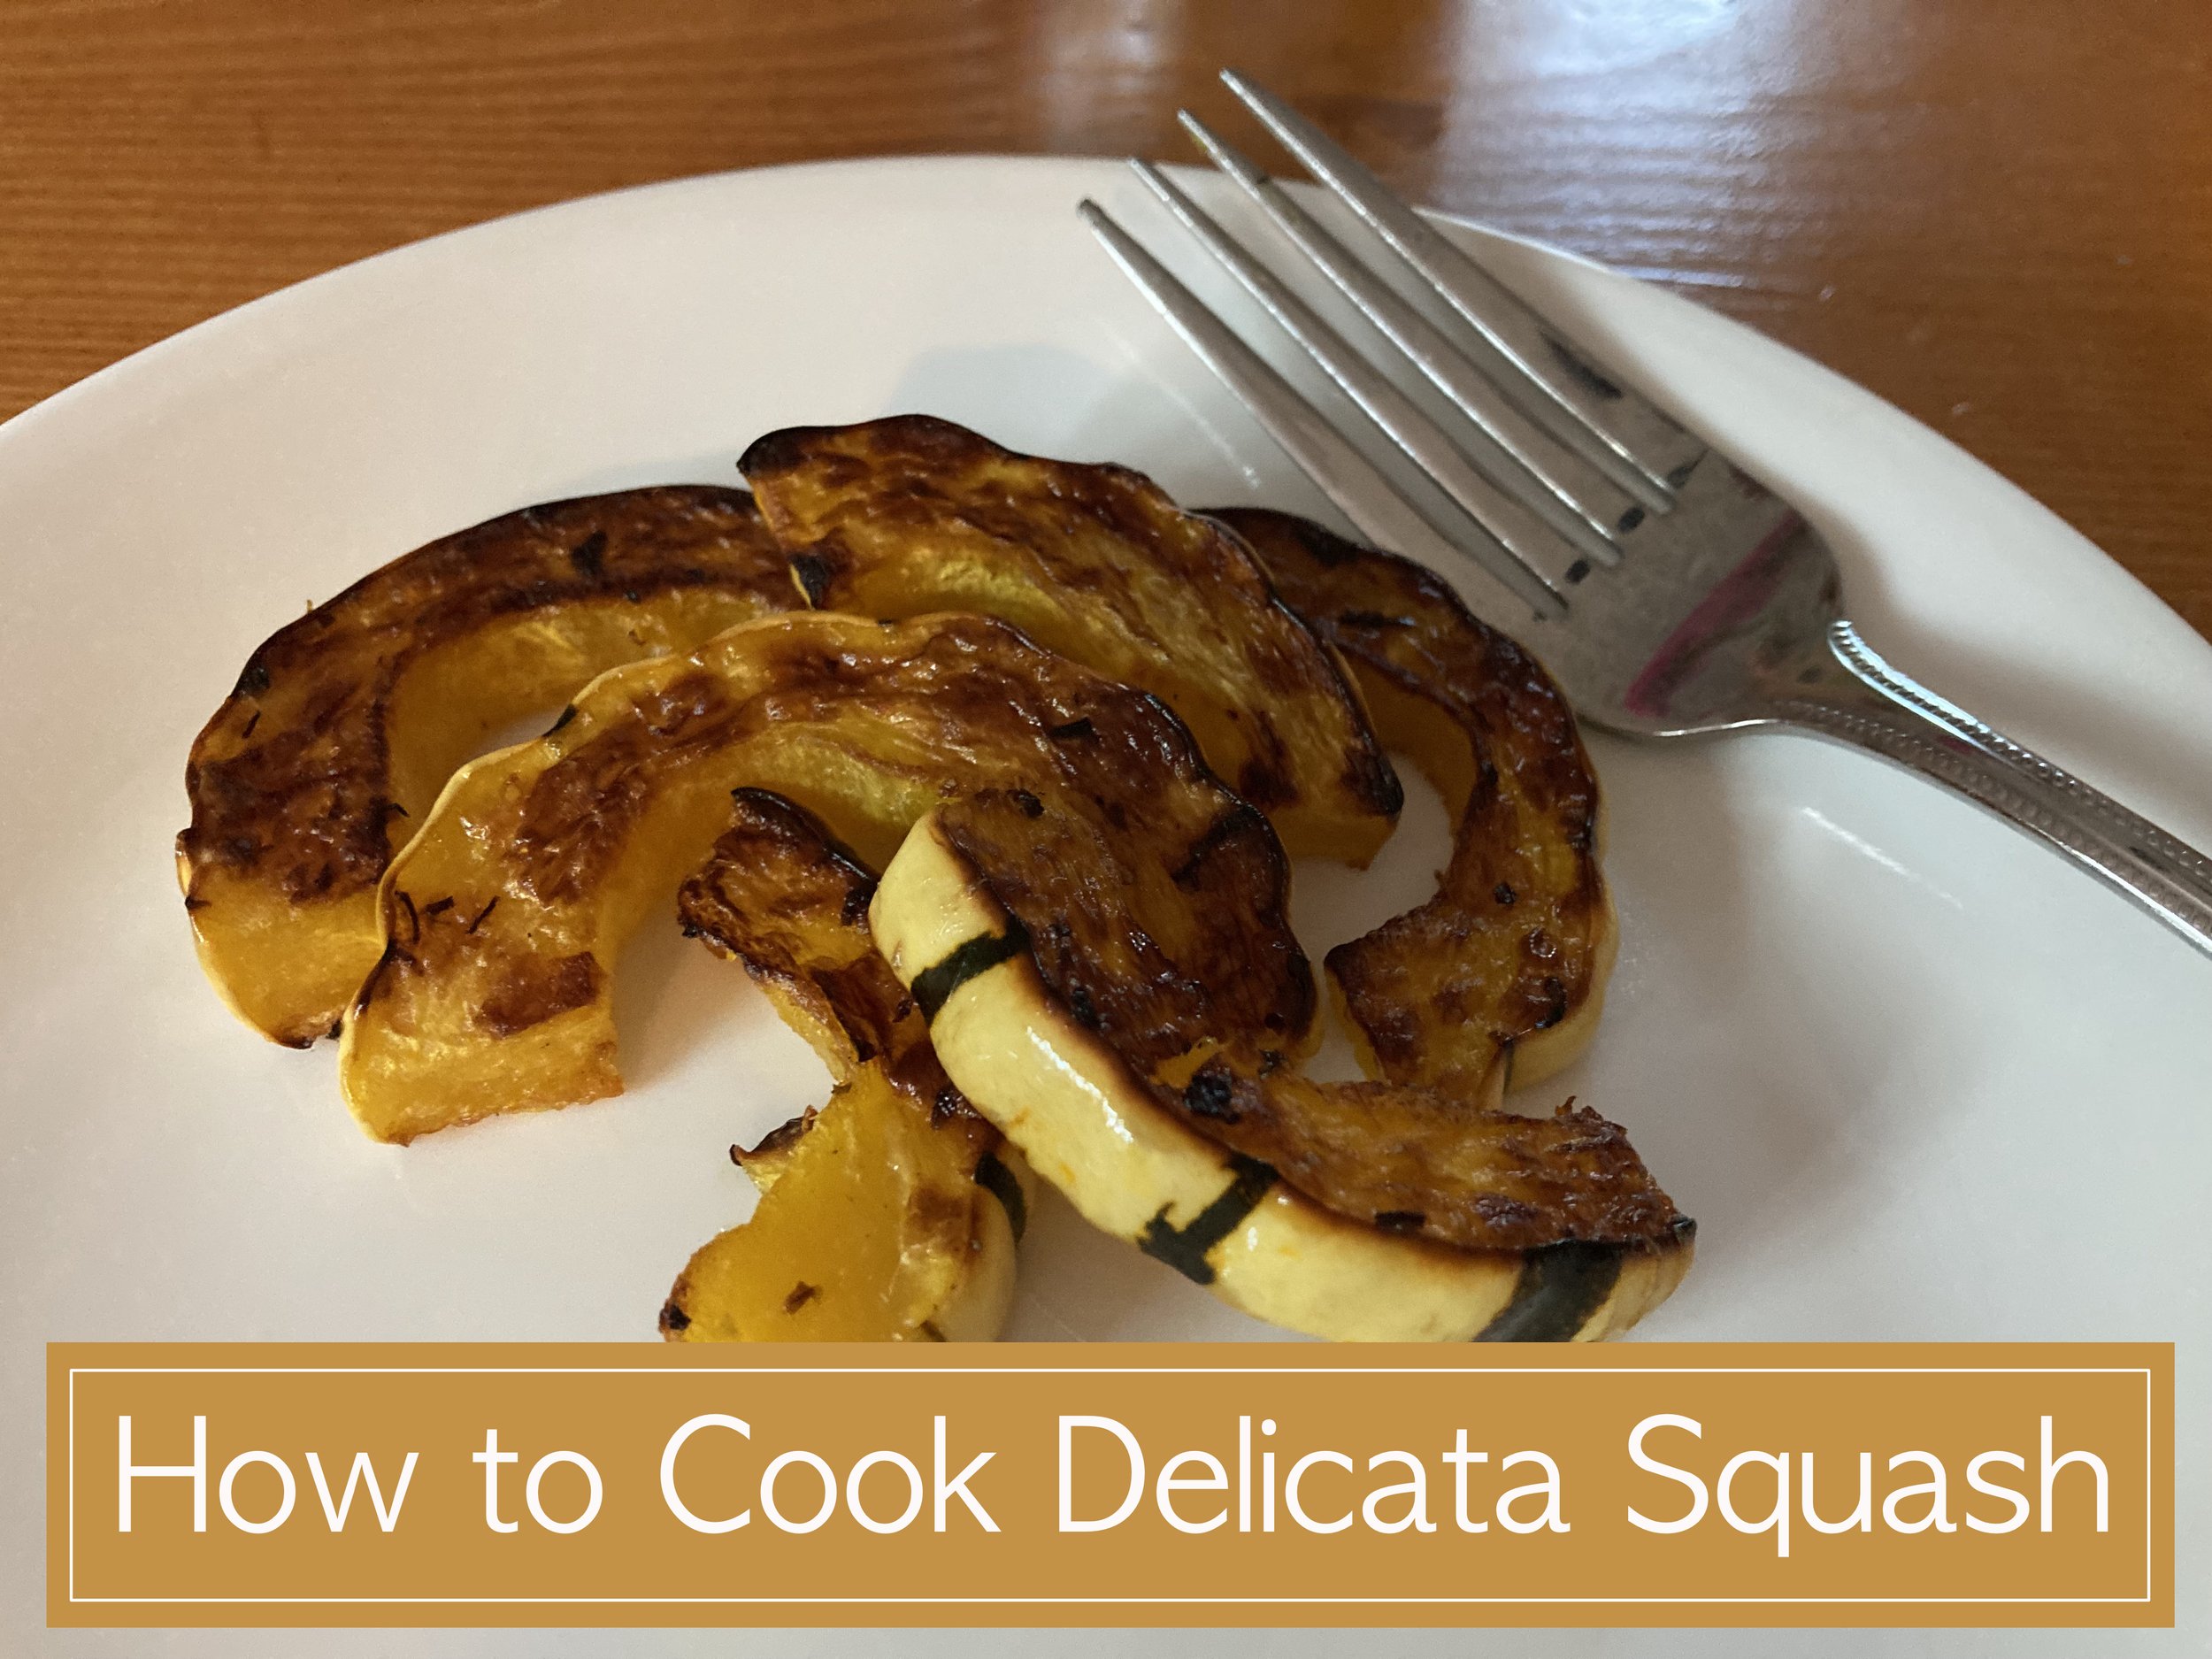
After trying Delicata Squash for the first time it quickly became a favorite - super easy to cook, no peeling (that’s a huge plus!), and a delicious maple-y taste without adding any sweetener. This squash is still an unknown to many people so I thought I would share the easy how-to of roasting them. | This post contains affiliate links |

Ingredients:

  • delicata squash
  • olive oil
  • salt and pepper
  • kale flakes (optional)

How-To:

First make sure to wash and scrub the delicata squash thoroughly since you’ll be roasting and eating the skin as well - you don’t want any gritty dirty from the field left on!

Once it’s clean, chop each end off and cut open the long way. Next scoop out all the seeds and strings with a spoon until it’s nice and clean (like the photo on the right).

Next chop up the squash into whatever size pieces you prefer. We like cutting them into “quarter smiles” about half an inch thick.

Toss with some olive oil to coat and then sprinkle with salt and pepper to taste. We also love sprinkling on dehydrated kale flakes too - it adds a super subtle flavor and a tiny extra veggie boost too. (We add these kale flakes to most of our meals - love them!)

Now that it’s ready to cook, roast at 425 degrees in a preheated oven for approximately 20-30 mins, flipping halfway through. Cook until it’s soft and starts to caramelize and look burnt. Enjoy!

This squash has become a favorite in our house and I’m looking forward to trying to grow some in our garden next year.

KEEP UP WITH BIRCH LANDING HOME
|  Etsy  |  Facebook  |  Instagram  |  Pinterest  |  Bloglovin'  |  Hometalk  |
One Minute Fluffy Egg Sandwich Hack

Now that we’re always eating at home and not going out for breakfast it’s great to have a fast and easy no-mess egg sandwich that you can make quicker than than it would take you to sit in the drive-thru line. This trick will make the perfect fluffy egg sandwich start-to-finish in just about ONE MINUTE. For reals. | This post contains affiliate links. |

One Minute Fluffy Egg Sandwich Hack
One+Minute+Fluffy+Egg+Sandwich+Hack

Really, this “recipe” couldn’t be any easier… the bottom line is you will need an egg, an English muffin (or some type of bread), a microwave-safe coffee mug, and a microwave. That’s it!

You might also want some shredded cheese handy, small diced precooked veggies (leftovers from the night before work great), hot sauce - or any other topping of your choice.

One Minute Fluffy Egg Sandwich Hack

First, crack the egg into your microwave-safe coffee mug and “whisk” with a fork to break up the yolk. Now is also the time to add a generous pinch of shredded cheese (shown here) or a small amount of chopped pre-cooked veggies (leftovers work great). Put the mug in the microwave and cook on high/normal for one minute* (*please note that depending on your microwave model and what you add, you may need to adjust your cook time. Also DO NOT microwave fork.) While the egg is cooking you can toast your bread, if desired.

One Minute Fluffy Egg Sandwich Hack

Once the egg is done make sure it is cooked throughly (it’s opaque with no runny spots and steaming all the way through) by checking with a clean fork and loosen it from the mug. Then simply turn the egg out onto your bread and add any condiments you desire - I personally can’t eat eggs without hot sauce.

And that is it! Once the coffee mug cools, just soak it in the sink to loosen any stuck-on egg and run through the dishwasher like normal. No pans to heat up or clean after which is a huge plus in my book. Enjoy your easy breakfast :)

One Minute Fluffy Egg Sandwich Hack

Disclaimer: Please note that depending on your microwave model and what you add, you may need to adjust your cook time. Make sure your egg is fully cooked before eating.


KEEP UP WITH BIRCH LANDING HOME
|  Etsy  |  Facebook  |  Instagram  |  Pinterest  |  Bloglovin'  |  Hometalk  |
My Recipe for "Quarantine Chili"

Yesterday I decided to make what I’m going to call “Quarantine Chili.” Now what is the recipe for Quarantine Chili you might ask? Well pretty much you take whatever fresh veggies or meat you have in your fridge that you worry may go to waste soon and throw them into a big crock pot of chili before they go bad. Waste not, want not!

My Recipe for "Quarantine Chili"

Now for my chili I started with my typical chili “base”:

  • 2 cans of tomato sauce

  • 1 can of red beans (rinsed and drained)

  • 1 can of garbanzo beans (rinsed and drained)

  • 1 can of lentils (rinsed and drained)

  • 2 tablespoons chili powder

  • 1-2 teaspoons of jarred garlic

  • 1 teaspoon of turmeric

  • 1 teaspoon of Italian seasoning

To that I then added all the things I wanted to use up - this will vary depending on what you have in your fridge:

  • 1 lb of cooked ground lamb (lamb is definitely an unusual choice for chili. I had originally planned to make lamb stuffed peppers with it, but by using it in chili I am able to stretch it farther and get more meals out of it… And surprisingly lamb in chili is just fine! I was worried it would taste weird but it’s still great)

  • a lot of carrots (we had a bag of carrots that have been in the fridge for awhile and were close to being done. I wanted to use them up and not go to waste so I added them to the chili… it was definitely heavy on the carrots but I’m glad we used them up)

  • handfuls of spinach (we have a big container of spinach that will be getting wet and smelly soon… better use some of it up!)

  • green pepper (the ones I was originally going to make the stuffed lamb peppers with)

  • a large onion (that one has been hanging out on the counter for awhile…)

Then combine all ingredients in a large Crock Pot and put on high for several hours until it’s cooked through and ready. We’ll be eating this for dinner for two nights and then I will portion out and freeze the rest to eat later.

Definitely be aware of what you’re using - you don’t want to use any ingredients are actually spoiling (very bad idea!) - but by using up what good ingredients you have by making a healthy, hearty chili you will not let your precious groceries go to waste and will make something nutritious to feed your family during this time.

Stay healthy friends!

My Recipe for "Quarantine Chili"


KEEP UP WITH BIRCH LANDING HOME
|  Etsy  |  Facebook  |  Instagram  |  Pinterest  |  Bloglovin'  |  Hometalk  |