Delicious Food Delivered New England Advent Calendar
You all know by now that I LOVE showcasing small businesses on my blog, so a small business that features many local small businesses is just right up my alley! Delicious Food Delivered was kind enough to send me their New England Advent Calendar to try and I’m so excited to share about this company with you all. | This post contains affiliate links and a review of a gifted product, though all opinions expressed are my own |
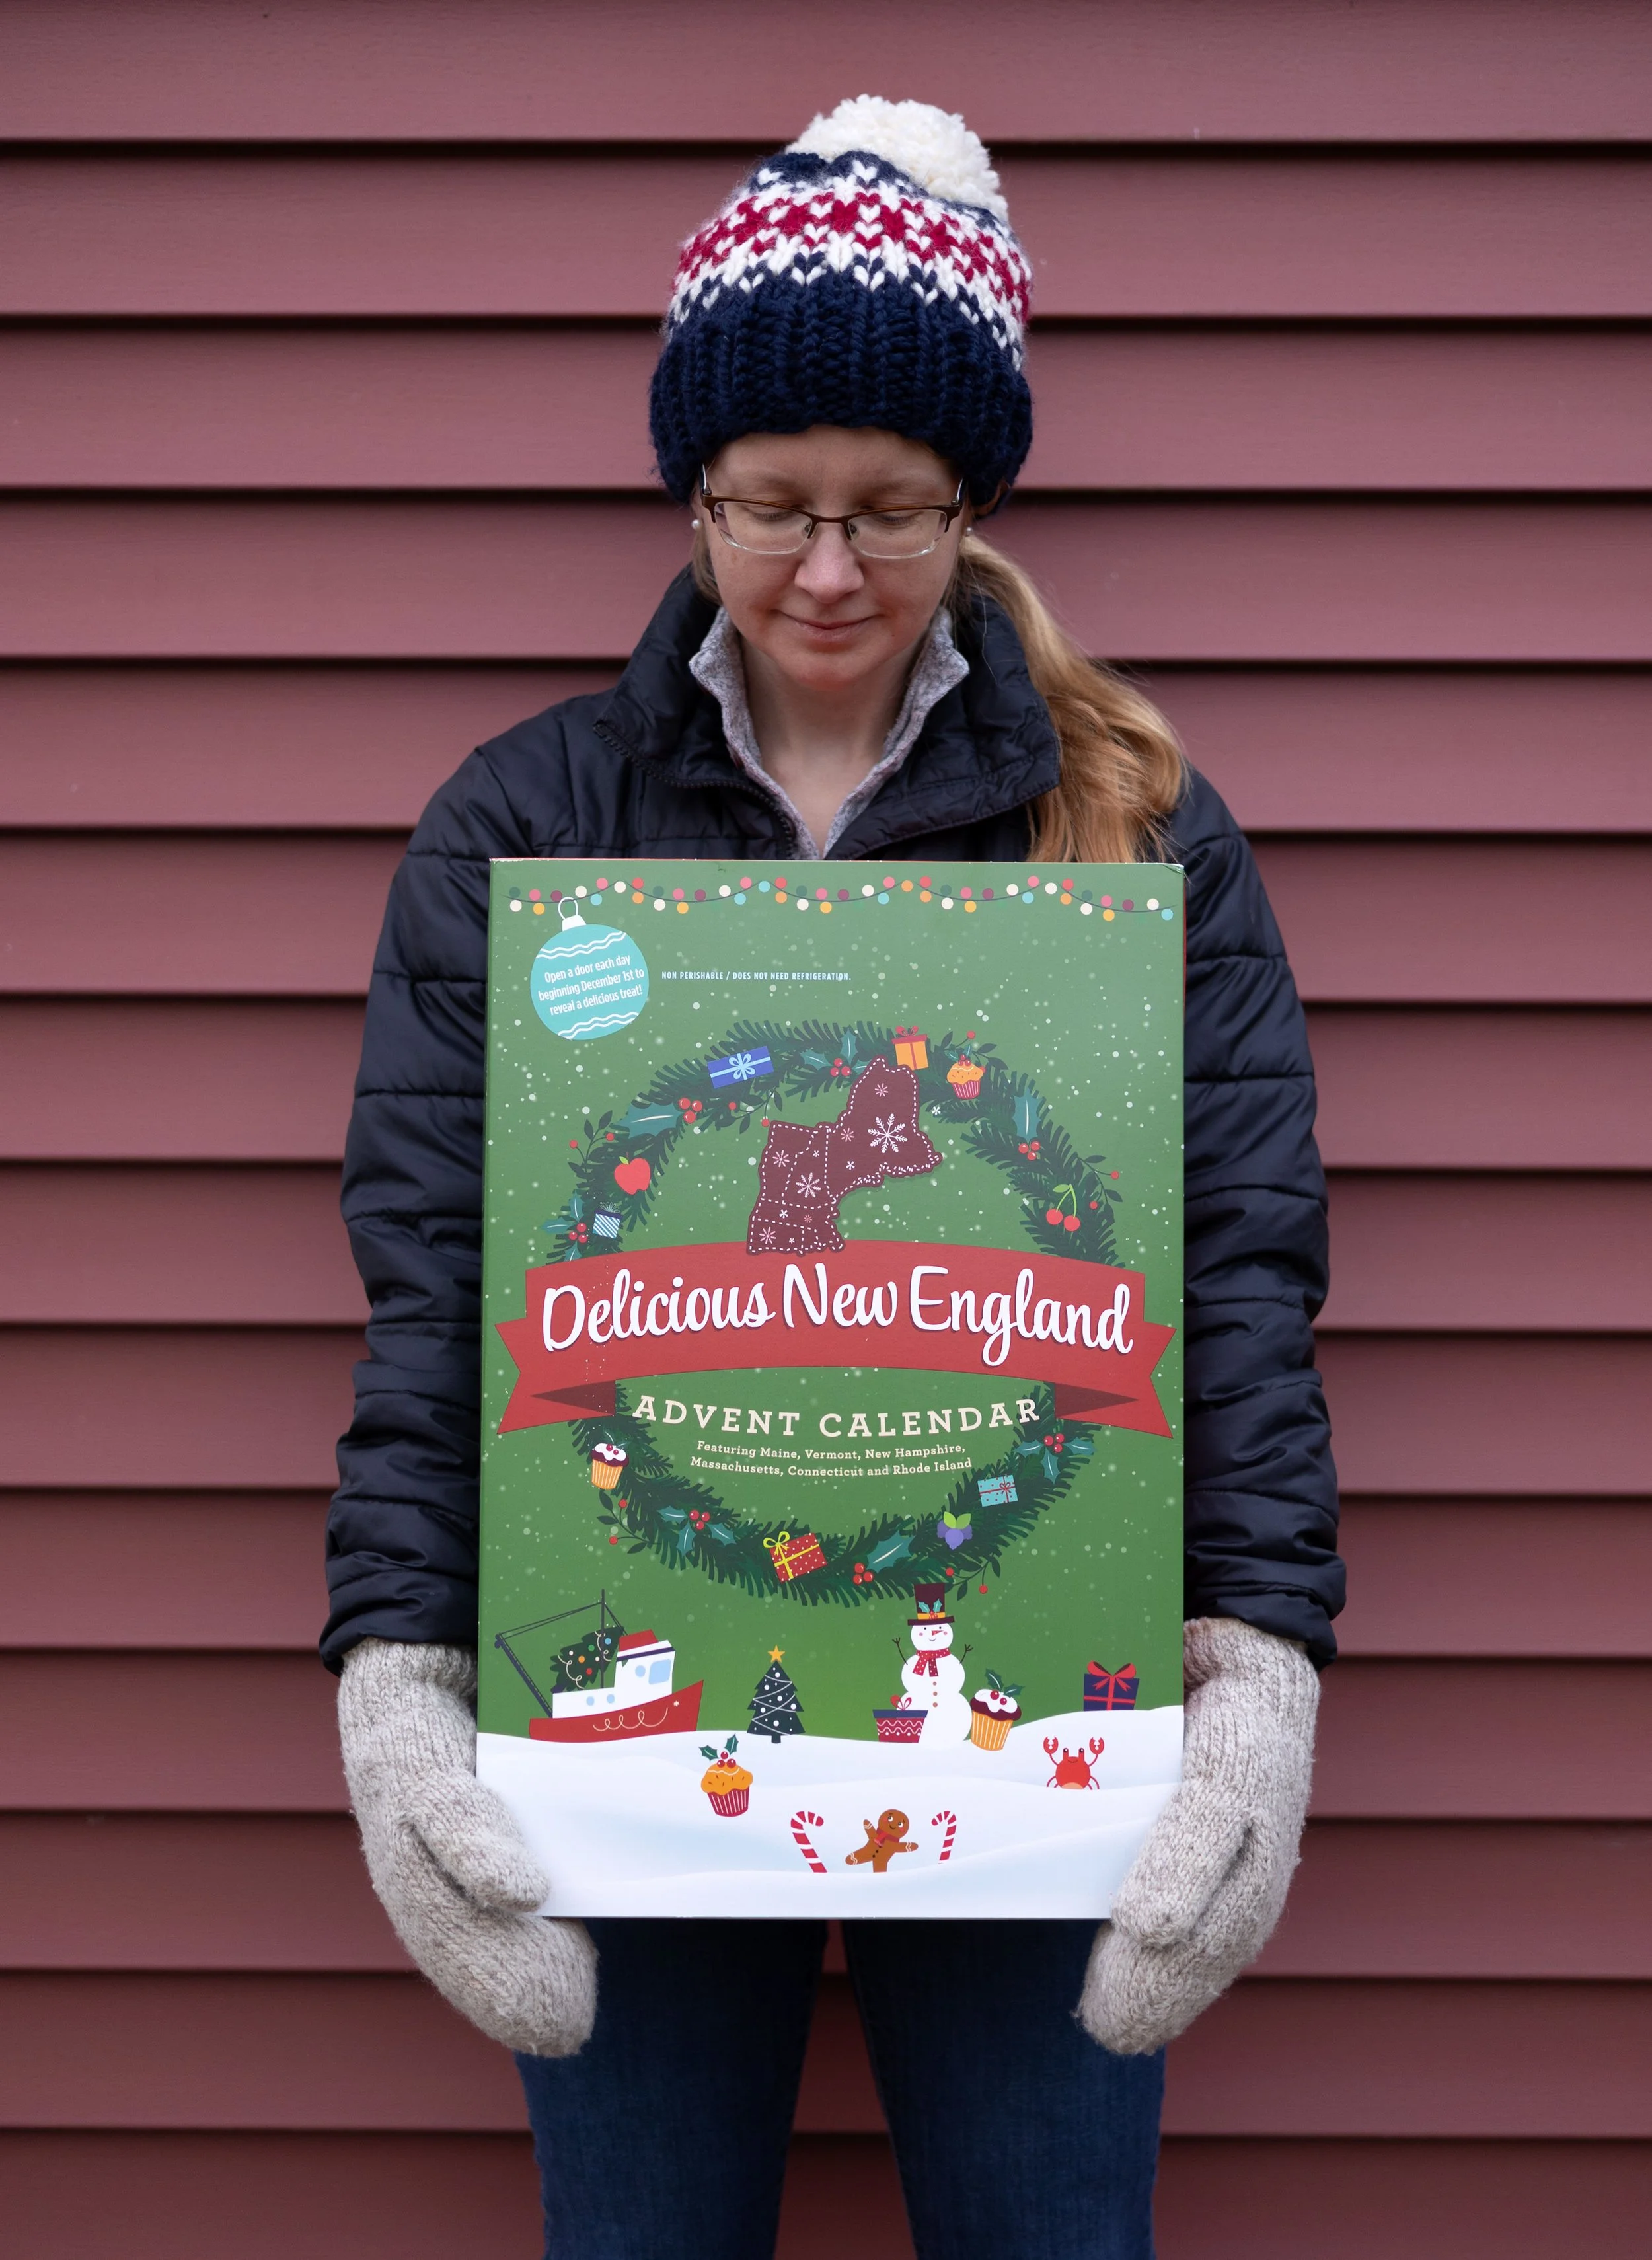
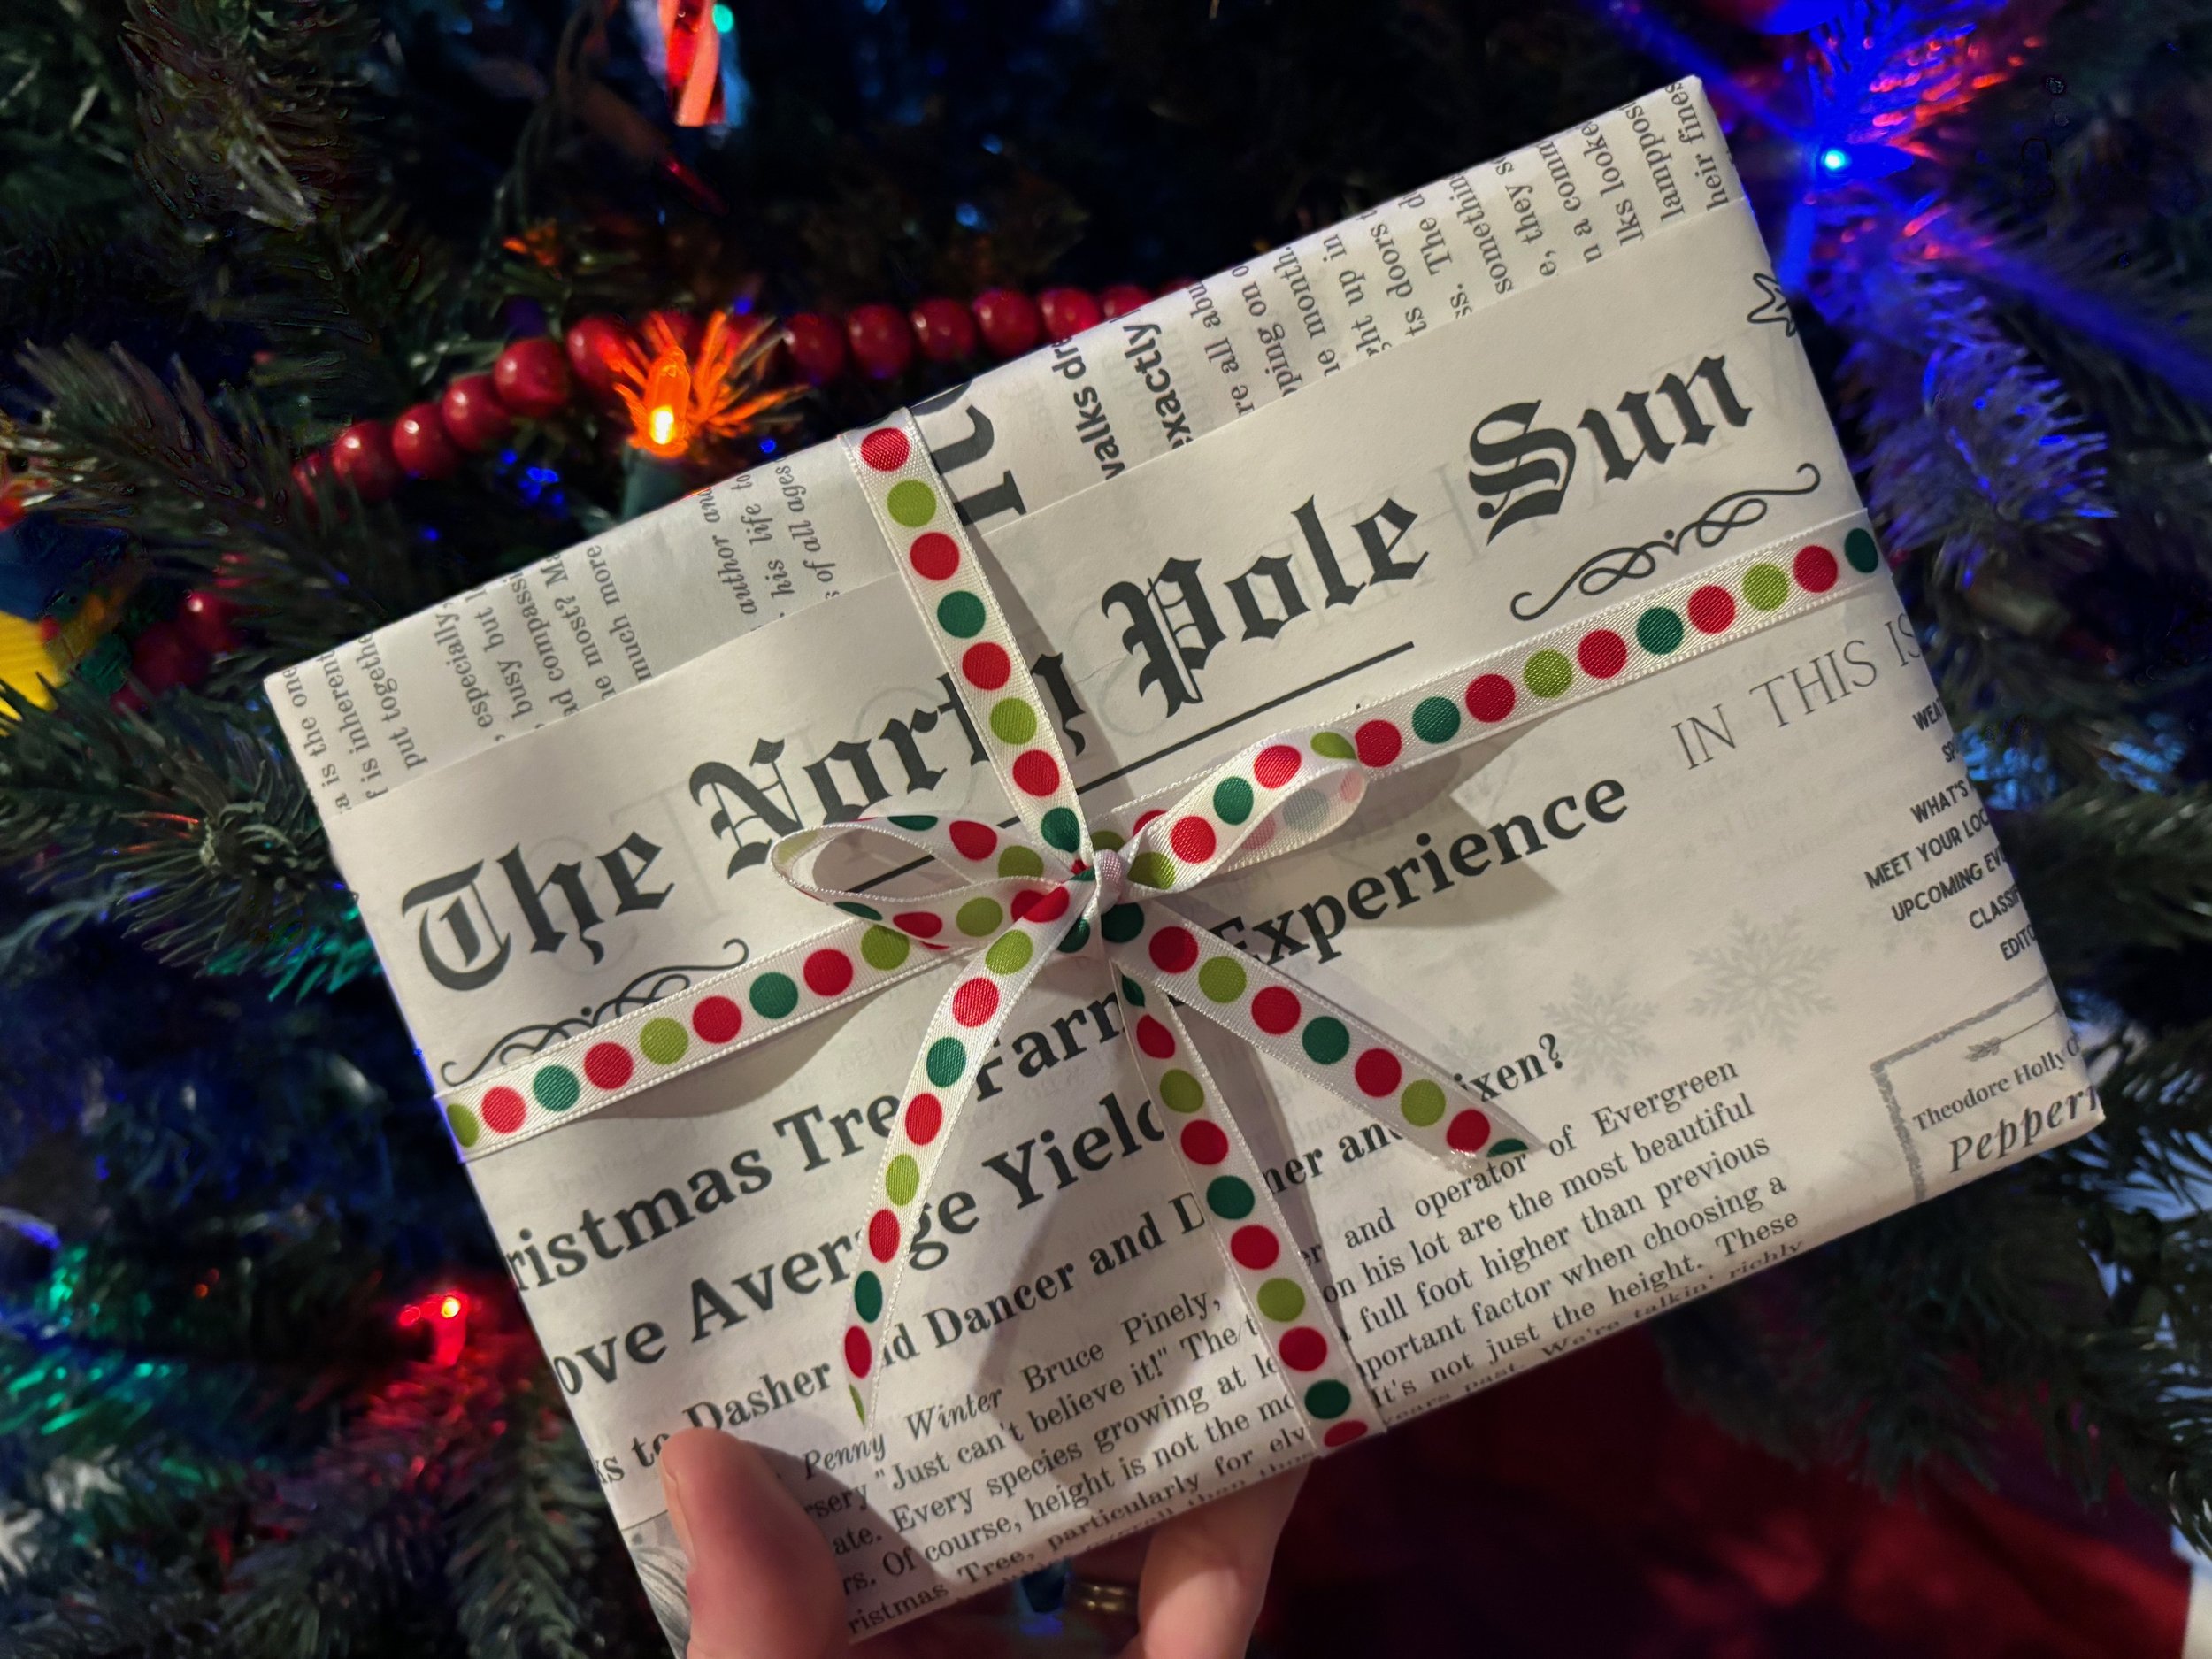
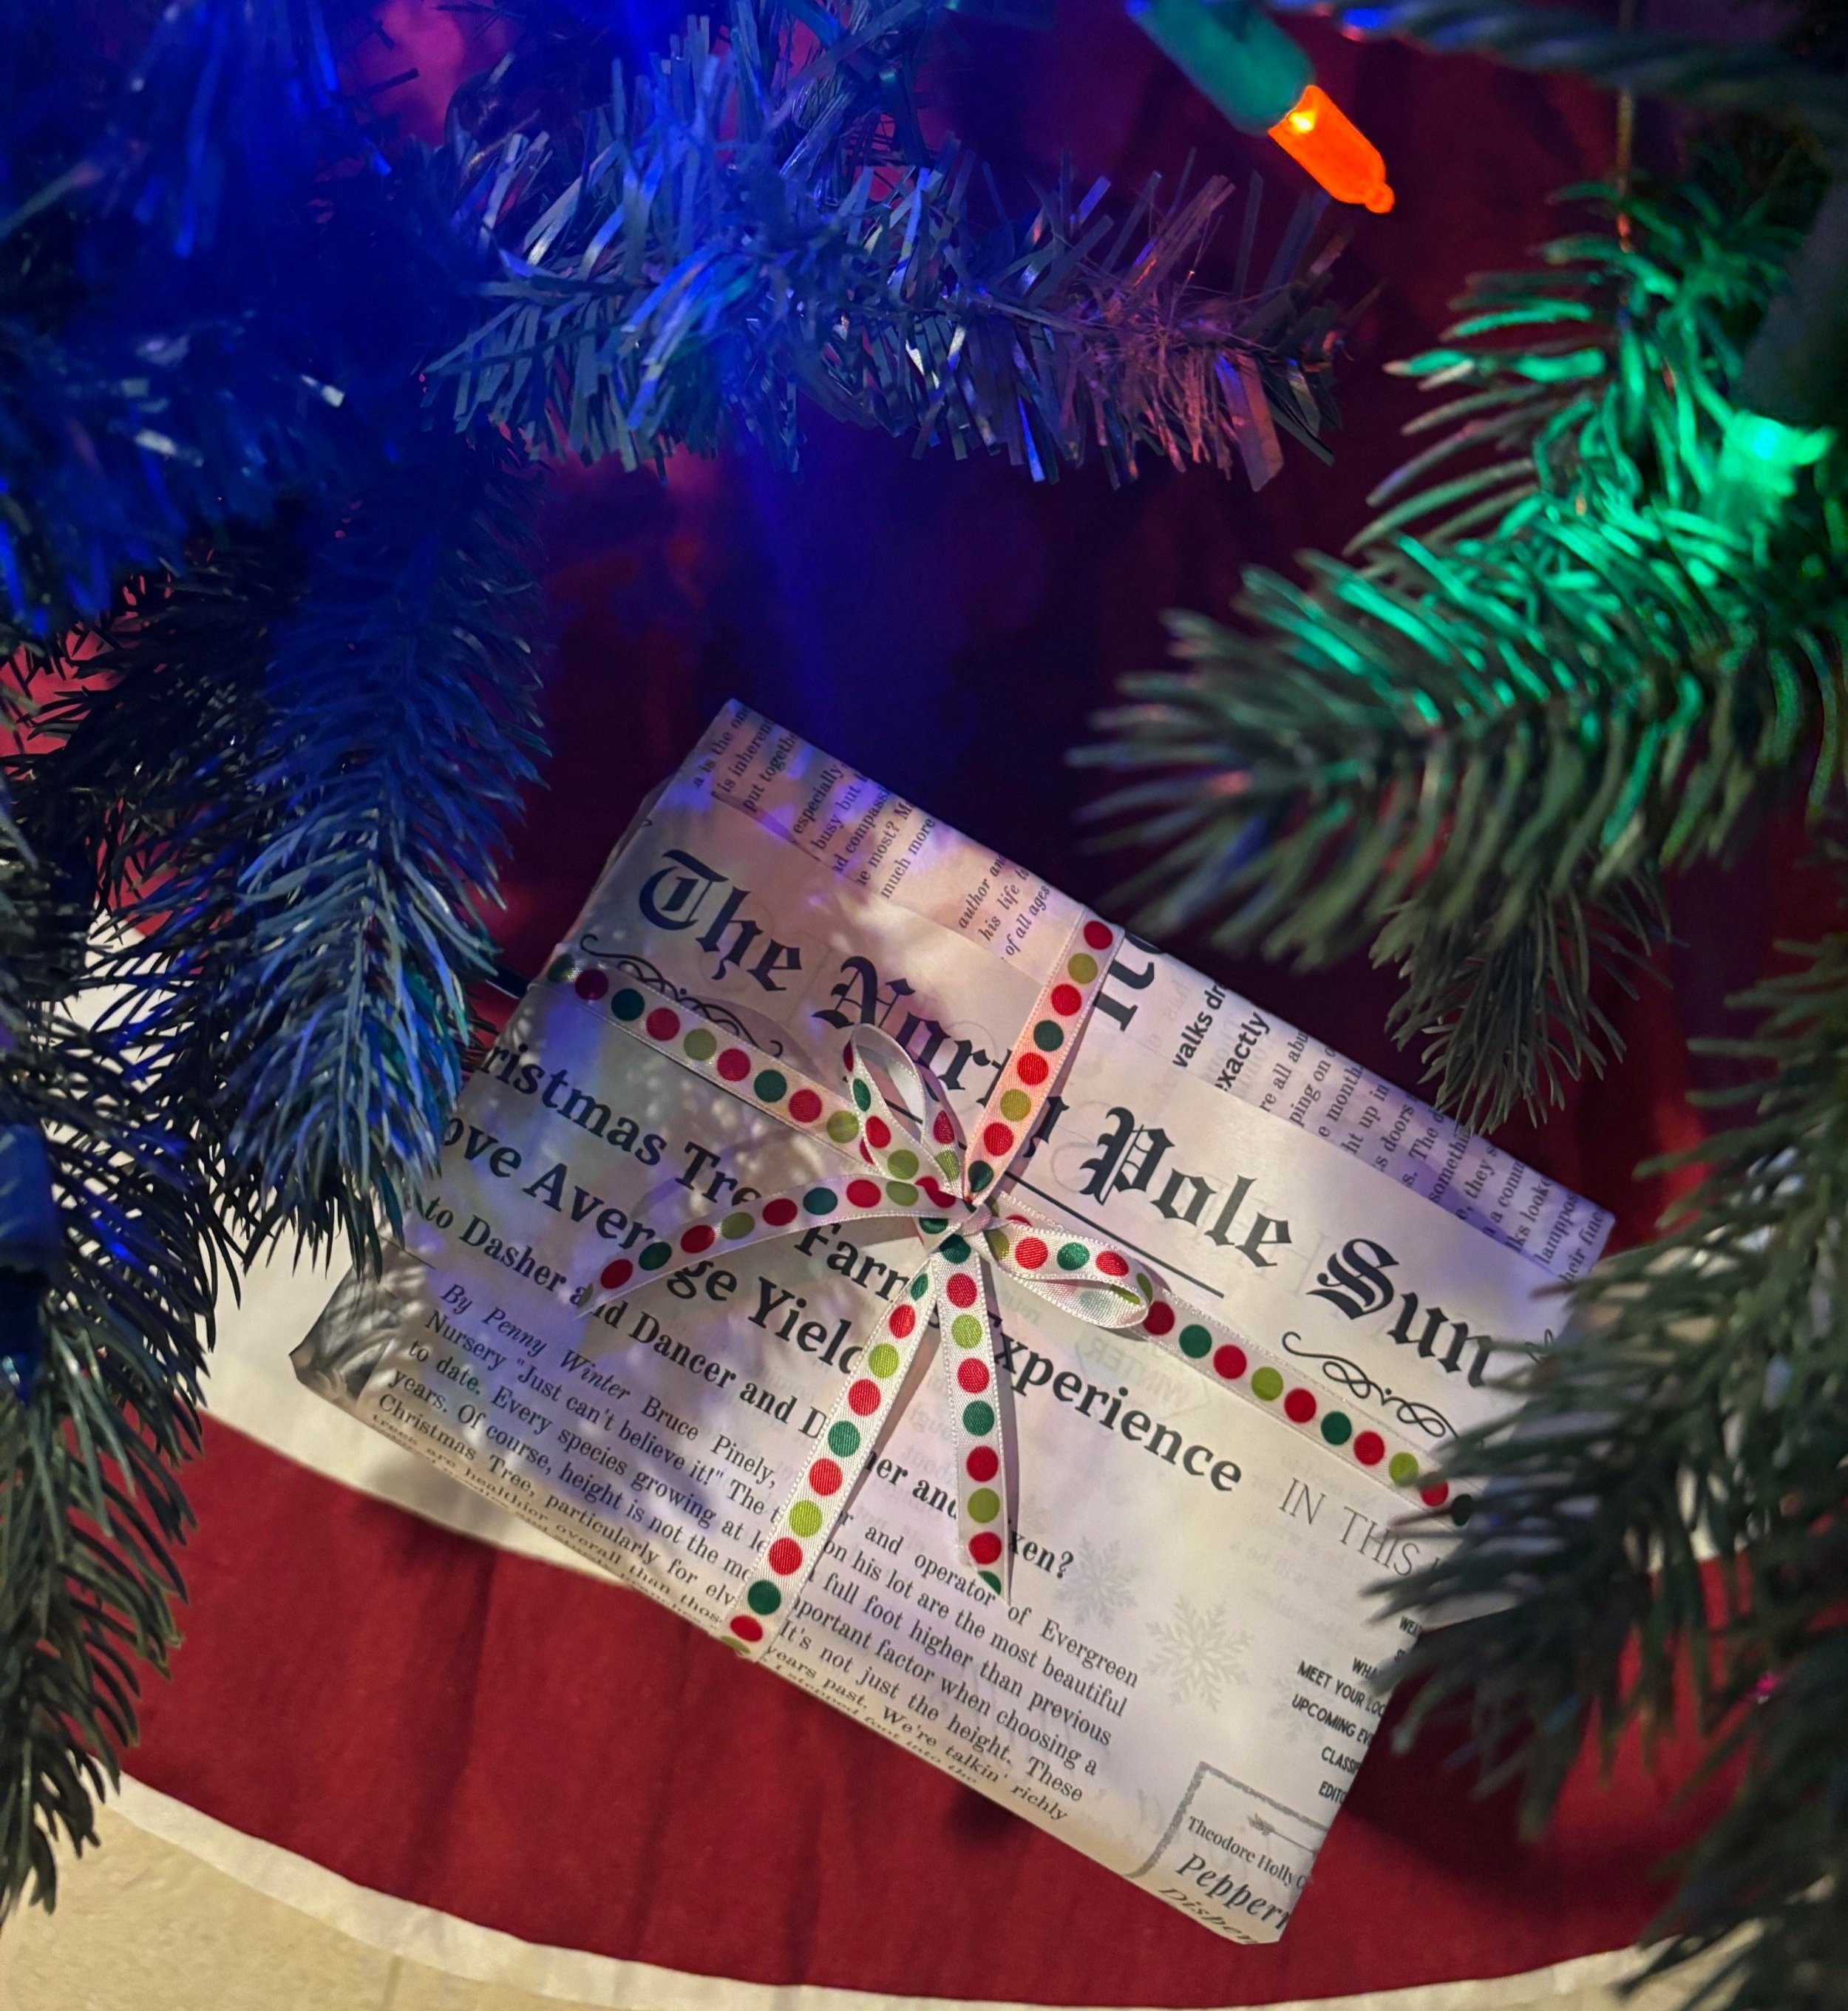
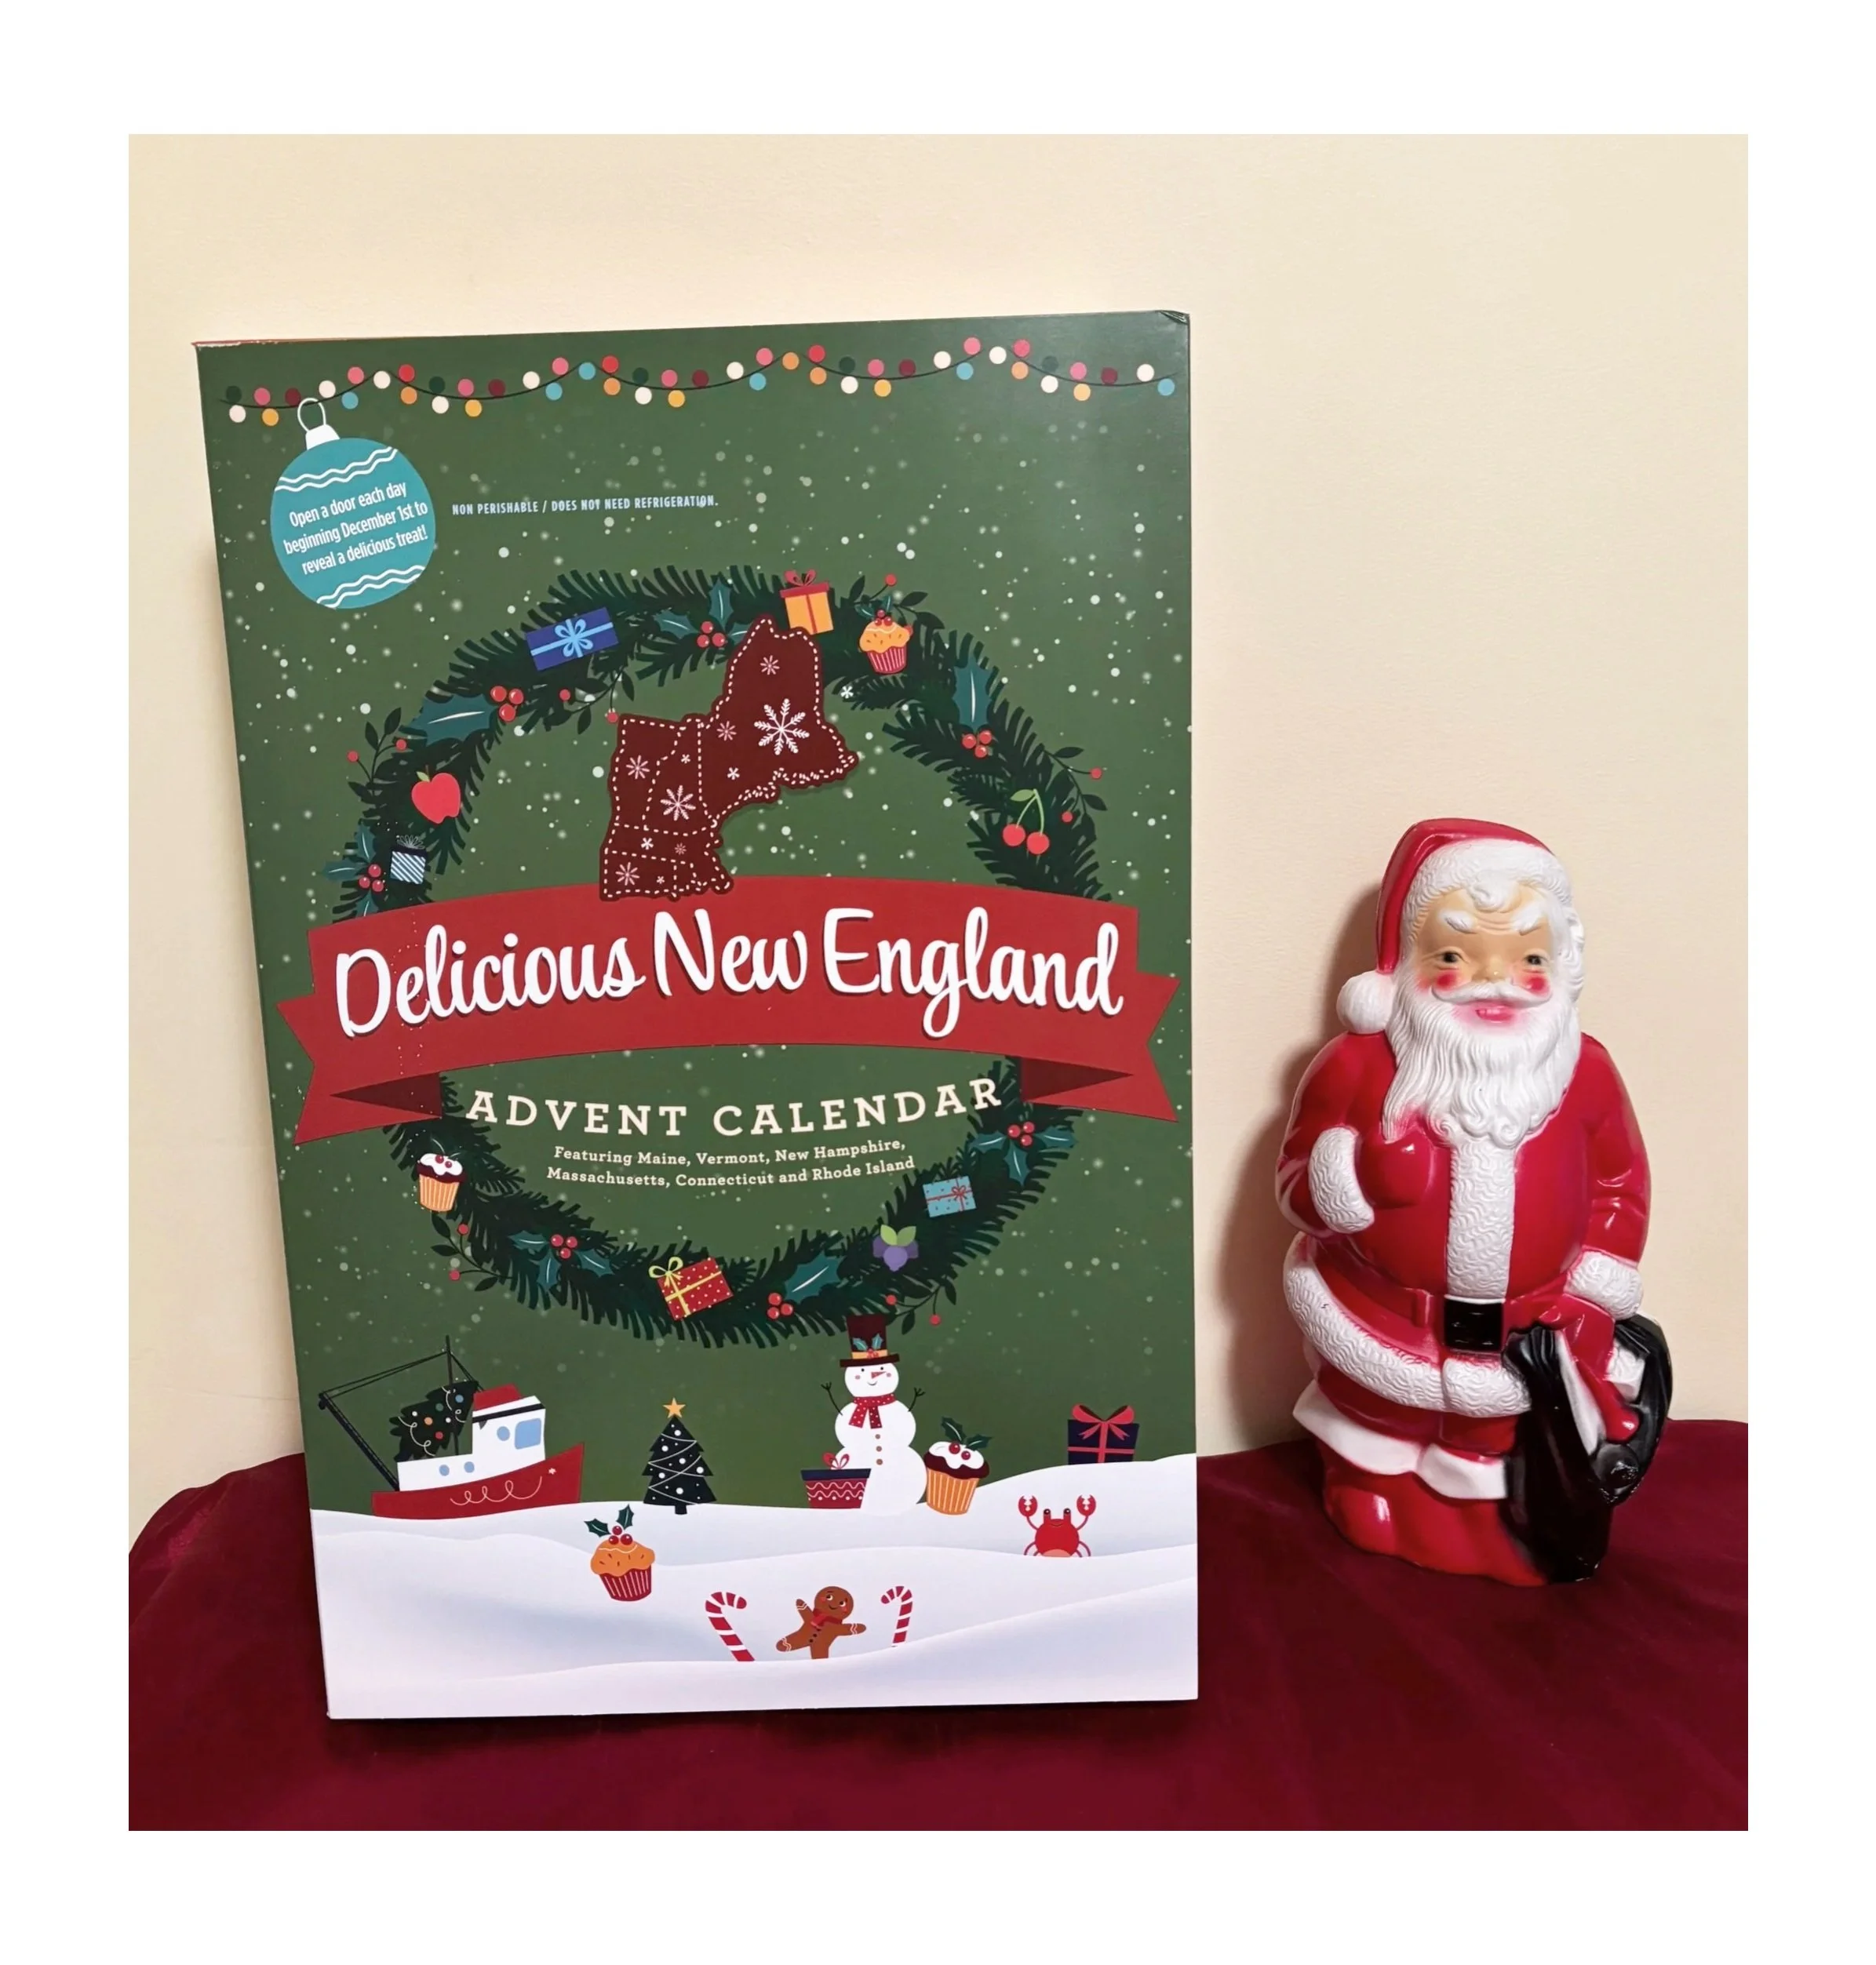
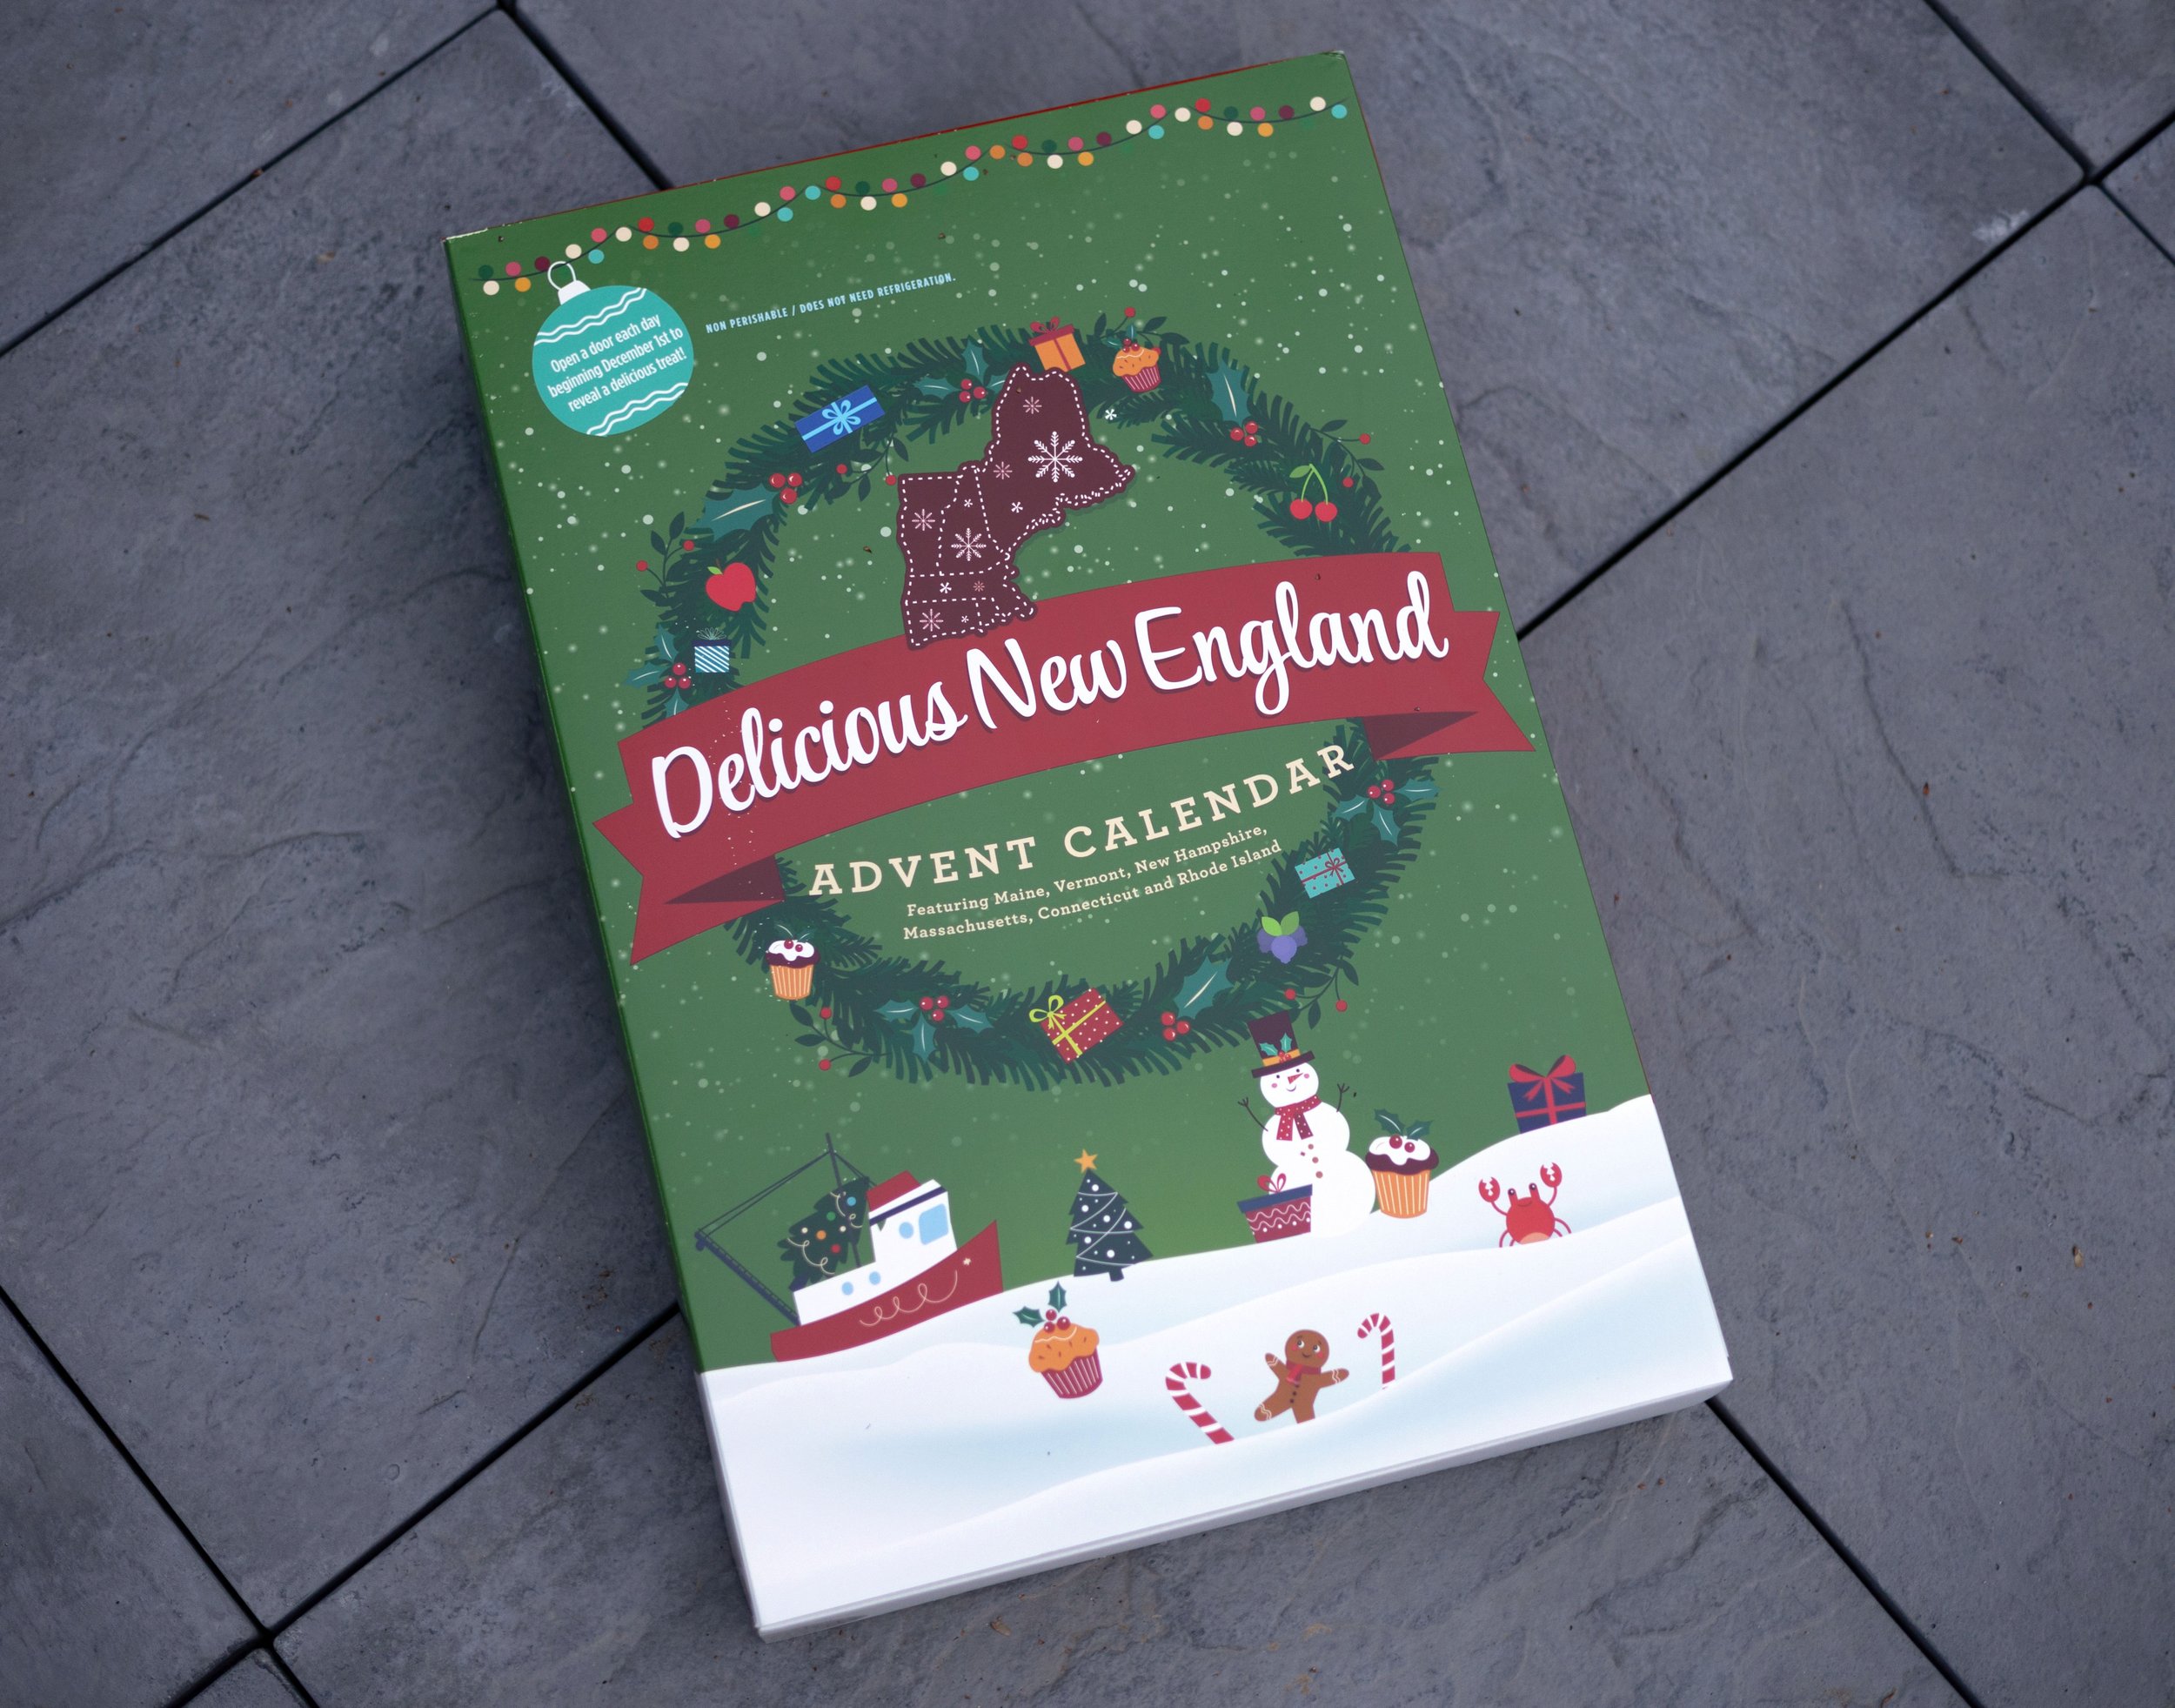
Delicious Food Delivered is a small business that offers carefully curated advent calendars for 42 states and 5 regions of the United States. They even have fun themed boxes like Route 66! They were kind enough to send me their New England Advent Calendar and the first thing that grabbed my attention when I received it was how HUGE it was - seriously, it is SO BIG.
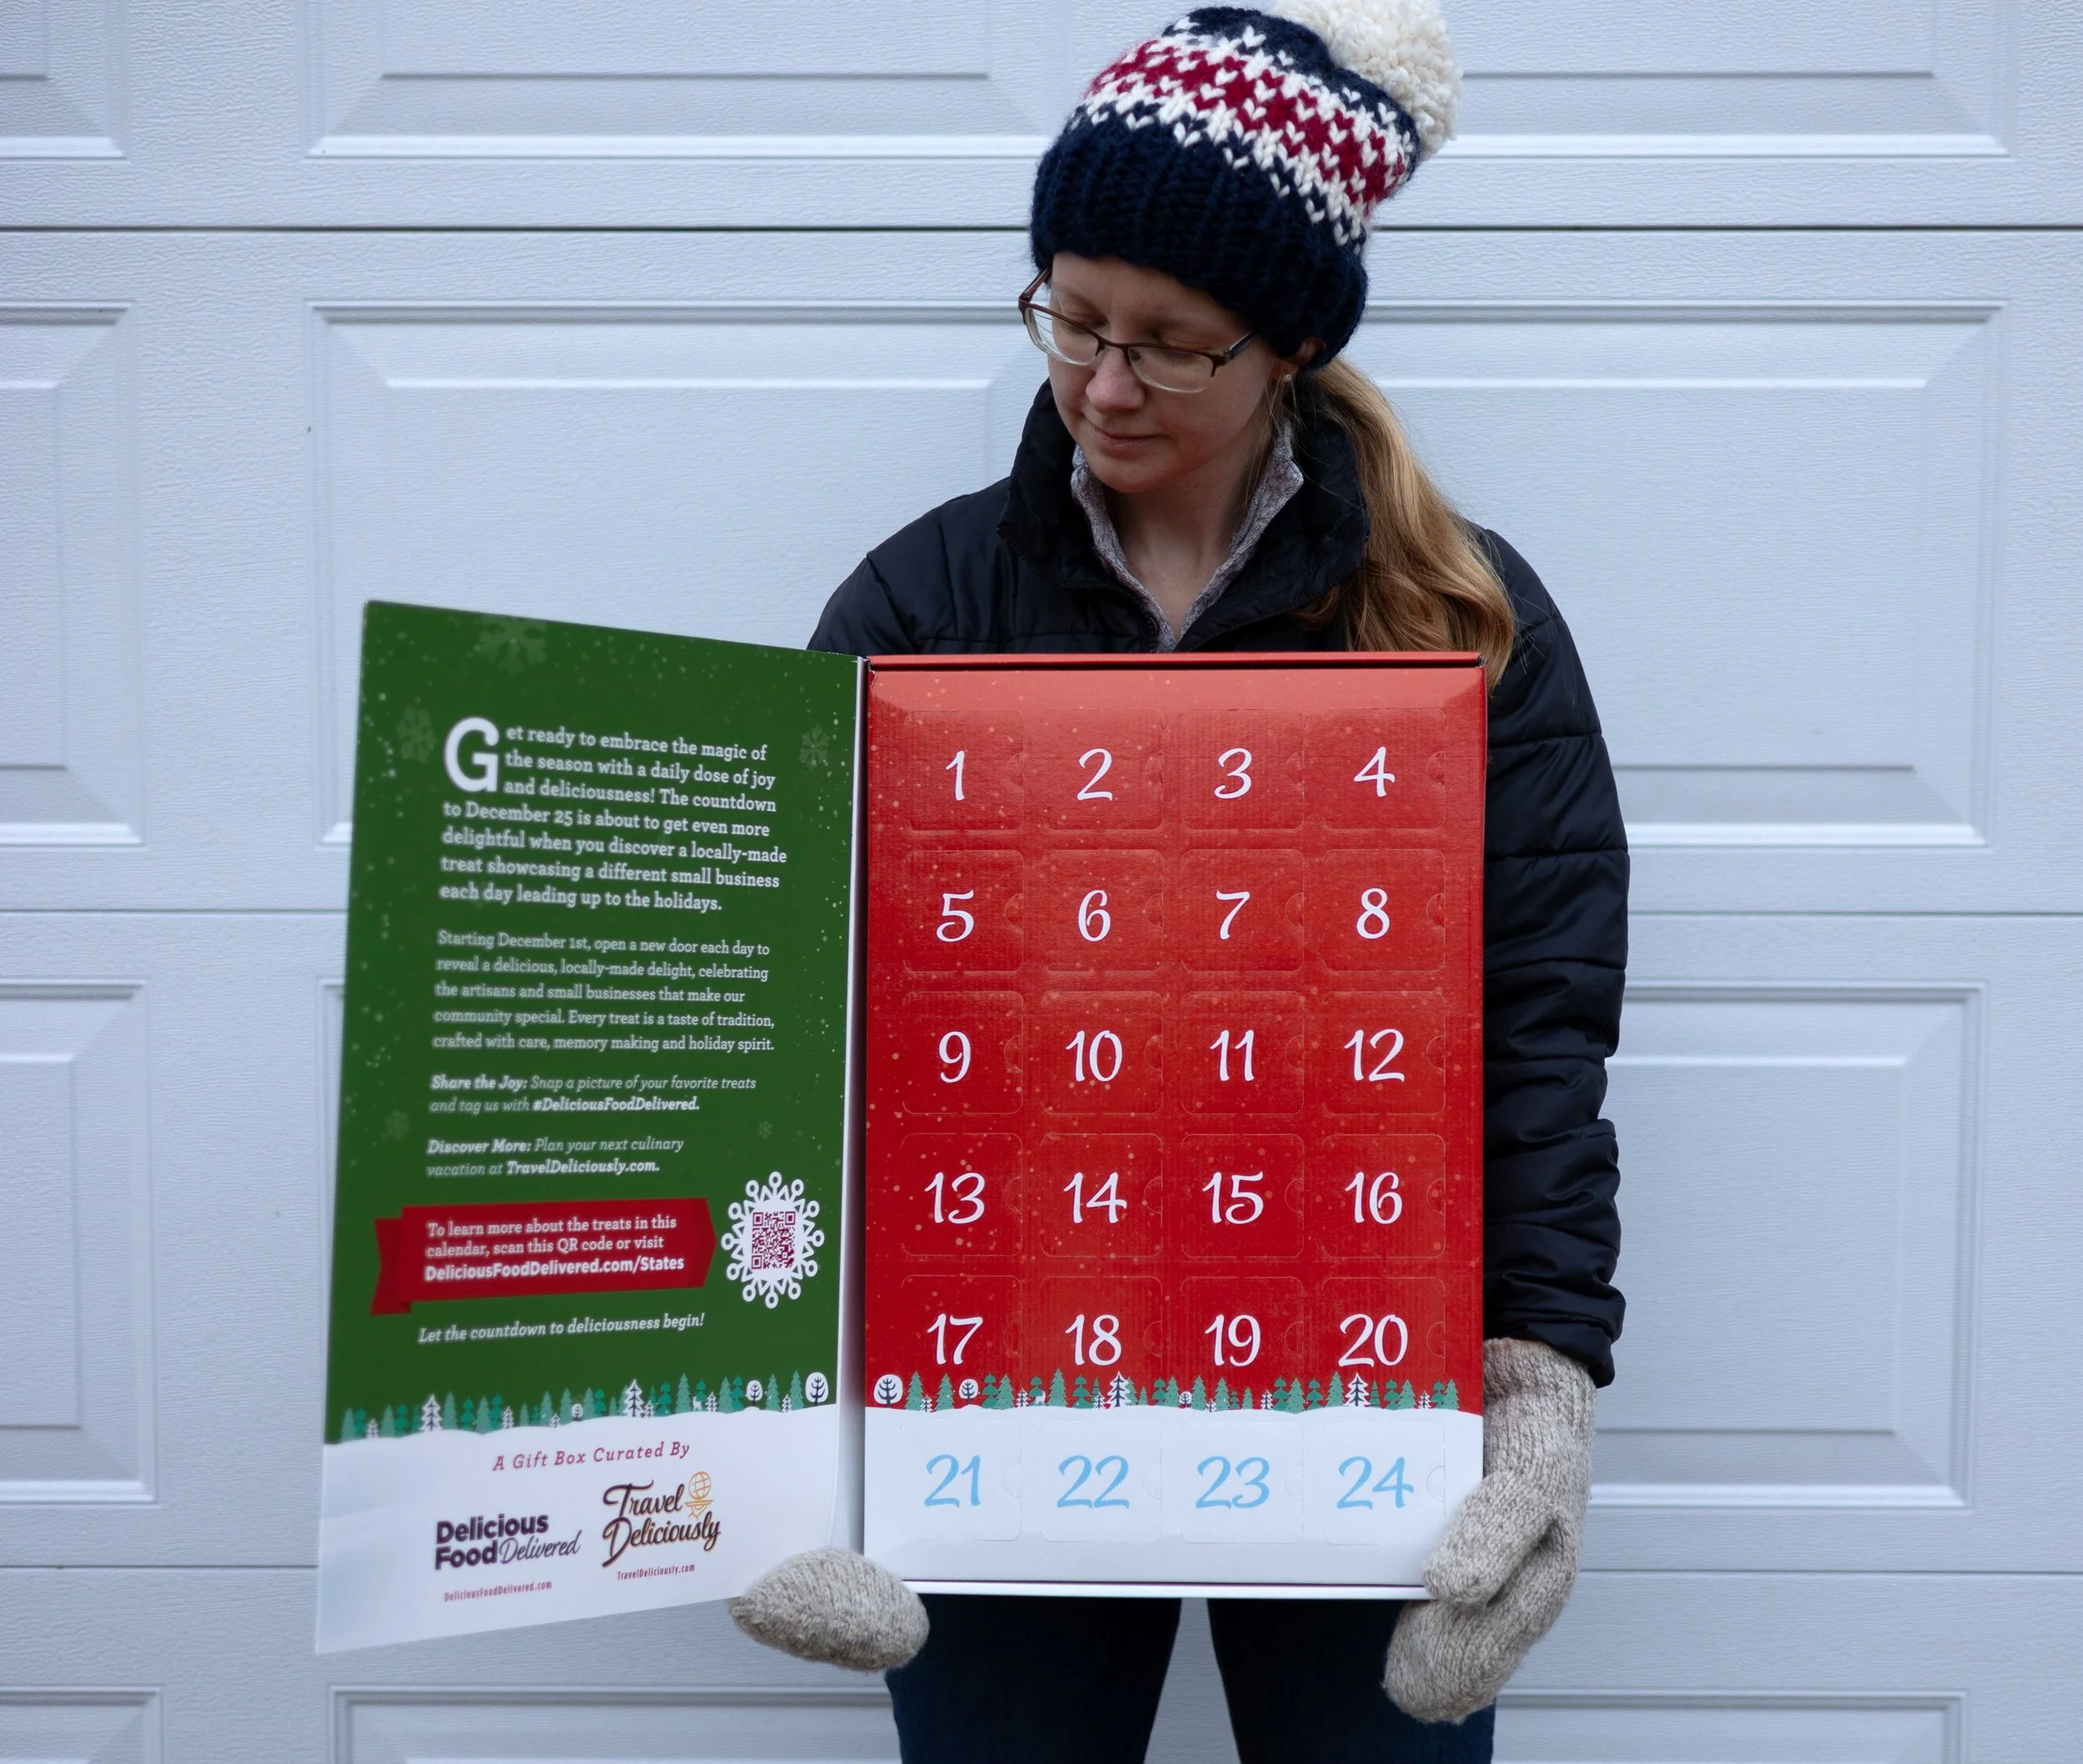
Each little numbered door for the New England Advent Calendar contains a carefully chosen treat from the New England area. I am so excited to open this with my family each night and see what local treat we get to enjoy! And I am especially looking forward to discovering new-to-us small businesses and trying what they have to offer.
These advent calendars would be the perfect gift for any family or hard-to-buy for person. It would also be a great gift for a kid away at college or a friend that moved out of the area - you could give them one for where they’re from, or one for where they are now so they can learn more about their new location!

Delicious Food Delivered Advent Calendars are amazing and sell out quick every year - most varieties sell out by the first week in November so if you‘d like to get one don’t delay. (And if the one you had your eye on is already sold out this year make sure to put a reminder on your calendar for next year to buy early!)
Want to see what’s inside the New England Advent Calendar? You’re in luck - I’ll be opening mine early (wooo!) every night on my Stories on Instagram. Just follow @birchlandinghome to get a sneak peak of all the amazing things included in this year’s calendar!
Don't forget to check out Delicious Food Delivered to see all the incredible Advent Calendars they have to offer!
| Delicious Food Delivered Website | Instagram | Facebook |
I received this item for review from Delicious Food Delivered but all opinions expressed are my own. This post contains affiliate links. Please see our full Disclosure Policy for more information.
KEEP UP WITH BIRCH LANDING HOME
| Etsy | Facebook | Instagram | Pinterest | Bloglovin' | Hometalk |