Art Cart Solution for Kids' Craft Supplies

Our kids love arts and crafts, and at this age, they particularly love coloring and coloring books - however, the art supplies were totally taking over the house. In order to contain the chaos, I decided an “Art Cart” would be the perfect storage and organizational solution. | This post contains affiliate links |

Art Cart Organization

I picked up this cart at Target, but I've linked a very similar one here from Amazon. We decided to stash the coloring books on the bottom shelf, then the tins full of stickers and art kits on the second shelf, and finally the top shelf was reserved for our Art Supply Caddy full of crayons, colored pencils, stencils, etc.

Art Cart Caddy Organization

For the Art Supply Caddy, I used an inexpensive plastic caddy and made custom vinyl labels with my Cricut so that everything has a place.

Art Cart Storage Solution

Finally to store everything, the Art Cart tucks neatly into our pantry where it’s easily accessible but still out of the way. The kids can go in and help themselves to craft supplies whenever they like, and when we want to do a big project the whole thing can wheel out for even easier access. This storage hack has been a game changer in our home and I hope it does the same for you too :)

KEEP UP WITH BIRCH LANDING HOME
|  Etsy  |  Facebook  |  Instagram  |  Pinterest  |  Bloglovin'  |  Hometalk  |

Make Sure You're Visible on Halloween

It’s so important that kids and chaperones can be seen by motorists to help avoid any accidents, so to remind everyone of this basic Halloween safety tip - make sure you can be seen and seen well while out Trick-or-Treating. | This post contains affiliate links |

Add Reflective Strips to Trick-Or-Treating Pails

Some Ways to Increase Visibility While Trick-or-Treating:

  • Carry a Flashlight. Make sure everyone in your group has a flashlight so that everyone can see where they're going and others can see you better too. (It's also a good idea to remind your kids not to shine them in others eyes as you come across other trick-or-treaters.)
  • LED Bracelets/Wearables. These bright, colorful, often flashing lights can really help you be seen at night - and kids think they're really fun.
  • Glow Sticks. Glow Sticks and glow jewelry can be useful to help be seen at night, and kids generally love them and will wear them without a fight.
  • Reflective Stickers/Patches. We put reflective stickers on our Halloween buckets (pictured above) to help make them more noticable at night. It's hard to capture it on camera, but these stickers reflect really well in low-light conditions and are super durable, even on fabrics. (For what it's worth, we put these on everything year-round - helmets, bikes, backpacks, hiking gear, coats, etc. We love them!)
  • Stay Together. Having everyone in your party stay together in a group is a great way to increase visibility. When kids scatter and dart around it can be very disorientating for drivers and hard to see where everyone is. Make sure your group stays together and walks on the sidewalks or off the shoulder of the road. Also make eye contact with stopped drivers before you cross the road to ensure that they do see you.

For specific ideas about what’s recommended in your area for safe Trick-or-Treating, contact your local public safety or Police department for more ideas. Stay safe and Happy Halloween!

KEEP UP WITH BIRCH LANDING HOME
|  Etsy  |  Facebook  |  Instagram  |  Pinterest  |  Bloglovin'  |  Hometalk  |

Why We Skipped the Infant Car Seat

Picking a car seat for the baby you’ll soon be bringing home is such a stressful choice - so many options and opinions out there! Ultimately do your homework and pick the car seat that you feel is safe, fits your lifestyle, and fits correctly in your car. For us, we decided to skip the Infant Car Seat completely (don’t worry, we still used an appropriate car seat, I’ll explain) and I’ll tell you why we did… | This post contains affiliate links |

Why We Skipped the Infant Car Seat

When my sister had her first baby I remember helping her carry the baby in her Infant Car Seat when she was about one or two months old and thinking (excuse my language) “this sucks!” It was exhausting, and extremely awkward to carry the weight of the baby and carseat (probably around 25 lbs total) by a handle away from your body, trying not to let it bump into your legs or anything else around you. Depending on the model of infant car seat you buy the seat itself can weigh 11-20 pounds, then you add the weight of the baby which will be an average of 6-9 pounds at birth and quickly get heavier as time goes on. That’s a lot of weight to awkwardly haul around.

However, my sister-in-law had decided to skip the infant car seat all together for her kids, and opted for a Convertible Car Seat from day one. I thought this was genius and we decided to do the same. A true Convertible Car Seat is one that’s good from birth through a particular weight limit, typically fairly high. For us the seat we chose was good for 4-65lbs, which meant that it would be rear-facing and perfect for bringing home the baby from the hospital and could grow with us and eventually convert to a forward-facing carseat up to the 65lb weight limit (which will take them into elementary school-age most likely) - and some Convertible Car Seats even go up to a 120lb limit!

By going with a Convertible Car Seat from day one, we only had to purchase one car seat instead of two, as most babies will outgrow their Infant Car Seat well before the age of one. Rather than buying a car seat that would only get used for several months, we invested in one that would grow with our baby and our needs. This saved us money in the long-run, and was less wasteful on the environment.

Since the Convertible Car Seats stay in the car (they don’t disconnect from a base and get carried around like an infant seat), I chose to wear our baby whenever we got to our destination with a Soft Structured Baby Carrier. I found this to be far more convenient and easier than lugging around an Infant Car Seat. Wearing your baby is also great for bonding, can help keep them healthier (they’re closer to you and less likely to be touched by strangers), and so much better ergonomically for your back and body than carrying an infant seat.

But what about waking up the baby, people ask? Yes, you tend to rouse the baby a little when you take them out of their car seat. But they reality is, it’s not recommended for them to sleep in their car seats for any signifiant amount of time as it can supposedly increase their risk of SIDS. Anyways in our experience with our two kids, they often woke up when we turned off the car, before I even tried to take them out of their carseat. And if they are tired enough, you should (hopefully) have no trouble getting them to go to sleep in their crib once you get home.

*Disclaimer: I am not a car seat expert, and my opinion should not be taken as fact. I am simply sharing our opinions on why we preferred a Convertible Car Seat over an Infant Car Seat. Before making your carseat decision, do your homework and discuss your options and concerns with your pediatrician and car seat experts like Car Seats for Littles.*

KEEP UP WITH BIRCH LANDING HOME
|  Etsy  |  Facebook  |  Instagram  |  Pinterest  |  Bloglovin'  |  Hometalk  |

DIY Potting Bench - Based on Plans by Ana White

I’ve been wanting a potting bench for a while now - something by the back door to display some decor, use as an outdoor work station, and double as a place for UPS to leave packages. After looking around online and at local stores, I couldn’t find anything that I liked that fit the narrow space - so I did what any #woodworkingmom would do, I decided to build it myself. | This post is not sponsored but does contain affiliate links |

DIY Potting Bench - Based on Plans by Ana White

{ Note: The plans I worked from were from Ana White and can be found HERE }

I came across these Ana White plans for a Simple Potting Bench on Pinterest and thought it was perfect! It was exactly the simple, rugged style I was looking for and easy to tailor to our space too. Most of the wood needed were 2x4’s, which are sturdy and cheap - and thankfully between our garage and my father-in-law’s garage we had all the wood scraps I needed to piece together this project. Since I used leftover wood we already had, this project cost me nothing which was pretty amazing!

Since I only used what wood we had on hand, I had to make do - some of the wood was pressure-treated, some was not, some had knot holes or gashes, and not all of it was “true” (straight). But that was fine by me as this was to be a rustic piece for outside.

DIY Potting Bench - Based on Plans by Ana White

Before I started building, I followed Ana White’s “cut list,” cutting and making piles of all the wood in the dimensions I would need to build the project. I carefully chose the lumber for each section to minimize how the knot holes, gashes, or crooked pieces would be seen in the final piece. For our potting bench I made it 4 inches narrower so it would fit against the small wall next to our back door and because of this I had to adjust my cut list and refigure some of the overall dimensions.

DIY Potting Bench - Based on Plans by Ana White

The next step was constructing the shelves individually - attaching the outer planks first, checking for square, then spacing out the middle planks and attaching them. To build this whole project I used an Impact Driver, which made the entire project go much quicker and easier.

DIY Potting Bench - Based on Plans by Ana White

To attach the legs, I laid the project on it’s side and carefully measured the distances between the legs as well as up the legs before attaching the shelves to makes sure everything would be as level and as square as possible.

DIY Potting Bench - Based on Plans by Ana White

Finally to make the project look more “finished” I added some wood scraps to the sides of the project to conceal the butt ends of the shelves and make it look a little more polished.

Shop my Amazon Favorites
DIY Potting Bench - Based on Plans by Ana White

I also decided to add some 1x3”s to the front of the shelves to make it look a little more polished from the front as well. (I did not counter-sink these screws, but I should have as they were more noticeable than I was expecting in the finished piece.)

DIY Potting Bench - Based on Plans by Ana White

Then came time for painting - I chose to paint the whole potting bench in several coats of my favorite Valspar Stainblocking Bonding Primer/Sealer. This stuff has great coverage and really covers and seals well. My one regret was not giving all the wood pieces a single coat of paint before assembling - as once everything was assembled it was a huge pain to get in all the nooks and crannies.

DIY Potting Bench - Based on Plans by Ana White

Finally I finished the project by adding a few little hooks underneath the shelf (very similar hooks linked here), from which I can hang tools or decor. I’m really happy with how this came out and how quickly it came together. I can’t wait to decorate it with some plants come next spring!

PS - I’m thinking this potting bench would also be great for parties and BBQ’s! It would be perfect on a patio or deck as a makeshift buffet table.

DIY Potting Bench - Based on Plans by Ana White

UPDATE: Spring, 2020

Just wanted to give a quick update after I made the potting bench last Fall: Over winter we decided to store it in our shed, just so we wouldn’t have to snow blow and shovel around it all winter, but as soon as the threat of snow passed in early Spring we brought it right back out. It’s been wonderful to have for planting and working on outside this spring, and due to the current Pandemic situation we’re getting more packages than ever so it’s great to have a designated spot for deliveries (and right in view of our security camera too).

DIY Potting Bench - Based on Plans by Ana White

For decor right now I'm keeping it very simple, especially since the potting bench is utilized daily for mail - there's just a garden rock, a metal barn star (hung from a special hook that doesn't damage vinyl siding), and a small potted lavender plant with an American flag - all items we already had around our house.

Summer, 2020 - sharing another little decor update for the potting bench:

DIY Potting Bench - Based on Plans by Ana White

I found this weathered piece of wood in our scrap bin and thought it would make a cute sign for the potting bench. I used my Cricut Machine to design and cut a stencil that said "Fresh Cut Flowers 5¢" and used it to paint the sign. I think it looks cute and it's a great finishing touch!


Check out our Similar Posts:

KEEP UP WITH BIRCH LANDING HOME
|  Etsy  |  Facebook  |  Instagram  |  Pinterest  |  Bloglovin'  |  Hometalk  |

Why My Blog Will Never Make a Lot of Money (and why I'm okay with it)

First off, no disrespect to my fellow bloggers and blogger friends. Blogging professionally is HARD and so much work - maintaining a following, meeting deadlines, constantly creating and promoting content, and so much more. So many people work tirelessly on their blogs every single day in order to grow it and provide income for their families - and I absolutely applaud that. However, there are a lot of common aspects of blogging that I am personally not okay with… and while it holds me back from making this blog lucrative, I’m more than okay with it - and here’s why…

Why My Blog with Never Make Money (and why I'm okay with it)

I Don’t Overshare

Most blogs with a dedicated following tend to share everything about their daily lives - what they’re wearing that day, what they did, what they ate, what silly thing their kids did, what personal roadblock they’re encountering, etc. And I like my personal life, well - personal. I won’t be constantly on Instastories narrating my life, sharing all the details throughout my day. And I confess, some of my favorite blogs to follow do just that - I’m guilty of enjoying their stories and living their life vicariously through them. It’s interesting and fun and a great way to get an engaged following - but I could never do that myself. I personally find it too intrusive and creepy to have so many people know so much about our personal life.

I Won’t Sell Out My Kids

Promoting kid and baby items/gear is a huge market in the blogging industry. So many brands seek out bloggers with kids and growing families and hire them to help promote their products. In turn, bloggers share tons of photos of their children wearing or using the products, along with personal stories to make it more interesting. For example, a blogger may choose to take a sponsored post about a potty seat. In doing so, she may choose to share photos and stories of her kids potty training… now can you imagine being that child and having that digital footprint/history when they grow up? It would come back to haunt him in high school or if he ever ran for Congress.
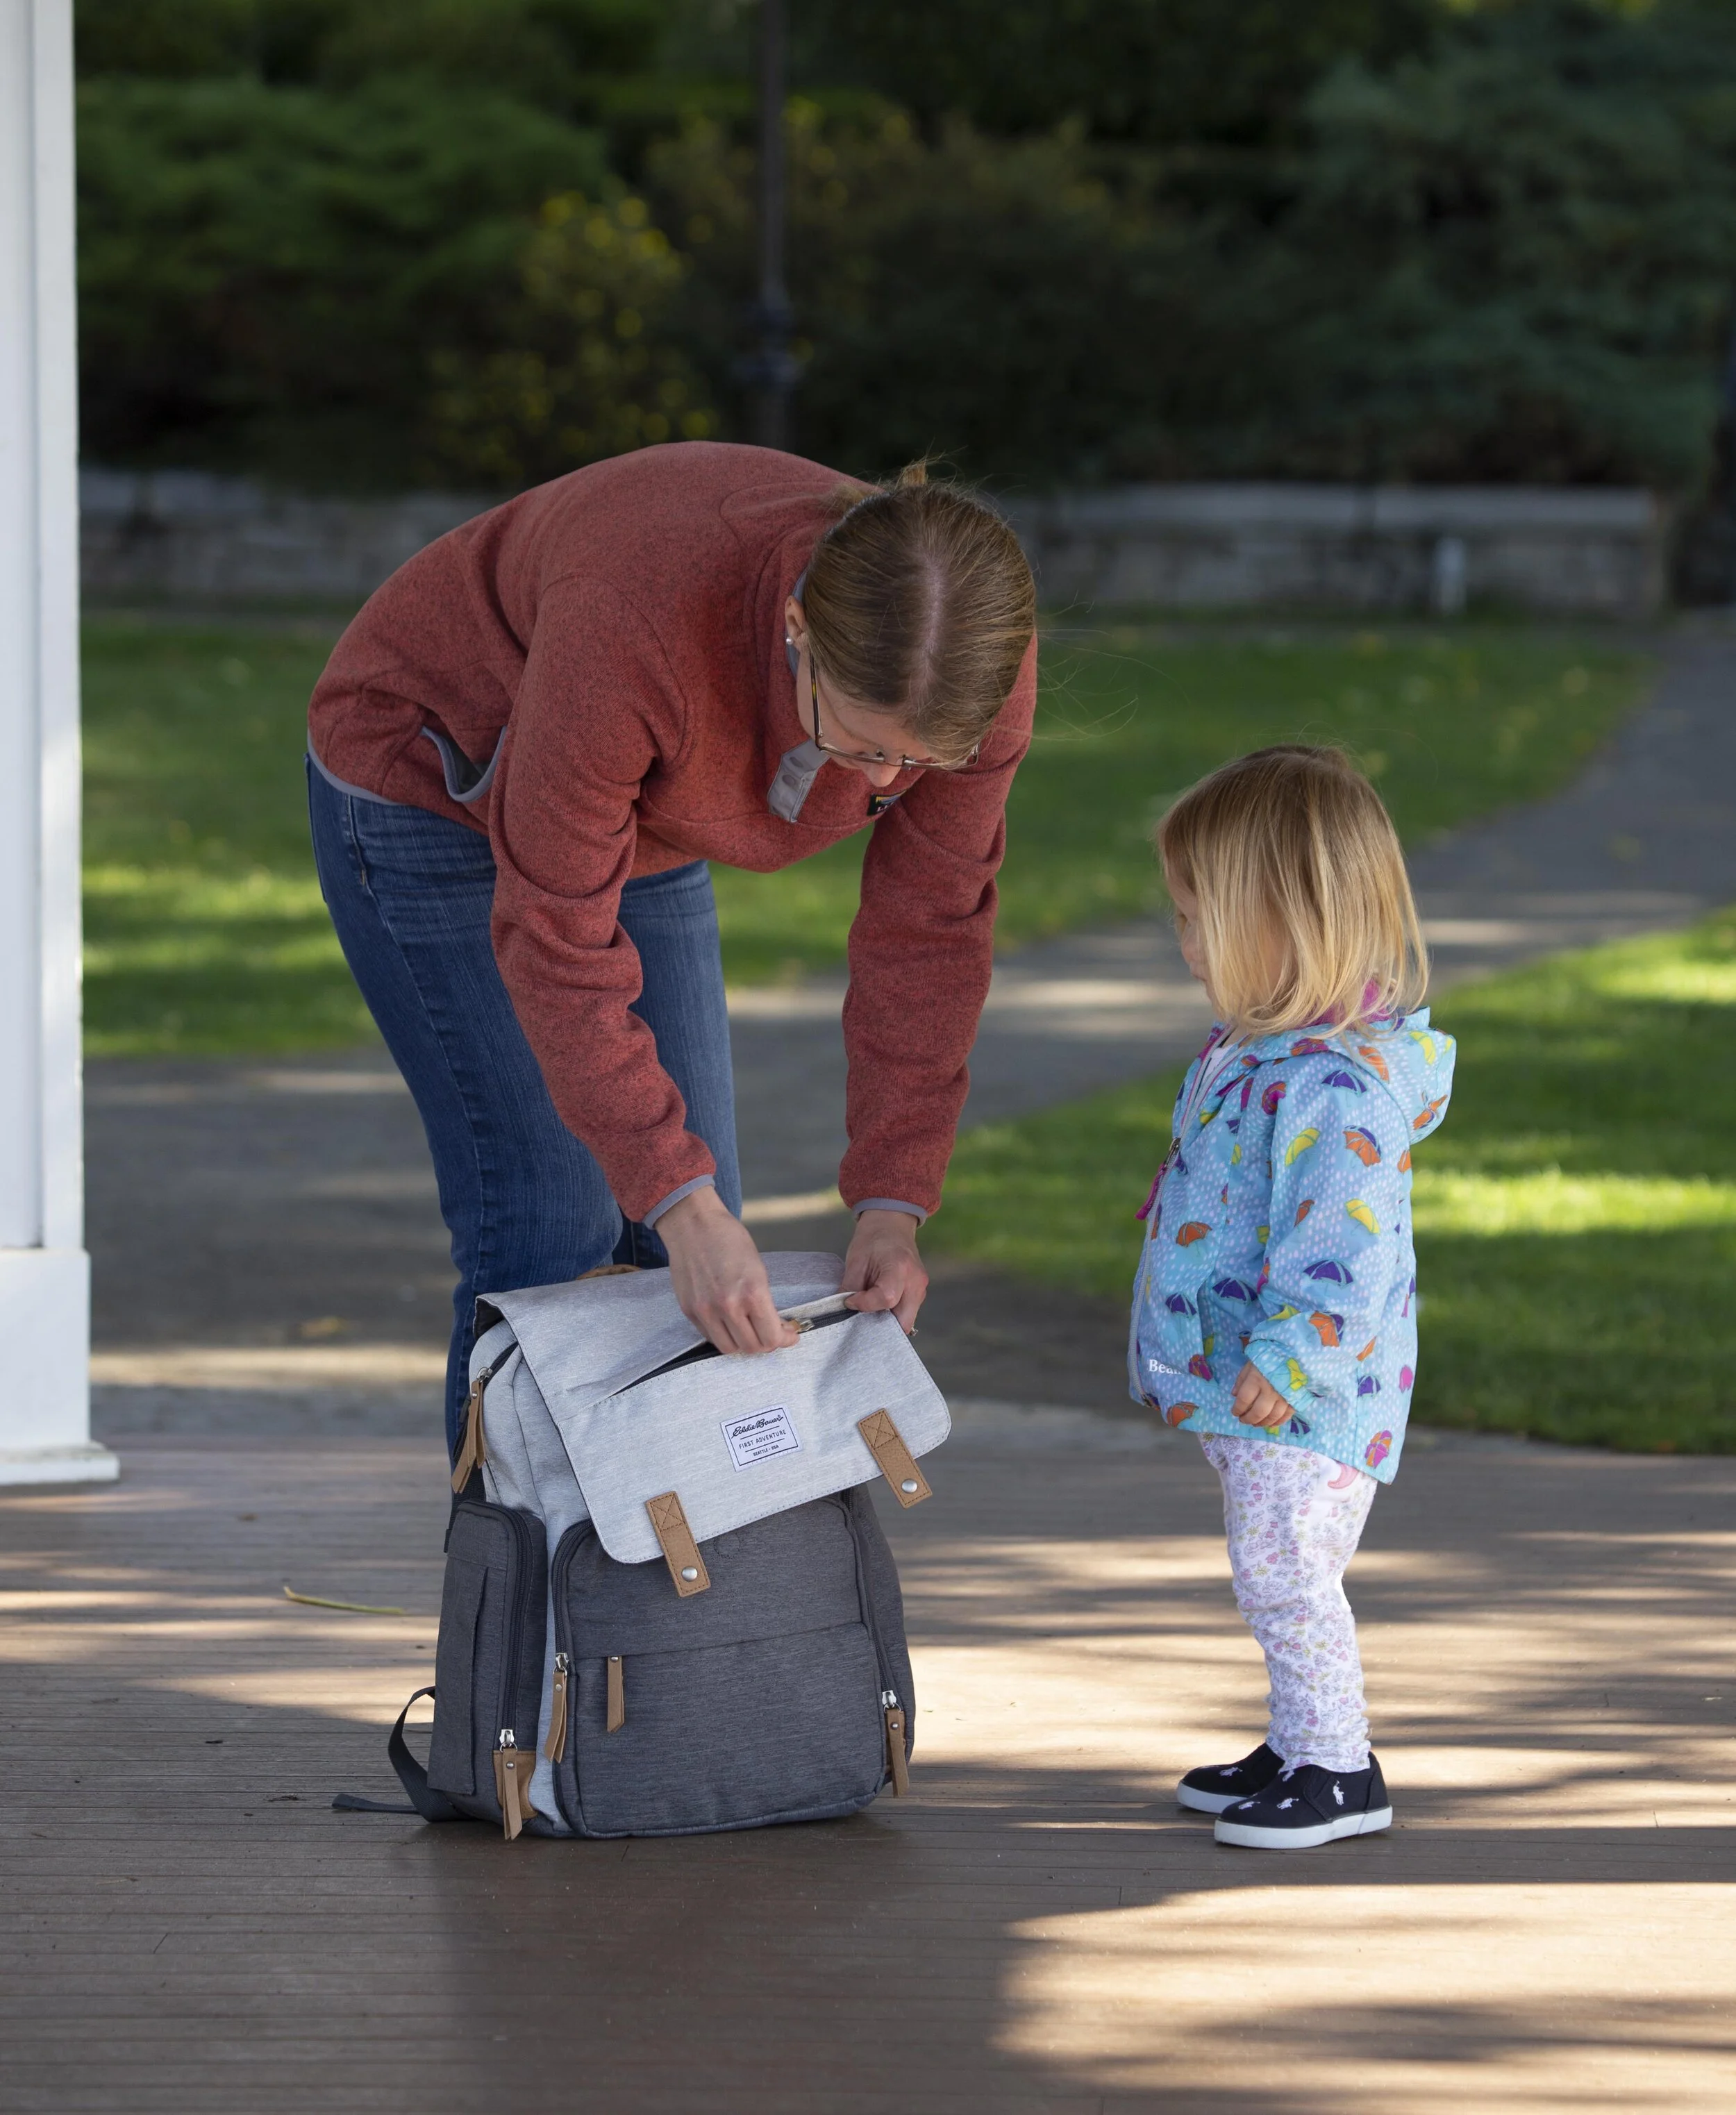
Now, I do work with some select kids brands and products - however I’m particular with who and how I work with them. I only share about products and brands we honestly love or use, and I limit the photos I post of our children. Typically when I share photos of our kids on the blog they are carefully cropped or edited to help protect their anonymity - this is super important to me but definitely limits the brands that want to work with me, as most brands want tons of personable photos.

I Follow the Rules

I always do my best to follow the rules regarding sponsored content and outbound links. There are a lot of guidelines out there from the Federal Trade Commission (FTC) on how sponsored content and affiliate links need to always be disclosed and outbound sponsored/affiliate links should be formatted as “no-follow” (in order to not falsely inflate a product or brand’s Google-ranking). Unfortunately there are a lot of unscrupulous companies out there that will solicit bloggers to create posts or add back-links that completely go against these rules. I have been solicited several times (and a few times by large companies that should know far better), asking me to add “do-follow” links or mention product without disclosures in exchange for compensation. I always turn these shady offers down (and scold them for being unethical).

I Have Standards

I will ONLY accept sponsored posts from products and brands we honestly use or are interested in. I will never accept a sponsored post from something that doesn’t fit my blog, my beliefs, or me. I have turned down many sponsored posts for products that do not fit my aesthetic or would have me promote a product we do not like or would never use.

I Don’t Live in an Instagram-Worthy House

We live in a very average house with very average finishes and furniture. Our kitchen is still sporting it’s laminate green (yes, green) counter tops and linoleum floor and our living room still has the very bold (and ugly) burgundy wall-to-wall carpet that were installed when our house was originally built. Would I love to renovate and re-do these things? Absolutely. But it’s not in our budget right now and not a priority, so we’re going to continue to live with these less-than-beautiful finishes. Many bloggers completely re-renovate or re-decorate the same rooms in their home over and over in order to keep up with the latest trends and to continue to land partnerships. And as fun as that might be, it’s also very wasteful and encourages a “throw-away society” that values consumerism and disposable items over value and longevity.

I Don’t Stick to a Content Schedule

Sticking to a content schedule is something I really should be better about. I already keep a blog calendar over my desk and pencil in a few blog topics or content I want to create over the course of each month. However, I’m terrible at sticking to it… life gets busy. Lately we’ve been keeping busy with family, sports, appointments, and school. Keeping up with the kids is most important and so I try to be flexible (arguably far too flexible) with the blog. Sometimes I don’t do a blog post or Instagram post for a week… or three! That’s as good as a death sentence for engagement, which is already SO hard to achieve these days with Instagram’s increasingly difficult algorithms.

So in conclusion, if you want your blog to be lucrative - consider doing the opposite of all I do. I’ll be over here, not making much money but content in my principles ;)


KEEP UP WITH BIRCH LANDING HOME
|  Etsy  |  Facebook  |  Instagram  |  Pinterest  |  Bloglovin'  |  Hometalk  |

Out and About with the Eddie Bauer Places & Spaces Cascade Diaper Backpack

Almost six years ago, we got an Eddie Bauer Diaper Tote Bag before our first was born - and ever since it has been our go-to diaper bag for the car and outings. We’ve loved it’s durability and functionality, so when we had the opportunity to try one of their backpack styles with our littlest one we jumped at the chance! | Sponsored - This post contains an honest review of product provided by Eddie Bauer c/o Baby Brezza |

Out and About with the Eddie Bauer Cascade Diaper Backpack

In the past when doing long outings on foot I’ve always thrown diaper bag items into one of my regular hiking backpacks, and inevitably whatever we needed most would always be lost at the bottom somewhere. Hiking backpacks just aren’t ideal for holding all the little items, wipes, diapers, bottles, etc you need - so you can imagine how excited I was to finally try a backpack that was made to be a diaper bag!

Out and About with the Eddie Bauer Cascade Diaper Backpack

I was particularly drawn to the Eddie Bauer Places & Spaces Cascade Diaper Backpack for it’s looks and functionality. I loved that it looked like a fun, modern bag that didn’t scream “diaper bag.” I also loved all of it’s features! It has twelve (yes, 12!) pockets, removable changing pad, stroller loops, wipes case, and insulated bottle pocket. No more digging around to find small items with all of it’s handy pockets! And the wipes case on the side is great for getting a wipe on the go to clean messy hands or faces.

Out and About with the Eddie Bauer Cascade Diaper Backpack

Our family has been loving the practicality and style of this diaper backpack and are really looking forward to bringing it to the local country fair in a few weeks! Being hands-free is key to keeping up with the little ones ;)

Out and About with the Eddie Bauer Cascade Diaper Backpack

- I received this Eddie Bauer diaper backpack from Baby Brezza but all opinions expressed are my own.  Please read our full Disclosure Policy for more information - 

KEEP UP WITH BIRCH LANDING HOME
|  Etsy  |  Facebook  |  Instagram  |  Pinterest  |  Bloglovin'  |  Hometalk  |

Favorite Find: Reflective Stickers for Gear and Fabric

Just wanted to hop on here and share my latest favorite Amazon Find - just in time for back to school too. | This post is NOT sponsored, but does contain affiliate links |
We’ve been using these reflective safety stickers for awhile on our helmets, bikes, etc but we recently realized they can stick amazingly well to fabric too! This makes them perfect for adding visibility to your children’s backpacks and coats, especially important for those early morning bus stops.

Favorite Find:  Reflective Stickers for Gear and Fabric

These particular stickers are Gear Aid "Tenacious Tape Reflective Patches", and we're SOO impressed with their sticking power - especially to fabric! They really stick well and look like they were manufactured as part of the fabric. They're completely flexible and durable.

Favorite+Find%3A++Reflective+Stickers+for+Gear+and+Fabric

We have yet to run them through the washing machine, but according to reviews online these ARE machine washable on most fabrics. And after seeing how well they adhere to fabric I am expecting them to perform well (I will definitely update this post in the future with more feedback though). Definitely check them out and add some safety and visibility to backpacks, coats, strollers, hiking gear, and more!

Favorite Find:  Reflective Stickers for Gear and Fabric

KEEP UP WITH BIRCH LANDING HOME
|  Etsy  |  Facebook  |  Instagram  |  Pinterest  |  Bloglovin'  |  Hometalk  |

Back-to-School Fashion with L.L. Bean

It’s the most wonderful time of the year (…for parents, that is)! September is right around the corner and the kids will be going back to school. Now’s the time to get your back-to-school shopping started and I’ve rounded up some of my favorite kid picks from our favorite New England-based retailer, L.L. Bean. I love how their stuff is built to last so you know that backpack (and everything else) will last for years to come. | This post contains affiliate links |

Back-to-School Fashion with L.L. Bean

Back-to-School Fashion with L.L. Bean

Scroll right to see more ->

KEEP UP WITH BIRCH LANDING HOME
|  Etsy  |  Facebook  |  Instagram  |  Pinterest  |  Bloglovin'  |  Hometalk  |