I'm a wife, stay-at-home mom, crafter, and blogger living in rural New England. As seen in Martha Stewart Living, Food Network Magazine, and more! | Tutorials, DIY, crafts, parenting tips, recipes, money saving tips, product reviews, local product features, New England living, intentional living, and more! |
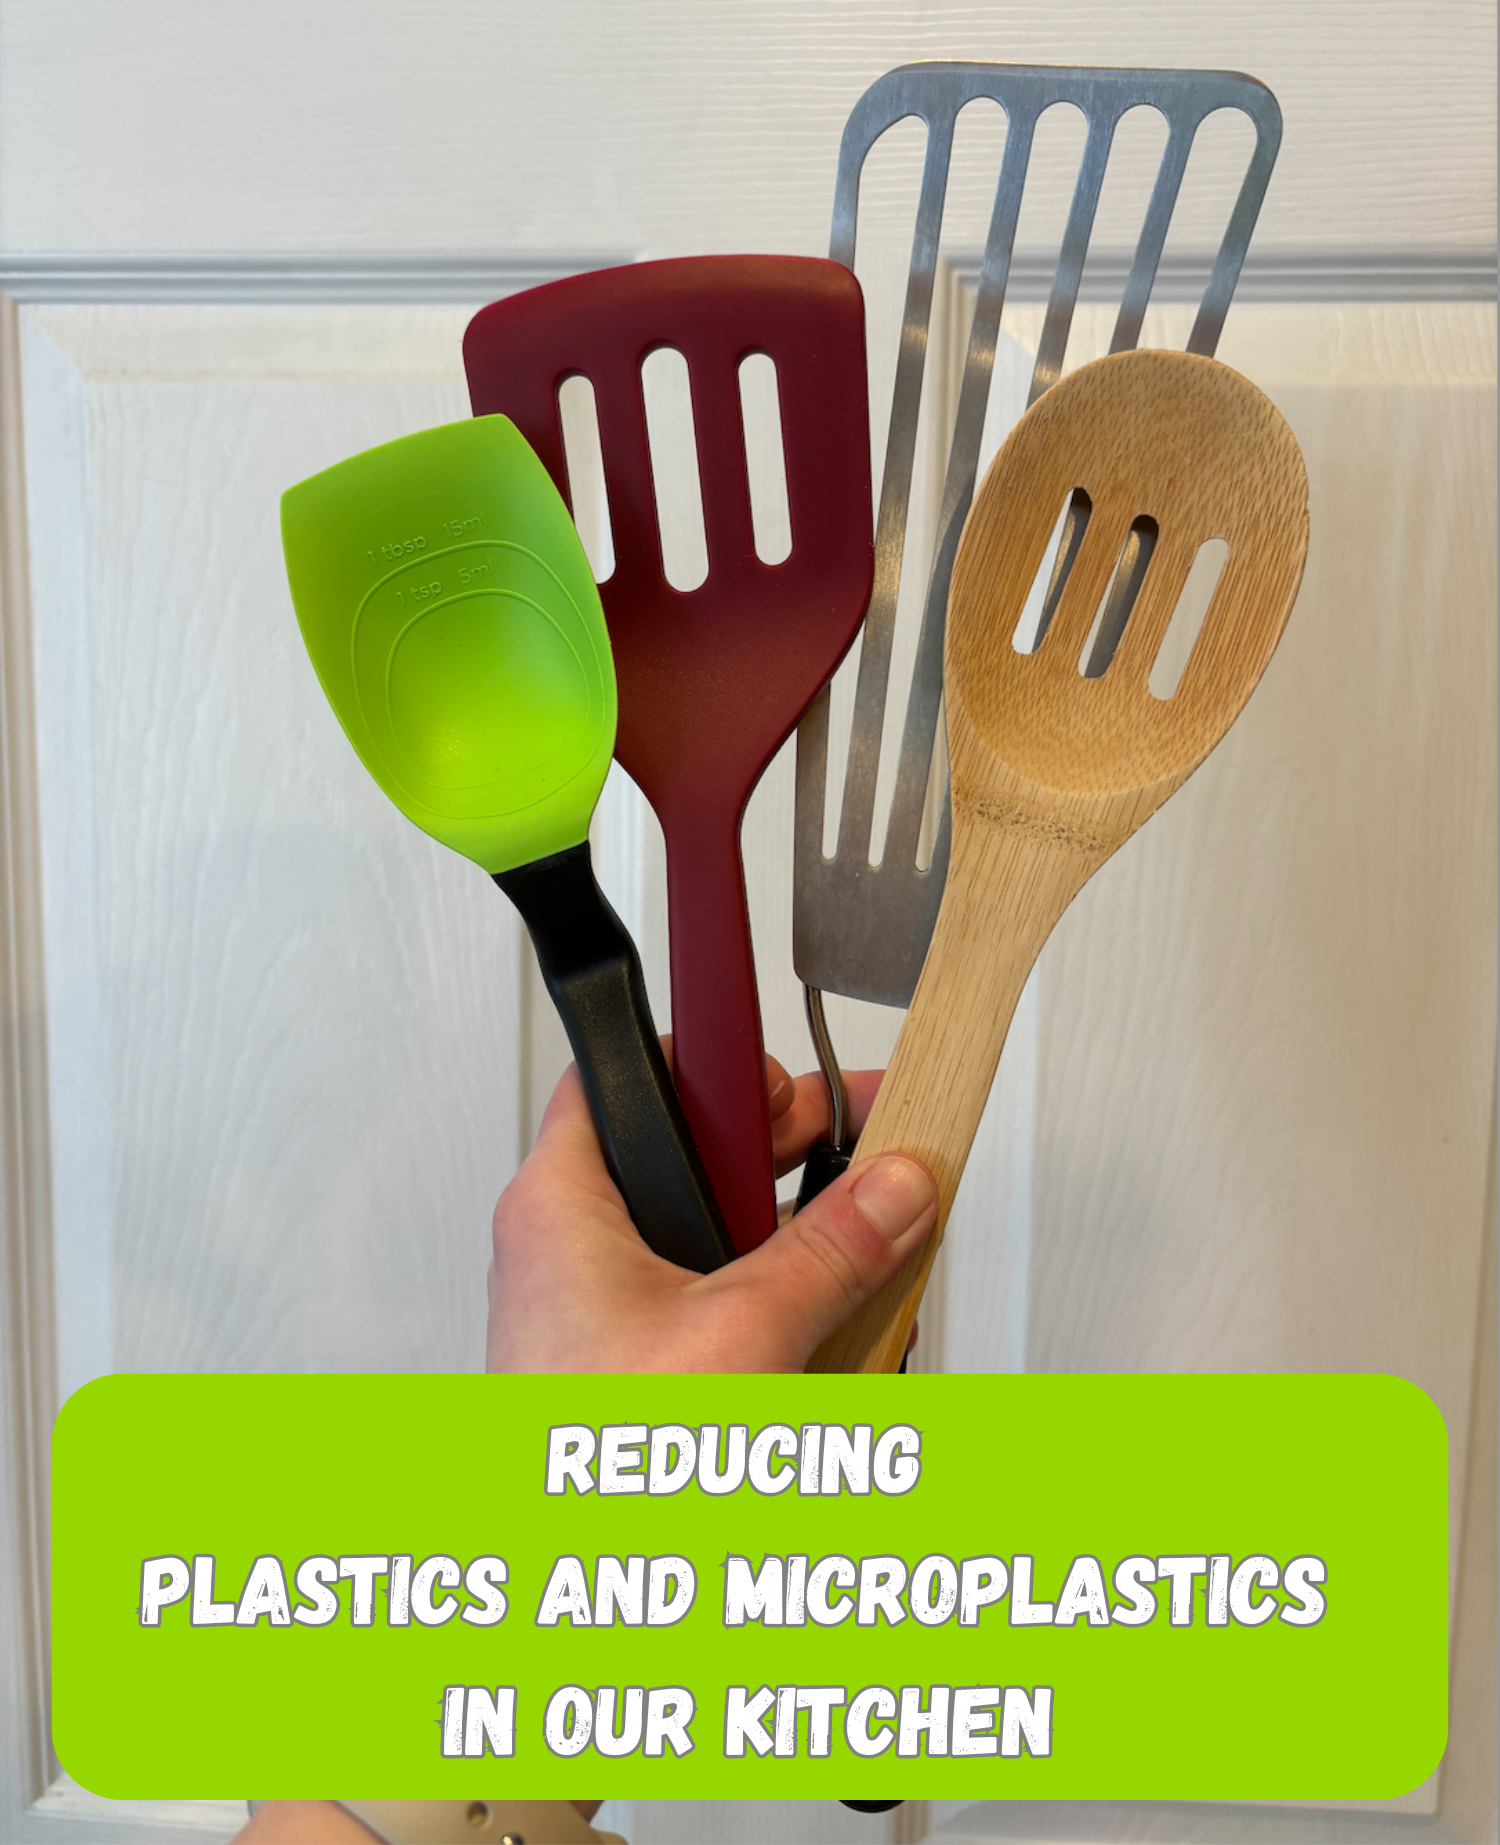
After reading some articles about the amount of microplastics the average person gets exposed to and consumes I knew we had to make some changes in our household. Here are some easy and simple swaps and replacements we made in the kitchen to try to reduce our exposure to plastics. | This post contains affiliate links |
Disclaimer: I am not an expert, just sharing some swaps and changes we made to try to be more intentional and reduce plastic exposure in our home.Please make sure to do your own research on this matter.
Get Rid of All the Plastic Cooking Utensils
The first step was getting rid of ALL the plastic cooking utensils we had in our home (I just recycled or tossed them all to make sure I wouldn't continue to reach for them). These utensils are constantly getting heated and scraped on pans, contributing microplastics. I thoughtfully replaced all the plastic utensils with a combination of bamboo, wood, silicone, and stainless steel cooking utensils.
Replace Plastic Cutting Boards
This is supposedly one of the biggest sources of microplastics in the kitchen - a plastic cutting board! If you think about it, every time you cut with a knife you’re cutting and scraping the plastic board, adding microscopic (and not so microscopic) plastic shavings to your food. We replaced our cutting board with a quality hardwood one made by a local craftsman, but you could also use a bamboo cutting board.
Get Rid of Non-Stick Cookware
This is a big change we made several years ago - we got rid of all of our non-stick cookware in order to reduce microplastics and PFOAs exposures. Instead of using non-stick pans, we switched to quality stainless-steel cookware and have never looked back!
Never Heat Plastic
Make sure to never reheat food in plastic containers - always use glass!
Never Cut on Plastic Dishes
This goes right along with never using plastic cutting boards - but to take it a step further, don’t cut on plastic dishware (like kids’ dishes) either - and for the same reasons. Always make sure to cut on a cutting board or glass plate before transferring the food to your kids’ dishes.
Use More Glass and Stainless Steel Dishware
This one is pretty self-explanatory - use glass or stainless steel dishware more and try to phase out your plastic ones. We have been working towards slowly replacing our plastic Tupperware with glass and stainless steel varieties.
When You Must Use Plastic, Use High Quality
When you must use plastic dishware in your kitchen (like for kids’ dishes), always use high quality ones. Avoid cheap plastic dishes, especially if you don’t know if they’re BPA-free or lead-free, etc. And if they seem to be breaking down with just normal use (fading, scratching easily, discolor easily, etc) definitely get rid of them.
Silicone Food Covers
Rather than use plastic wrap for leftovers we switched to silicone food covers years ago. We love that they’re reusable (better for the environment!) and not plastic.
Air Purifier
To take it a step further for general home health we also added several air purifiers in our home. This helps reduce dust and allergens we breathe in and we feel better knowing the air in our home is being filtered.
Disclaimer: I am not an expert, just sharing some swaps and changes we made to try to be more intentional and reduce plastic exposure in our home.Please make sure to do your own research on this matter.
Lately our garage has been kind of a mess - my husband has been rebuilding our rotting deck and the power tools he has have multiplied with no good place to store them. I was getting tired of tripping over sanders and planers so I thought I’d come up with a way to get all the small power tools easily accessible and organized for his project. In my search I came across the perfect locker solution! | This post contains affiliate links |
I realized the space between our garage doors was vastly underutilized. It’s a skinny spot but tall - with a lot of potential for easily-accessible storage. I thought about building shelves there but then it would be open and kind of messy. I tried finding a cabinet that would fit but they were all too wide. Then I realized a locker would fit!
I searched for single-width lockers and found many options and considered doing a single tall locker or a double locker. But then I came across this amazing single-width locker with six doors/tiers! It was perfect for my needs - it fit right in between the garage doors and each tool could have it’s own cubby. This locker fit perfectly in our garage but make sure to measure your space first as you may have a narrower (or wider) space to work with. There was assembly required for the locker but it went together easily and then it was ready to use!
One important thing to consider before you put a locker in your garage is how you will contend with wet floors. We live in New England and in the winters especially our garage floors get quite wet when the snow melts off our cars… in order to protect the bottom of your locker from rusting you probably want to raise it up off the floor. For us we used a thick paving stone that fit well under the locker - though we did have to level it some with
composite shims (similar ones linked)
because our garage floors are slightly uneven. (Just slide the shim under the paver and break off when it's the right height - so easy!) You may also want to consider attaching your locker to the wall in some way if you’re concerned about it tipping.
Once we had our locker level and secured I labeled each cubby with what it contained (“Drills & Bits”, “Orbital Sander”, etc). To make the labels I just typed them up on my computer, printed them out on a sheet of cardstock, and cut them out.
This was an awesome and very easy project to do in our garage. We love how organized and accessible the tools are while still keeping them out of sight.
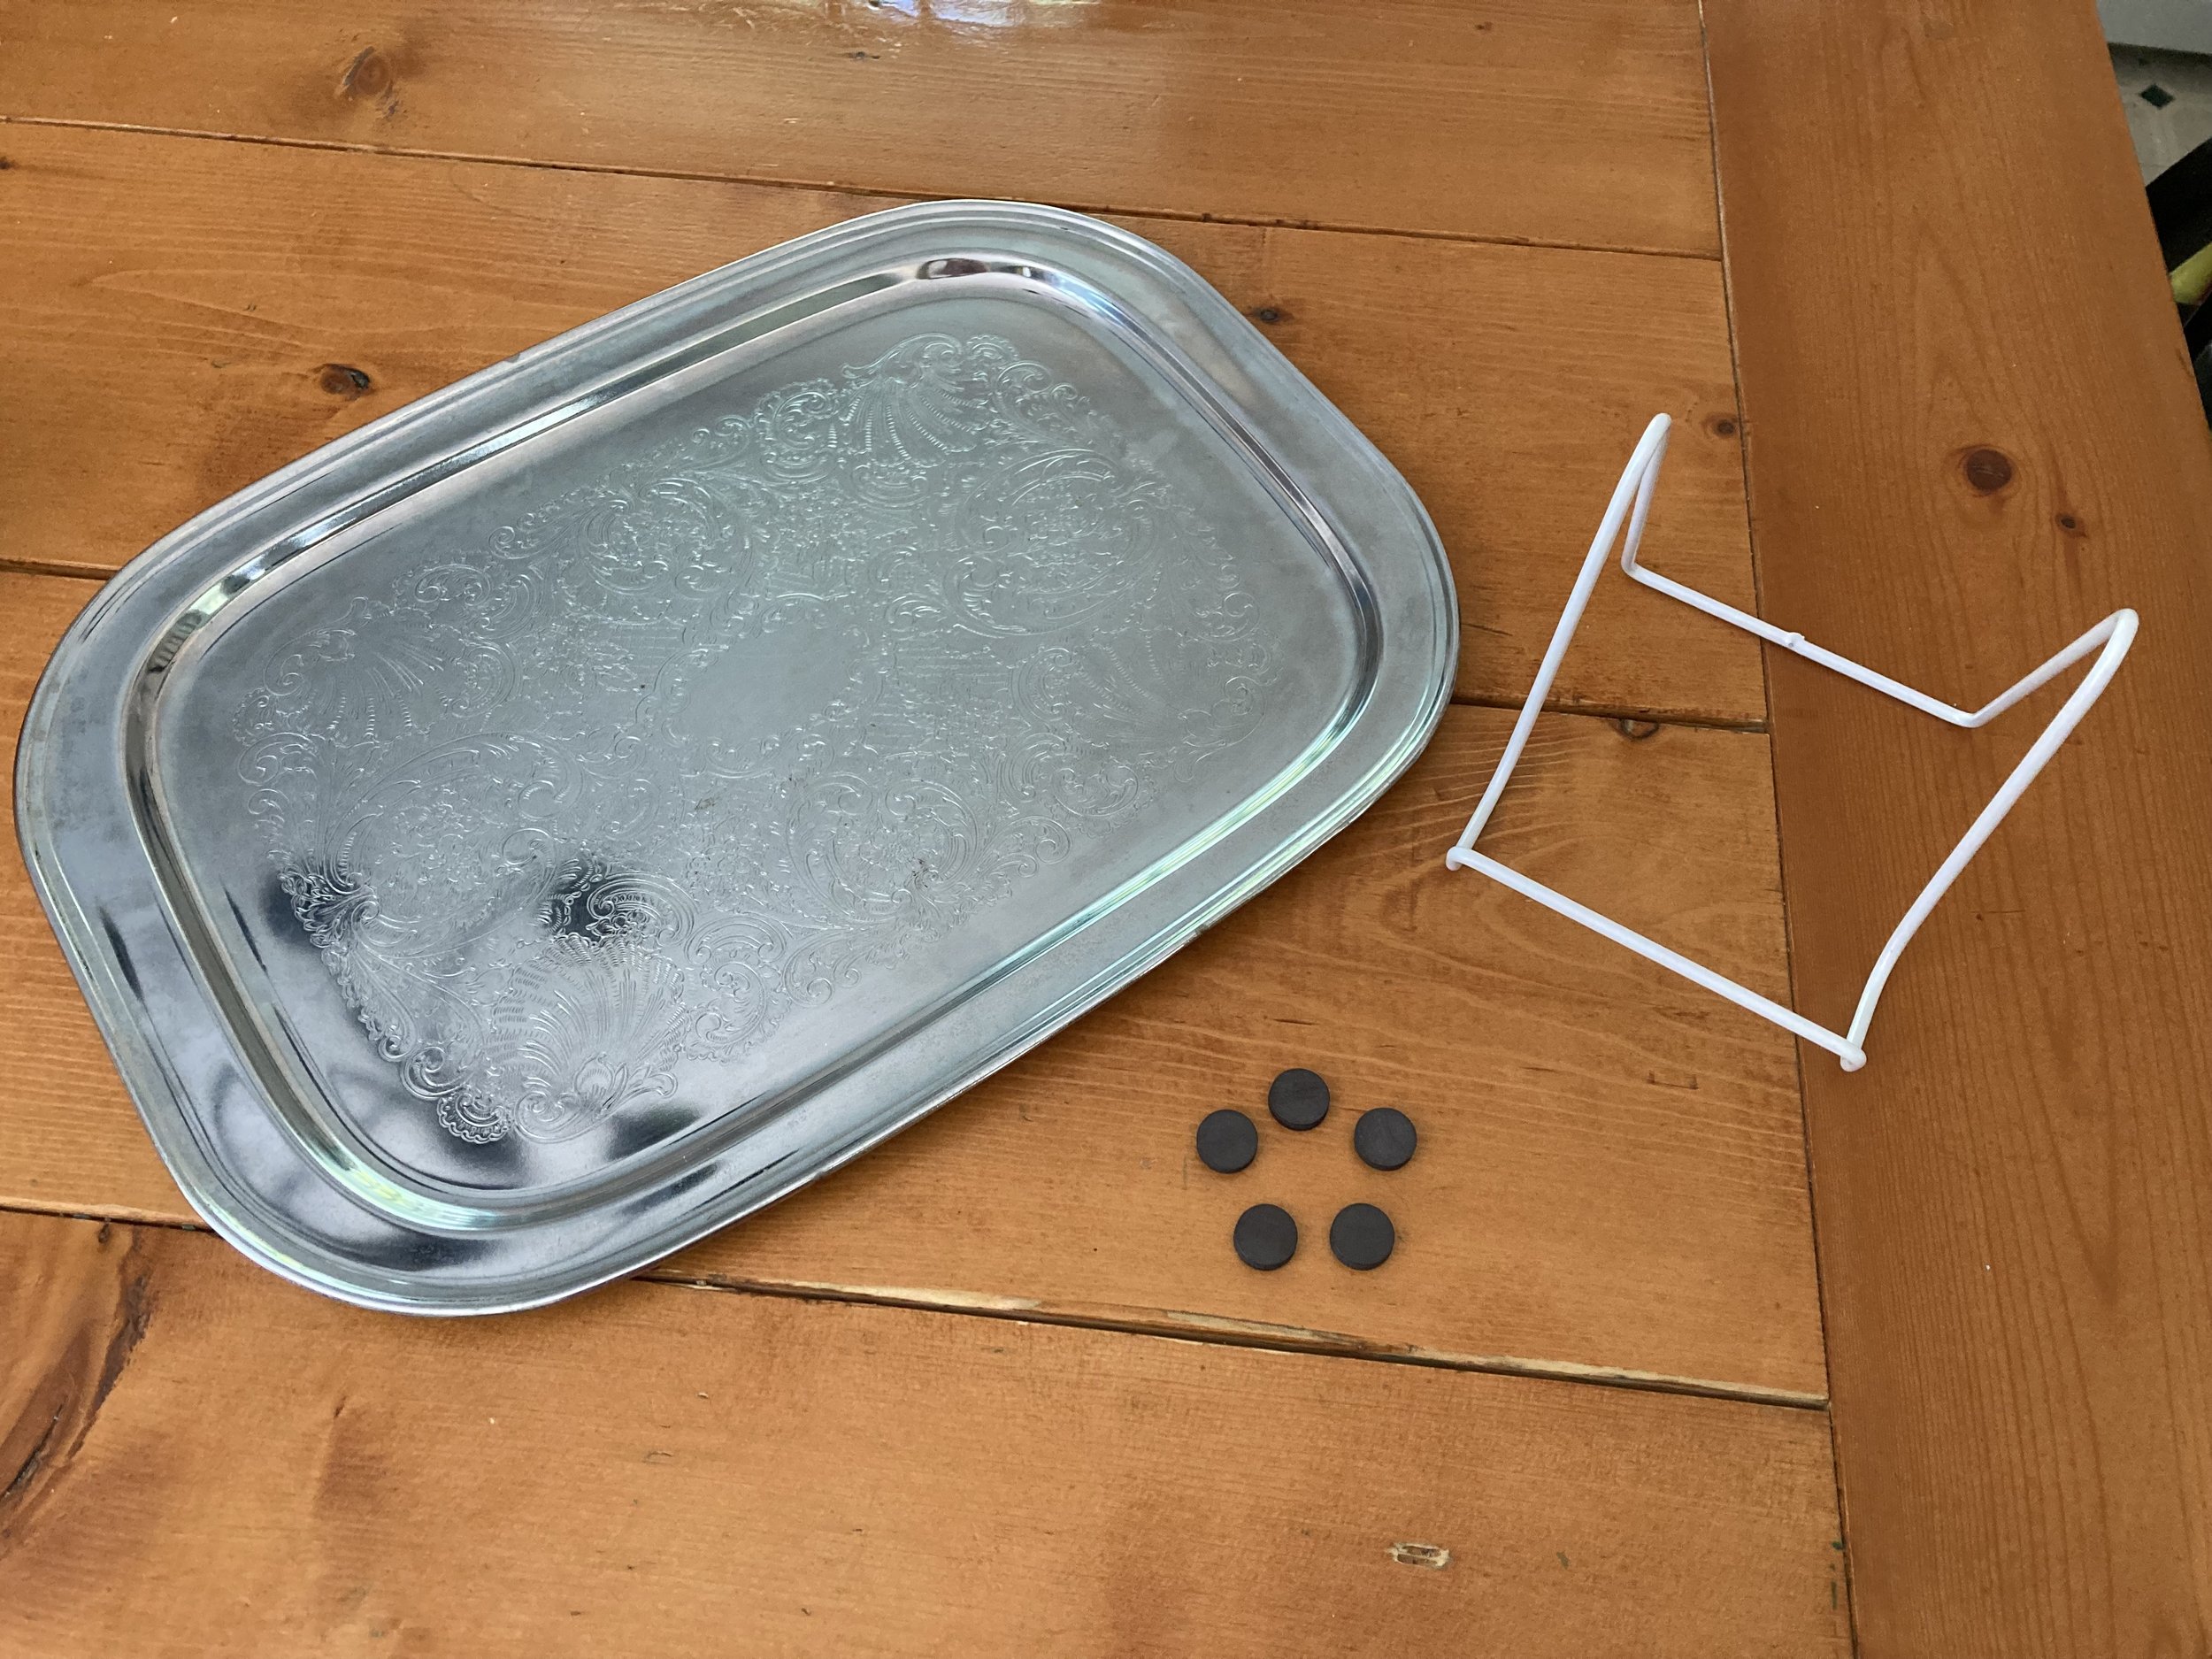
We’ve been slowly helping to clean out a family member’s attic and came across this old heavy “silver” (not actually silver) serving tray. Since not many people still use serving trays I thought it might be fun to repurpose it into something else - and since it seems to be made of some kind of steel (therefore magnetic), I thought it would make a fun magnetic memo board! | This post contains affiliate links |
Materials:
Vintage metal tray (check to make sure it's magnetic)
plate stand big enough to support the tray (similar size stand linked)
magnets
How To:
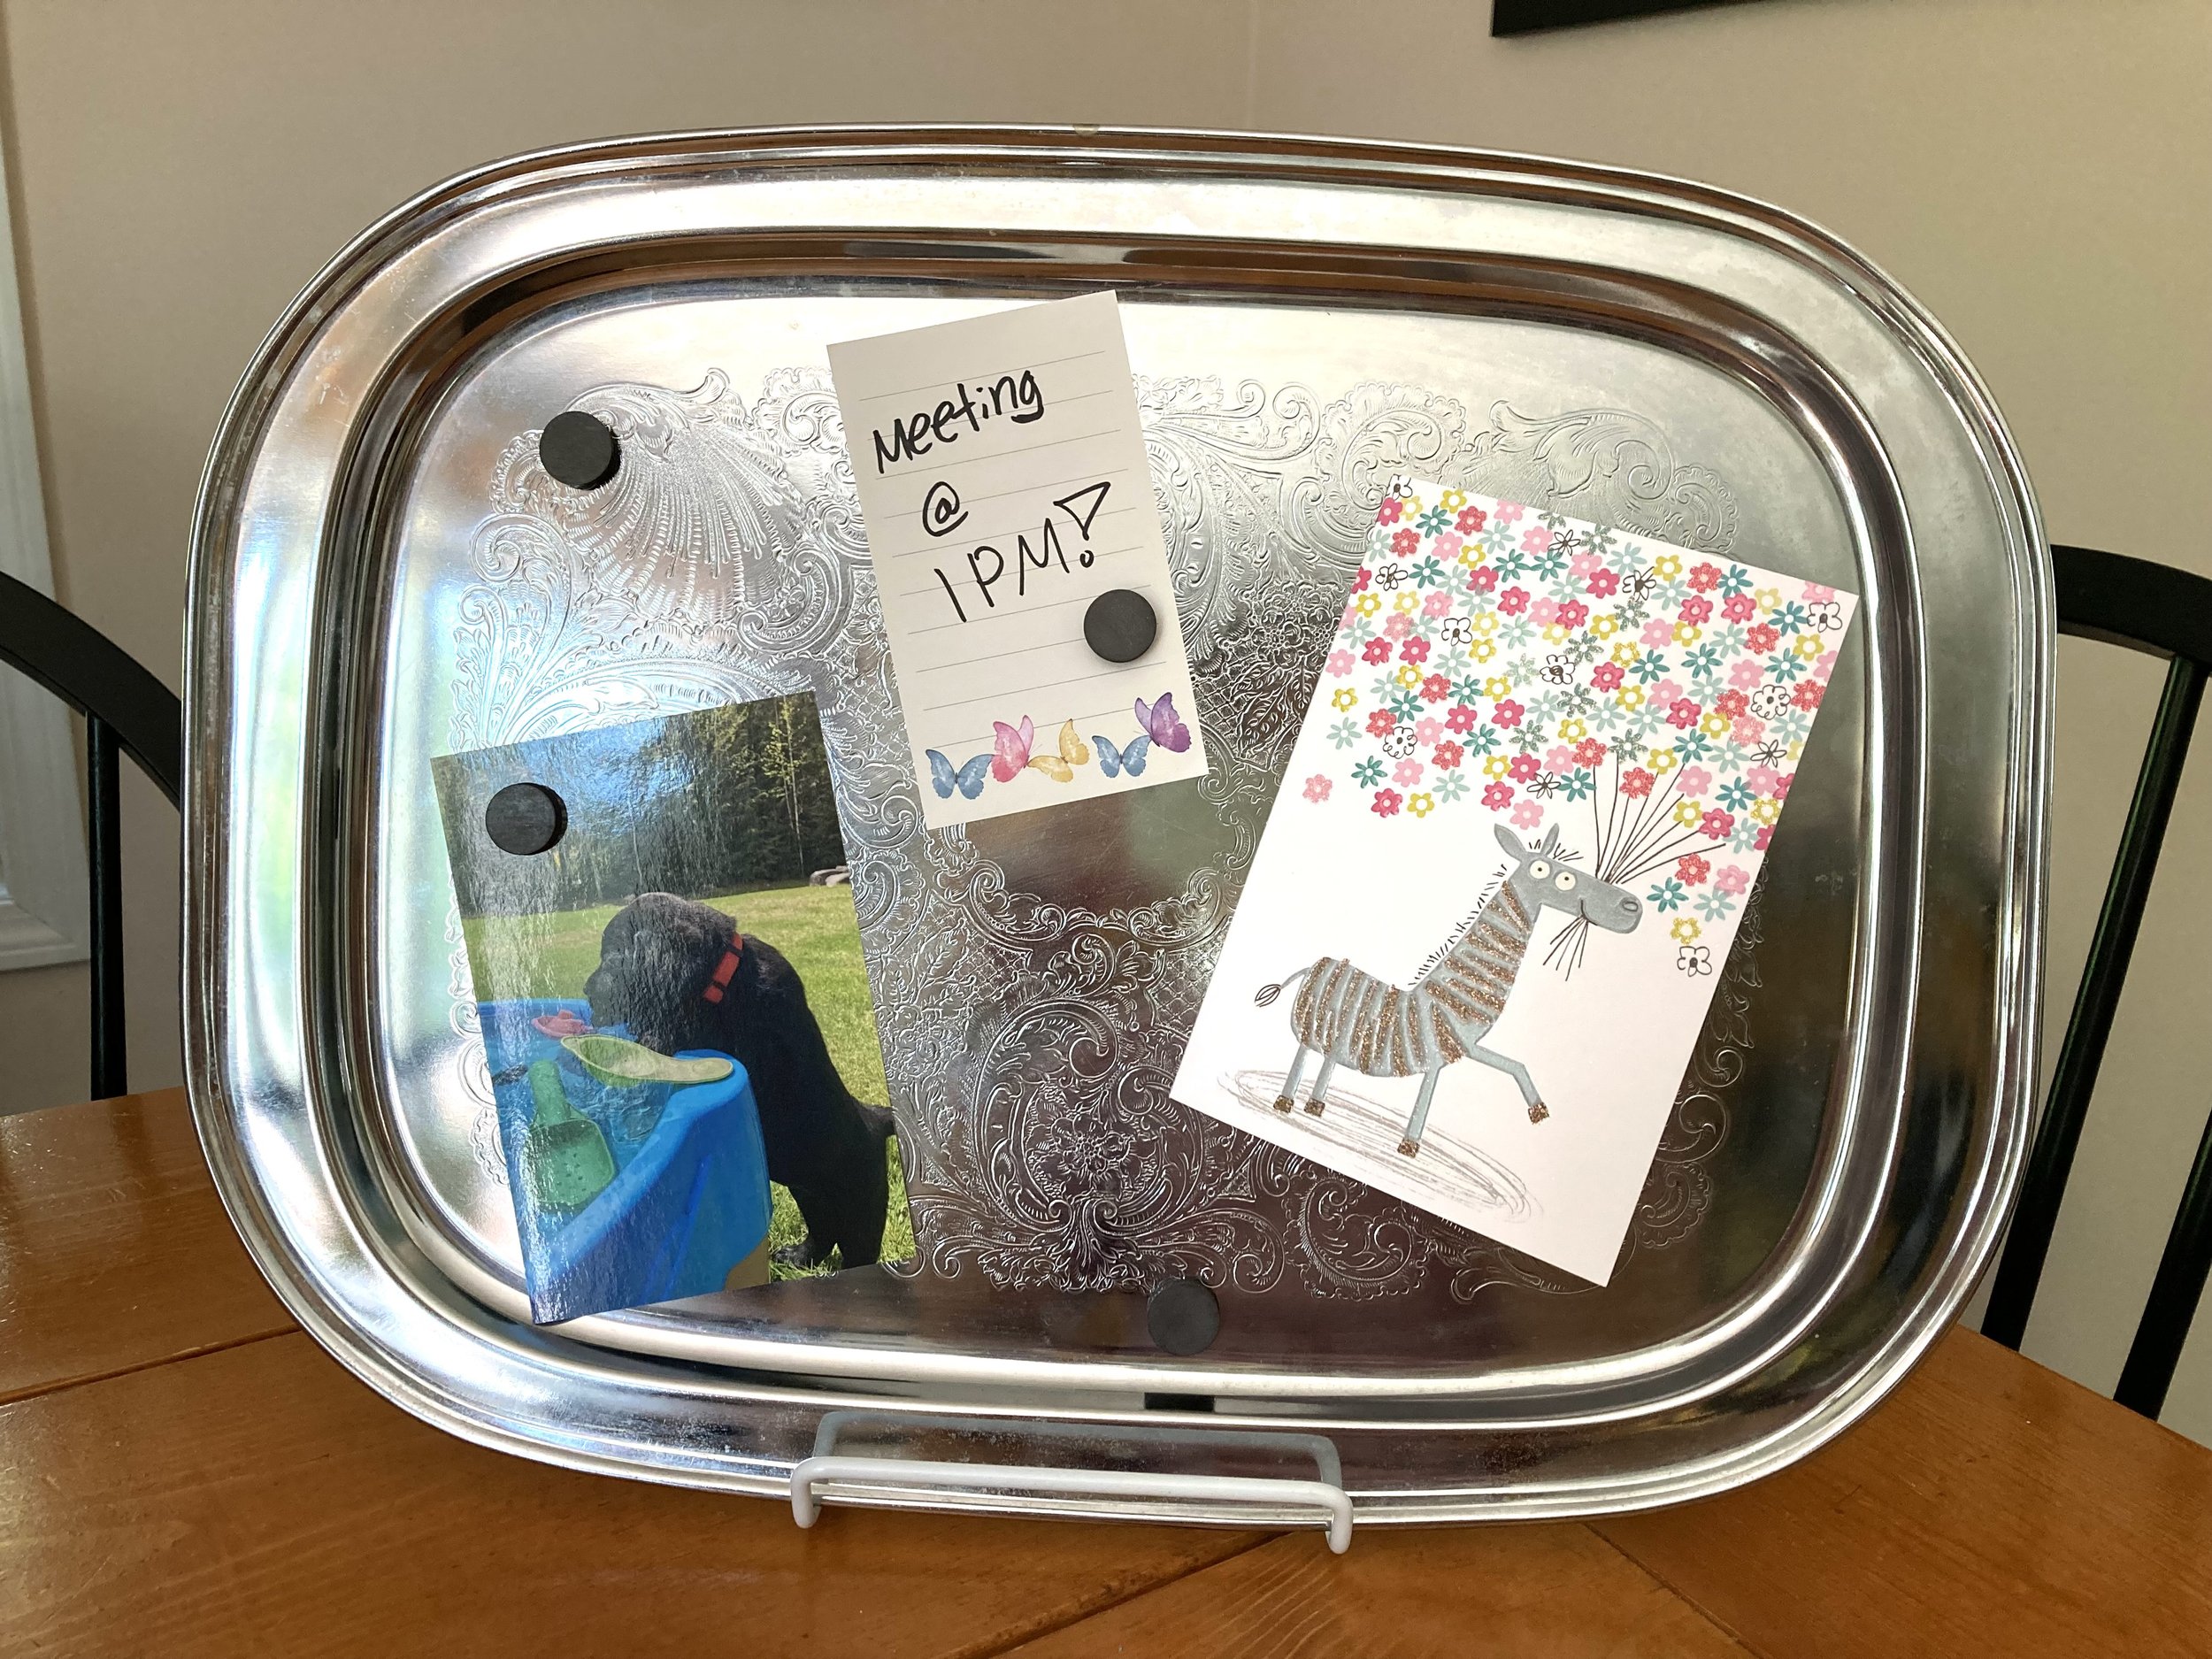
Really the how-to for this project could not be easier! Rest that serving tray on a plate stand that’s big enough/sturdy enough to support it, add some magnets, and BAM, you’re done! I think this project would look so cute on a dresser in a bedroom, a feminine office space, or on a desk nook in the kitchen. It can be used to hold reminders, photos, thank you notes, recipes, mementos, and more.
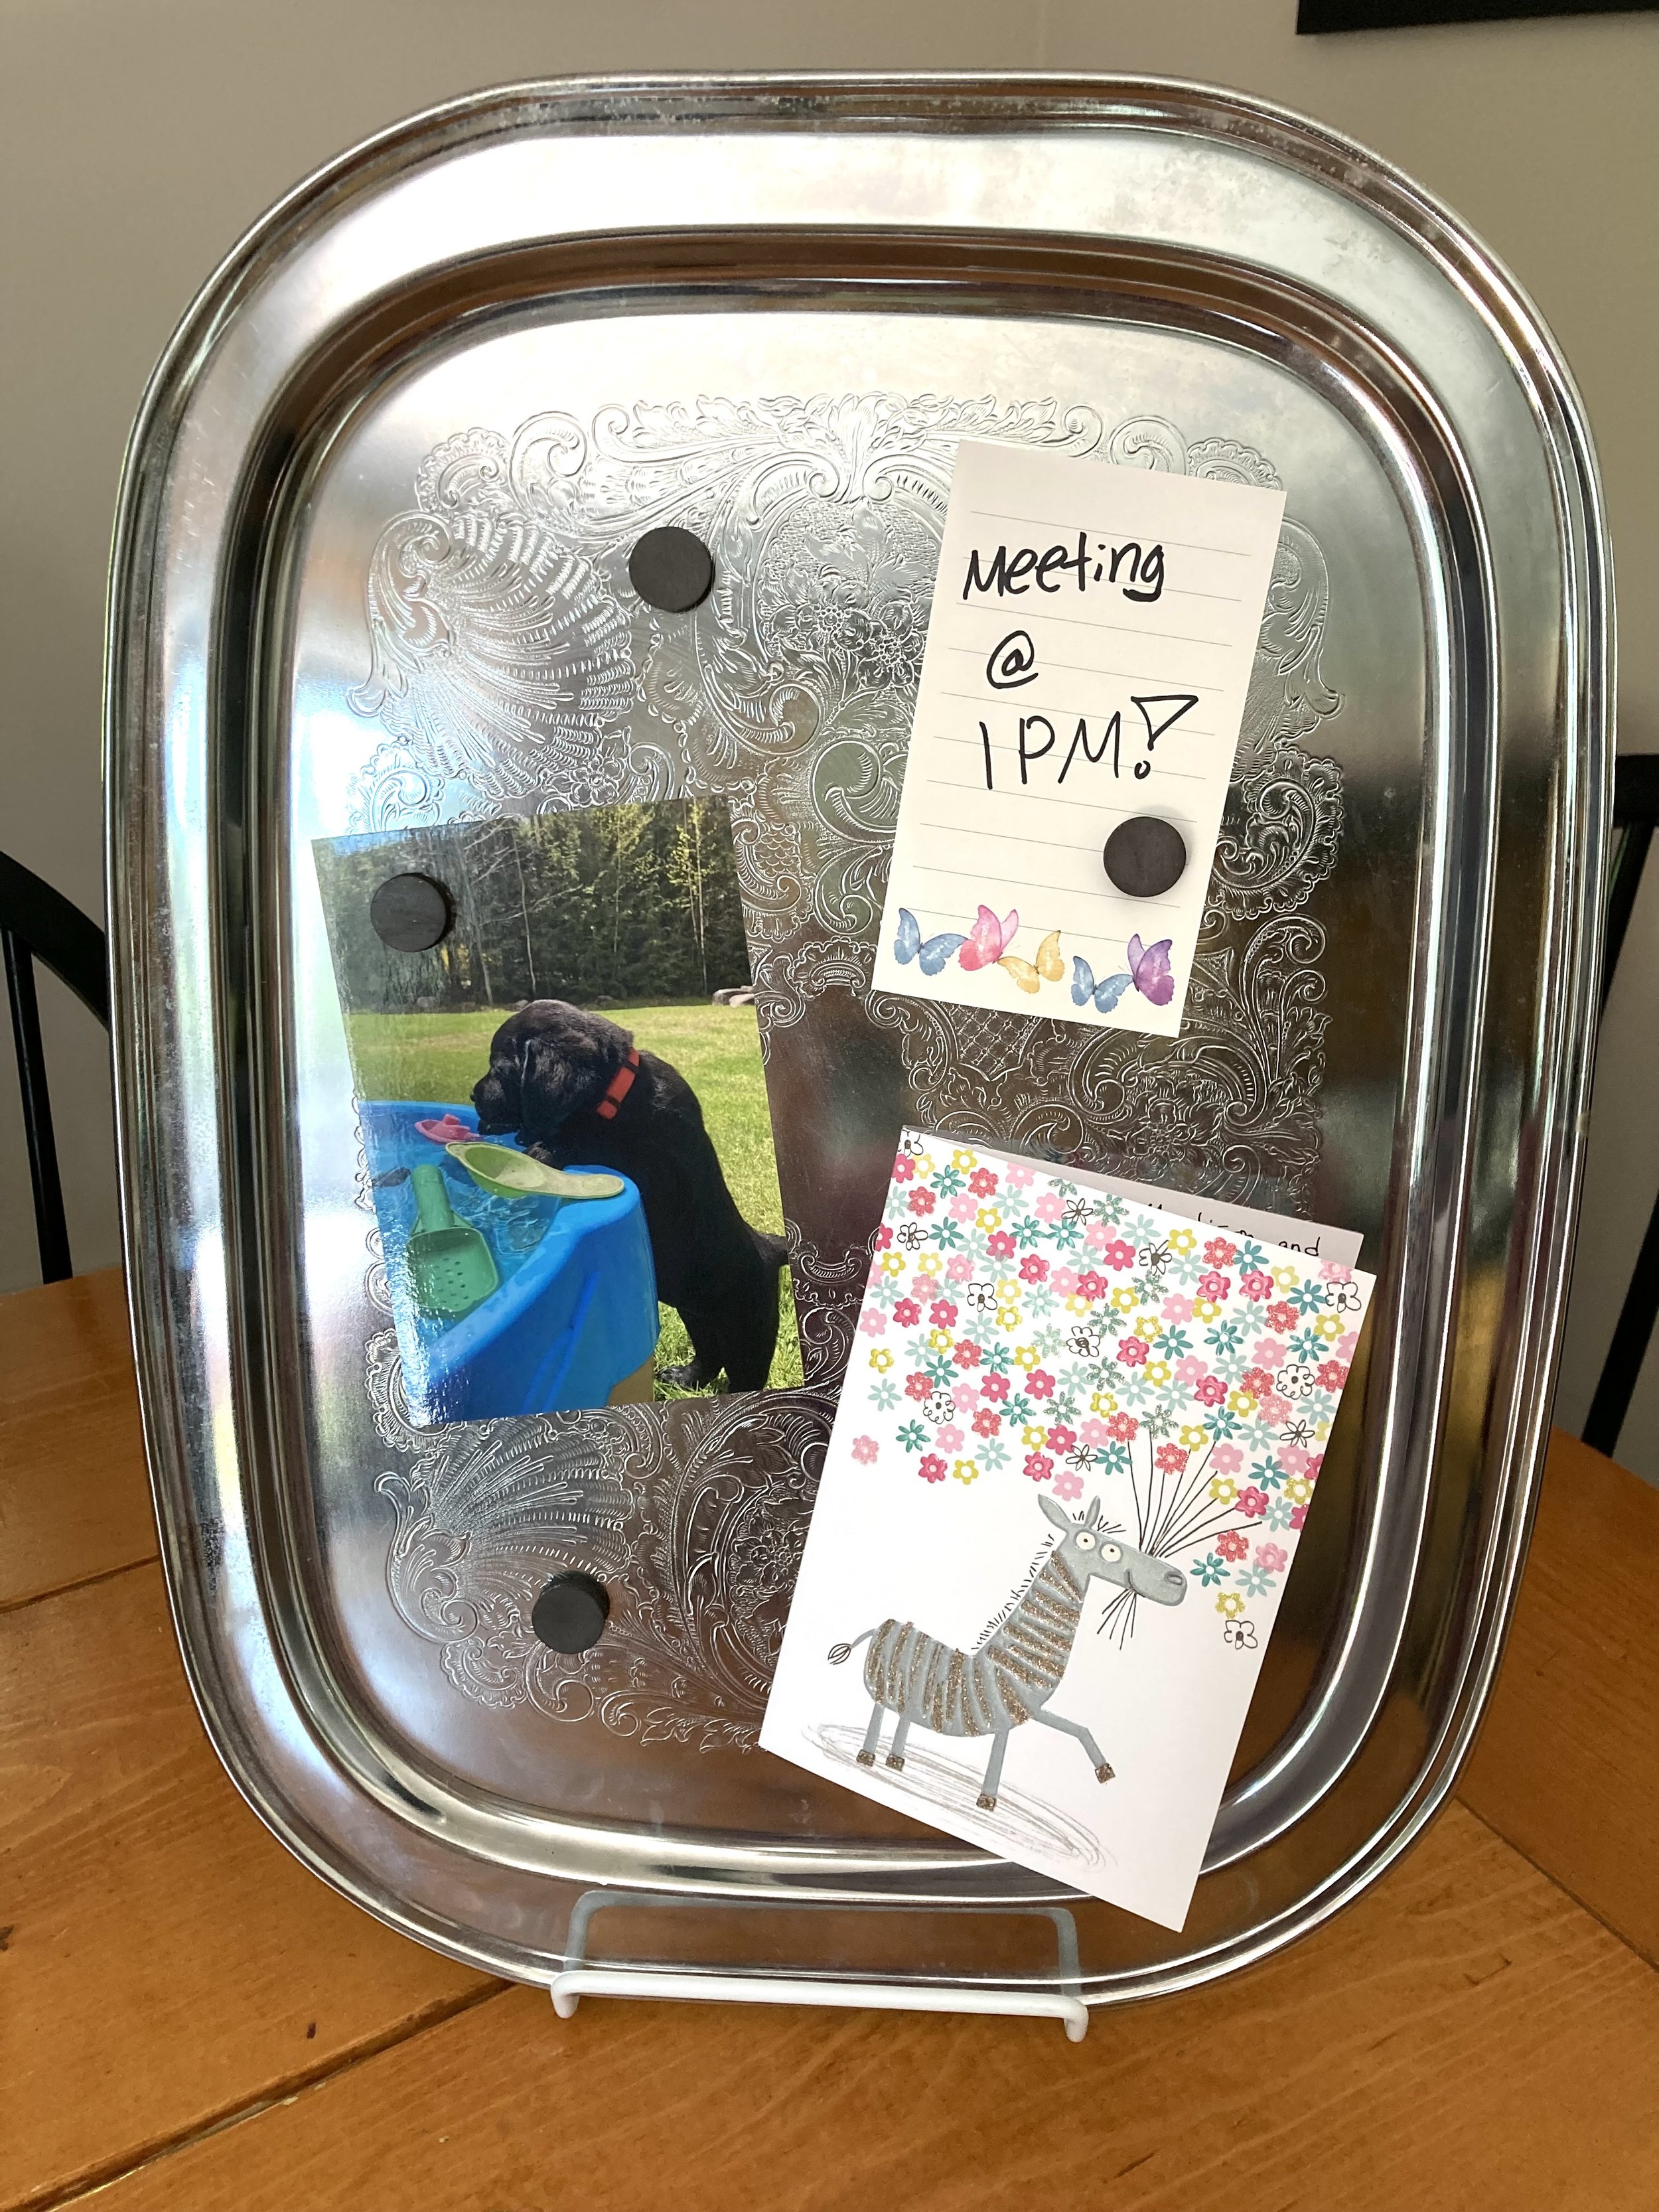
And if the horizontal orientation isn’t working for your space, just turn the tray and you instantly have a vertical memo board!
If you wanted to hang the tray on a wall instead, you could try using a tray hanger. Just make sure to buy the correct size hanger for your tray and make sure it's rated to support the weight of it.
PS - looking for vintage items like the serving tray in this post? Be sure to check out our Etsy Shop for some fun vintage finds! Our inventory is always changing so check back often :)
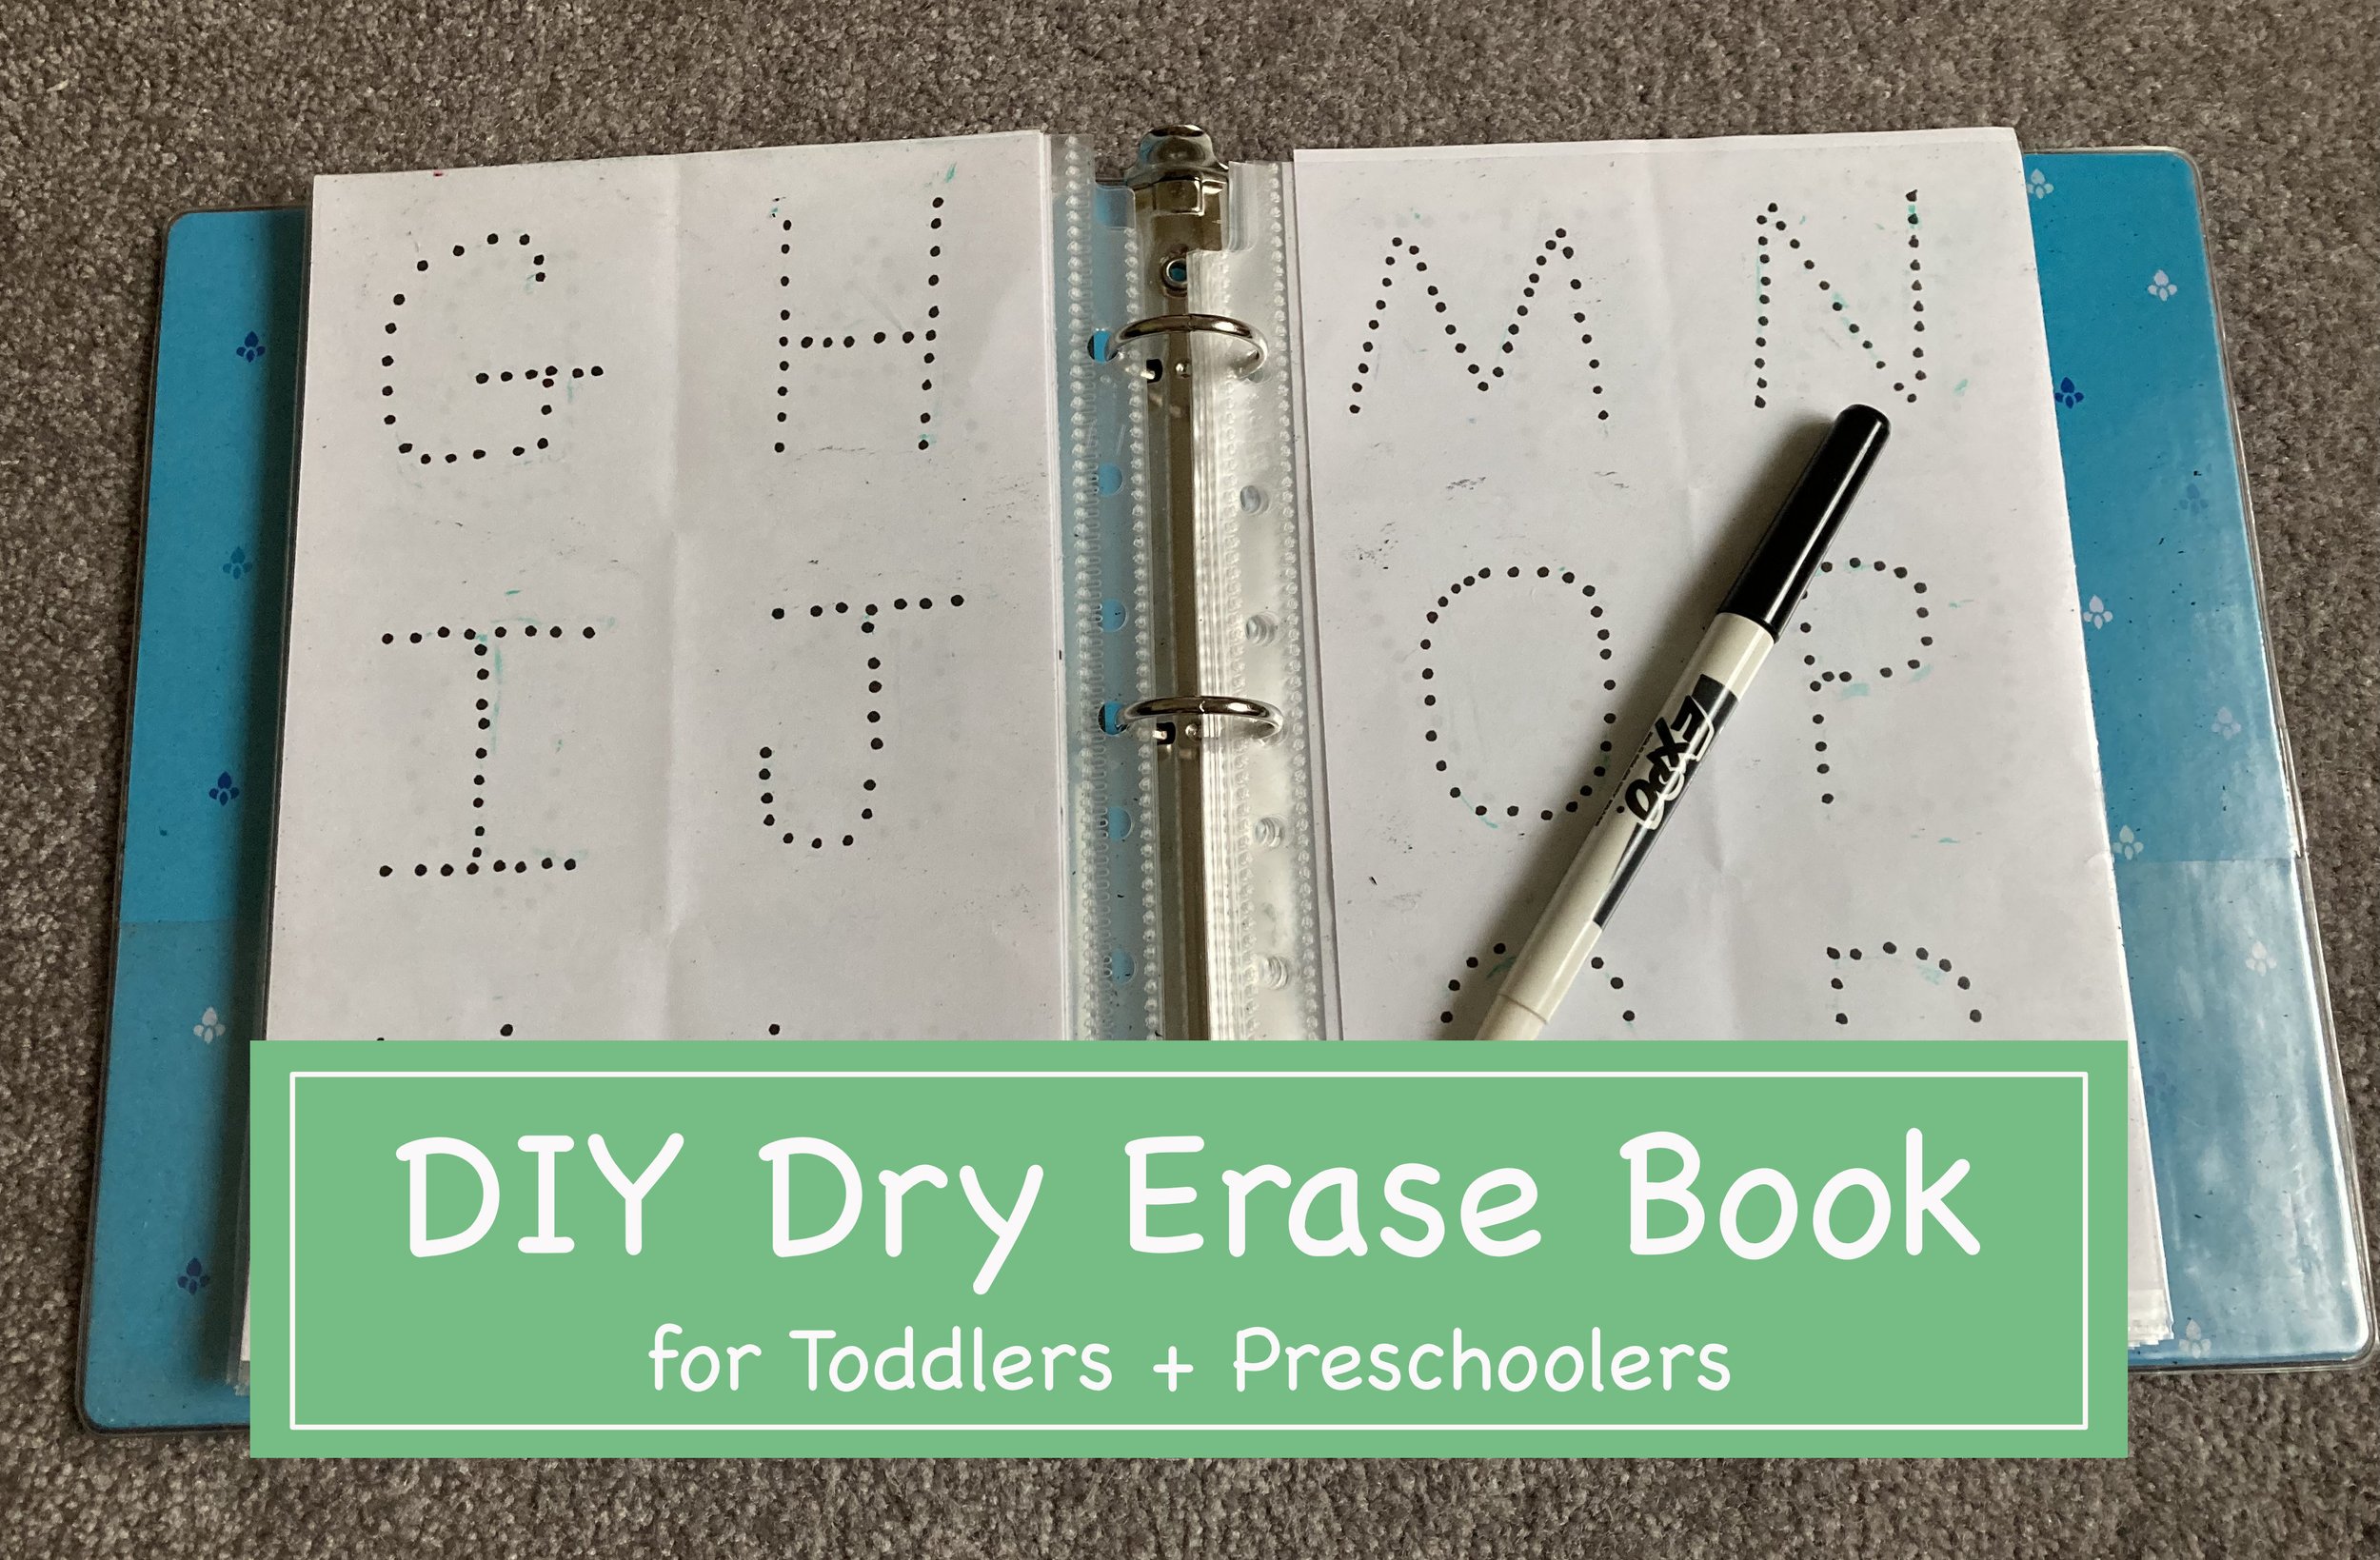
I was just refreshing the little books and toys we keep in our car, when I realized I had never shared about this Dry Erase Activity Book I made for our first kid years ago (and now our youngest uses it). It was incredibly easy to make and tailor to each child with what stage they were at/needed to work on. Here’s the super easy how-to, hopefully it will inspire you to make one yourself! | This post contains affiliate links |
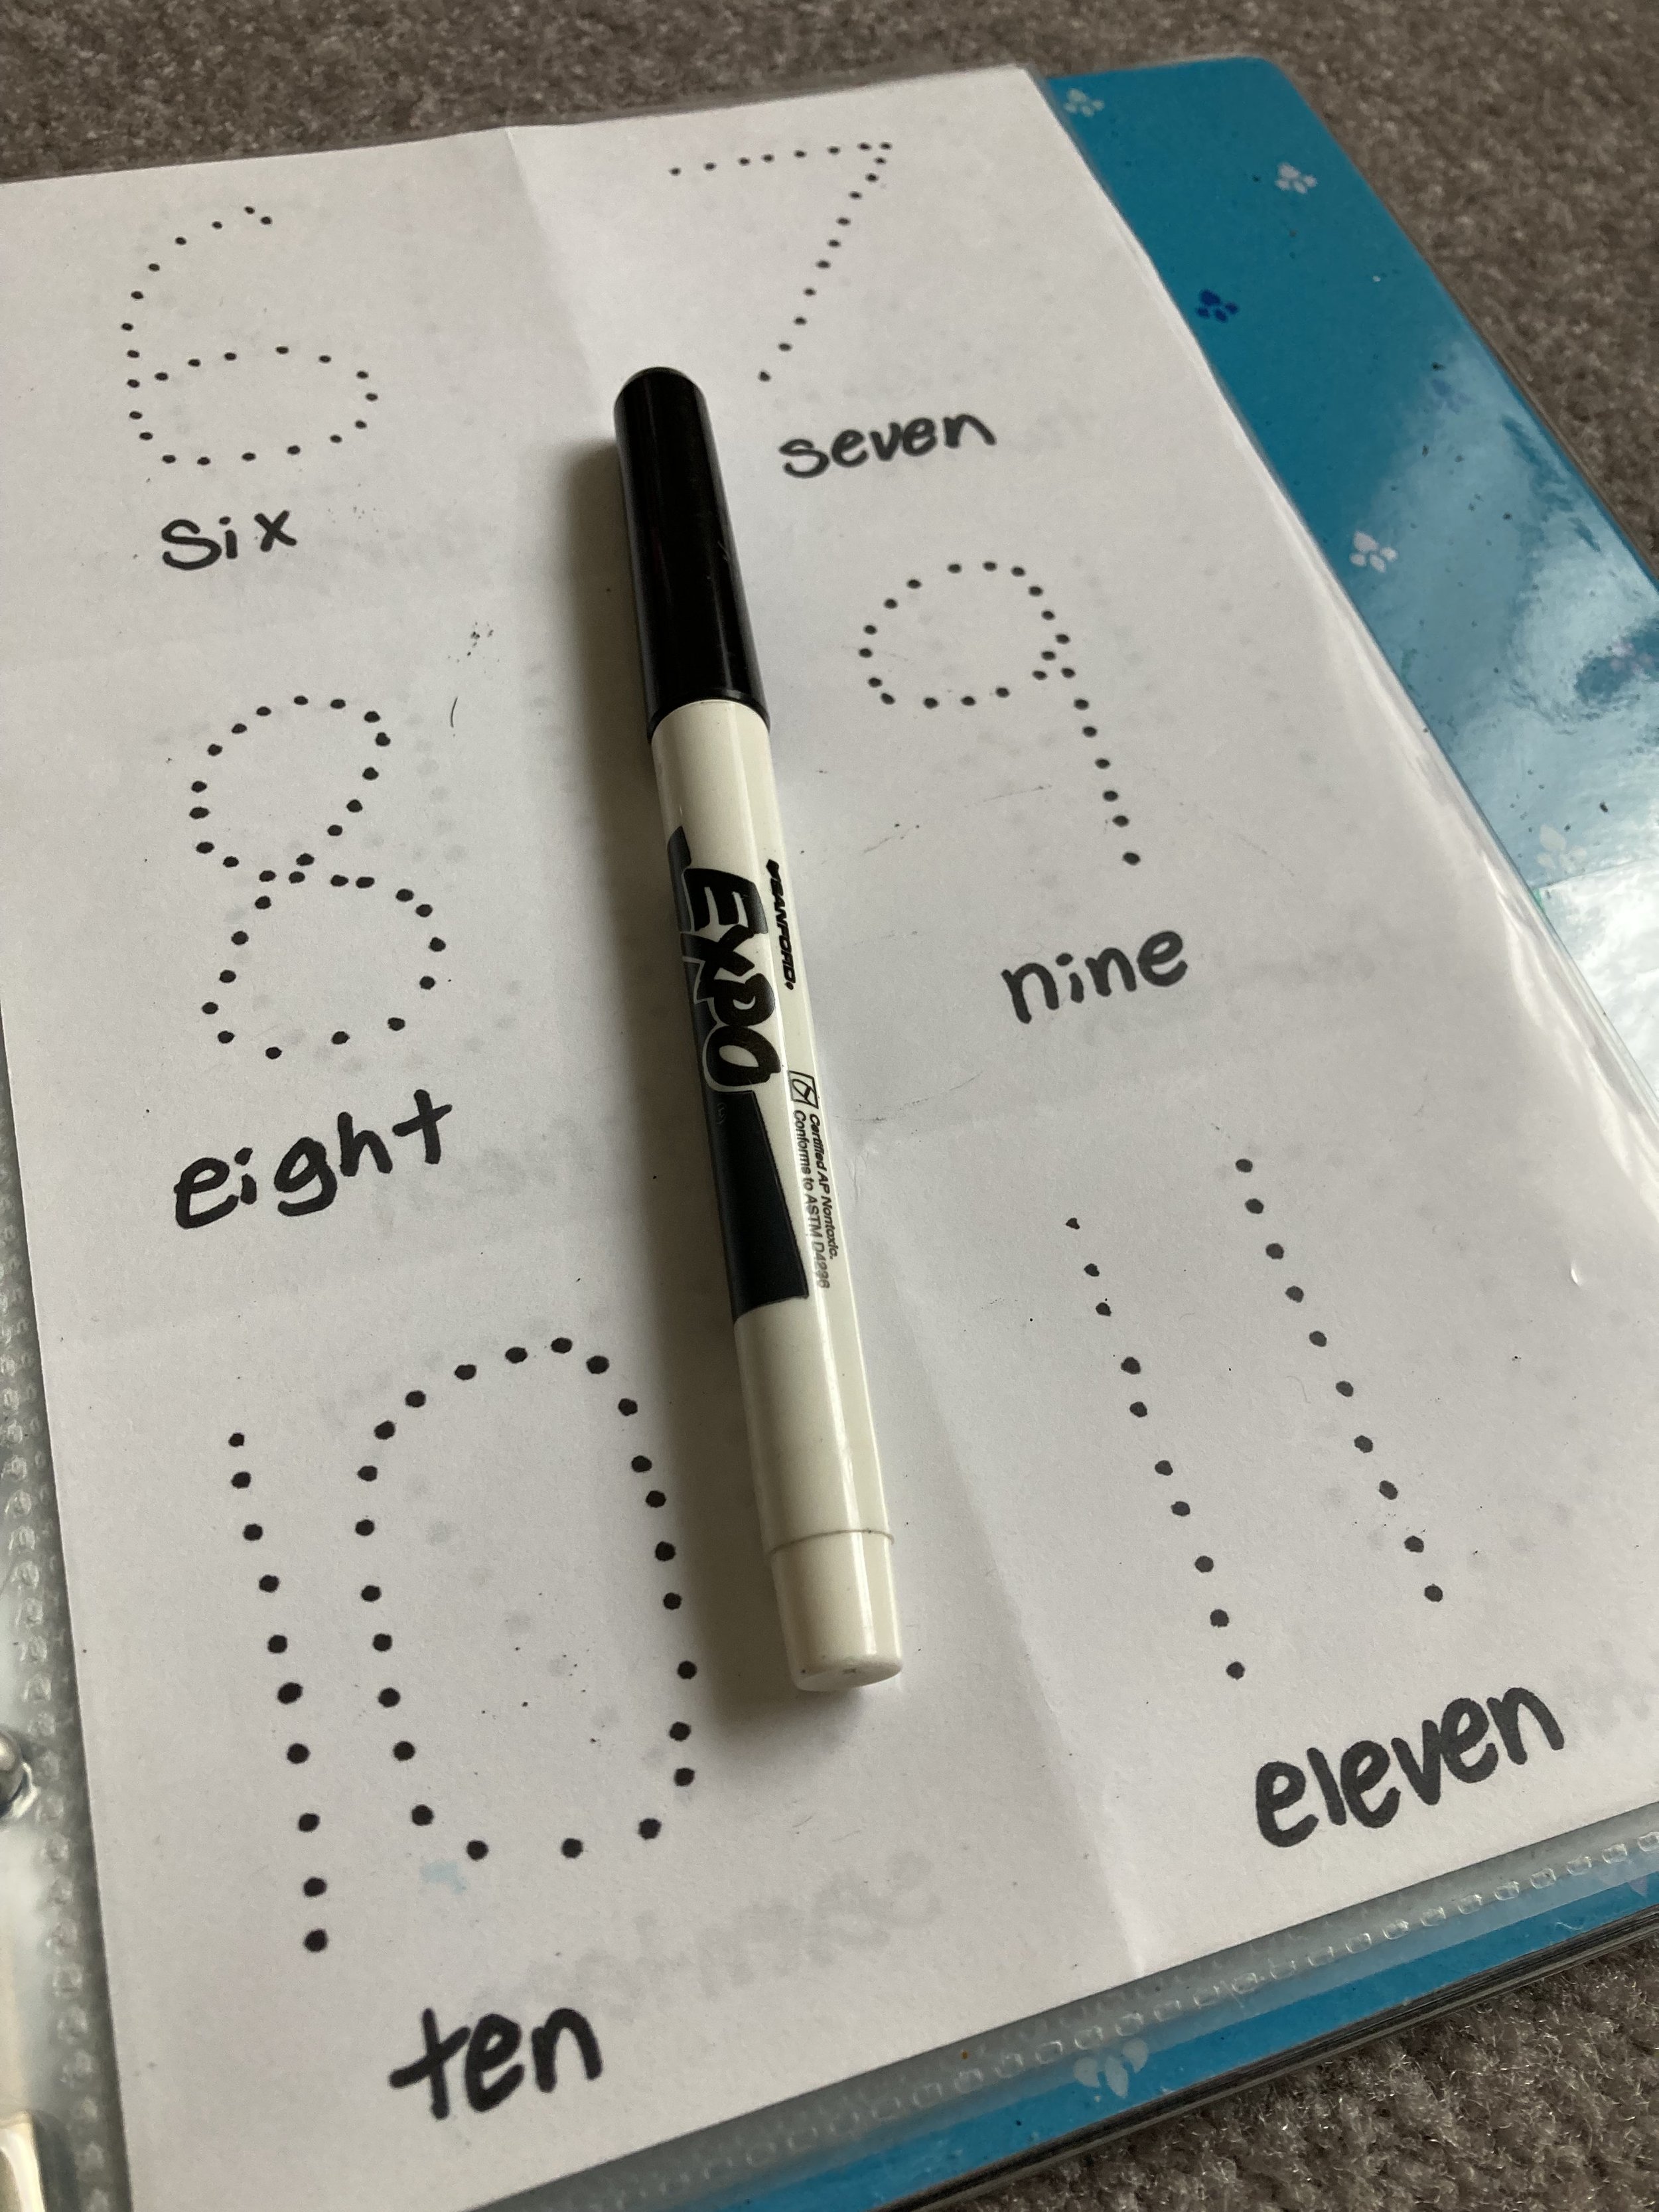
Really the how-to could not be easier! All you have to do is cut the computer paper in half to make it the correct size to fit in the sheet protectors, and then create your worksheets however you would like. I used dots for the kids to trace as well as made some free-draw pages and pages for them to practice writing out their whole names. In the pocket we keep a dry erase marker and some folded up paper towels to wipe the pages when they’re done.
We love this as a car toy and activity to do while the oldest is doing soccer practice, etc. And as your child grows you can update the pages with anything - math problems, maps to label, spelling practice, etc. Have fun tailoring it your kids and their age groups - we love that this can grow with our kids.
Page Ideas (for both young kids and older kids):
tracing shapes
tracing letters (uppercase and lowercase)
tracing numbers
writing name (all uppercase as well as with lowercase)
free draw pages
matching
math problems
spelling practice
labeling maps
labeling planets
draw features (eyes, hair, etc) on a blank face
draw details on a landscape photo
come up with your own - the possibilities are endless!
This Car Seat Organizer where our DIY Dry Erase Activity Book lives (along with other various car toys/books).
We’re getting ready to send our oldest back to school in person for the first time in about 18 months and I don’t know who’s more nervous - me or her. Nevertheless, we’re trying hard to be positive and prepare her as best we can for the return to school. I thought I would share some of the things we’re packing in the event it helps other parents think of things to pack too. | This post contains affiliate links |
Disclaimer: I am not giving medical advice… please consult the CDC, your doctor, etc for what supplies your child should need for themselves and their school situation.
Some Ideas for Back to School Supplies 2021
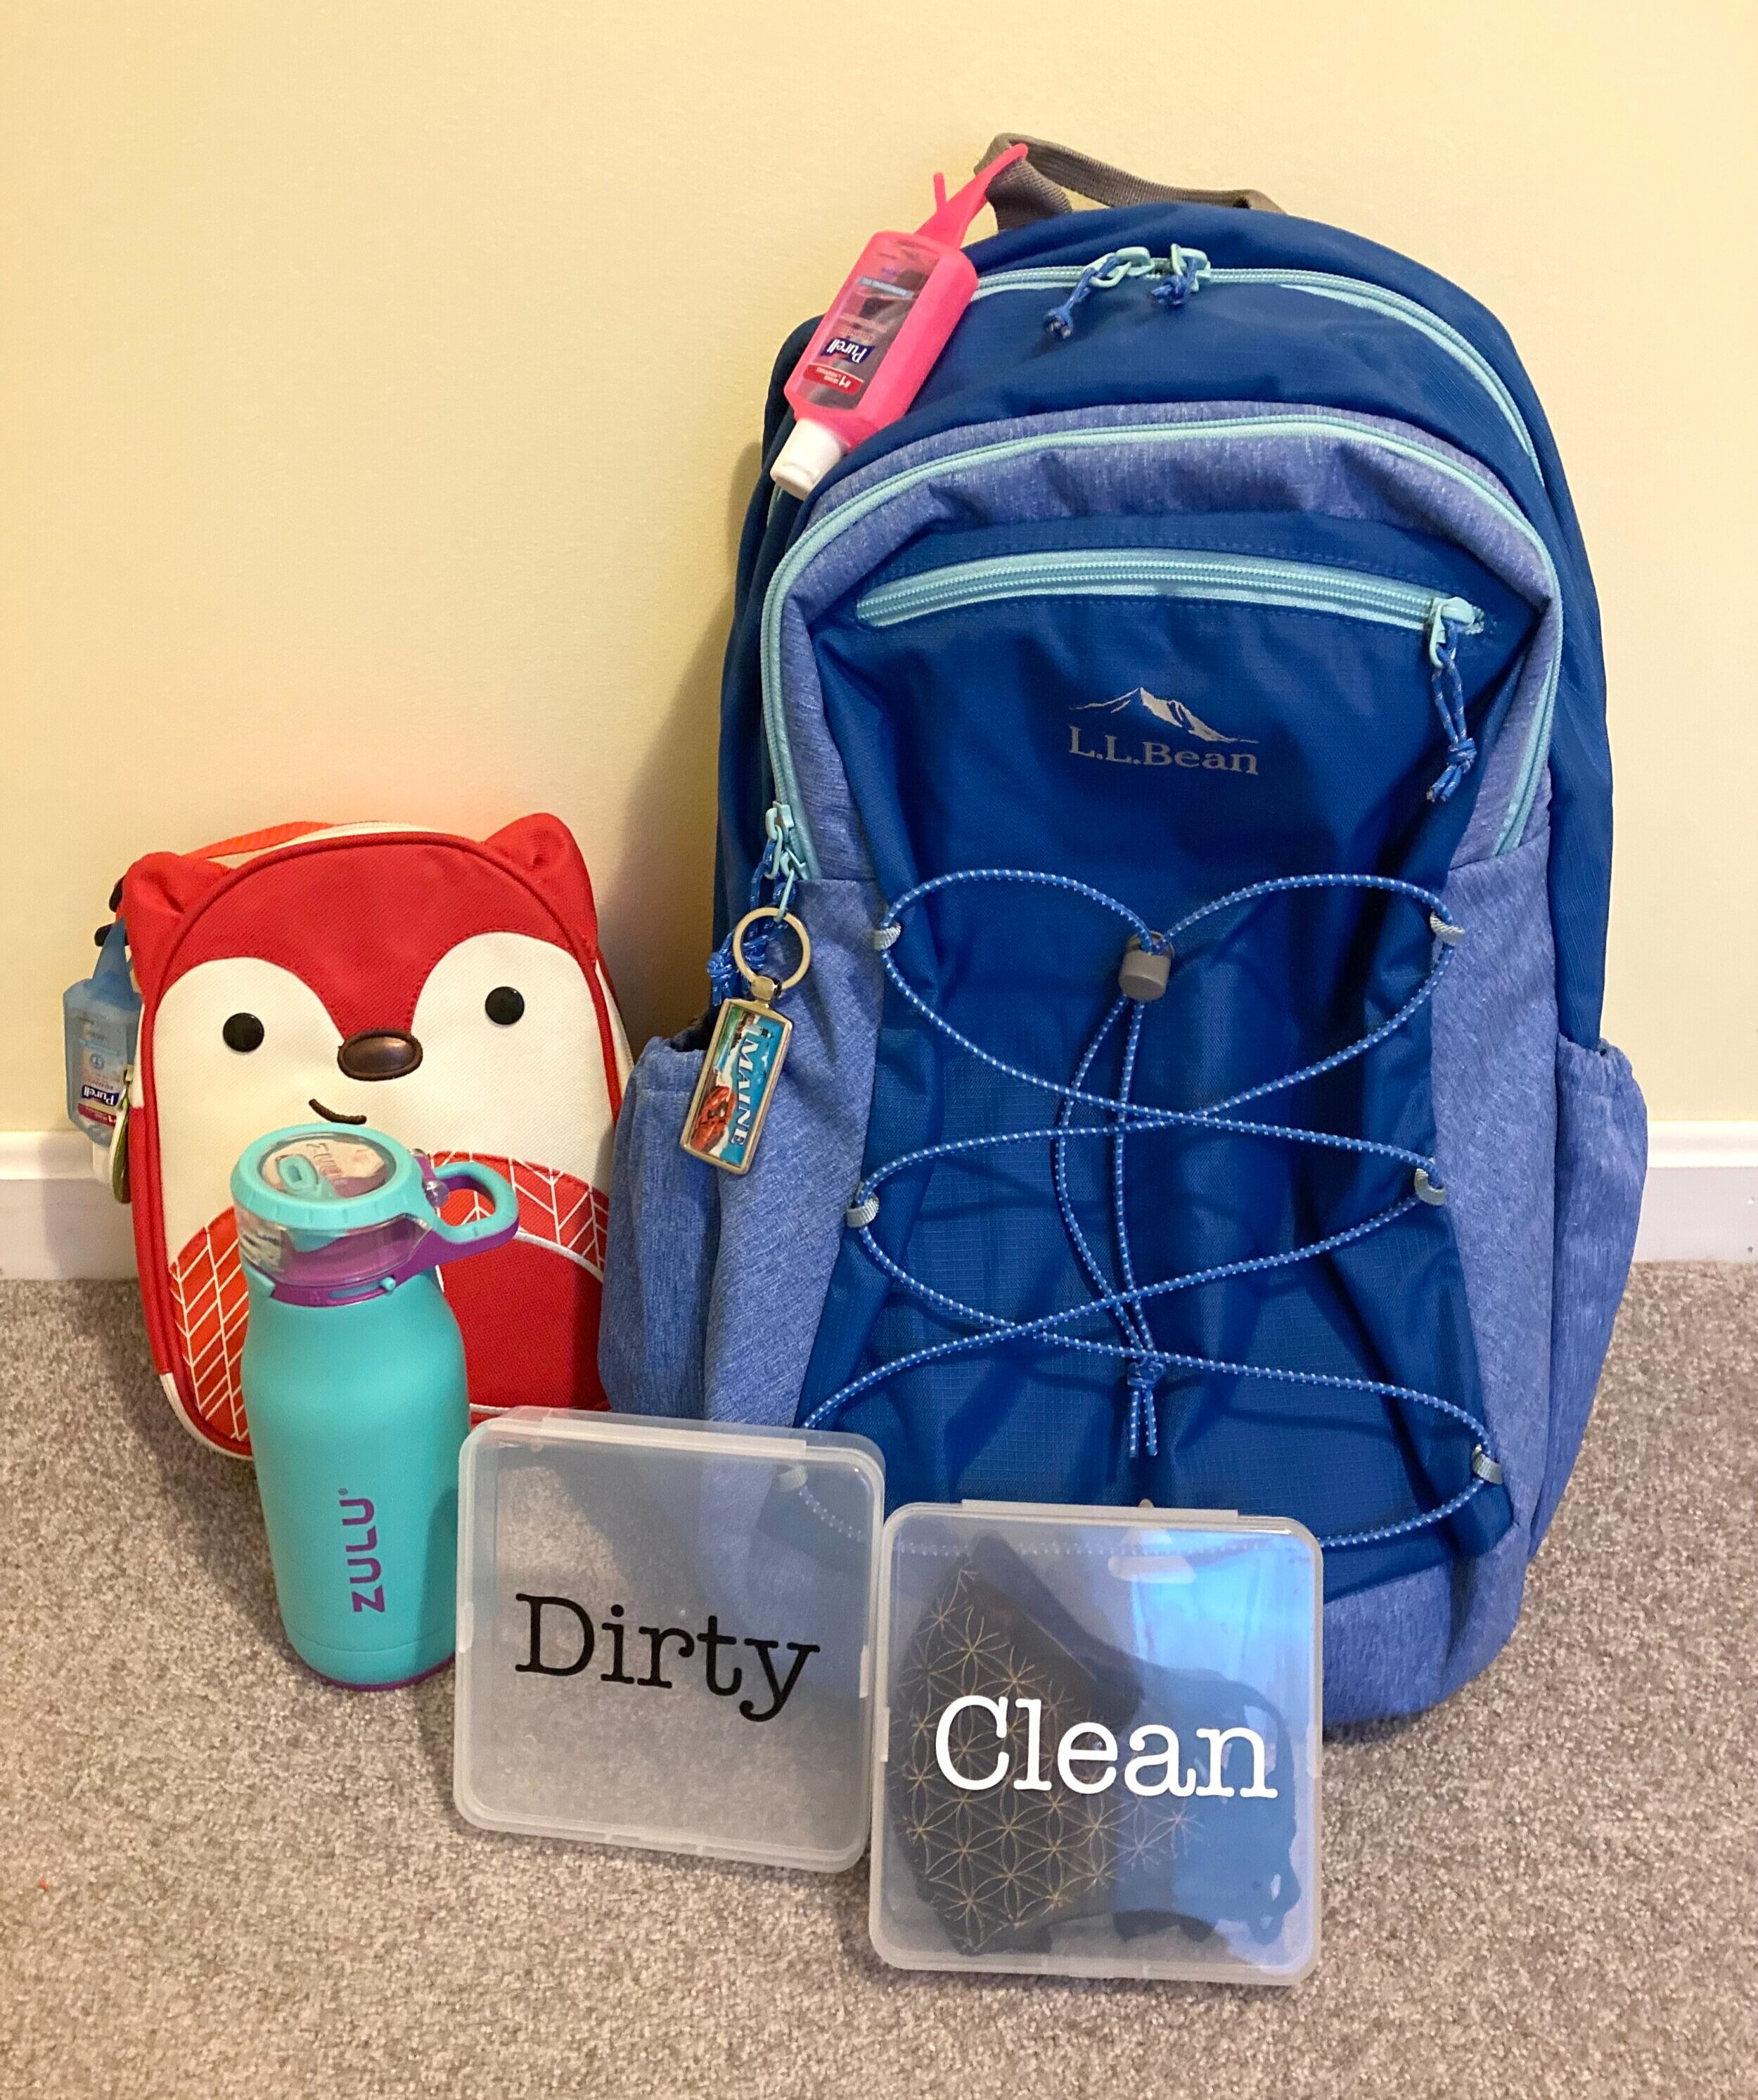
Sturdy Backpack - We're huge fans of L.L. Bean backpacks. They're built to last so we buy a size bigger than our kids need in order to last them many years to come. Since our school does a lot with computers we made sure to pick a backpack that also has a built-in laptop sleeve. (Side note: We always add some added visibility to our kids' gear with Gear Aid Reflective Patches.)
Hand Sanitizer - We got some small "key chain" hand sanitizer dispensers to attach to both her backpack and her lunch box so cleaning her hands whenever she needs to will be easy, especially important before adjusting or taking off masks and before eating/drinking.
Covered Water Bottle - This was a small upgrade we thought might be useful this year. In the past our daughter always used reusable water bottles with an exposed spout, however we thought it might be a better idea to have one that keeps the spout covered when not in use to help keep it cleaner.
Good Masks - We did our best to try to find better masks for this year that are supposed to have better filtration. We have some child-sized "M95" ones as well as some cloth masks that have special filters that go inside of them.
Mask Cases/System - I have no idea if this system will be practical, but we're going to give it a try! I ordered these clear mask cases from Amazon and cut labels for them on my Cricut. We'll be packing one with extra clean masks, and the other will be empty for dirty masks to come home in. Since we invested in some better quality masks I wanted to make sure they stay in cases when not in use to keep them in good shape.
Breakaway Mask Lanyard - These can be handy during times when masks come down (lunch/snack, mask breaks outside, etc).
Label Everything - Pandemic or not, it's important to label all the things when kids go to school. We love this label maker for making quick and easy labels for water bottles, cases, sports gear, etc.
I hope that gave you some ideas of things you may want to pack for your children too, I hope you all have a safe, happy, and healthy school year!
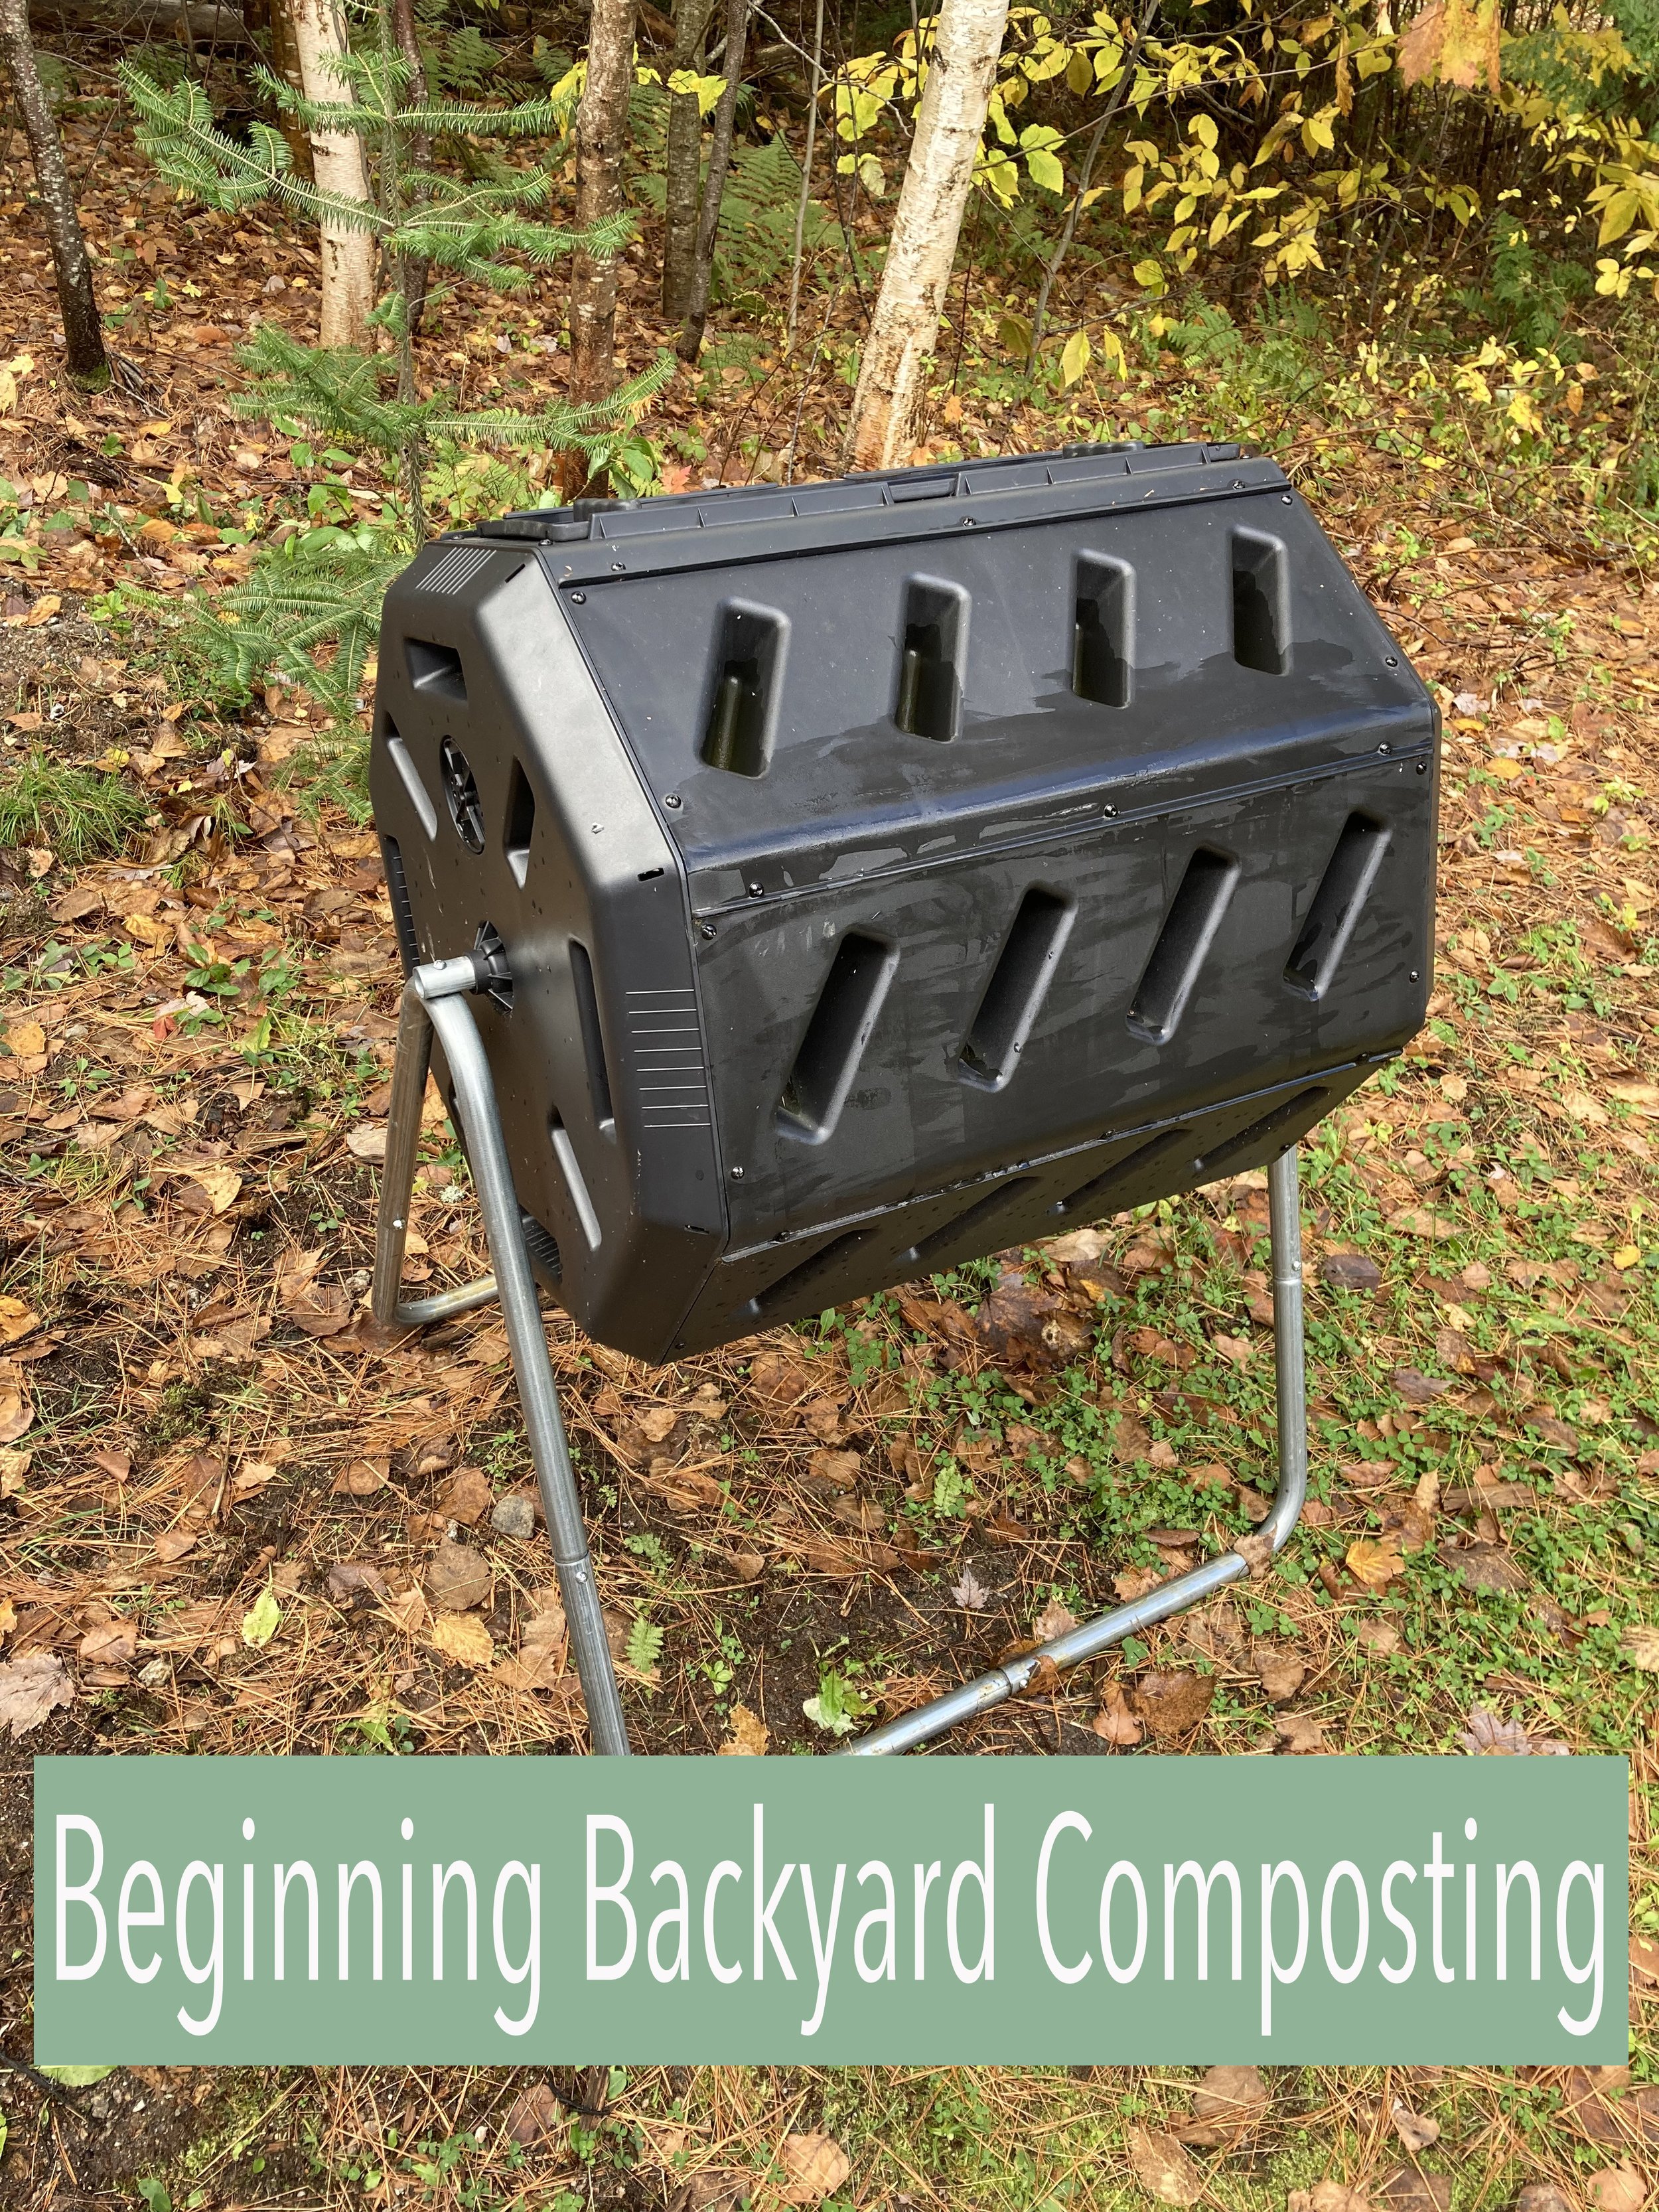
This year we finally jumped on the backyard composting bandwagon. We’ve been wanting to make more eco-friendly choices around our home and decided a big step we could make would be trying to eliminate as much food waste going into our household trash as possible. | This post contains affiliate links |
Composting has a lot of benefits. Some of which include reducing the amount of decomposing matter filling our landfills as well as producing nutrient-rich garden soil to benefit your own yard and garden.
Getting Set Up
When it comes to composting, you could just make a pile in the corner of your yard or make your own bin with some scrap wood or fence. However, we decided to opt for a tumbler-style bin since we were looking for something compact, self-contained, and efficient.
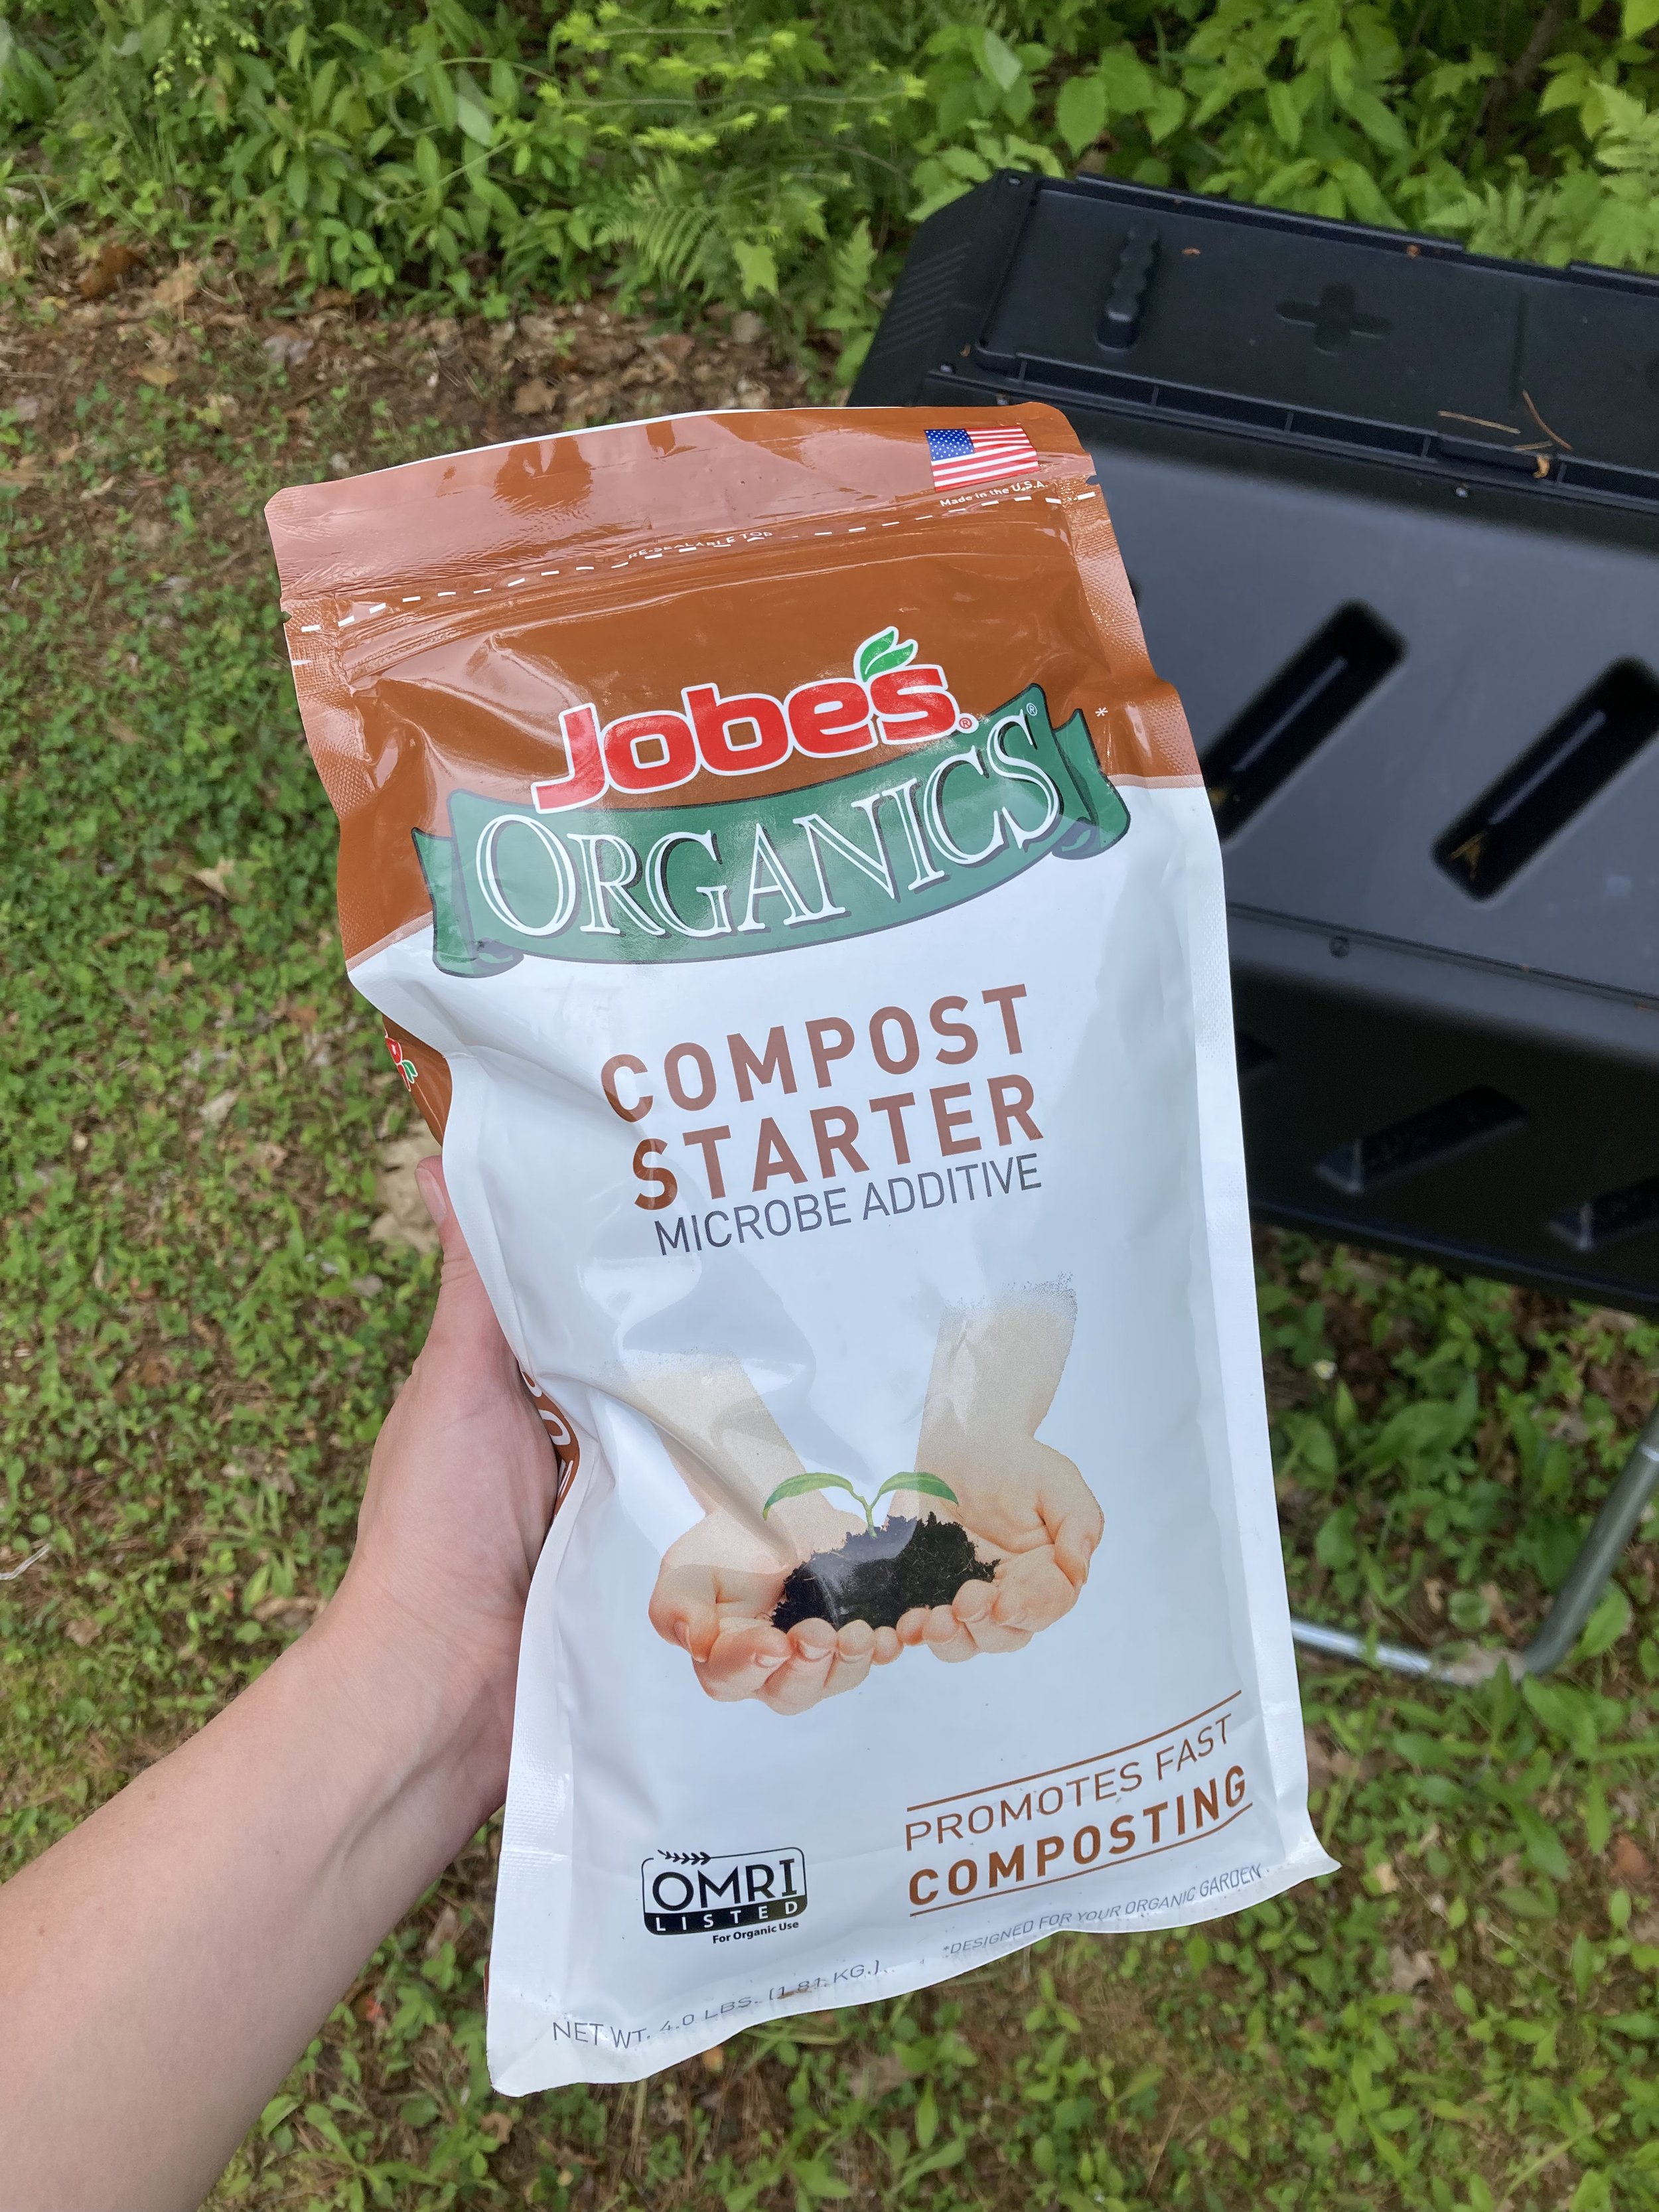
Once you decide on your compost set-up it's important to add some good microbes to "get the party started" and create a good environment for breaking down your food and yard waste. To do this you can add a shovel-full of garden dirt from your own garden to introduce some microbes, or you can buy some specialty compost starter to add to your composter (just follow the package directions).
Composting
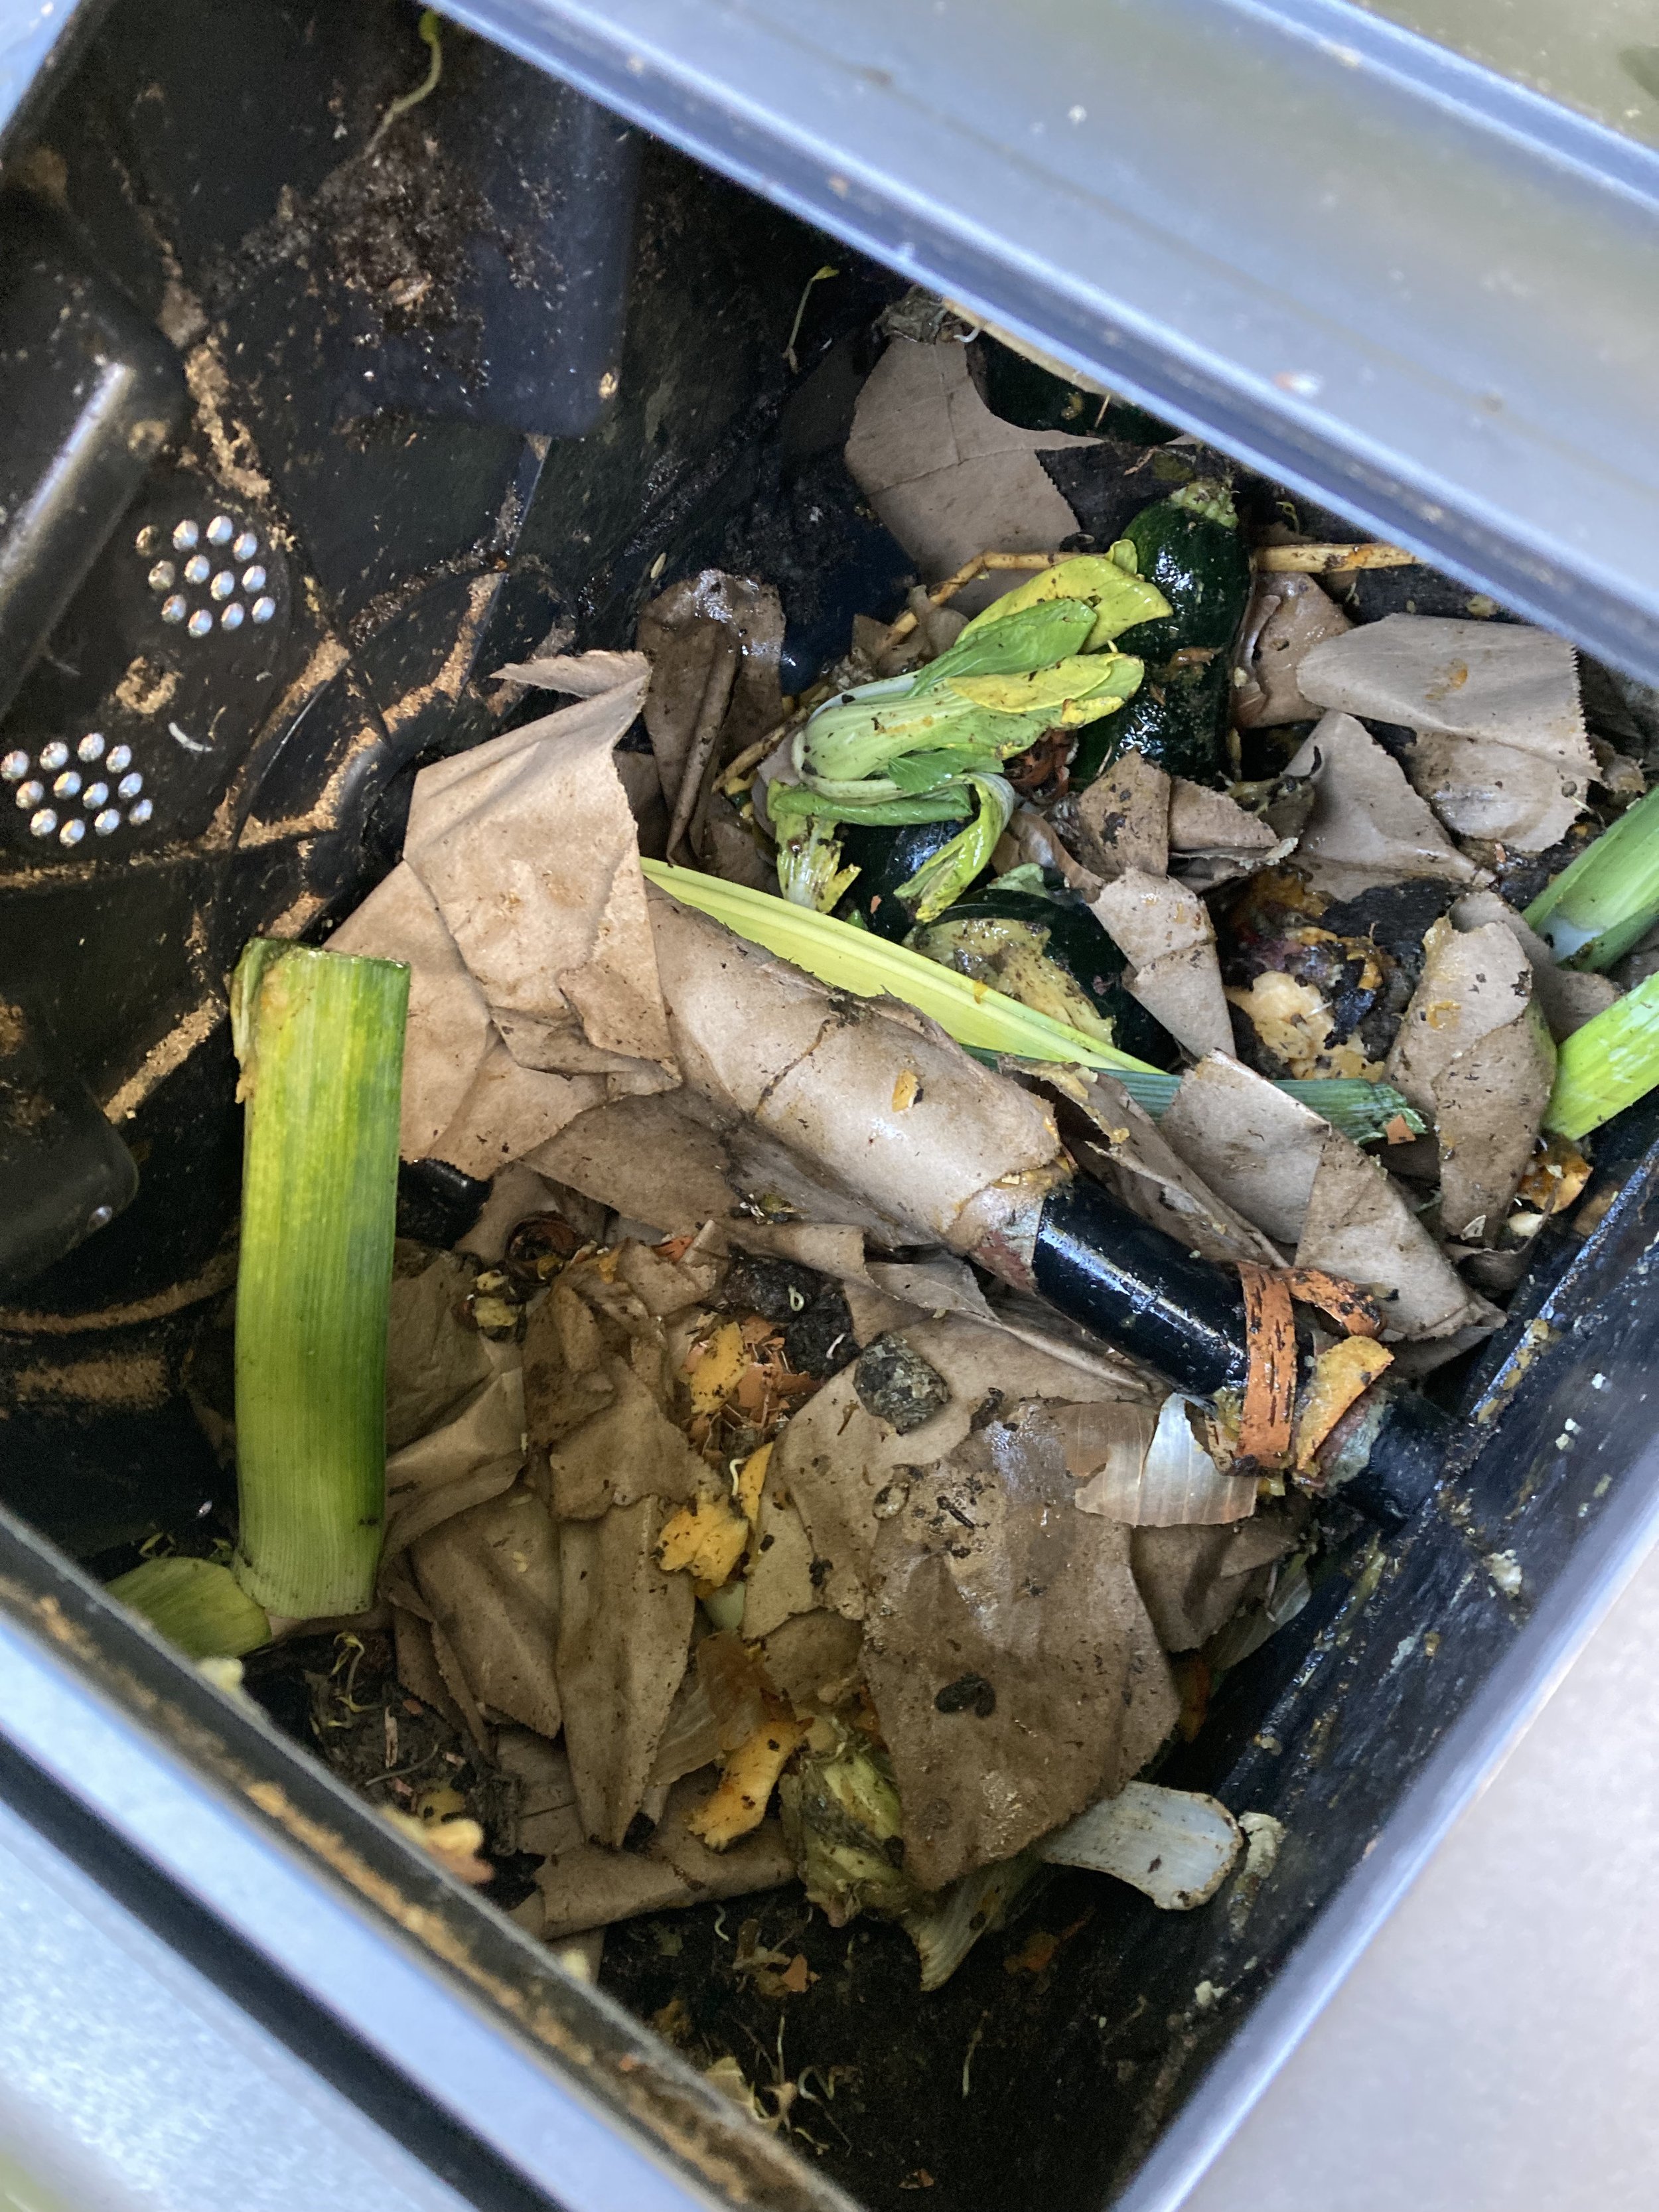
Once you have it set up, just keep on adding food/yard waste and periodically turn your compost over (by hand if yours is a pile or by spinning the drum if it’s a tumbler-style). The trickiest part for me is keeping the ratios right - ideally your compost pile should be about 1 part “greens” (these would be fruit/veggie scraps, coffee grounds, etc… I like to think of them as wet items) and 2 parts “browns” (leaves, newspaper, brown paper bags, etc… I like to think of them as dry items). We personally tend to teeter from too dry to too wet in our compost bin but it seems to average out eventually.
I typically toss our kitchen scraps in a bowl on the counter as I'm cooking and promptly empty it into the compost bin outside. This has worked well for us so far since the weather has been mild. Once it turns winter here I will probably invest in a kitchen countertop compost container so I don't need to walk outside across the icy/snowy yard several times a day, and instead can just empty the kitchen container into the outside compost bin periodically as it fills up.
What to Compost
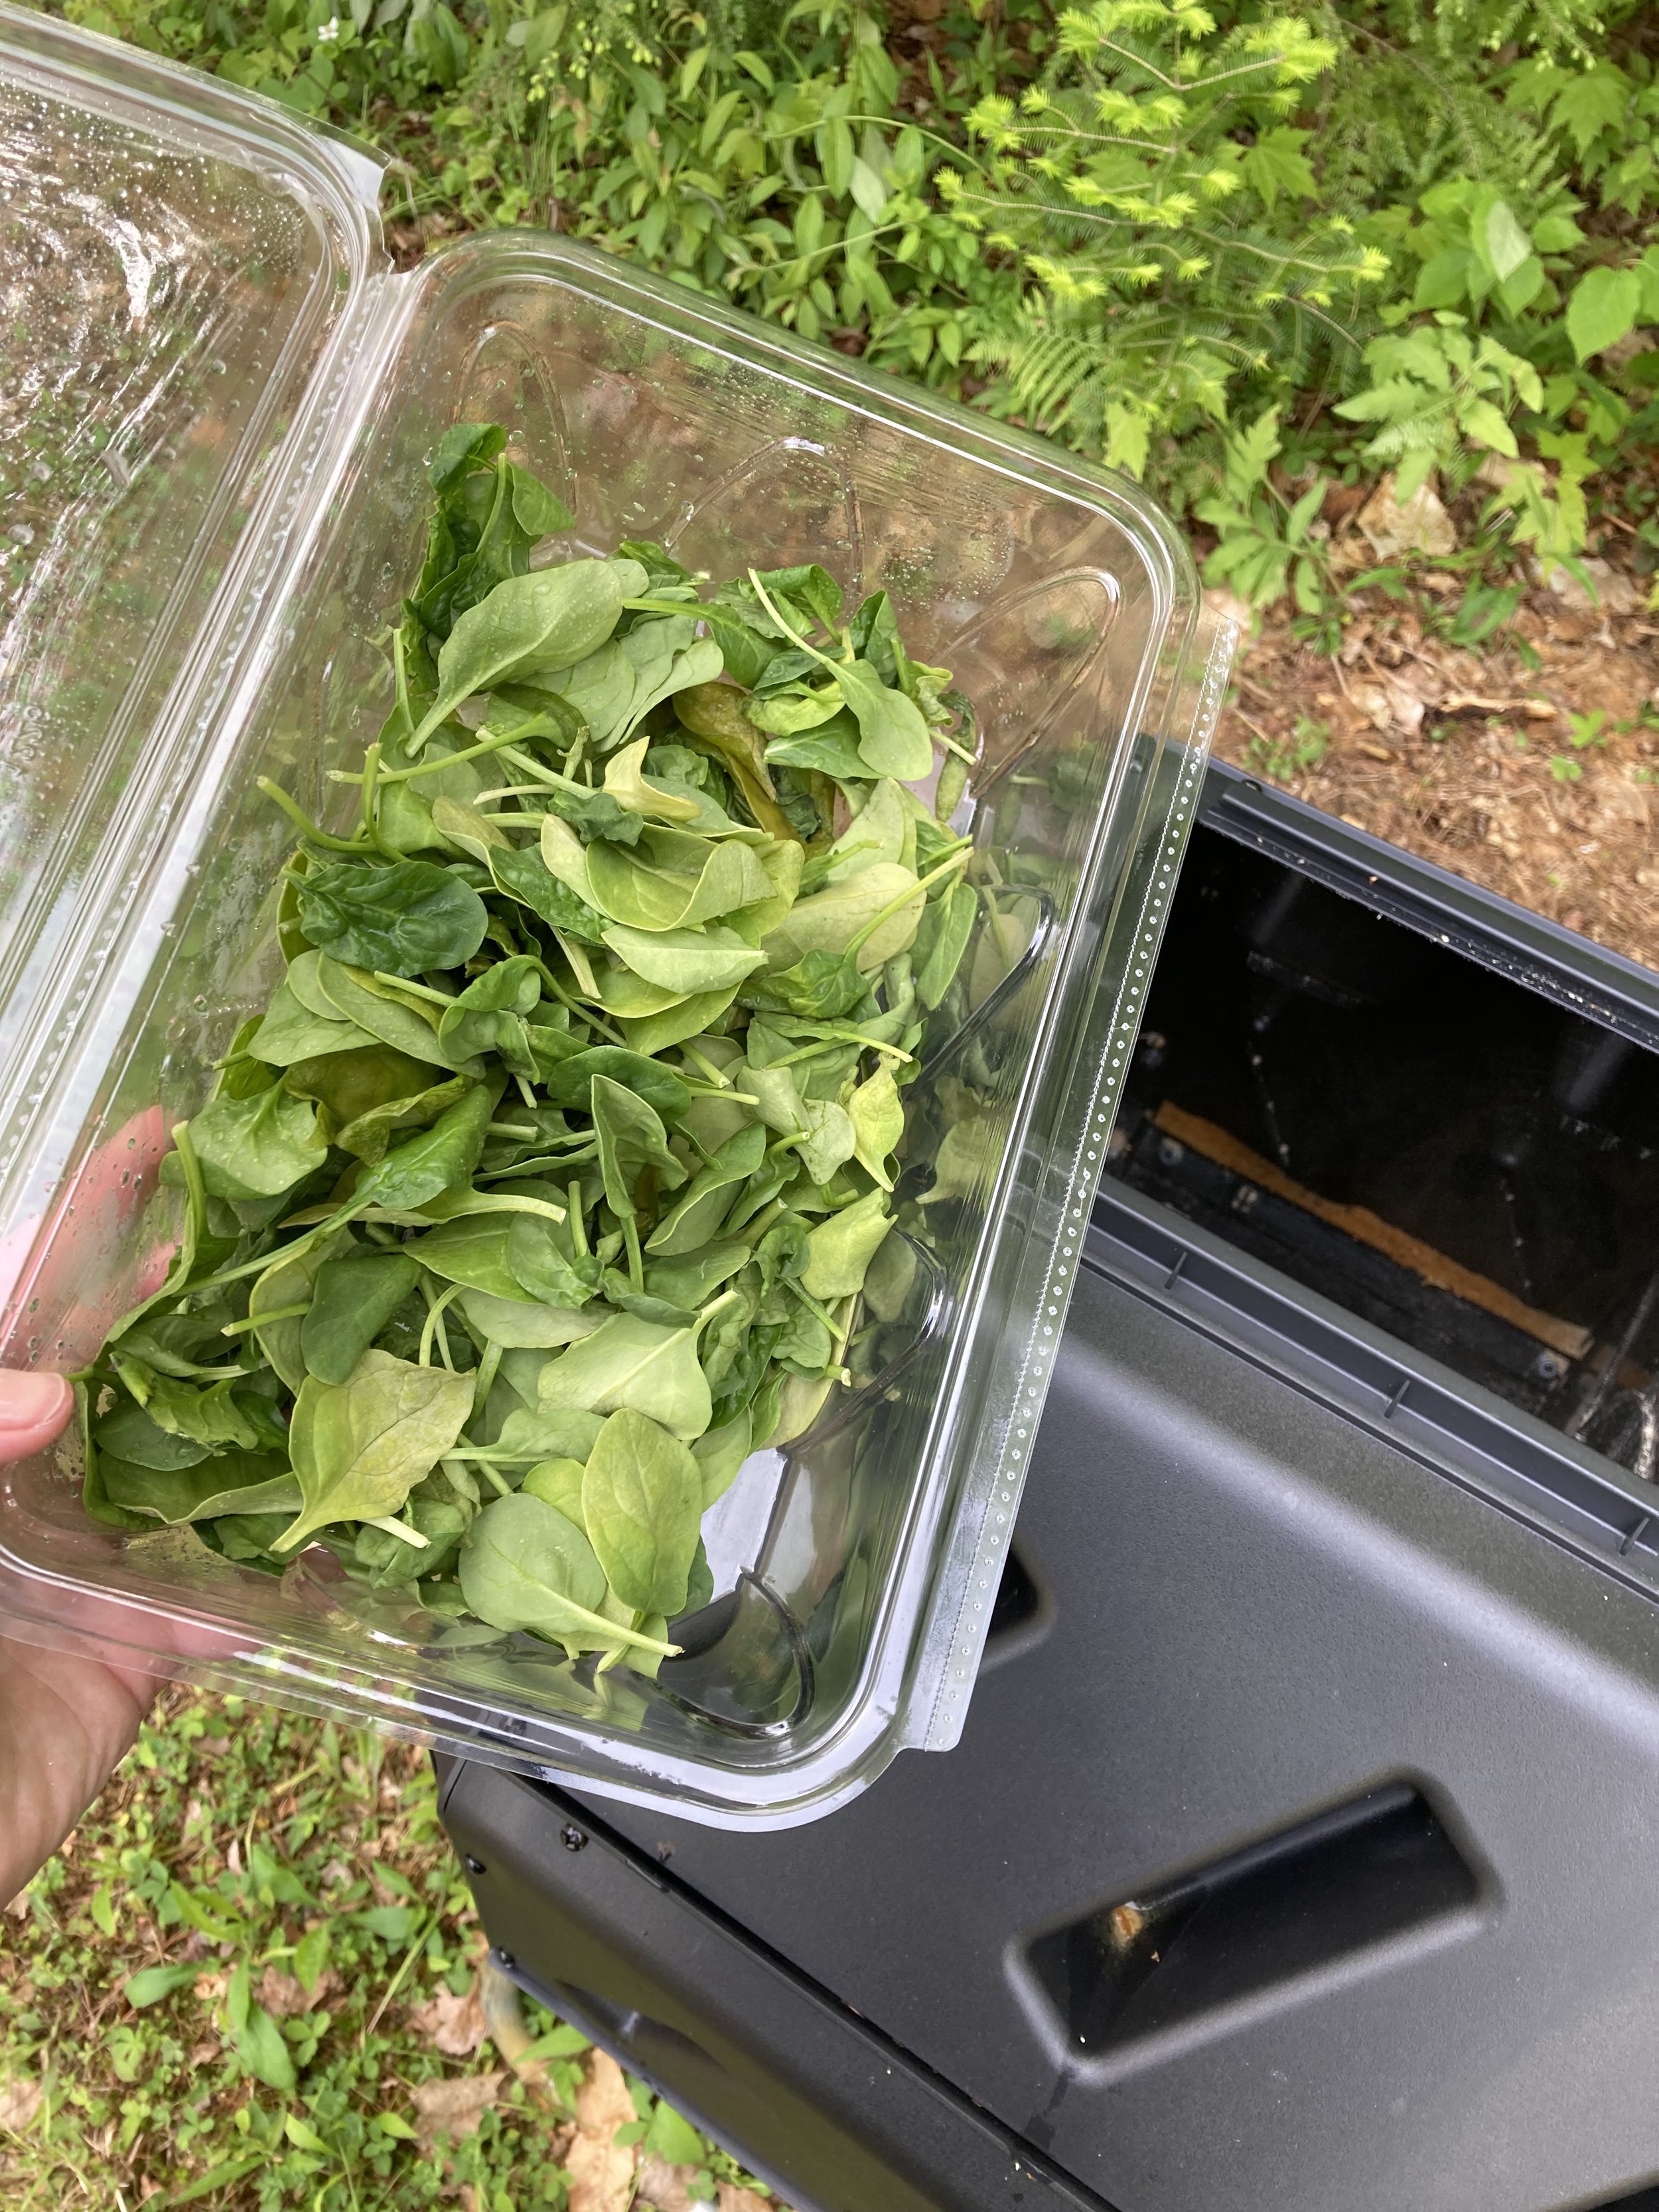
Slimy spinach in your fridge? Toss it in the composter and then recycle the container!
Here’s a short list of things you can potentially compost:
fruit
vegetables
inedible portions of fruit/veggies (i.e. - rinds/cores)
coffee grounds
egg shells
disease-free, non-invasive plants
shredded newspaper
shredded brown paper bags
shredded paper (non-glossy)
untreated sawdust (I make a lot of ornaments for my Etsy shop and compost the sawdust)
toilet paper rolls
leaves, grass clippings
small sticks
The smaller you make the items in your compost bin (cut them up or shred them), the quicker they should decompose and compost.
What NOT to Compost
Do NOT Compost:
x plastic or household trash x meat x dairy x cooked food x glass or metal x animal waste or used animal bedding/shavings x invasive or diseased plant materials - compost very strong smelling fruit/veggies with caution (i.e. citrus/bananas) if you live in an area with bears or raccoons that are an issue
Good luck in your composting adventure! I hope you enjoy the process and be proud in your efforts to be a little more eco-friendly in your home.
Disclaimer: I am sharing my experiences with what we’ve learned in the composting process so far. If you’d like expert or more detailed and specific information, I’d recommend contacting your local garden center or university cooperative for more information. Your local town or city may have composting programs to join or guidelines to follow too.
When you have kids, the chaos of their stuff seems to follow you everywhere - including into your car. I accept that our cars will never be pristine (dirt, crumbs, and dog hair will always be present), but I make sure that despite that we have a simple system to keep our things organized and to make sure we always have our essentials at hand. | This post contains affiliate links |
Disclaimer: Use organizers and other items at own risk. Make sure they are properly installed and compatible with your vehicle.
Keeping Toys in Check
I got tired of loose books and small toys spilling all over the back seat and the floor, so I got a backseat organizer to corral the kids’ items and keep them within easy reach for long car rides. In the organizer we always have some small books, an electronic kids toy, and some puzzles like a Rubik's Cube, as well as sunglasses for each kid in the small pockets in the front. I like this organizer because it fits between the car seats and can also buckle in so it doesn't slide around. (Side note: Where's Waldo has become a favorite car read and keeps the kids entertained for a long time.)
Trunk Organizer
With young kids we always carry supplies like a first aid kit, full change of clothing for each child, trash bags for wet/dirty clothes, extra towel and blanket, etc. For awhile all those items lived in a diaper bag in the trunk, but we are past the diaper stage now and it was time to retire the diaper bag and upgrade to something sleeker and space-saving. I am really loving this sturdy SUV trunk organizer for keeping everything hidden but still within reach.
The Infamous Car Potty
If you know, you know… With small kids traveling with a potty is a must, even for awhile once they’re past potty training age. You never know when an urgent bathroom request will happen, and these days with the pandemic it’s great to have a clean personal potty for your kid to use, rather than a dirty rest stop bathroom. Pro tip: We line our car potty with an open diaper to absorb liquid and waste and reduce the risk of a spill (makes for easier clean up too!).
Registration/Insurance Holder
It’s a good idea to keep all your car paperwork handy and organized in the glove box, because if you need it you don’t want to have to go digging for it - especially if it’s of an urgent nature (if you got pulled over, fender bender, etc). I personally like the little portfolios that keep everything ready and easy to find.
Roadside Kit / First Aid Kit
Always keep a roadside emergency kit and first aid kit in your car in the event you break down or have an accident. You may be able to find a kit that covers all your bases, but often you may have to purchase these separately or at least supplement with some additional tools or first aid items. Our trunk area has a hidden compartment underneath where we store all our roadside and first aid gear.
Extra Masks
It’s a sign of the times… make sure you always keep a spare set of extra masks in your car for the whole family. That way you’re never caught without one if you need it. We made our mask case using a slim wipes container (similar container linked here).
Disclaimer: Use organizers and other items at own risk. Make sure they are properly installed and compatible with your vehicle.
Being home 24/7 and trying to limit grocery trips and ordering really makes you evaluate how quickly you’re going through supplies in your home. With two little kids, paper products were something we were blowing through and made me wonder how we could change this for the better. | This post is not sponsored but does contain affiliate links |
Now when I say "paper products" in this post I'm talking about paper towels and paper napkins. To greatly reduce our usage of these things we made the switch to reusable "unpaper" towels and aren't looking back. (And before you ask... yes, reusable toilet paper/wipes do exist too - but that's not for us, though if the toilet paper shortage continues who knows...).
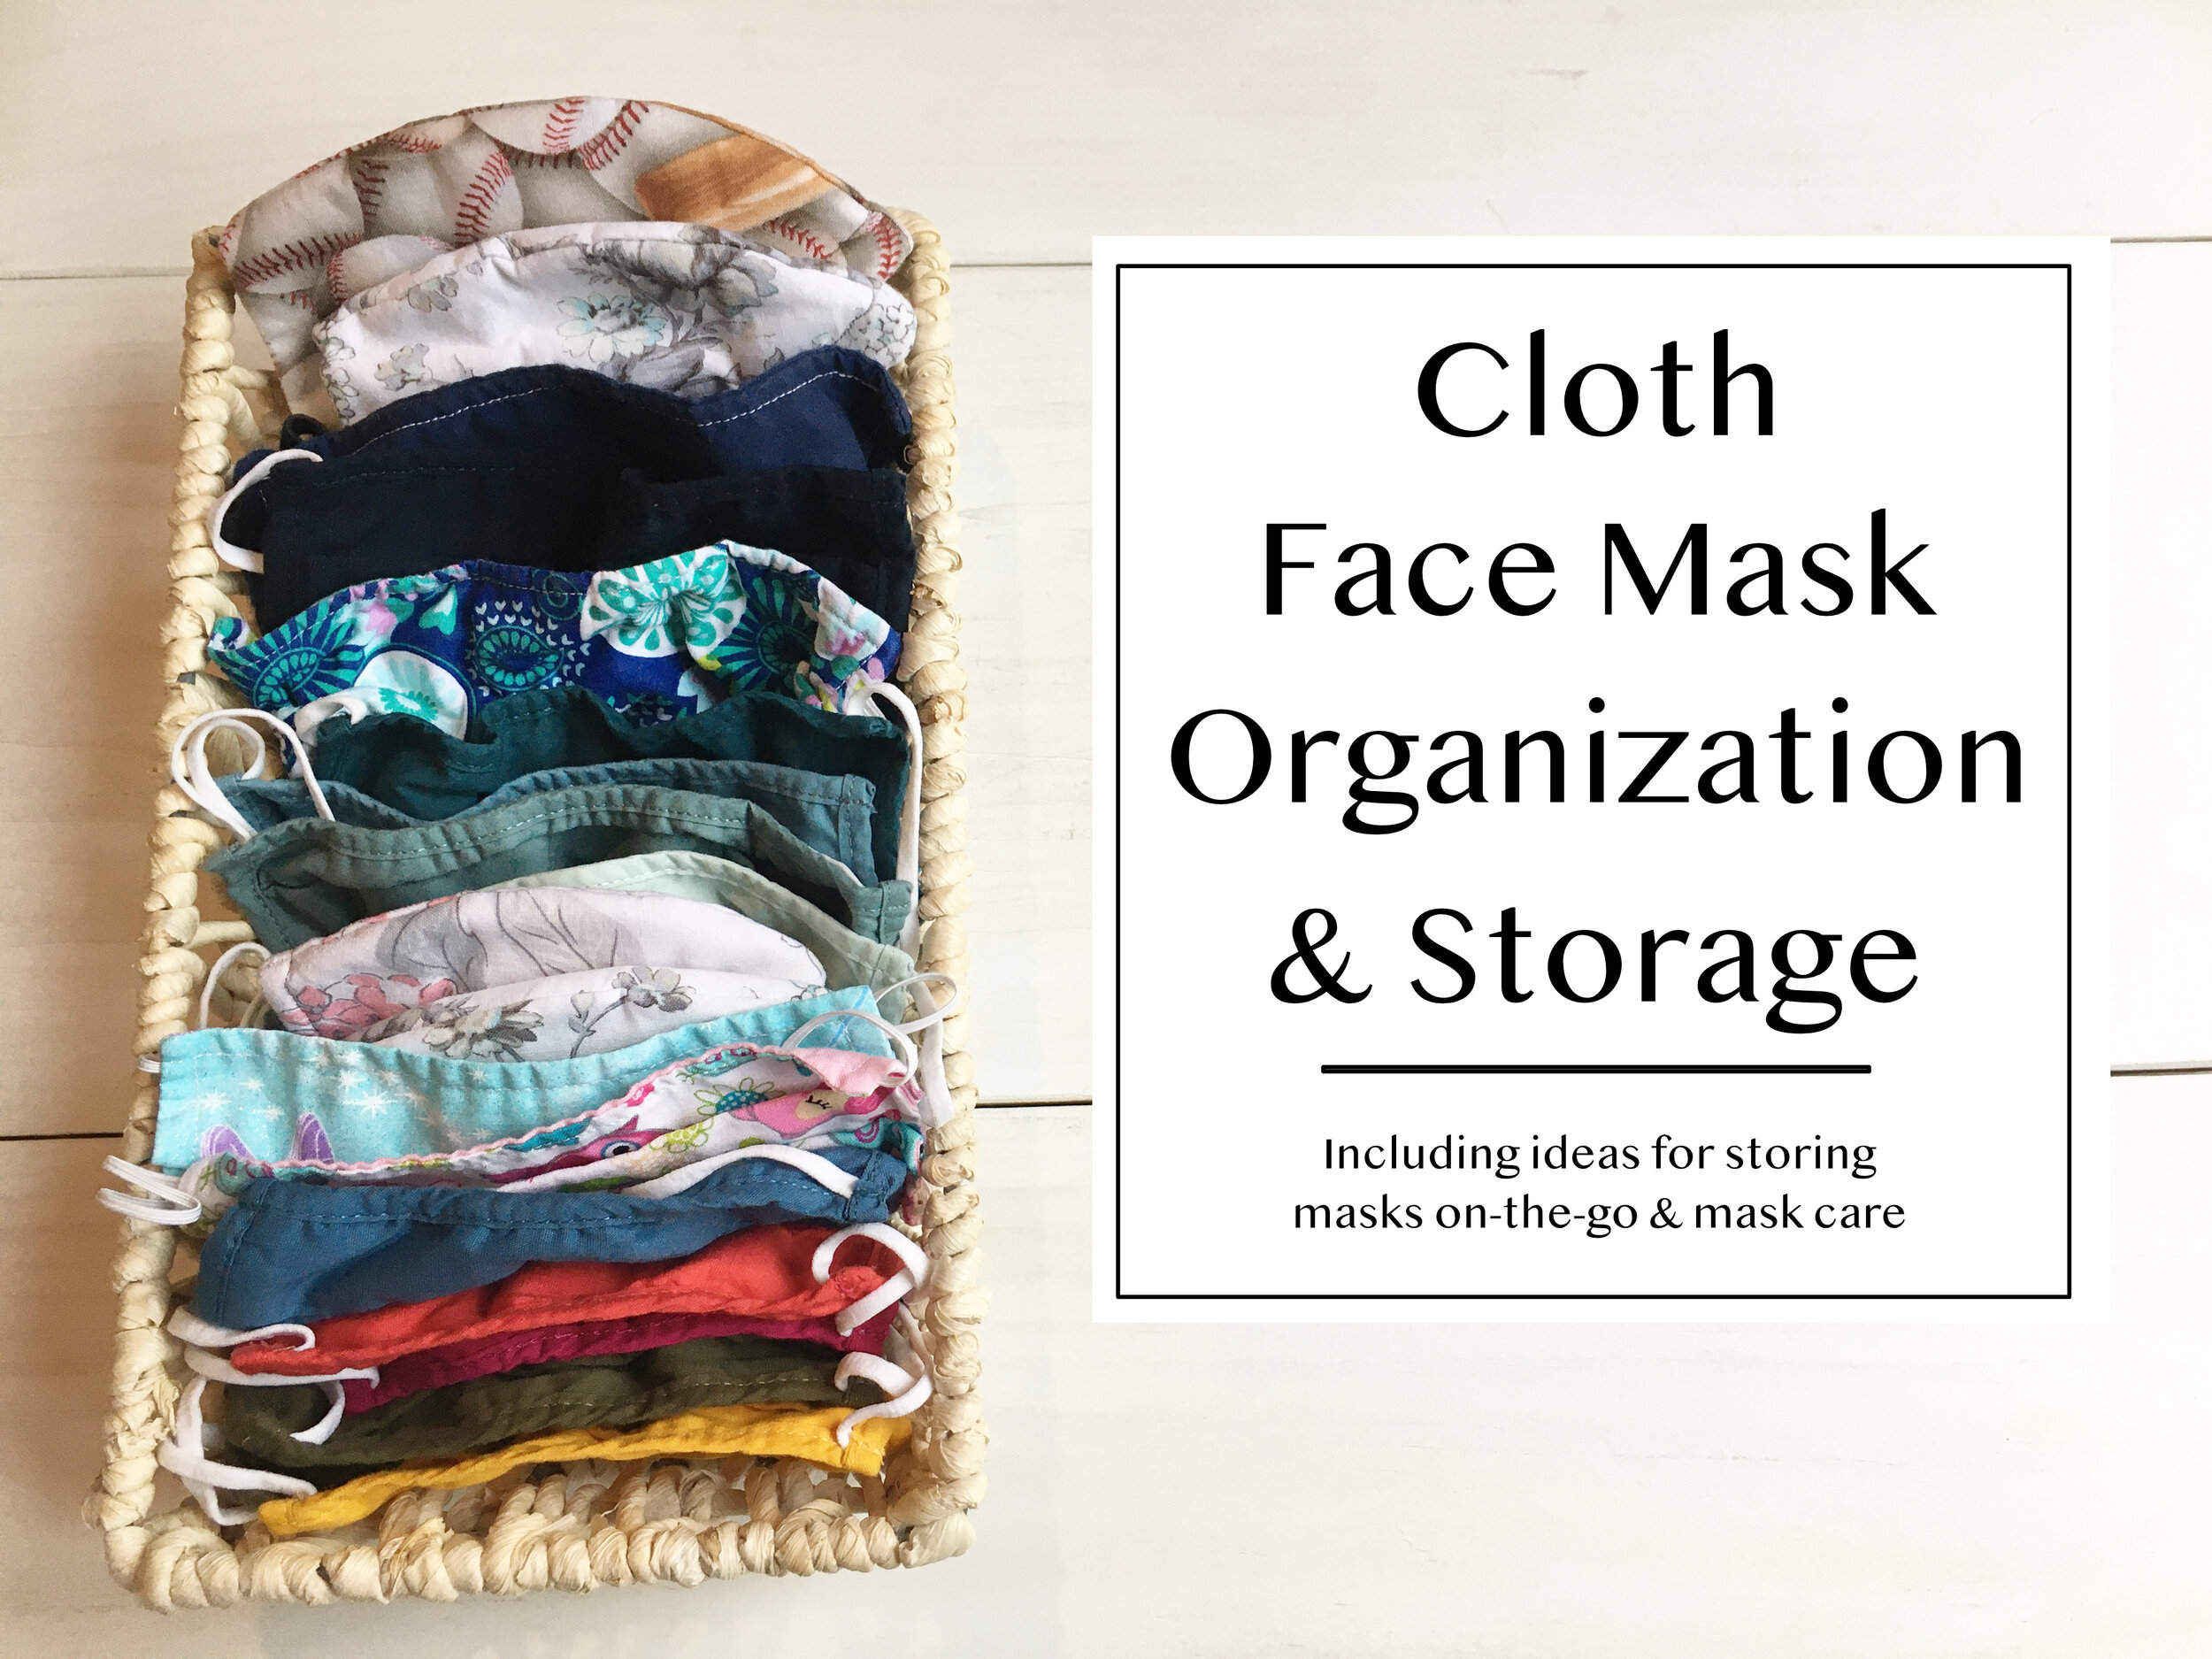
“Unpaper” towels are cloths that you can use like paper towels but wash and reuse for a long time. You could really use just about any kind of cloth - wash cloths, tea towels, cloth napkins, pieces of flannel, etc. Hopefully you have something around the house already that you can use, but if you don’t and decide to purchase some we’ve found them to be worth the investment. For the price of a large package of throw-away paper towels, you can purchase of set of reusable ones that will last you a very, very long time and will eventually pay for themselves.
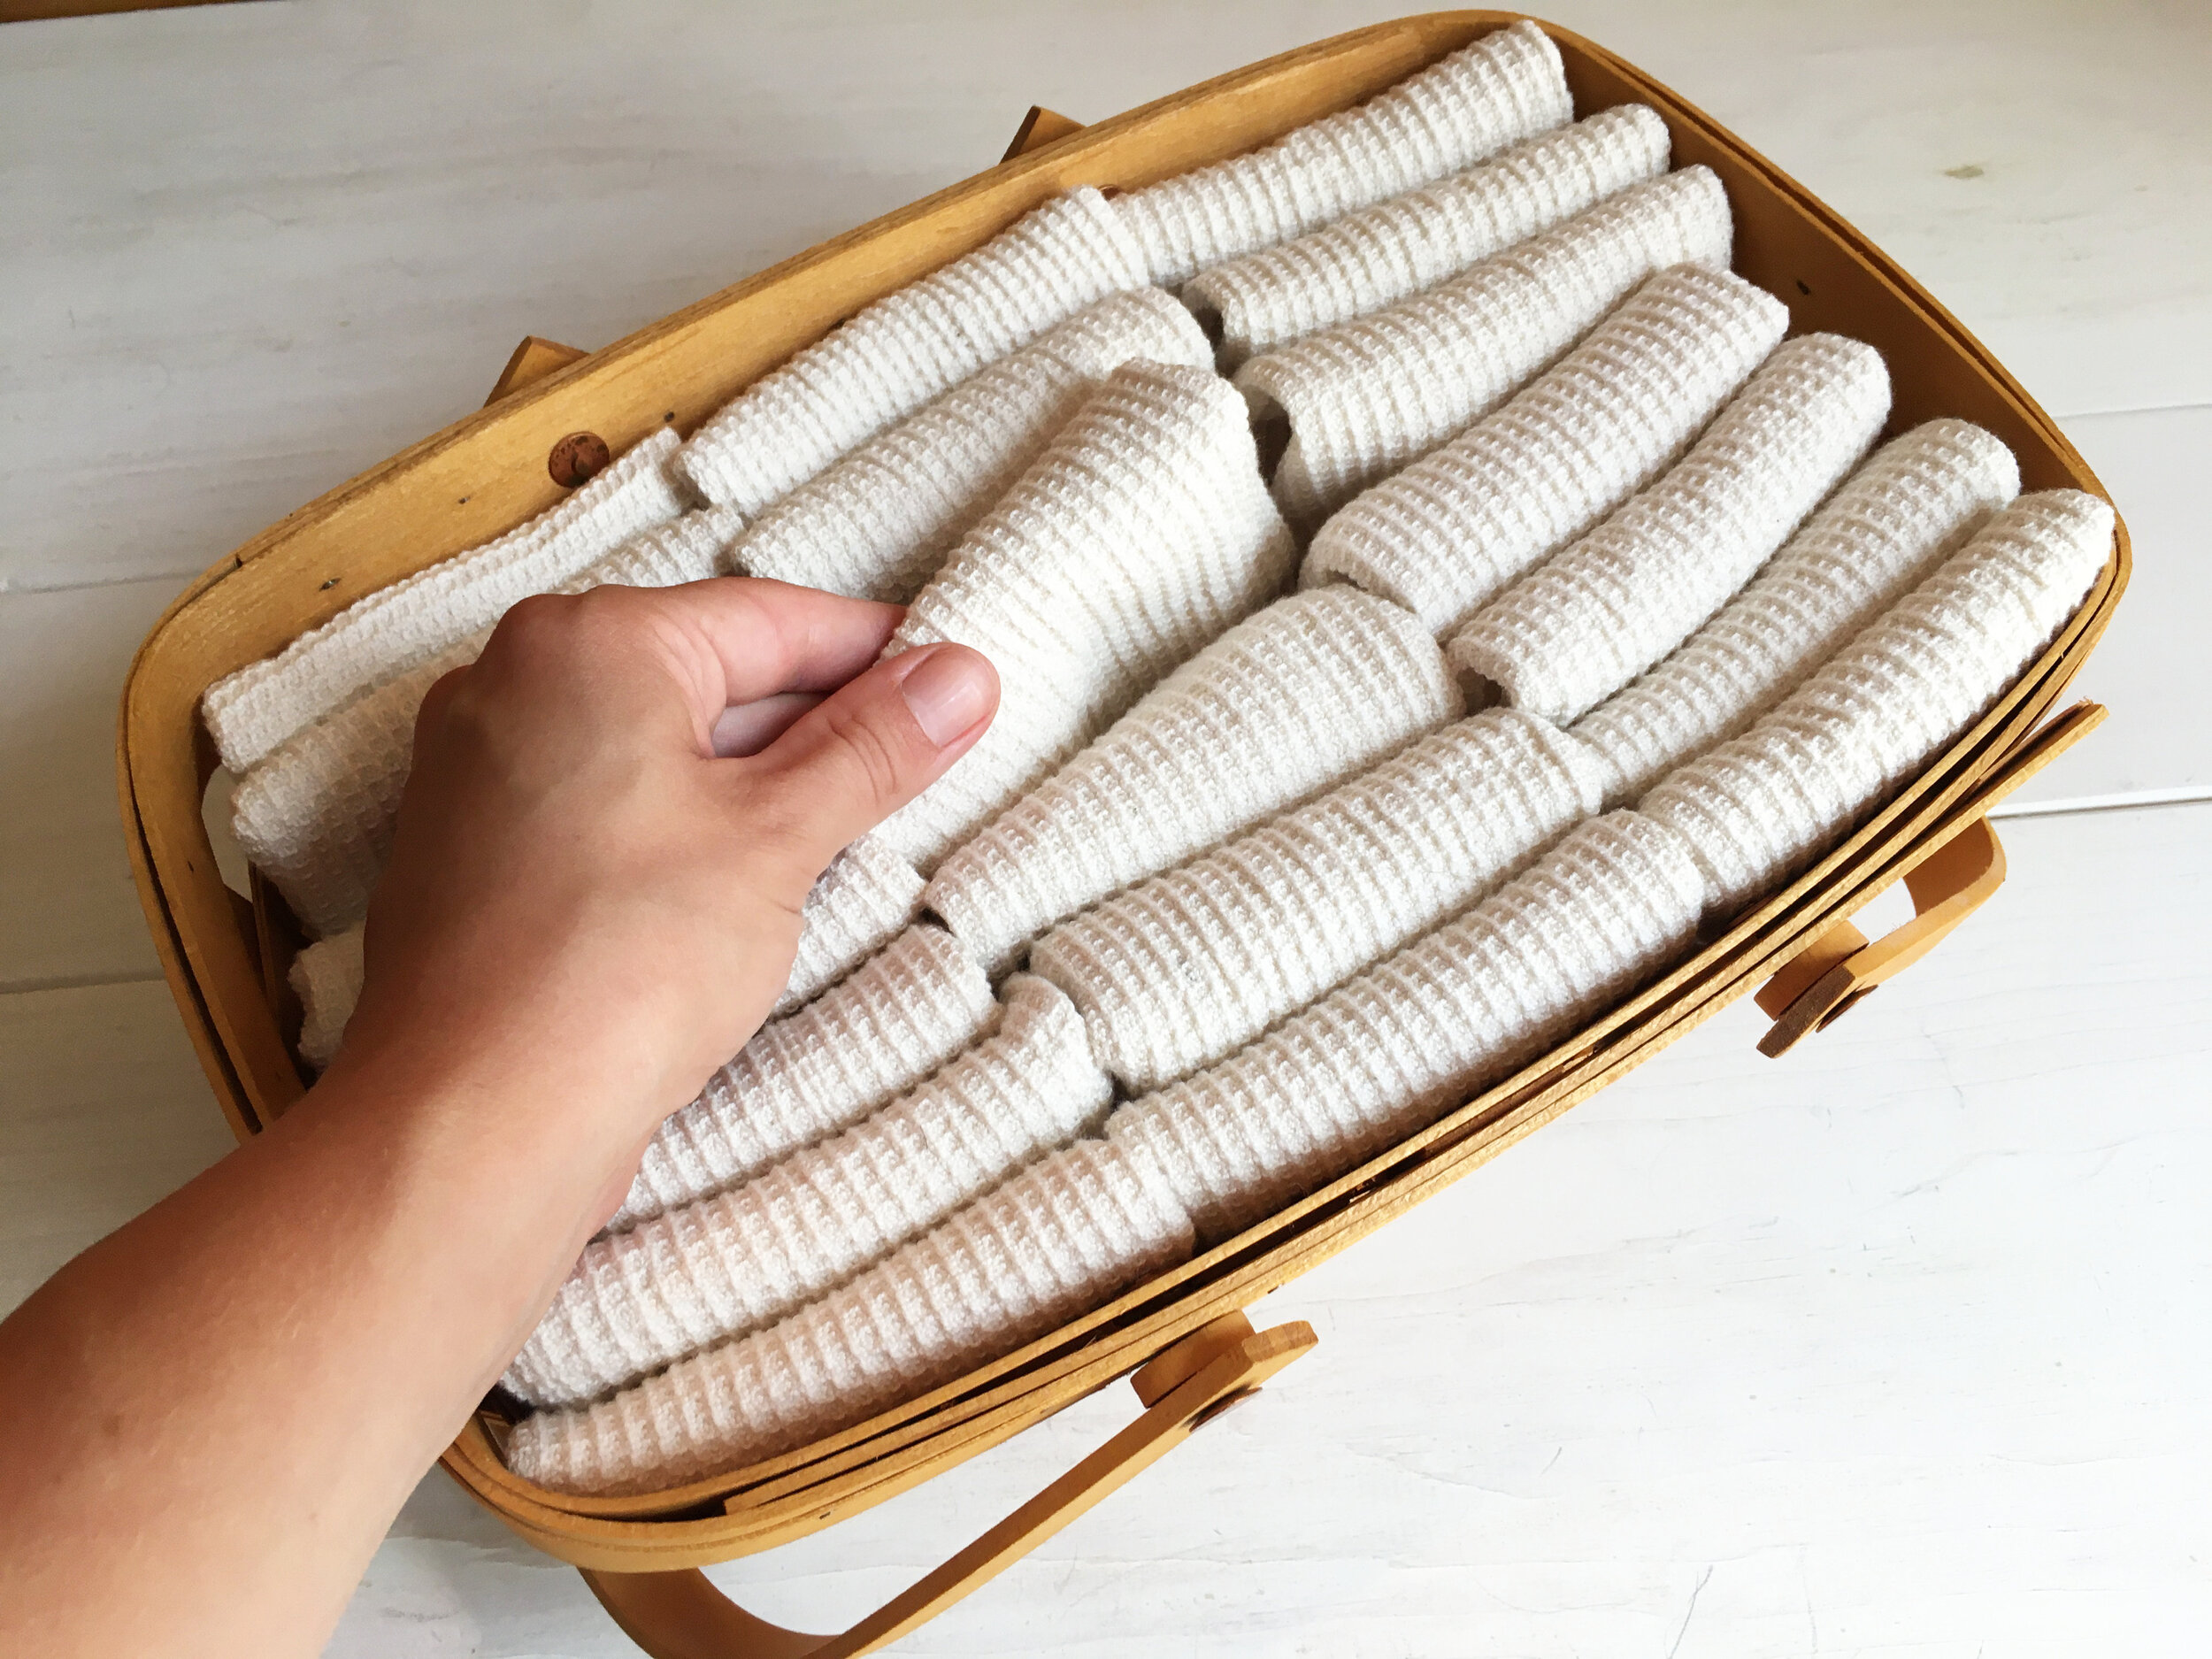
We thought about just using our current dishtowels but we use them regularly already for dishes and big spills (which happen a lot with two small kids). We were primarily looking for something smaller that would function like a paper towel and also wouldn’t fill our washing machine quickly (something else to consider), which is why we settled on these modestly-sized, organic bamboo cloths.
Some people will roll them on a paper towel holder and use them in place of ALL paper towels, completely eliminating paper towels in their home. For our household we decided to fold them and place them in a basket on our counter, next to our roll of paper towels. That way we’d be constantly reminded to grab a cloth instead of a paper towel whenever we had to wipe a dirty face or sticky fingers, but we’d still have paper towels at the ready if we really needed them. I even hung a little note over the paper towel holder to remind us to use less of them.
Since starting this system we’ve cut down on our paper towel usage big time. This has saved us money on our grocery bill and we feel like we’ve made a positive long-term change that’s more eco-friendly.
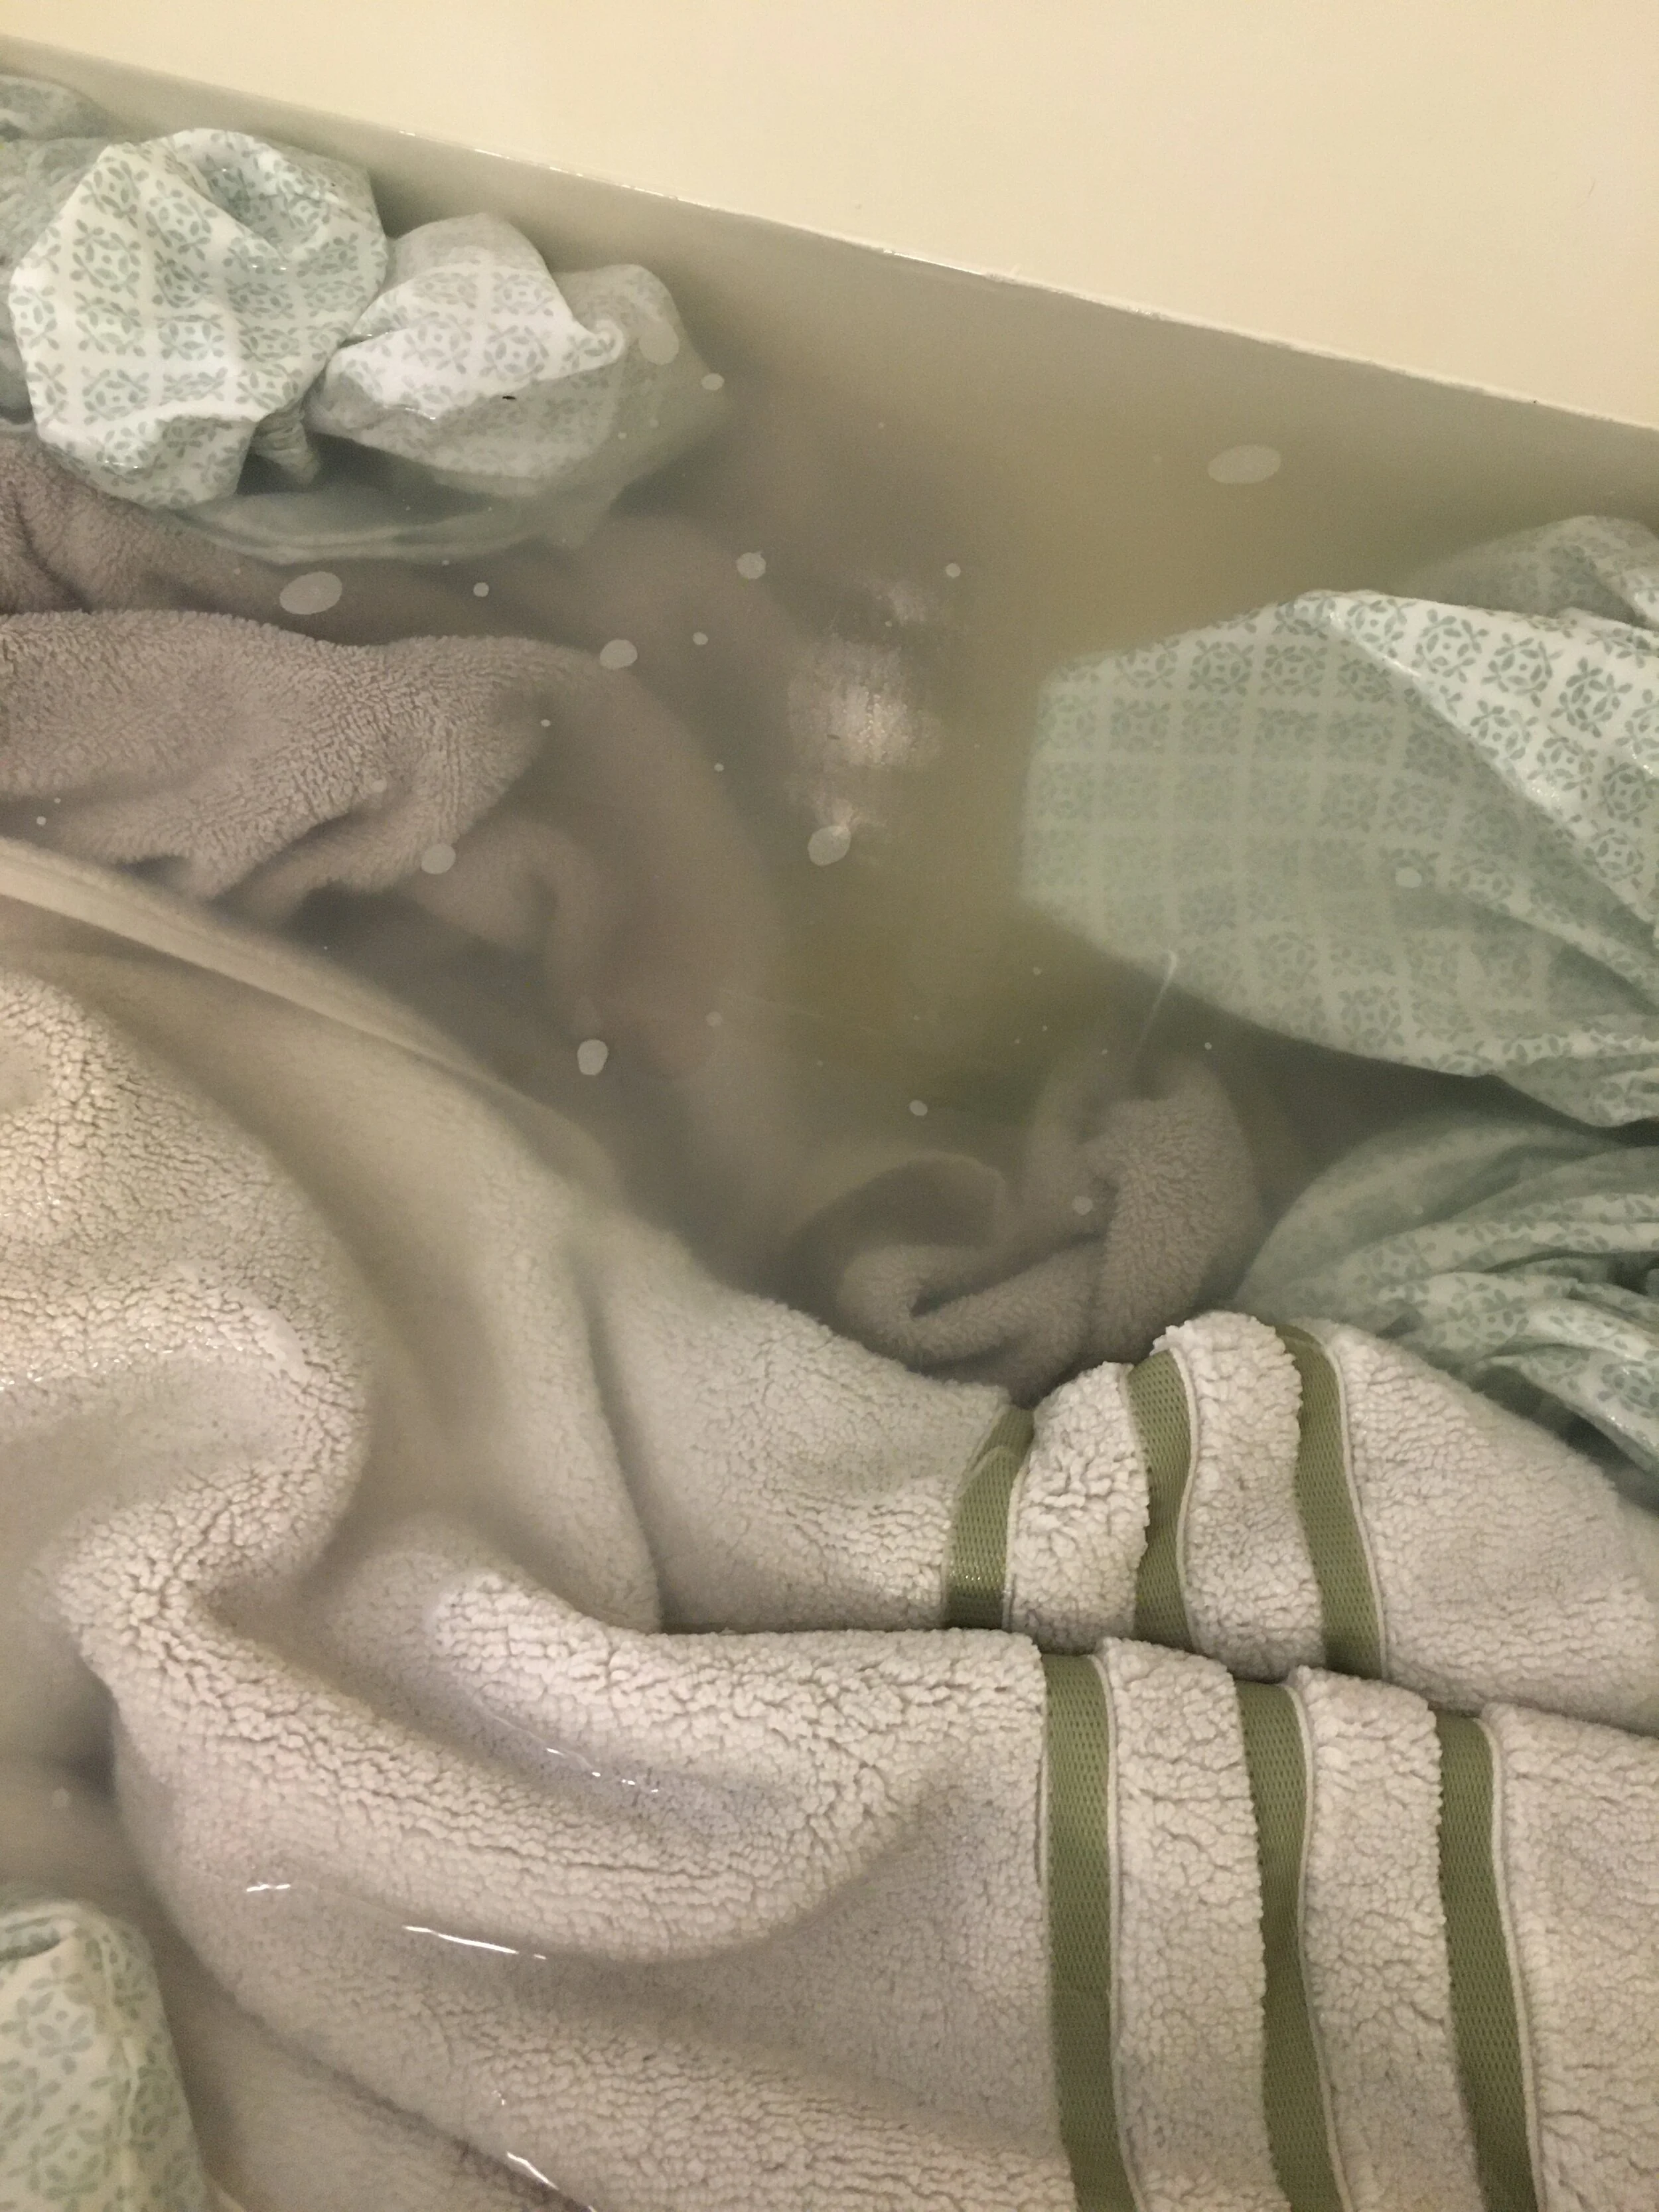
Cleaning Unpaper Towels: I hung a small mesh laundry bag on the doorknob of our laundry closet, which is conveniently right off the kitchen, to toss the used unpaper towels in to be washed. Whenever I start a load of laundry, I just throw the mesh bag in with the rest of the washing. You could also easily hang a mesh bag or small basket on the inside of a cupboard door with a Command Hook too if that is a more convenient spot.
Hopefully I’ve inspired you to find a reusable, money-saving solution to something in your home like we have found unpaper towels to be for us.
This post is not sponsored but contains my personal opinion as well as affiliate links.