Reducing Plastics and Microplastics in our Kitchen
After reading some articles about the amount of microplastics the average person gets exposed to and consumes I knew we had to make some changes in our household. Here are some easy and simple swaps and replacements we made in the kitchen to try to reduce our exposure to plastics. | This post contains affiliate links |
Disclaimer: I am not an expert, just sharing some swaps and changes we made to try to be more intentional and reduce plastic exposure in our home. Please make sure to do your own research on this matter.
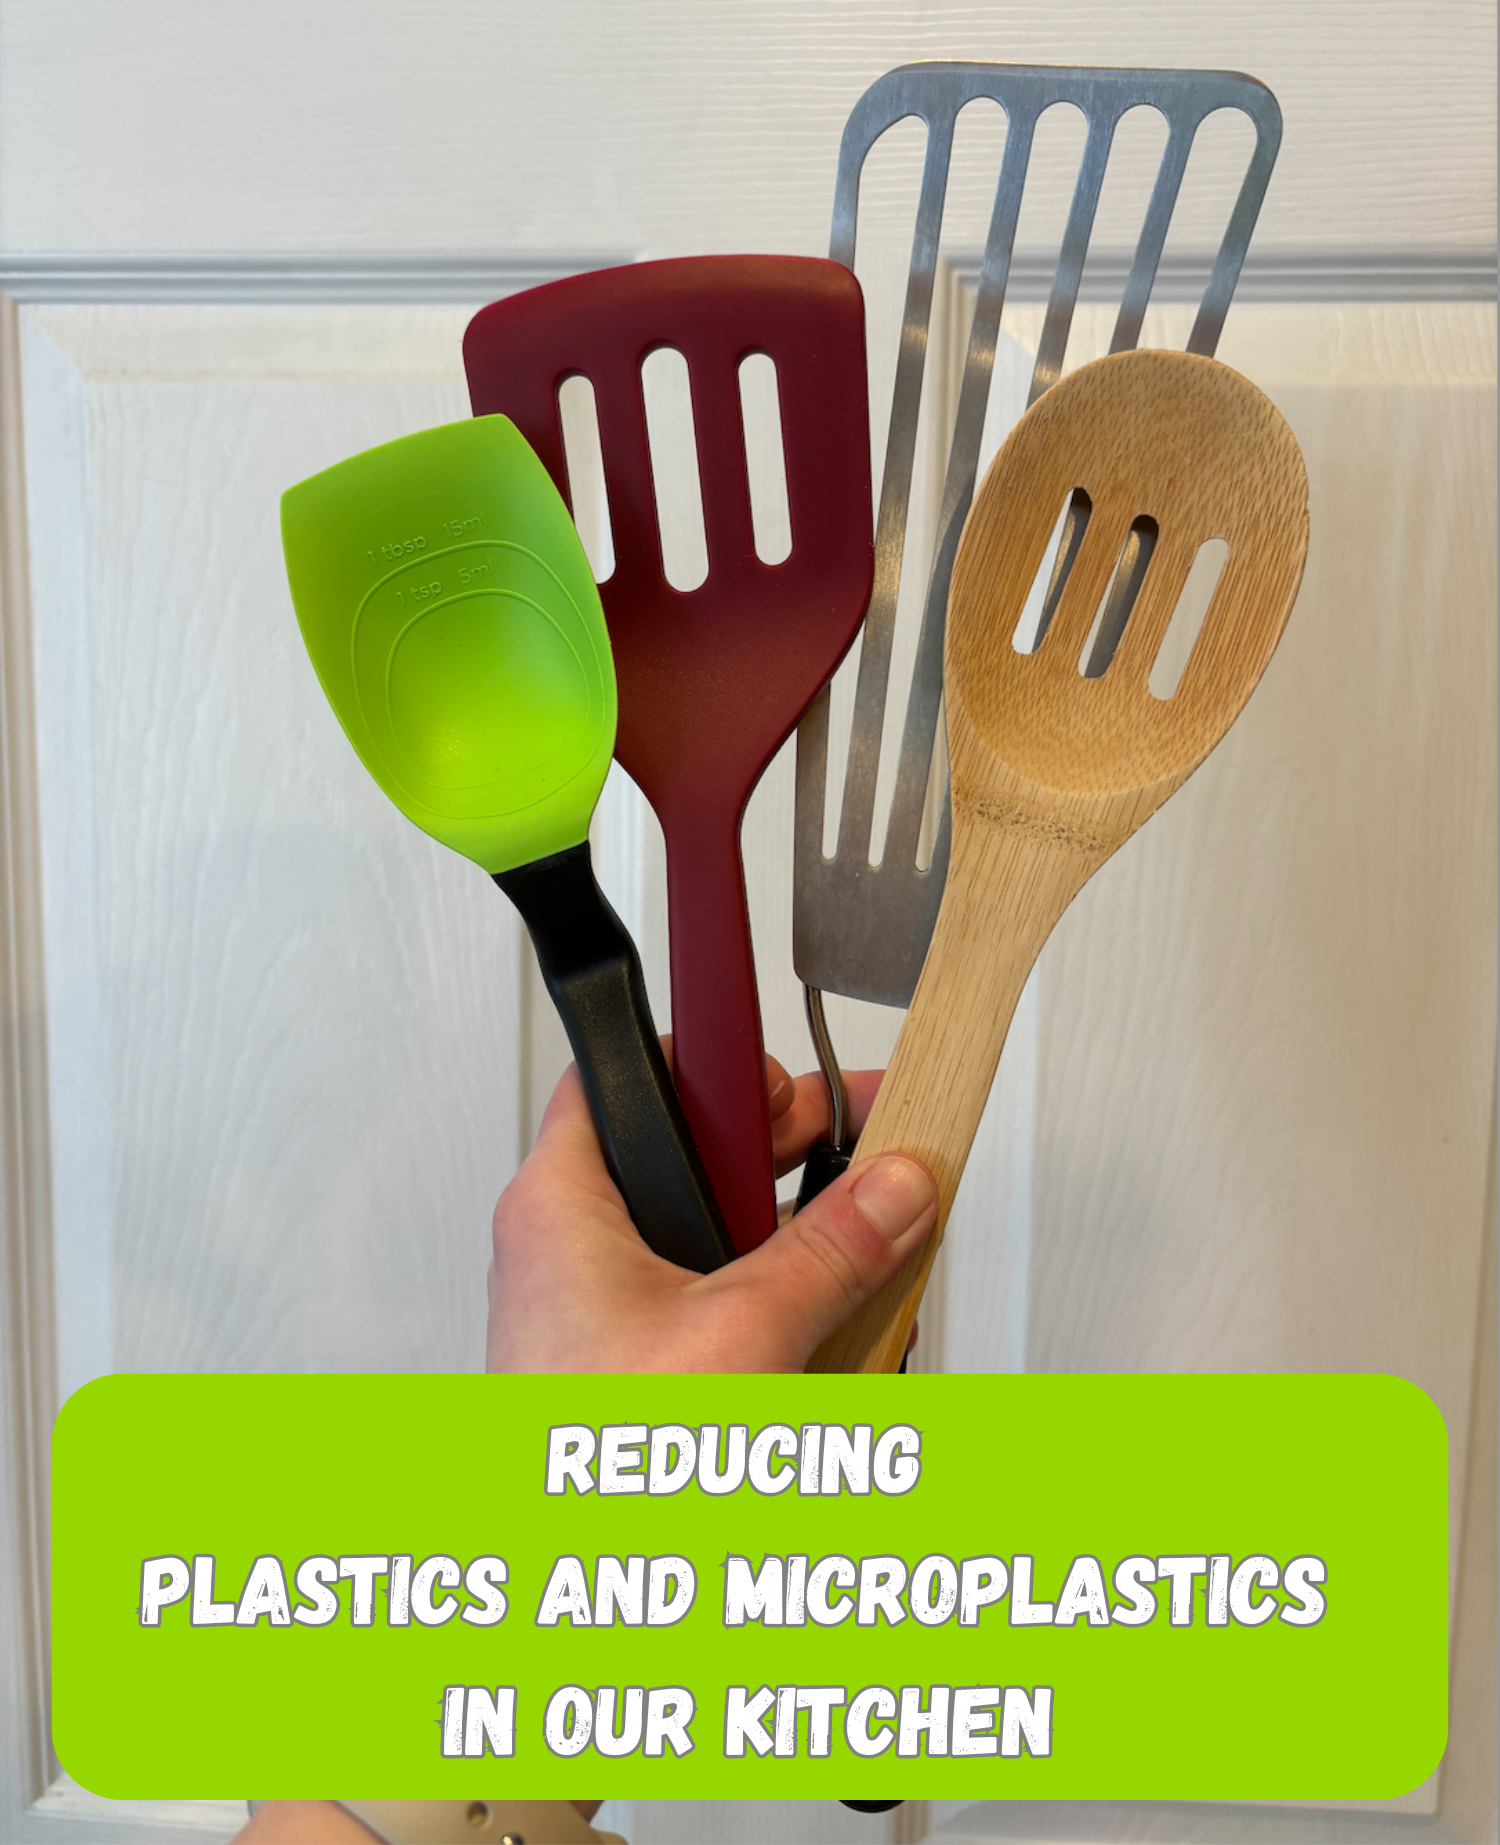
Get Rid of All the Plastic Cooking Utensils

The first step was getting rid of ALL the plastic cooking utensils we had in our home (I just recycled or tossed them all to make sure I wouldn't continue to reach for them). These utensils are constantly getting heated and scraped on pans, contributing microplastics. I thoughtfully replaced all the plastic utensils with a combination of bamboo, wood, silicone, and stainless steel cooking utensils.
Replace Plastic Cutting Boards
This is supposedly one of the biggest sources of microplastics in the kitchen - a plastic cutting board! If you think about it, every time you cut with a knife you’re cutting and scraping the plastic board, adding microscopic (and not so microscopic) plastic shavings to your food. We replaced our cutting board with a quality hardwood one made by a local craftsman, but you could also use a bamboo cutting board.
Get Rid of Non-Stick Cookware
This is a big change we made several years ago - we got rid of all of our non-stick cookware in order to reduce microplastics and PFOAs exposures. Instead of using non-stick pans, we switched to quality stainless-steel cookware and have never looked back!
Never Heat Plastic
Make sure to never reheat food in plastic containers - always use glass!
Never Cut on Plastic Dishes
This goes right along with never using plastic cutting boards - but to take it a step further, don’t cut on plastic dishware (like kids’ dishes) either - and for the same reasons. Always make sure to cut on a cutting board or glass plate before transferring the food to your kids’ dishes.
Use More Glass and Stainless Steel Dishware
This one is pretty self-explanatory - use glass or stainless steel dishware more and try to phase out your plastic ones. We have been working towards slowly replacing our plastic Tupperware with glass and stainless steel varieties.
When You Must Use Plastic, Use High Quality
When you must use plastic dishware in your kitchen (like for kids’ dishes), always use high quality ones. Avoid cheap plastic dishes, especially if you don’t know if they’re BPA-free or lead-free, etc. And if they seem to be breaking down with just normal use (fading, scratching easily, discolor easily, etc) definitely get rid of them.
Silicone Food Covers
Rather than use plastic wrap for leftovers we switched to silicone food covers years ago. We love that they’re reusable (better for the environment!) and not plastic.
Air Purifier
To take it a step further for general home health we also added several air purifiers in our home. This helps reduce dust and allergens we breathe in and we feel better knowing the air in our home is being filtered.
Disclaimer: I am not an expert, just sharing some swaps and changes we made to try to be more intentional and reduce plastic exposure in our home. Please make sure to do your own research on this matter.
KEEP UP WITH BIRCH LANDING HOME
| Etsy | Facebook | Instagram | Pinterest | Bloglovin' | Hometalk |