I'm a wife, stay-at-home mom, crafter, and blogger living in rural New England. As seen in Martha Stewart Living, Food Network Magazine, and more! | Tutorials, DIY, crafts, parenting tips, recipes, money saving tips, product reviews, local product features, New England living, intentional living, and more! |
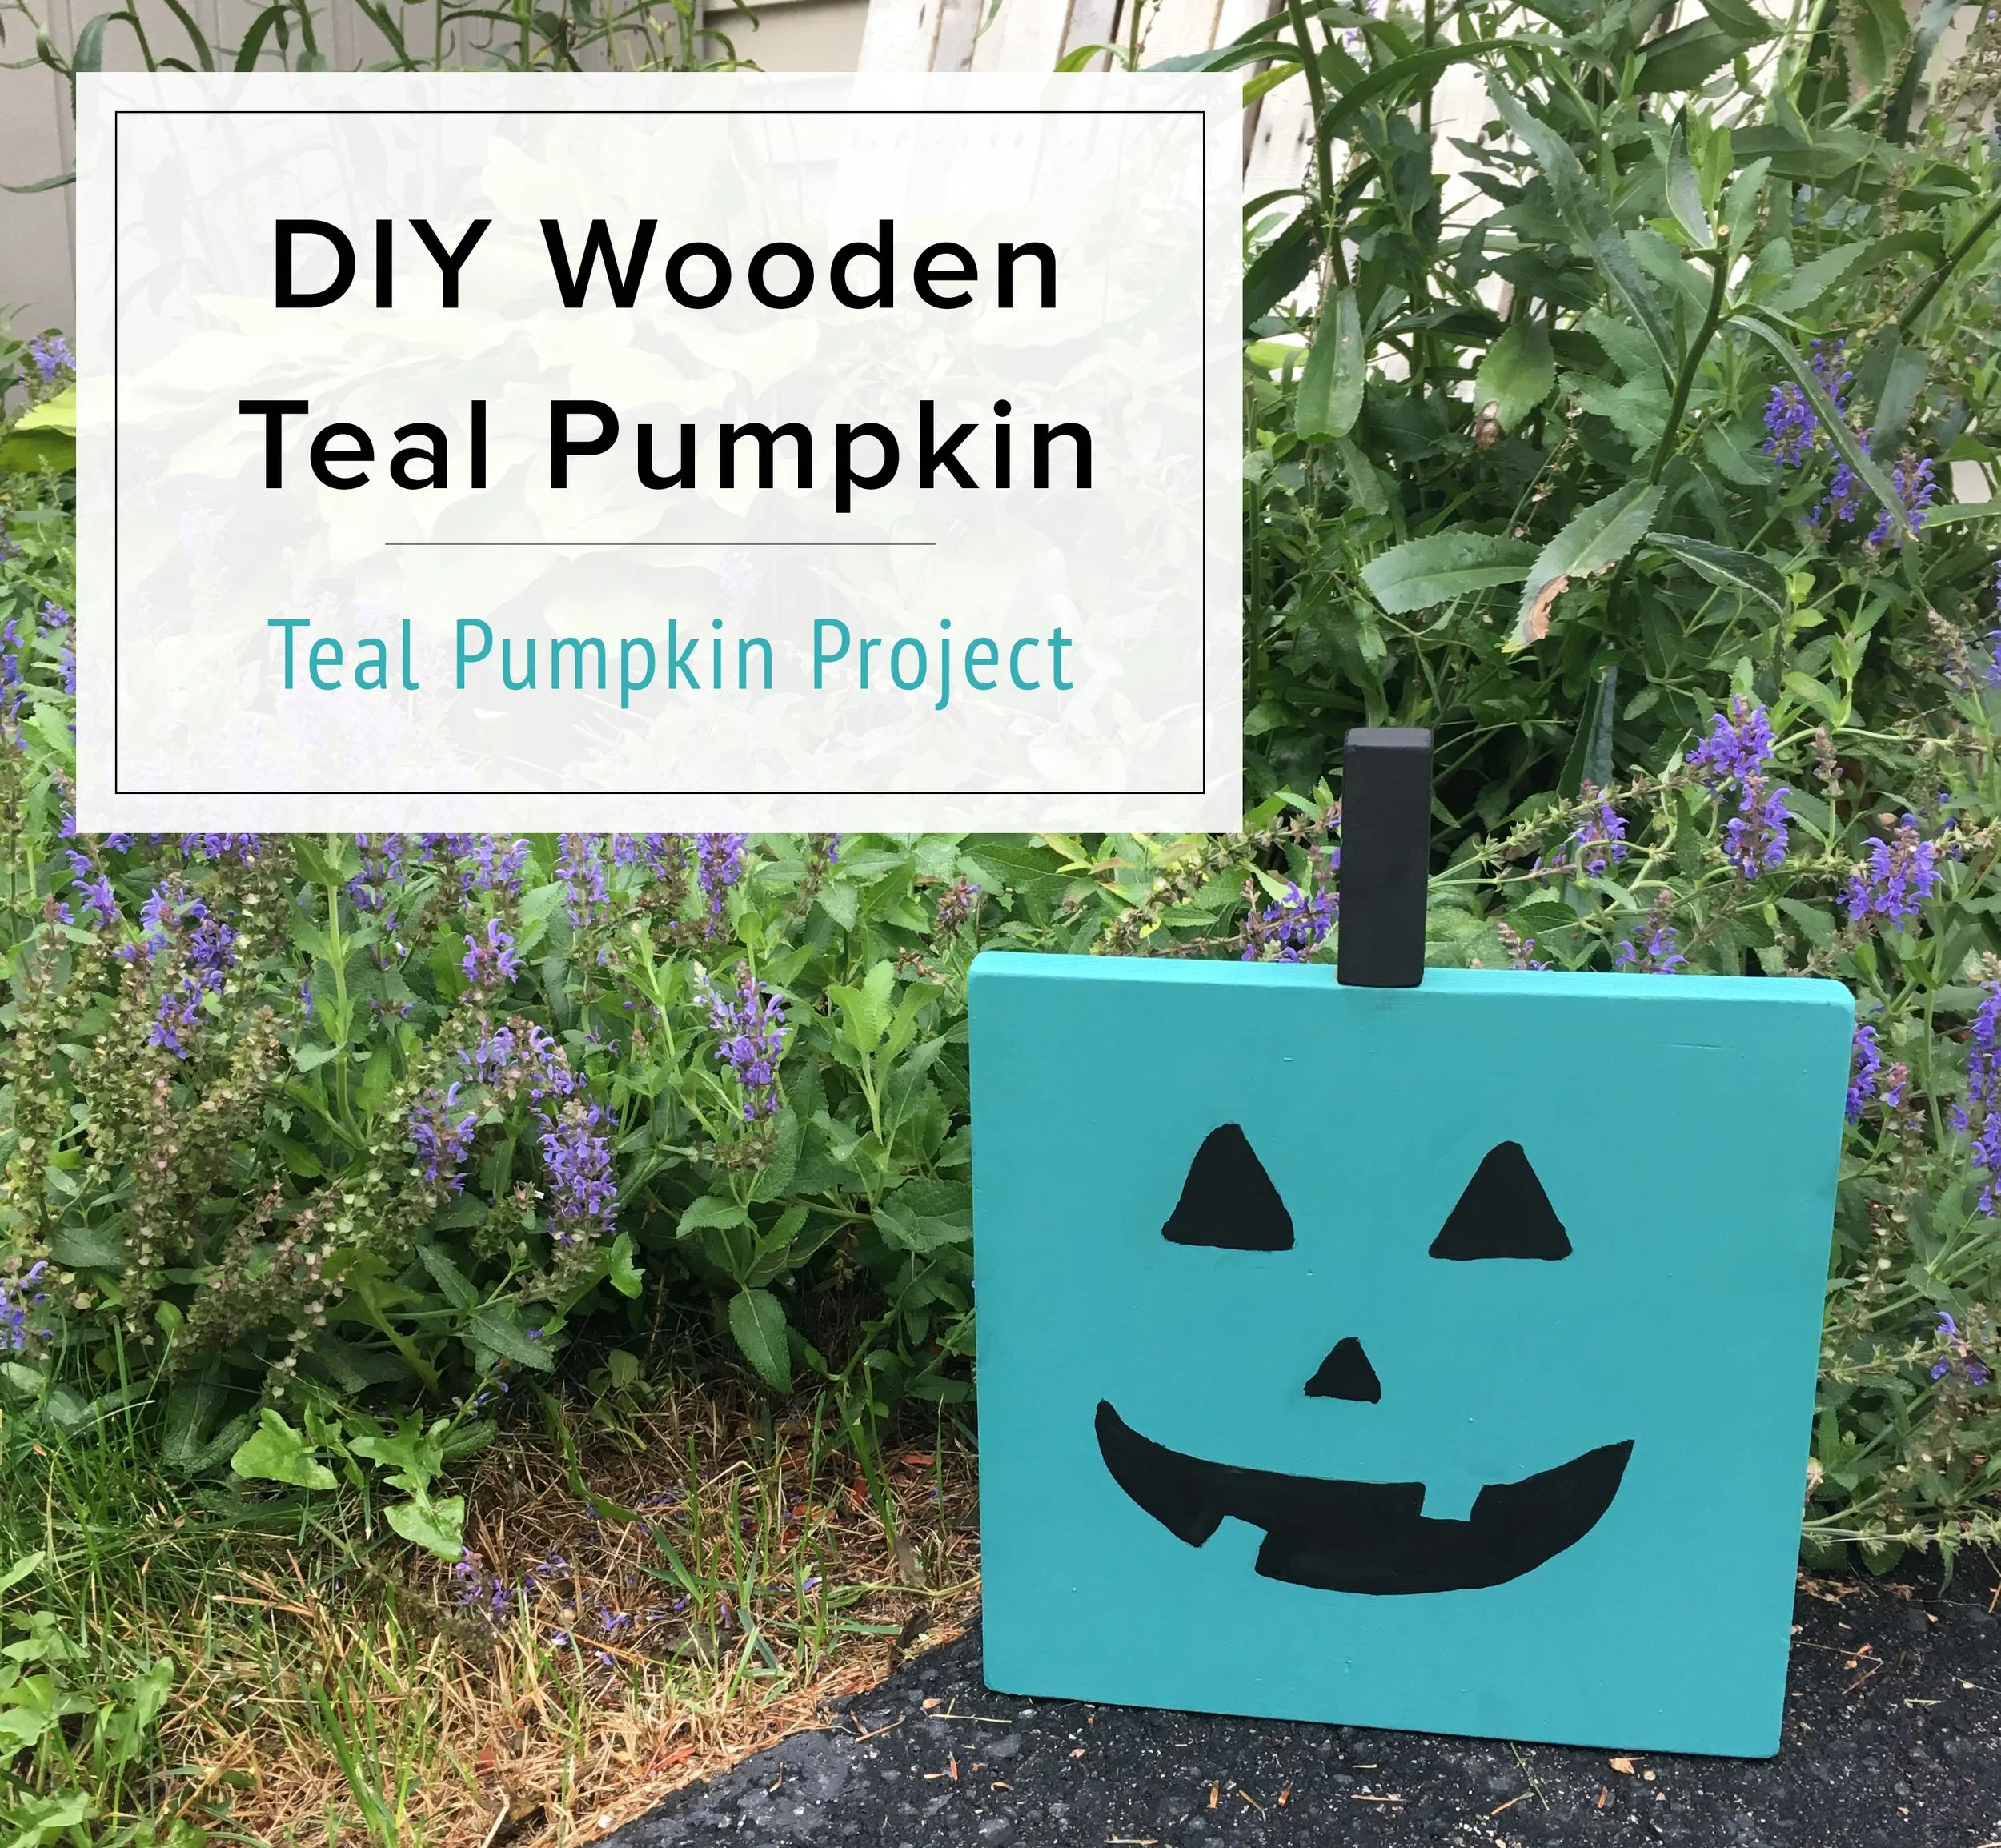
Every Halloween we participate in the Teal Pumpkin Project to promote awareness and inclusion of all trick-or-treaters, no matter their dietary restrictions. Unfortunately a lot of kids have food allergies, ranging from mild to potentially very dangerous. These allergies can include dairy, chocolate, nuts, soy, gluten, artificial dyes, and more. These kids either can't participate in trick-or-treat or have to throw out most of what they get - and when you're a kid that's really rough. | This post contains affiliate links |
By having a teal pumpkin out, you're letting kids and their parents know that your house is a safe place to trick-or-treat and you have non-food items available. These can be things like novelty pencils, erasers, stickers, bubbles, crayons, small toys, etc. You can still give out the usual candy, but it's a good idea to keep the non-food items separate. This is a great project to allow all kids a chance to feel included in trick-or-treat on Halloween.
We usually paint a real pumpkin teal each year, but this year the squirrels and chipmunks have been eating all the decorations we put out on our porch (*shakes fist*). So yesterday afternoon during nap time I whipped up a Wooden Teal Pumpkin that can be used for many years to come. And the best part? It cost me NOTHING! I made it all with scraps from our wood bin and paint we already had.
Materials:
Scrap wood for pumpkin (you can use any sizes or shapes of wood you have around)
1. Cut your wood scraps down to size if necessary. You need one larger piece for the face, one small piece for the stem, and a piece for the support at the back (the support piece does not have to be triangular, that’s what I happened to have though).
2. Next attach the support piece of wood to the back of the large piece with a screw or nail.
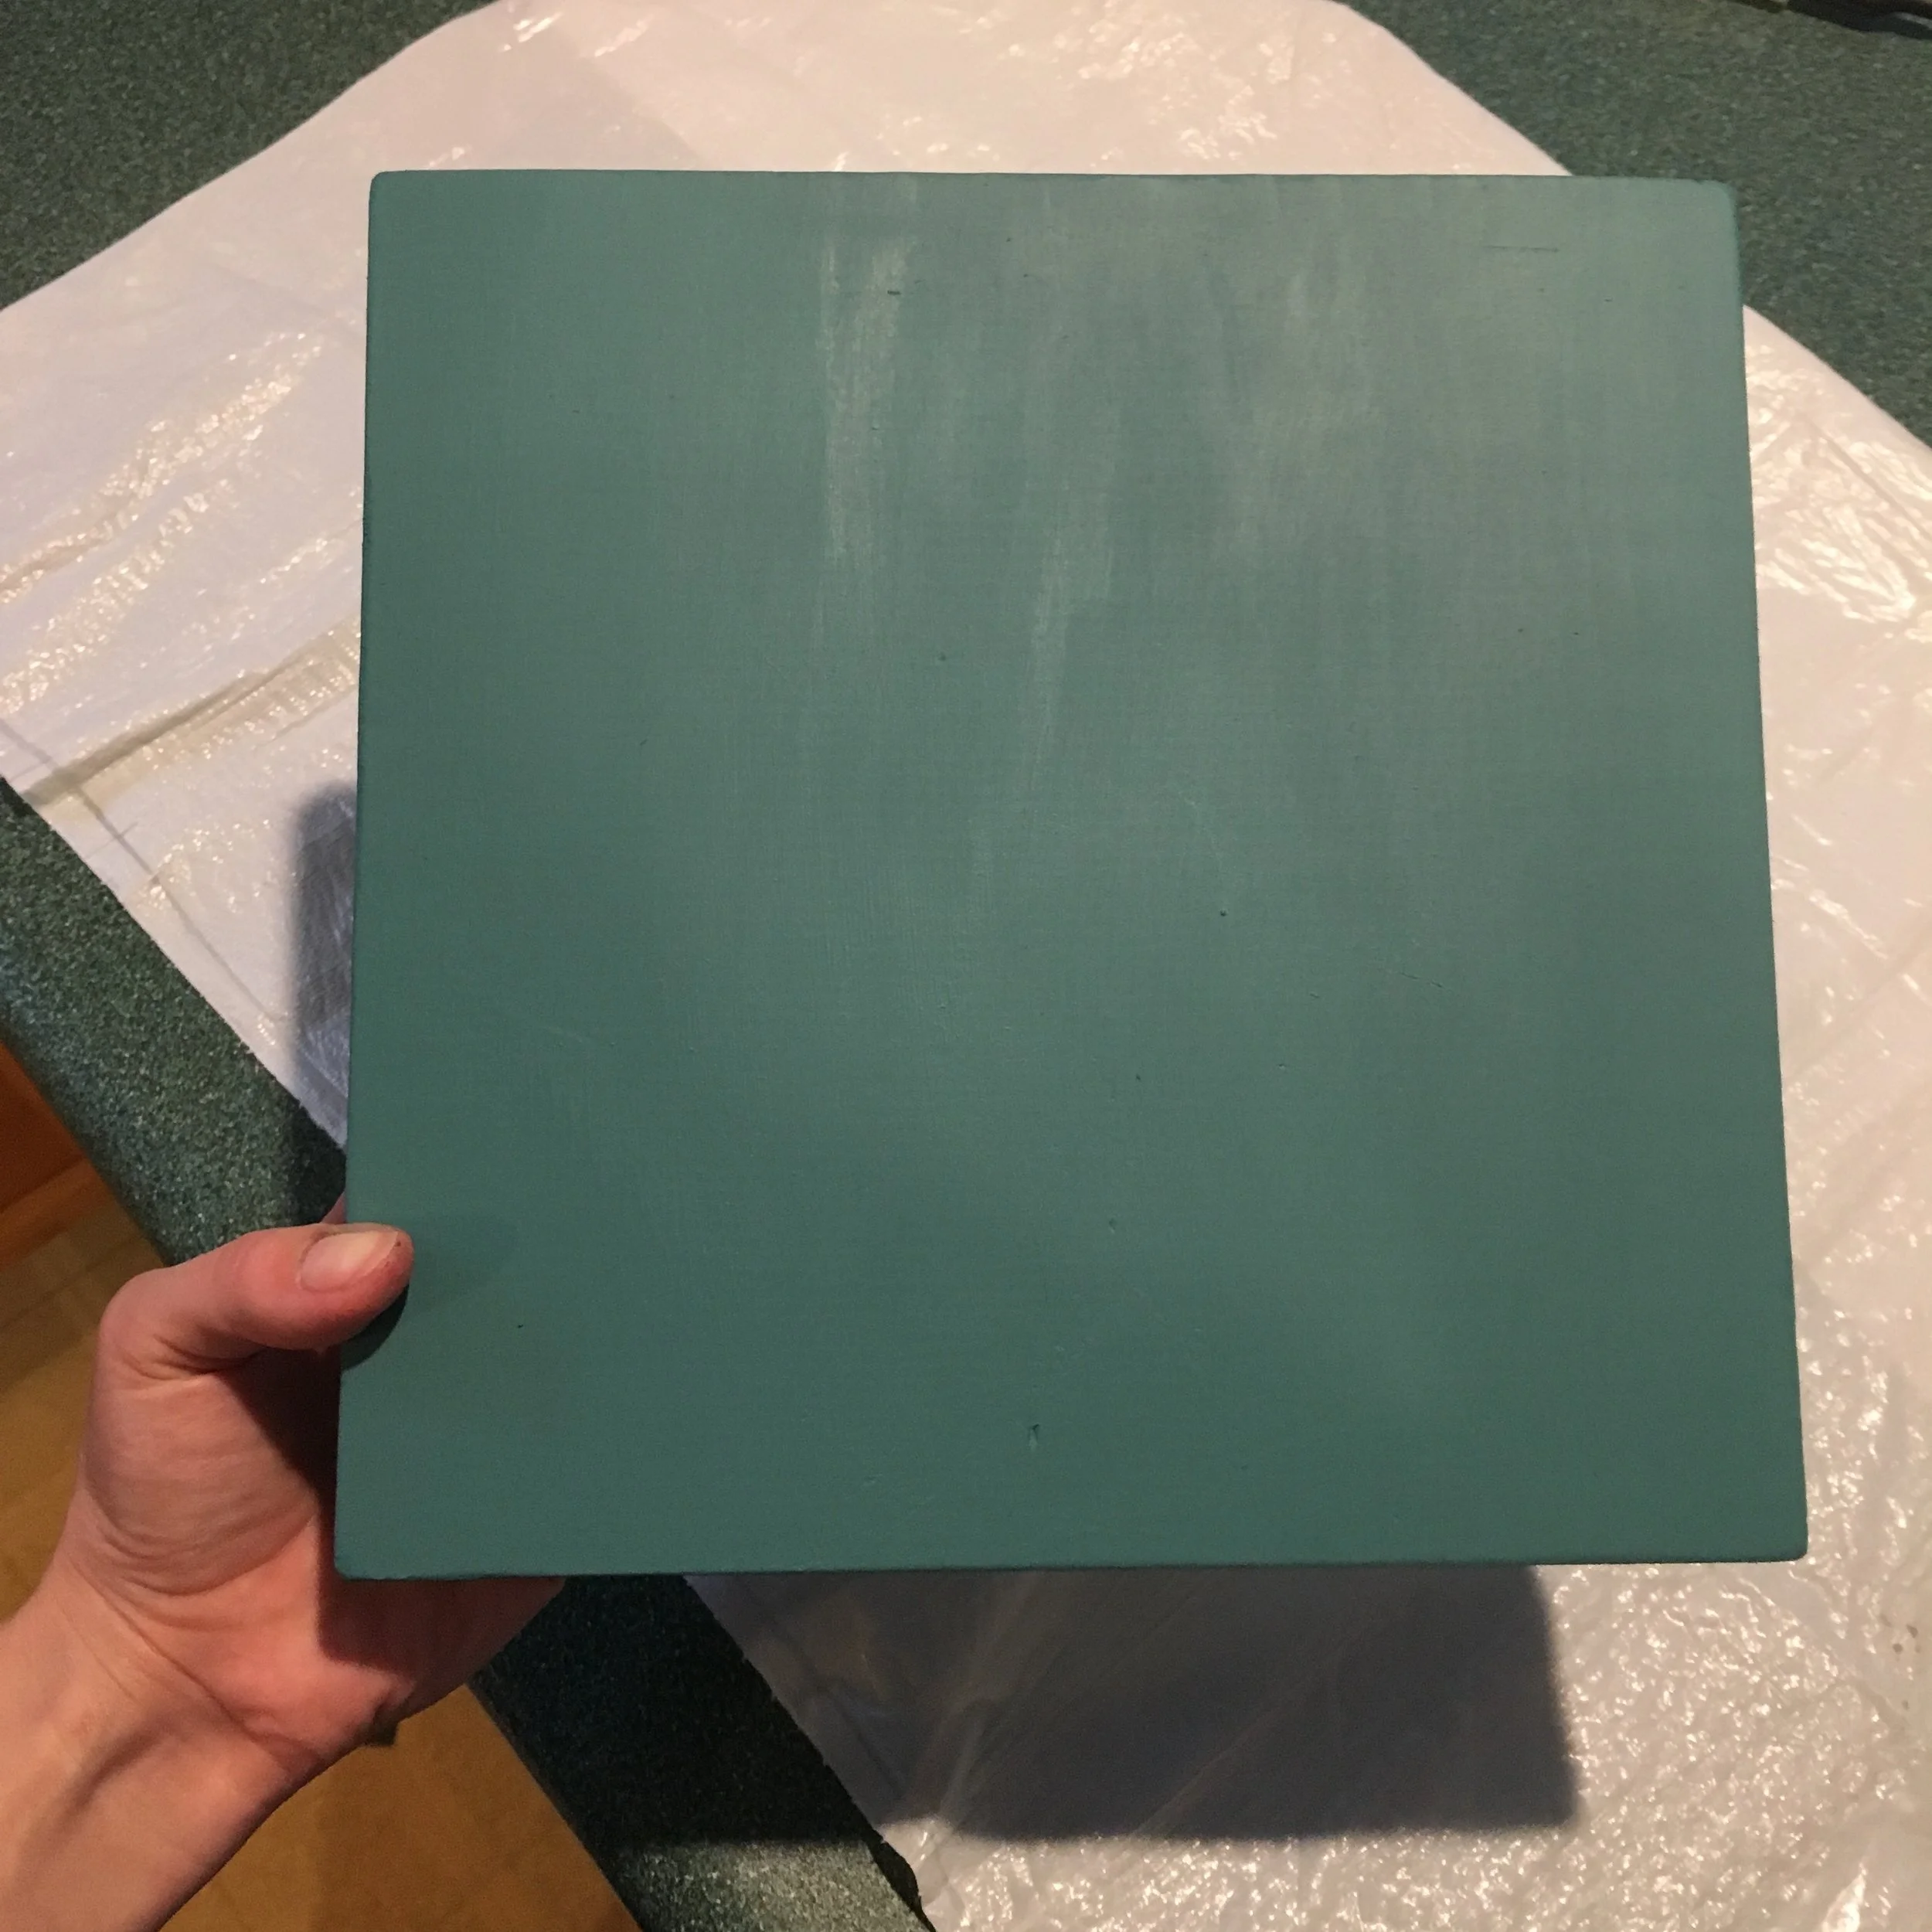
3. After that, give it at least two coats of teal paint. Paint it all over, including the sides and back.
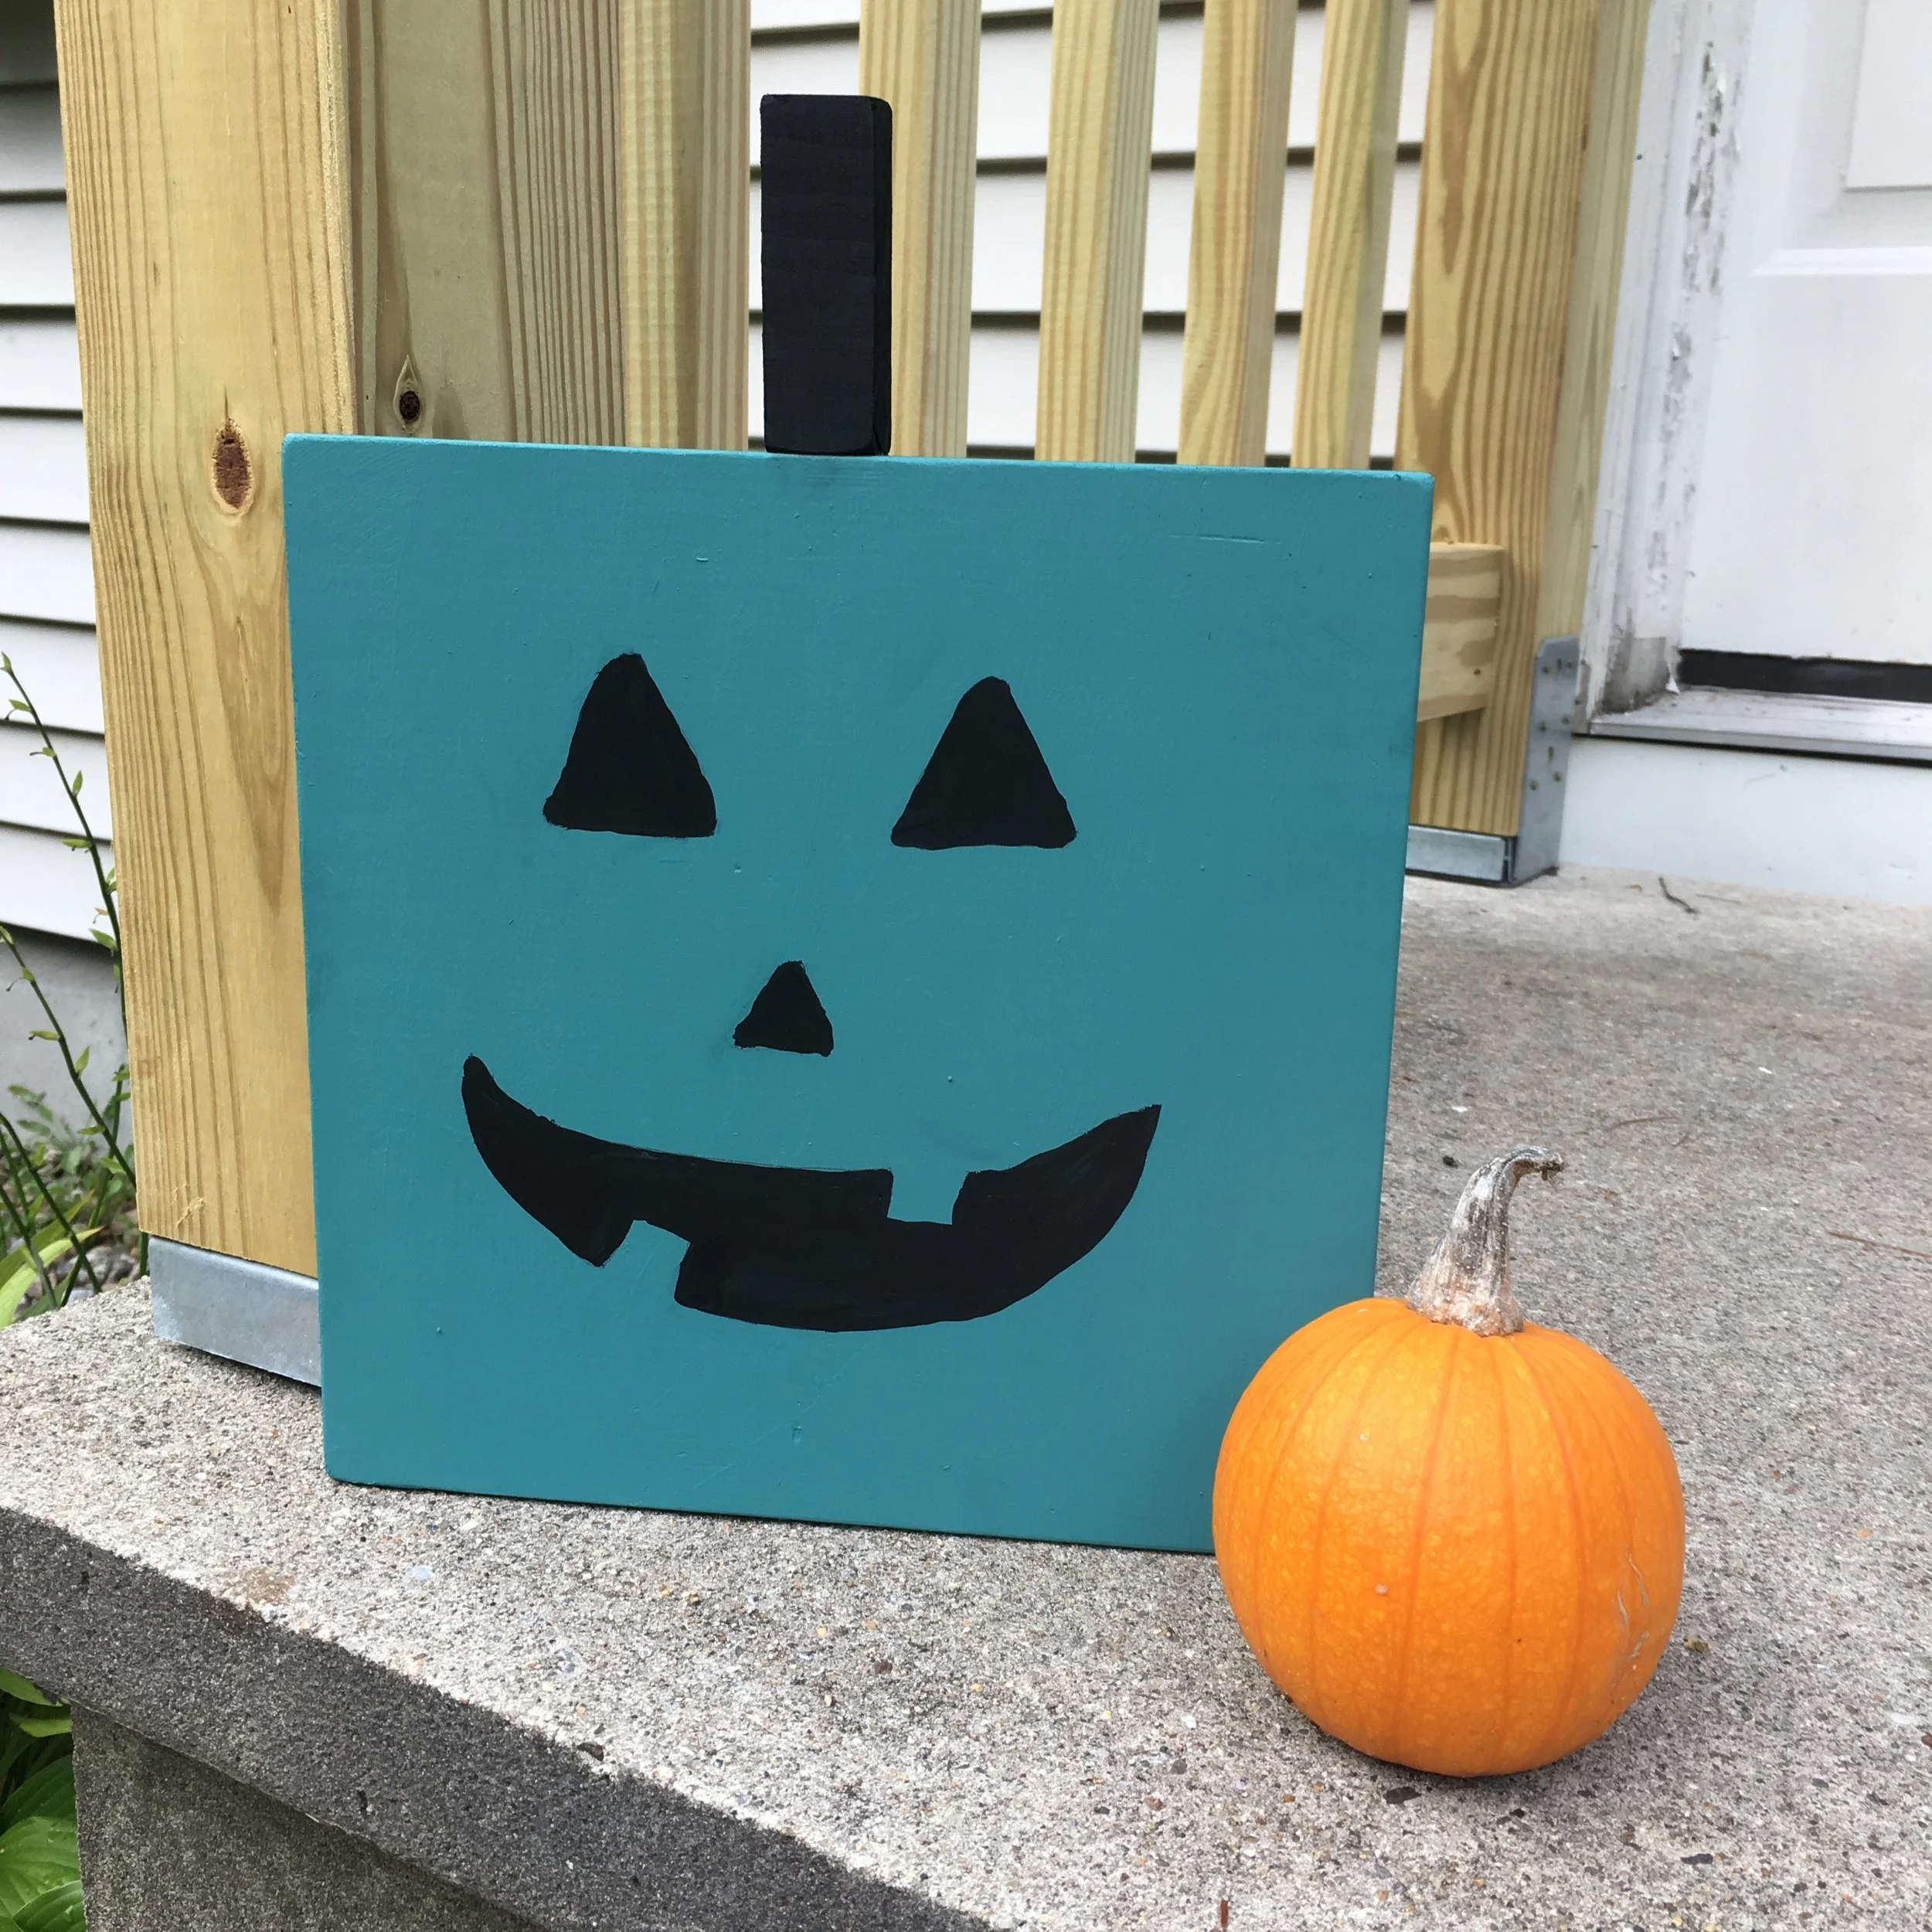
4. Once that’s dry, use black paint to paint a jack-o-lantern face on it and paint the stem piece black as well.
5. Once everything is dry use wood glue to attach the stem to the top of the pumpkin and give a good spray of clear sealer if you’ll be putting it out not under the cover of a porch, etc.
And that’s it! Now you’re ready to put your teal pumpkin out to welcome all kids for Halloween. Happy Halloween!
FARE (Food Allergy Research & Education) has some wonderful resources on their website - including crowdsourcing maps to identify participating houses, printables you can use to proudly show your support and educate others, and fundraising opportunities to help fund food allergy research and awareness.
I've been eyeing slate garden markers for our herb garden for awhile now, but buying pre-made ones are soooo expensive and they never have all the varieties I want. So I decided to take matters into my own hands and make my own. Because I have the world's worst handwriting (it's true, ask anyone) I used a Cricut to cut the text for me, but if you have half-decent handwriting you could easily do this project with a paint marker too. | This post contains affiliate links |
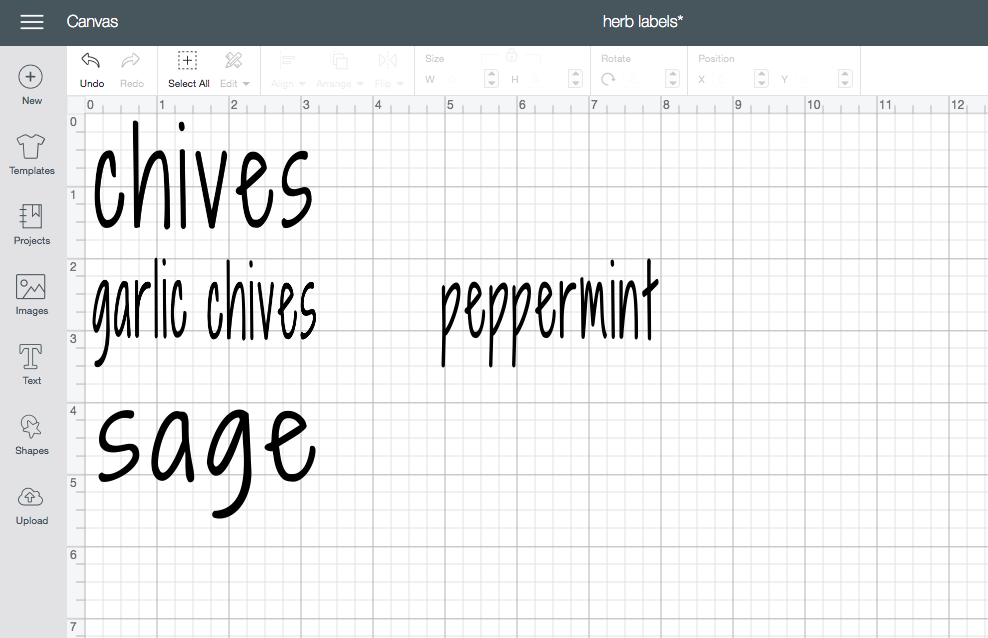
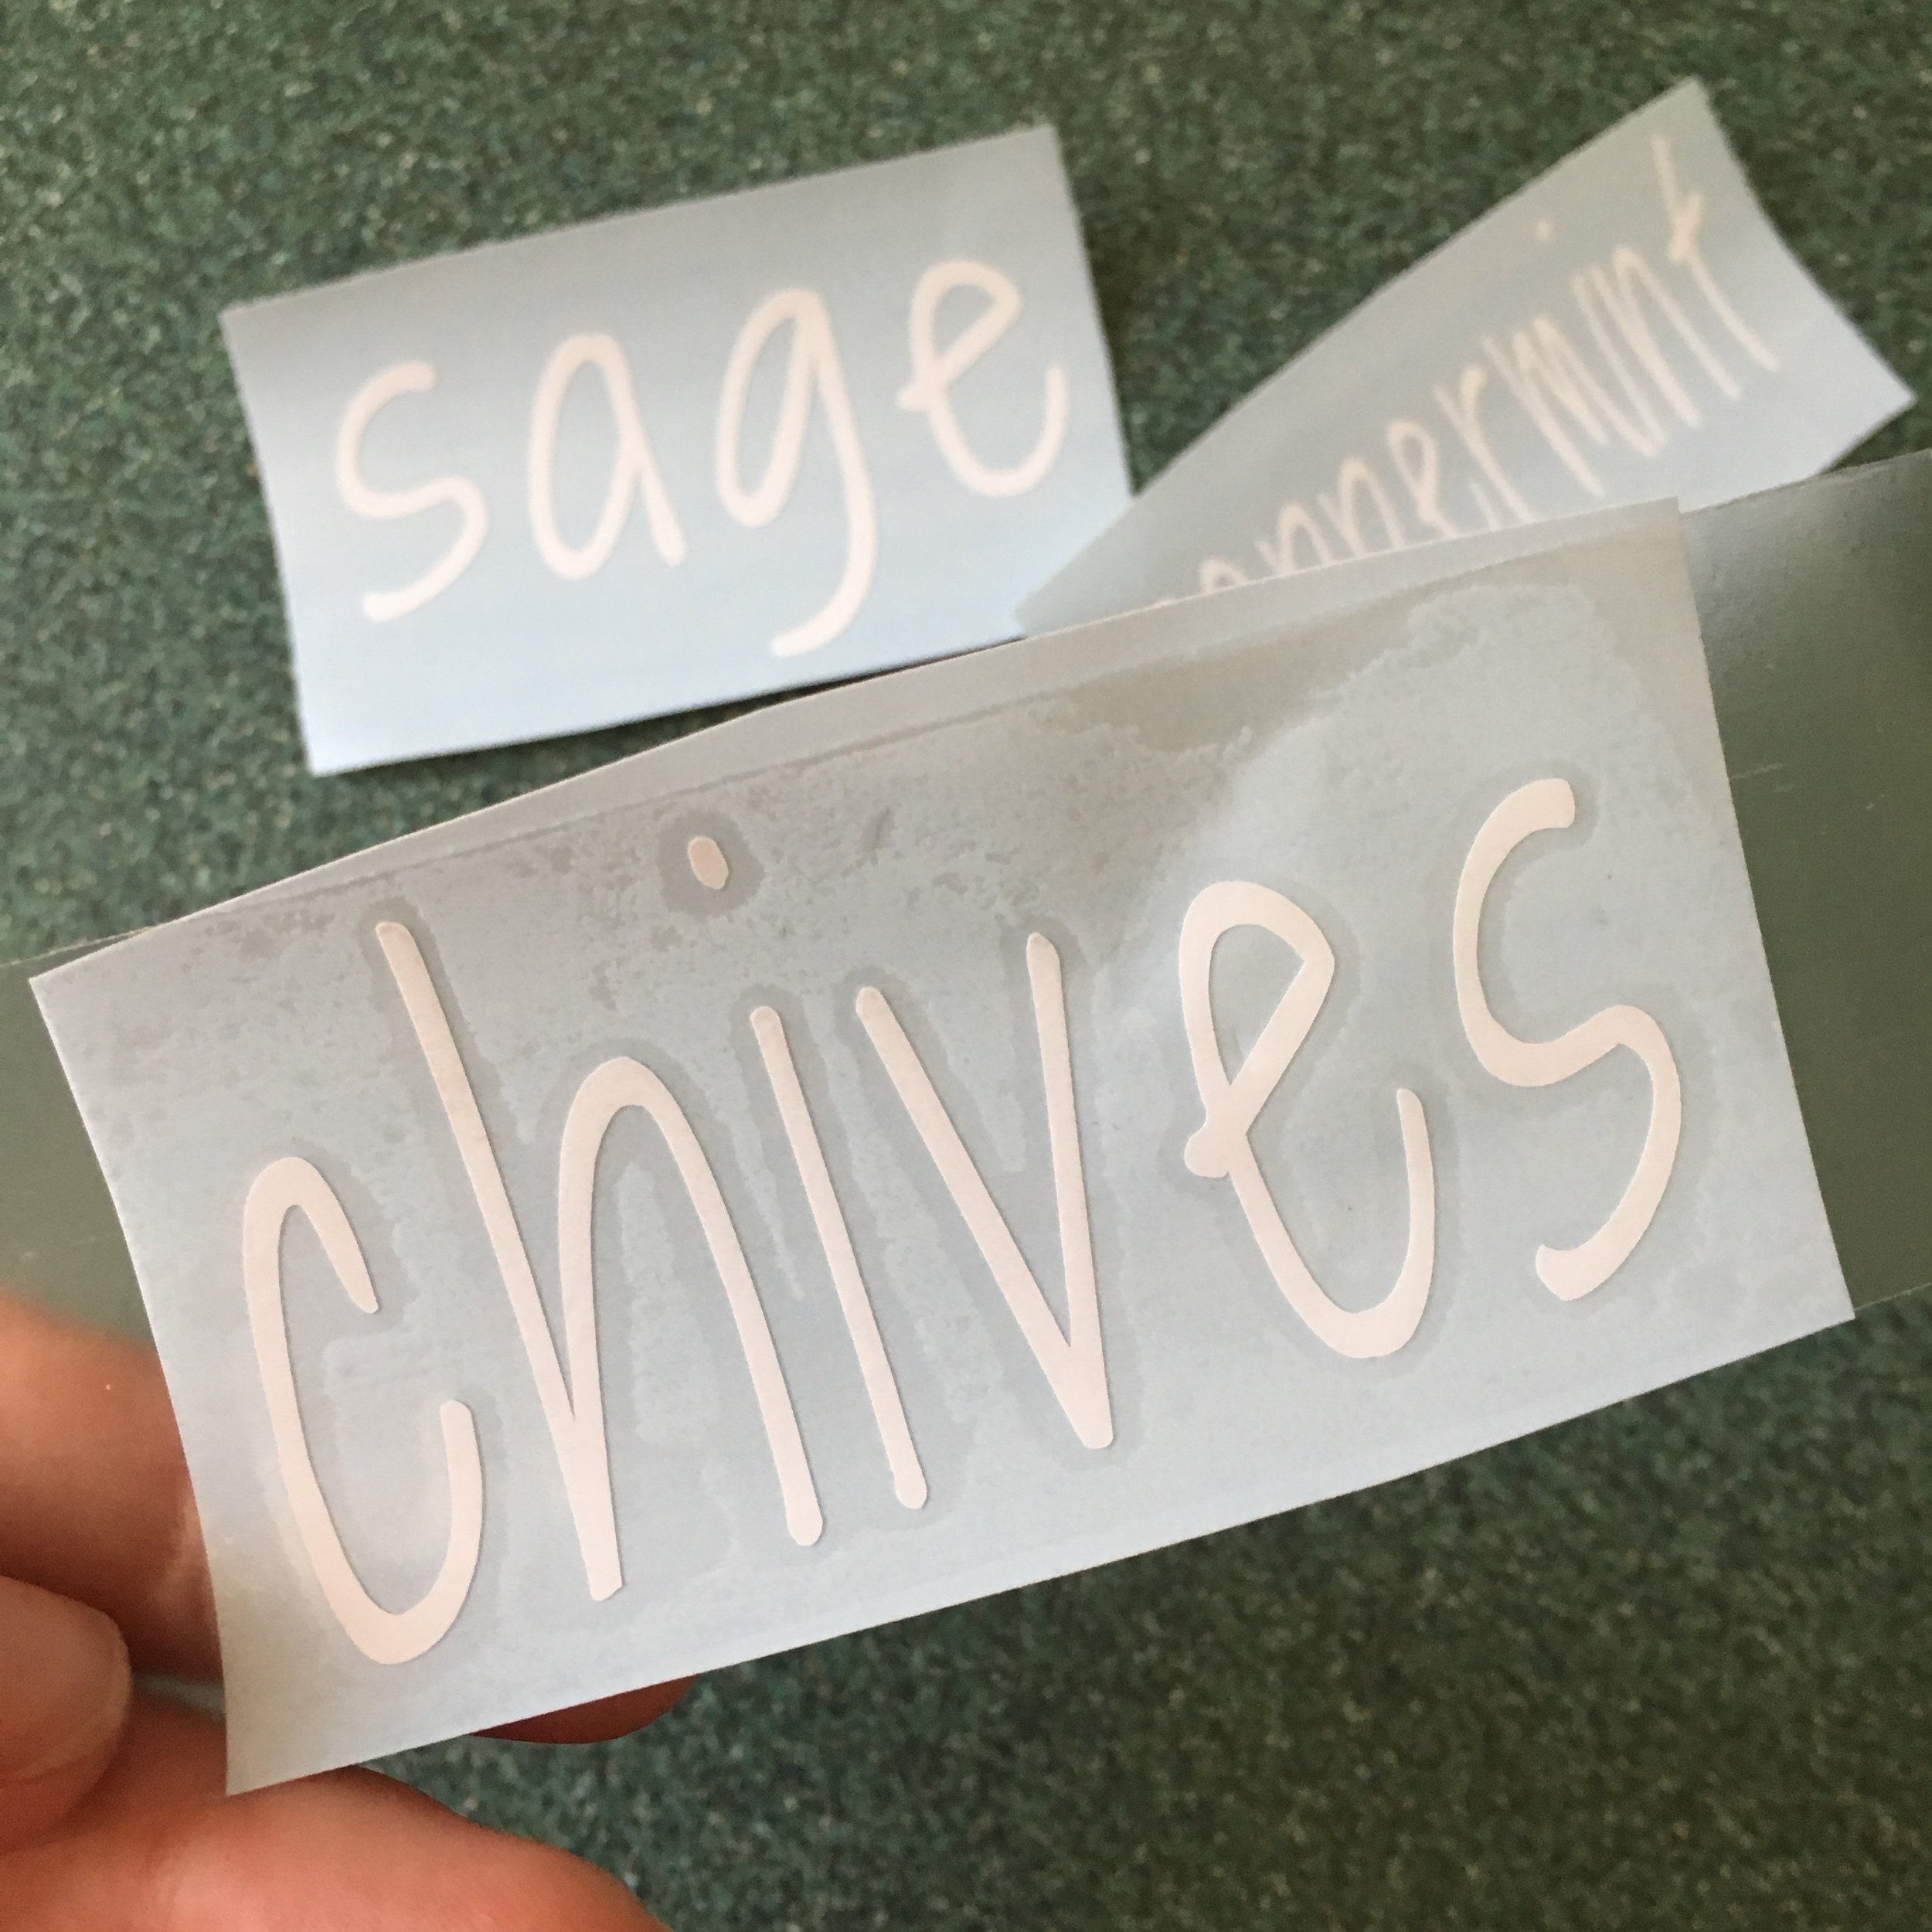
1. If using your Cricut to make the text, measure your garden markers and make each "label" in Design Space the appropriate size. I chose a font with a handwritten feel, but you can use whatever font you prefer. You may need to play around with the scale of the lettering to get it to fit. Use 651 Permanent Vinyl to cut your text.
2. "Weed out" your text, removing any pieces of vinyl you don't want to be in your final design. I find a dental explorer to be super useful here to get rid of the pieces inside of letters, but it's not necessary. The finer-point text was definitely a lot harder to weed (which is why you'll notice the dot on the "i" in garlic chives isn't in the right place).
3. Next use contact paper or transfer tape to put over your final vinyl design and rub well to make sure it's on there good. This will "carry" the vinyl once the backing is removed.
4. Carefully peel the backing off your design.. this can be tricky. My advice is to go slowly and have your dental explorer handy if you have one! It can help hold letters down as you peel off the back.
5. Once the backing is removed, carefully place on a clean and dry slate marker. Rub the design on well (I use an old gift card like a squeegee). Once it's on there good, carefully peel off the contact paper. Alternatively: If you don't have a Cricut or want to do this project by hand, you can skip steps 1-5 and just write your text freehand with a white paint marker and allow to dry.
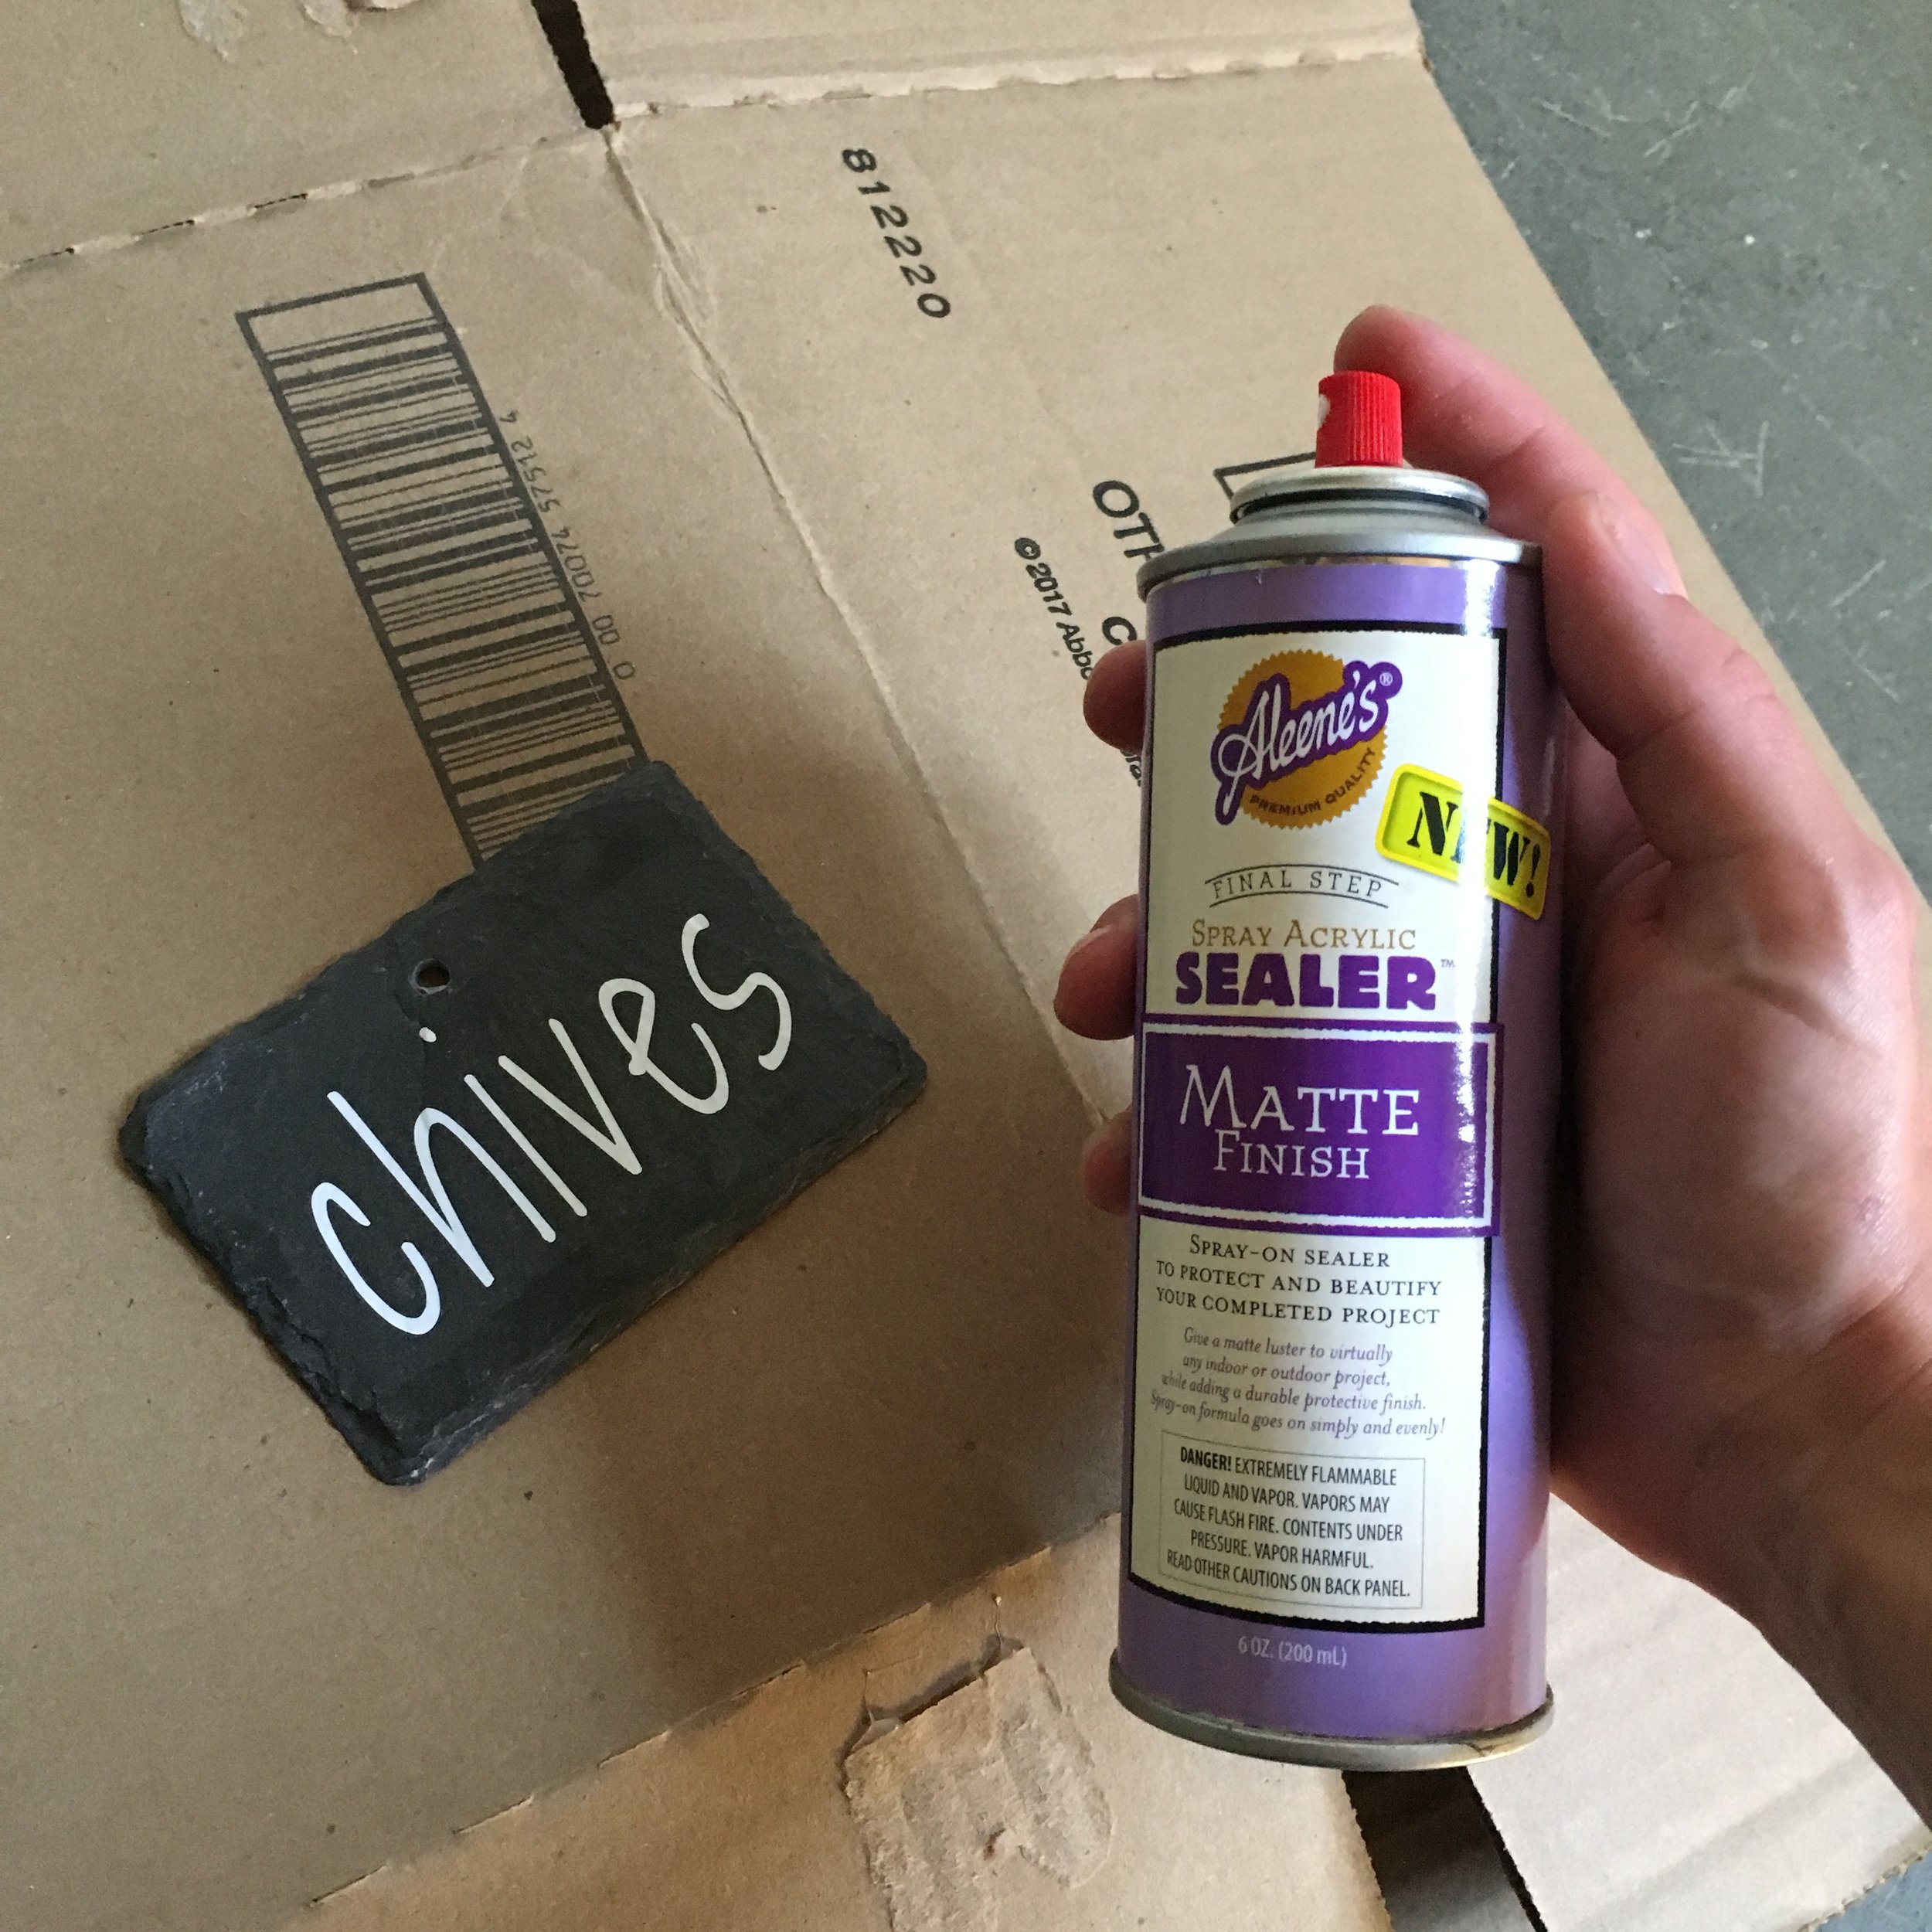
6. To make sure the vinyl doesn't peel or come loose, I use a spray acrylic sealer to seal them. Just put the markers on a scrap piece of cardboard, give a light coating of the spray sealer, and allow to dry (make sure you're in a well-ventilated area). If you used a paint marker instead I would also suggest sealing them.
7. Hang your new garden markers! You can buy special hangers for them if you like, or use sticks and some twine or wire. In my case I wanted them on the barrels in our herb garden so I simply used some thin copper wire and "flossed" it through the slots in the barrel, tying it off with a large washer at the back so they don't pull through.
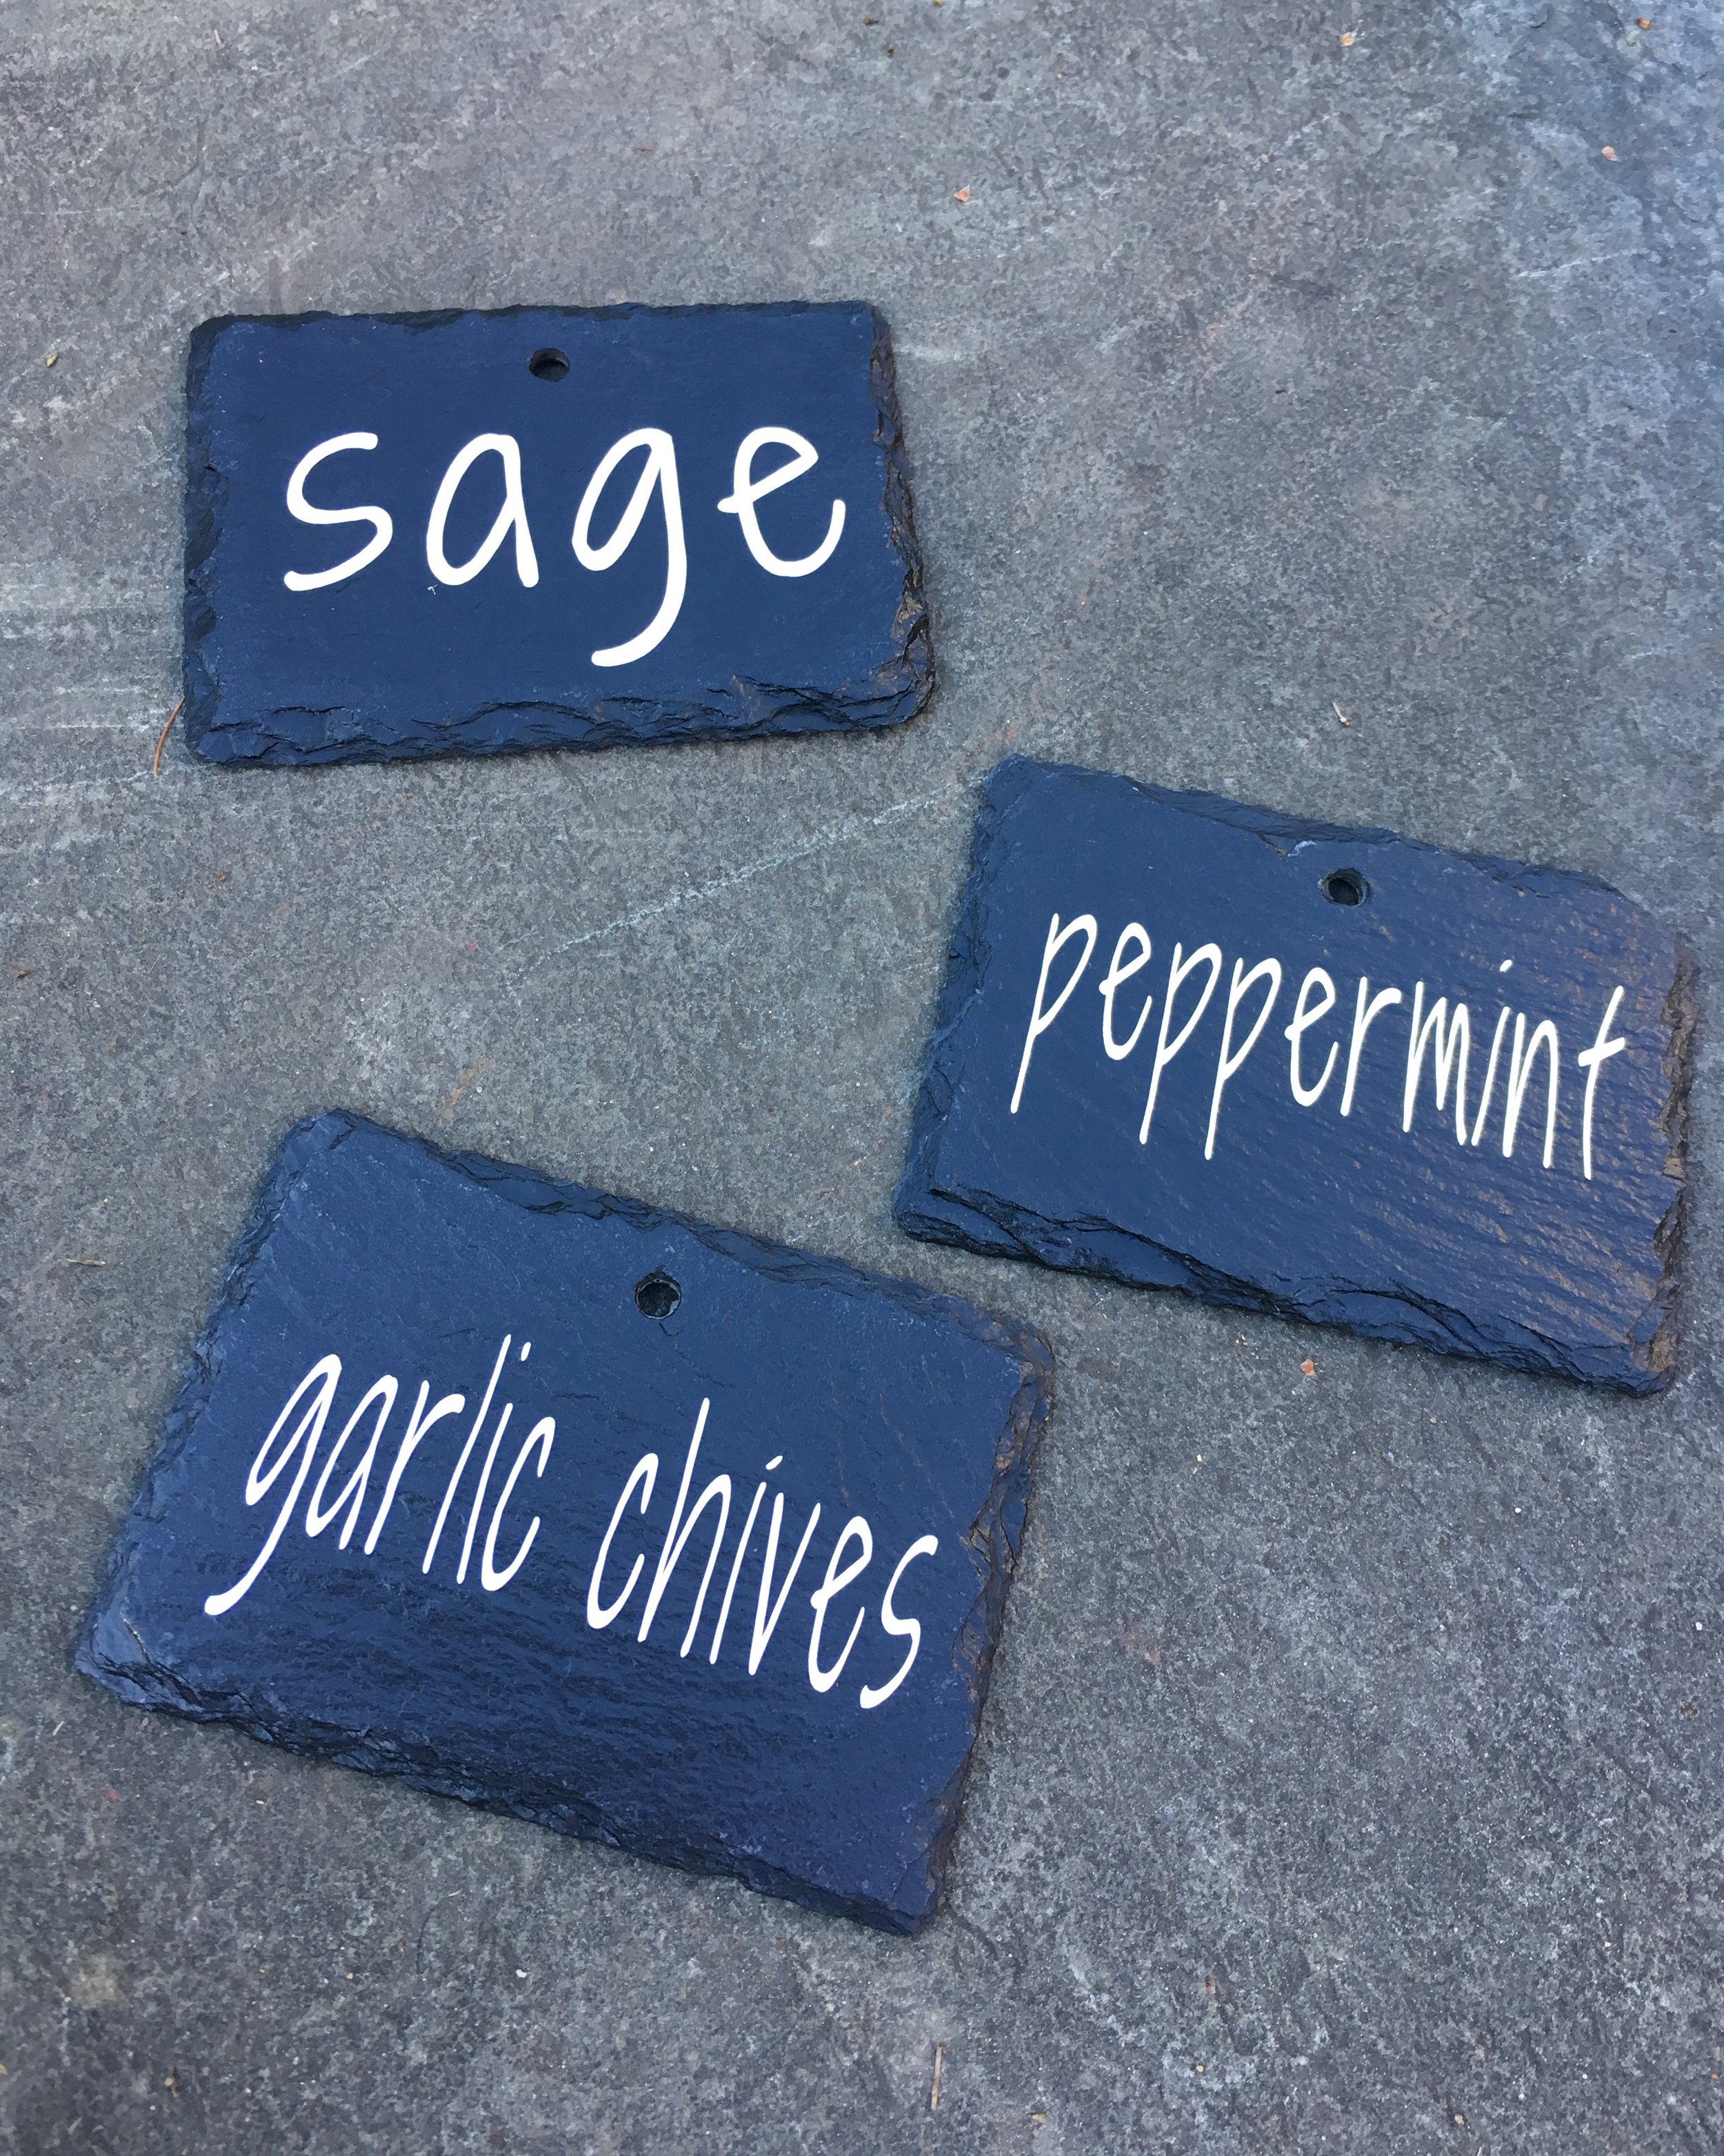
It has been SOOO abnormally hot in New England these past few weeks that my herb garden isn't looking too wonderful at the moment (hence the limited "after" pictures). We have six wine barrel planters on a small patio; four of the planters have perennial herbs (chives, garlic chives, sage, and peppermint) that come back each year and the other two planters I switch up each summer. Currently my poor plants are a bit sun-stressed and I'm far behind on weeding, but I hope you'll get the idea of the final install below. I think it really helps finish the space and I love that things are finally labeled.
EDIT Spring, 2020: Just wanted to hop on here and add that I’ve left these up year-round on our herb barrels since 2018 and they still look great! No fading or peeling with the sun or snow. The slate with the permanent vinyl labels and sealer have definitely held up wonderfully.
I recently made this custom herb planter as part of our wedding gift for some close friends and I just love how it came out! I'd love to add something similar to the Etsy shop but not sure how to ship it... hmmmm.
PS - Congratulations again to the happy couple!! We're so happy for you both!
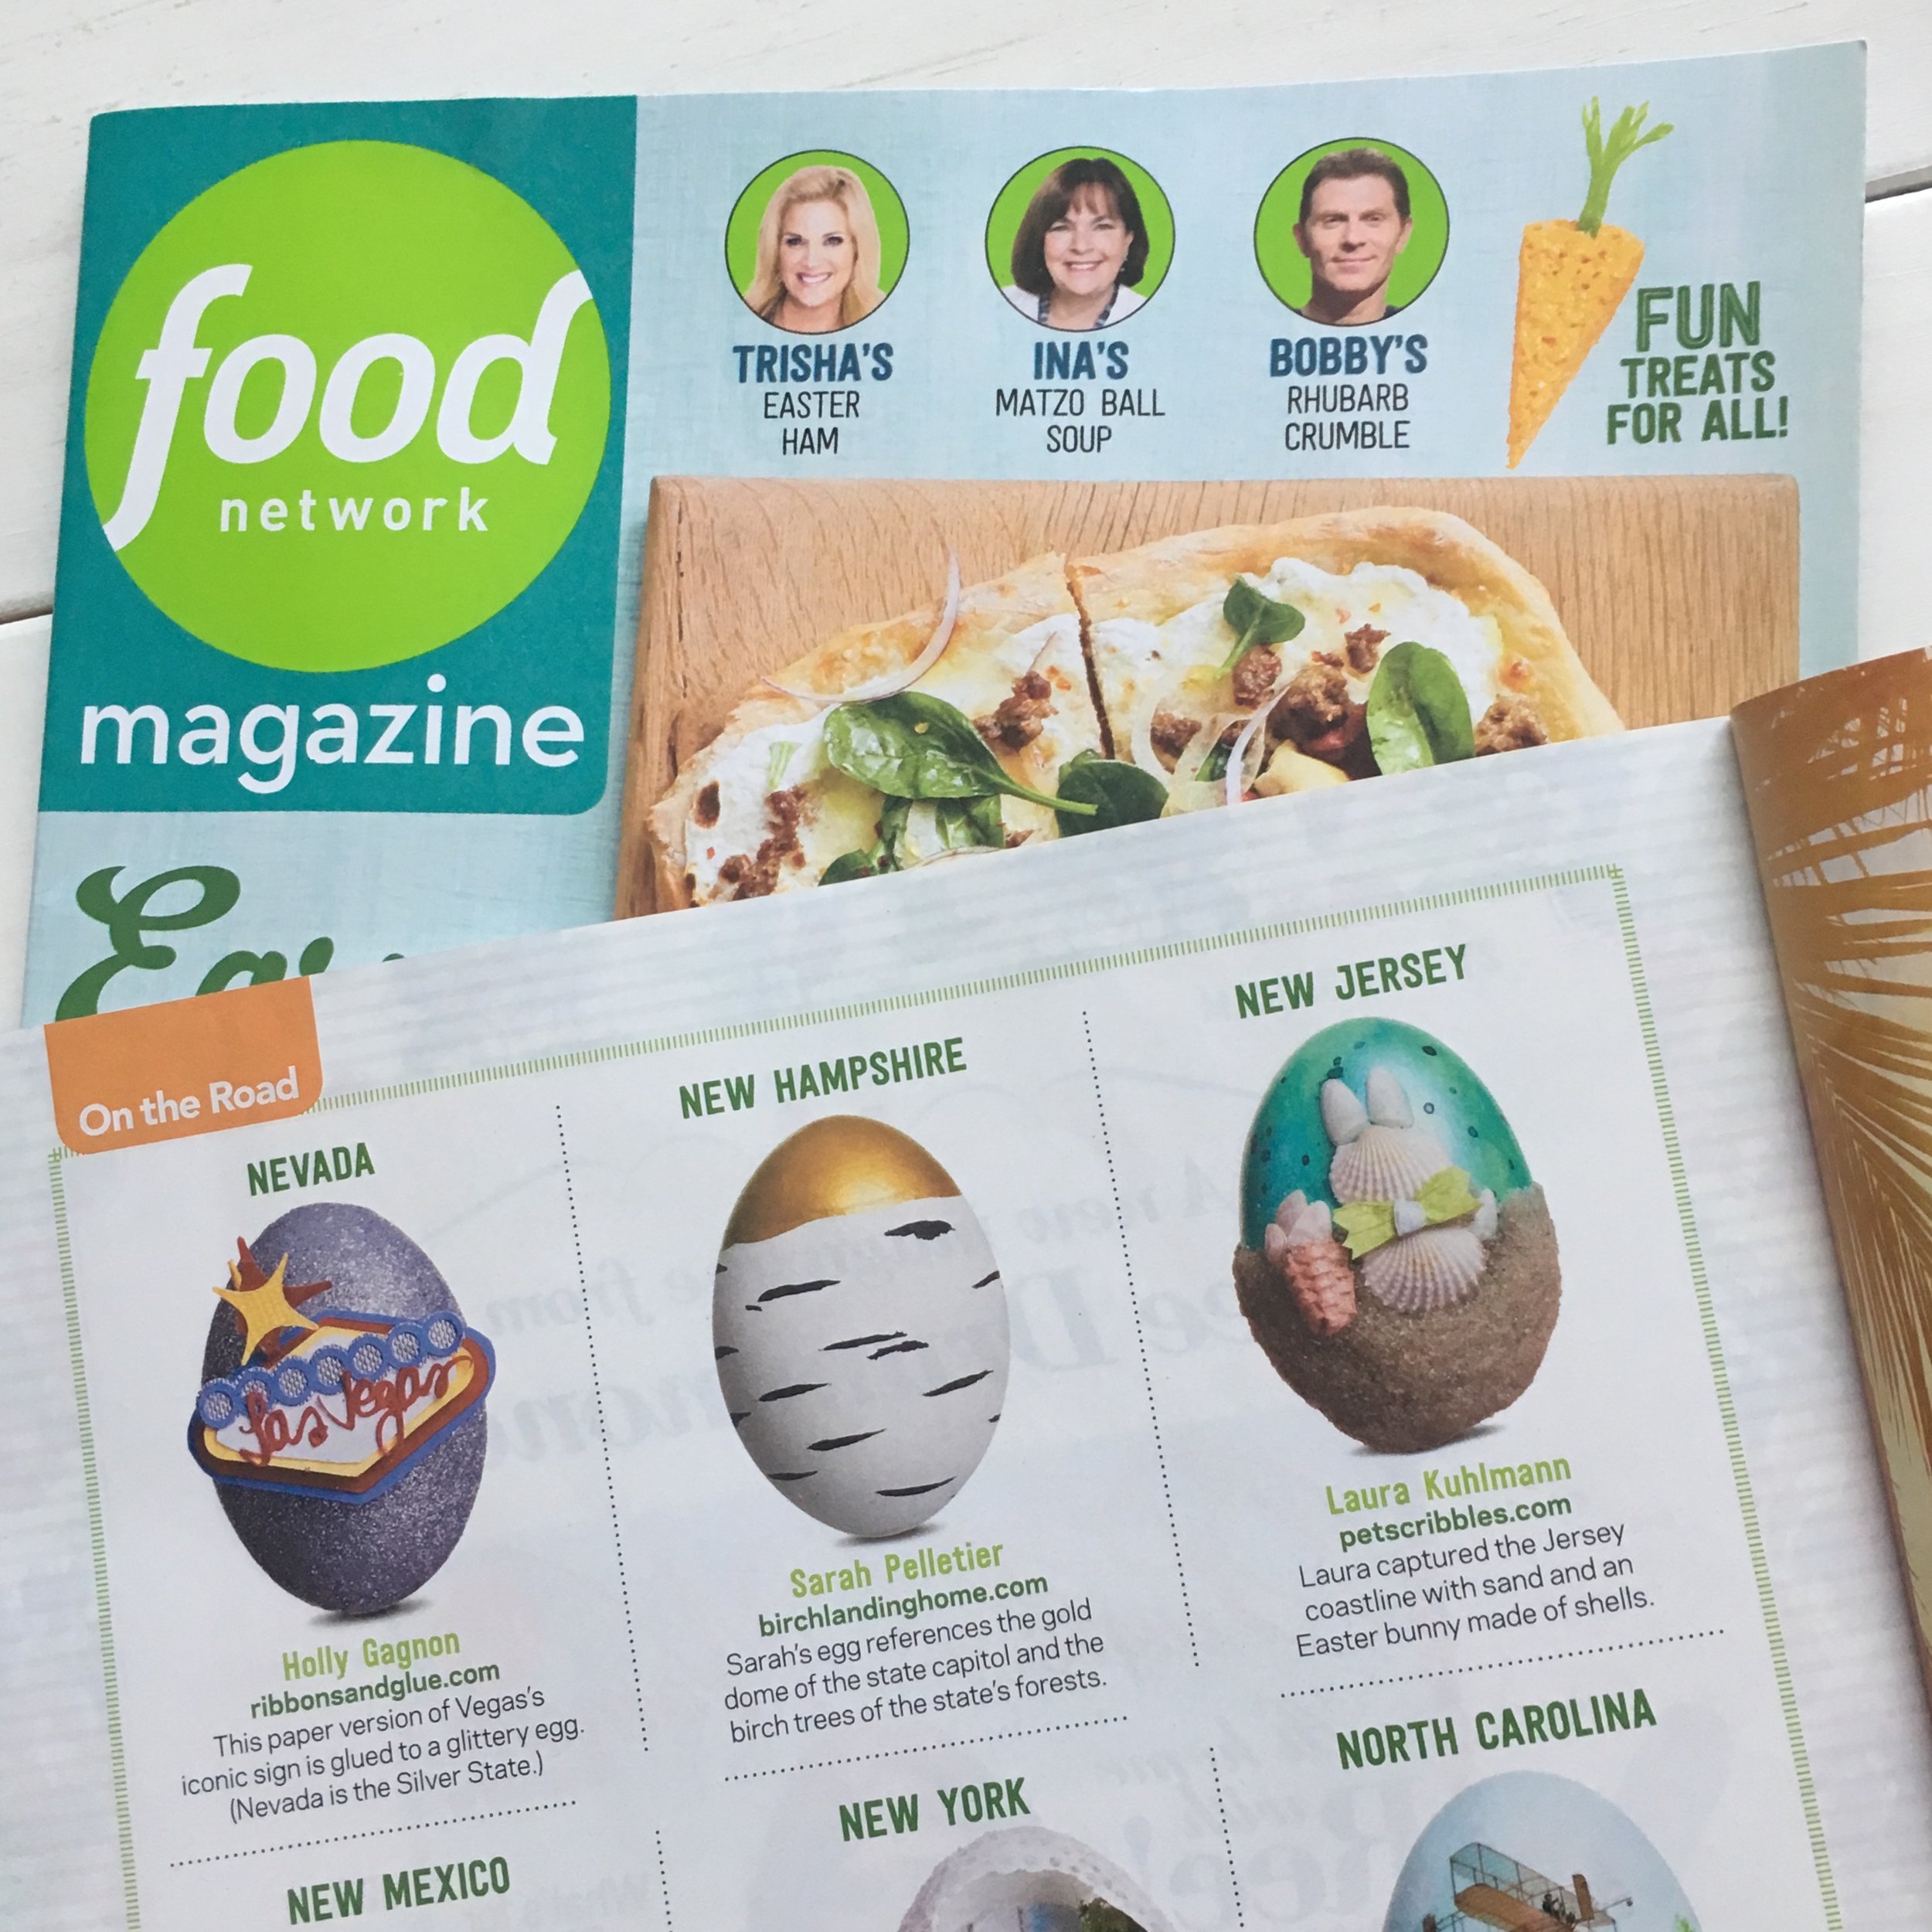
A few months ago, Food Network Magazine emailed me and asked if I'd be interested in designing a New Hampshire-themed egg for their Easter issue! I was completely blown away and honored for the opportunity. My New Hampshire egg design was a gold-dipped, faux birch bark egg - gold-dipped to represent our State House with it's golden dome, and the birch bark paint finish to represent our our state tree, the white birch. Fun Fact: My great-grandfather was a steeplejack and did the gold leaf on the New Hampshire capitol dome back in the 1920's! | This post contains affiliate links |
Creating one of these gold-dipped birch eggs for yourself is pretty simple! Here's the full how-to:
Materials:
faux egg (for the Food Network Magazine example and most of the photos in this how-to, I used an Eggnot, a fake ceramic egg - but you could also use a wooden egg. If you use real hardboiled eggs I would not recommend eating them after painting)
white acrylic paint (if your fake egg isn't already white to begin with)
paper cup
thin paintbrush
tinfoil to make a stand for the egg to dry on
How-to:
1. First, make a tinfoil ring to hold your egg while it dries between steps. Then if your egg isn't already white, paint white and allow to dry between coats. It may need several coats of paint.
2. Next shake the gold acrylic paint well and pour about half an inch of it into a small paper cup. Dip the top of the egg carefully into the cup. (I found it best to to do the gold-dip first, then paint the bark pattern after since sometimes the black lines were visible under the gold-dip.) Gold paint tends to be thick and you may have some swirling or thick drips after dipping. You can try to smooth these out a bit with a paintbrush but it usually looks cleaner if you just leave it as-is, even if you end up with a thick spot within the dip. After the gold dip, carefully place the egg in the tinfoil ring to dry.
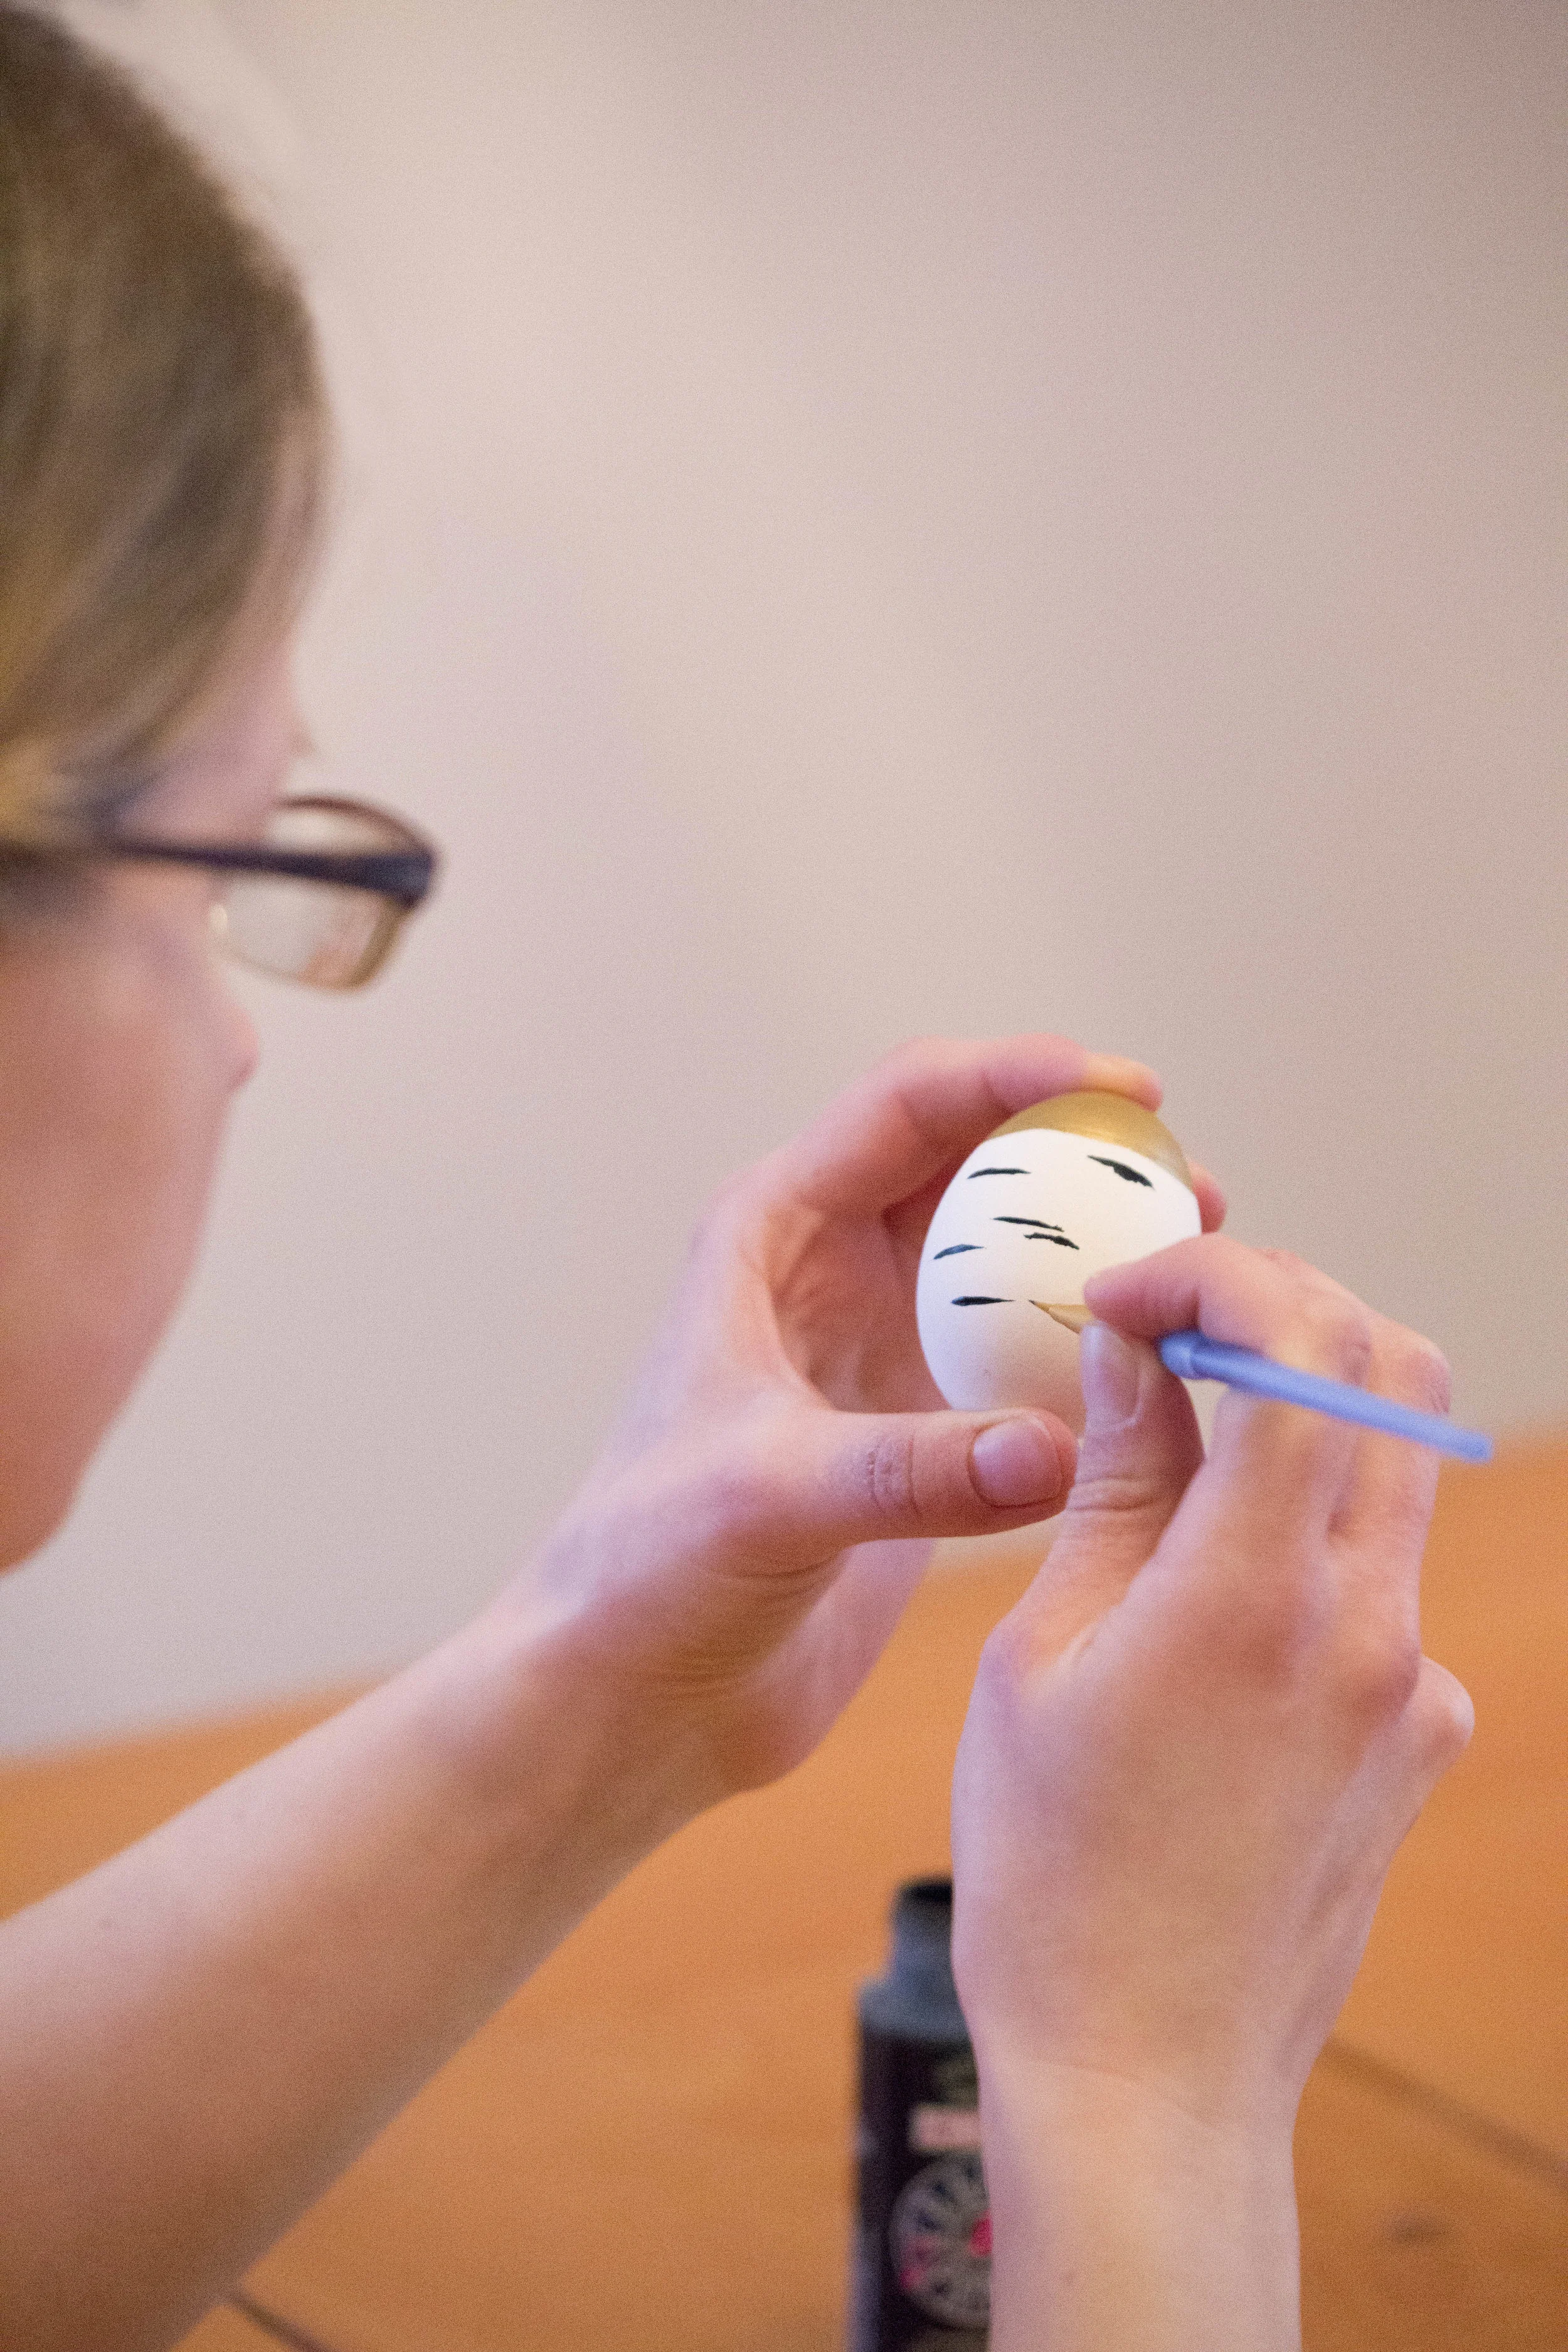
3. Once the gold-dip is dry, use a thin paint brush to paint horizontal black lines on the egg, all the way around. Vary the placement and thickness of the lines a bit to mimic the look of birch bark. You may have to carefully hold the egg for a few minutes to let it air dry a bit before carefully setting it, gold top down, into the tinfoil ring to finish drying.
And that's it! While making them can be tedious with the drying time between steps, it's really quite easy. And in the event you don't feel like tackling this project yourself, I have a limited supply of painted Wooden Gold-Dipped Birch Eggs in my Etsy Shop!
Incredibly honored and excited to say that I designed and painted the New Hampshire egg for the latest issue of Food Network Magazine! I was completely blown away when they sent me an email last November, asking if I wanted to be a contributor for this piece (um, YES!) and it’s so exciting to finally see it in print! Thank you, Food Network Magazine!
If you want to make your own NH-inspired egg, please check out my full tutorial HERE.
PS - Make sure to pick up a copy, so many creative eggs from every state - not to mention all the yummy recipes!
Creating our family's Christmas card each year is a tradition I greatly look forward to. I especially love looking back at past years to see how much everyone has grown. I used to tuck these old cards away in a drawer but I've found it much more accessible and enjoyable to put them within reach, displayed in a special photo album. | This post contains affiliate links |
Luckily, we've always done 5x7 inch photo cards which fit perfectly inside a
festive perfectly-sized photo album I found on Amazon. If you've done different sized or odd-sized cards through the years, it might make the most sense to use a
big scrapbook to chronicle them. Just make sure to order an extra card to add to the album each year and cherish the memories!
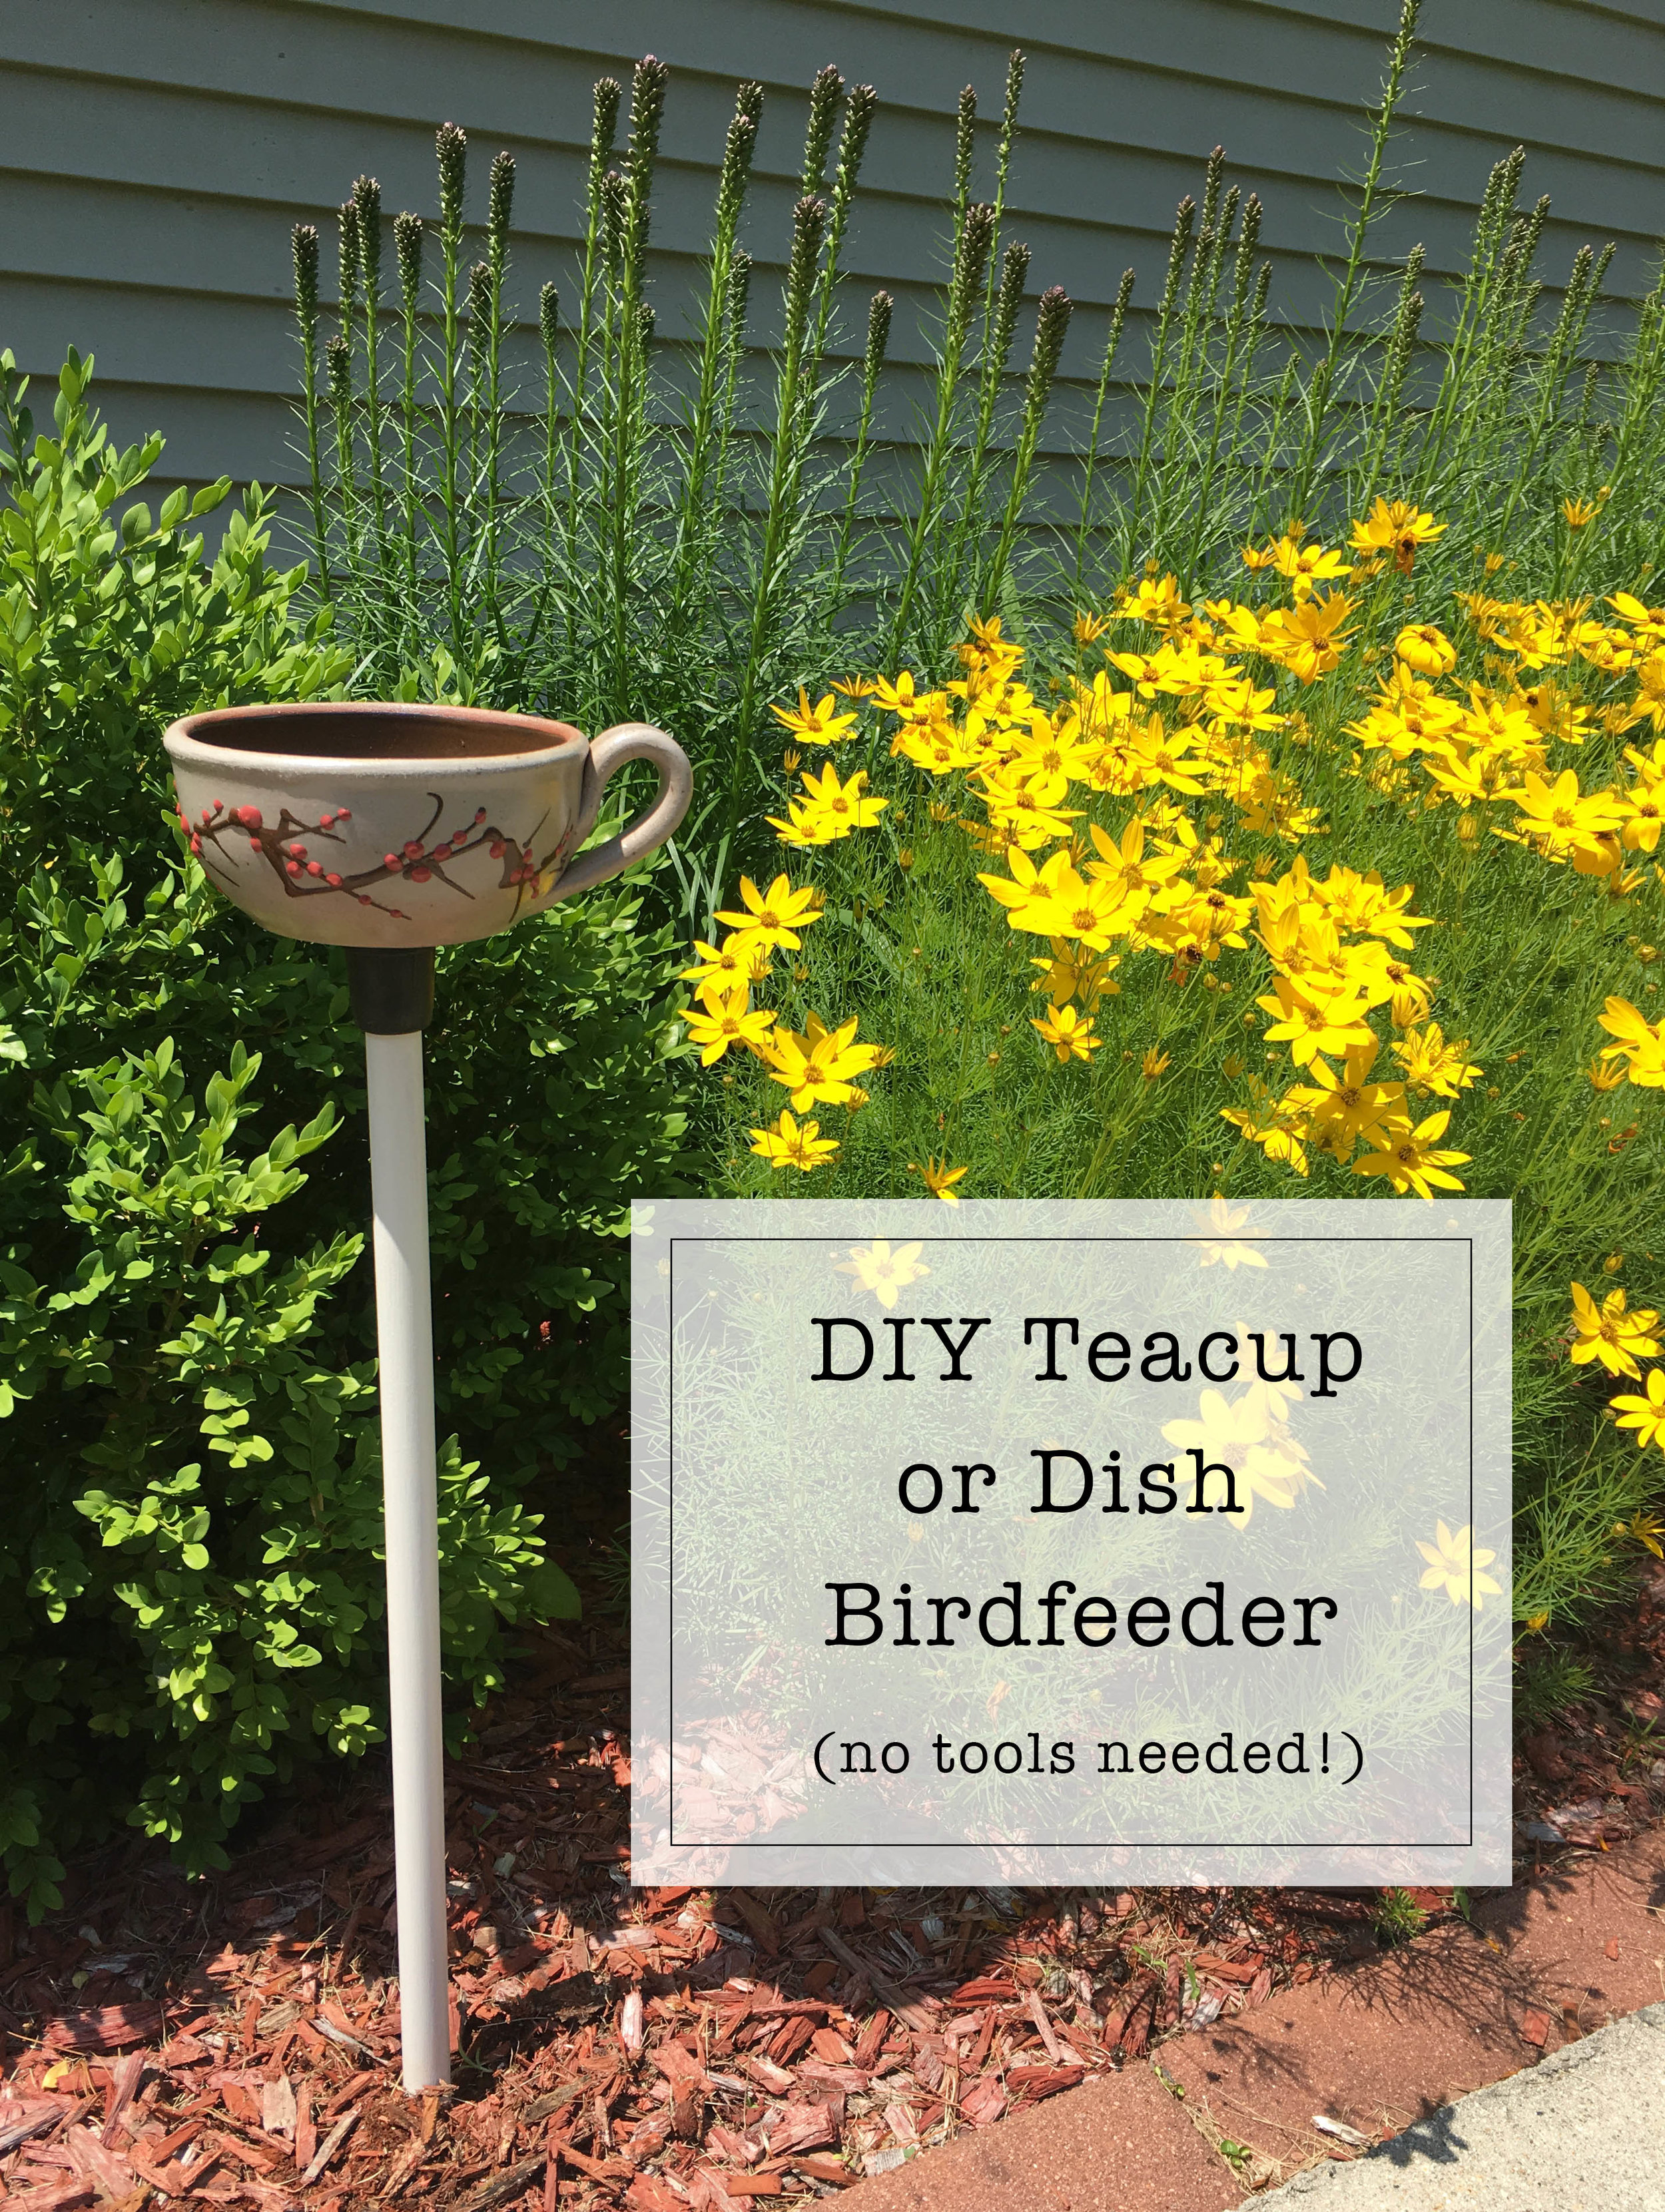
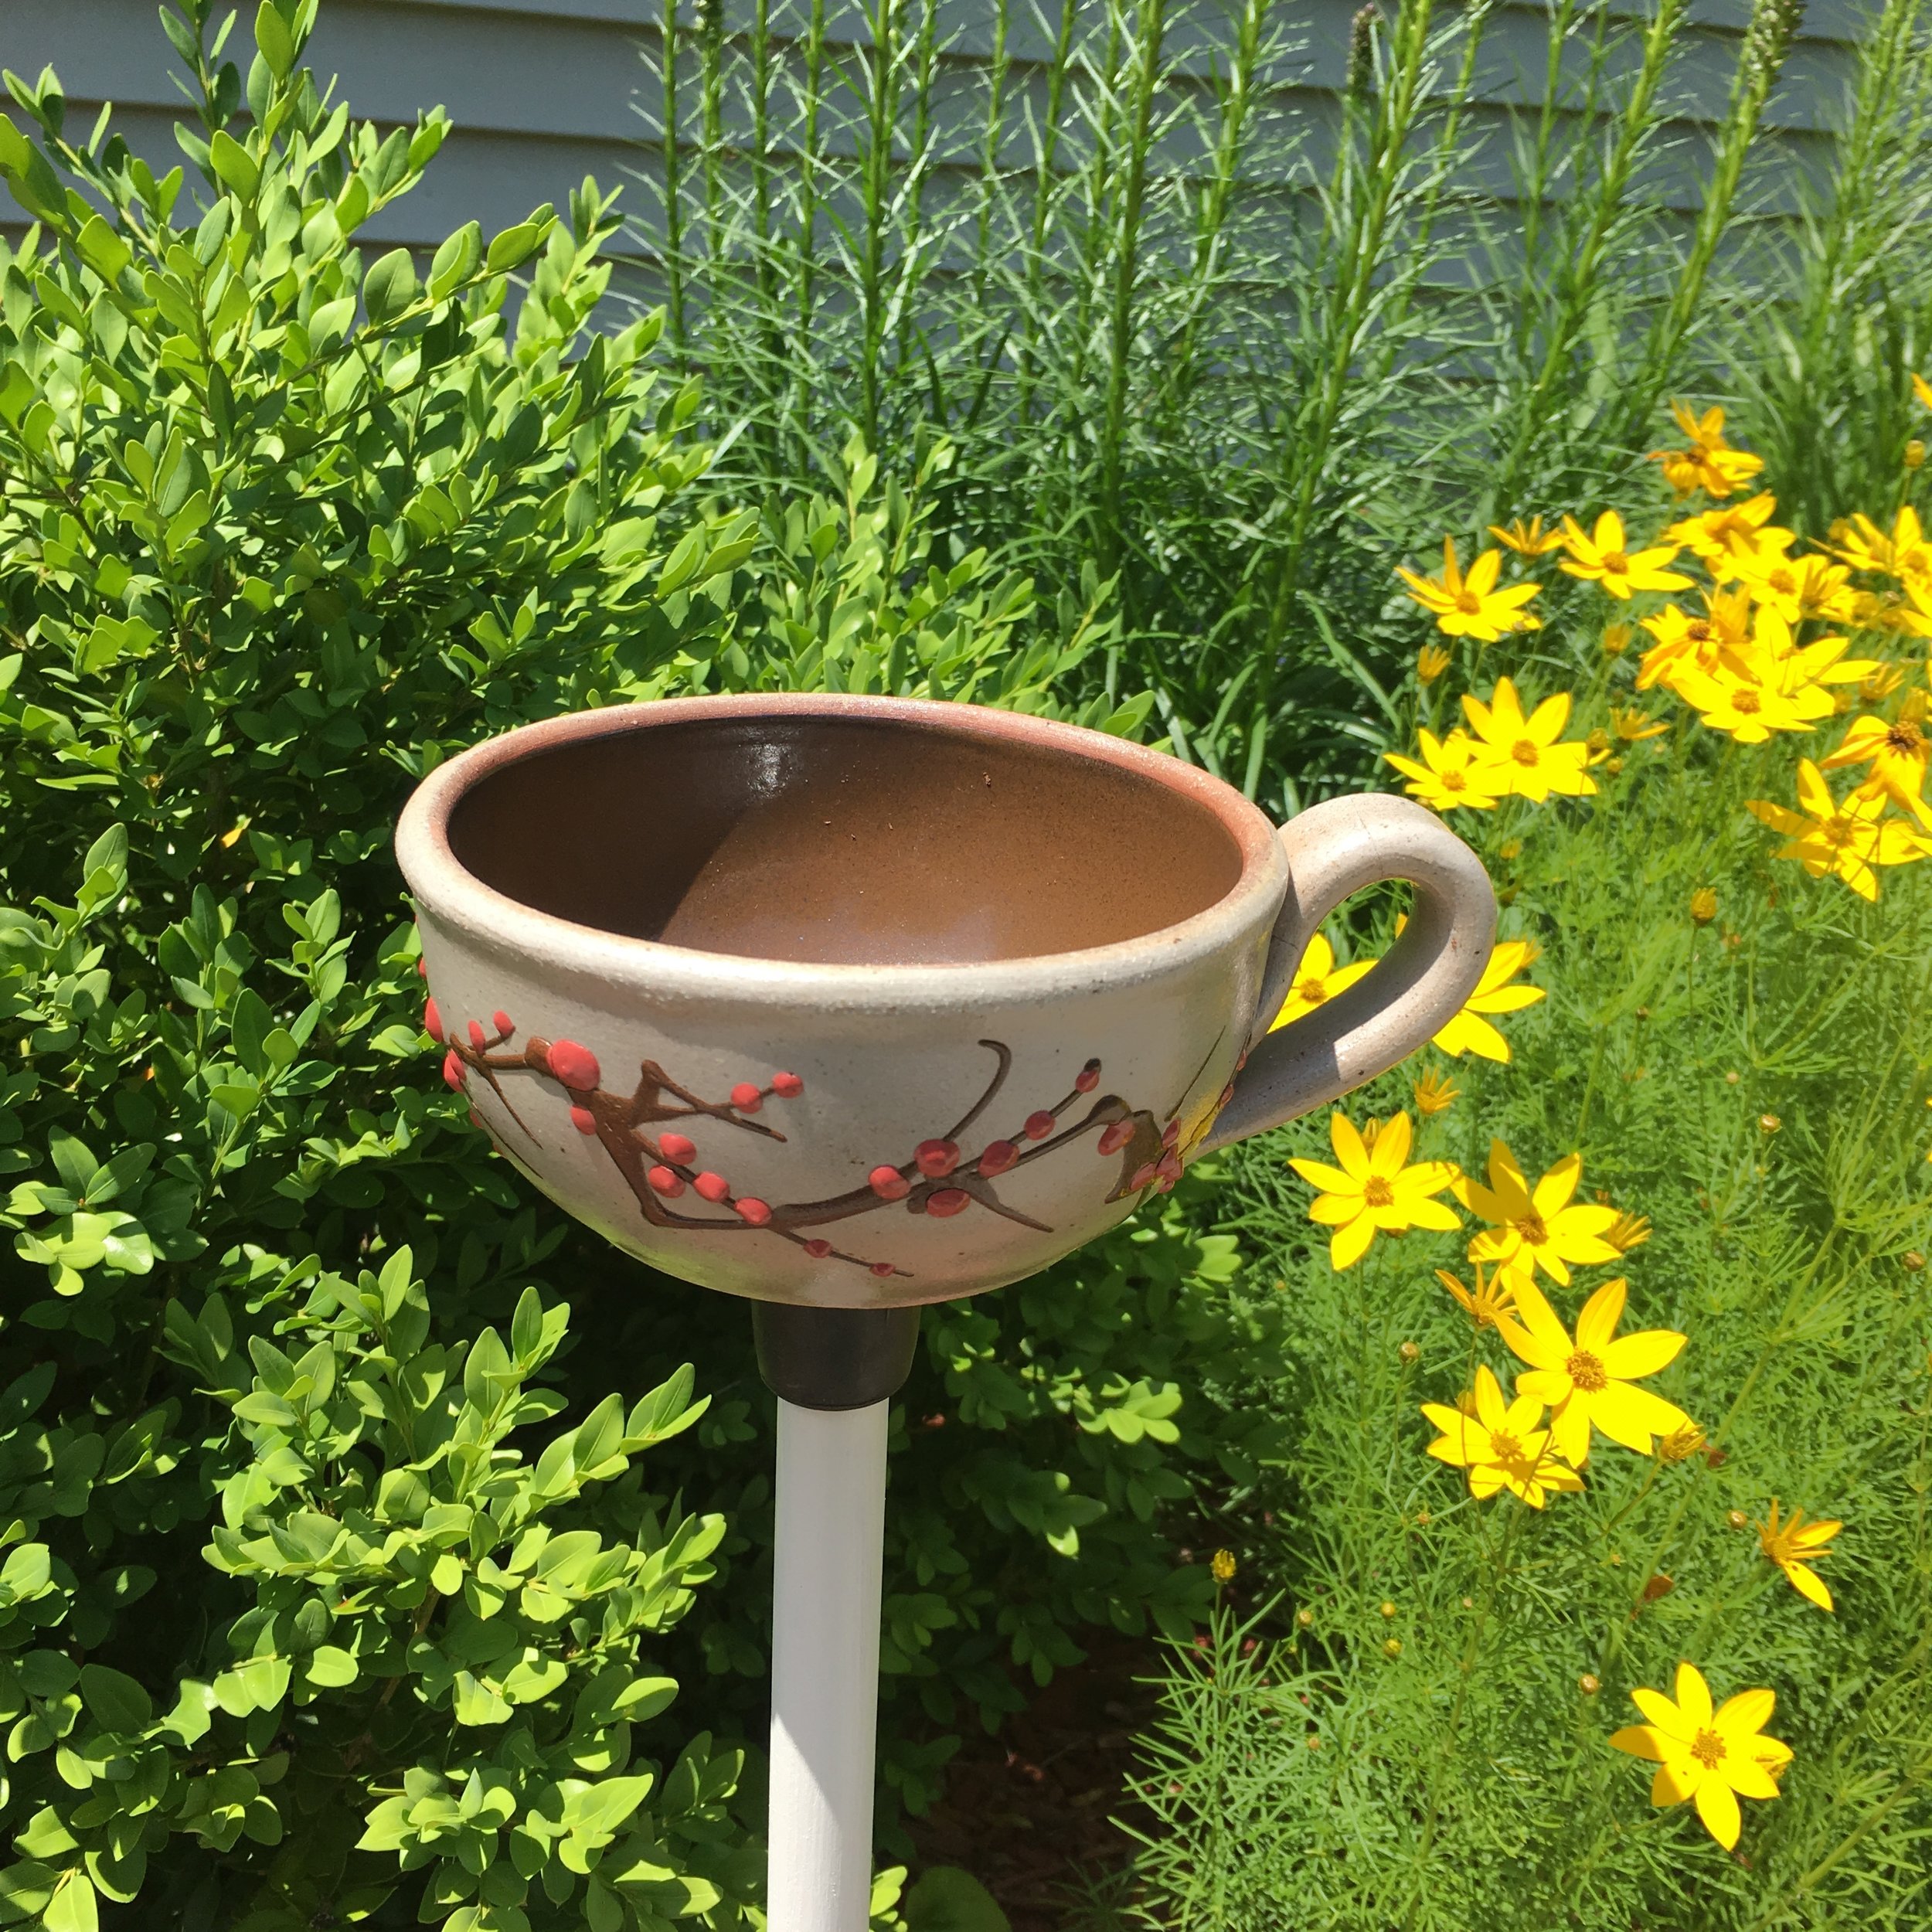
You might remember a previous post where I reused a repaired coffee mug as an herb planter in the kitchen. Well this year I decided to transform that mug one more time into a little bird feeder for a focal point in the flower garden.
Supplies & How-to:
The supply list really couldn't be more simple - all you need is a mug, bowl, or plate, a wooden dowel, a rubber cap, and some super glue! That's it!
I had my husband paint the wooden dowel with a couple coats of white outdoor paint first (normally I would have painted it, but the outdoor paint isn't recommended to be used by pregnant women). I wanted it painted to give a bit more of a finished look and to help make sure the dowel lasts longer outdoors.
Then with a little bit of Super Glue, I attached the rubber cap to the bottom of the ceramic mug.
By having the mug be removable from the dowel, you can easily pound the dowel sturdily into the ground with a small mallet or hammer then add the feeder once the dowel is in place. It also makes it easy to clean out the feeder regularly.
Since we've had bears frequent our neighborhood lately, I will just be filling the mug with water for now for birds and butterflies to drink from. Once the bears go into hibernation again I will be able to safely fill it with bird seed for our feathered friends.
Overall I'm happy with how this simple project came out - it adds the perfect touch to our flower bed!
As you know by now, I love sharing about companies and products we love on my blog and our Instagram - and most especially those made right here in New England. I decided it would be so fun to highlight some of our local New England Makers regularly on my blog and thought I would kick off the series by sharing a little bit more about myself and Birch Landing Home by answering some frequently asked questions.
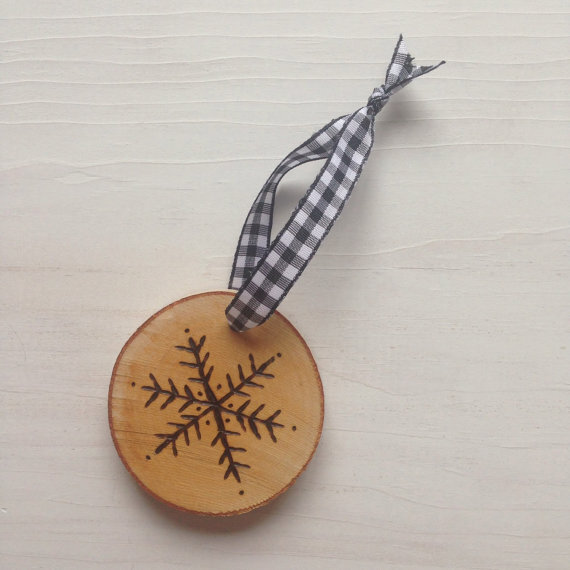
Birch Landing Home is best known for hand-etched wooden ornaments, garland, and other handmade crafts. I also run this blog where I mainly focus on New England lifestyle, motherhood, and budget-friendly DIY projects.
Tell me a little bit about yourself and your business.
My name is Sarah and I’m a wife, stay-at-home mom, and self-confessed Pinterest addict living in rural New England with our dog and chickens. I started Birch Landing Home a few years ago after our daughter was born because I was looking for a flexible, creative outlet to work from home while still being a stay-at-home mom. I’ve always loved making crafts and thought selling them on Etsy was a good start, I also thought it would be fun to document the little DIY projects I was doing around our home and so I started this blog also.
What does a typical day look like for you?
My #1 job is stay-at-home mom… so my priority is taking care of our daughter, our animals, and chores around our home. During nap time and after we put our daughter to bed for the day is when I get a chance to work on crafts for my Etsy shop and write articles for the blog. I’m thankful for the privilege to be a stay-at-home mom and the flexibility to be able to work on Birch Landing Home when I’m able to.
What’s your favorite part about owning your own company? And least favorite part?
My favorite part about running Birch Landing Home is the flexibility and adaptability… when I first started my Etsy shop I was making jewelry but then decided to go in a different direction and focus more on rustic-style crafts. It was great being able to change my focus like that and make Birch Landing Home what I wanted it to be. My least favorite part is probably self-doubt… Every time I send out an order I worry if the customer/store will like it, what they will think of it, etc - I don’t want to disappoint anyone. Also, because I use a lot of natural materials there is quite a bit of variation in my work too and I worry people won’t appreciate that rustic aspect of it.
What has been the most exciting moment for Birch Landing Home since starting?
By far my most exciting moment for Birch Landing Home has been being featured in Martha Stewart Living Magazine as the Instagram Favorite for that month. I was so thrilled to be selected and featured - I have been reading Martha Stewart Living Magazine for years and have several of her craft and cookbooks. Such an honor!
What advice do you have for people just starting out?
My advice for those who want to start a handmade business or blog is… just start! It’s easy to overthink everything, over plan, and obsess over details and never get anything in motion. In my opinion it’s better to get things started and then tweak and finalize things as you go. It’s also important to keep finances separate and keep track of all income/expenses for tax time.
What is your long-term goal? Where do you see yourself in 5 years?
My long-term goal is to continue to grow my Etsy shop and blog. I would love to get more wholesale accounts for my crafts throughout New England, it’s so exciting to see my items in local shops. I also hope to continue to grow my blog following and hopefully get more opportunities to be featured in print. I’ve been lucky enough to be featured in a few print magazines so far (including Martha Stewart Living Magazine, Food Network Magazine, and New Hampshire Magazine), and I hope exciting features like that will continue in the future.
Why do you love sharing about New England Makers?
I love sharing about New England Makers because I think there is so much talent in our area that deserves to be shown off. There are so many wonderful, hardworking, creative people who work in lots of different materials and styles. I always love discovering new-to-me businesses and sharing about them.
DO YOU OWN A NEW ENGLAND-BASED BUSINESS AND WOULD LIKE TO BE FEATURED IN AN UPCOMING INTERVIEW? OR WOULD YOU BE INTERESTED IN HAVING ME STYLE, REVIEW, AND FEATURE ONE OF YOUR PRODUCTS? Please drop me a note.