Emergency Preparedness: Preparing, Sheltering in Place, Having a "Go Bag," and Evacuating

God forbid you or your family ever encounter an emergency situation, evacuation, natural disaster, etc. But if you do, it’s best to be prepared. Now, you probably can’t prepare for everything but even some level of preparedness is much better than none. In this post I’m sharing some general ideas on ways you can prepare your home and your family if you’re stuck or need to evacuate, but please do your own homework and contact local authorities for the best advice on what situations are most likely to arise for you. | This post contains affiliate links |

Emergency Preparedness ideas for your Family and Home.

Disclaimer: I am not a survival or emergency expert, but just sharing my opinion on ideas and discussion points on how you might prepare. Do your own research and contact local authorities on the best way to prepare your home and your family for any emergency situation which could arise.

Prepare Your Home

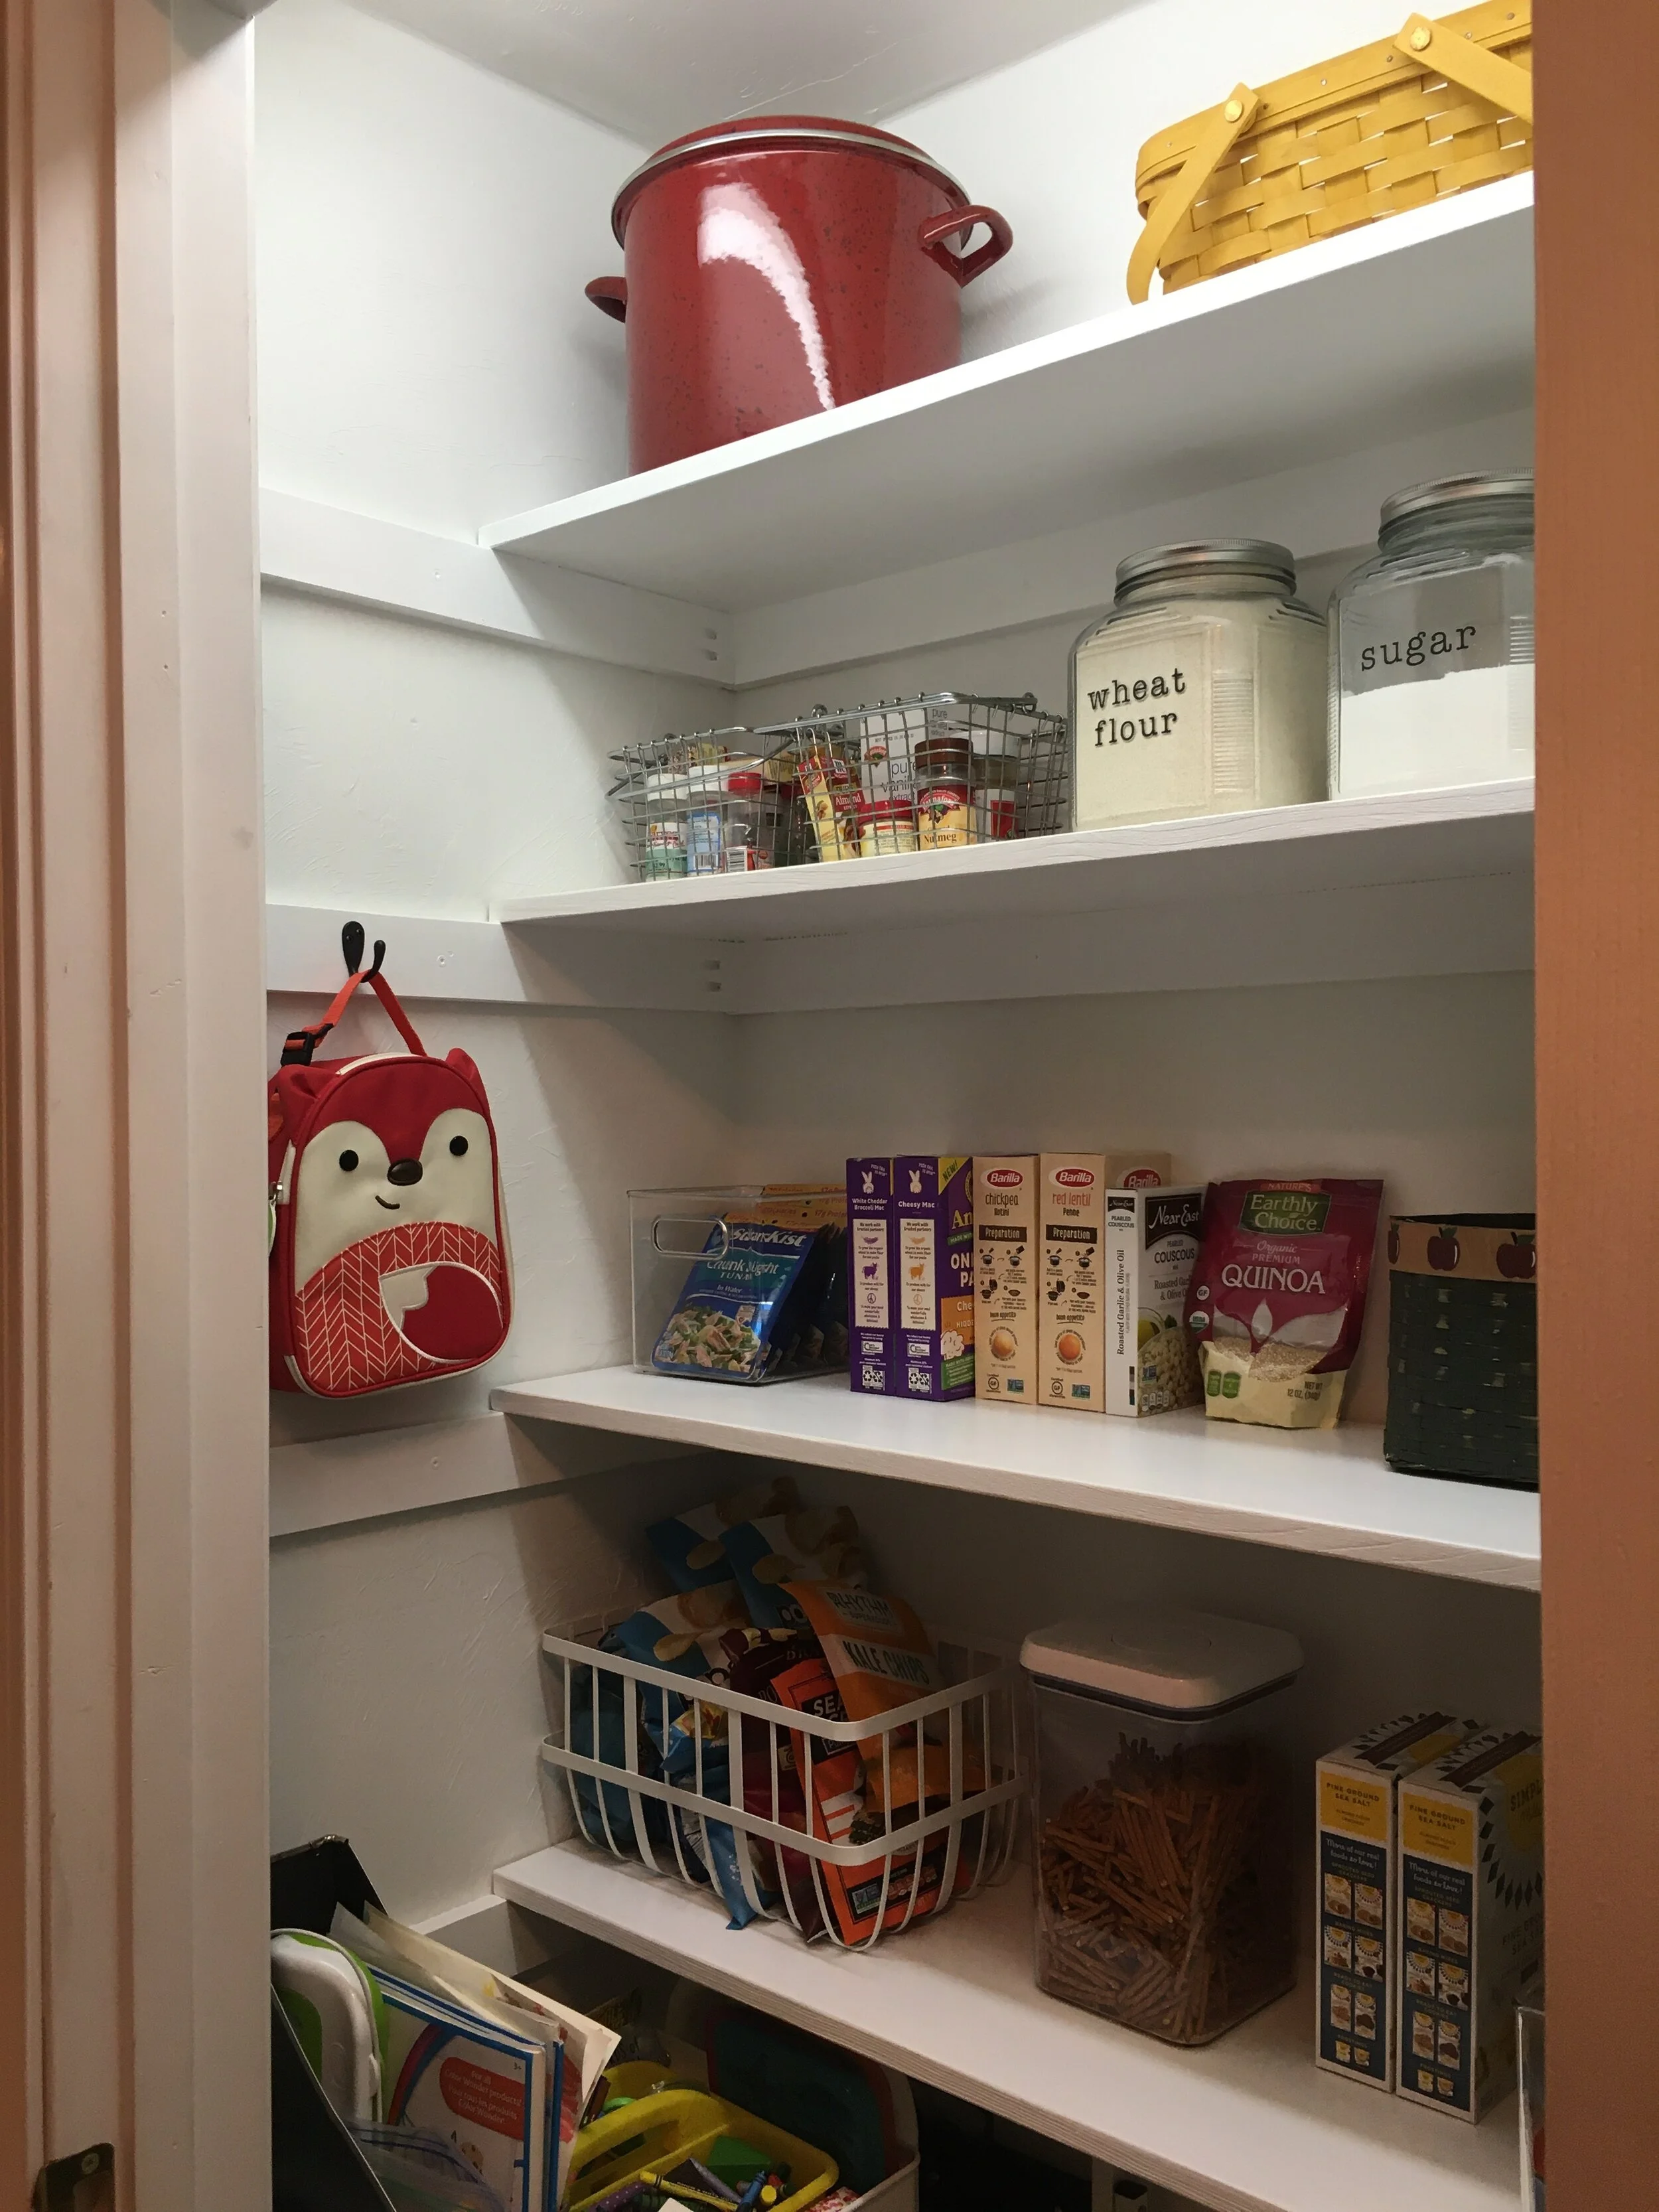
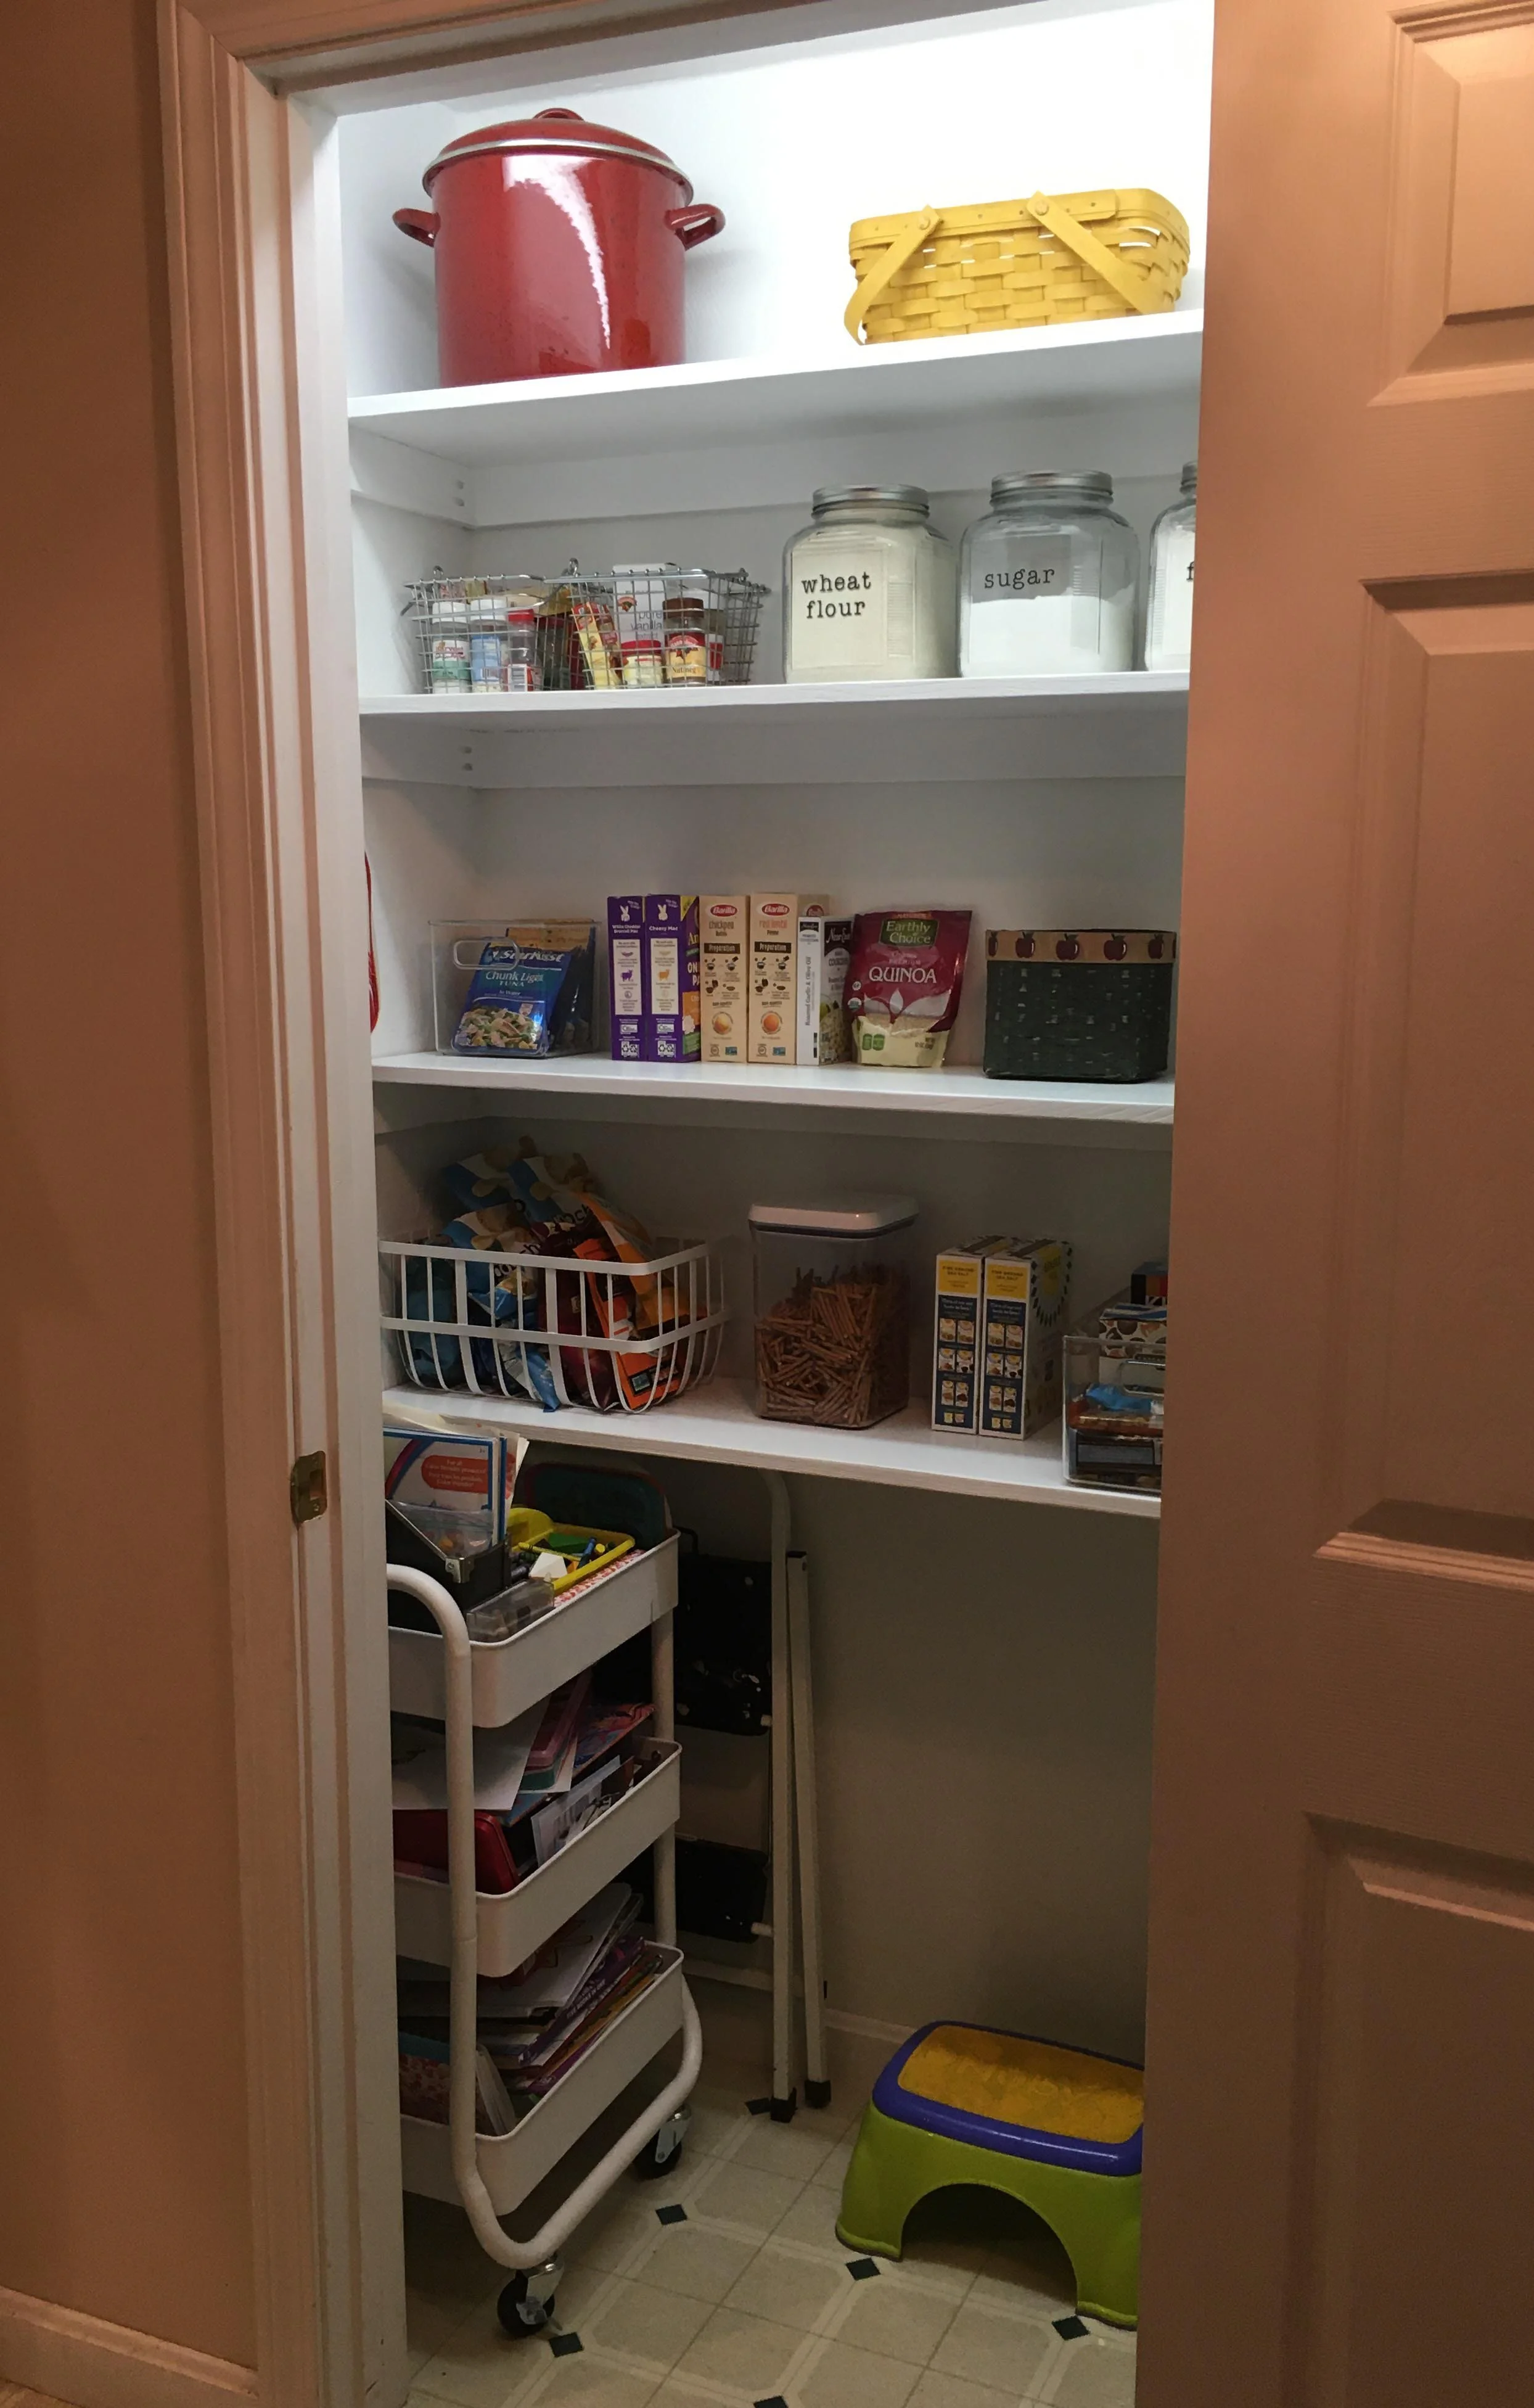
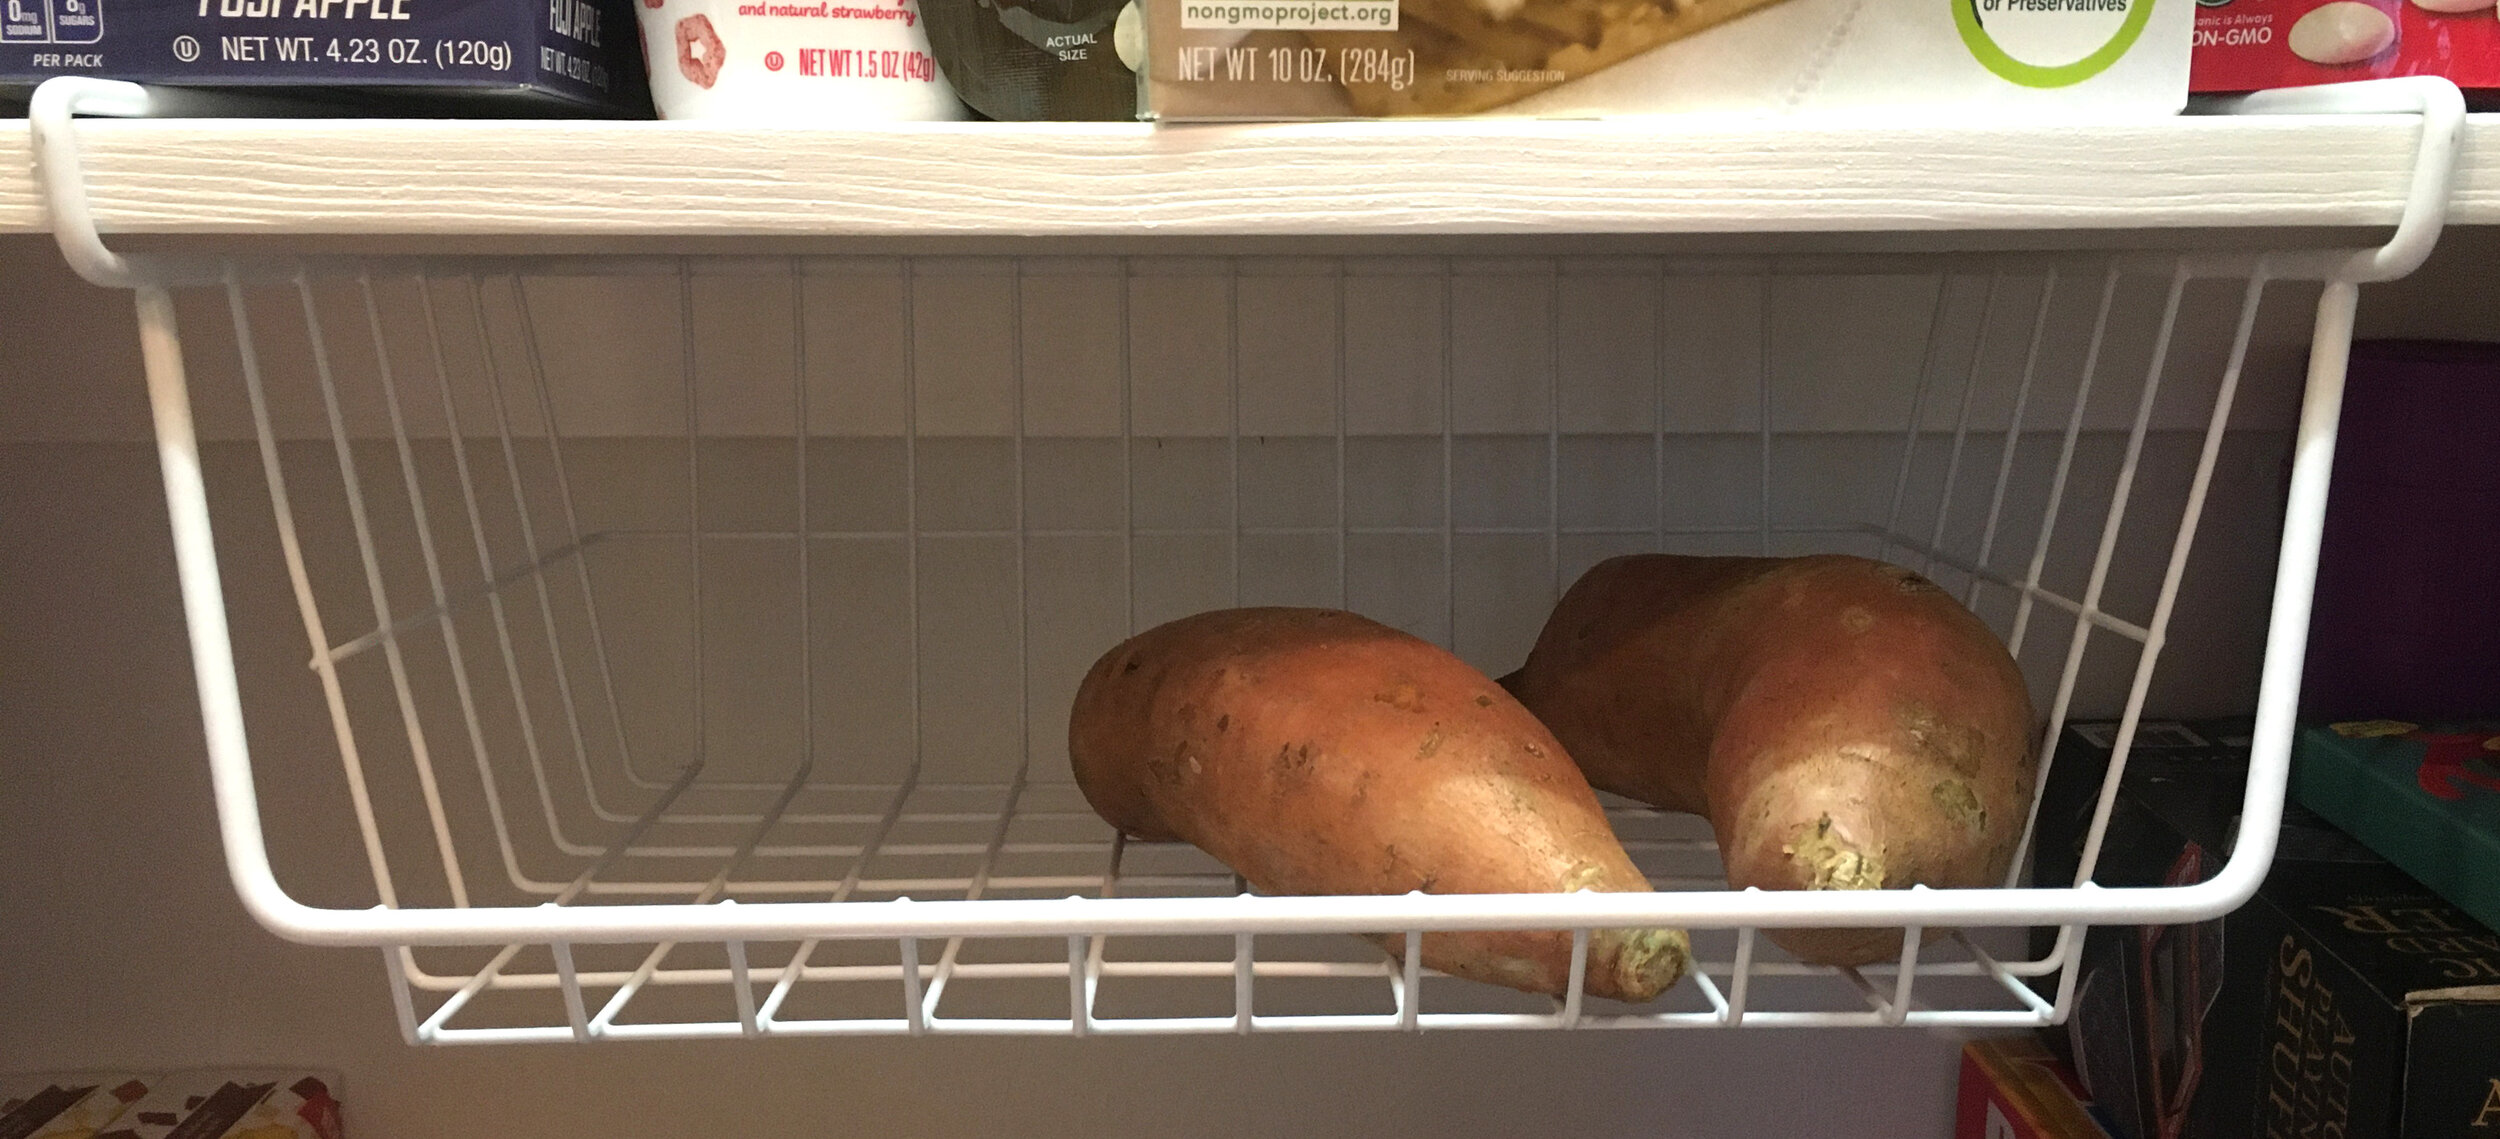
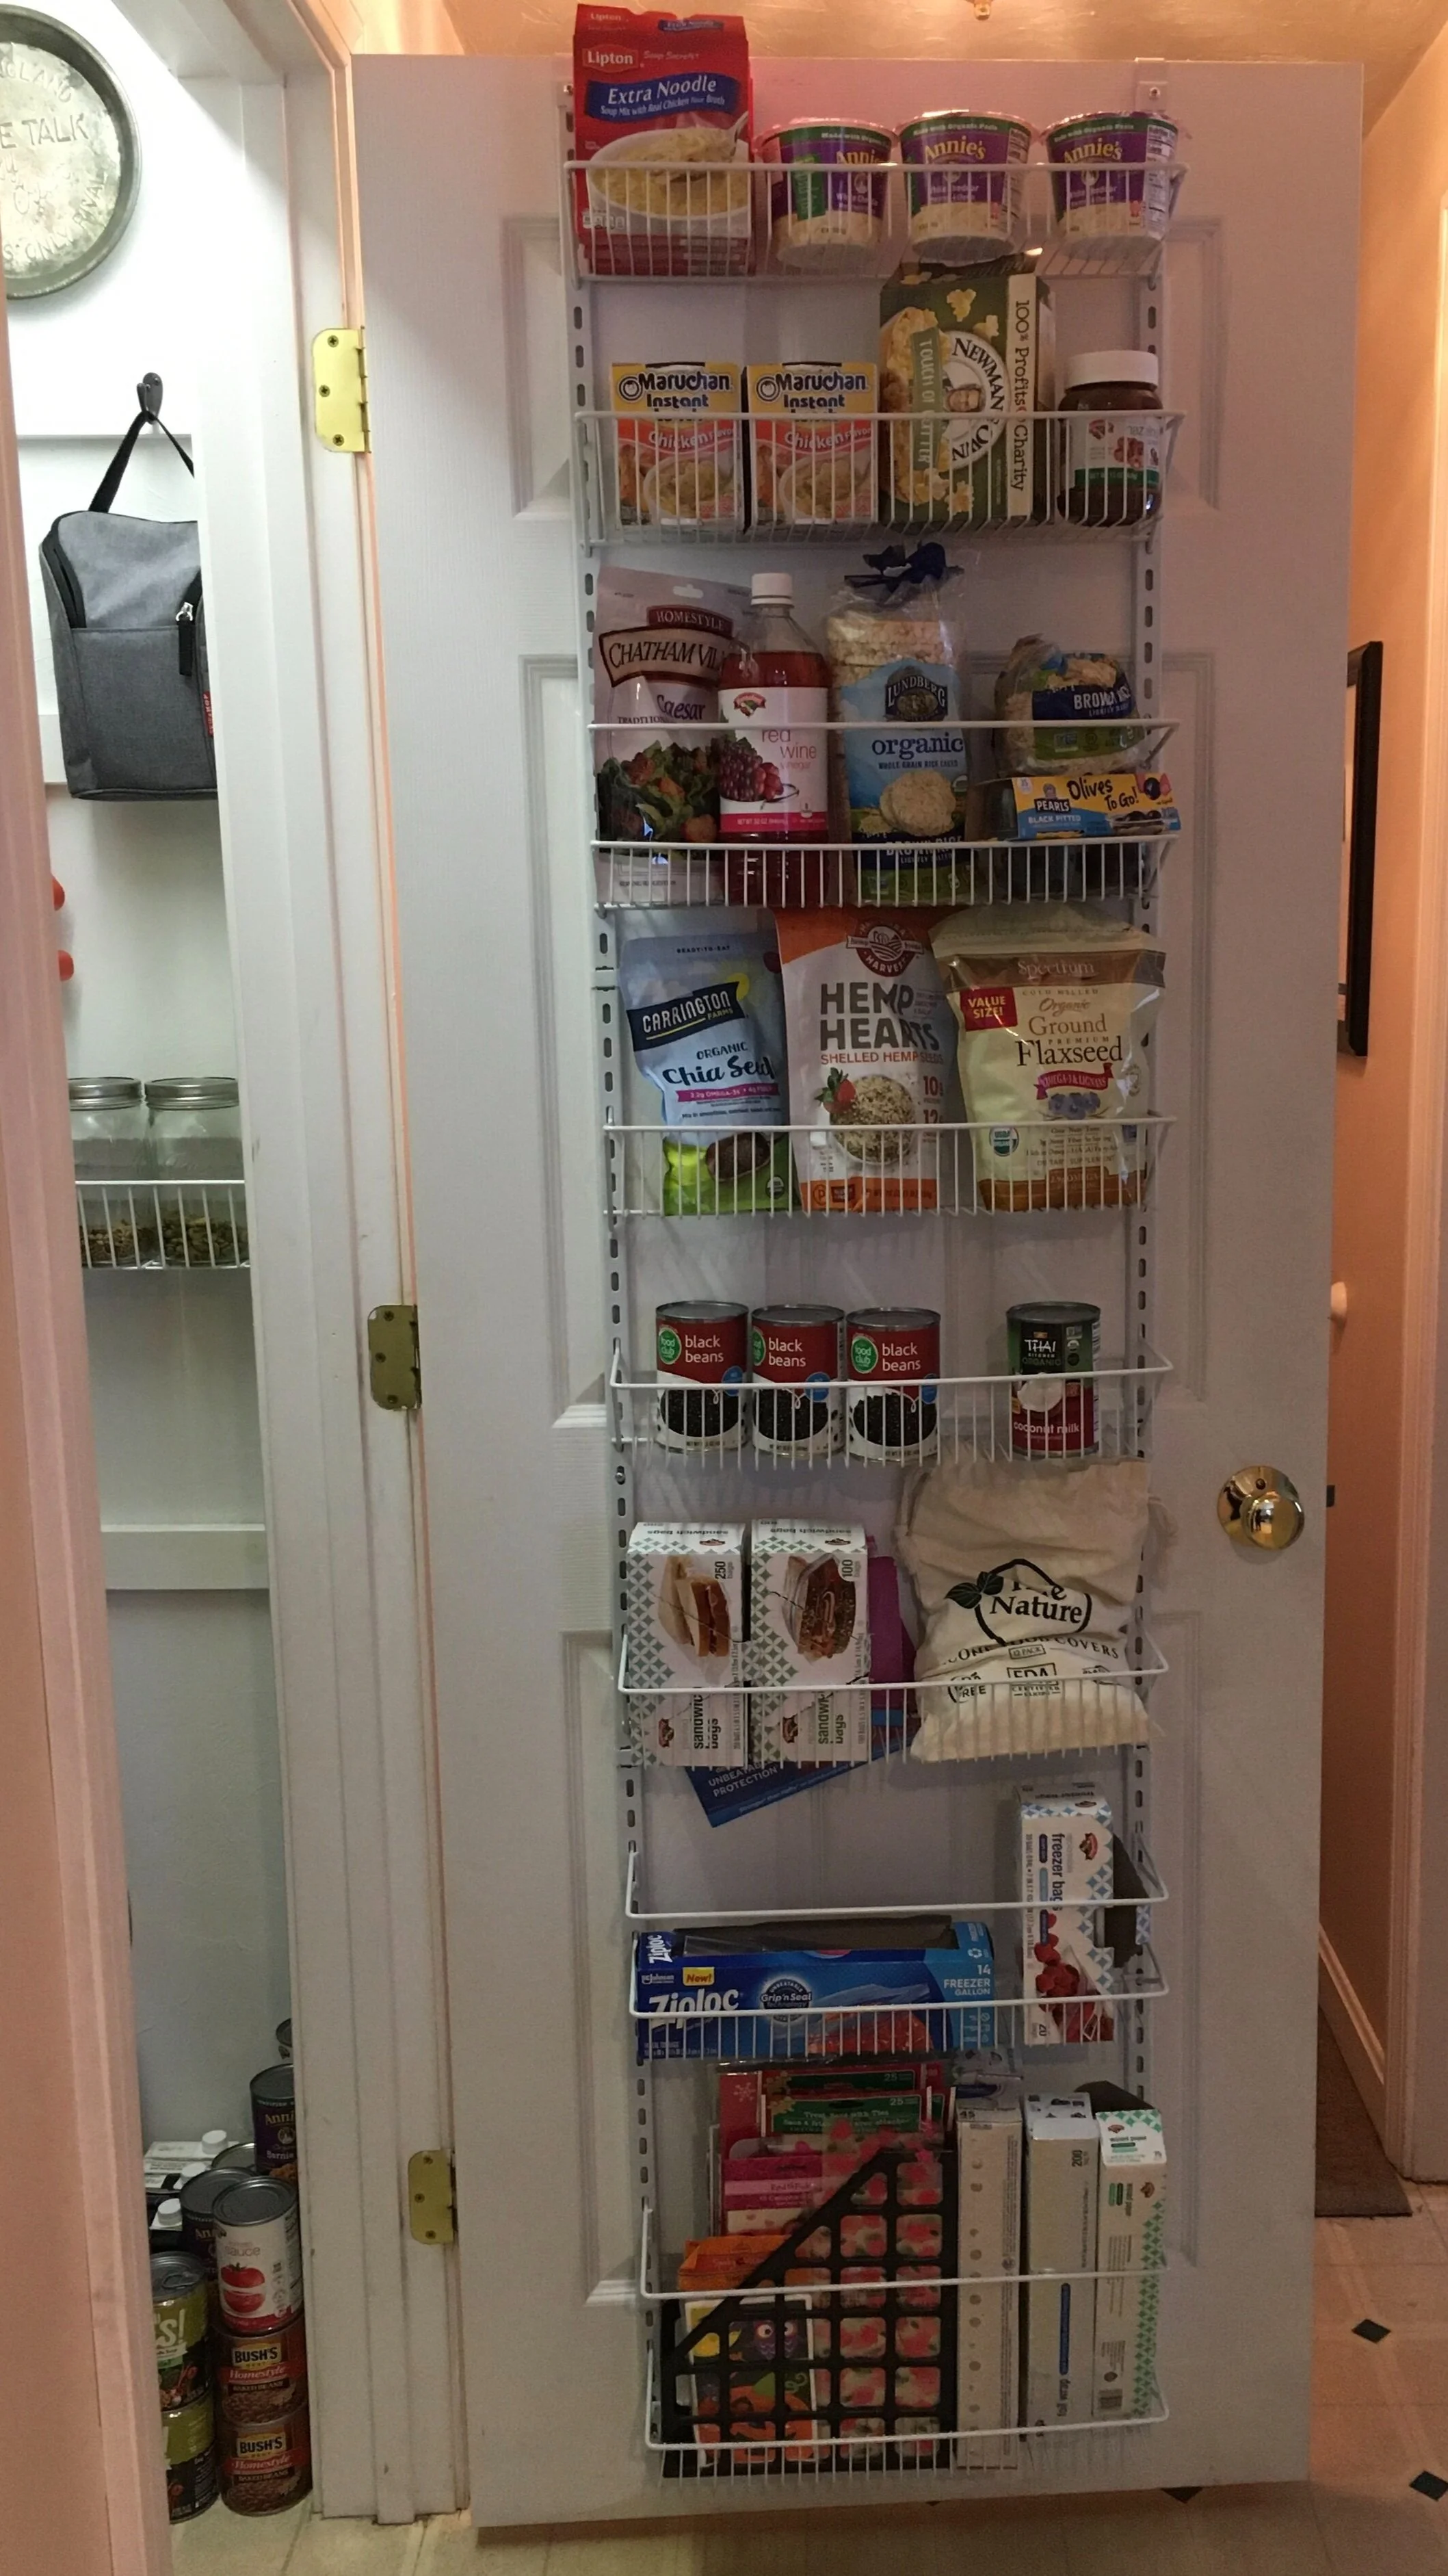
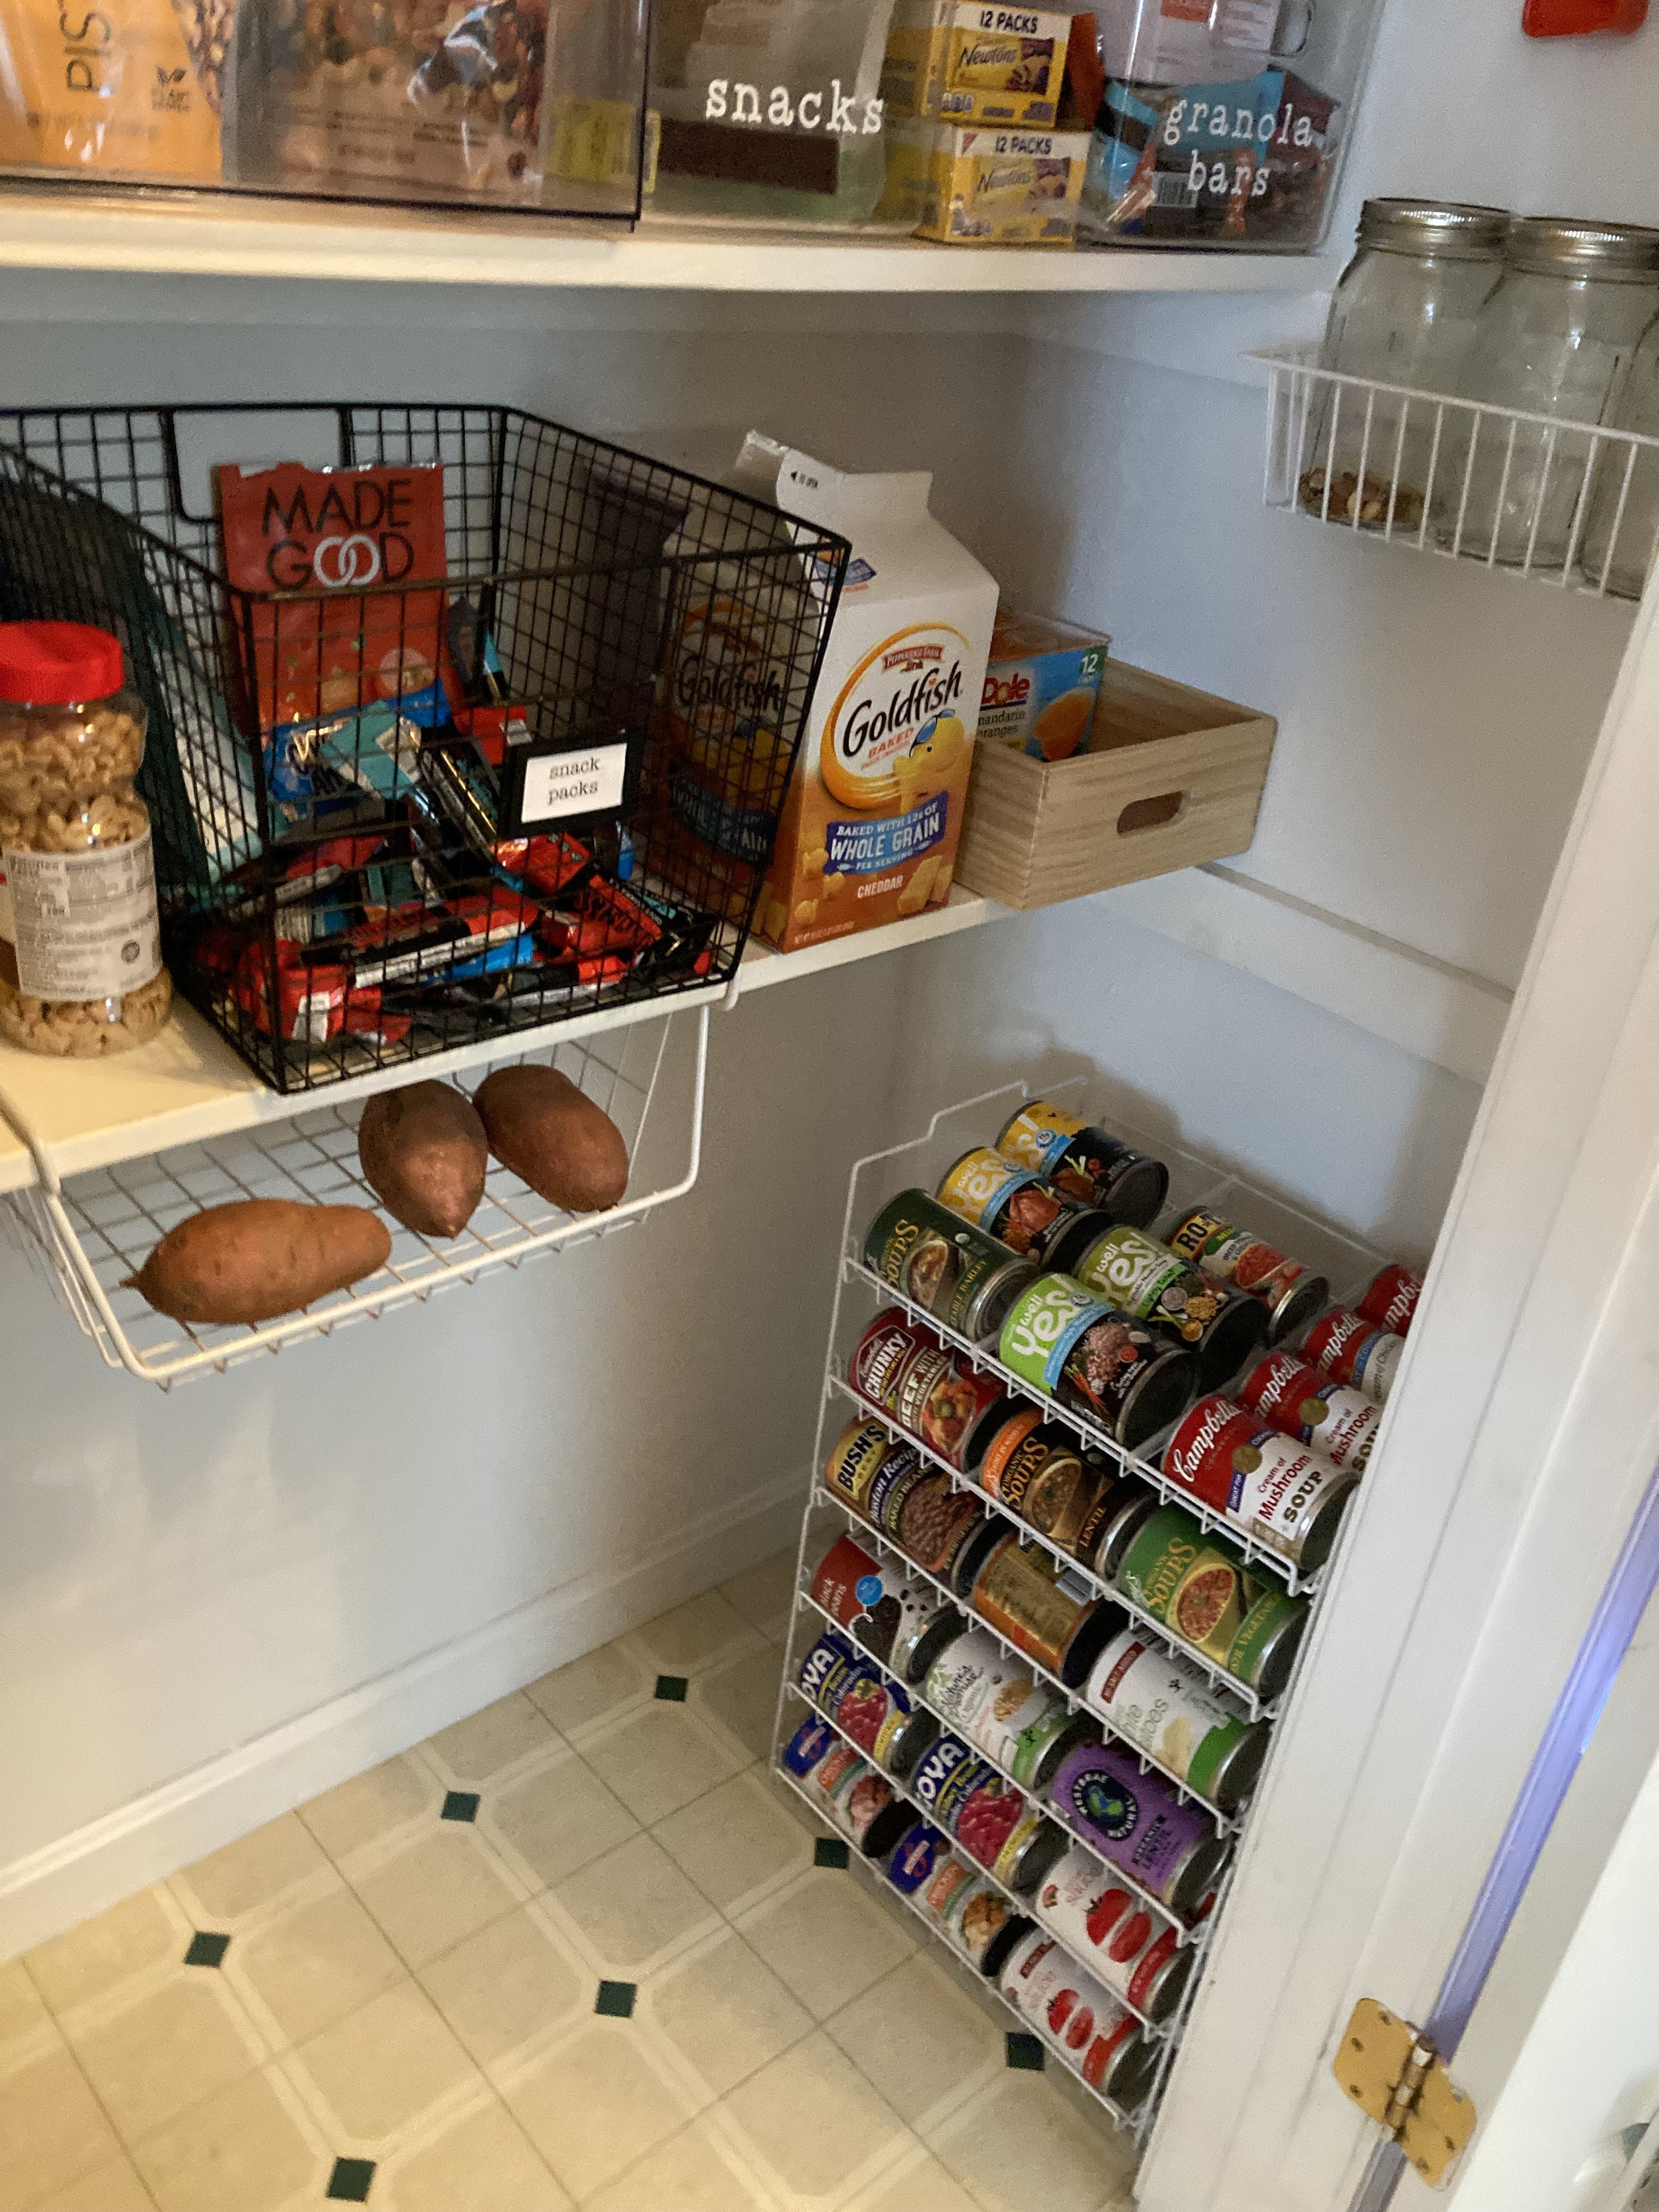
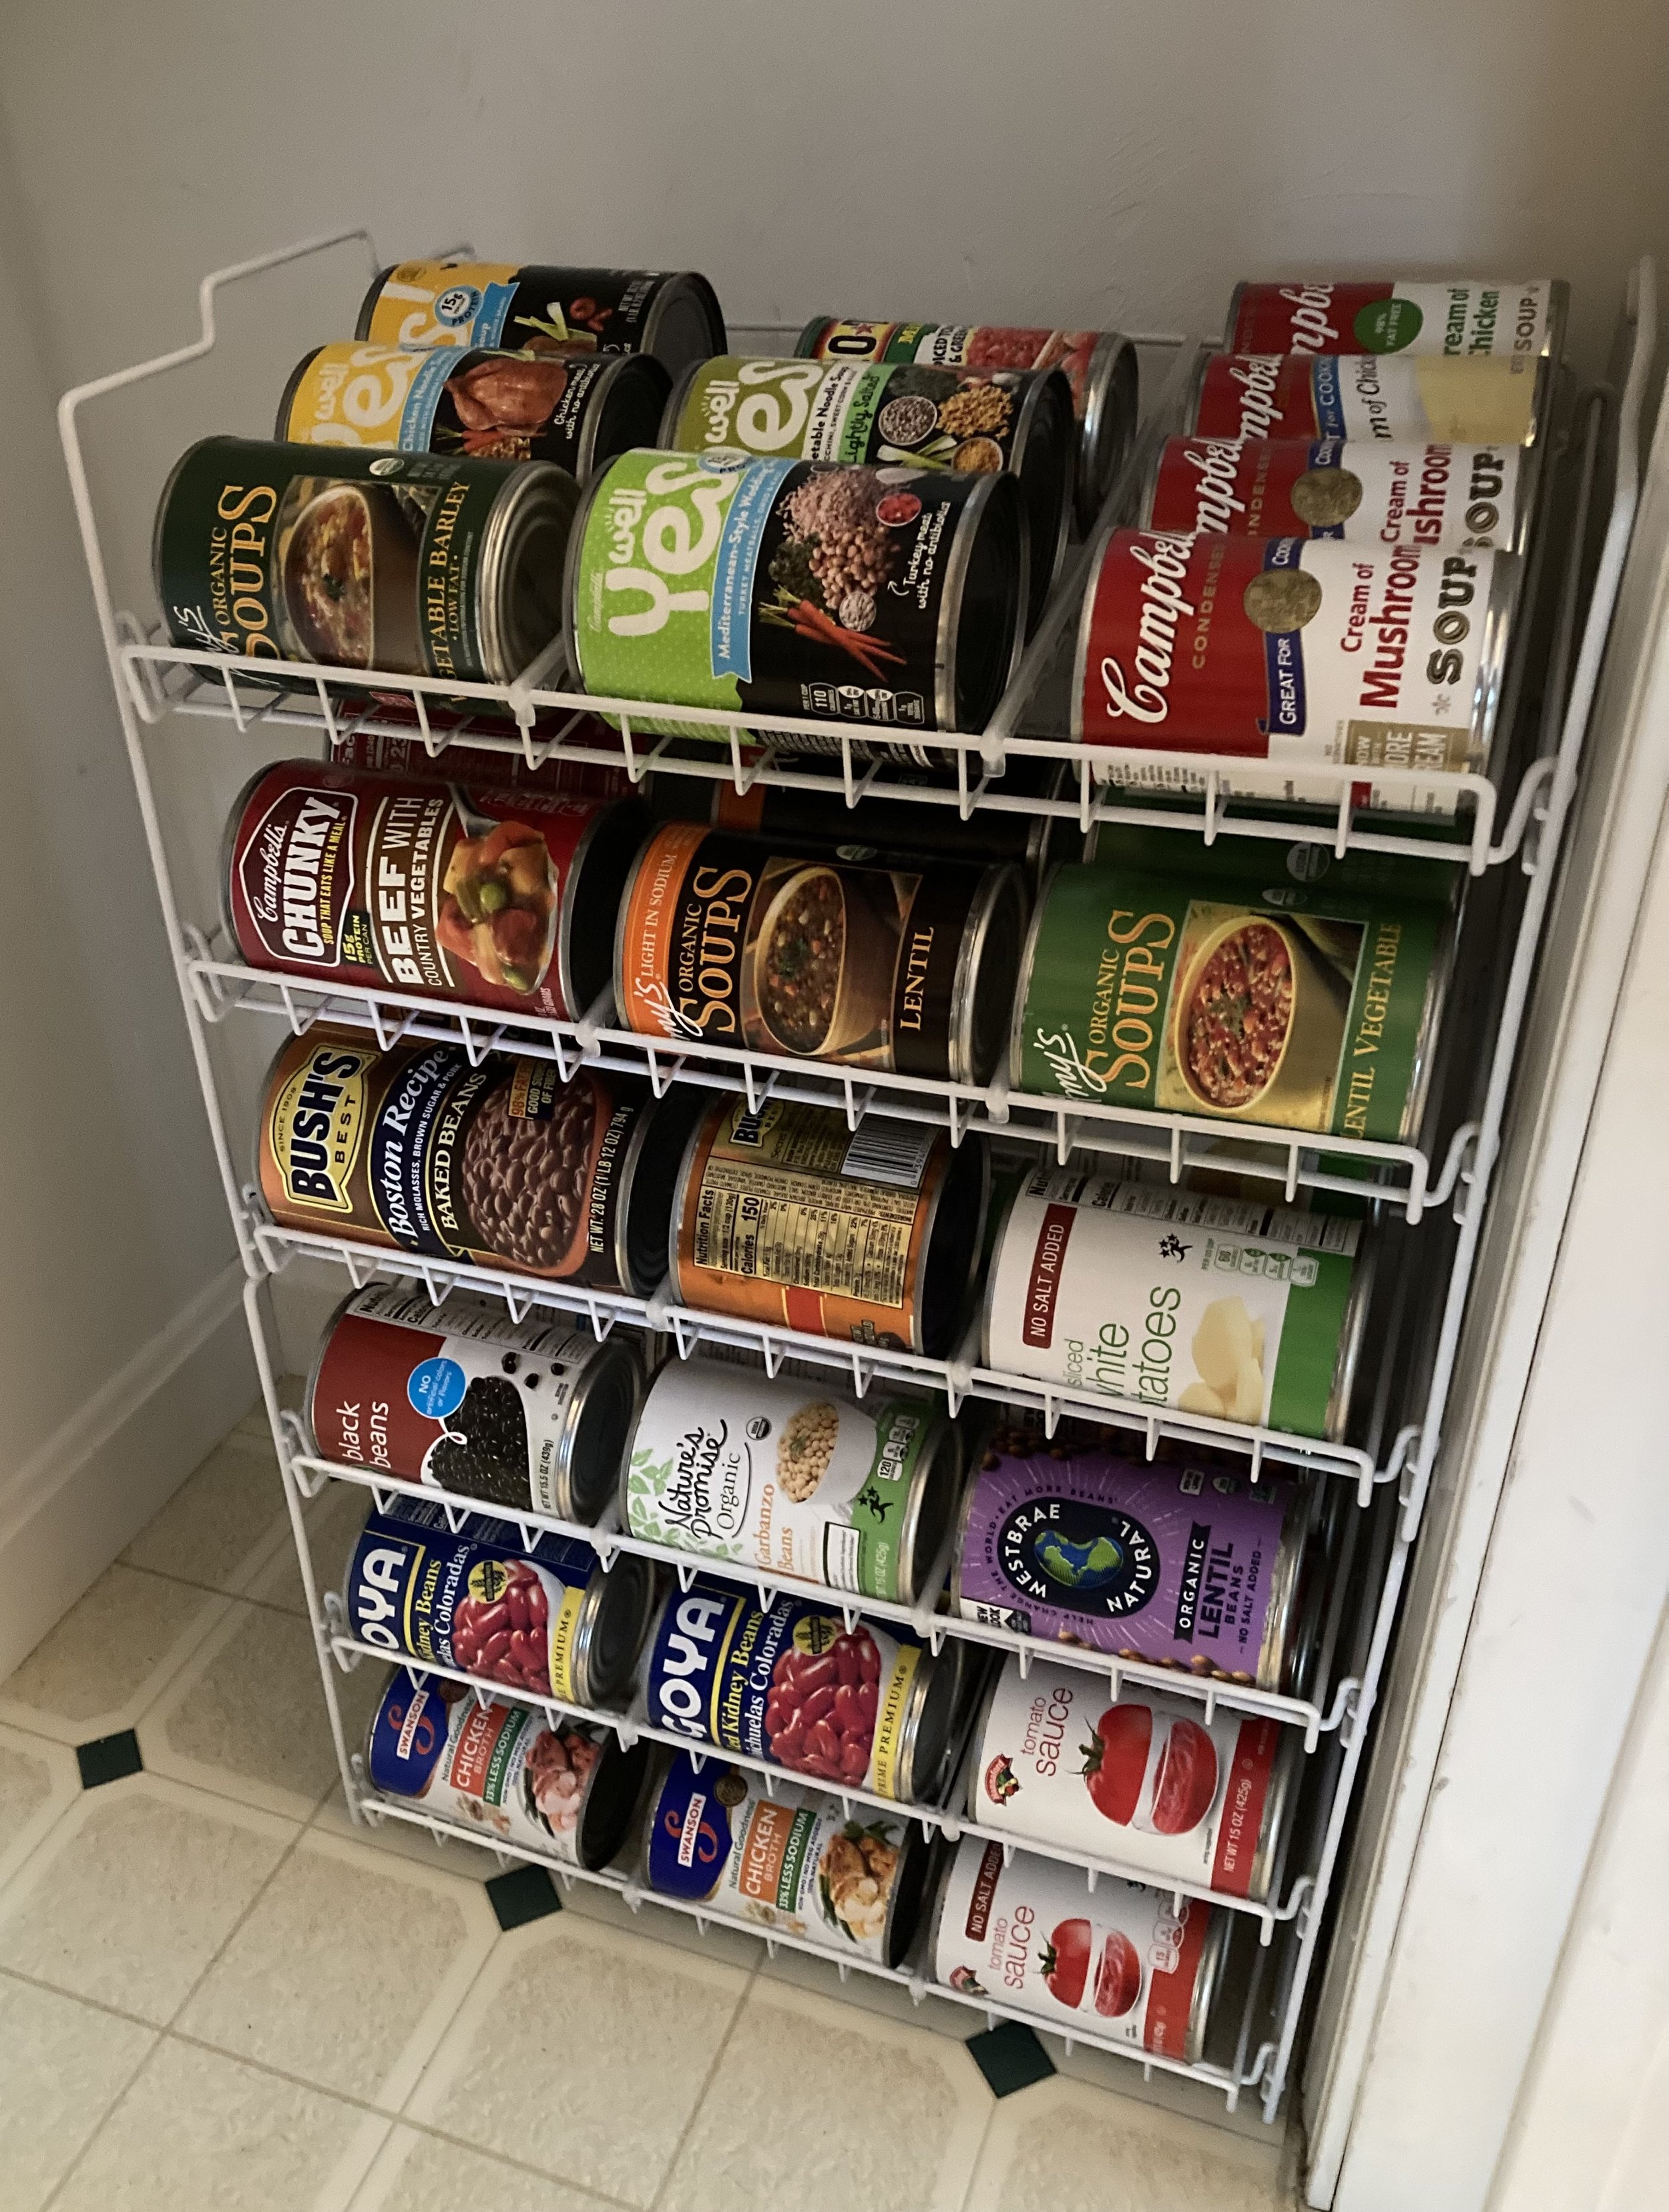
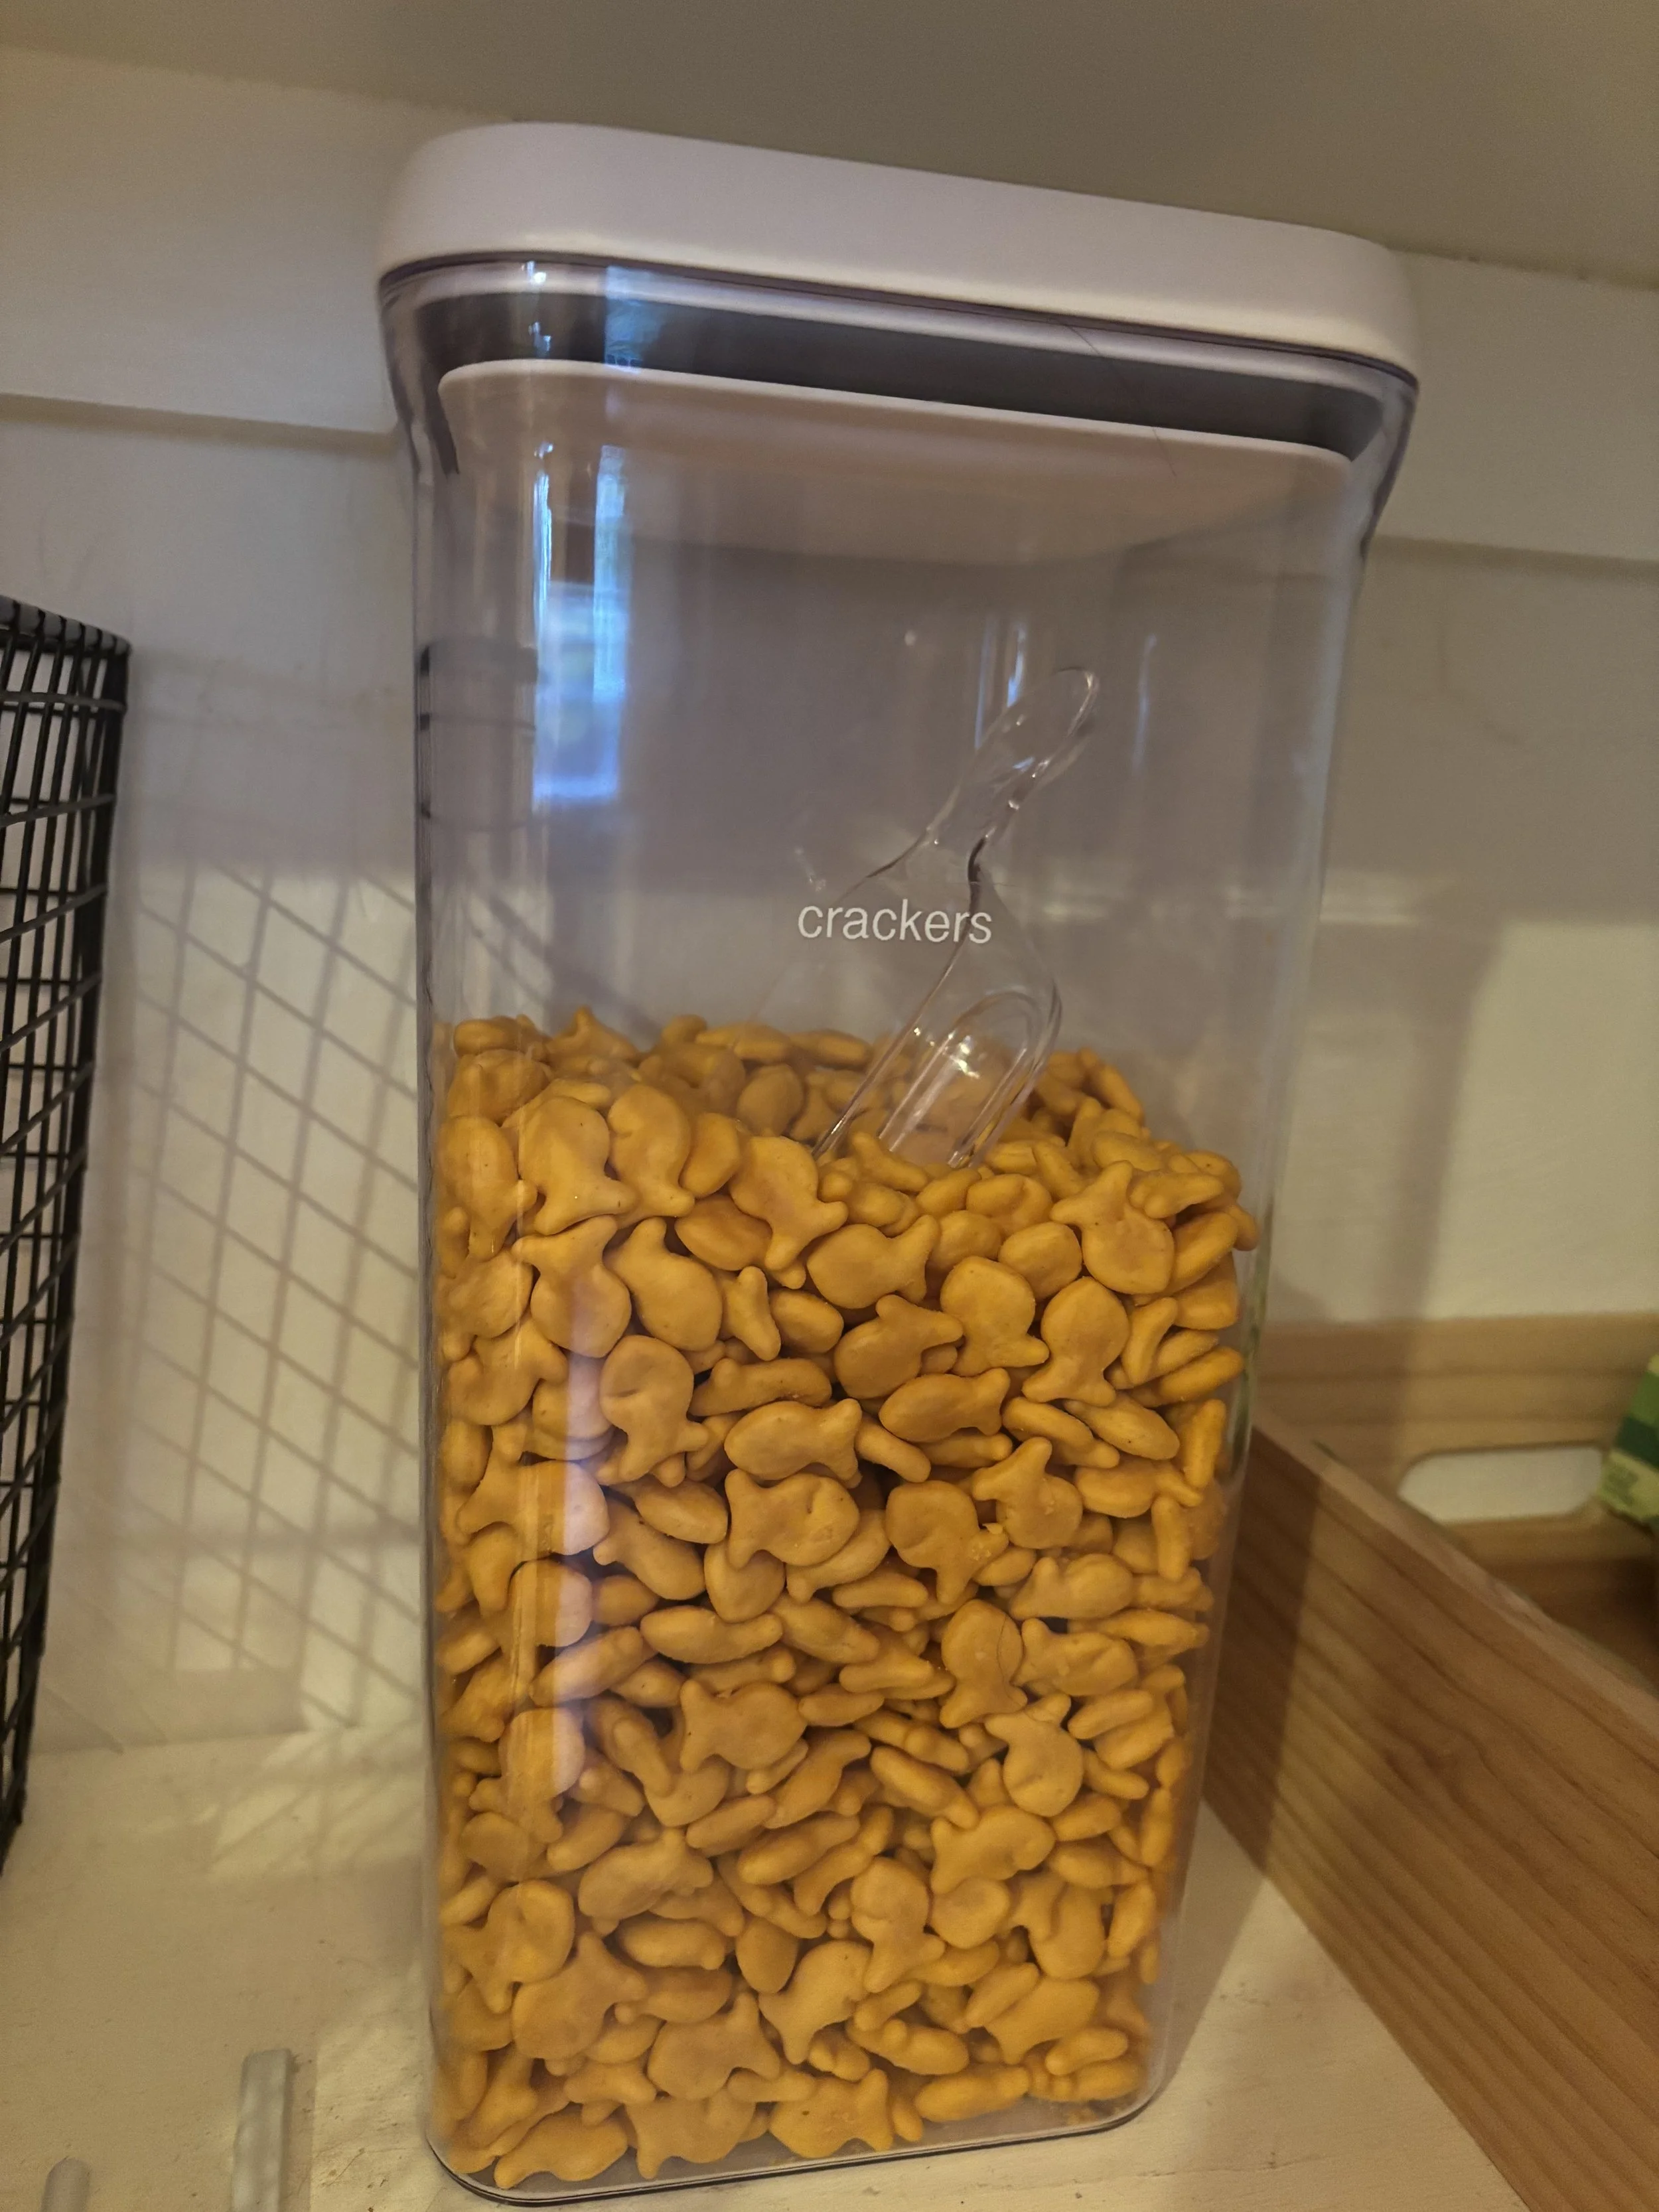
First let’s talk about the home front - it’s a good idea to make sure you have a generator (correctly installed and well ventilated) and extra fuel (safely stored) in the event you’re without power for awhile. Make sure you have shovels, flashlights, extra food that doesn’t need to be cooked (like crackers, canned goods, etc), pet food, water, blankets, matches, and candles too. Some people recommend filling bathtubs and sinks with water prior to bad weather coming so that you have a supply of water for cooking/drinking/washing/flushing toilets. Make sure phones and electronics are charged and you have extra charging packs.

Whether you have a generator or not to run your refridgerator or freezer during a power outage, it's a good idea to keep thermometers inside both fridge and freezer to monitor the temperature for food safety. Do not open the doors unless you really need to (opening them lets the precious cold air out), but by having thermometers in place you can make sure your food is still safe to eat after a prolonged outage.

Have a battery-operated or crank radio on hand - if the power or cellphone/internet services are disrupted you’ll want to be able to listen to the radio to get updates.

It’s also important to have a First Aid Kit and enough medications on hand if someone has a pre-existing medical condition, as well as general medications that you and your family may need like fever/pain reducers. If someone in your family has an allergy or restricted diet, make sure you have a backup of enough “safe” foods in the house for them to have. It’s also a good idea to have medical information for your family posted in the house for first responders if needed.

Make sure to also have working smoke detectors, carbon monoxide detectors, and fire extinguishers in your home. Keep important documents in a Fireproof Safe.

In the event of a local outbreak of illness (flu, stomach bug, - edited to add COVID-19 too), it’s a good idea to have basic over-the-counter medications on hand as well as disinfectant supplies and face masks.

Decide Where and How You May Need to Shelter In Place

Think about different scenarios that could ever happen, which is probably most dependent on where you live. If you live in tornado or hurricane-prone area, maybe you need to have a plan in place to quickly bring in lawn furniture and other items that could go air-born, shut your storm shutters, and shelter in the basement or bathroom. If you live in a city, maybe a scenario that’s more likely is you may have to shelter in place due to violence or riots - where would be the safest place in your home or apartment to do that? If you live in winter-storm prone area, maybe that’s making sure your heating vents stay clear from snow and you have a roof rake and shovels ready to make sure your roof doesn’t get overloaded and you can shovel your way out of your front door. If you live in an earthquake-prone area, maybe that’s being aware where the safest place in your house to shelter would be (maybe a strong doorway), or know if it would be safest to evacuate the building entirely and wait it out outside.


What is a “Go Bag” and Why Your Family Should Have One

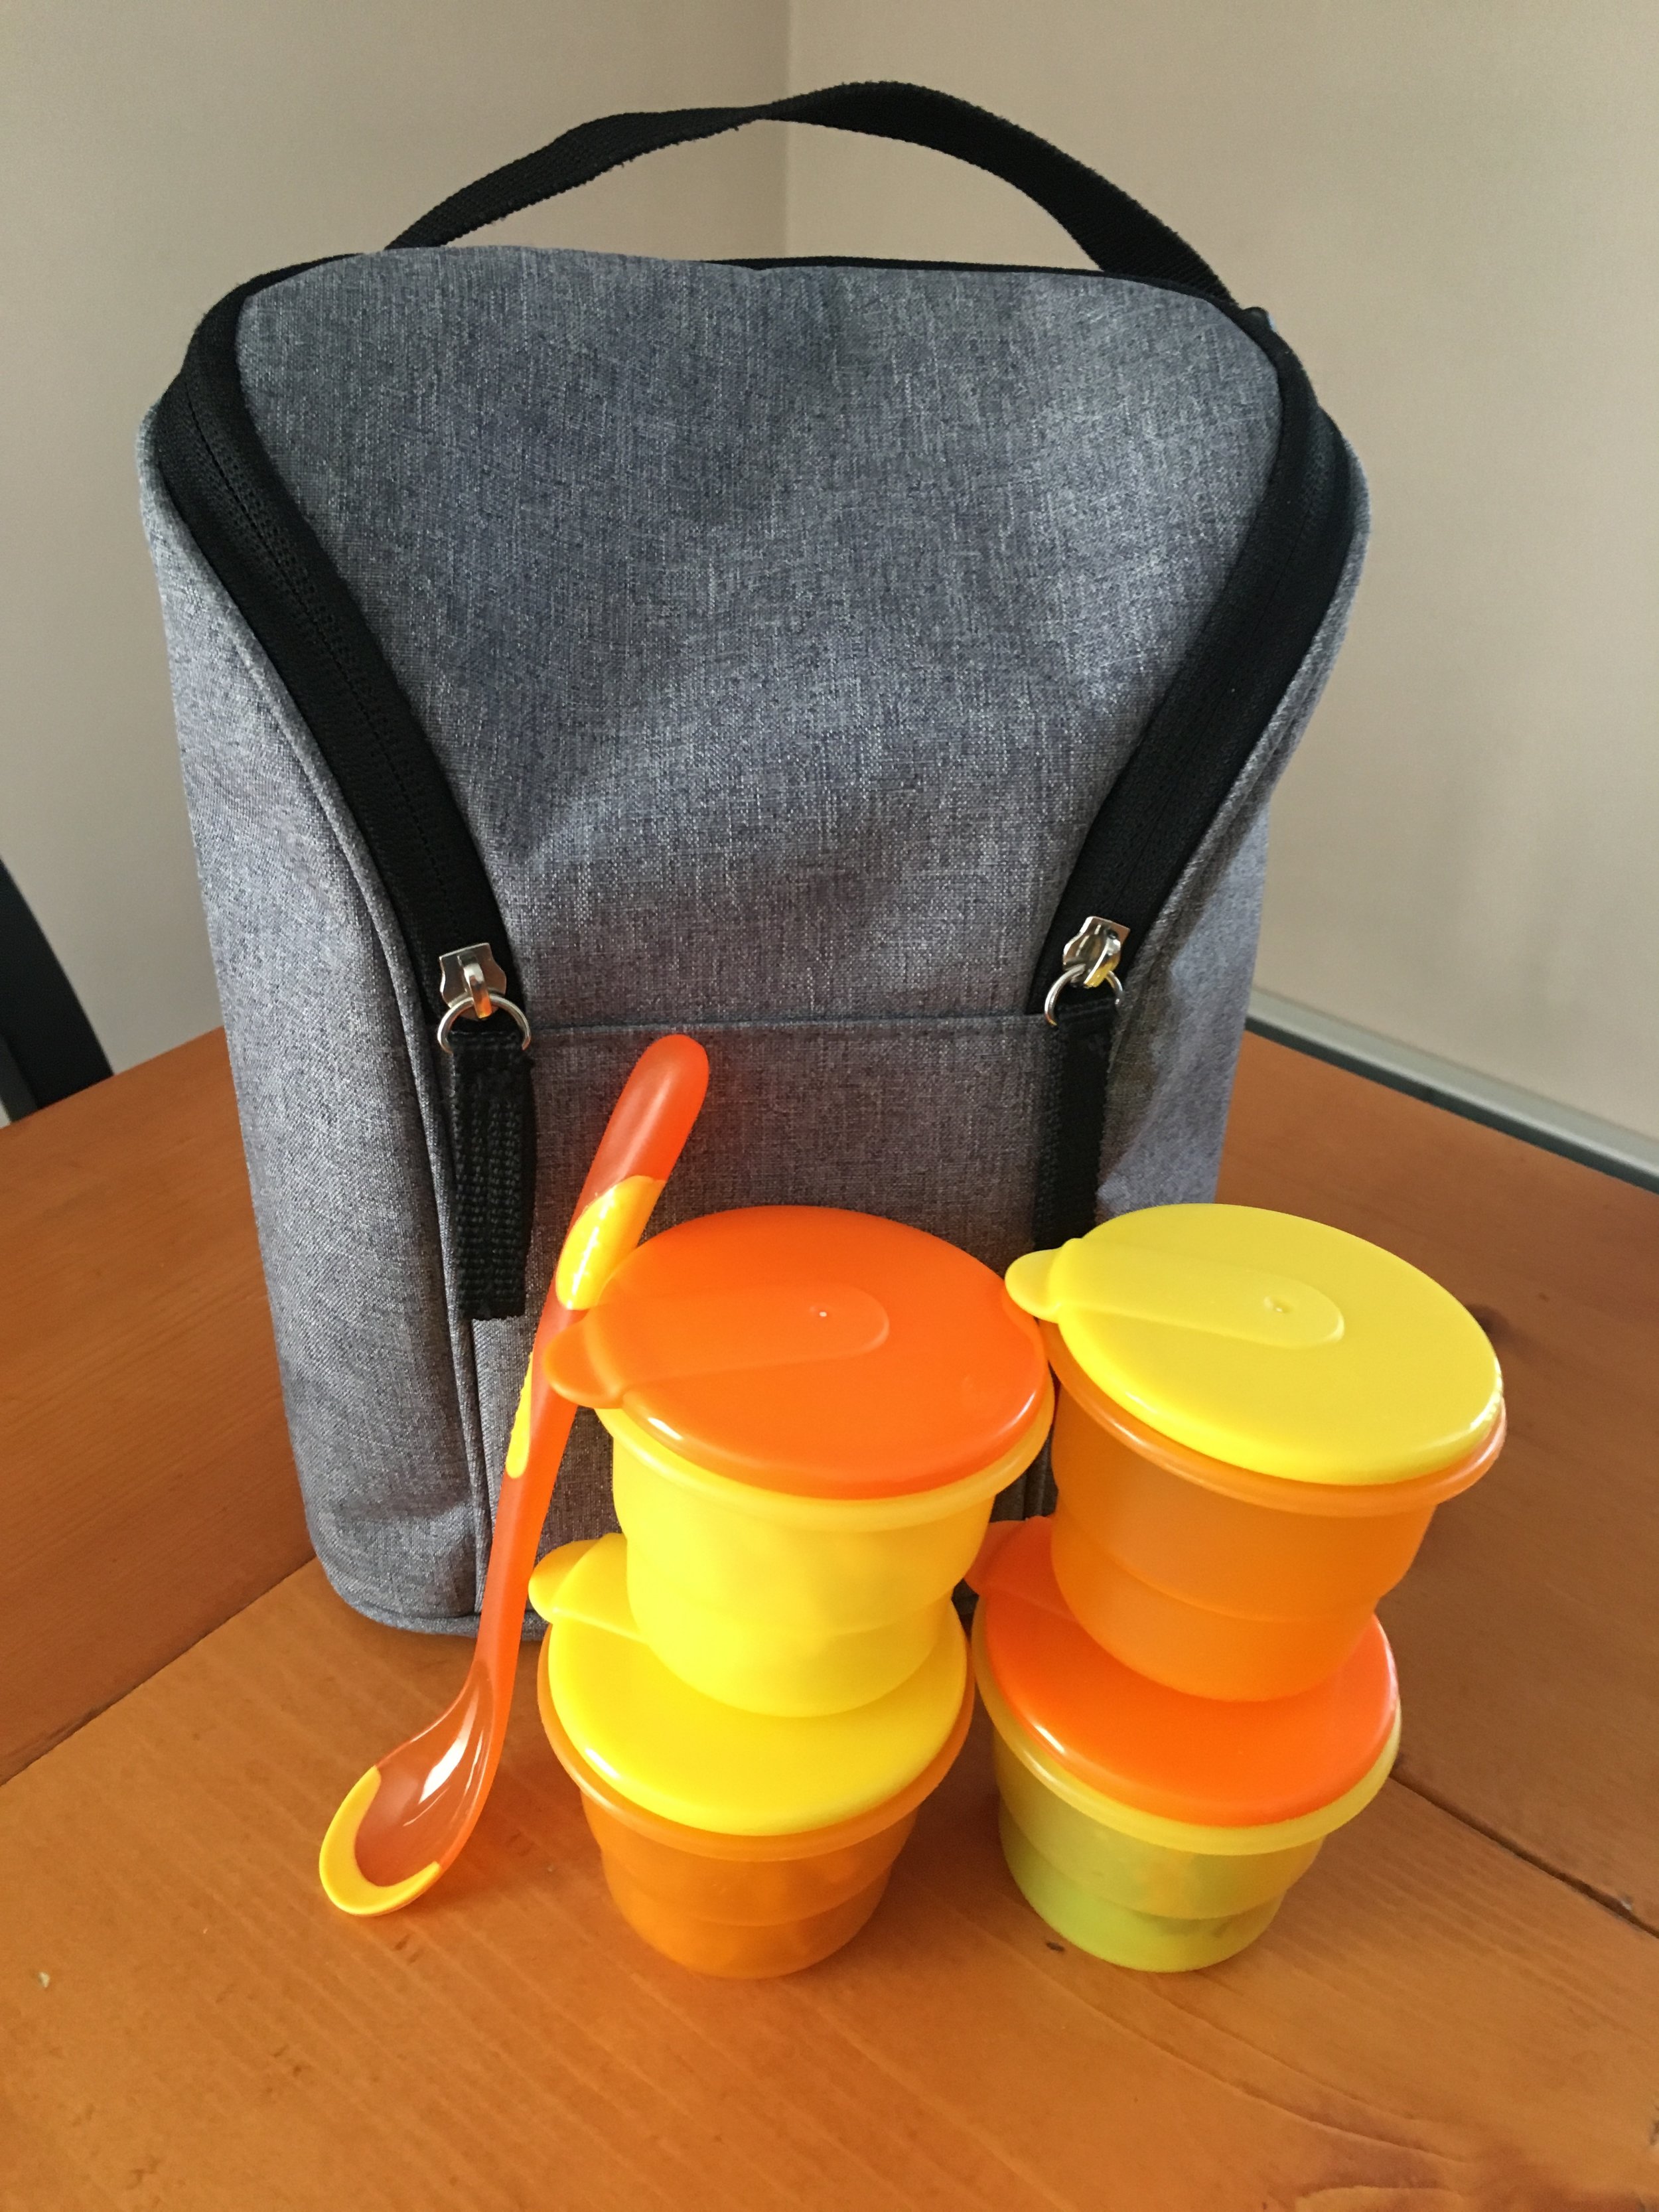
A “Go Bag” is something you have packed and ready in the event you needed to evacuate your home immediately and potentially survive outside (in the woods or on the road in your vehicle) on your own for several days… situations that may arise where you may be put in that situation could be quick moving storms, flash floods, wild fires, etc. A Go Bag is something that is ready to go with emergency supplies including food, water or a water flirtation system, survival blankets, first aid kit, personal medications that you/your family may need, medical ID cards, masks (to help filter smoke/dust/germs), etc. It’s also a good idea to have local maps in there as well, as phones and internet may not work.

You can put your own Go Bag together or order a pre-made Go Bag and add what personal things you may need to it.

Have an Evacuation Plan

First, it goes without saying you should have plans for things like Fire Drills. Consult your local fire department for tips, but in general make sure you and your family (including kids) understand what a fire/evacuation drill is, how to safely and quickly exit the building, what to do if you get trapped, and where to meet outside afterwards. Practice this a few times a year so it’s second nature, but hopefully you never ever need to do it for real.

Now to take that one step further - take some time to think through different scenarios that could happen where you might have to evacuate your area/town (God forbid they ever do), and plan how you would react. If a wild fire or flood was happening nearby, how would you and your family evacuate your area? Take some time to familiarize yourself with area roads and which ones would be the best to evacuate by - make sure you also come up several backup plans too as your first choice exit plan may be blocked off. Also be aware of which roads may be most prone to fall victim to a natural disaster - for example, a low-lying road near a stream would be likely to flood, and probably shouldn’t be counted on as an exit road in a weather emergency. Keep maps in your car too as phones/GPS may not work and it would be beneficial to have a paper map to consult. It's also important to have cash on hand as ATMs/credit card machines may be down as well.

Always try to keep your car gas tank fairly full too, that way you’ll be ready to go anytime and won’t have to worry about running out of gas or being able to buy gas (as gas stations may be out of gas or there could be long lines) wasting valuable time for your family to make an efficient exit.

Hopefully you will never fall into a scenario where you’ll ever have to use any of your emergency supplies or shelter/evacuation plans, but it’s best to be prepared. Make sure to re-evaluate your plans and supplies regularly as roads and situations can change and supplies will expire over time (check those expiration dates on medicine, first aid items, and food/water). May you all stay safe and well!

Disclaimer: I am not a survival or emergency expert, but just sharing my opinion on ideas and discussion points on how you might prepare. Do your own research and contact local authorities on the best way to prepare your home and your family for any emergency situation which could arise.


KEEP UP WITH BIRCH LANDING HOME
|  Etsy  |  Facebook  |  Instagram  |  Pinterest  |  Bloglovin'  |  Hometalk  |

Goal: Use Less Plastic in 2020

As I had mentioned previously in my “Goals for the New Year” post, one of my goals is to use less plastic in our daily lives. We already make an effort to recycle as much as possible and not be wasteful but watching the documentary “Broken: Recycling Sham” on Netflix was eye-opening. So much of what people put in the recycling bin ends up in landfills or the ocean in the end, as a lot of plastic is too difficult or expensive to recycle and it’s sorted out and discarded. (PS - if you haven’t watched this documentary yet, I highly recommend it!) If everyone were to decrease their use of plastic in small ways it would eventually decrease the demand and less plastic would be made and end up in the environment. Here I’m sharing some small ways we’re working towards less plastic in our lives. | This post contains affiliate links |

GOAL:  Use Less Plastic in 2020

As Emily Ley would say, I’m striving for “progress, not perfection.” I am not planning on eliminating all plastic from our home overnight - after all that wouldn’t be environmentally responsible either. We have plenty of BPA-free Tupperware, kids plates, reusable bottles, containers, etc and they are serving us well - there’s no need to go chuck them in the trash now. It’s also impractical (and arguably impossible) for our family to totally eliminate plastic from our lives. - But moving forward, we will try to consume less plastic, and as things wear out and need replacing we will look to non-plastic or high-recycled-content materials for replacements.

Here are a few eco-friendly “swaps” we have implemented or are planning to in the future:

  • Reusable Water Bottles. This is a very easy one... find a Reusable Water Bottles that you like and carry it around with you, refilling it as needed. I personally prefer stainless steel bottles, but others prefer glass or plastic. Not only is a reusable bottle good for the environment, it's good for your wallet too as you'll never have to buy an overpriced bottle of water at a gas station or cafe again. Most office buildings, schools, and malls have bubblers (AKA water fountains for all you non-New Englanders) where you can fill your bottle, and most cafes and fast food restaurants will refill your bottle with water for free too.
  • Reusable Grocery Bags. This is another easy change - in fact, I can almost guarantee you have some Reusable Grocery Bags kicking around in your closet or car trunk this very minute since businesses often give out reusable bags for promotions and advertising. Dig those bags out and make a neat stash of them in your trunk or car door pocket and make a mental note to grab them before heading into the grocery store. (Side note: It's a good idea to periodically wash your reusable bags to keep them clean and reduce the spread of potential germs.)
  • Reusable Produce Bags. Purchase some small cotton Reusable Produce Bags to use when you go grocery shopping. Produce bags are often overlooked since they're small but they add up fast during a weekly grocery trip. By using reusable bags you're reducing your plastic consumption (and not to mention no more busted plastic produce bags when you're buying a decent amount of potatoes or apples - yay!).
  • Reusable Travel Mug for Coffee/Tea. Find a travel mug that you love (personally I love my Yeti Rambler - worth every penny in my opinion!) and take your coffee to go. A lot of coffee shops will give a small discount for bringing a reusable mug in too - it pays to be green ;)
  • Silicone "Plastic" Bags. Plastic snack and sandwhich bags are another thing that quickly add up, especially if you pack your own lunch. Switching out plastic for washable and reusable Silicone "Plastic" Bags will cut back on a lot of the single-use plastic in your life.
  • Silicone "Plastic" Wrap. Plastic wrap for covering leftovers also quickly adds up but can be replaced with washable and reusable Silicone Covers.
  • Glass or Metal "Tupperware". We have plenty of good quality plastic tupperware for packing lunches and leftovers, but as they need replacing we'll look to switching to glass or stainless steel.
  • Sustainably Made Wooden Toys. Our kids will still play with plastic toys (legos, action figures, etc)... we're not going to forbid it. But we're definitely being mindful about what and how much plastic toys we do buy - and when we have the opportunity to provide them with sustaibably-made wooden toys like play food for their kitchen set or blocks we definitely will. (Side note: I had recently partnered with the company Lovevery to review their sustainably-made Block Set and was super impressed! Feel free to check out that previous post HERE, I highly reccomend them).

And while the recycling business is far from perfect, you should still always recycle whenever you can. That way your waste has a chance of being reused. If items are reusable things in good shape (toys, containers, etc), donate them to local charities or a "drop 'n swap" where people leave items to be taken for free by someone that can use them (check your local dump/transfer station to see if they have one).

If they are single-use items (like plastic bags, milk jugs, food packaging, etc) then sort and recycle as best you can. Setting up an in-home recycling system can make sorting and recycyling second-nature so everything (plastic, glass, paper, cans, etc) makes it to recycling center with the best chance of getting recycled.

Are there more ways to go plastic-free? Oh heck yes. But I’m personally looking for doable, attainable changes that fit with our lifestyle. I feel like these are changes most people could accomplish as well too. If everyone just reduced their plastic consumption with simple changes it would add up and make a huge difference.


KEEP UP WITH BIRCH LANDING HOME
|  Etsy  |  Facebook  |  Instagram  |  Pinterest  |  Bloglovin'  |  Hometalk  |

How we Turned a Coat Closet into a Functional, Organized Pantry

Our kitchen was lacking a pantry, so we often kept canned goods and backstock on a shelving unit at the foot of our stairs in the basement. But because half of our food and snacks were downstairs and half were upstairs it made for frequent mistakes when buying groceries… it was hard to visualize exactly what we had and where so we often ended up overbuying certain things and forgetting to buy others. Tired of wasting money, food, and time running up and down the stairs I decided to make over a coat closet into a functional pantry. | This post contains affiliate links |

How we Turned a Coat Closet into a Functional Pantry

Now while this coat closet (pictured below) was pretty jammed full, it was very underutilized. It’s where we kept our off-season coats, hats, and boots as well as some hiking gear and my daughters’ Art Cart - most things we did not need to use daily, or often at all. My solution to this was to relocate all these items to our basement - I hung a closet rod under the basement stairs and moved all our off-season clothing and gear to this new space where it was still easily accessible but out of the way.

How we Turned a Coat Closet into a Functional Pantry

The next step was to pull out the old wire shelf and closet rod system, patch the holes, and repaint the inside of the closet. Thankfully I already had spackle and some leftover white paint so I was able to get the closet to a clean slate easily and it didn’t cost a dime.

How we Turned a Coat Closet into a Functional Pantry

Now for the fun part! I got to decide how many shelves I wanted and the spacing, so I laid it out with painters tape to play with how I wanted it before I made a final decision. For our setup I decided on four shelves starting at about waist-height. I wanted to leave the bottom open to accommodate the dog food bin, the Art Cart, step stool, etc. Then I screwed in 2x3 inch “runners” that would support the shelves along the back wall. I used a stud finder to make sure I was screwing the runners into studs and a level to make sure everything was square.

How we Turned a Coat Closet into a Functional Pantry

Then I added runners to one side of the closet next, following the same routine - but with these pieces I had pre-drilled pocket holes with our Kreg Jig first so it would make for a clean and secure joint in the corners.

How we Turned a Coat Closet into a Functional Pantry

Before installing the runners on the opposite side of the closet, it’s wise to keep in mind how you will be able to maneuver the shelf boards in once all the runners are in place (it would be very difficult to get the top shelf in with all the runners installed, for example). So before installing the opposite side’s runners I slipped some of the trickier shelf boards into place first (I used 1x12”s cut to length for the shelves) before I finished screwing in all the side runners.

How we Turned a Coat Closet into a Functional Pantry

I secured the shelves into place with some finishing nails, then taped off the shelves and runners to get ready for paint. I used primer and then several coats of white semi-gloss paint since it’s a little easier to wipe down and keep clean.

How we Turned a Coat Closet into a Functional Pantry

I just love how farmhouse and “Shaker” the exposed rails on the sides look and I wanted to play it up. Once the paint was dry I added some functional hooks to hang aprons, lunchboxes, etc on the side rails.

How we Turned a Coat Closet into a Functional Pantry

And now the project is complete! I am so happy with how it turned out and it’s wonderful to have everything in one place. I can see this project saving us money on groceries in the long run now as everything will be in one place now and we’ll be less apt to waste food.

Eventually, I would love to replace the closet door with a fun screen door and get some more glass jars and baskets for a cleaner looking pantry - but all in good time.

How we Turned a Coat Closet into a Functional Pantry

| Similar Clear Plastic Storage Bins | Dog Food Container (on the floor, just out of the picture) |

How we Turned a Coat Closet into a Functional Pantry

| Flour, etc. jars were made using Cracker Jars with custom vinyl labels I made on my Cricut | Vintage Pie Tins |

Over this past winter I added a few simple add-on organizers to our pantry to maximize the space and love how functional they are. Here they are below (and please excuse the glimpses of clutter in the pantry… as it now holds extra groceries and our family board games too - because, real life):

Additional Storage for the Walls

How We Turned a Coat Closet into a Functional Pantry

| Similar Wire Wall Basket | Mason Jars to store Trail Mix |

Under-Shelf Storage

How We Turned a Coat Closet into a Functional Pantry

| Wire Under-Shelf Basket - Perfect for Storing Potatoes! |

Decal for Pantry Door

How we Turned a Coat Closet into a Functional, Organized Pantry

It turns out our door is an odd size and in order to get a screen door for it we would have to custom order one (at a cost of about $300+! Yikes). So instead I decided to cut a custom vinyl label to stick to the door to make it more finished. I could have designed my own but I found a design I really liked on Etsy and bought the digital design file. After purchasing the design file, I used my Cricut and 651 Permanent Vinyl to make the label and then transferred it to the door. In hindsight I probably should have made it slightly smaller, but overall I love how it came out and how budget-friendly it was since I already owned a Cricut Machine and the vinyl.

| Pantry Digitial Design File | Cricut Machine | 651 Permanent Vinyl in Matte Black |

Back of Door Organizer

How+we+Turned+a+Coat+Closet+into+a+Functional%2C+Organized+Pantry

Finally, we decided to add a ClosetMaid Adjustable Organizer to the back of the pantry door to fully utilize the space. It was very simple to install and I am impressed with how sturdy it is once it's assembled and screwed in. We used the lower baskets for foil, parchement paper, ziplocks, silicone bowl covers, etc. The middle baskets we designated for frequently used canned goods, smoothie mix-ins, as well as salad fixings and rice cakes. Finally on the top two baskets we put convenience foods that we rarely use since I'm so short. Note: If you have a hollow-core door, you might want to use a specialty set of anchors/screws to attach it to the door for stability, rather than just screw into the door with regular screws.

| ClosetMaid Adjustable Organizer (18 inch) | True Nature Silicone Food Covers |

Stackable Canned Goods Organizer

Another later addition to our pantry organization are these amazing stackable can racks for organizing canned goods. Before I had quite a few canned goods just sitting on the floor of the pantry and in a separate kitchen cupboard, but I never could see everything at once and often cans in the back got forgotten -- Now everything is in one spot where I can see them and I can meal plan more efficiently.

| Stackable Can Rack Organizer (I have two racks stacked here) |


Check out our Related Posts:

KEEP UP WITH BIRCH LANDING HOME
|  Etsy  |  Facebook  |  Instagram  |  Pinterest  |  Bloglovin'  |  Hometalk  |

Easy Chopped Greek Salad

Whew, where is the summer going? It seems like just last week school got out - but here we are with just a few precious weeks of summer vacation left. We’re trying to squeeze in what fun we can with family hikes, day trips, visiting friends, - and of course enjoying some of our favorite summertime foods. One of my favorites is this Easy Chopped Greek Salad which can make a perfect dinner on a hot night or a side dish to bring to the neighborhood BBQ. | This post contains affiliate links |

Easy Chopped Greek Salad Recipe

Ingredients:

  • 2 cucumbers
  • 2 large tomatoes (or a bunch of cherry tomatoes)
  • half a red onion (I love red onions and tend to put in a lot... feel free to adjust the amount of red onion to your taste)
  • 4 oz canned black olives, rinsed and drained
  • 1 lemon
  • olive oil (California Olive Ranch Brand is my favorite)
  • oregano
  • salt and pepper to taste
  • 1 package of feta cheese
  • fresh chives for garnish

This recipe is a great way to use up tomatoes, cucumbers, and herbs from your garden too!

Easy Chopped Greek Salad Recipe

How-to:

  1. Chop cucumbers and tomatoes into bite sized chunks (remove seeds from tomatoes if they’re too “sloppy”).

  2. Dice up to half a red onion (adjust amount of onion to taste).

  3. In a separate bowl, make the dressing: juice one lemon, and add a splash of olive oil. Add about a tsp of dried oregano, and salt and pepper. Whisk together and add more olive oil or herbs/spices to taste.

  4. Combine veggies, black olives, and dressing in bowl and mix well.

  5. Add feta cheese and chives to garnish before serving.

  6. Enjoy!

I make this salad just by “winging it” each time and don’t have exact amounts for olive oil or spices - really it’s up to you and your personal taste. Just experiment and see what tastes good to you.

Easy Chopped Greek Salad Recipe

KEEP UP WITH BIRCH LANDING HOME
|  Etsy  |  Facebook  |  Instagram  |  Pinterest  |  Bloglovin'  |  Hometalk  |

Sampling “New England’s Finest”

I know I’m not the only one that has family and friends that are hard to shop for… but a gift box from New England’s Finest is always a great idea! New England’s Finest offers curated themed gift boxes to bring a taste of New England’s Finest to their door (or your own door if you’d like to enjoy these goodies for yourself). New England’s Finest was kind enough to send me their Ultimate New England Sampler box to enjoy with my family and I’m excited to share what’s inside!
| This post contains affiliate links as well as an honest review of products provided by New England’s Finest |

Ultimate New England Sampler by New England's Finest

The Ultimate New England Sampler Box is PACKED full of delicious New England-made goodies! In fact, I couldn’t quite get the box closed again after I looked through it, it was that full. All of their gift boxes offer free shipping and this particular box is currently on sale at the moment too, which makes it even more of an amazing deal!

The Ultimate New England Sampler Gift Box includes goodies such as: Goodnow Farms’ Almendra Blanca Dark Chocolate Bar, Untapped’s Chai Waffle, Homefree’s Vanilla Mini Cookies, Lucy’s Really Nutty Pecan Granola, Pork Beach Sauce Co’s Maple Blueberry BBQ Sauce, Port City Tasty Ranch Dill Pretzels, Cold Hollow’s Maple Vinaigrette, Jack’s Maple Apple Crackers, Coastal Maine Popcorn Co,’s Chocolate Covered Strawberry Popcorn, Potlicker Kitchen’s Beer Jelly, Bixby & Co’s Sea-Salted Caramels, and Homefree’s Chocolate Chip Mini Cookies. (You can check out the unboxing of this amazing gift box over on my Instastories today!)

Ultimate New England Sampler by New England's Finest

One thing I particularly love about NEF as a company is that for every 10 gift boxes purchased they donate a gift box to a family receiving care at Boston Children's Hospital as a way to give back to the community.  So if you're looking for that perfect gift for someone (or yourself!) who loves New England or is a New Englander at heart, be sure to check out New England's Finest and get "a little flavor and charm from the Northeast."  

Follow New England's Finest on Facebook and Instagram to see their latest promotions and boxes.

- I received this item for review from New England's Finest but all opinions expressed are my own.  Please read our full Disclosure Policy for more information - 

KEEP UP WITH BIRCH LANDING HOME
|  Etsy  |  Facebook  |  Instagram  |  Pinterest  |  Bloglovin'  |  Hometalk  |

Making Mealtime Fun with Nûby + GIVEAWAY!

Our young toddler has been behind on eating for awhile now. We’ve been working with a feeding therapist to get her more interested in self-feeding and used to textures, but we’re always looking for new ways to get her excited for mealtime. When Nûby offered to send some of their dishware we were excited to try them and give a lucky follower a chance to win all of these for their family! | This post contains affiliate links and an honest review on products provided by Nûby |

Nuby Dishware Review + GIVEAWAY!

The Sure Grip Miracle Mat Section Plate has been a great addition to working on our little one’s self-feeding skills - it lays out the food in front of her, keeps it contained, and the best part is that it suctions to her tray - no more thrown or tipped over plates! With Nûby’s Stainless Steel Utensils with Easy Grip Handles, it gives her a great opportunity to feed herself like a big girl.

Making Mealtime Fun with Nuby + Giveaway!

The Sure Grip Feeding Bowl also helps keep her food on the tray and off the floor! I love how these silicone dishes are BPA & PVC Phthalate Free, microwave/dishwasher safe, and one piece so they’re super easy to clean. The Sure Grip Feeding Bowl is a favorite to bring to restaurants since it fits easily in her diaper bag or lunch box and helps keep mealtime mess-free by staying put on the high chair tray or table.

Making Mealtime Fun with Nuby + Giveaway!

Nûby’s Flower Child Snack Keeper is a great way to bring snacks on the go. Whether we’re at the park, playdate, or at home it keeps our little one’s snack within reach without spilling everywhere.

Making Mealtime Fun with Nuby + Giveaway

Nûby’s Storage Bowls with Feeding Spoon has been a huge help for us on the go! With our little one’s restricted diet, we always have to bring her food with us whenever we leave the house. These handy storage bowls are just the right size to portion out meals and snacks for her. They are also BPA-free, dishwasher, microwave, and freezer safe.

Making Mealtime Fun with Nuby + Giveaway!

GIVEAWAY!

Giveaway ends 2/14/19 at 5PM EST.

Giveaway ends 2/14/19 at 5PM EST.

Would you like a chance to win ALL the great Nûby products I shared about in this post? Head on over to my Instagram (@birchlandinghome) and look for this photo for details and to enter! Good luck!


Nuby Parent Blogger

- I received these item for review from Nûby but all opinions expressed are my own.  Please read our full Disclosure Policy for more information - 

Nûby's products can be found at many retailers including Wal-Mart, Amazon, TJ Maxx, and Nuby.com.


KEEP UP WITH BIRCH LANDING HOME
|  Etsy  |  Facebook  |  Instagram  |  Pinterest  |  Bloglovin'  |  Hometalk  |

Inheriting Family Recipes - Interview in The Wall Street Journal

I was recently interviewed by the Wall Street Journal about inheriting family history through recipe cards.  I was honored to share a little bit of my Great Aunt Stefie’s legacy and love for cooking with them.  WSJ also interviewed experts on the best way to preserve these treasures!  You can find the article in print in today’s newspaper as well as online. 

Saving Memories, Dish by Dish - Wall Street Journal Interview

If you'd like to read the full article without subscribing, the Twitter link from Leah Latella, photo editor from WSJ should hopefully get you there.

(The Wall Street Journal also used a few different photos I took of Great Aunt Stefie’s recipe cards in both the print and online versions of the article.)

KEEP UP WITH BIRCH LANDING HOME
|  Etsy  |  Facebook  |  Instagram  |  Pinterest  |  Bloglovin'  |  Hometalk  |

Tips for Perfect Christmas Cookies + Boston Family Entertainment Giveaway!

Christmas is right around the corner and boy has it sneaked up fast! It’s always hard coming up with gift ideas for family and friends… but these days we’re personally trying to cut back on the amount of “stuff” we buy and give, and focus more on homemade items and experiences for gifts. What better gift than something made with love and the opportunity to create lasting memories? Read on for my tips to make the Perfect Christmas Cookies and then be sure to enter the amazing Boston Family Entertainment Giveaway at the end of the post for a chance to win some spectacular tickets to Boston-area events!
| This post is sponsored and contains affiliate links |

Tips for Perfect Christmas Cookies + Giveaway!

5 Tips for Perfect Christmas Cookies

Sift

Make sure to sift all your dry ingredients. Doing this breaks up any clumps of flour or baking soda, combines everything evenly, and helps make your cookies light and fluffy.

Parchment Paper

Always line your cookie sheet with parchment paper, this is key to getting the cookie bottoms that perfect light golden brown. If you're planning on doing several batches of cookies make sure to round the corners of the parchment with some scissors first, as the sharp corners of the paper can start to burn after a few times in the oven.

Cookie Scoop

A cookie scoop is probably one of the best little investments you'll make in the kitchen and I don't know how I ever lived without mine. Using a cookie scoop ensures you get uniform-sized cookies every time and makes the whole process of getting your cookies ready for the oven go so much faster.

Time

Always bake your cookies for the lower suggested time.  Cookies that are just cooked all the way through make for the softest, chewiest cookies.  If they aren't cooked in the middle yet you can always put them back in for another minute or two, but it's best to start with the lowest time.  

Your Secret Weapon - the "Bread Trick"

Accidentally over-cook the cookies?  Forget to cover them on the counter?  Believe it or not, the magical solution for over-cooked or stale cookies is just a slice of sandwich bread and a big ziplock.  Put all the cookies in a gallon ziplock bag, throw in a slice of bread, seal, and leave for a few hours - the cookies will get softer as the bread gets staler.  Magic!  


Boston Family Entertainment Giveaway
There is so much to see and do for families visiting Boston. We have an amazing Boston Family Entertainment Package that will mean loads of family fun for one lucky winner! Get those Perfect Christmas Cookies Ready! Today's giveaway has been brought to you by the following sponsors: This holiday season, consider experience such as tickets to a show, museum passes or a gift certificate for other fun family entertainment. Experience gifts are a great way to help families create lasting memories.

Ultimate Boston Family Entertainment Package

One lucky winner is going to receive the Ultimate Boston Entertainment Giveaway Package that includes:
  • (4) tickets to Bricktacular at LEGOLAND Discovery Center Boston (every weekend in Dec.)
  • (4) tickets to Blue Man Group (to be used after Jan. 1st)
  • (4) tickets to American Girl LIVE, a new musical featuring the iconic American Girl characters playing at the Boch Center, Feb. 22-24 (for Friday, Feb. 22 at 7:00 pm)
  • (4) tickets to Archery Games Boston (can be used anytime)
  • Dinner for 4 at South Street Diner (can be used anytime)

Boston Entertainment Giveaway

Official Rules and Conditions: One winner will receive the Ultimate Boston Entertainment Prize Package. No cash value. Open worldwide to adults 18+. One (1) winner will be chosen. Prize must be claimed within 48 hours of announcement or a new winner will be drawn. Prize will be delivered electronically. All entries will be verified. This giveaway is in no way associated with Amazon, Facebook, Pinterest, Twitter, Instagram, Rafflecopter, or any other entity unless otherwise specified. Giveaway ends 12/16/2018. Enter using the widget below. a Rafflecopter giveaway

Be sure to check out all the 12 Days of Christmas Giveaways!

Click to Enter More Giveaways

KEEP UP WITH BIRCH LANDING HOME
|  Etsy  |  Facebook  |  Instagram  |  Pinterest  |  Bloglovin'  |  Hometalk  |