I'm a wife, stay-at-home mom, crafter, and blogger living in rural New England. As seen in Martha Stewart Living, Food Network Magazine, and more! | Tutorials, DIY, crafts, parenting tips, recipes, money saving tips, product reviews, local product features, New England living, intentional living, and more! |
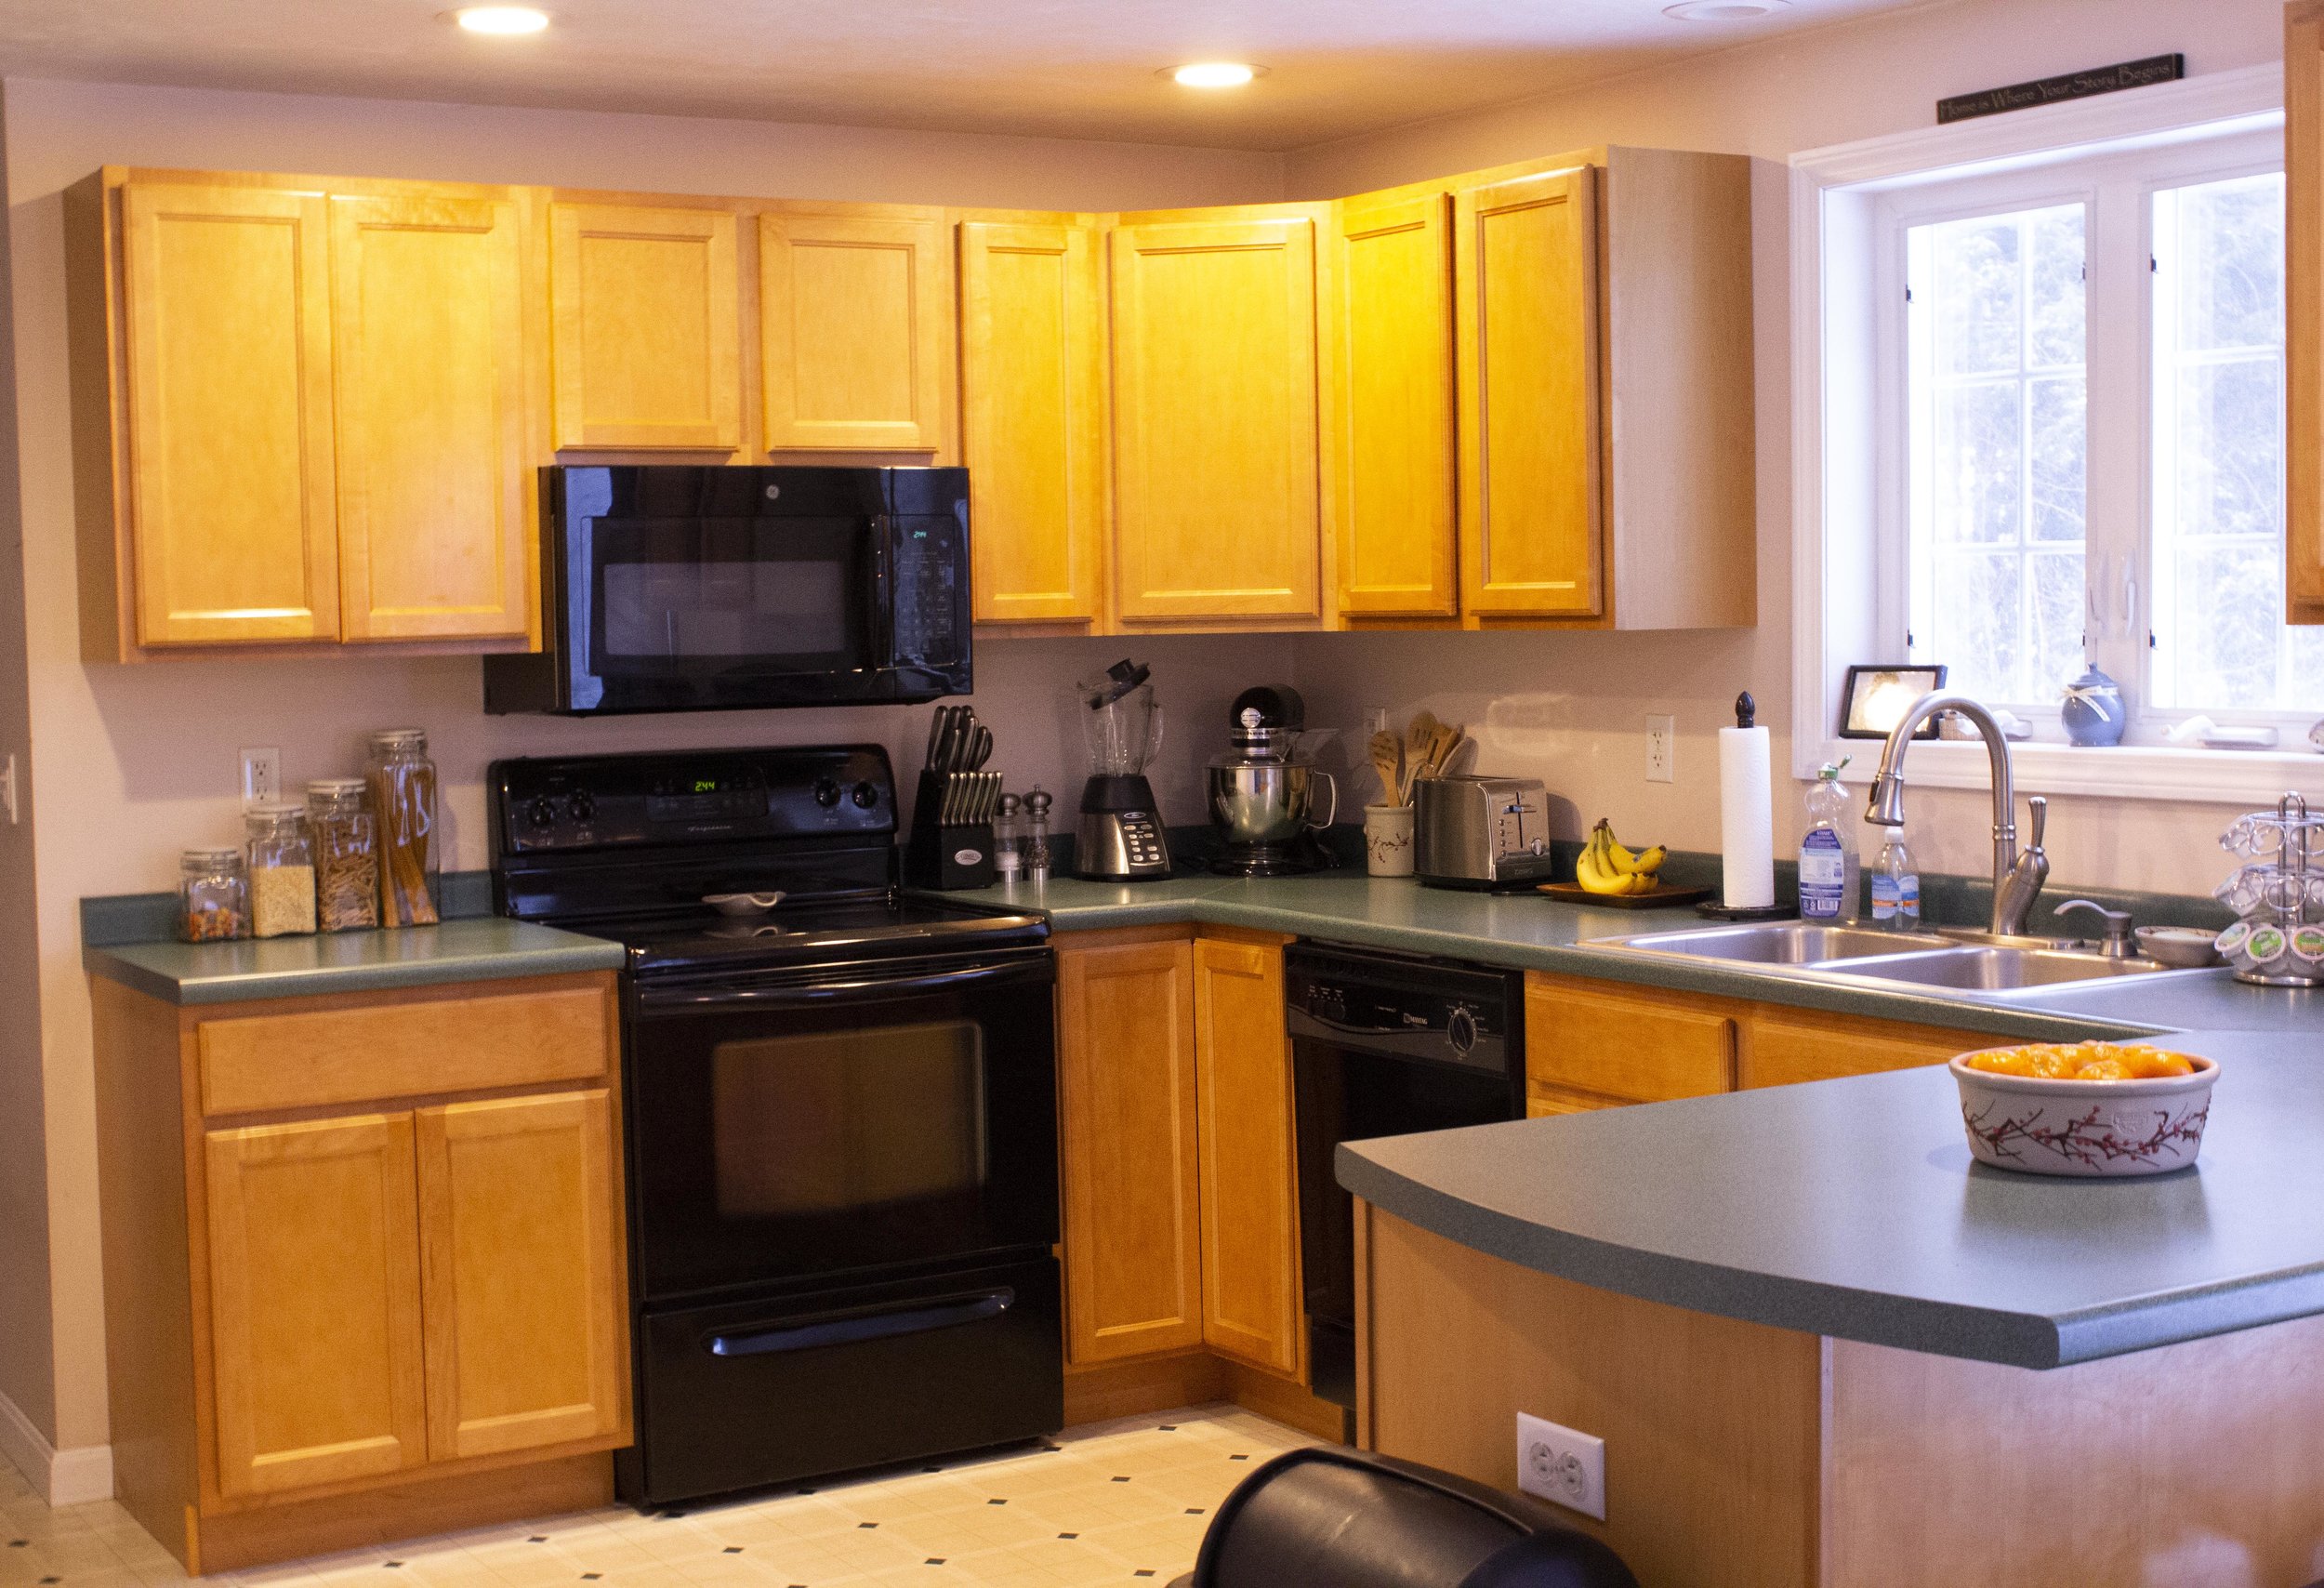
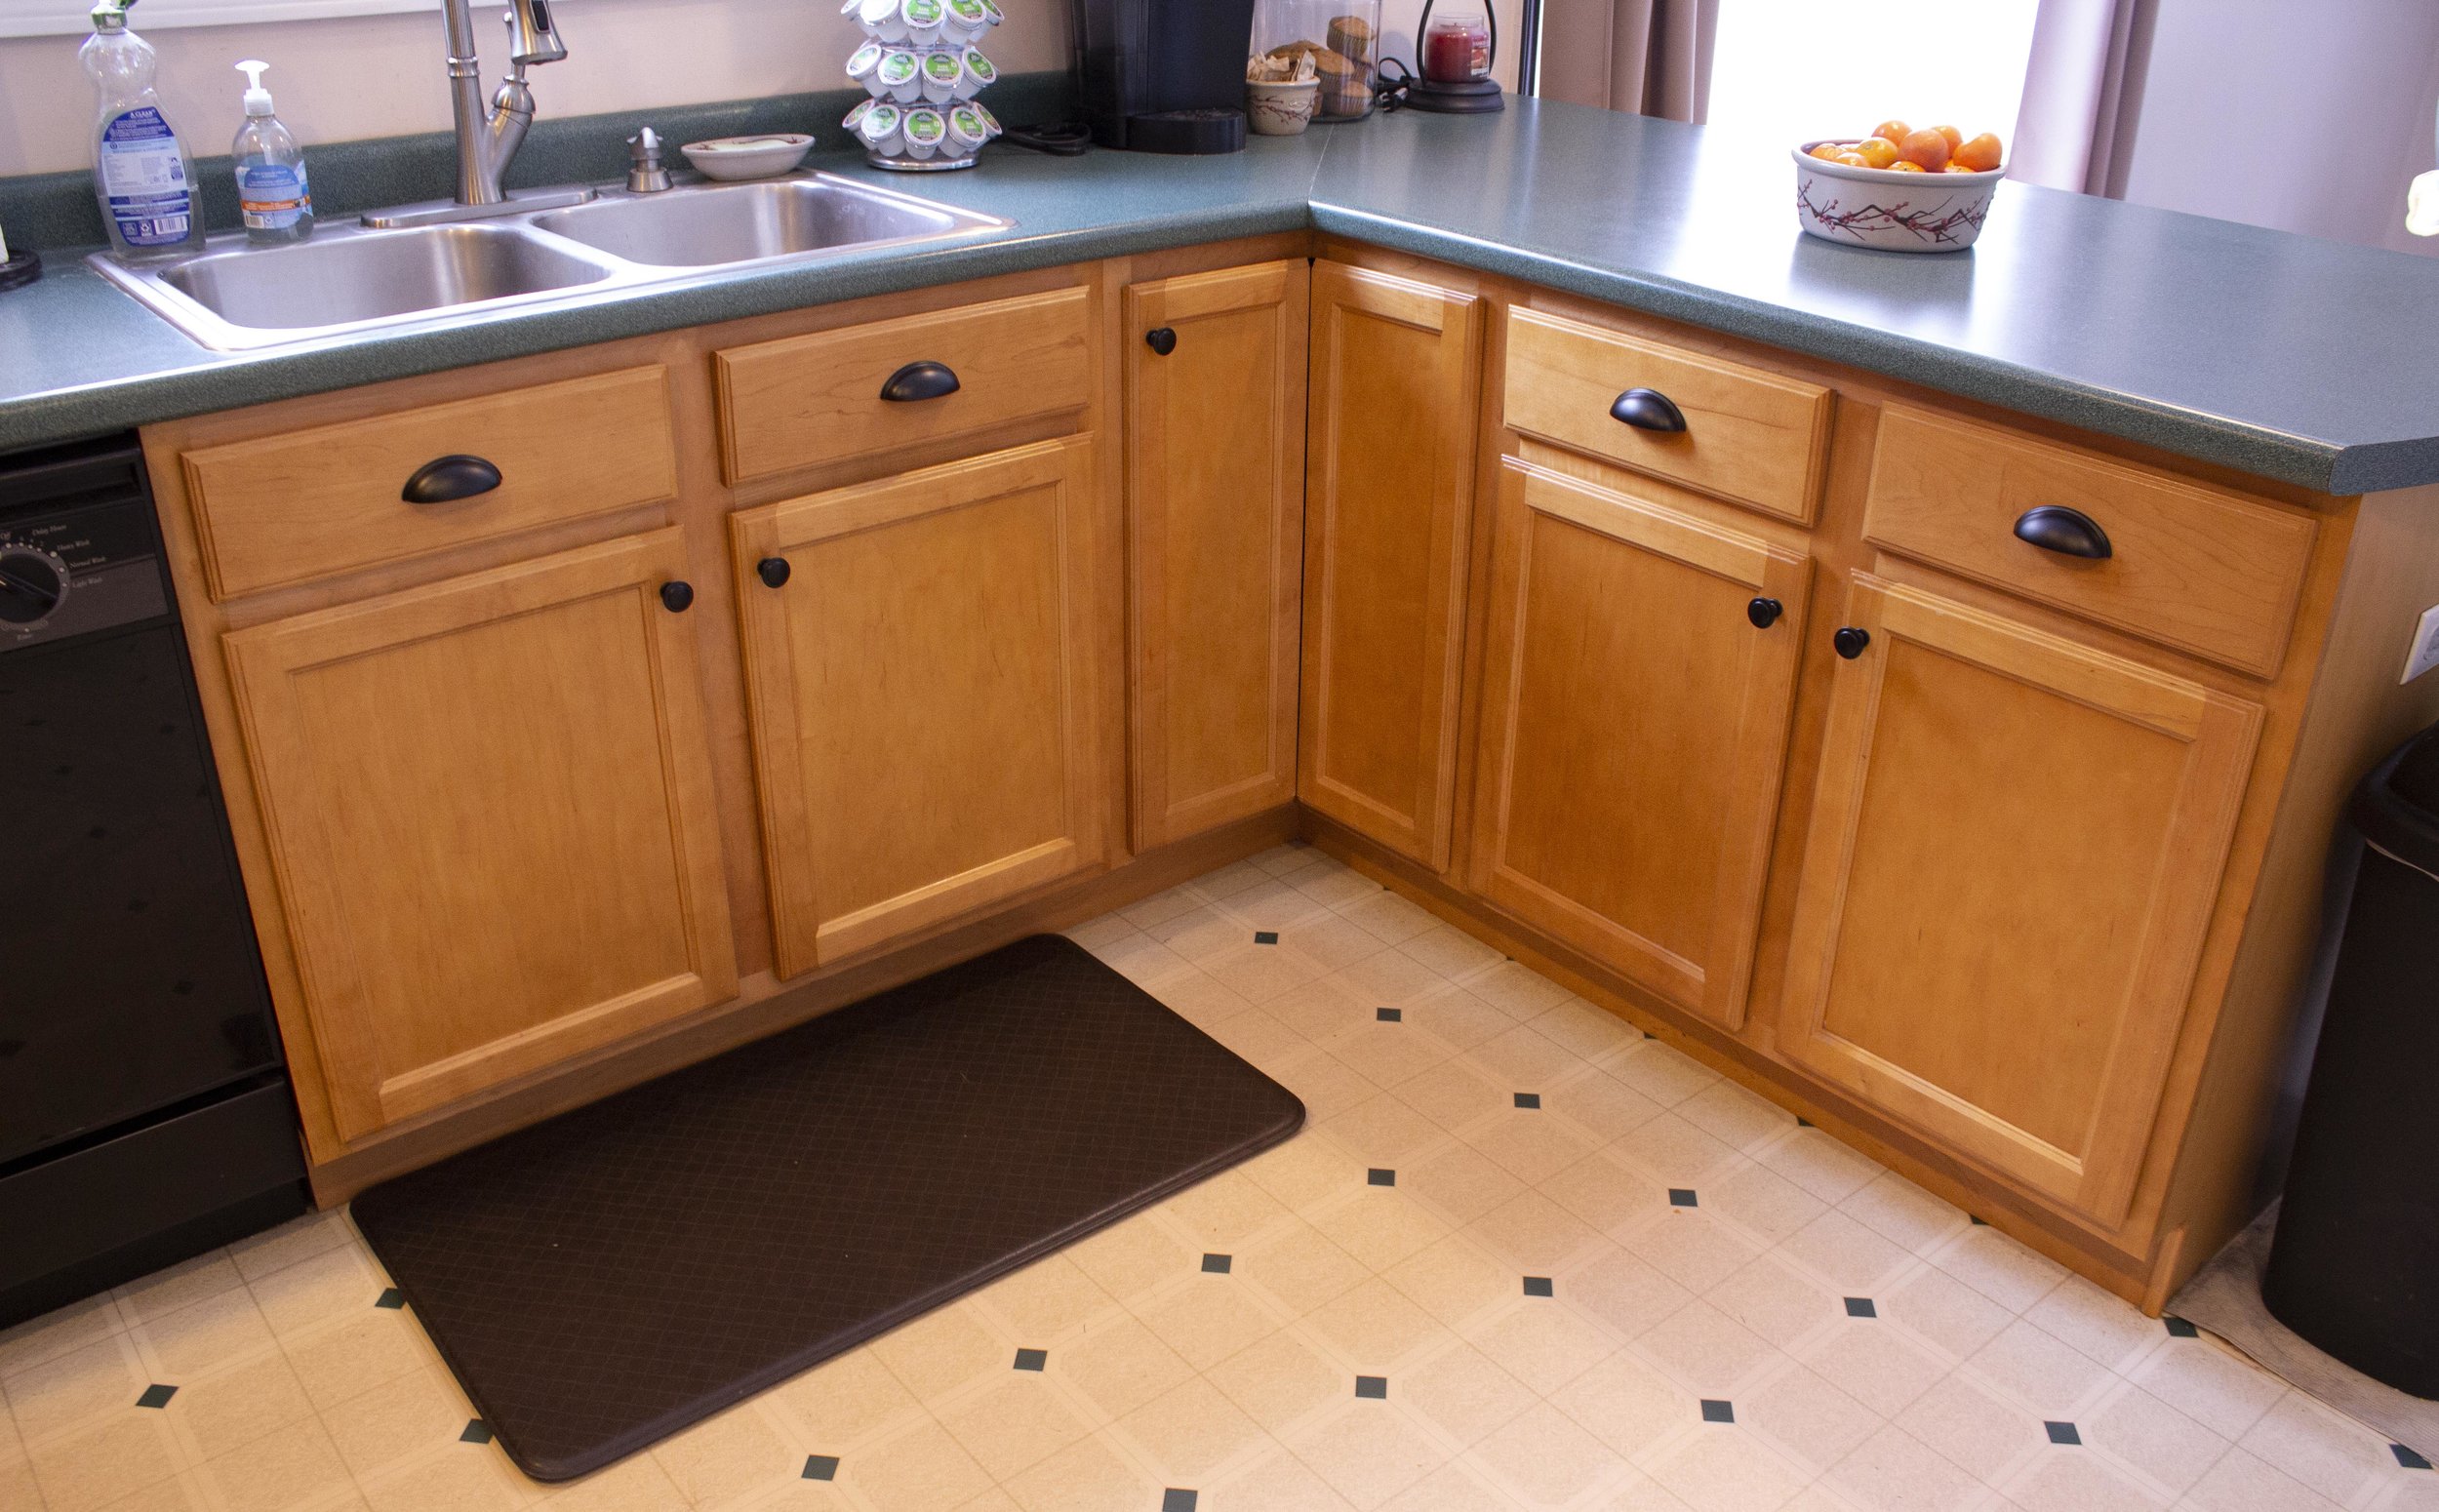
Our home came with a classic late 90’s “builder’s grade kitchen” - you know the type: honey-colored basic cabinets with no hardware and laminate counters. Someday we’d love to totally overhaul the space and paint the cupboards, trim them out, and install granite countertops - however all those things involve a lot of work and money and just aren’t in the budget right now. In the meantime we’re working on making small upgrades ourselves that will make the space look more finished. And what’s the easiest, budget-friendly way to update the look of your cabinets? Replace or install new hardware! If you’re installing new hardware on blank cabinets it can be a bit intimidating, so read on for my tips on installing for the first time. And don’t forget to enter our GIVEAWAY over on Instagram for a $50 Credit to Cosmas Hardware! | This post is sponsored by Cosmas Hardware and affiliate links |
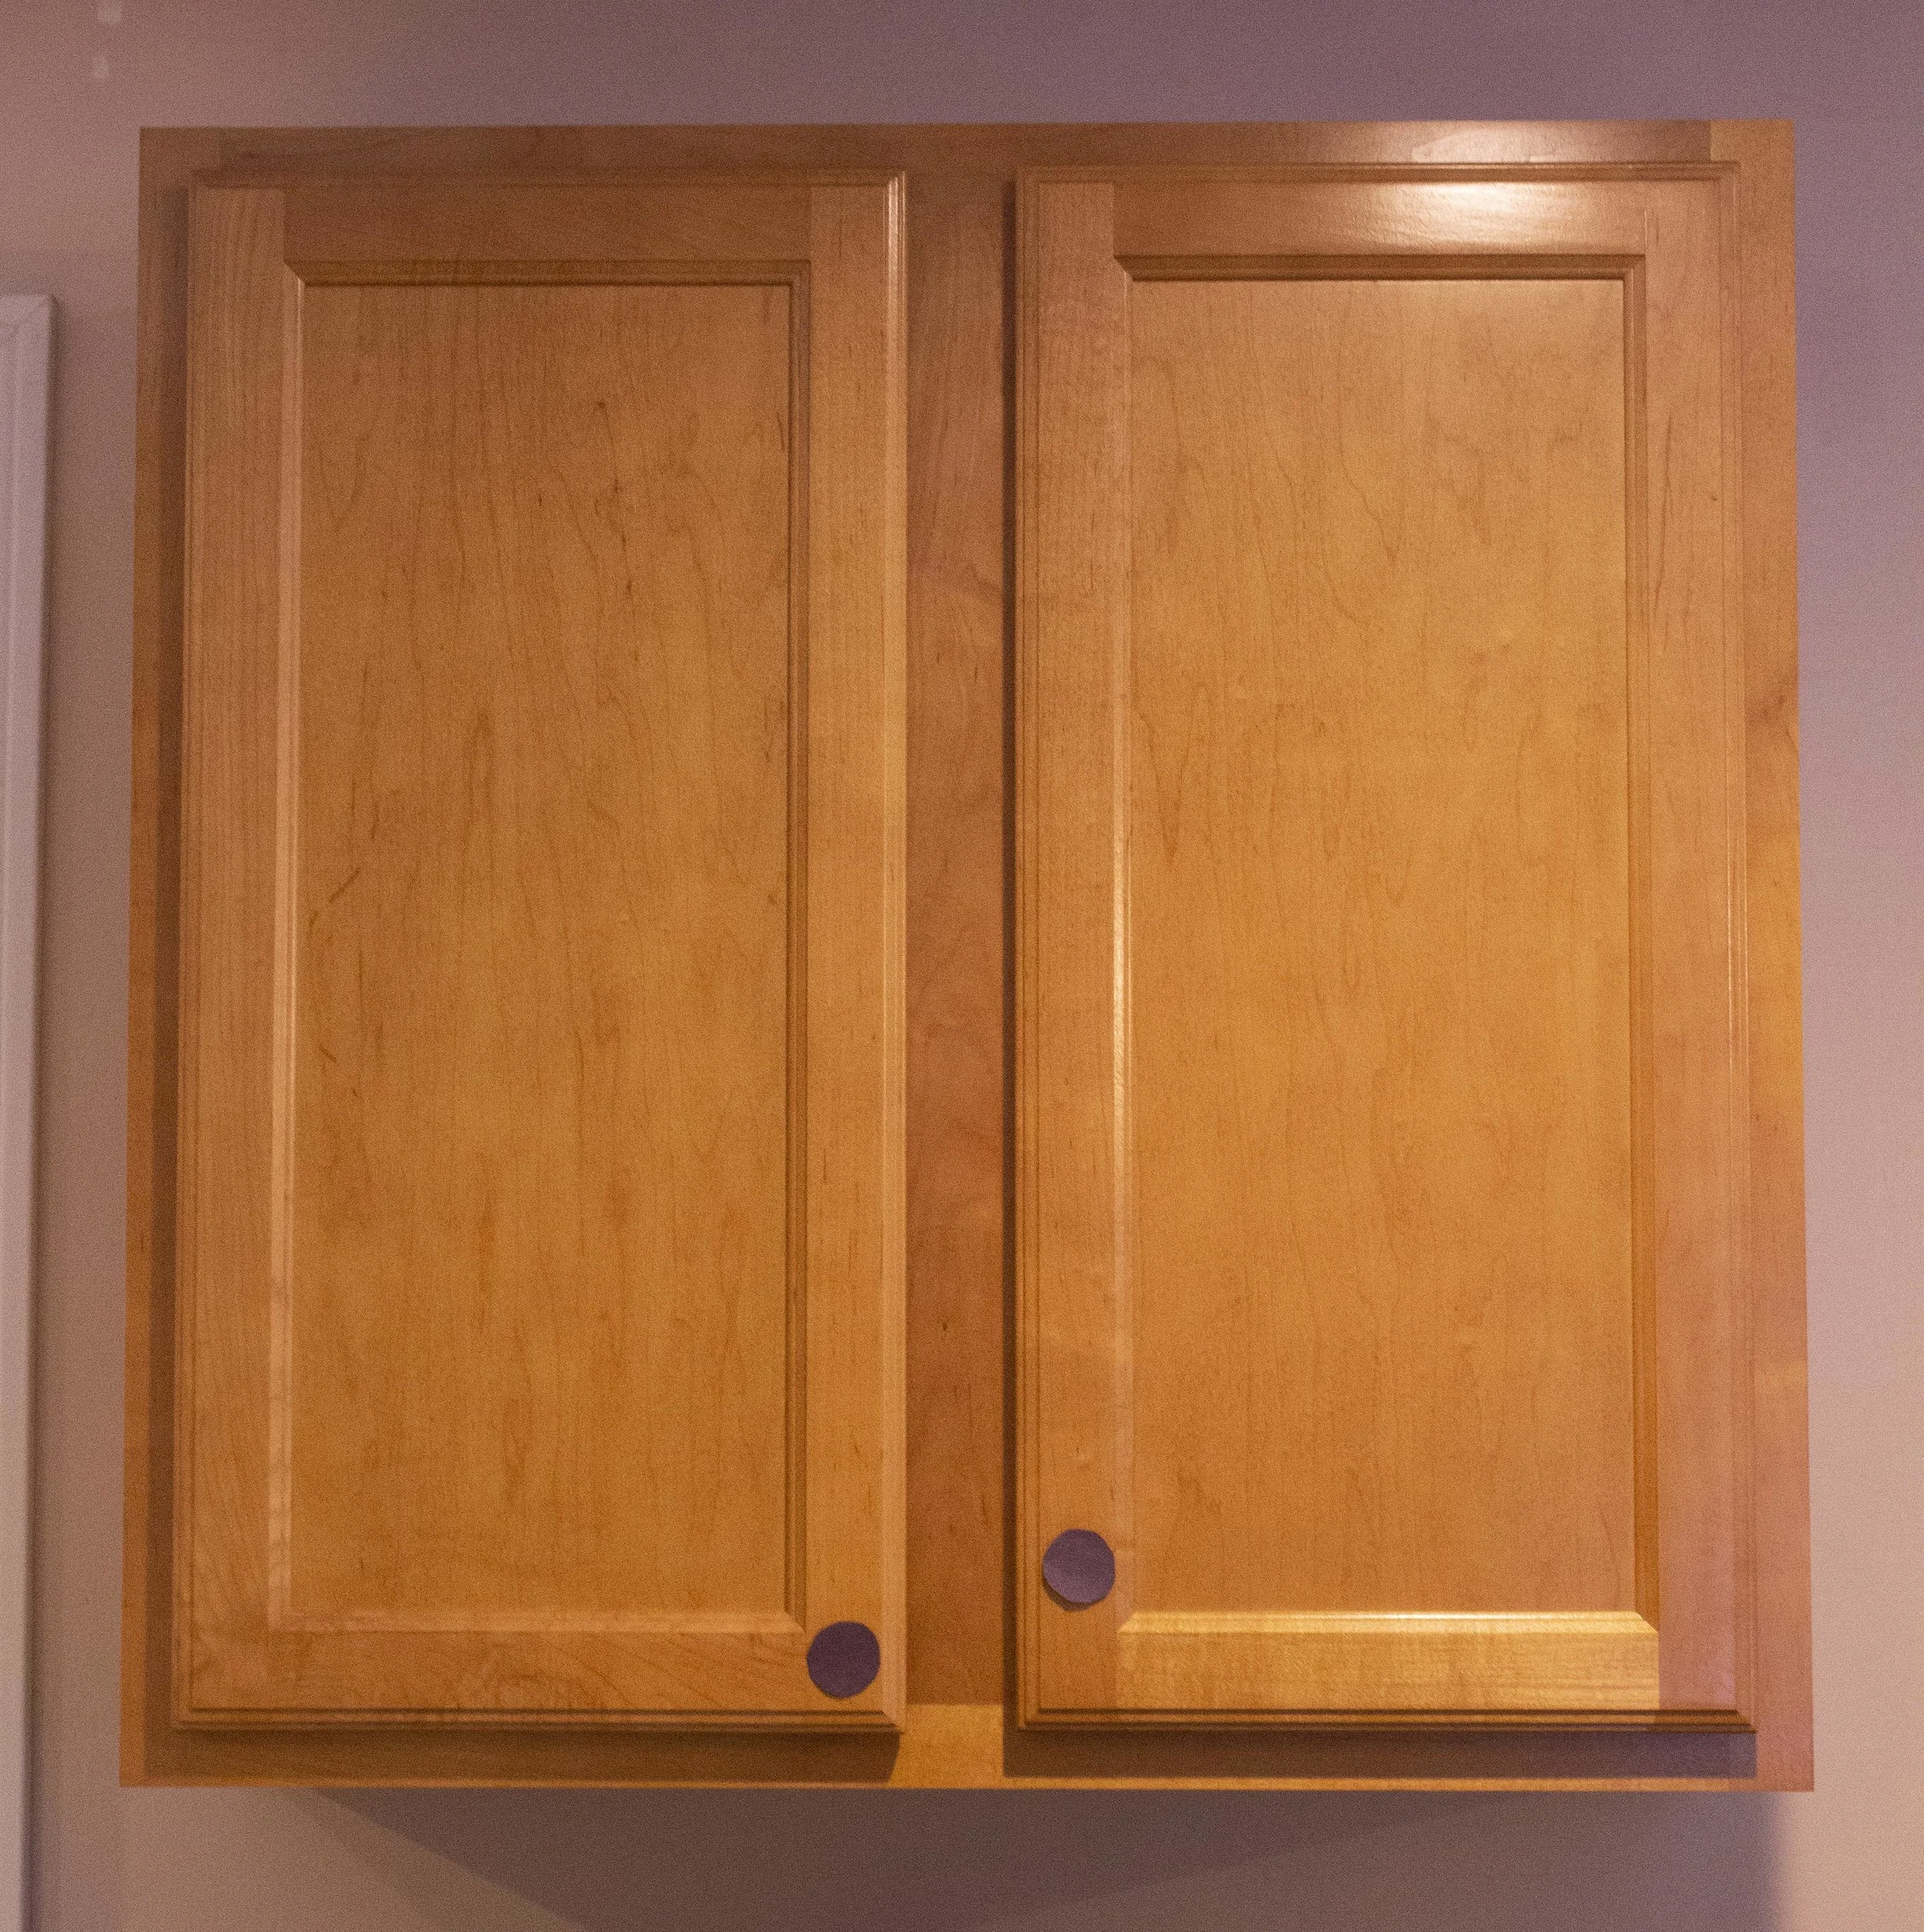
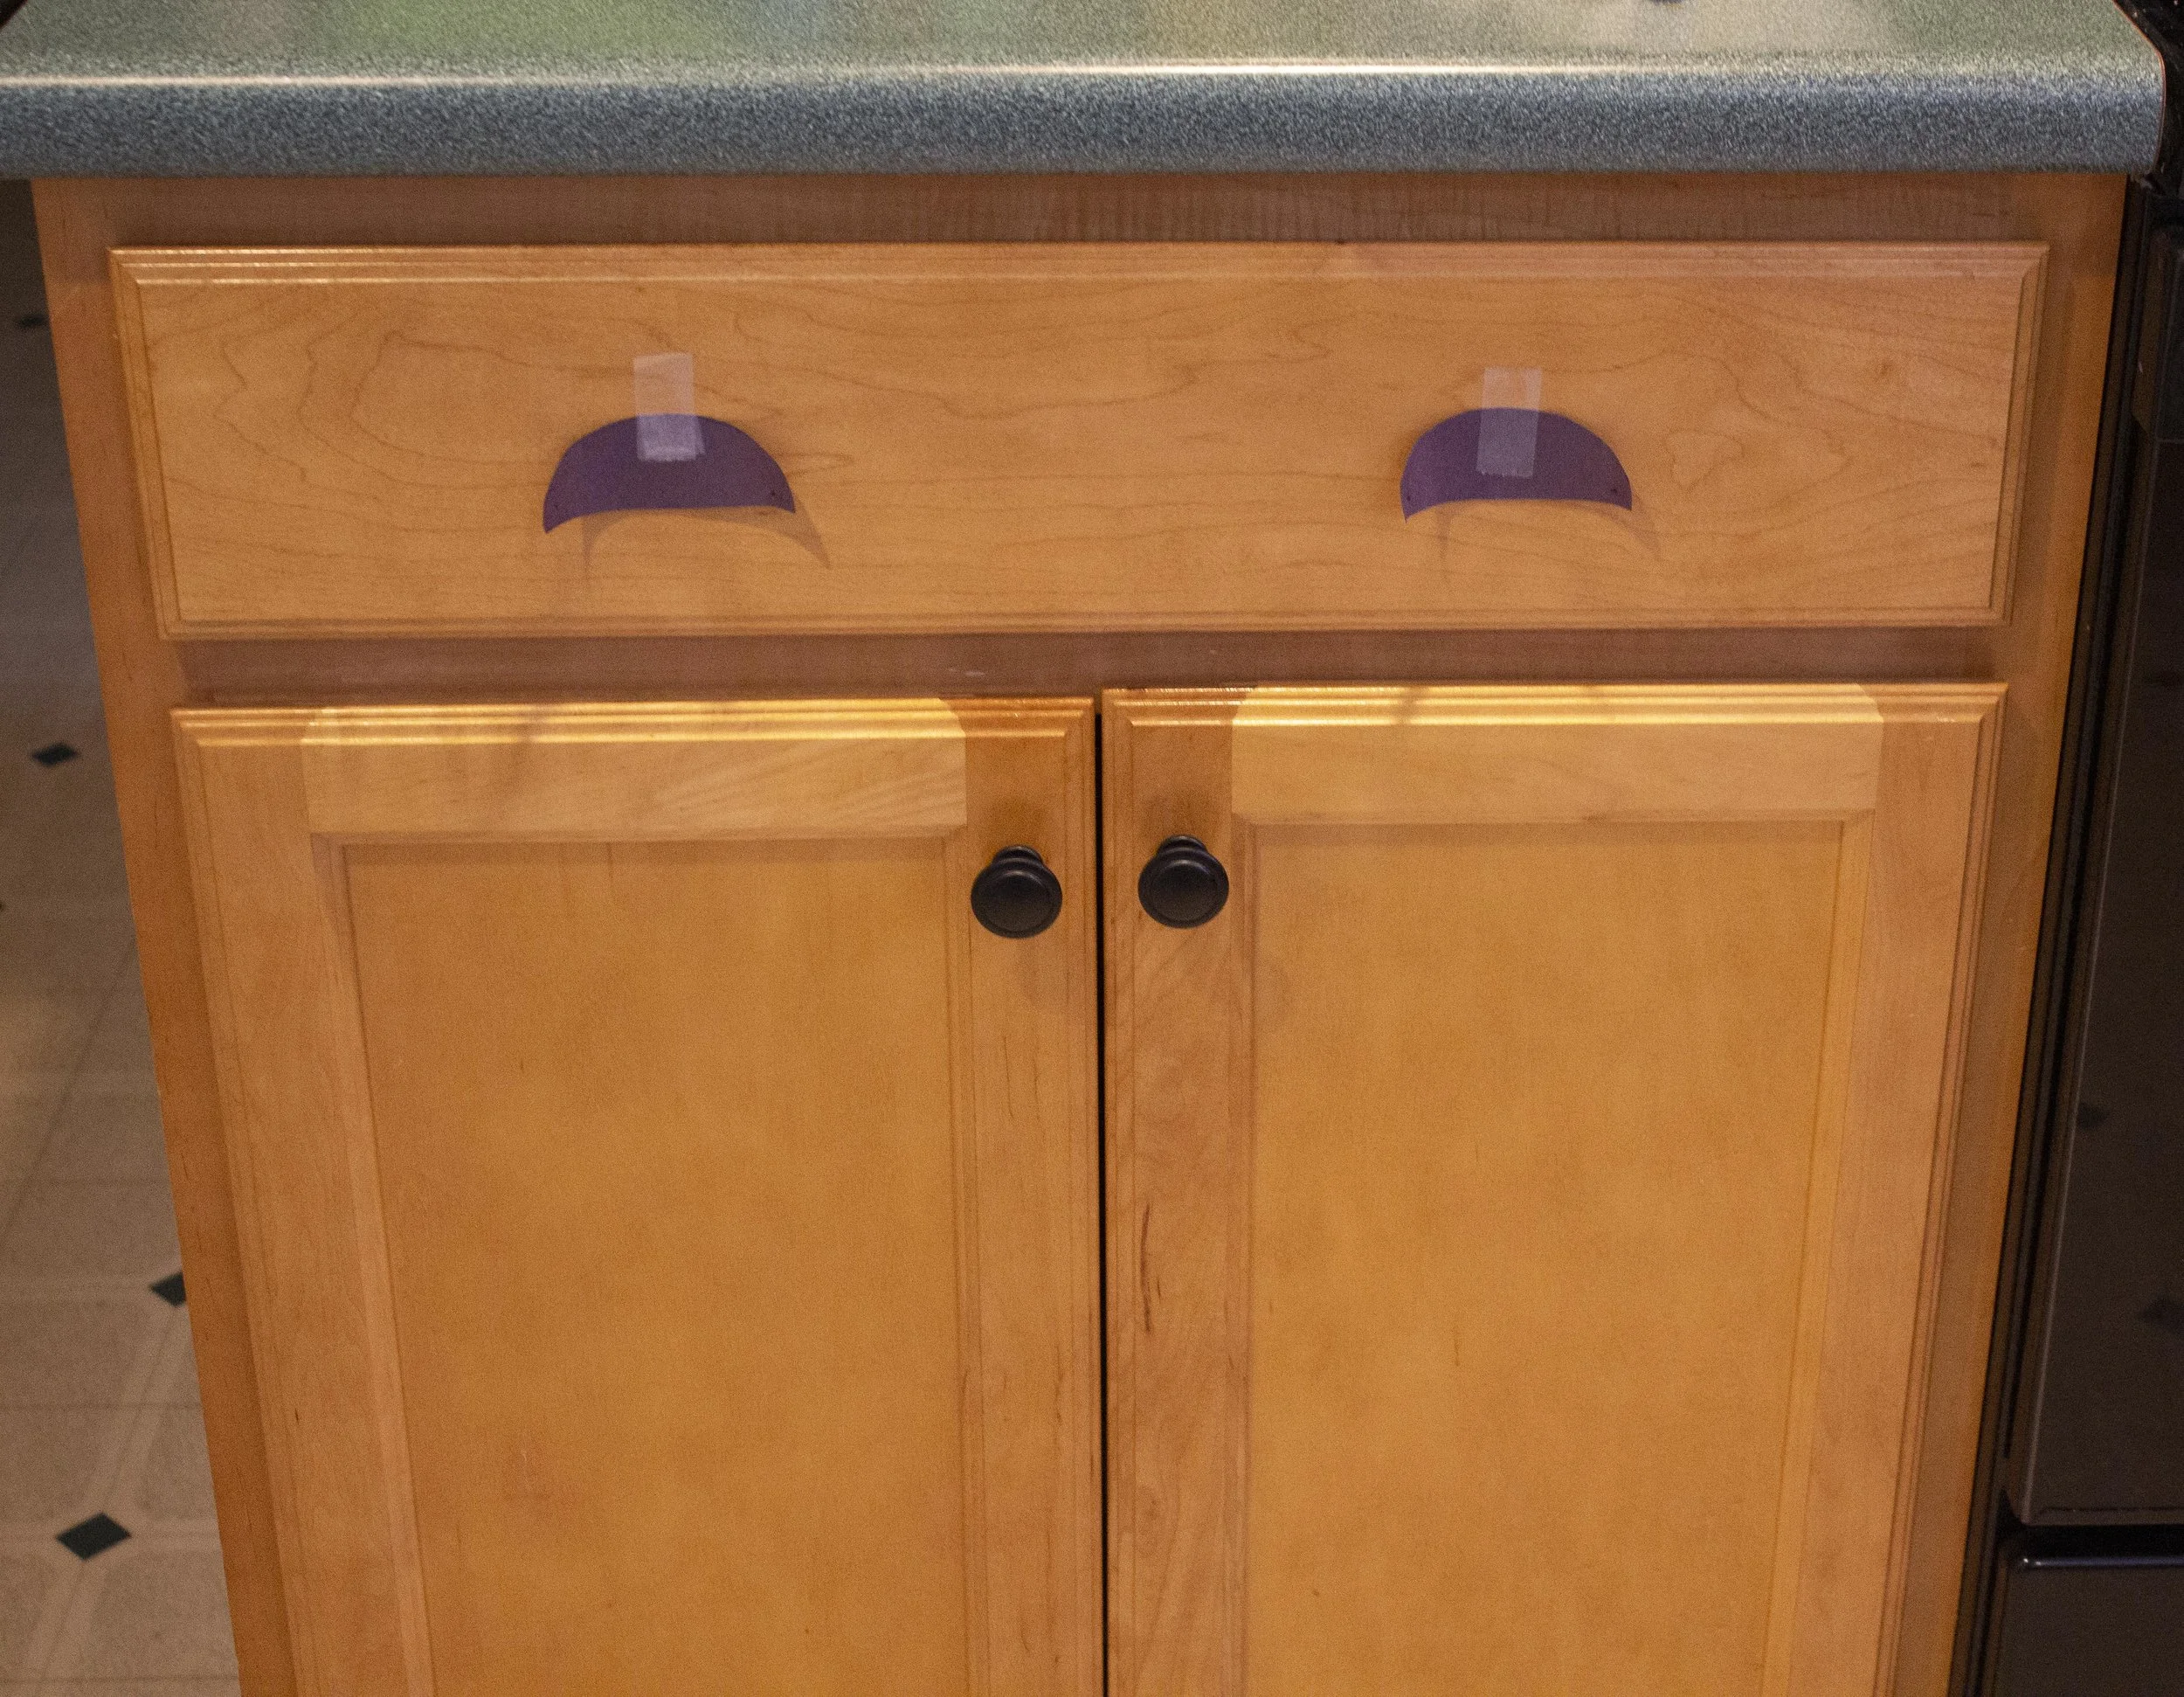
If you’re installing new hardware on a blank cabinet door, the first step is deciding hardware placement. I’m a very visual person so to help me decide on where things would go I first traced the hardware on a piece of black construction paper, cut it out, and taped them to the door and drawer fronts. This way I could step back and play around with the placement before I finalized it.
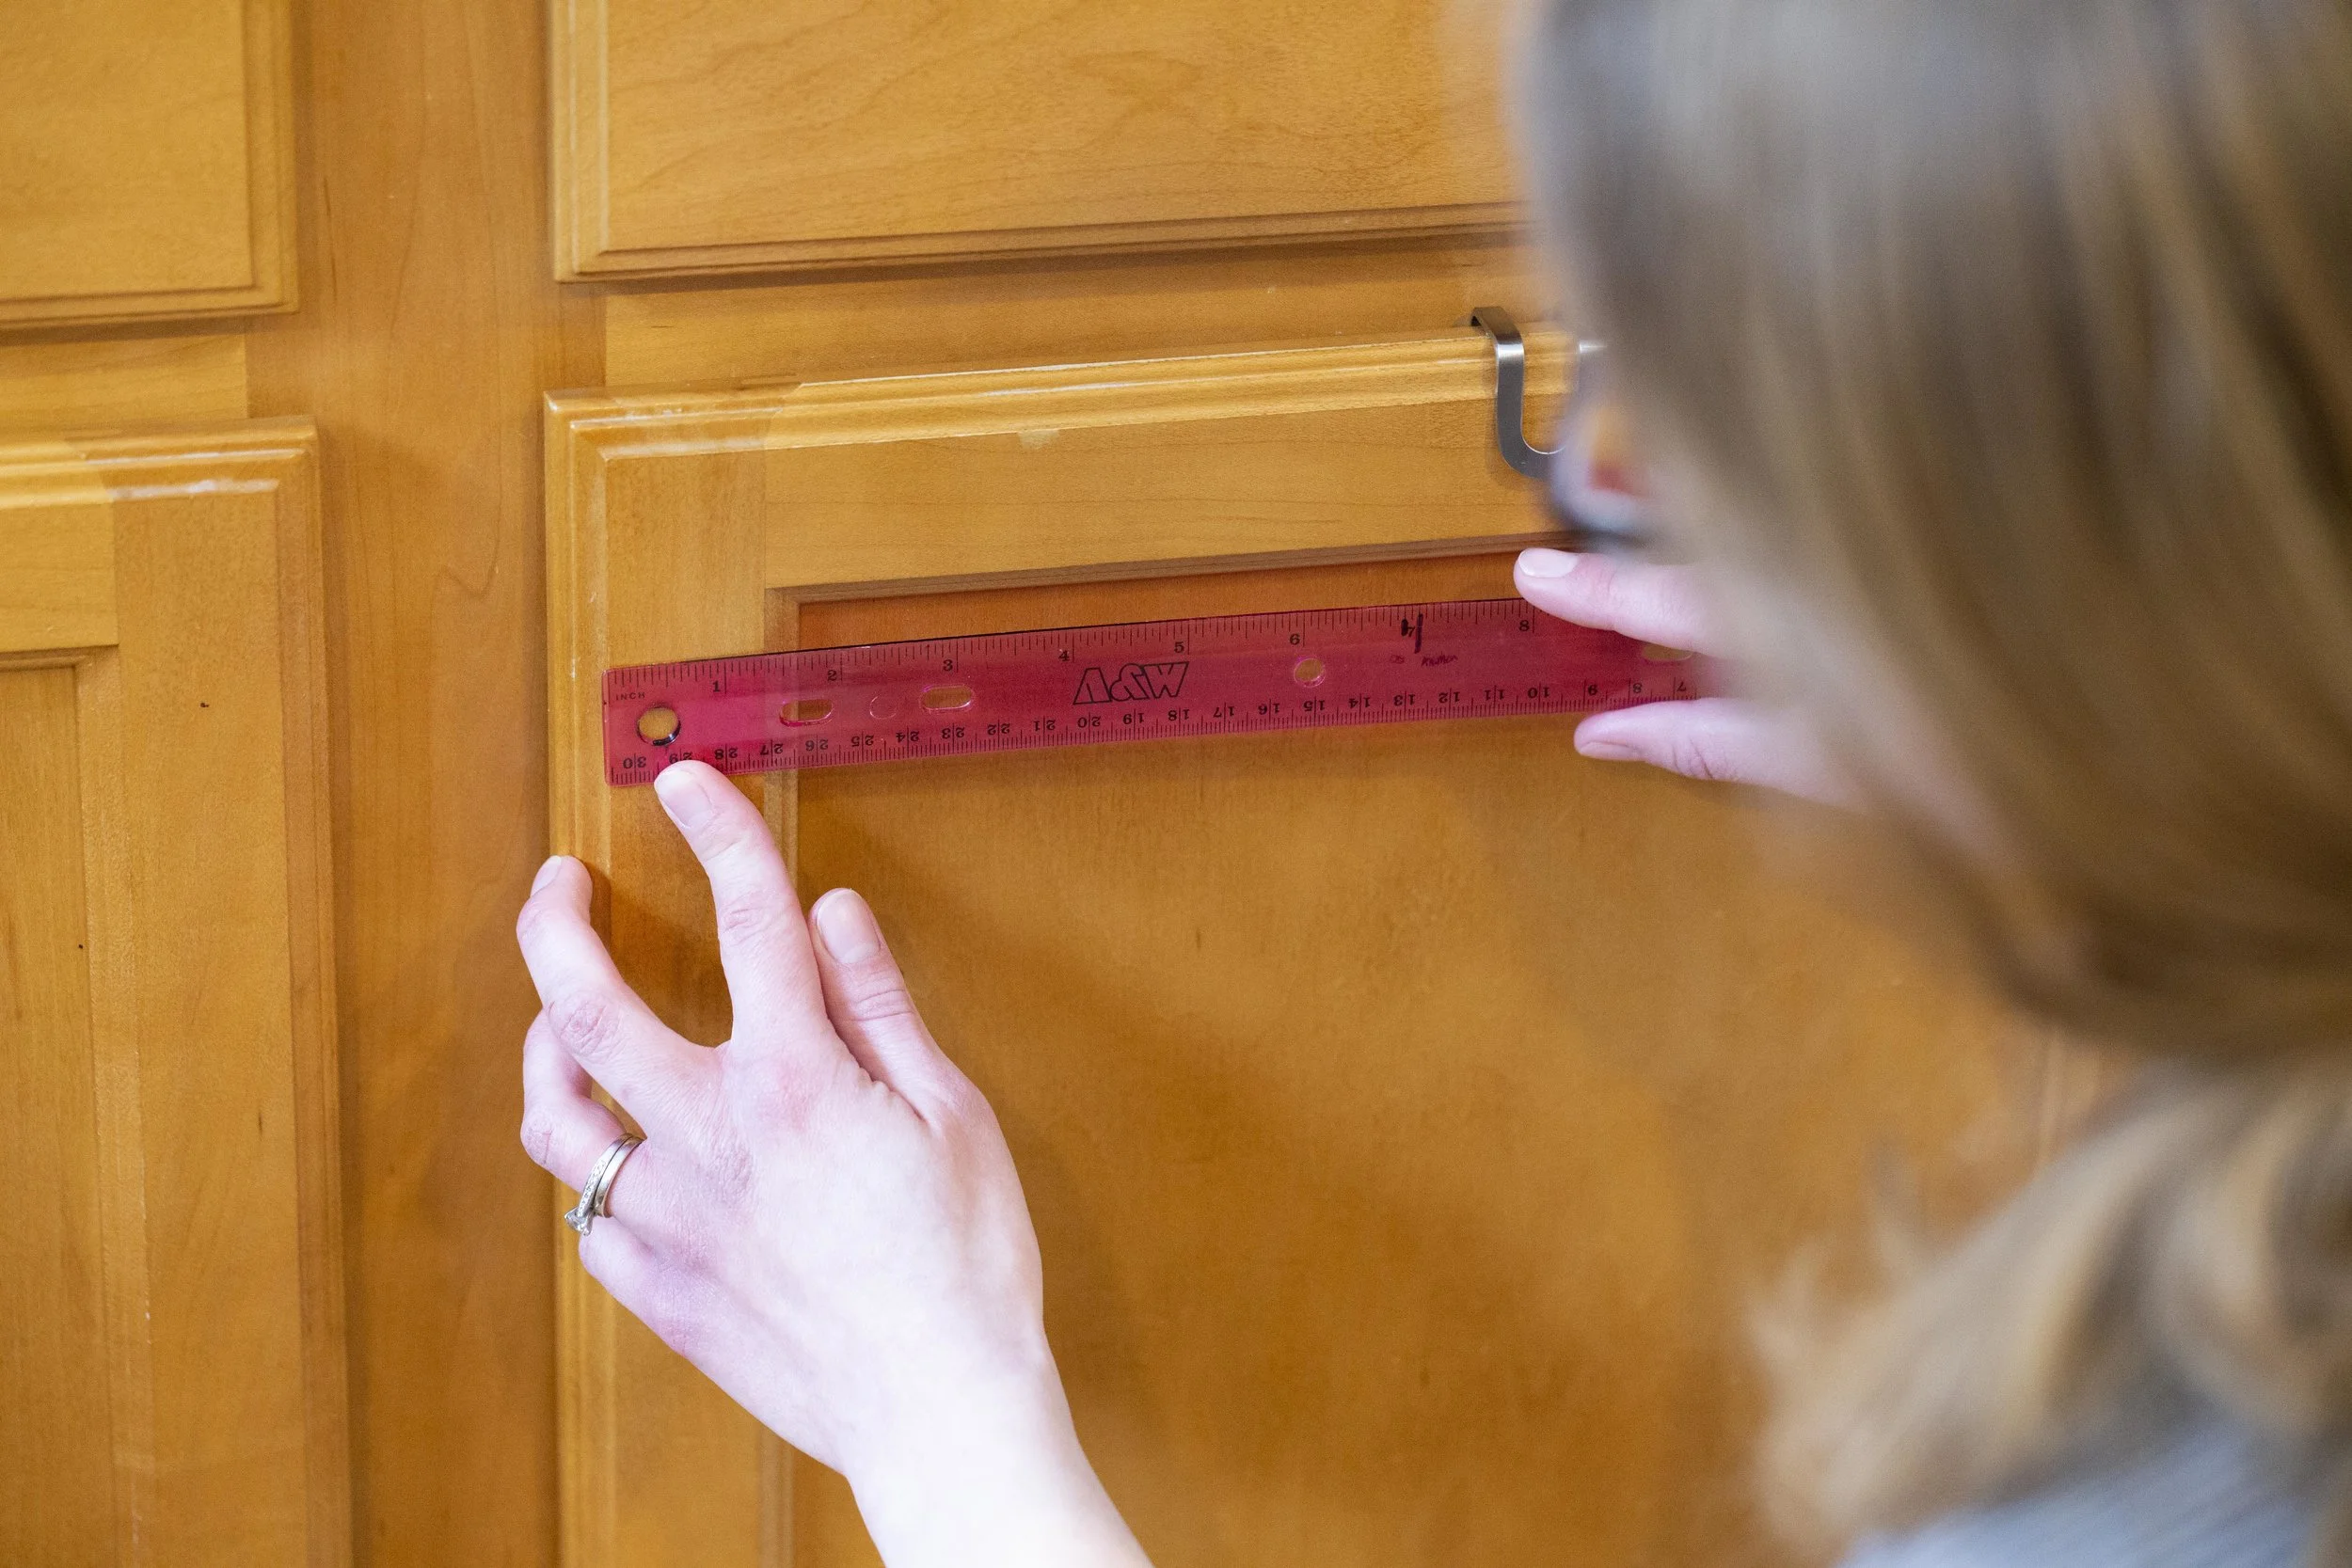
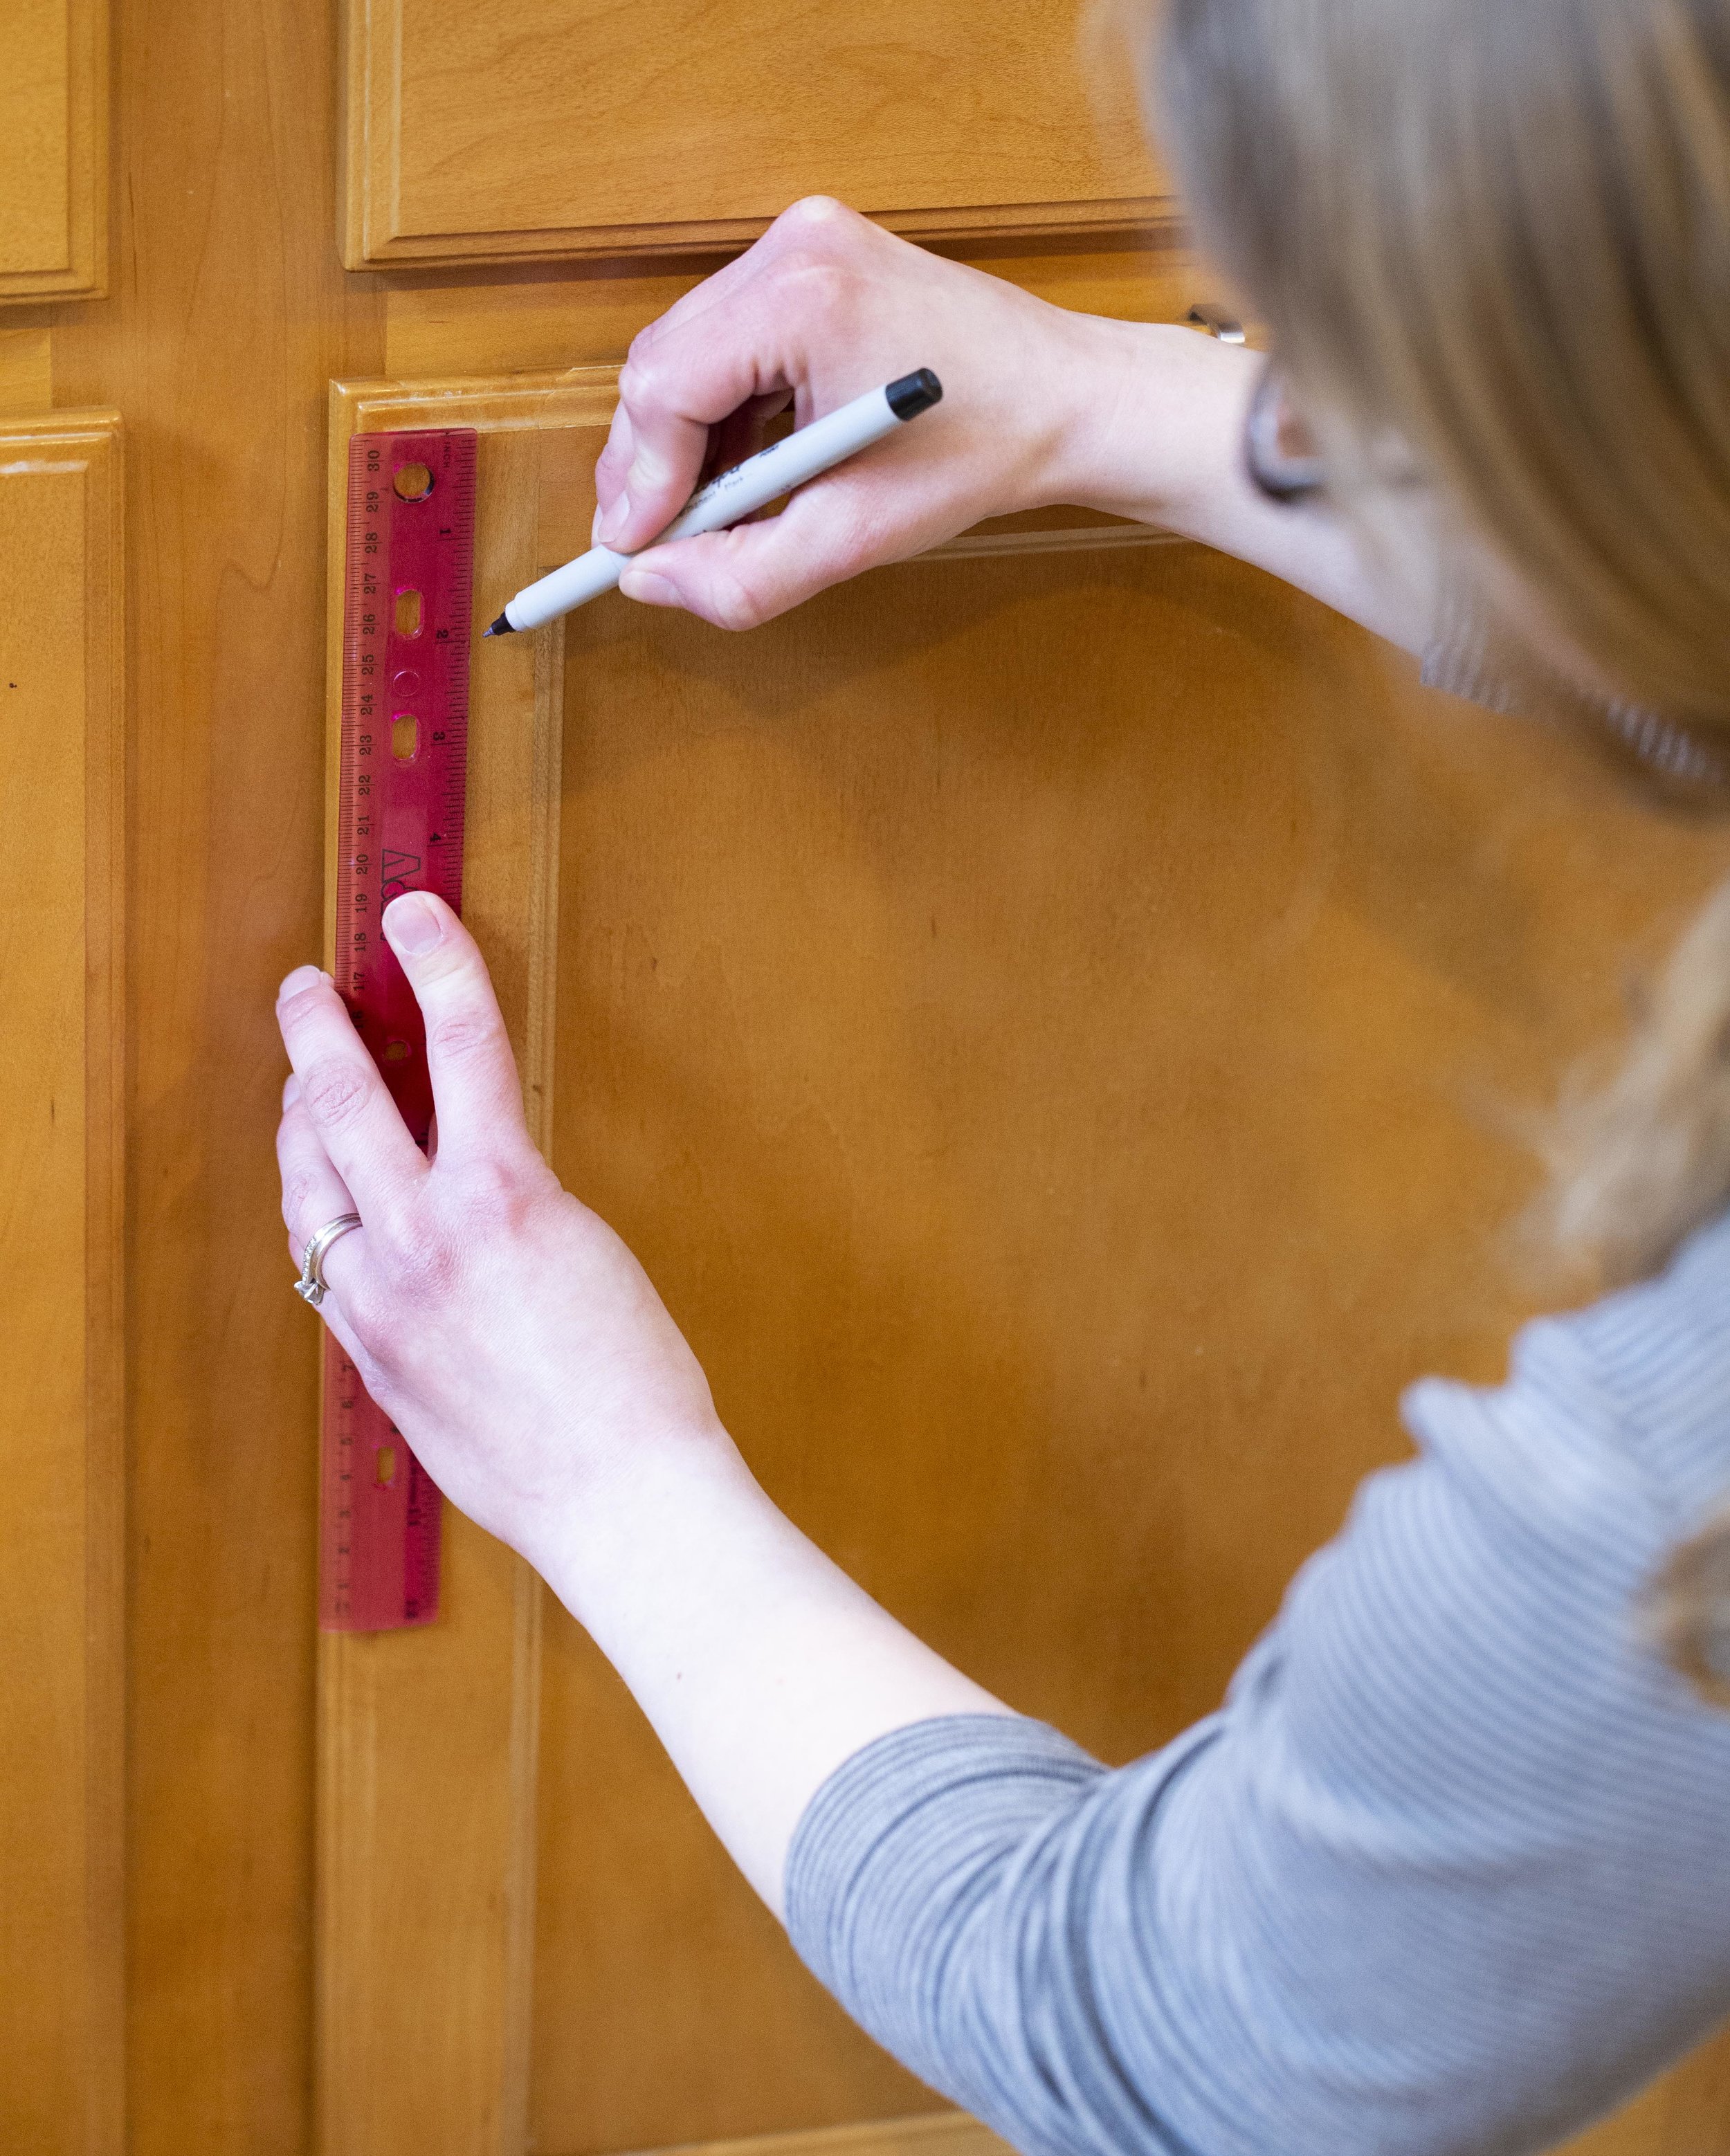
For our cabinets, we decided we liked the knobs two inches from the edge of the cabinet (not including the beveled edge). Once we decided on this placement, it was just a matter of measuring it out on all the cabinet doors so they were centered side-to-side on the trim piece as well as two inches in. Consistency is key to having uniform placement - and I made sure to measure multiple times in both directions before marking it with a pen
It’s important to measure the knobs on each door independently - if the doors aren’t hung evenly, it may look off initially but the hinges can be adjusted later so everything (the doors themselves as well as the hardware) will line up visually.
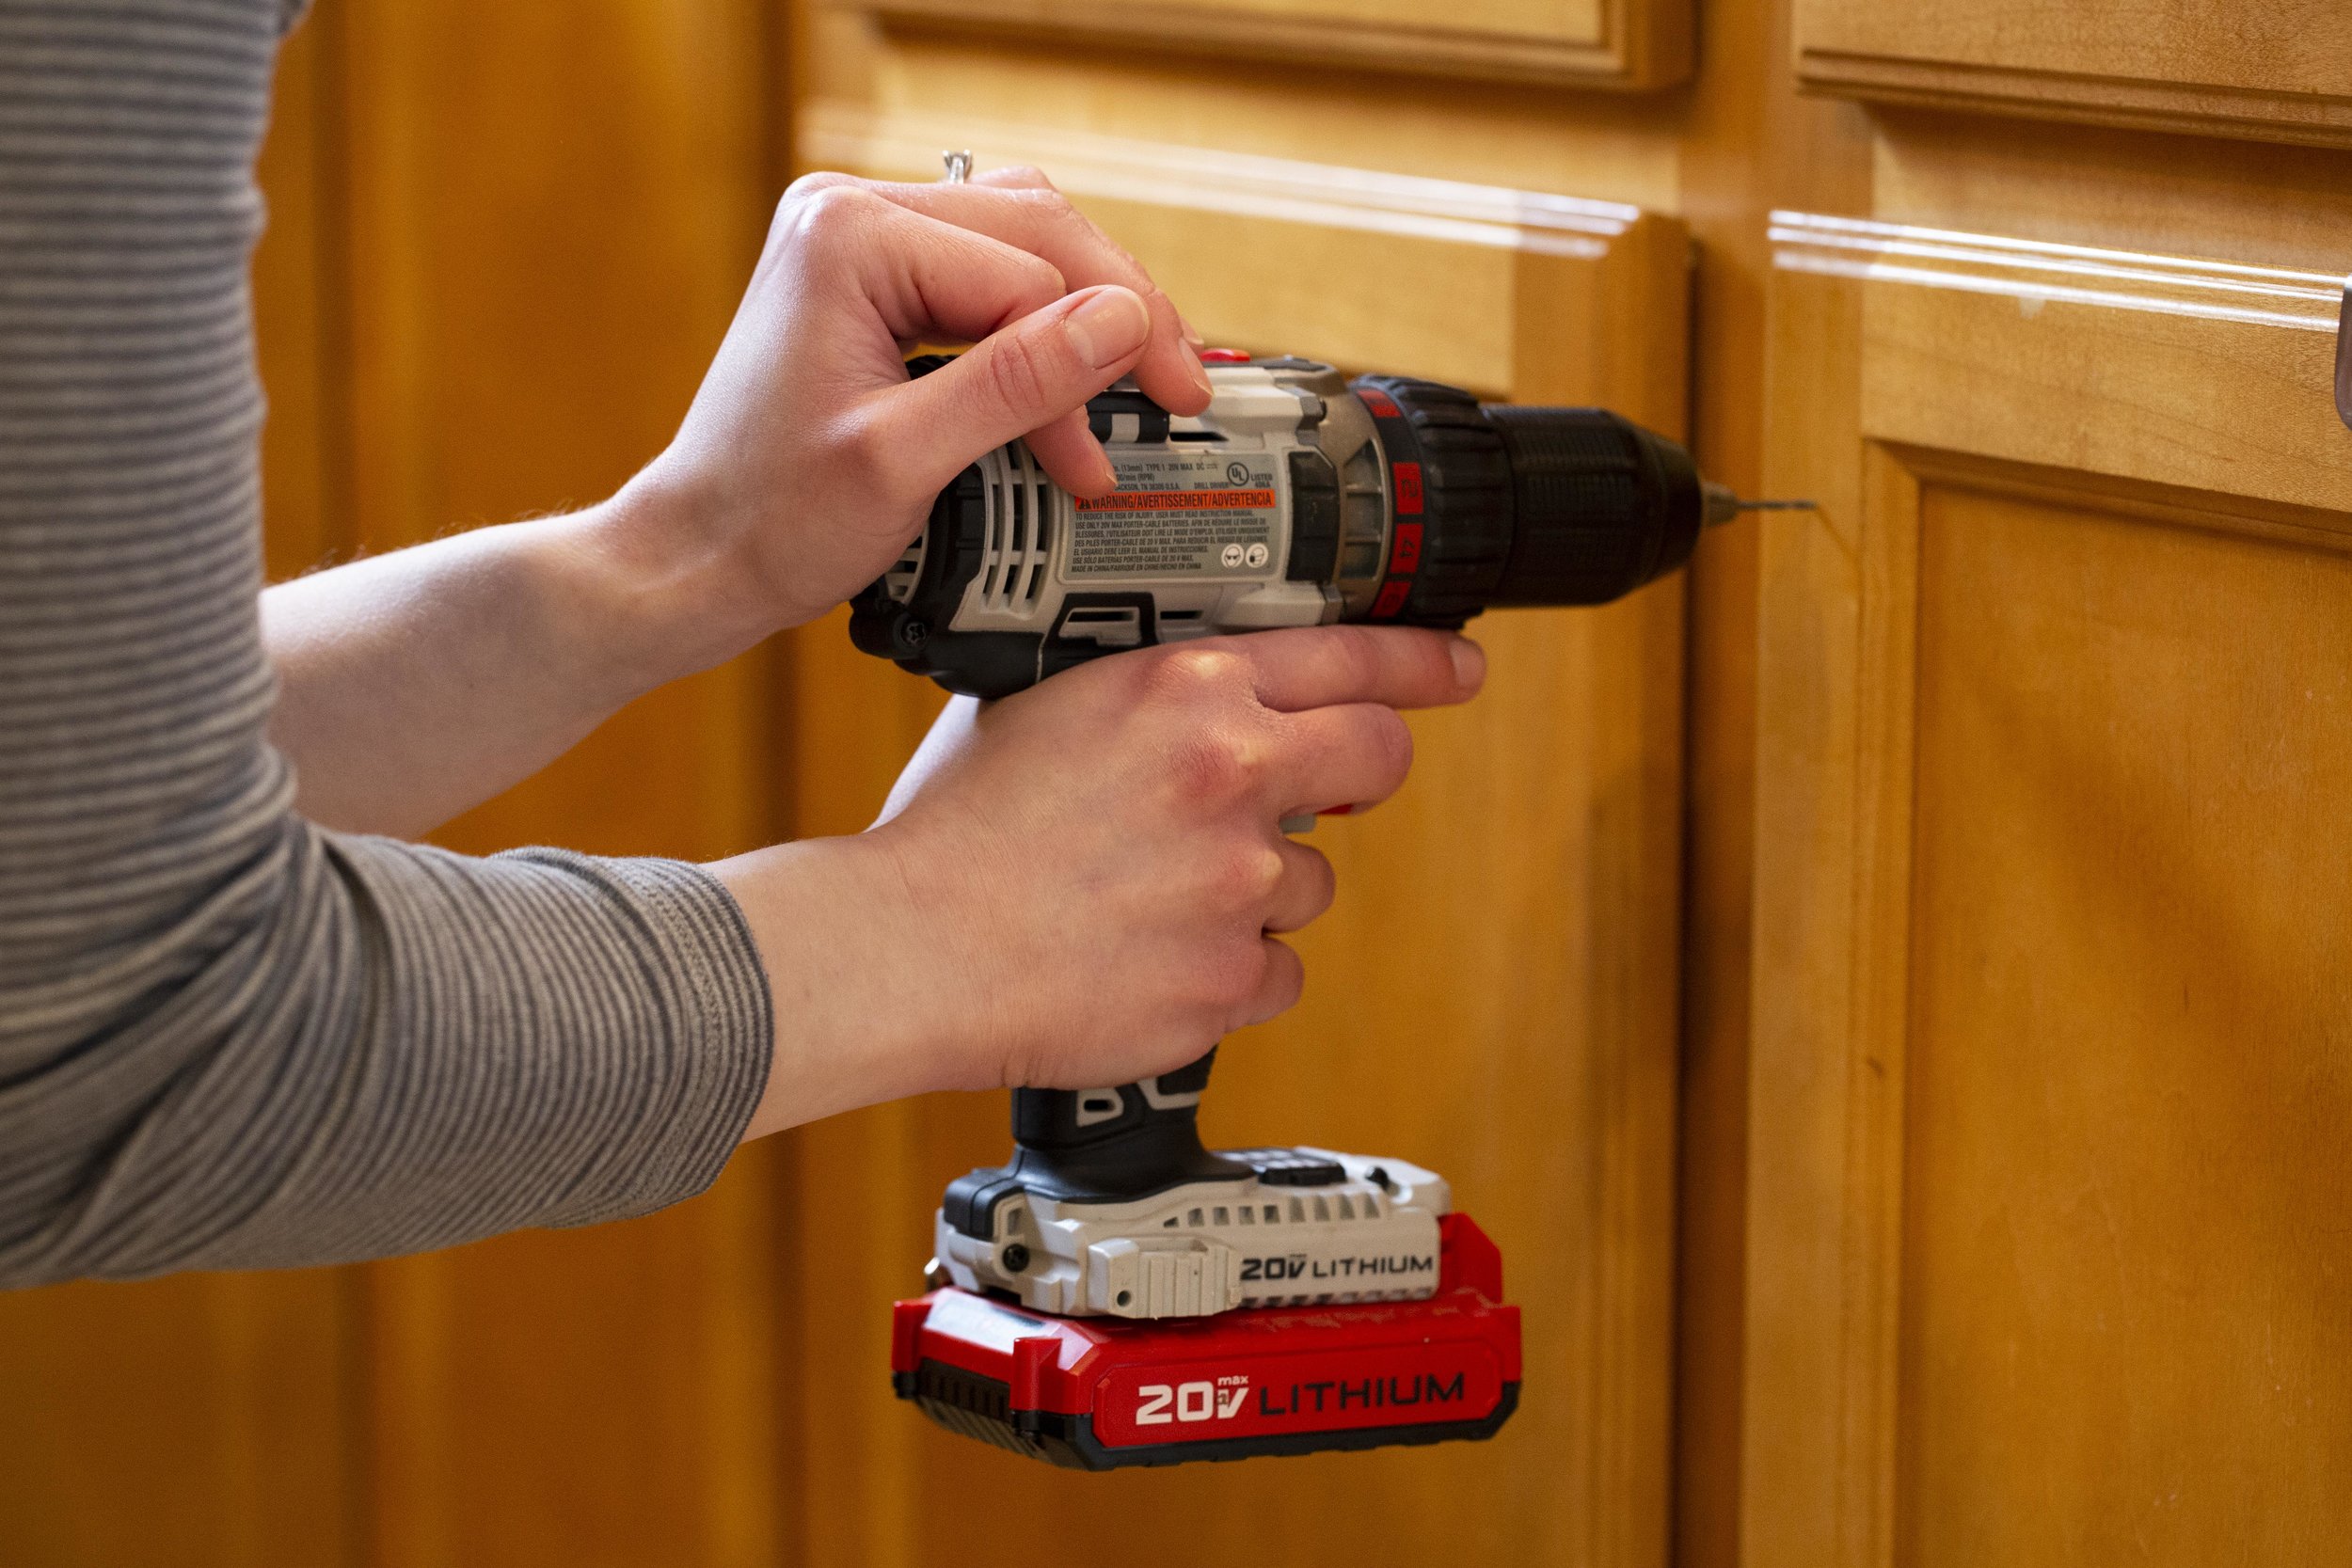
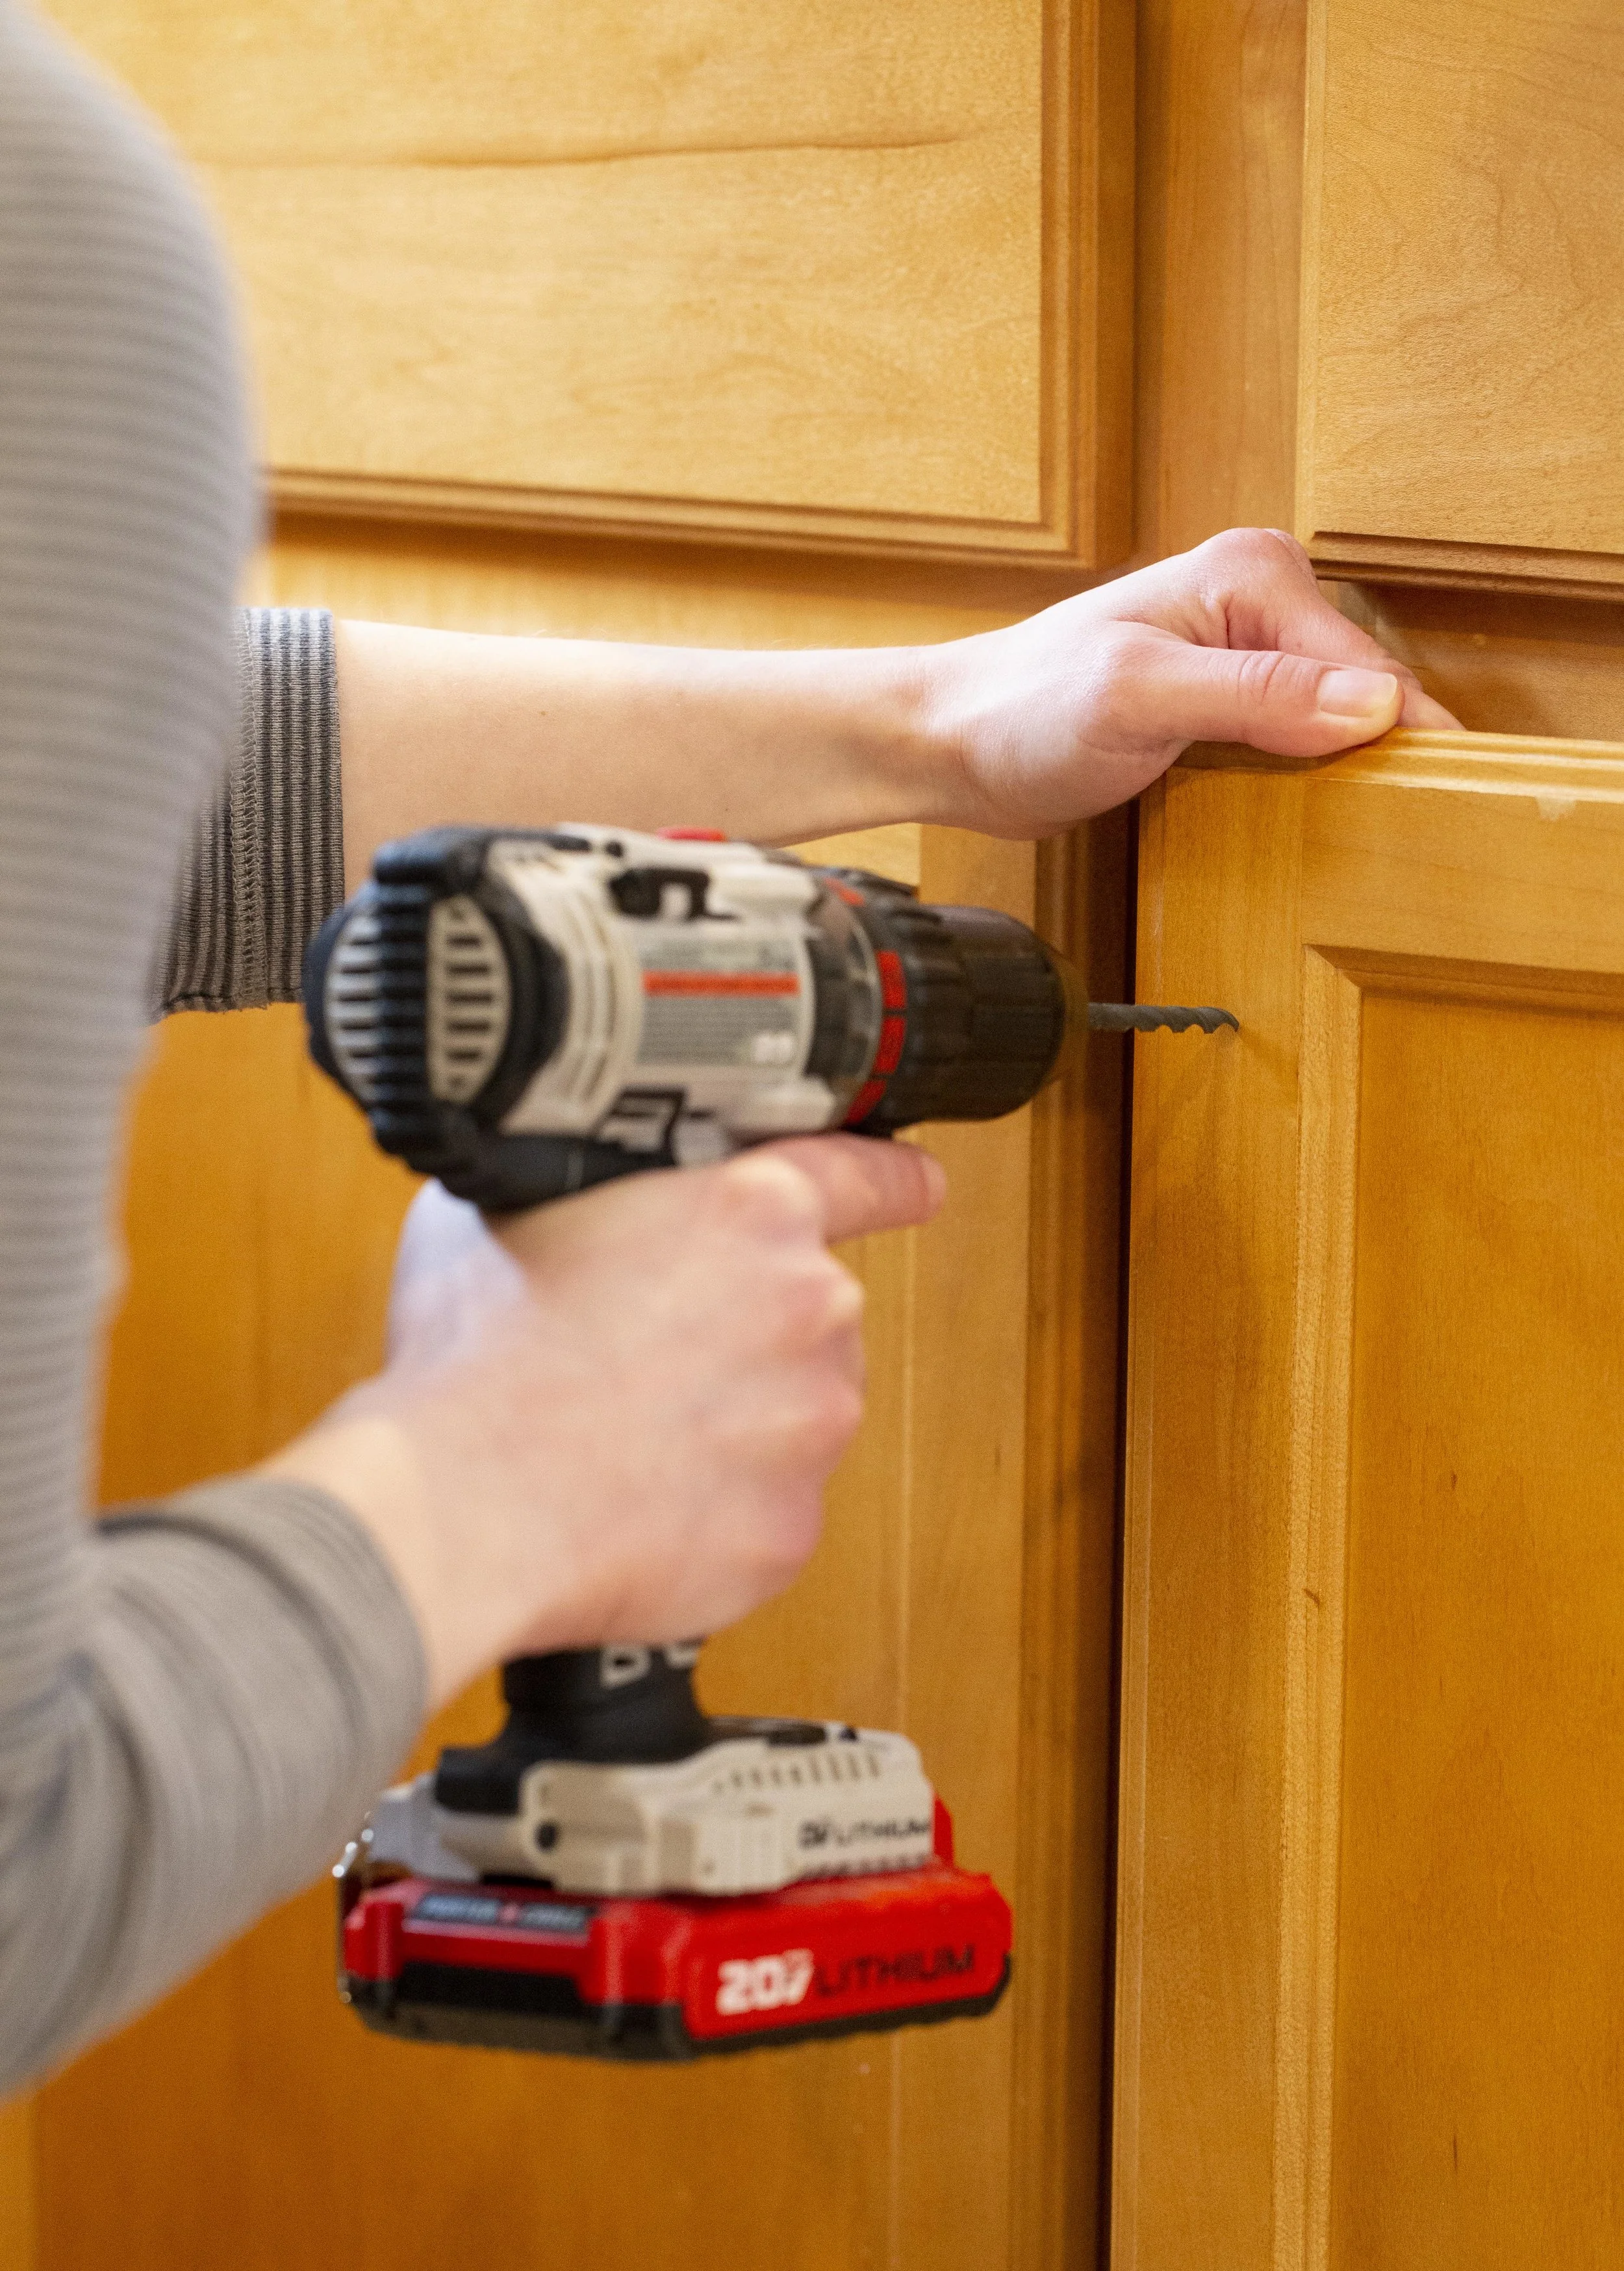
When it comes time to drill the holes, it’s important to make a small pilot (starter) hole before you drill the full size hole. There’s several reasons for this, but the two most important ones being that larger drill bits tend to “walk” when you drill on a smooth surface, and without drilling a pilot hole first you might end up off your mark. The other important reason is that pre-drilling the hole smaller first will help lessen the chance of the wood splitting. Be aware of what’s behind the cabinet front when you drill! Make sure you aren’t drilling into the cabinet frame or dishes that may be in the cabinet behind the door. For the larger hole you’ll want the drill bit diameter to be just barely bigger than the diameter of the screws that come with the hardware.
Once the larger hole is drilled, slide the screw in from the back and use a screwdriver to hold it in place while you thread the knob on snuggly.
Deciding on drawer pull placement. (Note that while the lower cabinet knobs are each in the correct place, they look off since the cabinet doors are uneven - this can be fixed by adjusting the cabinet door hinges, which I did once I was finished installing all the hardware.)
For the drawer pulls I followed a similar procedure as I did for the door fronts. One thing I had to keep in mind though is the drawer pulls I chose aren’t symmetrical top-to-bottom - the mounting screws are towards the bottom of of the pulls. Therefore, playing around with the placement of the drawer pulls was very important - the drawer pulls needed to look centered visually from top to bottom on the drawer fronts, even though that made for the screw placement to be slightly below center.
Once I liked the visual placement of the paper templates I carefully measured out the spacing on each side as well as down from the screw holes to make sure everything was accurate and even. These particular drawer pulls have screws 3” apart so I made sure that the spacing between the screw markings was accurate as well. (Once you get an idea of placement, you could also use a Cabinet Hardware Template here to help mark everything out.) In our kitchen the drawers are three different sizes, so this process needed to be repeated several times - on the shorter drawers I used one pull, and on the longer drawer I used two pulls.
After the hole placements were marked, I remeasured the spacings several times before drilling the pilot holes and then the screw holes. Then it’s simply a matter of screwing the screws in from the backside of the drawers with a screwdriver into the drawer pulls.
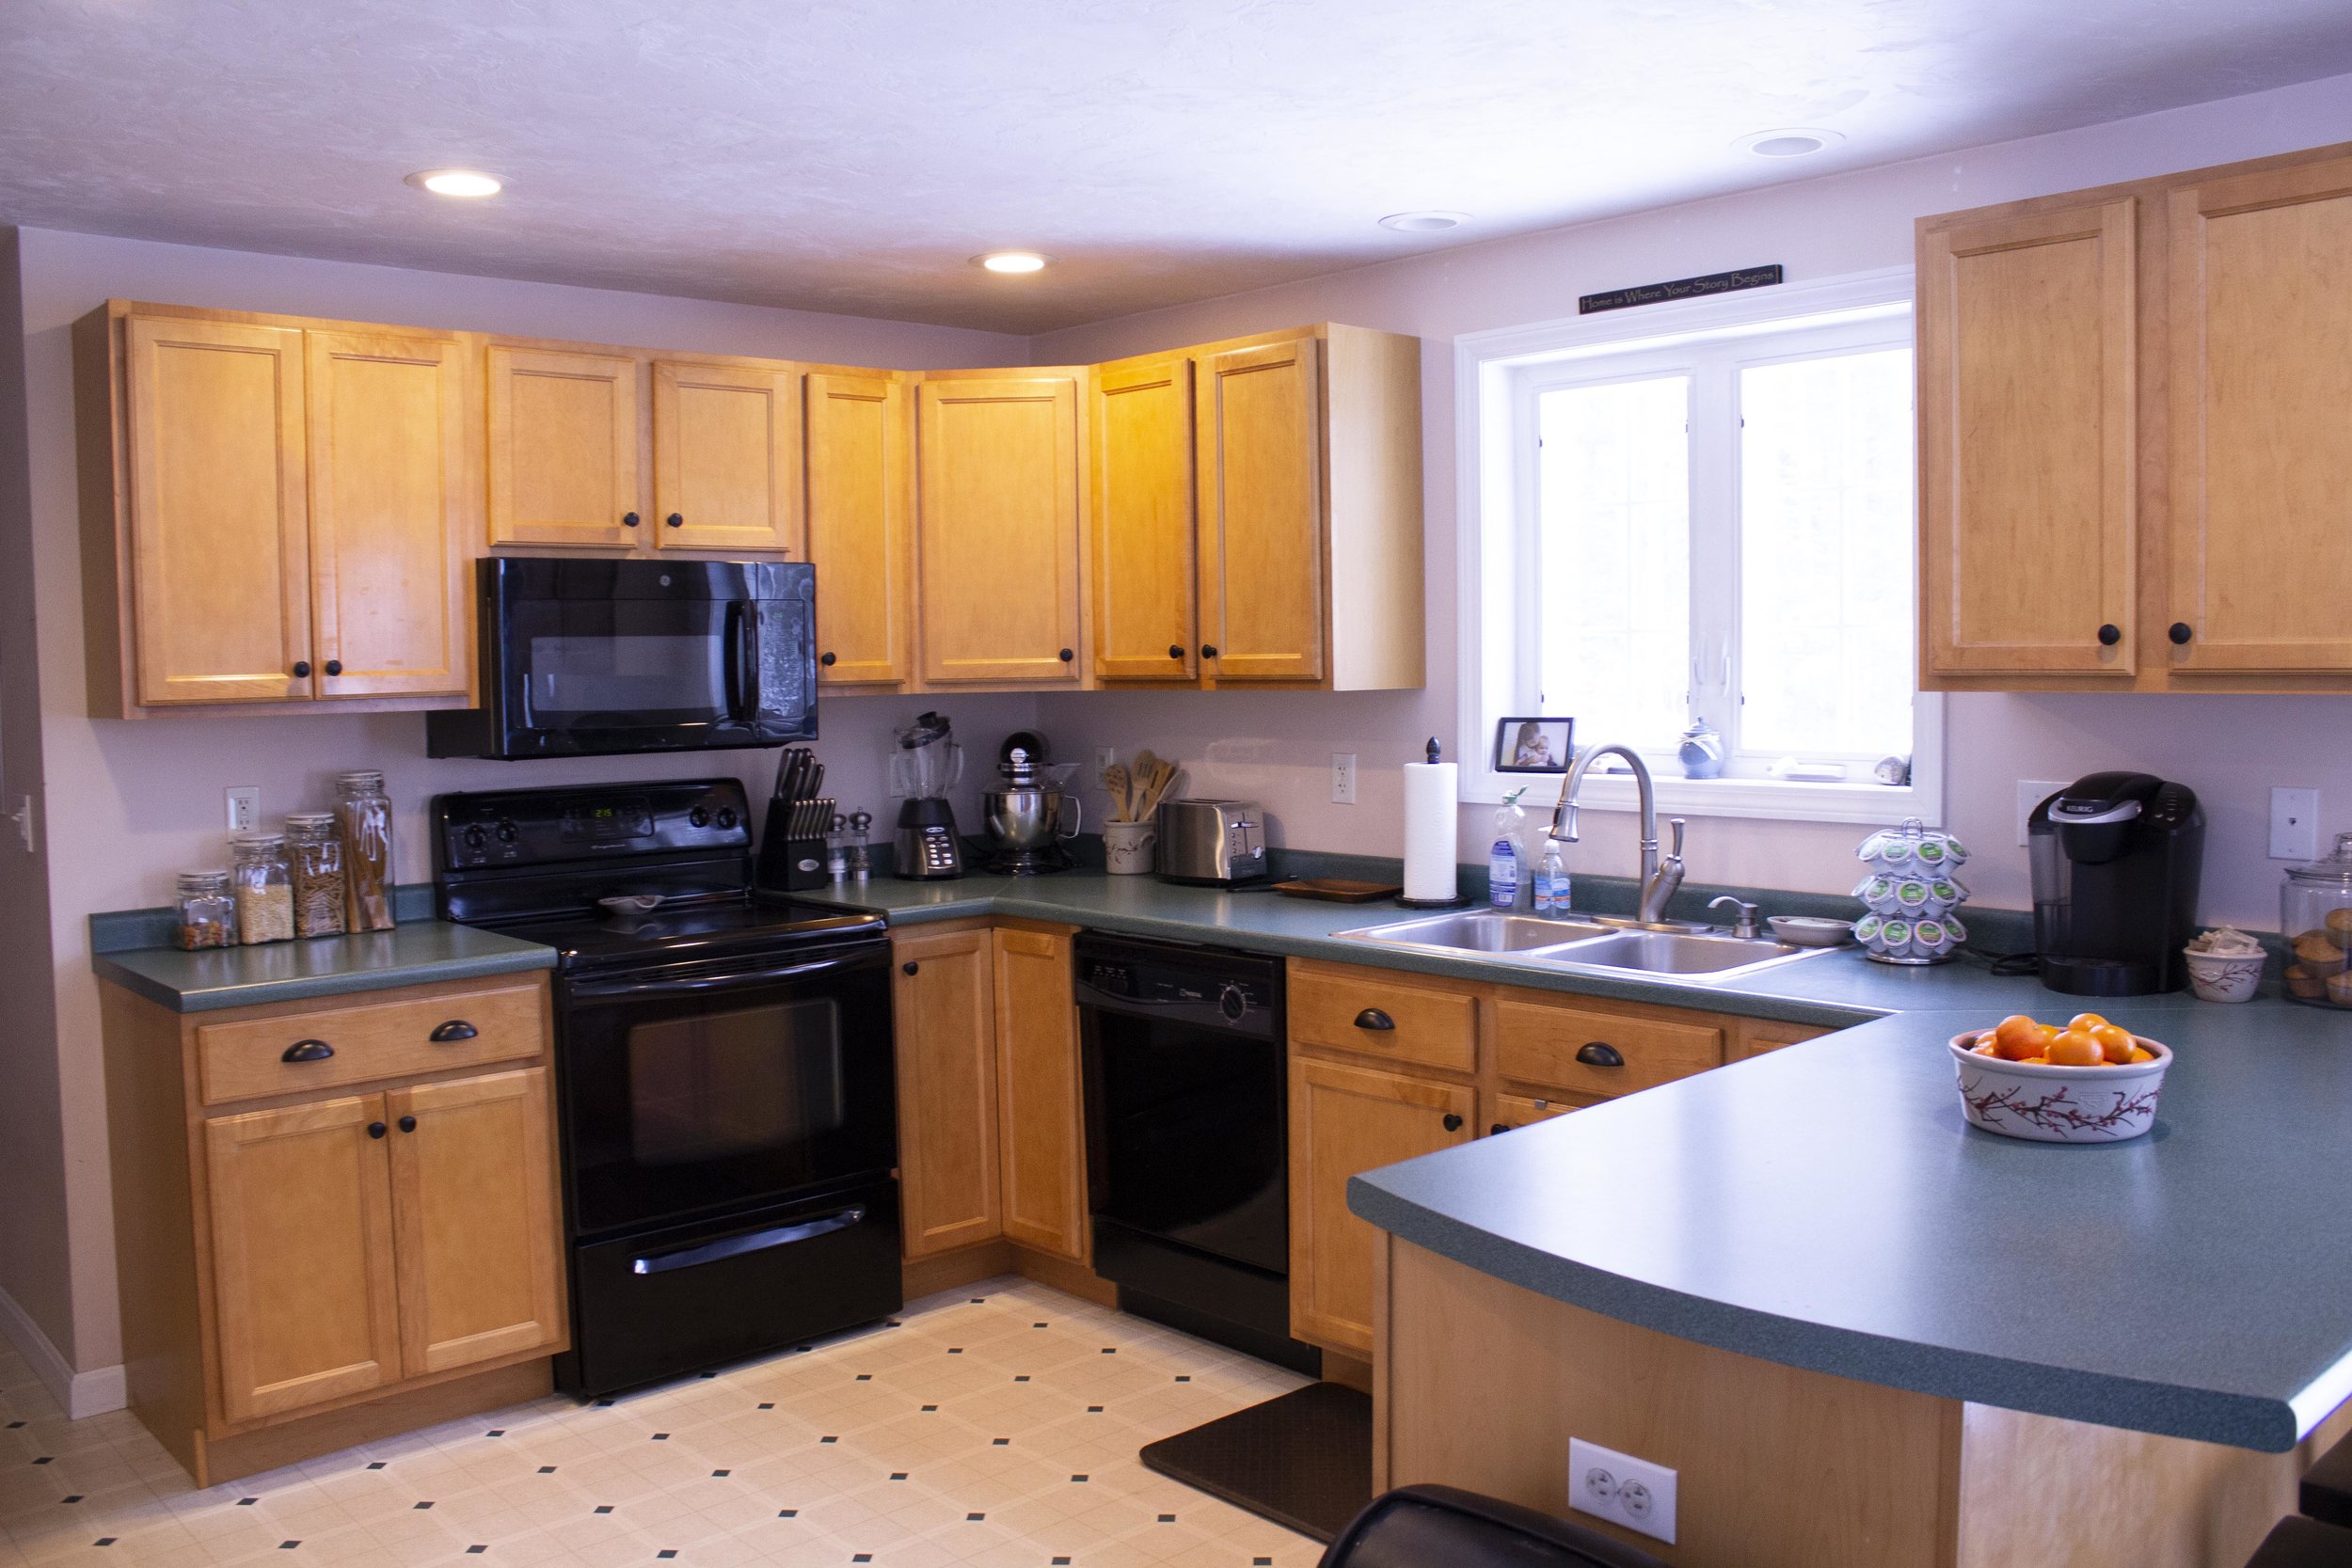
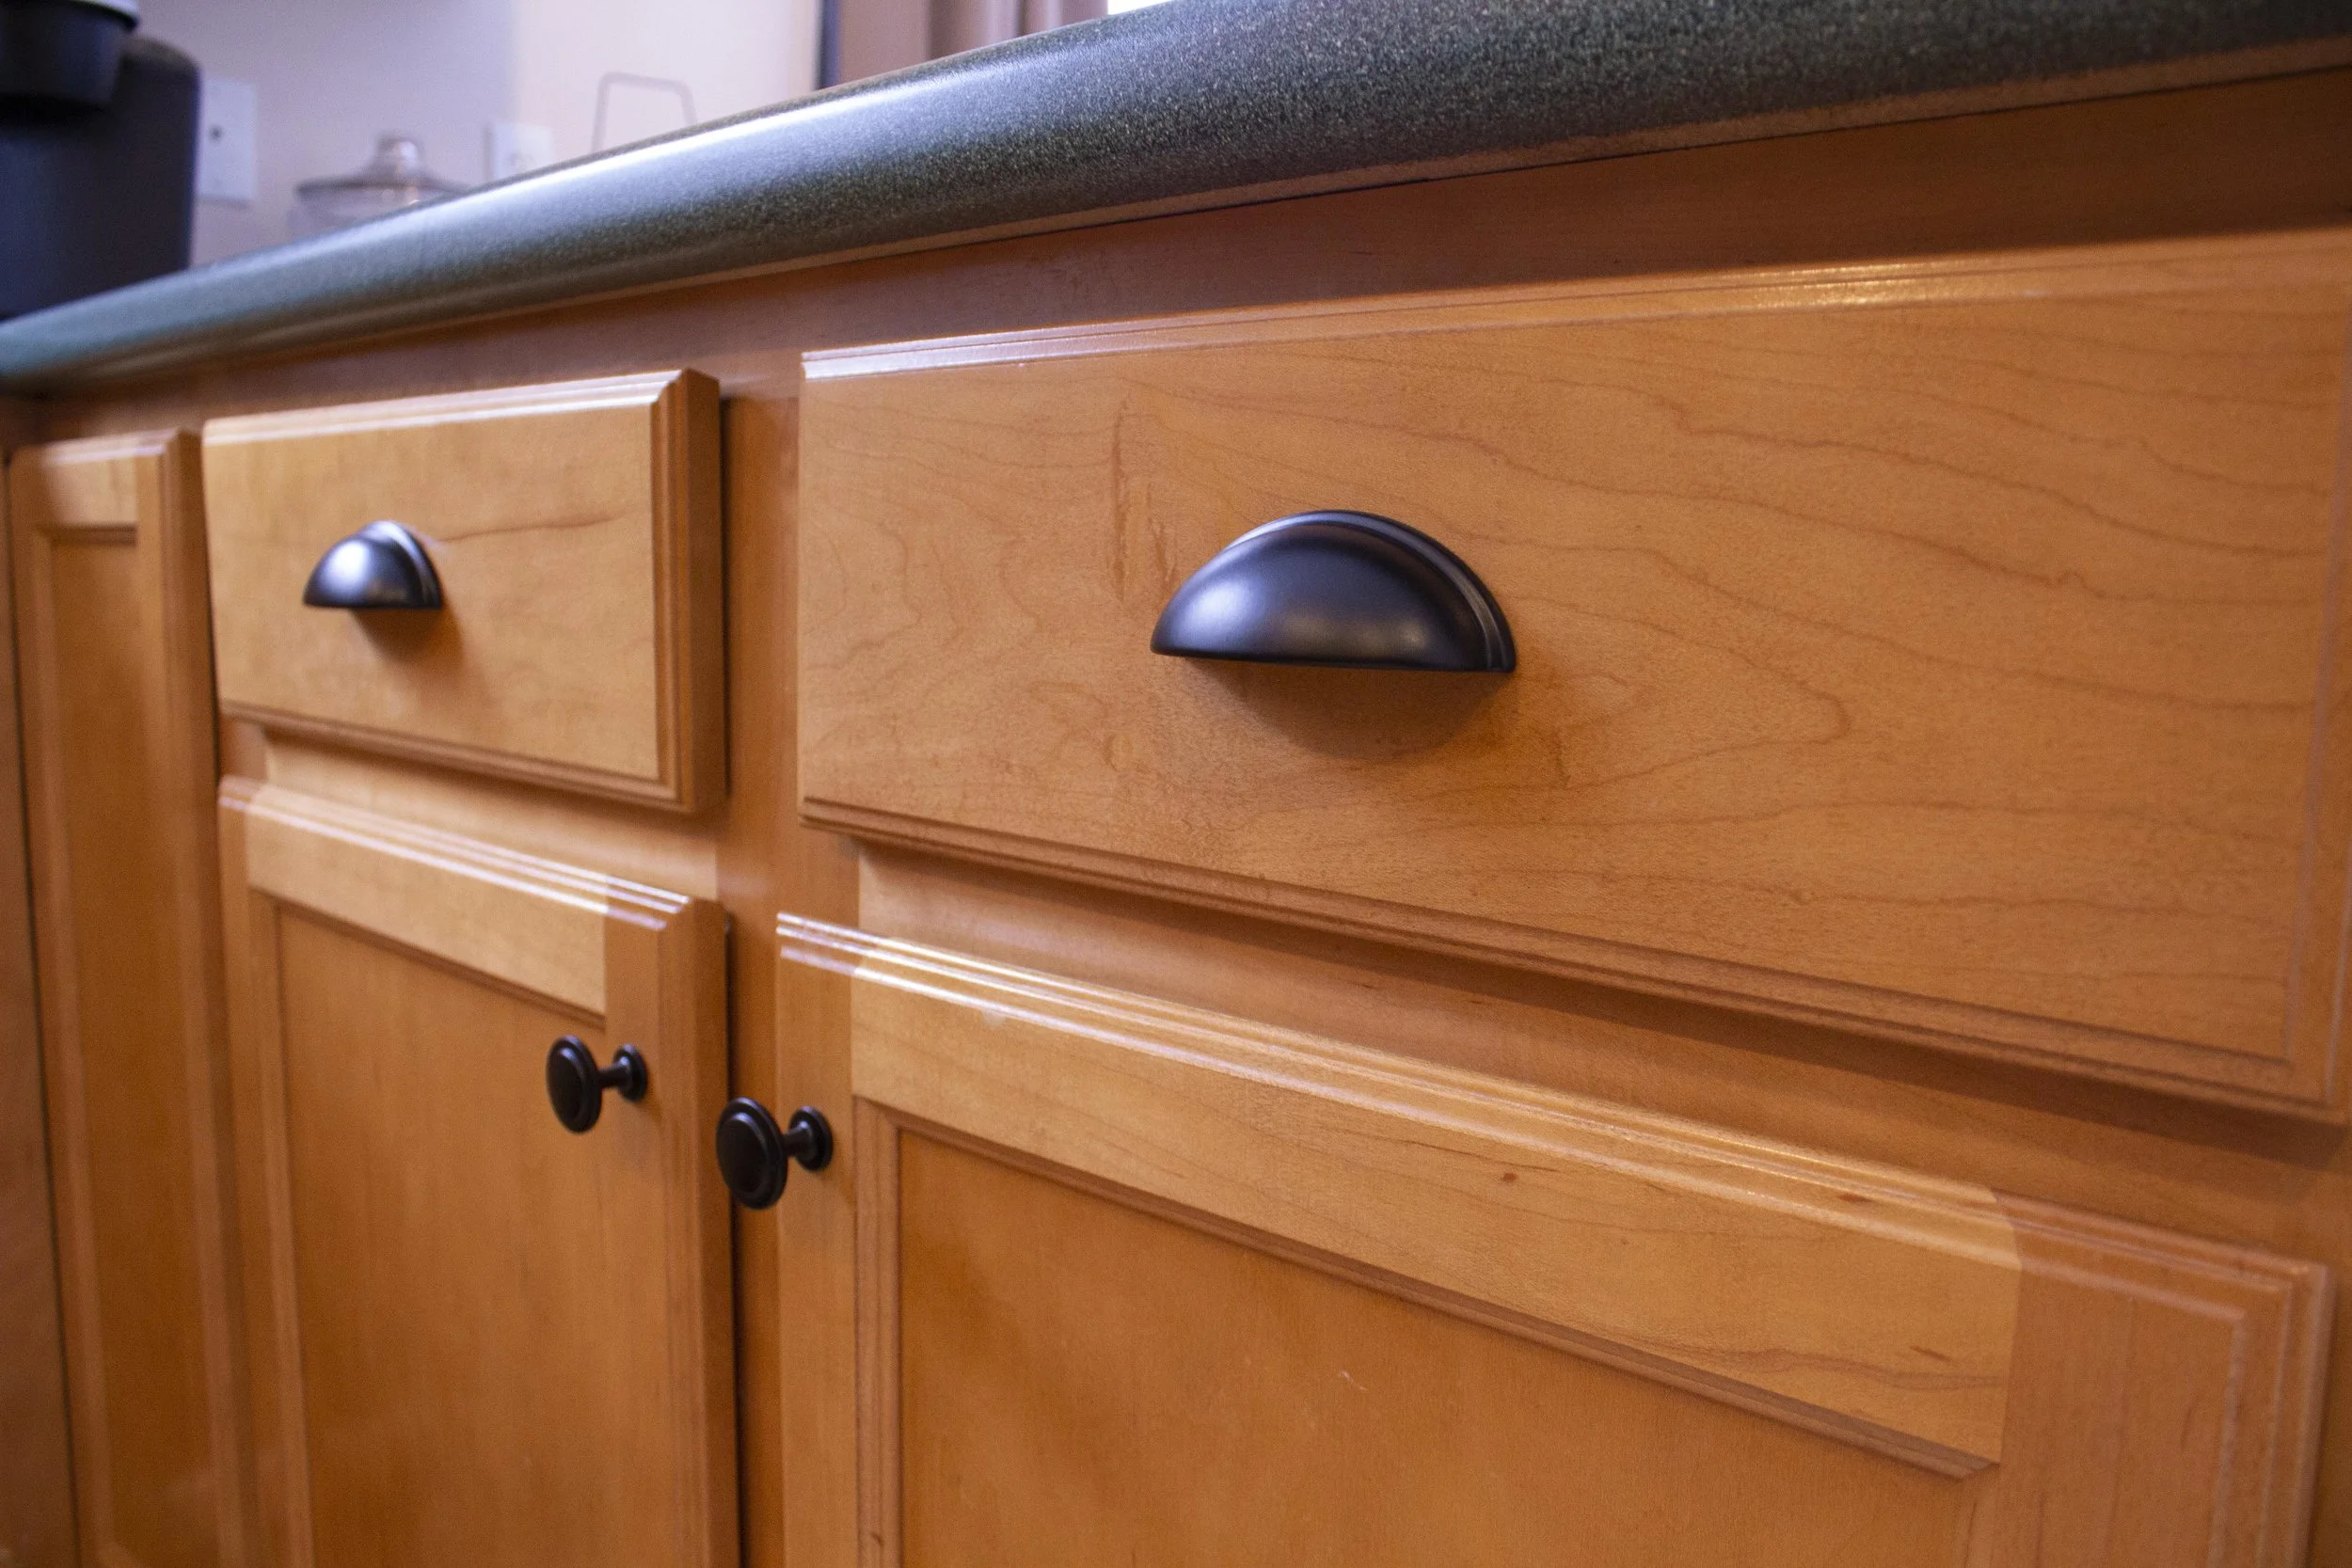
AFTER
And that’s it - the whole project took less than an afternoon to do and it really helps our kitchen look more finished. I just love how it came out! Once we replace our countertops with a more modern granite counter the space will really look sharp and the hardware will compliment it beautifully.
GIVEAWAY!
Head on over to our Instagram for details and to enter our Giveaway with Cosmas Hardware for a $50 shop credit so you can update the look of your kitchen too with the hardware of your choice!
- I received these items from Cosmas Hardware but all opinions expressed are my own. Please read our full Disclosure Policy for more information -
Disclaimer: Installing new cabinet hardware from scratch is something that most people can very easily do on their own and here I’ve shared my tips on the easiest way I’ve personally found to measure and install them. However, use your best judgement when installing your hardware - if you’re in doubt of your measuring or drilling skills, there’s no harm in consulting a professional before you tackle this or any project.
Just wanted to share a quick sneak peek of the beautiful knobs and drawer pulls from Cosmas Hardware I’ll be using in an upcoming blog post on how to install cupboard hardware yourself. We’ll also be giving away a credit to Cosmas Hardware too - so stay tuned!
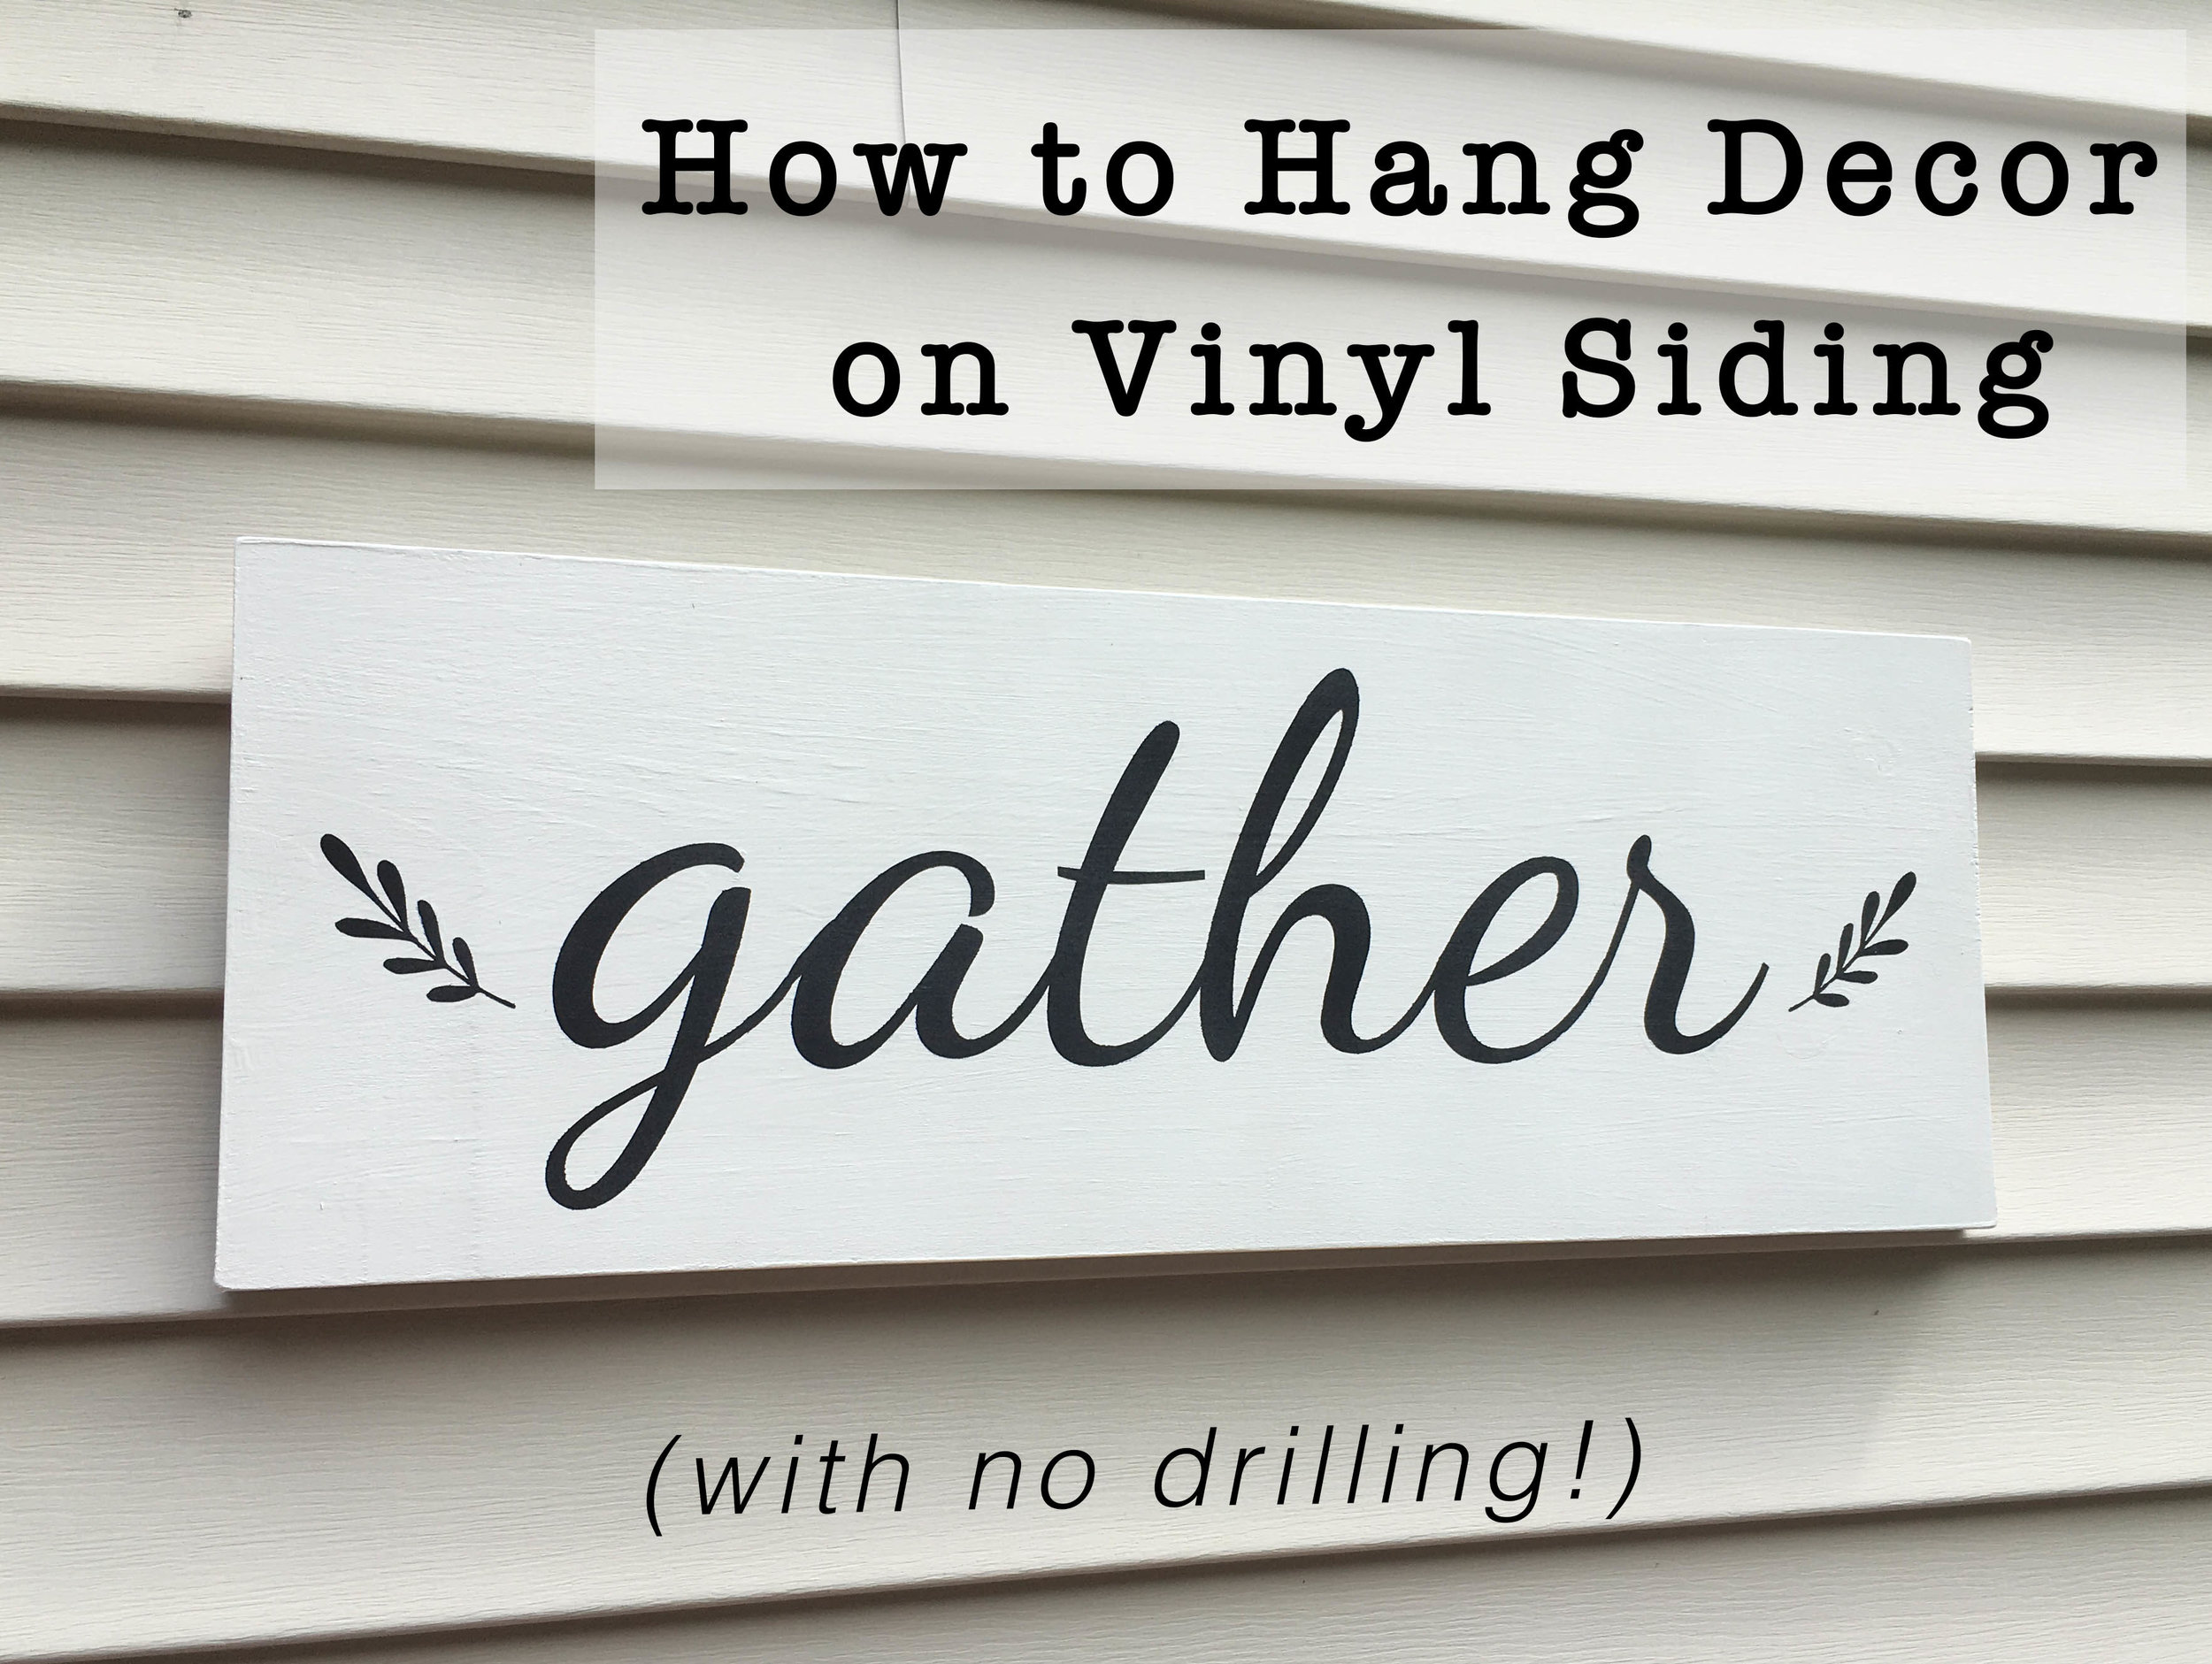
I’ve been wanting to hang a few decorative signs on the outside of our house… a welcome sign by the door and this “gather” sign on our back deck. However, with vinyl siding I was very hesitant… I didn’t want to drill into it or make a mess of it. Which is why I was so happy when I came across this incredibly simple, no tools needed solution! | This is not a sponsored post, but an honest independent review of a product. This post contains affiliate links |
Vinyl Siding
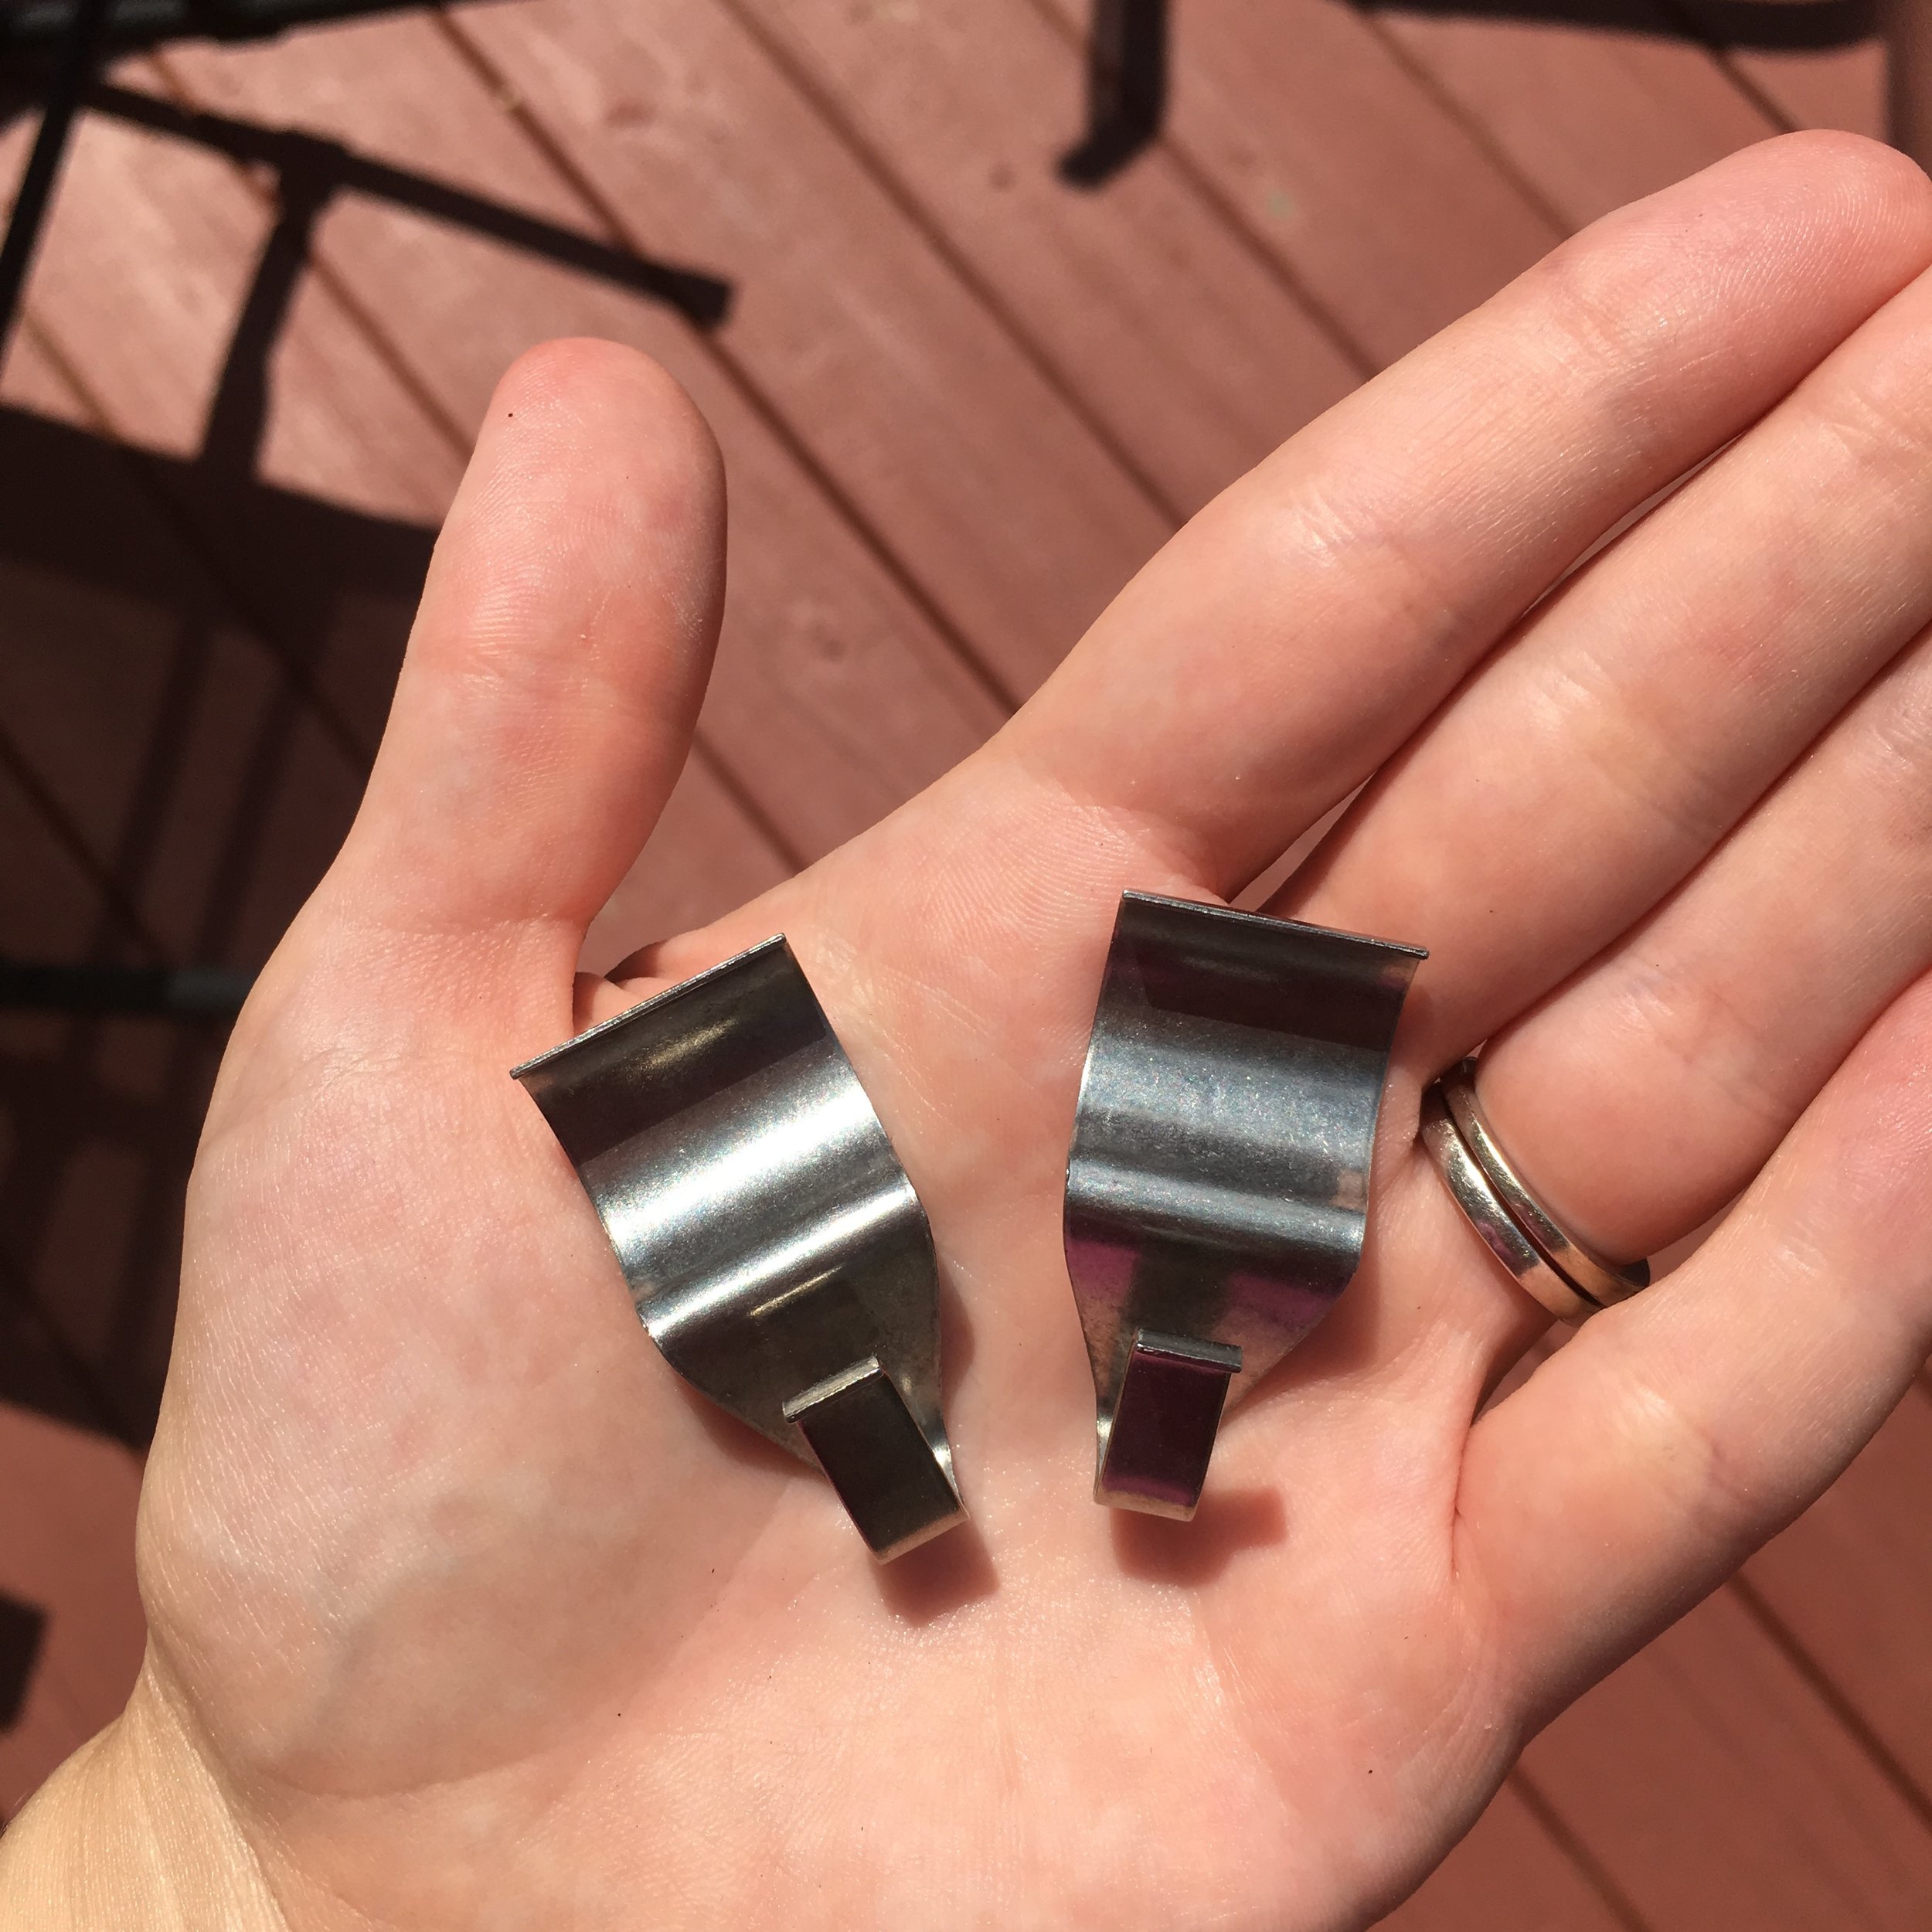
After some searching on Amazon I came across these
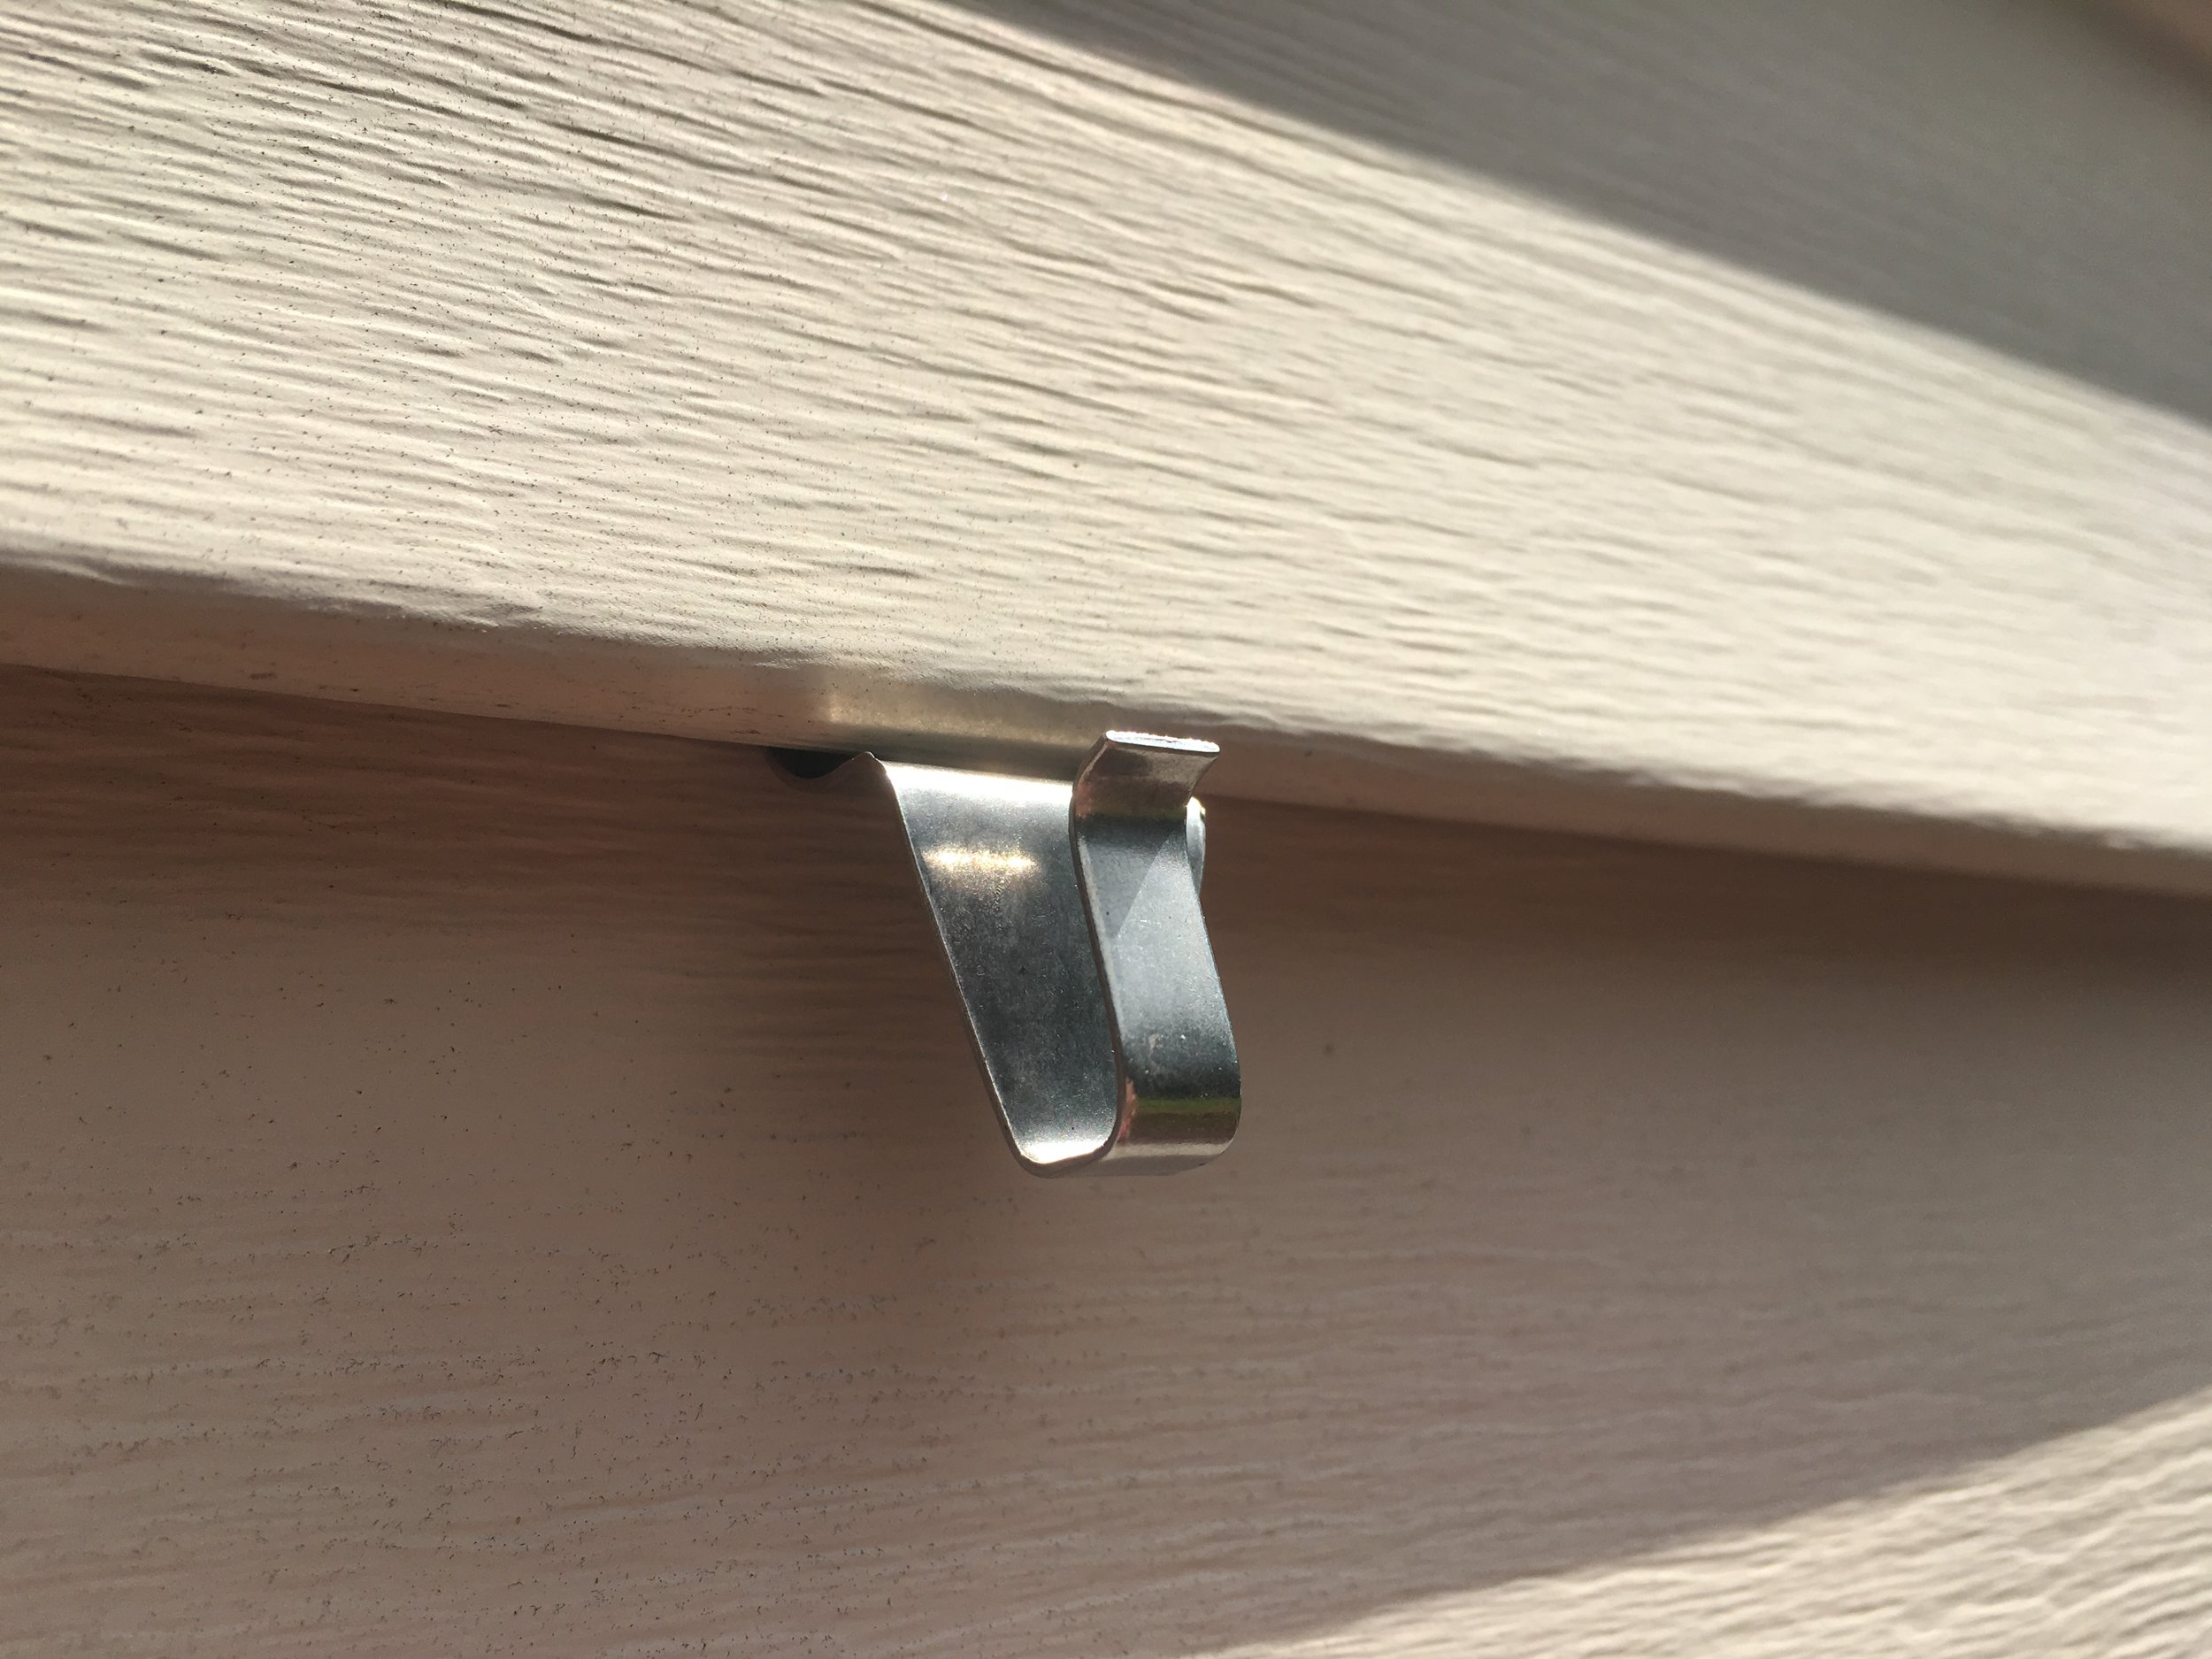
"No-Hole Hooks" and it seemed to be the perfect solution! These are special stainless-steel hooks that are meant to "roll" under the lip of your vinyl siding and hang lightweight decor. Just what I needed!
I measured out the distance between the hangers on the back of my sign, placed the hooks at the correct distance, and hung the sign - ta-da! It couldn’t have been easier! I’m really happy with how easy it was.
It seems that as long as you have good condition (not sun brittle), quality siding and hang only light-weight items, this would be a great solution over drilling into your siding. I also love that if we decide to take down the decor, it leaves no holes behind! I’ve had these signs up for a few months now and I’ve been really happy with how these have worked and held up.
Similarly there is a no-drill product to hang items on bricks too! We do not have any brick surfaces at our home, so I personally haven't tried them myself but these Brick Hook Clips are well rated and meant to hang decor on brick surfaces, indoors or outdoors. Just make sure to follow the manufacturer's instructions regarding installation and weight limits.
Disclaimer: This is not a sponsored post, but an honest independent review of a product. Always follow manufacturer’s guidelines when using and use product at your own risk. Not liable for any damages or improper use.
I love Christmas as much as anyone, but once the holidays are over I’m ready to pack it all up and start the New Year fresh with a clean house! Some of the most annoying decorations to pack up for me has been garland or string lights… they just get tangled so easily which makes unpacking them next Christmas equally as aggravating.
A simple solution? Cut out a piece of cardboard in a “spool shape” and wrap the garland or lights around it. This packs neatly away and keeps things from getting tangled. Trust me, you’ll thank me next Christmas ;)
As a native New Englander, I definitely have a soft spot for nautical decor. After all, when we redid our older daughter’s room a few years ago, we gave it a Cape Cod theme! And you can’t get much more nautical than a painted buoy - it just adds that quintessential New England touch. That’s why I was so excited to find The Lost Buoy on Instagram and give our space some nautical flair. | This post contains an honest review of product provided by The Lost Buoy |
The Lost Buoy was started by Katie, who grew up in coastal Massachusetts and has many fond memories of beaches, lobster shacks, and exploring in her grandparents old Ford woody station wagon (really, does it get more New England than that?). Katie has turned all these memories and charm into a great line of coastal-inspired decor, clothing, paper goods, and even wedding accents.
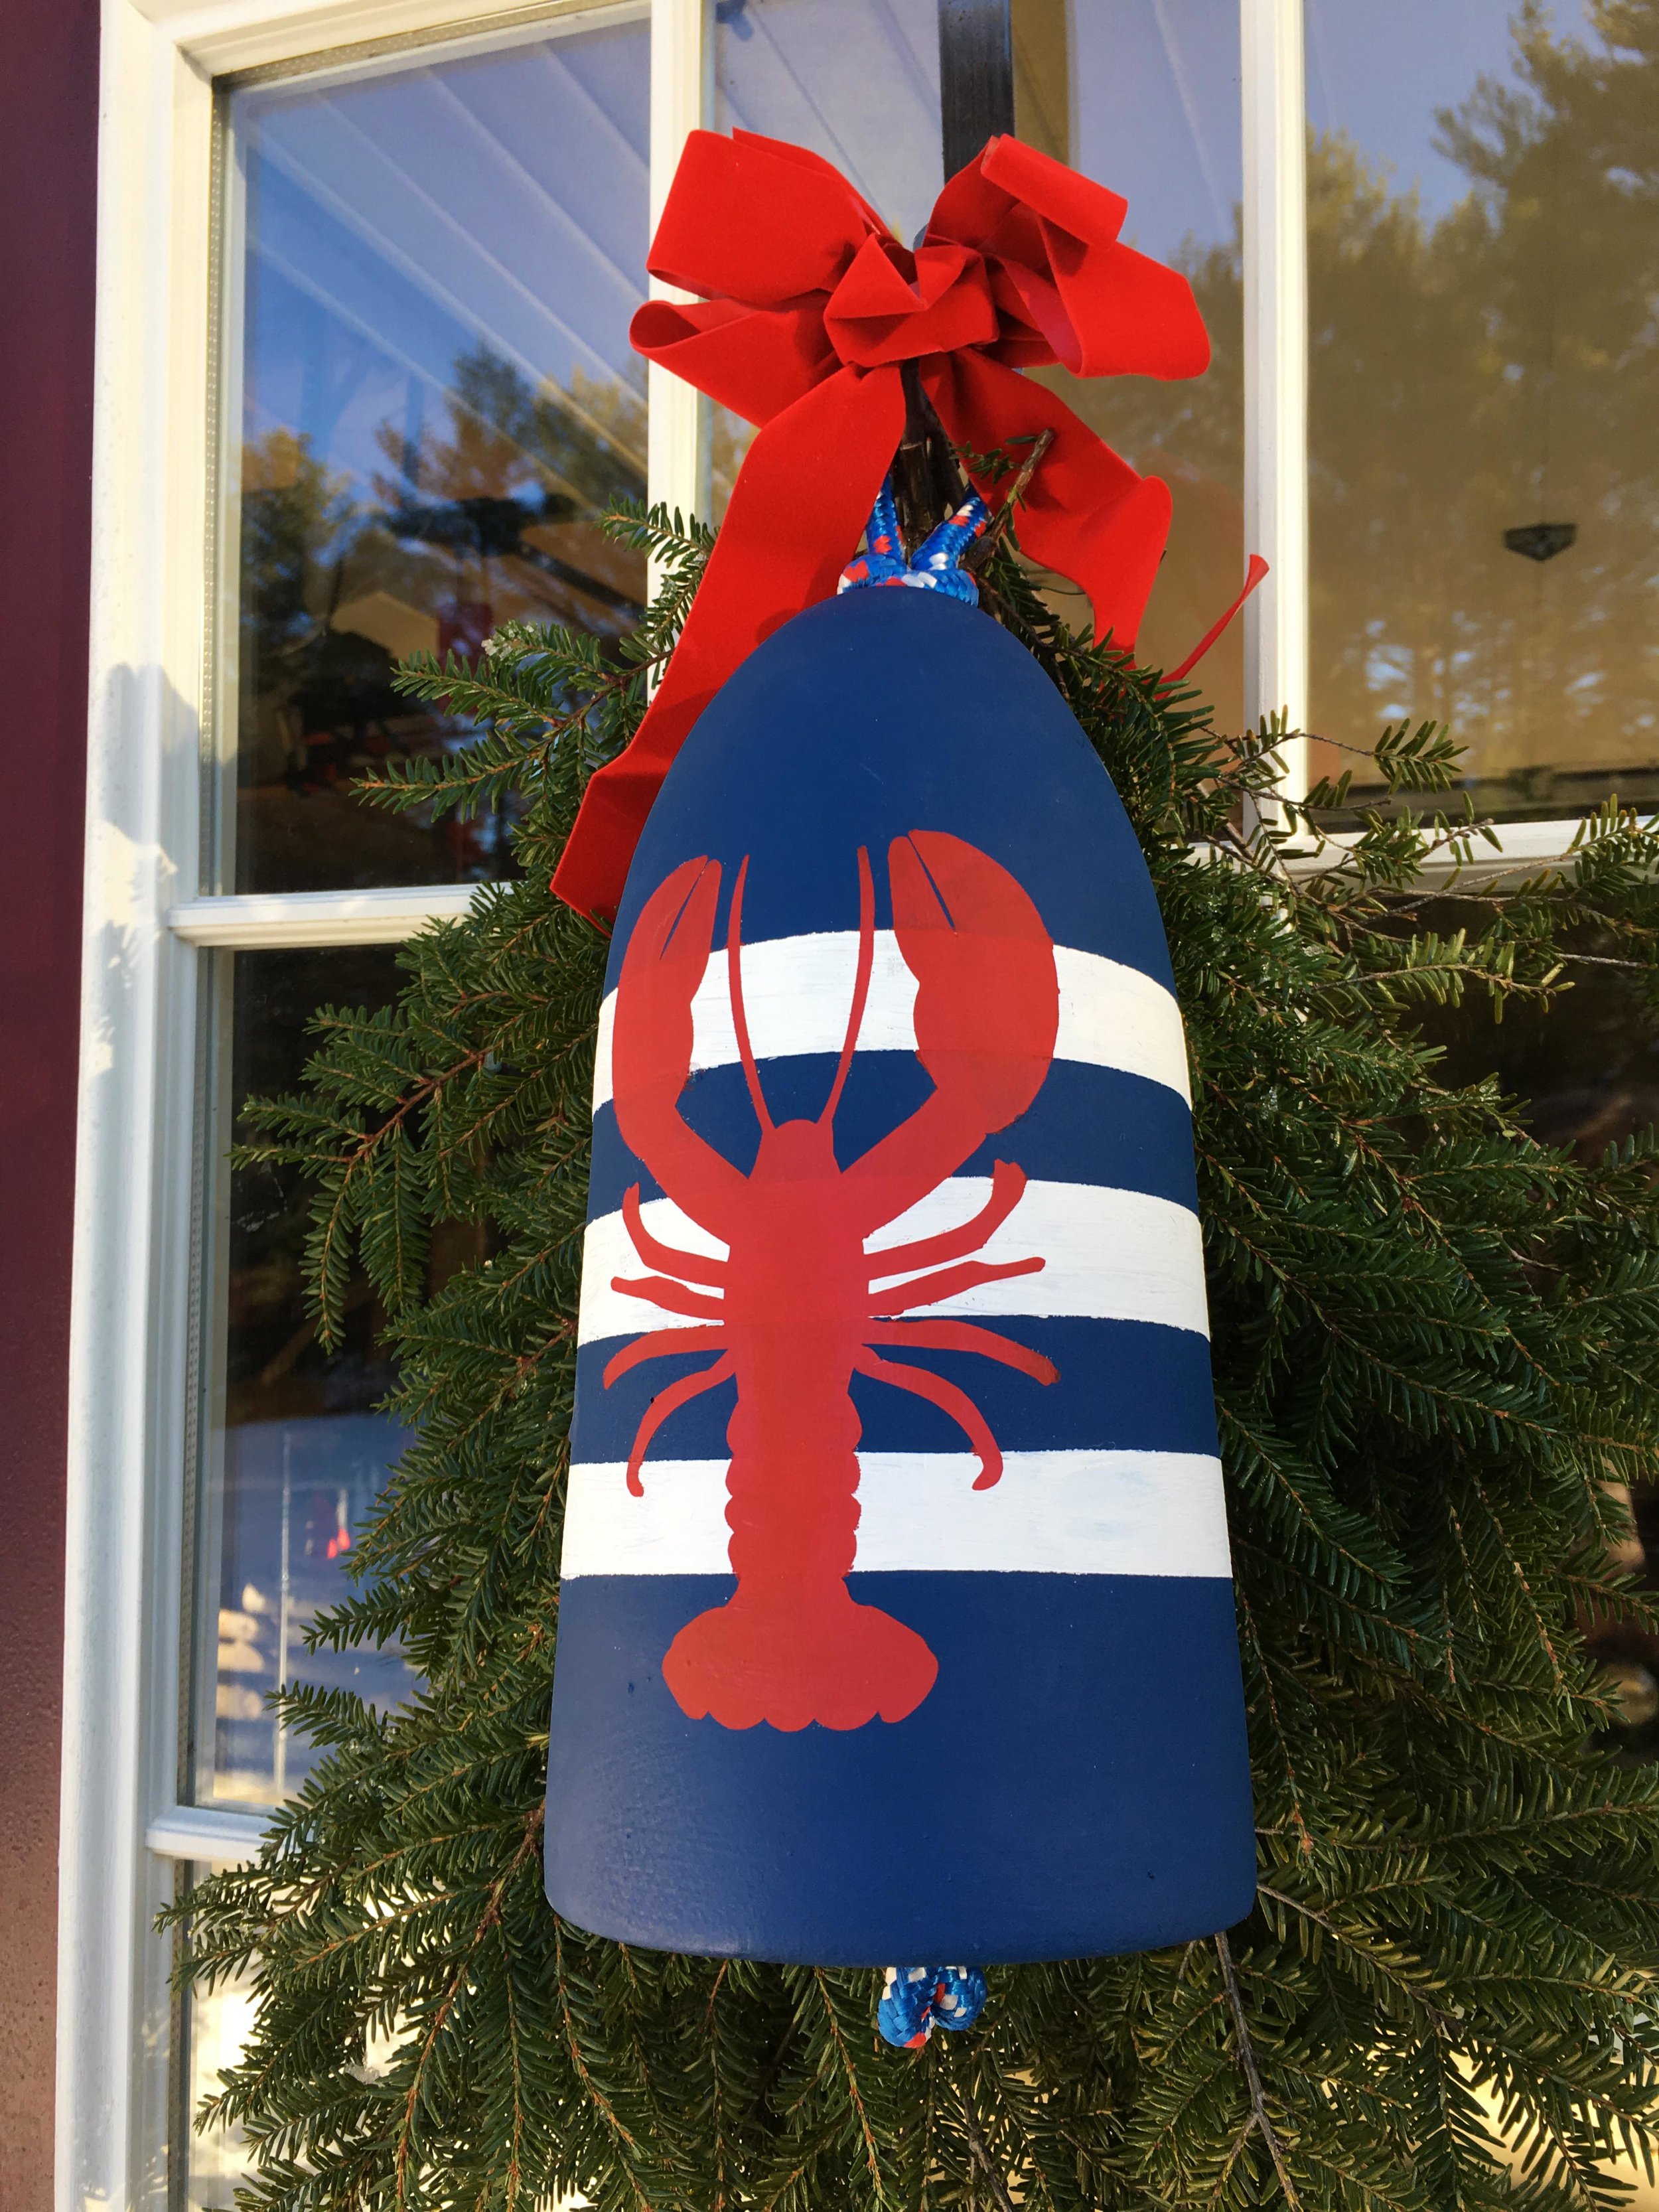
Katie was kind enough to send me one of her iconic Striped Lobster Buoys to add some nautical flair to our home. These lightweight, hand-painted buoys are cute in every room but I think I settled on having it add some coastal charm to our door for the holiday - there’s just something about Christmas greens and red lobsters - you can’t go wrong!
The Lost Buoy offers lots of great designs on their Decorative Buoys too - from different New England places, to nautical elements, and even custom color buoys to show your school spirit. And the wedding buoys would be perfect for anyone having a beachside ceremony.
The Lost Buoy definitely has something for everyone who loves nautical or preppy style!
Want a chance to win one of these beautiful buoys for yourself? Head on over to my Instagram for a chance to win a Decorative Buoy of your choice to compliment your home. Just look for this post and follow the directions to enter. Good luck!
Christmas is right around the corner and boy has it sneaked up fast! It’s always hard coming up with gift ideas for family and friends… but these days we’re personally trying to cut back on the amount of “stuff” we buy and give, and focus more on homemade items and experiences for gifts. What better gift than something made with love and the opportunity to create lasting memories? Read on for my tips to make the Perfect Christmas Cookies and then be sure to enter the amazing Boston Family Entertainment Giveaway at the end of the post for a chance to win some spectacular tickets to Boston-area events! | This post is sponsored and contains affiliate links |
5 Tips for Perfect Christmas Cookies
Sift
Make sure to sift all your dry ingredients. Doing this breaks up any clumps of flour or baking soda, combines everything evenly, and helps make your cookies light and fluffy.
Parchment Paper
Always line your cookie sheet with parchment paper, this is key to getting the cookie bottoms that perfect light golden brown. If you're planning on doing several batches of cookies make sure to round the corners of the parchment with some scissors first, as the sharp corners of the paper can start to burn after a few times in the oven.
Cookie Scoop
A cookie scoop is probably one of the best little investments you'll make in the kitchen and I don't know how I ever lived without mine. Using a cookie scoop ensures you get uniform-sized cookies every time and makes the whole process of getting your cookies ready for the oven go so much faster.
Time
Always bake your cookies for the lower suggested time. Cookies that are just cooked all the way through make for the softest, chewiest cookies. If they aren't cooked in the middle yet you can always put them back in for another minute or two, but it's best to start with the lowest time.
Your Secret Weapon - the "Bread Trick"
Accidentally over-cook the cookies? Forget to cover them on the counter? Believe it or not, the magical solution for over-cooked or stale cookies is just a slice of sandwich bread and a big ziplock. Put all the cookies in a gallon ziplock bag, throw in a slice of bread, seal, and leave for a few hours - the cookies will get softer as the bread gets staler. Magic!
There is so much to see and do for families visiting Boston. We have an amazing Boston Family Entertainment Package that will mean loads of family fun for one lucky winner!Get those Perfect Christmas Cookies Ready!
Today's giveaway has been brought to you by the following sponsors:
This holiday season, consider experience such as tickets to a show, museum passes or a gift certificate for other fun family entertainment. Experience gifts are a great way to help families create lasting memories.
Ultimate Boston Family Entertainment Package
One lucky winner is going to receive the Ultimate Boston Entertainment Giveaway Package that includes:
(4) tickets to Bricktacular at LEGOLAND Discovery Center Boston (every weekend in Dec.)
(4) tickets to Blue Man Group (to be used after Jan. 1st)
(4) tickets to American Girl LIVE, a new musical featuring the iconic American Girl characters playing at the Boch Center, Feb. 22-24 (for Friday, Feb. 22 at 7:00 pm)
(4) tickets to Archery Games Boston (can be used anytime)
Dinner for 4 at South Street Diner (can be used anytime)
Boston Entertainment Giveaway
Official Rules and Conditions:One winner will receive the Ultimate Boston Entertainment Prize Package. No cash value. Open worldwide to adults 18+. One (1) winner will be chosen. Prize must be claimed within 48 hours of announcement or a new winner will be drawn. Prize will be delivered electronically. All entries will be verified. This giveaway is in no way associated with Amazon, Facebook, Pinterest, Twitter, Instagram, Rafflecopter, or any other entity unless otherwise specified. Giveaway ends 12/16/2018. Enter using the widget below.a Rafflecopter giveaway
Be sure to check out all the 12 Days of Christmas Giveaways!
Looking for a super easy way to dress up your budget Christmas cards? Emboss the envelopes! We bought this Embosser on Amazon years ago for our wedding and it’s definitely earned it’s keep.
This would make a great wedding or engagement gift too. We use ours yearly for Christmas cards and throughout the year dressing up otherwise boring stationery.
Typically I am such a procrastinator when it comes to ordering our Christmas cards. I always have good intentions on getting a jump start on them but things always get busier and busier as November comes along. — But not this year! This year I’m happy to say I got them done early - and perfectly - with some help from Basic Invite. | This is a sponsored post with my honest feedback of Basic Invite |
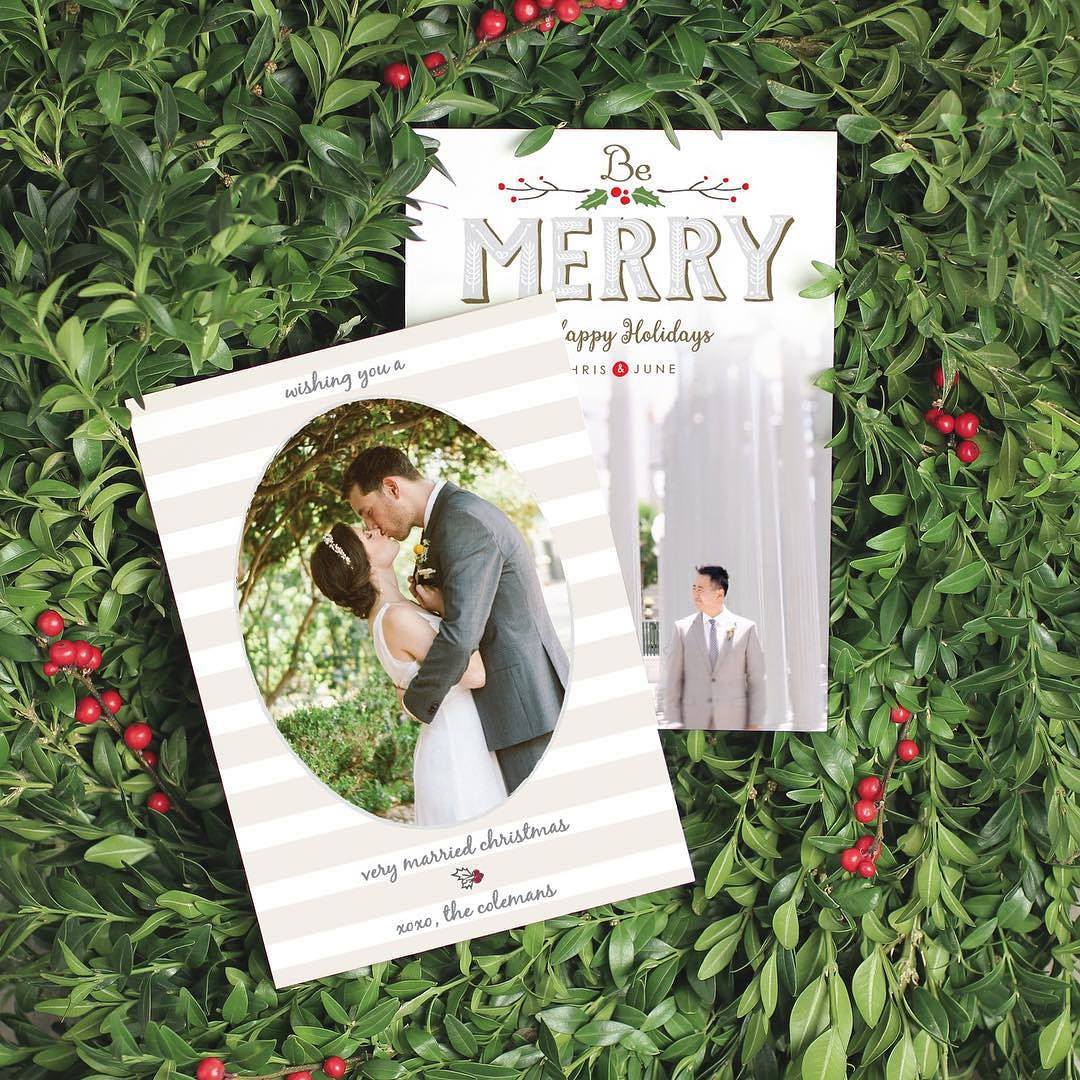
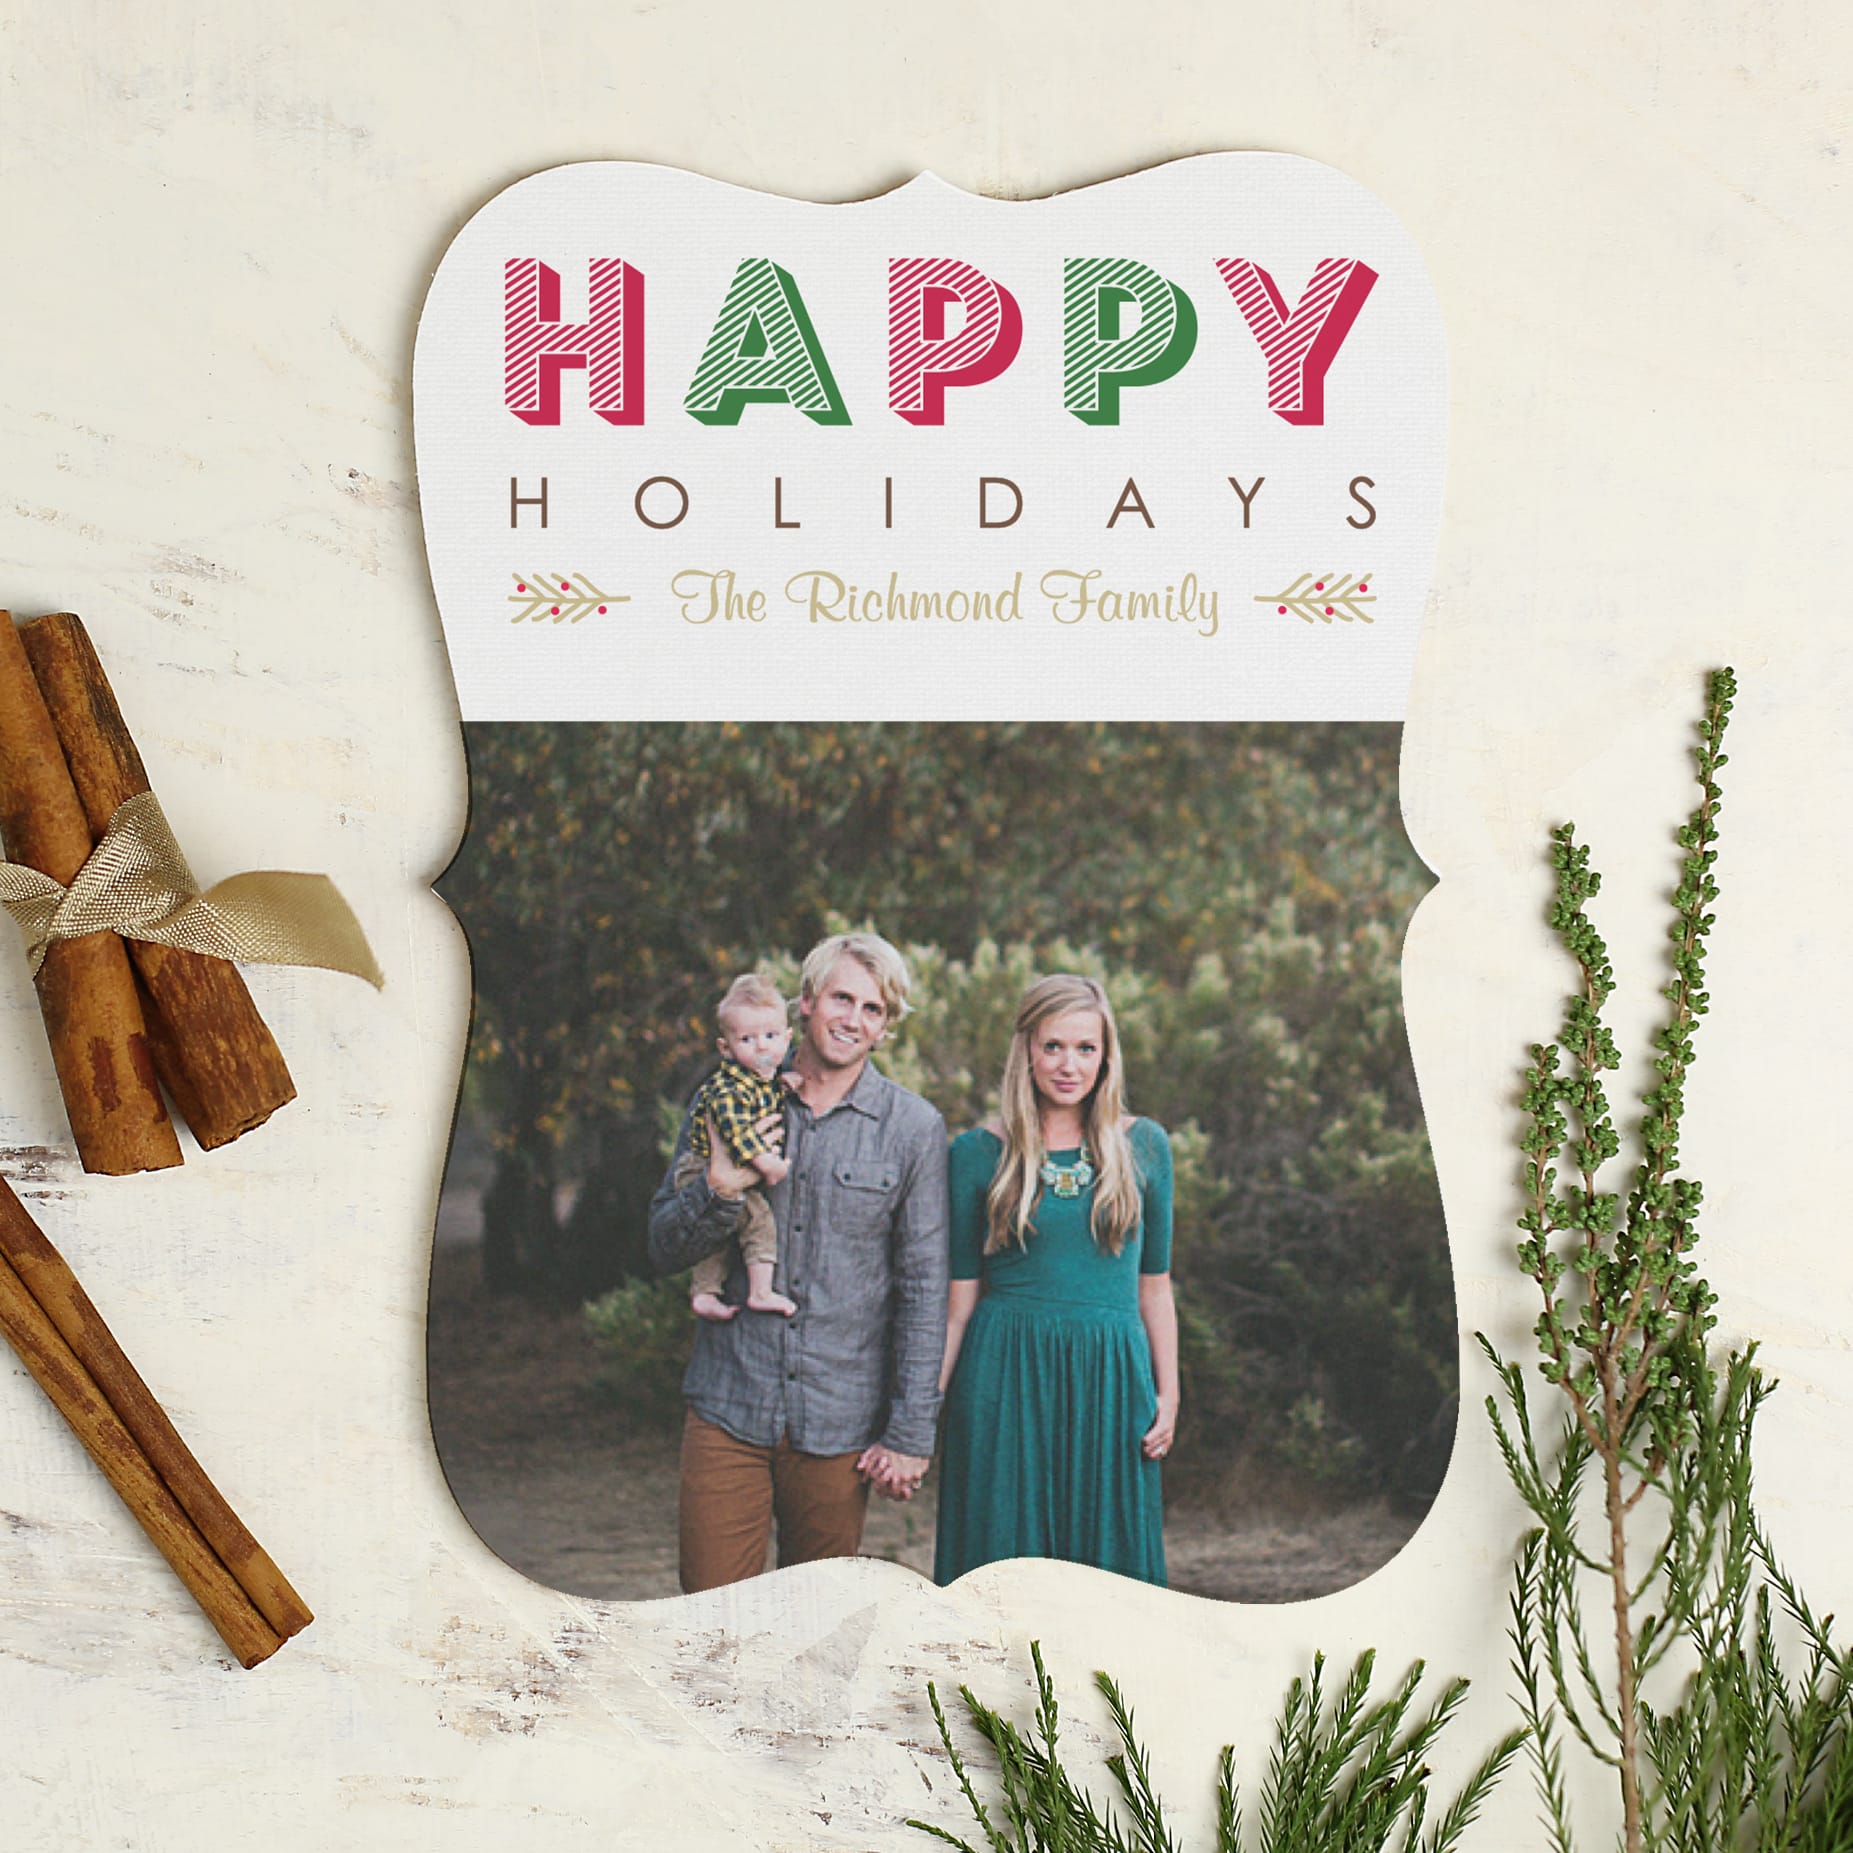
This was my first time using Basic Invite and I can honestly say that I was very impressed! Basic Invite has tons (over 500 actually) of Christmas and holiday card designs to choose from so the hardest part was picking my favorite design! I decided to go with a cute elf design for our
unique holiday photo cards
to compliment our own little elves.
But what really blew me away with Basic Invite’s designs? You can customize just about every single detail! Want to make the elves’ shoes purple? You can do that, and choose from many shades of purple to boot. The ability to change all the colors on their card designs - from the background, to the text, to the details - is just incredible with over 180 color options to choose from. This feature is incredibly useful, especially for something like wedding invitations since you can customize all the colors to your exact theme. They also offer over 40 colors of self-seal envelopes to choose from too, so even your envelopes can be on-point.
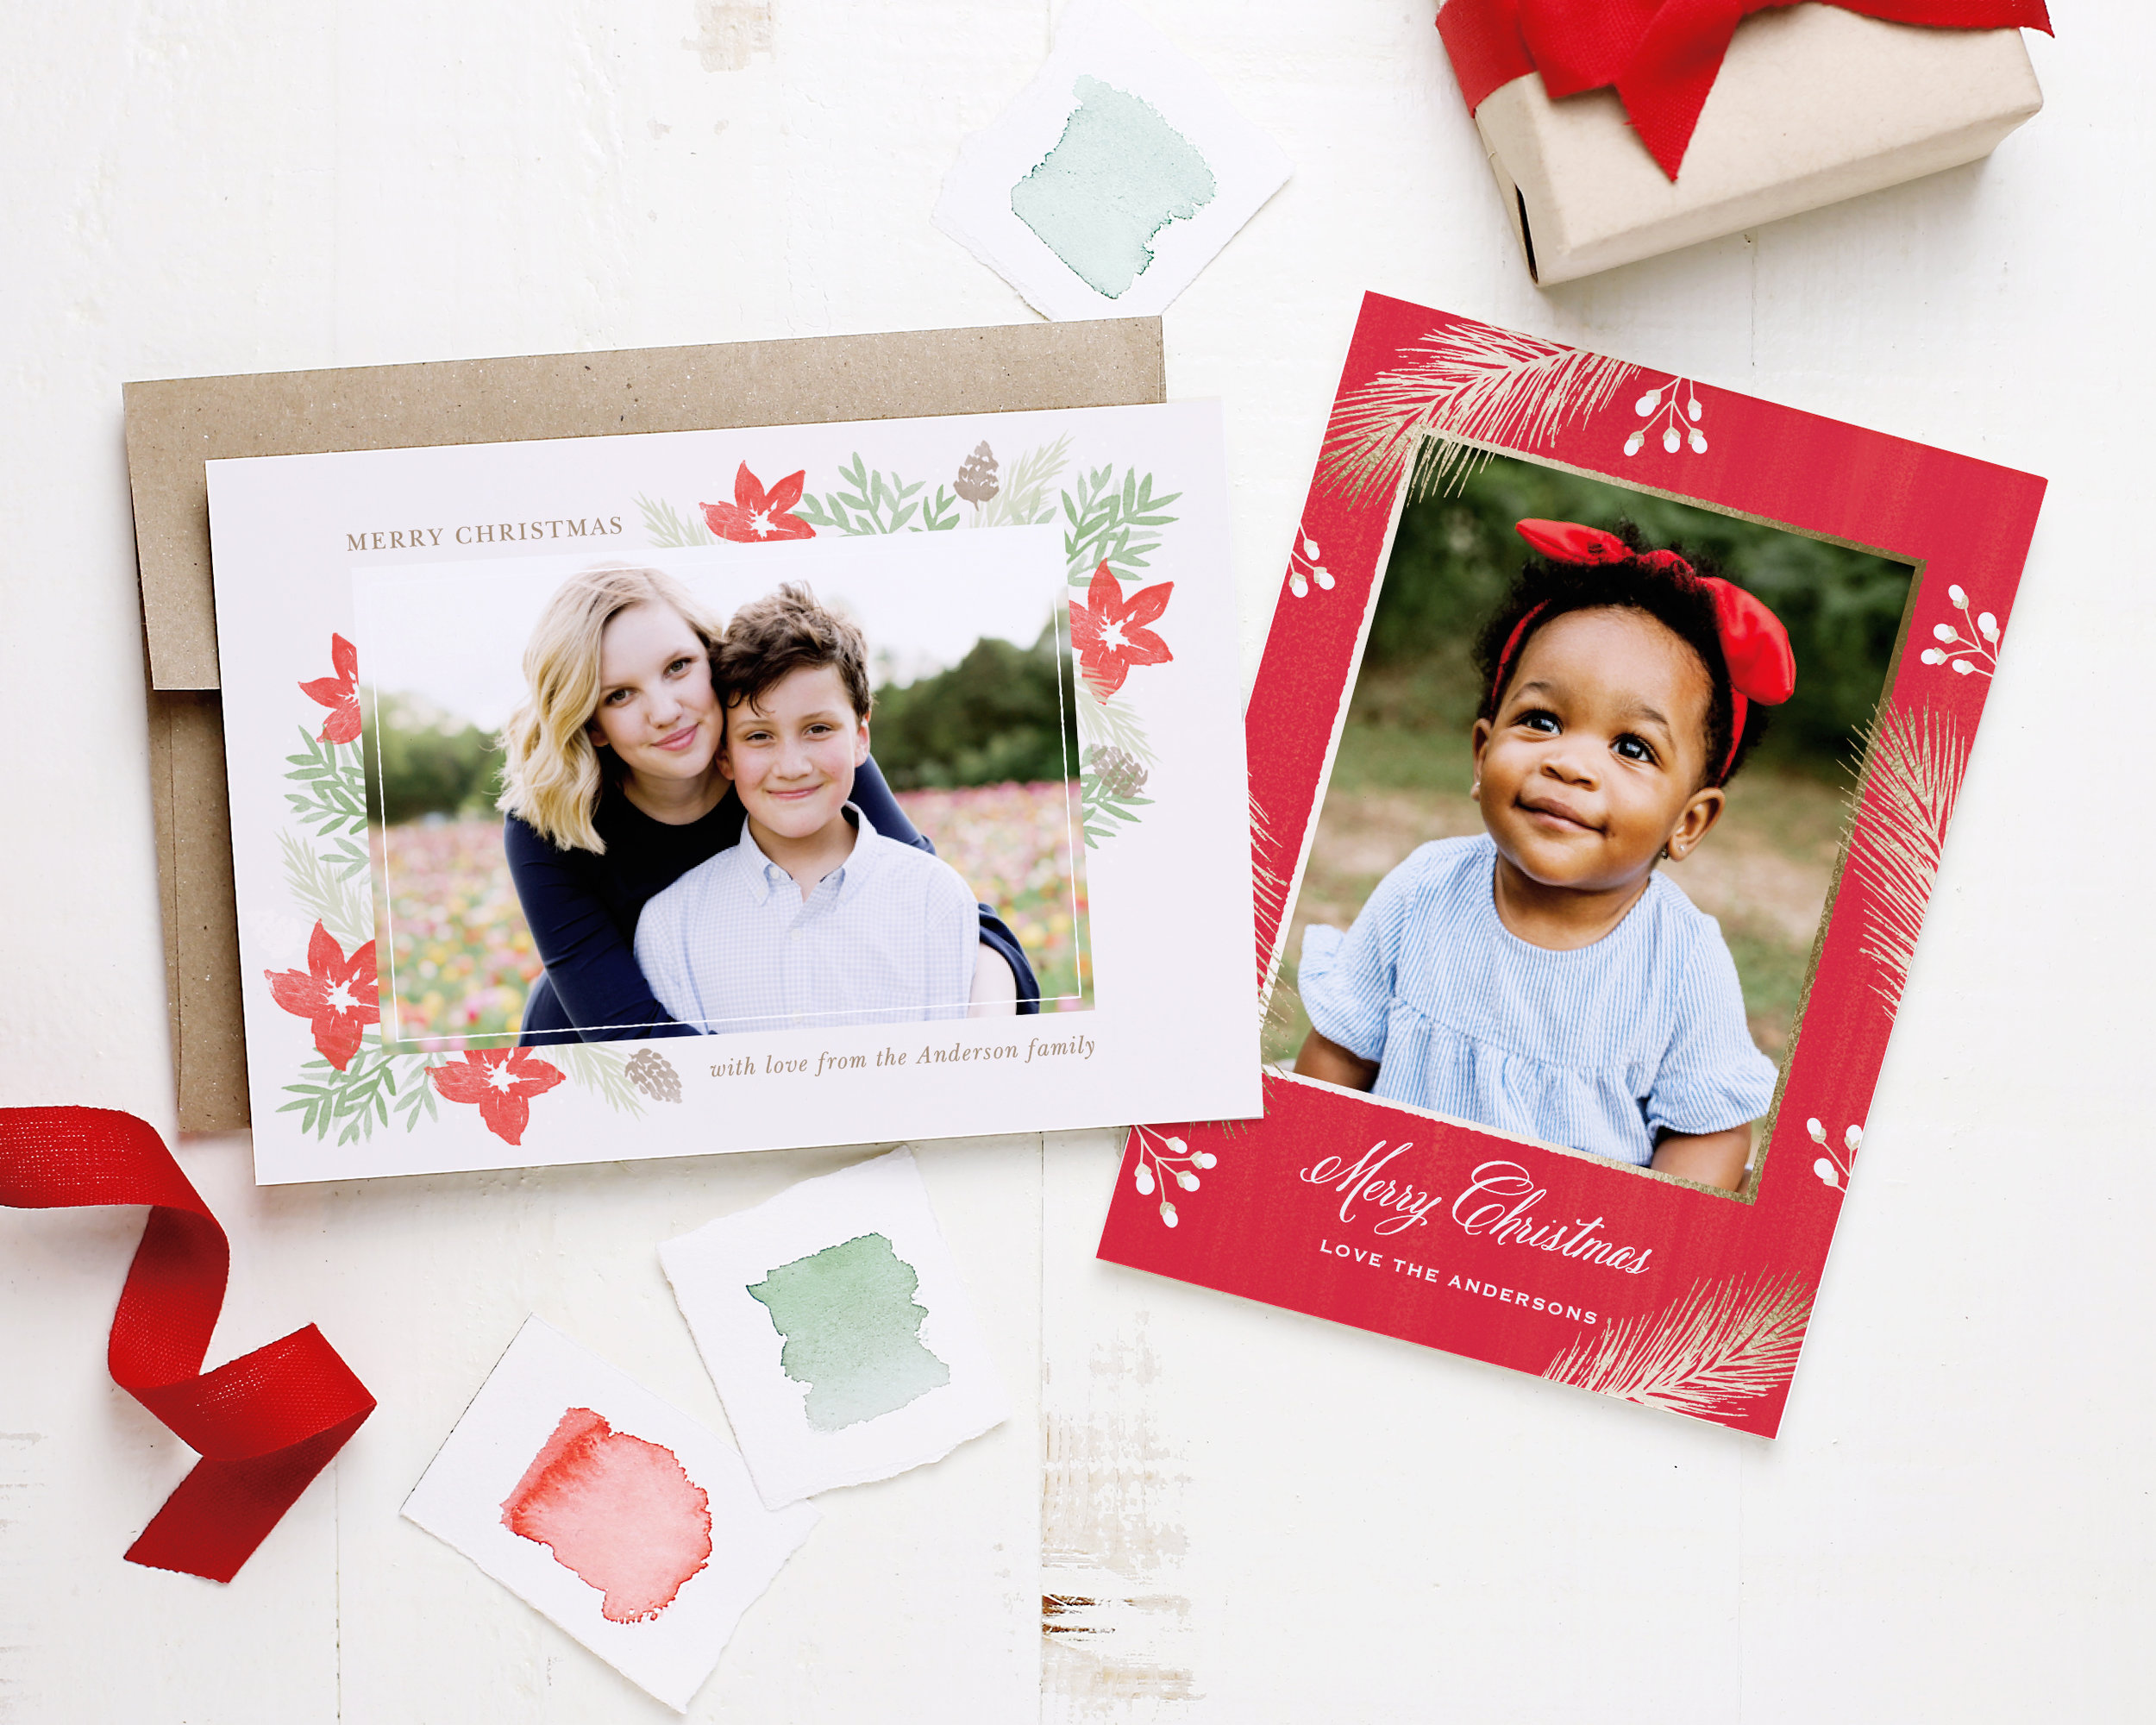
Basic Invite is also one of the few websites that gives customers the ability to order a printed sample of their actual invitation - that way you can see exactly how it will print as well as feel the paper quality before placing your final order. And when it comes time to place your final order, you can order exactly how many you need - that way you don’t get stuck purchasing card sets in wasteful large lots (a huge pet peeve of mine).
Basic Invite also offers lots of great holiday cards buisness to choose from too! Sending out cards from your business is a smart marketing move and can help boost sales and repeat business in the coming year.
Right now Basic Invite is offering 30% off with the coupon code “HOLI30” - order now and get ahead on your Holiday cards too!
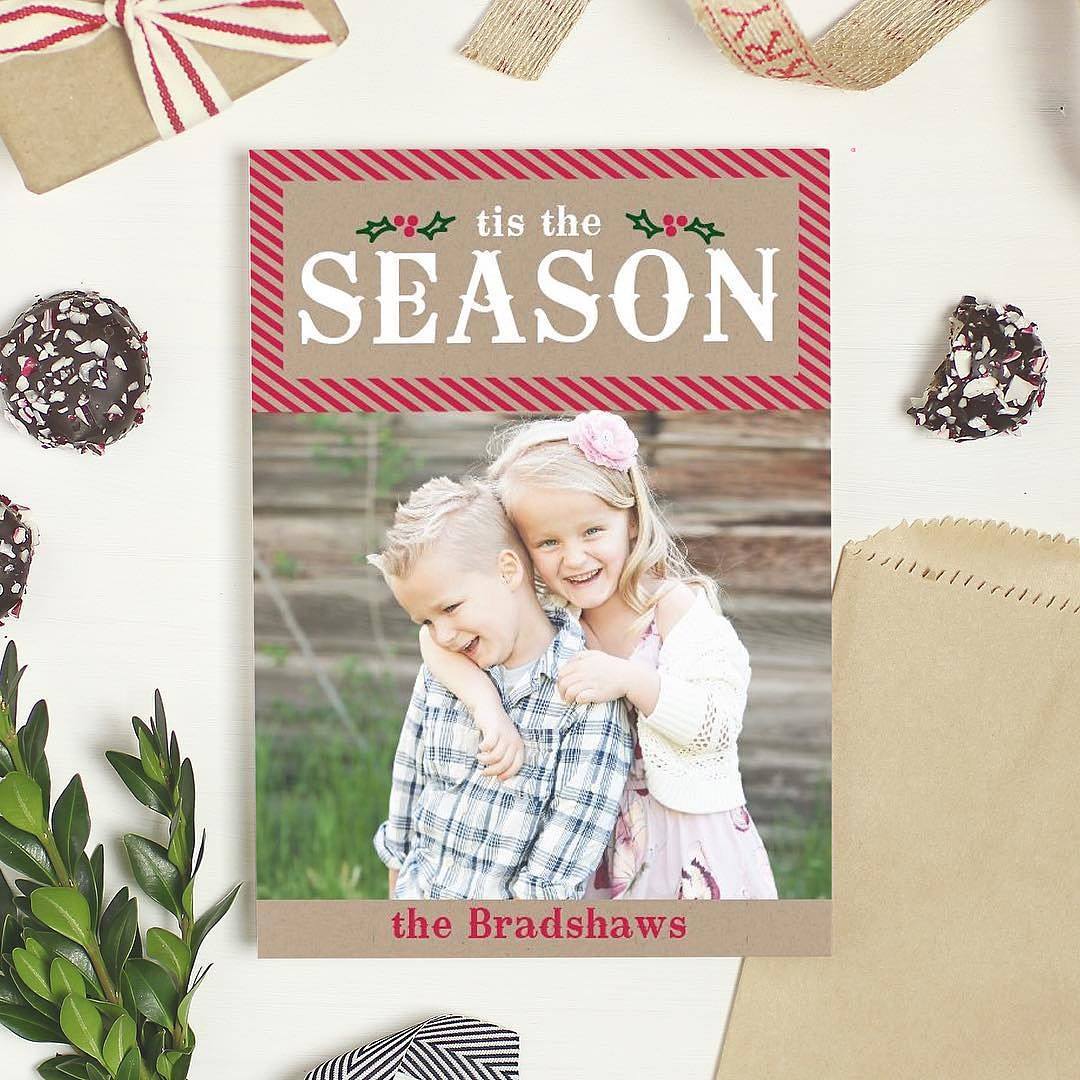
Here are some great holiday card examples from Basic Invite: