I'm a wife, stay-at-home mom, crafter, and blogger living in rural New England. As seen in Martha Stewart Living, Food Network Magazine, and more! | Tutorials, DIY, crafts, parenting tips, recipes, money saving tips, product reviews, local product features, New England living, intentional living, and more! |
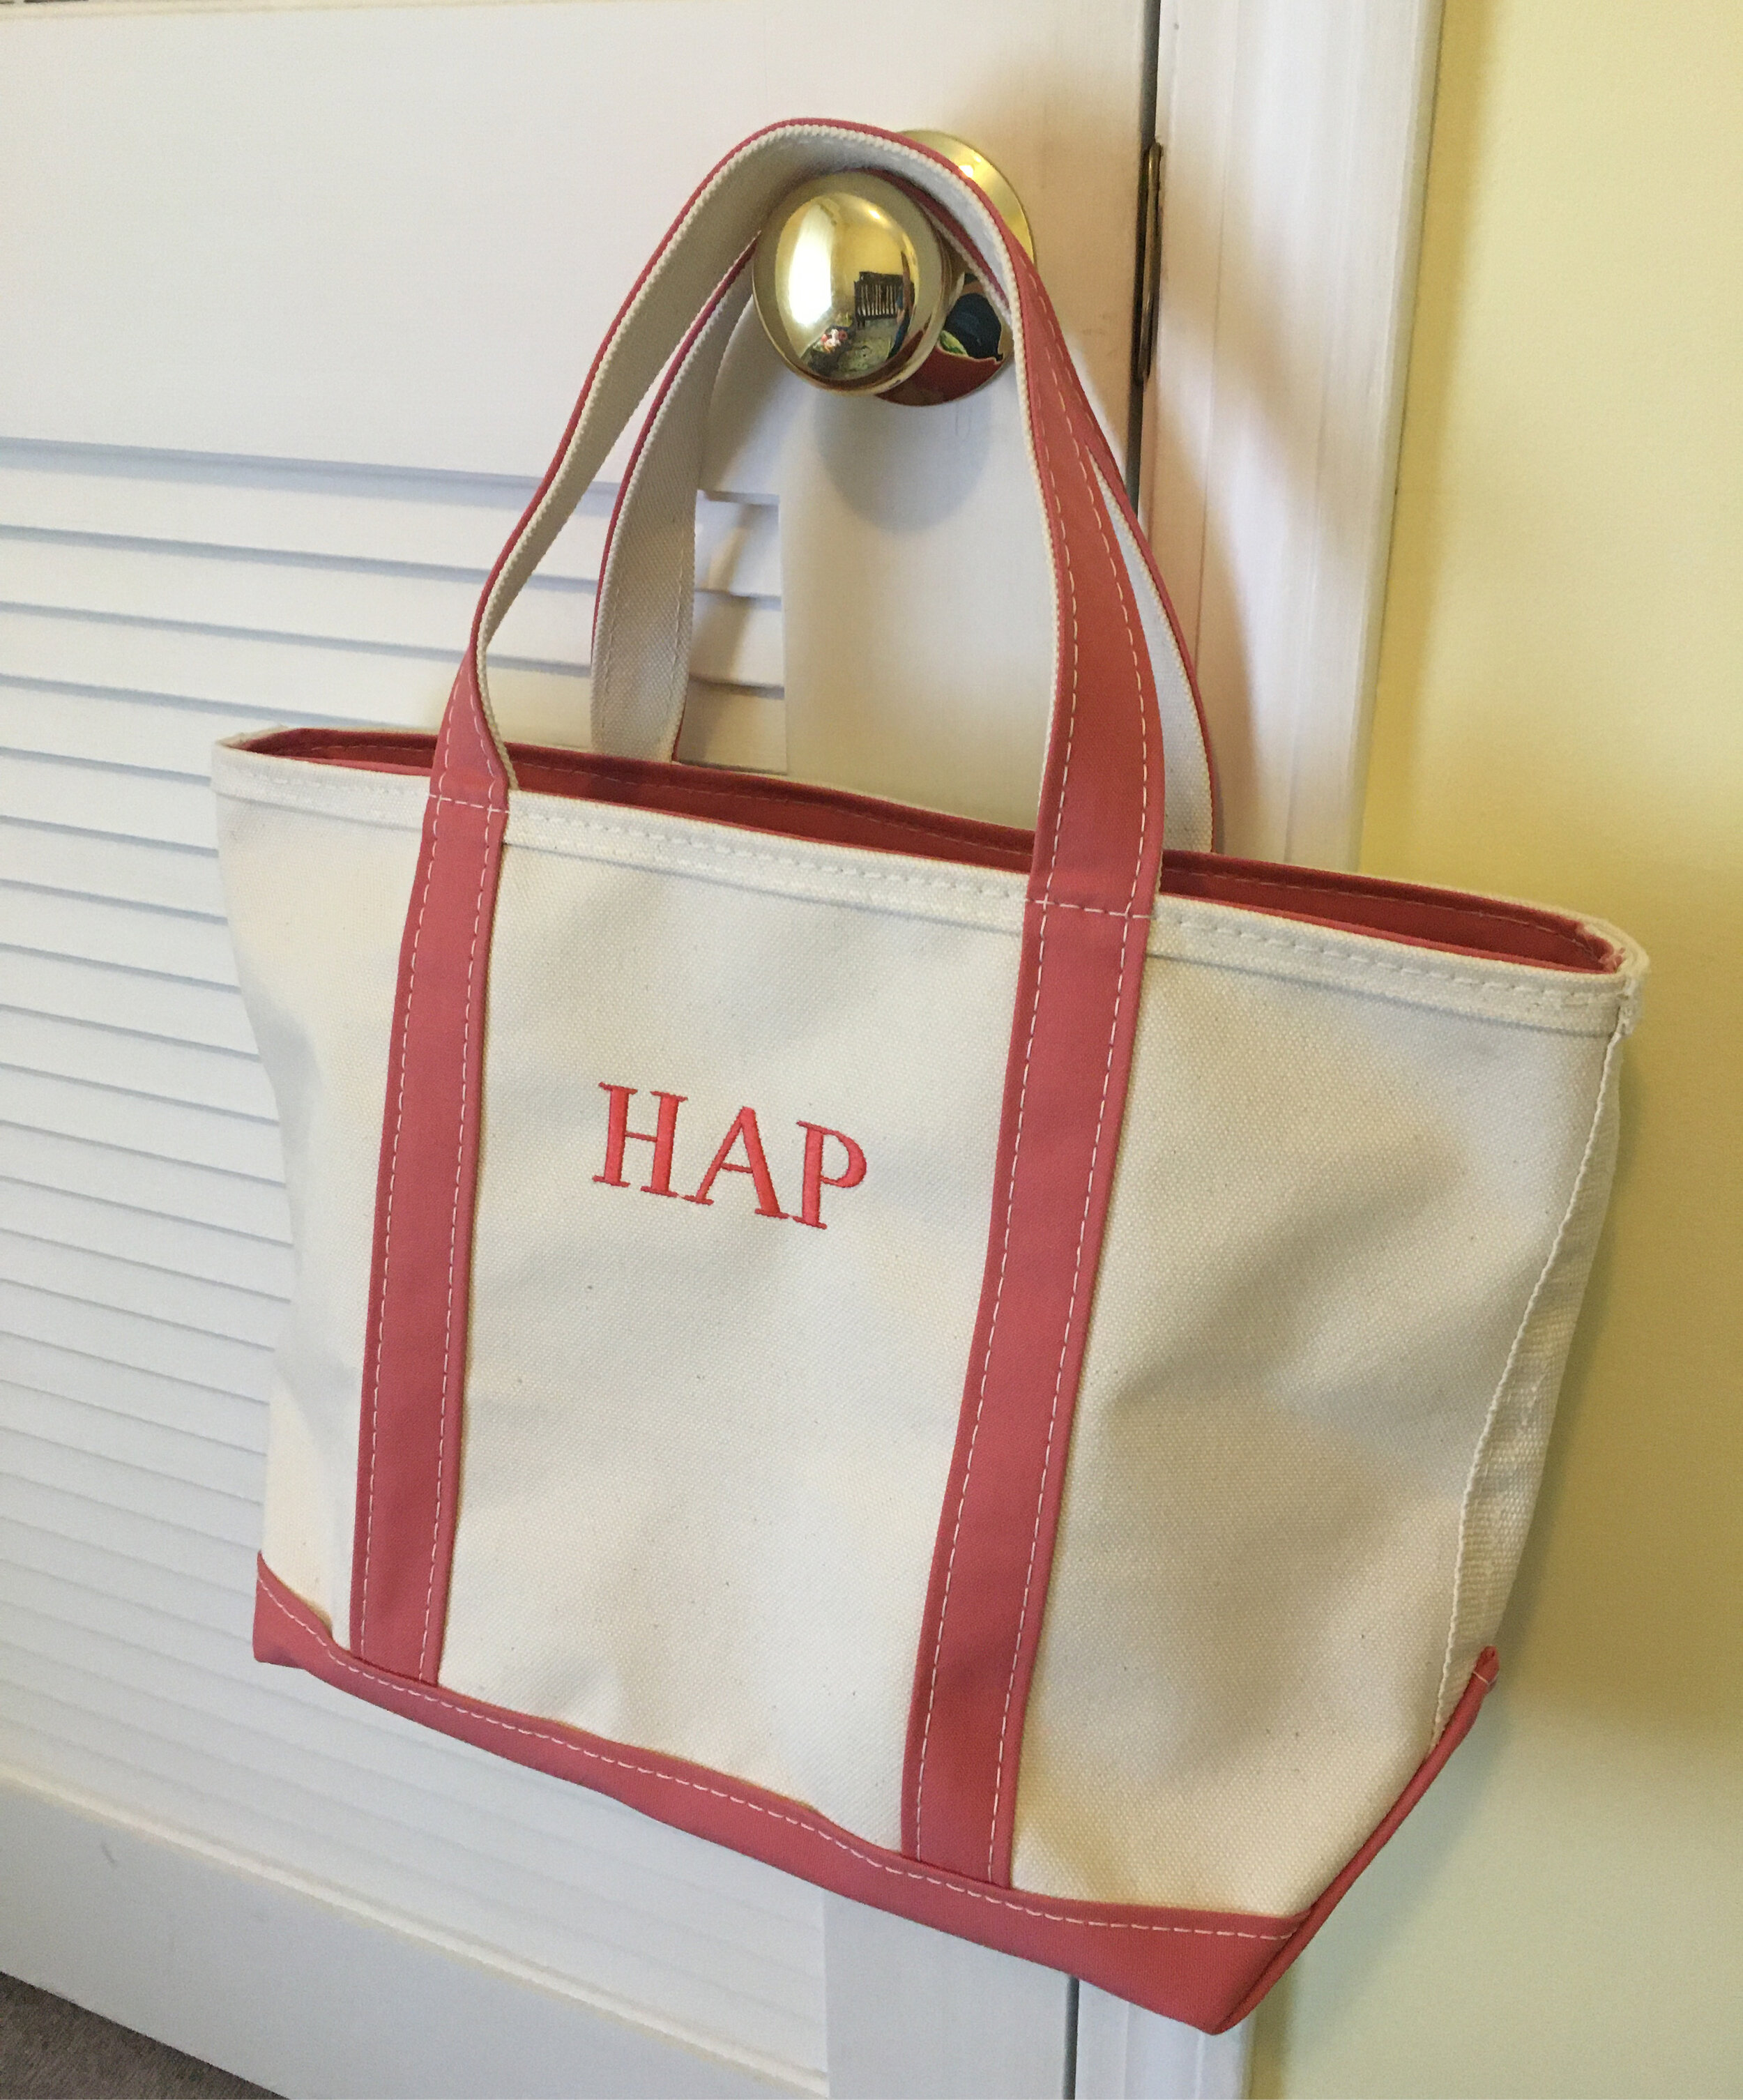
If you have kids you know how tricky it can be to keep track of library books in your home… you bring them home, read them on the couch, and then before you know it they’re mixed in with your own books and quickly forgotten… until you get that late notice from the library (ooops). The best way to keep track of them is to have a designated place to keep them - for us we made a special library tote that has served us well. We use it to bring home books from the library, and as we read them we make sure to return them to the tote so they’re never misplaced. I’ll show you exactly how I made ours, along with two free printables so you can make your own! | This post contains affiliate links |
1. First, run your canvas tote bag through the washer and dryer - you need to make sure it’s clean and there’s no more sizing on it from manufacturing which might keep the iron-on transfer from adhering well.
2. Print out your design on the transfer paper. (Please note that the designs I have available for download are ready-to-print PDFs for printing on iron-on transfers, therefore they are already in mirror image - aka backwards.) *You can find links to download our designs at the end of this post - there are two different designs to choose from!*
3. Cut out the iron-on transfer design, leaving a border around the edge of the design to help ensure the design will adhere well to the fabric and not lift at the edges.
4. Make sure to read the instructions for your particular brand of iron-on transfers as these next steps may vary slightly from brand to brand. For the transfers we used, the next step is to heat up the iron then pre-iron the bag to get rid of wrinkles and preheat the fabric for the transfer. Our directions recommend working on a hard surface with a piece of scrap fabric underneath.
5. Carefully place your design face down on the bag and iron it on using a LOT of pressure. I actually stand on a chair to put my full body weight down on it too. You want to iron over the whole design, paying particular attention to the edges to make sure it really adheres well.
6. After going over your design like a thousand times (an exaggeration, but make sure you go over it a lot to adhere it well). Let it cool completely before carefully pulling the paper backing off and you’re done. Time to go to the library!
Download FREE Printables for Iron-On Transfer Here:
Explore Books Logo (prints to approximately 4”x5”)
*Please note that the downloaded PDF files will have the logos in MIRROR IMAGE (aka backwards), since it needs to be printed in reverse on the iron-on transfers.
Want to make a Custom Design?
I made the designs for these library tote logos by using design files from my husband's Creative Market Shop. If you want to edit these designs or make your own, you can purchase the files from Creative Market and personalize them yourself!
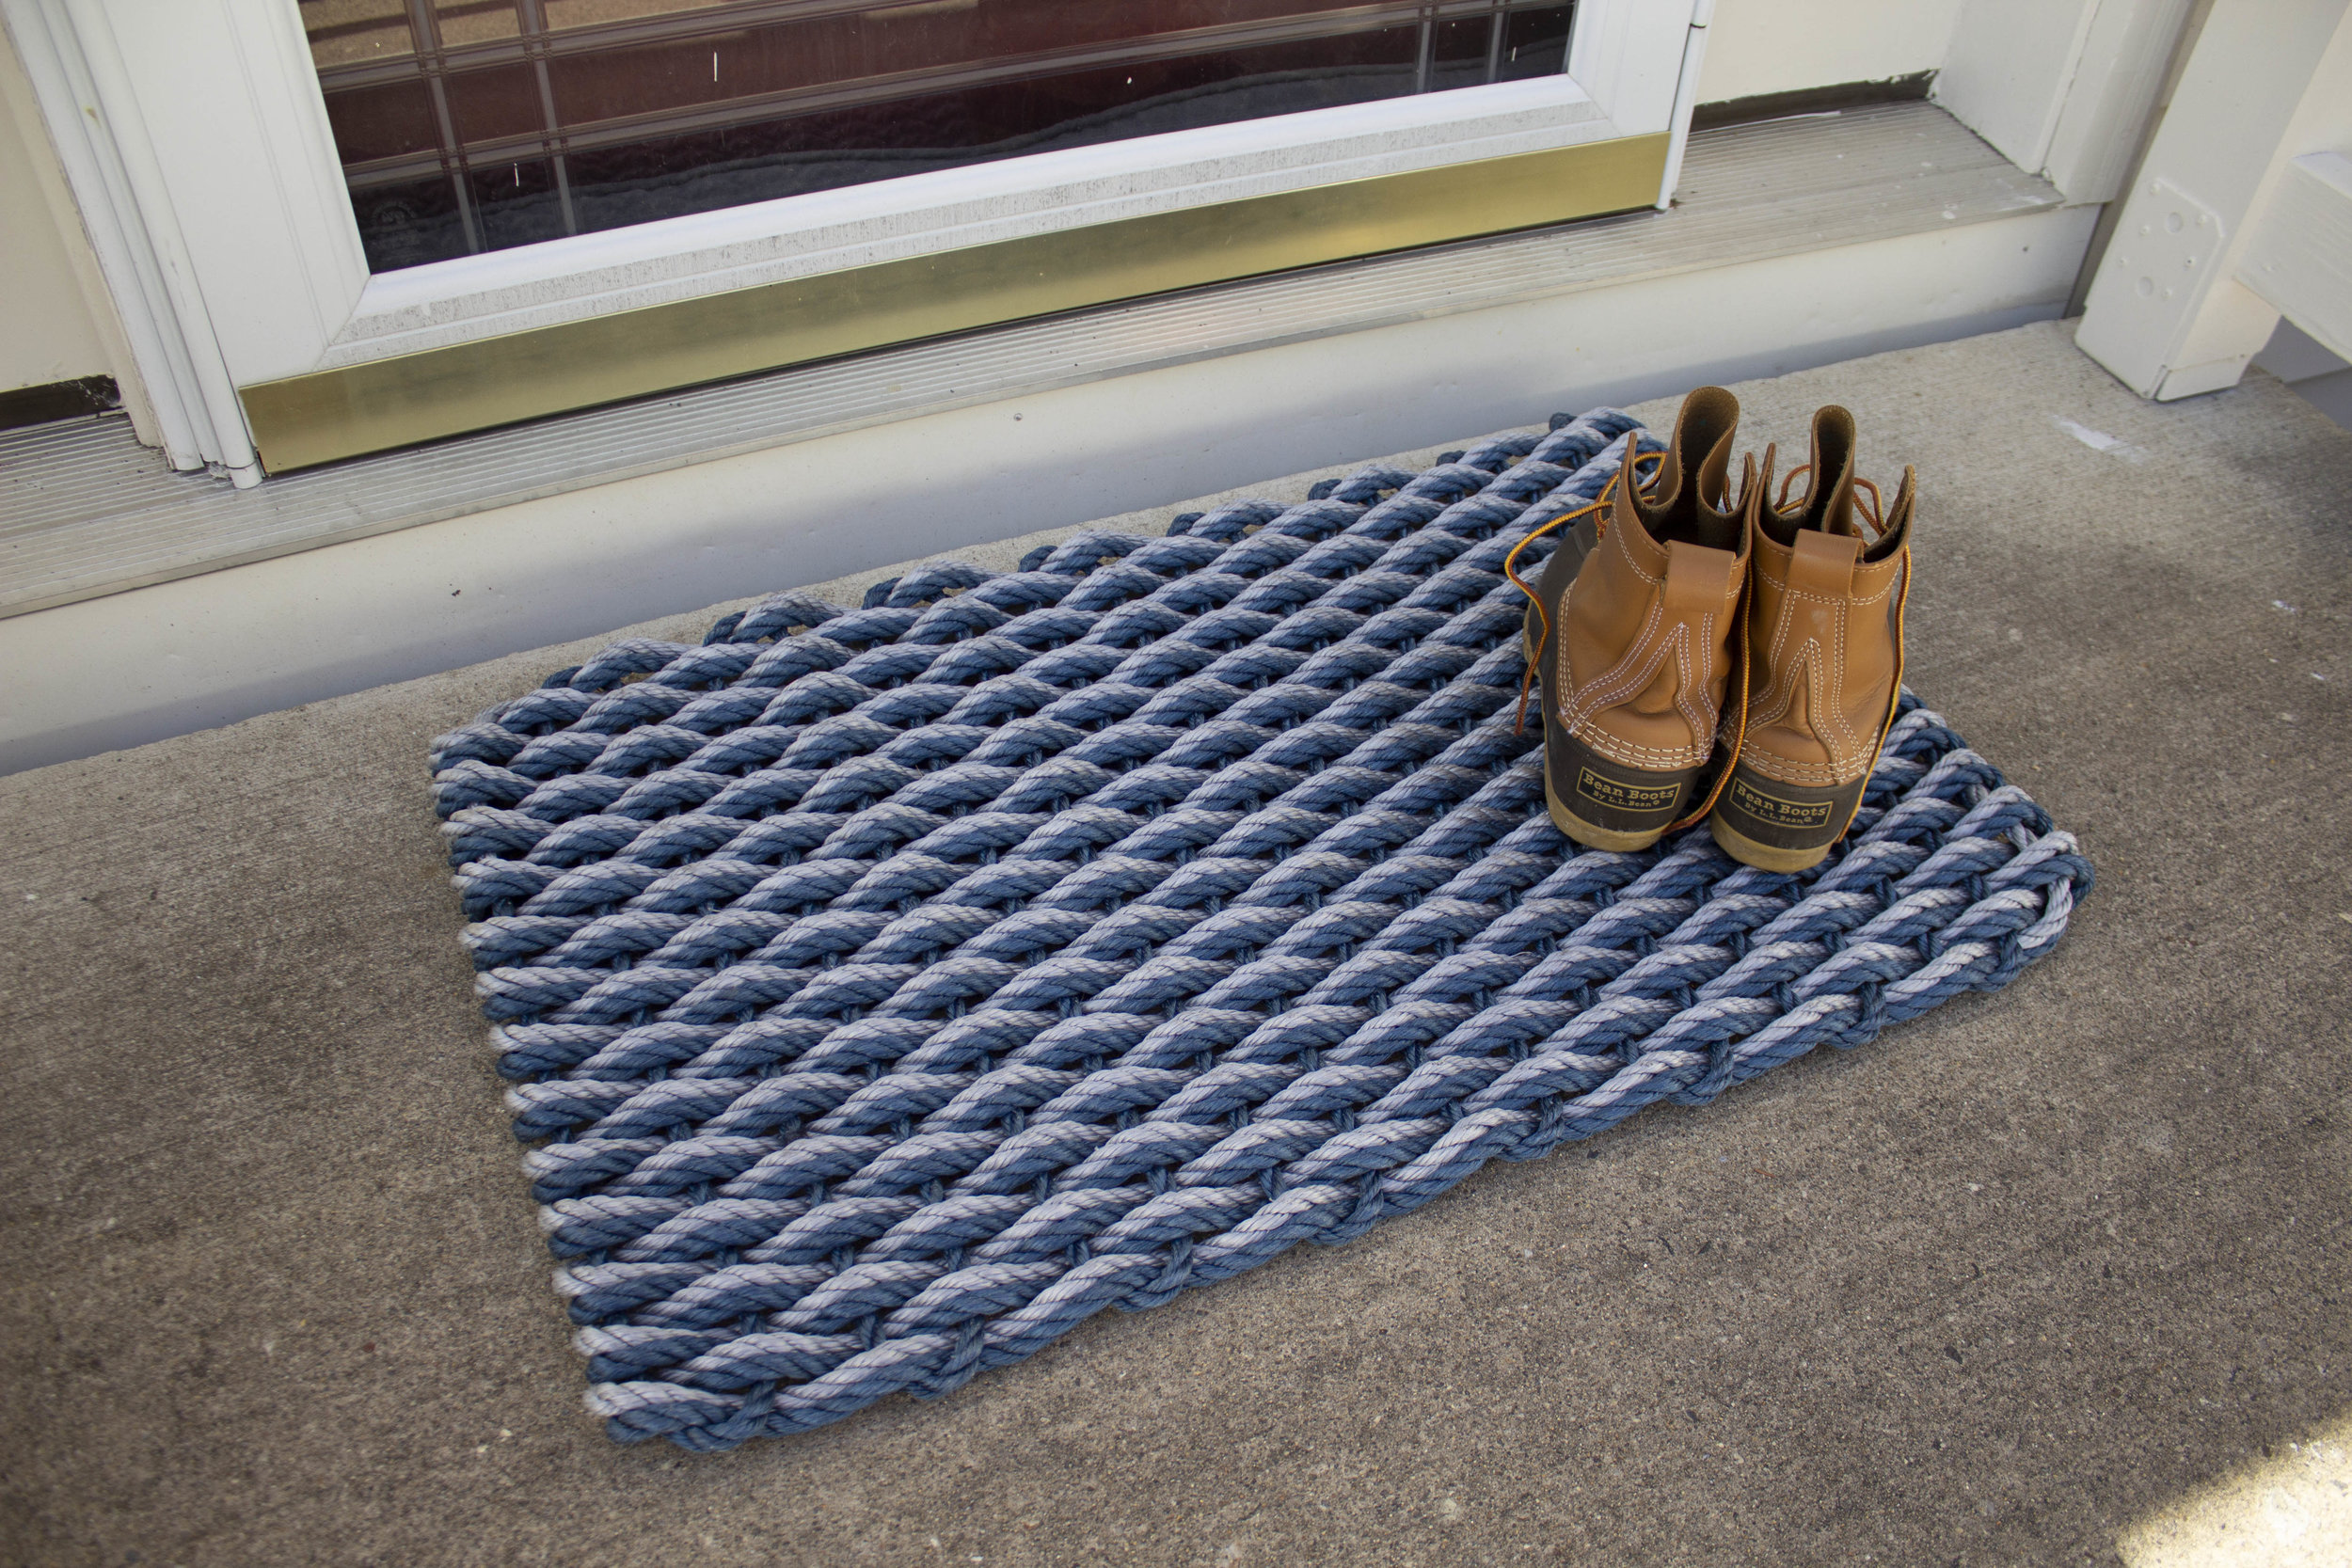
Those iconic L.L. Bean Boots - everybody's wearing them and everybody wants them, but sometimes they can be hard to find! They often go through periods of being backordered so I’d recommend buying early in the season so you don't risk having to wait. But before you order, be sure to read our review because there's some things you should definitely know first! | This post contains affiliate links |
Sizing
The sizing for
L.L. Bean's "Bean Boots" is definitely kind of tricky and I'd highly recommend trying them on in-store before purchasing, even if you're going to order them online (though, L.L. Bean does have a great return/exchange policy if you do end up ordering the wrong size online). Bean Boots only come in whole sizes and run BIG. For example, I typically wear a size 8-8.5 shoe but in Bean Boots I'm a size 7 and they still feel quite roomy. Keep in mind too if you typically wear a very small women's size shoe, you may need to check out the kid's sizes if you're unable to size down anymore in women's. When trying on the boots make sure to wear what kind of socks you're planning on using them with (whether it's regular thin socks or
thick ragg socks ), to get a better idea of the fit.
Women's Bean Boots come in two different rises too - 6" rise or 8" rise. Try both on to see what's more comfortable and what style you like better. I personally prefer the 8" rise - here in New England it's a bit more practical with the deeper snow in the winter and I also feel like it's the more classic style.
During Fall and Winter when there's a big rush on Bean Boots and it may be very difficult to find the exact style and size you want in-store or even online. You may need to shop around a bit to find what you're looking for.. or wait for your backordered item to come in. L.L. Bean Outlet stores can be a great resource too! Boots and other items that were ordered online and returned often end up at the outlets - and at a discount to boot! (Ha, couldn't pass up a boot pun.) In fact, I got my Bean Boots for 40% off at the outlets - now that's a great deal!
One thing to keep in mind about outlet shopping is that they will likely have a large selection of bigger sizes of Bean Boots, and less of the smaller sizes... this is because so many people mistakenly order their normal size without realizing how big they run. When I bought my Bean Boots at the Outlets, they had tons of sizes 8, 9, and 10 - and the ones I bought were literally the very last pair of size 7's.
If you decide to purchase your Bean Boots online, keep in mind that coupons or regular L.L. Bean sales may not apply to them because they're such a popular item - you may have better luck earning some rebate money back on your purchase with a program like
Rakuten (formerly called Ebates). L.L. Bean also has a great return and exchange policy, so if you buy online and it doesn't fit quite right, you should have no trouble exchanging for another size (just make sure to keep your reciept/packing slip for proof of purchase).
Styling
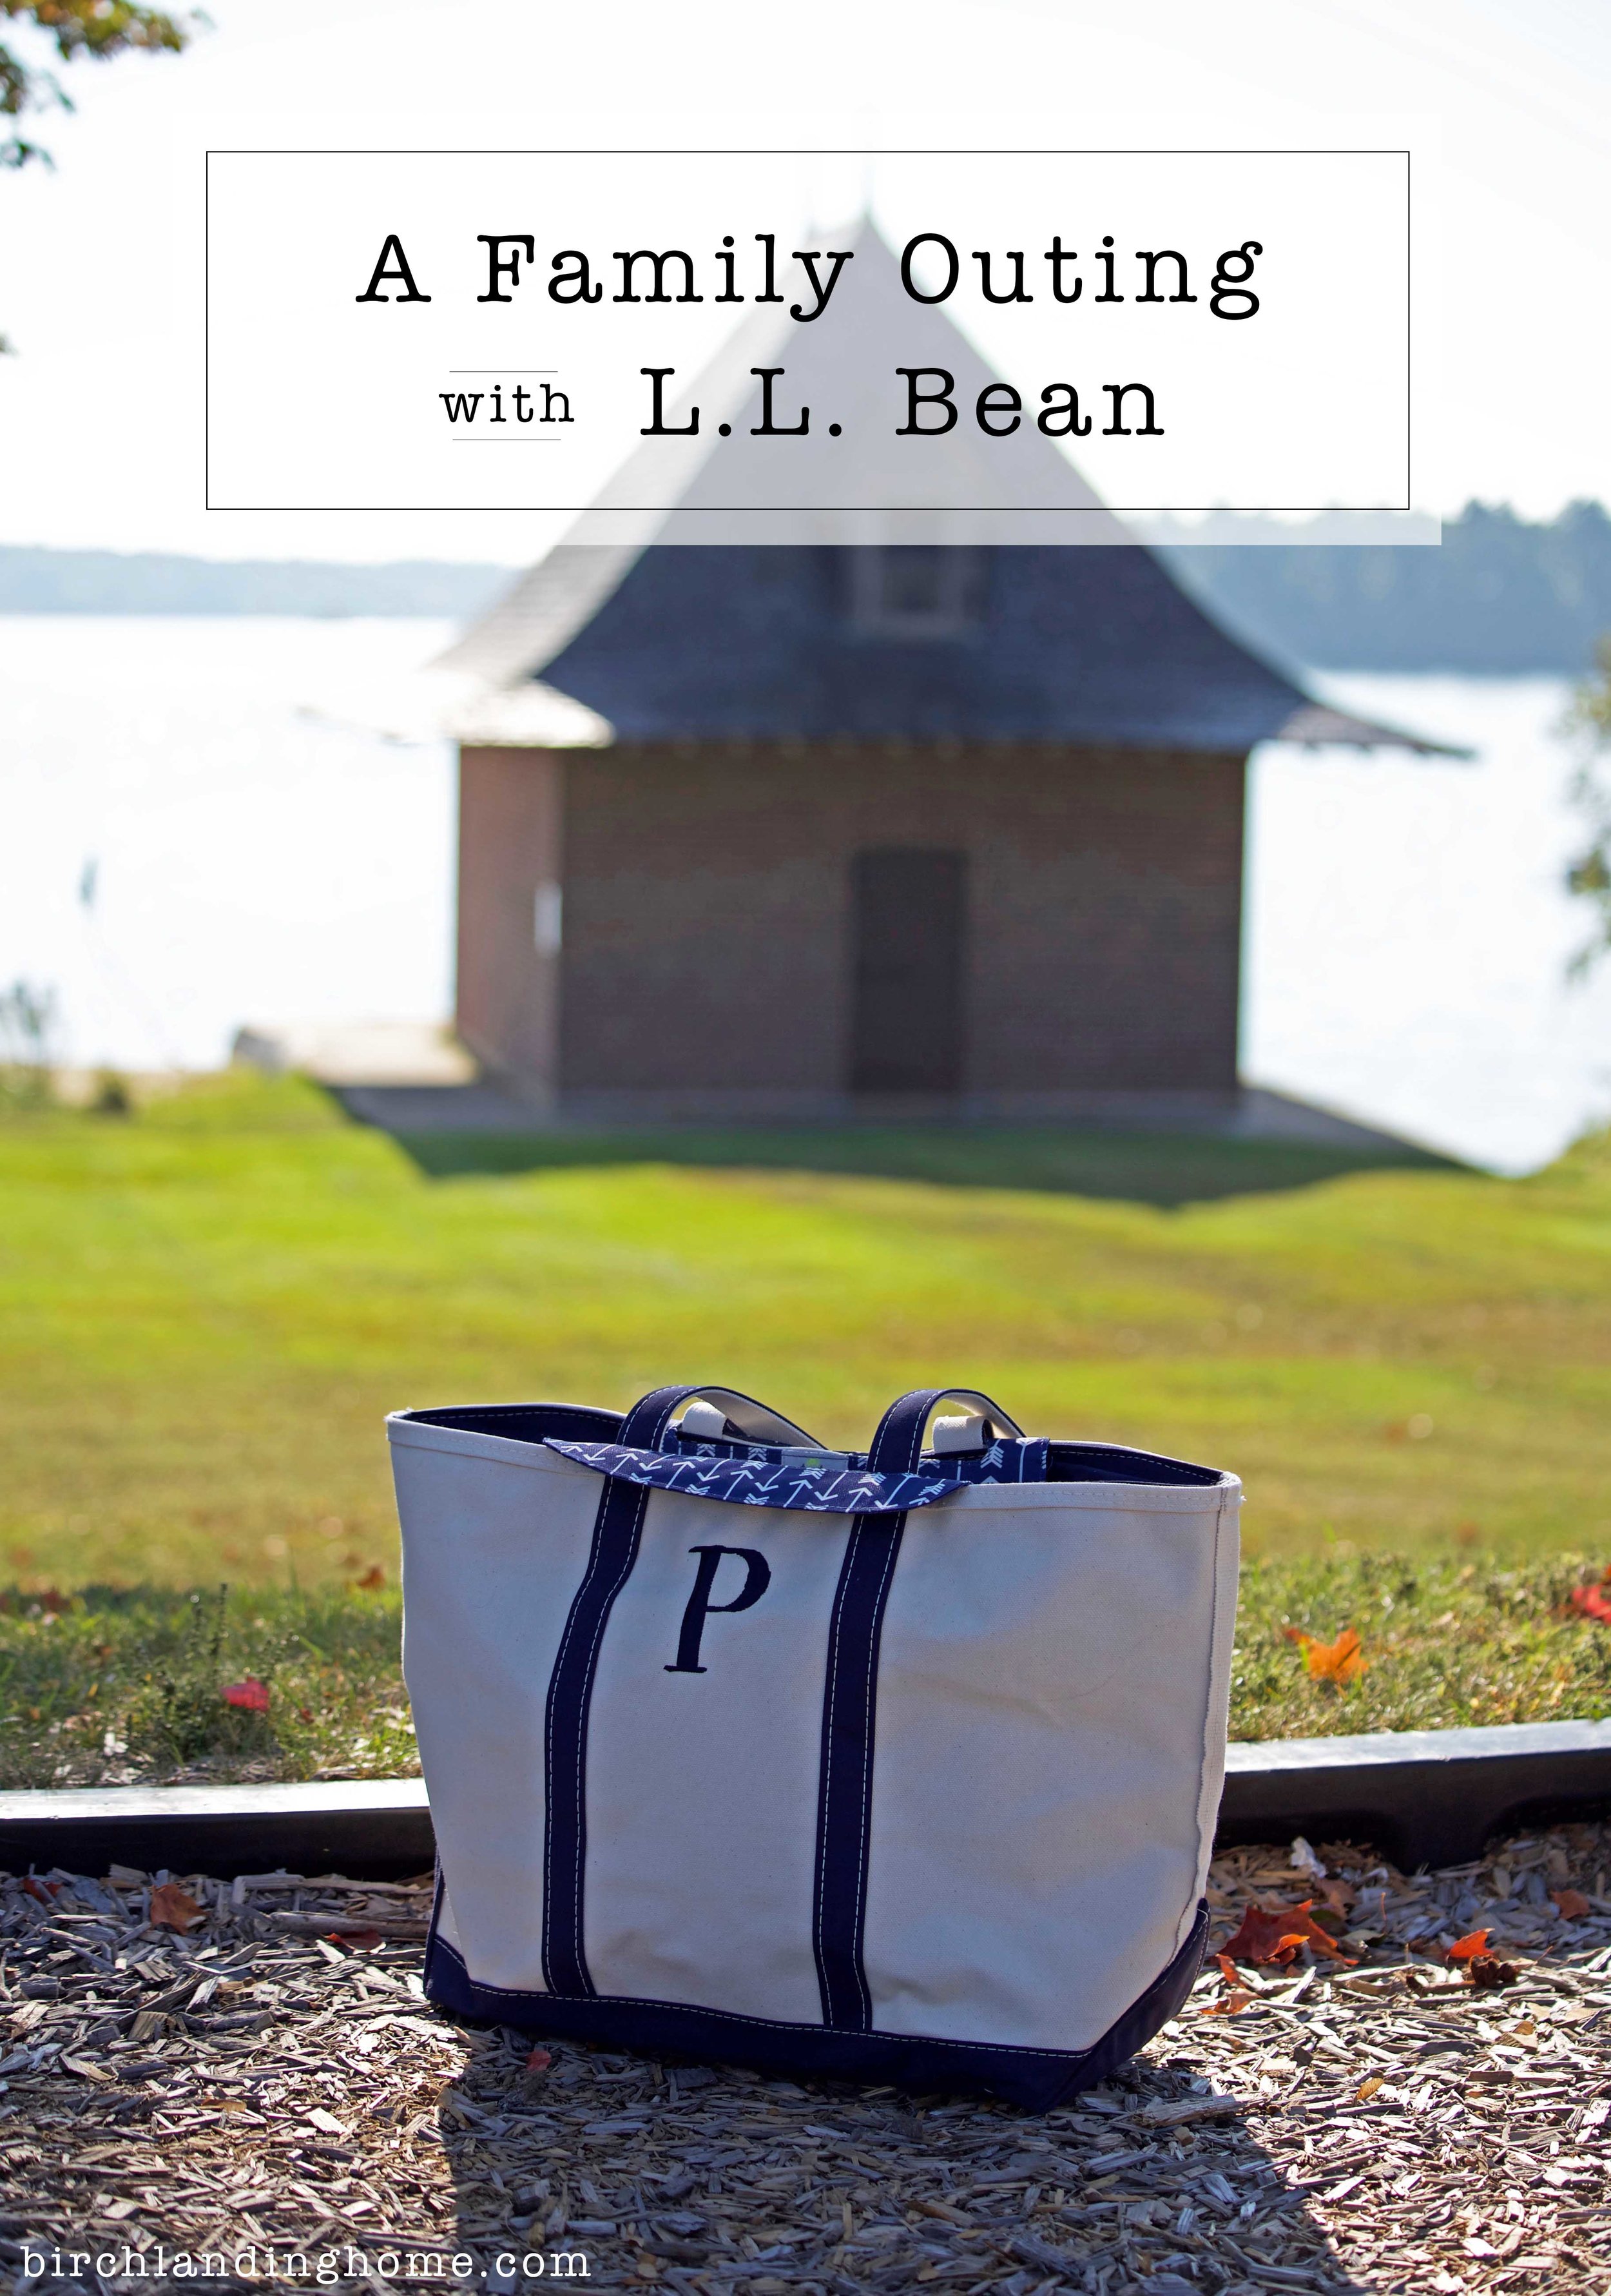
What doesn't go with Bean Boots? Seriously - just about anything goes with them (I've even seen people wear them to their wedding!). But really you can't go wrong with some fitted jeans, ragg socks, and a cozy pullover. I've linked to some of my favorite L.L. Bean looks below and all would look great paired with Bean Boots.
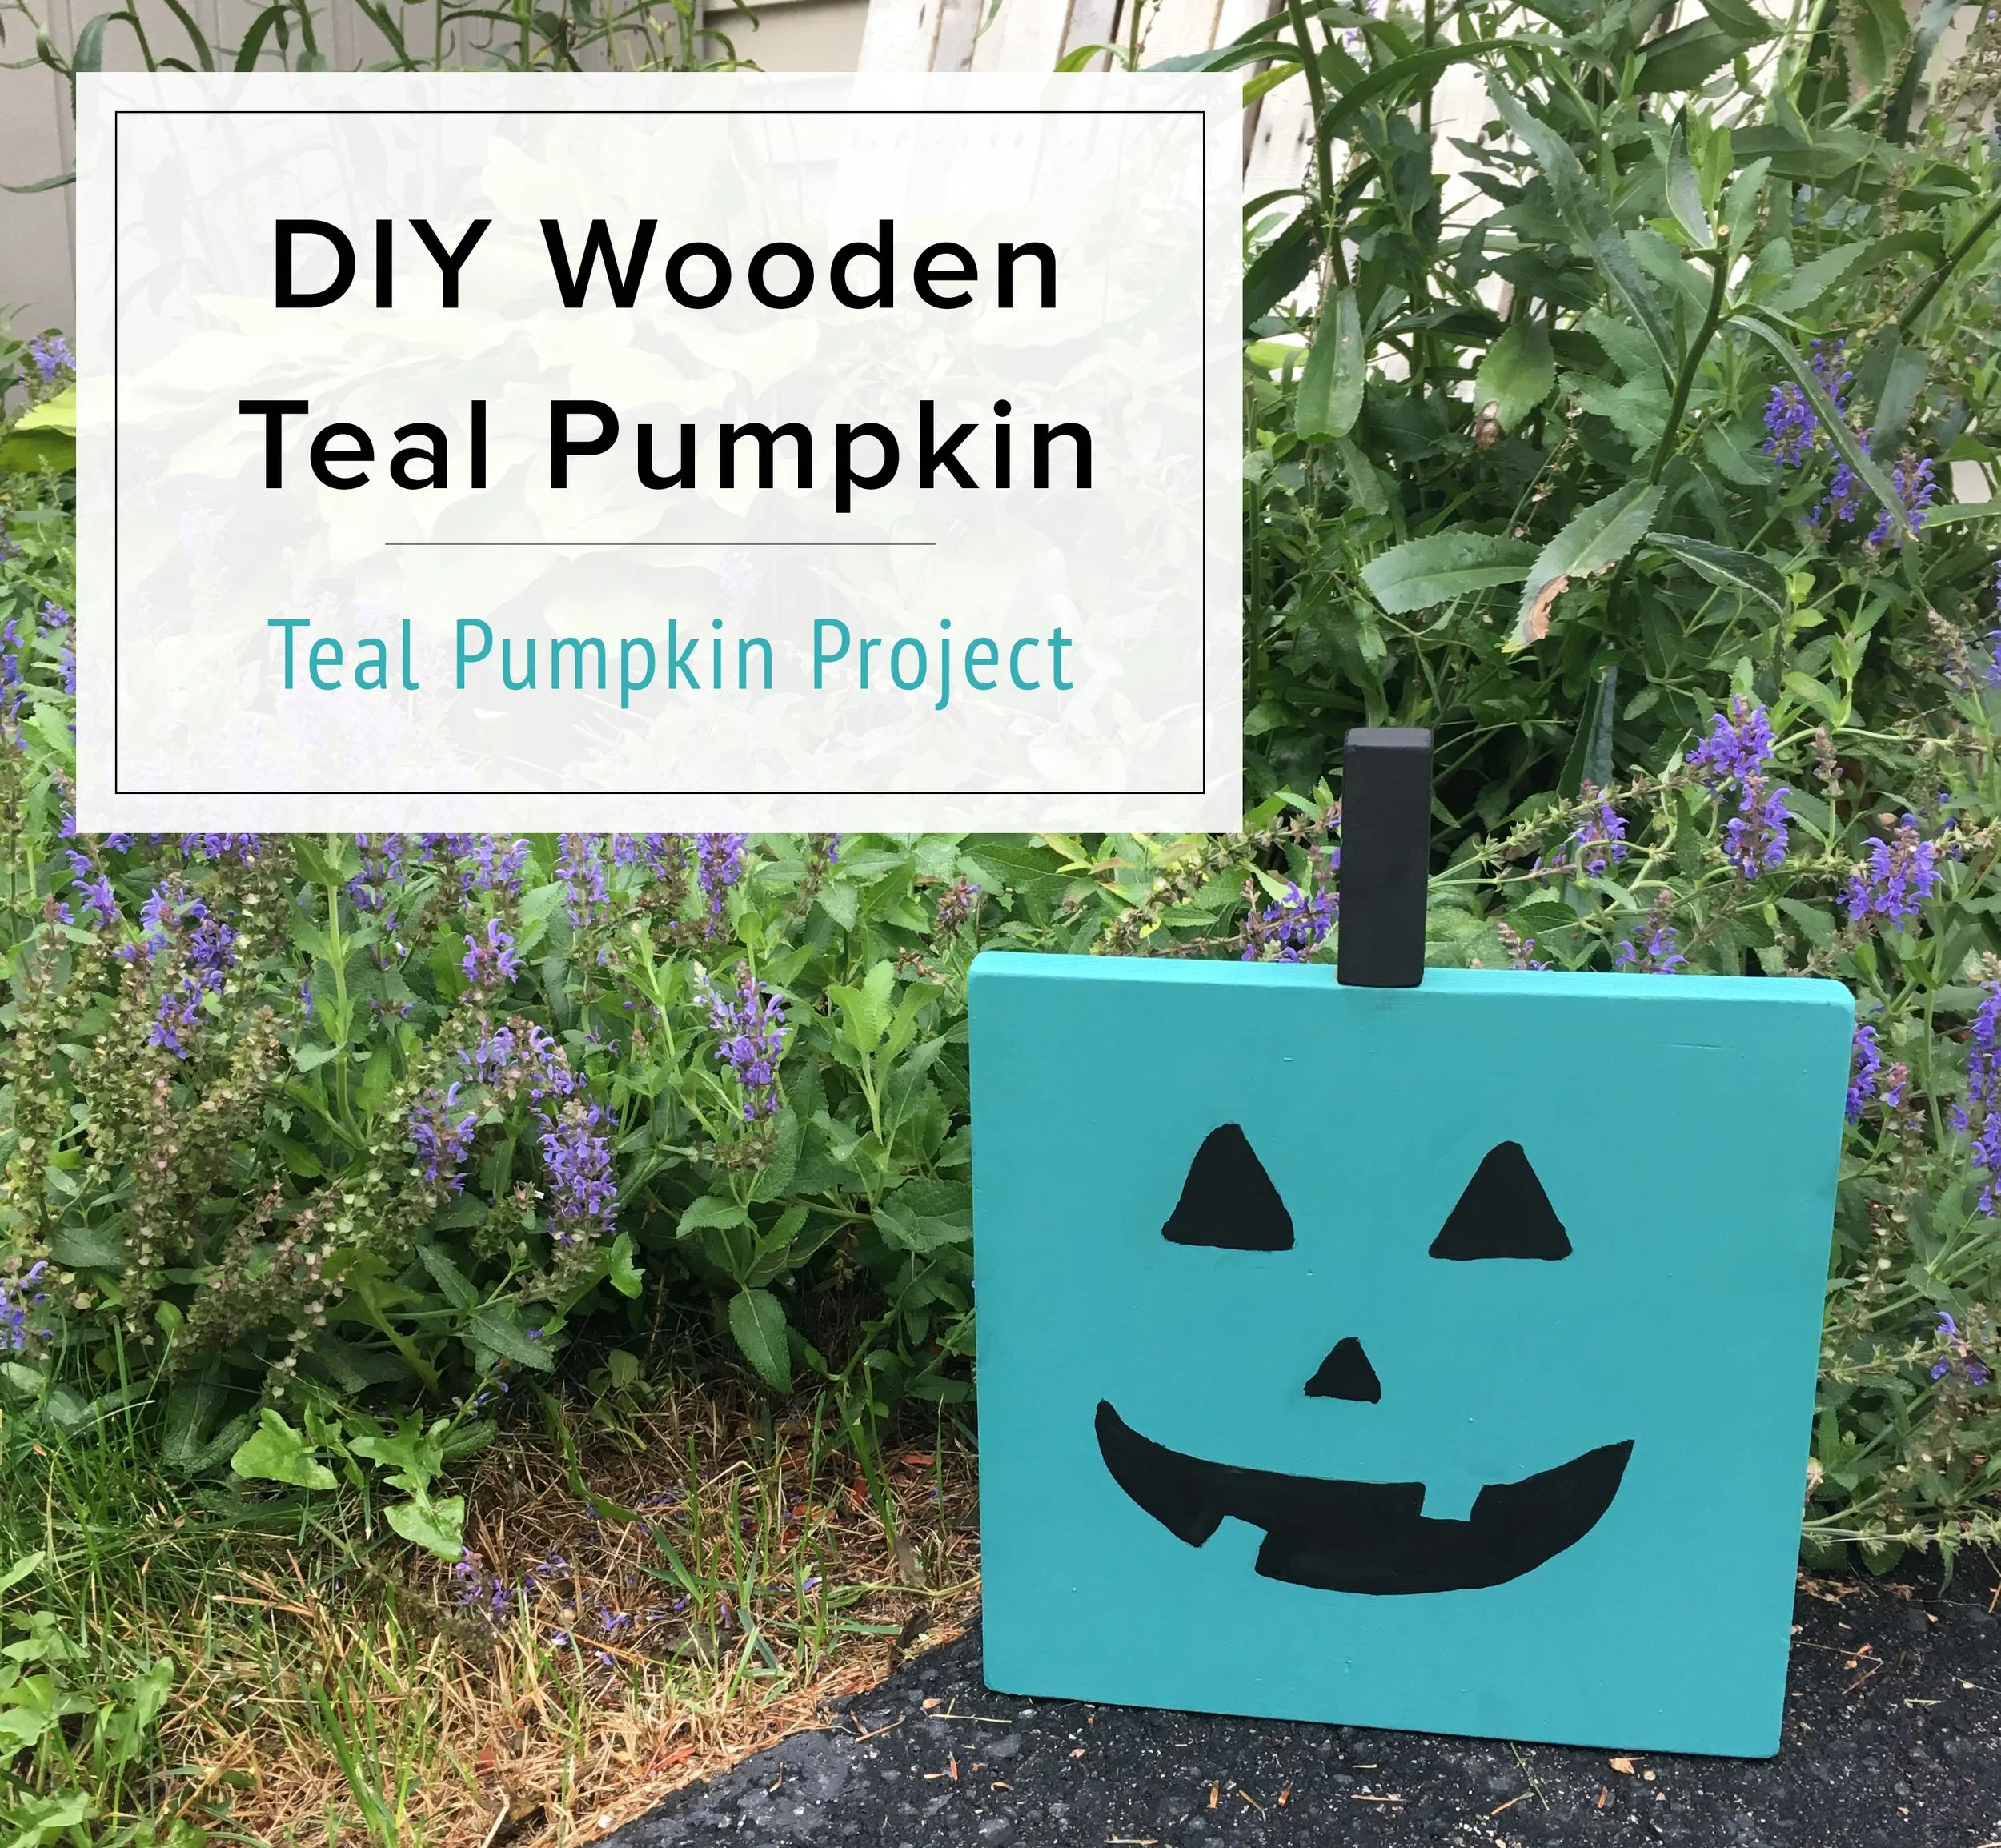
Every Halloween we participate in the Teal Pumpkin Project to promote awareness and inclusion of all trick-or-treaters, no matter their dietary restrictions. Unfortunately a lot of kids have food allergies, ranging from mild to potentially very dangerous. These allergies can include dairy, chocolate, nuts, soy, gluten, artificial dyes, and more. These kids either can't participate in trick-or-treat or have to throw out most of what they get - and when you're a kid that's really rough. | This post contains affiliate links |
By having a teal pumpkin out, you're letting kids and their parents know that your house is a safe place to trick-or-treat and you have non-food items available. These can be things like novelty pencils, erasers, stickers, bubbles, crayons, small toys, etc. You can still give out the usual candy, but it's a good idea to keep the non-food items separate. This is a great project to allow all kids a chance to feel included in trick-or-treat on Halloween.
We usually paint a real pumpkin teal each year, but this year the squirrels and chipmunks have been eating all the decorations we put out on our porch (*shakes fist*). So yesterday afternoon during nap time I whipped up a Wooden Teal Pumpkin that can be used for many years to come. And the best part? It cost me NOTHING! I made it all with scraps from our wood bin and paint we already had.
Materials:
Scrap wood for pumpkin (you can use any sizes or shapes of wood you have around)
1. Cut your wood scraps down to size if necessary. You need one larger piece for the face, one small piece for the stem, and a piece for the support at the back (the support piece does not have to be triangular, that’s what I happened to have though).
2. Next attach the support piece of wood to the back of the large piece with a screw or nail.
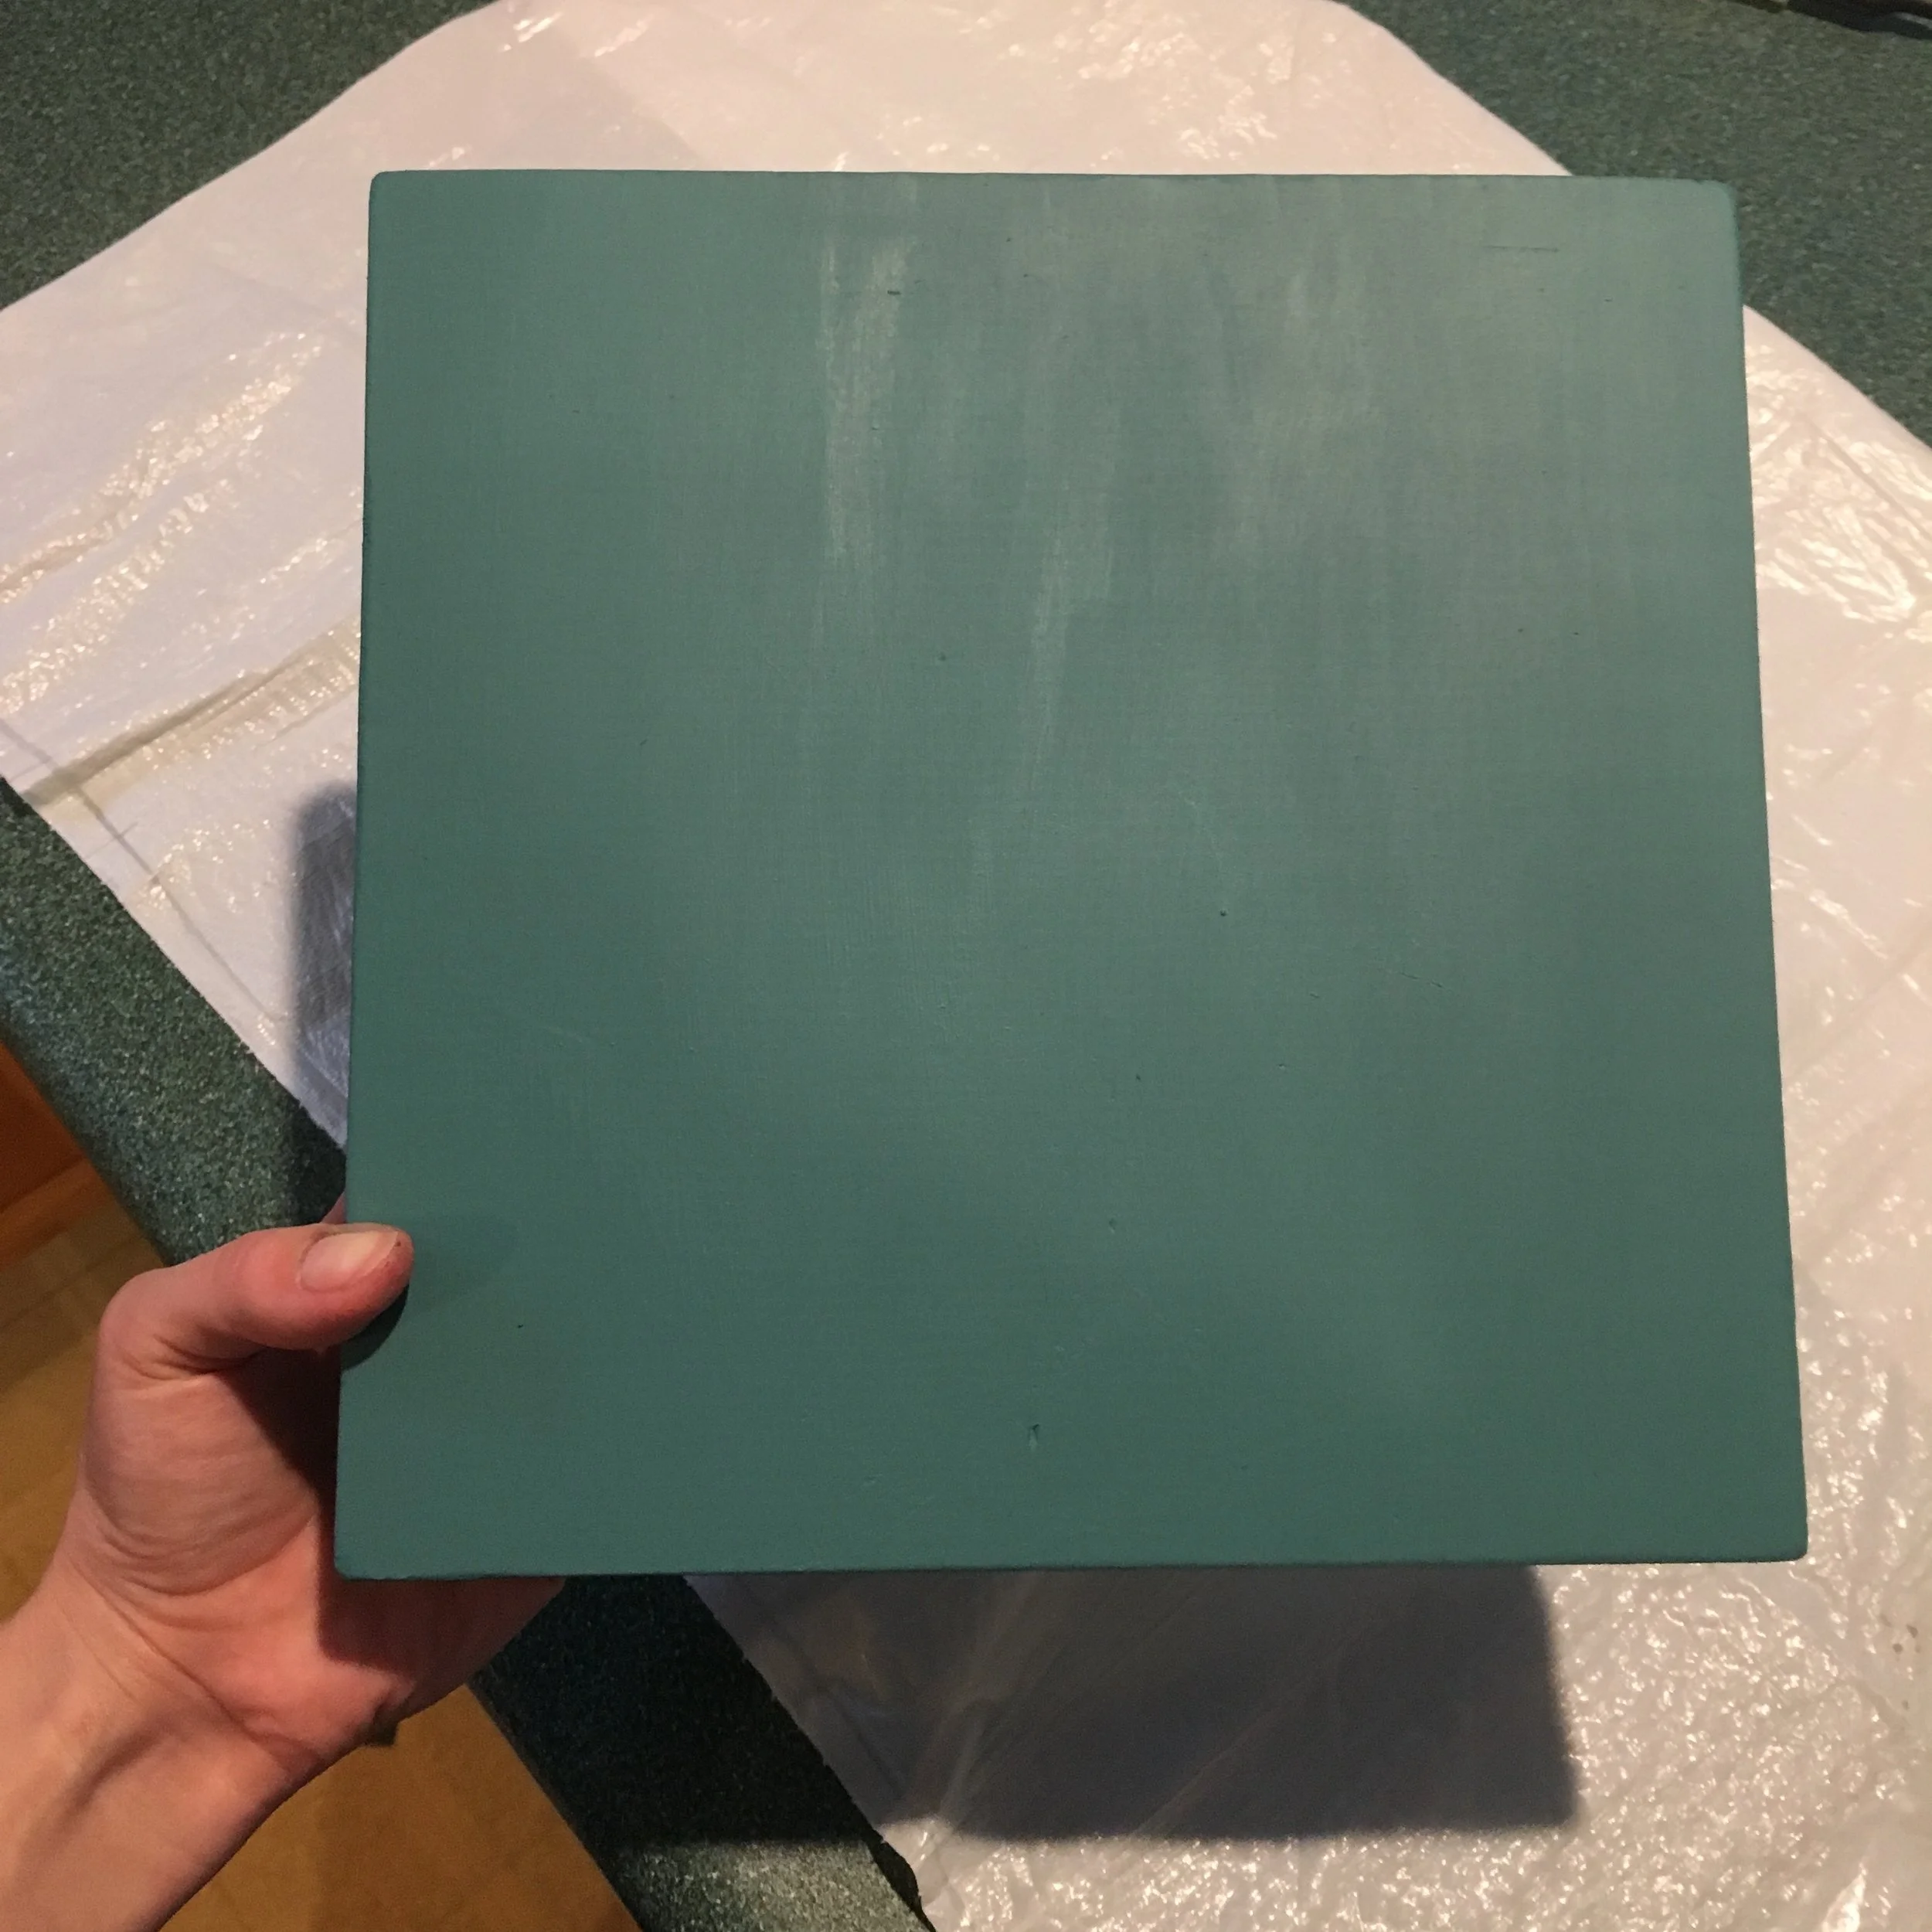
3. After that, give it at least two coats of teal paint. Paint it all over, including the sides and back.
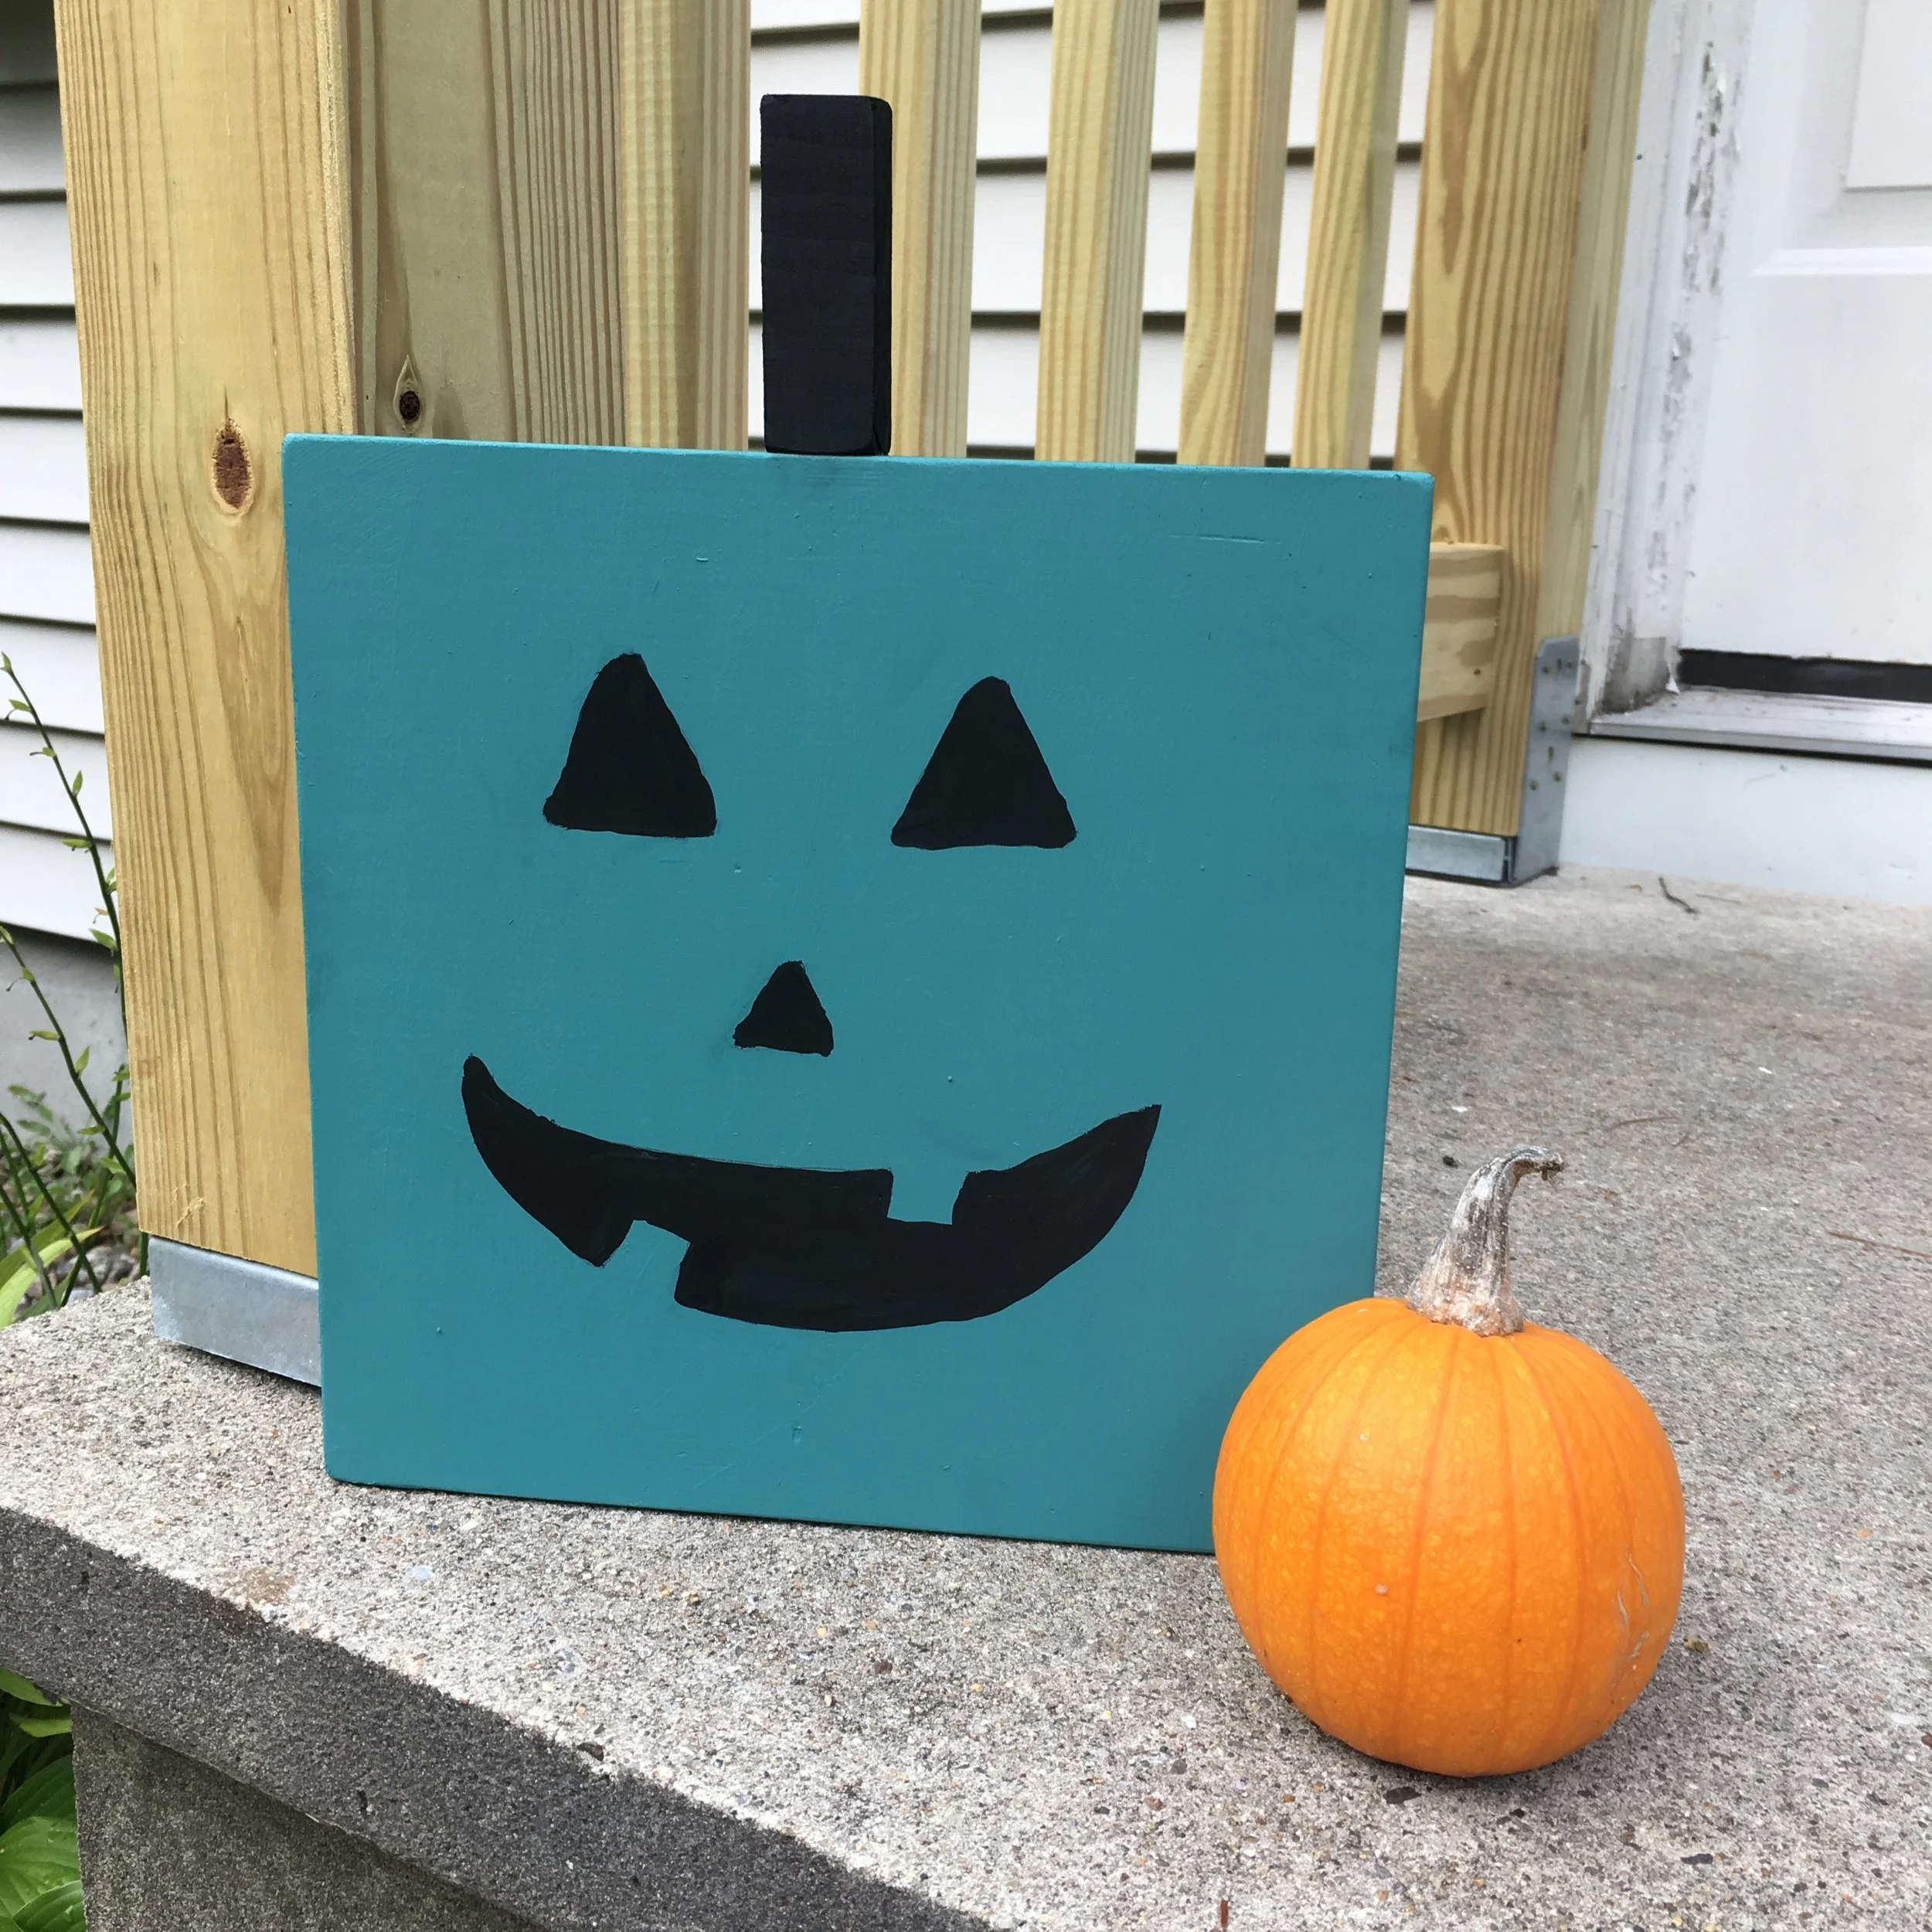
4. Once that’s dry, use black paint to paint a jack-o-lantern face on it and paint the stem piece black as well.
5. Once everything is dry use wood glue to attach the stem to the top of the pumpkin and give a good spray of clear sealer if you’ll be putting it out not under the cover of a porch, etc.
And that’s it! Now you’re ready to put your teal pumpkin out to welcome all kids for Halloween. Happy Halloween!
FARE (Food Allergy Research & Education) has some wonderful resources on their website - including crowdsourcing maps to identify participating houses, printables you can use to proudly show your support and educate others, and fundraising opportunities to help fund food allergy research and awareness.
Our daughter’s bureau was a train wreck and I just couldn’t take it anymore. She’s been very much into picking out her own clothes lately and tends to dig around in her drawers until she finds what she wants, without putting anything back the way it was. Today I finally decided to tackle the disaster and emptied her bureau, folded everything in the “KonMari” style, and put it back with order.
BEFORE
What’s the KonMari style? Well, technically the first step is to only keep what you truly love or use, and purge the rest (I pulled out a few items that she was starting to outgrow, but most of her clothes stayed). Then you fold everything uniformly so it can stand up in the drawers and be “filed,” allowing you to see everything at once. This is a great way to fold your clothes as you can see everything all at once and keeps you from falling into the rut of constantly wearing just what’s on top.
AFTER
As you can see I came up with a basic system for the drawer too - I grouped all her t-shirts together, then long-sleeve shirts, then sweatshirts and tank tops. (This folding technique also seems to be a lot more efficient as there’s even some empty space now!) I also tackled her other drawers too and tidied up her jeans, pants, and PJs. Overall I think it looks great and should help make getting ready for school in the morning a breeze.
How I organized it:
I already had my own drawers folded in the KonMari style and love it - it’s so nice being able to see all your options at once when you’re getting dressed in the morning. As for our daughter, I explained the new setup to her and she understands it (she was honestly really excited about her neat drawers when I first showed them to her) - but the reality is she’s five years old and there’s no way it’s going to stay this organized on it’s own. I also don’t think it’s worth nagging her over it to keep it this way, it’s really not a fair expectation for a five year old. So, we’ll see how long this lasts… I’ll do my best to tidy it up when I can and try to keep some semblance of order but it won’t always be picture-perfect and that’s okay. That’s life ;)
One Week Update: She actually kept the system perfectly! Just a few things had fallen over and one item was crumpled up and put back, but 95% of it was still perfect. I’m super impressed that an almost 5-year-old can keep the system that neat. But it goes to show, that if she can do it - so can you!
Okay, okay - so saying a hashtag "changed my life" is a bit dramatic, but let me explain...
As a Mom, you spend your entire day cleaning up after others... toys, food, diapers, everything - and at the end of the day the last thing you want to do is clean up more. Before kids I used to be good about keeping an empty sink and clean counters, but these days once the kids were in bed I just wanted to be done and the kitchen was left in disarray almost every night. However after seeing An Organized Life's Instagram hashtag #cleankitchenatnight, I was inspired and had to try it! | This post contains affiliate links |
The whole point of "clean kitchen at night" is that it's a great motivator. Having a clean kitchen and clean slate to wake up to in the morning helps set a less-stressful and more motivated tone for the rest of your day, in all aspects of your life. It's so refreshing to see clean counters and an empty sink. Making meals throughout the day is so much easier too when all of the dishes, pans, and silverware are ready to go! I don't know how many times before I would go to make a meal, only to realize a specific pan, measuring cup, or casserole dish I needed was still dirty from the day before. Now meal prep is so much easier and quicker, simply because everything is already clean.
Now, we don’t have an “Instagram-worthy” kitchen… it still has the honey-colored maple cabinets and green (yes, green) builder-grade laminate counters. But trust me in that you don’t need a picture-perfect kitchen to feel the sense of accomplishment and motivation in leaving everything in a clean and organized state each and every night.
As cheesy as it sounds, having a clean kitchen really does reduce stress and brings some peace to normally chaotic mornings. And I’ve found this motivation snowballs into all other areas of my life too - I feel so much more productive in work and efficient in accomplishing my to-do list every day. There's a saying that goes something like "cluttered house, cluttered mind" - and it's true... if you surround yourself with messes and clutter you feel it. If you have a sense of control over your house, even if it's just the kitchen, it makes you feel like you have life together (even if you don't, haha).
Don’t believe me that “Clean Kitchen at Night” really makes a difference?
I challenge you to give it a try! For the next week, I challenge you to make a point to clear out the sink, clean the clutter off the countertops, and wipe down your whole kitchen every night. It can be hard work at first, but once you get in the rhythm it goes quick - especially when you’re only picking up that day’s mess and not messes from previous days too. Try it for a week and let me know if you feel less stressed and more motivated across all aspects of your life - I hope you do!
Sending the kids back to school usually means shelling out a lot of money on school supplies, clothes, and more. Here are some of my tips on how NOT to go broke this fall. | This post contains affiliate links |
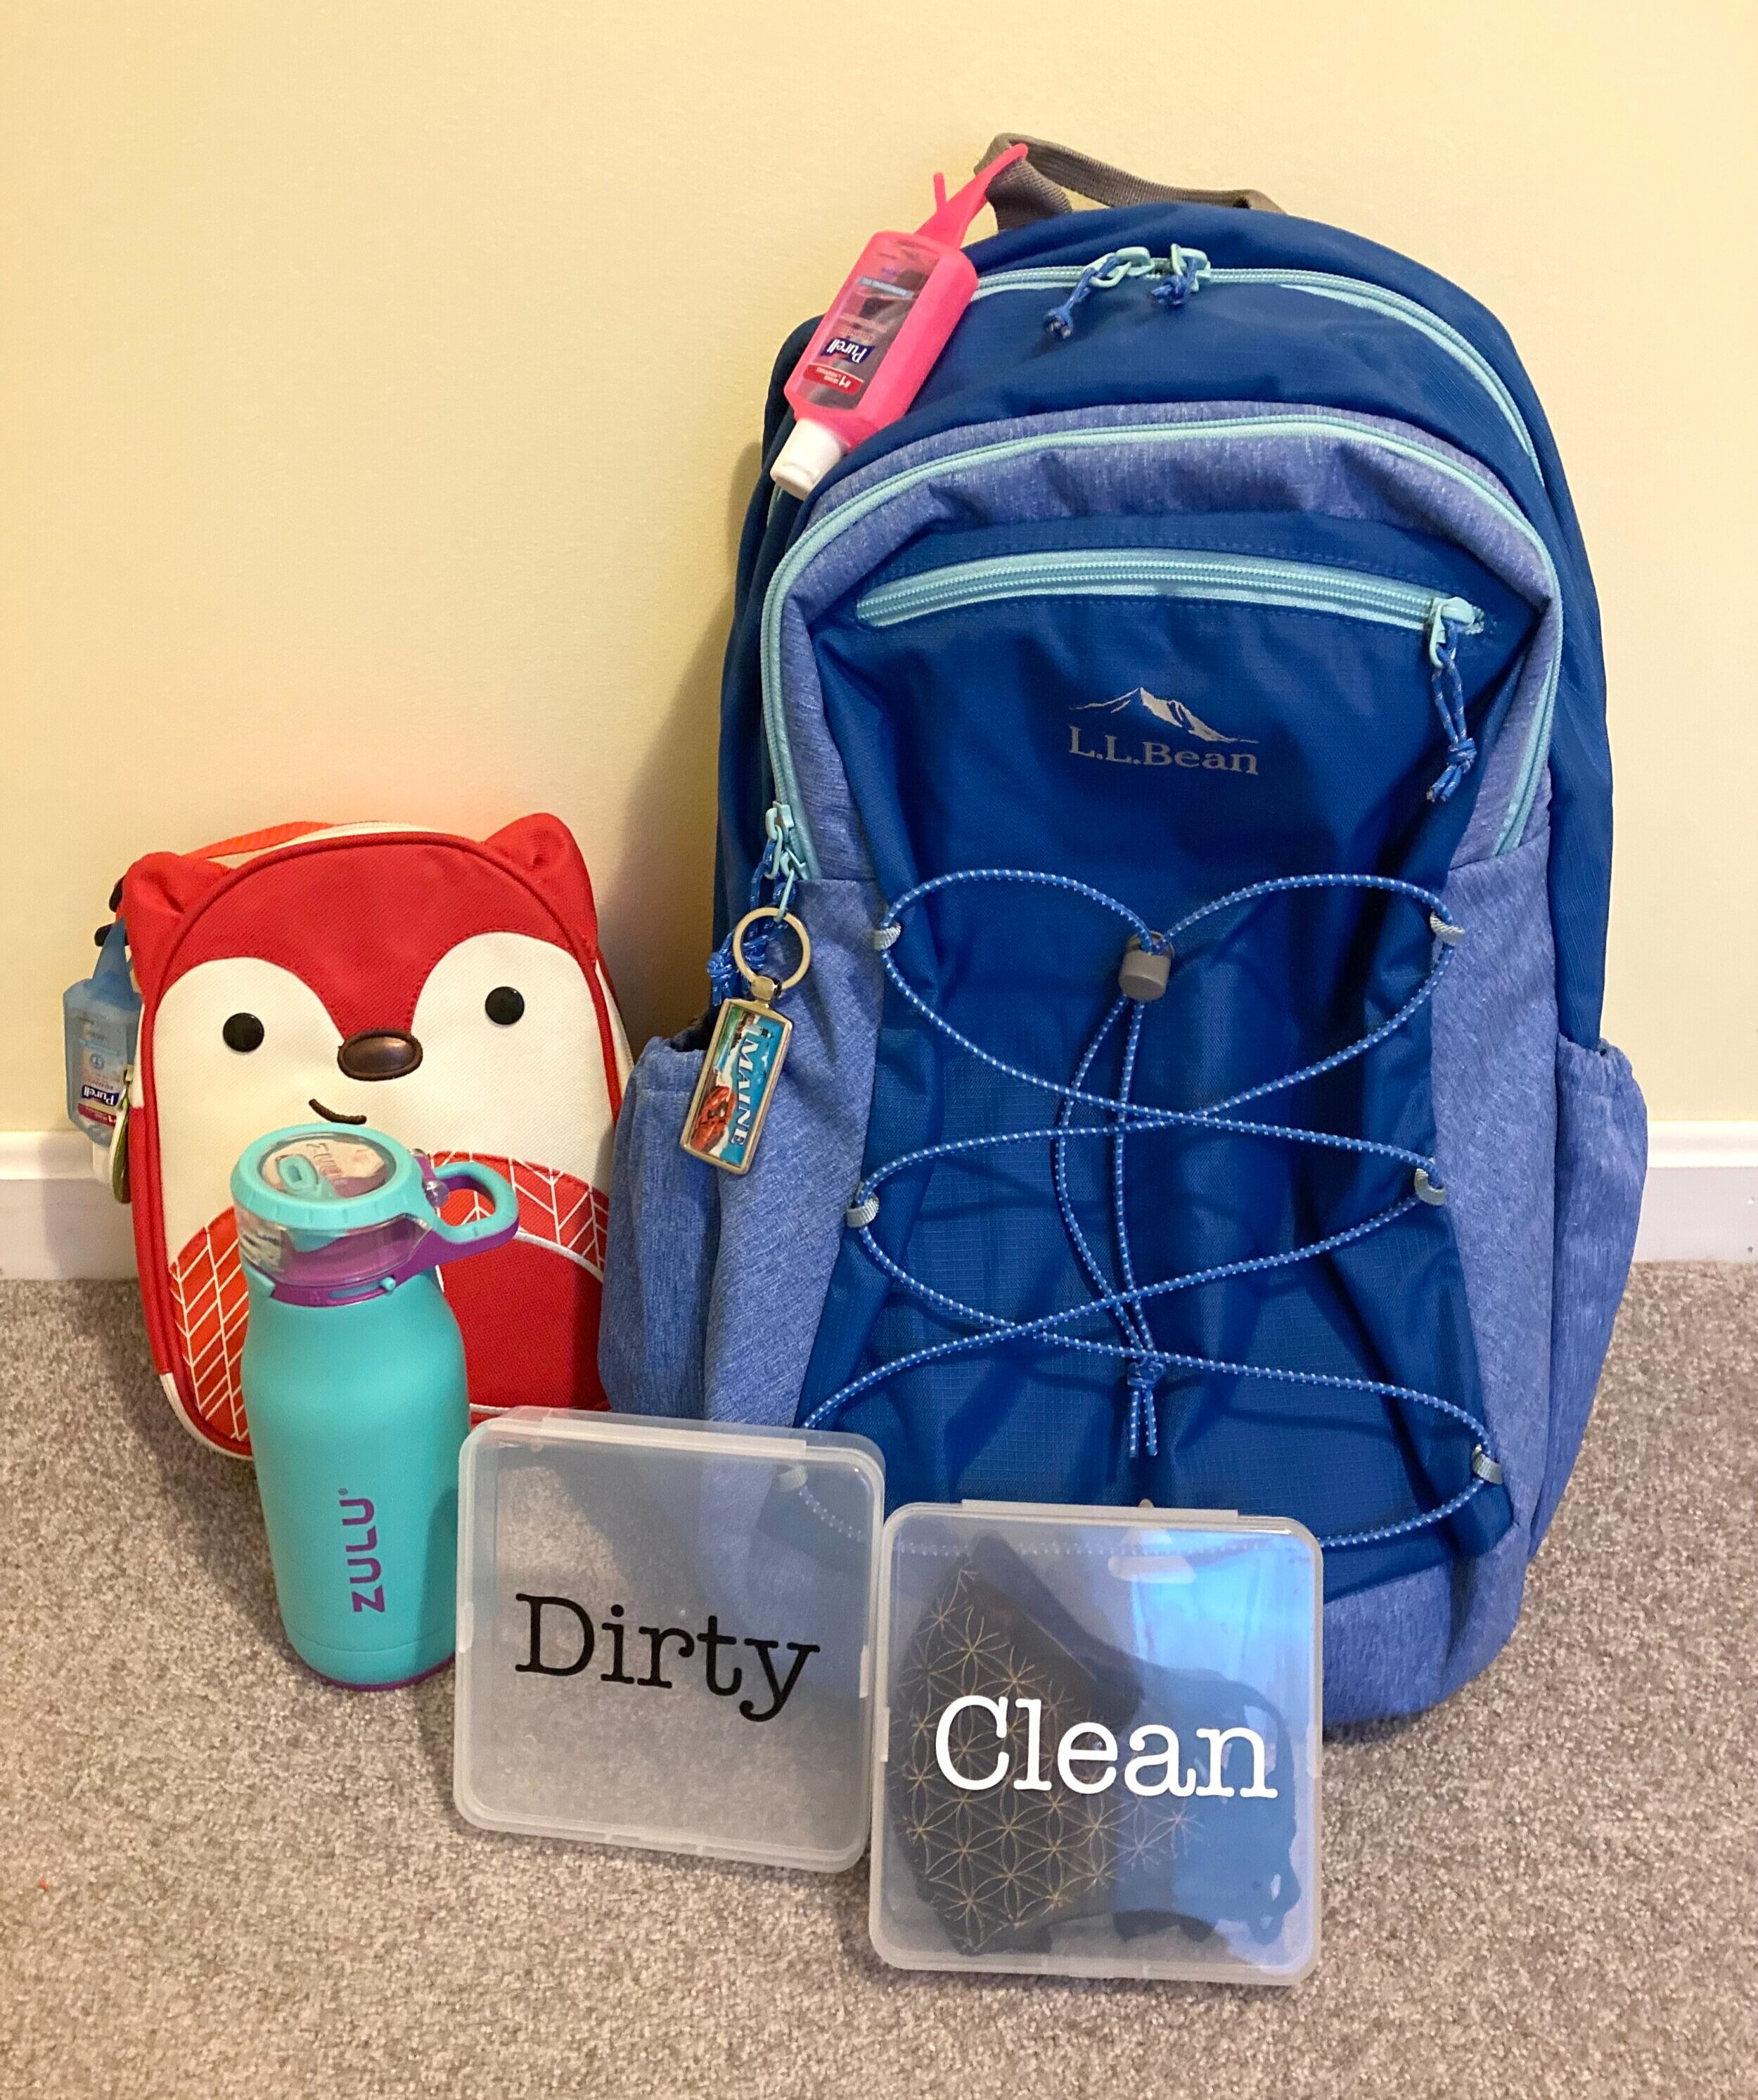
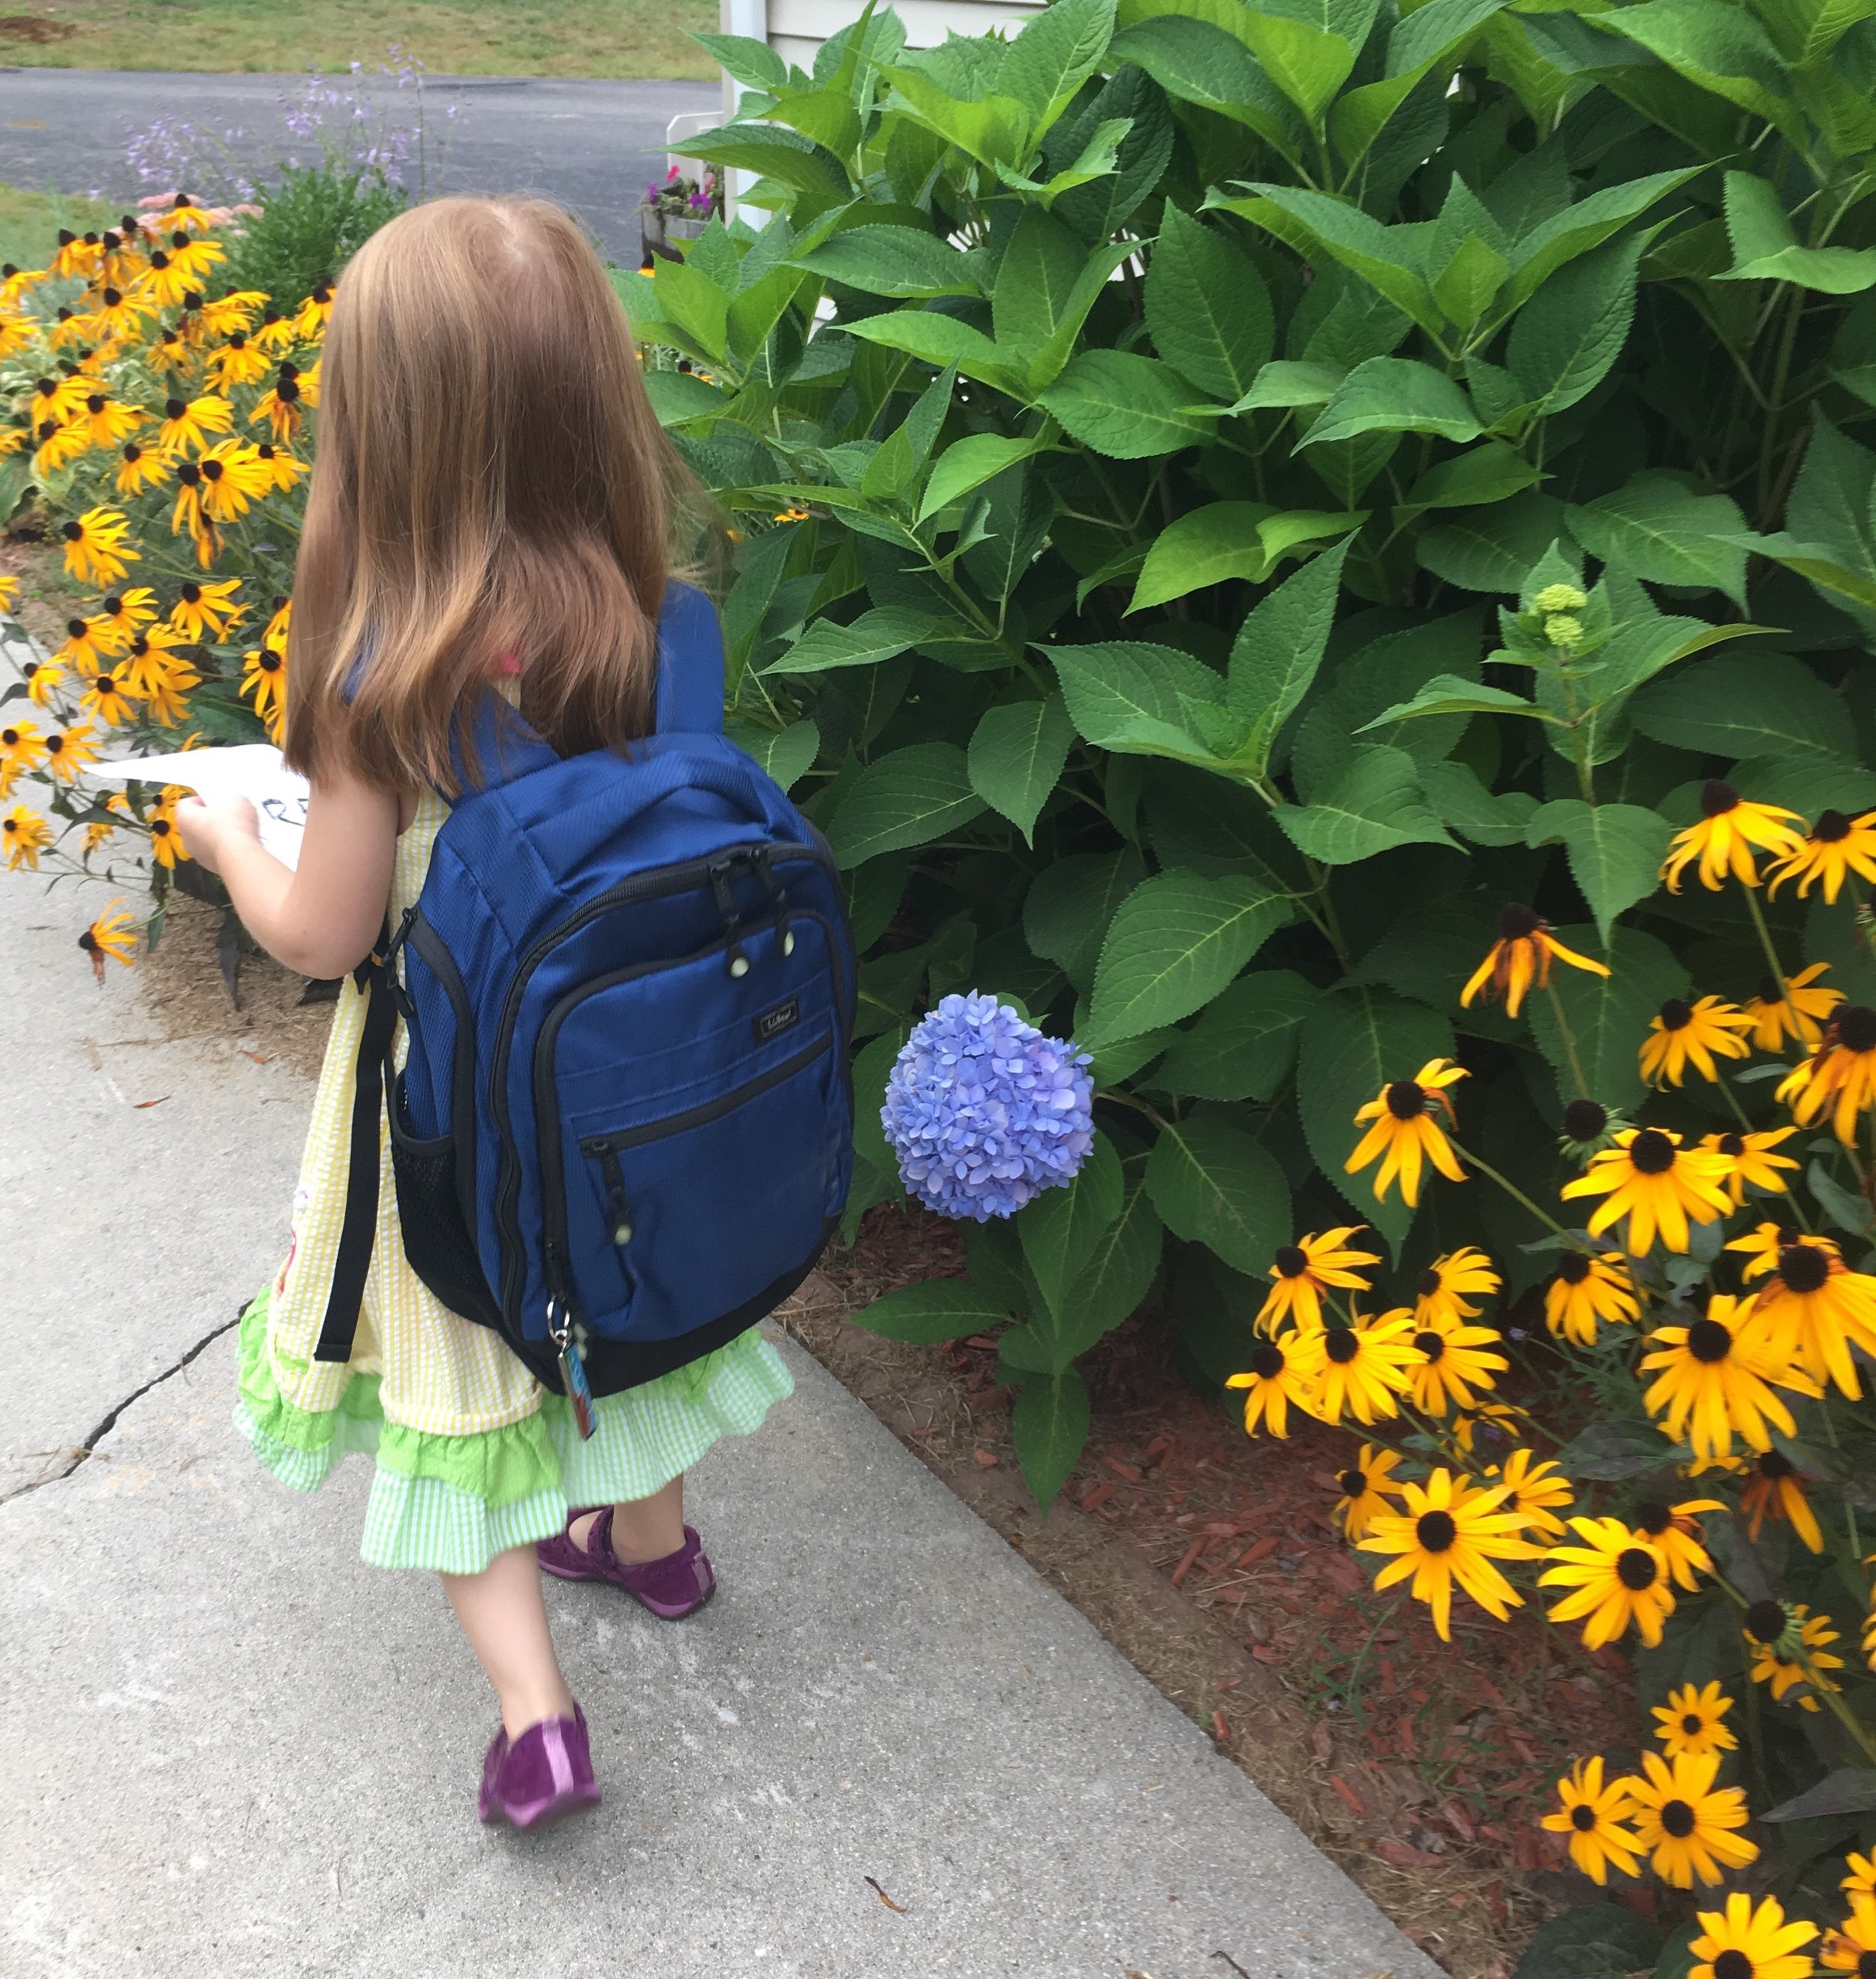
Invest in a Good, Basic Backpack and Lunchbox
Question: How many parents buy their kids new backpacks and lunchboxes every single year? Answer: Wayyyy too many!
There's really no reason to shell out money that often on items that can can stand the test of time if you pick them right. I highly suggest NOT picking a character or crazy pattern backpack or lunchbox. Kids' tastes change from year to year (and sometimes week to week), and if you pick themed or cheaply made items they will not last. Our general guideline is upgrading backpacks once every "big transition" in school - so one backpack to last kindergarten through elementary school, a new one to last through middle school, and then finally a new one for high school. We love solid-color backpacks from high-quality companies like LL Bean - you just know they're going to last and never go out of style. (Pro-tip: check out the Outlets to get great, name-brand backpacks for less!)
Consignment Shop for Back-to-School Clothes
If you've been following the blog for any amount of time now, you know I'm a big fan of consignment selling and shopping. It's a great way to get rid of any clothes or shoes your kids might have outgrown or refuse to wear and make some money back to use on gently used, name-brand "new" items. That way you're essentially "trading up" for new clothes, and spend a lot less out of pocket. {You can read more on my Consignment Selling and Shopping Tips HERE}
Buy Snacks in Bulk and/or Store Brand
If you pack your child's snacks and lunches the cost can definitely can add up over time. One way to save is to buy in bulk whenever possible. If you can buy prepackaged snacks in larger quantities the price-per-item is a lot lower. Buying store brand items over name brand is another great way to save.
Juice boxes are expensive (and arguably unhealthy), so having your child take a reusable water bottle to school saves a lot of money and also helps keep their sugar intake in-check.
Reuse Last Year's School Supplies
A lot of times the school supply list will include things like a set of binders, markers, glue, a pencil case, etc. Many times there's no reason to repurchase these things - they can often be reused from year-to-year. Empty out the old papers from last years binders and reuse those. And the makers, crayons, glue sticks, etc? They likely have plenty of life left - no need to buy more just yet!
Coupon and Rebate Apps
And of course, a great way to save if you need to buy items is to use coupons or rebates whenever you can. We really love Coupons.com for printing coupons and the rebate app Ibotta for earning money back on purchases. At the beginning of the school year, coupons and rebates on back-to-school items are usually plentiful, but make sure to only buy what you really need!
It's almost that time! Are you ready for back to school yet? I've put together a list of some of my favorite Amazon back-to-school finds for all ages and grade levels. | This post contains affiliate links |
Summer is here and it's time for relaxing on the deck or porch, enjoying the weather, and maybe enjoying a beer too. An easy and affordable way to add some practicality and fun to your outdoor space is to simply add a bottle opener to your deck or porch railing! It takes less than 5 minutes to put up and will get use all summer long by you and your guests. | This post contains affiliate links |