How "Clean Kitchen at Night" Changed my Life

Okay, okay - so saying a hashtag "changed my life" is a bit dramatic, but let me explain...

As a Mom, you spend your entire day cleaning up after others... toys, food, diapers, everything - and at the end of the day the last thing you want to do is clean up more. Before kids I used to be good about keeping an empty sink and clean counters, but these days once the kids were in bed I just wanted to be done and the kitchen was left in disarray almost every night. However after seeing An Organized Life's Instagram hashtag #cleankitchenatnight, I was inspired and had to try it!
| This post contains affiliate links |

How Clean Kitchen at Night Changed my Life

The whole point of "clean kitchen at night" is that it's a great motivator.  Having a clean kitchen and clean slate to wake up to in the morning helps set a less-stressful and more motivated tone for the rest of your day, in all aspects of your life. It's so refreshing to see clean counters and an empty sink.  Making meals throughout the day is so much easier too when all of the dishes, pans, and silverware are ready to go!  I don't know how many times before I would go to make a meal, only to realize a specific pan, measuring cup, or casserole dish I needed was still dirty from the day before. Now meal prep is so much easier and quicker, simply because everything is already clean.

How Clean Kitchen at Night Changed my Life

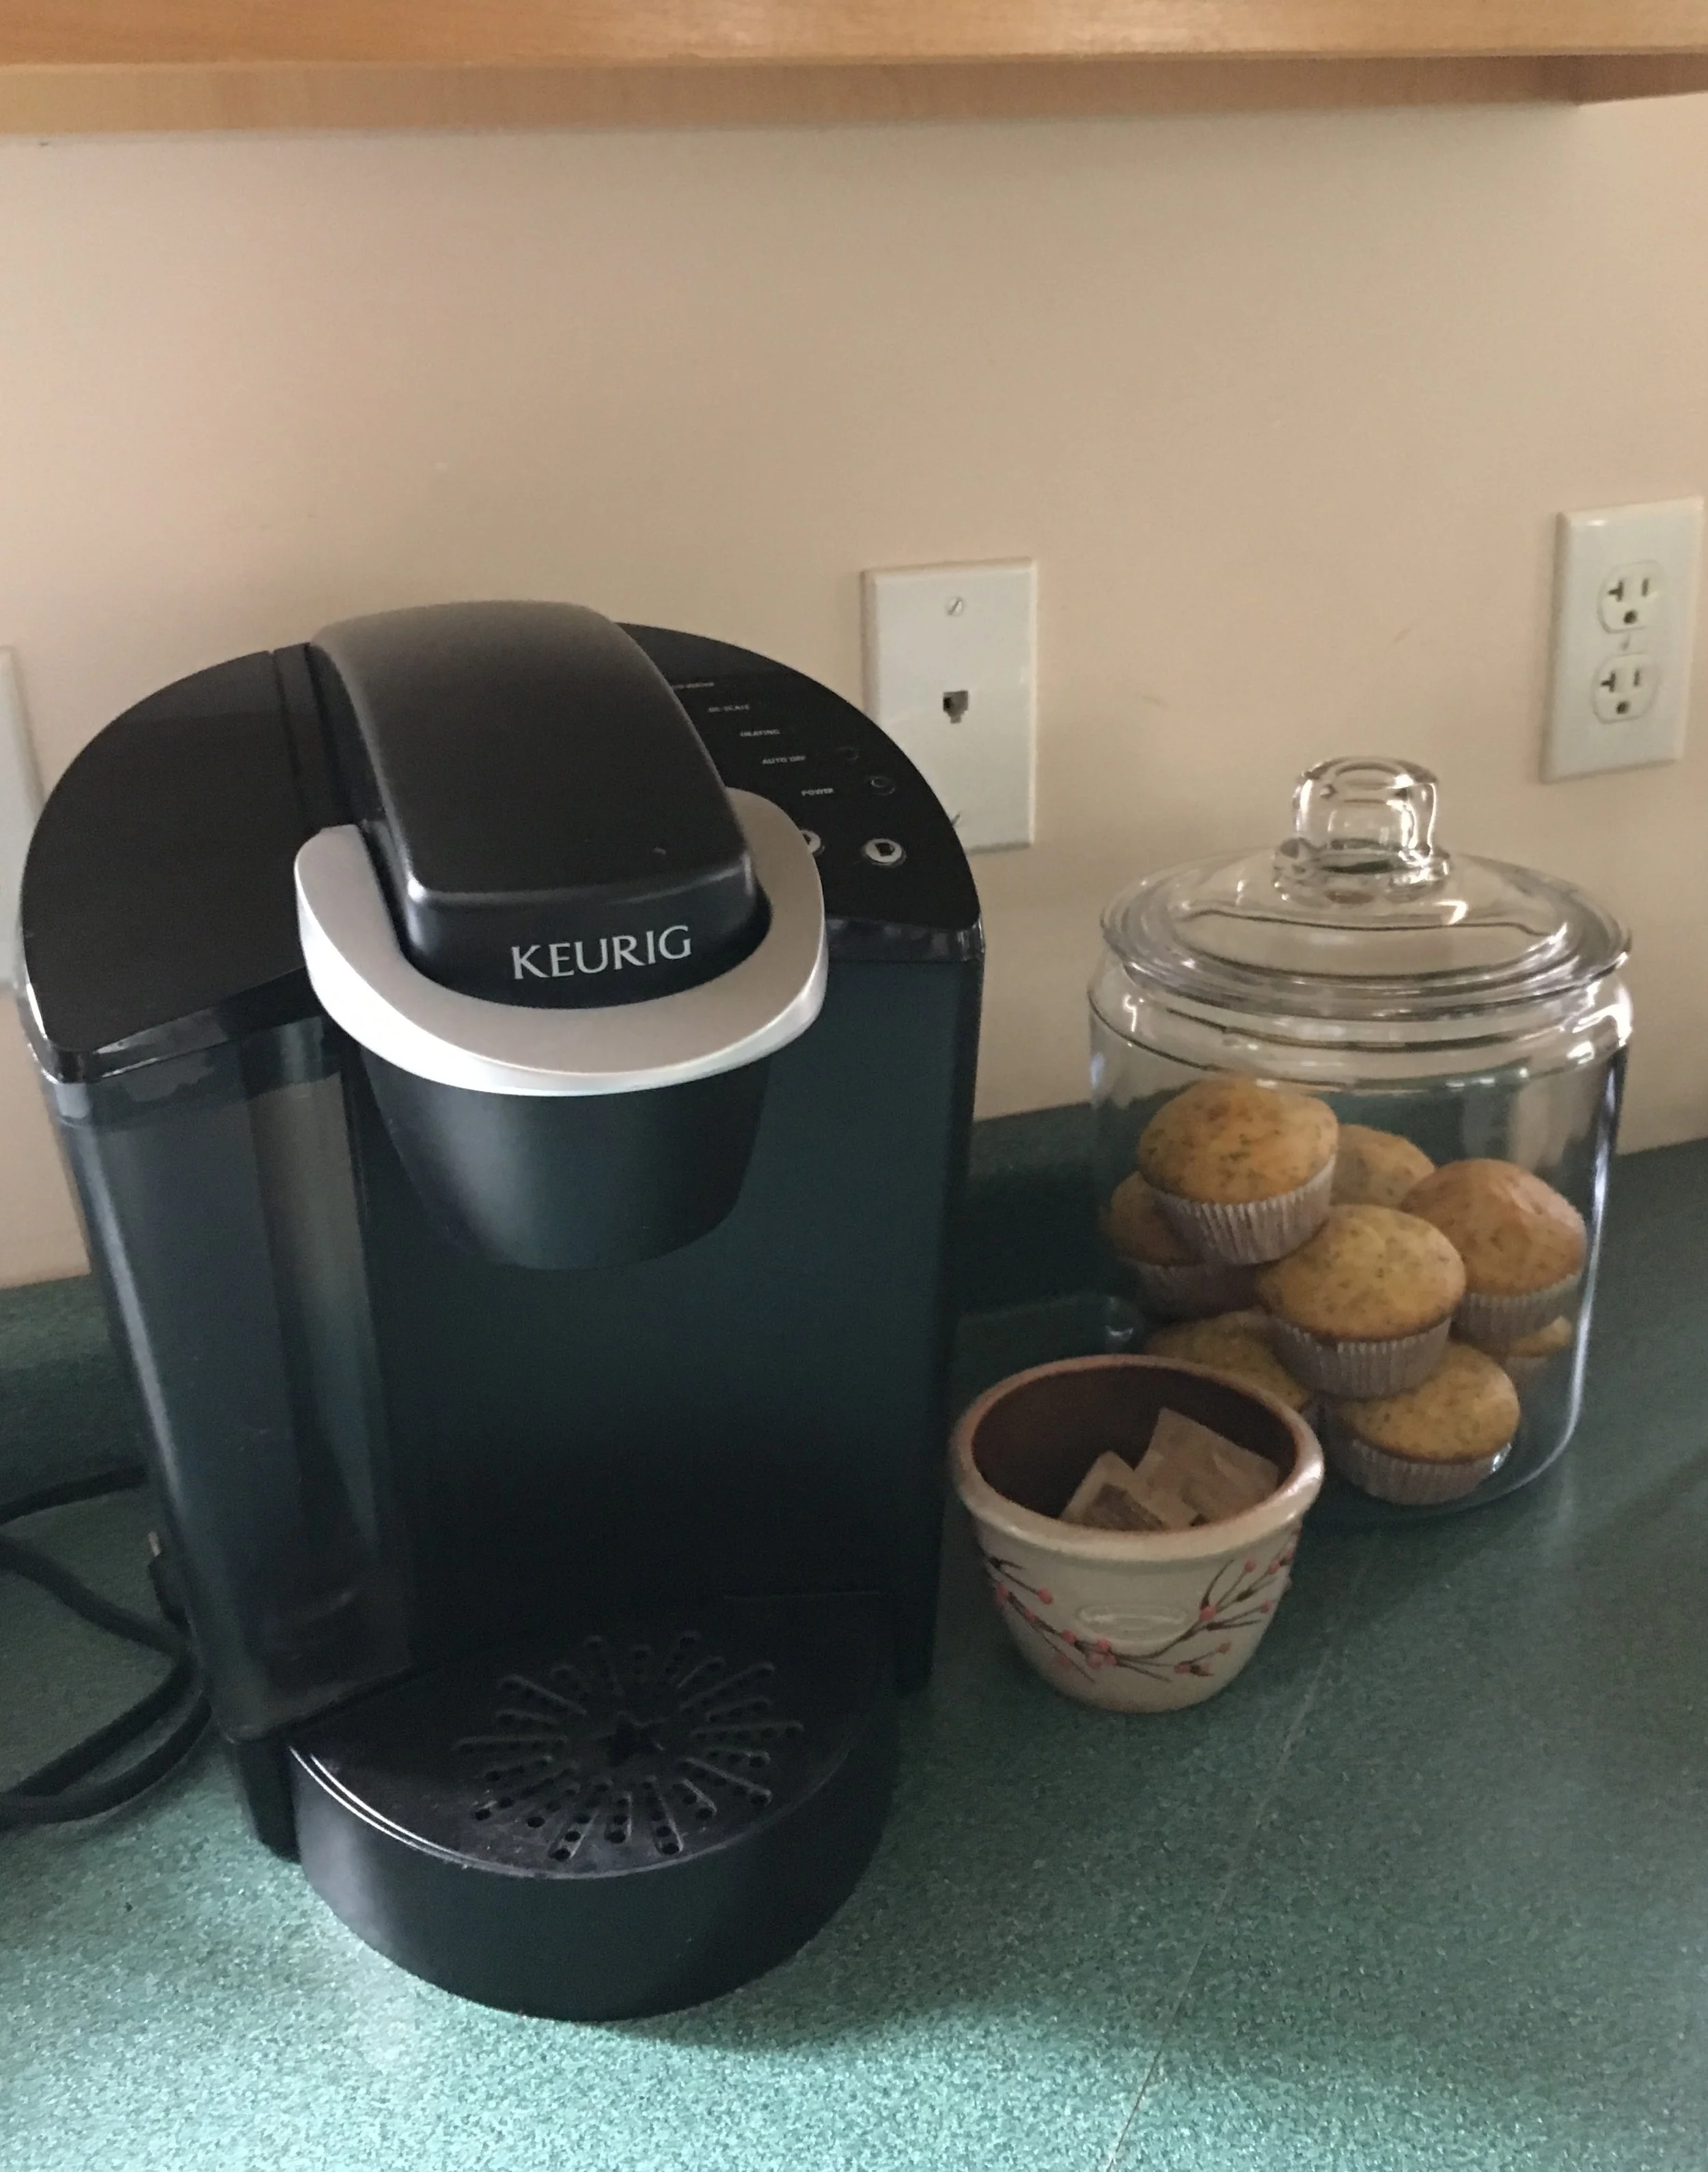
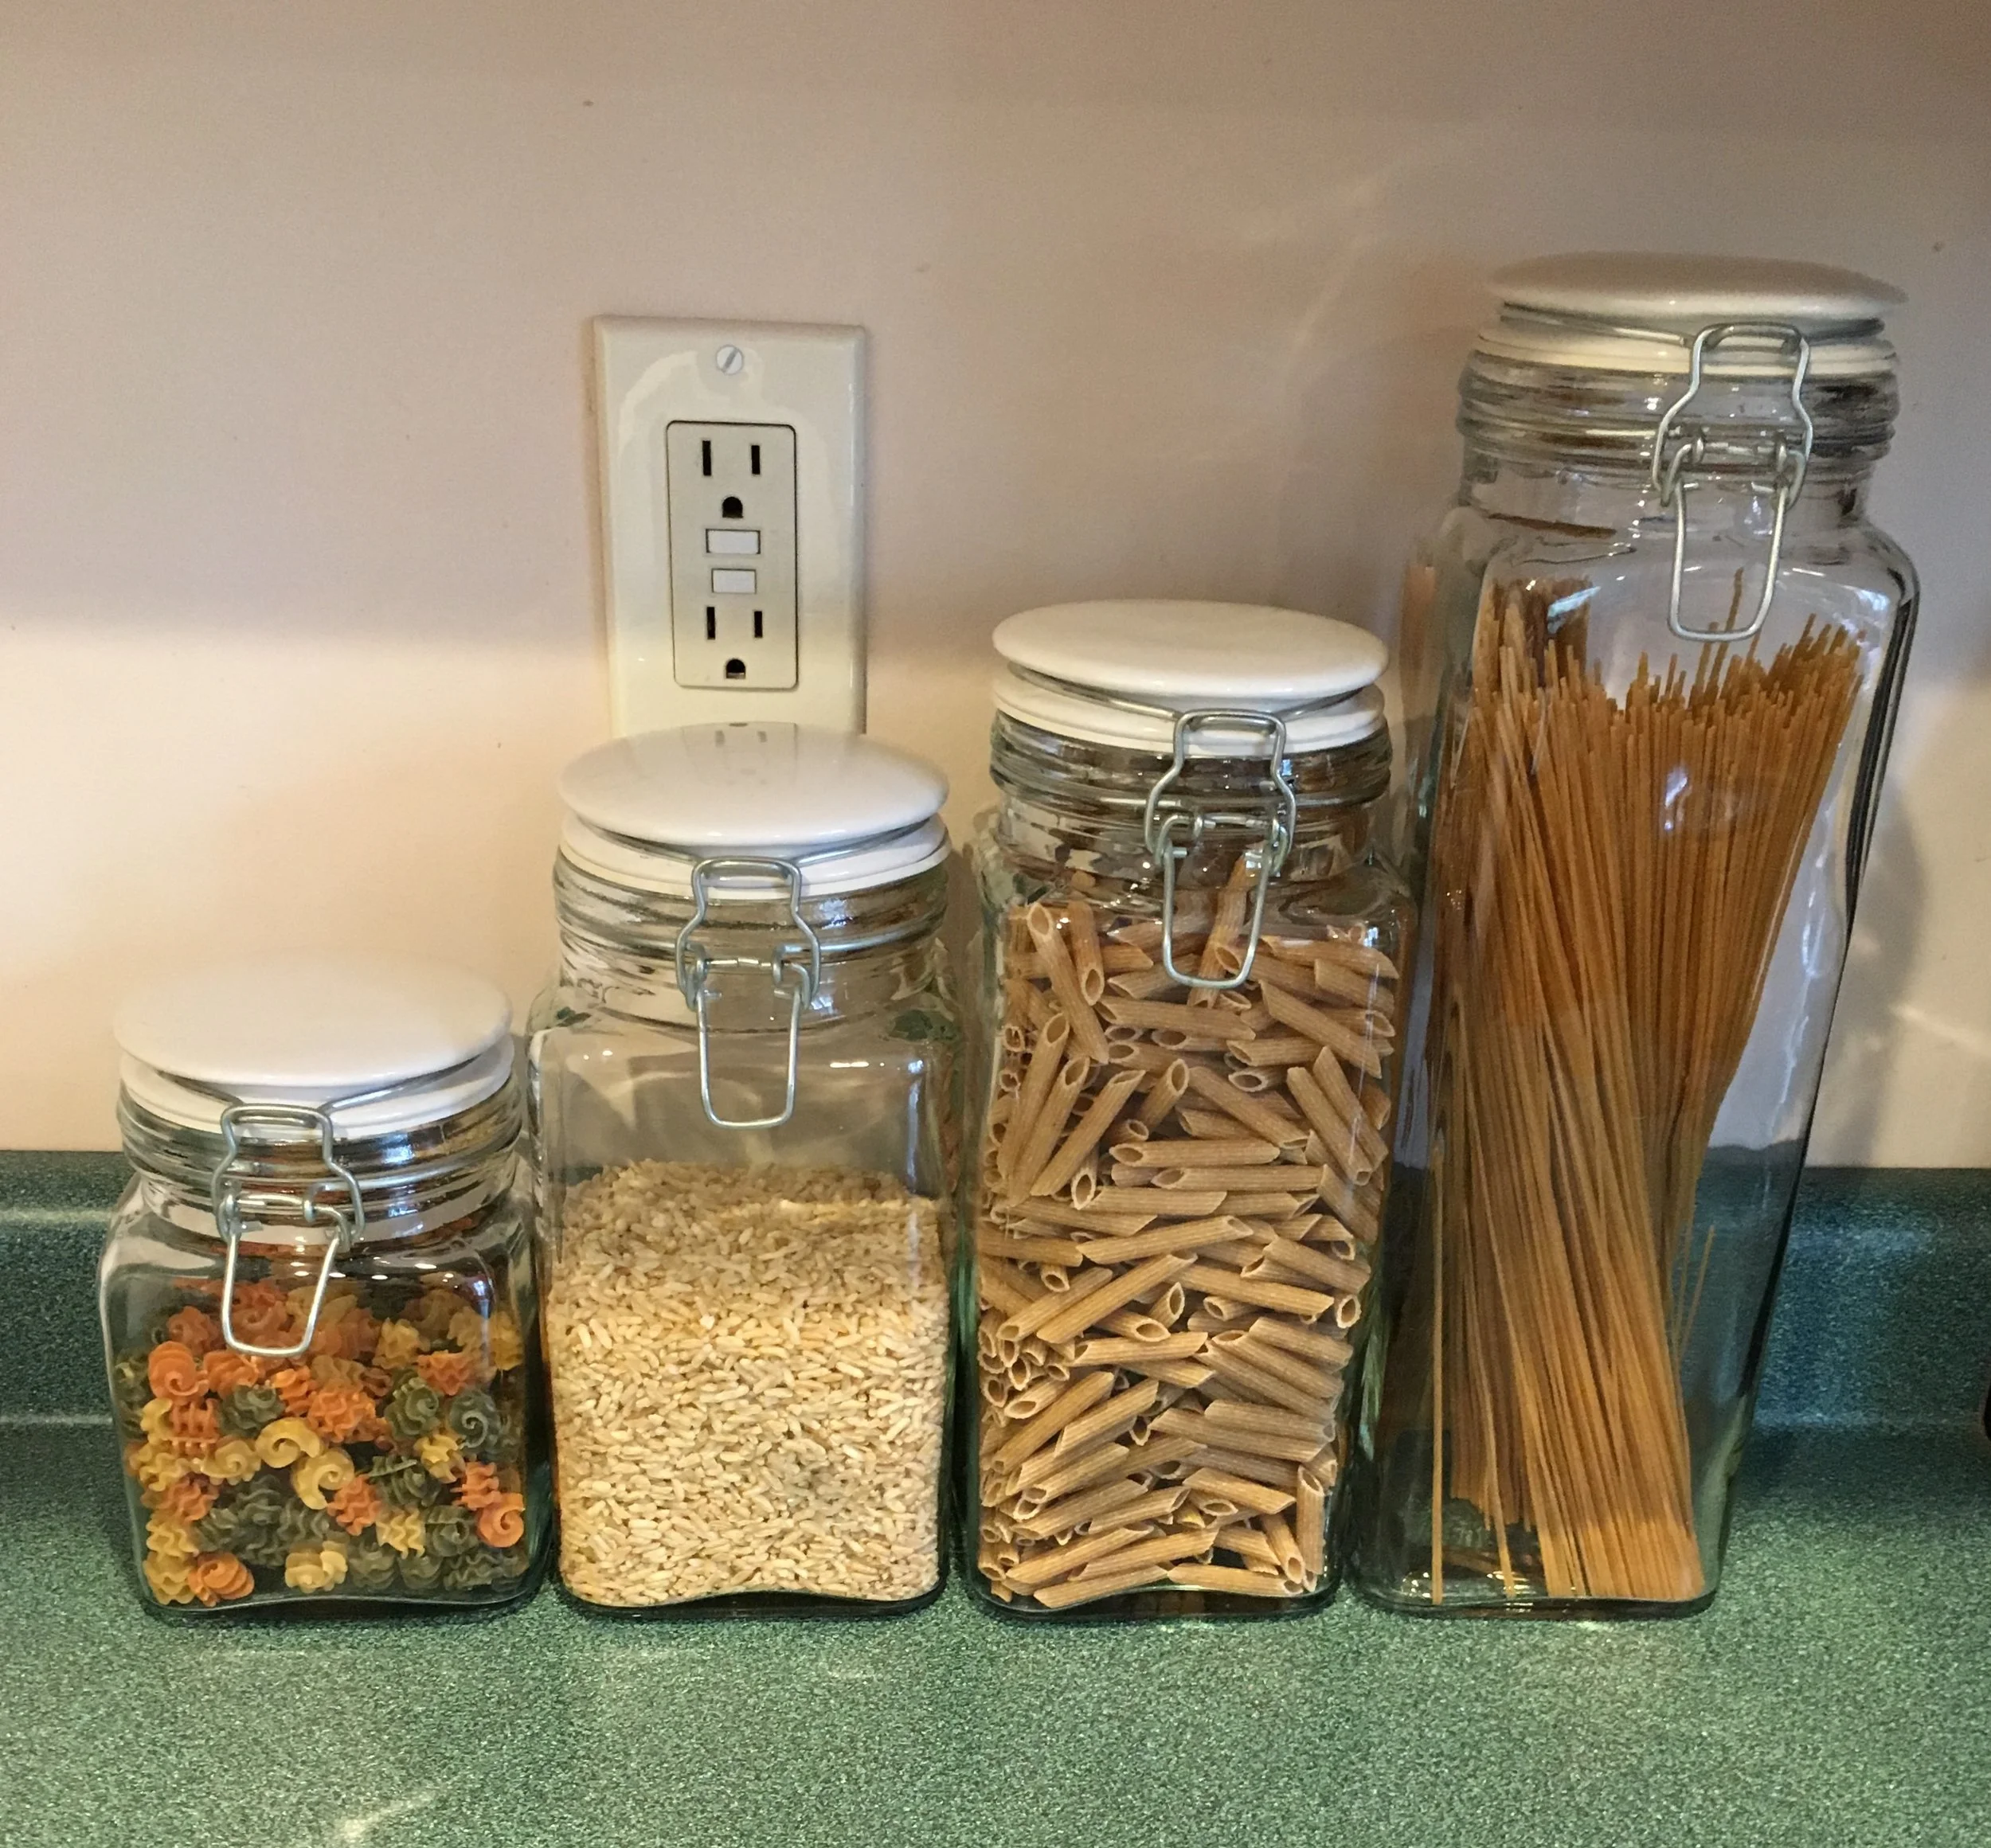
Now, we don’t have an “Instagram-worthy” kitchen… it still has the honey-colored maple cabinets and green (yes, green) builder-grade laminate counters. But trust me in that you don’t need a picture-perfect kitchen to feel the sense of accomplishment and motivation in leaving everything in a clean and organized state each and every night.

As cheesy as it sounds, having a clean kitchen really does reduce stress and brings some peace to normally chaotic mornings. And I’ve found this motivation snowballs into all other areas of my life too - I feel so much more productive in work and efficient in accomplishing my to-do list every day. There's a saying that goes something like "cluttered house, cluttered mind" - and it's true... if you surround yourself with messes and clutter you feel it. If you have a sense of control over your house, even if it's just the kitchen, it makes you feel like you have life together (even if you don't, haha).

Don’t believe me that “Clean Kitchen at Night” really makes a difference?

I challenge you to give it a try! For the next week, I challenge you to make a point to clear out the sink, clean the clutter off the countertops, and wipe down your whole kitchen every night. It can be hard work at first, but once you get in the rhythm it goes quick - especially when you’re only picking up that day’s mess and not messes from previous days too. Try it for a week and let me know if you feel less stressed and more motivated across all aspects of your life - I hope you do!

#cleankitchenatnight #resetyourspace #progressnotperfection

Related Posts:

How Clean Kitchen at Night Changed my Life

KEEP UP WITH BIRCH LANDING HOME
|  Etsy  |  Facebook  |  Instagram  |  Pinterest  |  Bloglovin'  |  Hometalk  |

Money Saving Tips for Back-to-School

Sending the kids back to school usually means shelling out a lot of money on school supplies, clothes, and more.  Here are some of my tips on how NOT to go broke this fall.  | This post contains affiliate links | 

Money Saving Tips for Back-to-School

Invest in a Good, Basic Backpack and Lunchbox

Question:  How many parents buy their kids new backpacks and lunchboxes every single year? 
Answer:  Wayyyy too many! 

There's really no reason to shell out money that often on items that can can stand the test of time if you pick them right. I highly suggest NOT picking a character or crazy pattern backpack or lunchbox. Kids' tastes change from year to year (and sometimes week to week), and if you pick themed or cheaply made items they will not last. Our general guideline is upgrading backpacks once every "big transition" in school - so one backpack to last kindergarten through elementary school, a new one to last through middle school, and then finally a new one for high school. We love solid-color backpacks from high-quality companies like LL Bean - you just know they're going to last and never go out of style. (Pro-tip: check out the Outlets to get great, name-brand backpacks for less!)

Consignment Shop for Back-to-School Clothes

If you've been following the blog for any amount of time now, you know I'm a big fan of consignment selling and shopping.  It's a great way to get rid of any clothes or shoes your kids might have outgrown or refuse to wear and make some money back to use on gently used, name-brand "new" items.  That way you're essentially "trading up" for new clothes, and spend a lot less out of pocket. 
{You can read more on my Consignment Selling and Shopping Tips HERE}

Quality backpack and clothes from a consignment shop stretch your back to school budget farther!

Buy Snacks in Bulk and/or Store Brand

If you pack your child's snacks and lunches the cost can definitely can add up over time.  One way to save is to buy in bulk whenever possible.  If you can buy prepackaged snacks in larger quantities the price-per-item is a lot lower.  Buying store brand items over name brand is another great way to save.  

Reusable Water Bottle

Juice boxes are expensive (and arguably unhealthy), so having your child take a reusable water bottle to school saves a lot of money and also helps keep their sugar intake in-check.

Reuse Last Year's School Supplies

Money Saving Tips for Back to School

A lot of times the school supply list will include things like a set of binders, markers, glue, a pencil case, etc.  Many times there's no reason to repurchase these things - they can often be reused from year-to-year.  Empty out the old papers from last years binders and reuse those.  And the makers, crayons, glue sticks, etc?  They likely have plenty of life left - no need to buy more just yet!  

Coupon and Rebate Apps

And of course, a great way to save if you need to buy items is to use coupons or rebates whenever you can. We really love Coupons.com for printing coupons and the rebate app Ibotta for earning money back on purchases. At the beginning of the school year, coupons and rebates on back-to-school items are usually plentiful, but make sure to only buy what you really need!

KEEP UP WITH BIRCH LANDING HOME
|  Etsy  |  Facebook  |  Instagram  |  Pinterest  |  Bloglovin'  |  Hometalk  |

Back-to-School Amazon Picks

It's almost that time!  Are you ready for back to school yet?  
I've put together a list of some of my favorite Amazon back-to-school finds for all ages and grade levels.  | This post contains affiliate links |

Back-to-School Amazon Favorites!

KEEP UP WITH BIRCH LANDING HOME
|  Etsy  |  Facebook  |  Instagram  |  Pinterest  |  Bloglovin'  |  Hometalk  |

Life Hack: Add a Bottle Opener to your Deck Railing

Summer is here and it's time for relaxing on the deck or porch, enjoying the weather, and maybe enjoying a beer too.  An easy and affordable way to add some practicality and fun to your outdoor space is to simply add a bottle opener to your deck or porch railing!  It takes less than 5 minutes to put up and will get use all summer long by you and your guests.  | This post contains affiliate links |

Life Hack:  Bottle Opener on Deck Railing

KEEP UP WITH BIRCH LANDING HOME
|  Etsy  |  Facebook  |  Instagram  |  Pinterest  |  Bloglovin'  |  Hometalk  |

DIY Slate Garden Markers

I've been eyeing slate garden markers for our herb garden for awhile now, but buying pre-made ones are soooo expensive and they never have all the varieties I want.  So I decided to take matters into my own hands and make my own.  Because I have the world's worst handwriting (it's true, ask anyone) I used a Cricut to cut the text for me, but if you have half-decent handwriting you could easily do this project with a paint marker too.  | This post contains affiliate links |

DIY Slate Garden Markers

Materials:  

How To:  

1.  If using your Cricut to make the text, measure your garden markers and make each "label" in Design Space the appropriate size.  I chose a font with a handwritten feel, but you can use whatever font you prefer.  You may need to play around with the scale of the lettering to get it to fit.  Use 651 Permanent Vinyl to cut your text.  

Making the labels in Design Space for Cricut

2.  "Weed out" your text, removing any pieces of vinyl you don't want to be in your final design.  I find a dental explorer to be super useful here to get rid of the pieces inside of letters, but it's not necessary.  The finer-point text was definitely a lot harder to weed (which is why you'll notice the dot on the "i" in garlic chives isn't in the right place).  

DIY Slate Garden Markers in progress

3.  Next use contact paper or transfer tape to put over your final vinyl design and rub well to make sure it's on there good.  This will "carry" the vinyl once the backing is removed.  

DIY Slate Garden Markers in progress

4.  Carefully peel the backing off your design.. this can be tricky.  My advice is to go slowly and have your dental explorer handy if you have one!  It can help hold letters down as you peel off the back.  

5.  Once the backing is removed, carefully place on a clean and dry slate marker.  Rub the design on well (I use an old gift card like a squeegee).  Once it's on there good, carefully peel off the contact paper.  
Alternatively:  If you don't have a Cricut or want to do this project by hand, you can skip steps 1-5 and just write your text freehand with a white paint marker and allow to dry.  

DIY Slate Garden Markers in progress

6.  To make sure the vinyl doesn't peel or come loose, I use a spray acrylic sealer to seal them.  Just put the markers on a scrap piece of cardboard, give a light coating of the spray sealer, and allow to dry (make sure you're in a well-ventilated area). 
If you used a paint marker instead I would also suggest sealing them.  

DIY Slate Garden Markers in progress
DIY Slate Garden Markers

7.  Hang your new garden markers!  You can buy special hangers for them if you like, or use sticks and some twine or wire.  In my case I wanted them on the barrels in our herb garden so I simply used some thin copper wire and "flossed" it through the slots in the barrel, tying it off with a large washer at the back so they don't pull through.  

It has been SOOO abnormally hot in New England these past few weeks that my herb garden isn't looking too wonderful at the moment (hence the limited "after" pictures).  We have six wine barrel planters on a small patio; four of the planters have perennial herbs (chives, garlic chives, sage, and peppermint) that come back each year and the other two planters I switch up each summer.  Currently my poor plants are a bit sun-stressed and I'm far behind on weeding, but I hope you'll get the idea of the final install below.  I think it really helps finish the space and I love that things are finally labeled.  

EDIT Spring, 2020: Just wanted to hop on here and add that I’ve left these up year-round on our herb barrels since 2018 and they still look great! No fading or peeling with the sun or snow. The slate with the permanent vinyl labels and sealer have definitely held up wonderfully.

DIY Slate Garden Markers

KEEP UP WITH BIRCH LANDING HOME
|  Etsy  |  Facebook  |  Instagram  |  Pinterest  |  Bloglovin'  |  Hometalk  |

Shop Small - and Secondhand

I'm a big fan of supporting small/local companies as well as shopping secondhand when I can.  I consign a lot and often use the money earned from the consignment shop towards new items - that way in a sense we're just "trading up" and not spending a lot out of pocket.  

I thought I'd share some outfit details from a recent wedding we attended to show how you can pull these things together. This dress is Lauren by Ralph Lauren (I couldn't find the exact one to link, but here is a similar one - affiliate link), and I bought it second-hand at a NH-based consignment store called M&C. Because I had store credit from consigning some things there, I only had to pay a whopping 62 cents out of pocket for it! The leather "Buoy Block Clutch" is from Maine-based company Eklund Griffin, and while it can be considered an investment piece it's definitely something that's well-made and timeless and will get a lot of use for many years to come. Finally the gold necklace is from The Silver Wren on Etsy - a small shop that makes beautiful hand-stamped jewelry. I had this necklace made with our daughters' initials and love that I can wear it dressed up or down.

By spending your money wisely, you can get the most impact by saving big shopping second-hand and supporting small and local companies when you can.  Happy shopping!  

Save big and invest in small business by shopping secondhand and shopping small.

KEEP UP WITH BIRCH LANDING HOME
|  Etsy  |  Facebook  |  Instagram  |  Pinterest  |  Bloglovin'  |  Hometalk  |

Shop my Amazon Favorite Finds with Ease!

Amazon Influencers now have categories which makes browsing my Favorite Finds so much easier!  Check out my lists and let me know if you have any questions on the products - I have different lists for Home, Kitchen Favorites, DIY Supplies + Tools, Fashion + Beauty, Outdoors, and Baby + Kid Items. 
| This post contains affiliate links |

Shop Birch Landing Home's Amazon Favorites with Ease!

KEEP UP WITH BIRCH LANDING HOME
|  Etsy  |  Facebook  |  Instagram  |  Pinterest  |  Bloglovin'  |  Hometalk  |

Pain-Free Childbirth: My Hypnobirthing Experience

When you're a first-time mom, the idea of childbirth can be pretty terrifying.  Of course it doesn't help that everyone is always quick to share their horror stories with you which just adds to the stress and the fear of the unknown.  The bottom line though is that everyone's labor and birth experience is different - and yours doesn't have to be stressful, painful, or scary.  It IS possible to have a pain-free natural labor and delivery.  | This post contains affiliate links | 
Disclaimer:  This post shares my personal experience and is not medical advice - please always consult with your doctors for what's best for you and know that everyone's birth experience is different.

Pain-Free Childbirth:  My Hypnobirthing Experience

For our first baby, I was induced (she was a week late) and through guided relaxation and trusting my body to do it's job I can honestly say I felt no pain during labor or her birth.  The whole experience was still absolutely exhausting, draining, and overwhelming at times - but I never felt anything I can describe as pain.  In fact, towards the end of my labor I stopped feeling the contractions and even dozed through some of them.  It's incredible what a woman's body is capable of, and how much you can control mind-over-matter.  

Here is how I was able to have a pain-free, natural delivery:  

Do Your Homework

During your pregnancy read up on labor and delivery techniques. Know that anything is possible and learn all your options, but really focus on learning and practicing all of the relaxation techniques. I particularly liked The Pregnancy Book and The Birth Book. Both books had overall very positive messages and covered everything from natural birth to epidurals to c-sections, but The Birth Book especially talked about natural birth coping techniques. Doing this homework really lays the groundwork to mentally prepare yourself for labor and birth, and being mentally prepared is most of the battle.

Tune out Negative, Seek out Positive Stories

When you're pregnant, everyone will give you unsolicited advice - from your friends and family to total strangers in the grocery store - and probably 95% of these stories will be negative.  It's hard not to let all the horror stories get to you after awhile but really try to tune these out because your birth experience doesn't have to be like that.  When someone has a positive story to share, pay attention - viewing the whole process with a more positive mindset will help you see that a wonderful birth story can be possible.  

Take a Hypnobirthing Class

This was something I actually did not do... I lucked out being able to hypnobirth without formal training (being mentally prepared, having wonderful support people, and a little luck allowed me to be successful without training, but I'm probably an exception).  By taking a hypnobirthing class you will learn about all the natural coping techniques and be given time to practice and visualize how you hope your birth to go.  All of this will help you be more mentally and physically prepared for delivery day.  

Hire a Doula

When you go to the hospital to deliver, you have no choice on which nurse you will get.. and for all you know you might get the one that will just rub you the wrong way.  The L&D nurses also tend to come and go throughout your labor.. they will check on you and stay with you if necessary, but otherwise you'll labor a lot on your own especially in the beginning.  A Doula is your own personal labor support person - someone who has experience and training attending births and helping the laboring mother.  A Doula is not a doctor or a nurse, and will not make medical decisions, give medical advice, or deliver the baby.  She is strictly there to be your personal cheerleader and coach you on ways to make your labor more comfortable.  By choosing your doula, you decide who will be there to support you and can pick someone you feel comfortable with and enjoy.  

Our Doula came armed with a bag of "labor tricks" - which included aromatherapy, relaxing music, spiky rubber handles for you to squeeze (the discomfort of squeezing them with your hands is supposed to help distract you from the discomfort of your contractions), tennis balls to massage your back, and LED candles to give the room a relaxing atmosphere.  She also was a certified lactation consultant and had a certificate in hypnobirthing so she knew all the relaxation techniques.  

Create a "Birth Wishes" List

I say Birth Wishes instead of Birth Plan here because nothing about your labor and delivery may go "to plan."  If you have a "plan" that tends to fall in the mindset of expecting your birth to go exactly a certain way and that's almost never the case... but by having "wishes" you set yourself up to be more flexible with the whole situation.  When you write your Birth Wishes list make sure to phrase it all as wishes too, in order to keep that flexible mindset (for example, don't write "I will not have an epidural" or "I will do skin-to-skin", but instead say "I would like to labor all naturally for as long as possible, hopefully the entire time.  I hope to have a natural birth" or "I would like to do skin-to-skin immediately after the birth").  

Definitely write out a "Birth Wishes" list as it will help you visualize how you'd like things to go, and will give your medical team an idea of what things you do/do not want to do - but keep in mind it can all change at any time, some things are just beyond your control.  

Start Relaxing from the First Contraction

In the beginning of labor your contractions can start out slow and not bothersome.  You may be able to move and talk through them at first or at least stop and easily let them pass over you.  Even if they're easy to deal with in the beginning it's important to set yourself up for success for the remainder of your labor and start relaxing now.  Relaxing when something hurts seems counterintuitive (after all, if you stub your toe you tend to tense up, right?), but by totally relaxing during contractions they will actually hurt less because you're not fighting it and you're letting your body do it's job.  The best way I can describe this total relaxation is letting yourself "melt."  When you're having a contraction just let yourself become a puddle on the bed or in your chair, etc.  And if you're standing, have your husband support you and just let yourself melt.. let your knees go soft and your arms and head drop and have him hold you.  It's so important to not hold any tension anywhere in your body during the contractions, and the more you're able to relax the easier it should be.  Having a Doula really helps here because she can help coach you through the relaxation ("relax your jaw, relax your fingers, let your shoulders drop...").  After a few hours of coached relaxation, my body went on autopilot and I honestly didn't even feel the contractions anymore and was even able to doze through some of them.  

Don't Watch the Clock

Once you're safely laboring in the hospital, put your phone away and pay no attention to the clock.  Time means nothing in labor... some women labor for minutes, some for hours, and yes.. some even labor for days.  The important thing is to take each contraction one at a time - it doesn't matter how many contractions you've had or how many more are to come, all that matters is the moment you're in now.  Taking it one contraction at a time is the easiest way not to feel discouraged or overwhelmed, just take it one step at a time.  

Save the Tub as your Last Resort

If you have access to a labor tub, it's heaven.  The warm water and being able to let yourself float during contractions is just such a huge relief.  However, you don't want to play that card early in your labor since the relaxing effects of the tub tend to wear off the longer you're in it.  Instead save the tub until you just can't take the contractions anymore (like during the Transition Phase of labor), then savor all the warm relaxation the labor tub has to offer - it'll feel like heaven.  

Realize that Sometimes Decisions are Made For You

Above all, go in with a positive mindset and ready to relax yourself through labor but understand that ultimately sometimes decisions will be made for you in the best interest of you and your baby's health.  For us, I was lucky enough to successfully hypnobirth our first baby and have the incredible all-natural birth experience I always wanted.  However, for our second pregnancy baby #2 stayed breech and just would not turn.  For us this time, I did not get the opportunity for an all-natural birth but instead had a planned c-section - and guess what?  It was still incredible!  No matter how your baby is delivered it's an amazing experience - enjoy and savor it.  

Best of luck, Mamas!!  


Disclaimer:  This post shares my personal experience and is not medical advice - please always consult with your doctors for what's best for you and know that everyone's birth experience is different.

KEEP UP WITH BIRCH LANDING HOME
|  Etsy  |  Facebook  |  Instagram  |  Pinterest  |  Bloglovin'  |  Hometalk  |