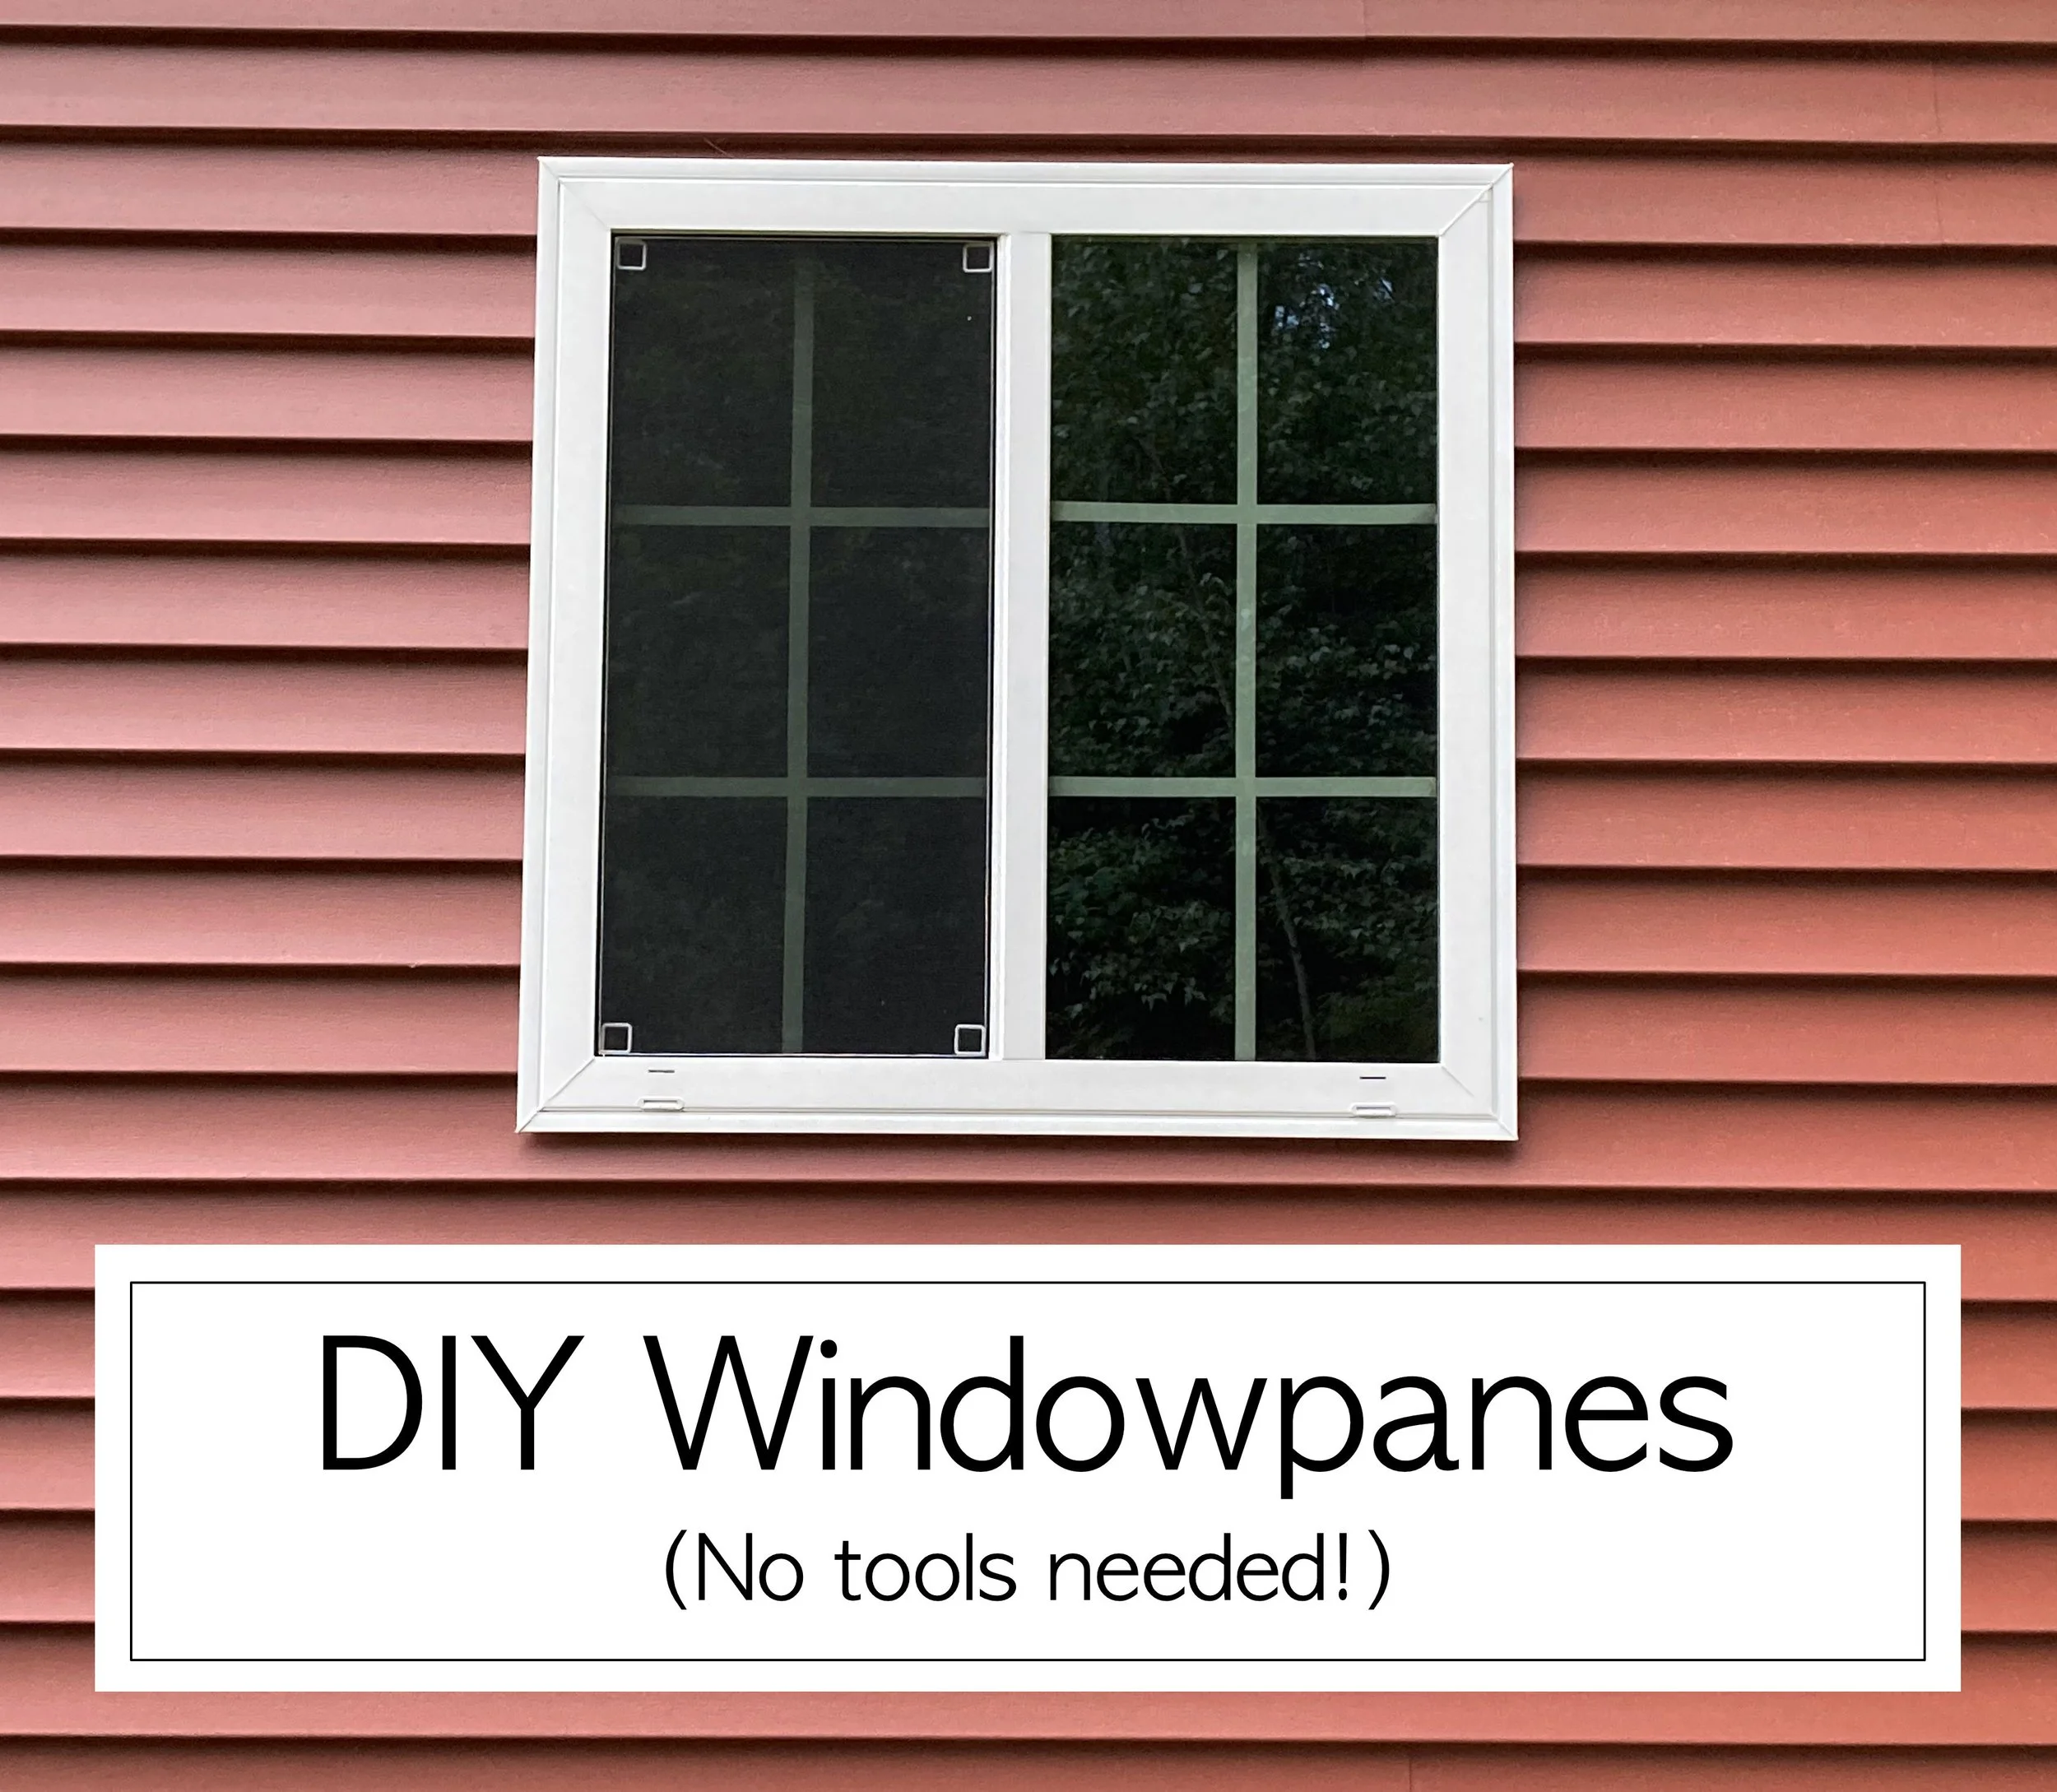
This past fall we had a detached garage built on our property. Being what construction costs are these days we went with basic vinyl windows with no window panes since it was cheaper. We thought “Meh, it’s just a garage - it doesn’t have to match our house perfectly.” But after the garage was done we realized it really was missing something with the basic plain windows, and adding panes was just what it needed. | This post contains affiliate links |
I considered a bunch of different ways to make the panes, including using thin scraps of wood painted and set within the window frame on the inside - but all of that was pretty labor-intensive. In the end I realized using thin strips of vinyl or tape would probably be the easiest - and so that’s what I did!
Using white electrical tape ended up being the perfect solution in our situation - it was to be used in a little-used area, it was the right width, and it was the right color.
- white electrical tape (though if your window sashes are black or a different color you can buy different colored tape to match)
- scissors
- tape measure
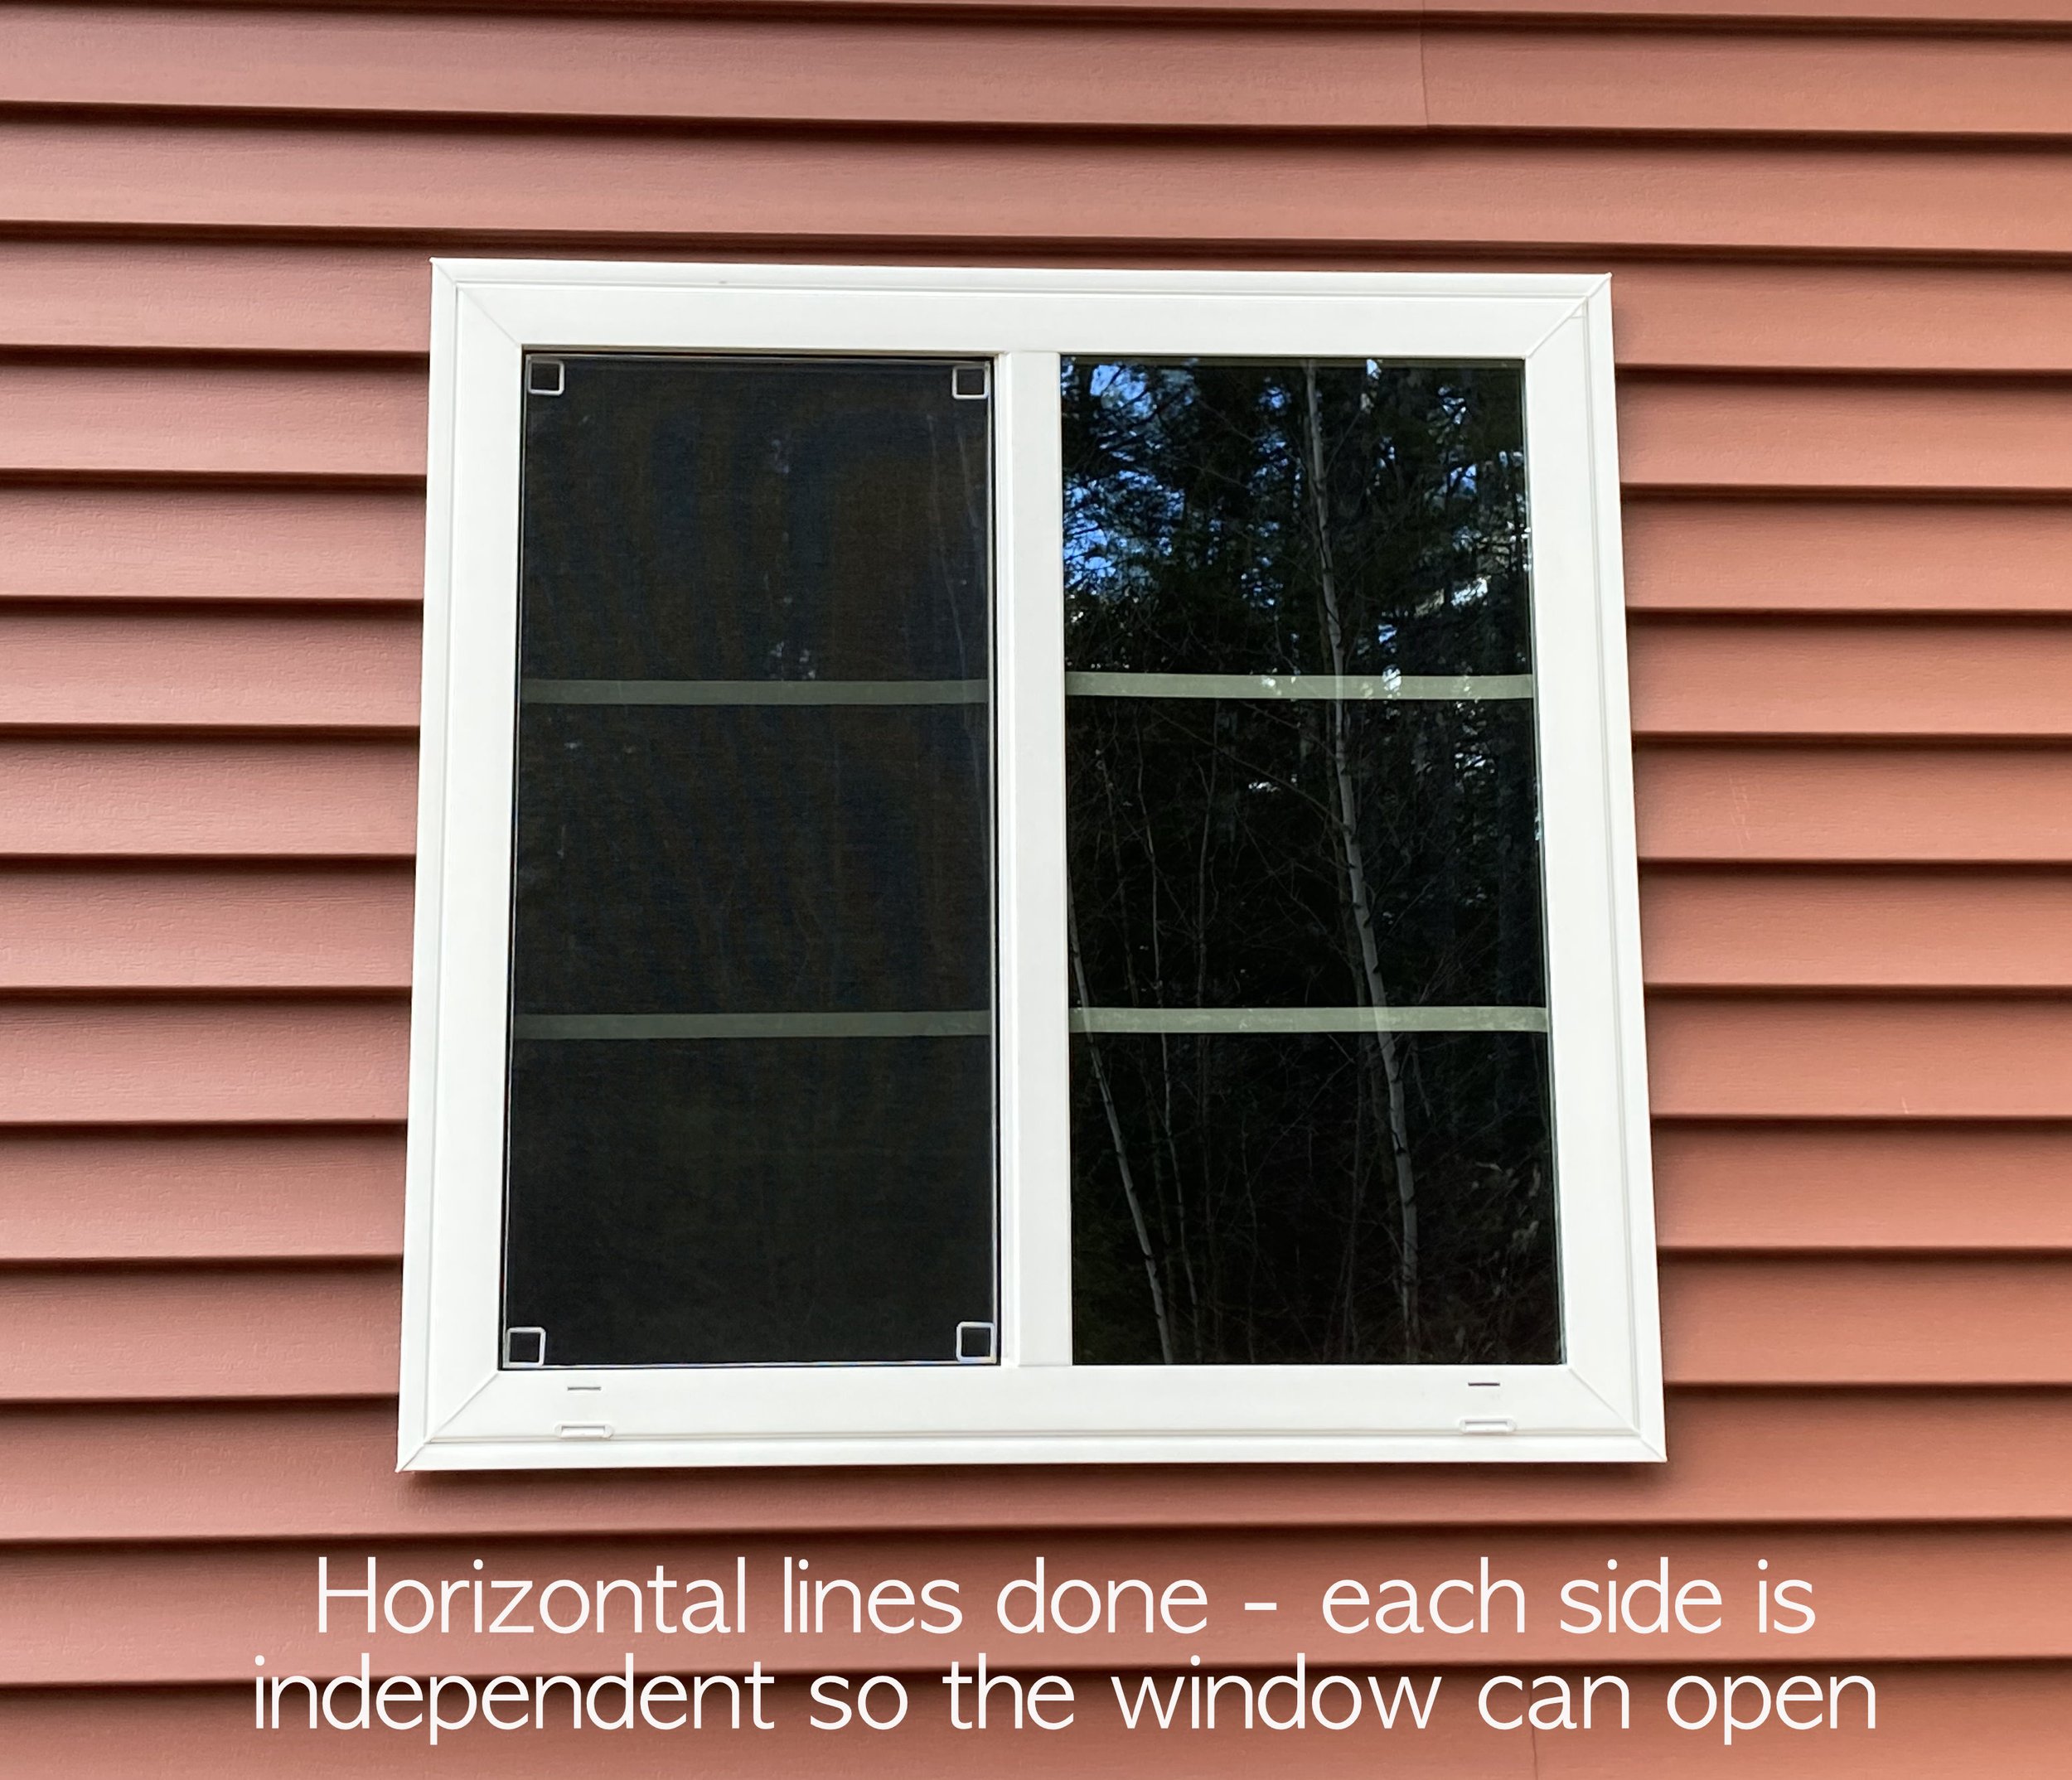
To apply, I first washed and dried the windows well. Then I measured out how to divide the window in an aesthetically pleasing way. For the small windows I did 4 panes across and 3 panes down, and for the big window (not pictured) I ended up doing 4 panes across and 4 panes down.
I measured out my spacing and then made small marks with a pencil on the edge of the window where I was going to place my tape lines, then carefully pulled the tape across the window (I applied the tape on the inside of the window). I did the shorter, horizontal runs of tape first because I found them to be easier and help keep the longer, vertical runs straighter since it was easier to line them up straight with those horizontal reference points.
When pulling your tape lines make sure to go slow and pull the tape out straight. Electrical tape is rather stretchy and it’s easy to distort the lines and make them wonky. Taking your time is key and don’t be discouraged if you have to redo some of the lines! I had to redo a bunch of mine, especially at the beginning while I was getting the hang of it.
TA-DA! In just a short amount of time you now have easy and cheap windowpanes, and the best part was no tools were needed. The style windowpane I tried to mimic was “colonial” in order to match our house, but if you wanted to get fancy you could try laying out your lines in a different style (diamond, prairie, etc).
DISCLAIMER: Please note that the electrical tape I used for this project does have a Prop 65 warning on the package. You may want to do your own research regarding this. We used it since it was a non-living area in a detached garage. I also made sure to wash my hands well after handling it. Use at own risk.
KEEP UP WITH BIRCH LANDING HOME
| Etsy | Facebook | Instagram | Pinterest | Bloglovin' | Hometalk |
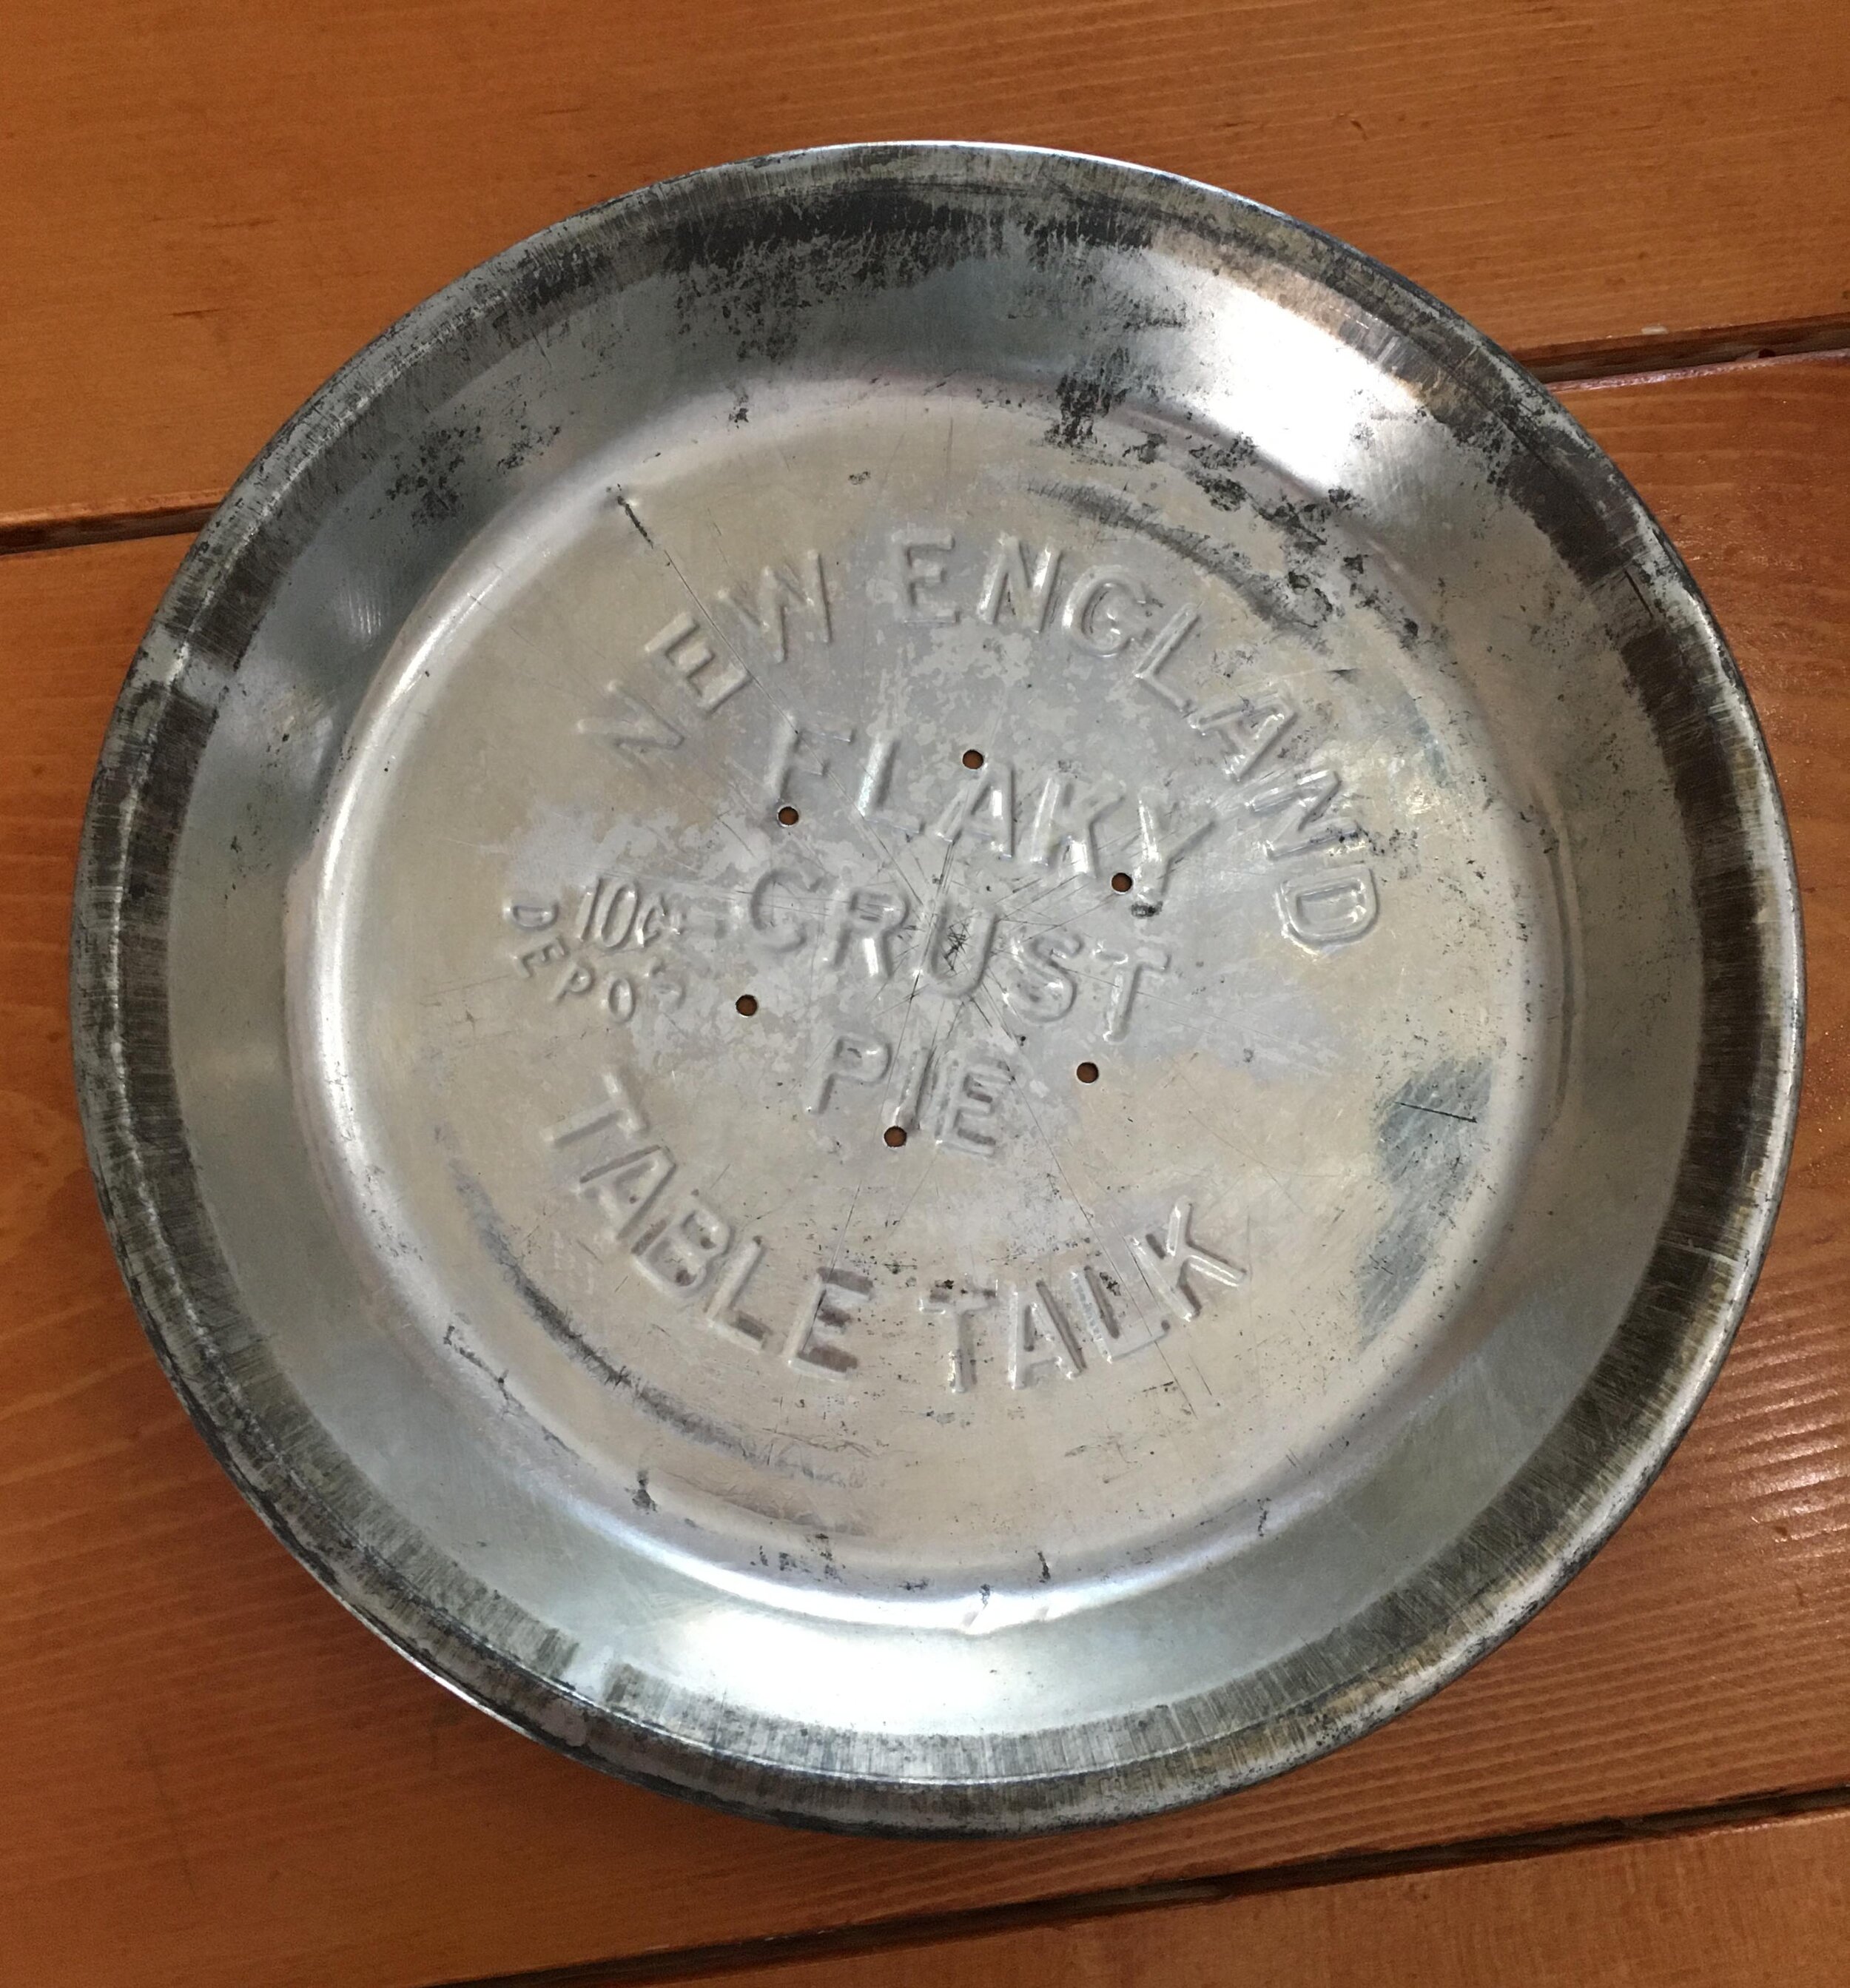
Rummaging around in my parents basement a few weeks ago, I stumbled across a stack of Vintage Table Talk Pie Tins that had been my Grandmother’s. Back in the day (approximately the 1930’s-1950’s), people would buy these store-bought pies with an extra 10 cent deposit that would be reimbursed if you returned the clean pie tin back to the store… but apparently my Grandmother chose not to, haha. These pie tins were a fun vintage find, and sentimental because they had once belonged to her. Since we didn’t have a kitchen clock I figured turning one of these tins into a clock would be a fun idea - and here’s how I did it. | This post contains affiliate links |
The first step to creating your clock is to purchase a clock kit that has the right diameter hands for your pie tin, so when they are mounted in the center of the tin they can move freely all around the face without touching the sides (very important).
After some measuring and browsing around on Amazon, I settled on this Mudder Clock Kit - I liked the style of the hands and they would fit perfectly in my particular pie tin.
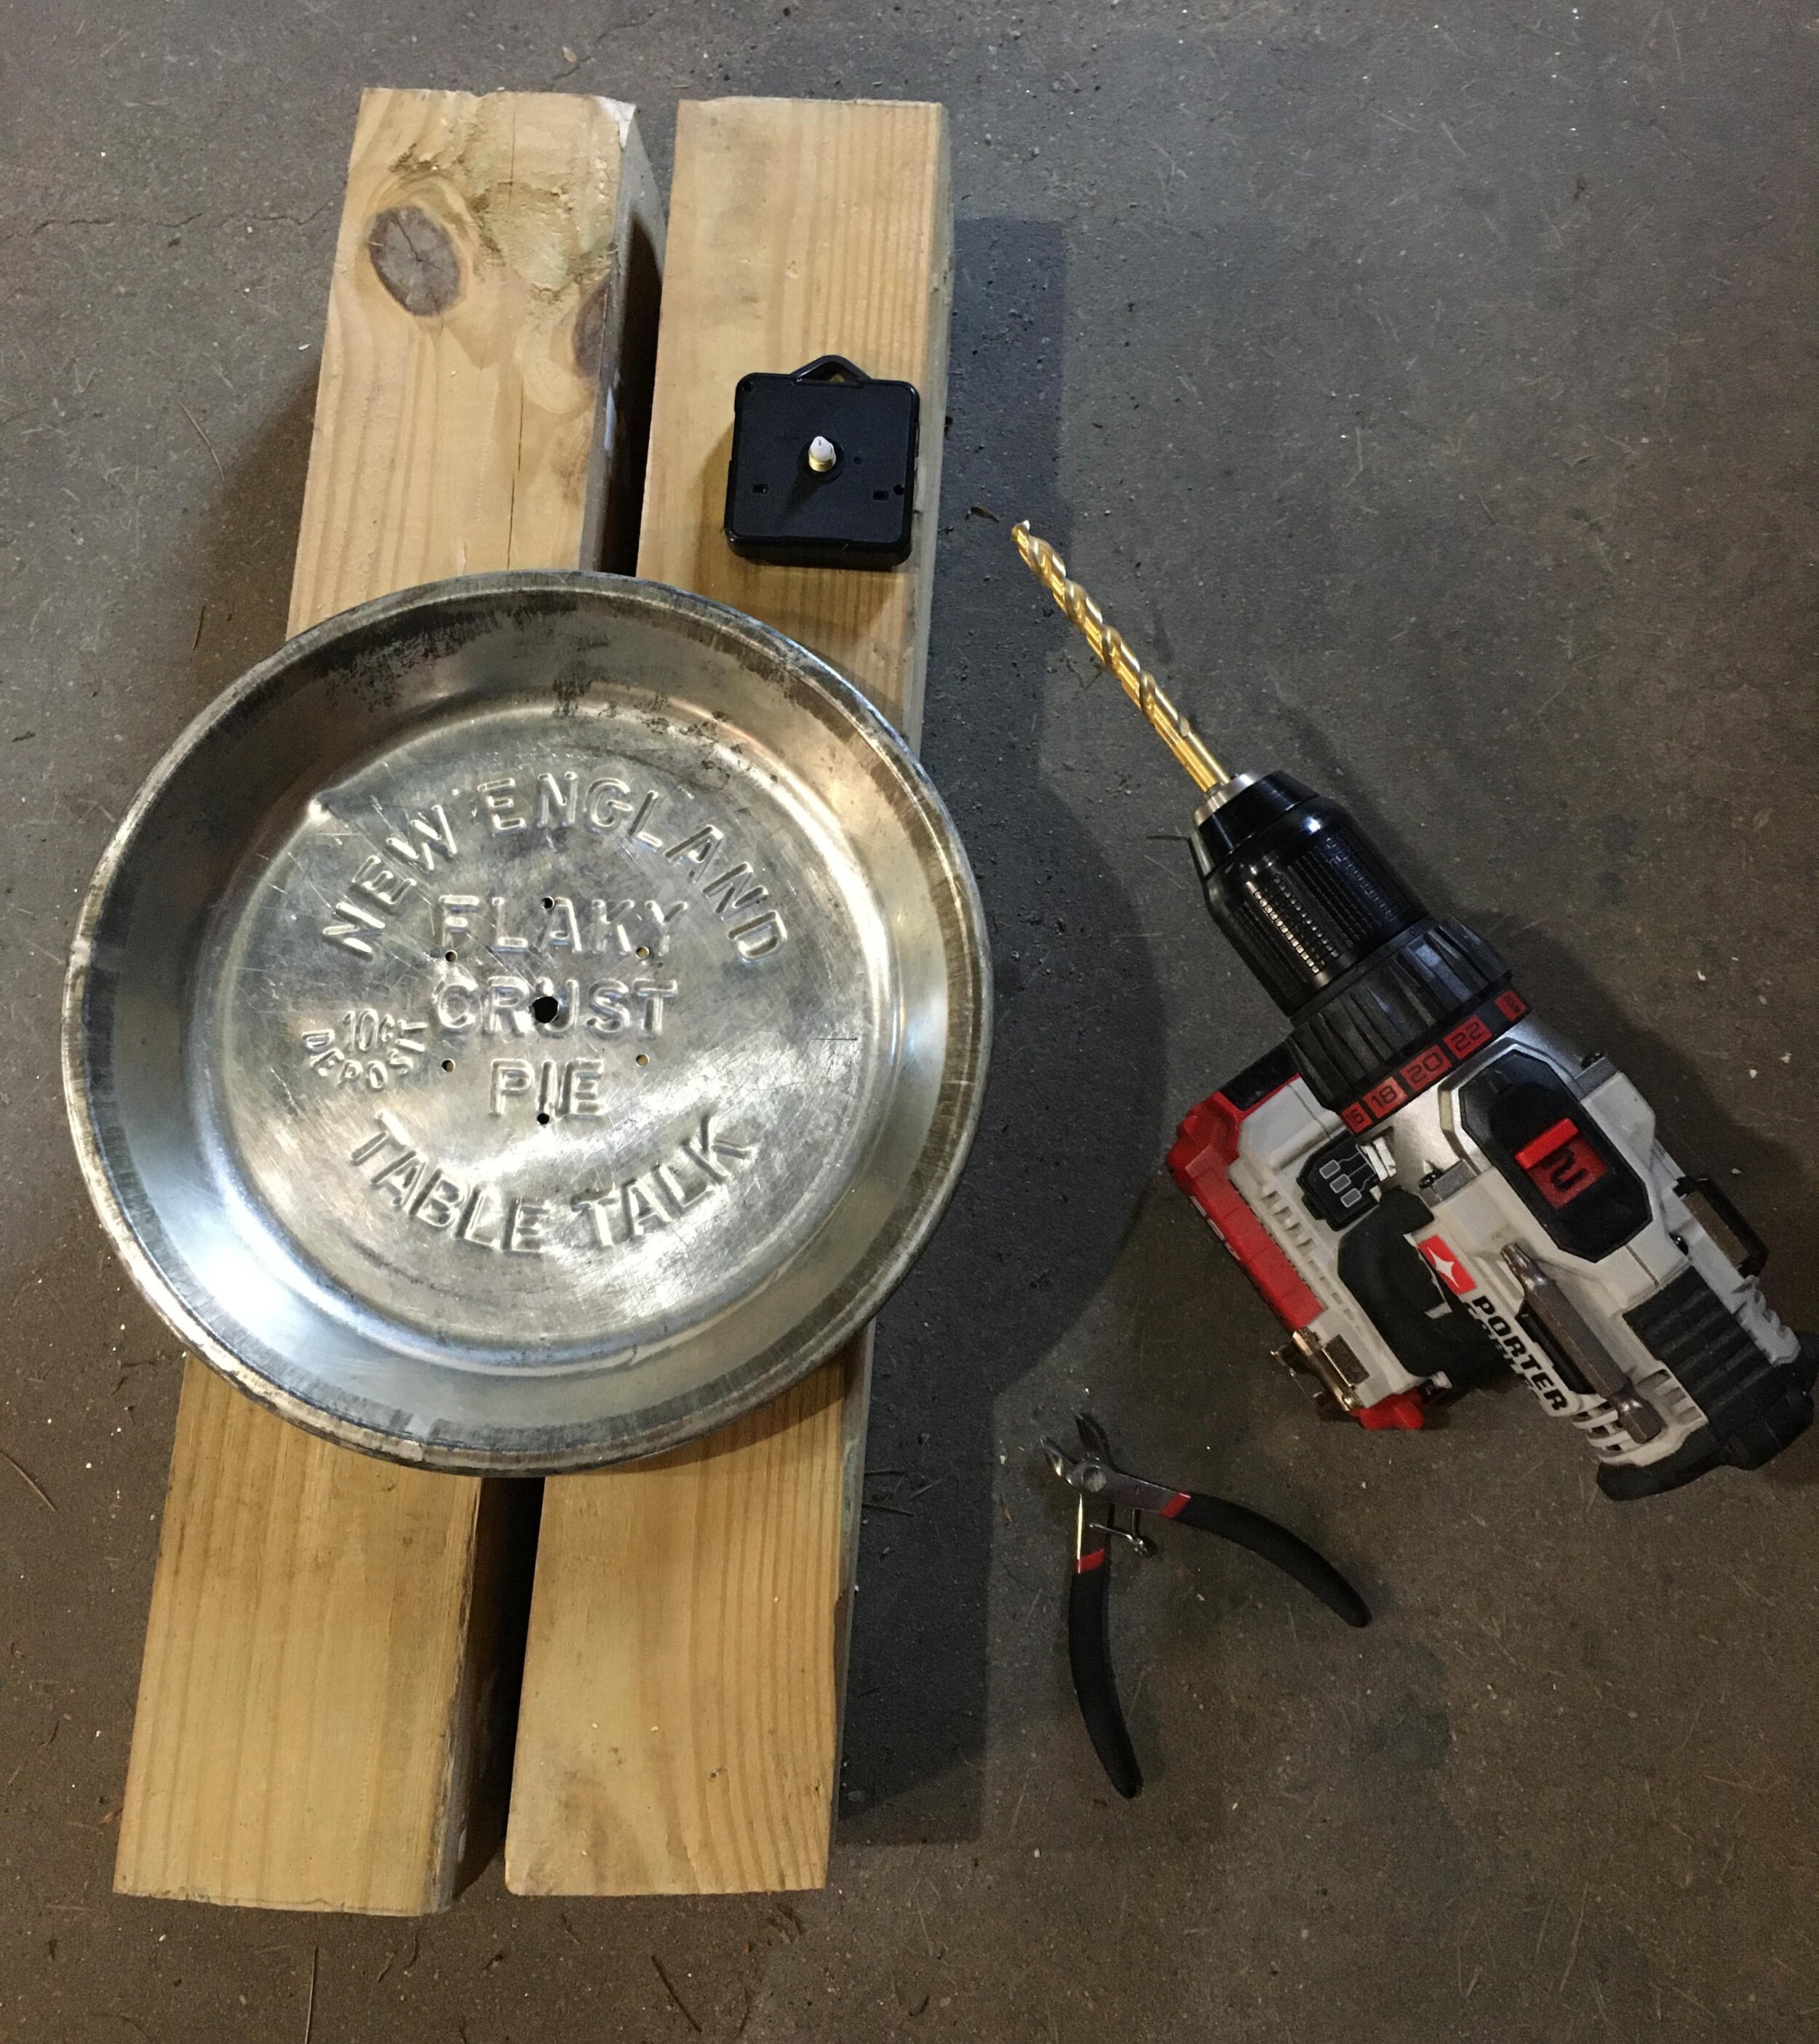
Next, carefully measure to find the center of the pie tin and poke a pilot hole through with a small nail and hammer. After that, make sure your pie tin is well supported and on a safe area for drilling (I used some scrap 4x4 posts as a work station). Then carefully drill out your hole, starting with your smallest drill bit.
In order not to “rip” the tin, it’s very important to start small and work your way up in drill bit size. I started with the smallest drill bit and then worked my way up, using every-other-drill bit in the set going up in size order.
If you get a large burr, carefully cut it off with a pair of small wire cutters before you move up to your next drill bit size.
Please note: Keep in mind that these pieces of tin are SHARP so use care and be mindful of the metal shavings you may drop while drilling. Make sure to clean up the shavings well after your project is done.
Periodically check to see if the threaded clock mechanism can pass through your hole yet. For this clock kit, I needed to jump up to a larger drill set in order to finally work my way up to the size hole I needed (in this case it was a 5/16” drill bit).
Once the hole is the correct size, use a round file to clean up any little burrs around the edge.
Now it’s time to assemble your clock - follow the manufacturer’s directions on the best way to assemble the clock hands for your particular kit. Keep in mind that clock kits and especially the hands are VERY delicate so take care assembling them.
Once your clock is assembled, install the battery and set the time - now you can enjoy your new Vintage Pie Tin Clock!
Are you interested in making your own Vintage Pie Tin Clock but need a pie tin?
I’m selling some extra pie tins* in my Etsy shop, click the button below to shop:
*Please note the tins I have listed for sale may vary slightly in size and style from the one I made my Pie Tin Clock with.
Other posts you might enjoy from Birch Landing Home:
KEEP UP WITH BIRCH LANDING HOME
| Etsy | Facebook | Instagram | Pinterest | Bloglovin' | Hometalk |
I’ve had this plant cloche for awhile and just picked up a little Boston fern for it today. This is a special little corner of our dining room - my grandparents’ candle sticks, a photo from my great-grandparents’ farm, and an old photo of my husband’s grandmother.
A lot of family history in this little corner.
KEEP UP WITH BIRCH LANDING HOME
| Etsy | Facebook | Instagram | Pinterest | Bloglovin' | Hometalk |
As you know by now, I love sharing about companies and products we love on the blog and our Instagram - and most especially those made right here in New England. Next in our series of interviews from New England Makers, we have Glenna Oliver of Away Up North!
| This post contains affiliate links |
Tell me a little bit about yourself and your business.
My name is Glenna Oliver and I am married with two grown children, living in the western mountains of Maine. I am the owner and creator of Away up North and enjoy hiking, skiing, camping, and many other outdoor activities that Maine has to offer! At Away Up North I create handmade wool fabric Christmas stockings, decorative pillows, and balsam pillows.
How did you start Away Up North? Had you been making stockings and pillows for awhile or was this a new leap for you?
To me it seems I have always known how to sew and create. When I had children, I made clothes, doll clothing, and quilts. Christmas has always been my favorite time of year to make gifts for family and friends, including Christmas stockings for my family and then stockings for a friend’s antique shop where she started to sell them.
After being a stay-at-home Mom for twenty-plus years, I was looking for work when my daughter suggested making and selling Christmas stockings on Etsy - that was seven years ago.
What does a typical day look like for you?
I am an early riser and do have an exercise routine that helps me keep up with all my outdoor interests and also helps me mentally jumpstart my day. I begin with my work day about 9AM and depending on the time of year, I am either prepping and preparing for my busy season (September through early January) or sewing and making inventory.
During the busy holiday season I am personalizing and completing stockings as the orders come in. Many days you can also find me working on orders well into the evening hours. During the slower times of the year for my business you can find me enjoying the outdoors where I find the inspiration for so many of my designs.
What is your favorite part about owning your own company? And least favorite part?
I enjoy the flexibility it gives me - I enjoy using my passion to create and also to spend time pursuing my outdoor passions. An unexpected pleasure I have found with the business is watching families grow as returning customers request new stockings to celebrate the new additions in their families (babies, adult children getting married, grandchildren).
My least favorite part is the administrative side of the business - keeping the books and keeping track of numbers. I much prefer creating over numbers!
What has been the most exciting moment for Away Up North since you started?
In 2013 I was asked to submit a stocking to Downeast Magazine for their Maine Made Gift Guide. When I received the magazine, I saw my Woodland Bear Christmas Stocking on the front cover! I had no idea it would be on the cover! It was a very exciting moment for me. Since then Away Up North has been in other publications and newspapers, but the Downeast Magazine feature was definitely a highlight for me.
What advice do you have for people just starting out?
Do your research before your begin, but don’t hesitate to take the leap. Surround yourself with resources, not only reading information but good people resources. And always be ready for the “big moment!” No matter how slow it’s going, always create product, always be prepared with photos, samples, and new ideas because you never know when your “big moment” is going to happen.
What is your long-term goal? Where do you see yourself in five years?
To develop year-round pillow designs and possibly DIY kits for the stockings. Eventually I would also like to develop patterns for all my stocking designs.
Who’s one of your favorite New England Makers?
Alana from
A&E Stoneworks! She and her husband Evan make a great product. They make stone cheese boards, coasters, and other products from stone. I love her cheeseboards and her energy! I personally love prodcuts made from stone and natural materials, they compliment the outdoor environment I love and how I enjoy deocrating my own home.
A note from Away Up North: Items ordered after November 29th will ship in early January, 2019 - but there are currently three designs ready-to-ship available on Amazon with Prime Shipping:
Woodland Bear, Woodland Bunny, and
Wolf in the Pines.
- All photos courtesy of Away Up North -
DO YOU OWN A NEW ENGLAND-BASED BUSINESS AND WOULD LIKE TO BE FEATURED IN AN UPCOMING INTERVIEW? OR WOULD YOU BE INTERESTED IN HAVING ME STYLE, REVIEW, AND FEATURE ONE OF YOUR PRODUCTS?
Please drop me a note.
More Interviews from New England Makers:
KEEP UP WITH BIRCH LANDING HOME
| Etsy | Facebook | Instagram | Pinterest | Bloglovin' | Hometalk |
New sign design in our Etsy shop! And I think this makes for the third new listing/design in the last week! (I have a been a busy bee, haha.) This farmhouse-inspired "gather" sign would make the perfect finishing touch to any gathering spot in your home! Shop this design and our others at our Etsy shop:
KEEP UP WITH BIRCH LANDING HOME
| Etsy | Facebook | Instagram | Pinterest | Bloglovin' | Hometalk |
New sign design in our Etsy shop! These distressed CAMP signs are just what you need to bring some rustic charm to your cabin/lakeside retreat or your everyday home. This sign has a hand-painted, antique feel to it and is just what you've been looking for. Shop this sign and more in our Etsy shop:
KEEP UP WITH BIRCH LANDING HOME
| Etsy | Facebook | Instagram | Pinterest | Bloglovin' | Hometalk |
New sign design in our Etsy shop! This one is for a Custom Last Name Established sign - perfect for a wedding, anniversary, or housewarming gift! This rustic sign is made on a wide grey-stained board with crisp permanent white vinyl lettering. Shop this sign and more in our Etsy shop:
KEEP UP WITH BIRCH LANDING HOME
| Etsy | Facebook | Instagram | Pinterest | Bloglovin' | Hometalk |
I recently made this custom herb planter as part of our wedding gift for some close friends and I just love how it came out! I'd love to add something similar to the Etsy shop but not sure how to ship it... hmmmm.
PS - Congratulations again to the happy couple!! We're so happy for you both!
KEEP UP WITH BIRCH LANDING HOME
| Etsy | Facebook | Instagram | Pinterest | Bloglovin' | Hometalk |