Easy and Cheap DIY Windowpanes - No Tools Needed!
This past fall we had a detached garage built on our property. Being what construction costs are these days we went with basic vinyl windows with no window panes since it was cheaper. We thought “Meh, it’s just a garage - it doesn’t have to match our house perfectly.” But after the garage was done we realized it really was missing something with the basic plain windows, and adding panes was just what it needed. | This post contains affiliate links |
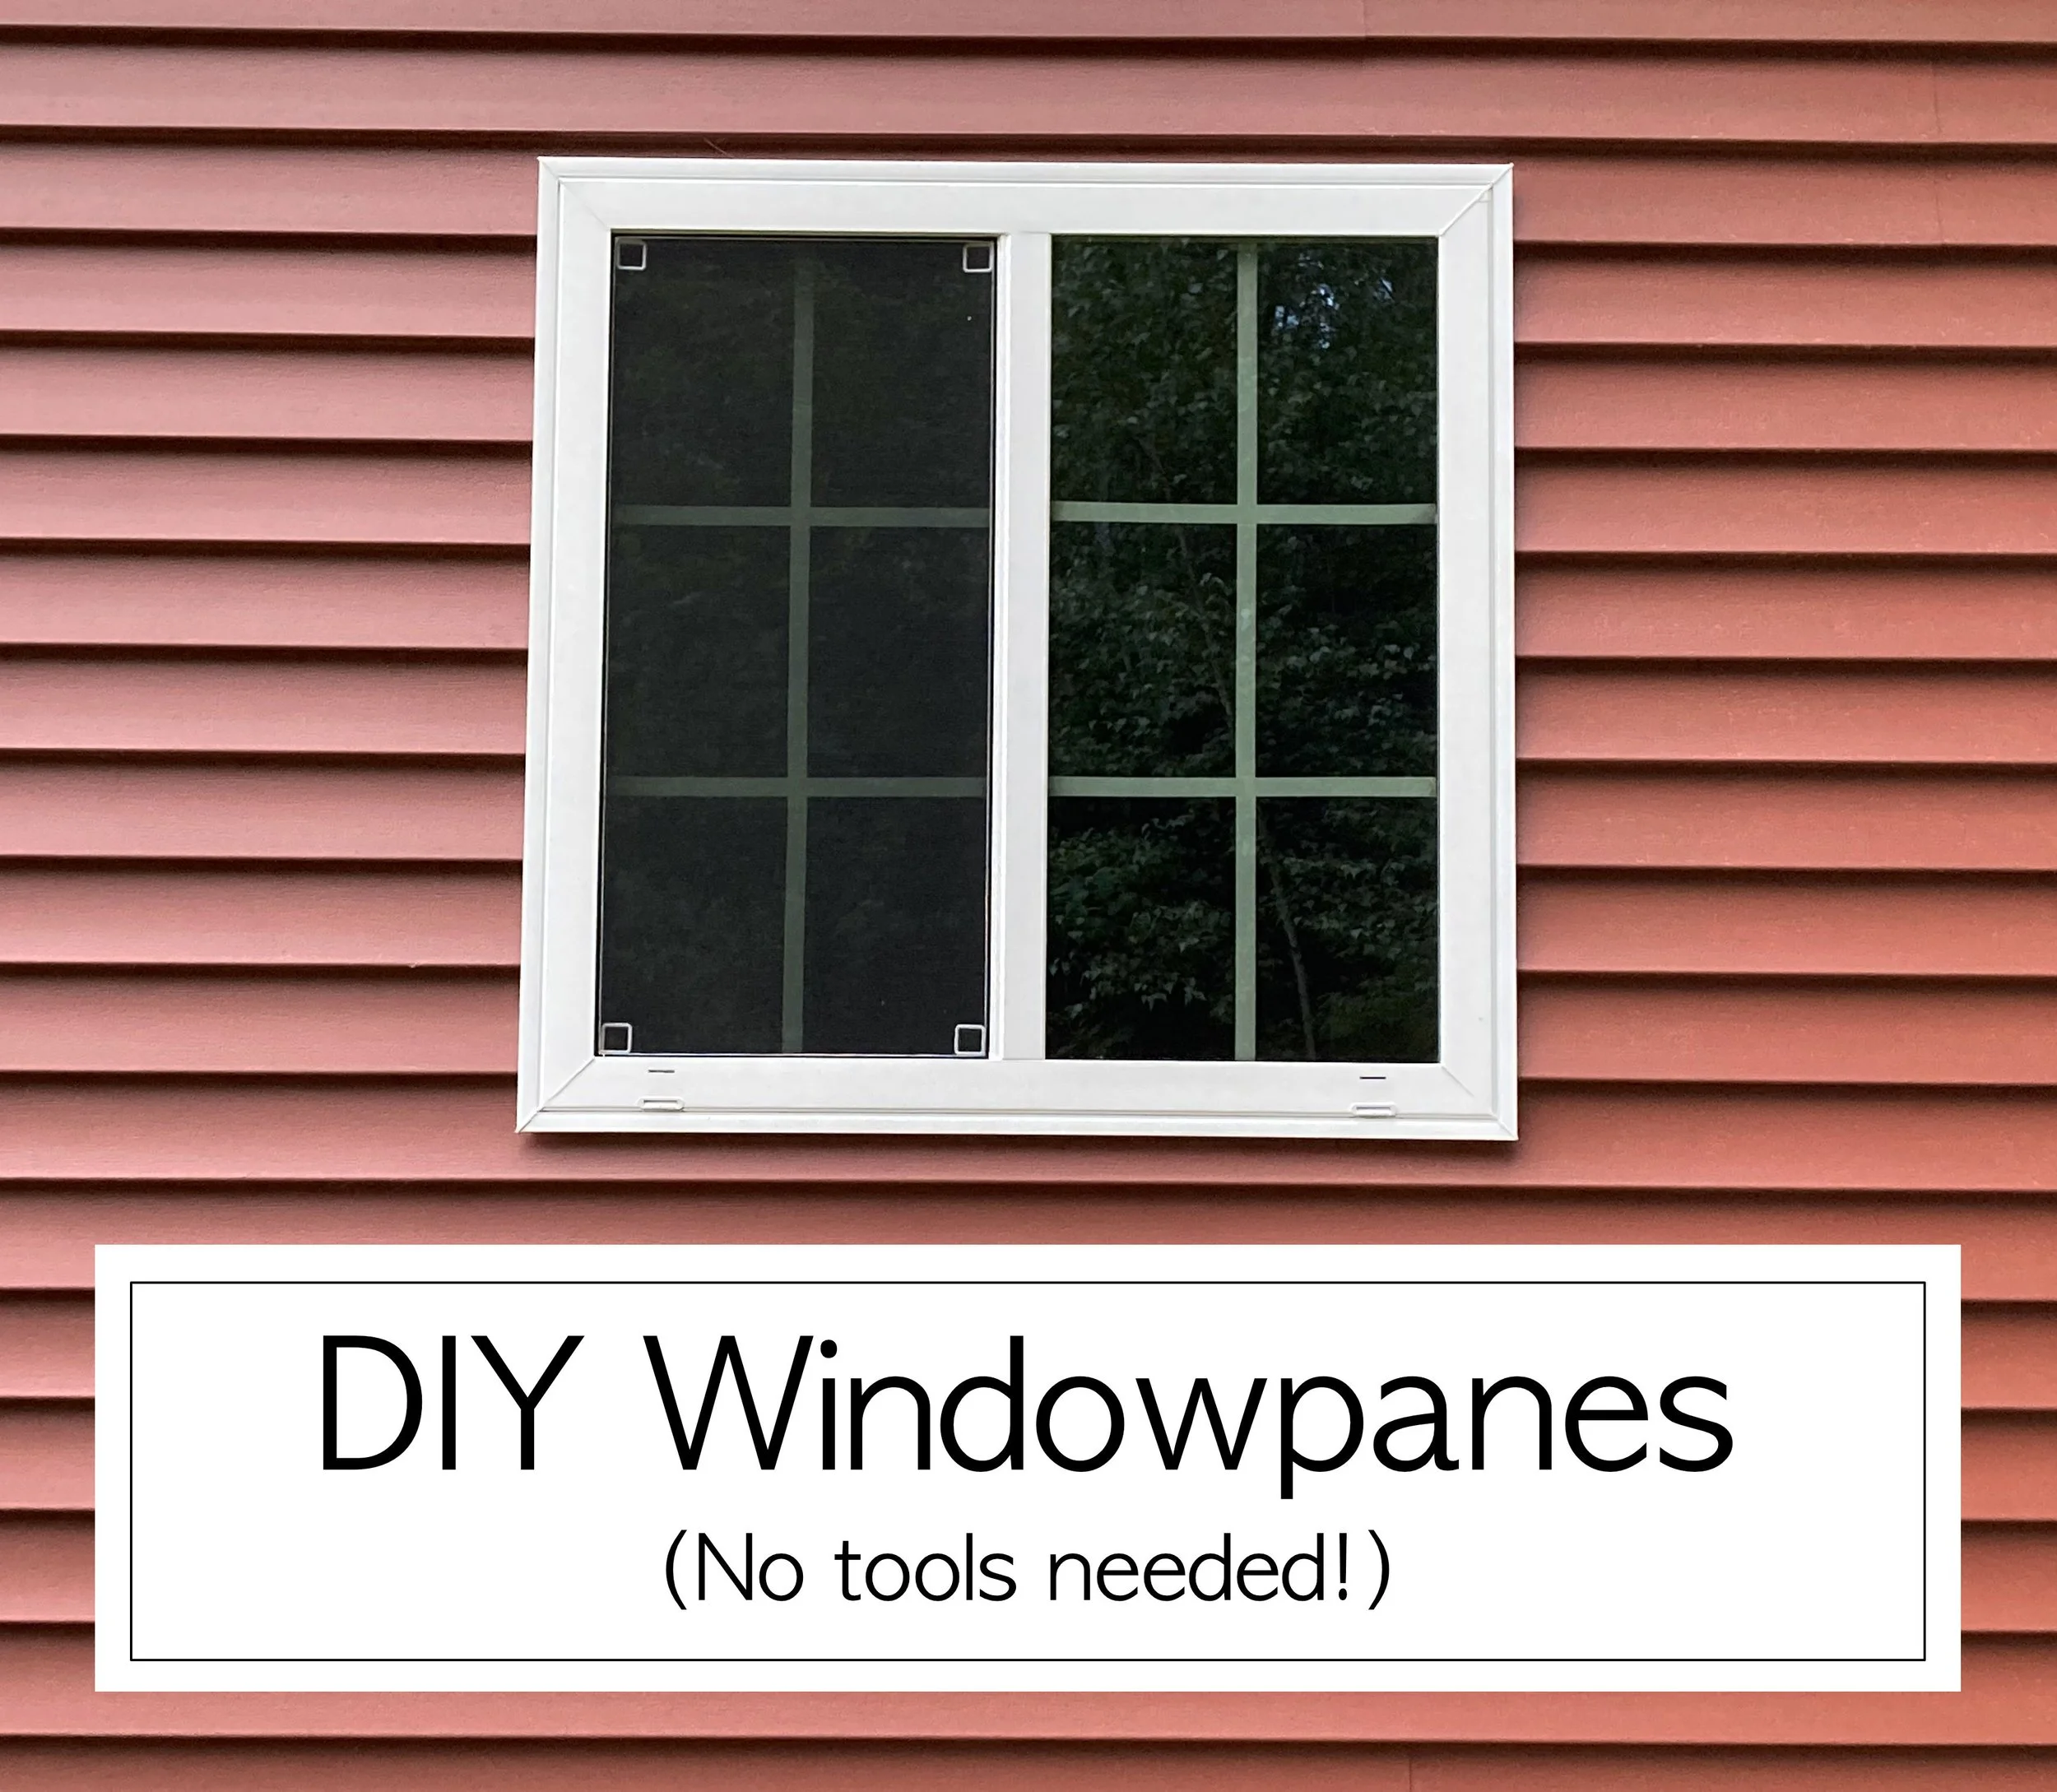

I considered a bunch of different ways to make the panes, including using thin scraps of wood painted and set within the window frame on the inside - but all of that was pretty labor-intensive. In the end I realized using thin strips of vinyl or tape would probably be the easiest - and so that’s what I did!
Using white electrical tape ended up being the perfect solution in our situation - it was to be used in a little-used area, it was the right width, and it was the right color.
Materials:
- white electrical tape (though if your window sashes are black or a different color you can buy different colored tape to match)
- scissors
- tape measure

How-To:

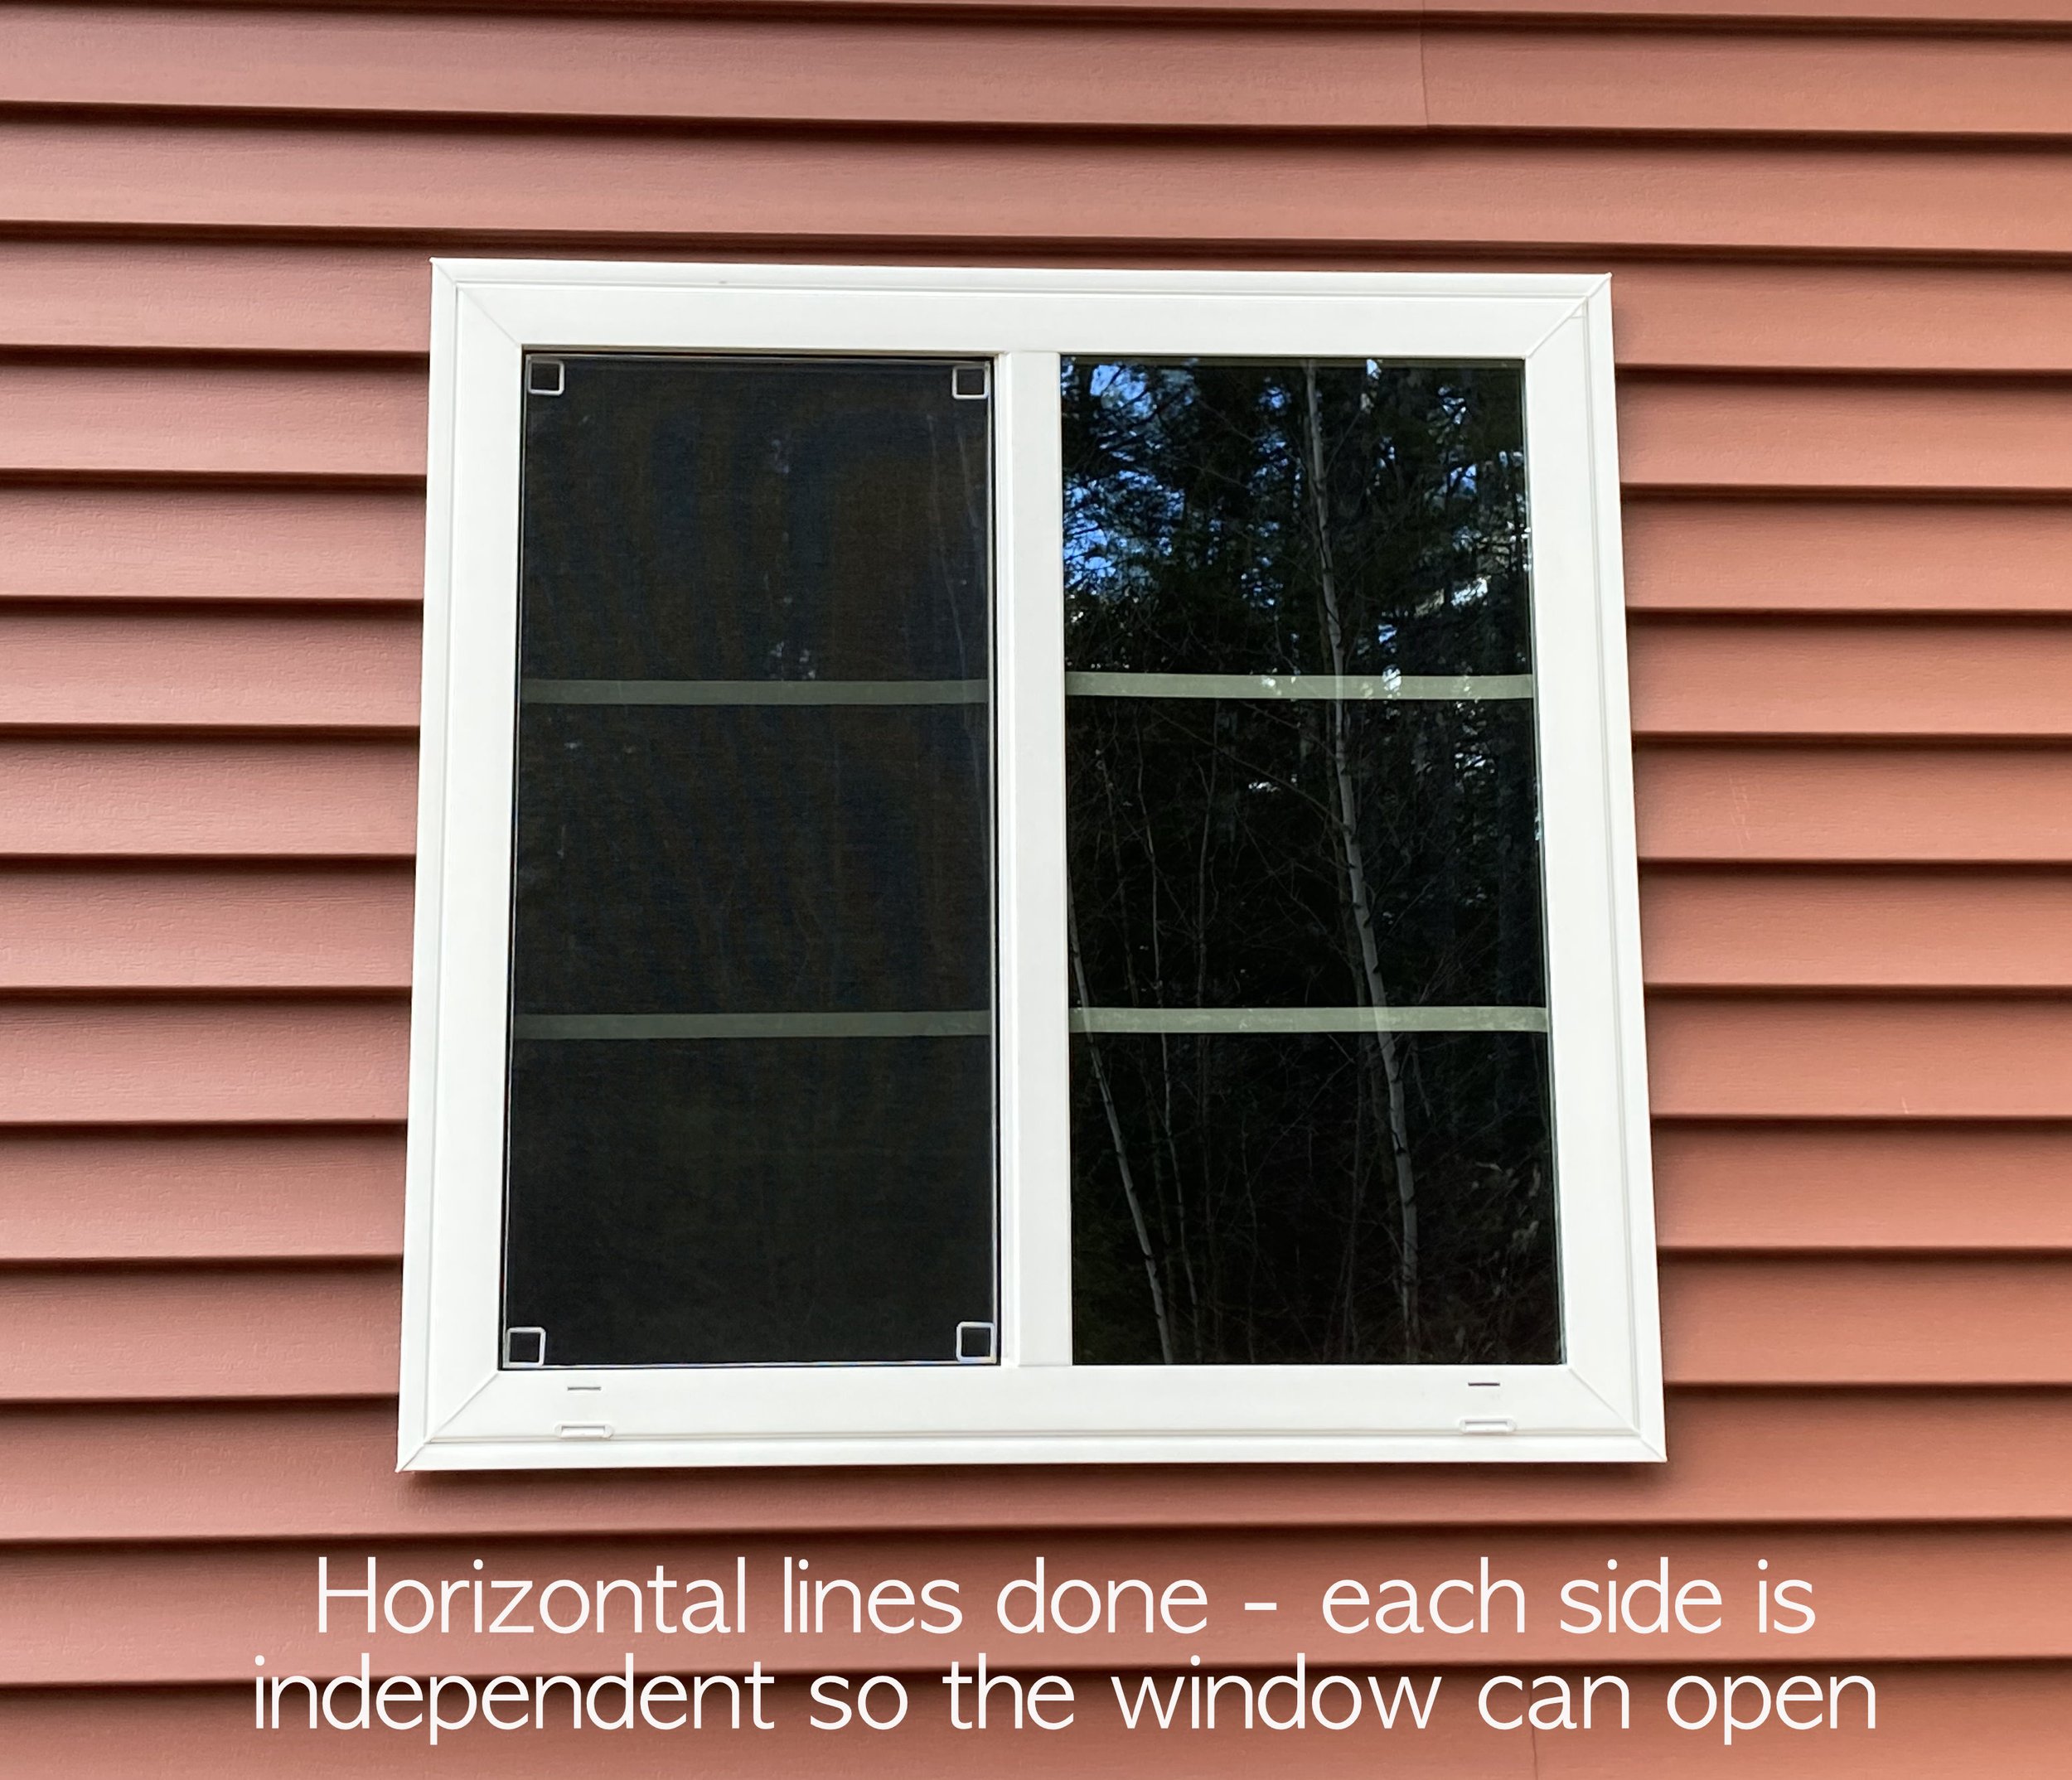
To apply, I first washed and dried the windows well. Then I measured out how to divide the window in an aesthetically pleasing way. For the small windows I did 4 panes across and 3 panes down, and for the big window (not pictured) I ended up doing 4 panes across and 4 panes down.
I measured out my spacing and then made small marks with a pencil on the edge of the window where I was going to place my tape lines, then carefully pulled the tape across the window (I applied the tape on the inside of the window). I did the shorter, horizontal runs of tape first because I found them to be easier and help keep the longer, vertical runs straighter since it was easier to line them up straight with those horizontal reference points.
When pulling your tape lines make sure to go slow and pull the tape out straight. Electrical tape is rather stretchy and it’s easy to distort the lines and make them wonky. Taking your time is key and don’t be discouraged if you have to redo some of the lines! I had to redo a bunch of mine, especially at the beginning while I was getting the hang of it.

TA-DA! In just a short amount of time you now have easy and cheap windowpanes, and the best part was no tools were needed. The style windowpane I tried to mimic was “colonial” in order to match our house, but if you wanted to get fancy you could try laying out your lines in a different style (diamond, prairie, etc).
DISCLAIMER: Please note that the electrical tape I used for this project does have a Prop 65 warning on the package. You may want to do your own research regarding this. We used it since it was a non-living area in a detached garage. I also made sure to wash my hands well after handling it. Use at own risk.
Looking for more cheap and easy DIYs? Check out our blog post on how we gave our garage door a makeover in just minutes with no tools needed!