Pennies from Pepaw + $200 Target Gift Card Giveaway!
When I was growing up my Grandpa always threw his extra pennies in a big jar on the kitchen counter for me. And every time we visited I always checked to see how high the pennies had creeped up. Waiting for the jar to fill seemed to take forever (and for us it did take years for the jar to fill each time), but it taught patience and was something special to look forward to. This simple tradition is one I'd love to bring back for our own kids.
**Make sure to scroll to the end to enter the $200 Target Gift Card Giveaway!**

Once the jar was finally filled to the brim it was mine to take home! Guessing how much money was inside was always the most exciting part. Since there were only pennies it came to around $14-15 each time but that seemed like huge money as a 7-year old. Growing up my Dad always instilled on us that gifted money (received for birthdays, Christmas, and even the penny jar) needed to go to our college savings account so that's where it went. I didn't mind though, as a kid it was exciting just bringing it to the bank and hearing the coins run through the counting machine. Though I didn't realize it at the time, looking back that was such a sweet and important lesson -- that Grandpa thought of me every time he put a penny in the jar and that even small savings can add up over time.
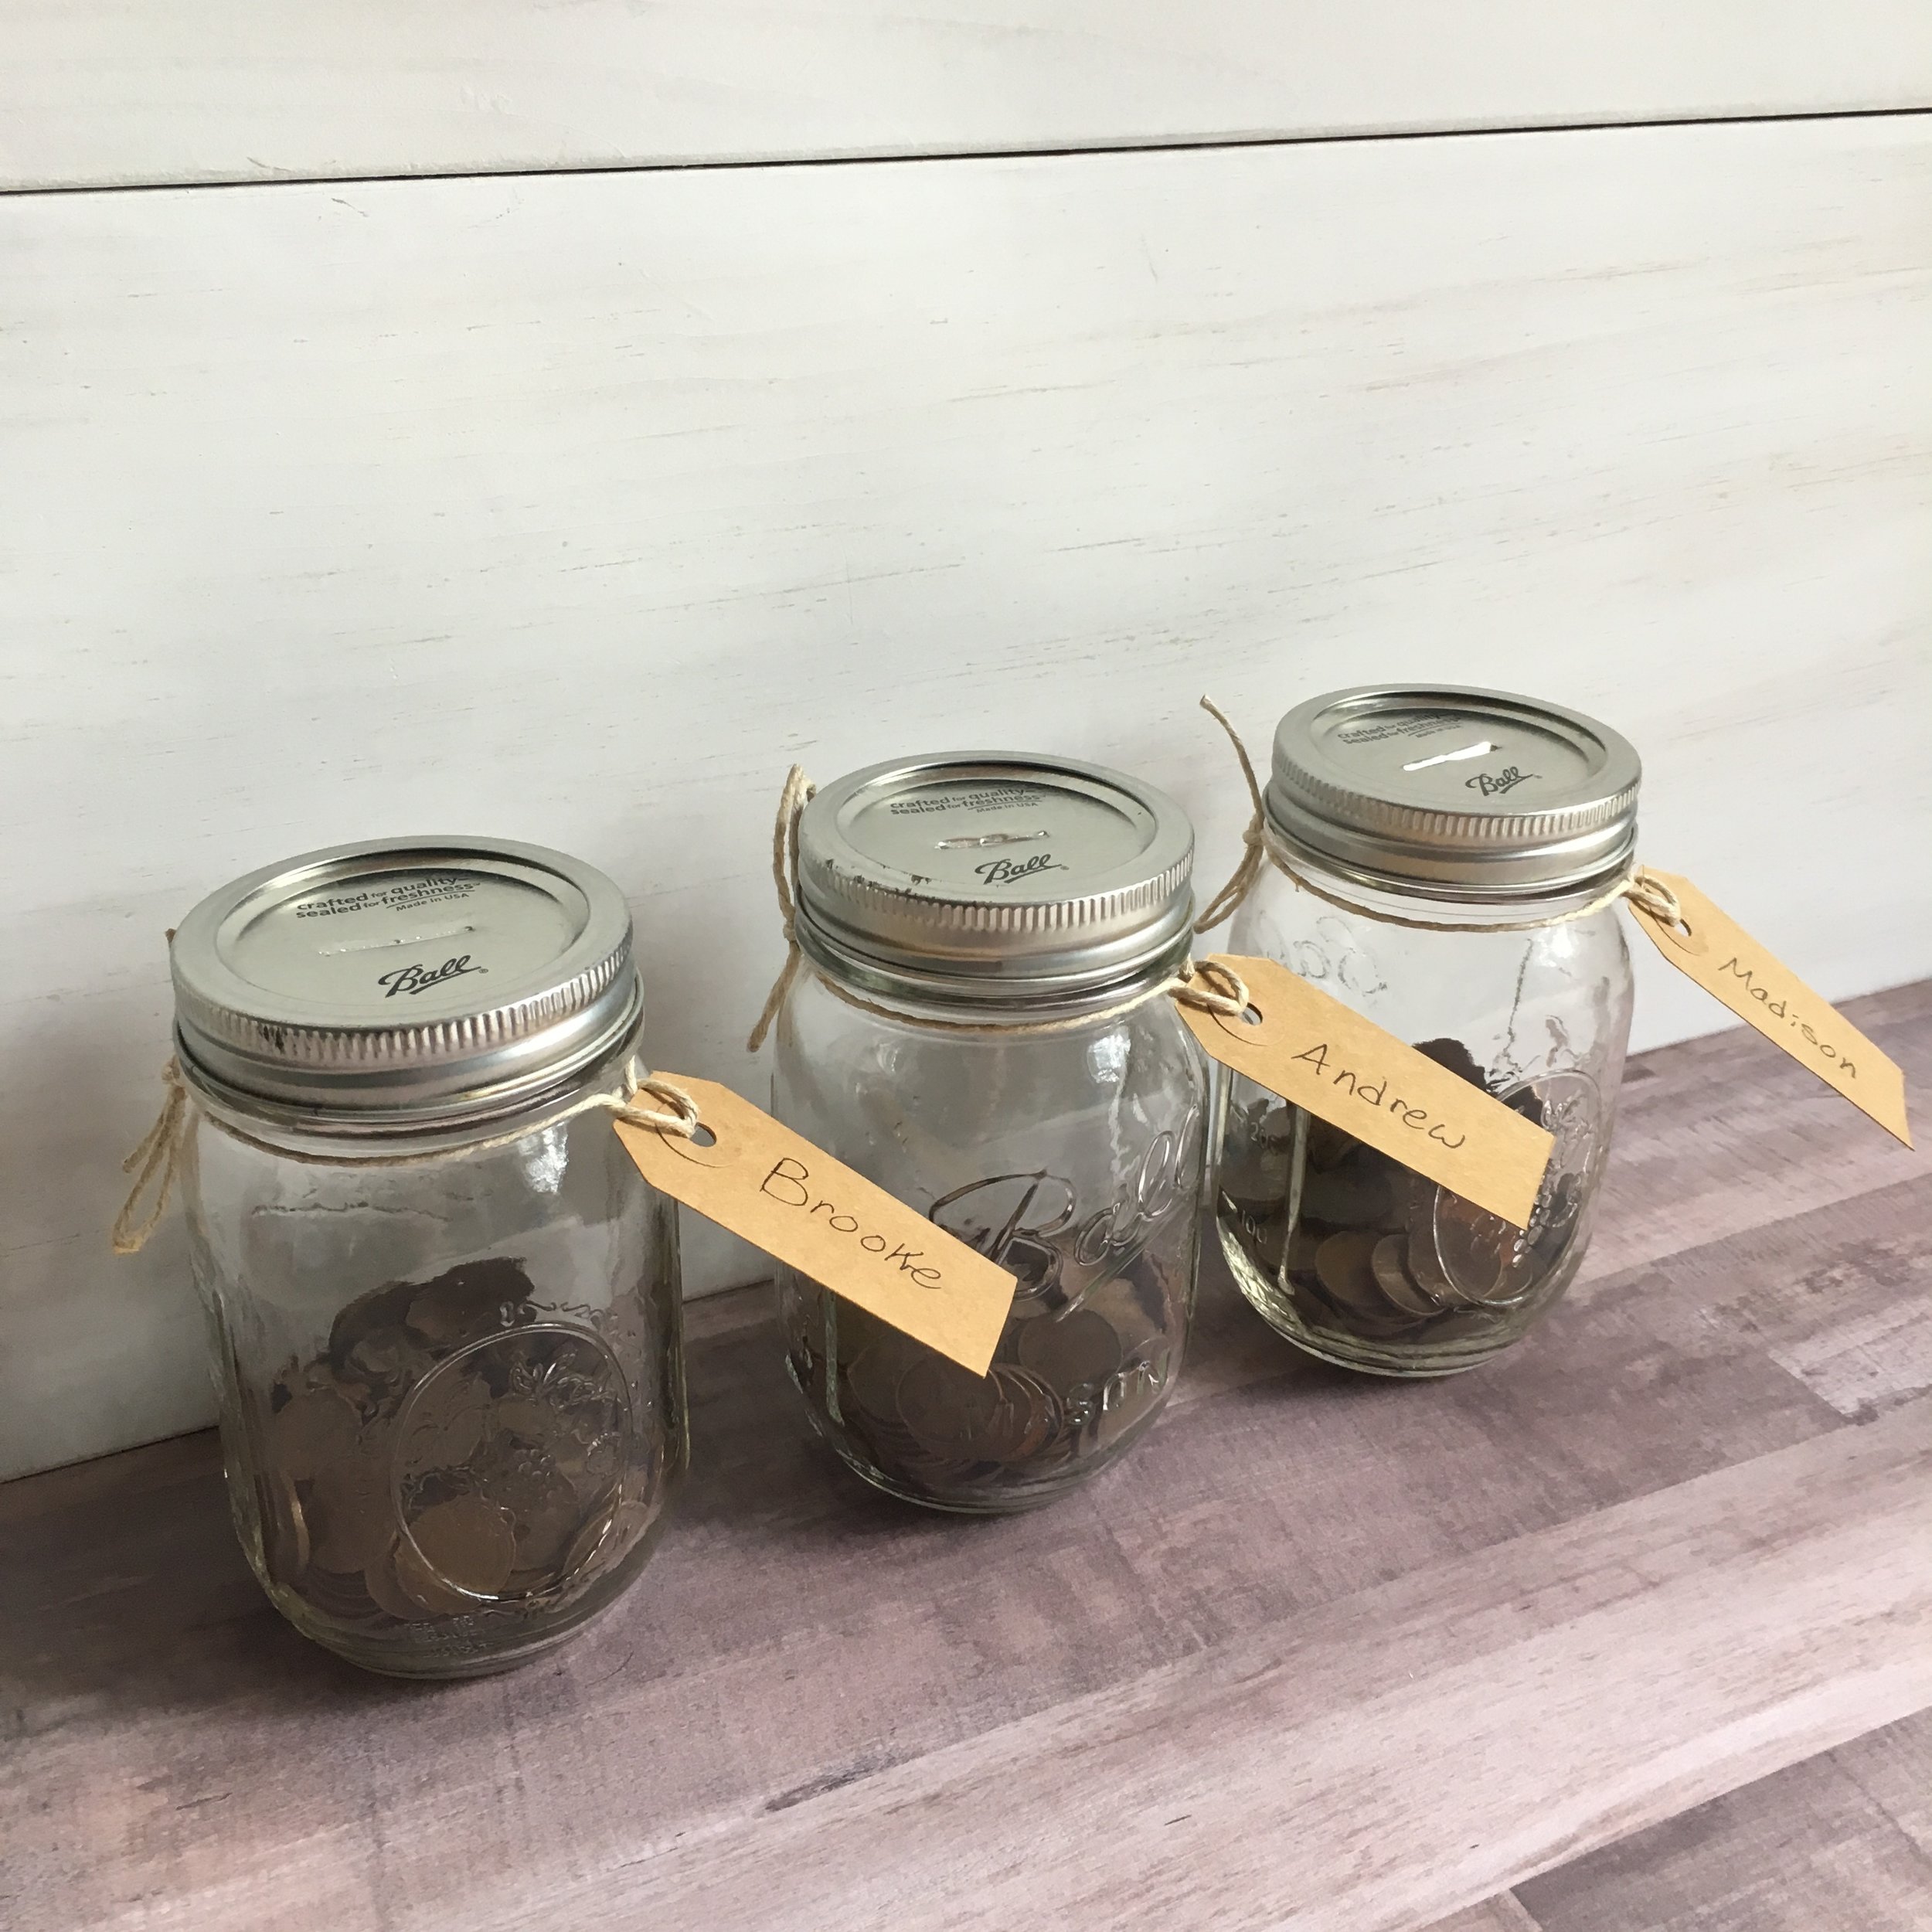
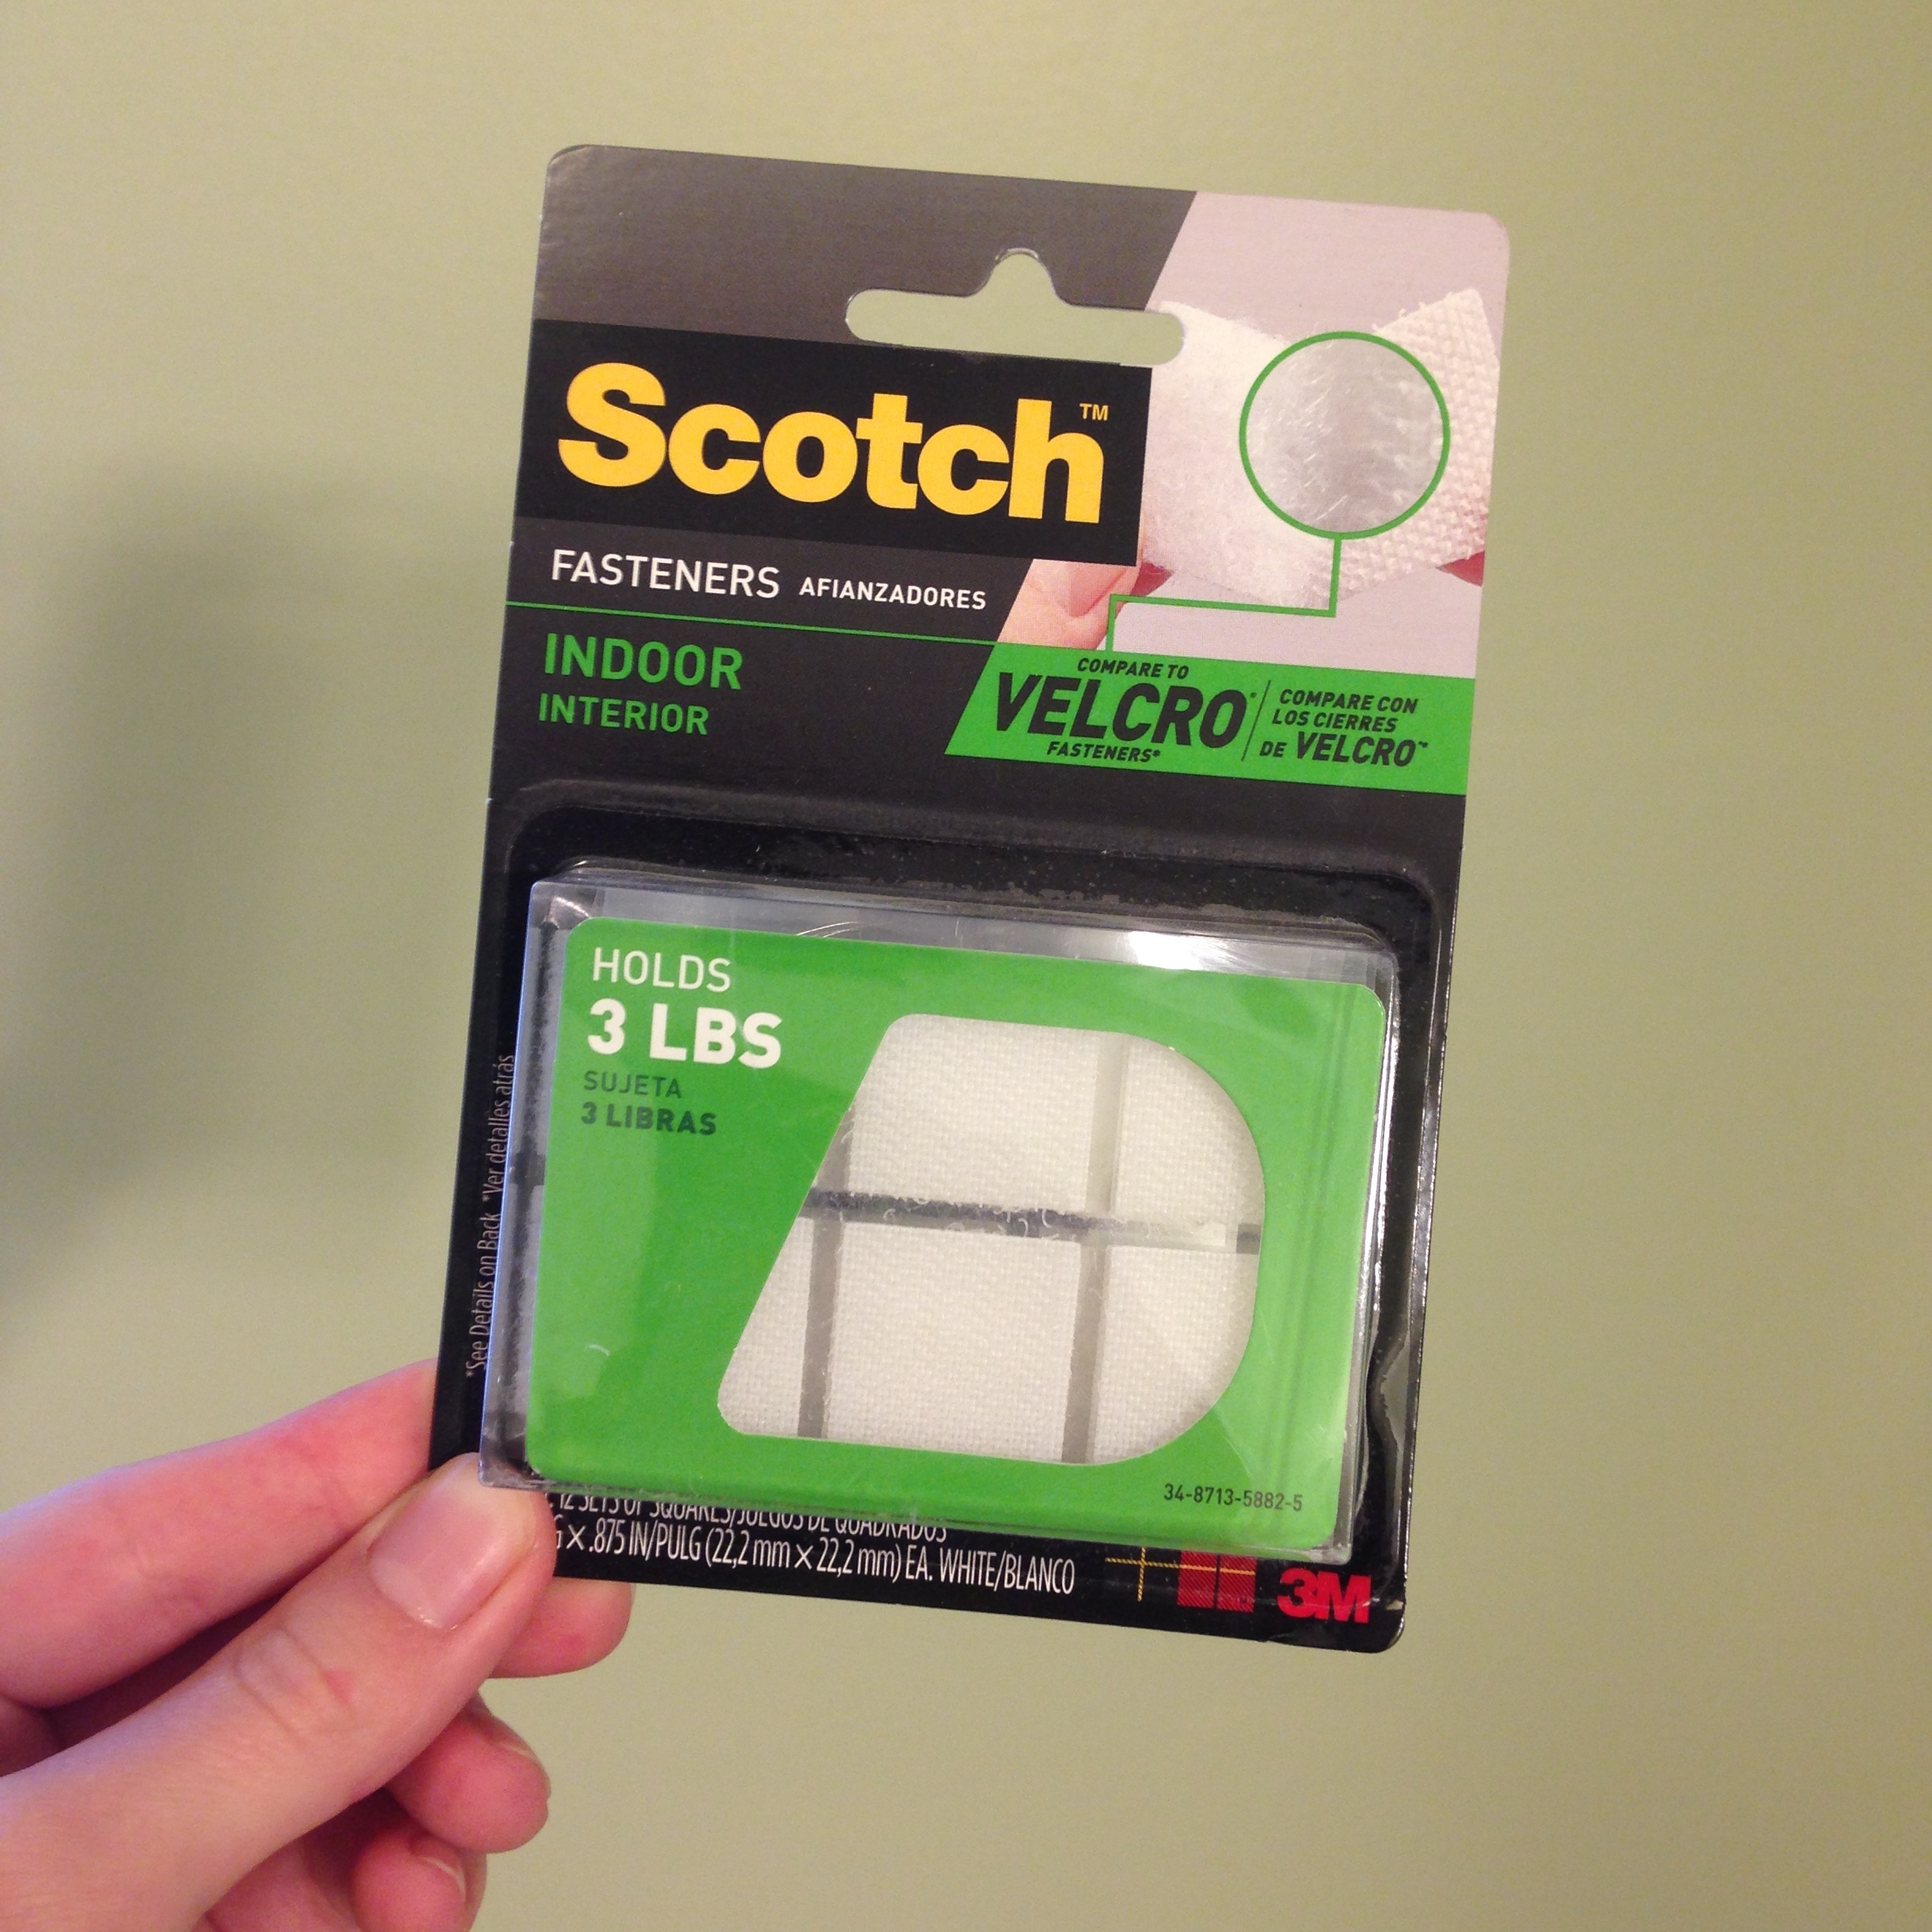
Now that we have little one (and another on the way), I want to continue this tradition still. So with just some simple Ball Jars, I punched slits in the top for change and labeled each grandkid's name on tags - these jars are going to my parents' so they can continue my Grandpa's simple legacy for all their grandkids.
I have such fond memories of this tradition and want my daughter and future baby to have a simple custom like this to look forward to when visiting their Grandparents.
Giveaway
I've teamed up with a couple other great bloggers to give you a chance to win a $200 Target Gift Card! Just think how many Ball Jars - or anything else you'd like - that you could buy ;)
Summer $200 Target Giveaway
Enter for your chance to win our fabulous Summer $200 Target Giveaway! Giveaway Brought to you By:
Juggling Act Mama, Doodlecraft, Bree Cooley, Birch Landing Home, Walking on Sunshine, and The Redhead Baker.
Giveaway Brought to you By:
Juggling Act Mama, Doodlecraft, Bree Cooley, Birch Landing Home, Walking on Sunshine, and The Redhead Baker.
Summer $200 Target Giveaway
Giveaway is for $200.00 USD. Open to US residents 18+ only. One (1) winner will be chosen. Prize must be claimed within 48 hours of announcement or a new winner will be drawn. Prize delivered via email. All entries will be verified. This giveaway is in no way associated with Facebook, Pinterest, Twitter, Instagram, Target, Rafflecopter, or any other entity unless otherwise specified. Blogger not responsible for delivery of prize. a Rafflecopter giveawayKEEP UP WITH BIRCH LANDING HOME
| Etsy | Facebook | Instagram | Pinterest | Bloglovin' | Hometalk |