I'm a wife, stay-at-home mom, crafter, and blogger living in rural New England. As seen in Martha Stewart Living, Food Network Magazine, and more! | Tutorials, DIY, crafts, parenting tips, recipes, money saving tips, product reviews, local product features, New England living, intentional living, and more! |
Now on Etsy, I have some really cute rustic birch chalkboard tags available. They are perfect for adding the finishing touch to a small gift - and the best part? They're reusable!
I plan on having more new items coming soon too, I promise!
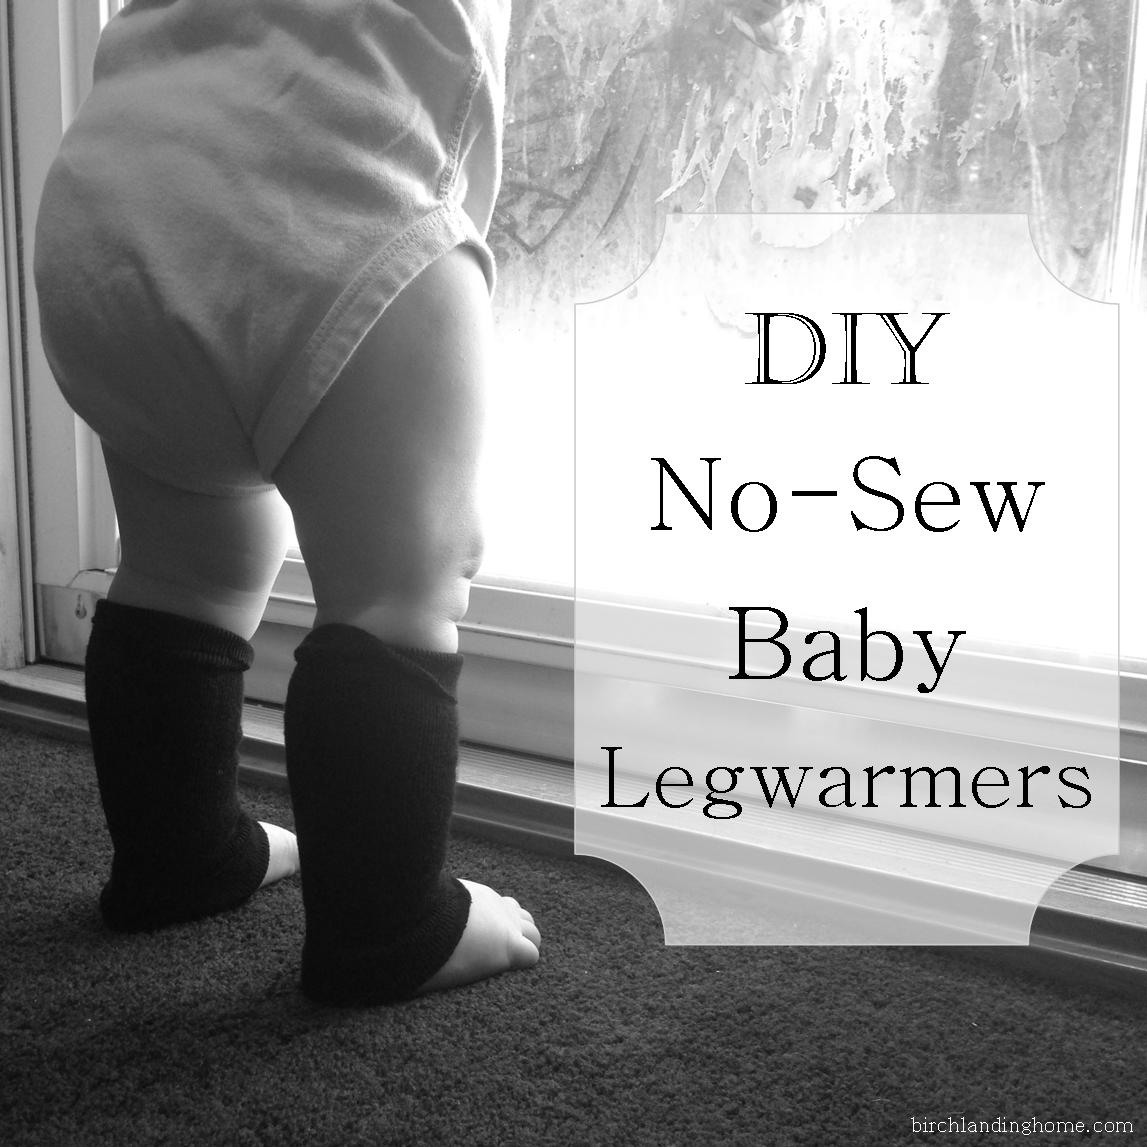
Baby legwarmers are huge right now, and with good reason - they're just too cute on those chubby little legs!
Today I have the easiest no-sew DIY on how to make your own baby legwarmers from something you already have in the house. In fact it's so easy that I made these this morning before I even finished my first cup of coffee - now that's saying something!
Materials:
Tall socks (preferably knee socks)
scissors
How-to:
Take an old pair of tall socks (I used a pair of tall dress socks that I never wear), and cut off the feet... that's it! (See? I told you it was easy!) Then use the tube portion of the socks for baby's little legwarmers.
These would be especially cute made with tall, slouchy tube socks in fun colors or patterns. Target always has fun socks for a dollar or two and I know I'll be picking some up next time I go to make more of these for our little one.
You most likely won't have to hem these legwarmers but depending on the material and weave of the socks, you may want to.
These little legwarmers would look especially cute paired with a wrap headband like those from Andy Sachs or Rascal & Roo. I tried to put one on Miss M this morning for these pictures, but she wasn't having it.. typical toddler ;)
(Excuse the frosty toddler handprints and puppy noseprints on the glass.. it's a never-ending battle.)
The other day I heard someone say you can clean your plastic shower curtain liner by putting it in the washing machine and I thought she was crazy. But now that I've tried it maybe I was crazy for not knowing this sooner!
In the past I've fought the uphill battle of scrubbing and wiping down the curtain periodically and then replacing it when I let it get ahead of me. Buying a new liner always hurts because we only buy the eco-friendly, PVC-free ones and they're a little more expensive. So after I heard it can be cleaned in the washing machine I decided to try this for myself and never again have to buy a new shower curtain liner.
I had planned to take before and after photos of our frosted shower curtain but it just didn't photograph well and maybe that's for the best, I don't think you all wanted to see our soap-scum anyways. It also didn't help that our pup Harley kept trying to "help."
Now to clean the liner, it's pretty darn simple - just stick it in the washing machine with one or two bath towels, 1 cup of white vinegar and your regular detergent (we use Seventh Generation Free & Clear), then wash on the delicate cycle. When it's done hang the curtain back up to dry -- DO NOT put in the dryer. The curtain will be a bit wrinkly at first but as clean as the day you bought it!
Ah, nice and clean - I wish I had known this sooner!
After taking the last month or so off from shop-related things it's time to get back to work! I have a huge list of handmade goods I want to make for Birch Landing Home's shop, including banners, centerpieces, signs, gift tags, wooden buttons, and more.
The photo above shows some of the materials I'll be using for these new items - can't wait to share the finished products with you!
I have to say this is one of my favorite go-to outfits. I feel like it combines some of the best basics together and the finishing touch it needed was the Buffalo Plaid Turban Wrap from Willow Crowns.
This turban wrap is currently sold-out but Megan should be releasing the spring line soon and I can't wait to see what she has in store!
(Certainly not the best picture of myself or of the turban wrap.. I'm definitely not one for taking selfies!)
Excited to say that our little tip on stretching your makeup remover pads was featured as today's Frugal Tip in Couponing101's Newsletter!
If you're not already, you probably want to sign up for Couponing101's daily newsletter - it's a great round-up of some of the best deals, coupons, and money-saving ideas out there!
Whether you're a just a crafter or a serious designer, Creative Market has a huge variety of typefaces, graphics, patterns, and more - think of it as Etsy for digital elements and tools.
Creative Market is an incredibly useful resource whether your Illustrator skills aren't quite where you want them yet (shamefully raises hand) or if you just don't have the time to make all these elements yourself. Some files are free, but most are for purchase-only. Once you've downloaded the files, you can use them in your personal and commercial projects (just make sure you understand the limitations of their Simple License).
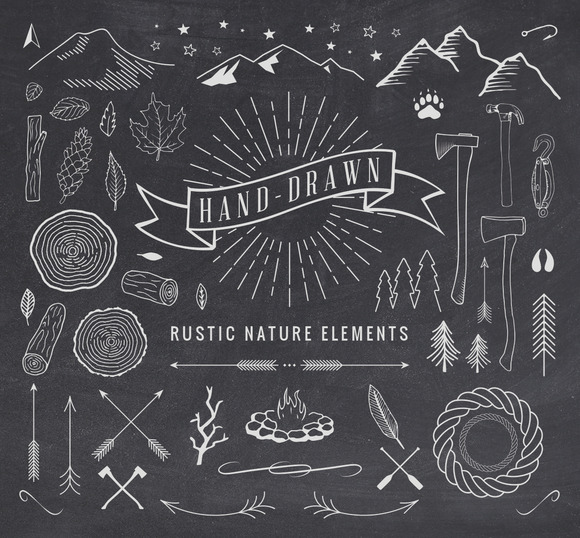
Rustic, hand-drawn elements are huge right now and Creative Market has so many to choose from, like this one:
There are also TONS of hand-crafted fonts which are also very on-trend, like this one:
UPDATE 03/23/15: For a limited time, if you purchase the "Northern Passage" font you'll also get the "Hand-Drawn Rustic Nature Elements" set (pictured above) as a free bonus - great deal!
Perusing Pinterest the other day I came across a pin for these Apple Rose Tarts from Martha Stewart and thought they'd be perfect to make for Valentine's Day!
Since this adorable idea was from Martha Stewart, I'll lead you there to see the full directions. However, my one complaint about the article was that it didn't give a lot of specifics, so please read on for my tips and lessons learned.
Apple Rose Tarts: Tips + Tricks
The article suggests buttering and flouring your muffin tin first, which I did, but I can't stress how important it is to really thoroughly do it. I thought I had done a good job coating the pan but when it came time to take the tarts out they didn't come out easy and quite a few had some damage.
For the pie crust I went the easy route and used a box of classic Jiffy Pie Crust mix and had enough dough to line a 12-cup muffin tin.
For the apples I used 3 Gala apples. I didn't have a mandolin and had to hand-cut them.. I definitely think a mandolin would have been a lot easier.
Using 3 apples I ended up with enough thin slices to make 6 roses, and enough left over apple pieces to fill the other 6 muffin cups. (*In summary, 1 apple with make 2 apple roses.. so If you wanted to make 12 apple rose tarts you would need 6 apples)
There wasn't any hint at how much sugar and cinnamon to use, so I filled a cereal bowl about halfway with white sugar (brown sugar would have probably tasted better but it would have browned the apple roses) and probably a teaspoon of cinnamon. When it came time to sprinkle the mixture on the apple slices I was very generous.
The apple slices need to be really soft and pliable in order to roll them well. I had to microwave them until they were soft and steaming in order to roll them without breaking.
Once you start rolling the apple slices, don't stop! Roll them tightly and place right into the prepared muffin pan - make sure it's close by.
Let the tarts cool completely before trying to take them out of the tin.
The Apple Rose Tarts were a big hit! Hope everyone had a wonderful Valentine's Day!