We decided to try our hand at making our own toddler art Valentine cards to send to family and friends - it was so easy and a lot of fun!
| This post contains affiliate links |
How-to:
For our little one to make her art, I taped some big sheets of finger painting paper to our kitchen floor and let her go to town! This was also her first painting experience, and it's safe to say that she really enjoyed it... though I think she may have been just as interested in trying to pull the tape off the floor.
Even though I was an art education major, I'd never used special paper for finger painting and I was a bit skeptical at first. The paper touts being "glossy and non-absorbent" and I wasn't sure how the paint would stay on the paper or if it would dry well. Nevertheless, it worked great! The non-absorbency and glossiness is perfect for finger painting - a little paint goes a long way since it isn't absorbed into the paper and the smooth glossy surface makes it easy for little fingers to move the paint around. Drying time was pretty fast too and the paint stayed well on the paper, no flaking or peeling.
Once the paintings were dry, I used a heart-shaped cookie cutter to trace out the hearts and cut them out.
I glued the hearts onto a folded piece of white stationery from C.R. Gibson, then added a little handwritten note inside and they were done. Now to mail them off to family and friends!
Happy Valentine's Day!
Check out our other Valentine's posts:
KEEP UP WITH BIRCH LANDING HOME
| Etsy | Facebook | Instagram | Pinterest | Bloglovin' | Hometalk |
Insert shameless plug here ;)
My husband Adrian and I love the great outdoors, and he loves taking pictures. A few months ago this passion launched into little side project called Free Nature Stock, a place where he can share some of the many photos he takes as a stock photo resource for others.
Everyday a new nature-themed photo is added, and the best part is they are free and can be used in your personal or commercial projects without any attribution.
Please check it out and don't forget to follow Free Nature Stock on Instagram and Twitter to see what the latest photos are.
Please note: The previews of the photos may look a little grainy, especially on Instagram or Twitter, but the downloadable files are high-quality and large.
KEEP UP WITH BIRCH LANDING HOME
| Etsy | Facebook | Instagram | Pinterest | Bloglovin' | Hometalk |
I love finding good deals and using coupons when I can but I'm definitely not one of those crazy coupon-people...
A few months ago I came across Couponing101.com and her daily newsletter, and it can't be beat! Every night you're e-mailed a simple, free newsletter that rounds up some of the best coupon and deals out there. I particularly love checking out the Amazon deals that are often listed - some of the markdowns are amazing and if you're looking ahead for birthday or Christmas gifts you can get ahead on your shopping and get some great deals.
KEEP UP WITH BIRCH LANDING HOME
| Etsy | Facebook | Instagram | Pinterest | Bloglovin' | Hometalk |
What's the one thing you should always do before you dress your baby? It may sound silly, but check their clothing for loose threads.
Infant clothing is notorious for poor workmanship. Those adorable outfits and layettes are inexpensive to buy and not meant to last. Long threads could potentially wrap around a baby's toe causing harm, and loose threads could become a choking hazard if baby were to pull them free and try to eat it.
You will almost always find loose threads on your little one's new outfits and after the first time they've been washed. After that, it's a good idea to give their clothes a quick once-over before you dress them to make sure there's no new loose threads or weak seams.
I always keep a pair of baby nail clippers handy by the changing table, that way I can easily clip any loose threads I happen to see.
KEEP UP WITH BIRCH LANDING HOME
| Etsy | Facebook | Instagram | Pinterest | Bloglovin' | Hometalk |
I know that pregnancy stretch marks are hereditary, and they say there's no escaping them.. but somehow I did.
Stretch marks run in my family and I was sure I was going to get ginormous ones during my pregnancy but somehow I didn't get a single one (whew!). My lack of stretch marks was probably due to a combination of slow, steady weight gain, staying well-hydrated, moisturizing, and a ton of luck, but I'm also going give a bunch of credit to Trader Joe's Coconut Body Butter.
I used this stuff twice a day on my belly and I'd like to think it worked wonders! It smells amazing, rubs in well, and soothed the awful itching that comes with stretching skin. I'm definitely recommending it to all my expectant friends!
KEEP UP WITH BIRCH LANDING HOME
| Etsy | Facebook | Instagram | Pinterest | Bloglovin' | Hometalk |
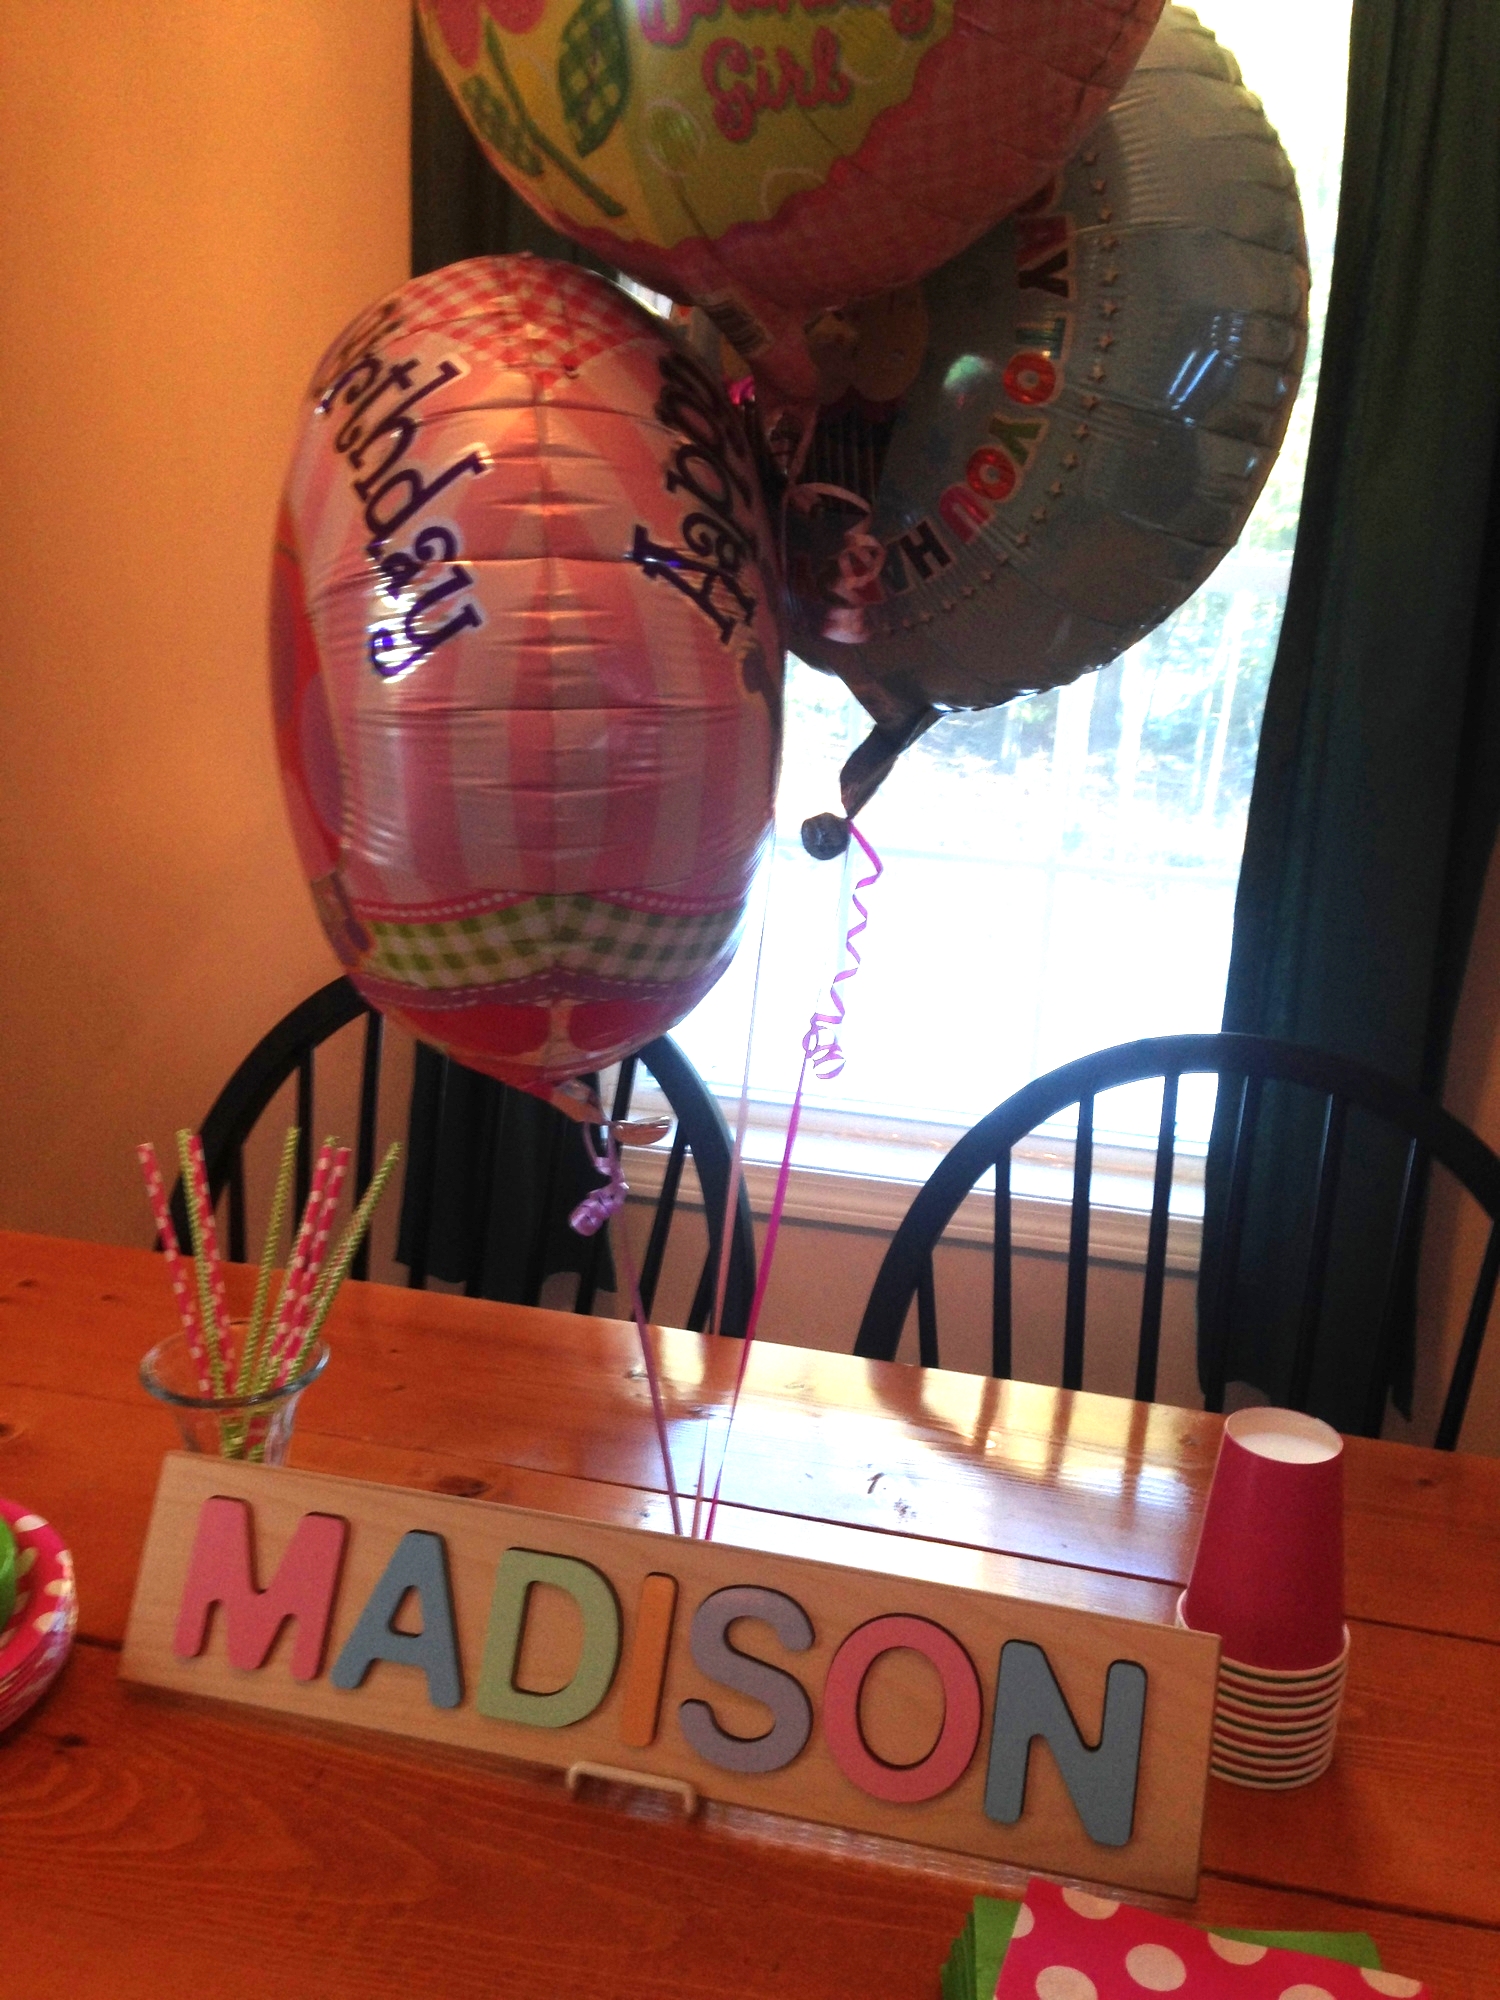
Our little Madison turned one last month! We had a very low-key, small party with just immediate family invited. We decided to keep decorations to a minimum and keep it simple and fun.
Here are some of the details from the little party.
Her party theme was pink and green polk-a-dots (with some buttons for good measure). For the centerpiece we used her name puzzle propped up on a plate stand with some birthday balloons added for fun:
I made the cake myself and kept it easy, to decorate it I added edible sugar buttons:
For favors we filled pink polk-a-dot paper favor bags with chocolate Hershey's Hugs and Kisses candies, so party-goers could take home "hugs and kisses" from the birthday girl:
KEEP UP WITH BIRCH LANDING HOME
| Etsy | Facebook | Instagram | Pinterest | Bloglovin' | Hometalk |
This post will show you a simple technique to lay out gallery wall so everything is spaced the way you want, without the trial and error of putting a lot of nail holes in your wall. My example is very small-scale (only two photos), but this technique would work well for any size gallery wall.
Materials:
- picture frames
- paper
- painter's tape
- scotch tape
- pen or marker
- nails
- hammer
Also useful: - tape measure
- level
How-to:
Cut paper to size of frames. I used computer paper since it was handy, taped together in order to make it large enough.
Next, lay your paper template over the back of the frame and feel where the hanger is. Mark were the nail would be with a pen or marker.
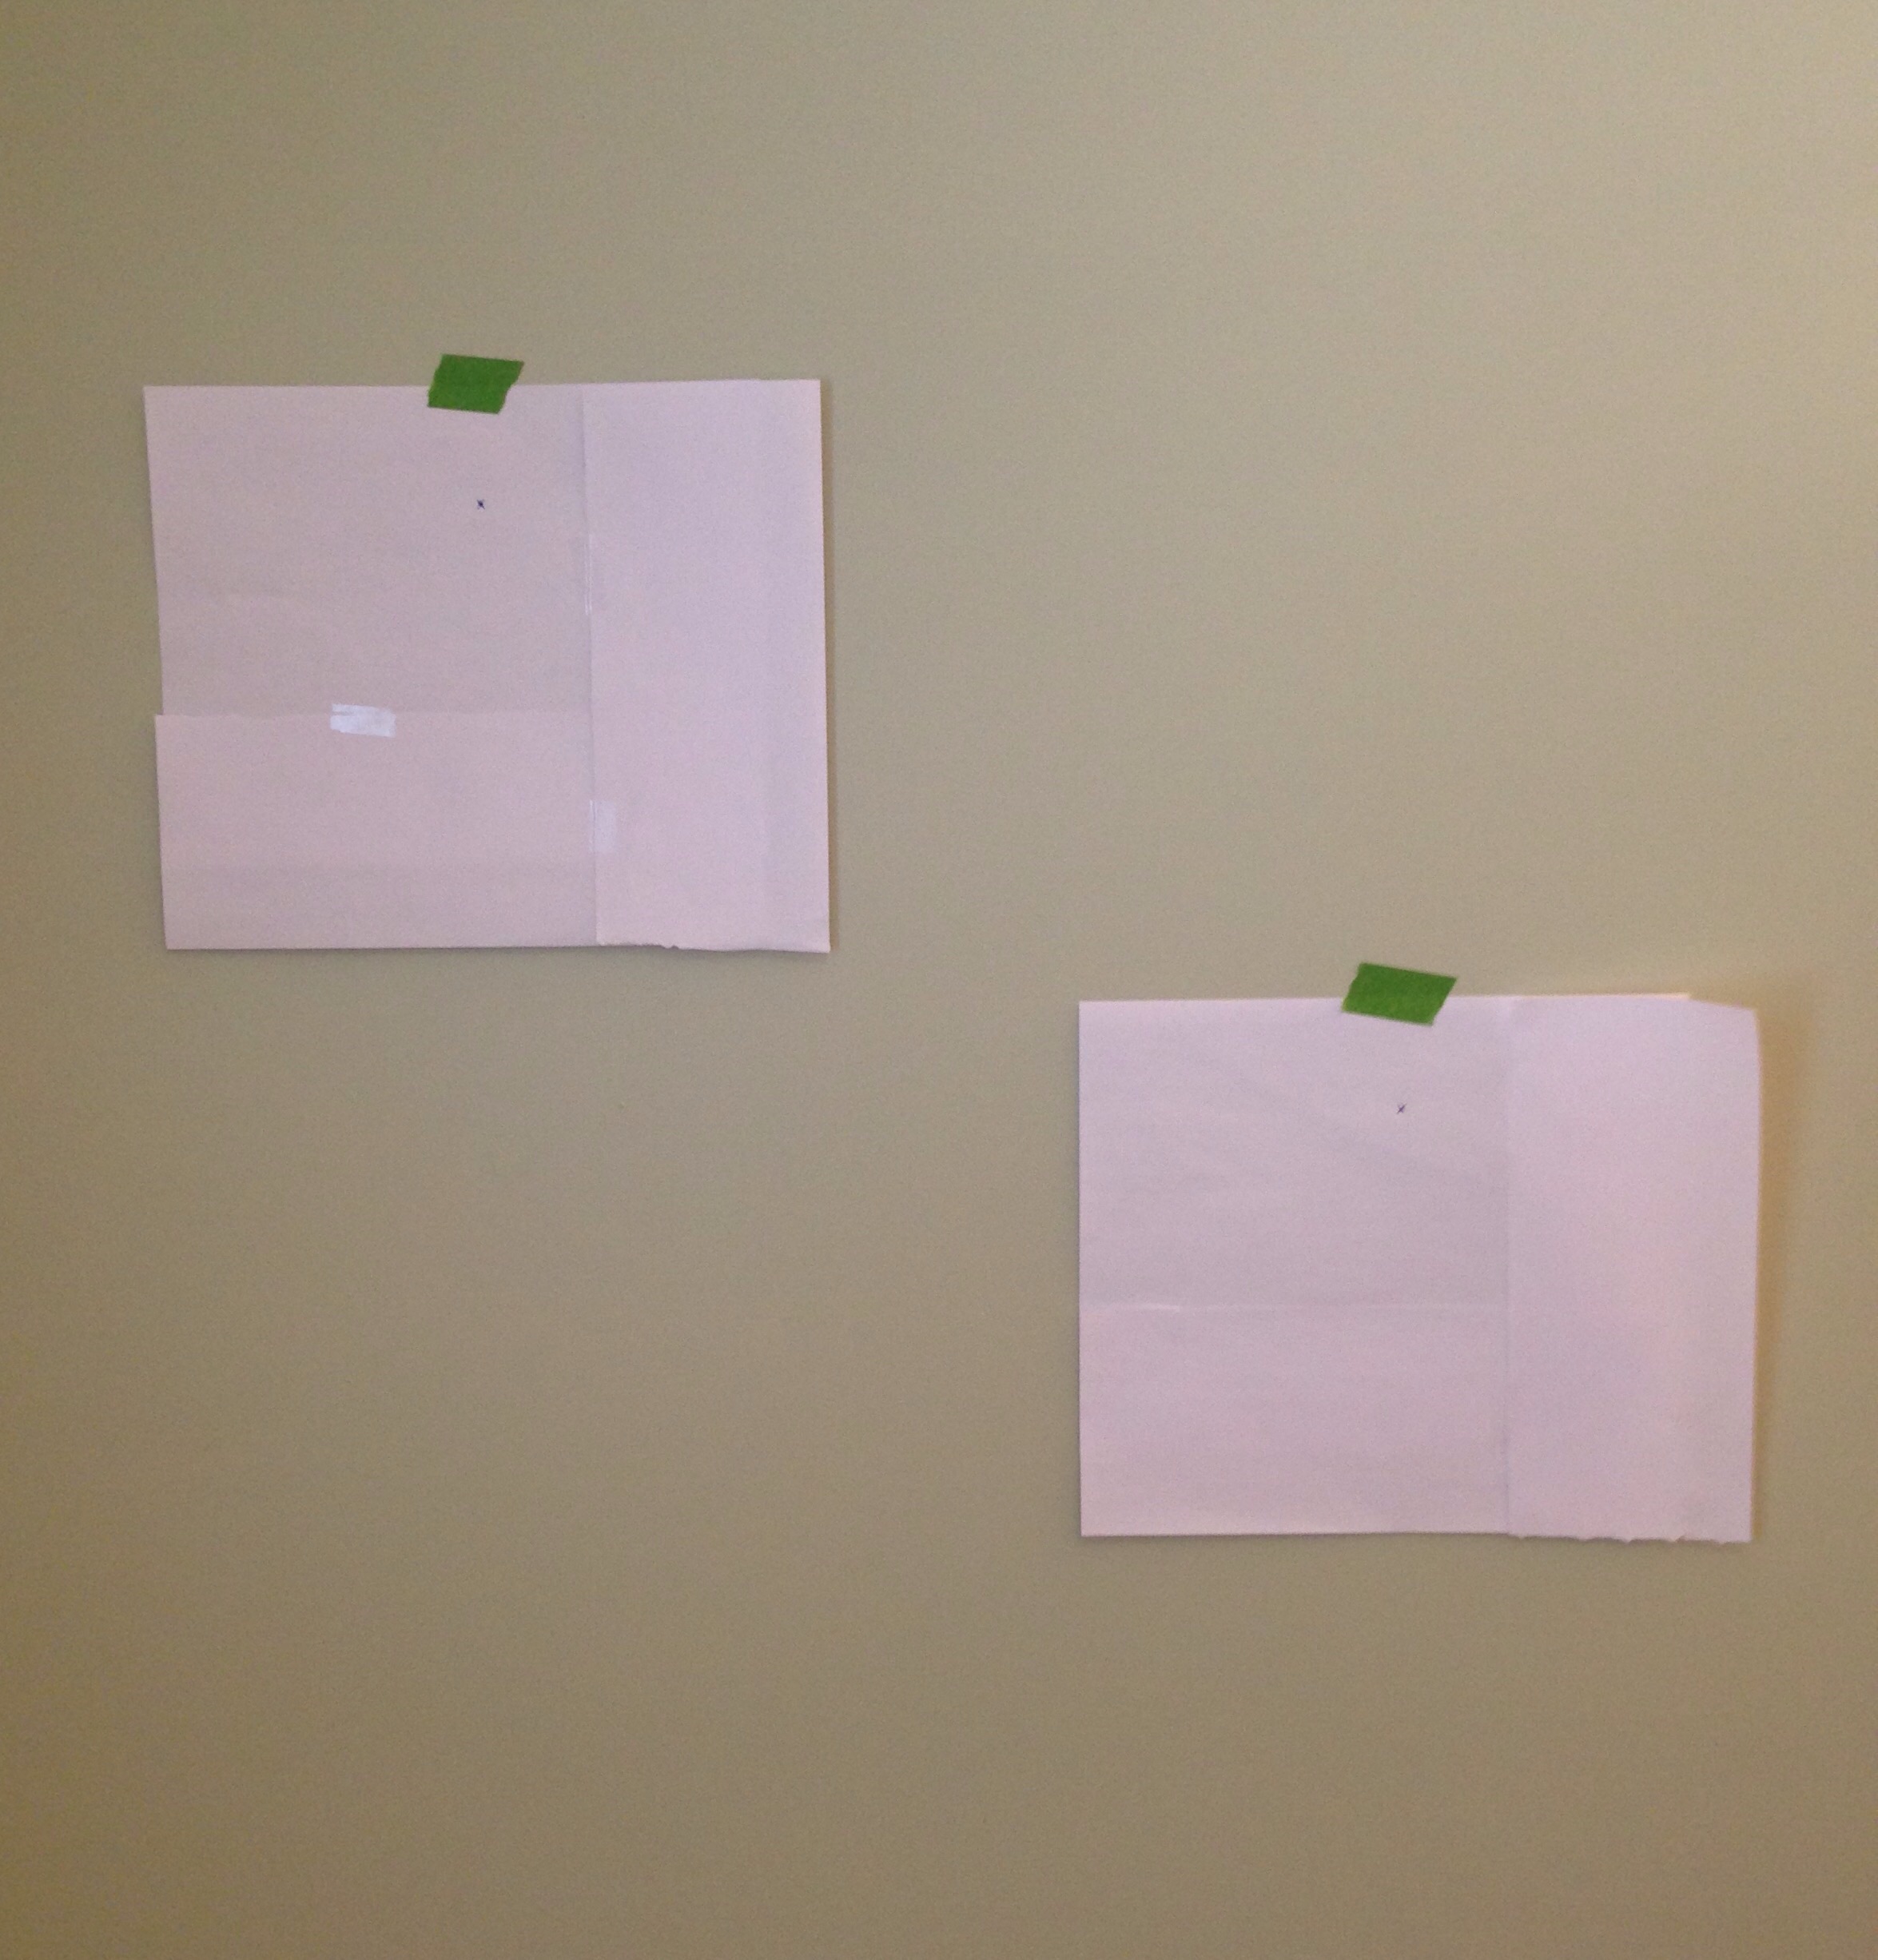
Now's the fun part - start laying out your gallery wall by hanging up the paper templates with painter's tape and moving them around until you're happy with the height, spacing, etc. Here is where a tape measure and level might be useful if you have large pieces to hang or want to get the spacing absolutely perfect.
Next nail right through your paper templates, where the marking for the hanger is. Then take down the templates, ripping the paper off around the nail.
Now hang up your photos, and they'll be spaced just the way you wanted them!
This tiny gallery wall is in our family bathroom - it will have black and white photos of our little one taking a bath and brushing her teeth. I can't wait for the photos to come in so I put them in the frames!
KEEP UP WITH BIRCH LANDING HOME
| Etsy | Facebook | Instagram | Pinterest | Bloglovin' | Hometalk |
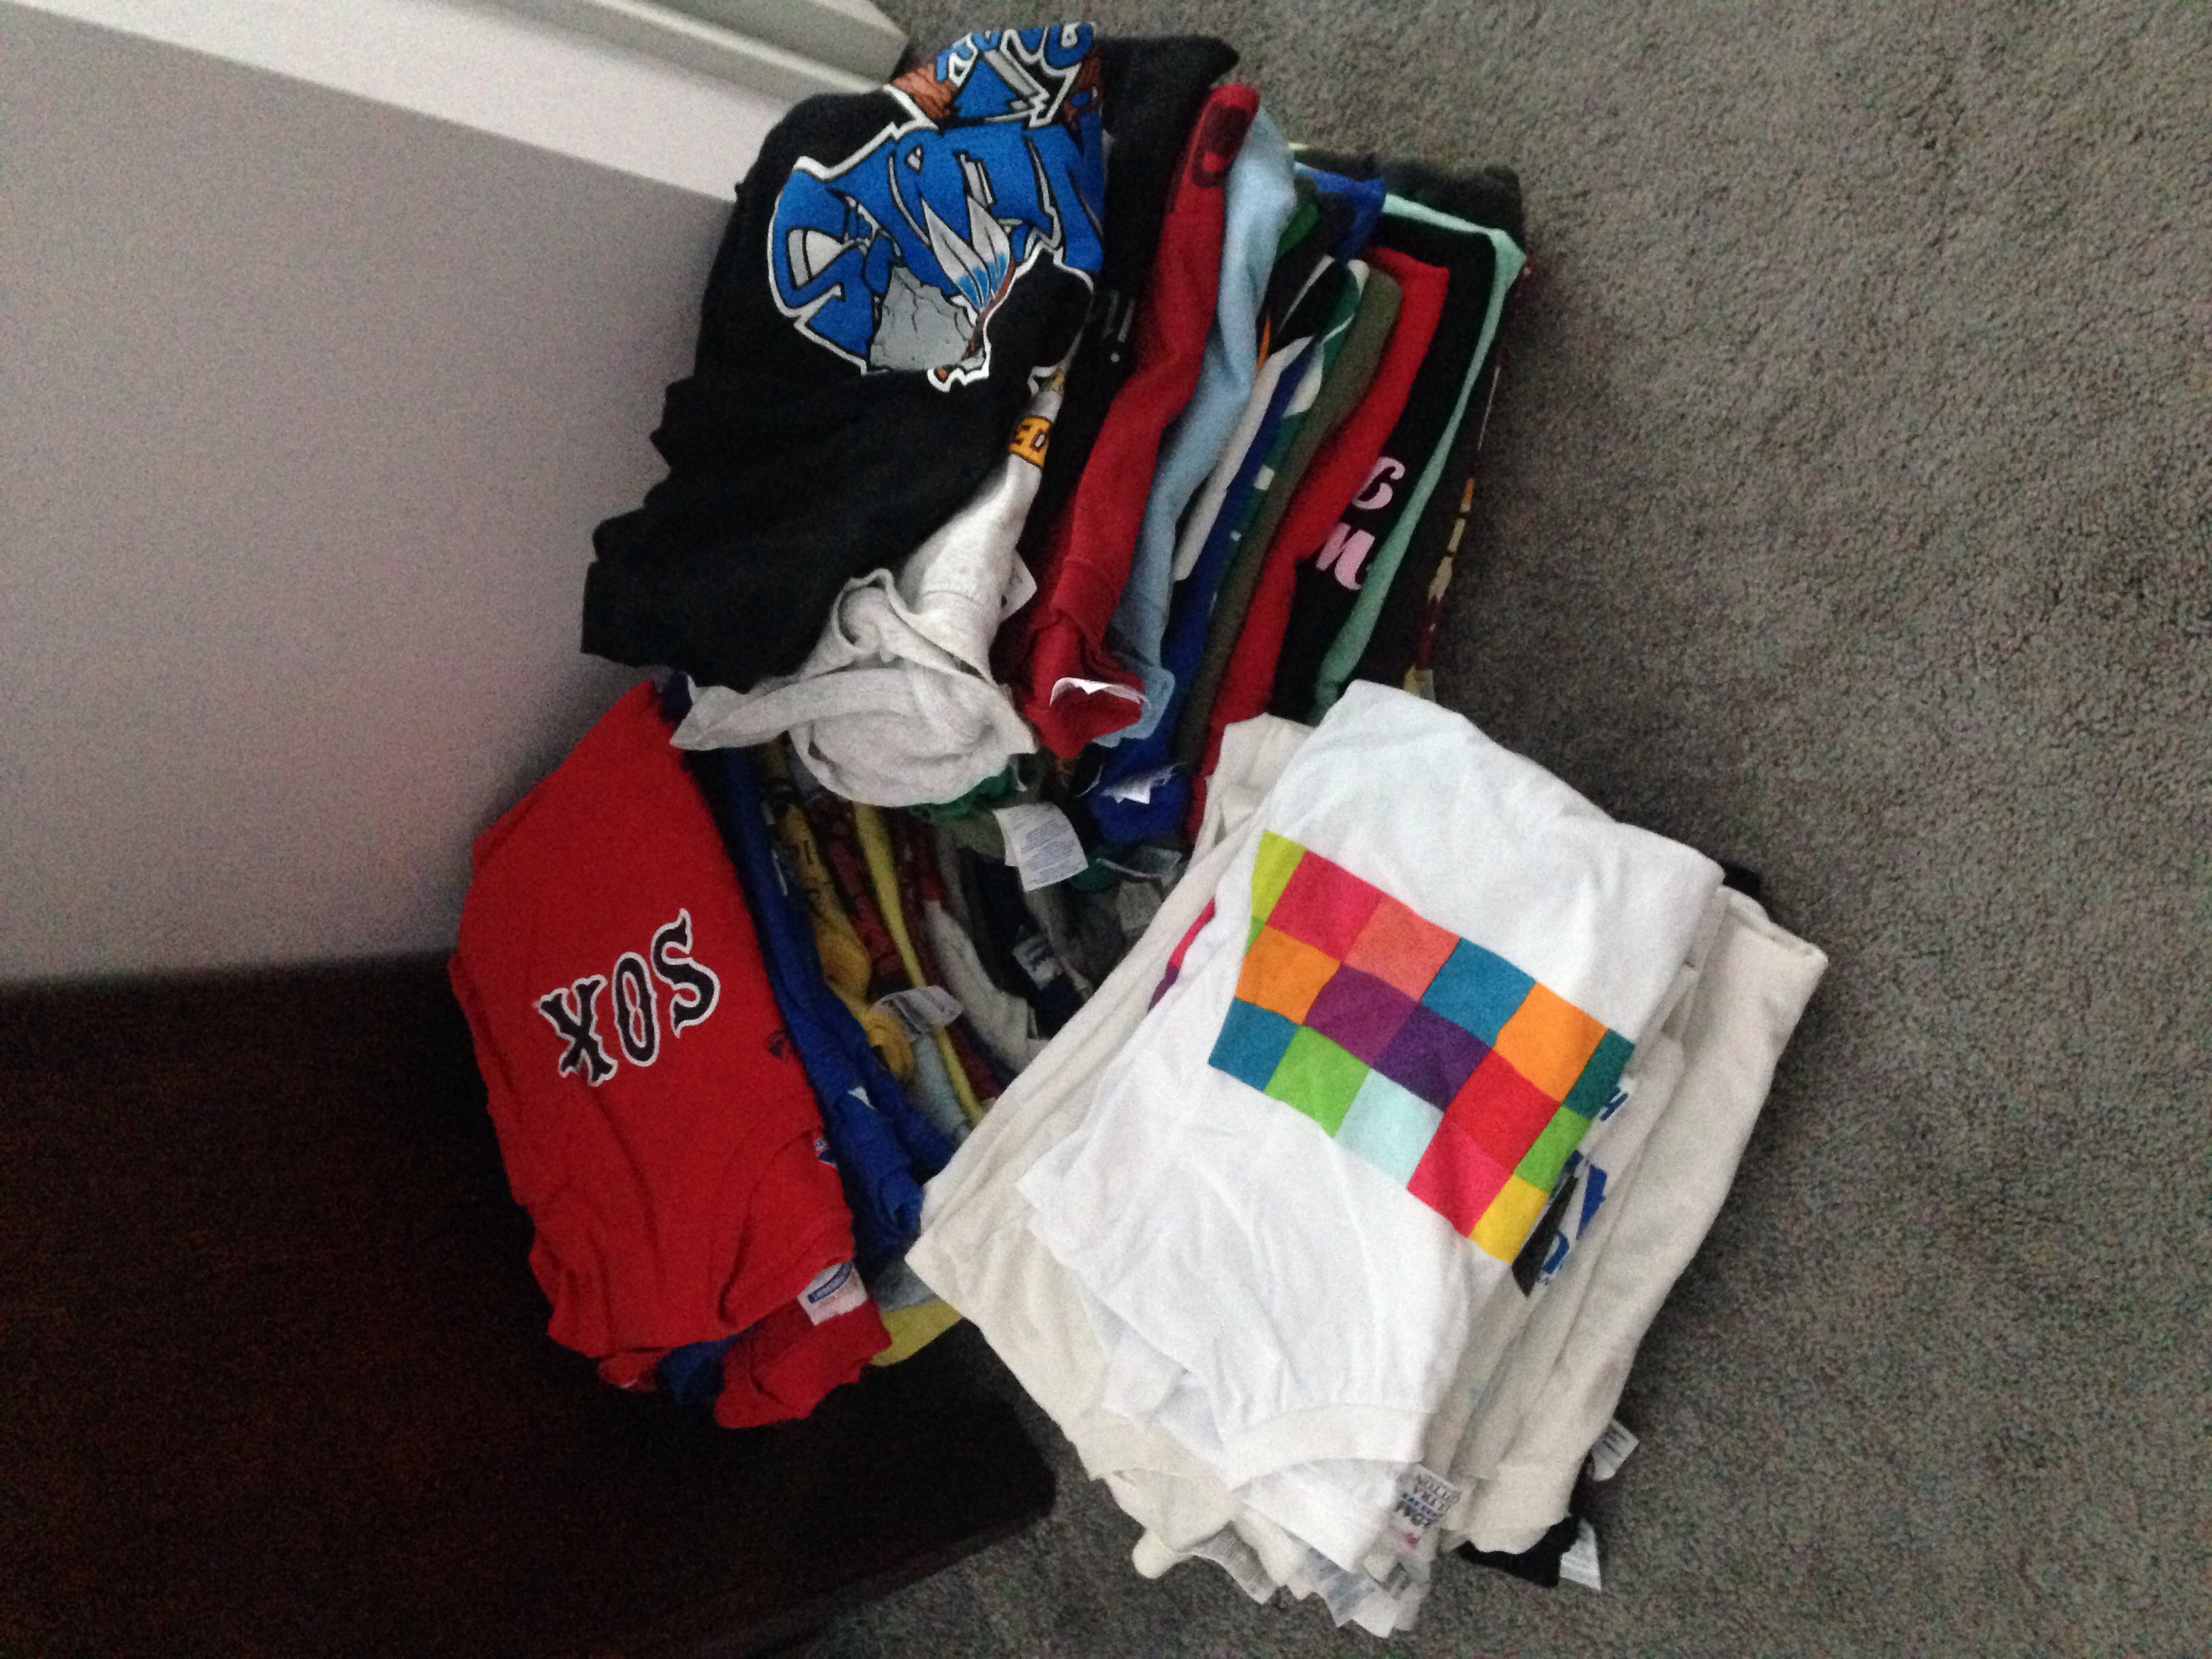
I've started to tackle one of my resolutions: going through my clothes and cleaning out the closets. I've already gone through my bureau and started on the walk-in closet, and it's refreshing to see the pile of stuff to go get bigger.
What may be more refreshing? Trying on the shorts and jeans I had tried on at the beginning of summer and wrote off as a loss to my post-baby body but they fit again - yes!
I may have a t-shirt problem though.. t-shirts from college, concerts, races, volunteering. I hardly wear them but I can't seem to bring myself to get rid of most of them either. I've seen ideas on Pinterest on turning t-shirts into a quilt and maybe that will be a future project.
I still have a long way to go to finish the great clean out of 2015 but the little one has been napping and sleeping horribly lately, not leaving me much time to get things done.
KEEP UP WITH BIRCH LANDING HOME
| Etsy | Facebook | Instagram | Pinterest | Bloglovin' | Hometalk |