I'm a wife, stay-at-home mom, crafter, and blogger living in rural New England. As seen in Martha Stewart Living, Food Network Magazine, and more! | Tutorials, DIY, crafts, parenting tips, recipes, money saving tips, product reviews, local product features, New England living, intentional living, and more! |
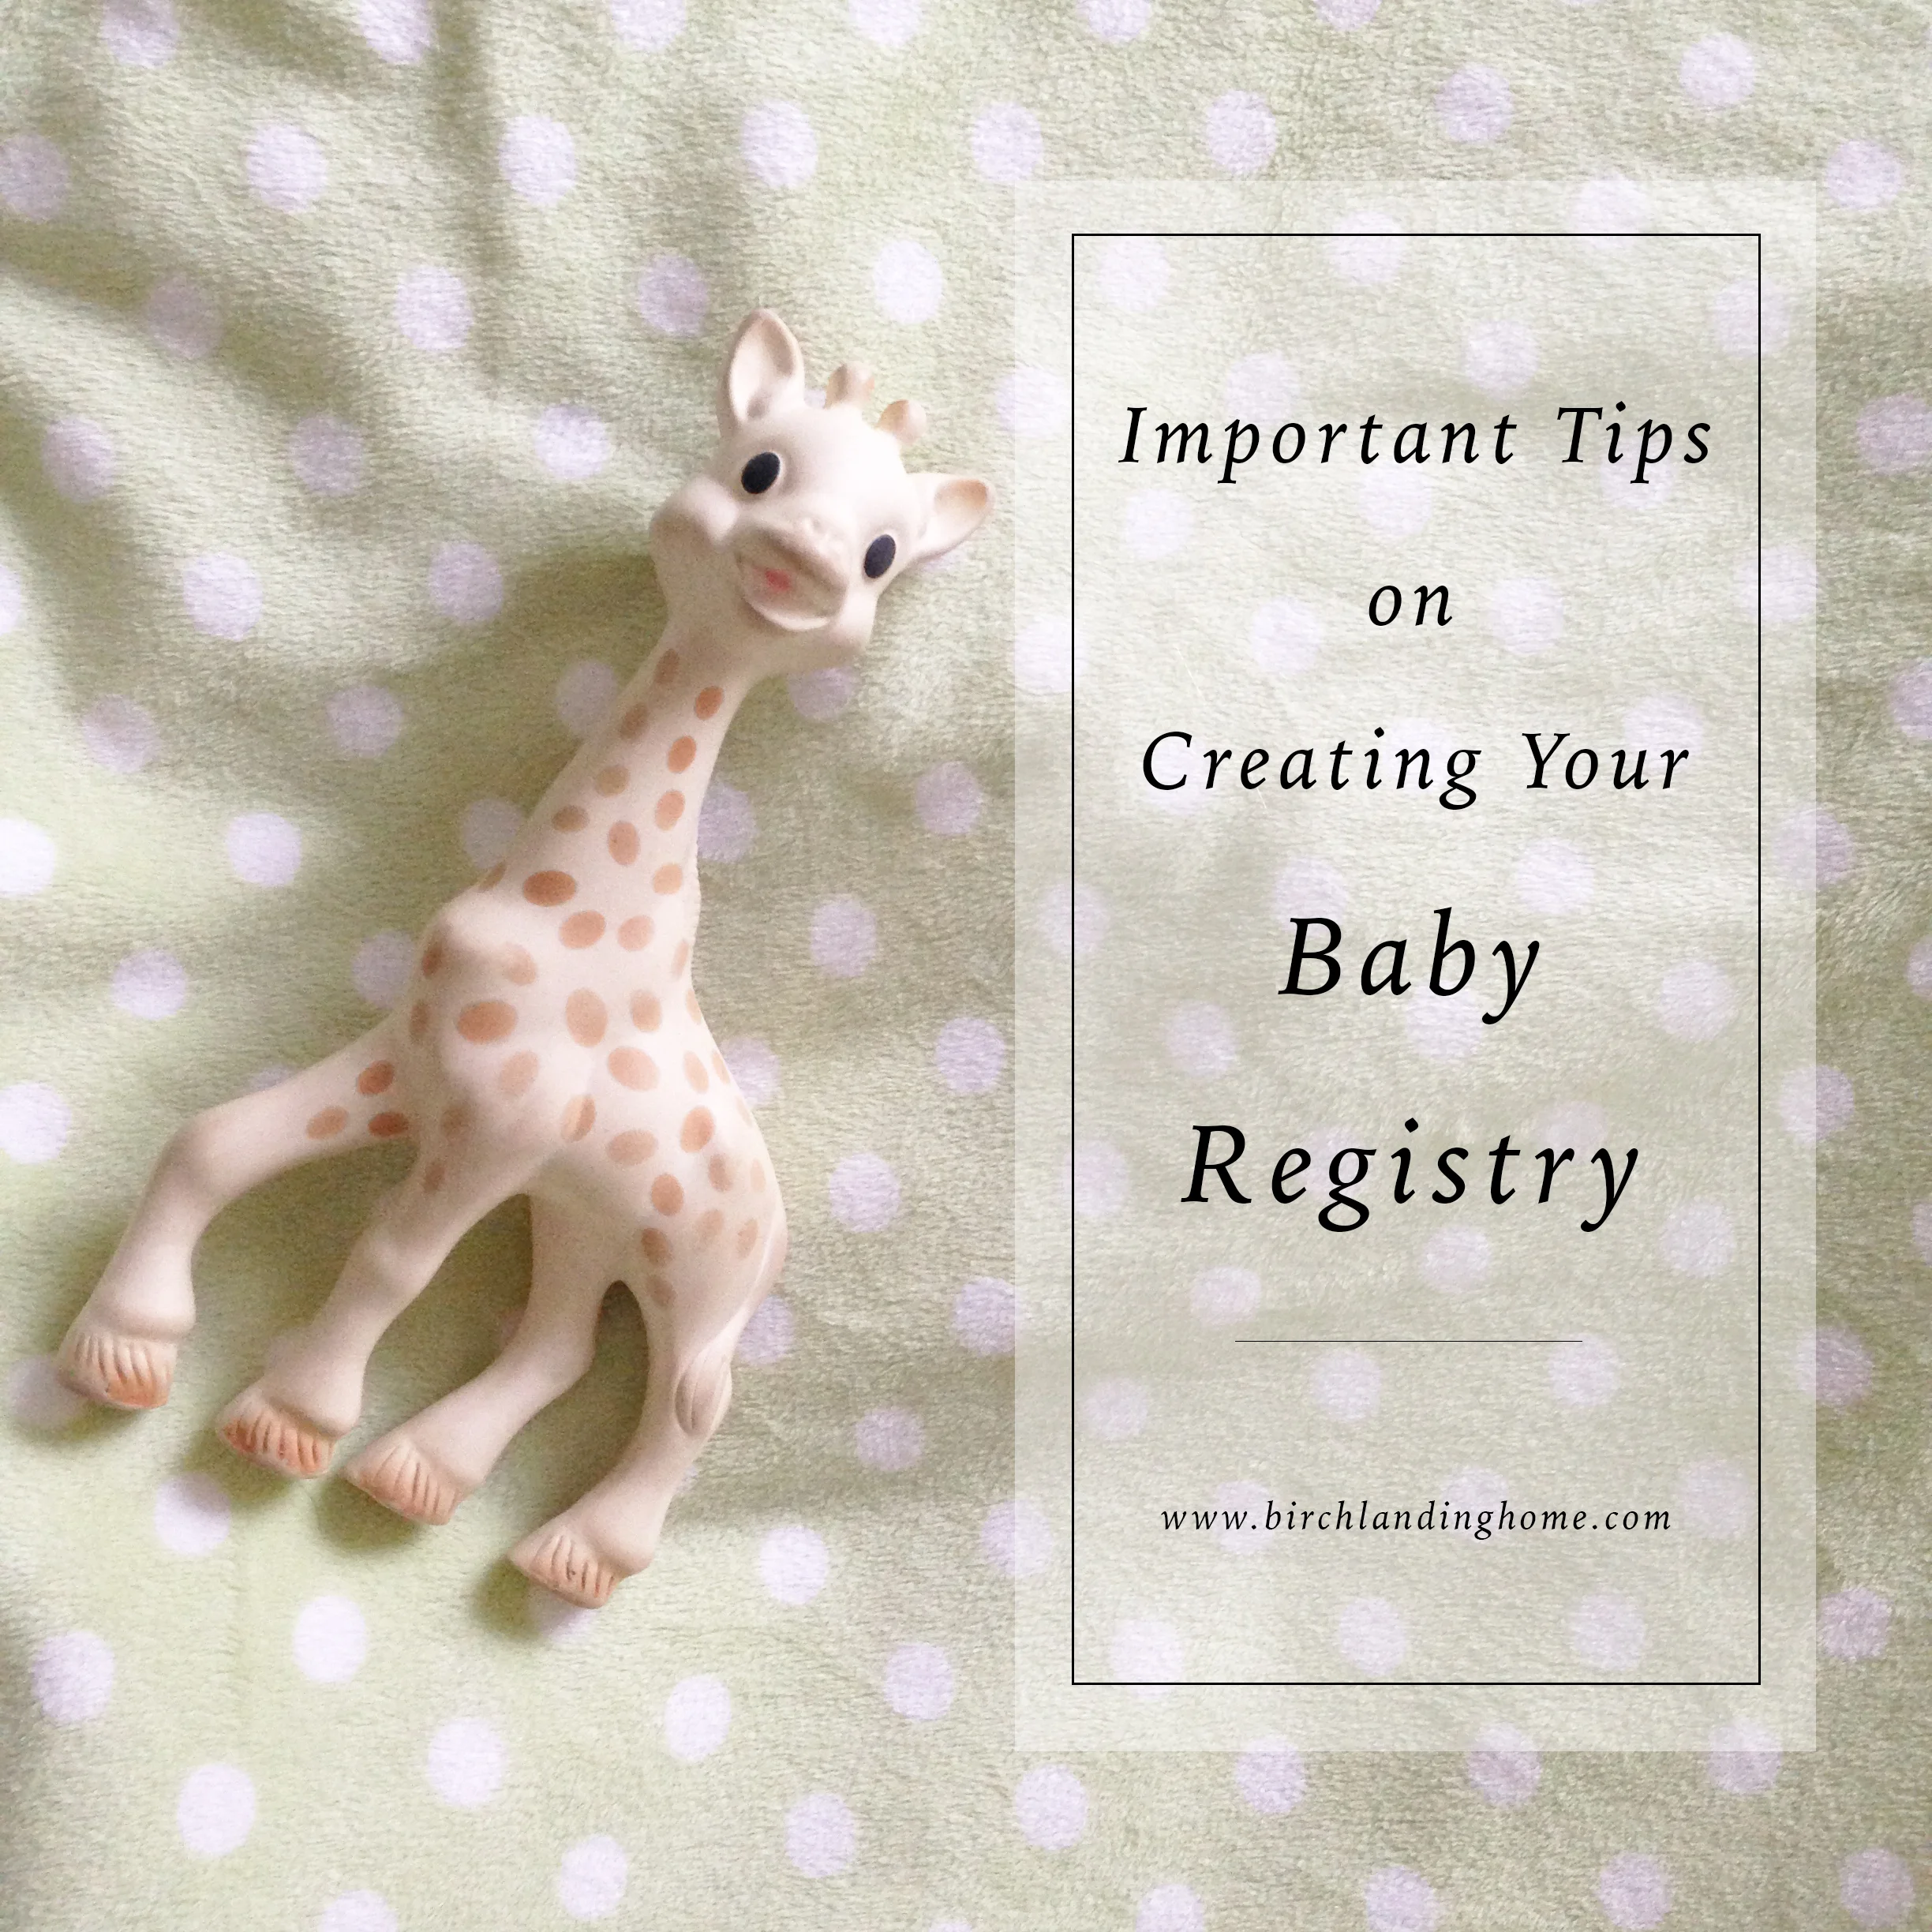
Creating a registry for your first baby is a lot of fun - and pretty overwhelming. A lot of people either end up registering for way too much stuff or not enough - so we're here to give you some tips to help find a good balance. | This post contains affiliate links |
Bring a Recently New Mom With You
If possible, bring a relative or friend who's had a baby within the last two years - but someone who won't be overbearing and force all their choices on you. This mom's insights will be invaluable as you navigate the overwhelming selection of Babies 'R Us. Show her the products that catch your eye and get her honest feedback on them - she'll think of things you haven't thought of (how hard something would be to clean, how often you'll actually use it, how quickly baby will outgrow it, etc). She'll also help you think of items you maybe hadn't thought of (like a carseat mirror, a mattress cover for your own bed, etc).
Less is More
As tempting as it is, don't put every single cute thing you see on your registry. Make sure to only put what you *really* need (plus a few fun things too of course). The reasoning is, there's a good chance family and friends will just buy a lot of the fun stuff on your list and overlook some of the most important items, leaving you to purchase the necessities.
Wide Variety of Price Points
Not everyone can afford shopping at Pottery Barn, or will be able to afford to buy you the $500 crib or $200 car seat. Yes, many baby essentials are expensive - but make sure you have items that everyone can afford on your list too. Think bottles, sheets, teethers, wipes, etc.
Think Beyond Newborn
Don't just register for newborn items - make sure to think ahead to what your baby may need their whole first year. Eventually they'll need a high chair, feeding items,
a push toy, etc. Make sure to think beyond the first three months and include some items for when they get a bit older.
Choose Products to Grow with Baby
If possible, choose items that do double duty and will grow with your baby. Carseats are a big one: you have the option of choosing an infant carseat (one with a handle that detaches from the carseat base) and then buying a toddler or convertible carseat later that year when baby outgrows it. -OR- you can choose a convertible carseat from the get-go, one that's good from around 4-70 pounds, so you just buy one carseat and you're good for the next six years or whenever it expires (yes, carseats do expire). Other items that you can choose to grow with your baby are convertible pack-and-plays, high chairs/boosters, and carriers.
Don't Register for Baby Clothes
Other than some necessities (side snap onesies for newborns, sleep sacks, etc), don't register for clothes. Why, you ask? The most practical reason is that clothing availability changes so often (sometimes a few times within a season) - so when you add a cute outfit to your registry today, there's a good chance it will be unavailable in a month or so. Another reason is that shopping for baby clothes is so special and enjoyable for your family and friends, you don't want to deprive them of that. And yes, you probably will end up with some outfits that aren't in your taste, but if it makes Great Aunt Madge happy it's worth it.
Politely let your family and friends know that contributions to your baby's savings account are welcome. It's important to start saving early and even if it's small, it's worth putting money away little bit, by little bit.
Something for You Too!
Don't forget Mama too! Ask for something practical that you need or that will help make things a bit easier. Maybe a gift card to a maternity shop so you can invest in some great nursing bras or nursing-friendly clothes. Or maybe a one-month subscription to a meal delivery service, because every new parent knows how rough that first month can be (and the last thing you want to do is drag your sleep-deprived self and a newborn to the grocery store).
I hope I gave you some helpful tips on planning your baby registry! If you're looking for some ideas on specific items to get, be sure to check out our Top Baby Must-Haves post.
This Halloween we're participating in the Teal Pumpkin Project to promote awareness and inclusion of all trick-or-treaters, no matter their dietary restrictions. | This post contains affiliate links |
Unfortunately a lot of kids have food allergies, ranging from mild to potentially very dangerous. These allergies can include dairy, chocolate, nuts, soy, gluten, artificial dyes, and more. These kids either can't participate in trick-or-treat or have to throw out 95% of what they get - and when you're a kid that's really rough.
By having a teal pumpkin out, you're letting kids and their parents know that your house is a safe place to trick-or-treat and you have non-food items available. These can be things like novelty pencils, erasers, stickers, bubbles, crayons, small toys, etc. You can still give out the usual candy, but it's a good idea to keep the non-food items separate. This is a great project to allow all kids a chance to feel included in trick-or-treat on Halloween.
FARE (Food Allergy Research & Education)has some wonderful resources on their website - including crowdsourcing maps to identify participating houses, printables you can use to proudly show your support and educate others, and fundraising opportunities to help fund food allergy research and awareness.
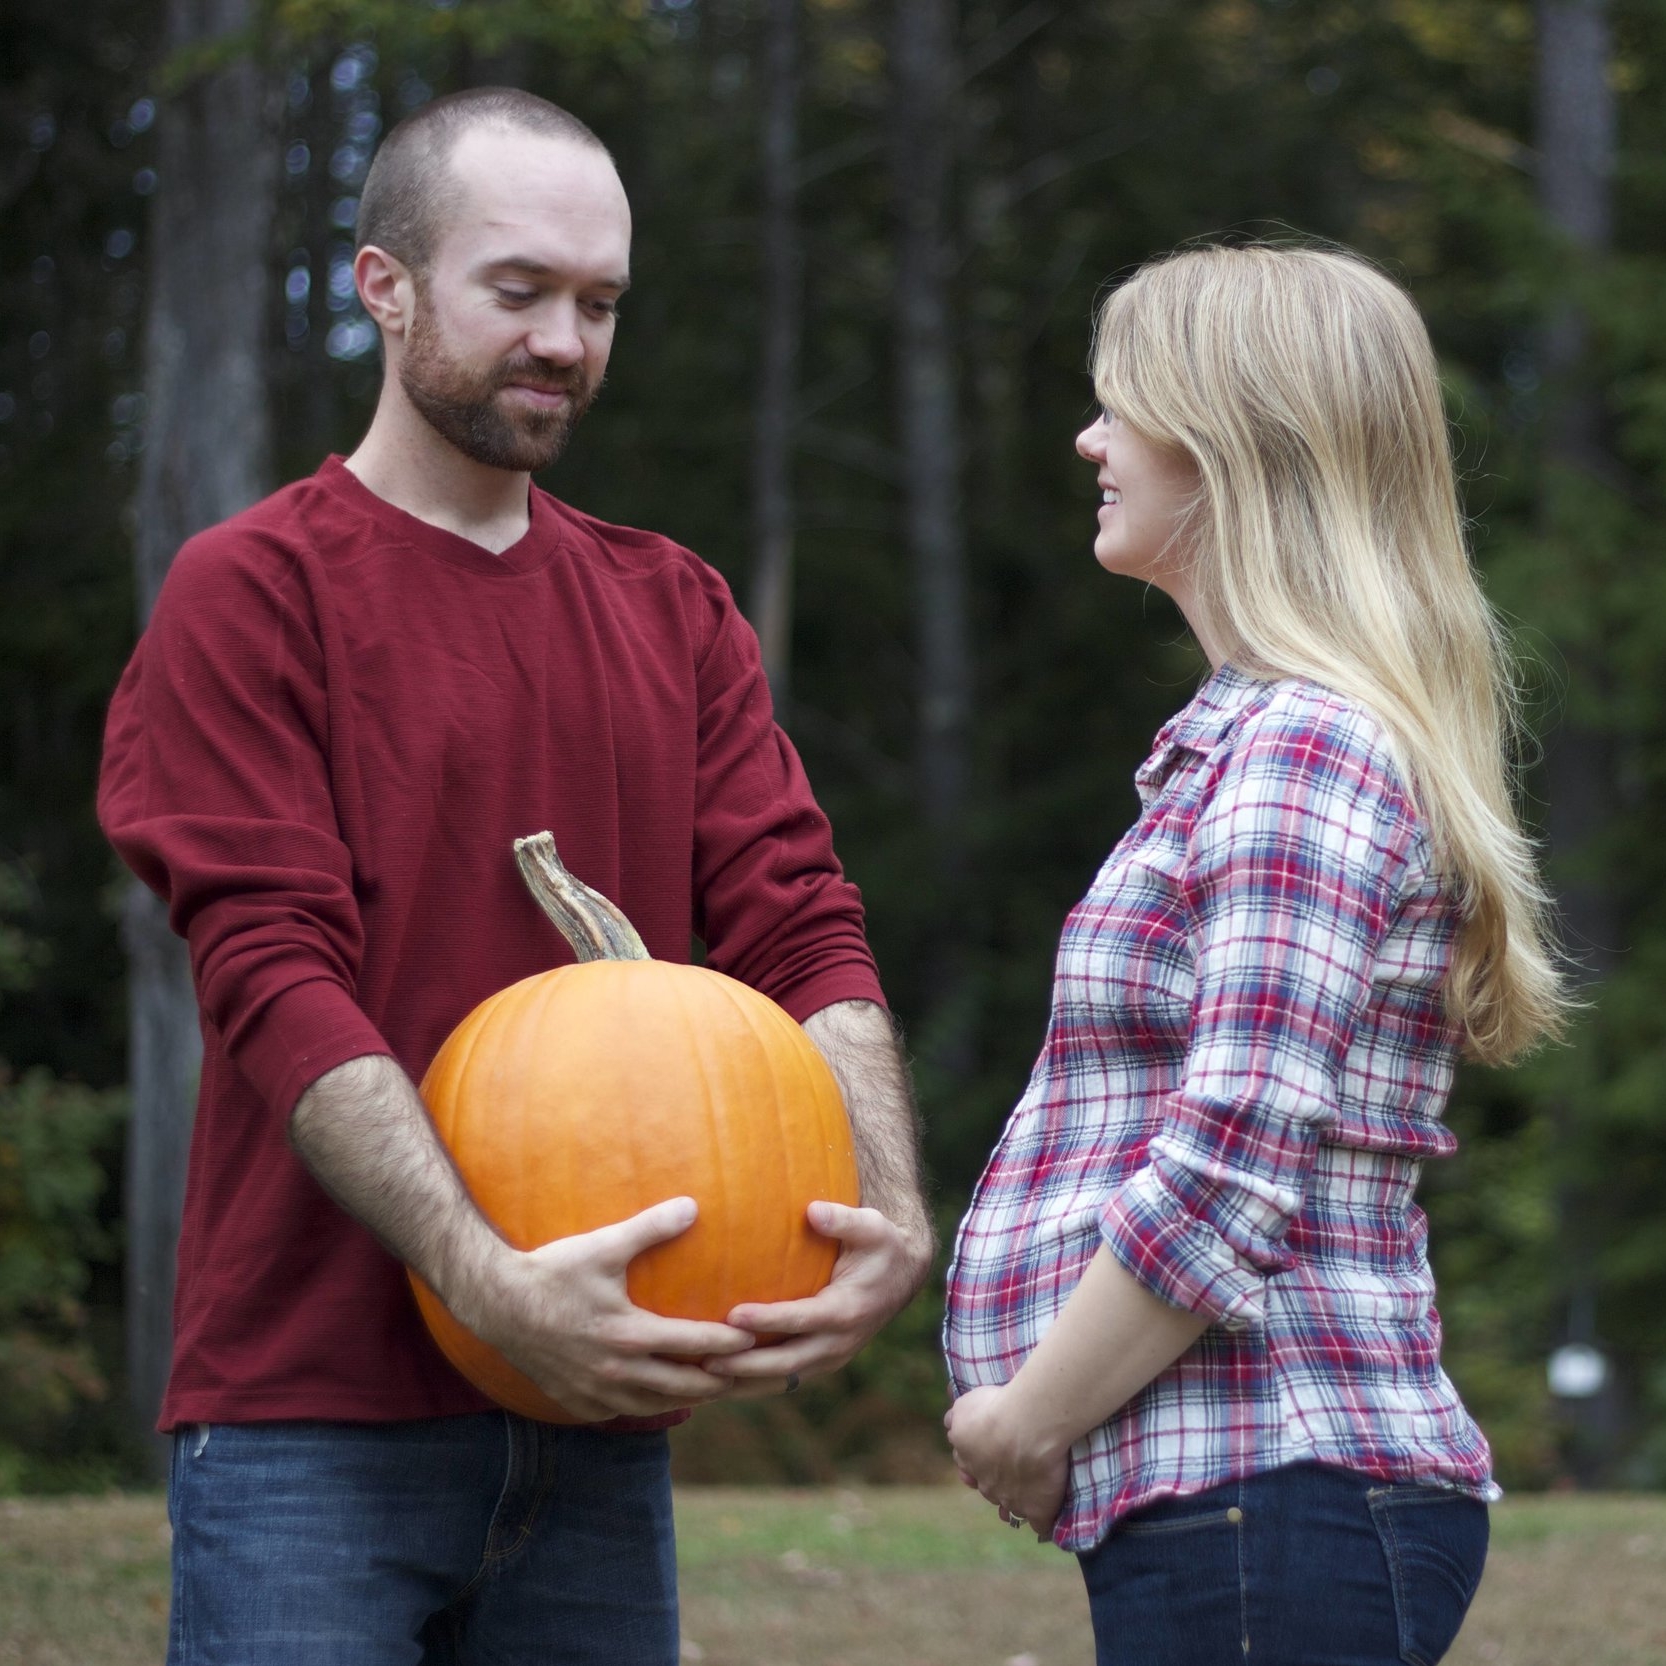
Okay, throwing it back to our last pregnancy and still in love with this easy Fall-themed maternity picture my husband and I took with a pumpkin! It's so simple but I think it came out so sweet. This idea would also be perfect for a Fall pregnancy announcement too. Fall is our favorite time of year, so I'm happy we could capture a classy Fall-themed "belly" picture.
I promise I'll share some photos from when I was farther along at our Christmas maternity photo session too - some sweet, simple ideas for your "special delivery" to come!
Making over our daughter's room has been slow-going to say the least. We had a busy, wonderful summer and now I'm already deep into Christmas ornament orders so finding time to work on the whole makeover has been tricky.
In progress
Today I finally hung the book rails I made in this tiny nook and I think it will help make this space functional. Now I need to make something to hold the large, heavy books on the floor - and finish the rest of the room - and then I will share the whole project! ;)
Anyone who's about to have their first baby should check out these tips and take them to heart, because it's definitely an amazing - and very trying - experience :)
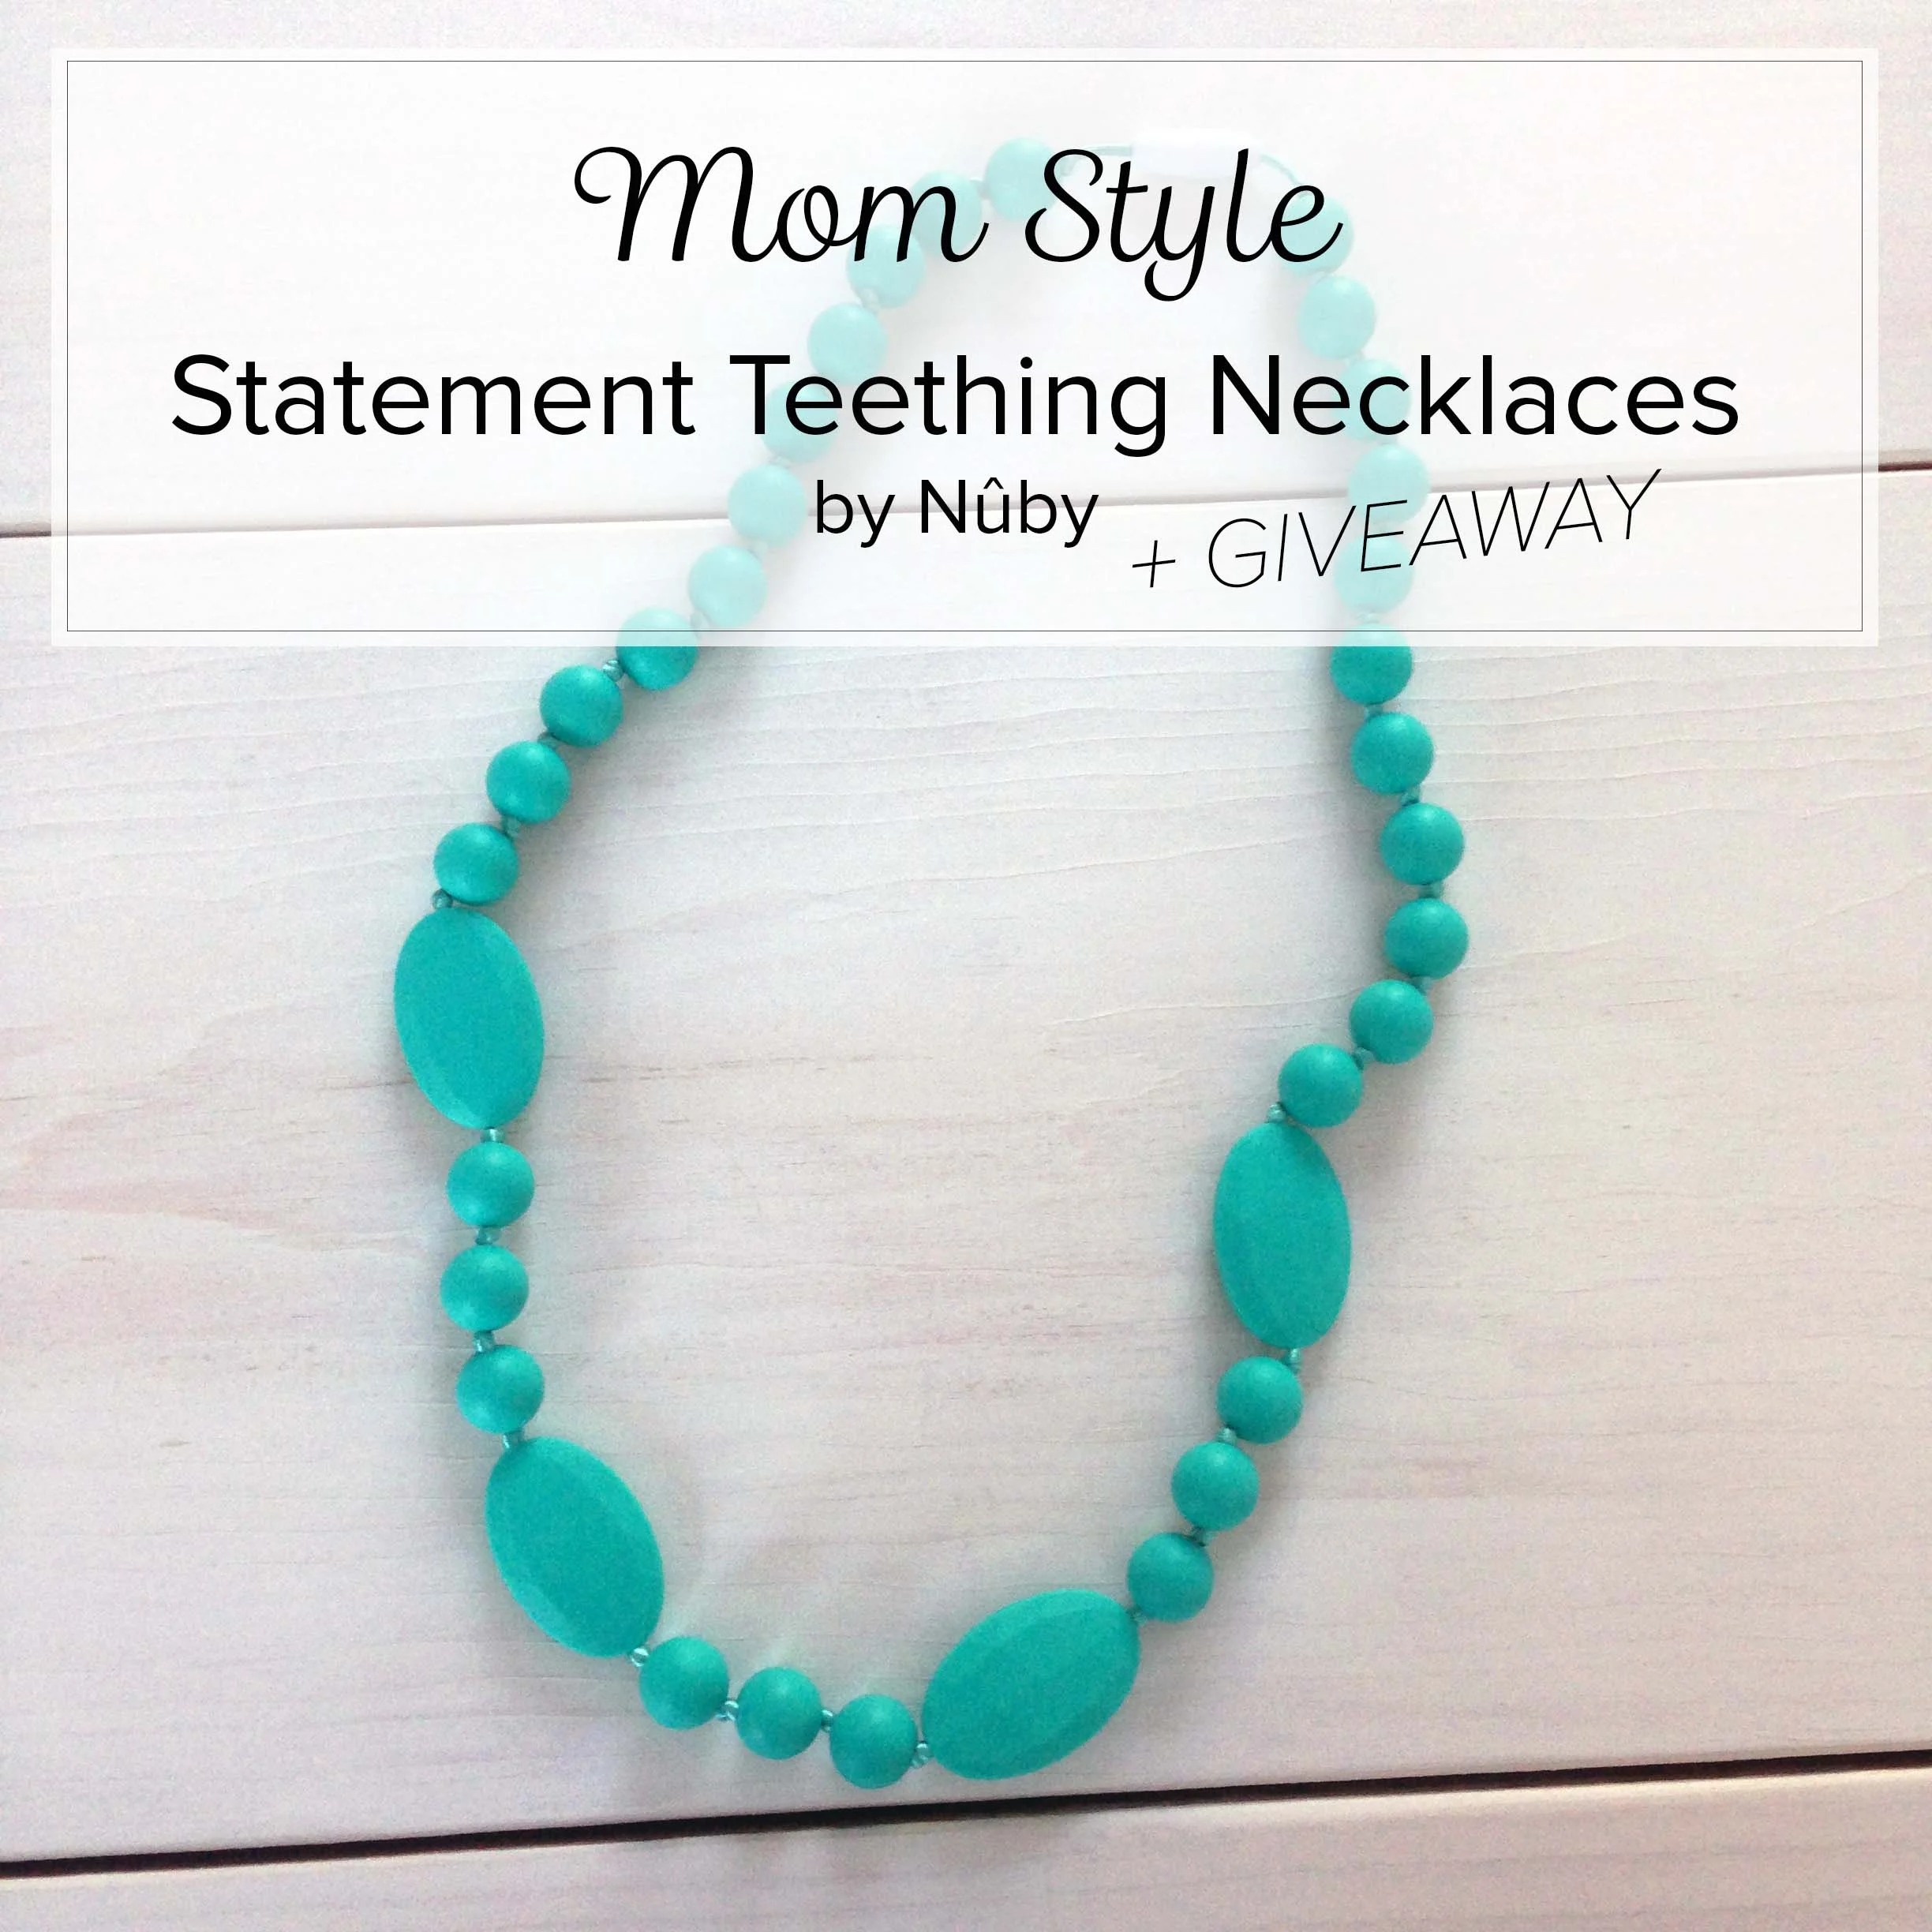
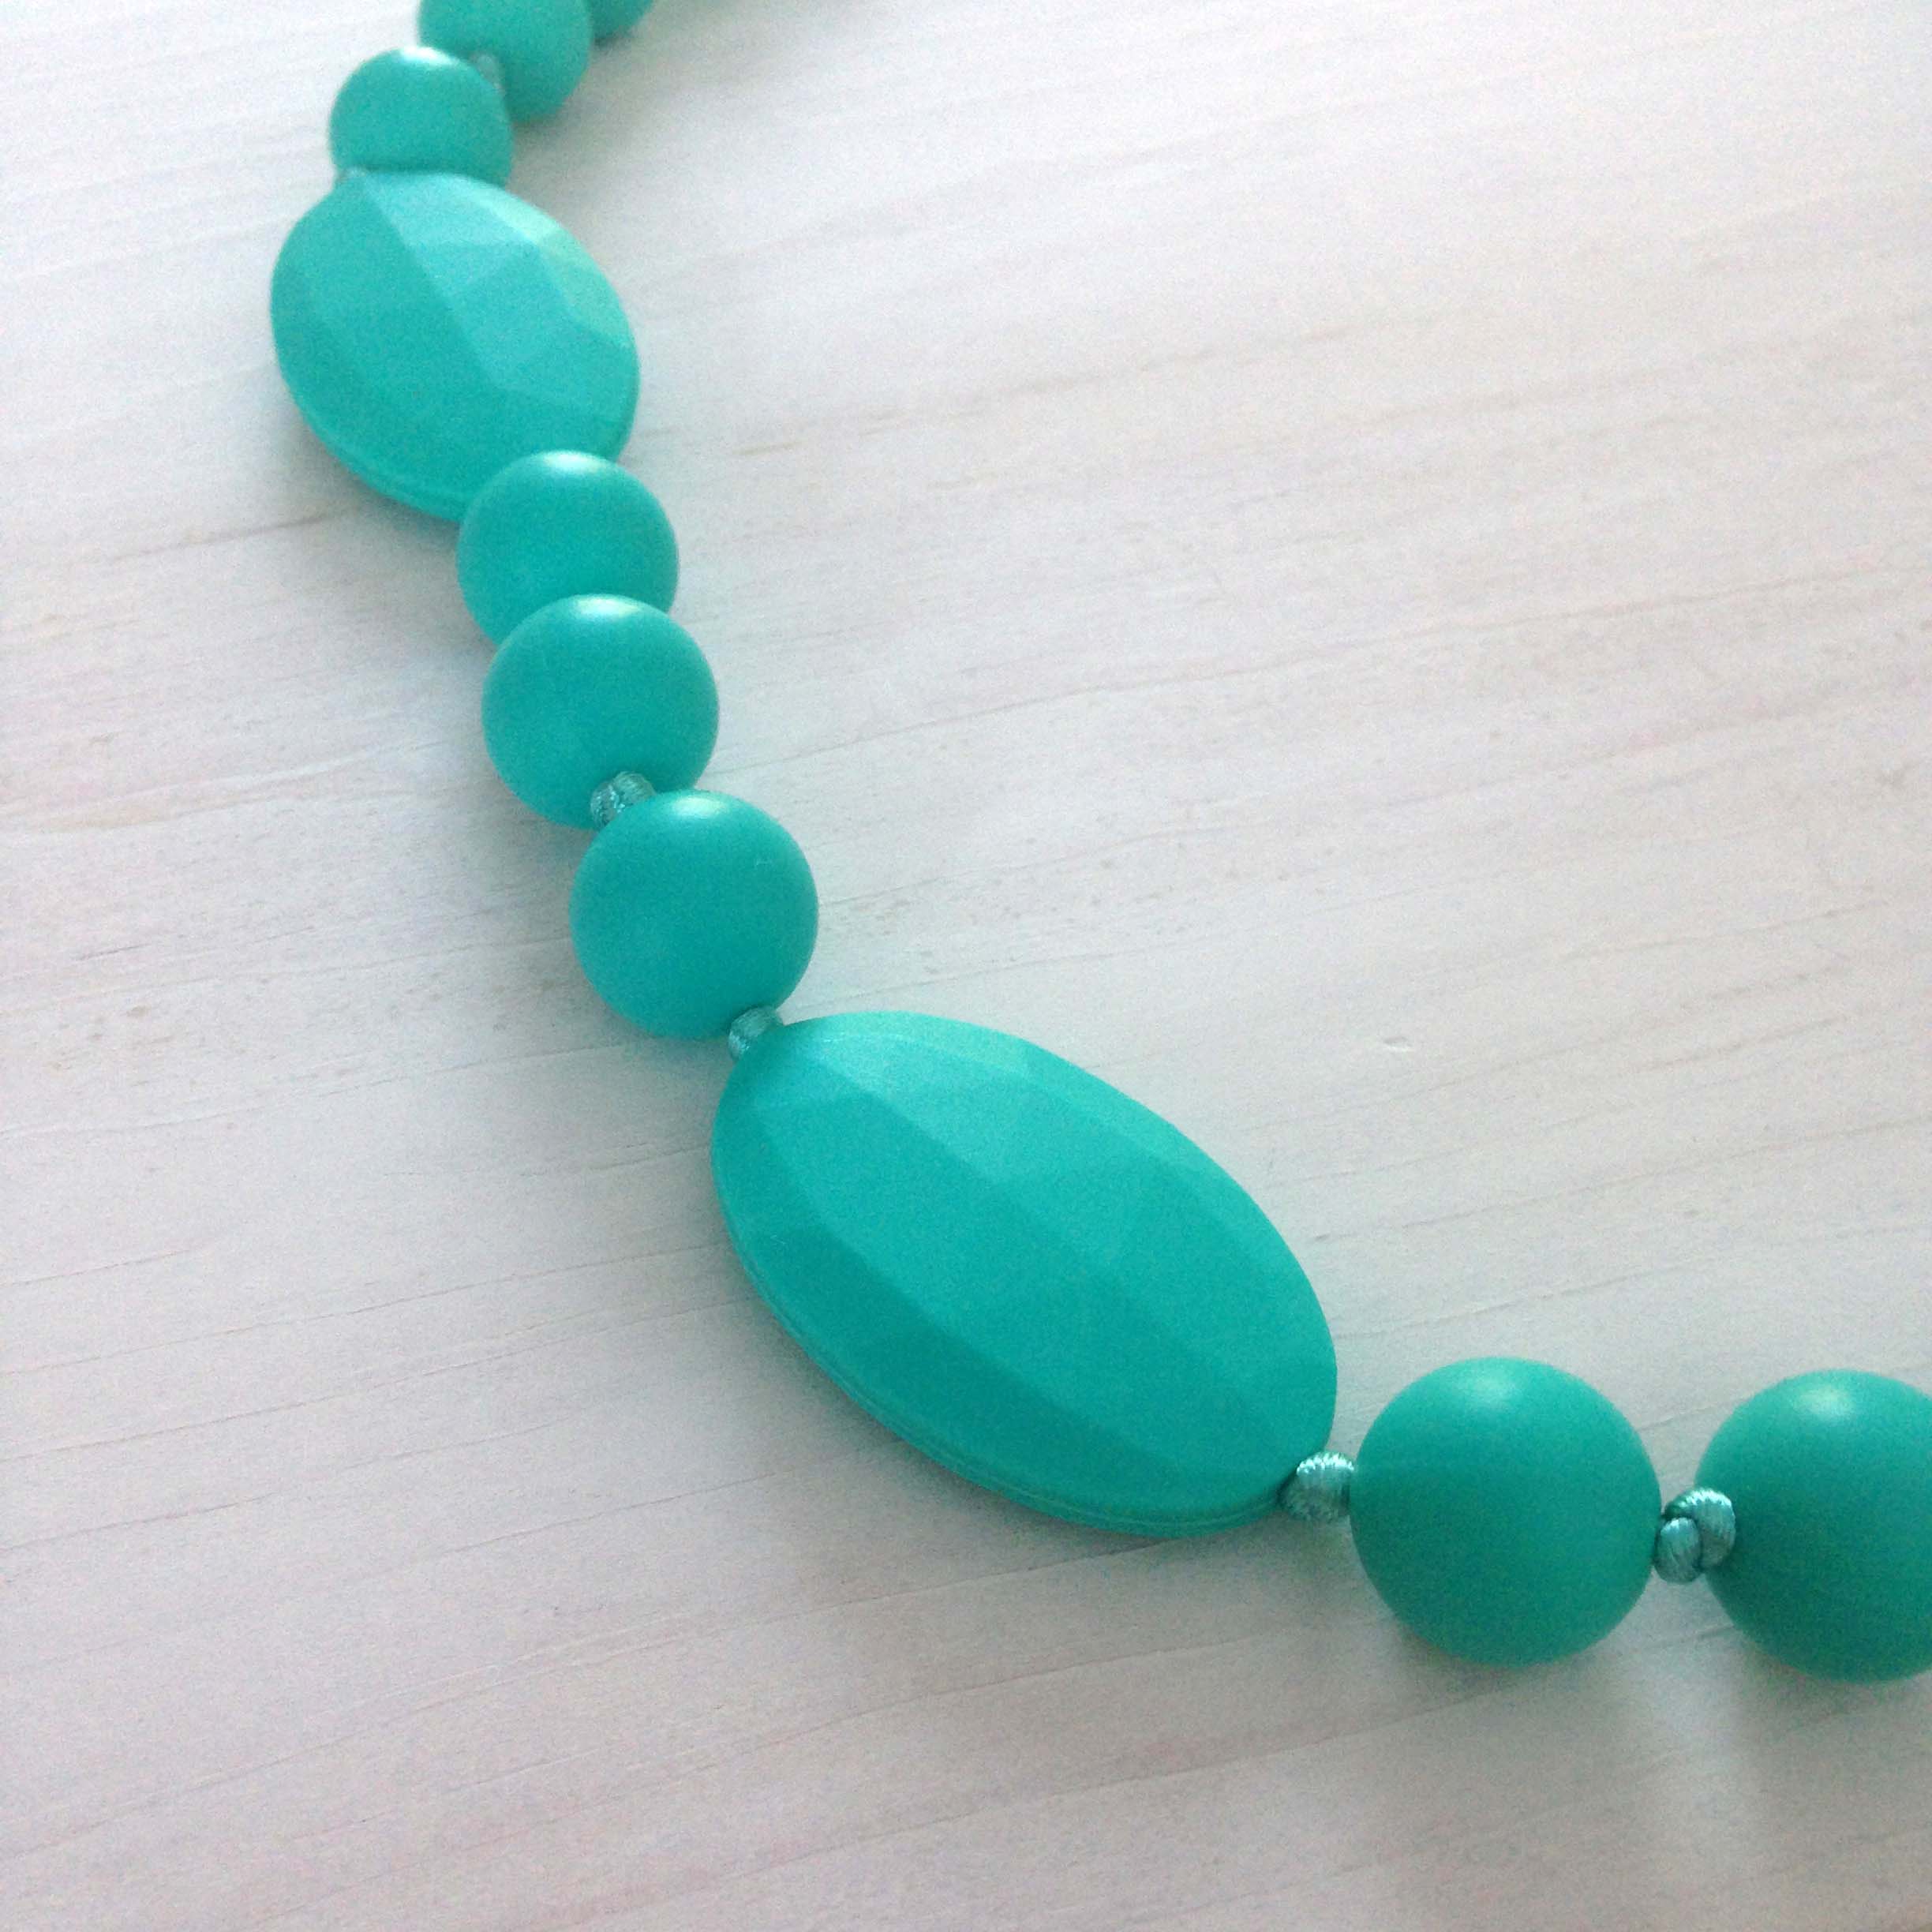
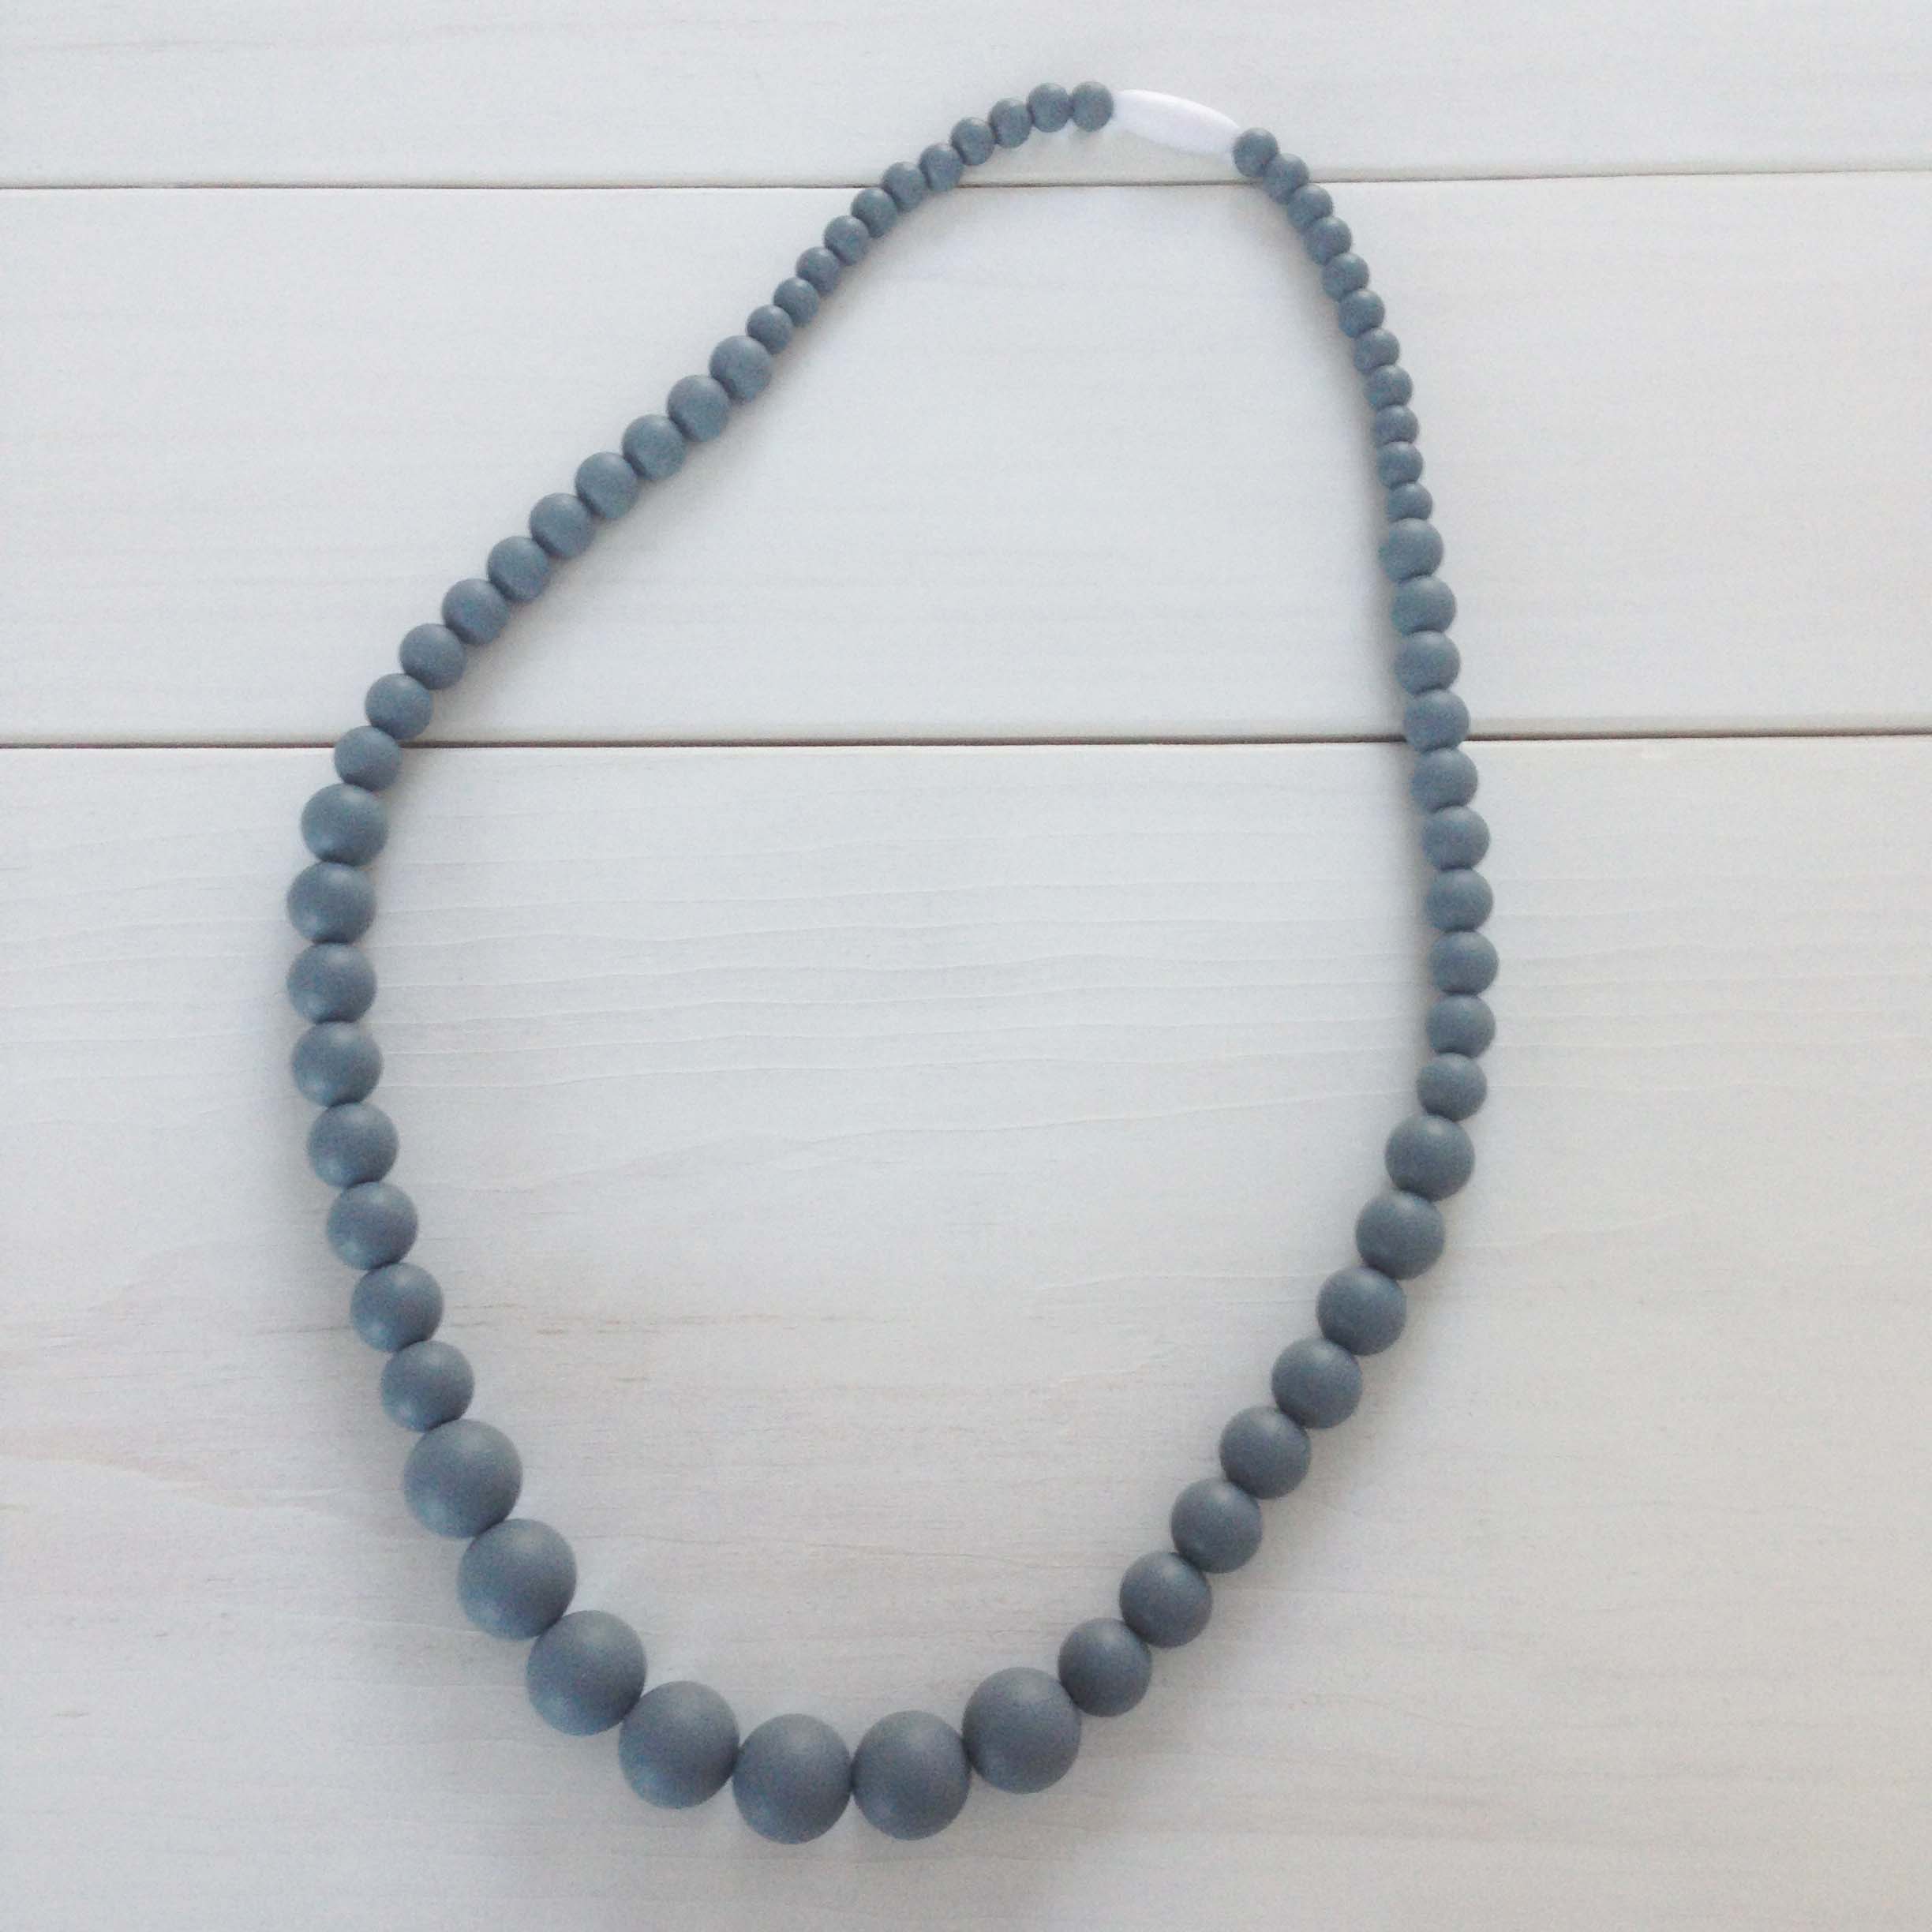
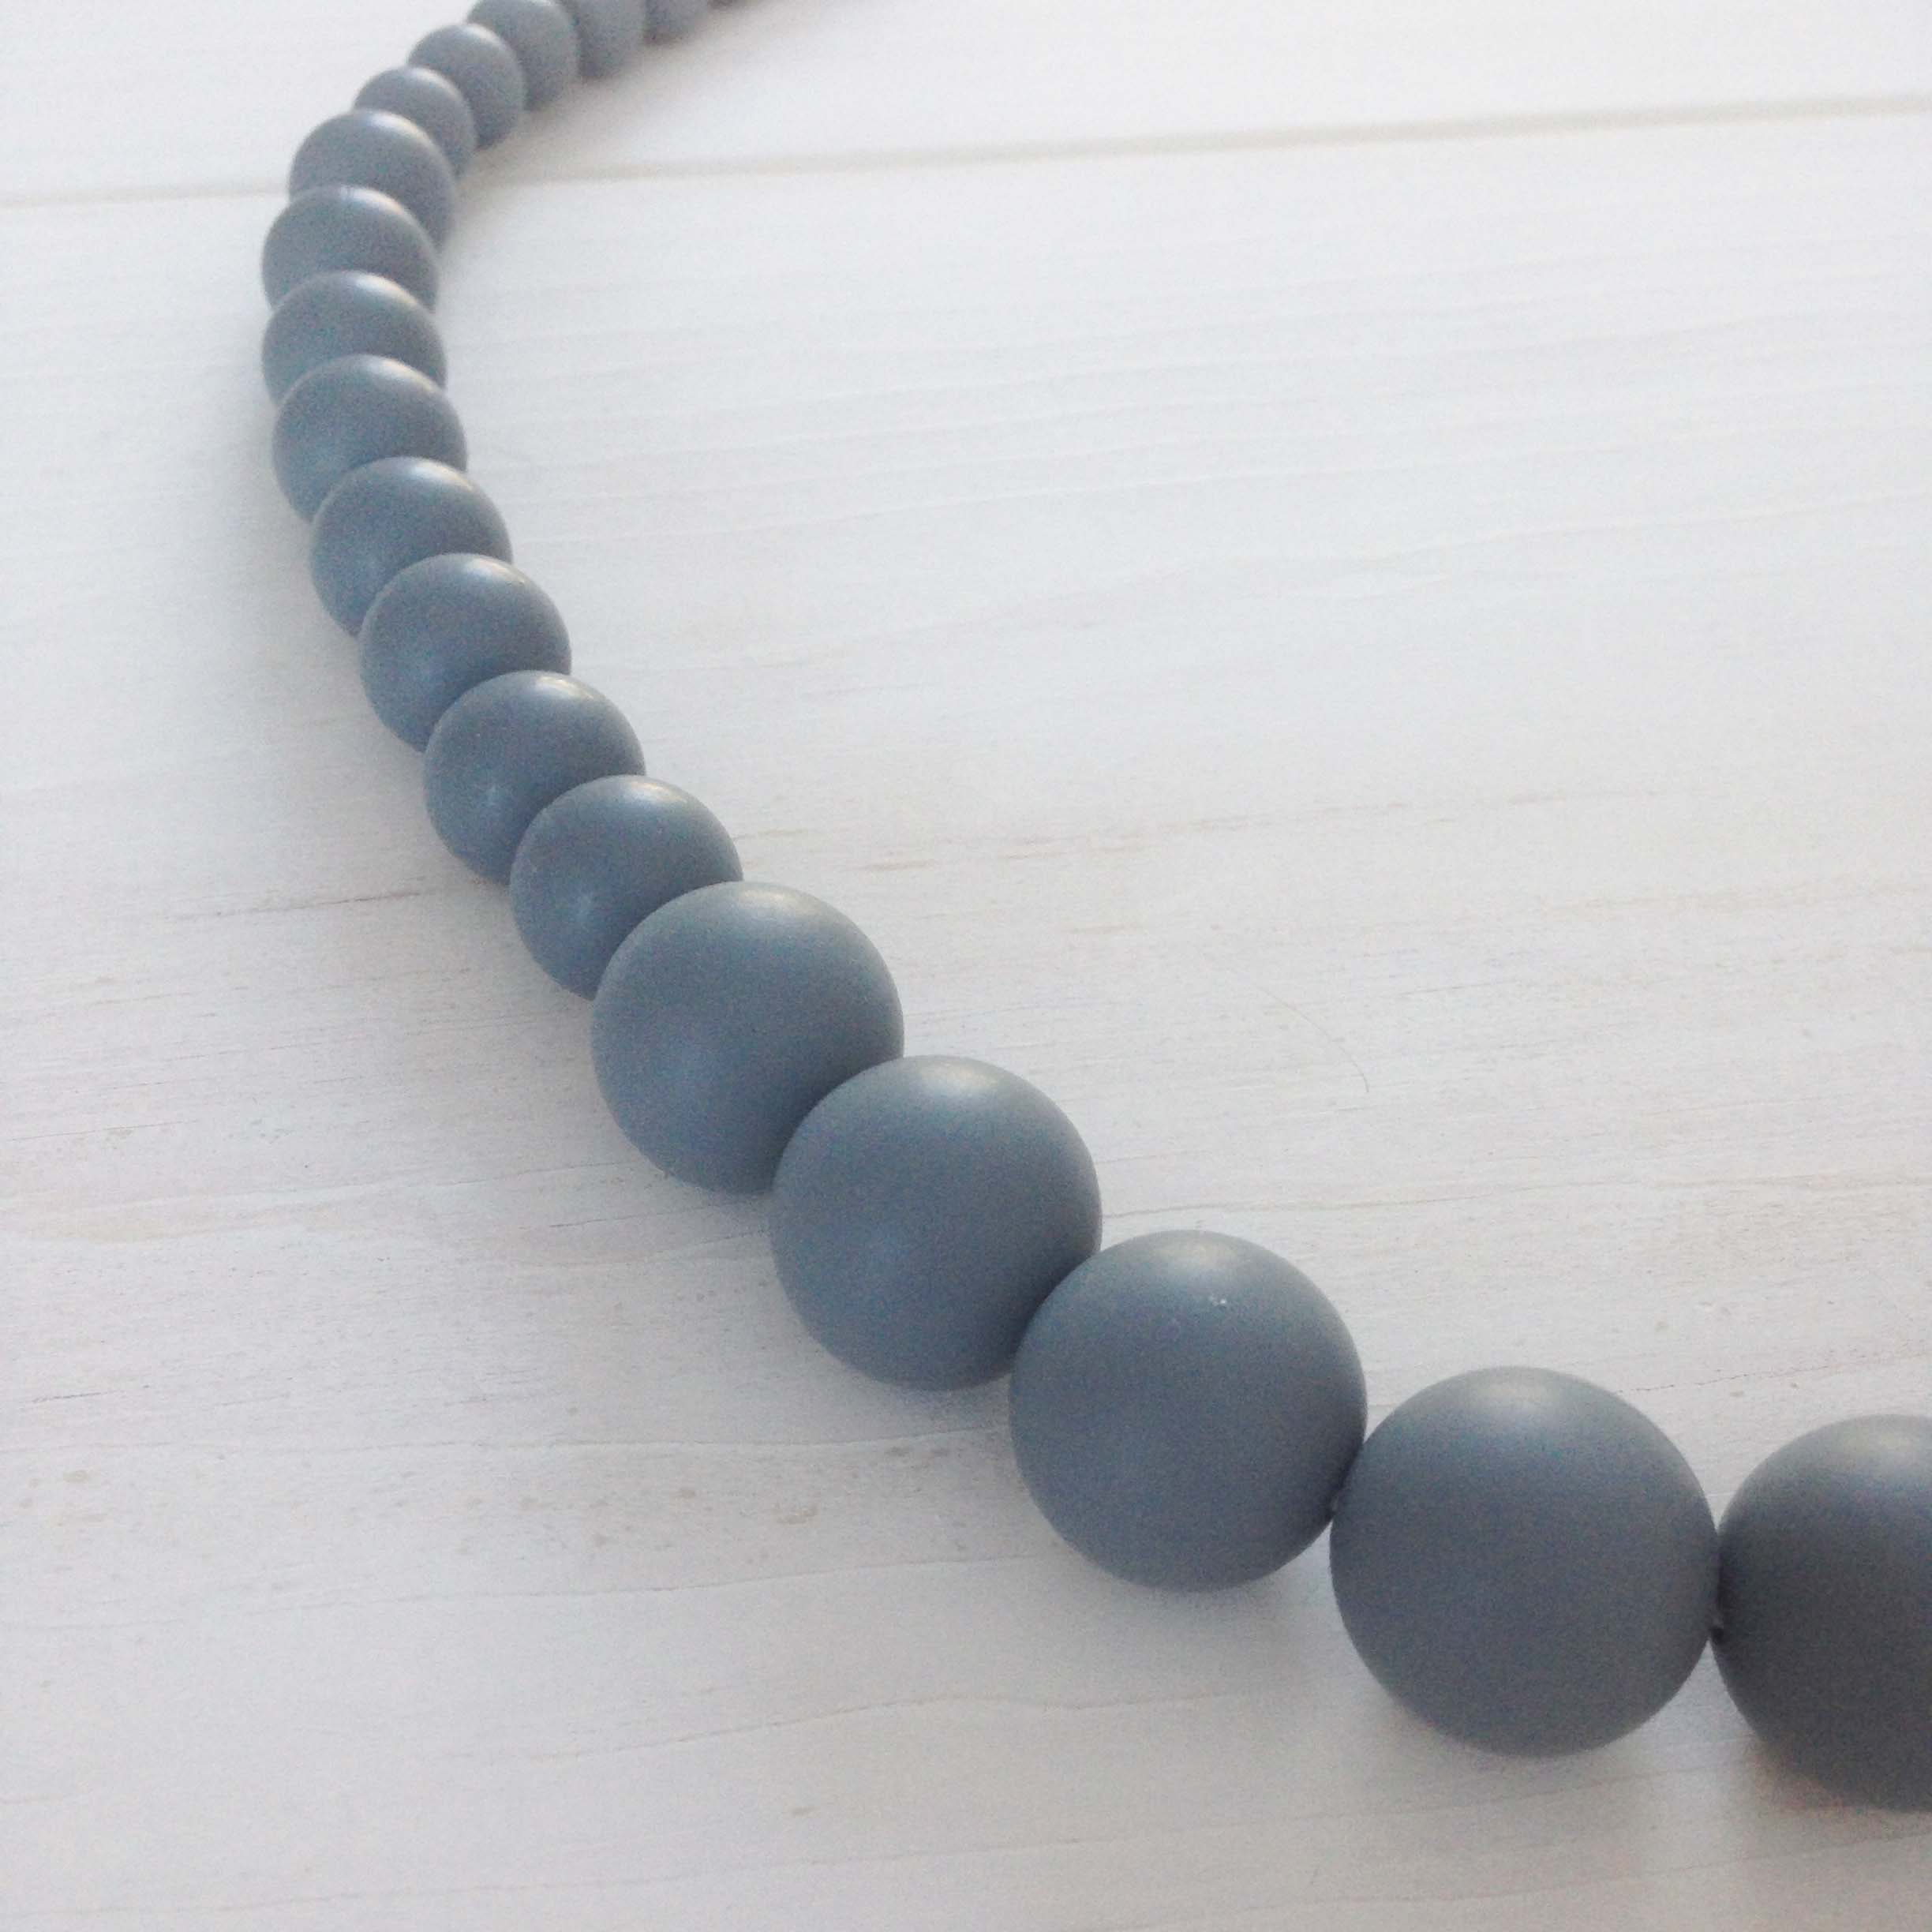
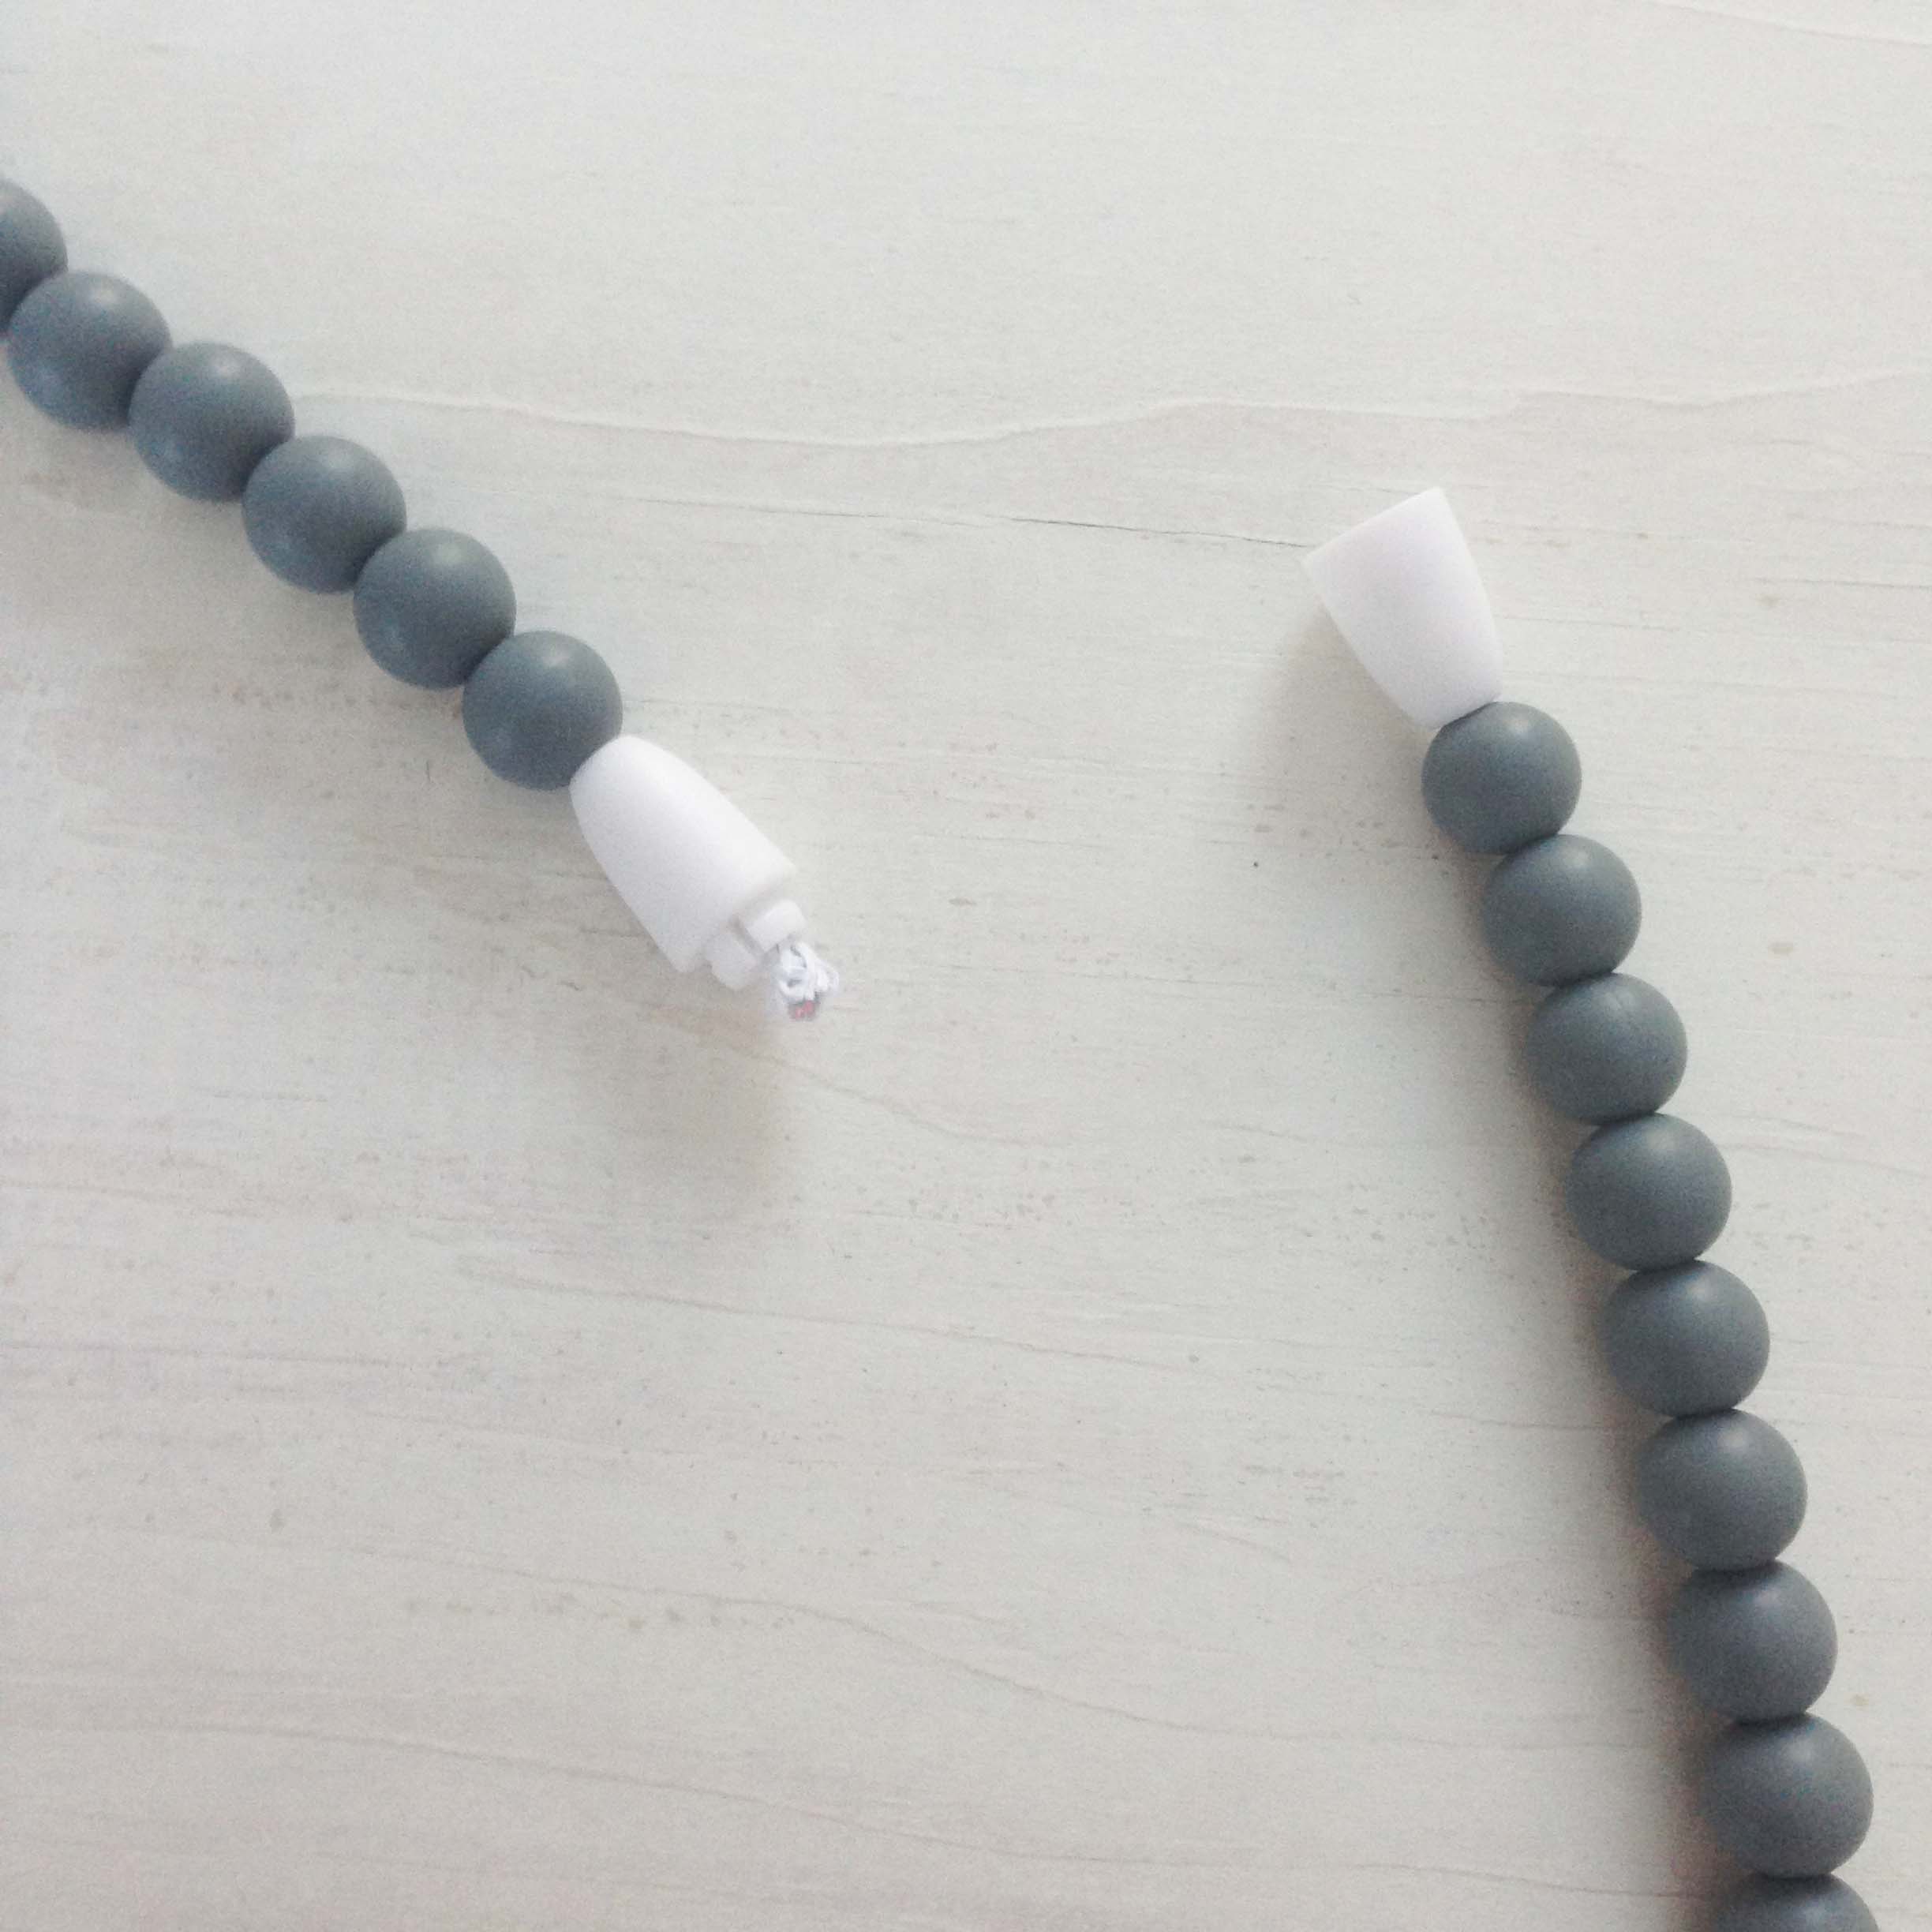
Statement necklaces are big right now, and why not put that style to good use by working double-duty as a teether for your tot? Sounds like a great solution to me! Nûby was kind enough to send me two of their new Teething Trends statement necklaces to style and review - and one lucky winner will get to choose one necklace for themselves from Nûby's line!
All of the teething necklaces in Nûby's new line are both on-trend and on-hand when you need them most. By having a teether that you wear, you always have one at the ready when your little one is in need of something to teeth on - especially handy to keep them from gnawing a finger off while you're stuck in a long line at the post office.
These teething necklaces are BPA-free and made from soft silicone so they're easy on tender gums. They also feature a break-away clasp in the event of an overly-grabby toddler but please keep in mind these necklaces are meant for moms to wear, not your teething littles.
There are a variety of colors and styles available, as well as bracelets (not pictured in this review), so you can find one - or seven - that match your style and every item in your wardrobe. What I love most is these don't even look like teethers - they're stylish enough to wear to work or a girls night out.
Mom Style
Necklaces featured are Nûby Teething Trends Medium Oval + Pearl Necklace in Teal and Nûby Teething Trends Pearl Necklace in Grey.
This is probably one of my favorite combos and a perfect outfit for a lunch out with friends. This necklace really pops against the crisp white linen shirt and the straw fedora and aviator sunglasses add some more fun, trendy elements.
The teal teething necklace also pairs perfectly with this geometric print maxi dress, over-sized sunhat, and sunglasses. Perfect outfit for getting ice cream with the family down at the water.
This monochromatic outfit is ideal for doing errands and running around town with a grey and navy striped tunic top, dark washed jeans, and the grey pearl beaded necklace.
Just love the grey pearl beaded necklace against the grey and navy stripes!
This week we made the trek up north to check out the Lupine Festival. The flowers were in full bloom and still gorgeous despite the constant drizzle (though I wish I could have said the same thing about my hair). We dressed for breakfast out and walks around the lupine fields, and the Medium Oval + Pearl Necklace in Teal was a great pop of color against my white button-up and black quilted vest.
**GIVEAWAY!** A teething necklace of your choice from Nûby
One winner will be chosen to receive one (1) Nûby statement teething necklace in their choice of style/color. Open to US entrants only, 18 years or older - winner will be contacted by the email address provided. You can select how many entries you would like to complete but keep in mind an invalid entry (i.e. stating you're following on Instagram, but you are not) will result in disqualification. Thank you and good luck! :)
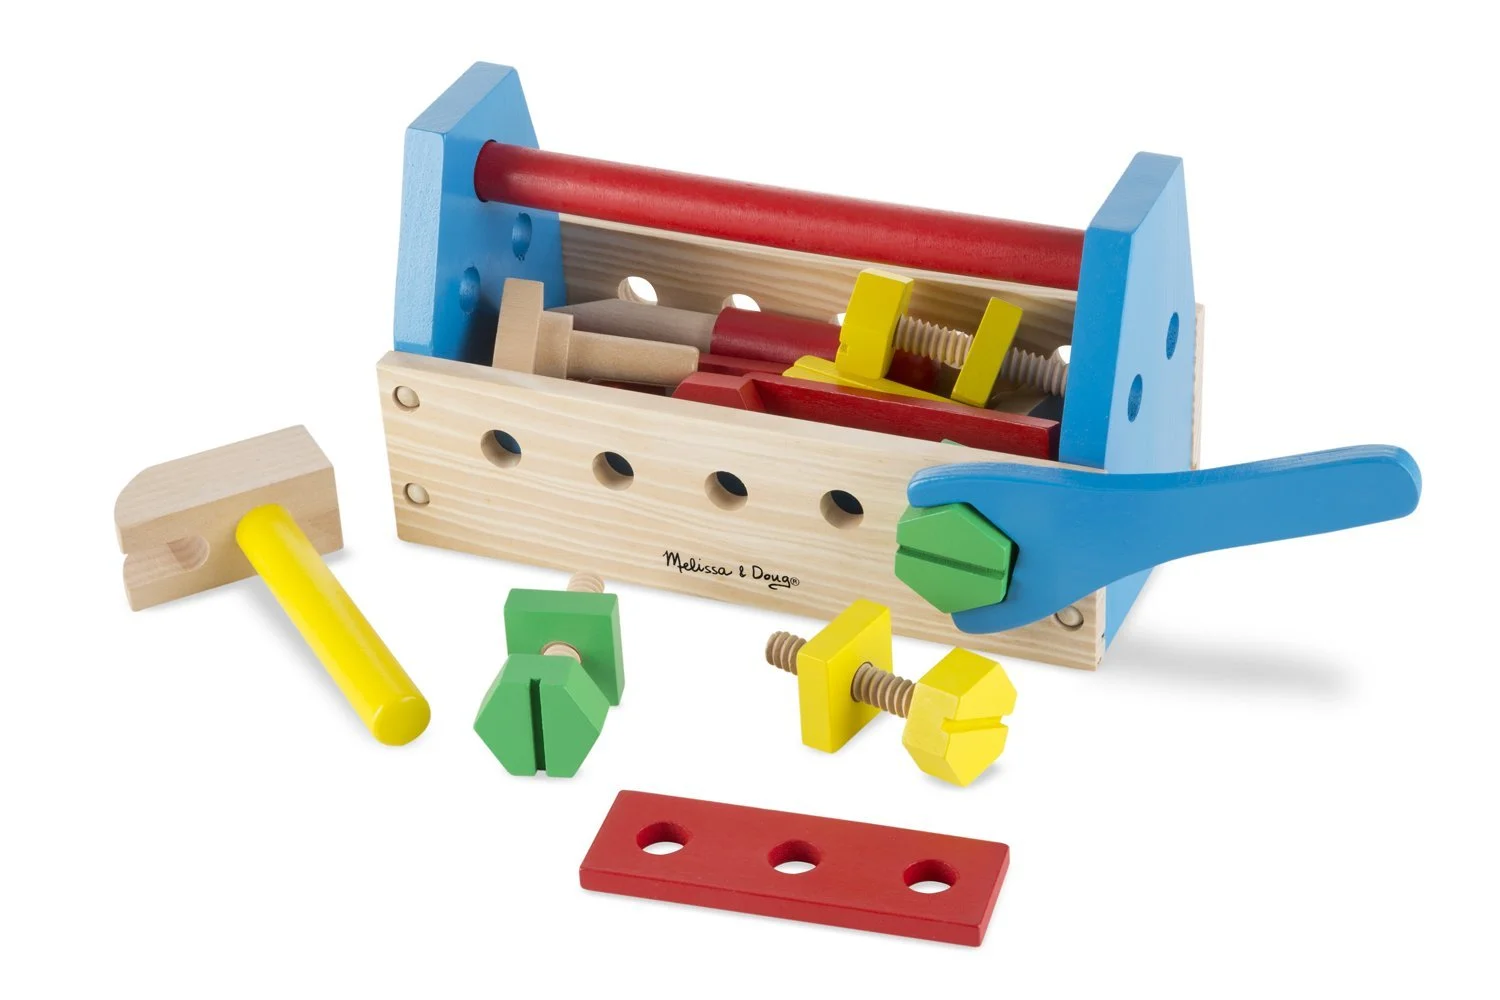
If you're not familiar with Pampers Rewards, you can check my previous post here for all the details - but essentially it's a program to earn free gifts for buying Pampers diapers! Our little girl has been really into "helping" Daddy build things lately, so we decided to get a tool kit just for her. | This post contains affiliate links |
The tool kit is by Melissa and Doug and we were pleased with how sturdy it is. Our daughter really put it to the test, whacking the whole thing all over with the wooden hammer but it still survived.
The kit contains a wooden wrench, screw driver, hammer, bolts/screws, nuts, "nails", and some pieces of wood with holes in it that you can screw or nail together or attach to the side of the tool box.
Miss M and Daddy have really been enjoying building with this set and we've even caught her "working" on her trains with the wrench - this Reward has definitely been a big hit!
Want to see what else we got from Pampers Rewards? Check out our other posts:
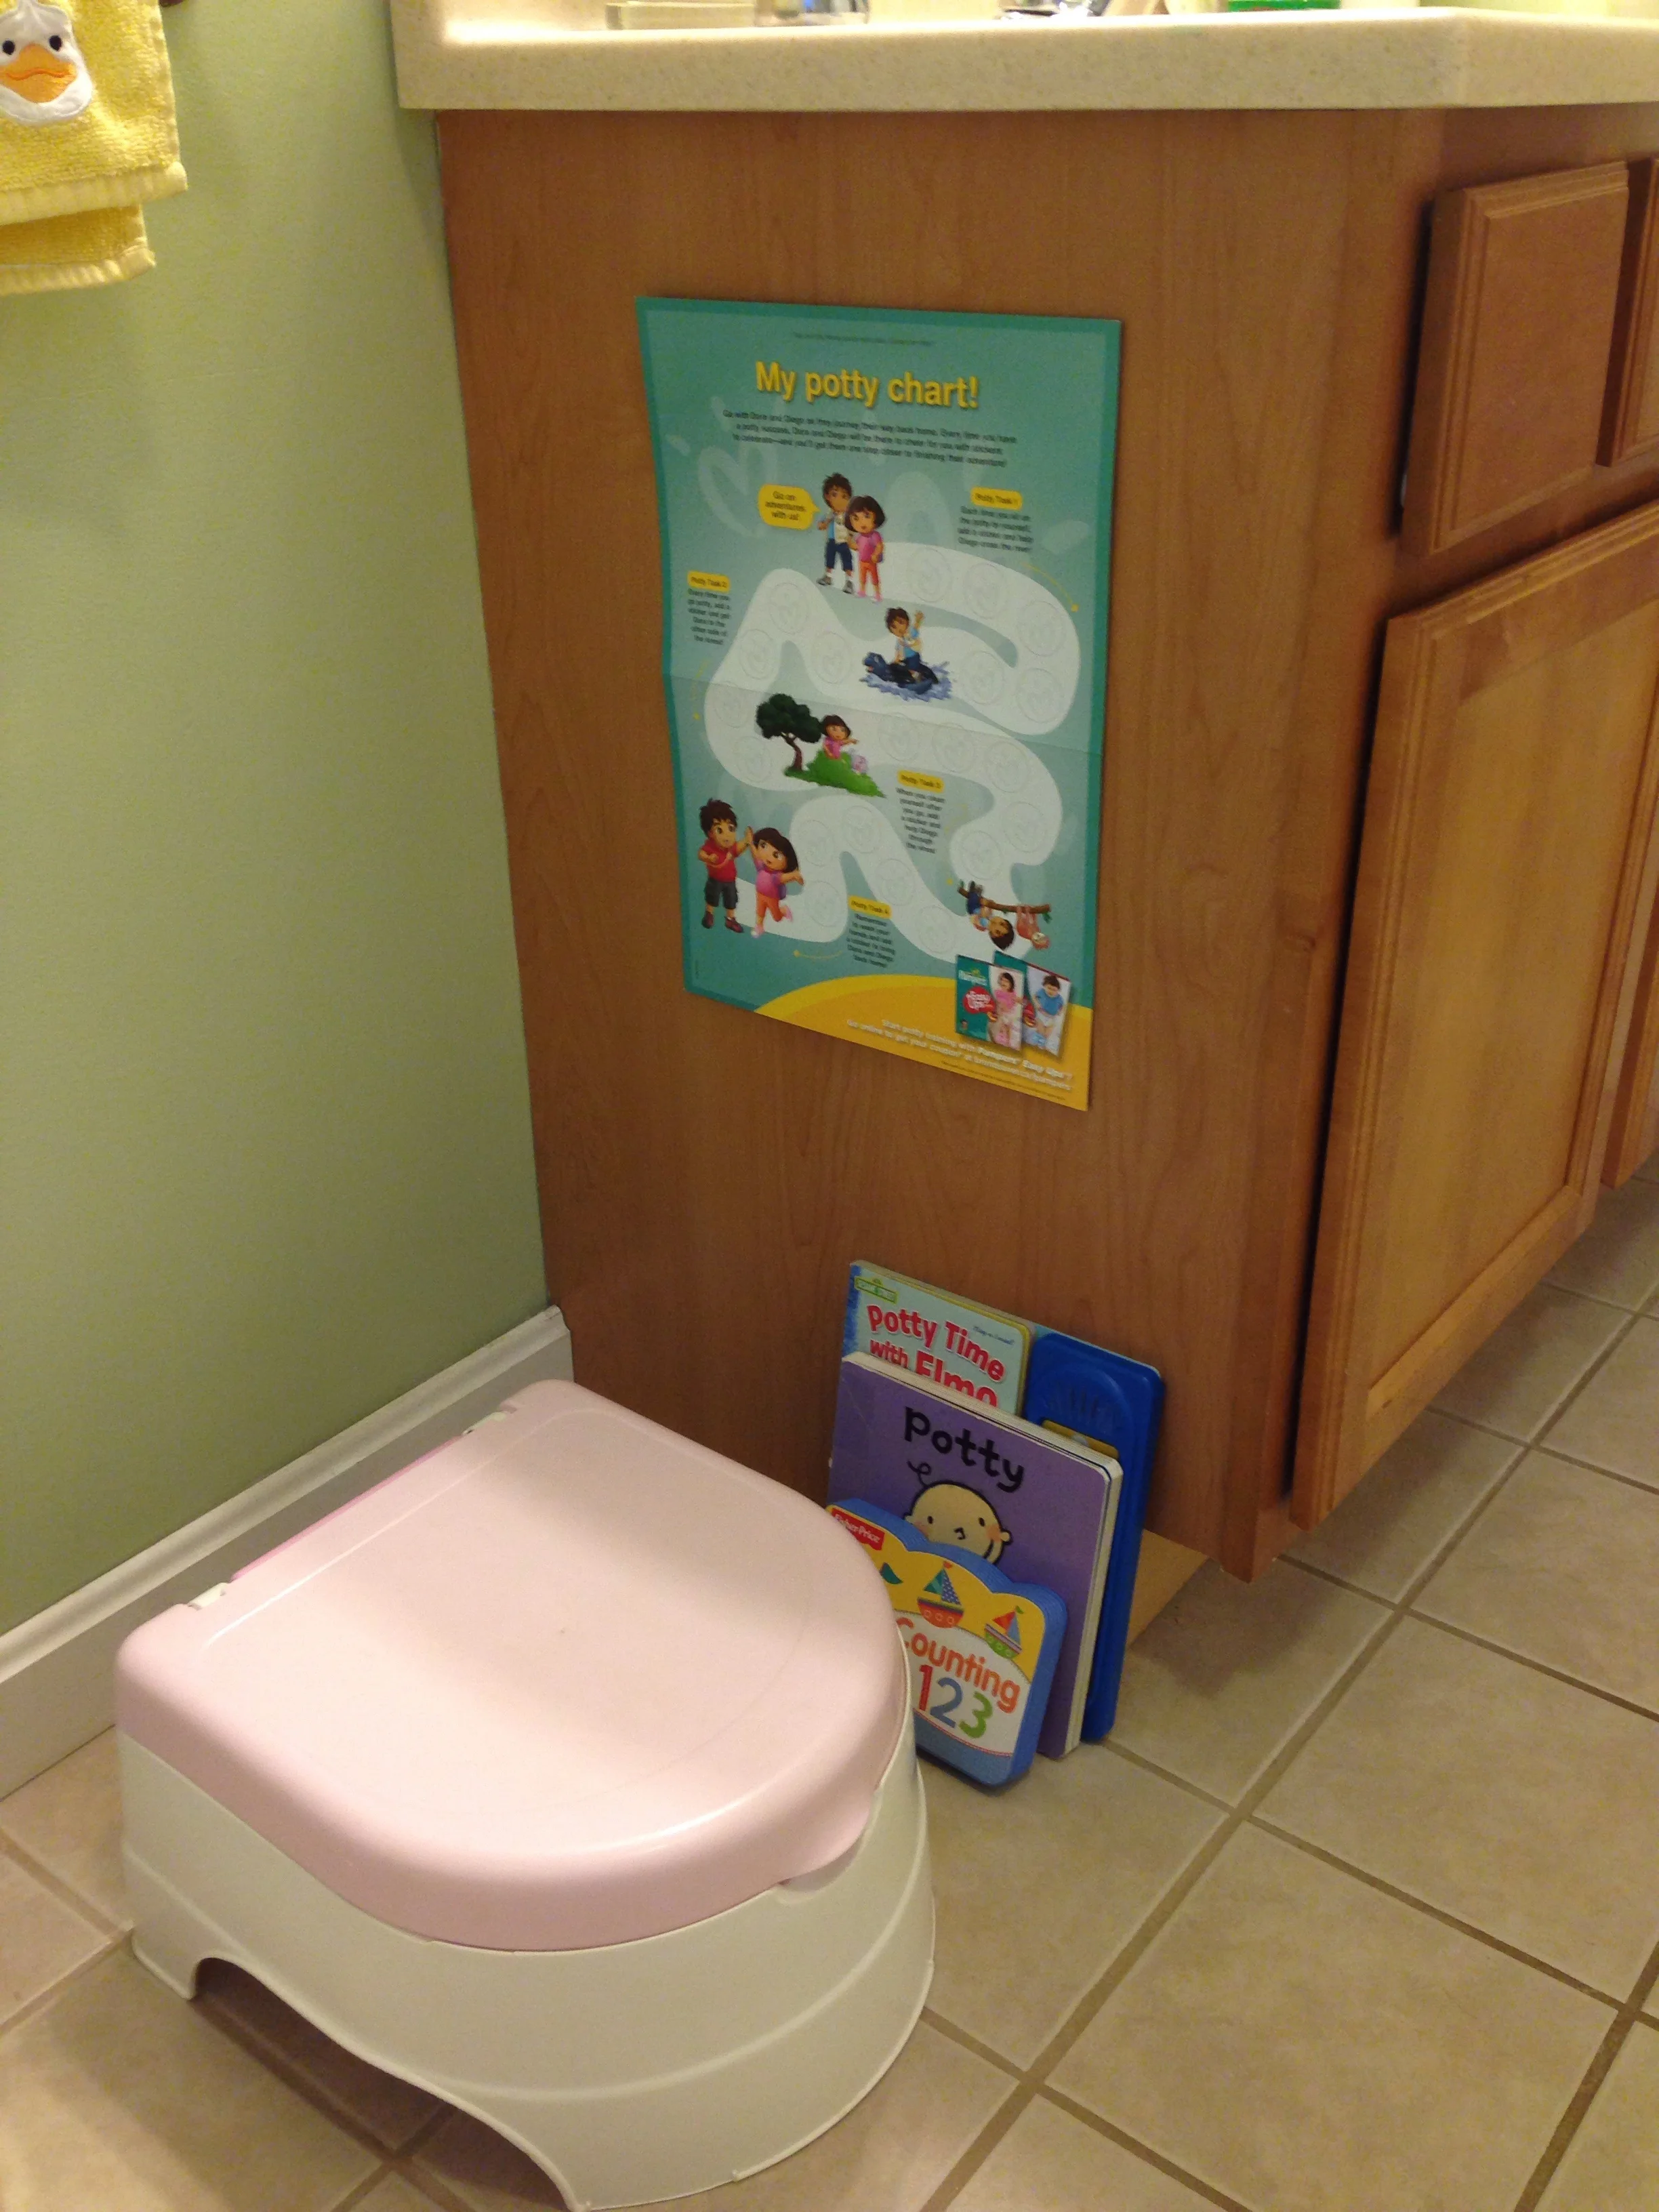
If you're not familiar with Pampers Rewards, you can check my previous post here for all the details - but essentially it's a program to earn free gifts for buying Pampers diapers! I usually try to save up our points for something big, but this time I decided to get the Potty Training Chart for our daughter which is one of their smaller rewards. | This post contains affiliate links |
Our little one is currently potty training and it's been slow going. She totally understands the concept and can be successful when she wants to, but usually chooses not to tell anyone that she needs to go and/or completely refuses to use the potty at all. We're hoping that a reward chart will help motivate her to see her progress and get rewarded with a special prize at the end.
We decided to hang the chart next to her little potty so she can watch her progress and see how close she is to earning that special prize. Some good reading material is important too, to help her want to stay on the potty long enough to finish her business (books pictured are: Potty Time with Elmo, Potty, and Counting 123).
Want to see what else we got from Pampers Rewards? Check out our other posts: