DIY Learning Tower / Kitchen Helper - Based on Plans by Ana White

Our little one may be happily playing independently but the second I go to make dinner she demands to be held and refuses to be put down, making cooking impossible.  To help keep her occupied but still involved I've been eyeing a learning tower / kitchen helper on Amazon for months now, but at $200 it just wasn't in our budget.  My sister-in-law had made a learning tower from a plan by Ana White and suggested I try to make one too.  I was unsure at first, I've never made anything more complicated than a birdhouse, but I decided to give it a go!  Read on for my lessons learned and know that you can totally make one too.  | This post contains affiliate links |

DIY Learning Tower / Kitchen Helper

{ Note: the plans that I worked from were from Ana White and can be found HERE }

The first step to making the learning tower was buying the lumber.. which is easier said than done when you just have a little car!  Nevertheless, Miss M and I made the nearly hour-long trek out to Lowe's to pick up lumber, paint, and screws.  One thing I really liked about the Ana White plan was that it had both a shopping list and a "cut list" so you knew exactly how much of each kind of wood to buy and then how to cut it up.  I made a mistake at Lowe's though and ended up buying 6-foot boards instead of 8-foot..  I don't know if I read the sign too quickly or what, but it made me come up short for the project.  Thankfully we had some extra wood in the garage and I was able to fudge it.  

Lumber needed for the learning tower / kitchen helper

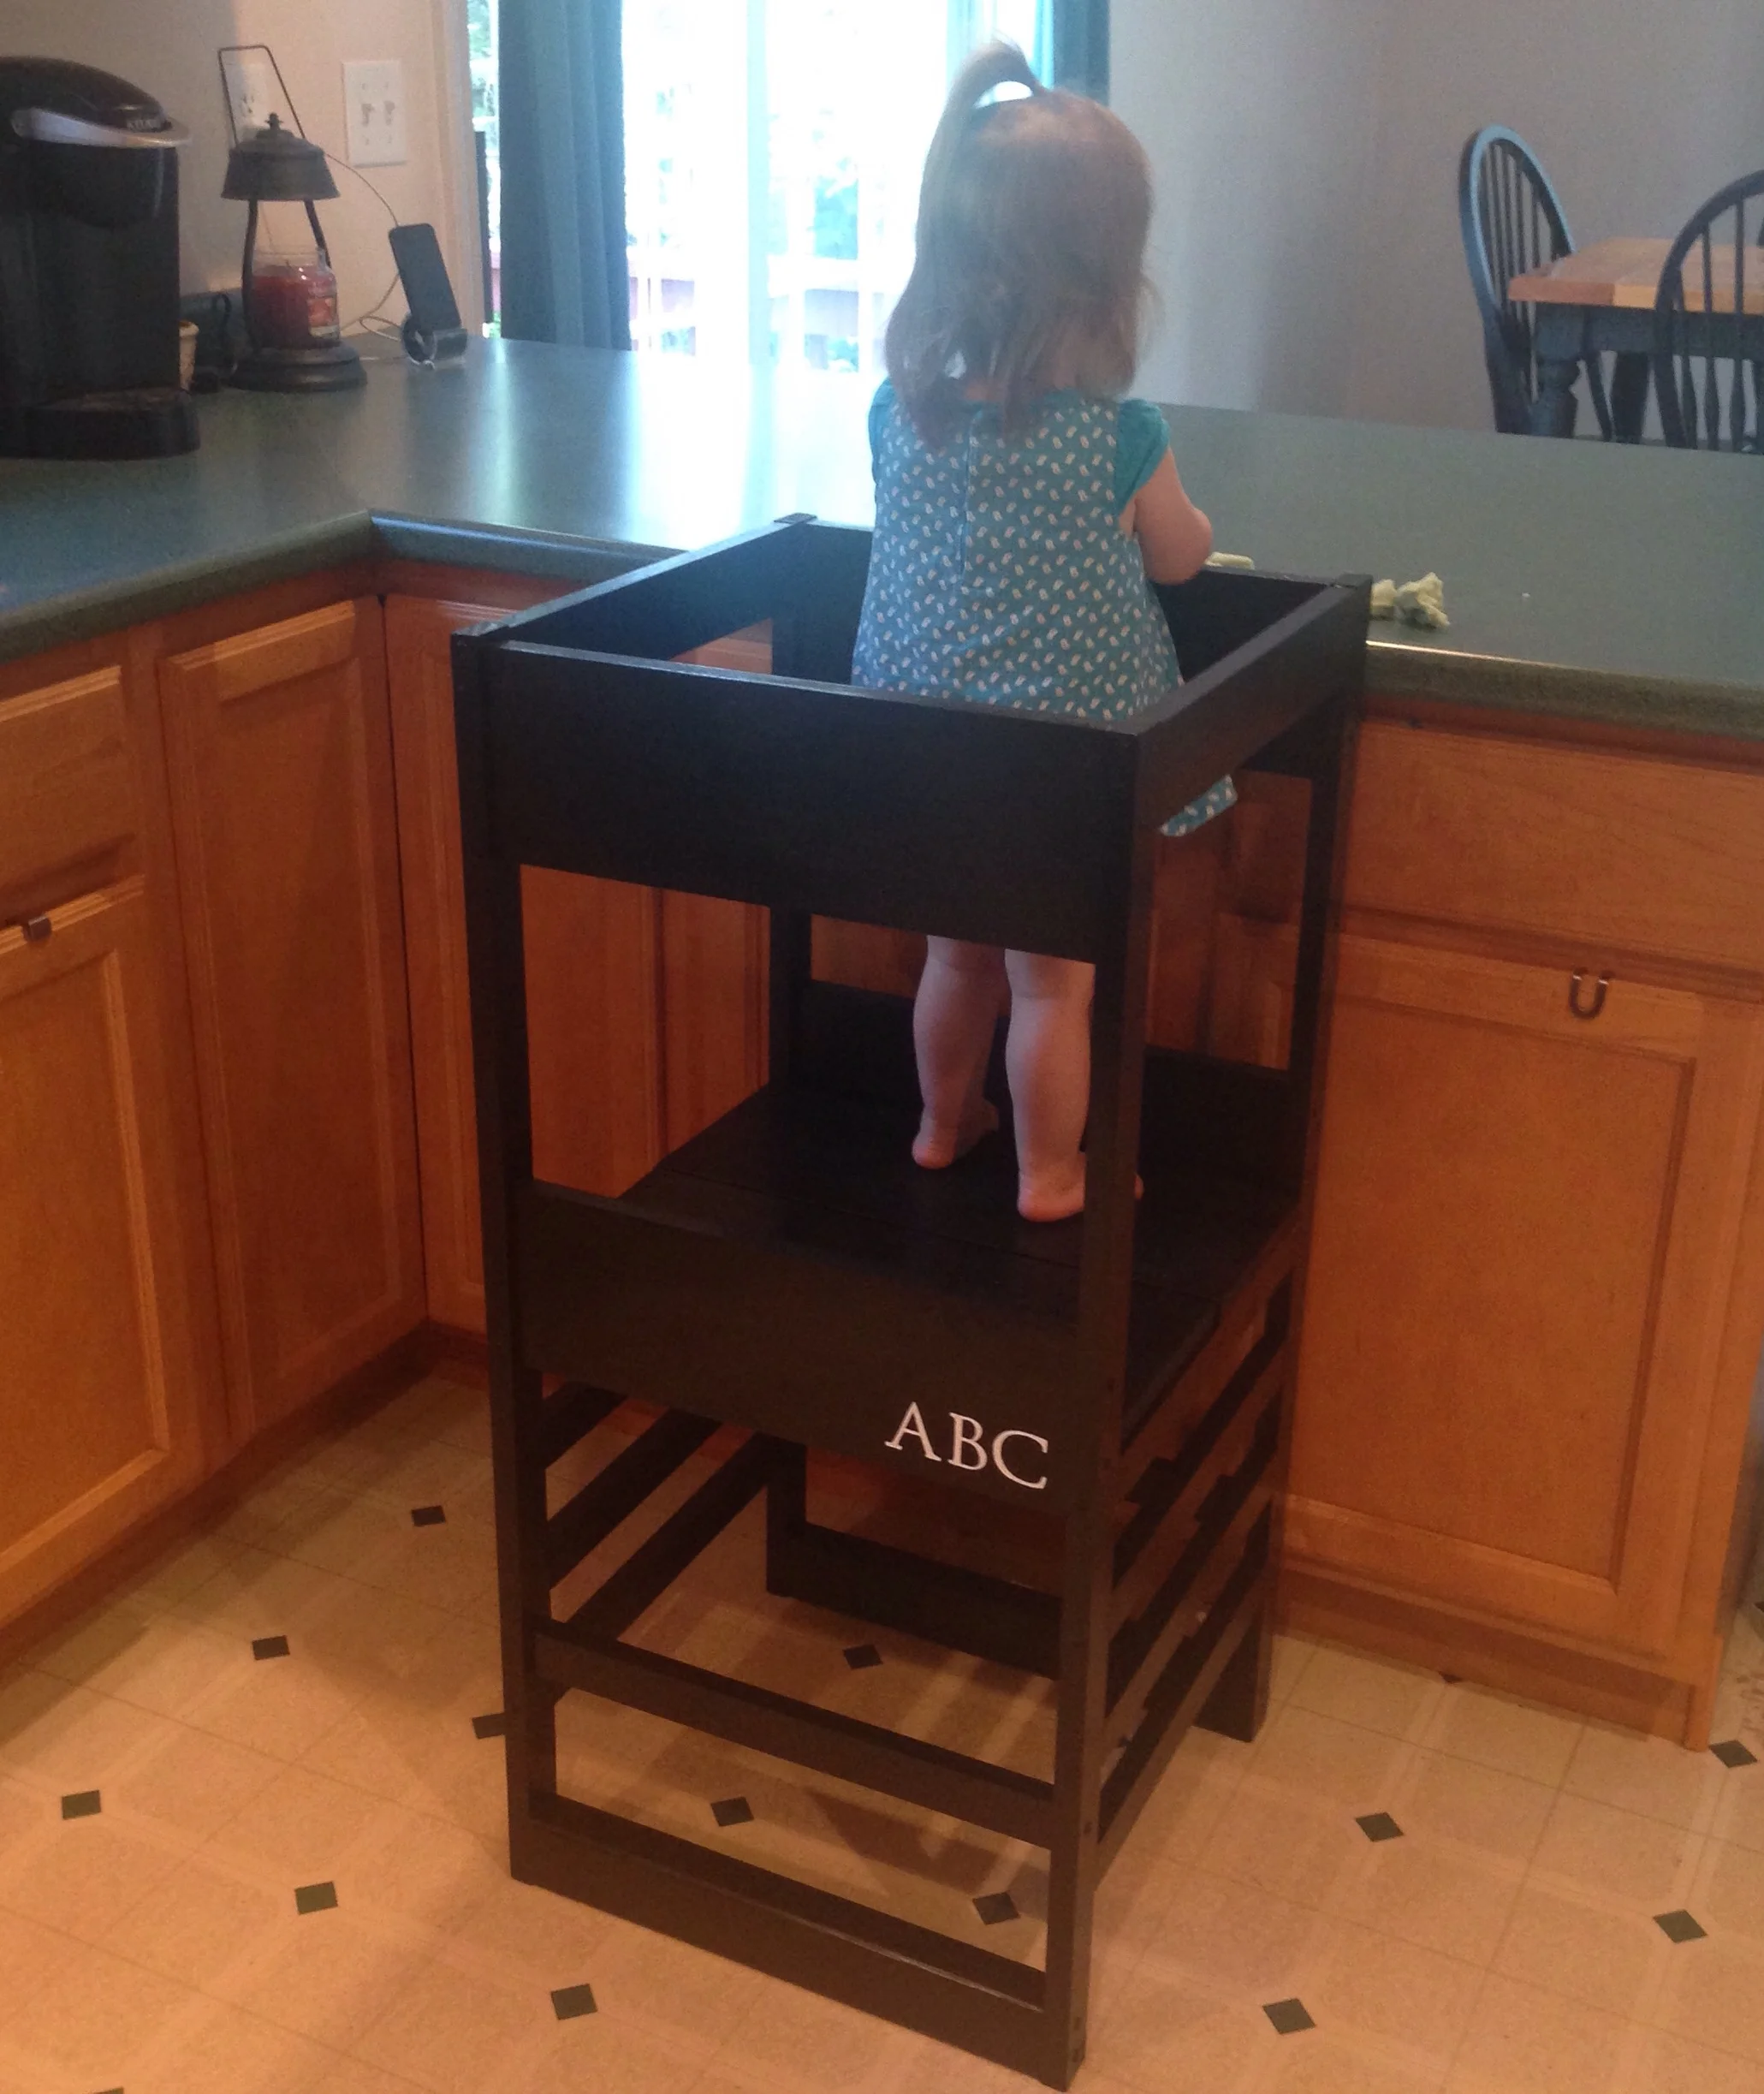
For our learning tower, I made some modifications - some were planned and some kind of happened as the project went on (partly due to the wood shortage).  For example, I decided against doing the arches on the top - as lovely as they were, we don't have a jigsaw so I had to nix it.  I also did the base of the tower a little differently and I didn't do the tip resistors (at least not yet), my sister-in-law omitted the tip resistors and has had no problems.  Our little one is pretty good with the tower (knock on wood), but for peace of mind I think we will do something to help prevent it ever tipping - most likely adding some scrap wood to make a lip that will fit under the edge of our counter.  Another thing I did differently was make the front and back top railing wider, the reasoning for this was two-fold - for one thing, it gave me more room to screw in the the top railings without the screws running into each other.  Another was that the wider wood makes it impossible for our little one to open the kitchen drawers in front of her (so key).

Assembling the learning tower with powertools

One criticism of Ana White's plan is that while it gives you a great outline of what to make and how to go about it, it definitely doesn't spell everything out - and for this detail-oriented person that drove me nuts!  For example, it doesn't detail how many screws you should use when attaching each piece or how to position the screws when you join sides together (this was a huge issue so they didn't run into each other).  Another big problem was that the plan had quite a few typos and some of the steps would stop mid-sentence missing the full explanation of what to do. 

I highly suggest cutting all the wood, labeling it, laying it out and really thinking through how it's going together. My biggest challenge by far was figuring out a good way to hold the pieces together while I pre-drilled and screwed them together. The wood the plan calls for is pretty thin (another downside of the plan), so that limited the ways I felt I could hold it without damaging it. I tried using vices and clamps to help hold everything together but they always seemed to be in the way so I ended up holding it in place anyway I could, even with my foot if necessary (awkward).

Who needs a vice when you have feet? haha

I also had to improvise on how to center the front and back side pieces against the wider side of the legs.  It turned out that a picture book we had was the perfect thickness and became a great spacer.  

Jerry rigging holding everything together for assembly of the learning tower

To space the boards for the platform I placed some extra screws between them as spacers.  Once it was all attached together, I just pulled the screw spacers out.  

Tip:  Use extra screws as spacers

For paint, I used a high-gloss black enamel paint by Val-Spar and gave it two coats (though I probably should have done 1-2 more). I really recommend using high-gloss paint or stain so it can be wiped down easily after every use.

Use a high-gloss paint when finishing your learning tower / kitchen helper
 

I wanted to add some personalization or decoration to the learning tower, but also wanted to keep it simple so that it would blend into the kitchen better. I decided against personalizing the tower since we're hoping to have more kids and I wanted to keep it "neutral" - so I settled for stenciling "ABC" on one of sides for a little decoration, using the Martha Stewart Monogram Serif Stencil Set.

Add some fun details with stencils

Our little one loves her new learning tower and now feels like she can "help" when I'm making dinner.  This tower also makes arts and crafts a lot easier (here she's playing with some homemade playdough).  

Using the Learning Tower / Kitchen Helper

Safety Notice:  It goes without saying, but always supervise your little one while they're using the learning tower and make sure there is nothing dangerous within reach (hot plates, knives/other sharp objects, stove, off-limit foods, etc).  Use at your own risk.

Using the Learning Tower / Kitchen Helper

Other posts you might enjoy:  

KEEP UP WITH BIRCH LANDING HOME
|  Etsy  |  Facebook  |  Instagram  |  Pinterest  |  Bloglovin'  |  Hometalk  |

Our First Pampers Rewards - Free Gifts for Buying Diapers!

As I mentioned in a previous post, I was way behind when I signed up for Pampers Rewards.. I think our little one was 10 months old when we started (oh all those months of diaper codes I could have used!). Since then I've been entering codes every time I can and saving them up. 

Pampers Rewards free gift - Step 2 Little Bakers Cupcake Set

Initially I was going to wait and get one of the big items for Miss M, but the other week I decided to trade some points in and get something small for her.  I saw this Little Bakers Cupcake set from Step 2 and thought it would be great for her to play with when she's using the kitchen helper I was making her.  Redeeming the points was very easy - just log in, choose your reward, check out, and confirm your mailing address.  Done!  

The cupcake set wasn't as rugged as I was hoping for considering it's from Step 2, but it is very, very cute.  The set comes with a tray, six cupcakes, and six interchangeable frosting tops.  Our little one can't quite get them on and off herself yet but she is really enjoying them still. 

And, of course the best part about it was they were free!  I didn't even have to pay shipping, which was amazing (note: some items you do have to pay shipping for).  I'm looking forward to ordering more free gifts.. just have to remember to keep entering my codes!

image.jpg

PS - I just stumbled across an account on Instagram that shares some of the free codes Pampers releases for promotions.  Follow @free_pampers_codes to help boost your point total!  

Want to see what else we got from Pampers Rewards?  Check out my other posts:  

Please note items available from Pampers Rewards are subject to change.  

KEEP UP WITH BIRCH LANDING HOME
|  Etsy  |  Facebook  |  Instagram  |  Pinterest  |  Bloglovin'  |  Hometalk  |

Nûby Review: Splash n' Catch Bathtime Fishing Set

Today I'm reviewing Nûby's Splash n' Catch Bathtime Fishing Set.  I was so excited to receive this as our little one loves "catching" everything in a net lately.  In fact, one of her favorite things to do is throw the mesh bag for her blocks (which is pretty small) on top of our black lab's back and shriek with delight that she captured her, it's pretty adorable.  | This post contains affiliate links and an honest review of products provided to us by Nûby |

Nuby Splash n' Catch Bathtime Fishing Set - great bath time toy!

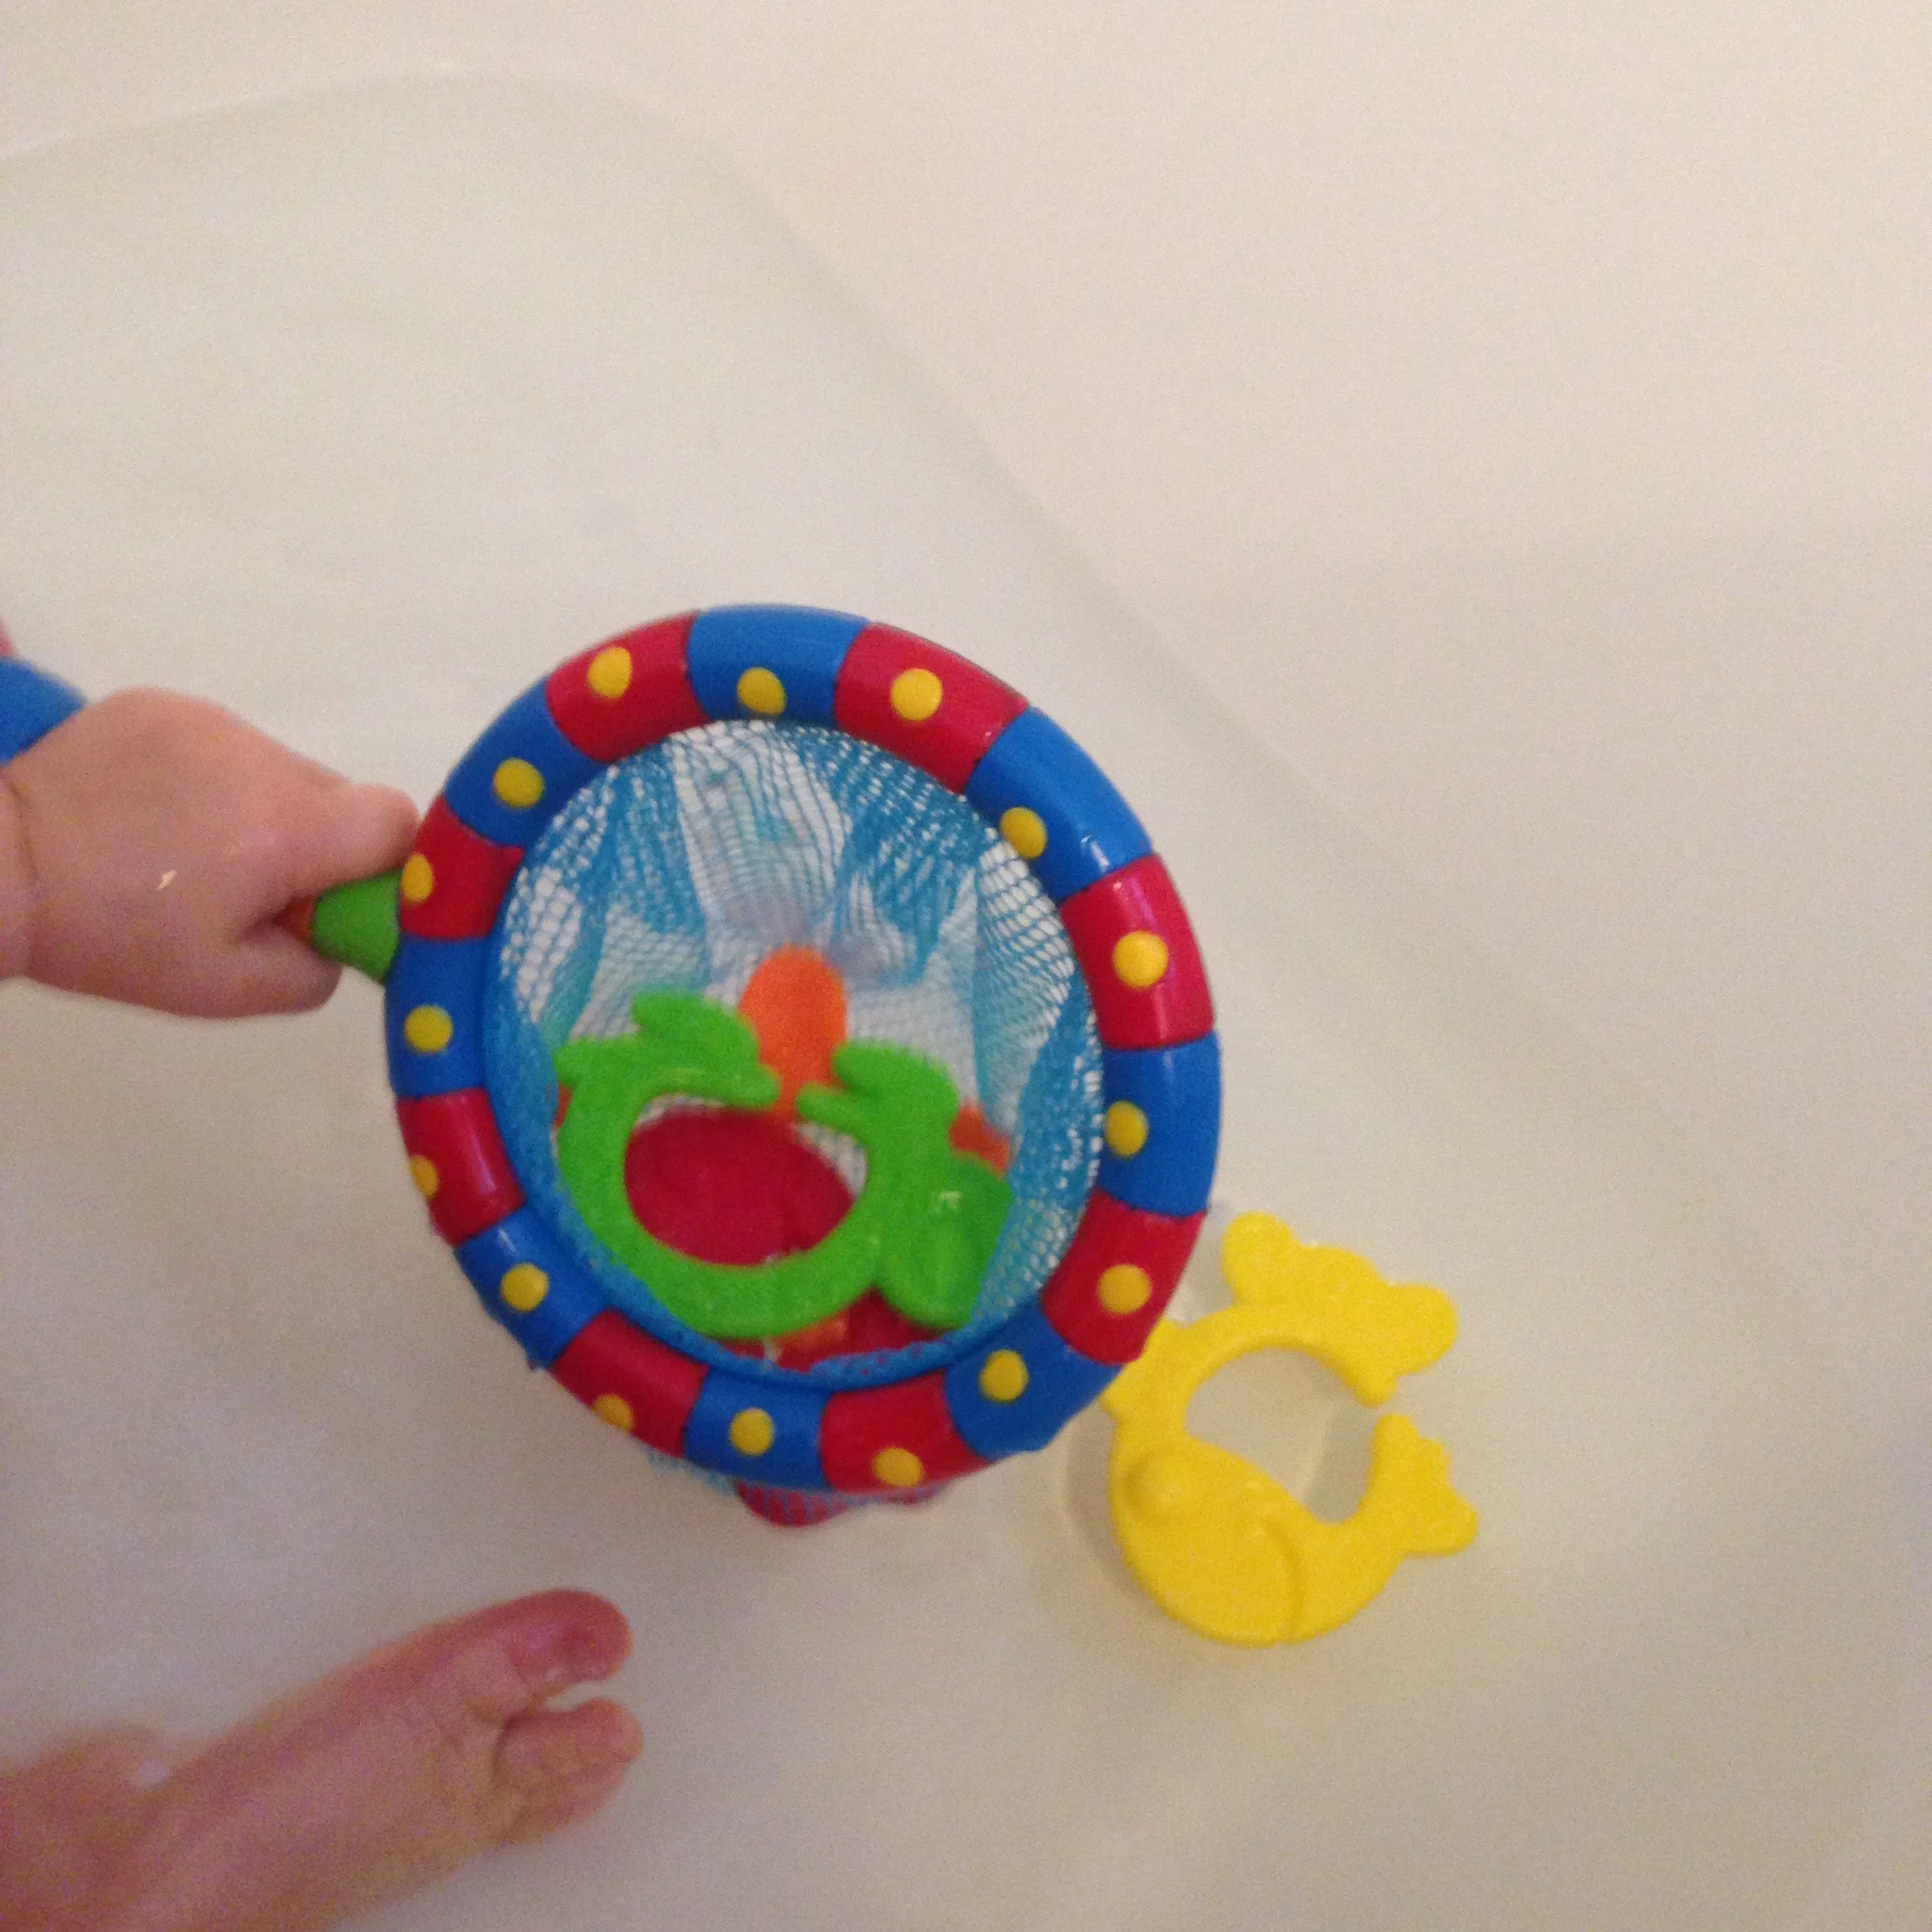
The Splash n' Catch is recommended for ages 18+ months and comes with a fishing net and four colorful sea animals that can be linked together.  It's BPA-free and, according to Nûby also PVC-free, which is very important to us.  Miss M loves catching the animals and taking them in and out of the net.  She's also been playing with this toy out of the tub and has been enjoying putting all kinds of things into the net - small blocks, her snacks, a shoe, etc.  

Playing with the Nuby Splash n' Catch Fishing Set in the tub

This toy is great for developing hand-eye coordination and teaching your little one some colors.  The one small flaw of this toy that we found is our little one can't link and unlink the animals together on her own, but maybe with time she will be able to.  

Bath time fun with Nuby!

The Splash n' Catch Fishing Set would also be a great toy to bring outside and use in the kiddie pool or water table and I know we'll definitely be bringing it outside this summer.  

The Nuby Splash n' Catch can be used with other bath toys too.

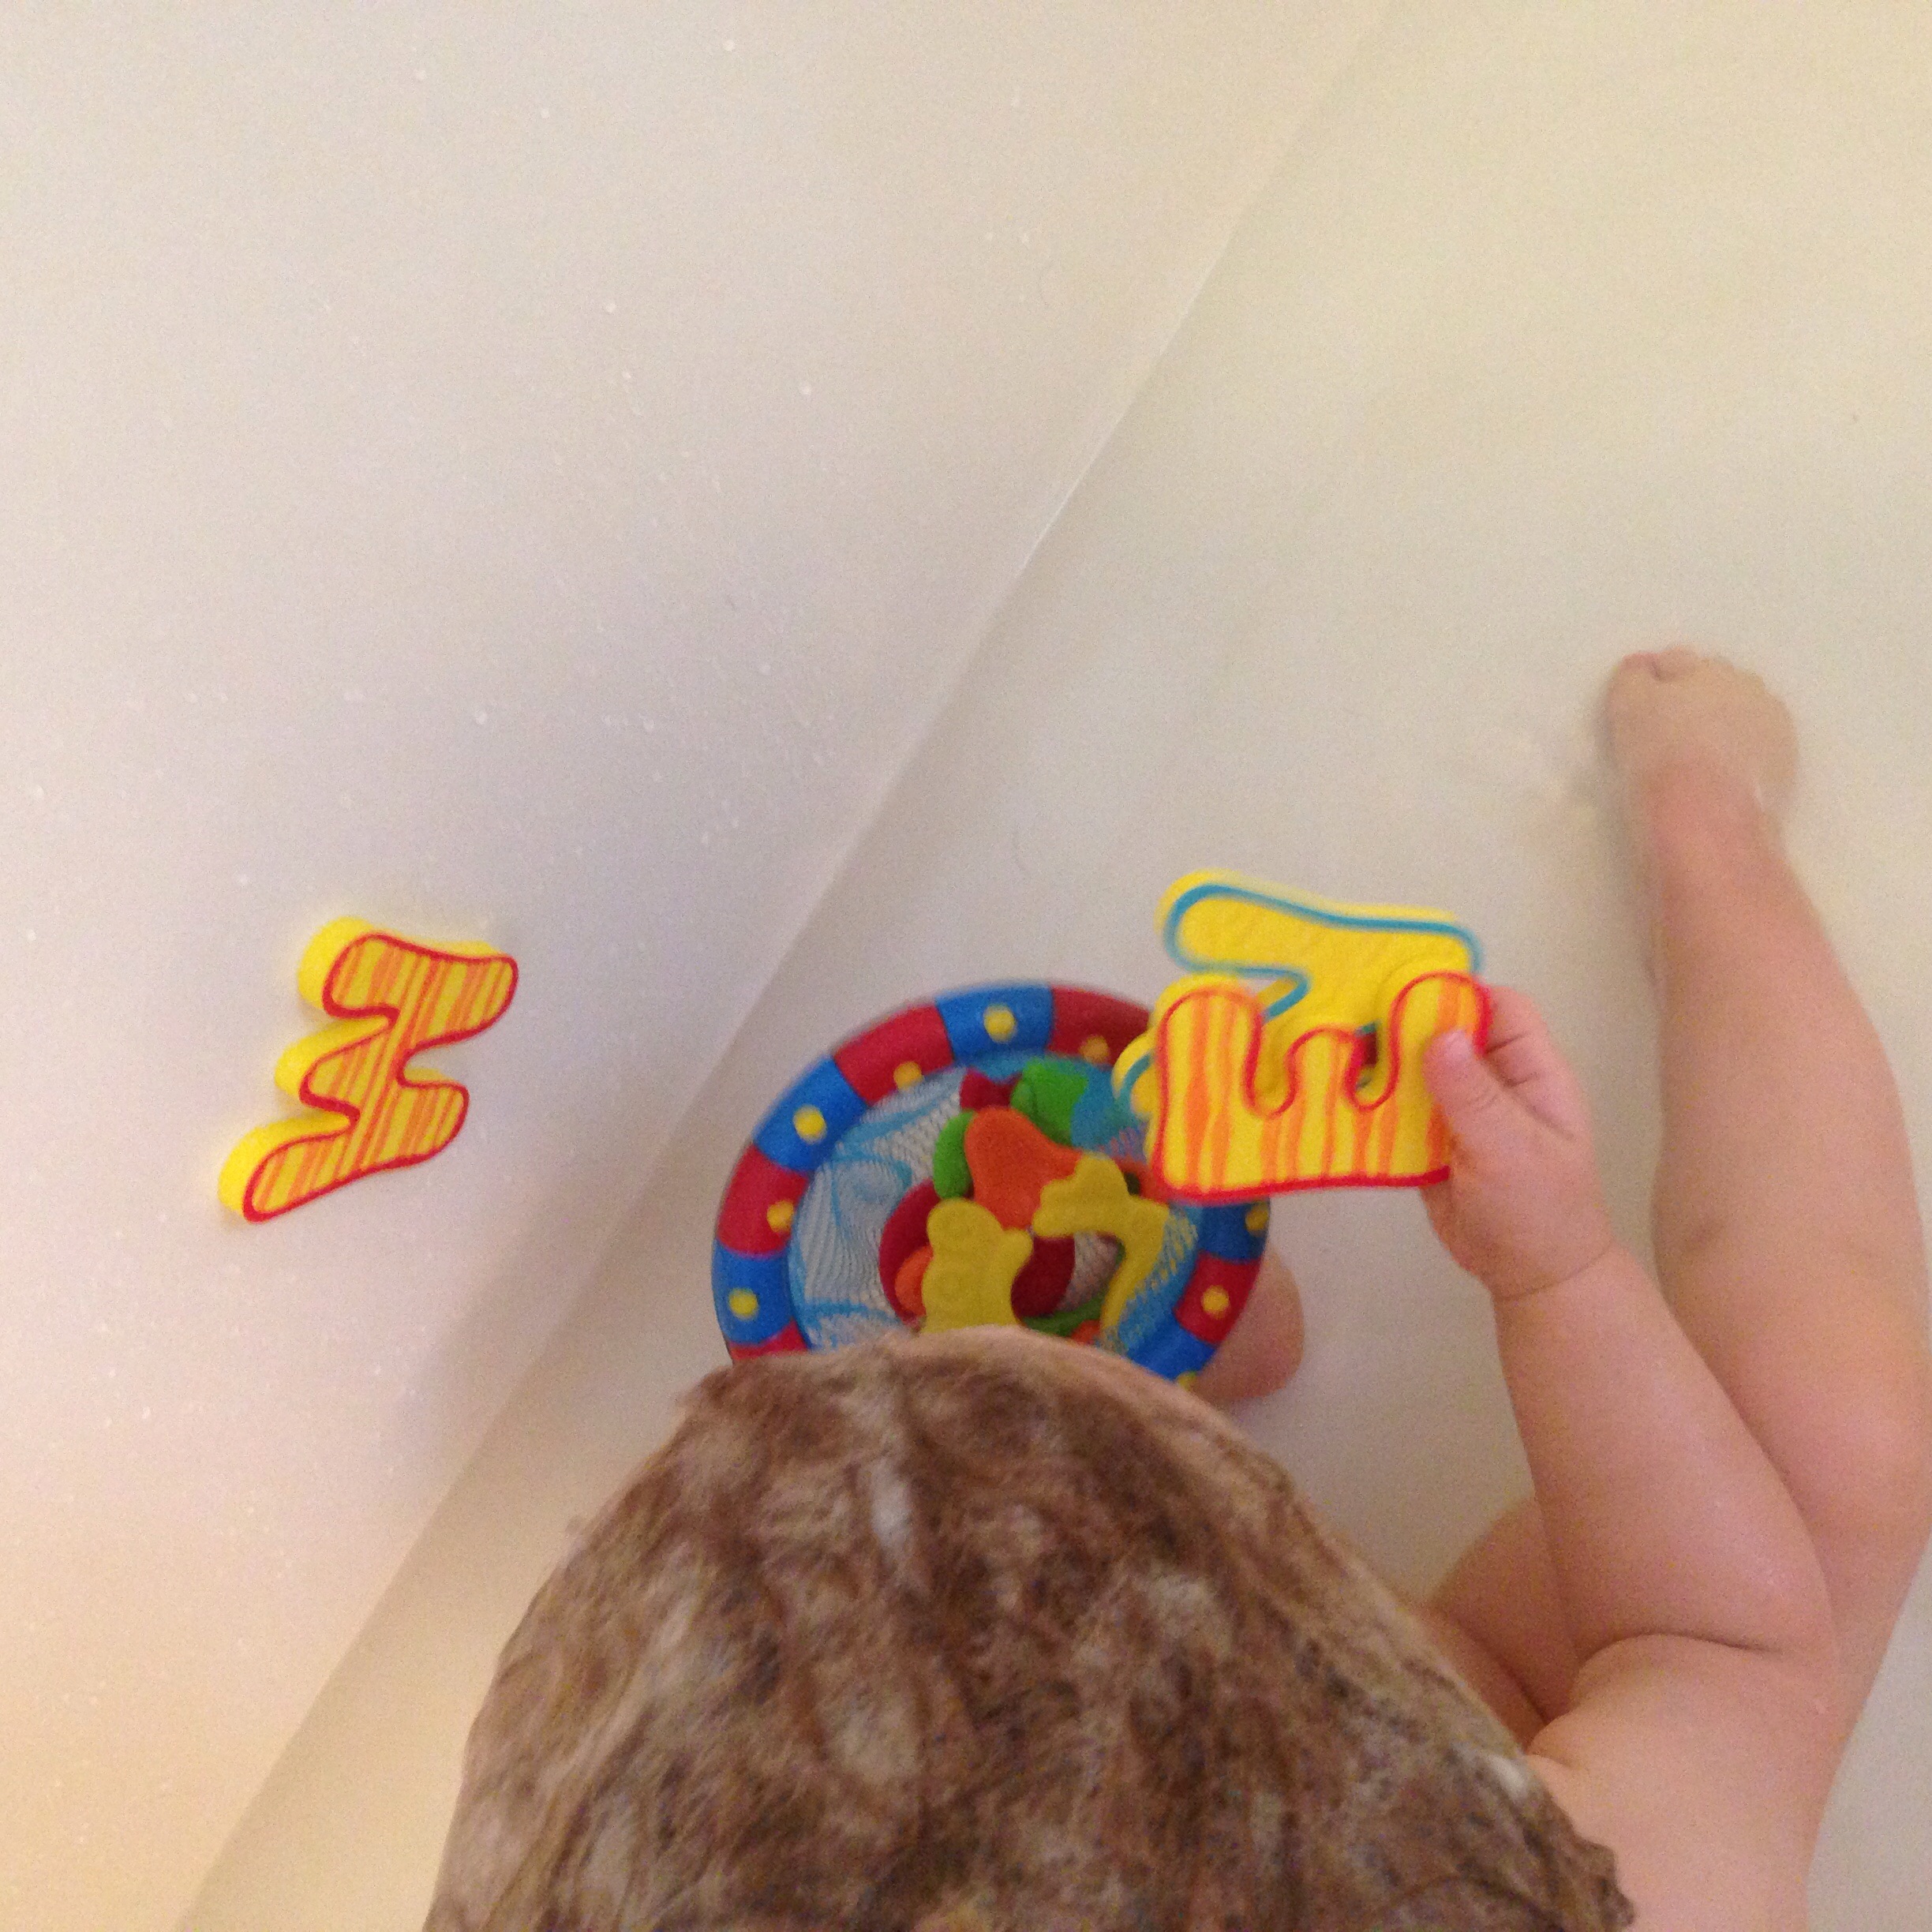
Miss M loved putting her other bath toys in the net too (pictured are Nûby's Bath Letters and Numbers).  

Nuby Parent Blogger

- I received this item for review from Nûby but all opinions expressed are my own.  Please see our full Disclosure Policy for more information -   

Nûby's Splash n' Catch Bathtime Fishing Set can be purchased at various retailers including Kohl's and Amazon.  


KEEP UP WITH BIRCH LANDING HOME
|  Etsy  |  Facebook  |  Instagram  |  Pinterest  |  Bloglovin'  |  Hometalk  |

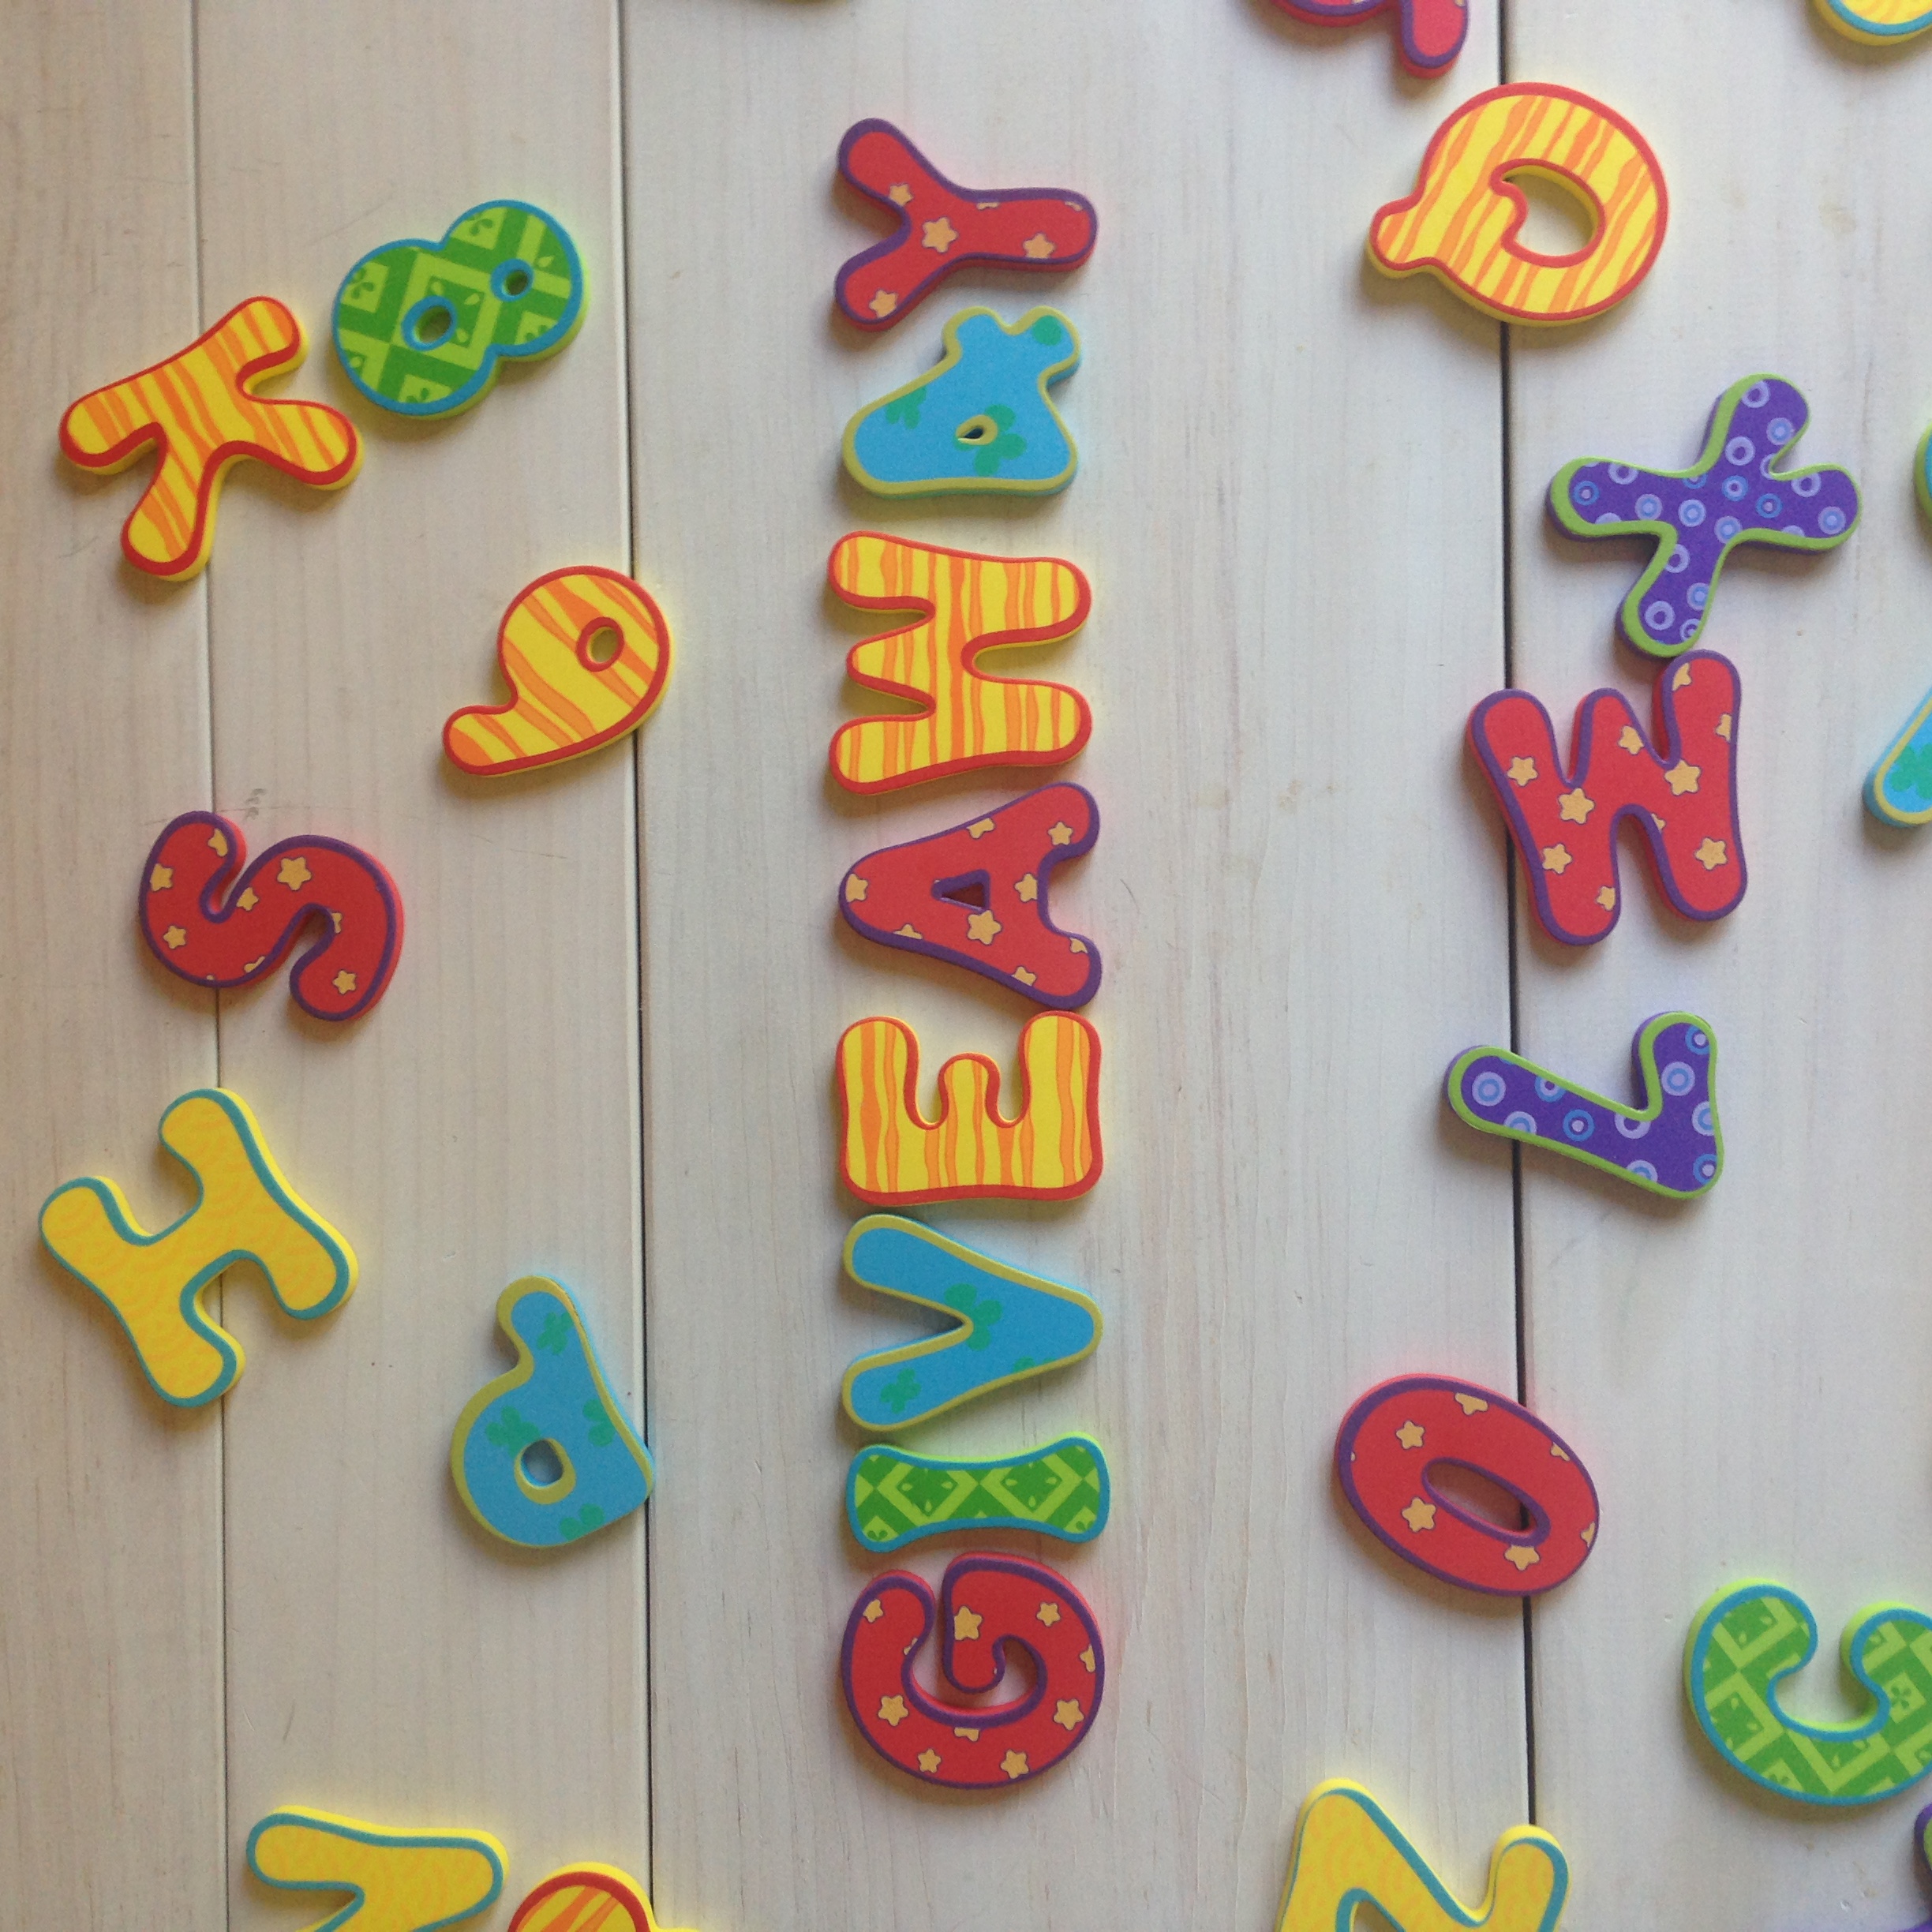
Nûby Review: Bath Letters and Numbers + GIVEAWAY!

Today I'm reviewing Nûby's Bath Letters and Numbers - and to top it off we're giving away a set of these over on Instagram (details below)!  | This post contains affiliate links and an honest review of products provided to us by Nuby |

Nuby Bath Letters and Numbers review and a giveaway

I was so excited when we received these Bath Letters and Number to review from Nûby.  I was looking for something a little different than the boats and rubber animals Miss M has now and I thought these foam letters would be a nice change of pace.  

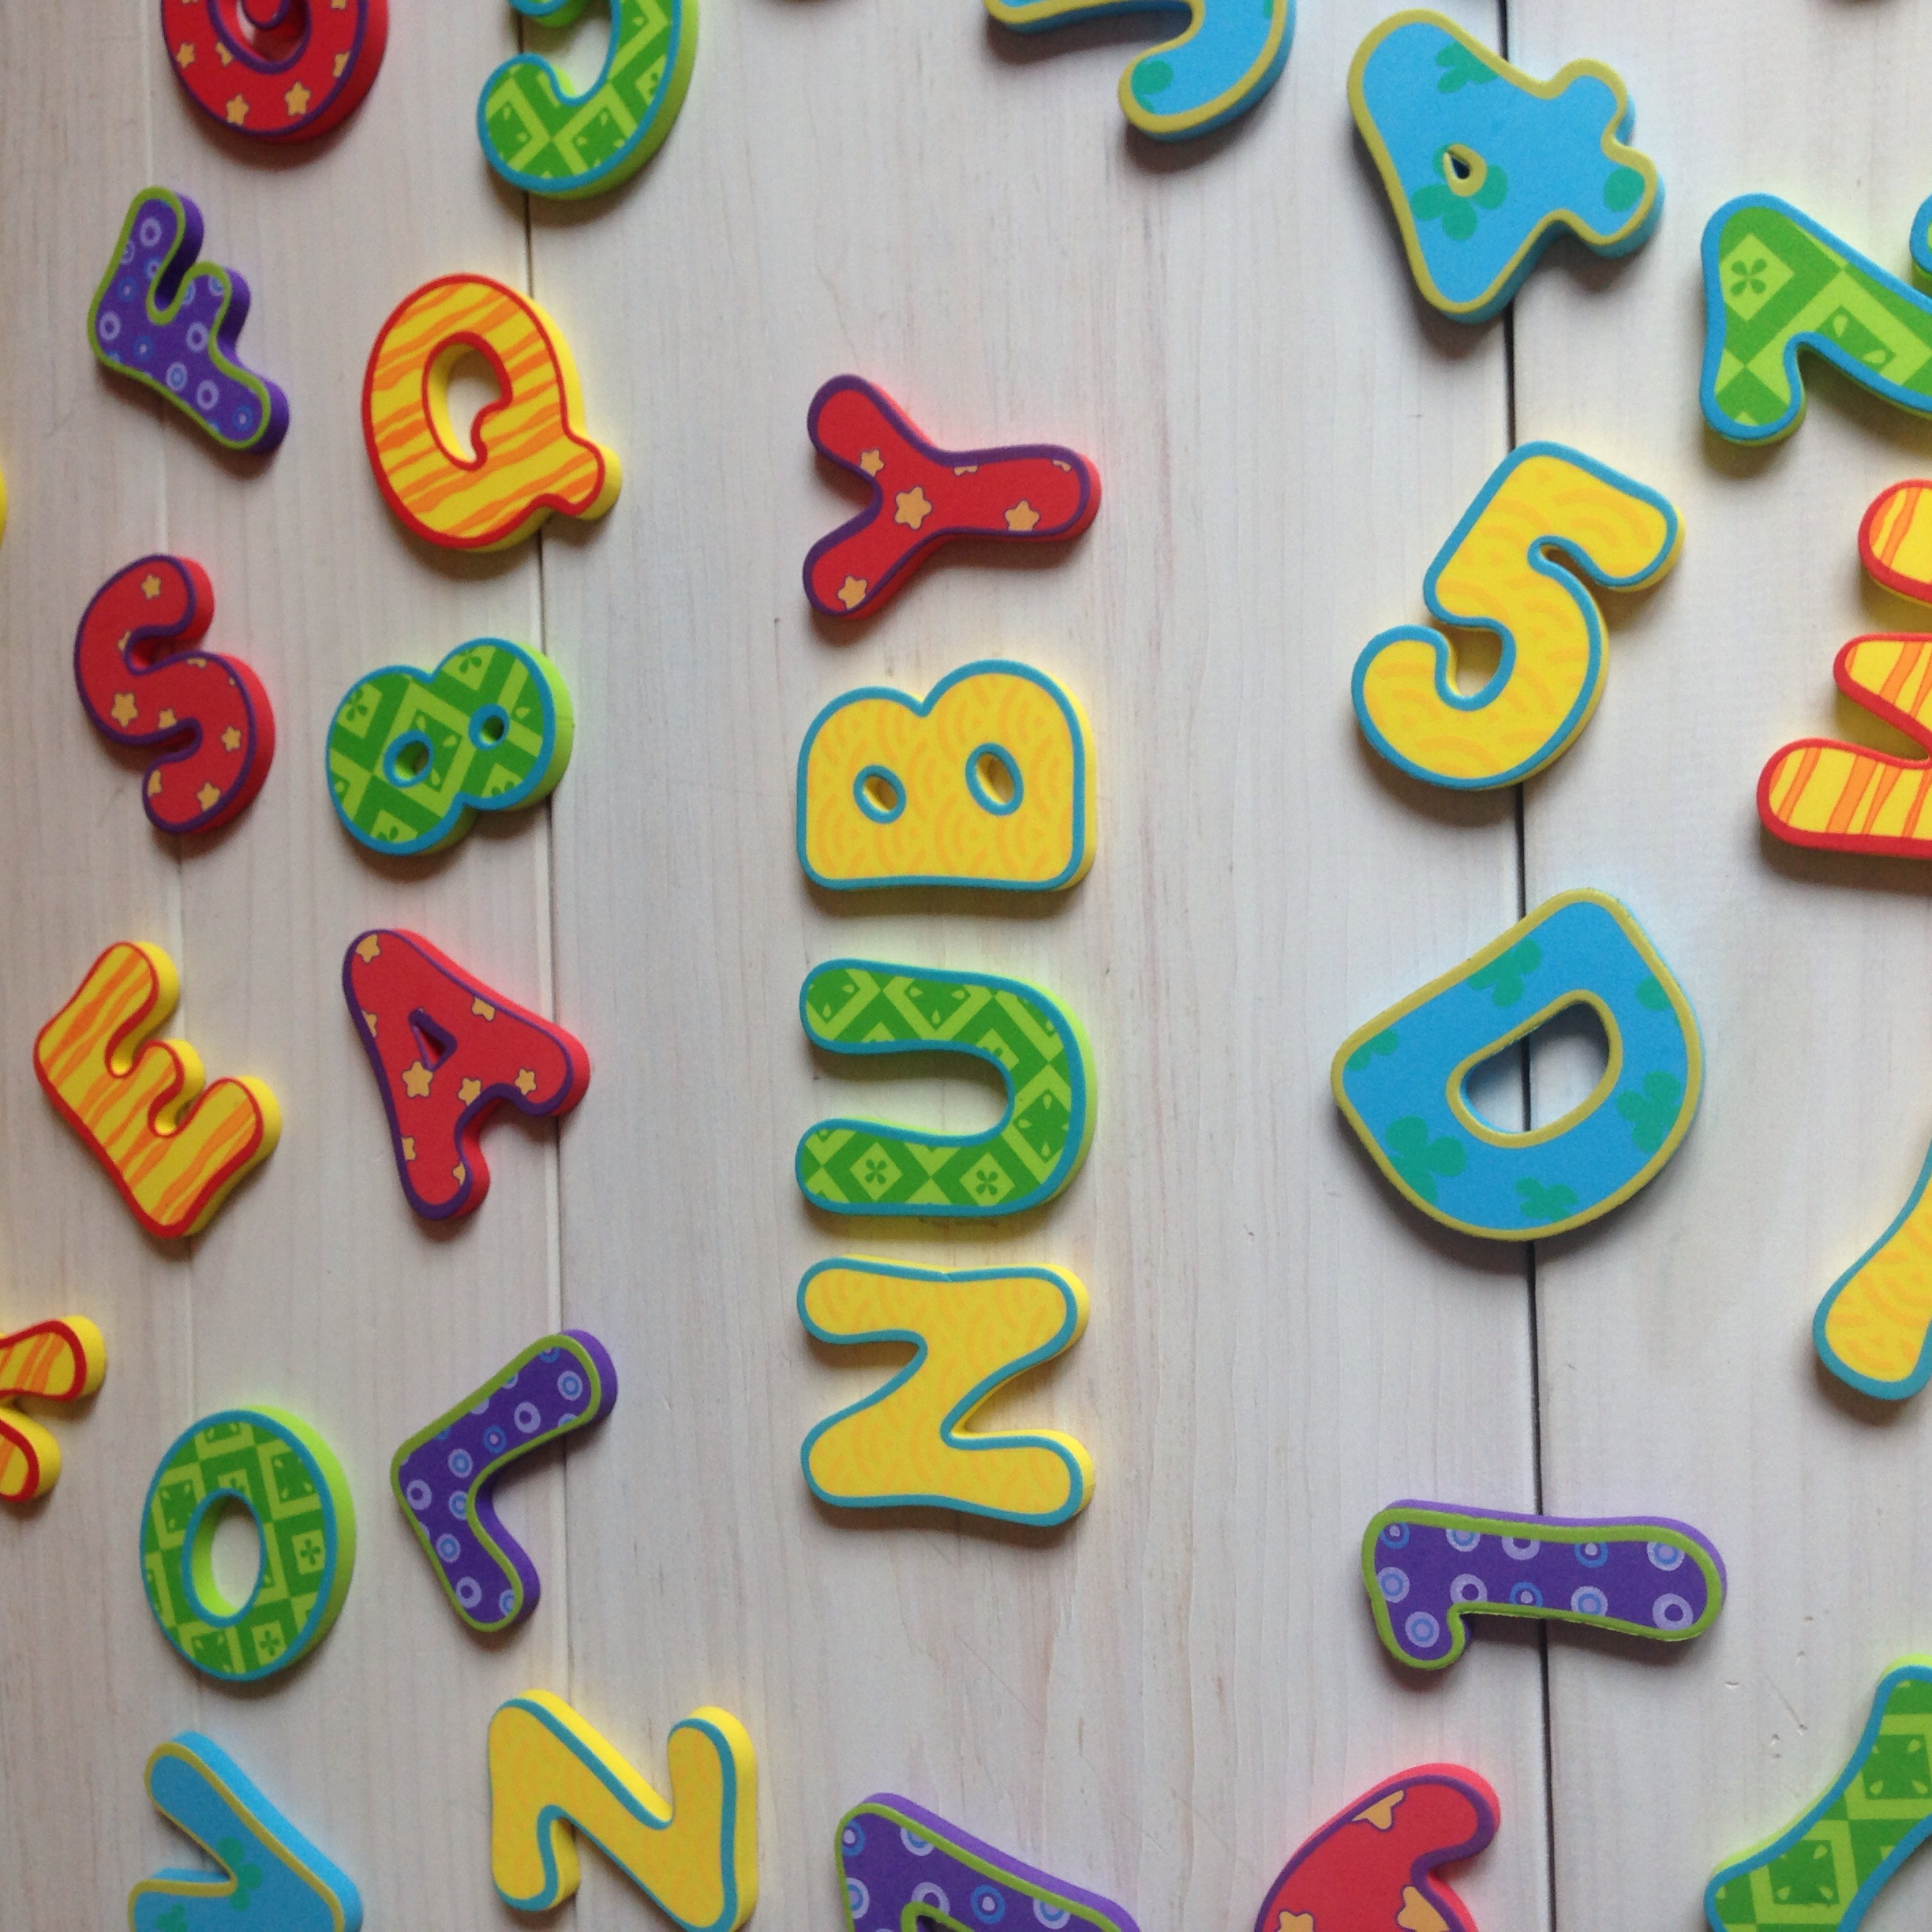
These bath letters are phthalate and BPA free which is very important to us, and are recommended for ages 18+ months.  Right now Maddie just loves the colors and shapes of them but as she gets older these will be a great tool to teach numbers and letters.  They stick remarkably well to the wall of the tub when wet, and our little one had a lot of fun moving them around and taking them on and off. 

Nuby bath letters and numbers are a fun and educational bath toy

I initially had some reservations that these would stay wet for a long time and get yucky in storage but that wasn't the case at all - the foam dries remarkably fast and holding moisture isn't an issue.  Overall these are a simple, fun toy for in and out of the tub.  

Nuby Bath Letters and Numbers are so fun!

*GIVEAWAY*

Win a set of Nuby Bath Letters and Numbers in our Givewaway

We've partnered with Nûby to give a set of these Bath Letters and Numbers to one lucky winner on Instagram!  Follow me (@birchlandinghome) and find our giveaway post for details and to enter.  Good luck!  

Nuby Parent Blogger

- I received this item for review from Nûby but all opinions expressed are my own.  Please see our full Disclosure Policy for more information -   

Nûby's Bath Letters and Numbers can be purchased at BuyBabyDirect.com, Baby Depot, and Amazon.  

KEEP UP WITH BIRCH LANDING HOME
|  Etsy  |  Facebook  |  Instagram  |  Pinterest  |  Bloglovin'  |  Hometalk  |

Protecting Your Children's Identity Online

Two of my favorite blogs, WillowCrowns and Olive & Tate, recently posted their views on how they work to protect their kids online and it opened my eyes to some of the new weird stuff that's going on out there (like baby role-playing, so creepy).  Everybody has their own opinion of what's okay or safe to share or not to share and I have to warn I take a much more overly-cautious approach than most.  I encourage you to read Megan and Stephanie's posts to see their tips, which I think would be of help for most bloggers who still want to share a lot of personal photos with the world.  

Protecting your Children and Family's Identity Online: Important tips for bloggers and everyone else

For me, I try very hard to keep public photos of our little one to an extreme minimum.  I don't have her in my profile pictures or cover photos and all my personal accounts are locked down to "friends only."  Even still, I try not to post too many photos of her even on my private accounts.  Instead I do share a lot of photos with family and close friends in texts or e-mails (sorry for filling up your inboxes, guys!).  I feel like I have a lot more control over who has access to the pictures I share this way.  

I know as a blogger the best way to make a personal connection with your audience is to share personal photos and stories of your life, and while many of the blogs I enjoy reading most do just that I'm not willing to risk putting all that out there.  

I'm certainly not an internet privacy expert, and my tips aren't 100% fool-proof, but I encourage you to read on for some basic tips I feel are very important for everyone.    

Basic Internet Safety Tips

  1. If you have a blog or a business, create separate accounts (Facebook, Twitter, Instagram) for personal use and for public use.  Make sure all your personal accounts are locked down to "private."  
  2. Never use photos of your children or your home in your profile or cover photos.  
  3. Go through your friends list and make sure you're okay sharing information with everyone on it.  If not, consider un-friending people or moving them to a "Restricted/Limited Profile" List (this feature is available on Facebook).  
  4. Turn off Geotagging on photos which could be used to pinpoint the exact places your photos are taken, even right down to your living room.  A quick explanation and how-to video on how to turn it off can be found here.  
  5. Never publicly check-in or add locations to photos - and don't use the "Name this Location" feature on Instagram (at least not publicly), even to put in witty headlines.  I don't know how many times I've seen a fellow blogger use the Name this Location field on Instagram to put in a plug for their website or a sale.  However, if you're not careful, it records exactly where you posted that picture from.  If someone clicks on that field it then brings up a map and you can zoom right down to the street view of wherever the picture is posted from (in other words, you just showed everyone on the internet exactly where you live).  
  6. If you have a blog or business, get a PO Box and don't use your home address.  Make sure to use the PO Box for all business correspondence, return addresses on product you're shipping out, and to receive products for collabs or to review.  

Am I a little over-protective?  Probably.  But watermarks can be photoshopped out, photos can be stolen, locations can be pinpointed.. unfortunately it's the age we live in and I think everyone - blogger or not - needs to be aware and a little more wary.  

Do you have any other basic internet privacy tips to add?  Please share them below.  

KEEP UP WITH BIRCH LANDING HOME
|  Etsy  |  Facebook  |  Instagram  |  Pinterest  |  Bloglovin'  |  Hometalk  |

Nûby Review: No-Spill Insulated Cool Sipper

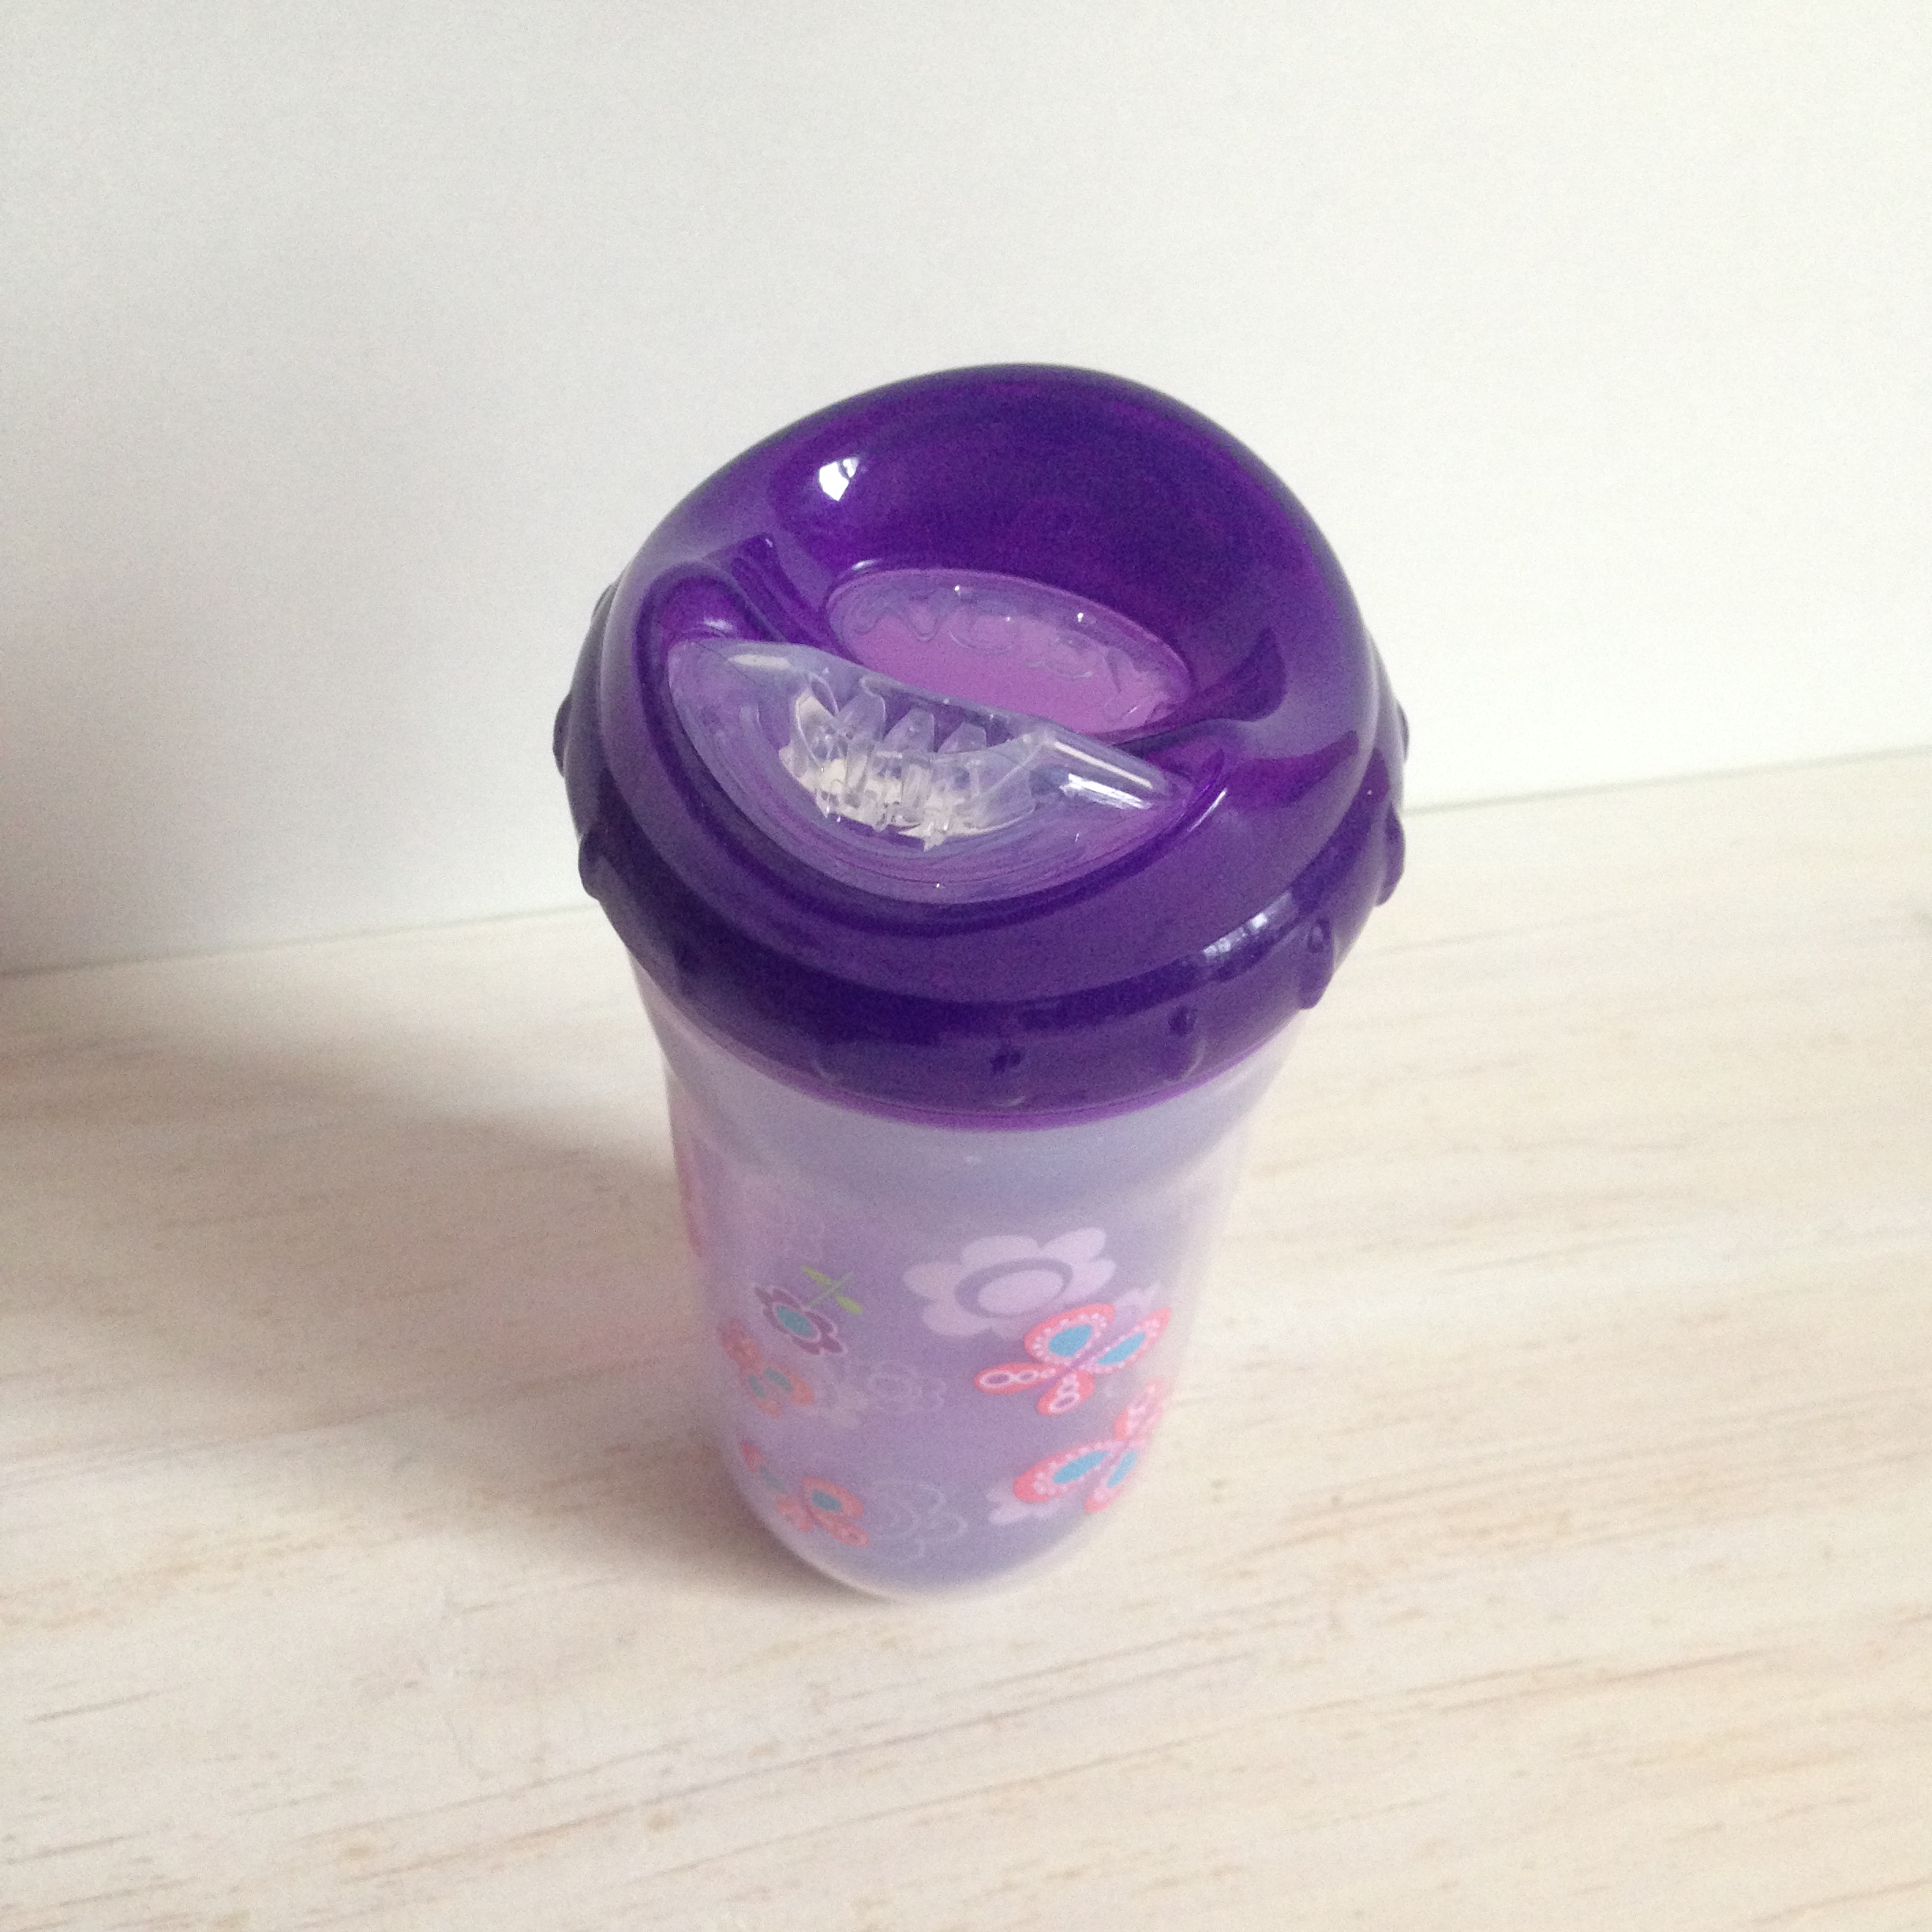
The last few days have been hot in New England and it (finally) feels like spring.  Even the last bit of snowbank in our yard has finally melted too - hooray!  I thought a warm day like today would be a great time to review our Nûby No-Spill Insulated Cool Sipper Cup.  | This post contains affiliate links and an honest review of products provided by Nûby |

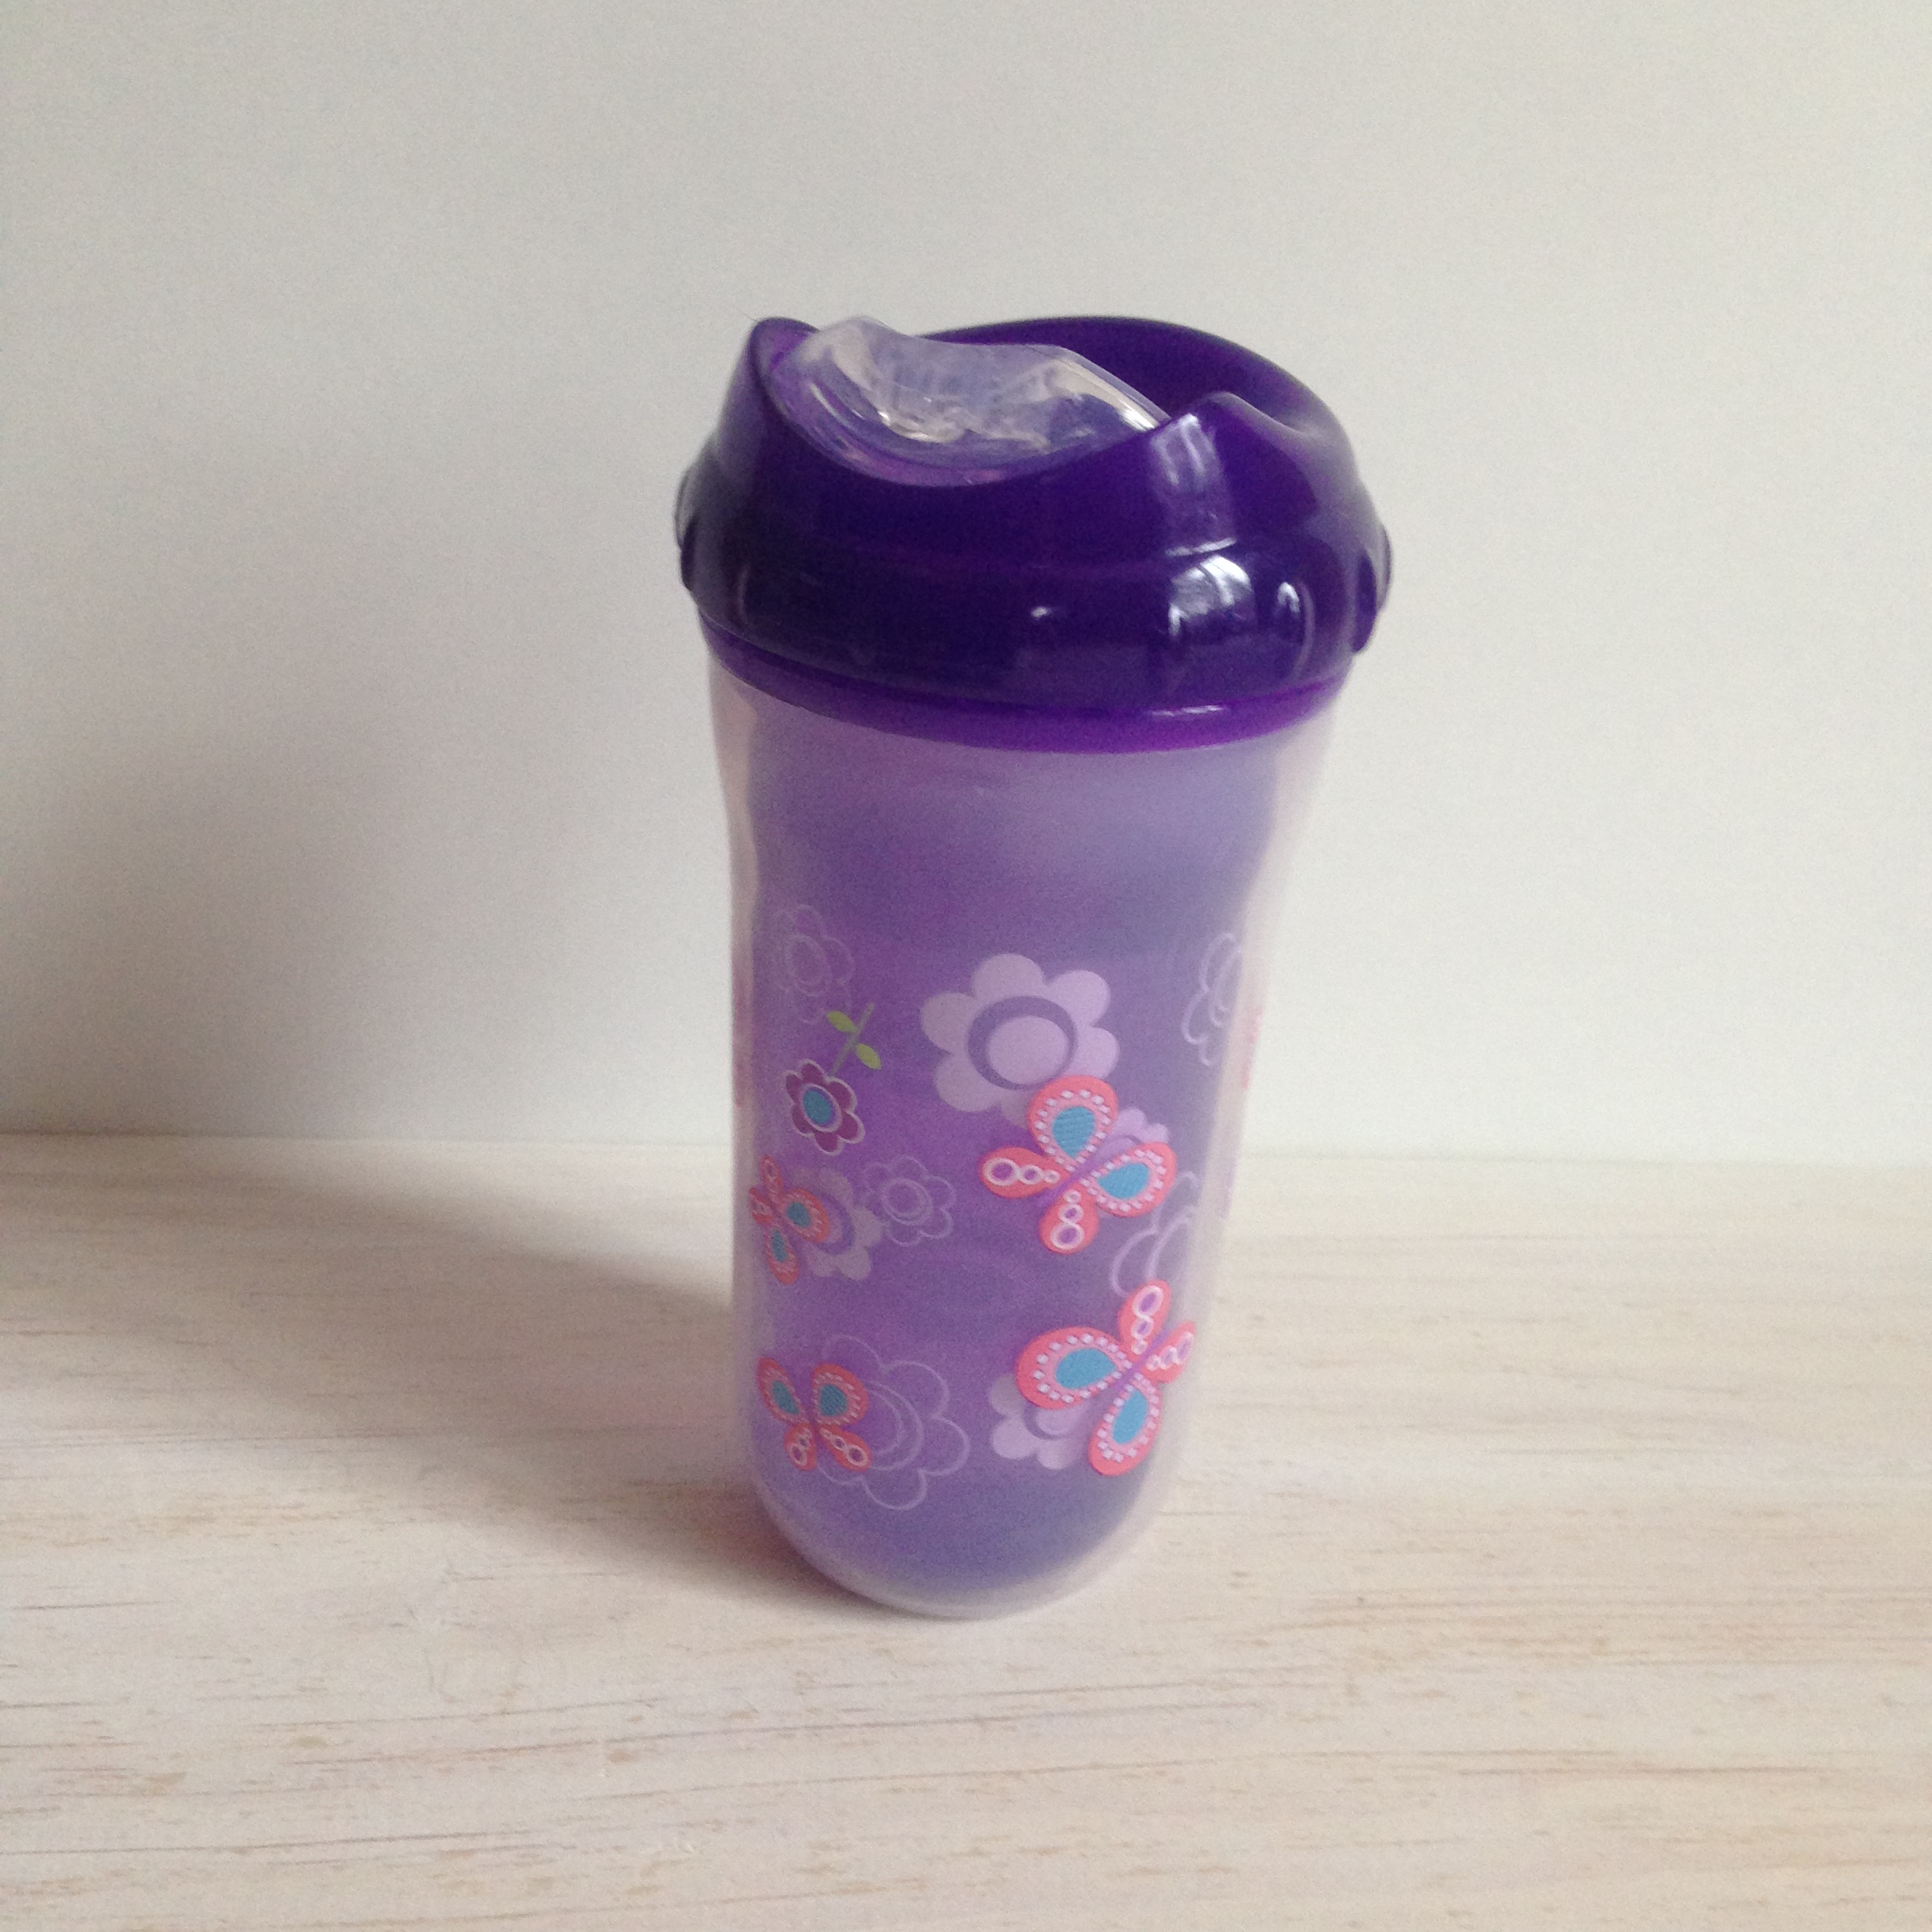
We love Nuby's No-Spill Insulated Cool Sipper

This cup is a Step 4 training cup and is recommended for ages 18-months+.  Maddie is almost 17 months old and I think for most toddlers you could introduce this cup to them a little early if they seem ready.  Maddie has always been a bit behind in her oral development and so it took her a little longer than I think it would for most kids to get the hang of how to tip the cup up and sip through the spout, but she did it.  I can certainly see how this cup helps transition little ones to drink from an open cup.  

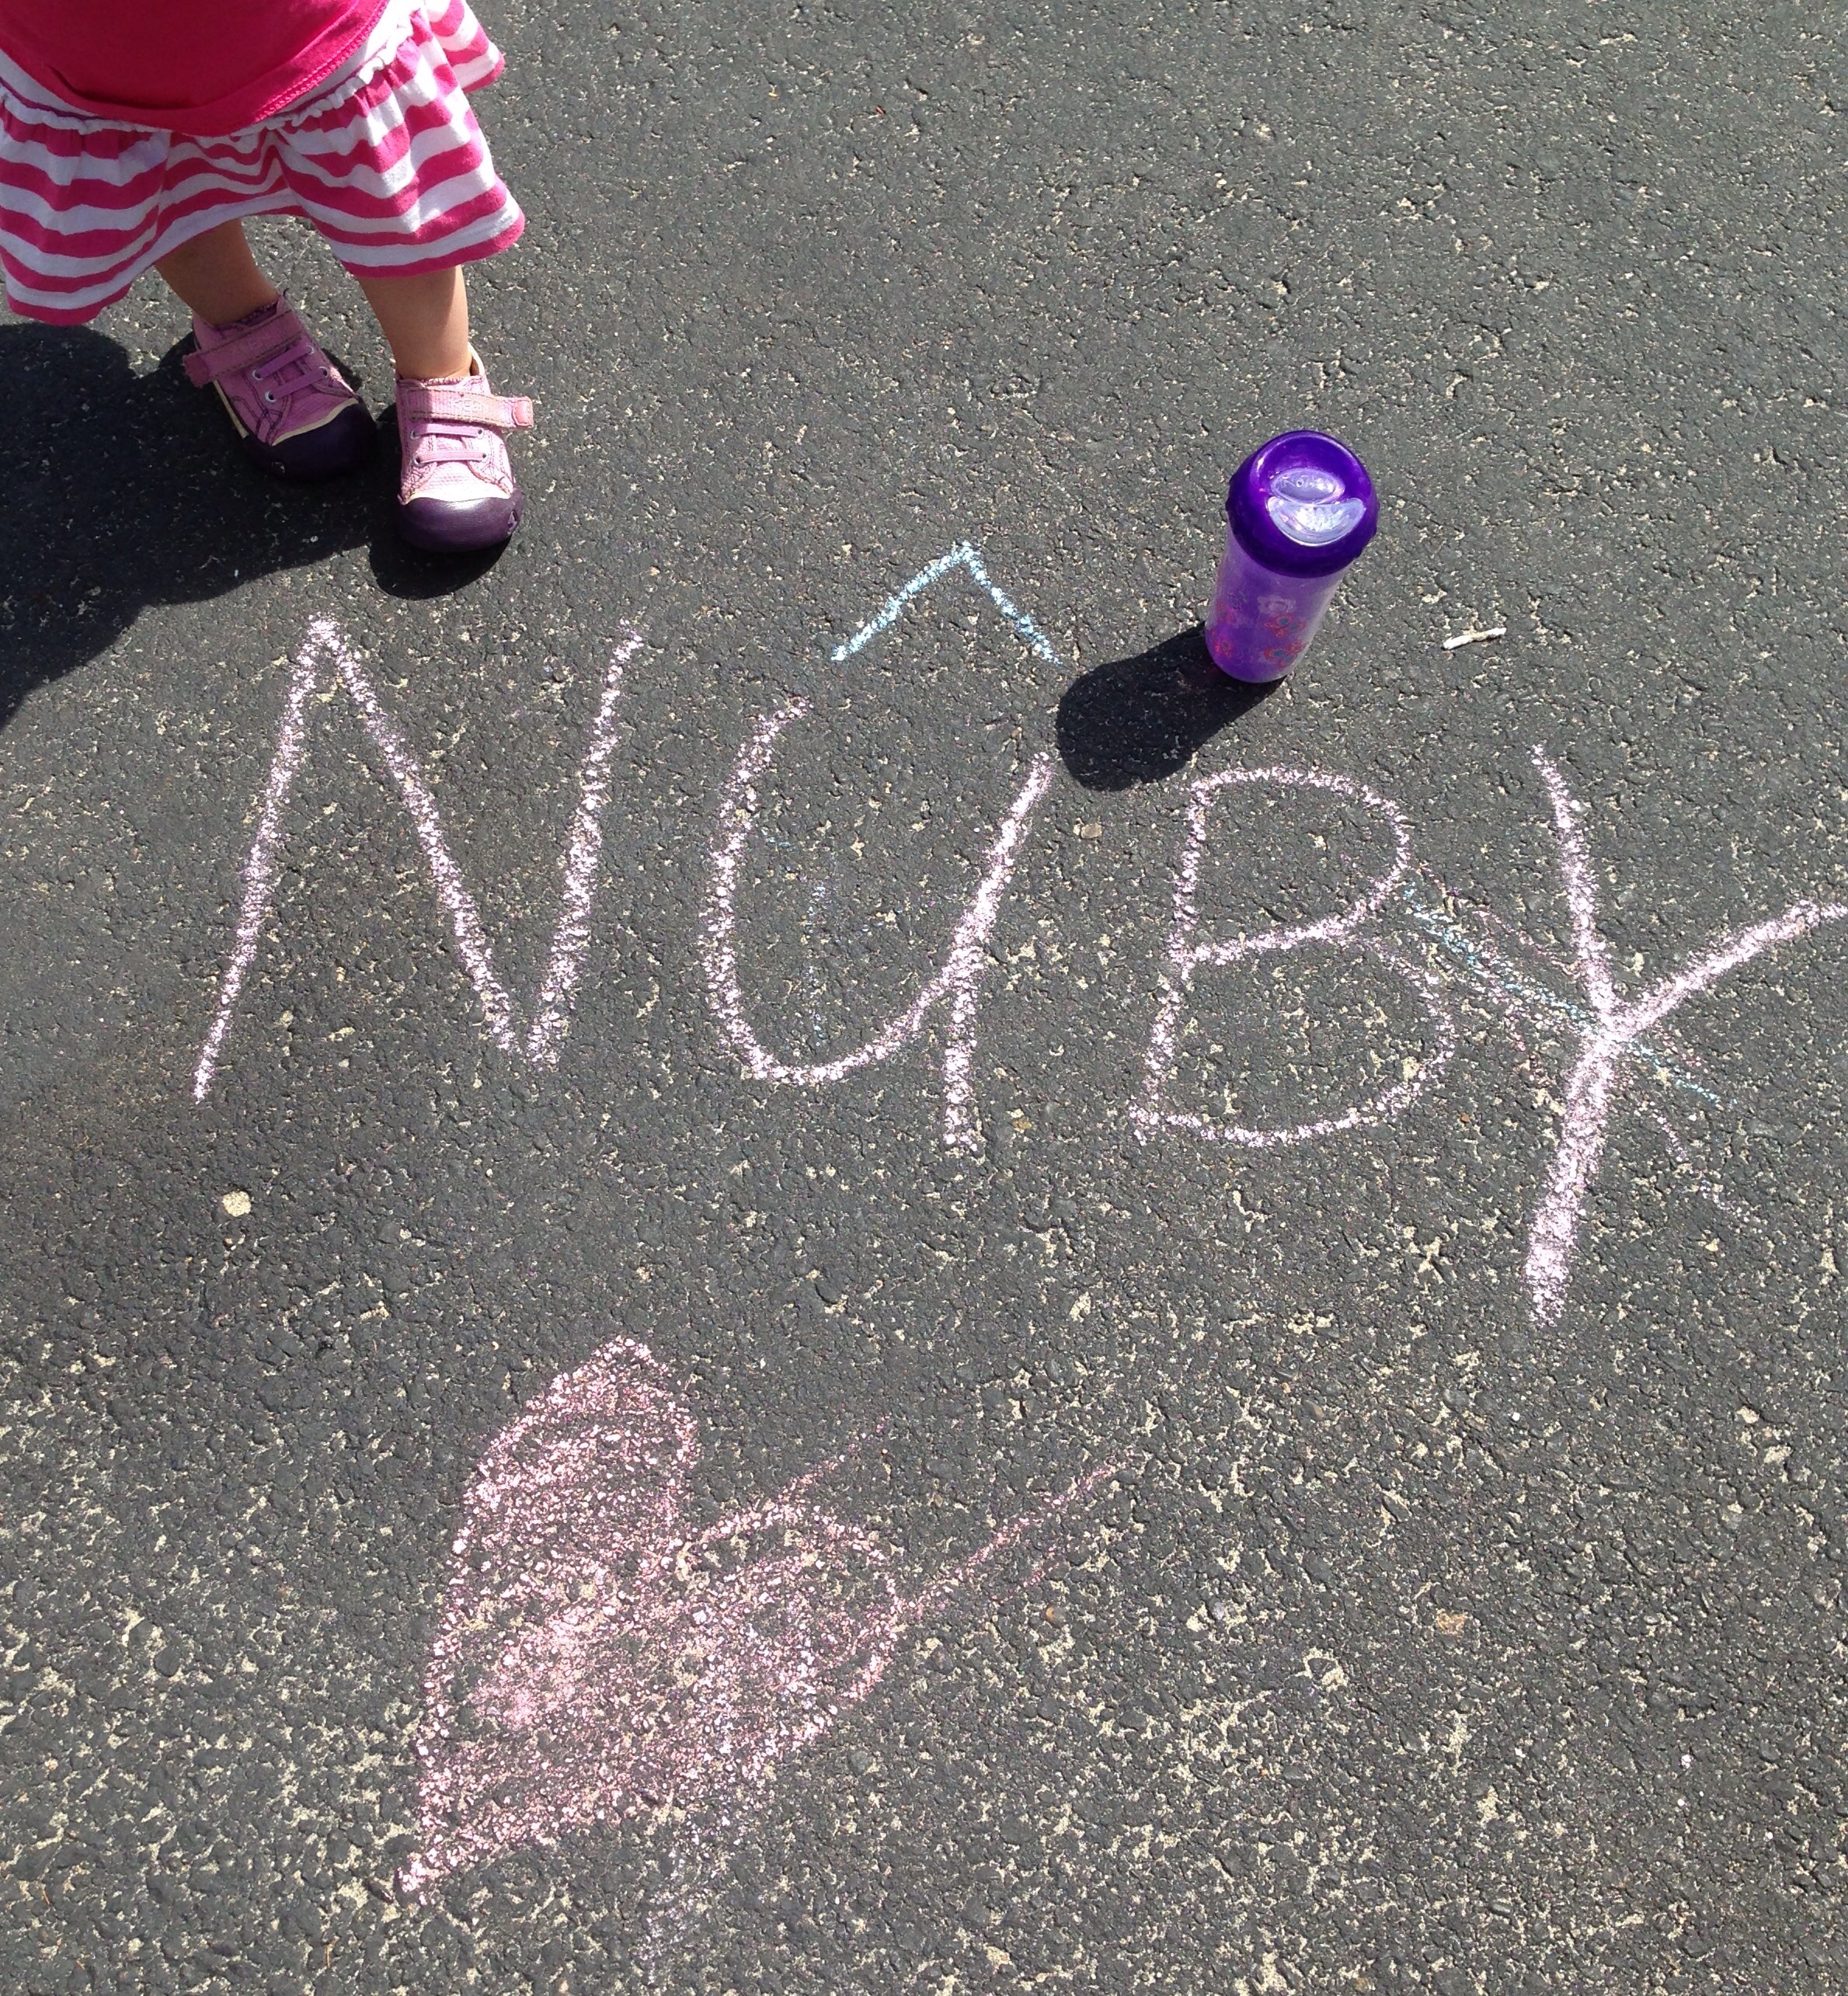
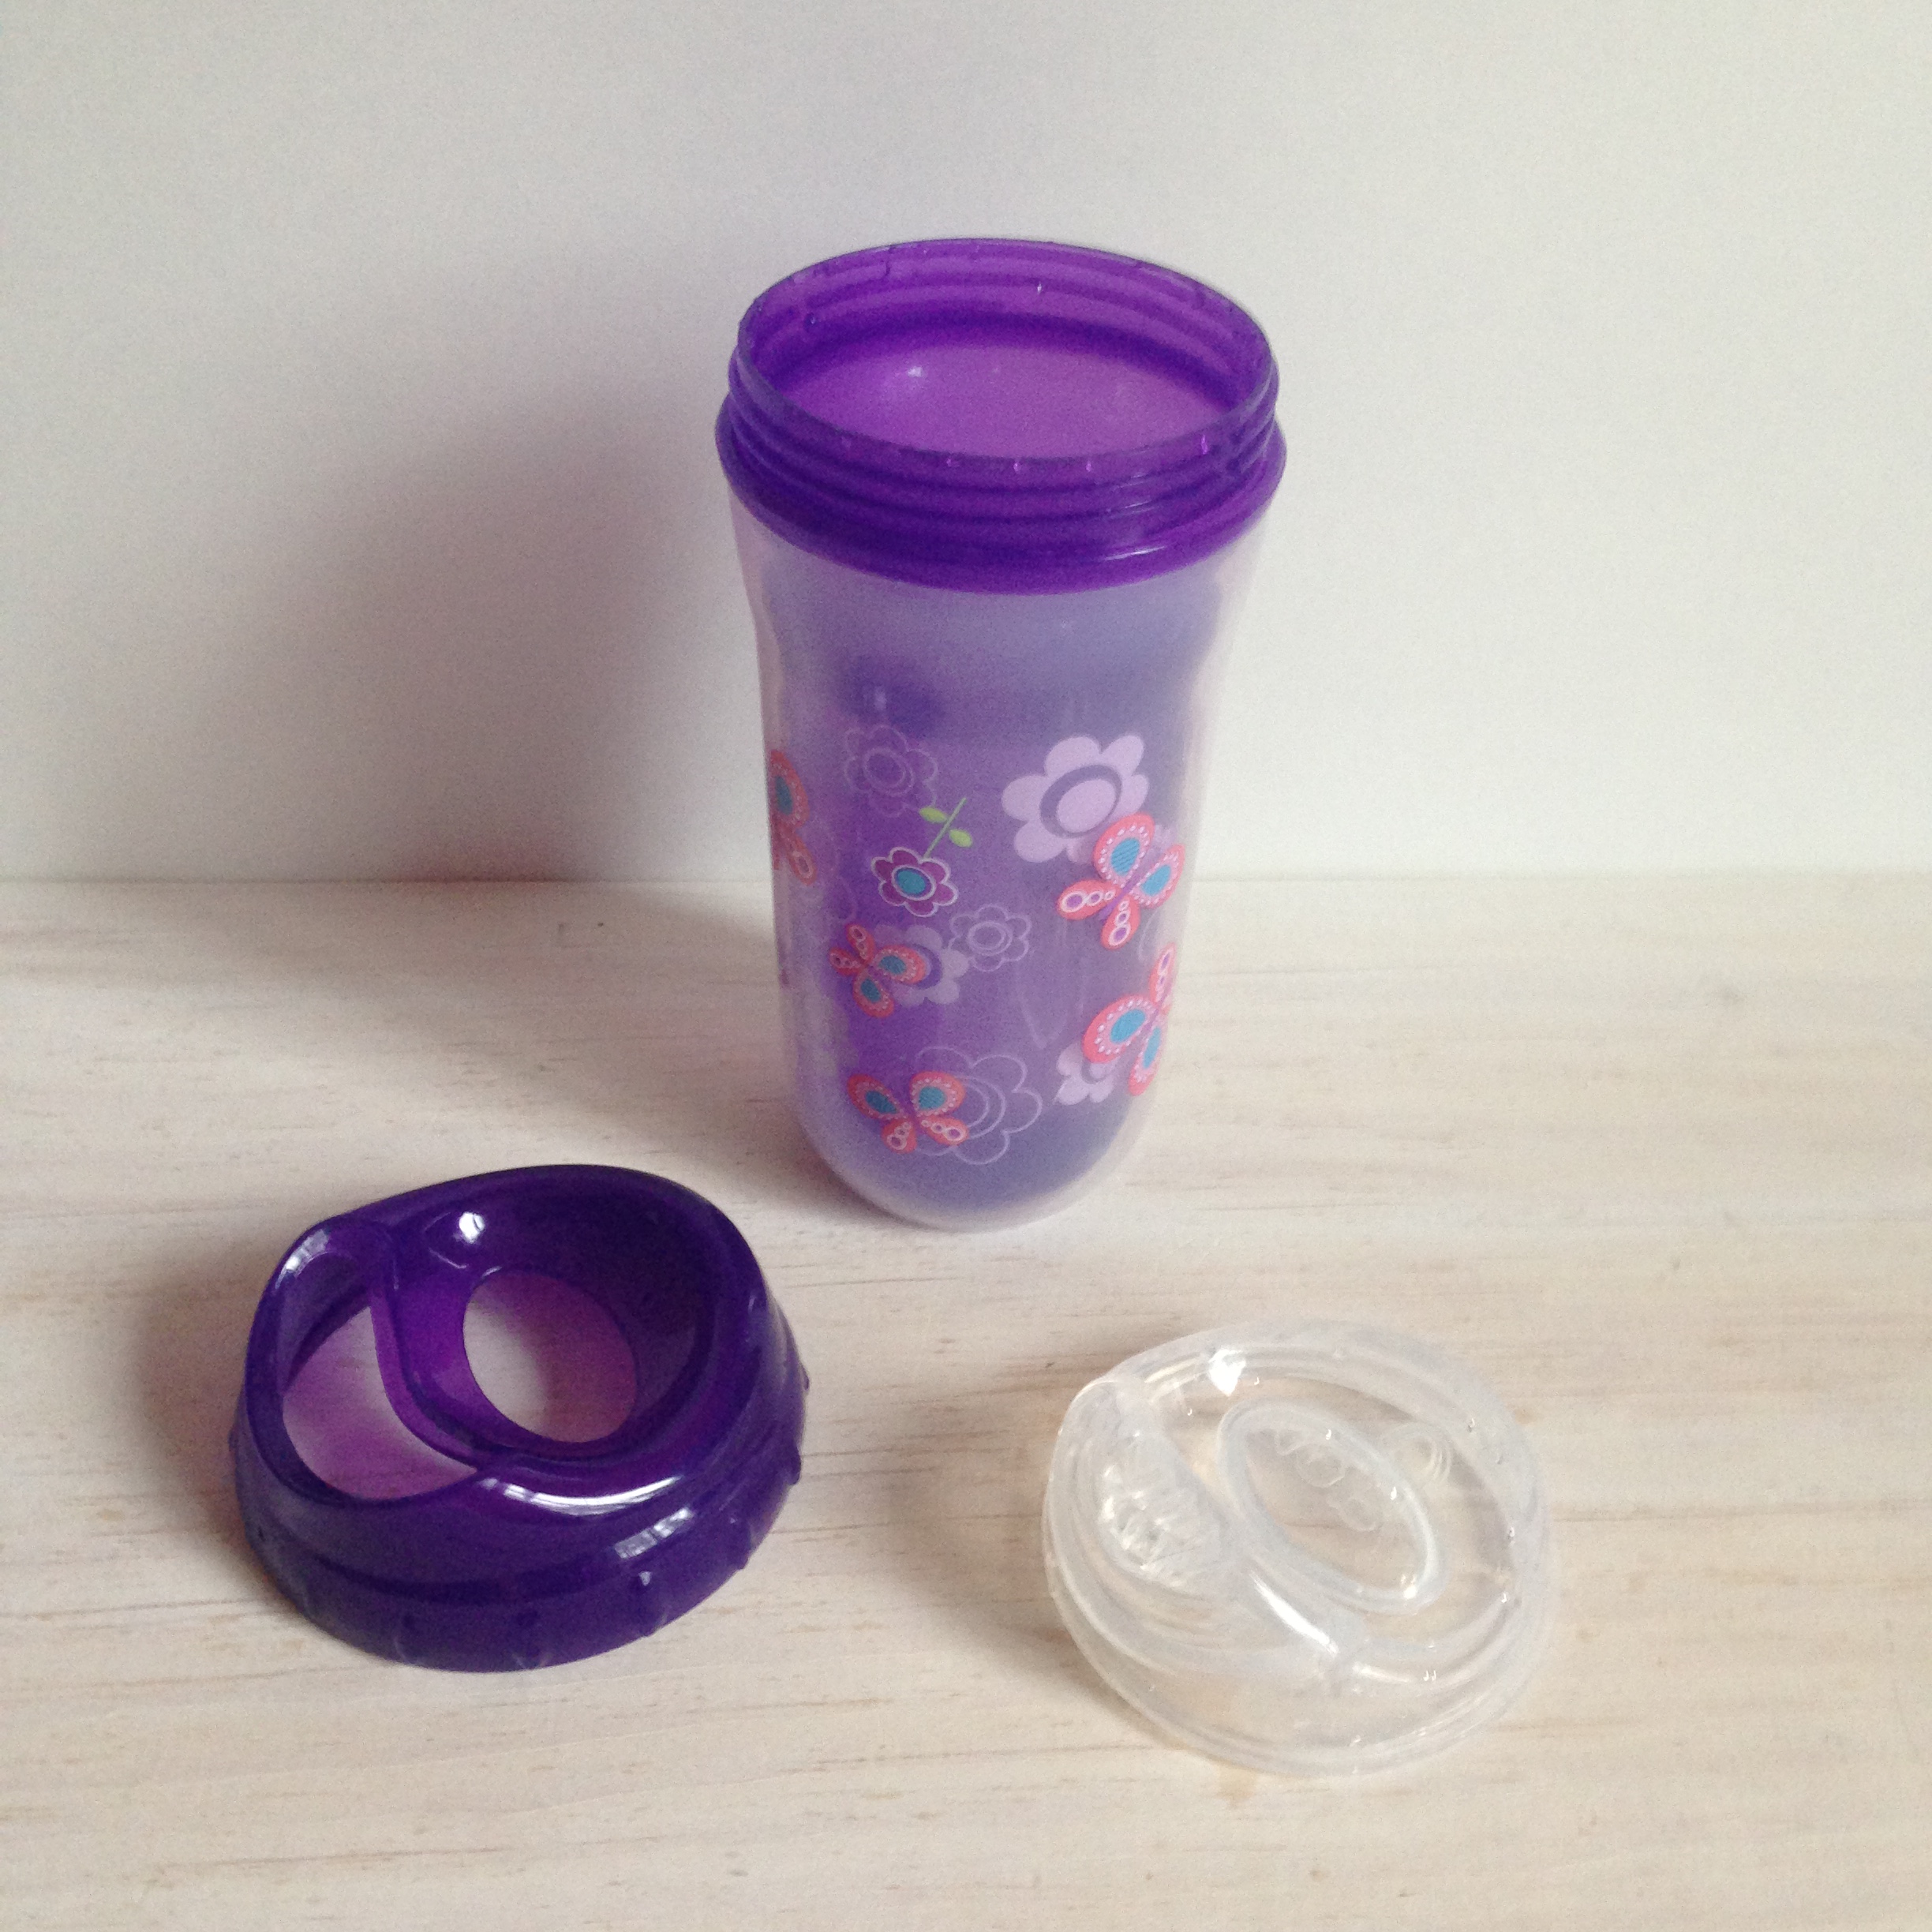
The cup has an insulated base which helped keep Miss M's water cold while we were drawing with chalk out on the hot pavement.  It has a soft silicone spout and is BPA-free which is very important to us.  I really liked that the cup only has three parts (cup, spout, and threaded top), which is so much easier to clean than the straw cups with a million parts that Maddie is currently using.  I'd say the only improvement that could make it easier to clean would be to make it dishwasher safe.  

Using Nuby's No-Spill Insulated Cool Sipper - a great transition sippy cup
Nuby Parent Blogger

- I received this item for review from Nûby but all opinions expressed are my own.  Please read our full Disclosure Policy for more information. -   

Nûby's No-Spill Insulated Cool Sipper can be purchased at Amazon and Big Lots.  


KEEP UP WITH BIRCH LANDING HOME
|  Etsy  |  Facebook  |  Instagram  |  Pinterest  |  Bloglovin'  |  Hometalk  |

Nûby Review: Octopus Floating Bath Toy

This is my first Nûby review and I am so excited to be a part of their Parent Blogger Network!  Maddie has been a huge fan of their sippy cups from the beginning, and for the longest time their Flip 'N Sip Straw Cup was the only kind she'd use.  They've sent me a few products to try and share with you, the first of which is their Octopus Floating Bath Toy.   

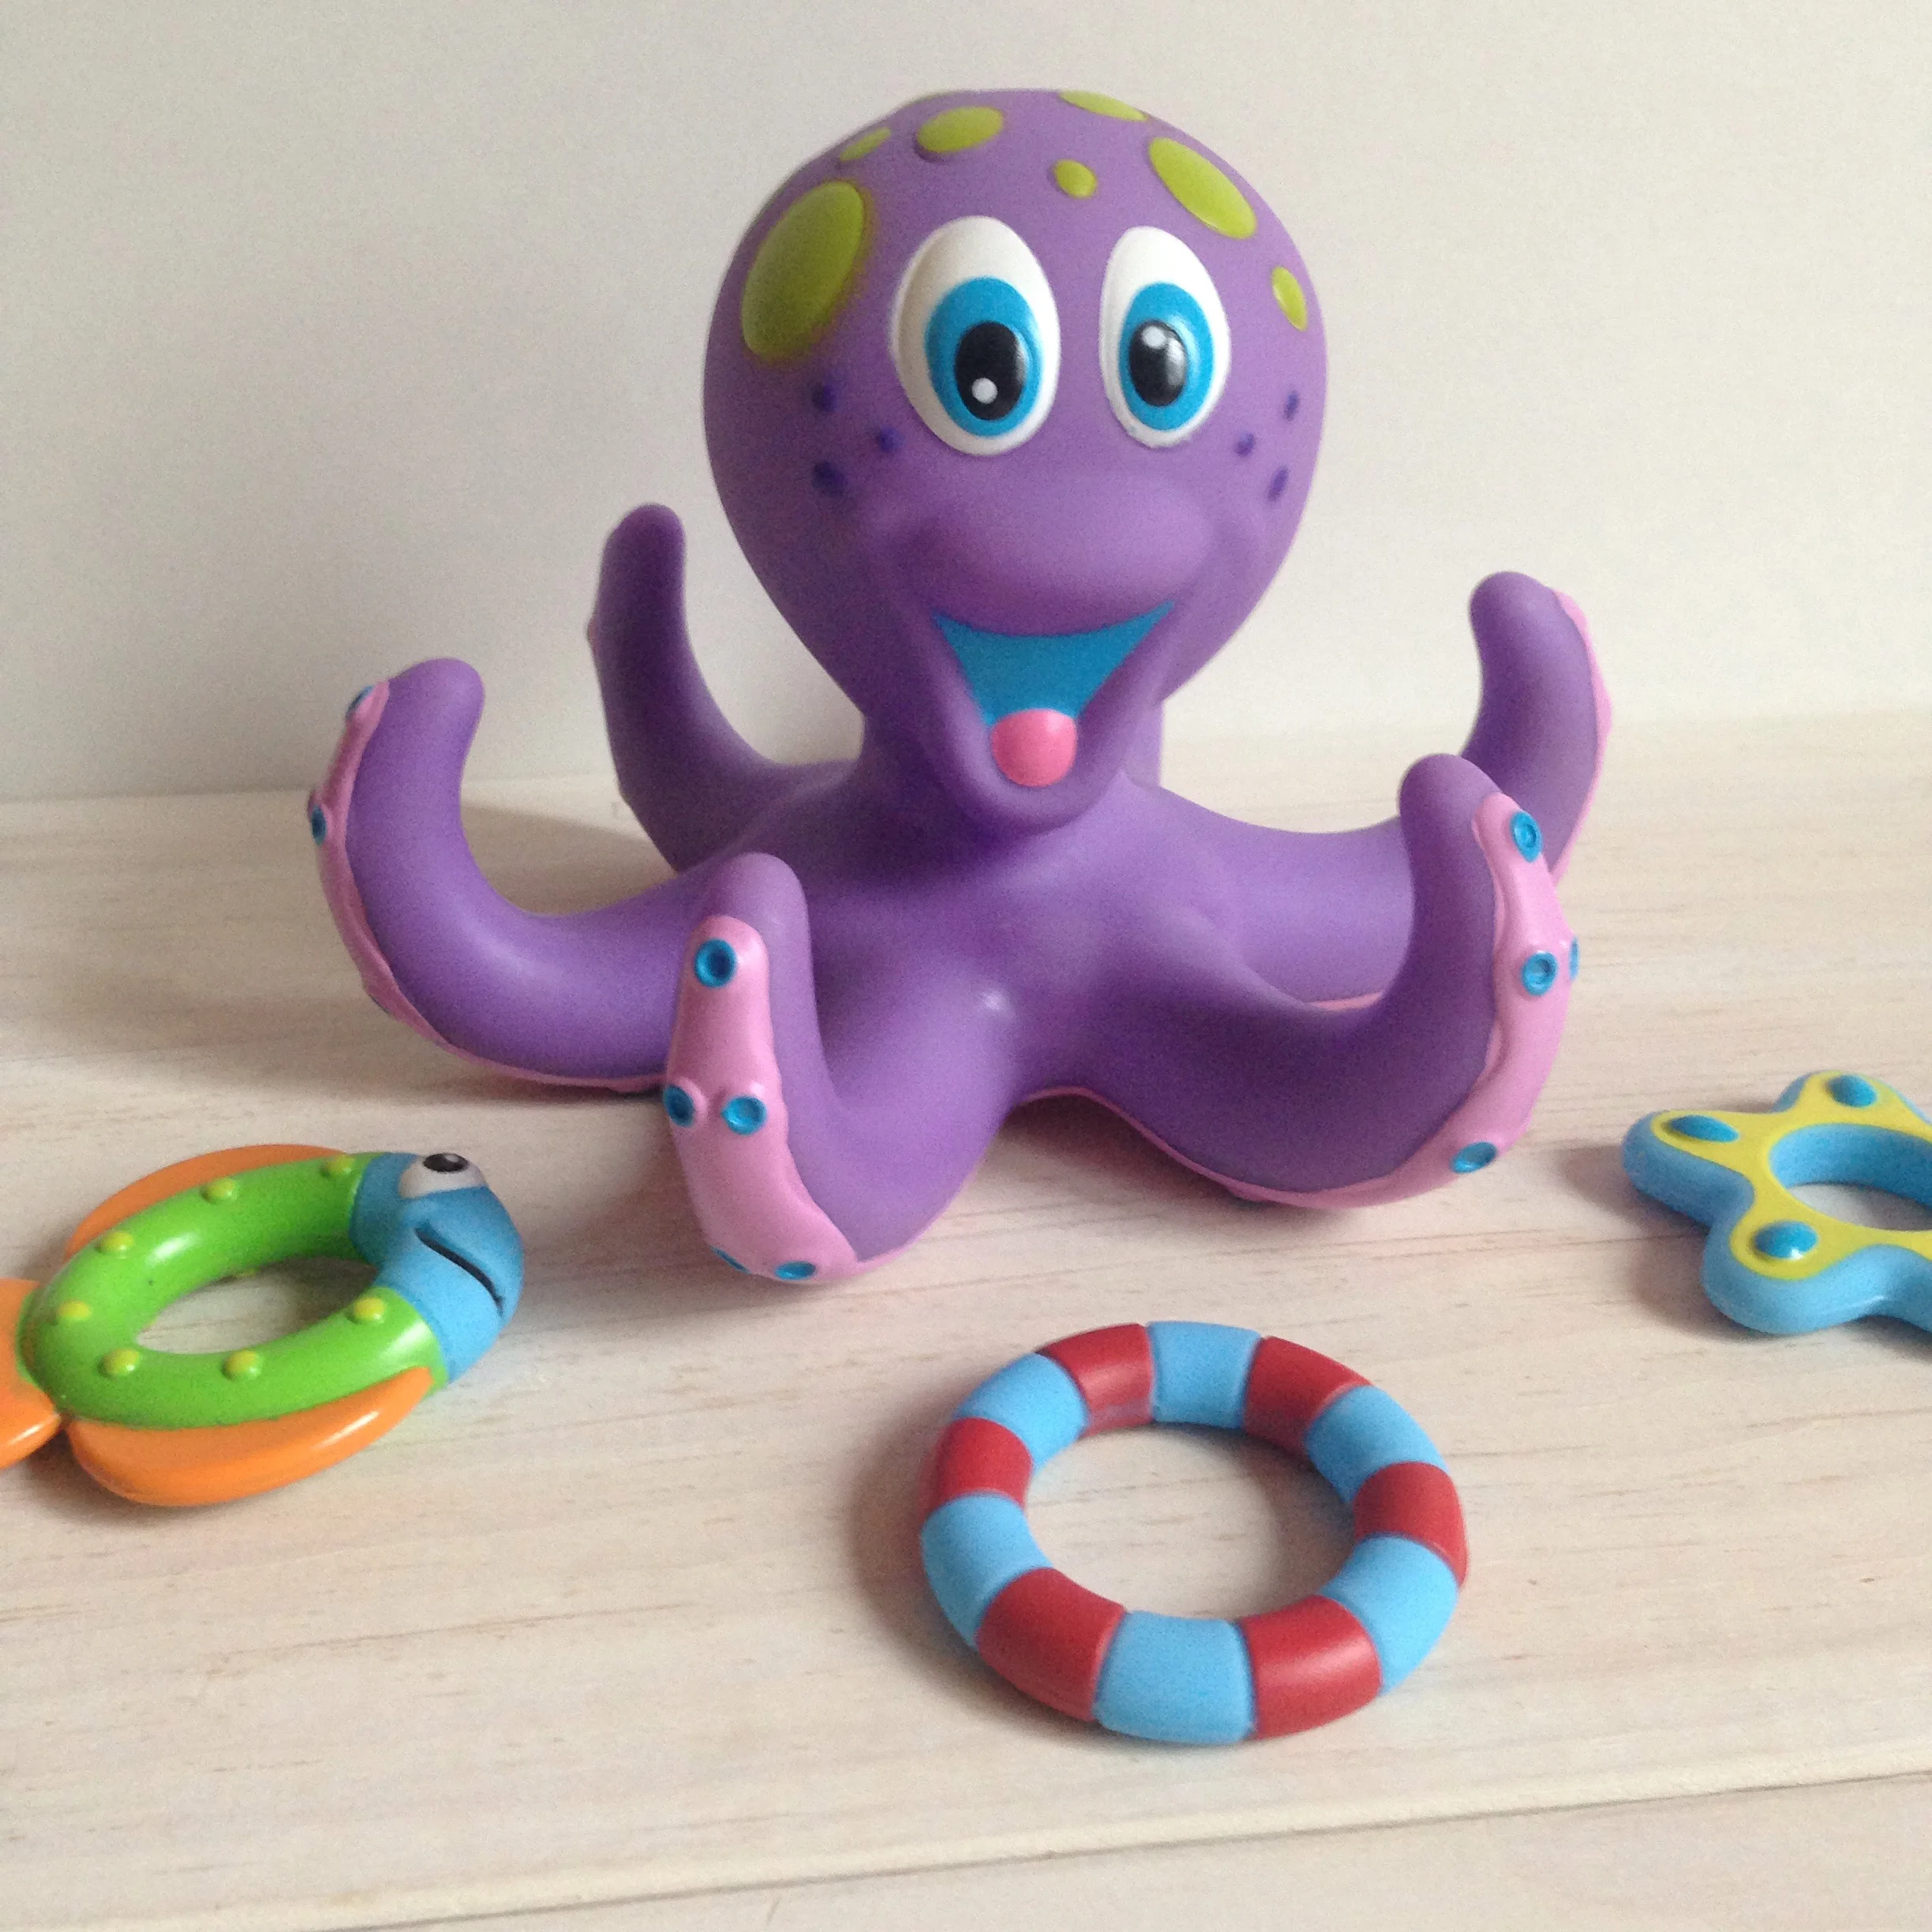
Nuby's Octopus Floating Bath Toy Honest Review

This little floating octopus comes with 3 fun-shaped rings to "toss" on his arms in the bath, and while the rings are too small to actually toss them on successfully it is a great toy to work on hand-eye coordination with.  Our little one loved taking the rings on and off repeatedly.  

Nuby's Octopus Floating Bath Toy

The bright, fun colors and shapes of the octopus were also a big hit; Maddie was particularly drawn to his big googly-looking eyes.  In fact, when she was playing with it she pointed to his eye, looked at me, and said "eyeee" - the first time she's ever done that!  

Nuby's Octopus Floating Bath Toy

One thing I loved about the design of this toy was that it didn't have a hole in the bottom, as most bath toys do.  Bath toys with a hole tend to hold moisture inside and grow mold so it's great that this one was fully enclosed.  

Nuby's Octopus Floating Bath Toy

The one thing that really disappointed me about this toy though was that it's made out of PVC, a material that we consciously try to limit in our house - in fact we go as far as to only buy PVC-free shower curtains.  I didn't realize that it was made out of PVC until after her bath.  It's really unfortunate because Maddie loved the Octopus but the material is something we choose not to use.  

Nuby Parent Blogger

- I received this item for review from Nûby but all opinions expressed are my own -   

Nûby's Octopus Floating Bath Toy can be purchased at various retailers including Amazon and Kohl's.  

Follow Nûby | Facebook | Twitter | Instagram |  Pinterest |


KEEP UP WITH BIRCH LANDING HOME
|  Etsy  |  Facebook  |  Instagram  |  Pinterest  |  Bloglovin'  |  Hometalk  |

Nûby Parent Blogger

Excited to announce that I'll be joining the Nûby Parent Blogger Network!  

Birch Landing Home is now part of the Nuby Parent Blogger Network

What does that mean?  Well, I'll be writing some reviews of Nûby products and maybe even doing the occasional giveaway right here on the blog!  Stay tuned.. :)

KEEP UP WITH BIRCH LANDING HOME
|  Etsy  |  Facebook  |  Instagram  |  Pinterest  |  Bloglovin'  |  Hometalk  |