Going “KonMari” on my Daughter’s Bureau

Our daughter’s bureau was a train wreck and I just couldn’t take it anymore. She’s been very much into picking out her own clothes lately and tends to dig around in her drawers until she finds what she wants, without putting anything back the way it was. Today I finally decided to tackle the disaster and emptied her bureau, folded everything in the “KonMari” style, and put it back with order.
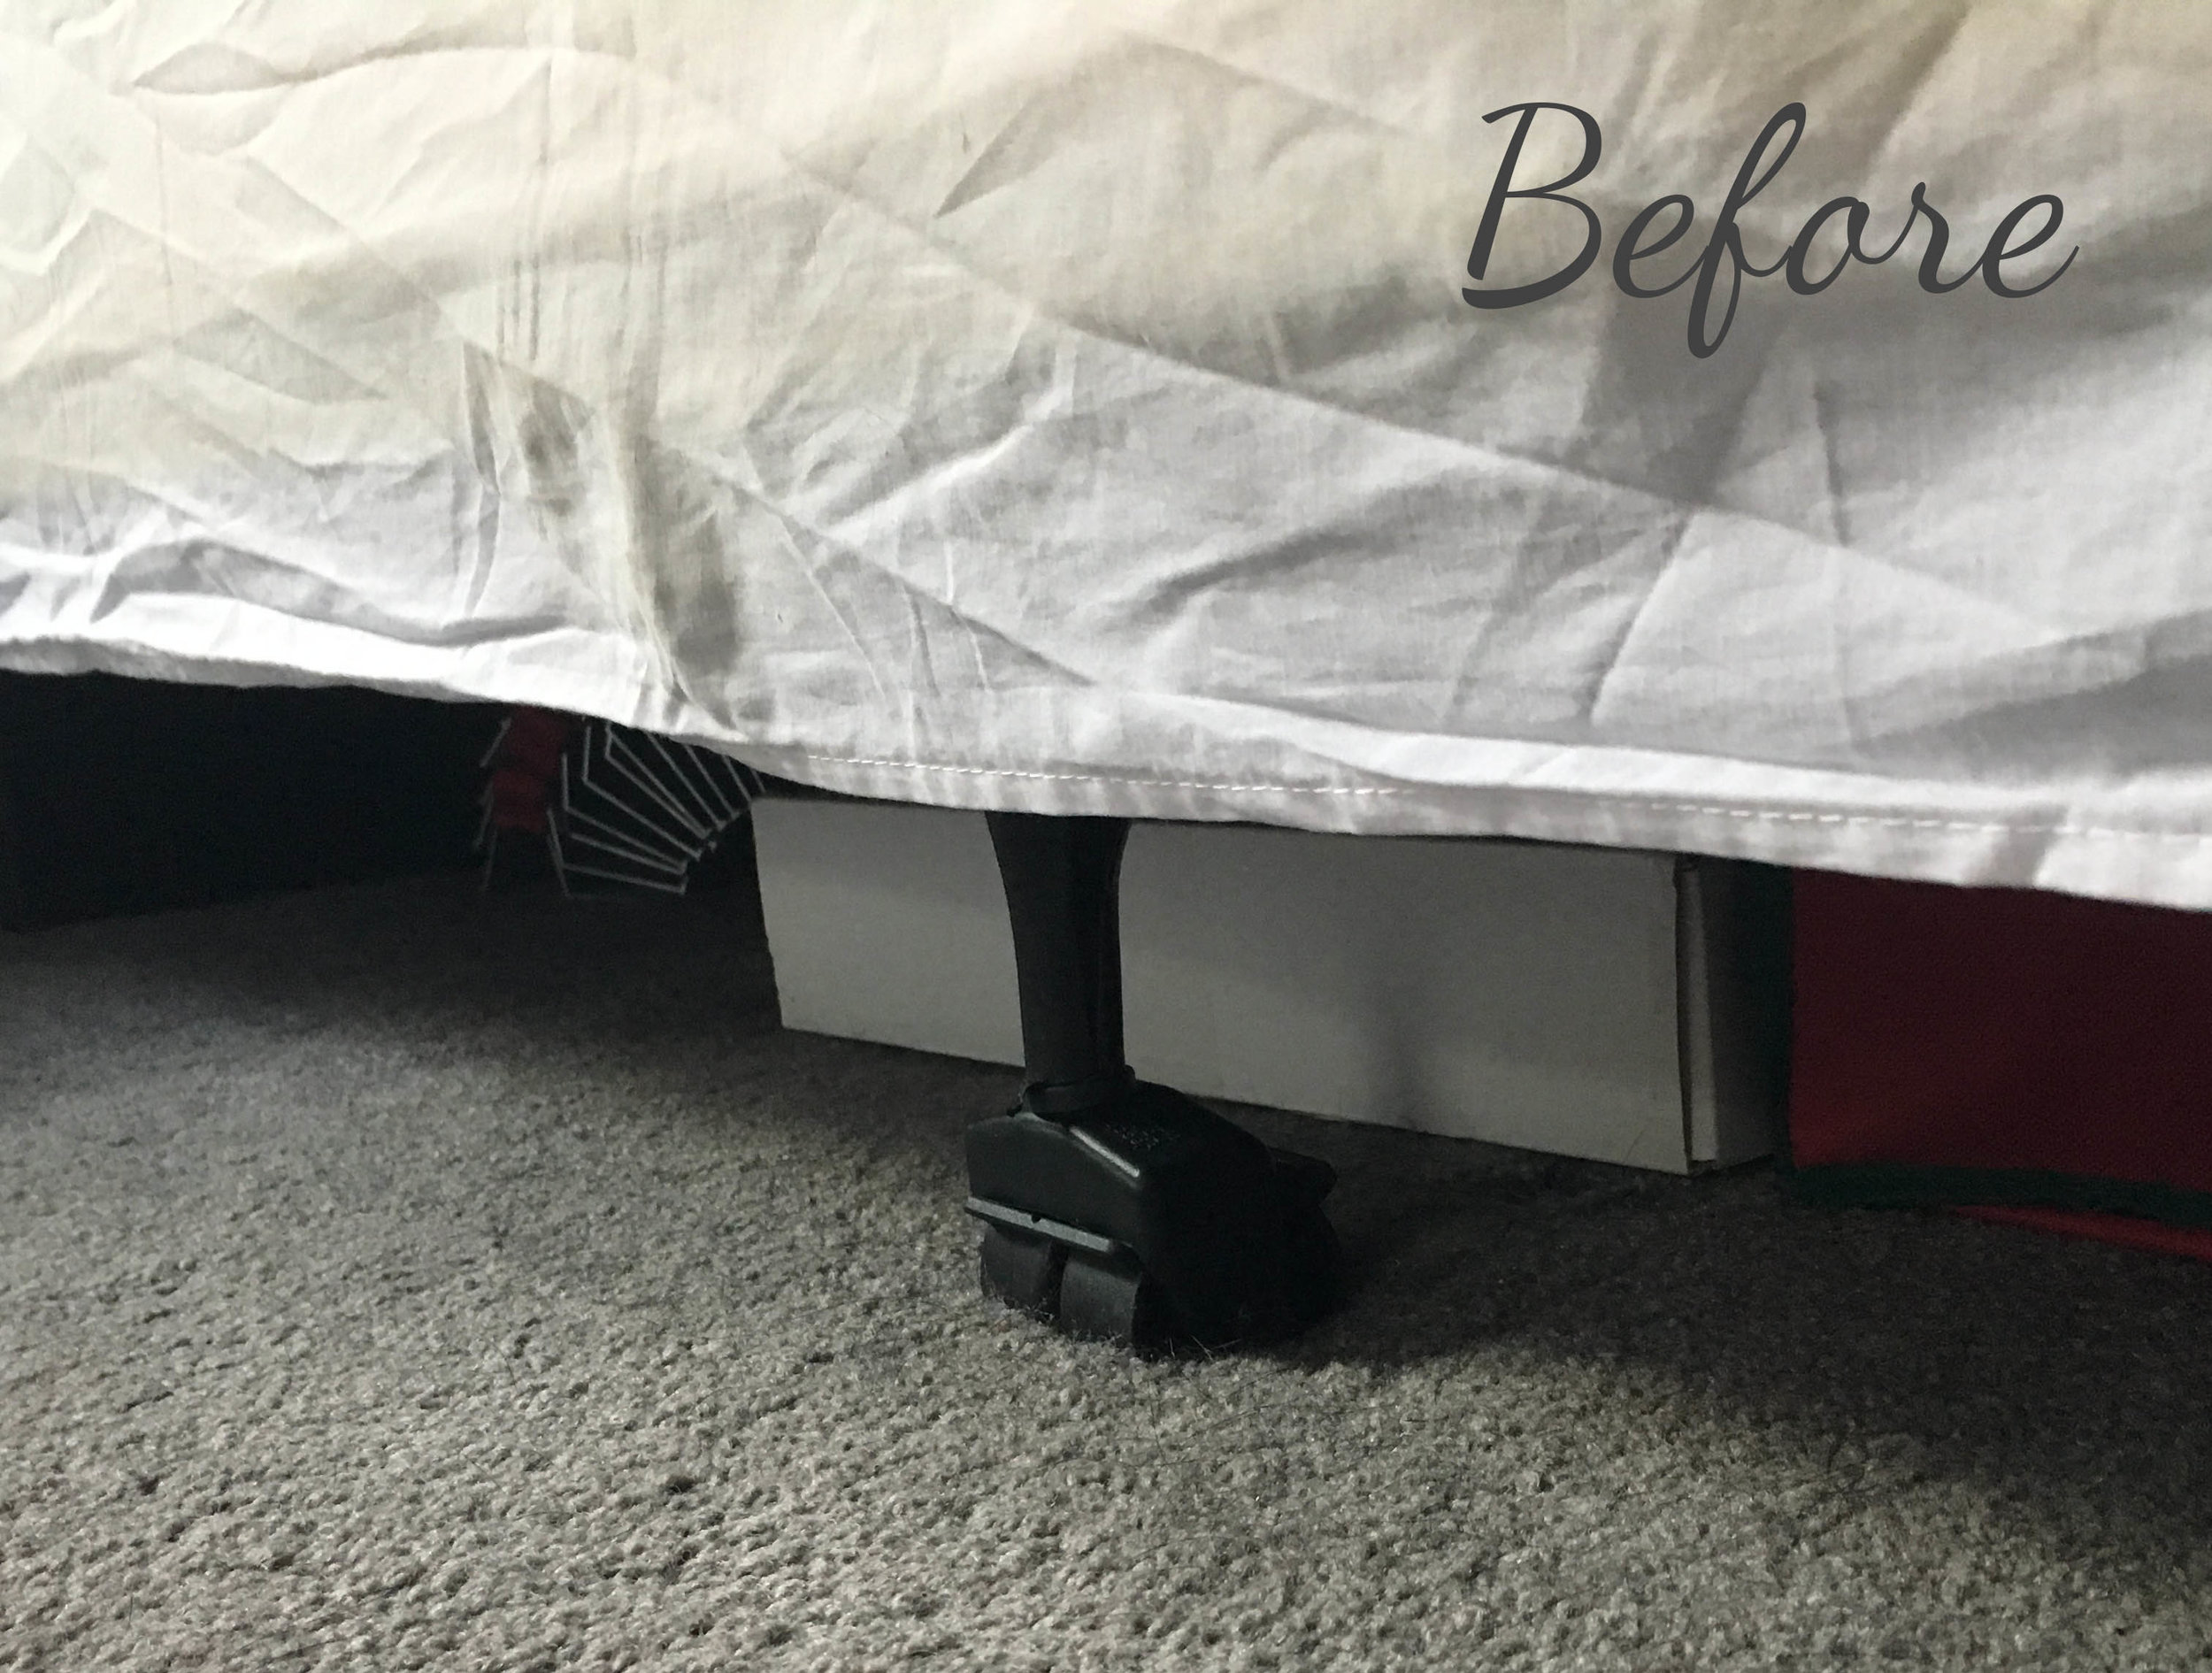
BEFORE

BEFORE

What’s the KonMari style? Well, technically the first step is to only keep what you truly love or use, and purge the rest (I pulled out a few items that she was starting to outgrow, but most of her clothes stayed). Then you fold everything uniformly so it can stand up in the drawers and be “filed,” allowing you to see everything at once. This is a great way to fold your clothes as you can see everything all at once and keeps you from falling into the rut of constantly wearing just what’s on top.

AFTER

AFTER

As you can see I came up with a basic system for the drawer too - I grouped all her t-shirts together, then long-sleeve shirts, then sweatshirts and tank tops. (This folding technique also seems to be a lot more efficient as there’s even some empty space now!) I also tackled her other drawers too and tidied up her jeans, pants, and PJs. Overall I think it looks great and should help make getting ready for school in the morning a breeze.

How I organized it:

Going "KonMari" on my Daughter's Bureau:  AFTER

I already had my own drawers folded in the KonMari style and love it - it’s so nice being able to see all your options at once when you’re getting dressed in the morning. As for our daughter, I explained the new setup to her and she understands it (she was honestly really excited about her neat drawers when I first showed them to her) - but the reality is she’s five years old and there’s no way it’s going to stay this organized on it’s own. I also don’t think it’s worth nagging her over it to keep it this way, it’s really not a fair expectation for a five year old. So, we’ll see how long this lasts… I’ll do my best to tidy it up when I can and try to keep some semblance of order but it won’t always be picture-perfect and that’s okay. That’s life ;)

One Week Update: She actually kept the system perfectly! Just a few things had fallen over and one item was crumpled up and put back, but 95% of it was still perfect. I’m super impressed that an almost 5-year-old can keep the system that neat. But it goes to show, that if she can do it - so can you!

Related Post:

KEEP UP WITH BIRCH LANDING HOME
|  Etsy  |  Facebook  |  Instagram  |  Pinterest  |  Bloglovin'  |  Hometalk  |

Life Hack: Add a Bottle Opener to your Deck Railing

Summer is here and it's time for relaxing on the deck or porch, enjoying the weather, and maybe enjoying a beer too.  An easy and affordable way to add some practicality and fun to your outdoor space is to simply add a bottle opener to your deck or porch railing!  It takes less than 5 minutes to put up and will get use all summer long by you and your guests.  | This post contains affiliate links |

Life Hack:  Bottle Opener on Deck Railing

KEEP UP WITH BIRCH LANDING HOME
|  Etsy  |  Facebook  |  Instagram  |  Pinterest  |  Bloglovin'  |  Hometalk  |

DIY Slate Garden Markers

I've been eyeing slate garden markers for our herb garden for awhile now, but buying pre-made ones are soooo expensive and they never have all the varieties I want.  So I decided to take matters into my own hands and make my own.  Because I have the world's worst handwriting (it's true, ask anyone) I used a Cricut to cut the text for me, but if you have half-decent handwriting you could easily do this project with a paint marker too.  | This post contains affiliate links |

DIY Slate Garden Markers

Materials:  

How To:  

1.  If using your Cricut to make the text, measure your garden markers and make each "label" in Design Space the appropriate size.  I chose a font with a handwritten feel, but you can use whatever font you prefer.  You may need to play around with the scale of the lettering to get it to fit.  Use 651 Permanent Vinyl to cut your text.  

Making the labels in Design Space for Cricut

2.  "Weed out" your text, removing any pieces of vinyl you don't want to be in your final design.  I find a dental explorer to be super useful here to get rid of the pieces inside of letters, but it's not necessary.  The finer-point text was definitely a lot harder to weed (which is why you'll notice the dot on the "i" in garlic chives isn't in the right place).  

DIY Slate Garden Markers in progress

3.  Next use contact paper or transfer tape to put over your final vinyl design and rub well to make sure it's on there good.  This will "carry" the vinyl once the backing is removed.  

DIY Slate Garden Markers in progress

4.  Carefully peel the backing off your design.. this can be tricky.  My advice is to go slowly and have your dental explorer handy if you have one!  It can help hold letters down as you peel off the back.  

5.  Once the backing is removed, carefully place on a clean and dry slate marker.  Rub the design on well (I use an old gift card like a squeegee).  Once it's on there good, carefully peel off the contact paper.  
Alternatively:  If you don't have a Cricut or want to do this project by hand, you can skip steps 1-5 and just write your text freehand with a white paint marker and allow to dry.  

DIY Slate Garden Markers in progress

6.  To make sure the vinyl doesn't peel or come loose, I use a spray acrylic sealer to seal them.  Just put the markers on a scrap piece of cardboard, give a light coating of the spray sealer, and allow to dry (make sure you're in a well-ventilated area). 
If you used a paint marker instead I would also suggest sealing them.  

DIY Slate Garden Markers in progress
DIY Slate Garden Markers

7.  Hang your new garden markers!  You can buy special hangers for them if you like, or use sticks and some twine or wire.  In my case I wanted them on the barrels in our herb garden so I simply used some thin copper wire and "flossed" it through the slots in the barrel, tying it off with a large washer at the back so they don't pull through.  

It has been SOOO abnormally hot in New England these past few weeks that my herb garden isn't looking too wonderful at the moment (hence the limited "after" pictures).  We have six wine barrel planters on a small patio; four of the planters have perennial herbs (chives, garlic chives, sage, and peppermint) that come back each year and the other two planters I switch up each summer.  Currently my poor plants are a bit sun-stressed and I'm far behind on weeding, but I hope you'll get the idea of the final install below.  I think it really helps finish the space and I love that things are finally labeled.  

EDIT Spring, 2020: Just wanted to hop on here and add that I’ve left these up year-round on our herb barrels since 2018 and they still look great! No fading or peeling with the sun or snow. The slate with the permanent vinyl labels and sealer have definitely held up wonderfully.

DIY Slate Garden Markers

KEEP UP WITH BIRCH LANDING HOME
|  Etsy  |  Facebook  |  Instagram  |  Pinterest  |  Bloglovin'  |  Hometalk  |

Shop my Amazon Favorite Finds with Ease!

Amazon Influencers now have categories which makes browsing my Favorite Finds so much easier!  Check out my lists and let me know if you have any questions on the products - I have different lists for Home, Kitchen Favorites, DIY Supplies + Tools, Fashion + Beauty, Outdoors, and Baby + Kid Items. 
| This post contains affiliate links |

Shop Birch Landing Home's Amazon Favorites with Ease!

KEEP UP WITH BIRCH LANDING HOME
|  Etsy  |  Facebook  |  Instagram  |  Pinterest  |  Bloglovin'  |  Hometalk  |

Easy DIY Wooden Bed Risers

In our master bedroom our bed sits on a standard metal bed frame.  Not only were the legs still visible under the bedskirt, but the bed was about an inch too low to fit underbed storage containers!  Not being able to store much under the bed was a huge inconvenience and after tripping over these containers in our walk-in closet for far too long I decided to make my own bed risers and fix the issue once and for all. 
| This post contains affiliate links |

Easy DIY Bed Risers

Now this isn't exactly a glamorous or high-end project, but I think you'll agree that the Before and Afters speak for themselves - it's a huge improvement over what was there and helps fit more under the bed for critical storage.  

The wrinkly, too-short bedskirt shows the ugly metal legs and the limited storage underneath.

The wrinkly, too-short bedskirt shows the ugly metal legs and the limited storage underneath.

Materials:  

  • ruler
  • chop saw or handsaw
  • 2x4 lumber
  • 1x5 lumber (or whatever size wood will cover the legs of your bed + the thickness of the 2x4)
  • woodglue
  • screws
  • drill/screw gun
  • sandpaper
  • stain or paint

How-To:  

Working on the DIY Bed Risers

First measure the height of the legs of the bed (in our case the back side of the leg has a support bracket which is why you'll see the back side of our risers are slightly shorter) and add this height to 1.5 (the actual thickness of a 2x4).  This is the height your side boards will be for the bed riser.  For us it came to about 5 inches along the front three sides and 4 inches in the back.  

Next cut your 2x4 to size to fit comfortably under the legs of your bed.  Then cut all the side pieces to size, creating a box around the 2x4 base.  

Before assembling, it's a good idea to lay it out under one of the legs of the bed to make sure everything fits properly (as you can see from the "cut-away" example I have below).  Here you can see how the leg sits on the 2x4 base with all the side pieces around it.  

DIY Bed Risers "Cut-Away" View

Once you have all your pieces cut to size, pre-drill, wood glue, and screw everything together.  We used black screws so they would blend in better with the dark stain we chose.  Make sure everything is attached sturdily then sand and stain/paint in the color of your choosing.  We went with a dark stain since the rest of our bedroom set is a darker wood.  

DIY Bed Riser built and ready for stain!
A finished riser.

After everything was dry, I had my husband help me by picking up one corner of the bed at a time so I could place a riser under each leg.  I also purchased a longer bedskirt that better fit the new height of the bed.  These risers aren't the most beautiful DIY project but they're pretty un-noticeable with the longer bedskirt - and the best part?  Now I can finally fit the storage totes under our bed!  

Disclaimer:  Always make sure the risers you build are appropriate for your bed and your situation.  Make sure it's safe and sturdy! Use at your own risk.

DIY Bed Risers - After!


Related Posts:

KEEP UP WITH BIRCH LANDING HOME
|  Etsy  |  Facebook  |  Instagram  |  Pinterest  |  Bloglovin'  |  Hometalk  |

Goals for 2018

Every New Year, there's an inspiring urge to finally accomplish all that you've been meaning to do.  As someone who tends to get caught up in the everyday, I love this motivation to see the big picture and write down what I'd like to accomplish the coming year.  

Goals for 2018 - Birch Landing Home

First, lets look back at all the great things that 2017 brought! 

The biggest blessing of 2017 was definitely adding to our family with the birth of our second daughter at the end of the summer.  The pregnancy and new baby stage kept me pretty busy throughout the whole year, and so Birch Landing Home took a bit of a backseat for 2017.  Nevertheless, highlights for BLH this year have included being quoted in Parenting New Hampshire Magazine and adding another wholesale account to our roster.  I also got the opportunity to work with some of my favorite international brands including L.L. Bean, Nûby, and Safety 1st as well as many wonderful New England-based companies including Hills & Trails, Woodboogah, and Cobalt Sky Studio.  

Goals for 2018

I have a lot of professional and personal things I'd like to accomplish or improve for 2018 - here are some of them:  

Grow Birch Landing Home More

This past year, Birch Landing Home was put on the back burner while I focused on family.  Family always comes first, but this year I want to get back into the working groove and grow BLH more.  I have some great ideas for new products to add to the Etsy Shop and DIY projects to share on the blog.  I'd also love to do more work with both international brands and New England-based buisnesses. 
(I also have an incredibly exciting collaboration lined up for the spring that I can't wait to share with you all!)  

Get Back into Running

While I ran throughout my first pregnancy, this time around I just couldn't so I stopped running and haven't gotten back into it since.  I don't know if another Half is on the books for this year with the new baby, but I'd love to at least get back into a regular running routine and do a few fun 5Ks.  

Clean House

Going through the house and systematically purging everything in the beginning of the year is something I really look forward to.  It's so refreshing to go through everything and donate or sell whatever you haven't been using for the past year.  Now that we have two kids the amount of "stuff" has exploded and I'm looking forward to getting it under control.  

Make More Time for Family and Friends

We've been so busy with work and our own family we haven't had the chance to visit enough with family and close friends this past year.  We're way overdue to visit some great friends and you can never spend enough time with your family.  This is an important priority for us in the new year.  

Get Up Early

Getting up early before the rest of the house really helps me get a jump on my day.  This was something that had been part of my routine but has fallen by the wayside over the last few months.  There's just something so motivating about getting up before everyone else, enjoying a cup of coffee in the peace and quiet, planning out your day, and getting a jump start on your to-do list.  Days when I get up early are so much more productive and let me focus more on the kids and other important tasks the rest of the day.  

Get Outside More

I'm really looking forward to more hiking and camping trips with family and friends this year.  There have been a couple of hikes that have been on our "to-do list" forever and it's high time we finally do them!  There's nothing better than getting outside to recharge. 

Explore New England! 

One of our favorite things to do as a family is day trips and weekend trips around New England to explore all the great things this area has to offer.  Usually we do a couple trips every year and this year I'd love to do even more if we can - especially in Maine and Vermont.  I'd also like to share our knowledge and put together more New England Travel Guides for the blog.  

What are some of your goals for the New Year? 

Photo from Free Nature Stock

KEEP UP WITH BIRCH LANDING HOME
|  Etsy  |  Facebook  |  Instagram  |  Pinterest  |  Bloglovin'  |  Hometalk  |

New England Humidifier

I shared this photo on my Instagram Stories earlier and got so many comments I figured it was worth explaining!  Here in New England during winter, things get sooo dry indoors with the freezing cold temps outside and heat cranking inside - as a result your skin and throat really suffer, feeling constantly dry and scratchy.  | This post contains affiliate links |

New England Humidifier - a pot of water on the wood stove or radiator.

One solution is to get a humidifier to put some moisture back into the dry air. In fact we do have a cool mist humidifier upstairs that we run at night when it's particularly dry or we're sick, but otherwise you can't beat the price and efficiency of an old fashioned "New England Humidifier" - a.k.a. a pot of water on the wood stove or radiator.

It works by simply adding moisture into the air by letting the water evaporate.  It's most efficient when you put the pot of water on the heat source so it evaporates a bit quicker, but if you don't have a stove or radiator you can also leave the pot by a heating vent or just in the room with you.  If you do leave the pot on your stove or radiator, just make sure it doesn't go dry (you want to take it off when you leave the house too) otherwise you might end up with a scorched pot!  

Disclaimer:  Use this tip at your own risk.  

KEEP UP WITH BIRCH LANDING HOME
|  Etsy  |  Facebook  |  Instagram  |  Pinterest  |  Bloglovin'  |  Hometalk  |

Mom Hack: Creating a Nursing Nest

For those new mamas that breastfeed, it can be an exhausting and draining ordeal at the beginning.  Expectations are high but reality is that's it's often much harder than expected.  One way to make it easier on yourself is to set up a "nursing nest" to make those marathon nursing sessions at 2AM (and all other hours of the day and night) easier to handle.  | This post contains affiliate links |

Mom Hack:  Creating a "Nursing Nest"

First you'll need to set up somewhere convenient and quiet.  I set up my "nest" in a corner of our master bedroom since our baby will be sleeping in a co-sleeper next to us and I wouldn't have to go far to nurse in the middle of the night. 

Then outfit this area with all that you need for nursing:

  • cozy rocking chair with footrest
  • side table within easy reach
  • nursing pillow
  • blanket
  • water bottle
  • extra pillow
  • snacks (mine are tucked away in the drawer)
  • clock
  • phone charger
  • lanolin cream
  • books, magazines, kindle
  • phone (watching Netflix on my phone was sometimes the only way I could keep myself awake)
Mom Hack:  Creating a Nursing Nest - set yourself up for success!

By setting yourself up to make it as easy as possible, you can help make those super-tough early weeks a bit more bearable.  Breastfeeding can be one of the most challenging - and rewarding - things you'll ever do.  Hang in there Mama - you got this!  

Mom Hack:  Creating a Nursing Nest

Log Cabin pillow c/o Hills & Trails

KEEP UP WITH BIRCH LANDING HOME
|  Etsy  |  Facebook  |  Instagram  |  Pinterest  |  Bloglovin'  |  Hometalk  |