Sheet and Towel Stripping How-To

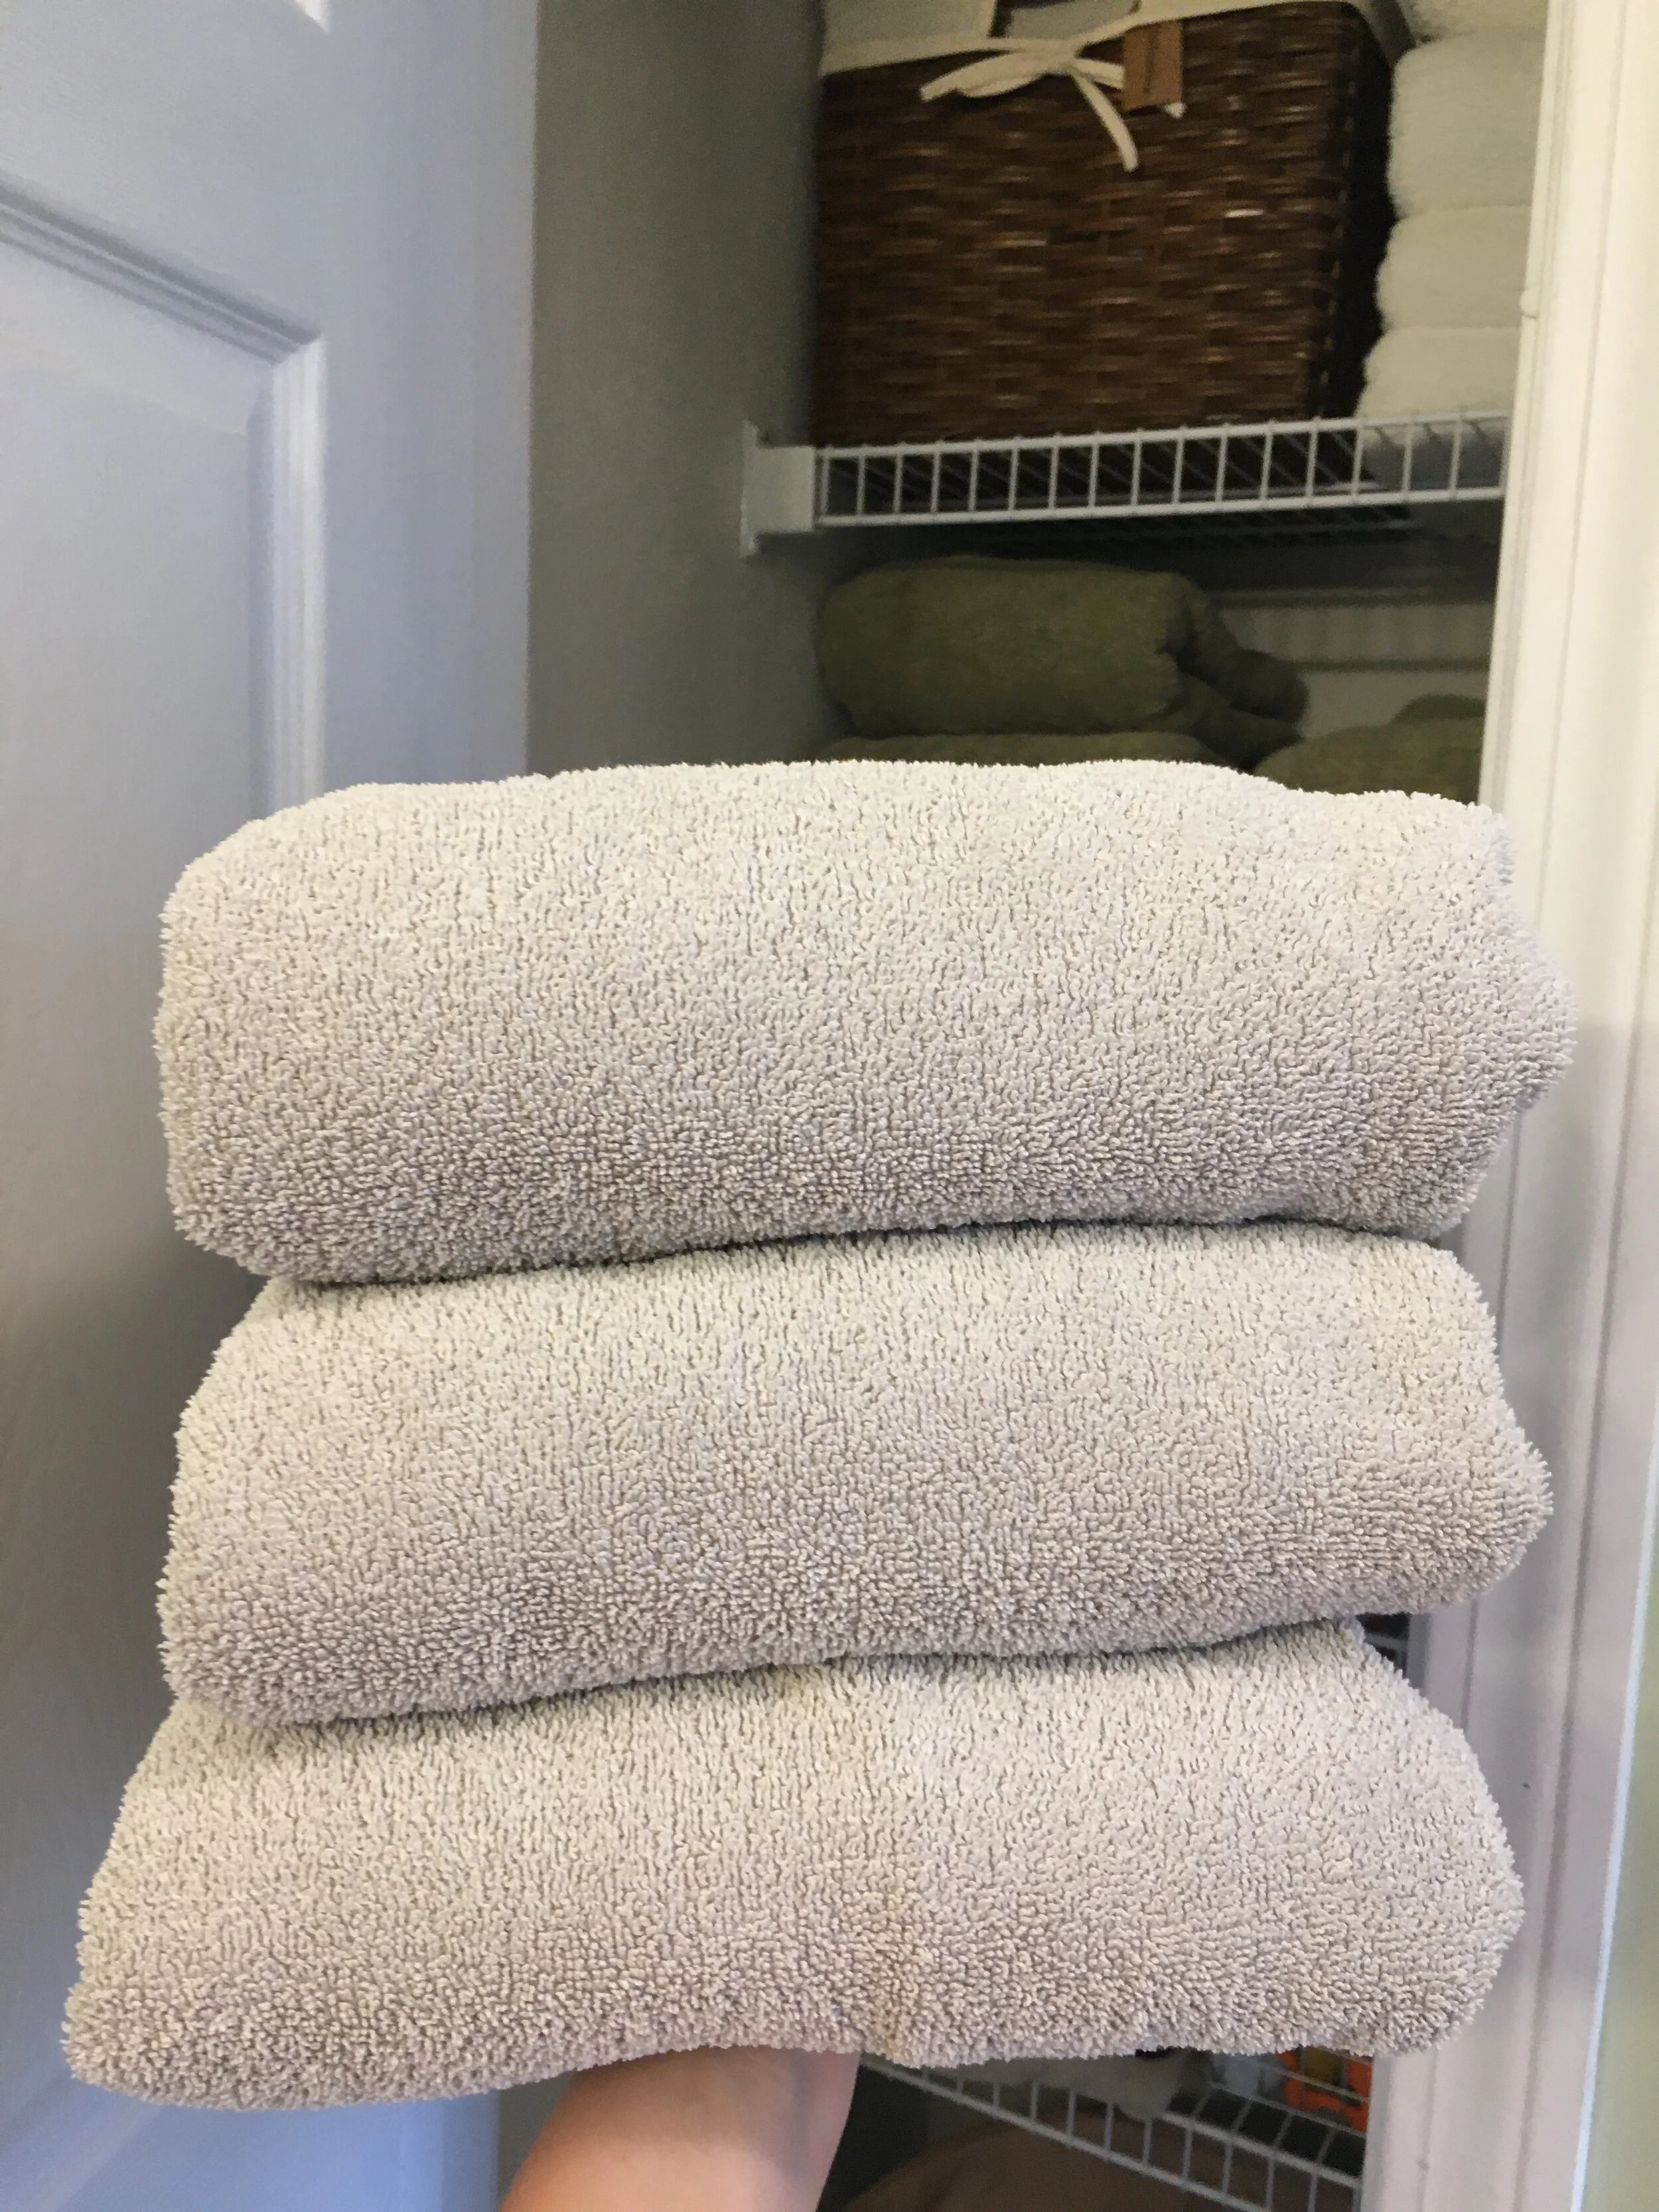
While home for Quarantine, I’ve seen a lot of people posting about “stripping” their towels and bedsheets and showing disgusting After photos of dirty water - I was intrigued! Stripping the linens is supposed to get rid of any kind of build-up on them (whether that’s laundry detergent, body oil/sweat, hard water mineral deposits, etc). So I decided to give it a try myself and share the easy process - and let me tell you, it was a disgusting and oddly satisfying Quarantine Project. | This post contains affiliate links |

Sheet and Towel Stripping How-To

Apparently one should consider stripping their linens when they aren’t as absorbent as they used to be, they look or feel dingy, or they start to smell musty.

Supplies:

Everyone seems to be using more or less the same supplies, which are:

  • 1/4 cup Borax Powder
  • 1/4 cup washing soda (or 1/4 cup baking soda if you're in a pinch and don't have washing soda.. I used baking soda)
  • 1/2 cup laundry detergent

How-To:

Fill a bath tub with hot water and dissolve the Borax, washing soda or baking soda, and laundry detergent in it. Next add your towels and sheets (make sure to only do similar colors together… in some cases it can cause some colors to run. We only have done our white and light colored linens so far.)

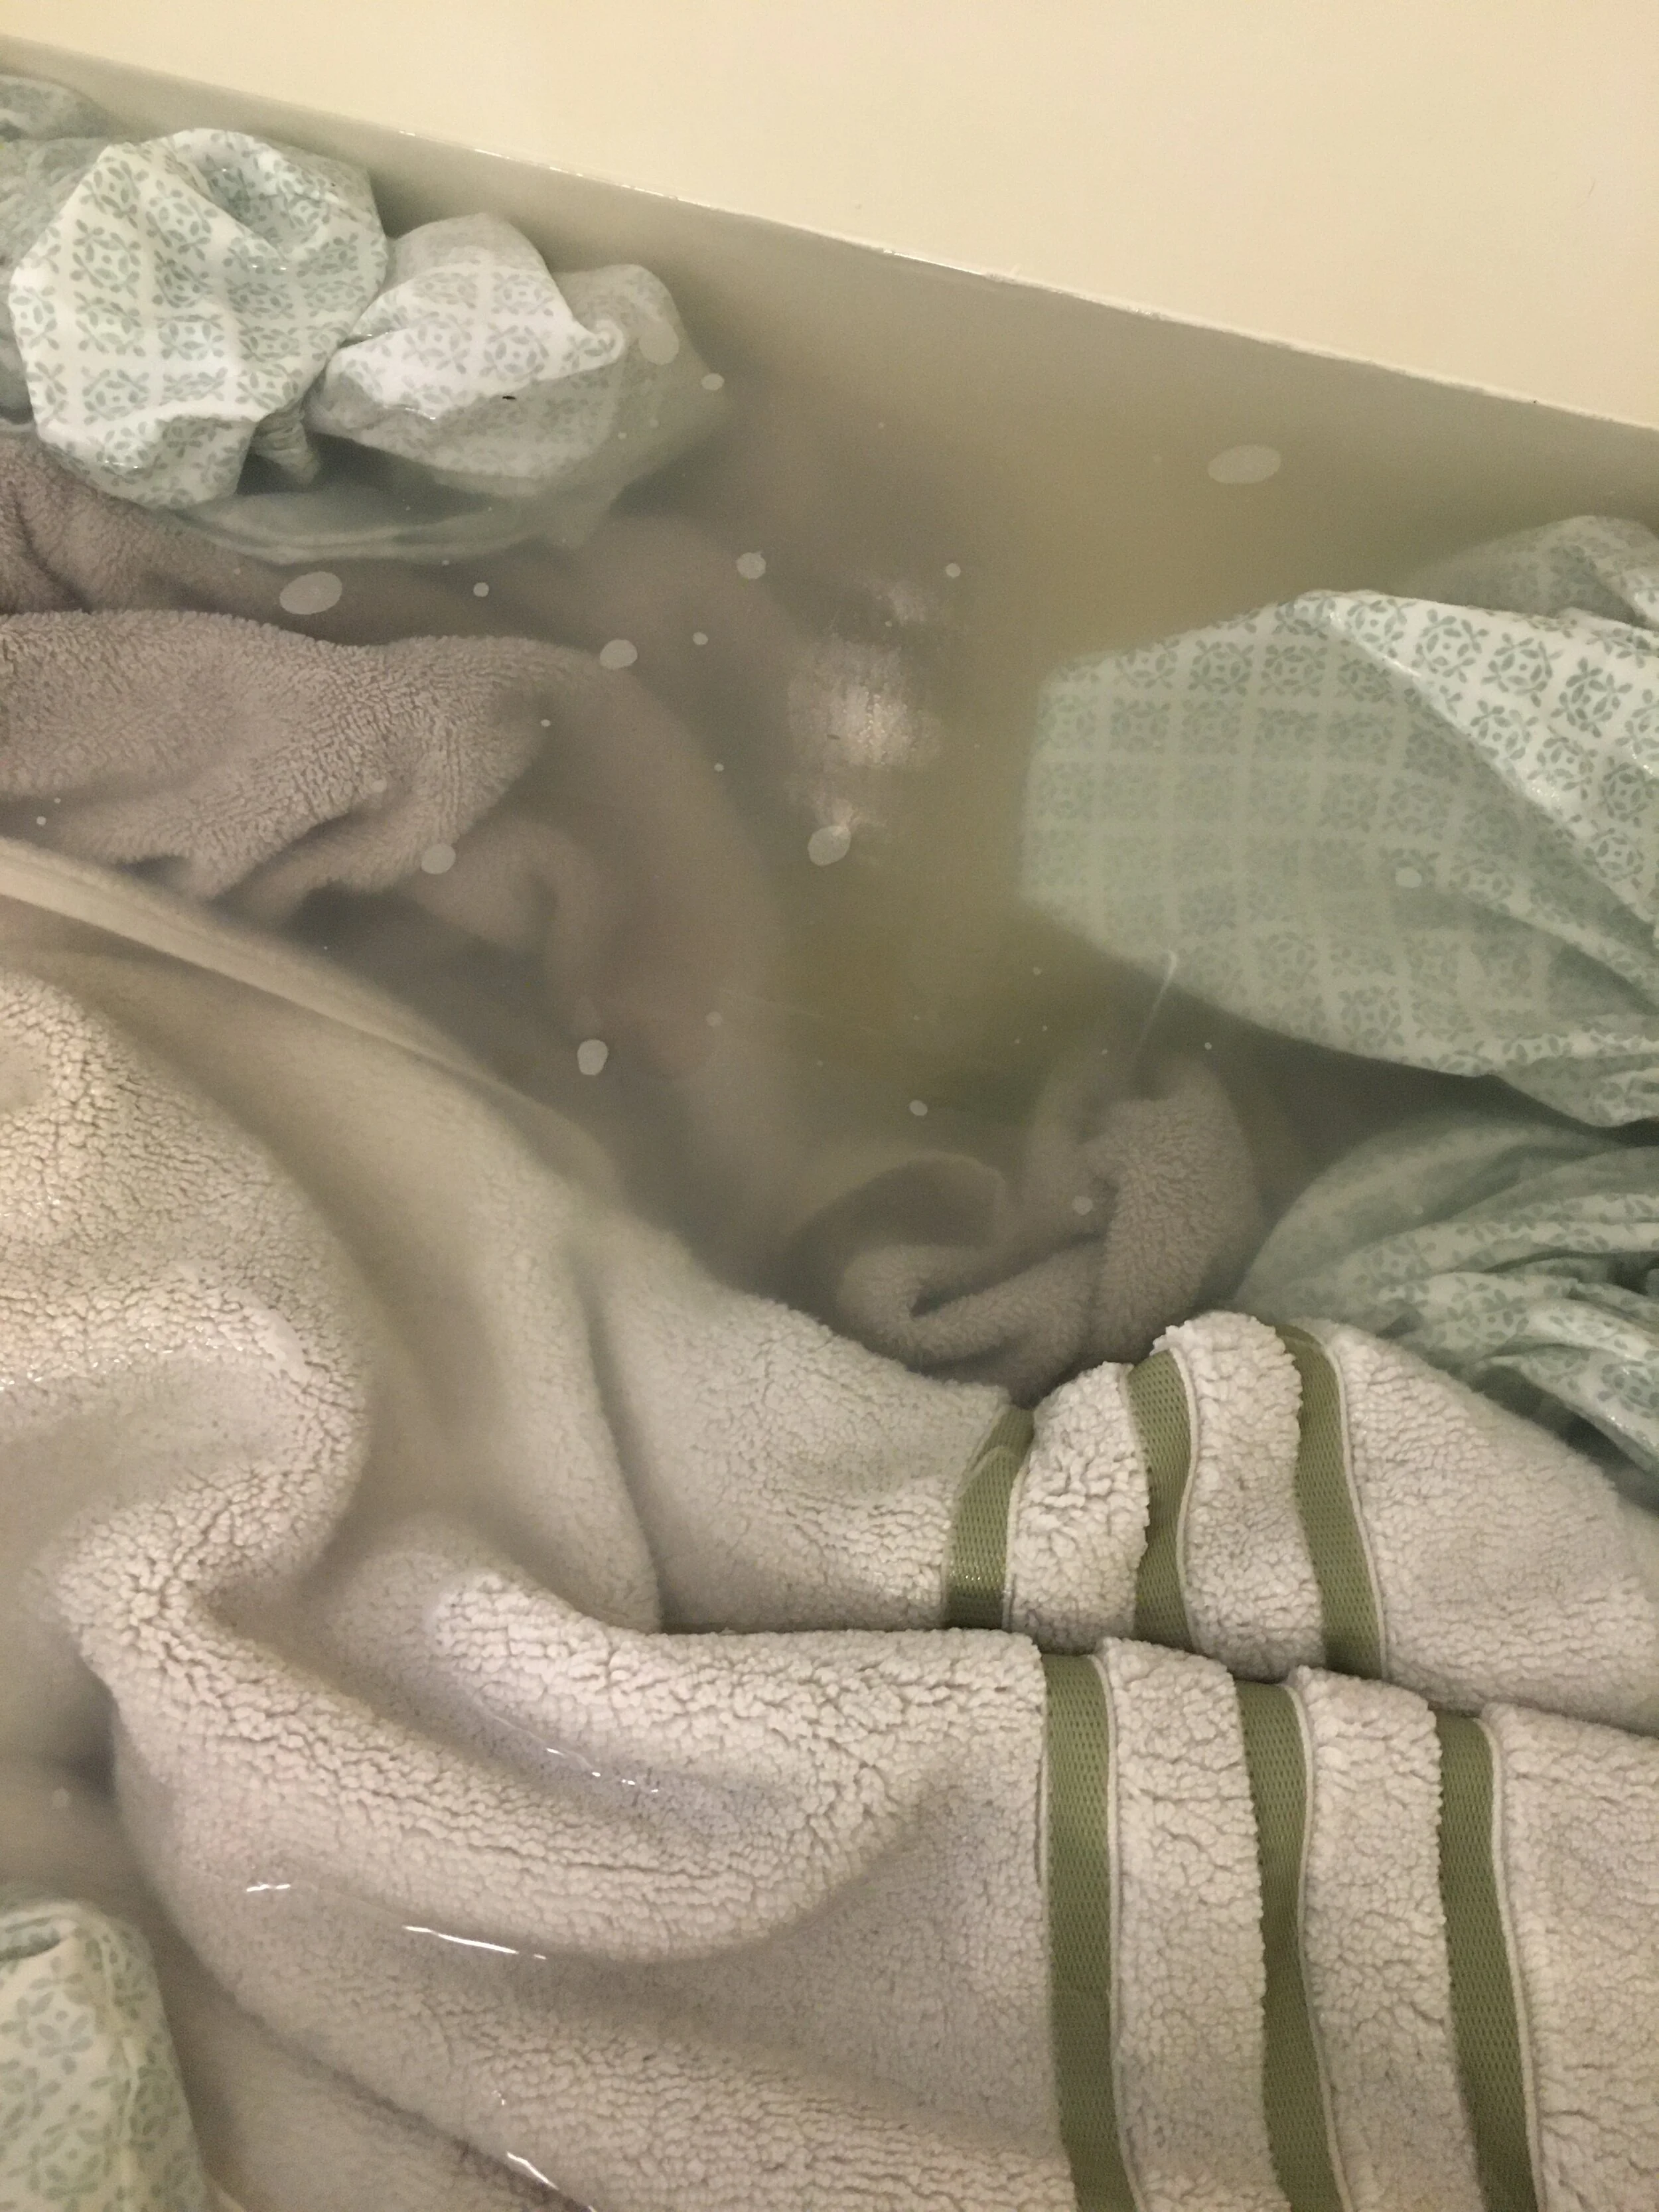
Then leave them to soak for the next four or so hours, stirring occasionally. You should see the water turn from clear to a gross yellowish-dirty color.

Once the water cools, drain the tub and squeeze the water from the linens, rinsing them with some fresh water. Then put in the washing machine (with no detergent - your items will already have absorbed detergent and Borax and you want to rinse everything out, not add more soap at this point), and run through the “wash” cycle to rinse everything out thoroughly.

After that you can put them in the dryer, or re-run the washing machine with detergent like you normally would to give them a fresh wash before drying.

Draining the dirty water after stripping. Ew.

Draining the dirty water after stripping. Ew.

Our Personal Results:

So it wasn’t the magical night-and-day change across the board that I was expecting, visually anyways - and some items definitely had better results than others. OVERALL - Our linens definitely felt cleaner, and looked a little brighter - however, our old white towels (which have turned very off-white over the years), did not magically turn luminous white again like I was hoping. But again, that’s probably too much to expect as they are 10+ years old and have had many years to get discolored in the regular laundry. Nevertheless, just SEEING the dirty water after we stripped the linens makes me feel a lot better about doing this process - visually not everything looks perfectly white again, but I KNOW it’s cleaner after removing all that invisible gunk and that makes me feel a lot better.

Okay, so the old white towels are still off-white, but I know they’re cleaner than before after seeing the dirty water after the stripping process.

Okay, so the old white towels are still off-white, but I know they’re cleaner than before after seeing the dirty water after the stripping process.

It’s my understanding that you can repeat this process as needed, and I can see myself doing this maybe up to 2-4x per year going forward to try to keep build-up at bay.

Disclaimer: Try at your own risk. In some cases this process may make colored fabrics run and may not be suitable for all fabrics.

Want to see another satisfyingly gross example…?

Here’s a photo my sister sent me after she did her sheets - wow!

Here’s a photo my sister sent me after she did her sheets - wow!


KEEP UP WITH BIRCH LANDING HOME
|  Etsy  |  Facebook  |  Instagram  |  Pinterest  |  Bloglovin'  |  Hometalk  |

Emergency Preparedness: Preparing, Sheltering in Place, Having a "Go Bag," and Evacuating

God forbid you or your family ever encounter an emergency situation, evacuation, natural disaster, etc. But if you do, it’s best to be prepared. Now, you probably can’t prepare for everything but even some level of preparedness is much better than none. In this post I’m sharing some general ideas on ways you can prepare your home and your family if you’re stuck or need to evacuate, but please do your own homework and contact local authorities for the best advice on what situations are most likely to arise for you. | This post contains affiliate links |

Emergency Preparedness ideas for your Family and Home.

Disclaimer: I am not a survival or emergency expert, but just sharing my opinion on ideas and discussion points on how you might prepare. Do your own research and contact local authorities on the best way to prepare your home and your family for any emergency situation which could arise.

Prepare Your Home

First let’s talk about the home front - it’s a good idea to make sure you have a generator (correctly installed and well ventilated) and extra fuel (safely stored) in the event you’re without power for awhile. Make sure you have shovels, flashlights, extra food that doesn’t need to be cooked (like crackers, canned goods, etc), pet food, water, blankets, matches, and candles too. Some people recommend filling bathtubs and sinks with water prior to bad weather coming so that you have a supply of water for cooking/drinking/washing/flushing toilets. Make sure phones and electronics are charged and you have extra charging packs.

Whether you have a generator or not to run your refridgerator or freezer during a power outage, it's a good idea to keep thermometers inside both fridge and freezer to monitor the temperature for food safety. Do not open the doors unless you really need to (opening them lets the precious cold air out), but by having thermometers in place you can make sure your food is still safe to eat after a prolonged outage.

Have a battery-operated or crank radio on hand - if the power or cellphone/internet services are disrupted you’ll want to be able to listen to the radio to get updates.

It’s also important to have a First Aid Kit and enough medications on hand if someone has a pre-existing medical condition, as well as general medications that you and your family may need like fever/pain reducers. If someone in your family has an allergy or restricted diet, make sure you have a backup of enough “safe” foods in the house for them to have. It’s also a good idea to have medical information for your family posted in the house for first responders if needed.

Make sure to also have working smoke detectors, carbon monoxide detectors, and fire extinguishers in your home. Keep important documents in a Fireproof Safe.

In the event of a local outbreak of illness (flu, stomach bug, - edited to add COVID-19 too), it’s a good idea to have basic over-the-counter medications on hand as well as disinfectant supplies and face masks.

Decide Where and How You May Need to Shelter In Place

Think about different scenarios that could ever happen, which is probably most dependent on where you live. If you live in tornado or hurricane-prone area, maybe you need to have a plan in place to quickly bring in lawn furniture and other items that could go air-born, shut your storm shutters, and shelter in the basement or bathroom. If you live in a city, maybe a scenario that’s more likely is you may have to shelter in place due to violence or riots - where would be the safest place in your home or apartment to do that? If you live in winter-storm prone area, maybe that’s making sure your heating vents stay clear from snow and you have a roof rake and shovels ready to make sure your roof doesn’t get overloaded and you can shovel your way out of your front door. If you live in an earthquake-prone area, maybe that’s being aware where the safest place in your house to shelter would be (maybe a strong doorway), or know if it would be safest to evacuate the building entirely and wait it out outside.


What is a “Go Bag” and Why Your Family Should Have One

A “Go Bag” is something you have packed and ready in the event you needed to evacuate your home immediately and potentially survive outside (in the woods or on the road in your vehicle) on your own for several days… situations that may arise where you may be put in that situation could be quick moving storms, flash floods, wild fires, etc. A Go Bag is something that is ready to go with emergency supplies including food, water or a water flirtation system, survival blankets, first aid kit, personal medications that you/your family may need, medical ID cards, masks (to help filter smoke/dust/germs), etc. It’s also a good idea to have local maps in there as well, as phones and internet may not work.

You can put your own Go Bag together or order a pre-made Go Bag and add what personal things you may need to it.

Have an Evacuation Plan

First, it goes without saying you should have plans for things like Fire Drills. Consult your local fire department for tips, but in general make sure you and your family (including kids) understand what a fire/evacuation drill is, how to safely and quickly exit the building, what to do if you get trapped, and where to meet outside afterwards. Practice this a few times a year so it’s second nature, but hopefully you never ever need to do it for real.

Now to take that one step further - take some time to think through different scenarios that could happen where you might have to evacuate your area/town (God forbid they ever do), and plan how you would react. If a wild fire or flood was happening nearby, how would you and your family evacuate your area? Take some time to familiarize yourself with area roads and which ones would be the best to evacuate by - make sure you also come up several backup plans too as your first choice exit plan may be blocked off. Also be aware of which roads may be most prone to fall victim to a natural disaster - for example, a low-lying road near a stream would be likely to flood, and probably shouldn’t be counted on as an exit road in a weather emergency. Keep maps in your car too as phones/GPS may not work and it would be beneficial to have a paper map to consult. It's also important to have cash on hand as ATMs/credit card machines may be down as well.

Always try to keep your car gas tank fairly full too, that way you’ll be ready to go anytime and won’t have to worry about running out of gas or being able to buy gas (as gas stations may be out of gas or there could be long lines) wasting valuable time for your family to make an efficient exit.

Hopefully you will never fall into a scenario where you’ll ever have to use any of your emergency supplies or shelter/evacuation plans, but it’s best to be prepared. Make sure to re-evaluate your plans and supplies regularly as roads and situations can change and supplies will expire over time (check those expiration dates on medicine, first aid items, and food/water). May you all stay safe and well!

Disclaimer: I am not a survival or emergency expert, but just sharing my opinion on ideas and discussion points on how you might prepare. Do your own research and contact local authorities on the best way to prepare your home and your family for any emergency situation which could arise.


KEEP UP WITH BIRCH LANDING HOME
|  Etsy  |  Facebook  |  Instagram  |  Pinterest  |  Bloglovin'  |  Hometalk  |
Spring has Sprung!

I've been very busy around the house lately, working on a lot of spring cleaning and garden projects.  
It seems like there isn't enough time to get it all done... raking, weeding, mulching, planting our veggie garden, cleaning out the closets and donating/consigning our unwanted warmer weather clothing... just a few of the things on my to-do list.  Whew.  

But you certainly can't beat lilac season!  These beauties are from our next door neighbor and a reminder to stop and smell the roses (or lilacs) no matter how much there is to get done.  

Love me some lilacs!  A perfect sign of spring.

Happy Spring from Birch Landing Home!  

KEEP UP WITH BIRCH LANDING HOME
|  Etsy  |  Facebook  |  Instagram  |  Pinterest  |  Bloglovin'  |  Hometalk  |

Feeling a Little Behind Lately..

To do? All the things! 

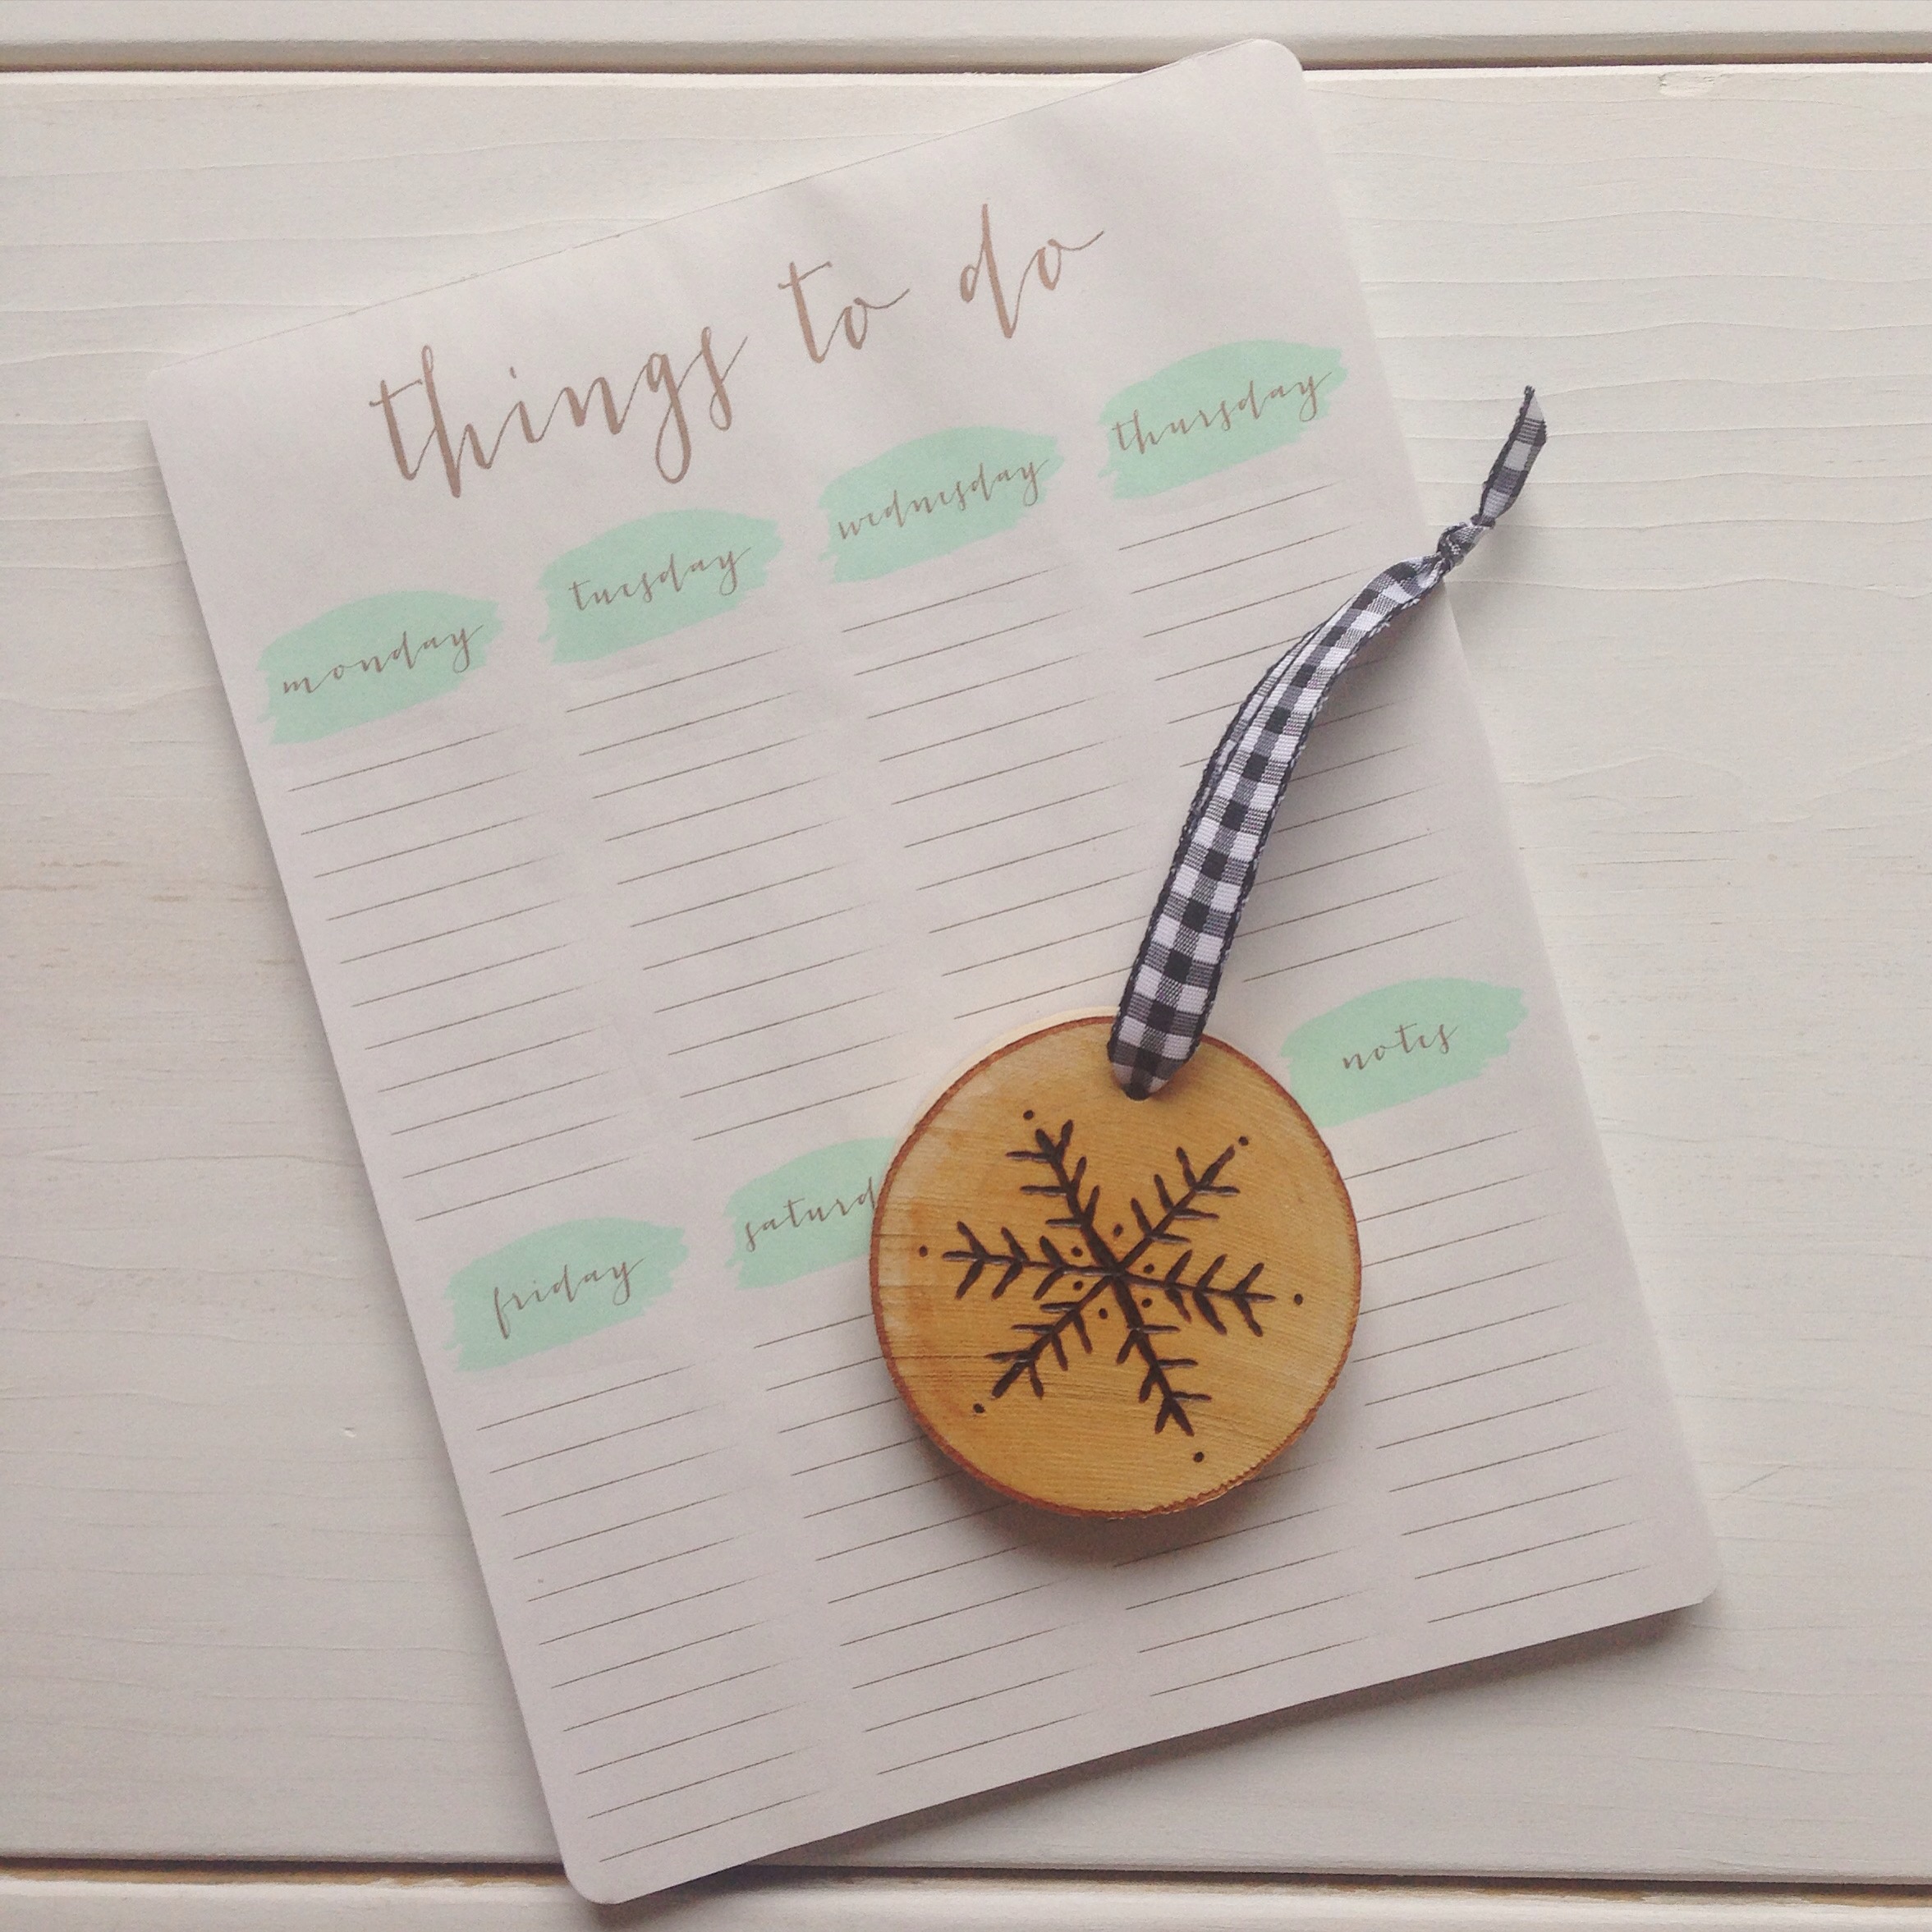
To do list - so much (great!) things to do!!

Feeling really behind lately, I have a million little (good) projects going on and haven't been able to check any off the to-do list in a while.  Between training for a half marathon, working on Etsy/wholesale ornament orders (I get them year-round, wahoo), and trying to work on some projects around the house I've fallen a bit behind on the blog and getting new Etsy stock out there and I apologize.  

Just wanted to let you know that things will be picking up again soon with new Etsy items as well as some great collabs/giveaways with companies like Nuby and We Are Knitters.

If you haven't turned on Post Notifications on Instagram for Birch Landing Home yet, now is the time because you won't want to miss out! 

KEEP UP WITH BIRCH LANDING HOME
|  Etsy  |  Facebook  |  Instagram  |  Pinterest  |  Bloglovin'  |  Hometalk  |
Reusable Weekly Planner - Plan your week, meals, and goals! {Free Printable}

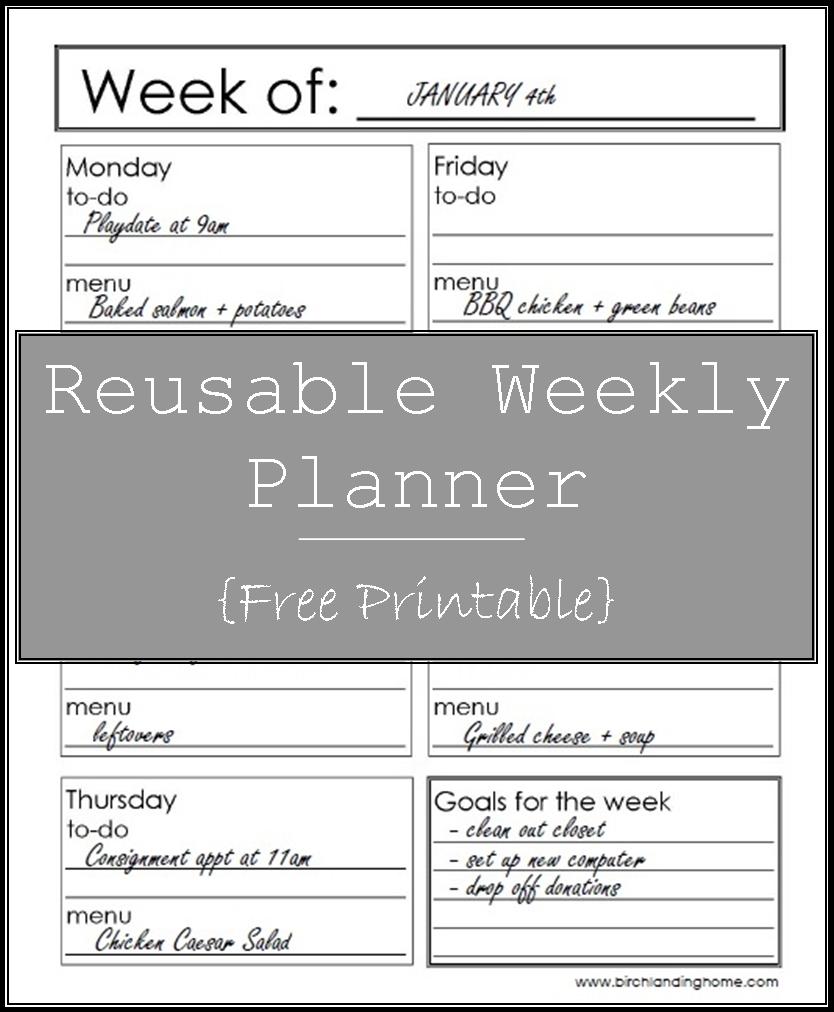
For a while now I've been striving to get better about meal planning, so a few months ago I designed this weekly planner to keep in our kitchen and see if it helped.  After using this method for several months I'm happy to report that it has been a HUGE success and wanted to share it with all of you who may have staying organized, planning meals ahead of time, or reducing your grocery bill as goals for 2016!  

Reusable Weekly Planner Free Printable - to-do list, menu and meal planning, weekly goals

This weekly planner can either be printed and written on directly - or you can print, frame it, and simply write on the glass to keep reusing it (which is what I have done).  I love having it under glass because it means it's always on display and easy to refer to, and it saves a lot of paper and ink.  I didn't include too many photos of it it in our kitchen because it was so hard to photograph.. the glare from the glass makes a decent photograph nearly impossible.  

Reusable Weekly Planner in the kitchen
Pro-tip:  Write on the glass with a Sharpie to avoid smudges, then erase with a little 91% rubbing alcohol.  

Pro-tip:  Write on the glass with a Sharpie to avoid smudges, then erase with a little 91% rubbing alcohol.  

To write on the glass, you can use a fine-tip dry erase marker or a Sharpie marker.  I prefer the Sharpie because it writes cleaner and won't smudge.  

"But how to erase it!" you ask?  

No problem at all:  simply put a little 91% rubbing alcohol on a paper towel and it wipes off with no problem and no residue.  

Example

Example

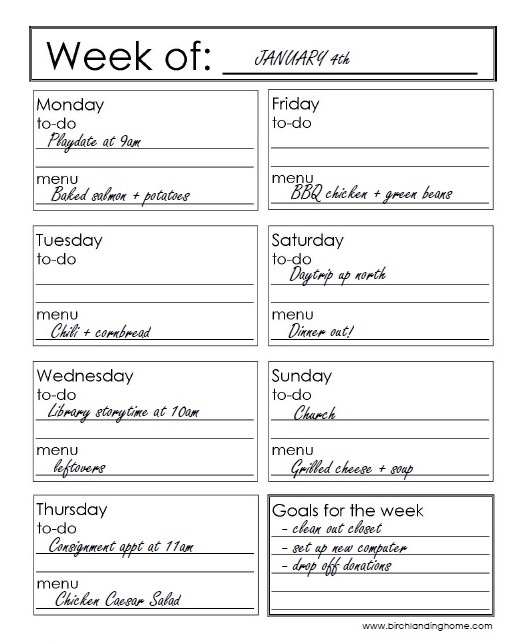
Every Sunday I sit down and first fill in all the daily "to-dos" for the week.  These are things that have to happen that day, like appointments.  This gives me a sense of what the week will look like and how much time I may have to cook dinner that day, etc.  Days we won't be home means I don't have to cook (wahoo!).  Because I lay it all out ahead of time I can plan ahead for groceries... leftover potatoes from Monday can be thrown into Tuesday's chili.  The chicken I buy can be portioned out for dinner on Thursday and Friday.  Planning ahead means less waste and saving money in the long run (and you know how hard I try to save money on groceries).  

"Goals for the week" is where you put in projects and goals you can pick at over the course of the week when you get spare moments.  I feel like this list makes me more motivated (and accountable) to be productive when I have down time.  

Reusable Weekly Planner

{Download free PDF of our Reusable Weekly Planner HERE}

Reusable Weekly Planner Free Printable - to do list, menu planning, weekly goals

So that's my Reusable Weekly Planner!  It's been a huge help to keep me more organized, more motivated, and save more money on groceries.  I hope that it will be as helpful for you!  

KEEP UP WITH BIRCH LANDING HOME
|  Etsy  |  Facebook  |  Instagram  |  Pinterest  |  Bloglovin'  |  Hometalk  |