Featured on the DIY Network Blog!

Honored to say our brick-lined walkway update was recently featured on the DIY Network Blog, Made + Remade!  Please check us out at #7 on "9 Driveway and Pathway Updates on a Budget."  

As seen on the DIY Network Blog!

As seen on the DIY Network Blog!

You can read our full how-to on this project here:  Easy Brick Upgrade for Concrete Walkway.

KEEP UP WITH BIRCH LANDING HOME
|  Etsy  |  Facebook  |  Instagram  |  Pinterest  |  Bloglovin'  |  Hometalk  |

Gearing Up for the Christmas Season!

August is winding down but the good news is I'm hard at work restocking my Etsy shop and working on filling pre-orders for the Christmas season, including the amazing Daytrip Society in Kennebunkport, Maine (so excited!). 

Cut birch ready to be turned into ornaments for Birch Landing Home

Can't wait to turn these birch beauties into some adorable snowflake ornaments once they dry completely. 

KEEP UP WITH BIRCH LANDING HOME
|  Etsy  |  Facebook  |  Instagram  |  Pinterest  |  Bloglovin'  |  Hometalk  |

Tips on Dealing with Teething Troubles + Nûby Review

Oy.  Teething.  
It can be the worst... days or weeks of a grumpy, fussy baby.  Sometimes you just have to muddle through, but know that there are tricks and tools you can use to your advantage - you're not alone.  | This post contains affiliate links and an honest review of products provided to us b
y Nûby |

Teething tips for babies and toddlers

How do I know our little one is teething?  

Every baby is different, but some tell-tale signs include fussiness, drooling, putting anything and everything in their mouth, chewing, slightly elevated temperature, and waking more often. 

How can I help our little one deal with these new teeth?  

Food

Food as a teether/soother can help - either some cold chopped fruit in a mesh feeder or a frozen banana to gnaw on (very closely supervised of course).  Drinking cold water can also help take the edge off.  

Washcloth

A frozen washcloth is a great teether you can make, especially in a pinch.  I usually take a baby washcloth, tie a knot in one corner, wet it, wring it out, and stick it in the freezer for a bit.  What I like about these is that even though they're frozen they don't seem too cold to hold, they come out more frosty than frozen.  

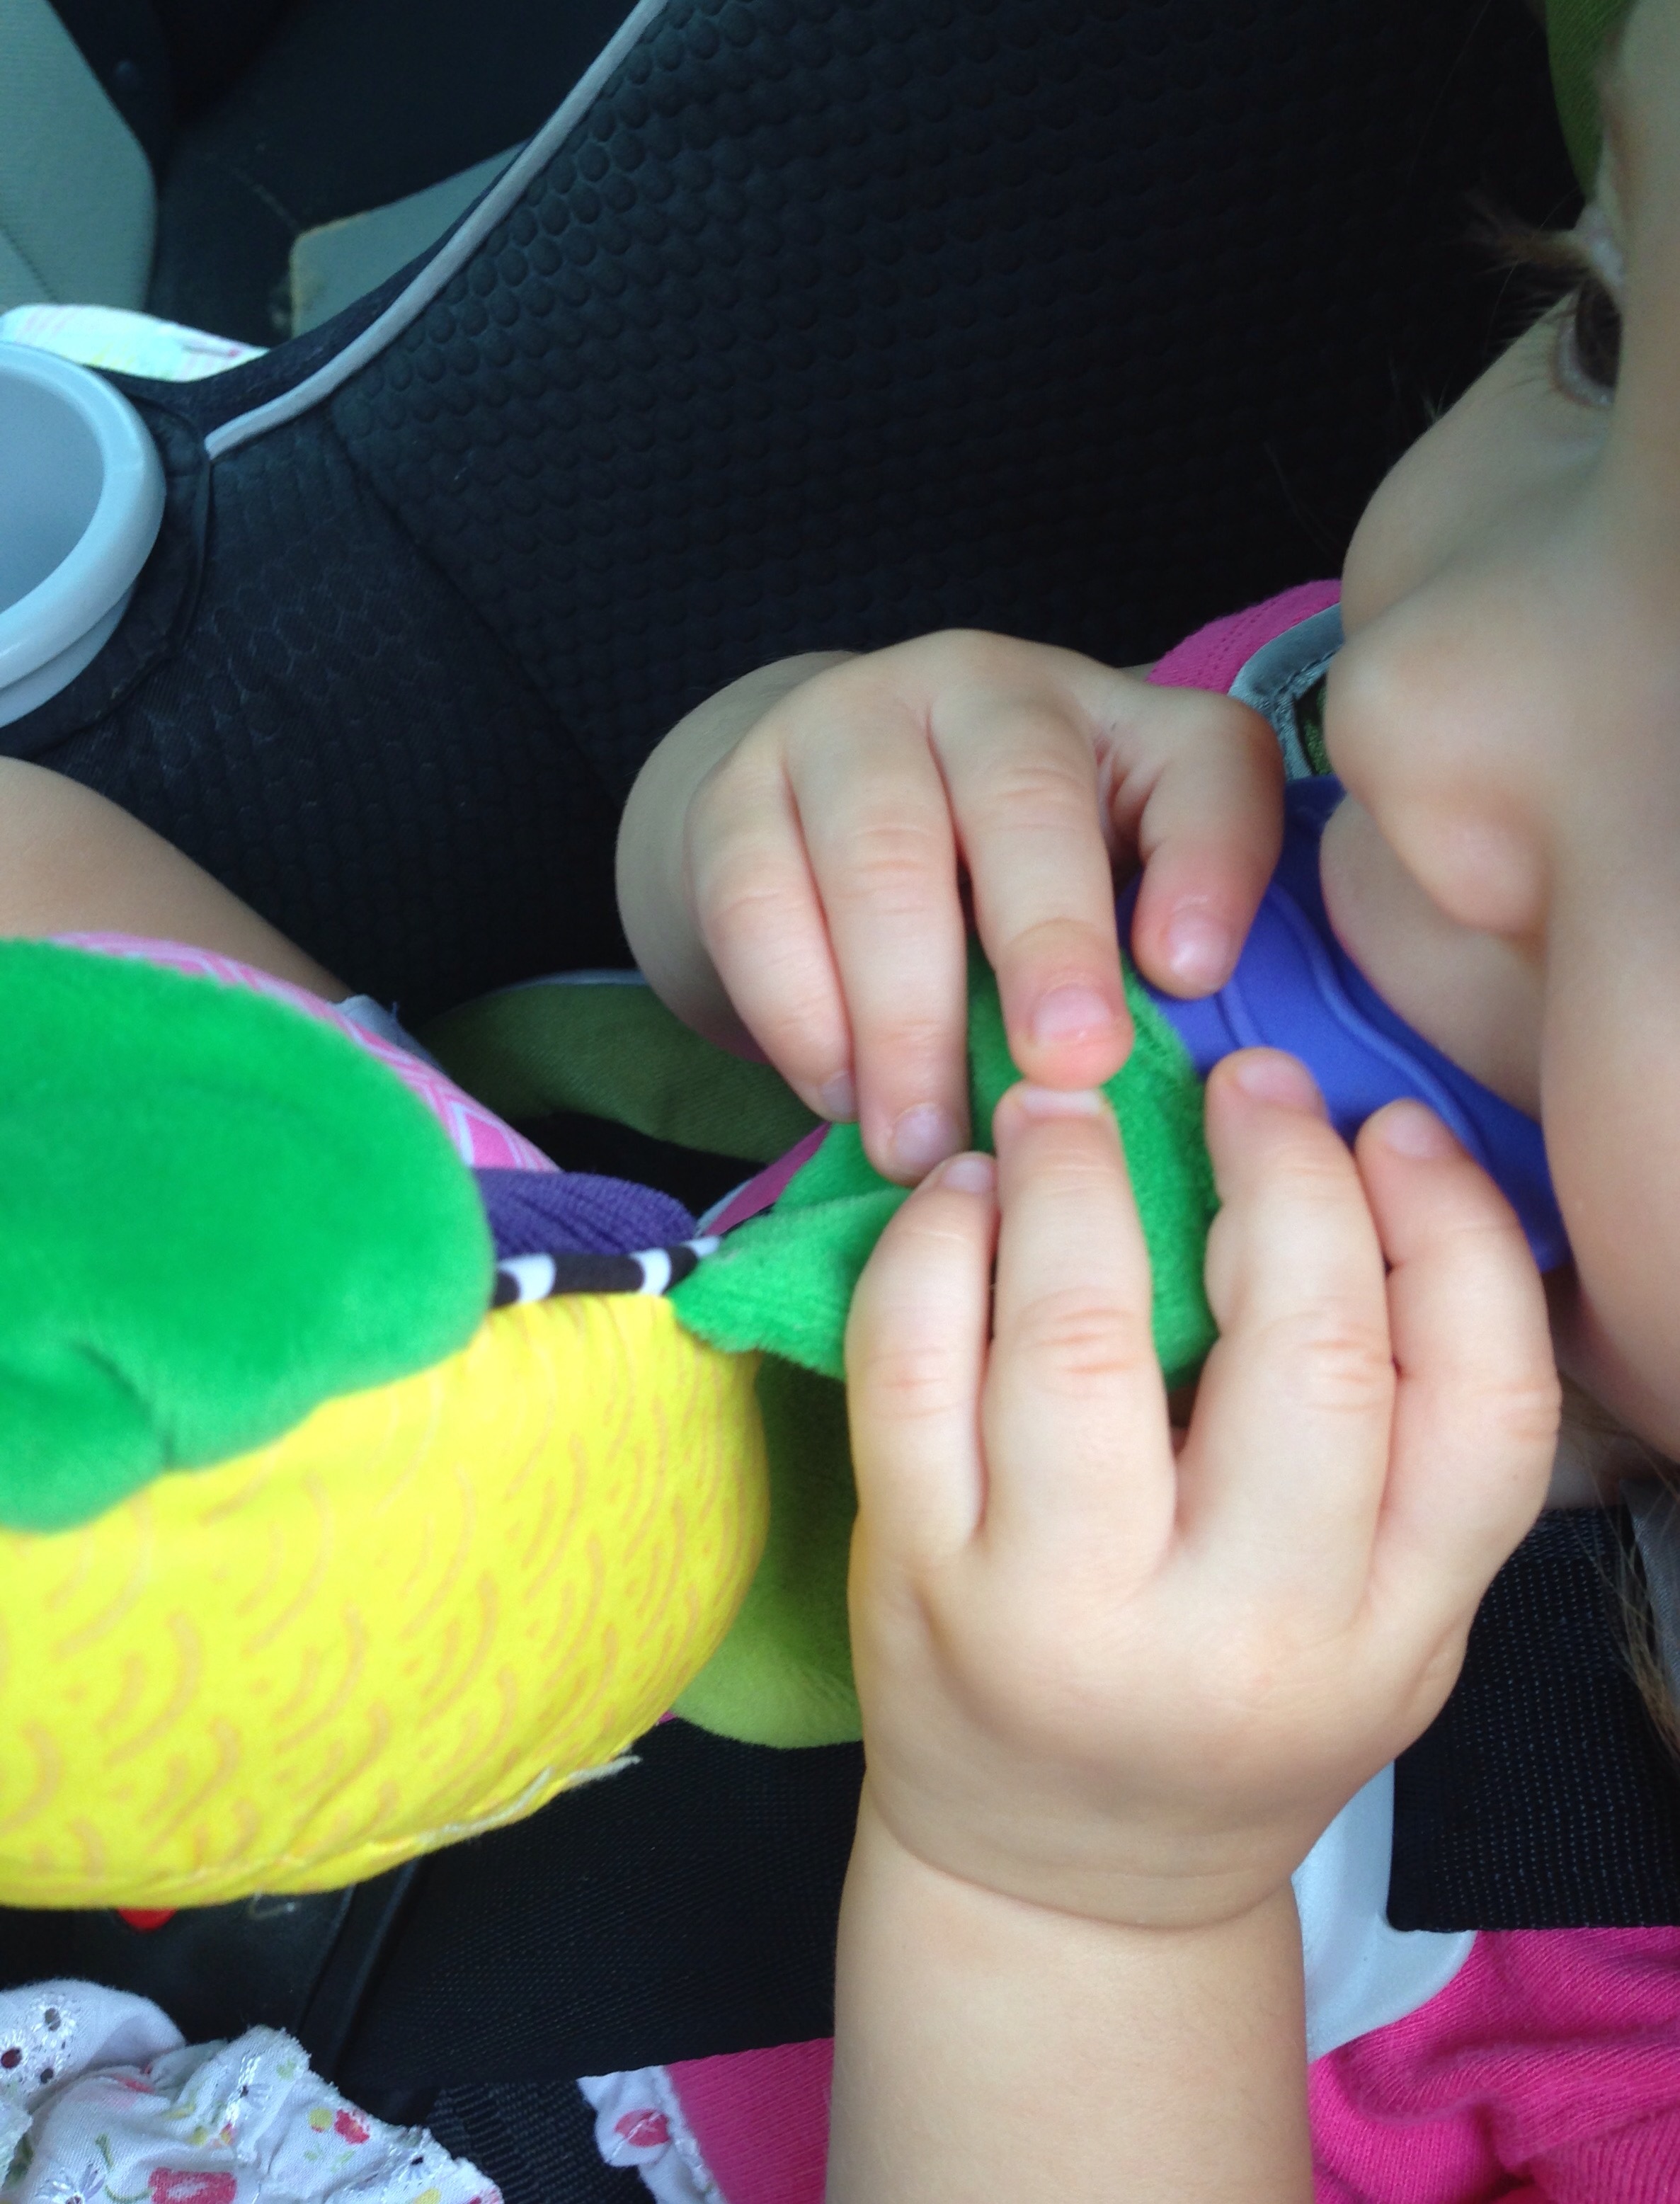
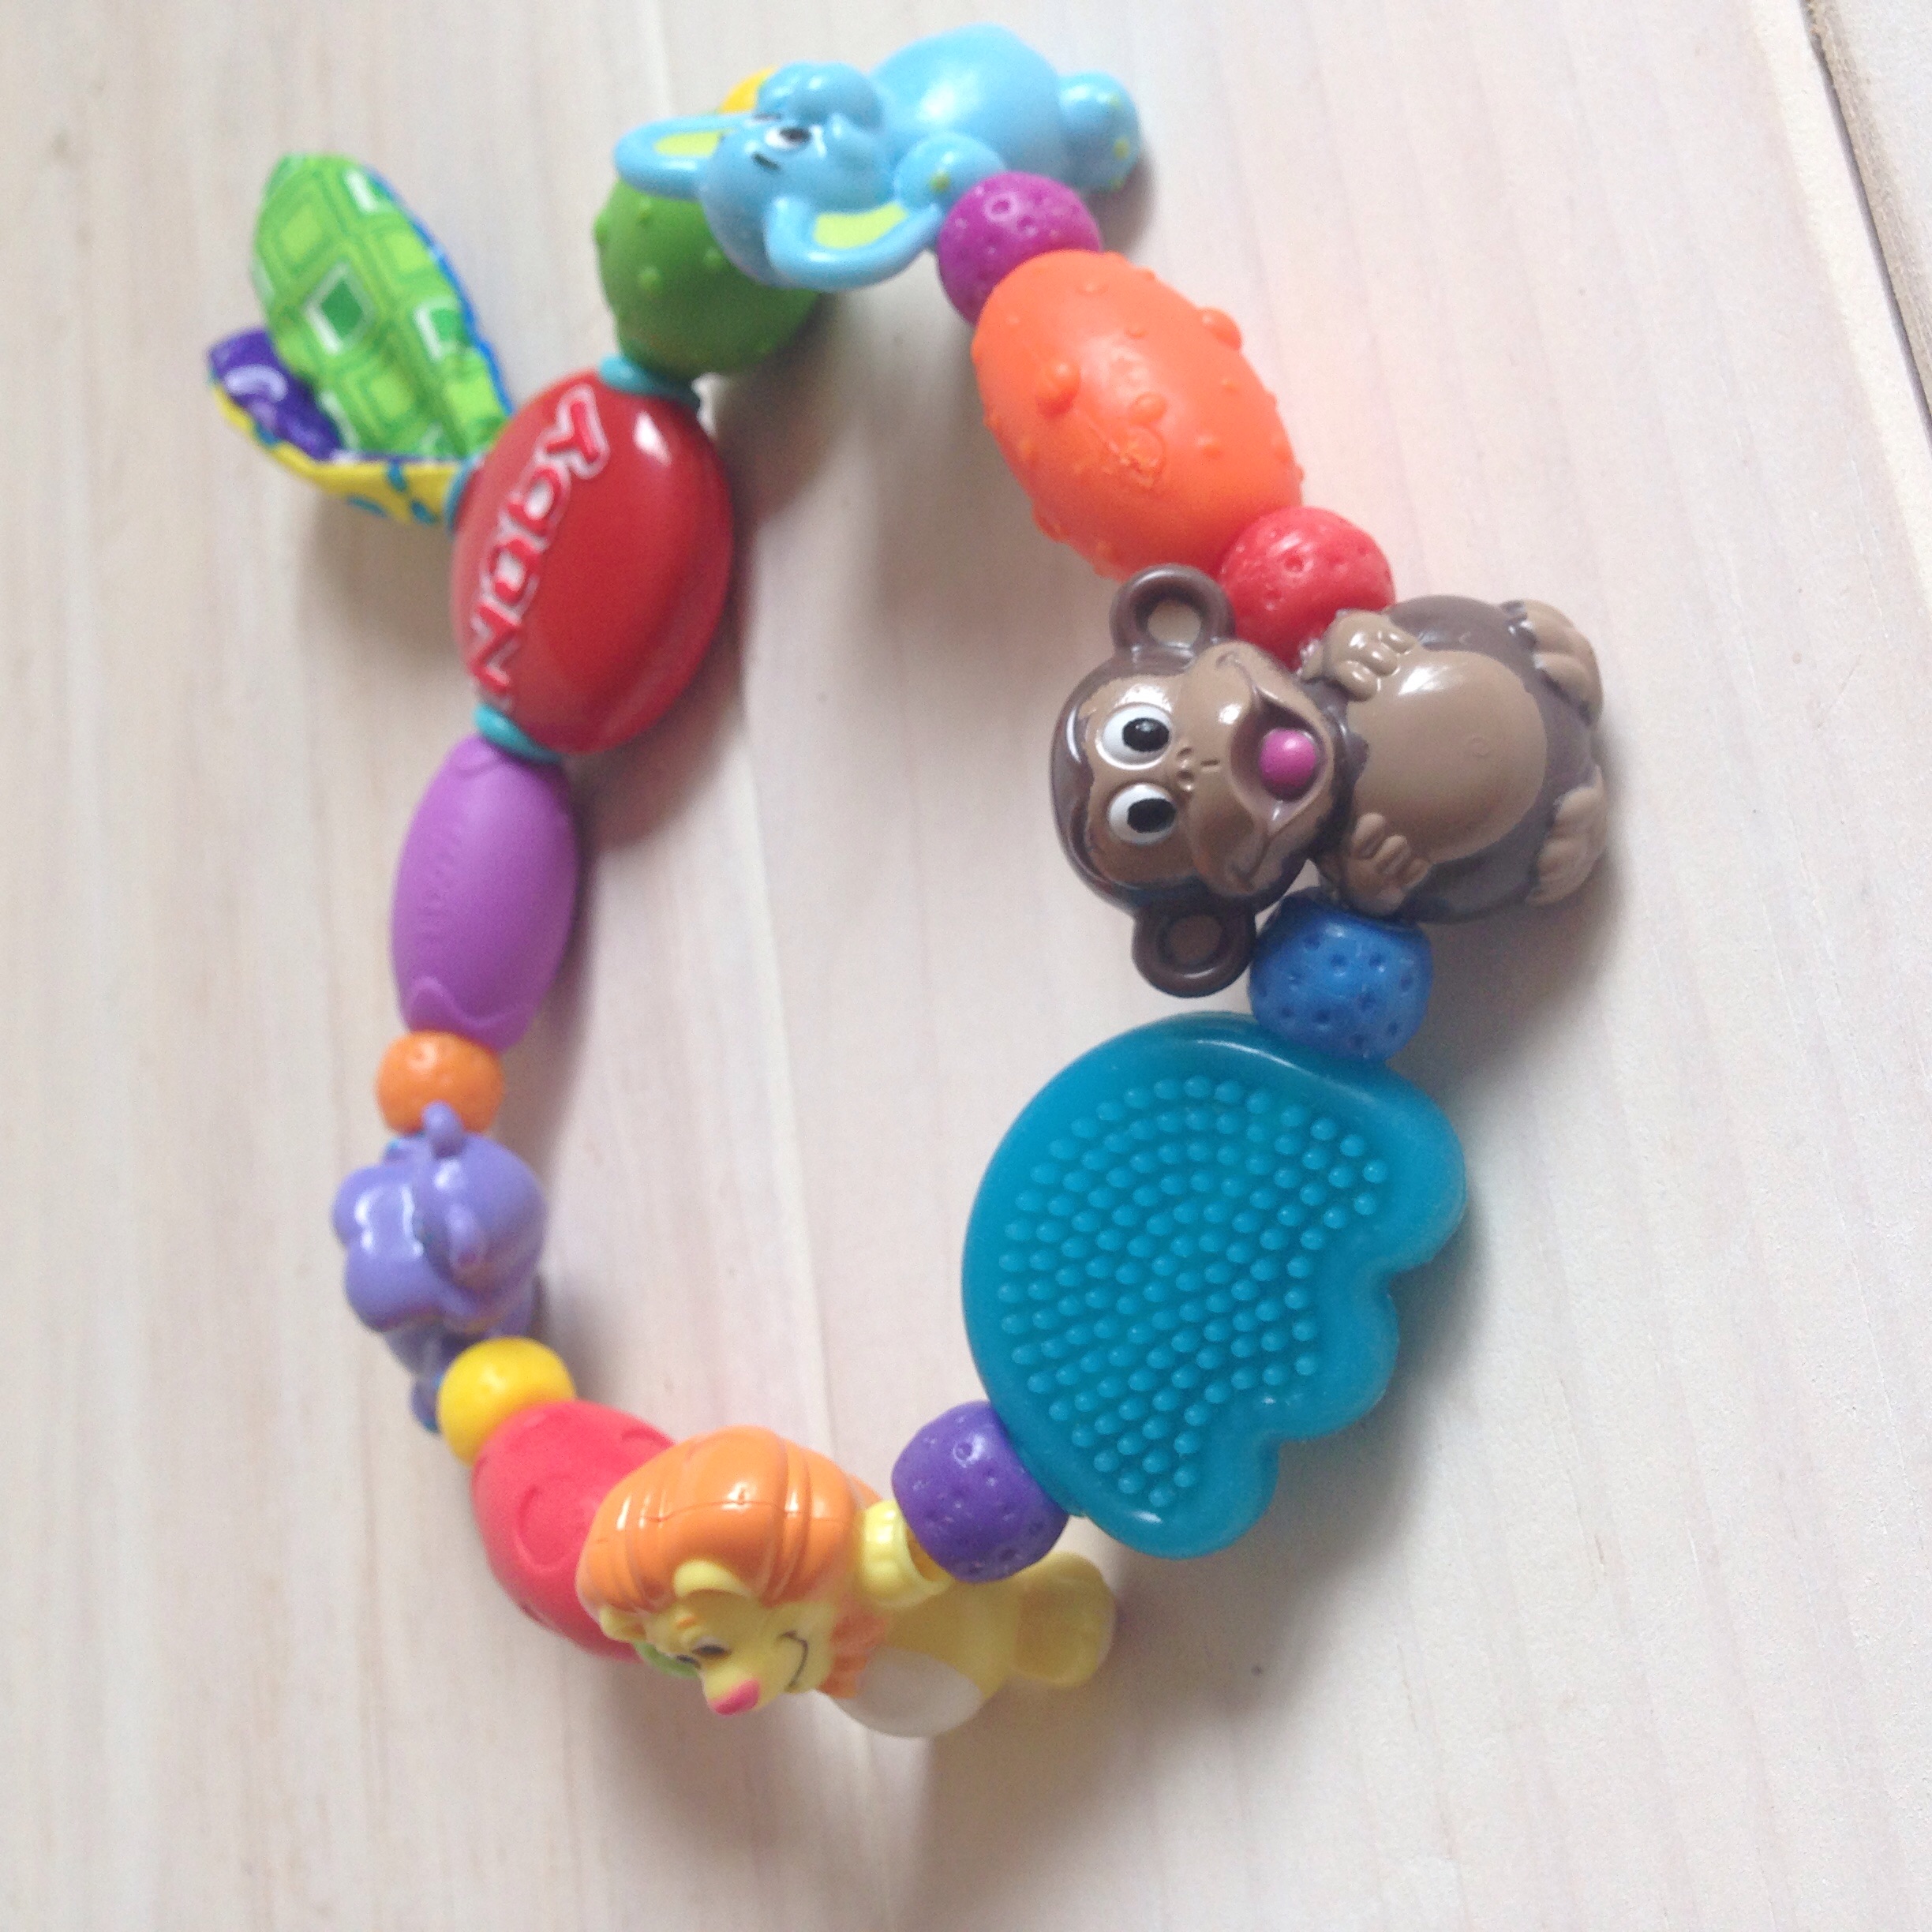
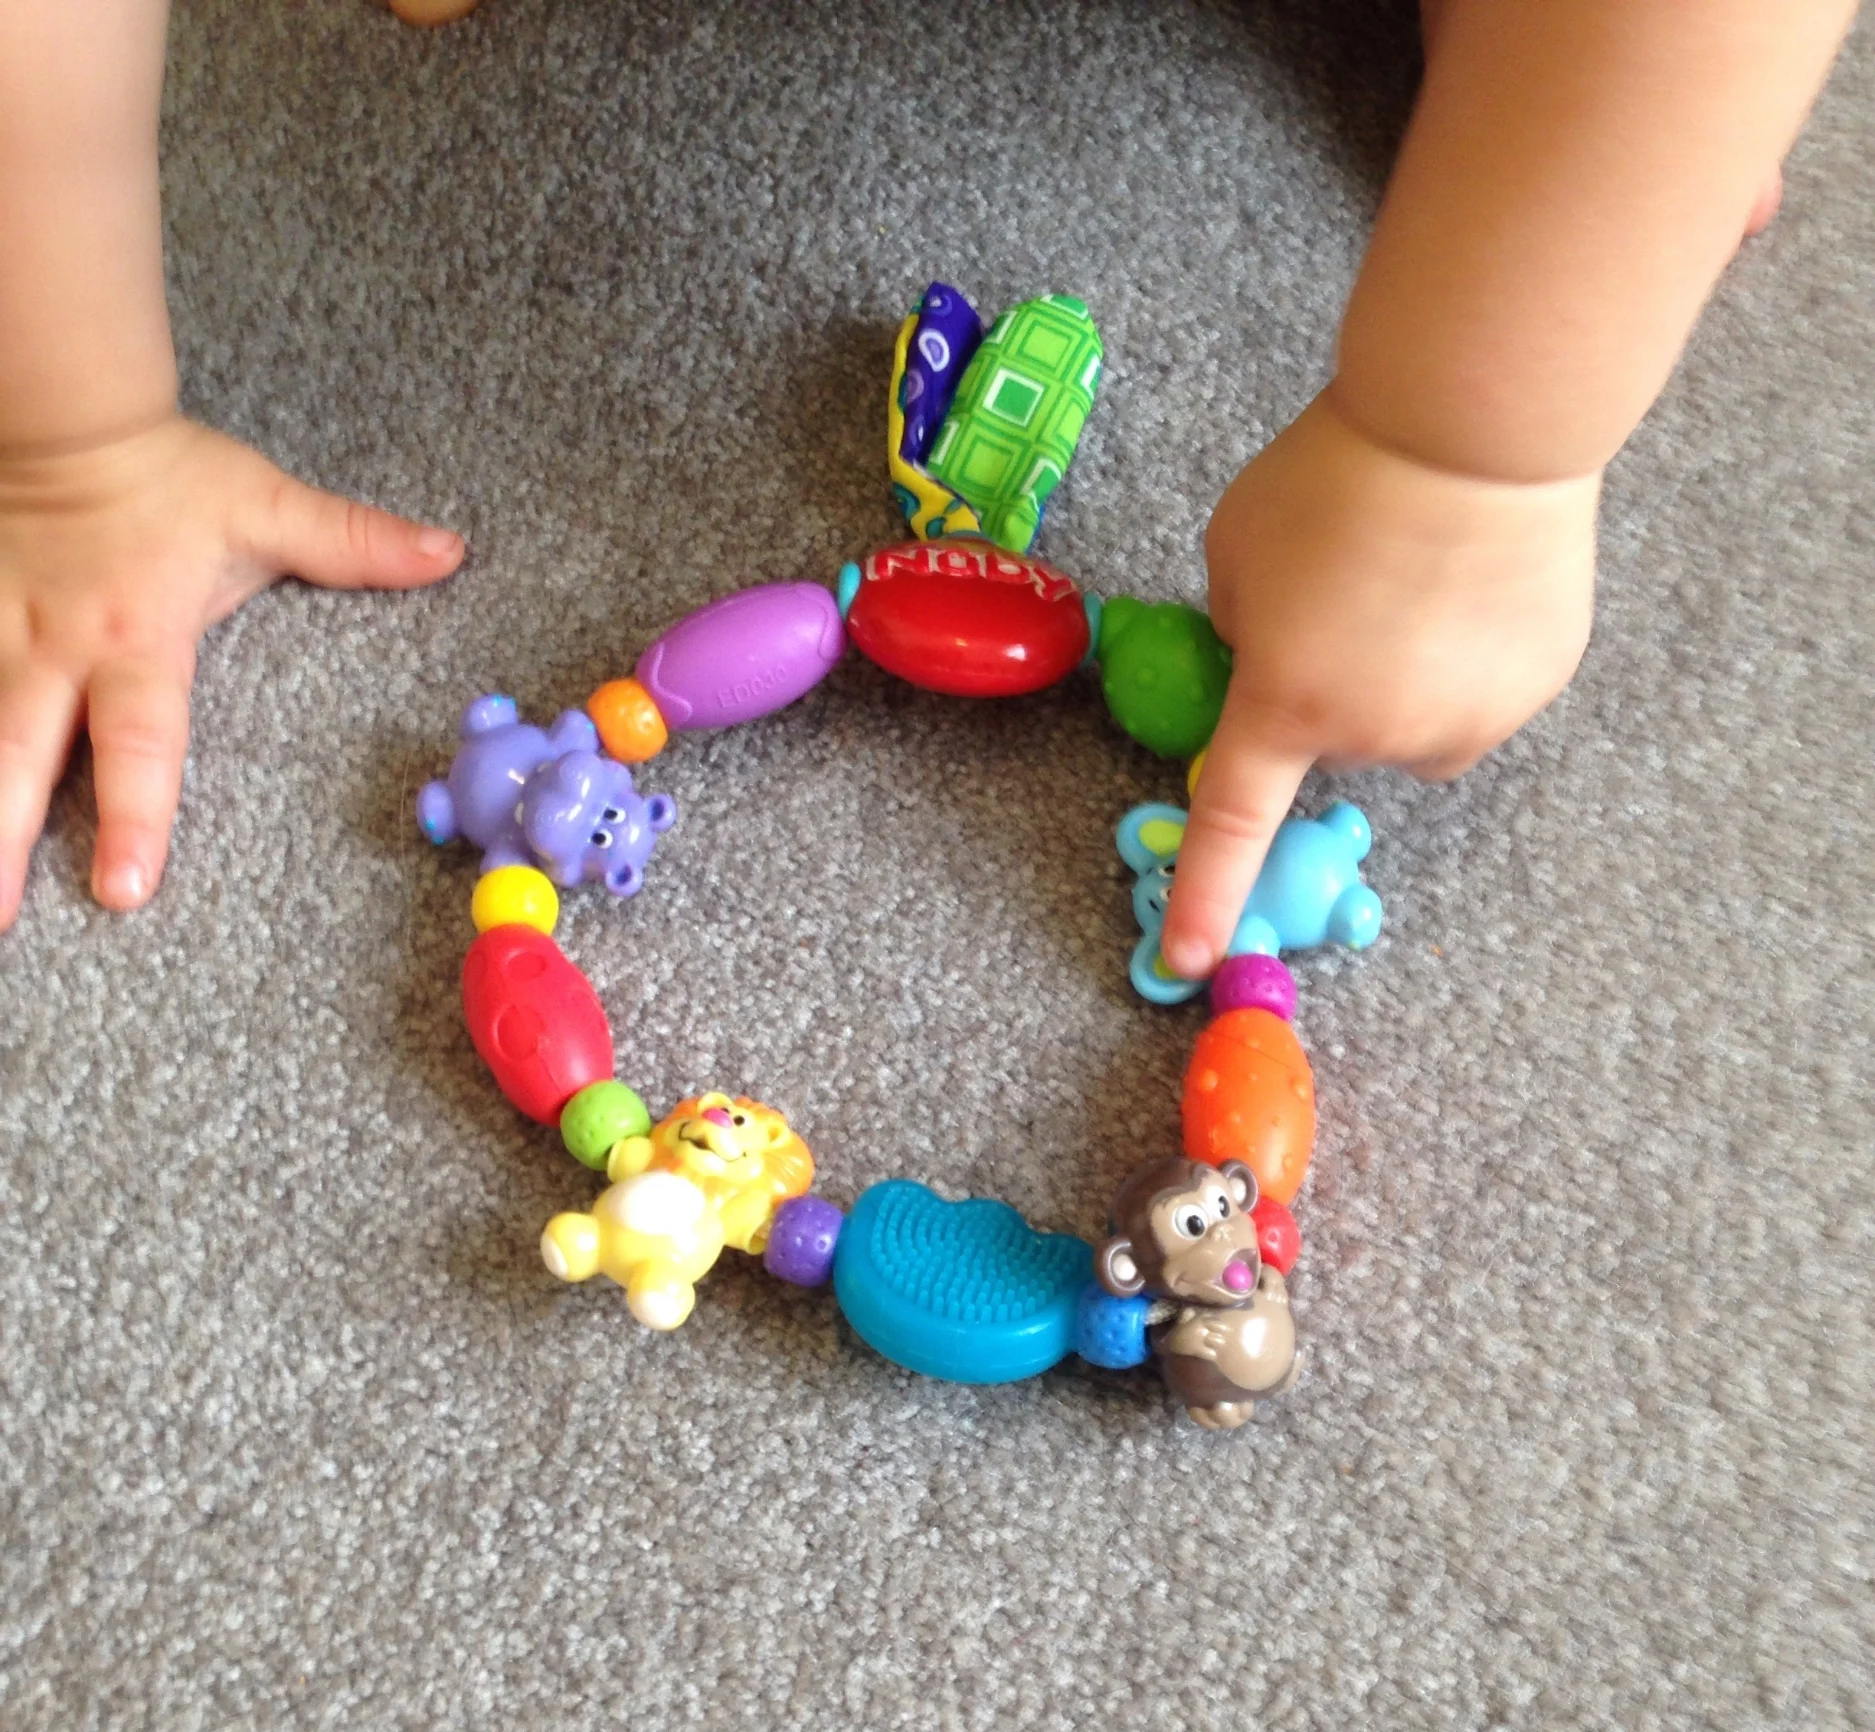
Variety of Teethers {Nûby Review}

Having a variety of teethers handy is key - most babies like having different textures and shapes to gum and chew on.  Nûby was kind enough to send me two teethers to try and share with you.  


Turtle FLOPPERS Teether

Nuby Floppers Teether, a great soother
A great teether for car rides!


This little guy is pretty cuddly as far as teethers go.  He's a sweet little stuffed turtle (other animals are available too) with textured rubber BPA-free feet for gnawing on.  His soft body makes him a perfect teether for the car - I make a point to try to have only lightweight, soft toys in the car for safety reasons.  Our little one really likes this cute little guy, and the handle on his back is great for carrying around or attaching to a stroller with linking rings.

Teething tips.  Using a Nuby teether.

 
Safari Loop Teether

Safari Loop Teether by Nuby

This BPA-free teether definitely has a lot of variety going for it!  There are many shapes, colors, and textures strung along the loop - from animals, to rubber beads, to crinkly "leaves," to massaging nubs, this has it all.  Miss M particularly likes looking at the animal characters and chewing on the crinkly leaves.  However, I feel as though the animals on the loop are pretty hard though, maybe too hard for chewing comfortably.. Miss M hasn't been chewing on the animals in particular, and I'm not sure if she's avoiding them because she likes the other items on the loop more, or if the animals bother her gums/teeth.  

Pointing out the fun shapes on this Nuby teether

Please Note:  Always supervise your little ones with all teethers (and all toys for that matter), but make sure to pay special close attention once your child's teeth break through the gums.  Once they have exposed teeth they are more likely to chew through a toy or sippy cup straw.  Inspecting these items several times a day is very important.  

Medication (as a last resort, in our book)

Some people use baby Tylenol or pain relieving teething gel to alleviate the discomfort of teething, however I always try to avoid giving medication unless absolutely necessary (our pediatrician agrees with this stance).  So I very rarely give our little one baby Tylenol, and if I do it's usually only as a last-ditch effort to get her to sleep better and wake less from teething.

Nuby Parent Blogger

- I received these items for review from Nûby but all opinions expressed are my own.  Please read our full Disclosure Policy for more information - 

Nûby's FLOPPERS Teethers and Nûby's Safari Loop Teether can be purchased at various retailers including Amazon and Target.  


KEEP UP WITH BIRCH LANDING HOME
|  Etsy  |  Facebook  |  Instagram  |  Pinterest  |  Bloglovin'  |  Hometalk  |

Local Product Love: Mack & Ro

A big thank you to Mack & Ro for sending this adorable little watercolor painting! Jenny is a fellow New England blogger and her beautiful watercolors are inspired by her New England roots. 

Our spare room has a beachy theme and this little starfish painting is a perfect fit! 

Watercolor starfish painting by Mack & Ro adds the perfect New England costal touch.

KEEP UP WITH BIRCH LANDING HOME
|  Etsy  |  Facebook  |  Instagram  |  Pinterest  |  Bloglovin'  |  Hometalk  |

Christmas in July Giveaway on Instagram!

I'm giving away a unique set of my Hand-Etched Birch Snowflake Ornaments! A photo of some of my hand-etched ornaments was featured this year in Martha Stewart Living Magazine.

Find this post on my Instagram (@birchlandinghome) for details and to enter.  Good luck!  

Giveaway ends 7/31/15 at 2PM EST. 

Giveaway ends 7/31/15 at 2PM EST. 

KEEP UP WITH BIRCH LANDING HOME
|  Etsy  |  Facebook  |  Instagram  |  Pinterest  |  Bloglovin'  |  Hometalk  |

Around New England: Portsmouth Tall Ships

We've been wanting to check out the Tall Ships in Portsmouth for years, and this year we finally did it!  

Seeing the Tall Ships in Portsmouth, NH

Overall, it was very cool and definitely worth seeing at least once.  The ship was well-done with a lot of detail and interesting features - and of course it was a lot of fun pretending to be a pirate for about 45 minutes.  But for as much as we've been hyping it up to ourselves, we were honestly a little bit disappointed.  There was only one tall ship there that day (we were expecting many) and it was a reproduction (I guess we were expecting an original or at least a very old ship).  It was also very crowded and hot - fair warning.    

Seeing the Tall Ships in Portsmouth, NH is a must!

Despite all that, it was definitely worth doing and any excuse to get into Portsmouth is always a good one.  We rounded out the day with a walk through Prescott Park, subs from Moe's deli, and popovers from Popovers on the Square - doesn't get much better than that!  

Rigging lines and sails of a Tall Ship in Portsmouth, NH

KEEP UP WITH BIRCH LANDING HOME
|  Etsy  |  Facebook  |  Instagram  |  Pinterest  |  Bloglovin'  |  Hometalk  |

What's in My Bag? Toddler Mama Edition

So not glamorous, but here's what's in my bag.  

What's in my bag for toddler mamas:  Highlights Hello book, snacks, chapstick, Pampers diapers and wipes

With a young toddler, there's less "stuff" you always need to carry so I try to keep it to the very basics for walking around (don't worry, there's a bigger back-up diaper bag in the car).  Snacks are a must - you don't want a hangry toddler or mama!  And I can't say enough good things about these "Highlights Hello" magazines - they're lightweight and indestructible.  We keep several in the car, diaper bag, and stroller - much easier to pack than boardbooks.  

Not pictured?  A little bottle of hand sanitizer (I forgot it in the car), a must for a curious toddler who tries to pick someone else's gum off the sidewalk.  Ew.  

Affiliate Product Links
|  L.L.Bean Boat Tote  |  Highlights Hello Toddler Magazine  |  Earth's Best Apple Bar  |  Larabar Peanut Butter Chocolate Bar  |  Badger Balm Vanilla Madagascar Lip Balm  |  Pampers Natural Clean Wipes  |  Pampers Swaddlers Diapers  |  Travel Size Hand Sanitizer  |


KEEP UP WITH BIRCH LANDING HOME
|  Etsy  |  Facebook  |  Instagram  |  Pinterest  |  Bloglovin'  |  Hometalk  |

DIY Learning Tower / Kitchen Helper - Based on Plans by Ana White

Our little one may be happily playing independently but the second I go to make dinner she demands to be held and refuses to be put down, making cooking impossible.  To help keep her occupied but still involved I've been eyeing a learning tower / kitchen helper on Amazon for months now, but at $200 it just wasn't in our budget.  My sister-in-law had made a learning tower from a plan by Ana White and suggested I try to make one too.  I was unsure at first, I've never made anything more complicated than a birdhouse, but I decided to give it a go!  Read on for my lessons learned and know that you can totally make one too.  | This post contains affiliate links |

DIY Learning Tower / Kitchen Helper

{ Note: the plans that I worked from were from Ana White and can be found HERE }

The first step to making the learning tower was buying the lumber.. which is easier said than done when you just have a little car!  Nevertheless, Miss M and I made the nearly hour-long trek out to Lowe's to pick up lumber, paint, and screws.  One thing I really liked about the Ana White plan was that it had both a shopping list and a "cut list" so you knew exactly how much of each kind of wood to buy and then how to cut it up.  I made a mistake at Lowe's though and ended up buying 6-foot boards instead of 8-foot..  I don't know if I read the sign too quickly or what, but it made me come up short for the project.  Thankfully we had some extra wood in the garage and I was able to fudge it.  

Lumber needed for the learning tower / kitchen helper

For our learning tower, I made some modifications - some were planned and some kind of happened as the project went on (partly due to the wood shortage).  For example, I decided against doing the arches on the top - as lovely as they were, we don't have a jigsaw so I had to nix it.  I also did the base of the tower a little differently and I didn't do the tip resistors (at least not yet), my sister-in-law omitted the tip resistors and has had no problems.  Our little one is pretty good with the tower (knock on wood), but for peace of mind I think we will do something to help prevent it ever tipping - most likely adding some scrap wood to make a lip that will fit under the edge of our counter.  Another thing I did differently was make the front and back top railing wider, the reasoning for this was two-fold - for one thing, it gave me more room to screw in the the top railings without the screws running into each other.  Another was that the wider wood makes it impossible for our little one to open the kitchen drawers in front of her (so key).

Assembling the learning tower with powertools

One criticism of Ana White's plan is that while it gives you a great outline of what to make and how to go about it, it definitely doesn't spell everything out - and for this detail-oriented person that drove me nuts!  For example, it doesn't detail how many screws you should use when attaching each piece or how to position the screws when you join sides together (this was a huge issue so they didn't run into each other).  Another big problem was that the plan had quite a few typos and some of the steps would stop mid-sentence missing the full explanation of what to do. 

I highly suggest cutting all the wood, labeling it, laying it out and really thinking through how it's going together. My biggest challenge by far was figuring out a good way to hold the pieces together while I pre-drilled and screwed them together. The wood the plan calls for is pretty thin (another downside of the plan), so that limited the ways I felt I could hold it without damaging it. I tried using vices and clamps to help hold everything together but they always seemed to be in the way so I ended up holding it in place anyway I could, even with my foot if necessary (awkward).

Who needs a vice when you have feet? haha

I also had to improvise on how to center the front and back side pieces against the wider side of the legs.  It turned out that a picture book we had was the perfect thickness and became a great spacer.  

Shop my Amazon Favorites Here
Jerry rigging holding everything together for assembly of the learning tower

To space the boards for the platform I placed some extra screws between them as spacers.  Once it was all attached together, I just pulled the screw spacers out.  

Tip:  Use extra screws as spacers

For paint, I used a high-gloss black enamel paint by Val-Spar and gave it two coats (though I probably should have done 1-2 more). I really recommend using high-gloss paint or stain so it can be wiped down easily after every use.

Use a high-gloss paint when finishing your learning tower / kitchen helper
 

I wanted to add some personalization or decoration to the learning tower, but also wanted to keep it simple so that it would blend into the kitchen better. I decided against personalizing the tower since we're hoping to have more kids and I wanted to keep it "neutral" - so I settled for stenciling "ABC" on one of sides for a little decoration, using the Martha Stewart Monogram Serif Stencil Set.

Add some fun details with stencils

Our little one loves her new learning tower and now feels like she can "help" when I'm making dinner.  This tower also makes arts and crafts a lot easier (here she's playing with some homemade playdough).  

Using the Learning Tower / Kitchen Helper

Safety Notice:  It goes without saying, but always supervise your little one while they're using the learning tower and make sure there is nothing dangerous within reach (hot plates, knives/other sharp objects, stove, off-limit foods, etc).  Use at your own risk.

Using the Learning Tower / Kitchen Helper

Other posts you might enjoy:  

DIY Potting Bench - Based on Plans by Ana White
Easy DIY Book Rails
Cape Cod Inspired Toddler Room

KEEP UP WITH BIRCH LANDING HOME
|  Etsy  |  Facebook  |  Instagram  |  Pinterest  |  Bloglovin'  |  Hometalk  |