I'm a wife, stay-at-home mom, crafter, and blogger living in rural New England. As seen in Martha Stewart Living, Food Network Magazine, and more! | Tutorials, DIY, crafts, parenting tips, recipes, money saving tips, product reviews, local product features, New England living, intentional living, and more! |
I absolutely love where we live - a small resort town, surrounded by lakes and mountains. Always lots of great outdoor activities to do or small shops to explore in town. But living out here does have it's drawbacks too - for one thing, the hospital we delivered our daughter at was an hour and half away (ugh). But one of the biggest things we struggle with on a day-to-day basis is not going broke on groceries - with discount stores over an hour away and only IGA (Independent Grocer Alliance) grocery stores in town we tend to pay up to 30% more for most items. I support shopping local and shopping small whenever possible, but as a single-income household saving money where we can is absolutely necessary. I've read many articles tailored to saving money at big-box and discount stores, but most of those tips just don't apply here. Please read on for some of my rural livin' money-saving grocery tips. | This post contains referral links |
Tips for Saving Money on Groceries {Rural Edition}
Grow/Raise What You Can. I know not everyone has a green thumb or is willing to raise livestock but having even a small backyard garden or some patio veggie plants can pay off big. For example spending a few dollars for a couple patio tomato plants can supply you with more than enough tomatoes to last you the entire summer. For us, we've had a small garden for the past couple of years and this spring we decided to add raising chickens to the mix. We go through as many as two dozen cage-free eggs a week and figured that raising our own chickens would be fun, educational for our daughter, and eventually would provide us with a savings on eggs too.
The Freezer is Your Friend. I hate throwing out food, especially food that I paid good money for. So lately I've taken to freezing more and more things, especially those that seem to have the shortest shelf life. For example, my husband loves putting kale in his breakfast smoothies (you can't even taste it!) but it would always go slimy before he finished the bunch. Now we wash and freeze it right away and he blends it, still frozen, into his smoothies. Other things that I've been freezing more lately are meats, mushrooms, fresh herbs, bread, and of course leftovers.
Shop Local and Extra-Small. Try shopping for produce at local farmer's markets, or even better, roadside mom and pop farm stands. Those little tables and coolers at the end of driveways are often amazing deals on fresh vegetables. These people usually aren't out to make a profit, they're simply selling their extra produce for fun and a little extra cash so it's usually a really great value - and if you're lucky they may be giving things away if they have an over-abundance. One year a gentleman down our road gave away bushels and bushels of corn because he just had so much and didn't want it to go to waste.
Amazon and Online Shopping. I know this is the polar opposite of "shop small" but you just have to be practical too. Items like paper towels, toilet paper, and cereal can cost nearly twice as much here in town than it does at big-box stores or online. And so we choose to buy these items on Amazon - and by using some of Amazon's features like free Prime shipping and "subscribe and save", we're able to save even a little more. If you use Amazon, don't forget to sign up for AmazonSmile so your purchases benefit the charity of your choice!
Bring Your Own Bags. Every store has different policies, but more and more are rewarding their customers for bringing their own bags. At our local grocery stores they give you 5 cents off your total for every reusable bag you use. I think this is a wonderful policy - great for the environment and good for our wallets. For example, if you brought 8 bags for your weekly groceries you would end up saving over $20 a year, and every little bit helps.
Meal Plan and Grocery List. The most efficient way to do groceries is to take a few minutes at the beginning of every week, plan out your dinners, and make a list as to what you'll need. That way you'll be able to better plan what you need and what you can reuse, wasting less. I confess I often struggle with this.. grocery day always seems to sneak up on me and I end up going to the grocery store winging it or with a sad excuse for a list more often than I'd like to admit. I know planning ahead and making good lists are super important for wasting less and saving more, and I'm always trying to get better about it. {EDIT: I've finally gotten good (okay, a whole lot better) at meal planning! Check out my Reusable Weekly Planner + Free Printableto see how.}
Periodic Trips to Big-Box Stores to Stock Up. Every few weeks, I make a point to drive almost 40 minutes, longer in summer due to tourist traffic, to the nearest "big chain" grocery store to stock up on certain items. And no, it's not even Wal-Mart or another discount chain (as far as grocery chains go it's one of the more expensive ones out there but it's the closest). I use these trips to buy the items they don't carry at our IGA stores (like the coconut milk creamer my husband and I love in our coffee), and the perishable items that are just too expensive at the IGA (like organic milk and almond milk - both are almost double the price here in town!).
Buy Store Brand. Whether I'm picking up things at a big chain grocery store or the local IGA, I try to buy store brand whenever I can. Most of the time store brand tastes just as good and works just as well (IGA even has it's own store brand called "Shurfine"). We always buy store brand organic milk, canned goods, ziplocks, and more. Store brand can cost anywhere from 5 cents to a dollar less than name brand, and all those little savings add up.
Coupons. There's no doubling, matching, or store loyalty cards at our local grocery stores, but coupons are still a great way to save a little every trip. I keep our coupons organized in a little file so they're easy to find as I'm writing our grocery list. (PS - my plaid coupon organizer is only $2.99 on Amazon - can't beat it!)
Ibotta. The Ibotta app allows you to earn rebates back on many items you already buy. (While this app doesn't work at most small independent grocers, you can use it when you visit large chain stores to stock up.) In order to unlock the rebates, you simply have to view an ad, watch a short commercial, or take a one question poll about the product. In exchange for helping them with their market research, you get rewarded with a small rebate when you purchase the product (items must be verified via receipt or through a linked store loyalty card). You can read my full review of this app here: Get Paid to Shop and Save Money with Ibotta. [This tip was added 5/4/16]
I hope my tips gave you some ideas to save on groceries "out here." Do you have any other helpful tips?
My husband recently designed these beautiful Painted Starry Night Wedding Invites for Creative Market, and I just had to share them here. I think they're just beautiful!
There are three different designs that are fully customizeable to your text and color preferences, you can then print them at home or take them to your local printing service. I hope you love these as much as I do!
These are now currently out-of-stock in the Etsy shop, but I have stacks of wood ready to cut and dry for more. Once I finish getting our veggie garden in, Etsy shop products are top on my to-do list!
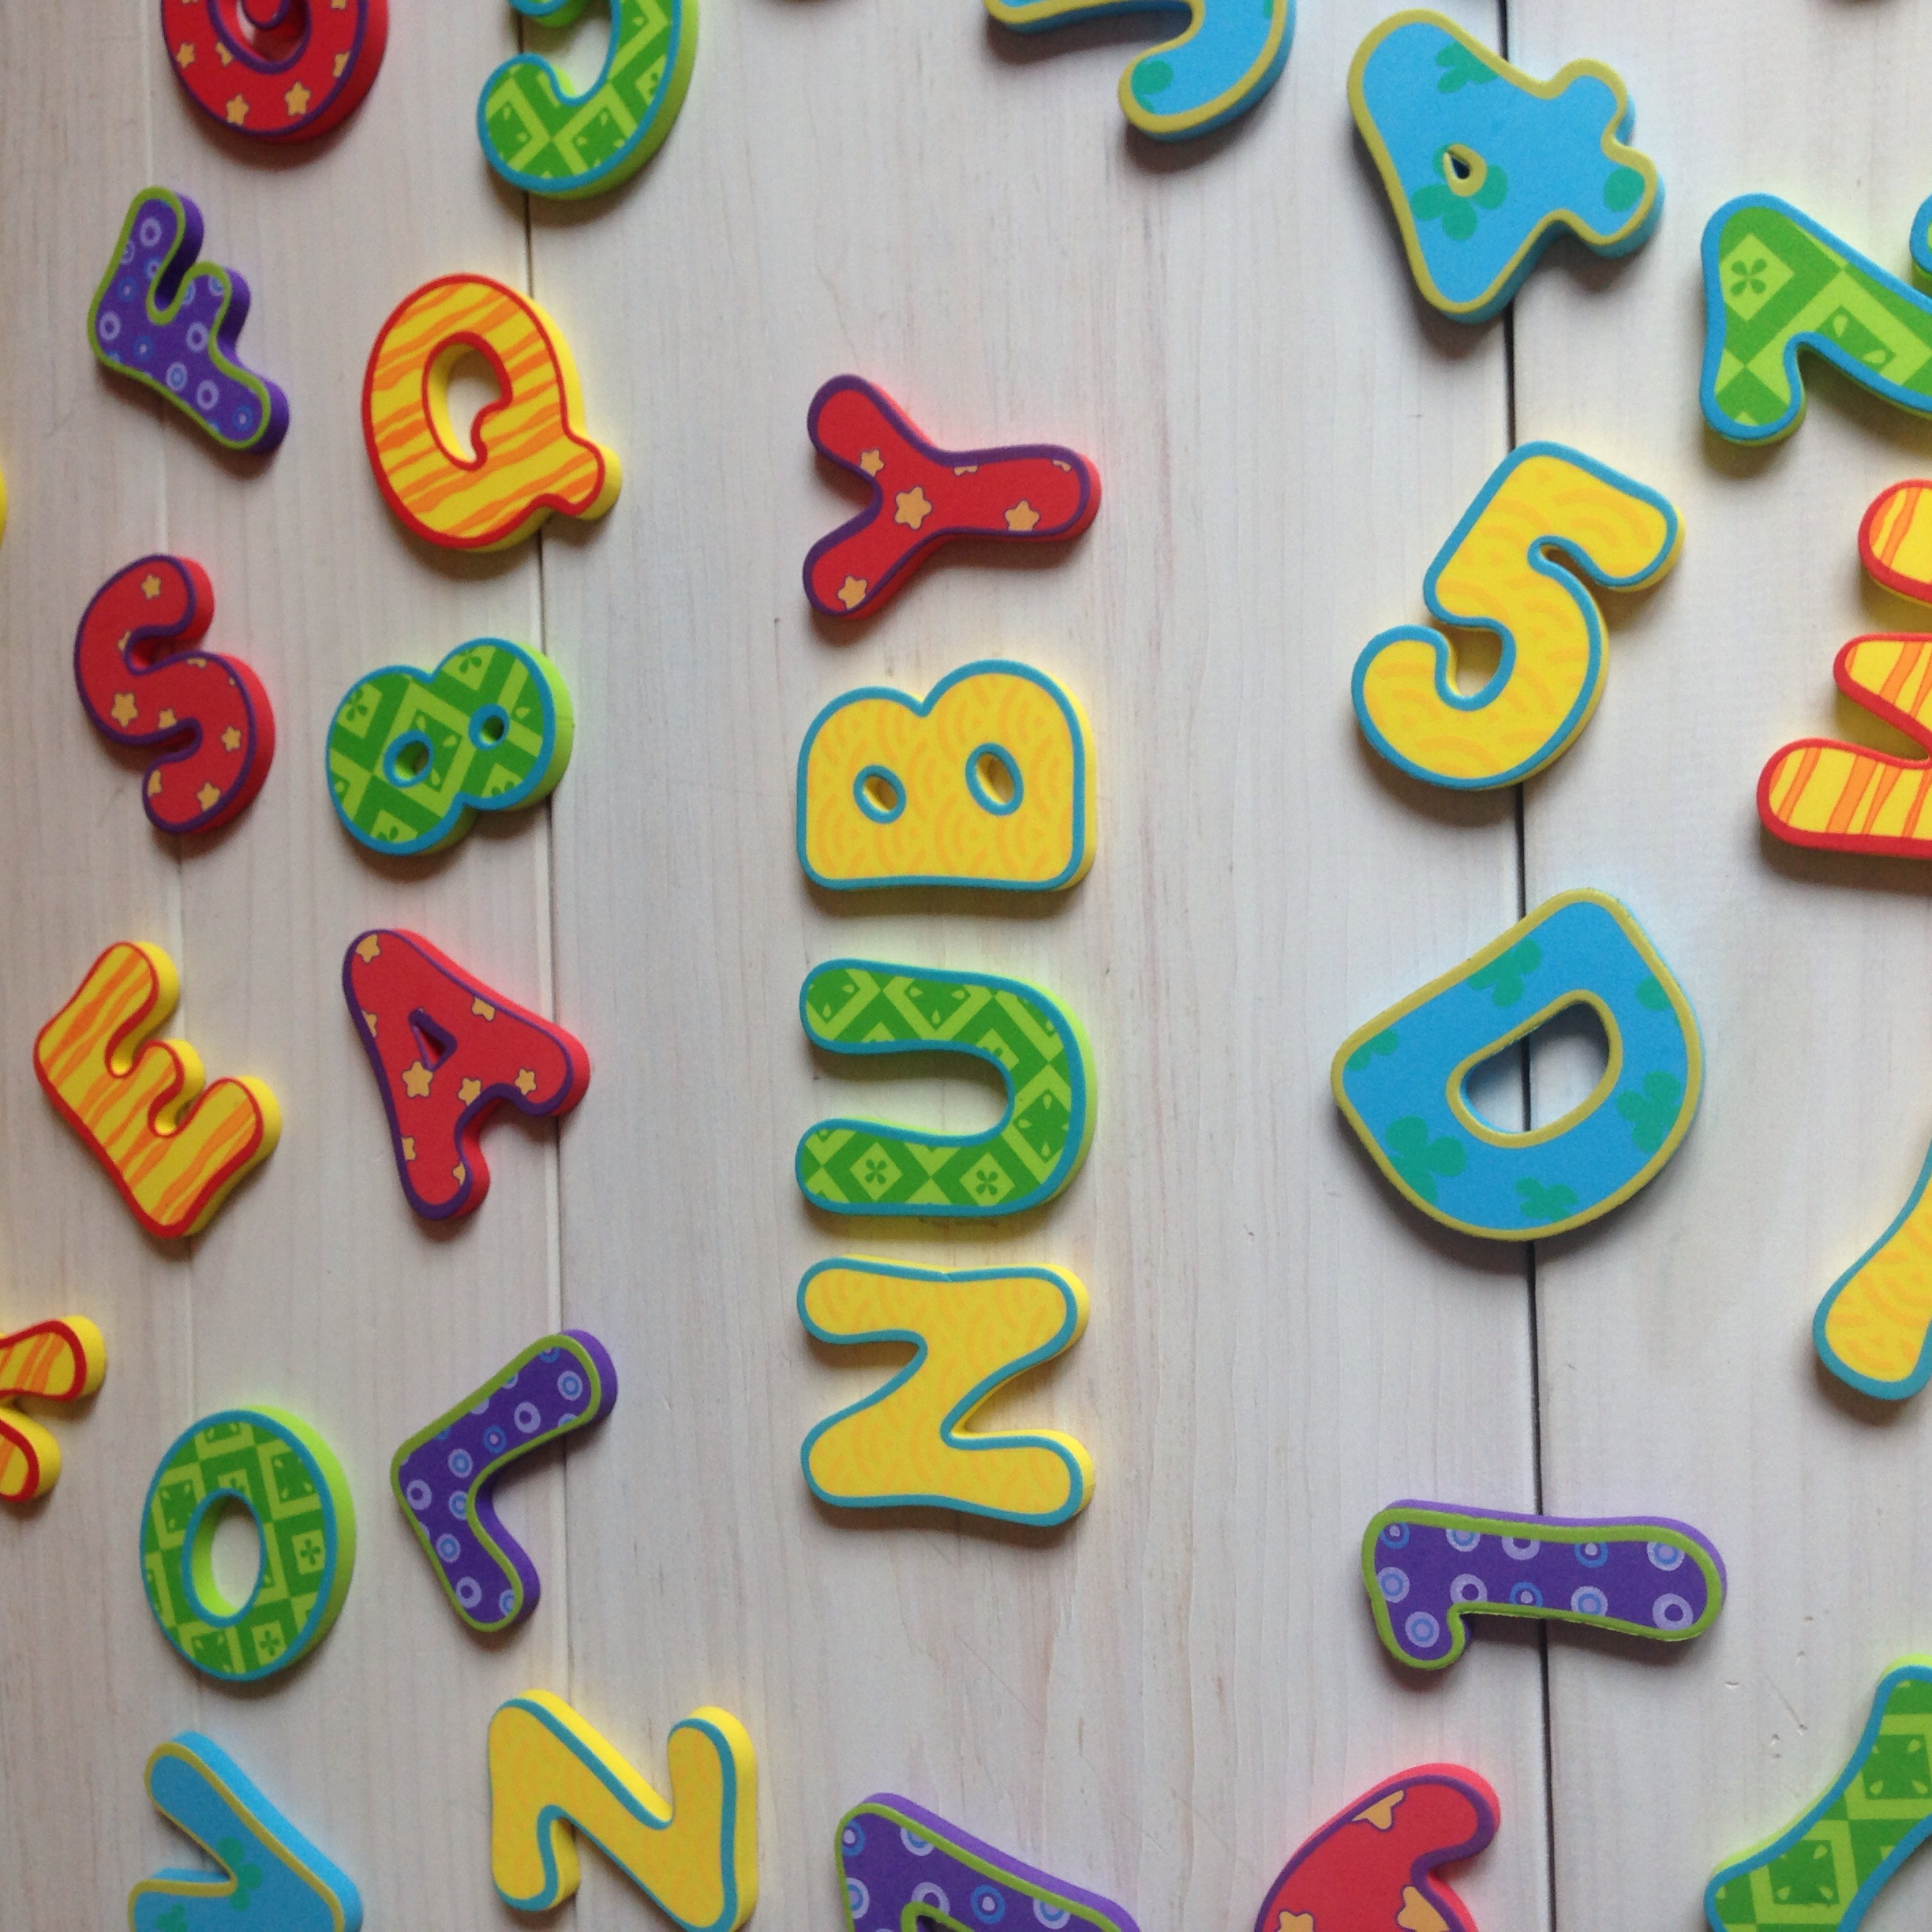
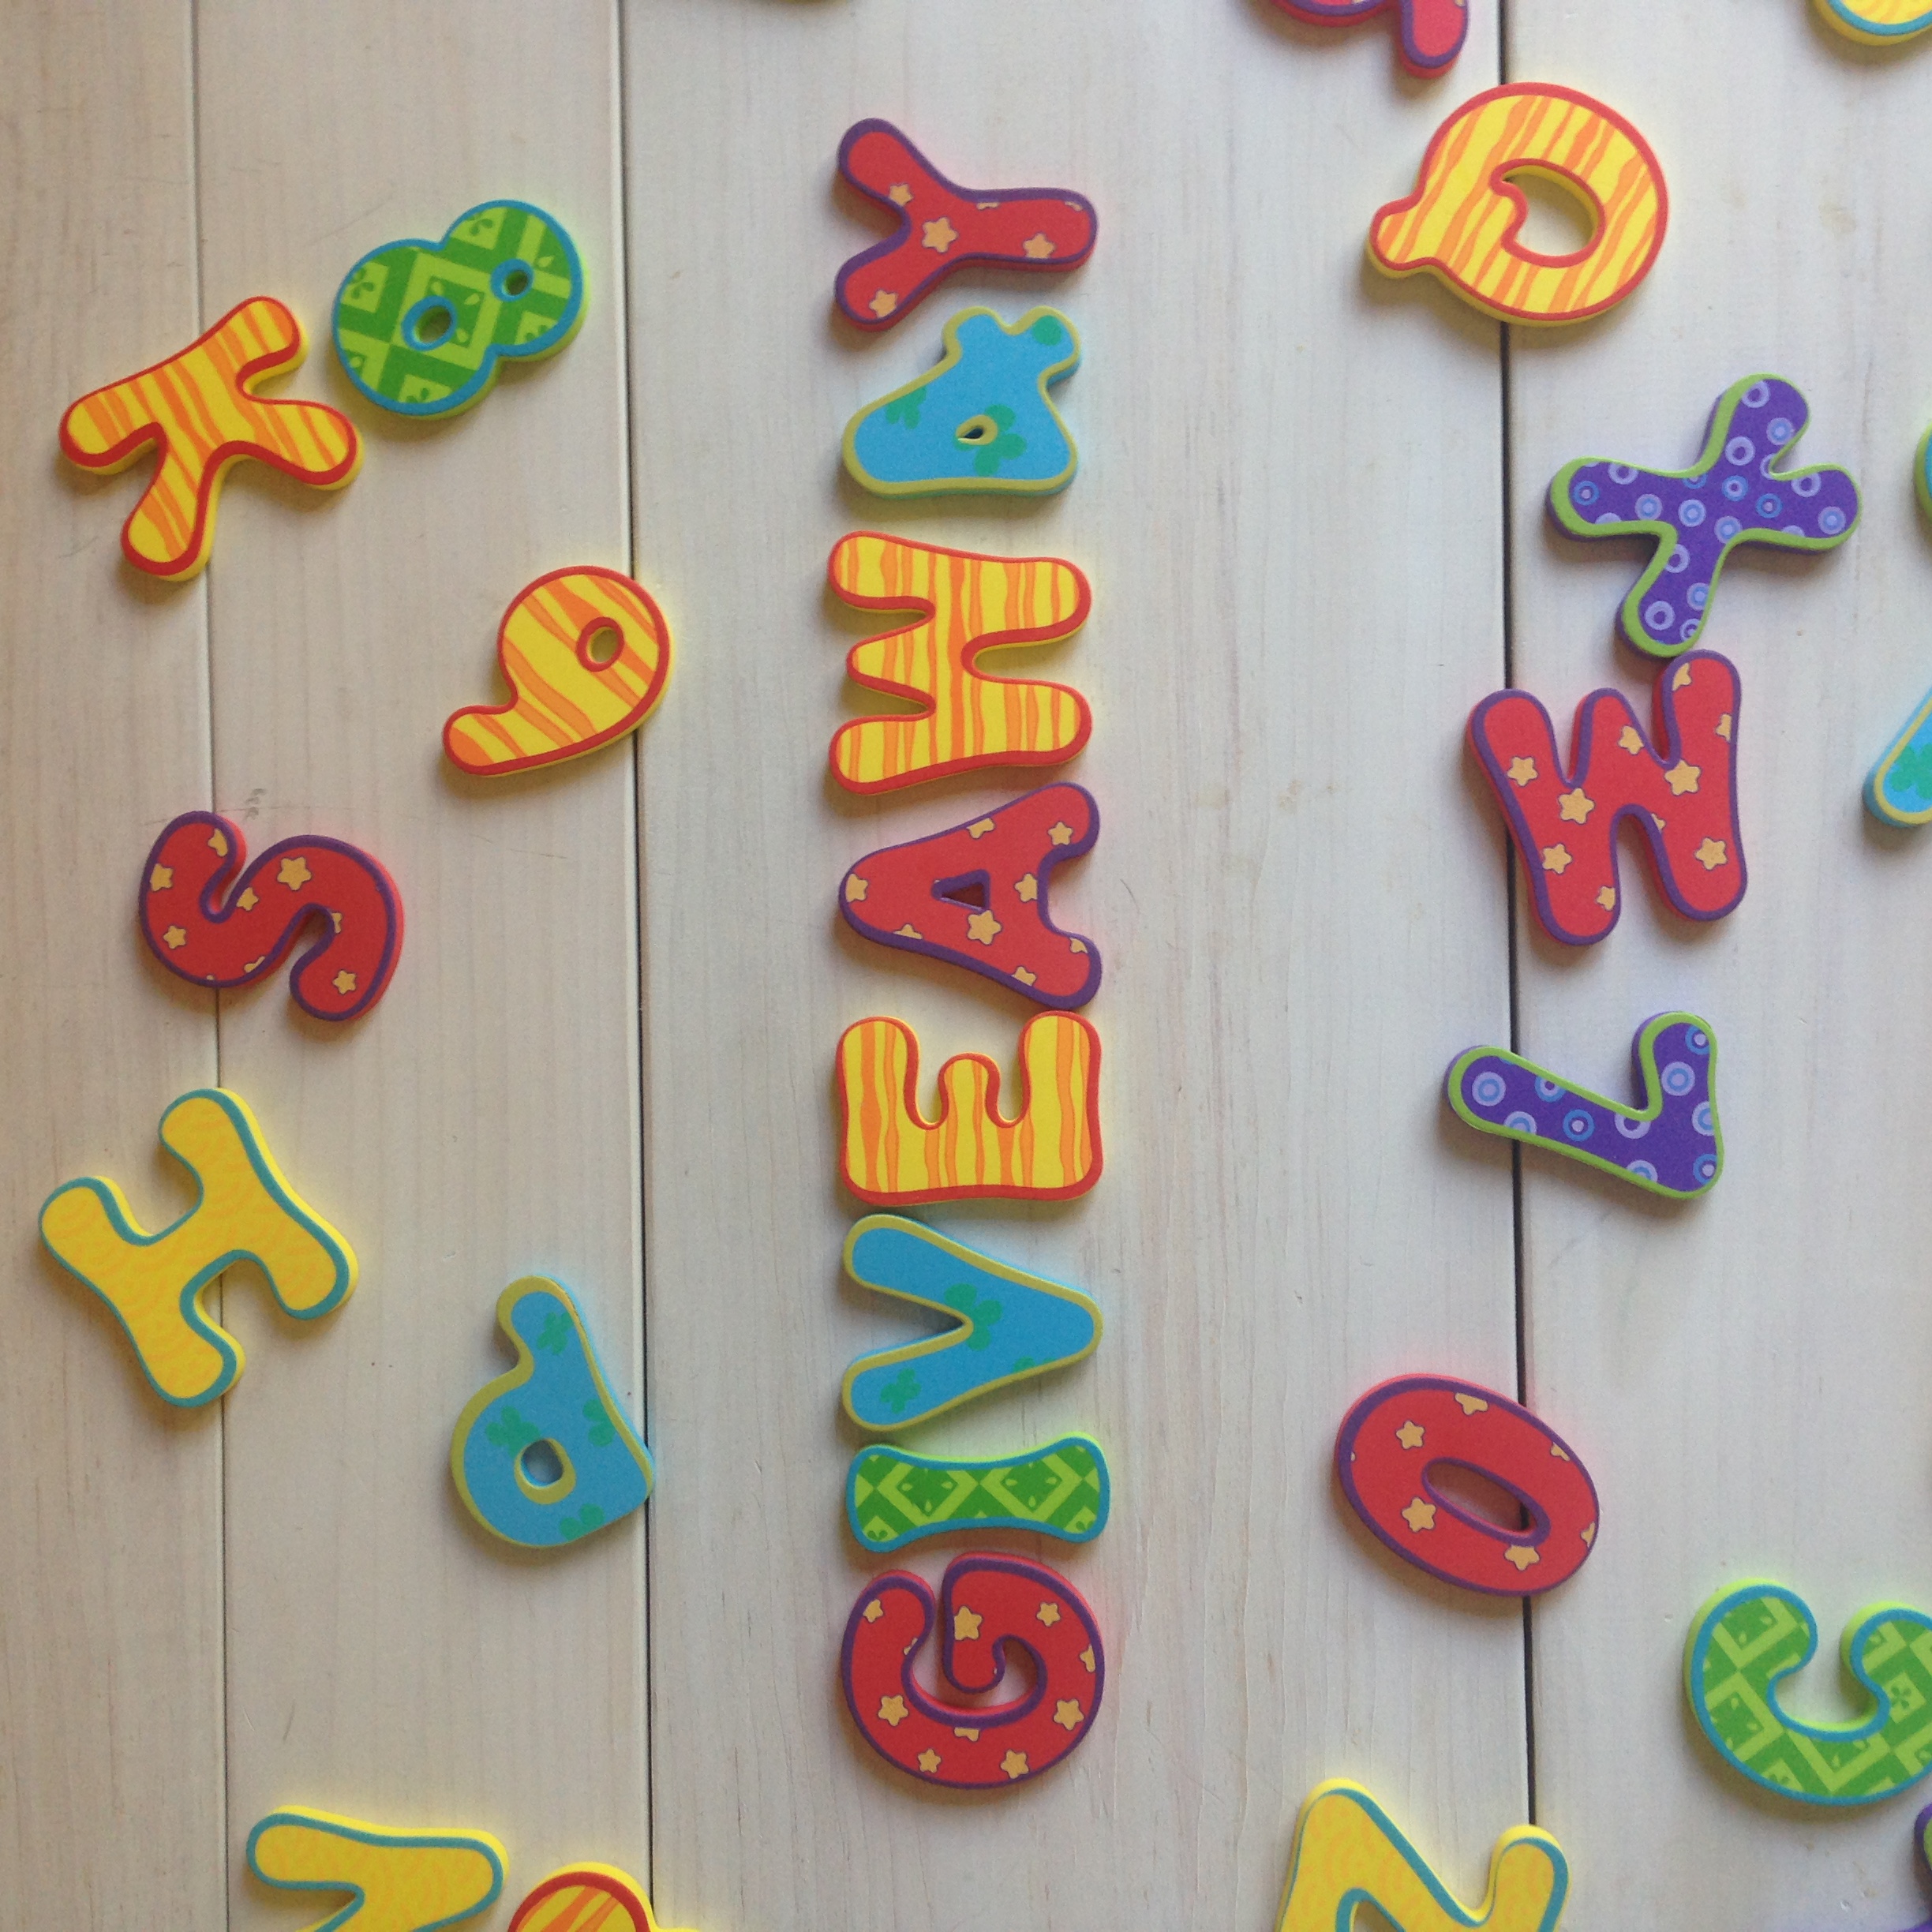
Today I'm reviewing Nûby's Bath Letters and Numbers - and to top it off we're giving away a set of these over on Instagram (details below)! | This post contains affiliate links and an honest review of products provided to us by Nuby |
I was so excited when we received these Bath Letters and Number to review from Nûby. I was looking for something a little different than the boats and rubber animals Miss M has now and I thought these foam letters would be a nice change of pace.
These bath letters are phthalate and BPA free which is very important to us, and are recommended for ages 18+ months. Right now Maddie just loves the colors and shapes of them but as she gets older these will be a great tool to teach numbers and letters. They stick remarkably well to the wall of the tub when wet, and our little one had a lot of fun moving them around and taking them on and off.
I initially had some reservations that these would stay wet for a long time and get yucky in storage but that wasn't the case at all - the foam dries remarkably fast and holding moisture isn't an issue. Overall these are a simple, fun toy for in and out of the tub.
*GIVEAWAY*
We've partnered with Nûby to give a set of these Bath Letters and Numbers to one lucky winner on Instagram! Follow me (@birchlandinghome) and find our giveaway post for details and to enter. Good luck!
- I received this item for review from Nûby but all opinions expressed are my own. Please see our full Disclosure Policy for more information -
Nûby's Bath Letters and Numbers can be purchased at BuyBabyDirect.com, Baby Depot, and Amazon.
Two of my favorite blogs, WillowCrowns and Olive & Tate, recently posted their views on how they work to protect their kids online and it opened my eyes to some of the new weird stuff that's going on out there (like baby role-playing, so creepy). Everybody has their own opinion of what's okay or safe to share or not to share and I have to warn I take a much more overly-cautious approach than most. I encourage you to read Megan and Stephanie's posts to see their tips, which I think would be of help for most bloggers who still want to share a lot of personal photos with the world.
For me, I try very hard to keep public photos of our little one to an extreme minimum. I don't have her in my profile pictures or cover photos and all my personal accounts are locked down to "friends only." Even still, I try not to post too many photos of her even on my private accounts. Instead I do share a lot of photos with family and close friends in texts or e-mails (sorry for filling up your inboxes, guys!). I feel like I have a lot more control over who has access to the pictures I share this way.
I know as a blogger the best way to make a personal connection with your audience is to share personal photos and stories of your life, and while many of the blogs I enjoy reading most do just that I'm not willing to risk putting all that out there.
I'm certainly not an internet privacy expert, and my tips aren't 100% fool-proof, but I encourage you to read on for some basic tips I feel are very important for everyone.
Basic Internet Safety Tips
If you have a blog or a business, create separate accounts (Facebook, Twitter, Instagram) for personal use and for public use. Make sure all your personal accounts are locked down to "private."
Never use photos of your children or your home in your profile or cover photos.
Go through your friends list and make sure you're okay sharing information with everyone on it. If not, consider un-friending people or moving them to a "Restricted/Limited Profile" List (this feature is available on Facebook).
Turn off Geotagging on photos which could be used to pinpoint the exact places your photos are taken, even right down to your living room. A quick explanation and how-to video on how to turn it off can be found here.
Never publicly check-in or add locations to photos - and don't use the "Name this Location" feature on Instagram (at least not publicly), even to put in witty headlines. I don't know how many times I've seen a fellow blogger use the Name this Location field on Instagram to put in a plug for their website or a sale. However, if you're not careful, it records exactly where you posted that picture from. If someone clicks on that field it then brings up a map and you can zoom right down to the street view of wherever the picture is posted from (in other words, you just showed everyone on the internet exactly where you live).
If you have a blog or business, get a PO Box and don't use your home address. Make sure to use the PO Box for all business correspondence, return addresses on product you're shipping out, and to receive products for collabs or to review.
Am I a little over-protective? Probably. But watermarks can be photoshopped out, photos can be stolen, locations can be pinpointed.. unfortunately it's the age we live in and I think everyone - blogger or not - needs to be aware and a little more wary.
Do you have any other basic internet privacy tips to add? Please share them below.
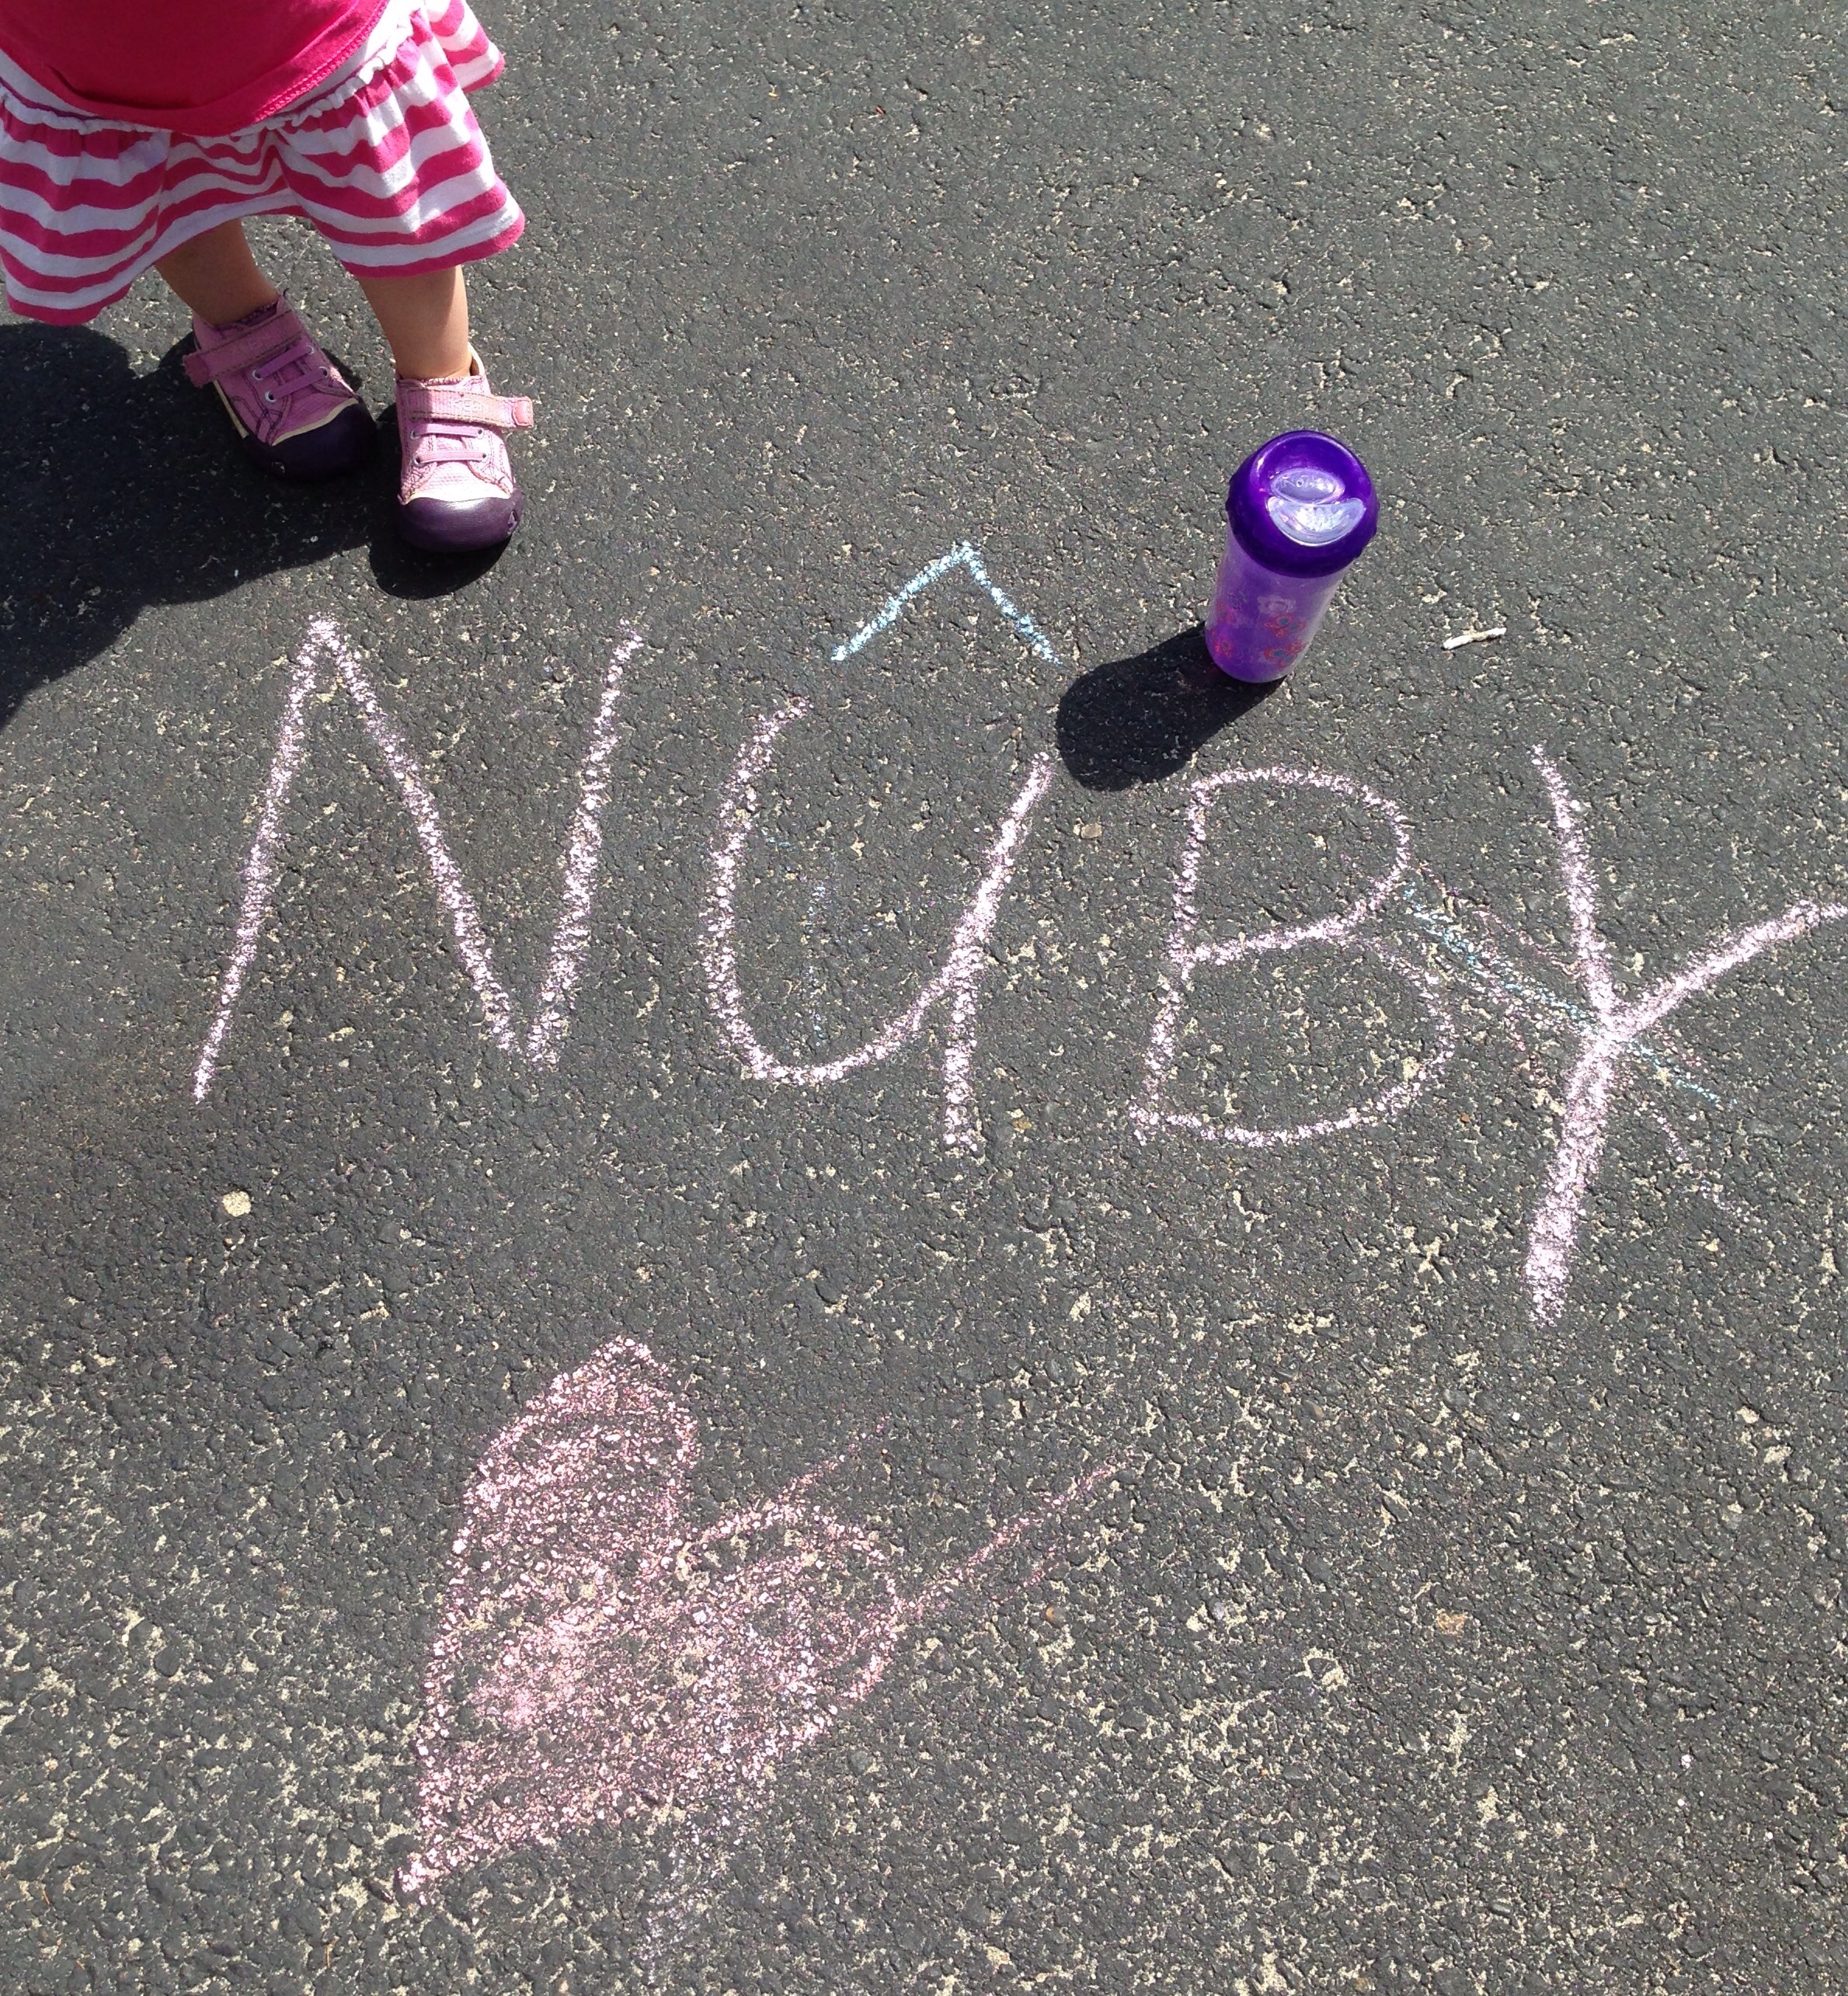
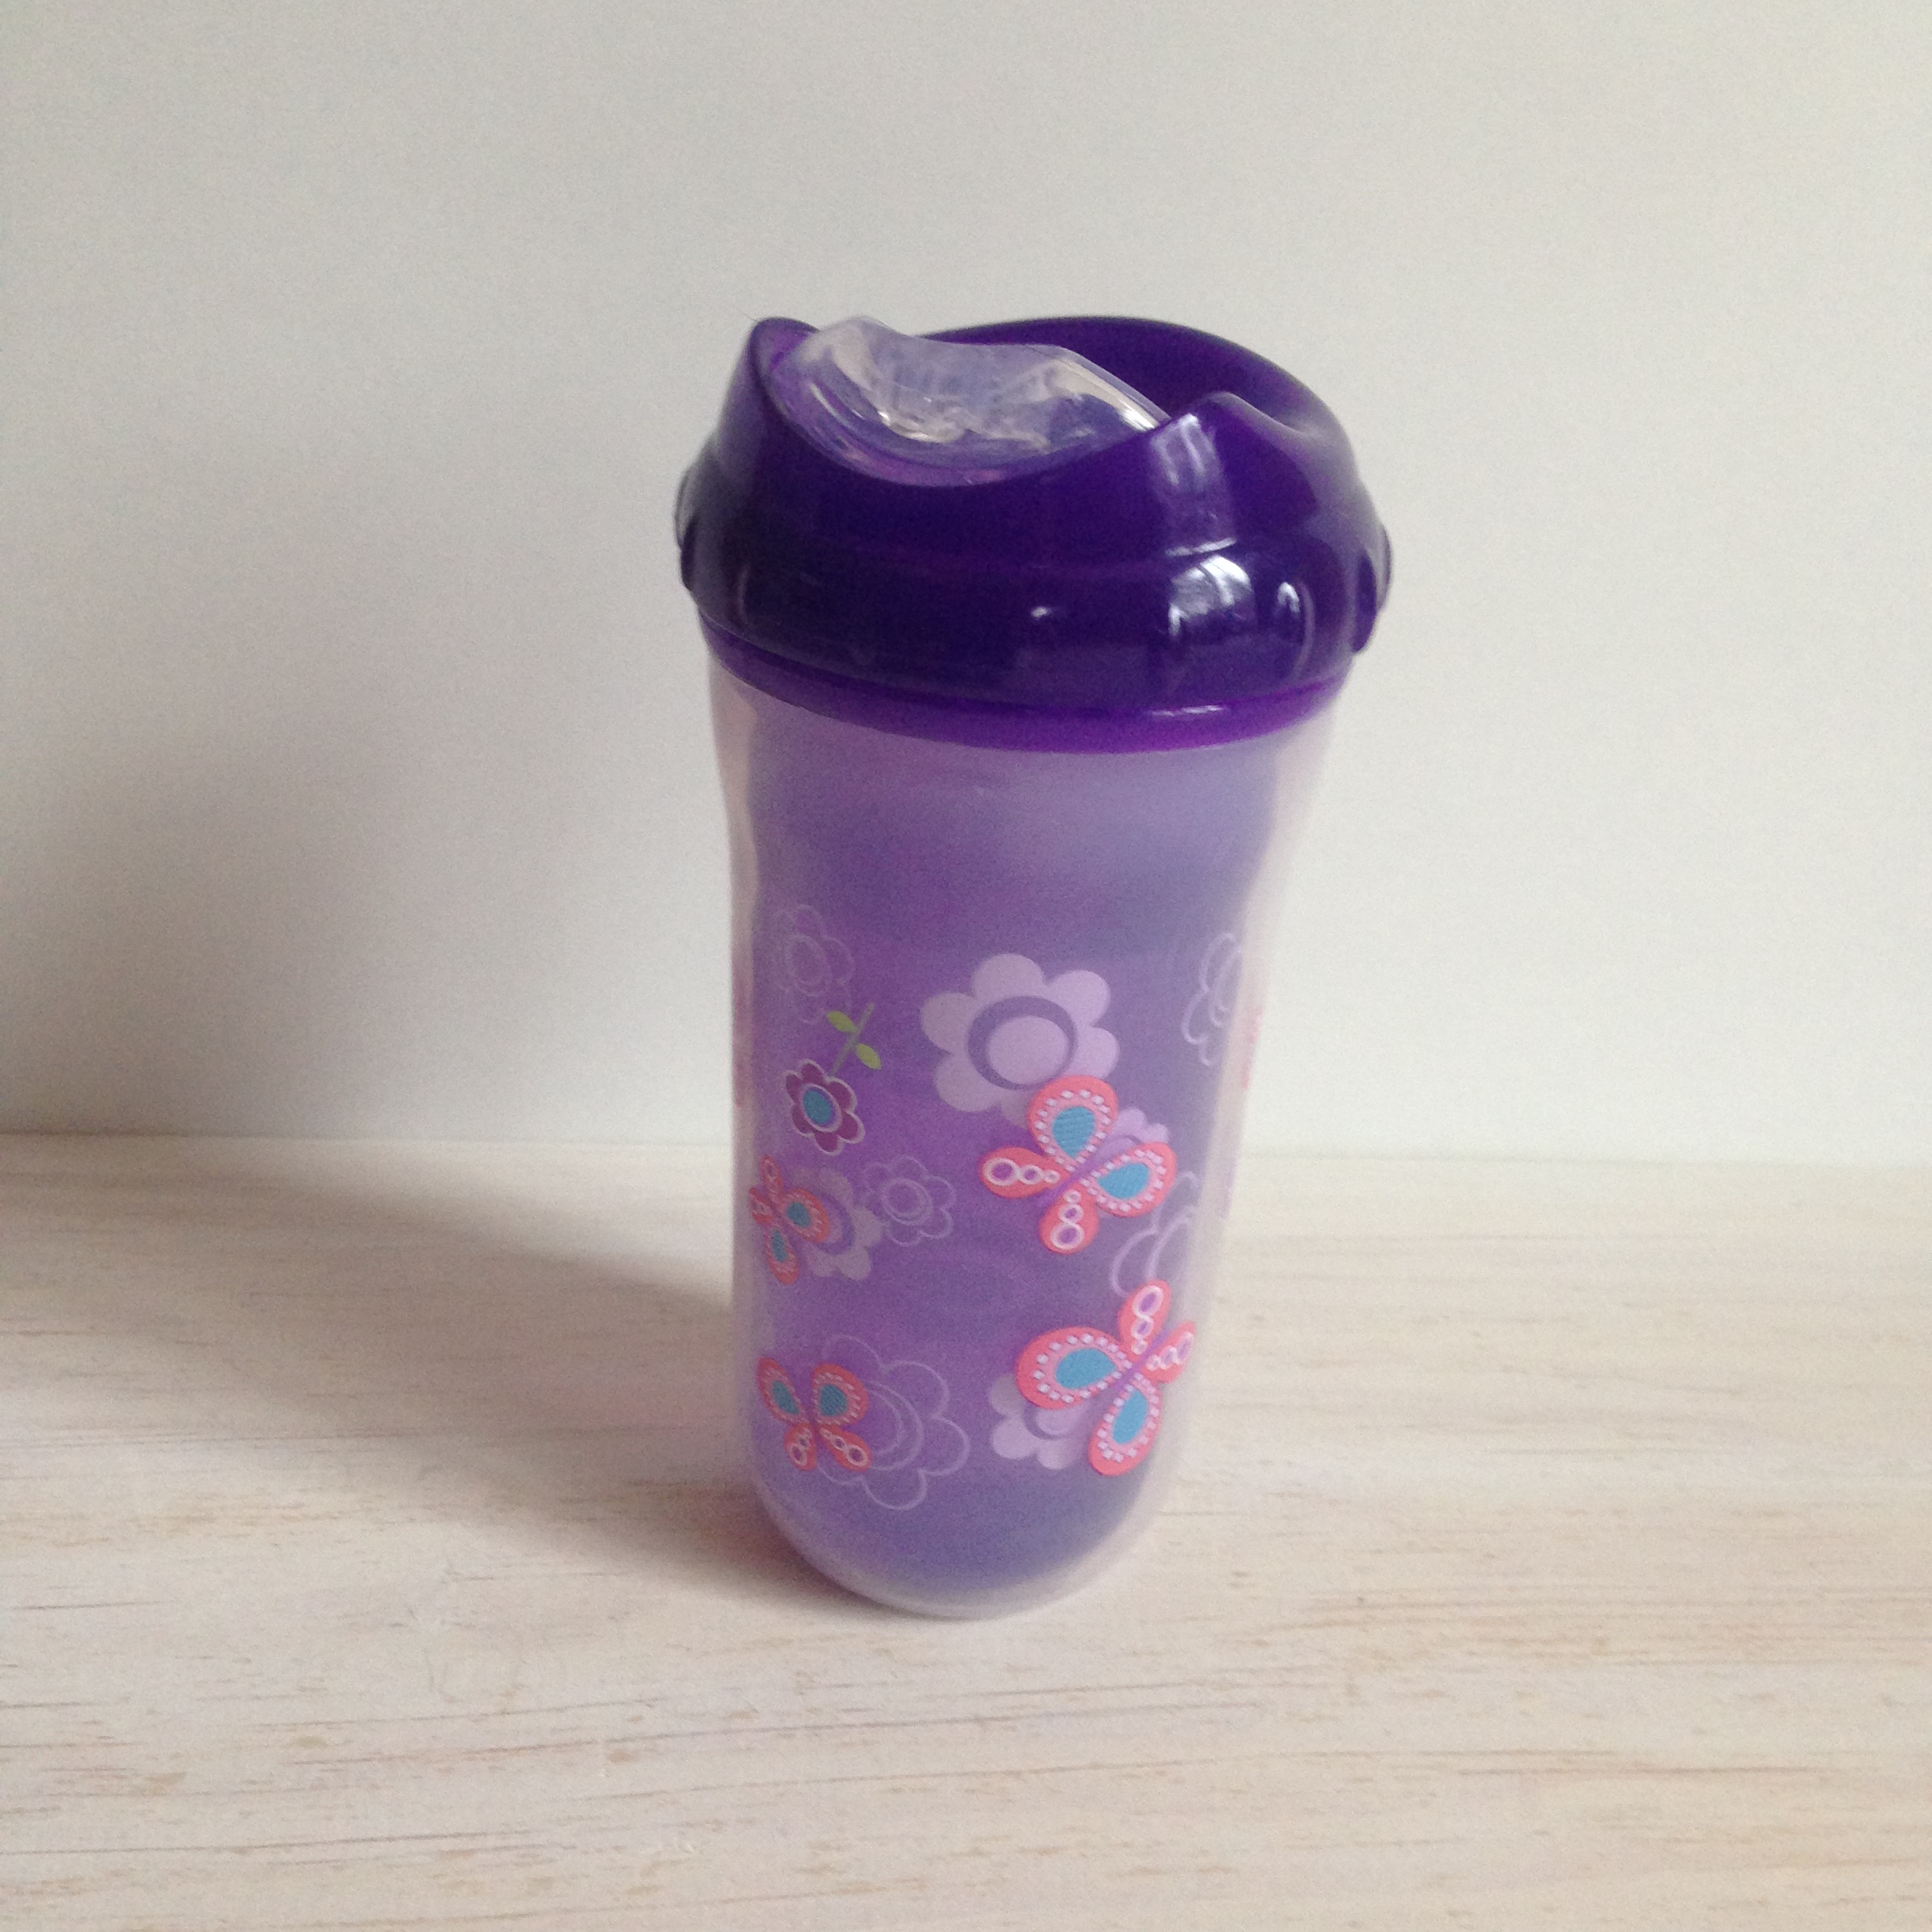
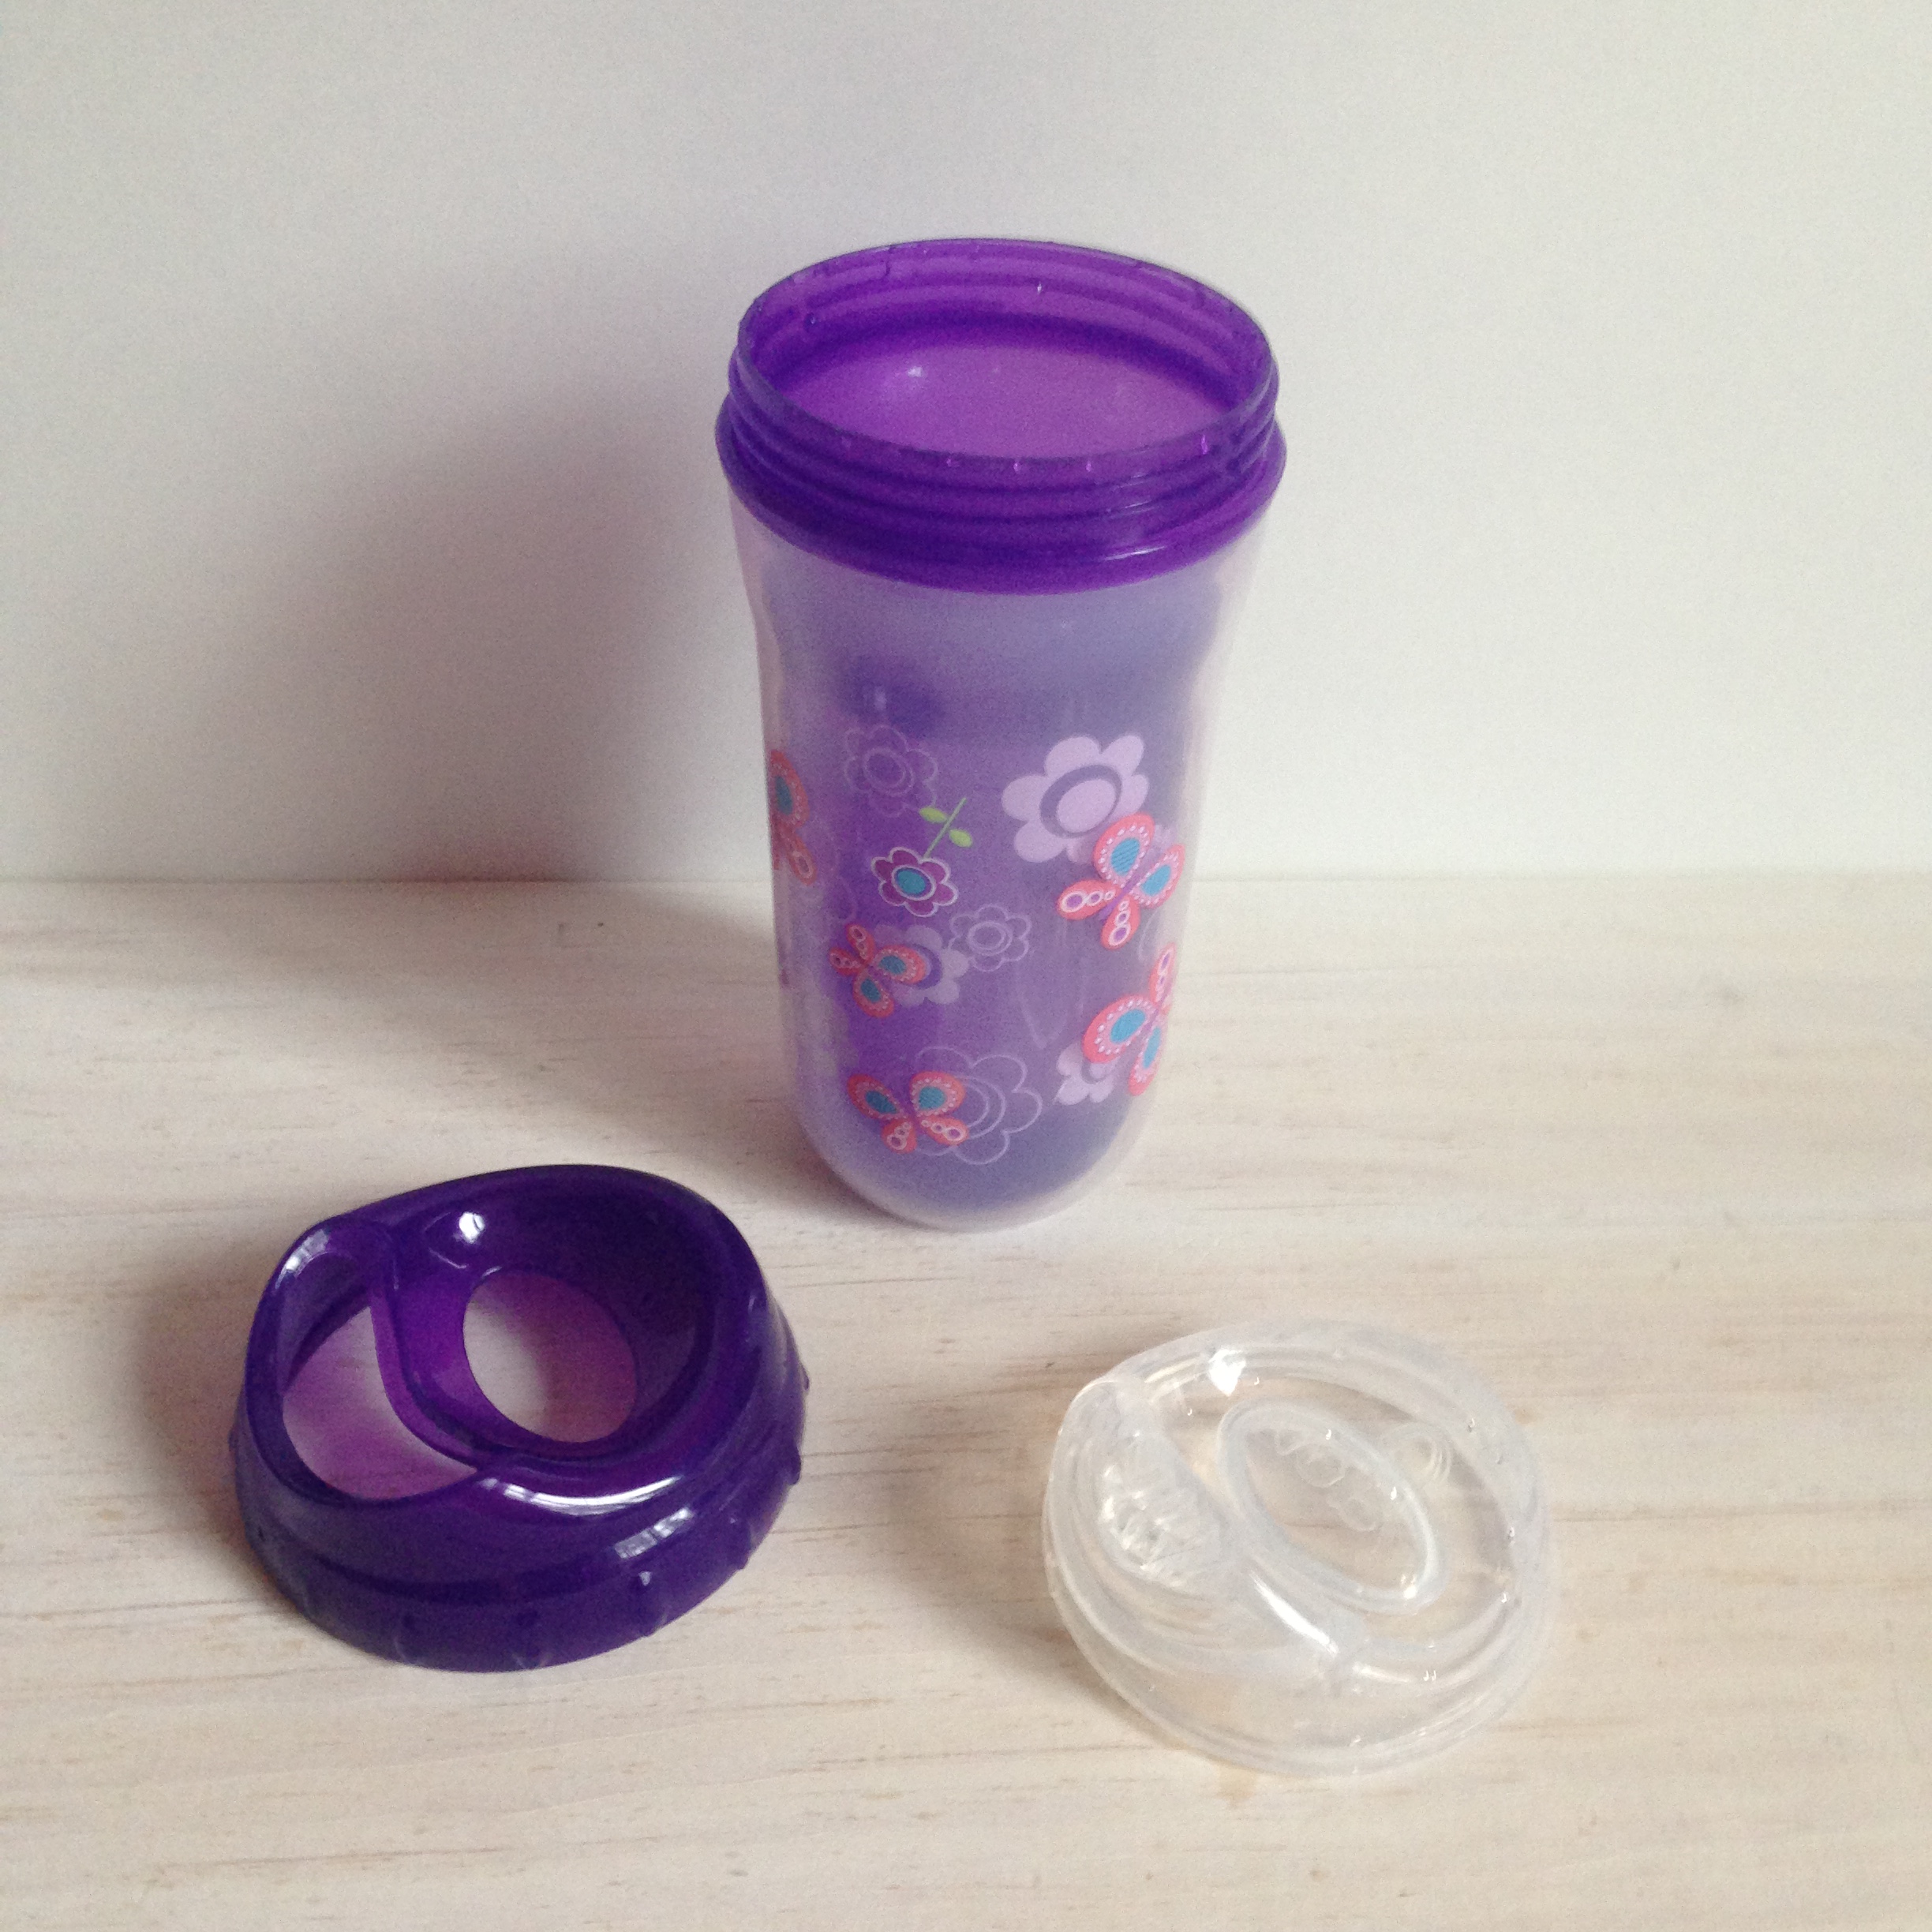
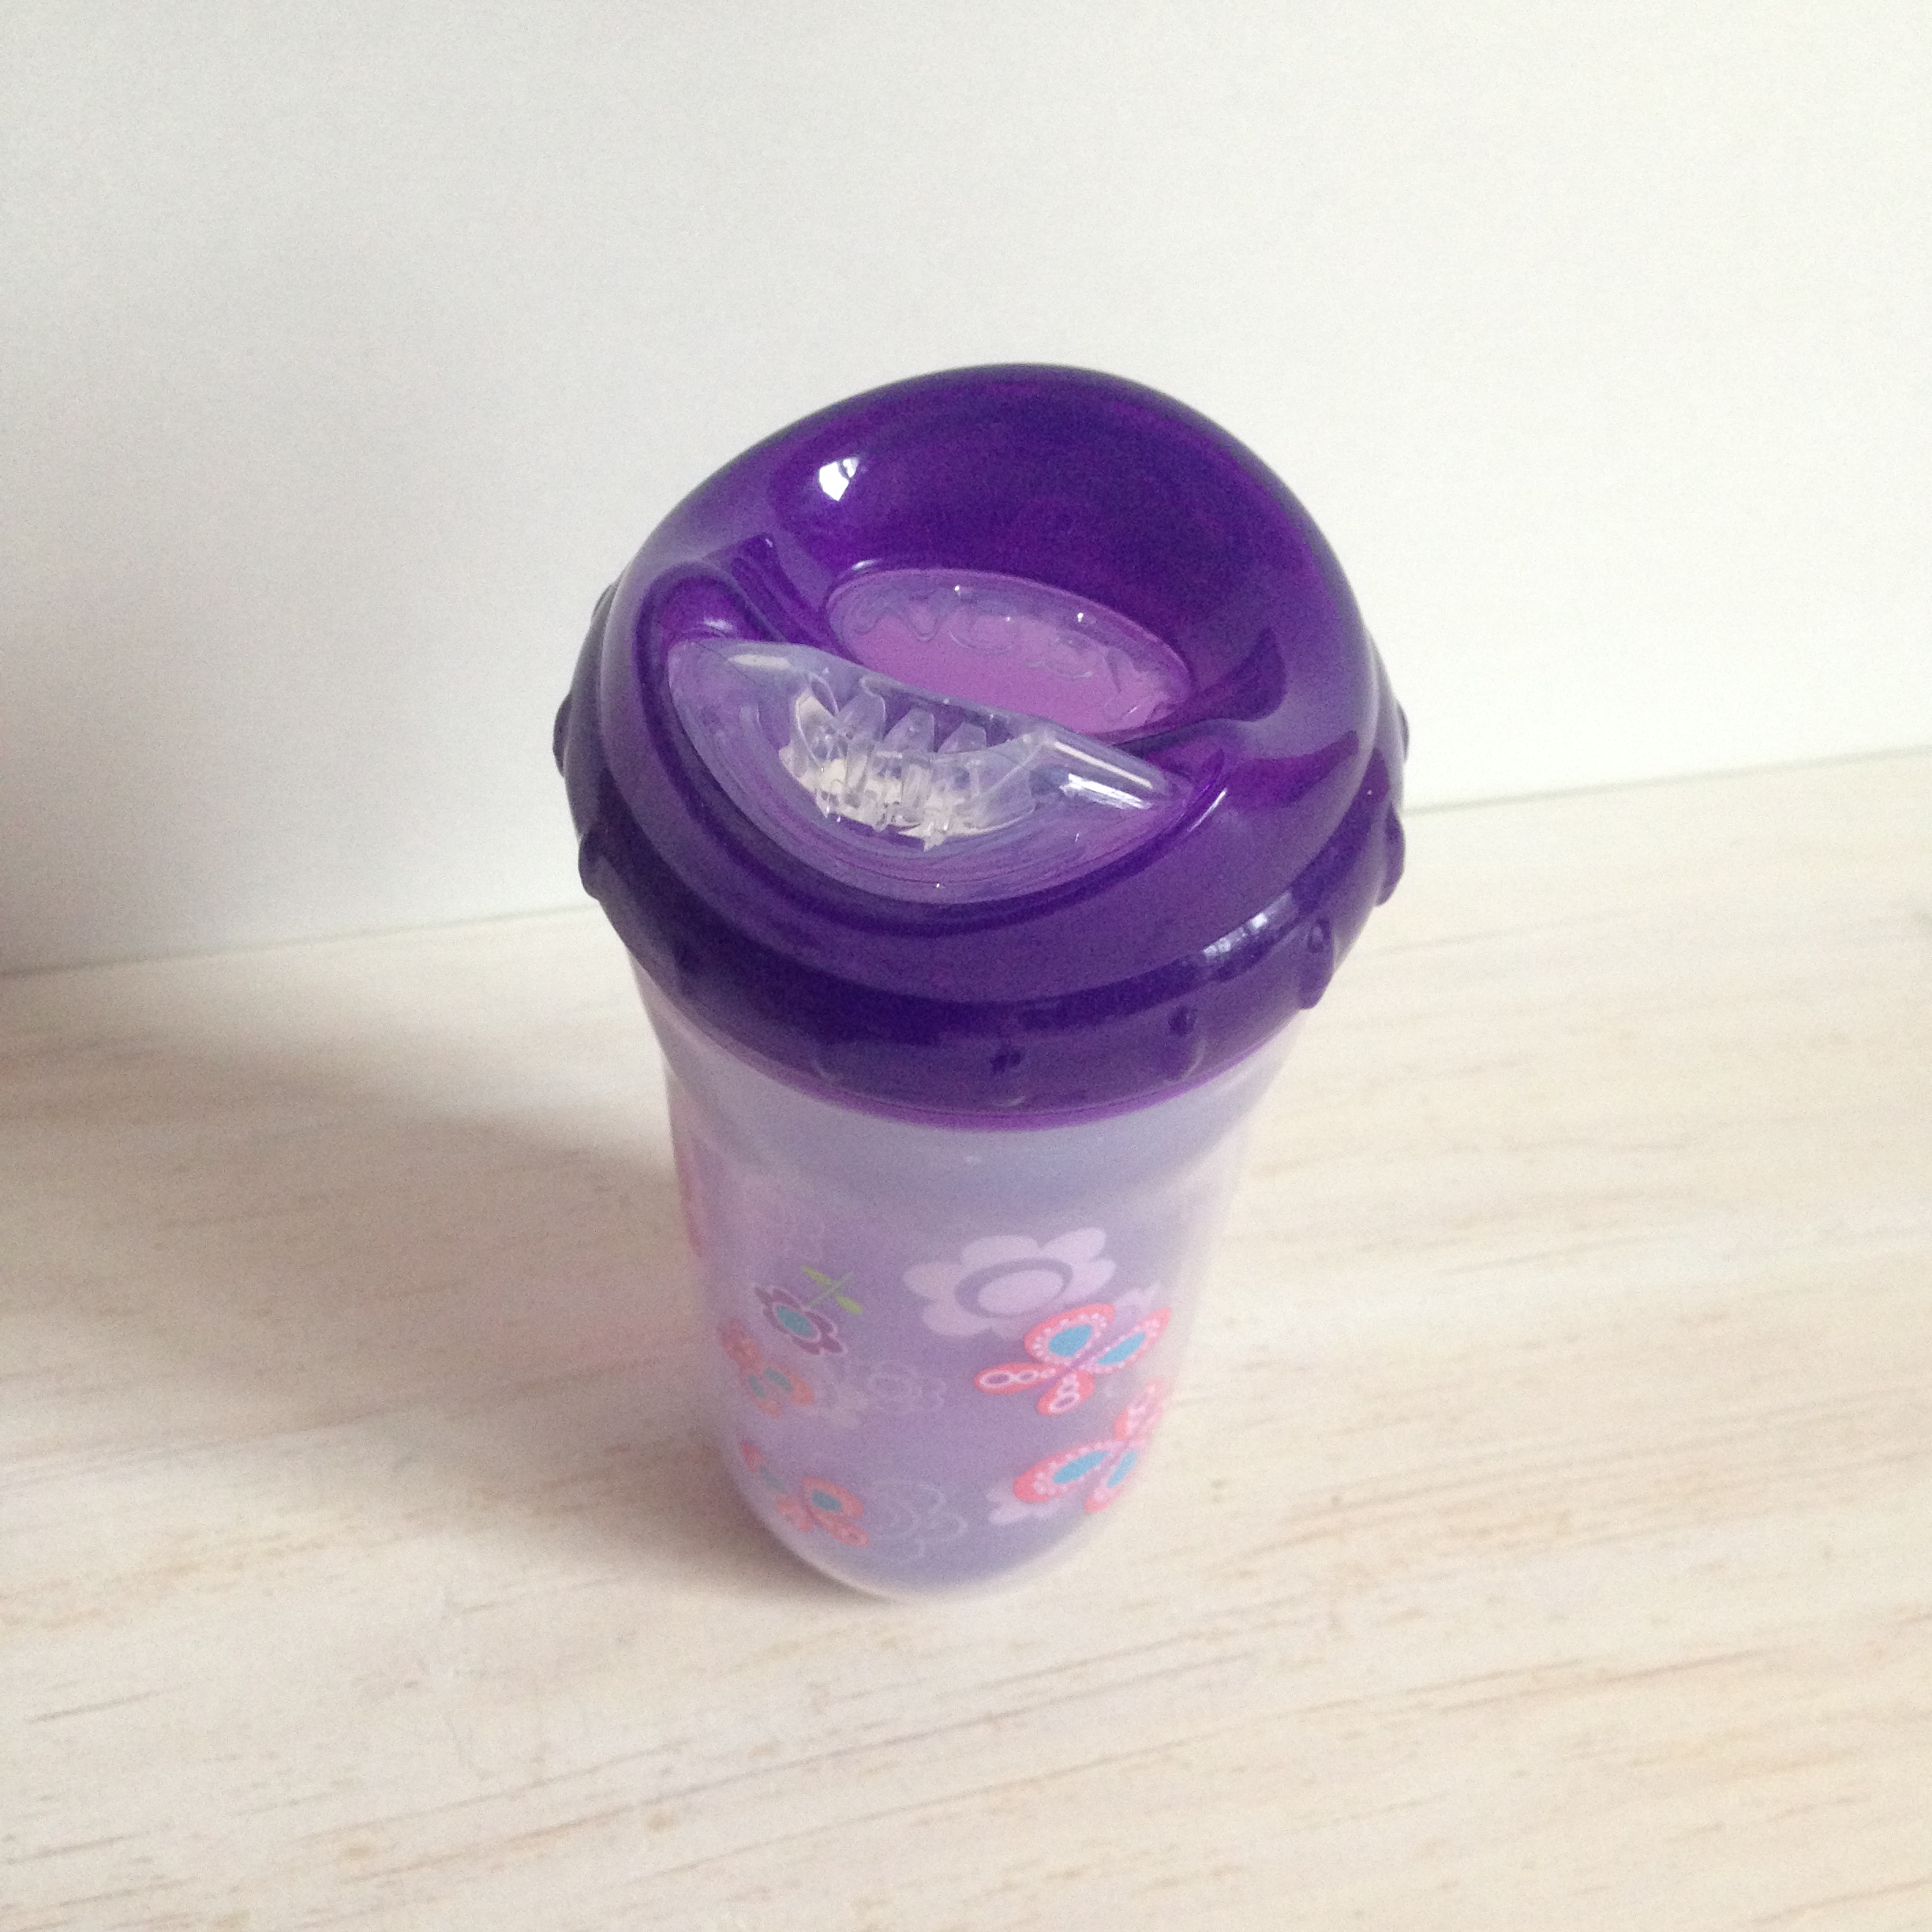
The last few days have been hot in New England and it (finally) feels like spring. Even the last bit of snowbank in our yard has finally melted too - hooray! I thought a warm day like today would be a great time to review our Nûby No-Spill Insulated Cool Sipper Cup. | This post contains affiliate links and an honest review of products provided by Nûby |
This cup is a Step 4 training cup and is recommended for ages 18-months+. Maddie is almost 17 months old and I think for most toddlers you could introduce this cup to them a little early if they seem ready. Maddie has always been a bit behind in her oral development and so it took her a little longer than I think it would for most kids to get the hang of how to tip the cup up and sip through the spout, but she did it. I can certainly see how this cup helps transition little ones to drink from an open cup.
The cup has an insulated base which helped keep Miss M's water cold while we were drawing with chalk out on the hot pavement. It has a soft silicone spout and is BPA-free which is very important to us. I really liked that the cup only has three parts (cup, spout, and threaded top), which is so much easier to clean than the straw cups with a million parts that Maddie is currently using. I'd say the only improvement that could make it easier to clean would be to make it dishwasher safe.
- I received this item for review from Nûby but all opinions expressed are my own. Please read our full Disclosure Policy for more information. -
Nûby's No-Spill Insulated Cool Sipper can be purchased at Amazon and Big Lots.
I had to share this picture, I just love the sun that comes in the craft room in the morning. It makes you want to get started on some projects.. now if only a little one would let me get some work done ;)
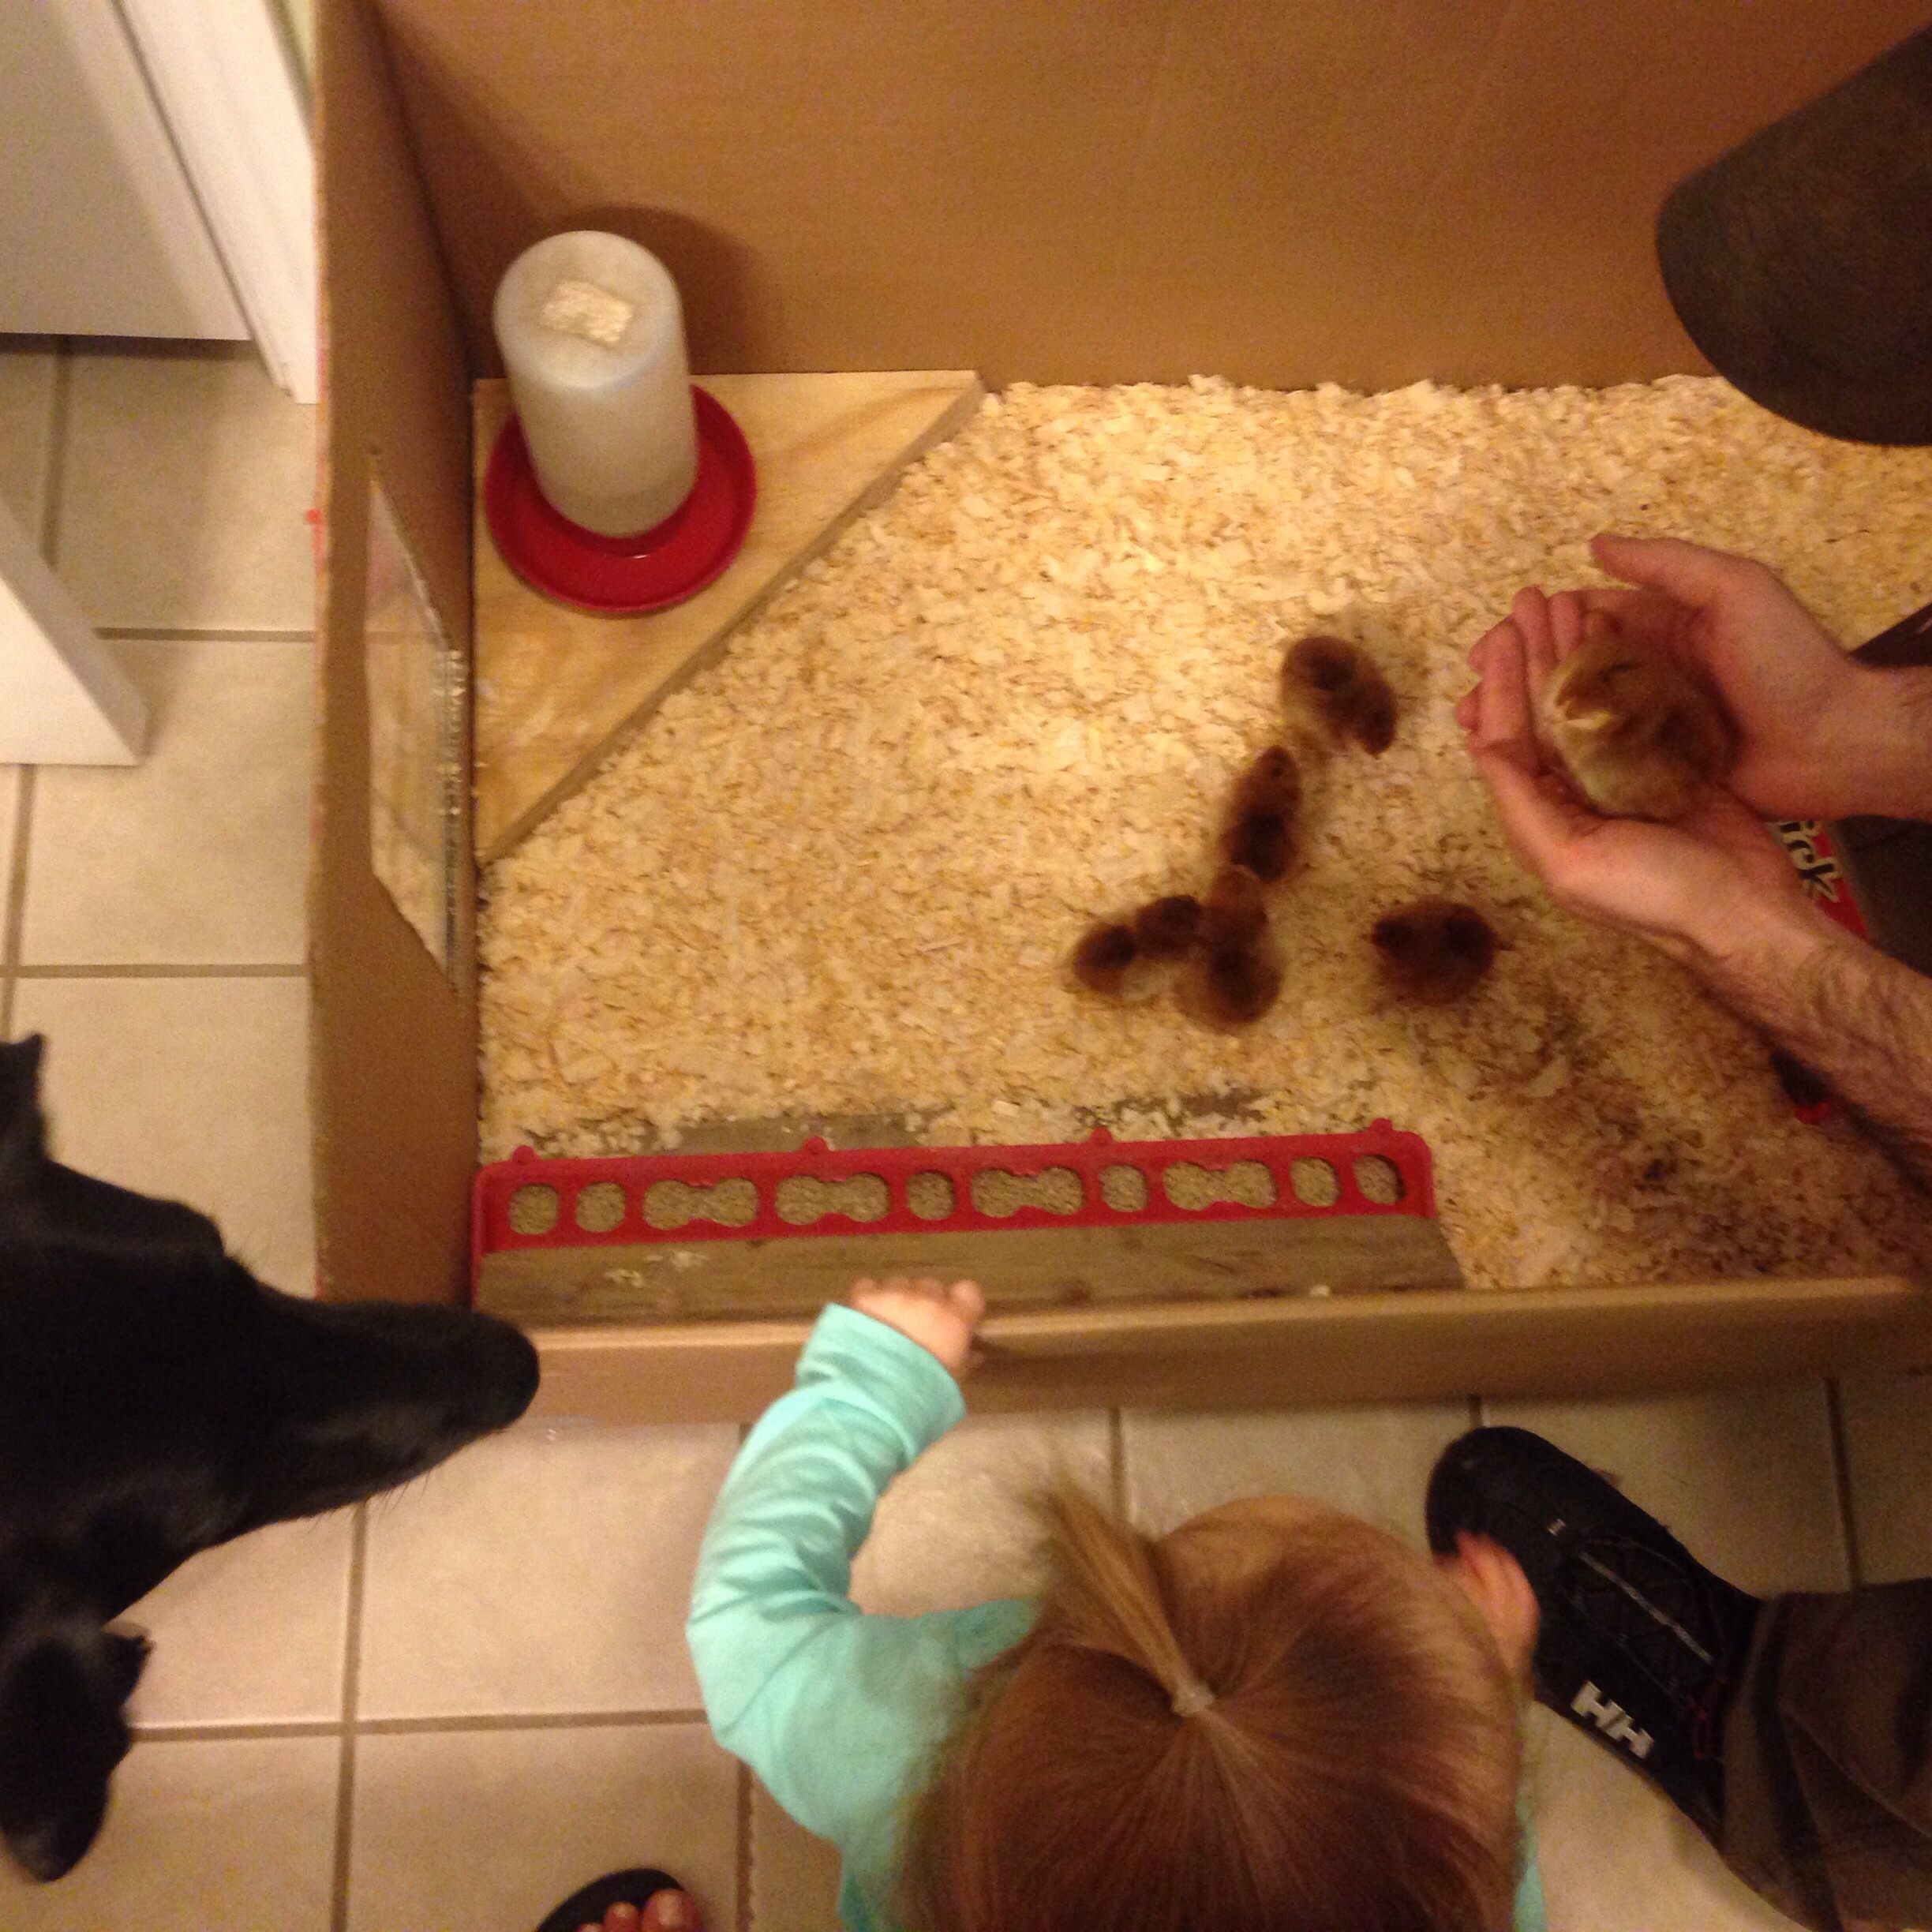
This past week we grew our family by six! Six little baby chicks, that is. I've always wanted chickens and goats for as long as I can remember and while goats are a no-go in our neighborhood, chickens are something we can do! Our little one LOVES animals so we figured now would be a great time to introduce some chickens to our family.
It's. So. FLUFFY!
As far as breed goes, we were hoping to get New Hampshire Reds but chickens are getting to be a hot commodity around here and were selling out fast at all the local farm & garden stores. Therefore we decided to settle for Rhode Island Reds instead, a very similar breed.
| Keeping Chickens by Ashley English |
My husband has grown up with chickens so we already have an experienced chicken farmer in the house, but since I don't know too much about keeping chickens I've been doing my homework ;)
Meeting the girls! Miss M loved the chicks and kept laughing and pointing at them while Harley didn't really care much about them at all. That's pretty funny because if Harley sees a robin in the lawn she will charge it and chase it out of the yard in a heartbeat.
Sorry this bathroom is occupied!
Our guest bathroom will be home to these ladies for the next month or so until they get big enough to move to the coop. In this box they have shavings, water, chick starter feed, and a heat lamp above. Hubby made a window out of Plexiglas so Miss M and Harley can keep an eye on the chickies (we put a baby gate across the doorway so they can't get too close though).
It's just incredible how fast they grow! In less than a week they went from sweet, tiny little balls of fluff to much more wary, bigger little chickens - complete with wings and tail feathers coming in. It won't be too much longer until we can move them out into the coop!