I'm a wife, stay-at-home mom, crafter, and blogger living in rural New England. As seen in Martha Stewart Living, Food Network Magazine, and more! | Tutorials, DIY, crafts, parenting tips, recipes, money saving tips, product reviews, local product features, New England living, intentional living, and more! |
I had to share this picture, I just love the sun that comes in the craft room in the morning. It makes you want to get started on some projects.. now if only a little one would let me get some work done ;)
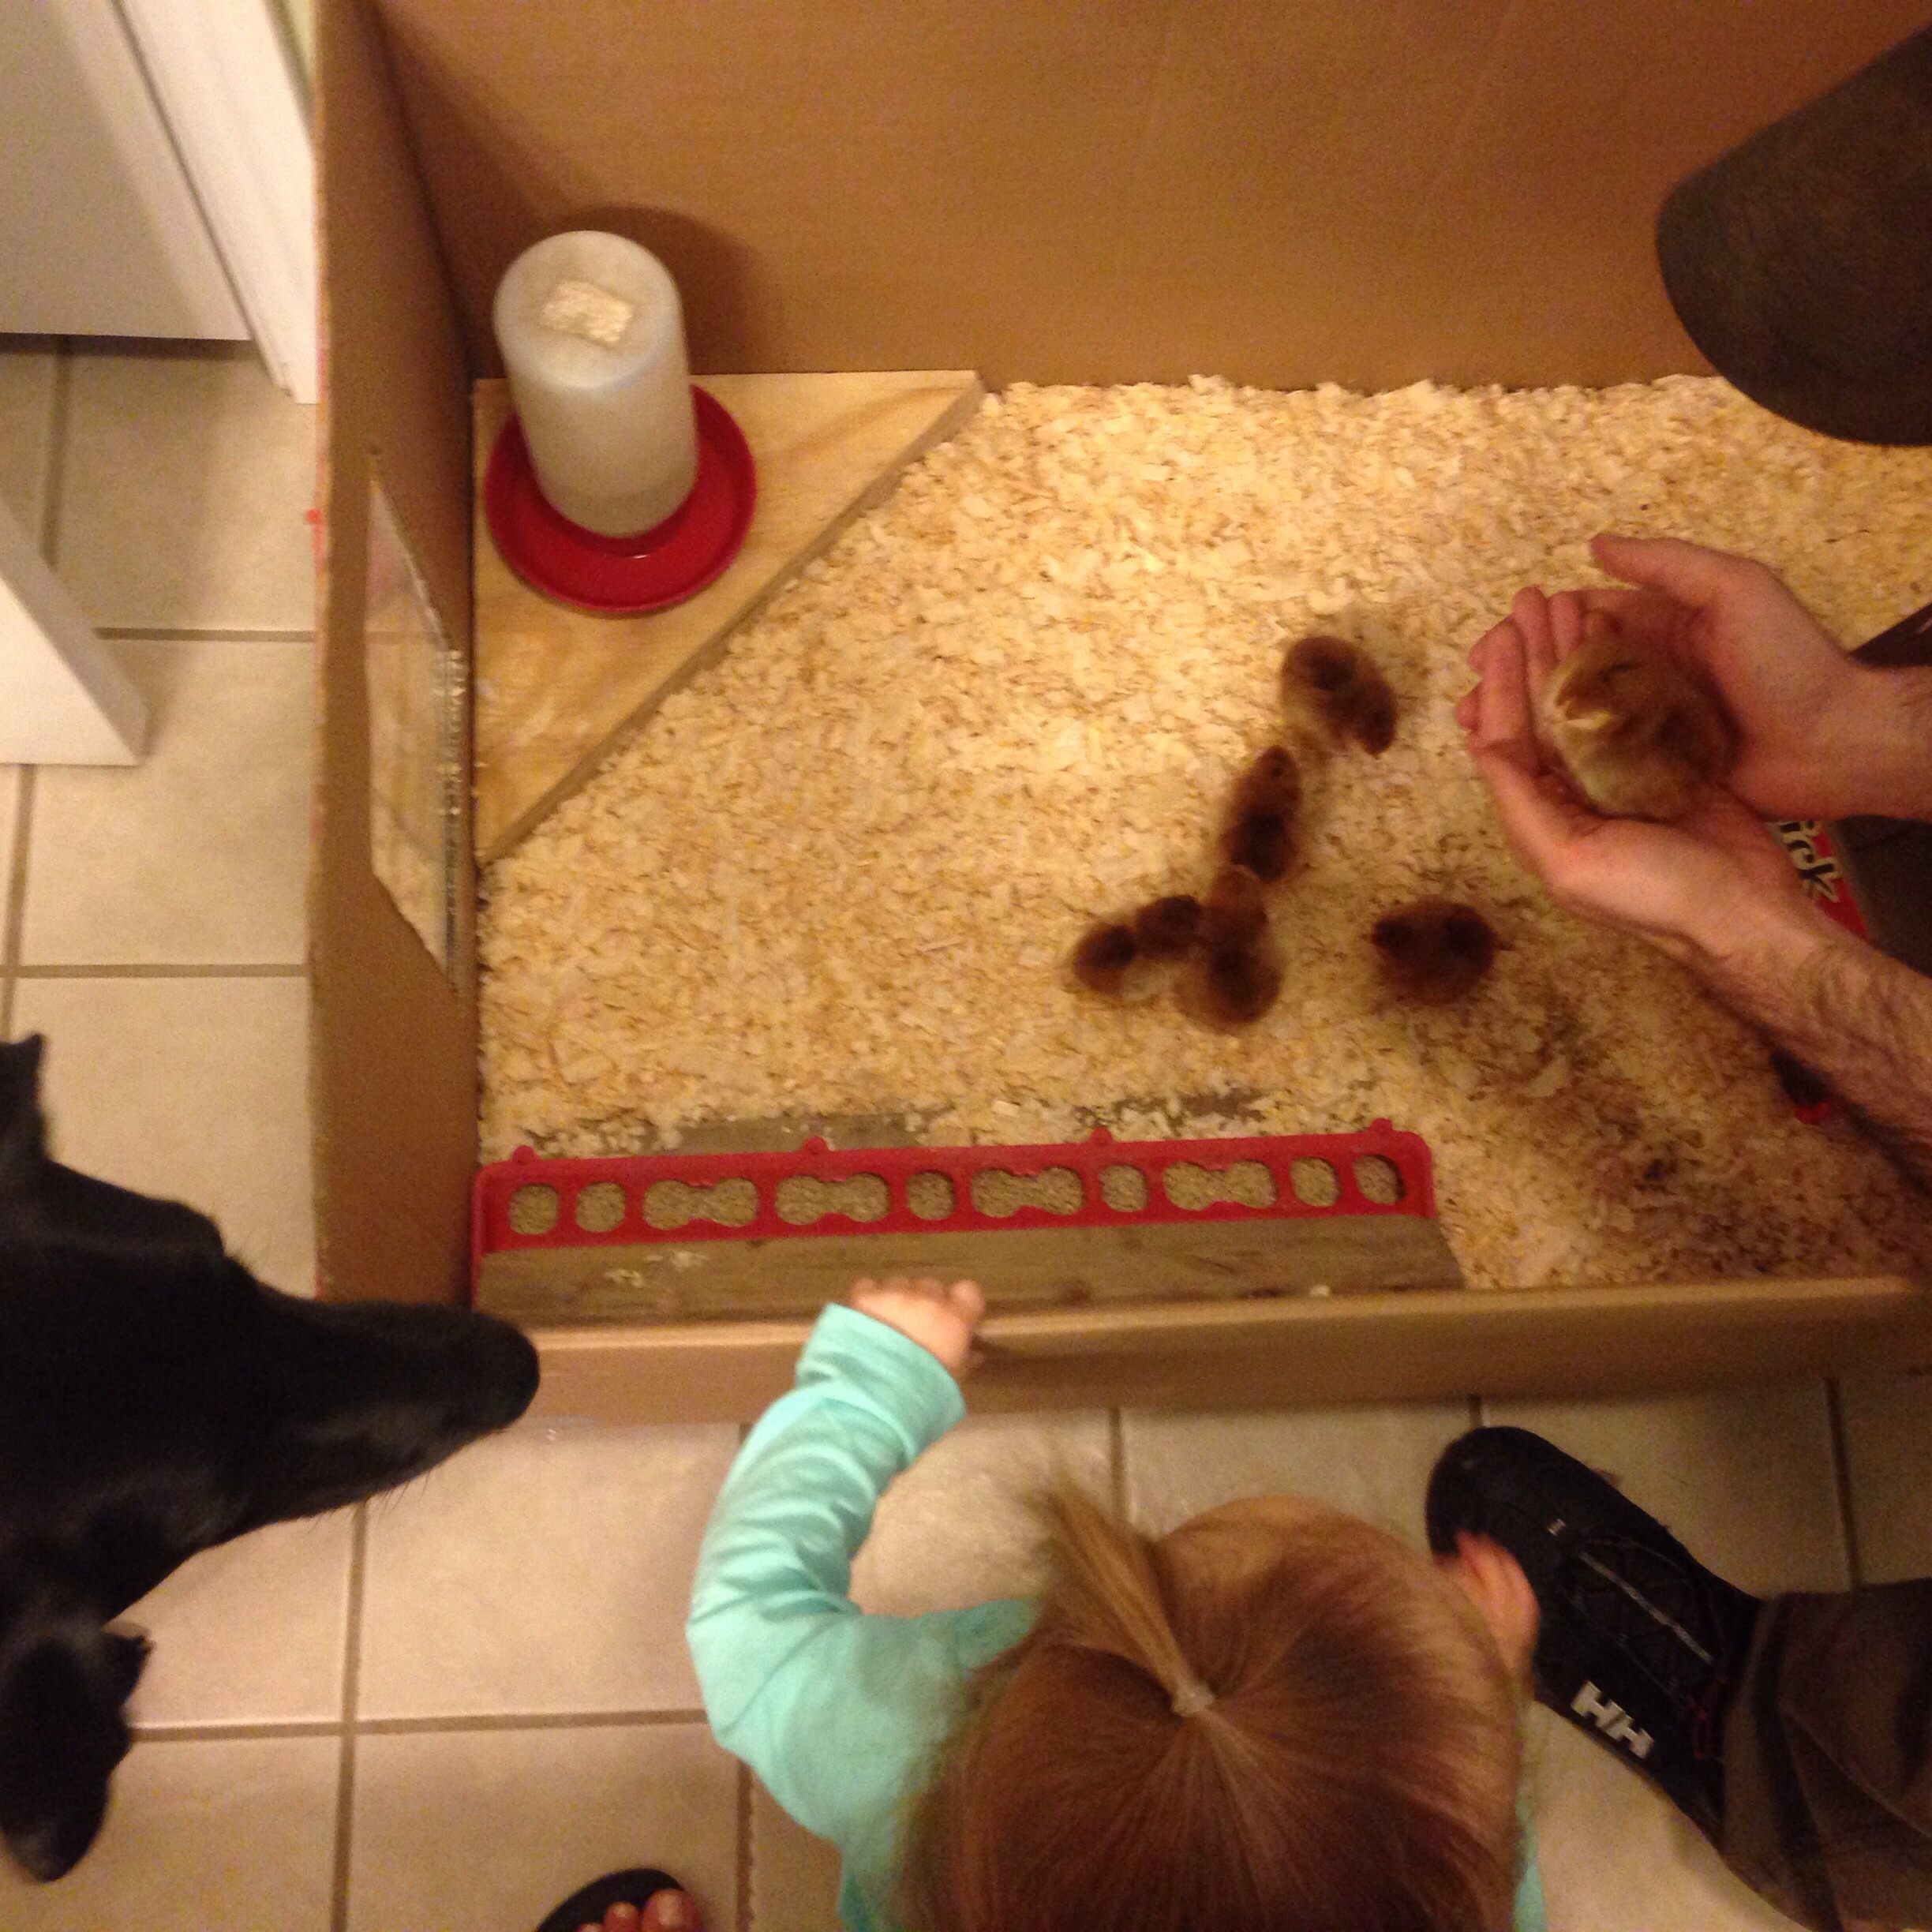
This past week we grew our family by six! Six little baby chicks, that is. I've always wanted chickens and goats for as long as I can remember and while goats are a no-go in our neighborhood, chickens are something we can do! Our little one LOVES animals so we figured now would be a great time to introduce some chickens to our family.
It's. So. FLUFFY!
As far as breed goes, we were hoping to get New Hampshire Reds but chickens are getting to be a hot commodity around here and were selling out fast at all the local farm & garden stores. Therefore we decided to settle for Rhode Island Reds instead, a very similar breed.
| Keeping Chickens by Ashley English |
My husband has grown up with chickens so we already have an experienced chicken farmer in the house, but since I don't know too much about keeping chickens I've been doing my homework ;)
Meeting the girls! Miss M loved the chicks and kept laughing and pointing at them while Harley didn't really care much about them at all. That's pretty funny because if Harley sees a robin in the lawn she will charge it and chase it out of the yard in a heartbeat.
Sorry this bathroom is occupied!
Our guest bathroom will be home to these ladies for the next month or so until they get big enough to move to the coop. In this box they have shavings, water, chick starter feed, and a heat lamp above. Hubby made a window out of Plexiglas so Miss M and Harley can keep an eye on the chickies (we put a baby gate across the doorway so they can't get too close though).
It's just incredible how fast they grow! In less than a week they went from sweet, tiny little balls of fluff to much more wary, bigger little chickens - complete with wings and tail feathers coming in. It won't be too much longer until we can move them out into the coop!
This is my first Nûby review and I am so excited to be a part of their Parent Blogger Network! Maddie has been a huge fan of their sippy cups from the beginning, and for the longest time their Flip 'N Sip Straw Cup was the only kind she'd use. They've sent me a few products to try and share with you, the first of which is their Octopus Floating Bath Toy.
This little floating octopus comes with 3 fun-shaped rings to "toss" on his arms in the bath, and while the rings are too small to actually toss them on successfully it is a great toy to work on hand-eye coordination with. Our little one loved taking the rings on and off repeatedly.
The bright, fun colors and shapes of the octopus were also a big hit; Maddie was particularly drawn to his big googly-looking eyes. In fact, when she was playing with it she pointed to his eye, looked at me, and said "eyeee" - the first time she's ever done that!
One thing I loved about the design of this toy was that it didn't have a hole in the bottom, as most bath toys do. Bath toys with a hole tend to hold moisture inside and grow mold so it's great that this one was fully enclosed.
The one thing that really disappointed me about this toy though was that it's made out of PVC, a material that we consciously try to limit in our house - in fact we go as far as to only buy PVC-free shower curtains. I didn't realize that it was made out of PVC until after her bath. It's really unfortunate because Maddie loved the Octopus but the material is something we choose not to use.
- I received this item for review from Nûby but all opinions expressed are my own -
Nûby's Octopus Floating Bath Toy can be purchased at various retailers including Amazon and Kohl's.
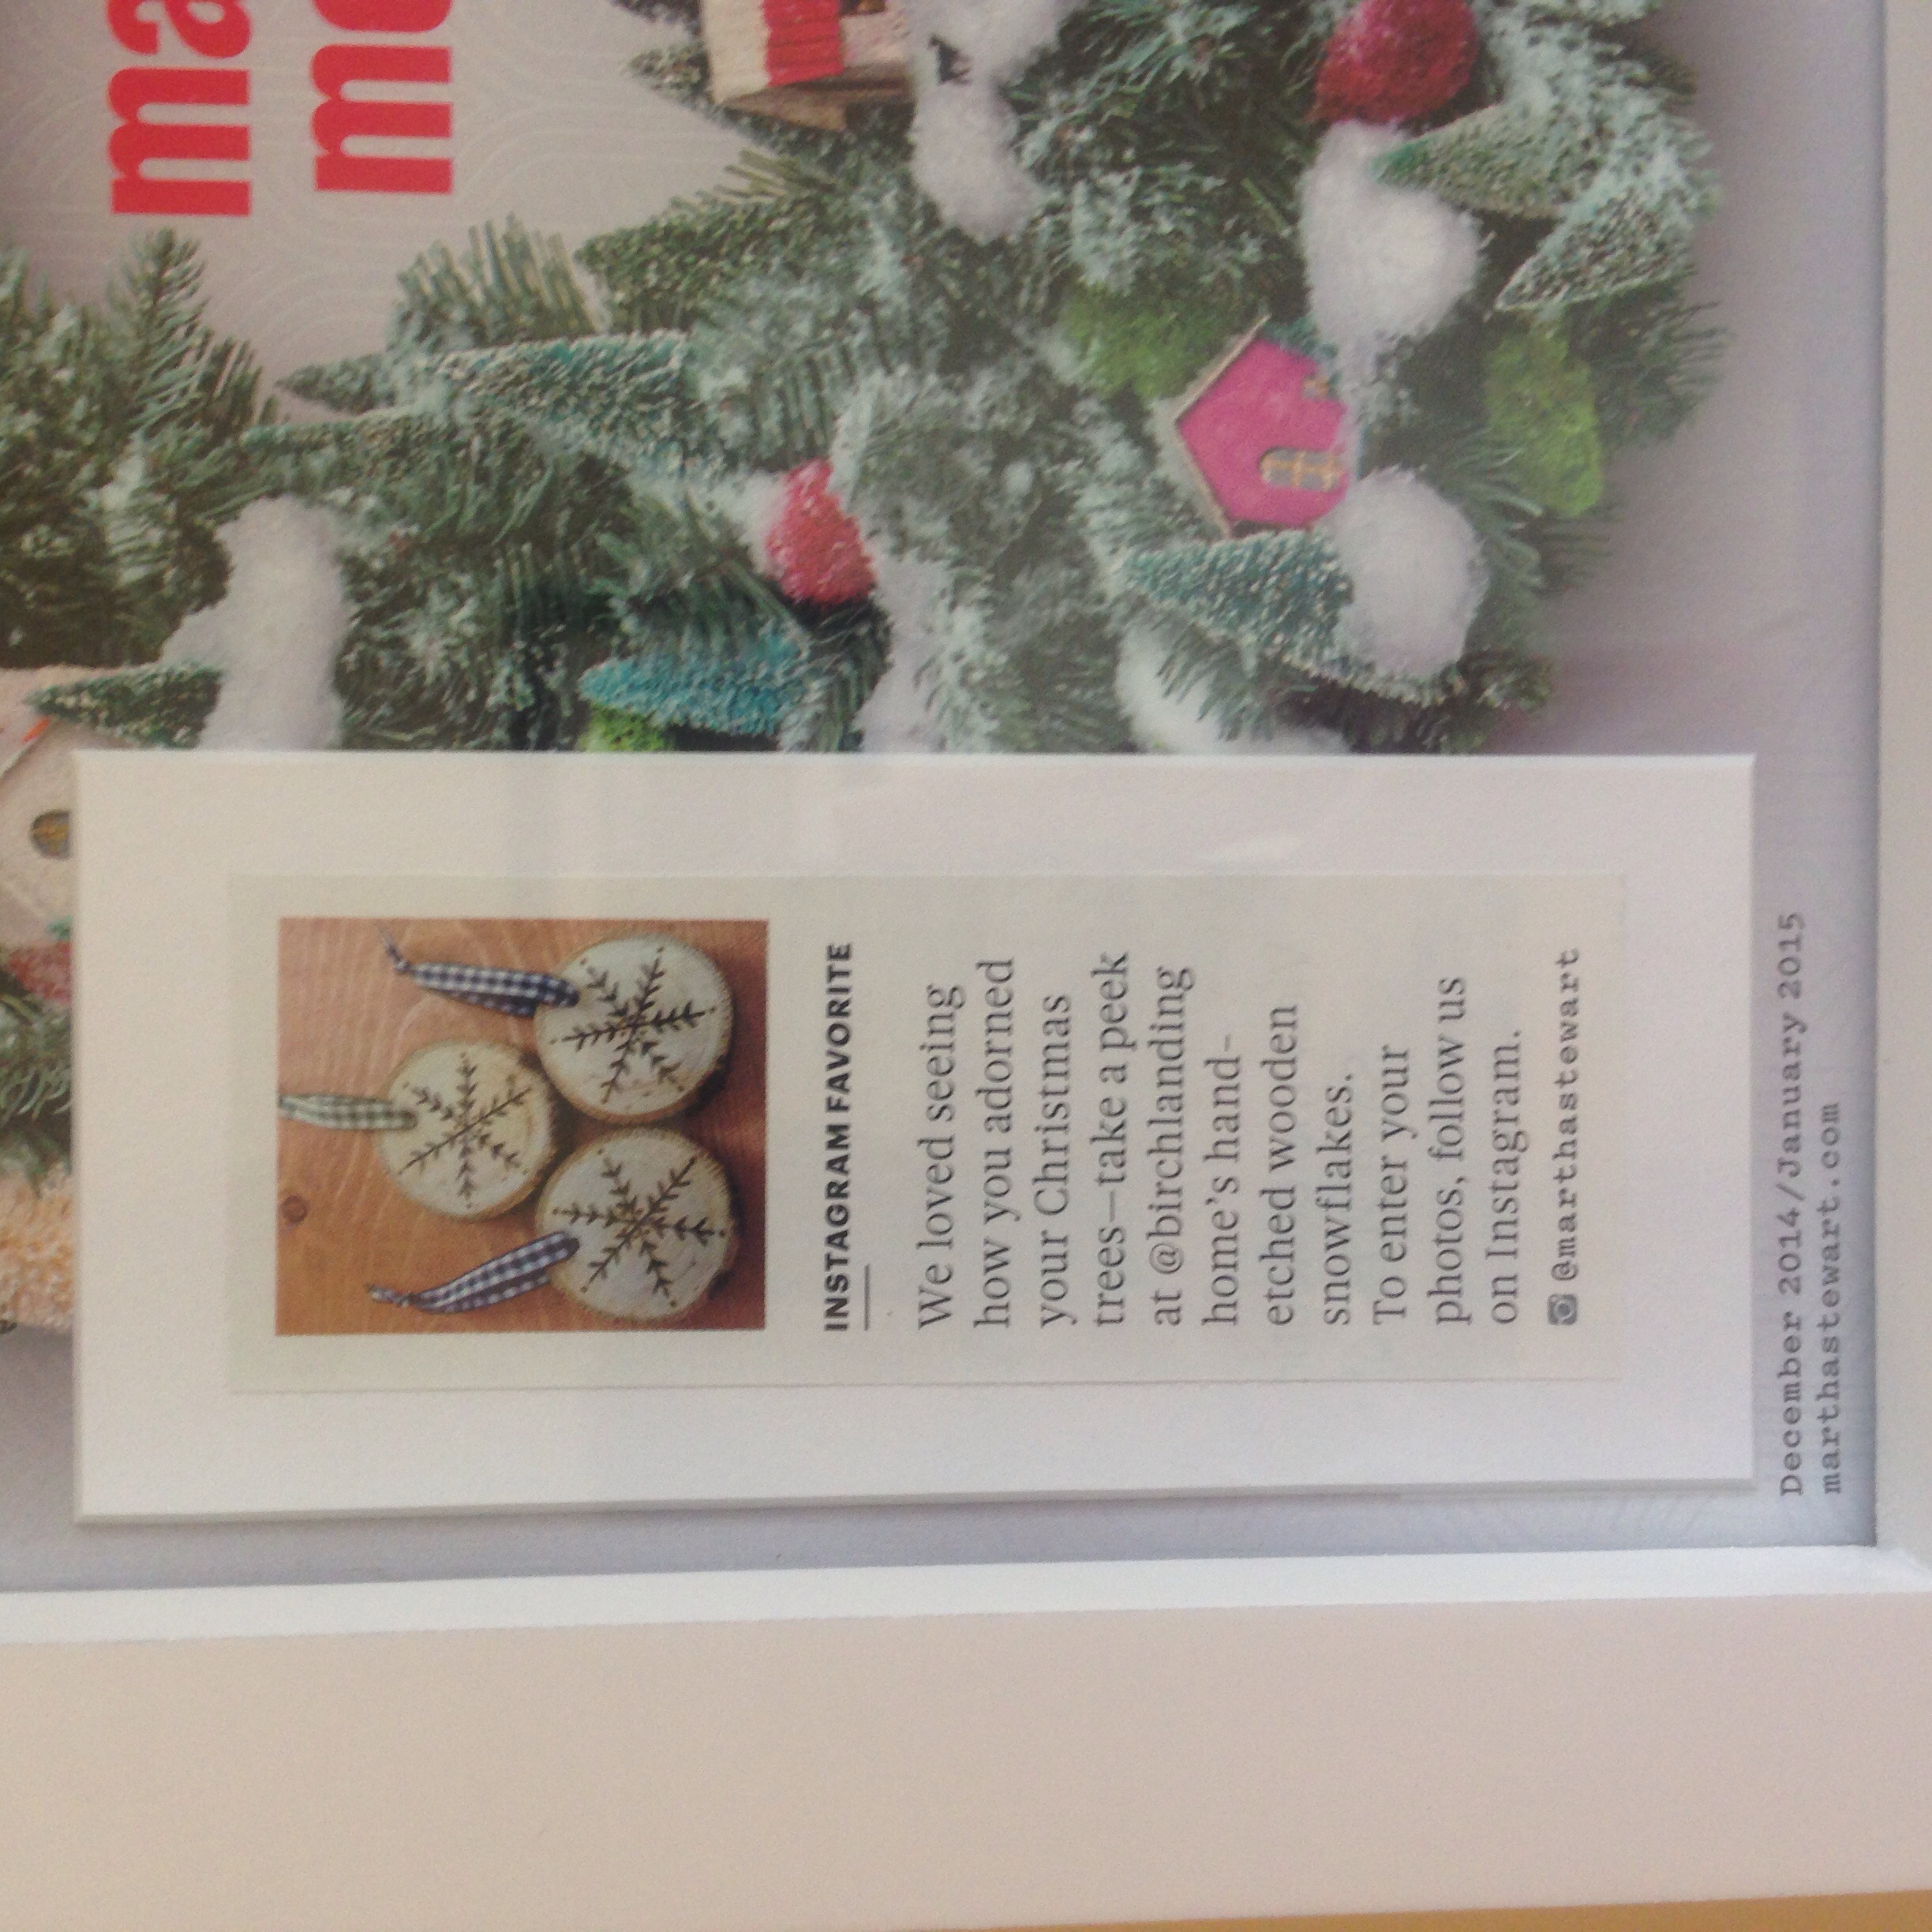
Okay, so I totally framed the December issue of Martha Stewart Living Magazine along with the little feature of my Hand-Etched Maple Snowflake Ornaments.
I felt a little silly about it at first but being featured was a huge honor and having it hanging in the craft room is just more motivation to keep at my little Etsy business and blog.
And I have to confess.. it is fun seeing it hanging up :) It's always been a dream to get into a big publication like Martha Stewart or Country Living and even though the feature was small I can now say I've done it.
I'm partnering with five other small shops/creatives on Instagram to do a Spring Loop Giveaway! It's the first loop giveaway I've been a part of and I'm excited to be working with these other wonderful ladies. At the end of the giveaway we'll each be selecting a winner so there will be a total of six winners! Each account will be choosing their own prize - mine will be a piece of jewelry from the Etsy shop.
Please stop by my Instagram to join the loop and enter to win - with six prizes being awarded your odds of winning only increases!
This simple, hearty meal is basically a variation of traditional Pork Pie. The recipe isn't exact and doesn't have to be.. I generally don't make anything the same way twice and always go by what looks good. You can follow along the recipe for a general idea but feel free to incorporate substitutions and make it your own.
Our family got a total of three deer this year and so venison has been on heavy rotation. We've been finding ways to sneak it into lots of different meals and this Venison Pie has been a favorite!
Venison Pie
Prep time 50 mins | Cook time 30 mins | Serves up to 8
Ingredients
1 lb of ground venison
1 small onion, chopped (or about 1/3 cup chopped frozen onions)
1/2 tsp of Bell's Seasoning
1/2 cup frozen corn
3 medium potatoes, cooked and mashed
pie crust mix (I use classic boxed Jiffy Pie Crust Mix)
salt and pepper to taste
Directions
Start a pot of water boiling on a back burner. Meanwhile brown ground venison, onion, and Bell's Seasoning in a skillet, adding salt and pepper to taste.
Once browned add frozen corn, cover and simmer for about 30 mins. While that's simmering peel, chop, boil, and mash your potatoes.
Mix mashed potatoes and browned meat mixture together and fill prepared pie crust.
Bake at 450 degrees for about 30 mins. This meal goes great with baked beans or ployes.
Feel free to add more veggies or tweak the recipe however you like, sometimes I add mushrooms or shredded carrots to the mix.
Excited to announce that I'll be joining the Nûby Parent Blogger Network!
What does that mean? Well, I'll be writing some reviews of Nûby products and maybe even doing the occasional giveaway right here on the blog! Stay tuned.. :)