How to Lay Out a Gallery Wall
This post will show you a simple technique to lay out gallery wall so everything is spaced the way you want, without the trial and error of putting a lot of nail holes in your wall. My example is very small-scale (only two photos), but this technique would work well for any size gallery wall.

Materials:
- picture frames
- paper
- painter's tape
- scotch tape
- pen or marker
- nails
- hammer
Also useful: - tape measure
- level

How-to:
Cut paper to size of frames. I used computer paper since it was handy, taped together in order to make it large enough.

Next, lay your paper template over the back of the frame and feel where the hanger is. Mark were the nail would be with a pen or marker.

Now's the fun part - start laying out your gallery wall by hanging up the paper templates with painter's tape and moving them around until you're happy with the height, spacing, etc. Here is where a tape measure and level might be useful if you have large pieces to hang or want to get the spacing absolutely perfect.
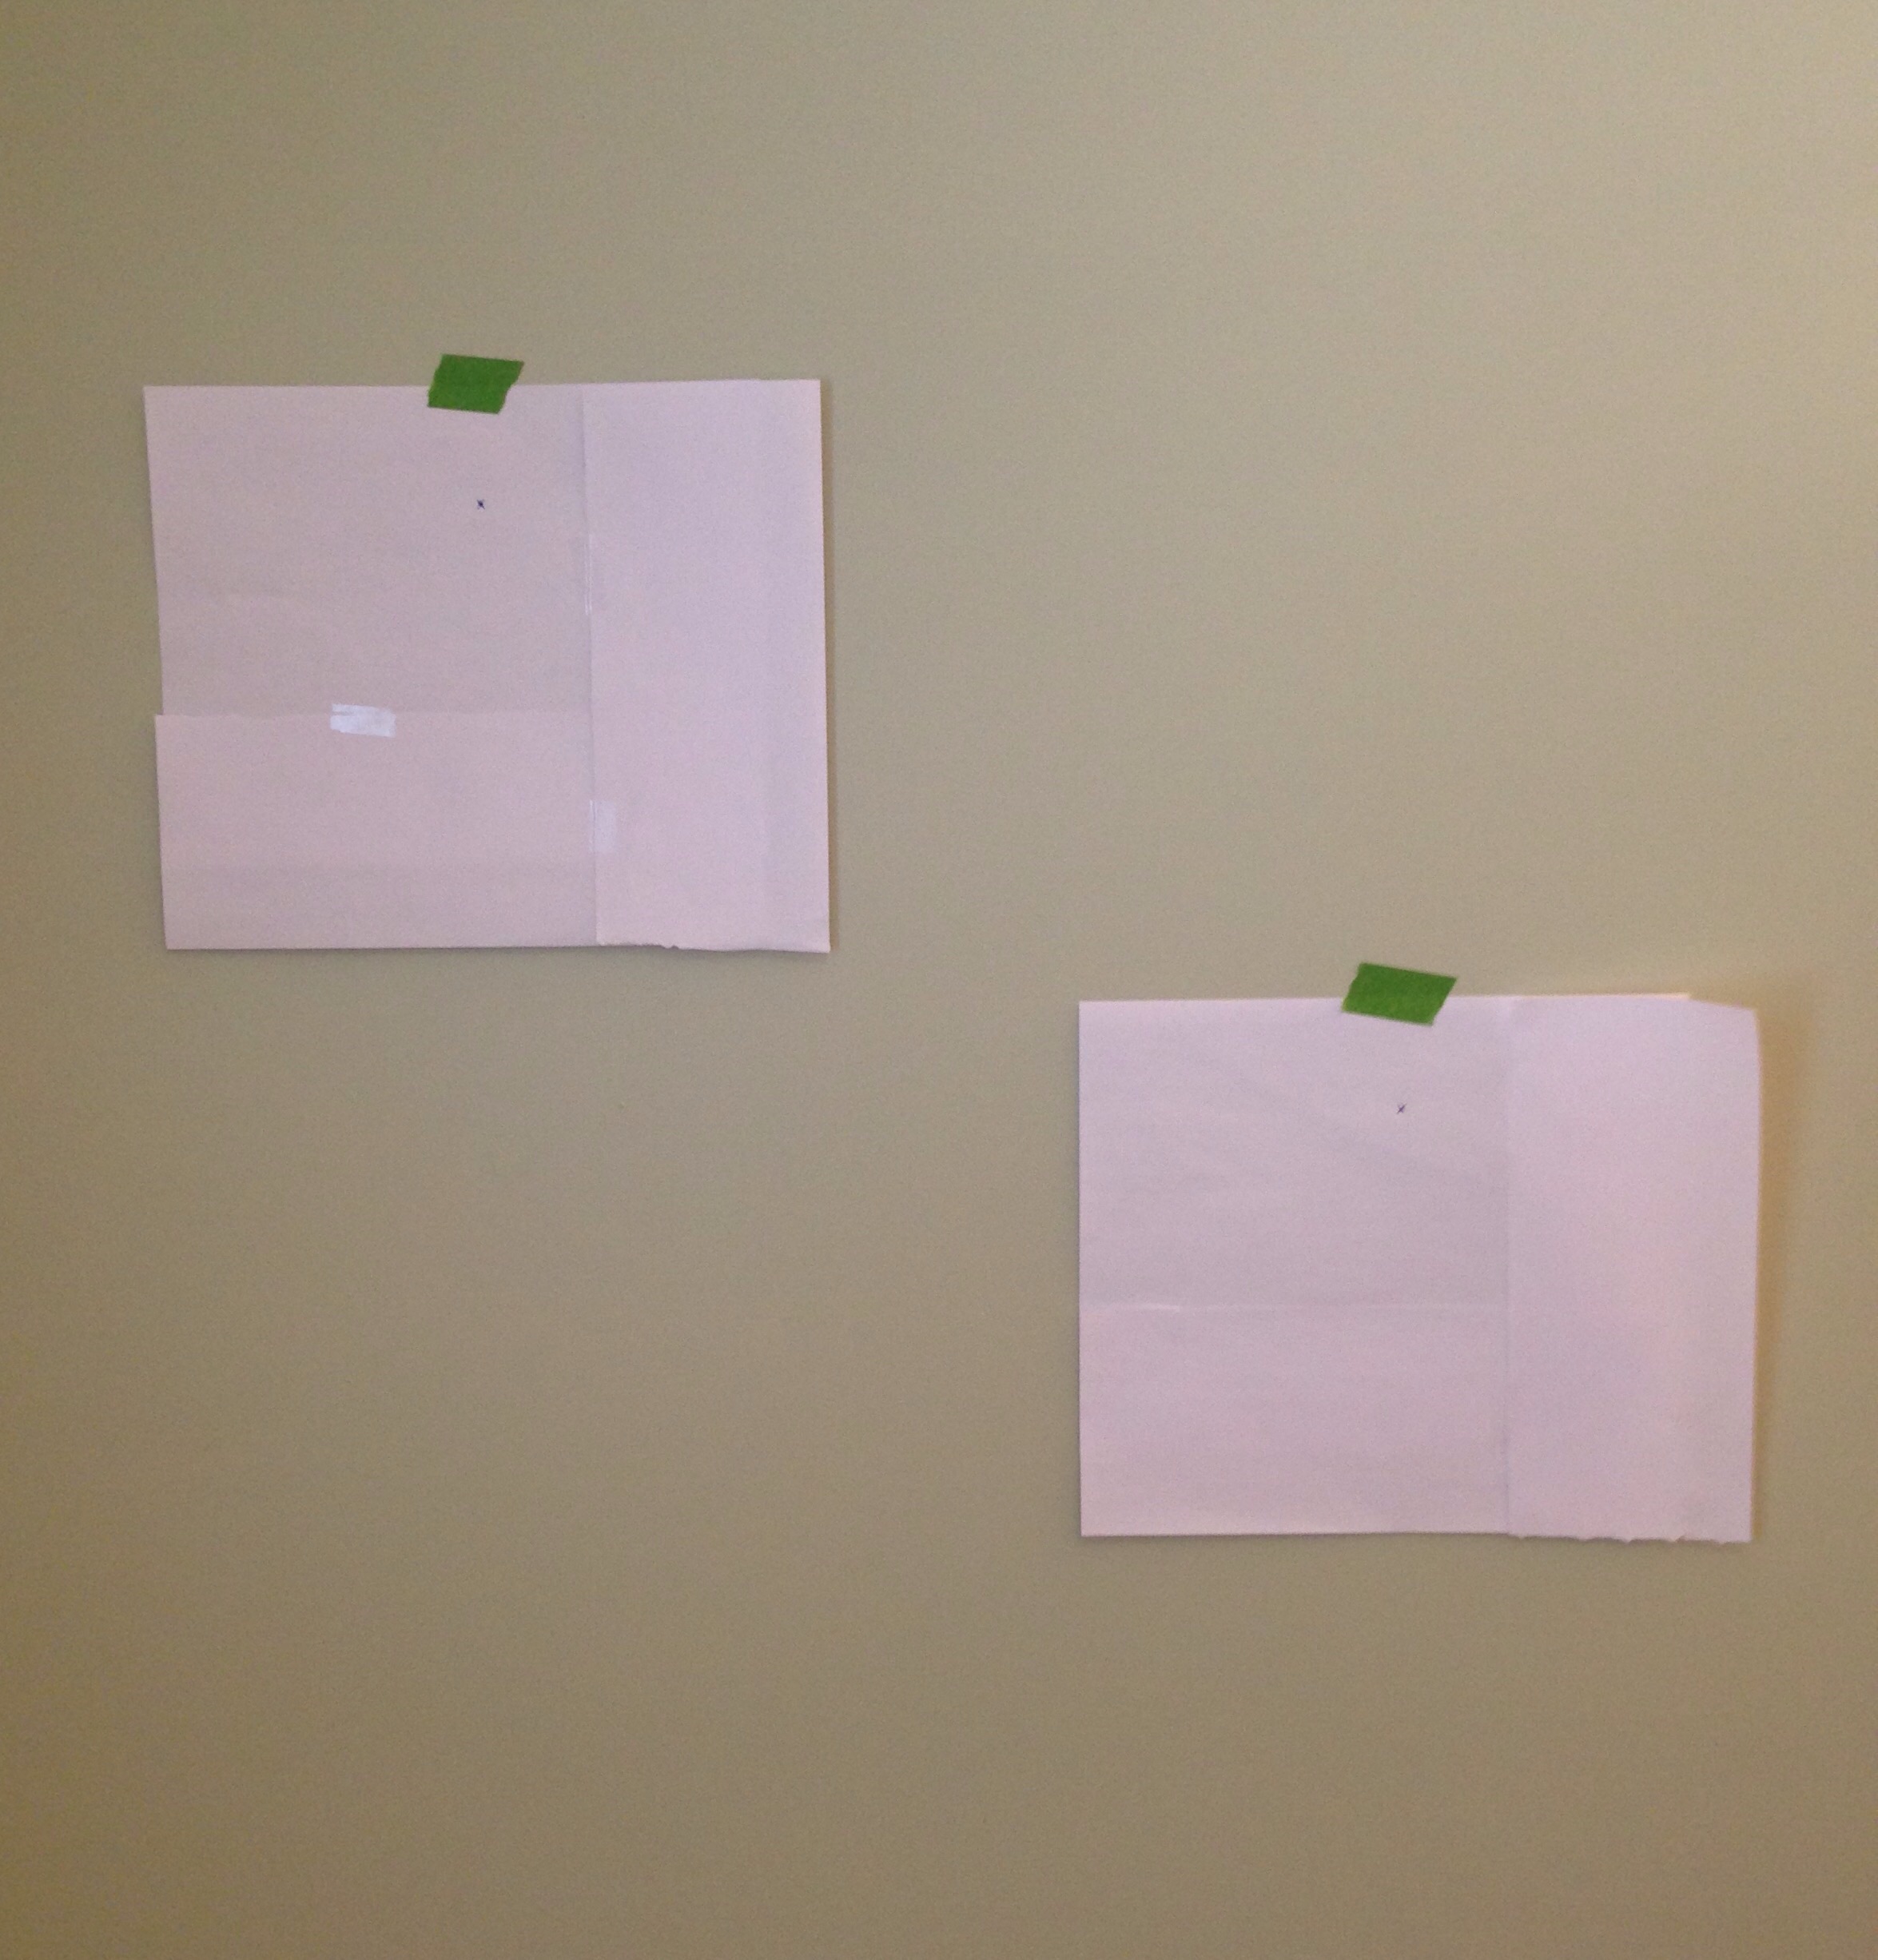
Next nail right through your paper templates, where the marking for the hanger is. Then take down the templates, ripping the paper off around the nail.

Now hang up your photos, and they'll be spaced just the way you wanted them!

This tiny gallery wall is in our family bathroom - it will have black and white photos of our little one taking a bath and brushing her teeth. I can't wait for the photos to come in so I put them in the frames!