I'm a wife, stay-at-home mom, crafter, and blogger living in rural New England. As seen in Martha Stewart Living, Food Network Magazine, and more! | Tutorials, DIY, crafts, parenting tips, recipes, money saving tips, product reviews, local product features, New England living, intentional living, and more! |
I've been eyeing slate garden markers for our herb garden for awhile now, but buying pre-made ones are soooo expensive and they never have all the varieties I want. So I decided to take matters into my own hands and make my own. Because I have the world's worst handwriting (it's true, ask anyone) I used a Cricut to cut the text for me, but if you have half-decent handwriting you could easily do this project with a paint marker too. | This post contains affiliate links |
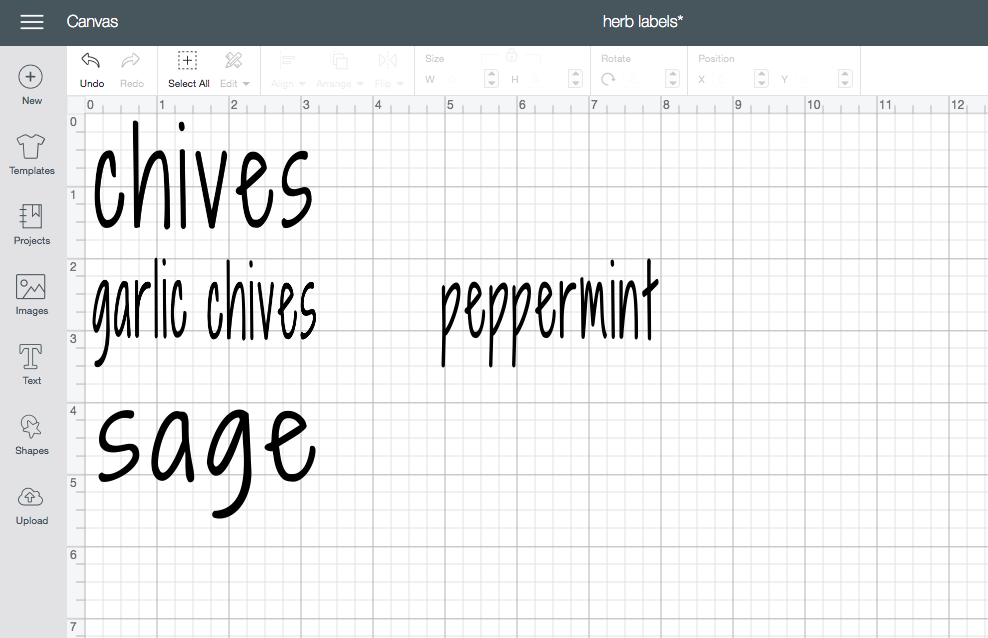
1. If using your Cricut to make the text, measure your garden markers and make each "label" in Design Space the appropriate size. I chose a font with a handwritten feel, but you can use whatever font you prefer. You may need to play around with the scale of the lettering to get it to fit. Use 651 Permanent Vinyl to cut your text.
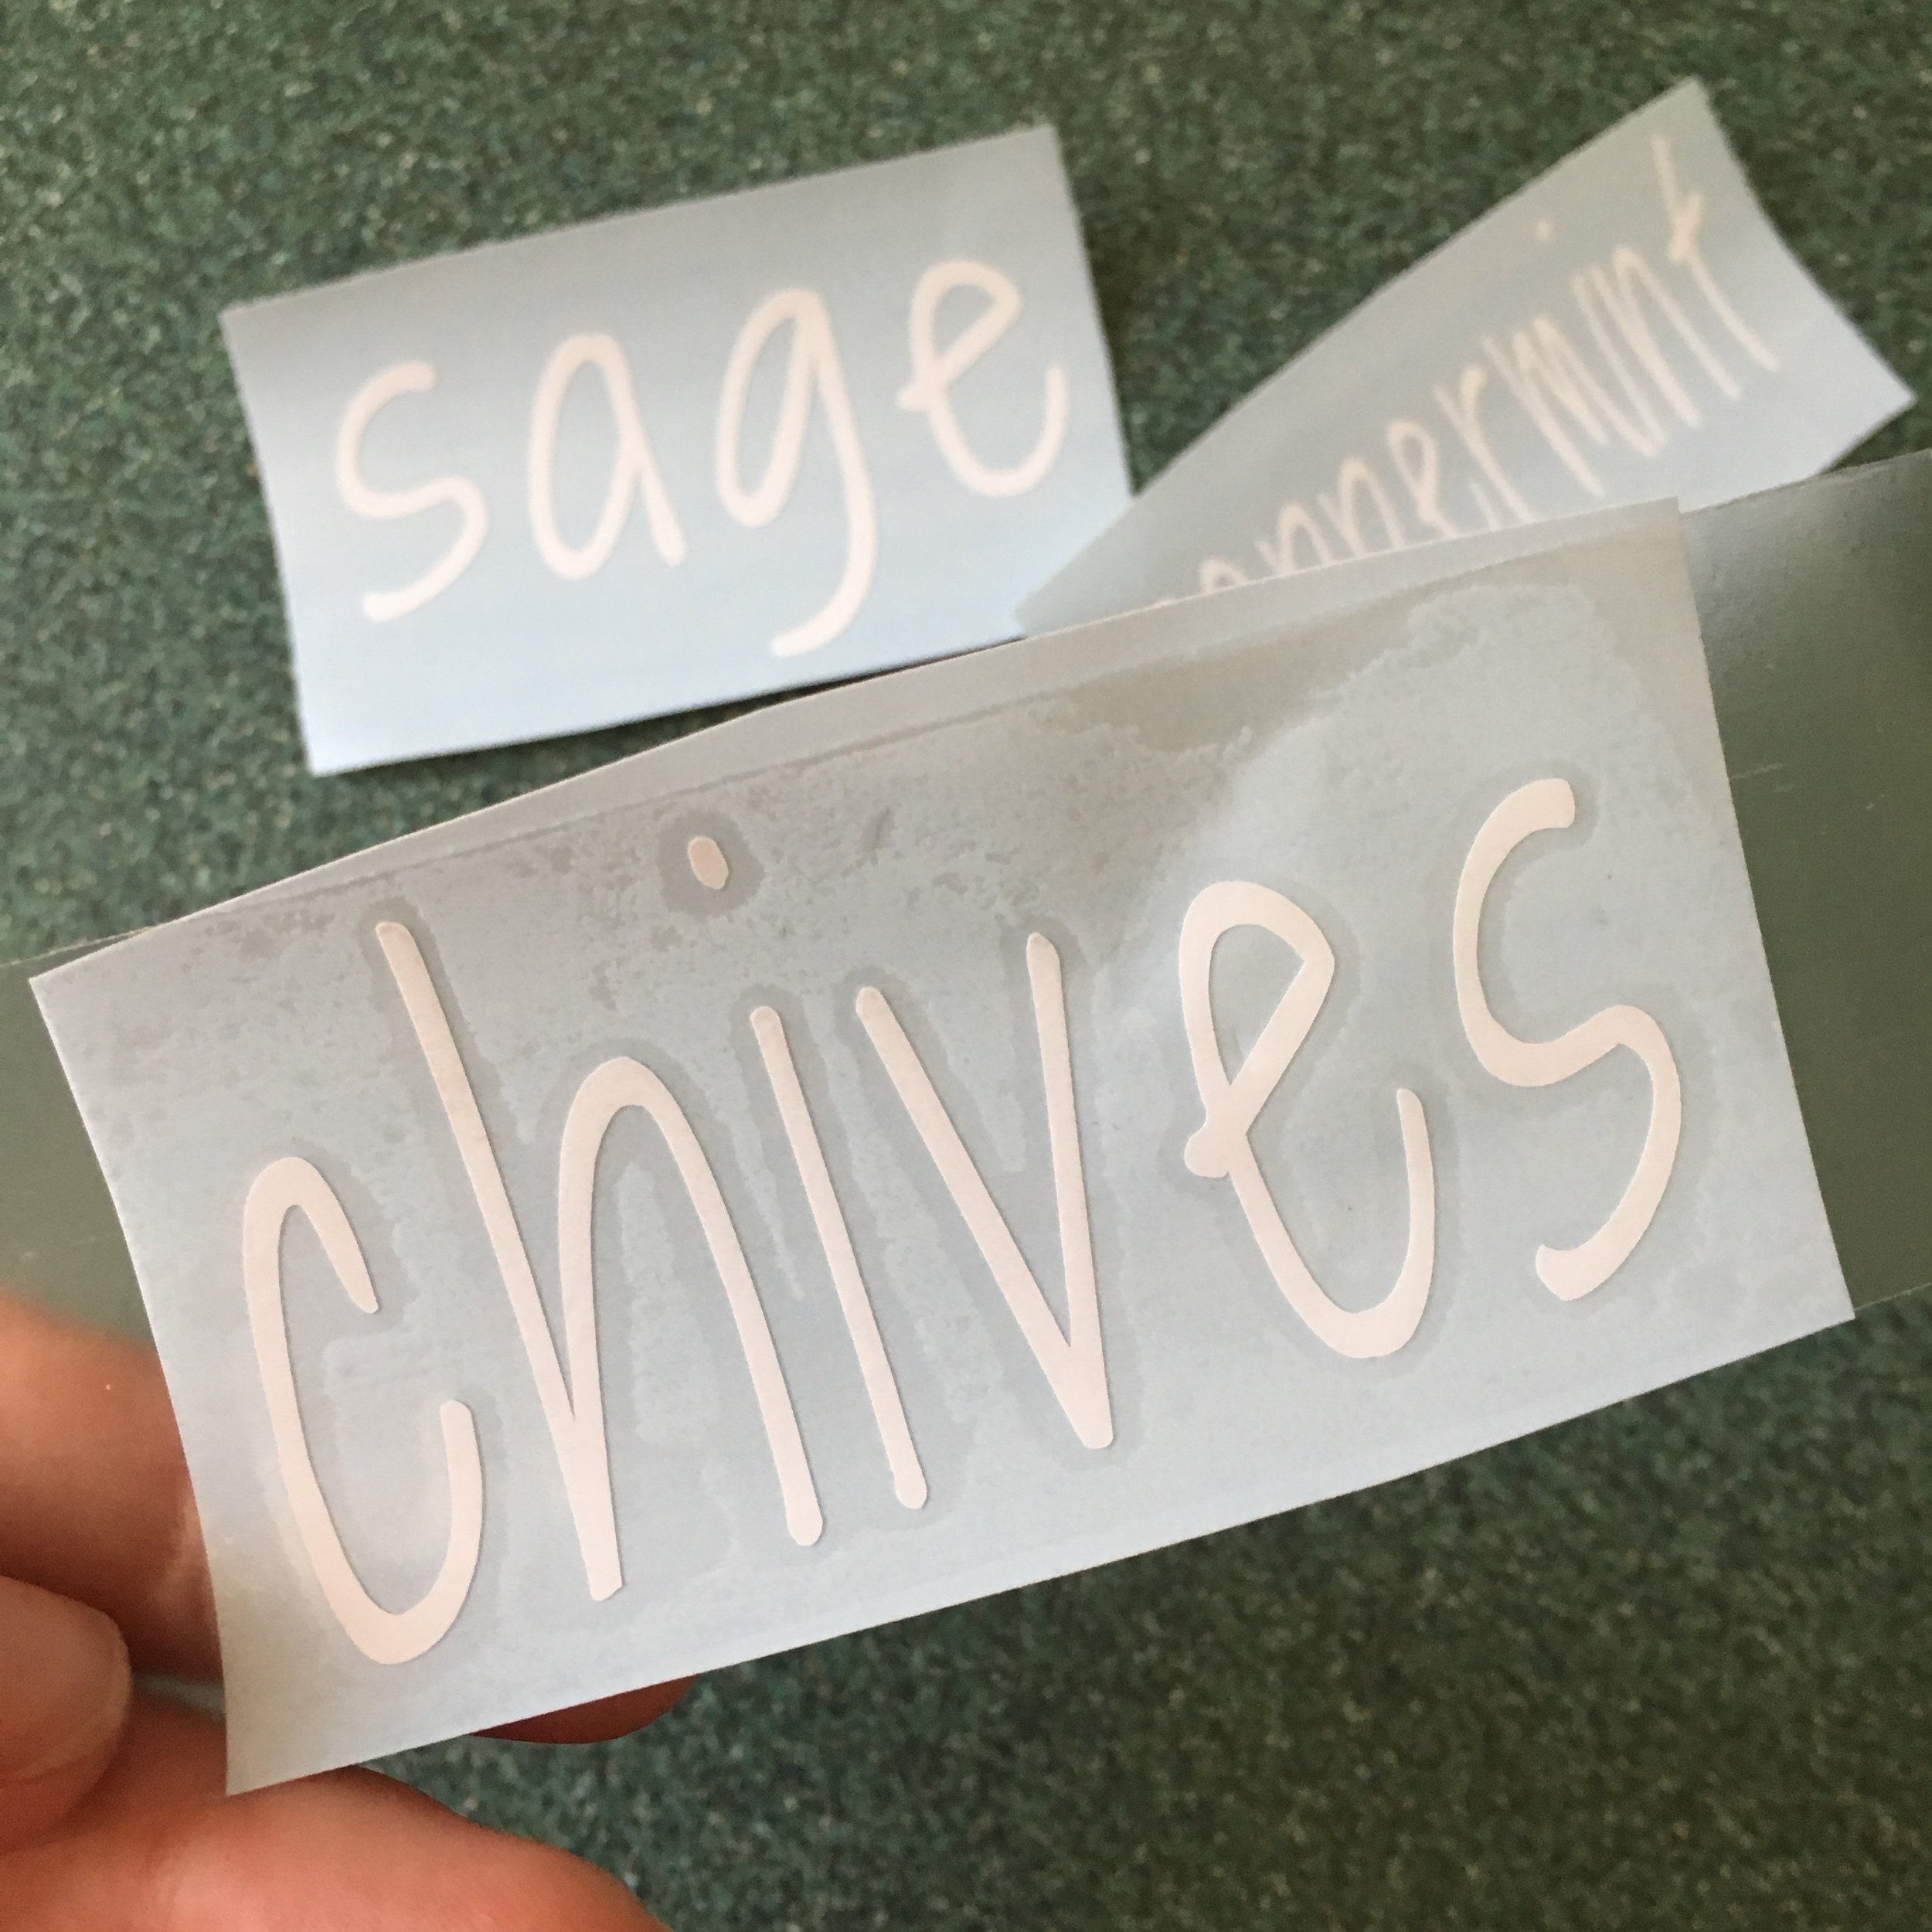
2. "Weed out" your text, removing any pieces of vinyl you don't want to be in your final design. I find a dental explorer to be super useful here to get rid of the pieces inside of letters, but it's not necessary. The finer-point text was definitely a lot harder to weed (which is why you'll notice the dot on the "i" in garlic chives isn't in the right place).
3. Next use contact paper or transfer tape to put over your final vinyl design and rub well to make sure it's on there good. This will "carry" the vinyl once the backing is removed.
4. Carefully peel the backing off your design.. this can be tricky. My advice is to go slowly and have your dental explorer handy if you have one! It can help hold letters down as you peel off the back.
5. Once the backing is removed, carefully place on a clean and dry slate marker. Rub the design on well (I use an old gift card like a squeegee). Once it's on there good, carefully peel off the contact paper. Alternatively: If you don't have a Cricut or want to do this project by hand, you can skip steps 1-5 and just write your text freehand with a white paint marker and allow to dry.
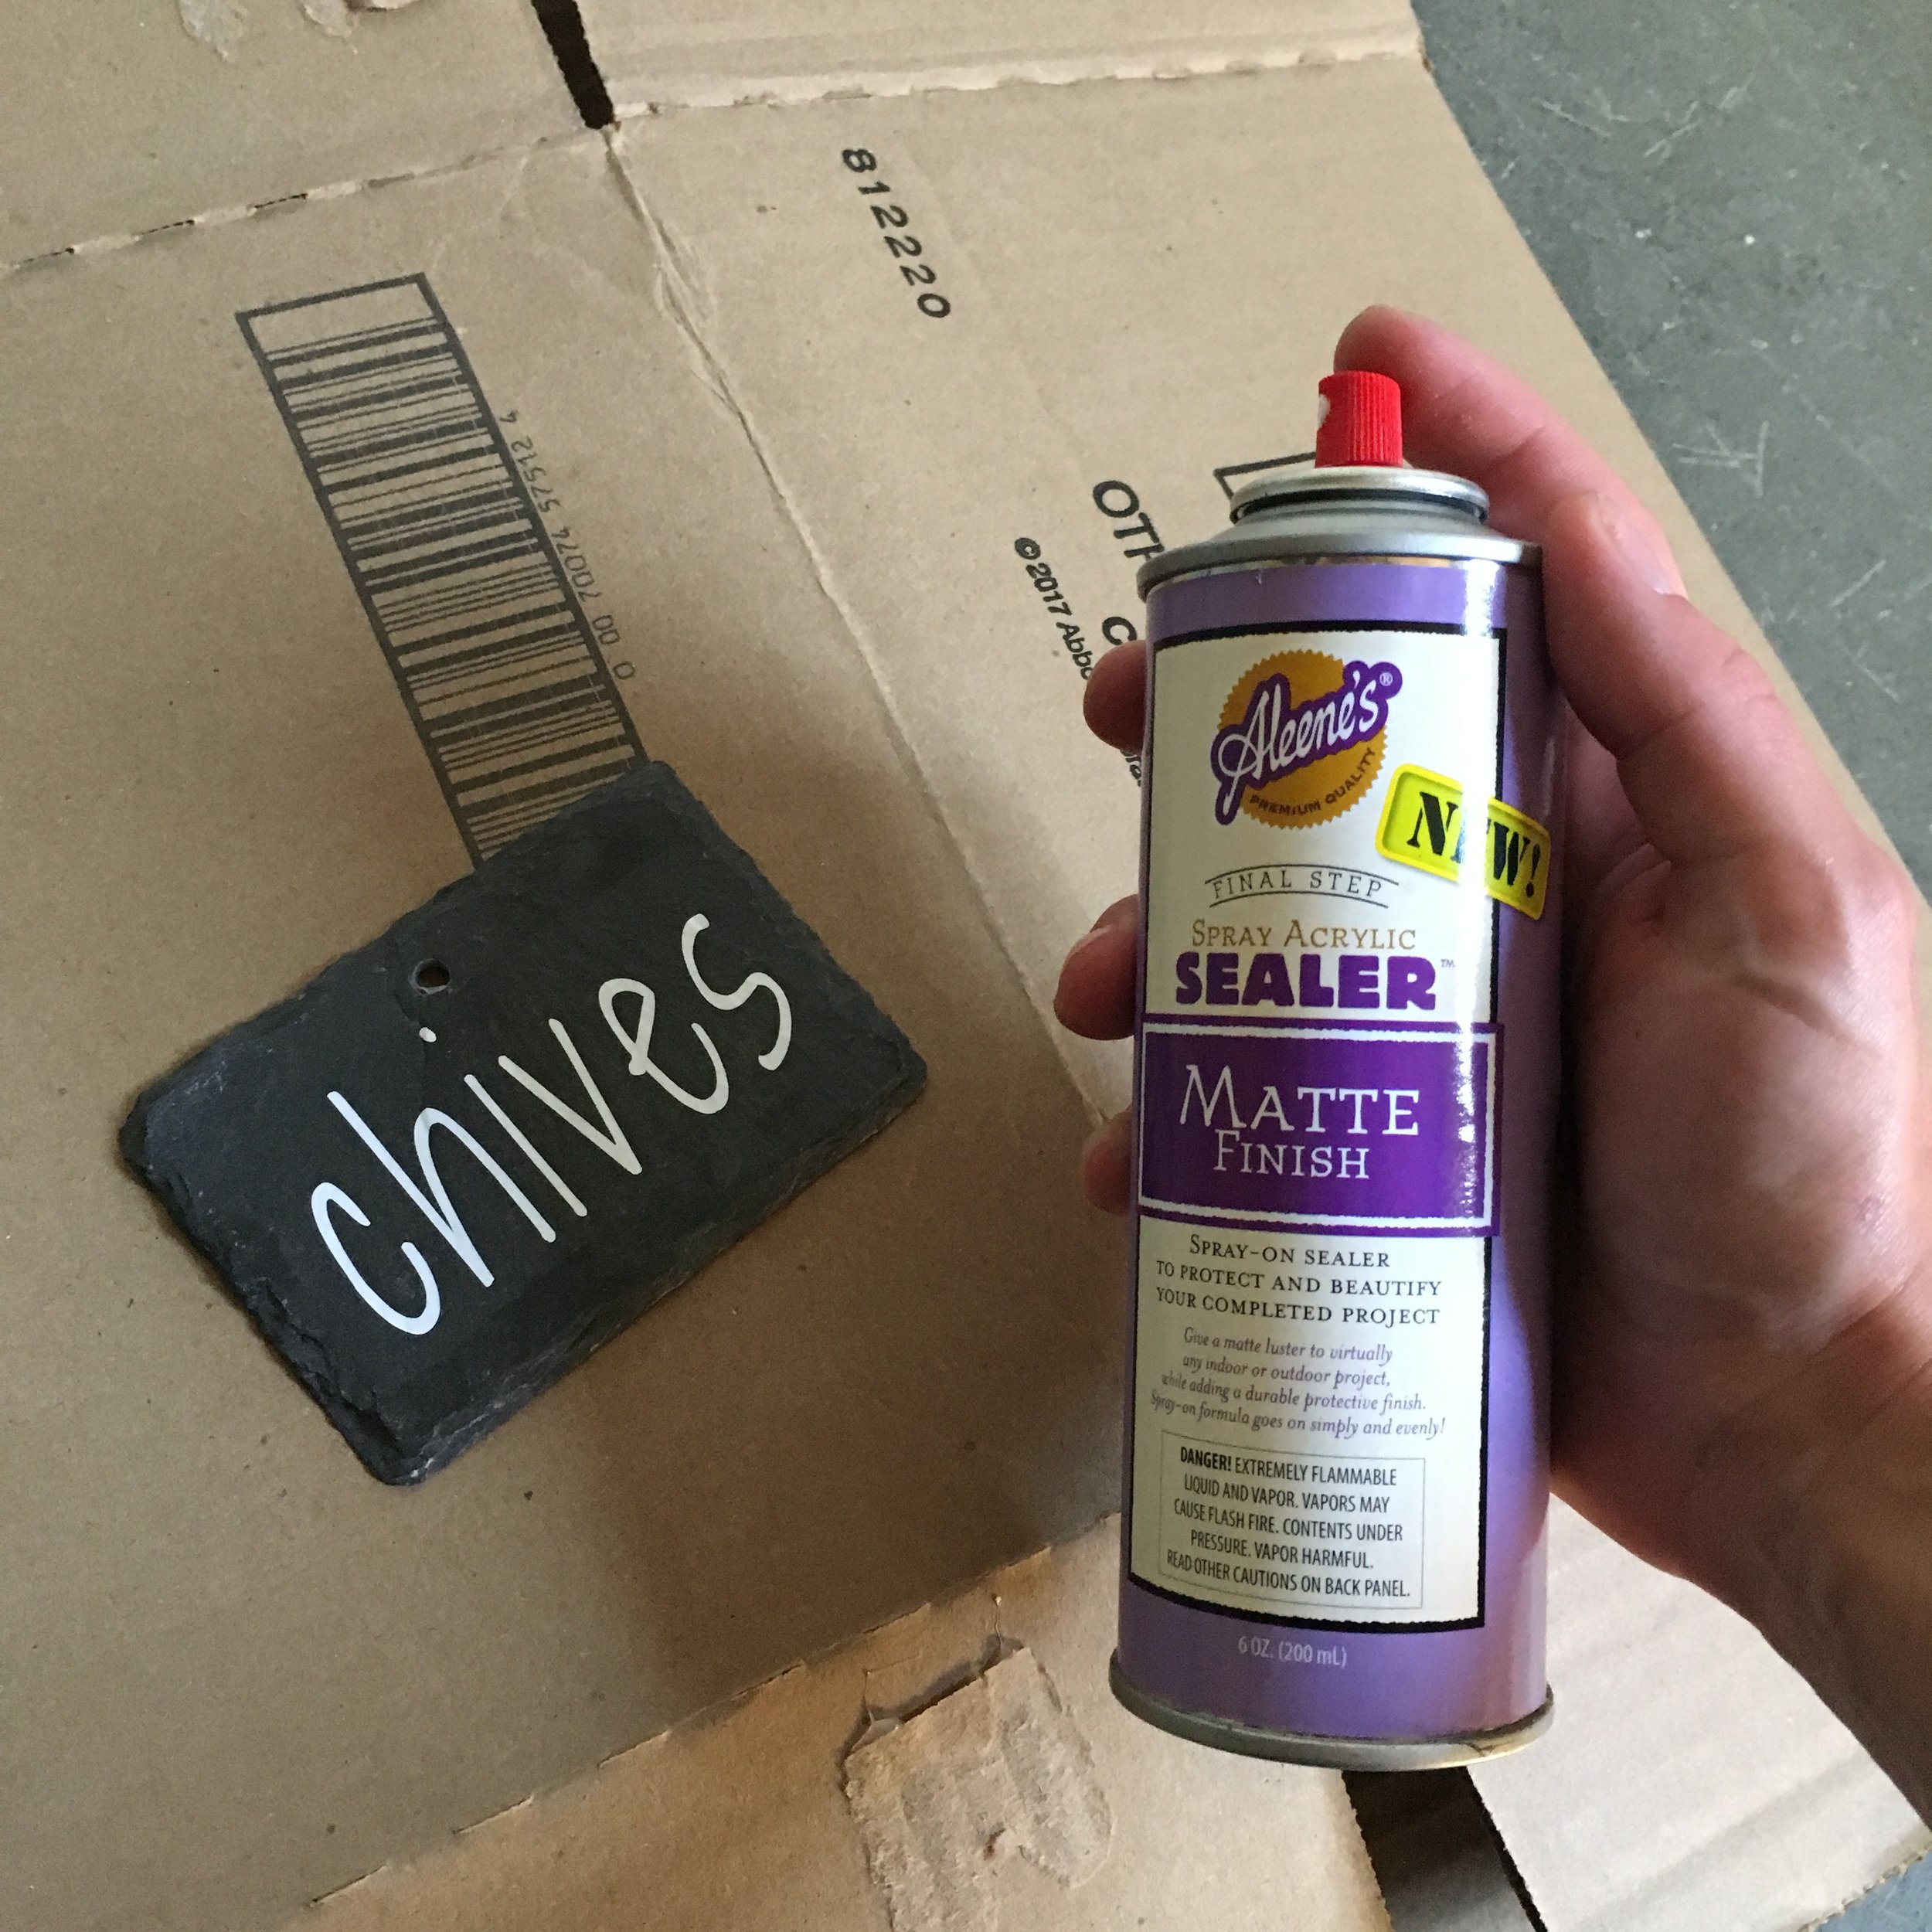
6. To make sure the vinyl doesn't peel or come loose, I use a spray acrylic sealer to seal them. Just put the markers on a scrap piece of cardboard, give a light coating of the spray sealer, and allow to dry (make sure you're in a well-ventilated area). If you used a paint marker instead I would also suggest sealing them.
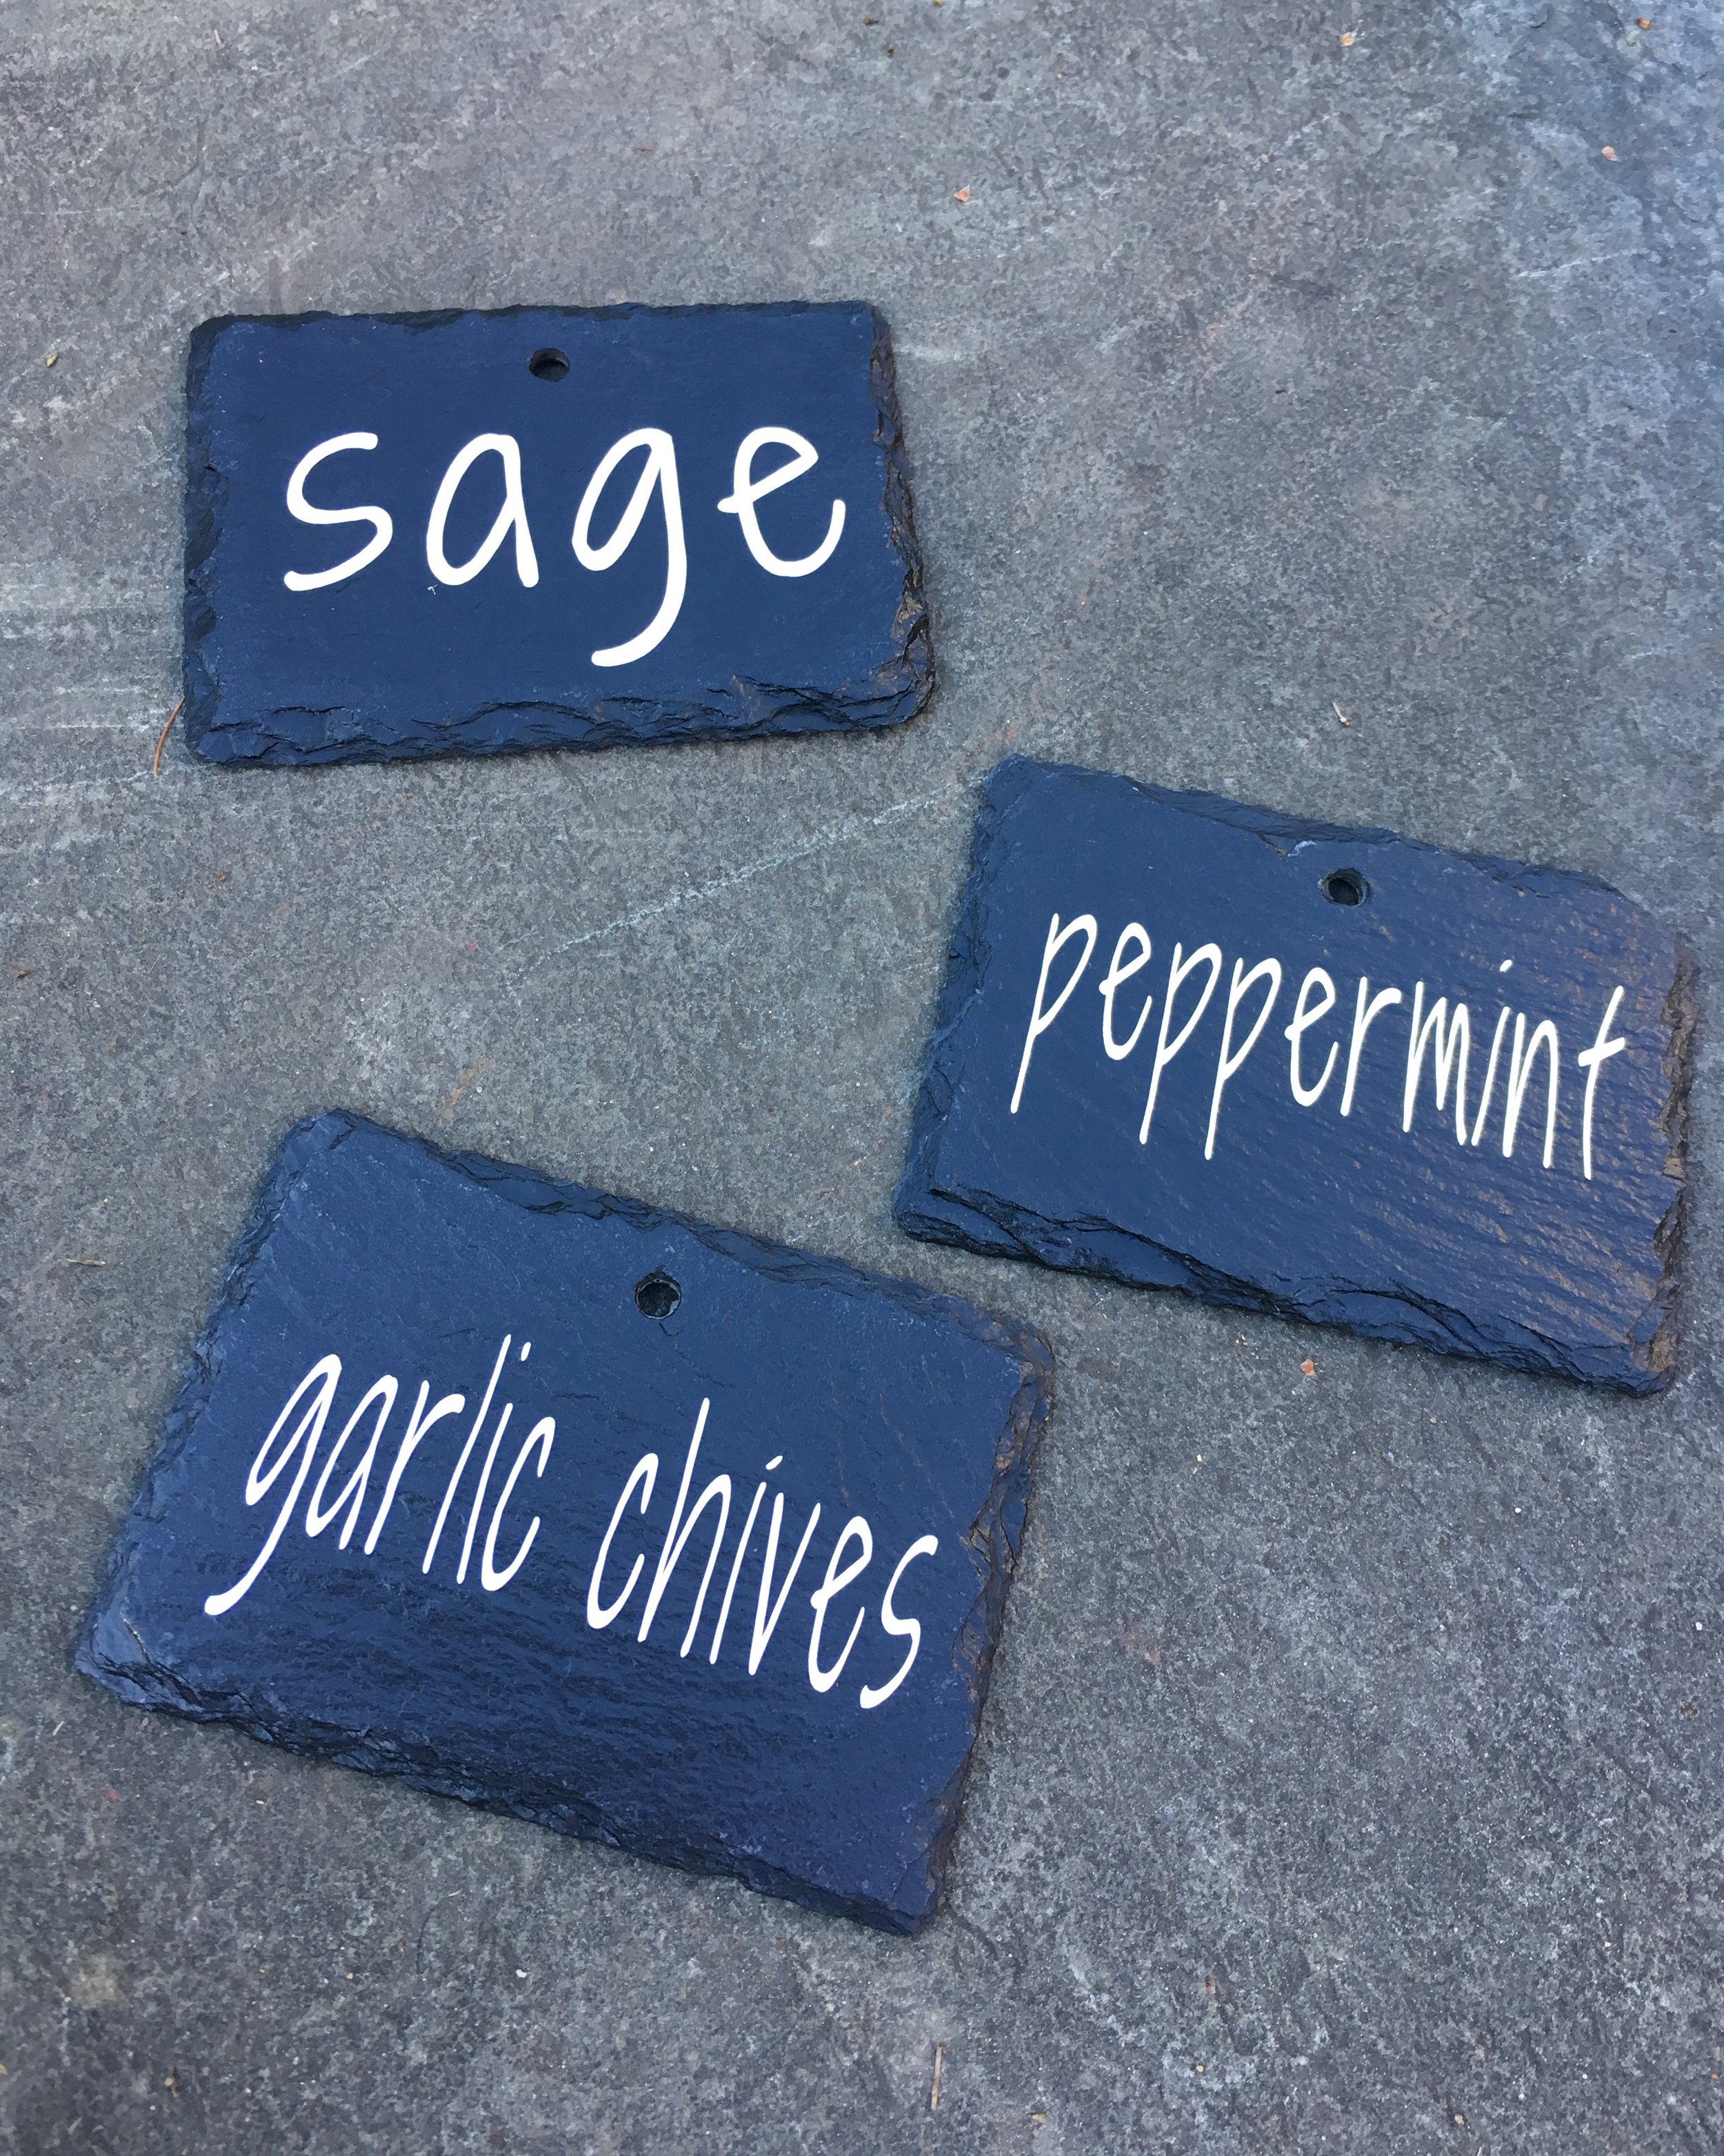
7. Hang your new garden markers! You can buy special hangers for them if you like, or use sticks and some twine or wire. In my case I wanted them on the barrels in our herb garden so I simply used some thin copper wire and "flossed" it through the slots in the barrel, tying it off with a large washer at the back so they don't pull through.
It has been SOOO abnormally hot in New England these past few weeks that my herb garden isn't looking too wonderful at the moment (hence the limited "after" pictures). We have six wine barrel planters on a small patio; four of the planters have perennial herbs (chives, garlic chives, sage, and peppermint) that come back each year and the other two planters I switch up each summer. Currently my poor plants are a bit sun-stressed and I'm far behind on weeding, but I hope you'll get the idea of the final install below. I think it really helps finish the space and I love that things are finally labeled.
EDIT Spring, 2020: Just wanted to hop on here and add that I’ve left these up year-round on our herb barrels since 2018 and they still look great! No fading or peeling with the sun or snow. The slate with the permanent vinyl labels and sealer have definitely held up wonderfully.
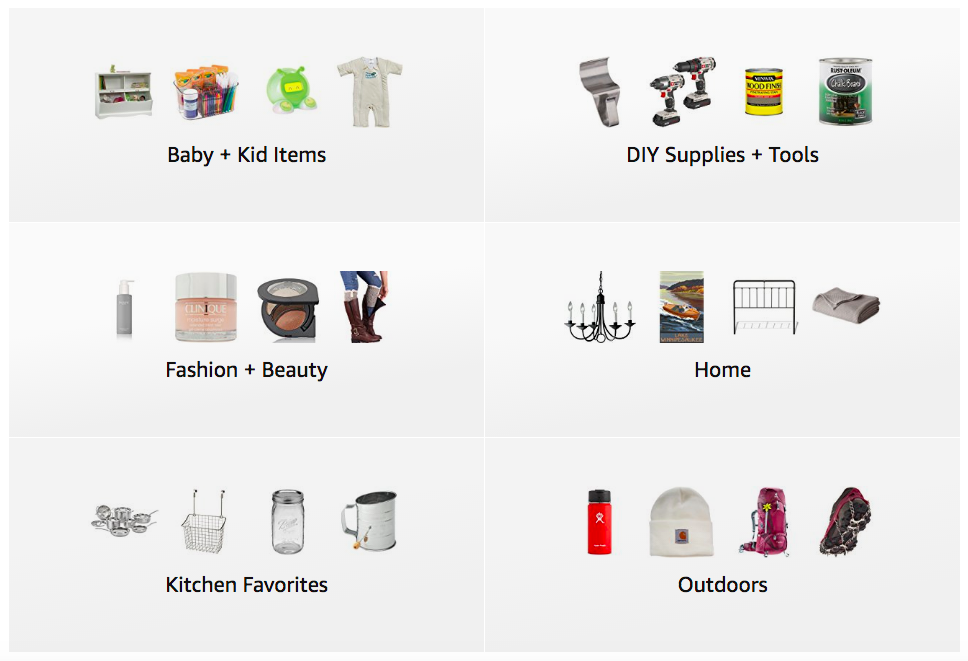
Amazon Influencers now have categories which makes browsing my Favorite Finds so much easier! Check out my lists and let me know if you have any questions on the products - I have different lists for Home, Kitchen Favorites, DIY Supplies + Tools, Fashion + Beauty, Outdoors, and Baby + Kid Items. | This post contains affiliate links |
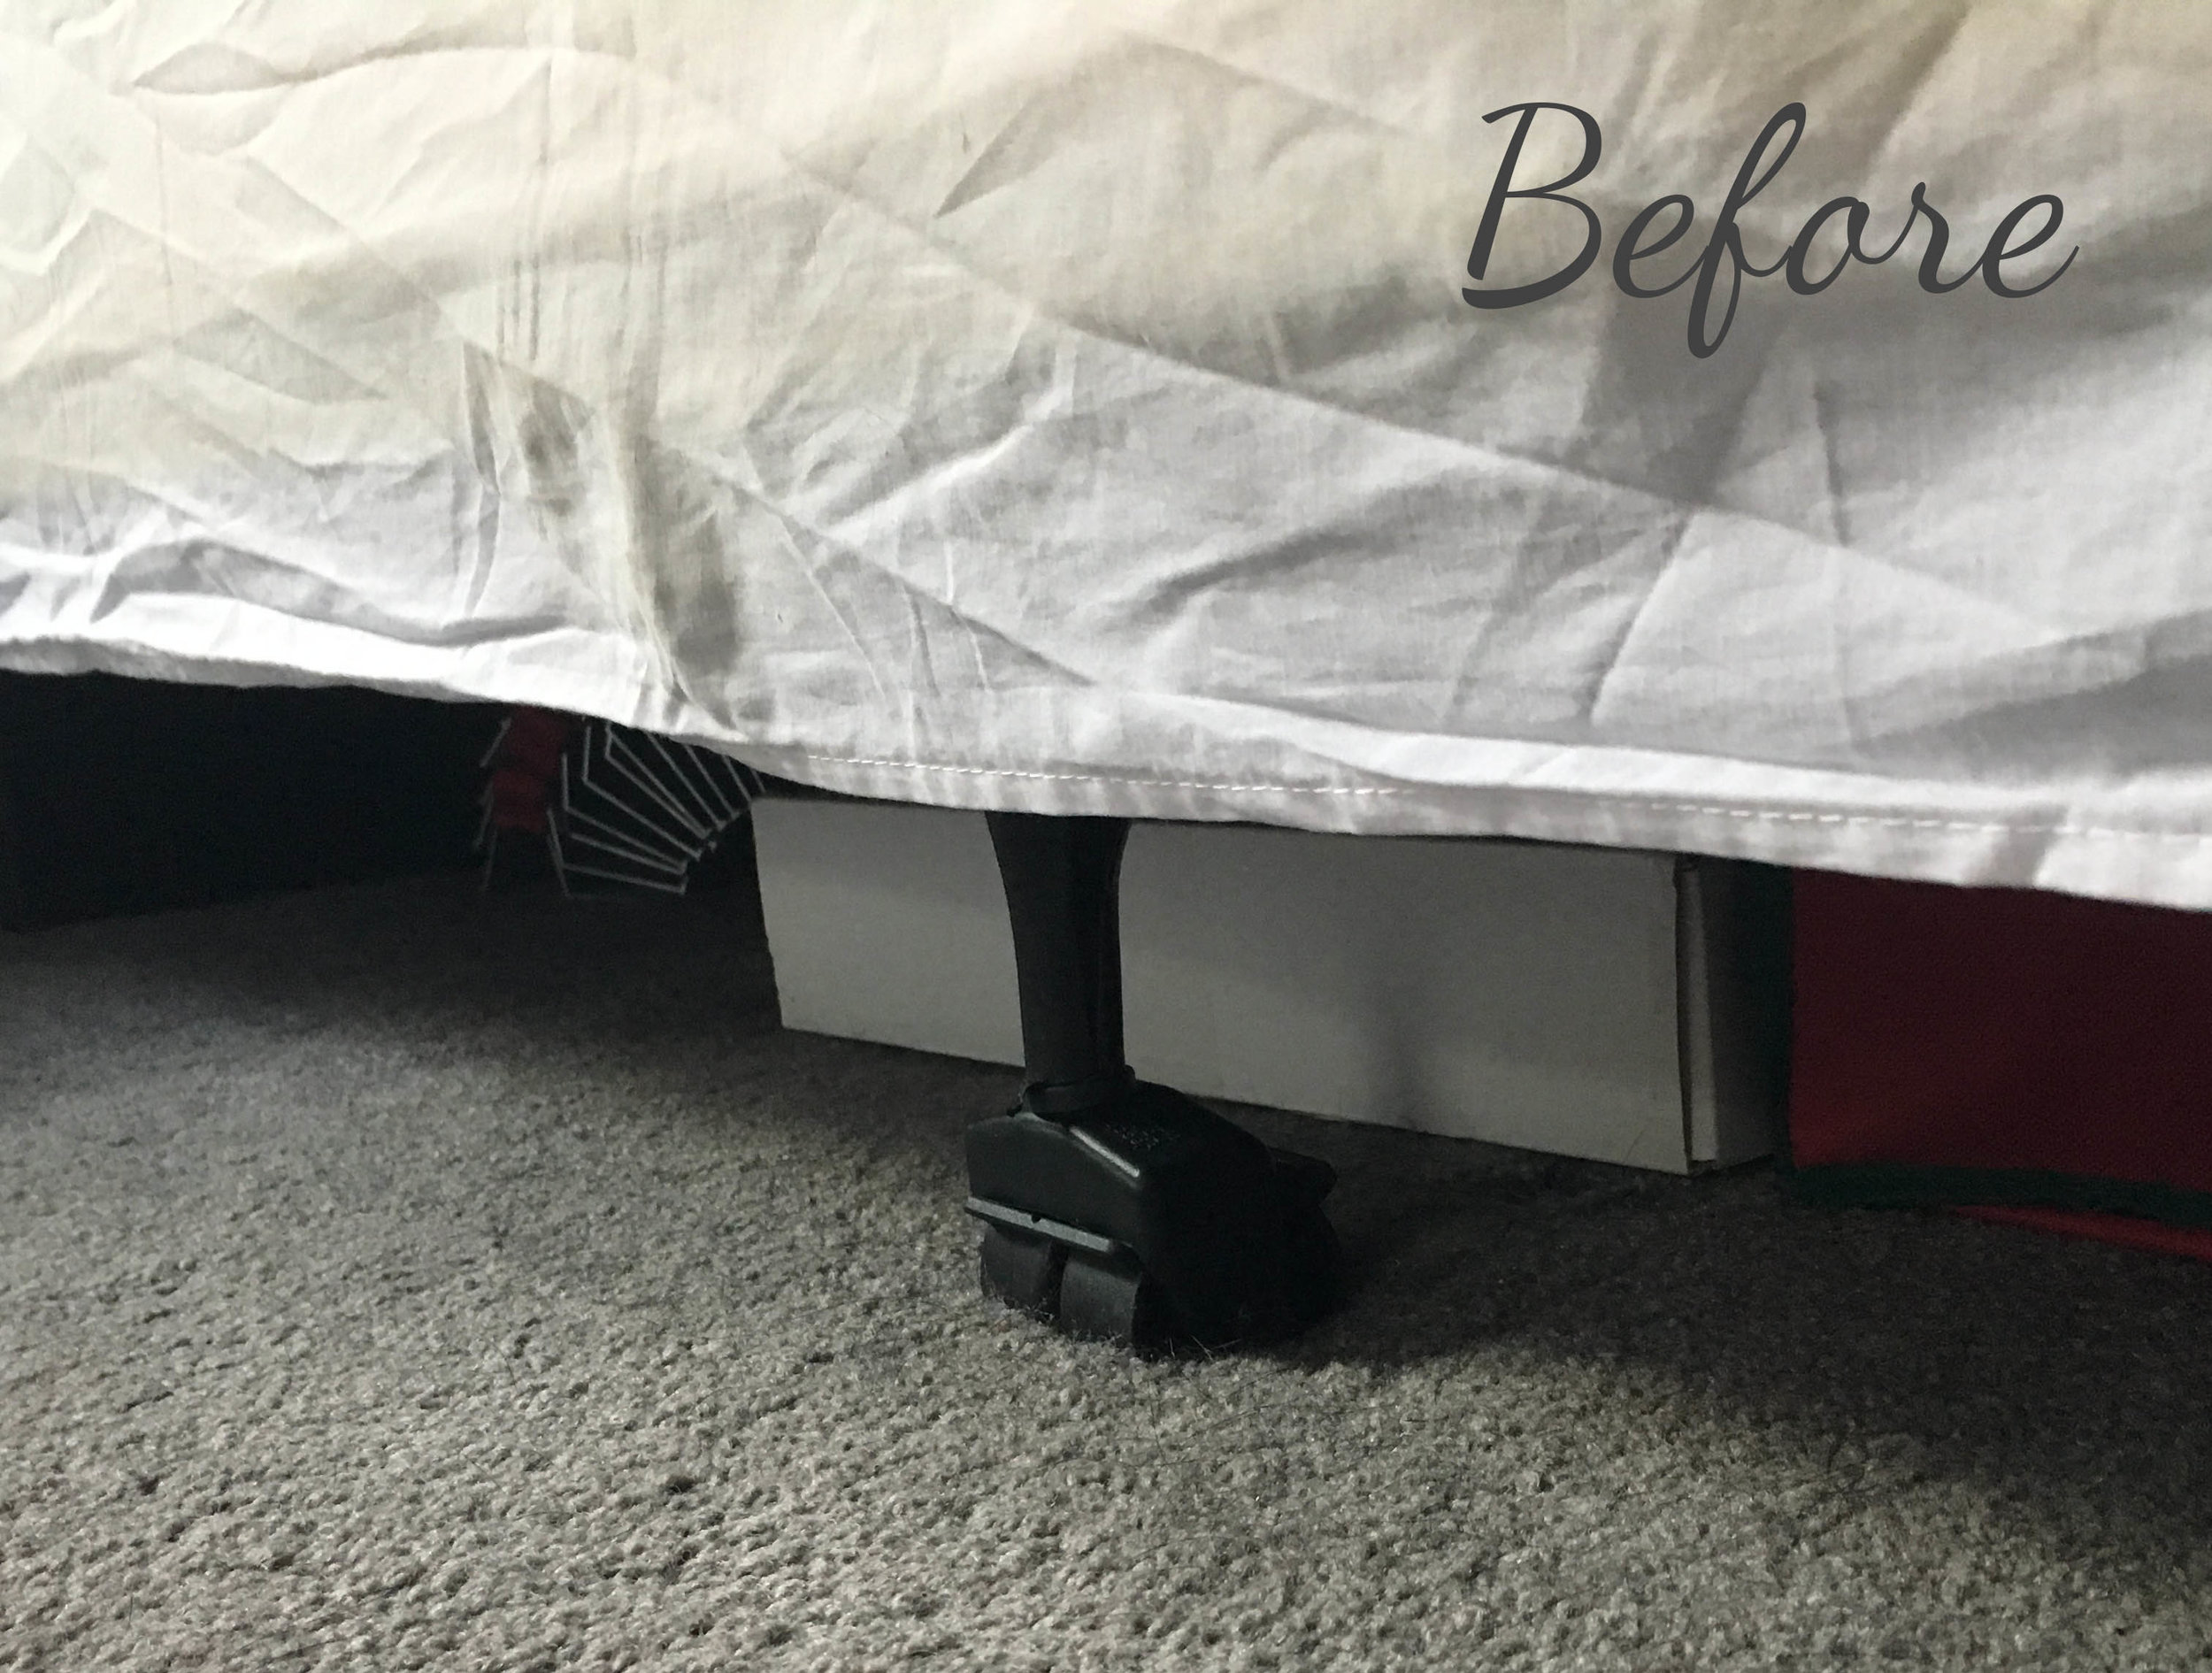
In our master bedroom our bed sits on a standard metal bed frame. Not only were the legs still visible under the bedskirt, but the bed was about an inch too low to fit underbed storage containers! Not being able to store much under the bed was a huge inconvenience and after tripping over these containers in our walk-in closet for far too long I decided to make my own bed risers and fix the issue once and for all. | This post contains affiliate links |
Now this isn't exactly a glamorous or high-end project, but I think you'll agree that the Before and Afters speak for themselves - it's a huge improvement over what was there and helps fit more under the bed for critical storage.
The wrinkly, too-short bedskirt shows the ugly metal legs and the limited storage underneath.
Materials:
ruler
chop saw or handsaw
2x4 lumber
1x5 lumber (or whatever size wood will cover the legs of your bed + the thickness of the 2x4)
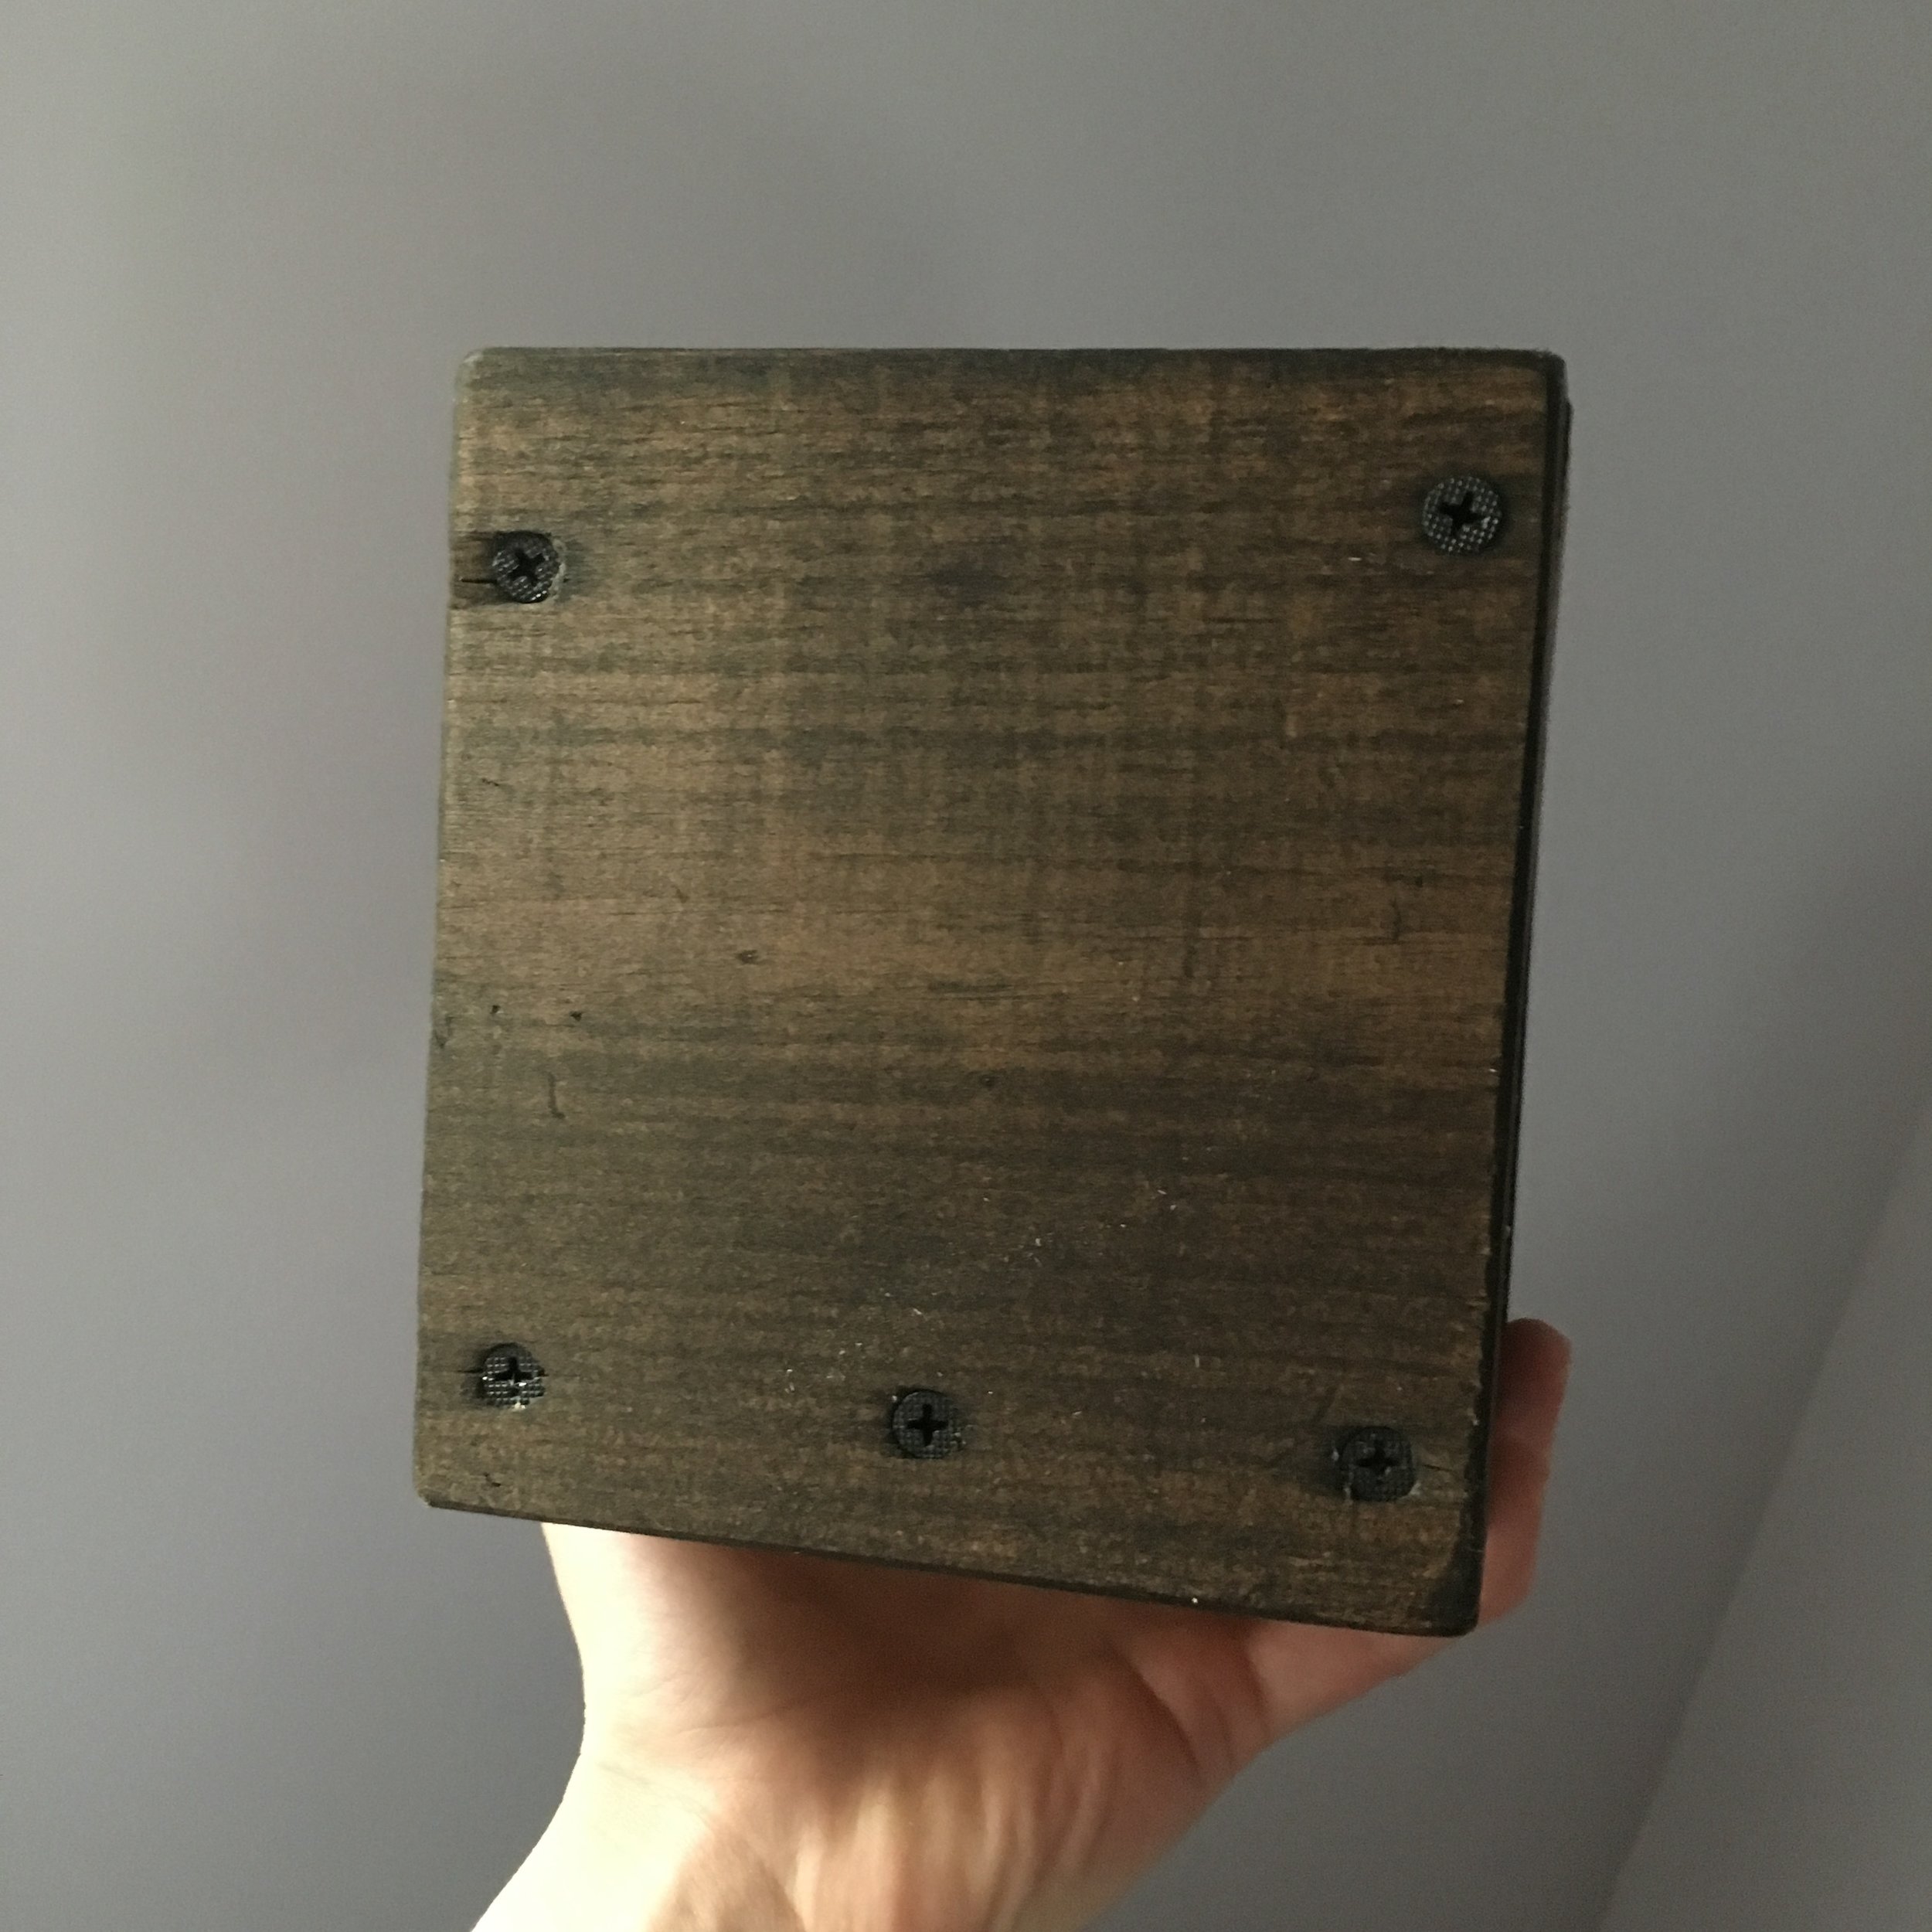
First measure the height of the legs of the bed (in our case the back side of the leg has a support bracket which is why you'll see the back side of our risers are slightly shorter) and add this height to 1.5 (the actual thickness of a 2x4). This is the height your side boards will be for the bed riser. For us it came to about 5 inches along the front three sides and 4 inches in the back.
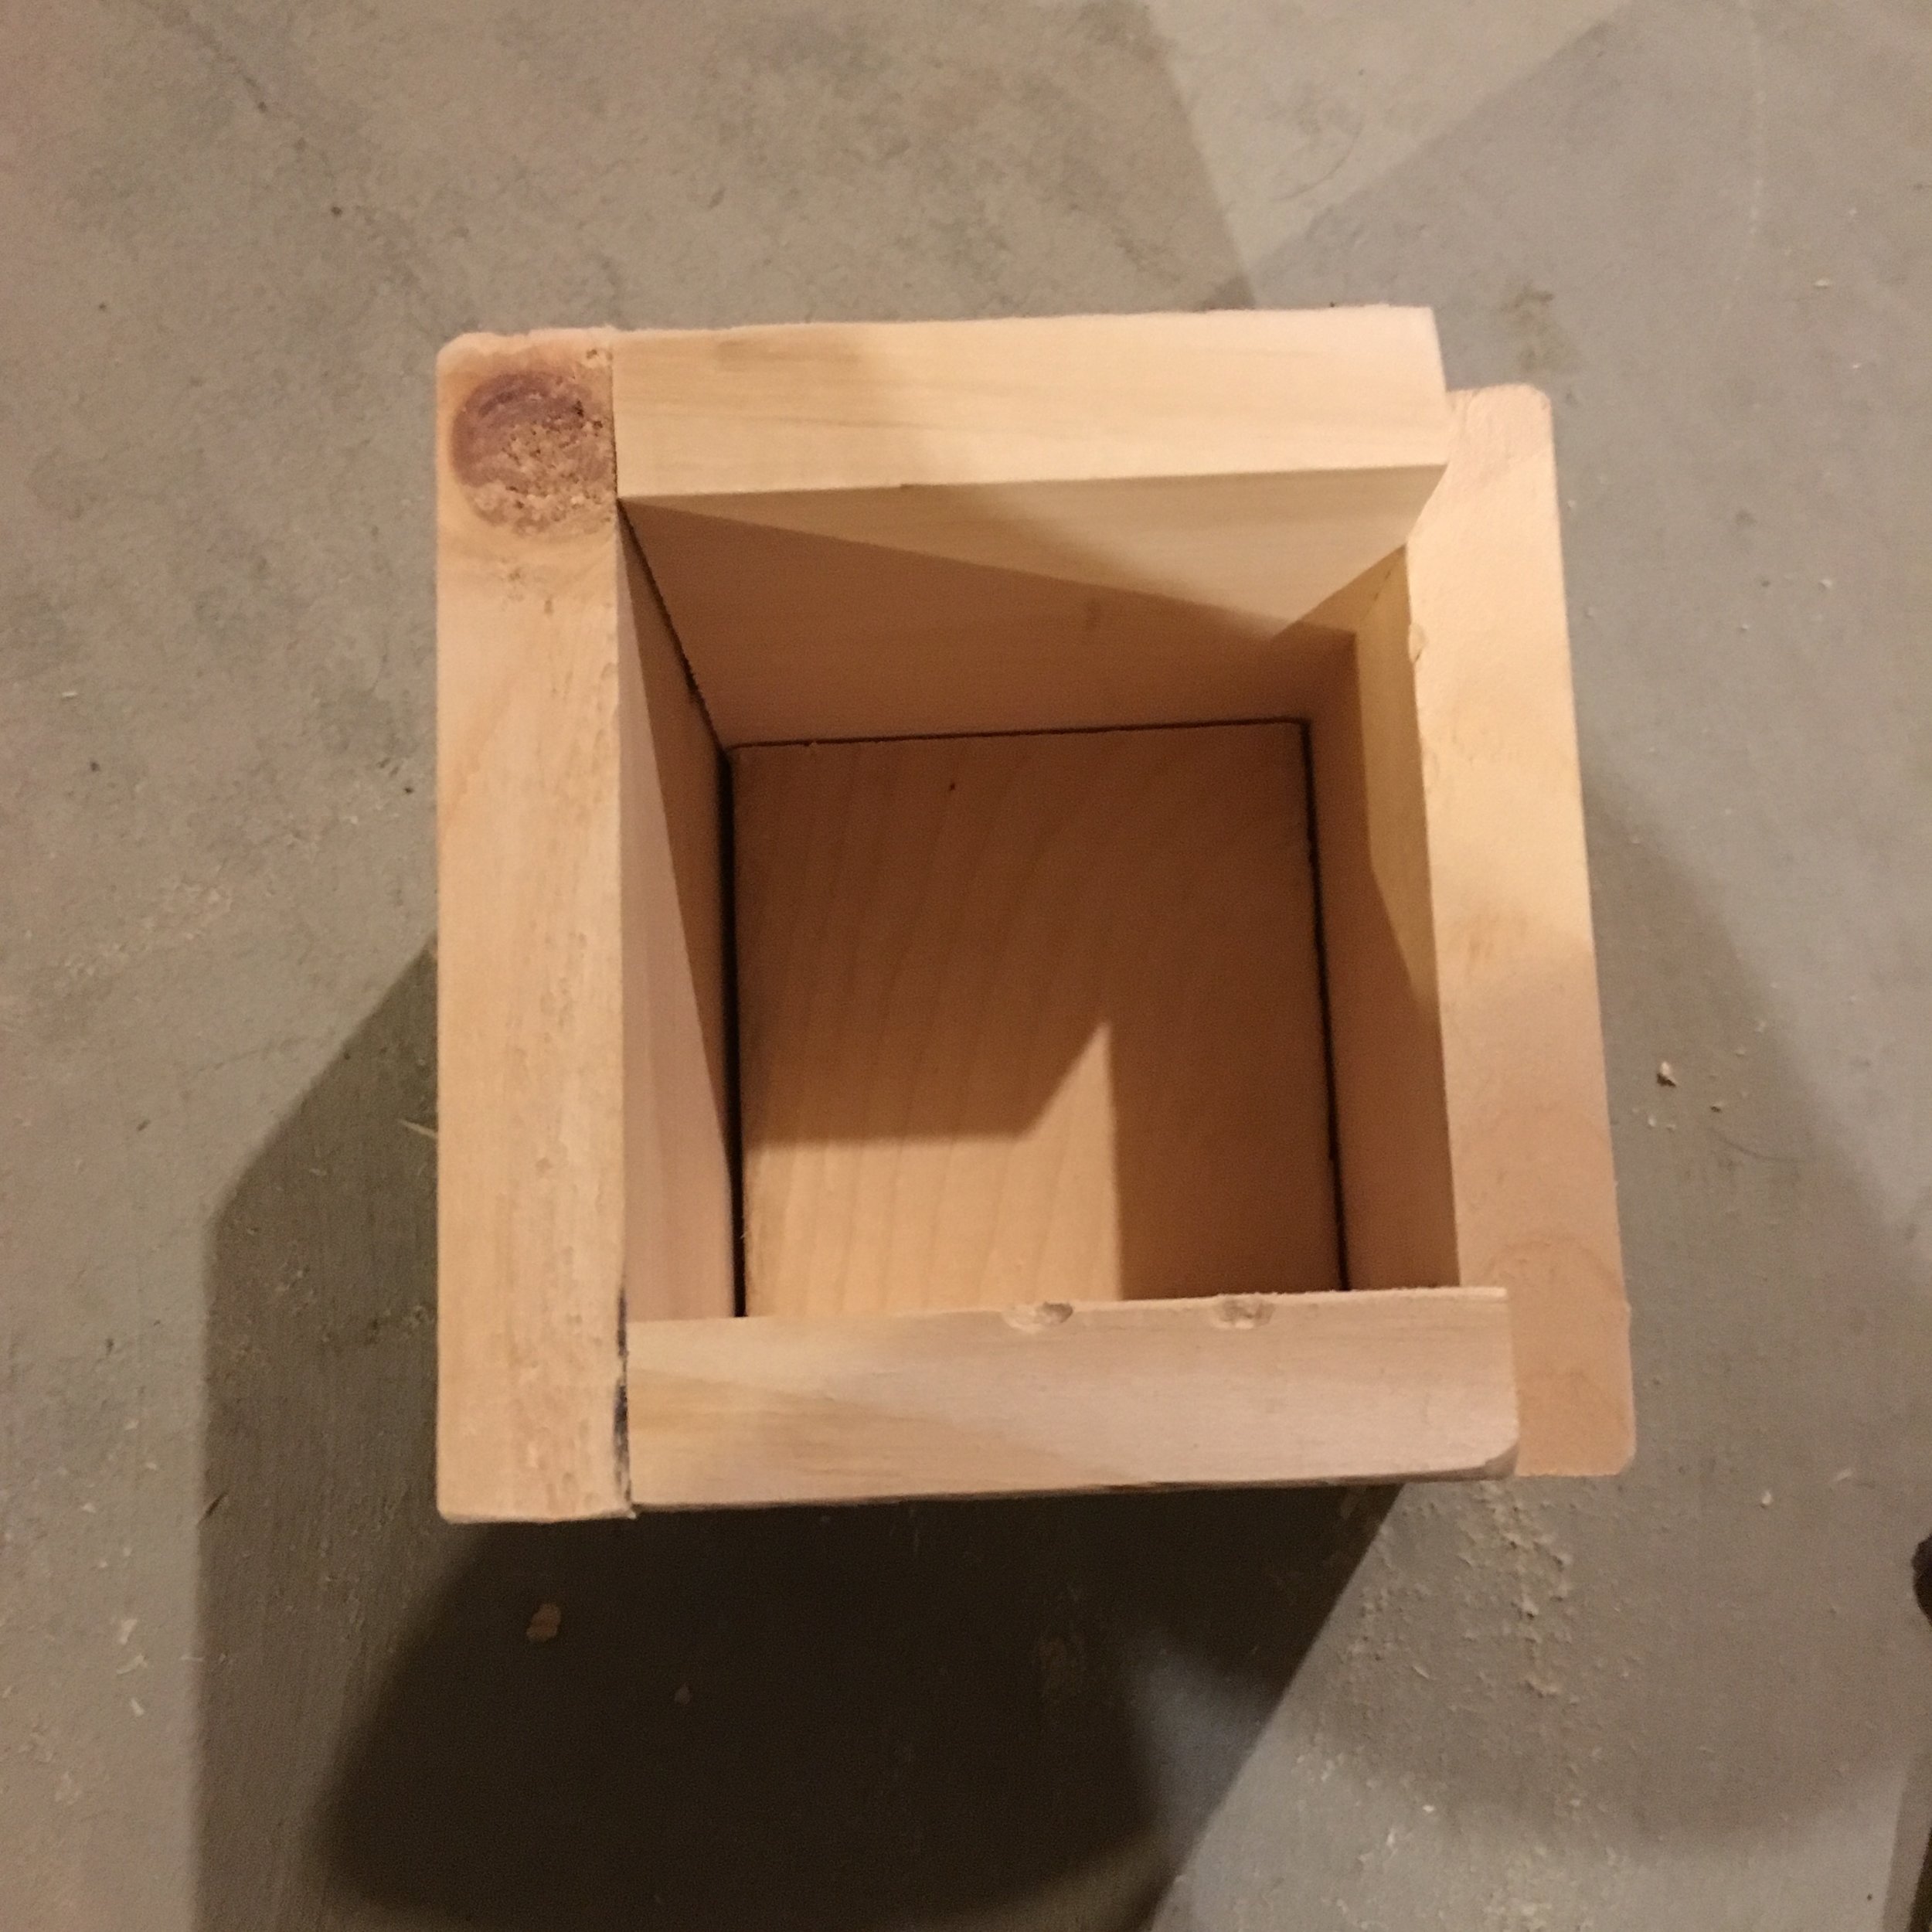
Next cut your 2x4 to size to fit comfortably under the legs of your bed. Then cut all the side pieces to size, creating a box around the 2x4 base.
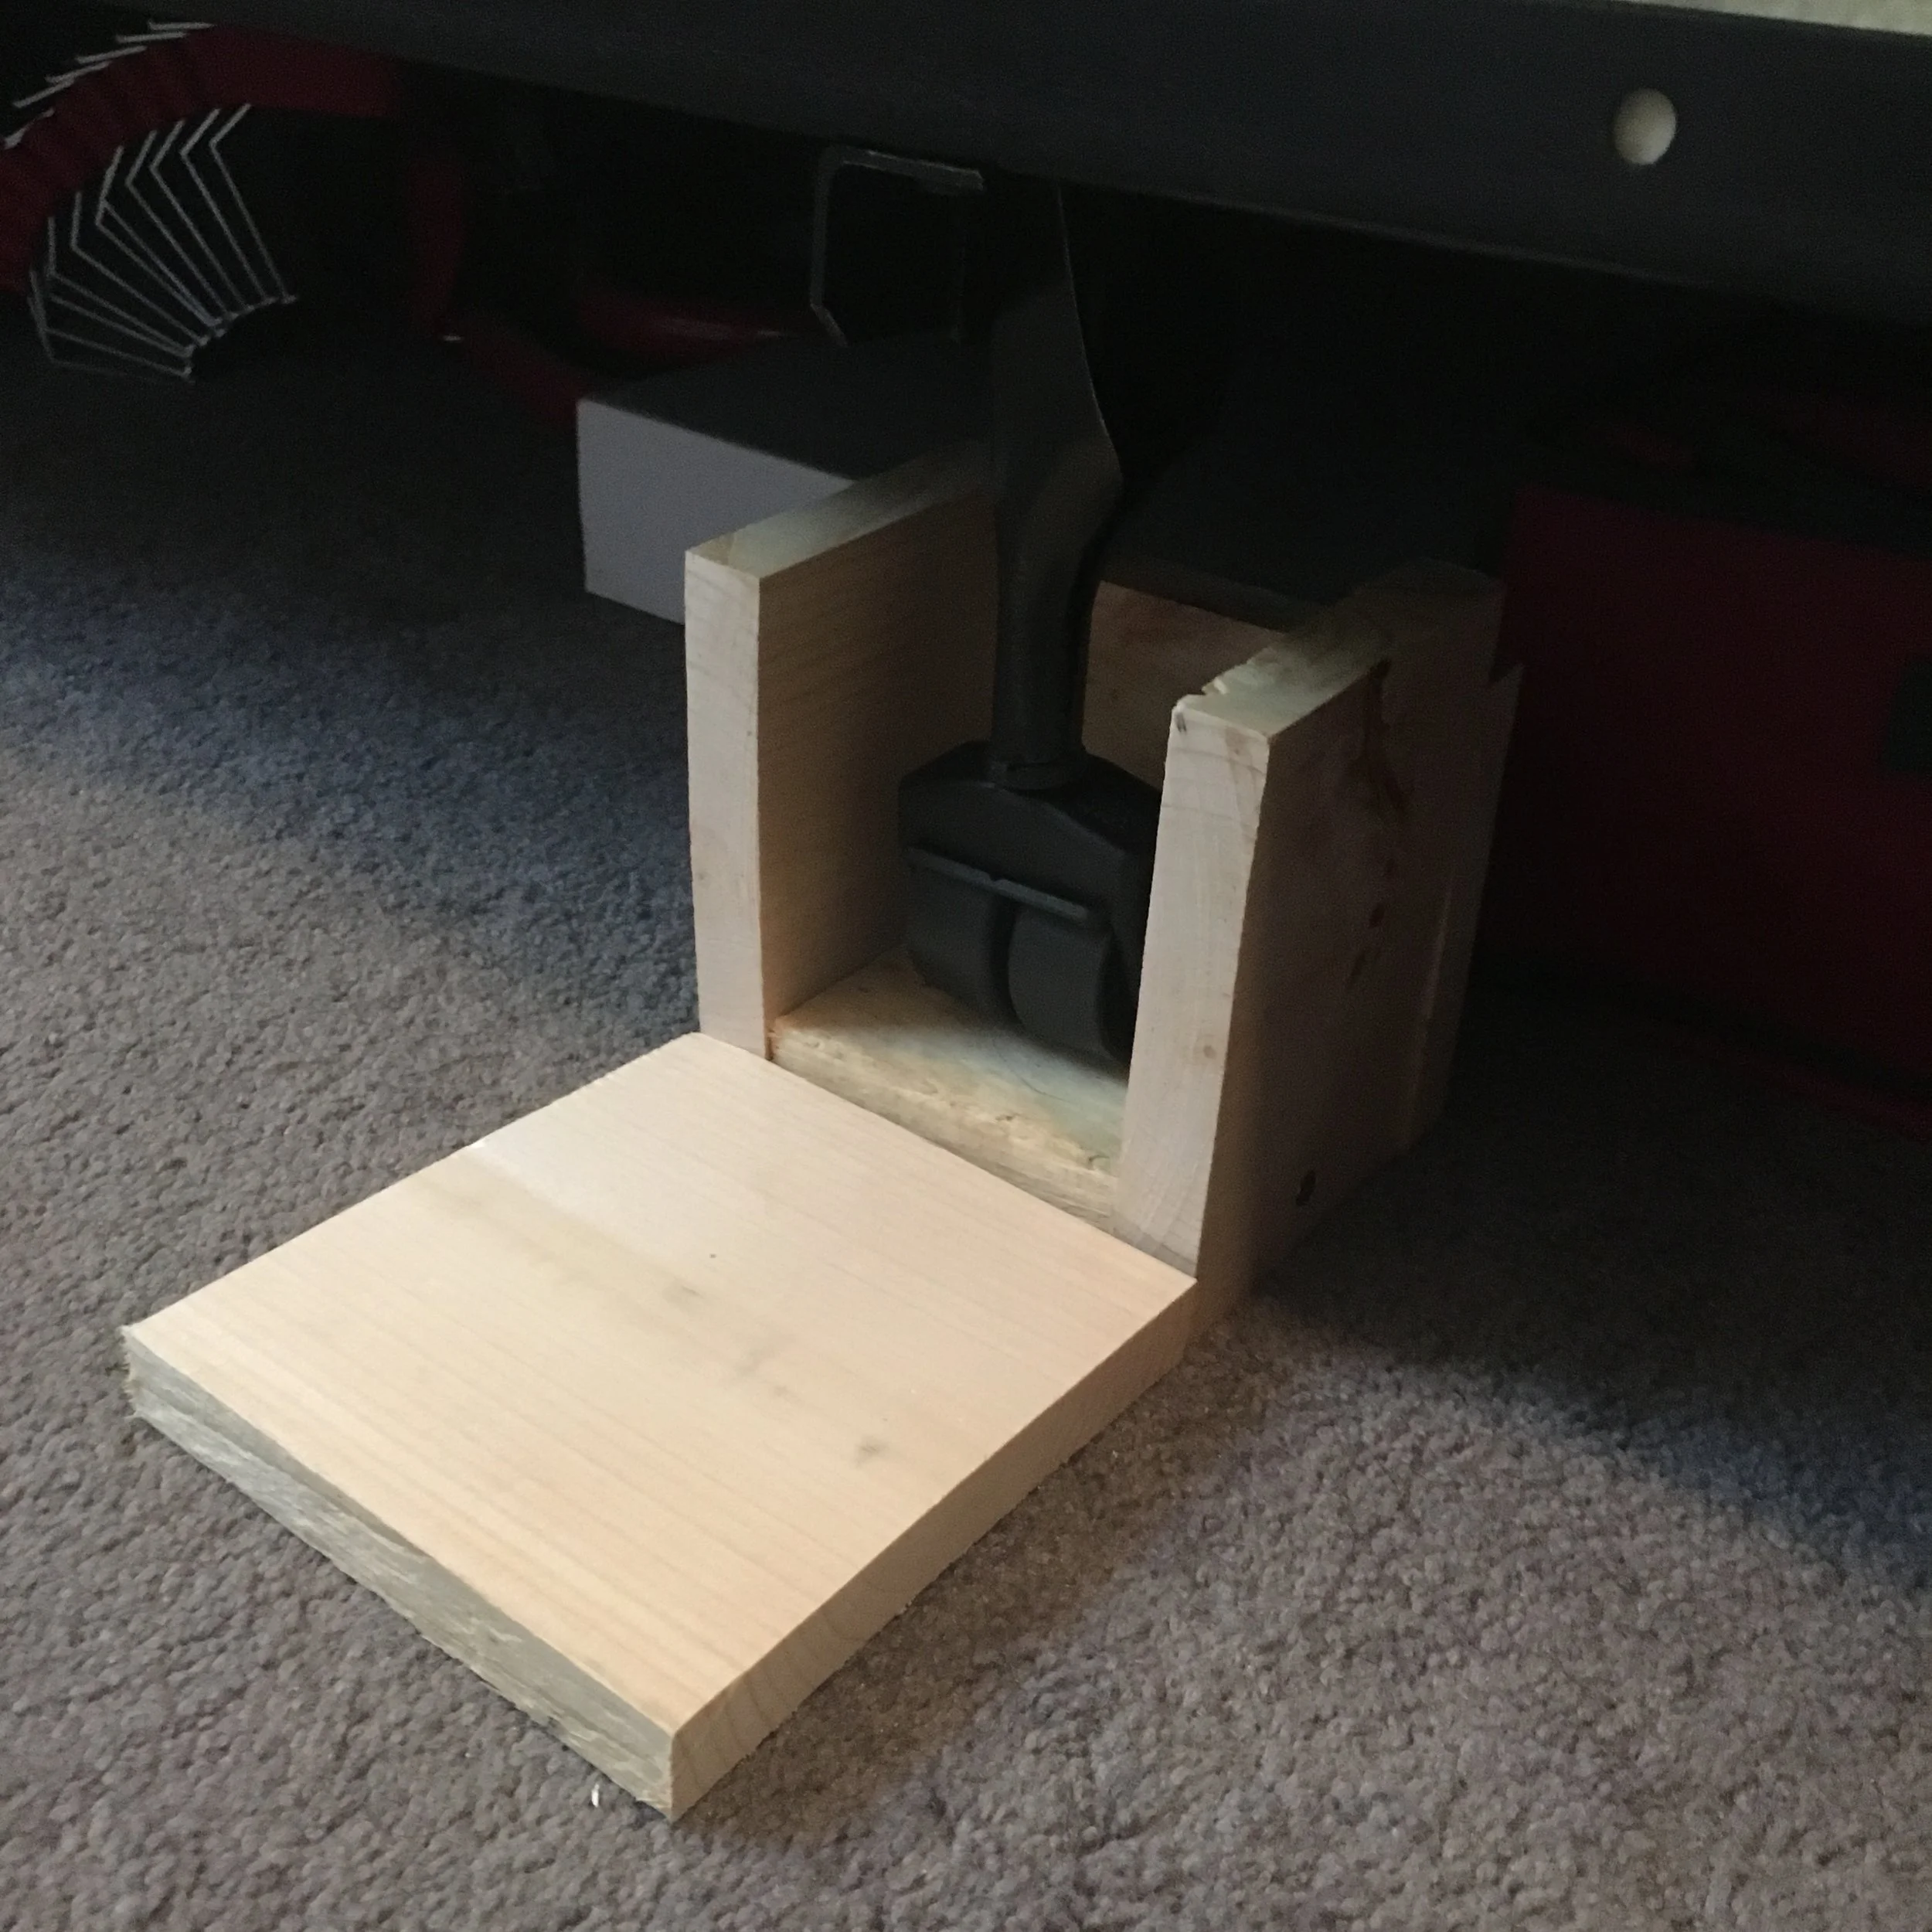
Before assembling, it's a good idea to lay it out under one of the legs of the bed to make sure everything fits properly (as you can see from the "cut-away" example I have below). Here you can see how the leg sits on the 2x4 base with all the side pieces around it.
Once you have all your pieces cut to size, pre-drill, wood glue, and screw everything together. We used black screws so they would blend in better with the dark stain we chose. Make sure everything is attached sturdily then sand and stain/paint in the color of your choosing. We went with a dark stain since the rest of our bedroom set is a darker wood.
After everything was dry, I had my husband help me by picking up one corner of the bed at a time so I could place a riser under each leg. I also purchased a longer bedskirt that better fit the new height of the bed. These risers aren't the most beautiful DIY project but they're pretty un-noticeable with the longer bedskirt - and the best part? Now I can finally fit the storage totes under our bed!
DISCLAIMER: Always make sure the risers you build are appropriate for your bed and your situation. Make sure it's safe and sturdy! Use at your own risk.
We're huge Amazon fans in this house - living out in the boonies like we do means that a lot of home and grocery shopping is done online and you can't beat Amazon for their selection and Prime shipping! | This page contains affiliate links |
I've created a page on Amazon to showcase some of our favorite Amazon finds - everything from home, to beauty, to baby and kid items. Items with a "speech bubble" in the corner means I've added a note about that item, just give it a click to see what I have to say about it.
Feel free to check our Favorite Amazon Finds often since I'll be continuing to add more items as they come up.
Creating our family's Christmas card each year is a tradition I greatly look forward to. I especially love looking back at past years to see how much everyone has grown. I used to tuck these old cards away in a drawer but I've found it much more accessible and enjoyable to put them within reach, displayed in a special photo album. | This post contains affiliate links |
Luckily, we've always done 5x7 inch photo cards which fit perfectly inside a
festive perfectly-sized photo album I found on Amazon. If you've done different sized or odd-sized cards through the years, it might make the most sense to use a
big scrapbook to chronicle them. Just make sure to order an extra card to add to the album each year and cherish the memories!
For those new mamas that breastfeed, it can be an exhausting and draining ordeal at the beginning. Expectations are high but reality is that's it's often much harder than expected. One way to make it easier on yourself is to set up a "nursing nest" to make those marathon nursing sessions at 2AM (and all other hours of the day and night) easier to handle. | This post contains affiliate links |
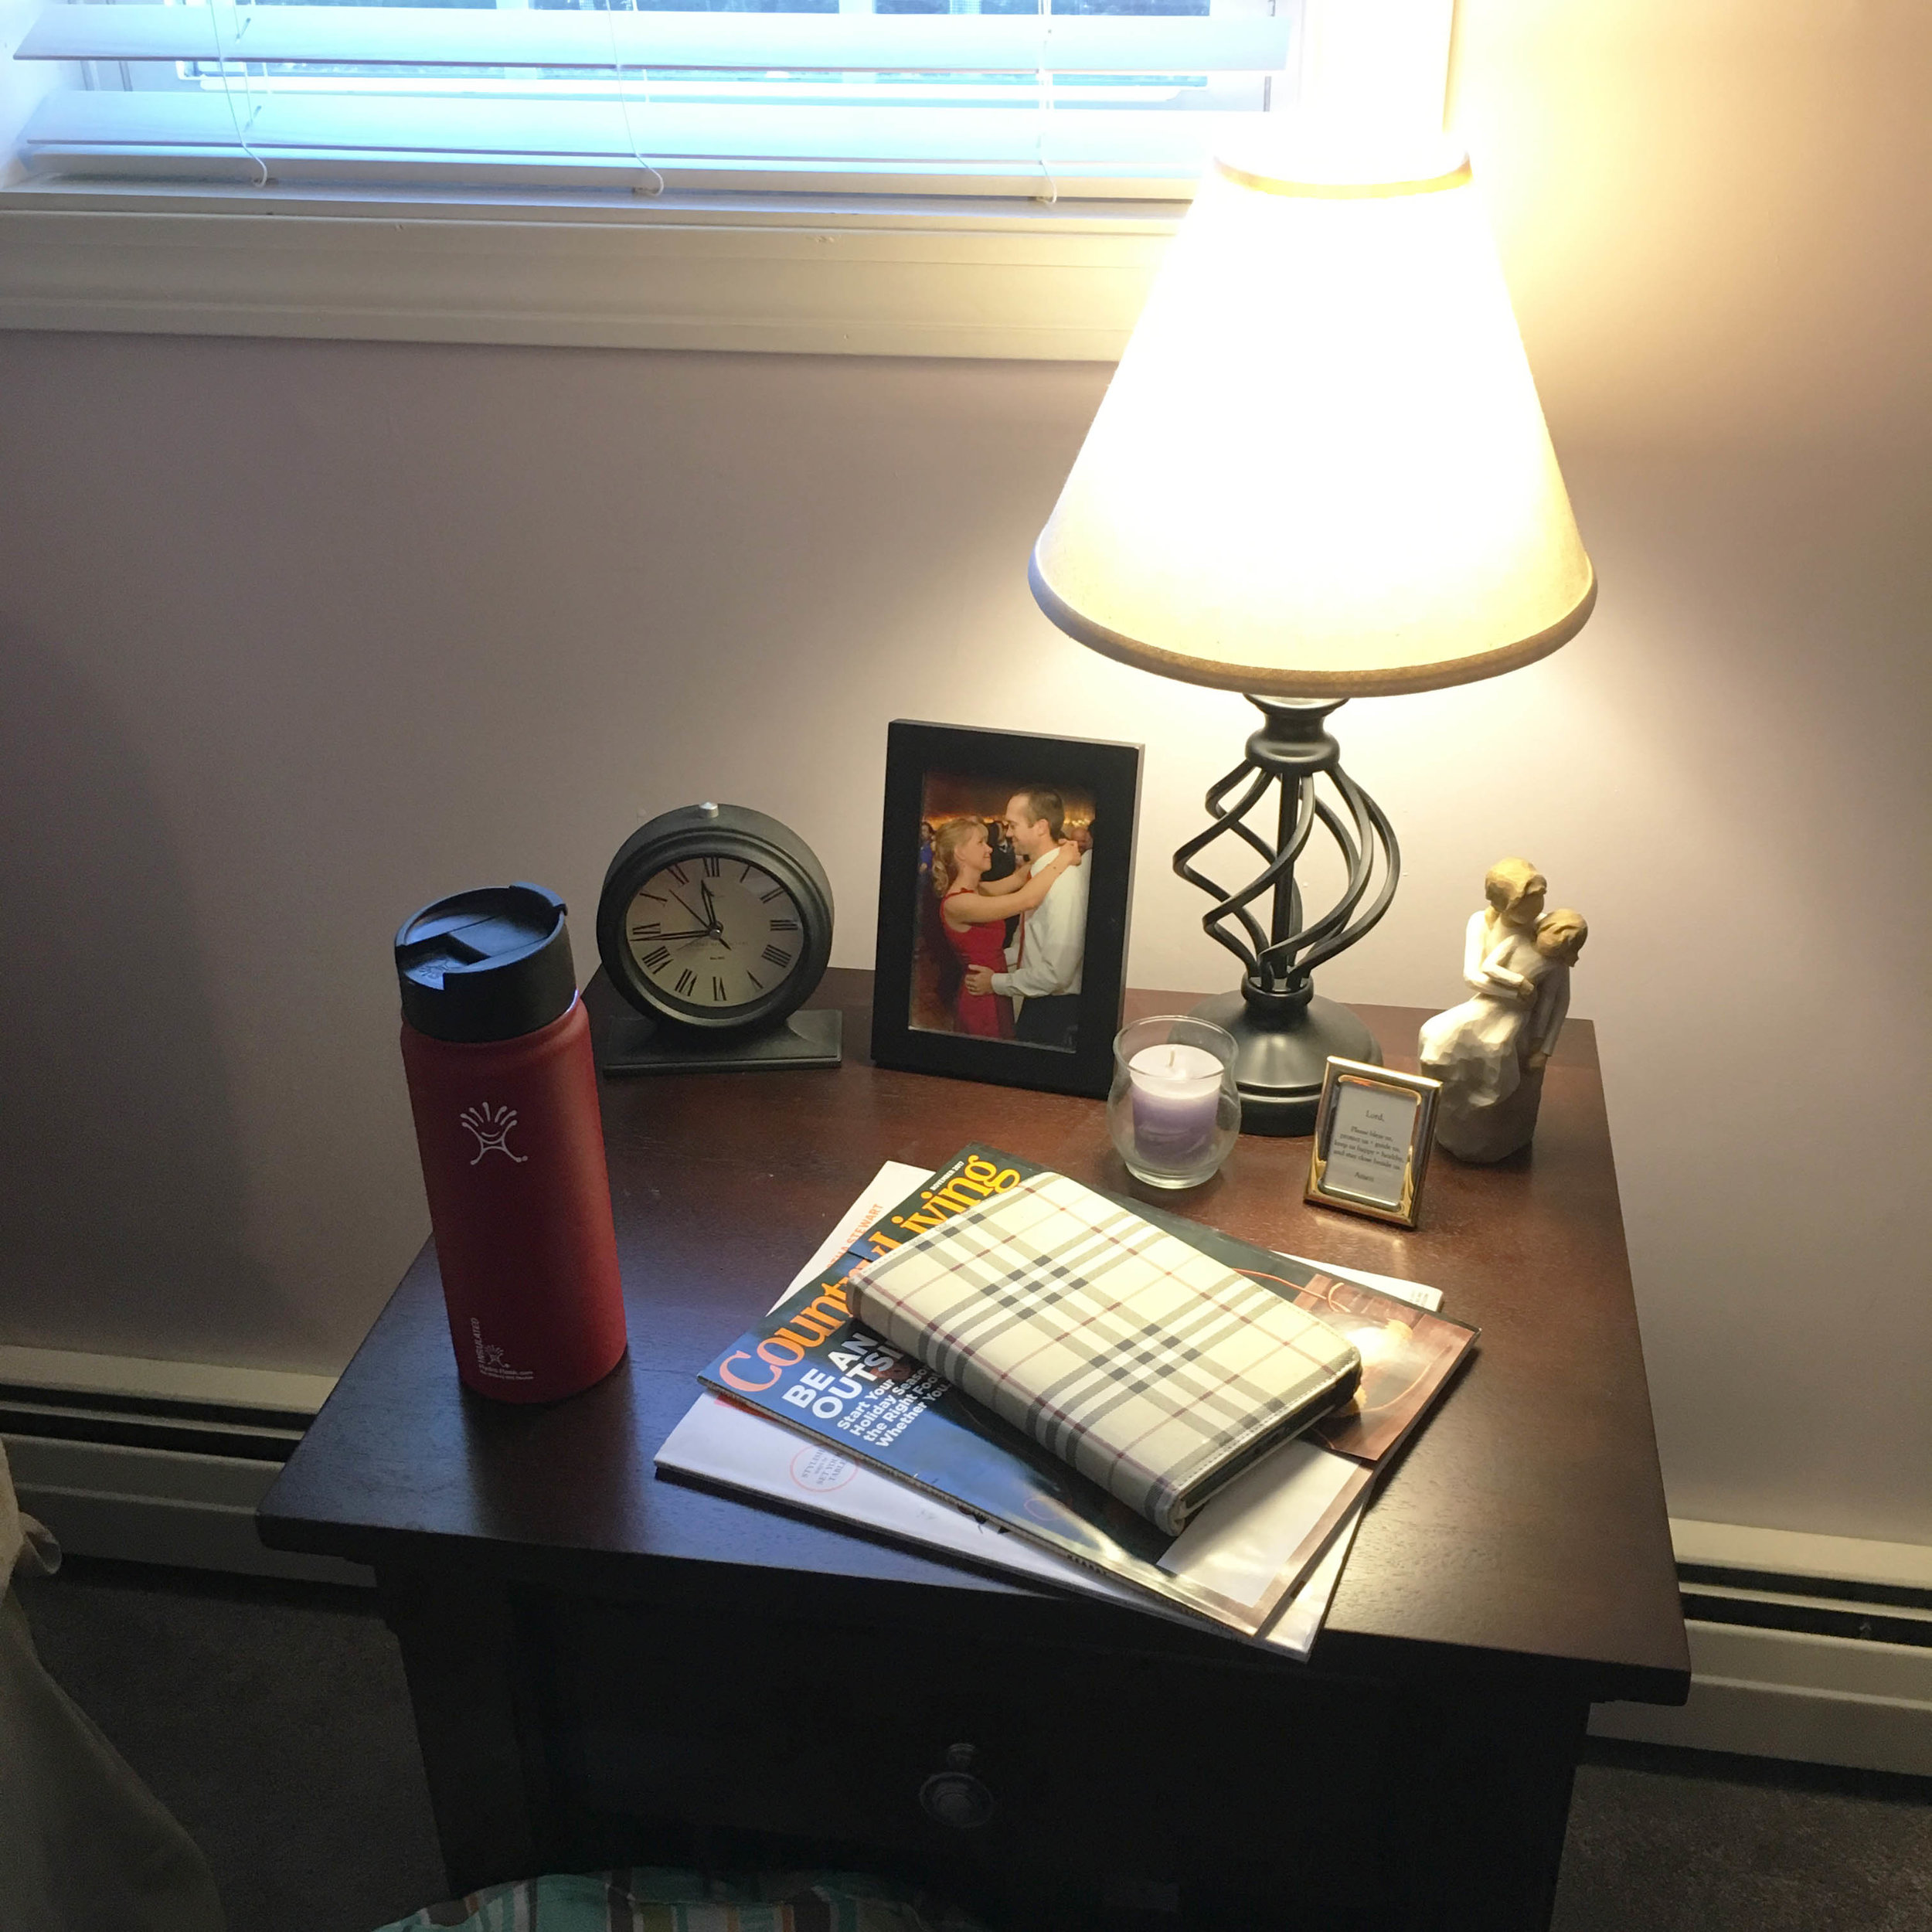
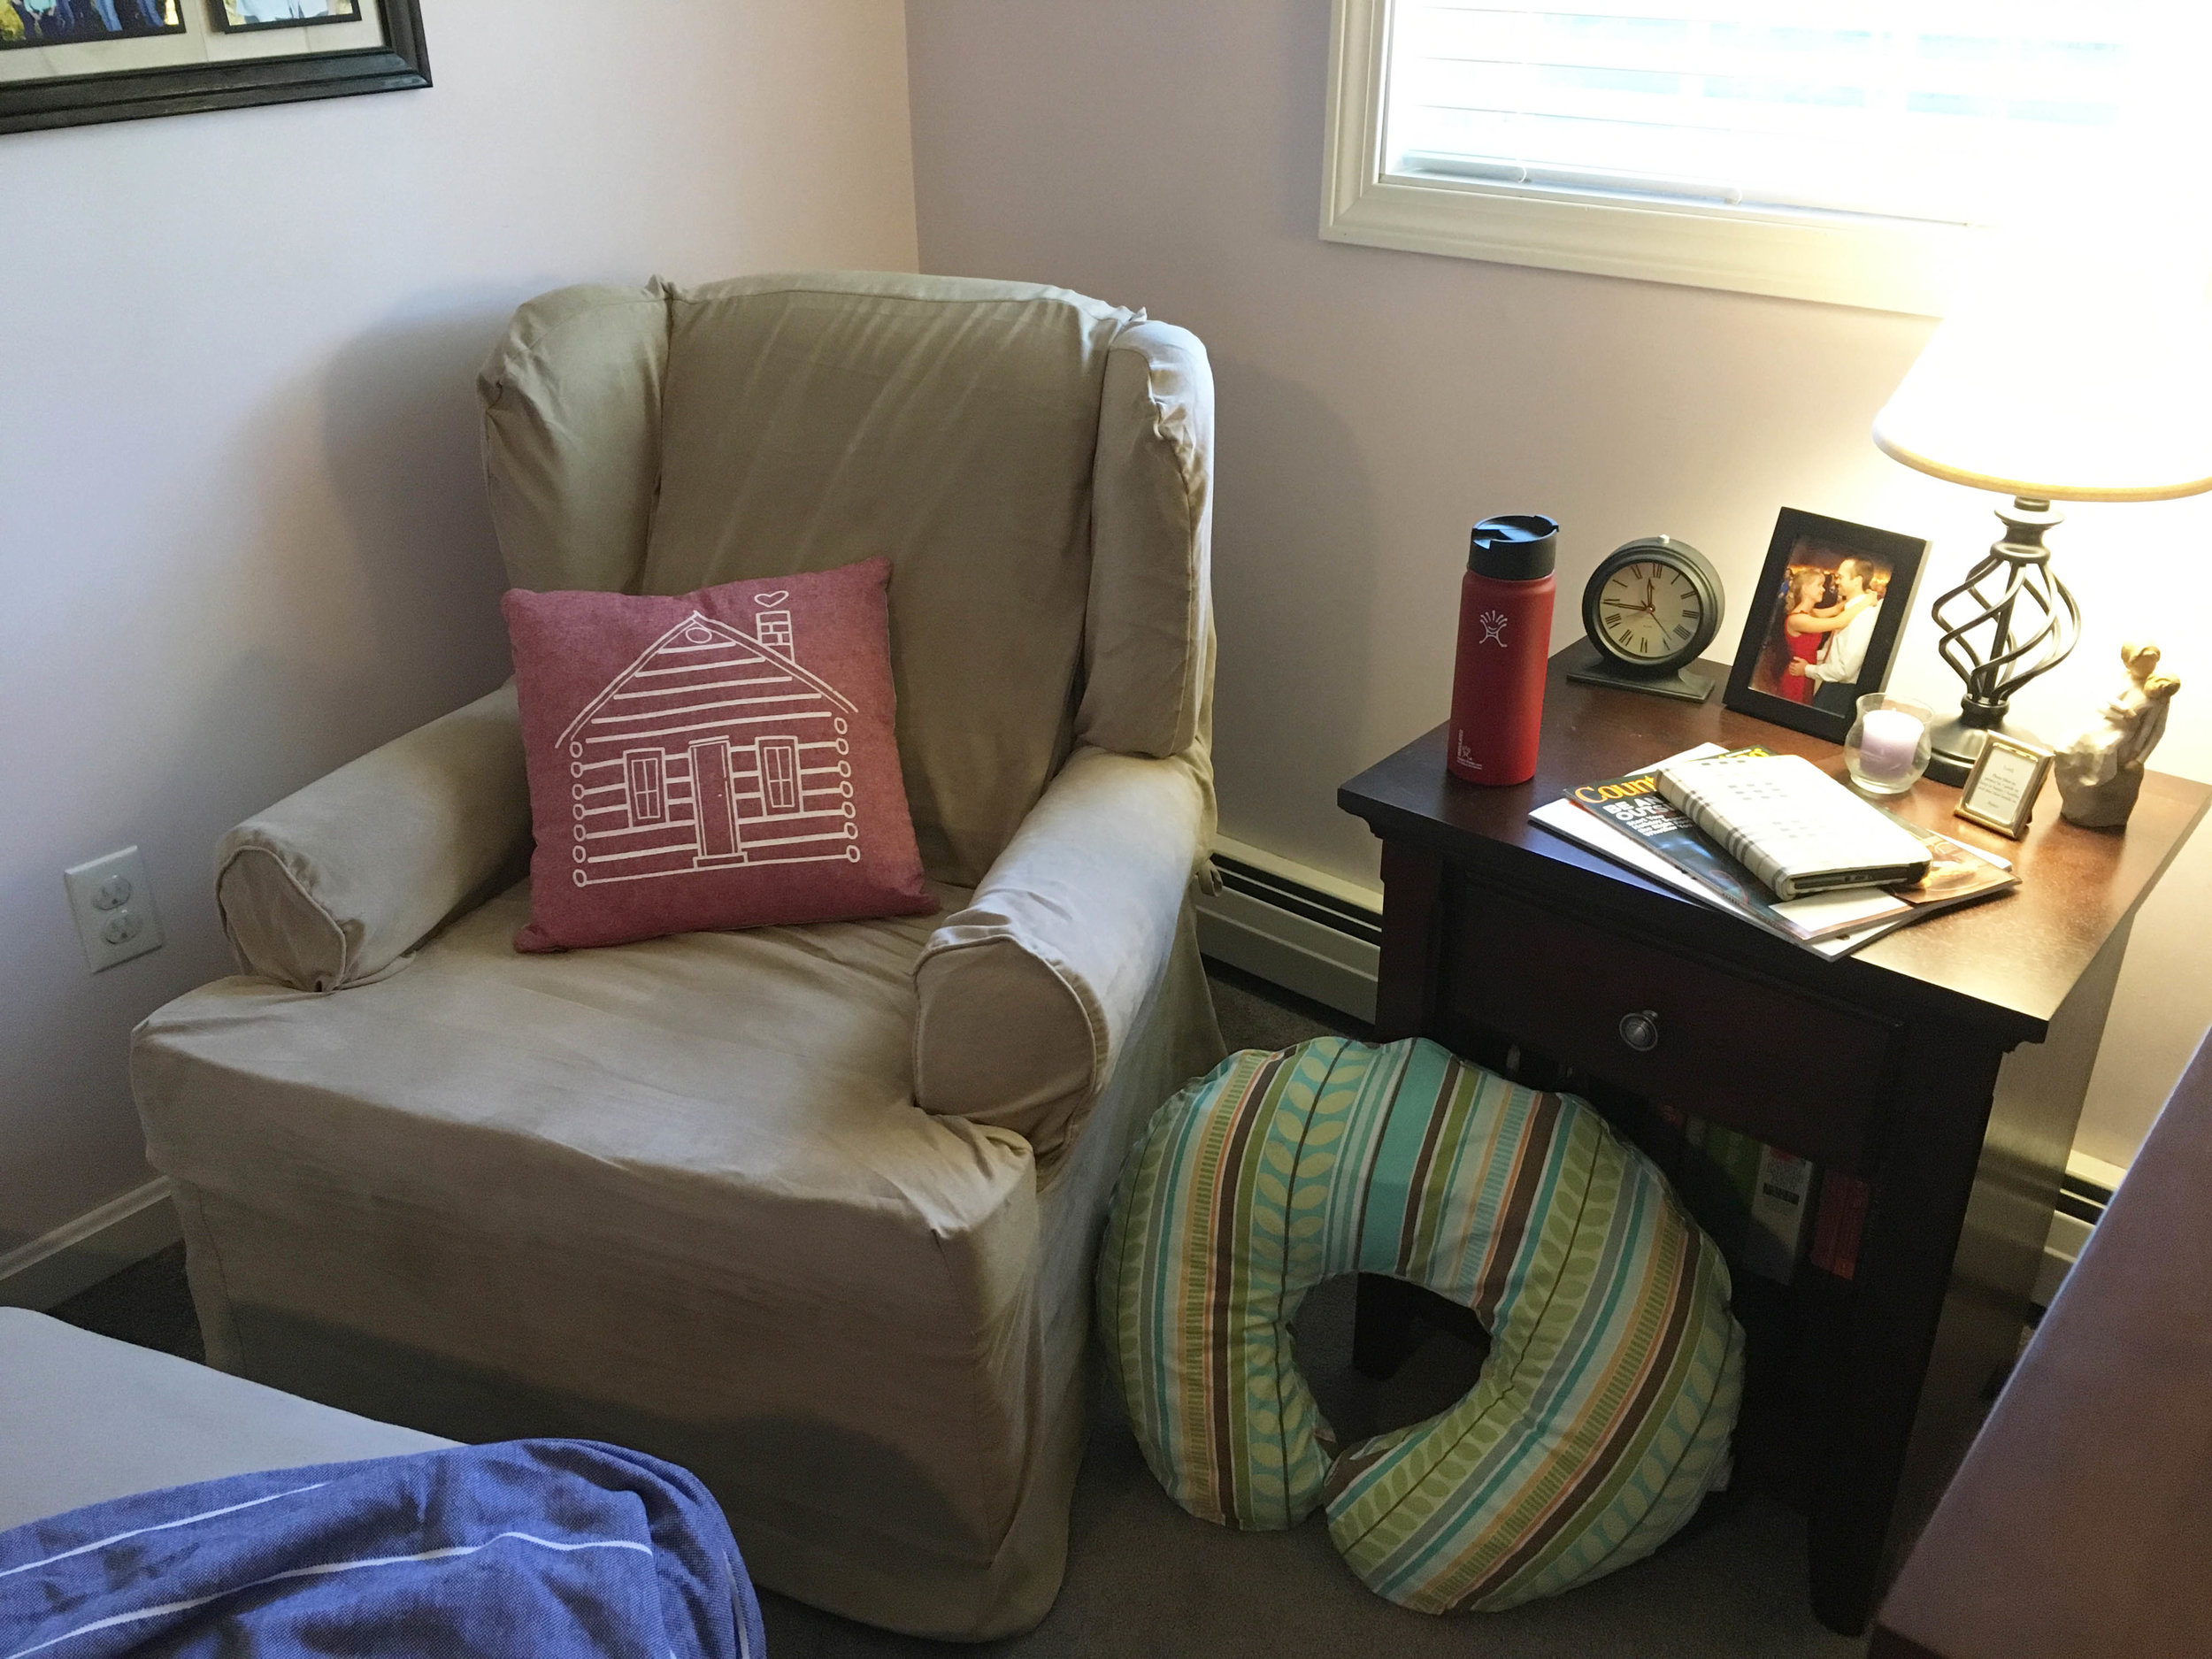
First you'll need to set up somewhere convenient and quiet. I set up my "nest" in a corner of our master bedroom since our baby will be sleeping in a co-sleeper next to us and I wouldn't have to go far to nurse in the middle of the night.
Then outfit this area with all that you need for nursing:
phone (watching Netflix on my phone was sometimes the only way I could keep myself awake)
By setting yourself up to make it as easy as possible, you can help make those super-tough early weeks a bit more bearable. Breastfeeding can be one of the most challenging - and rewarding - things you'll ever do. Hang in there Mama - you got this!
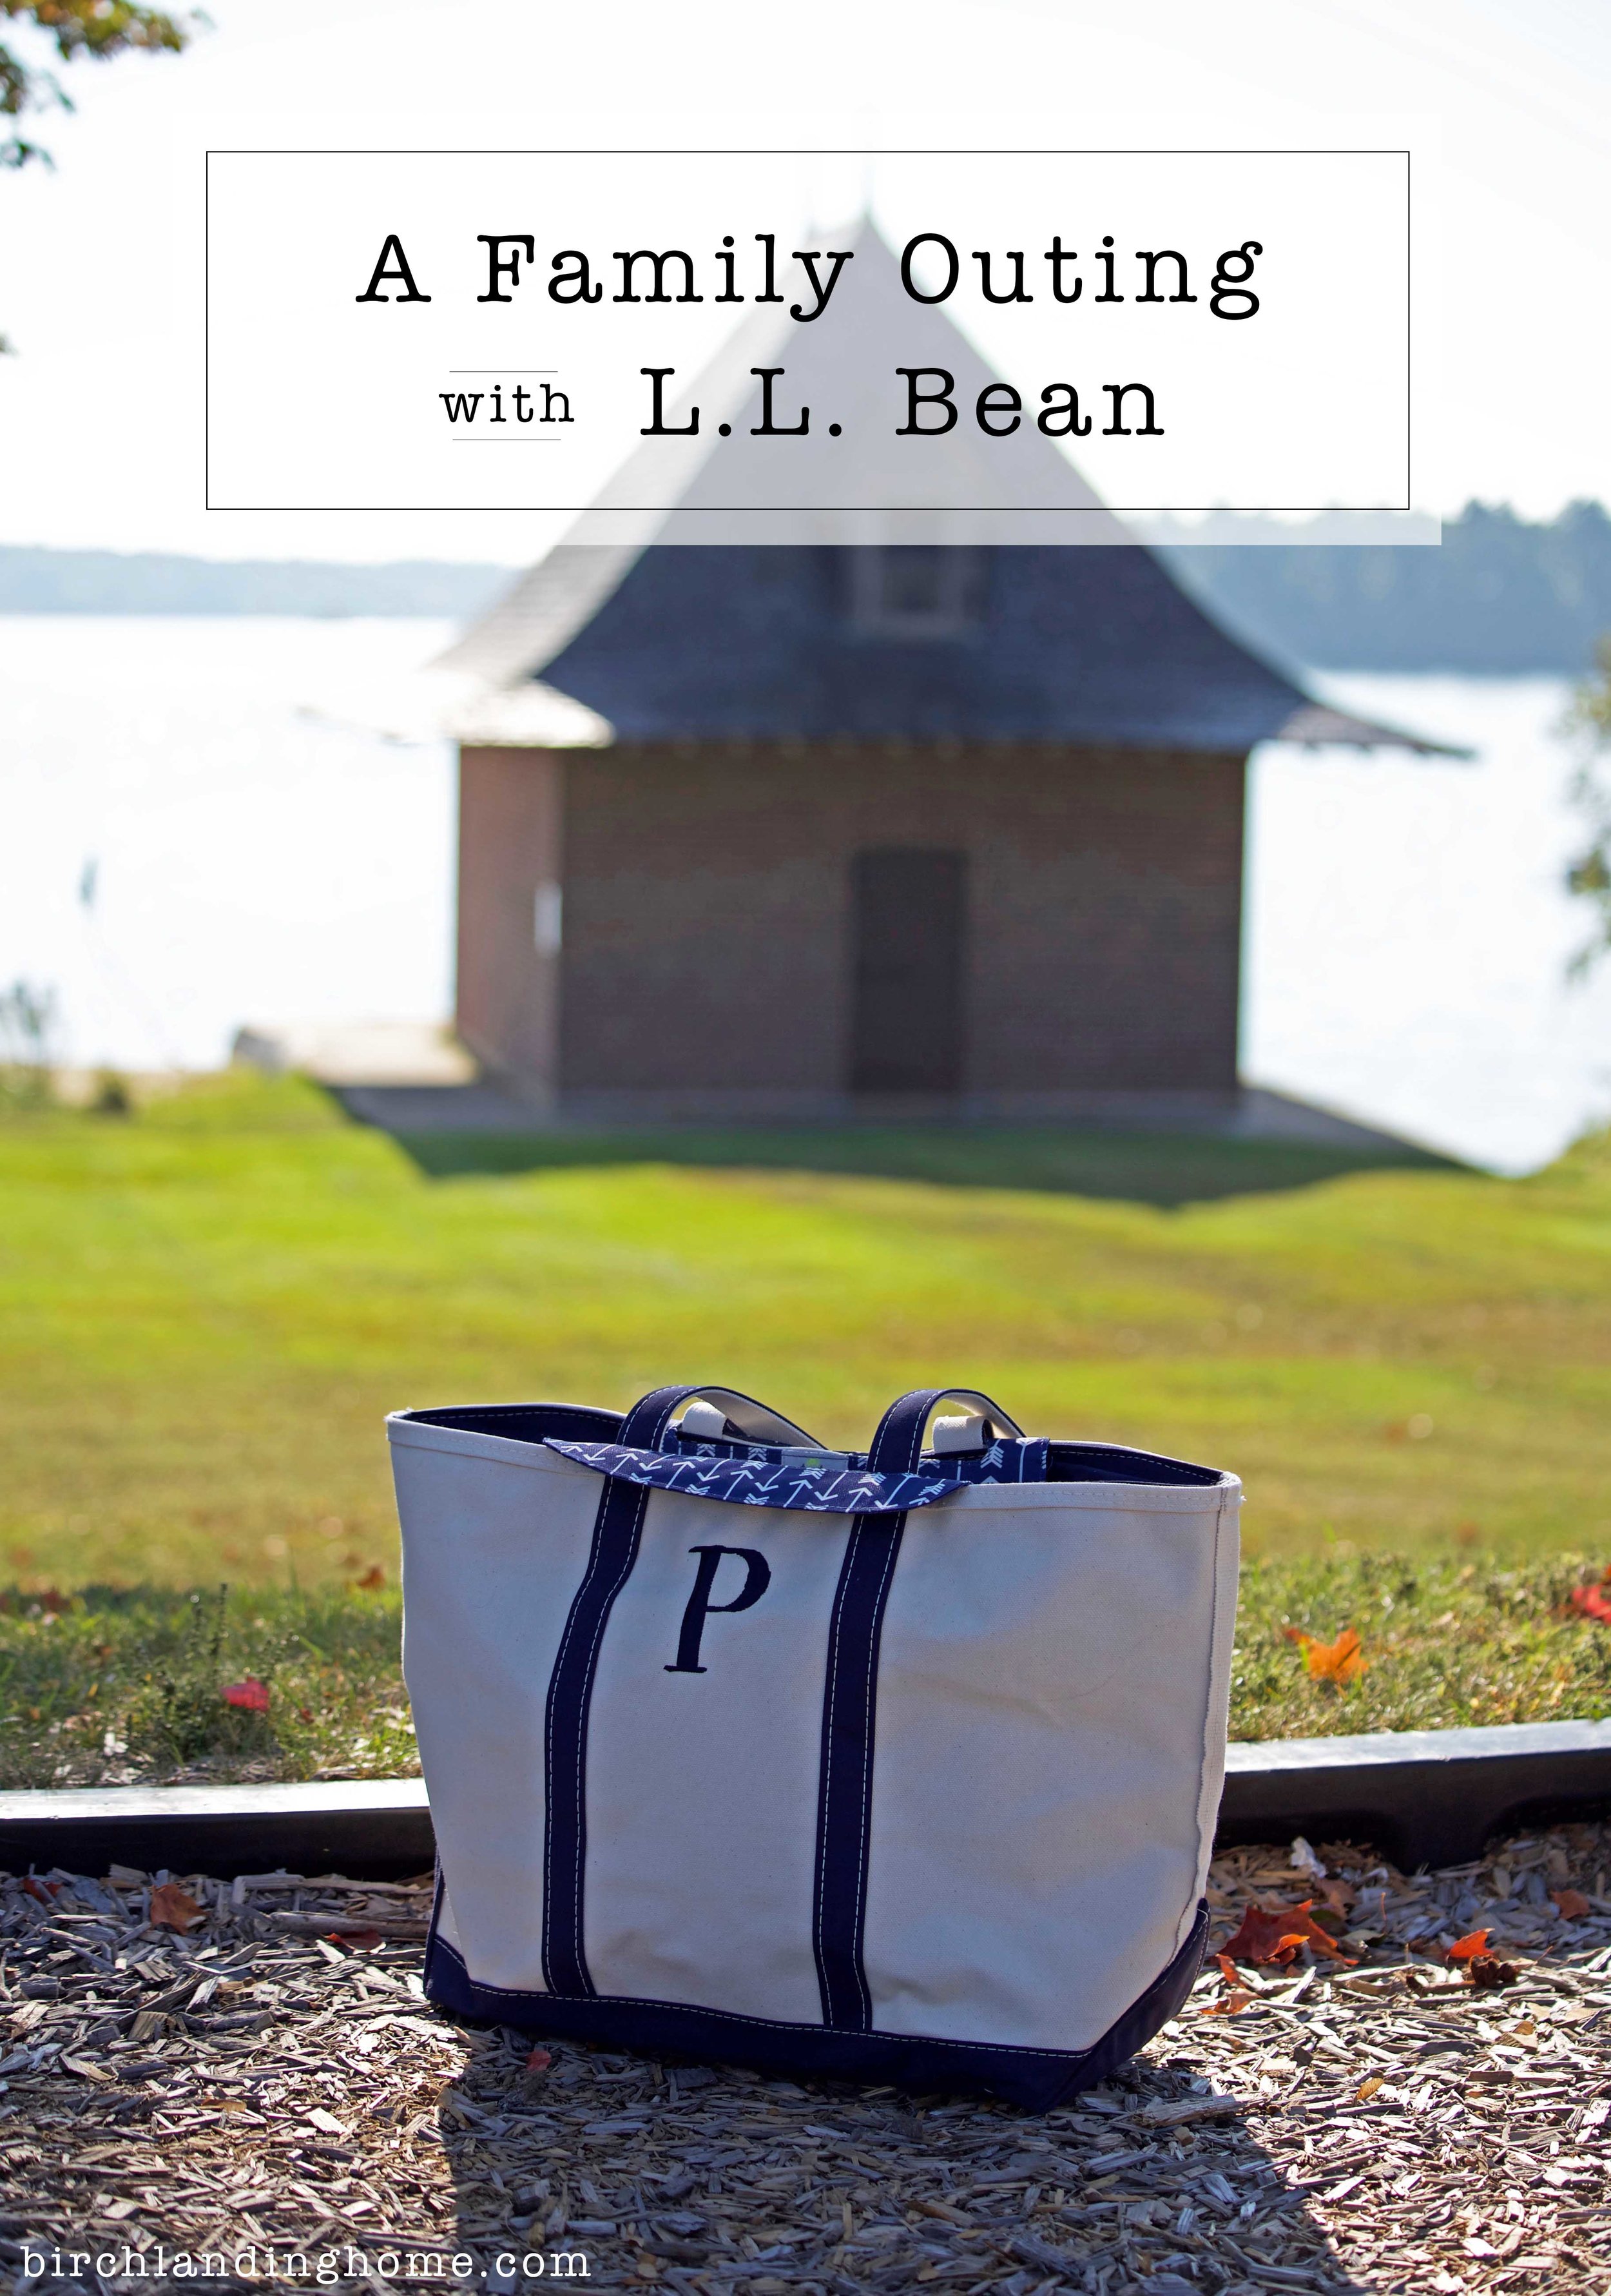
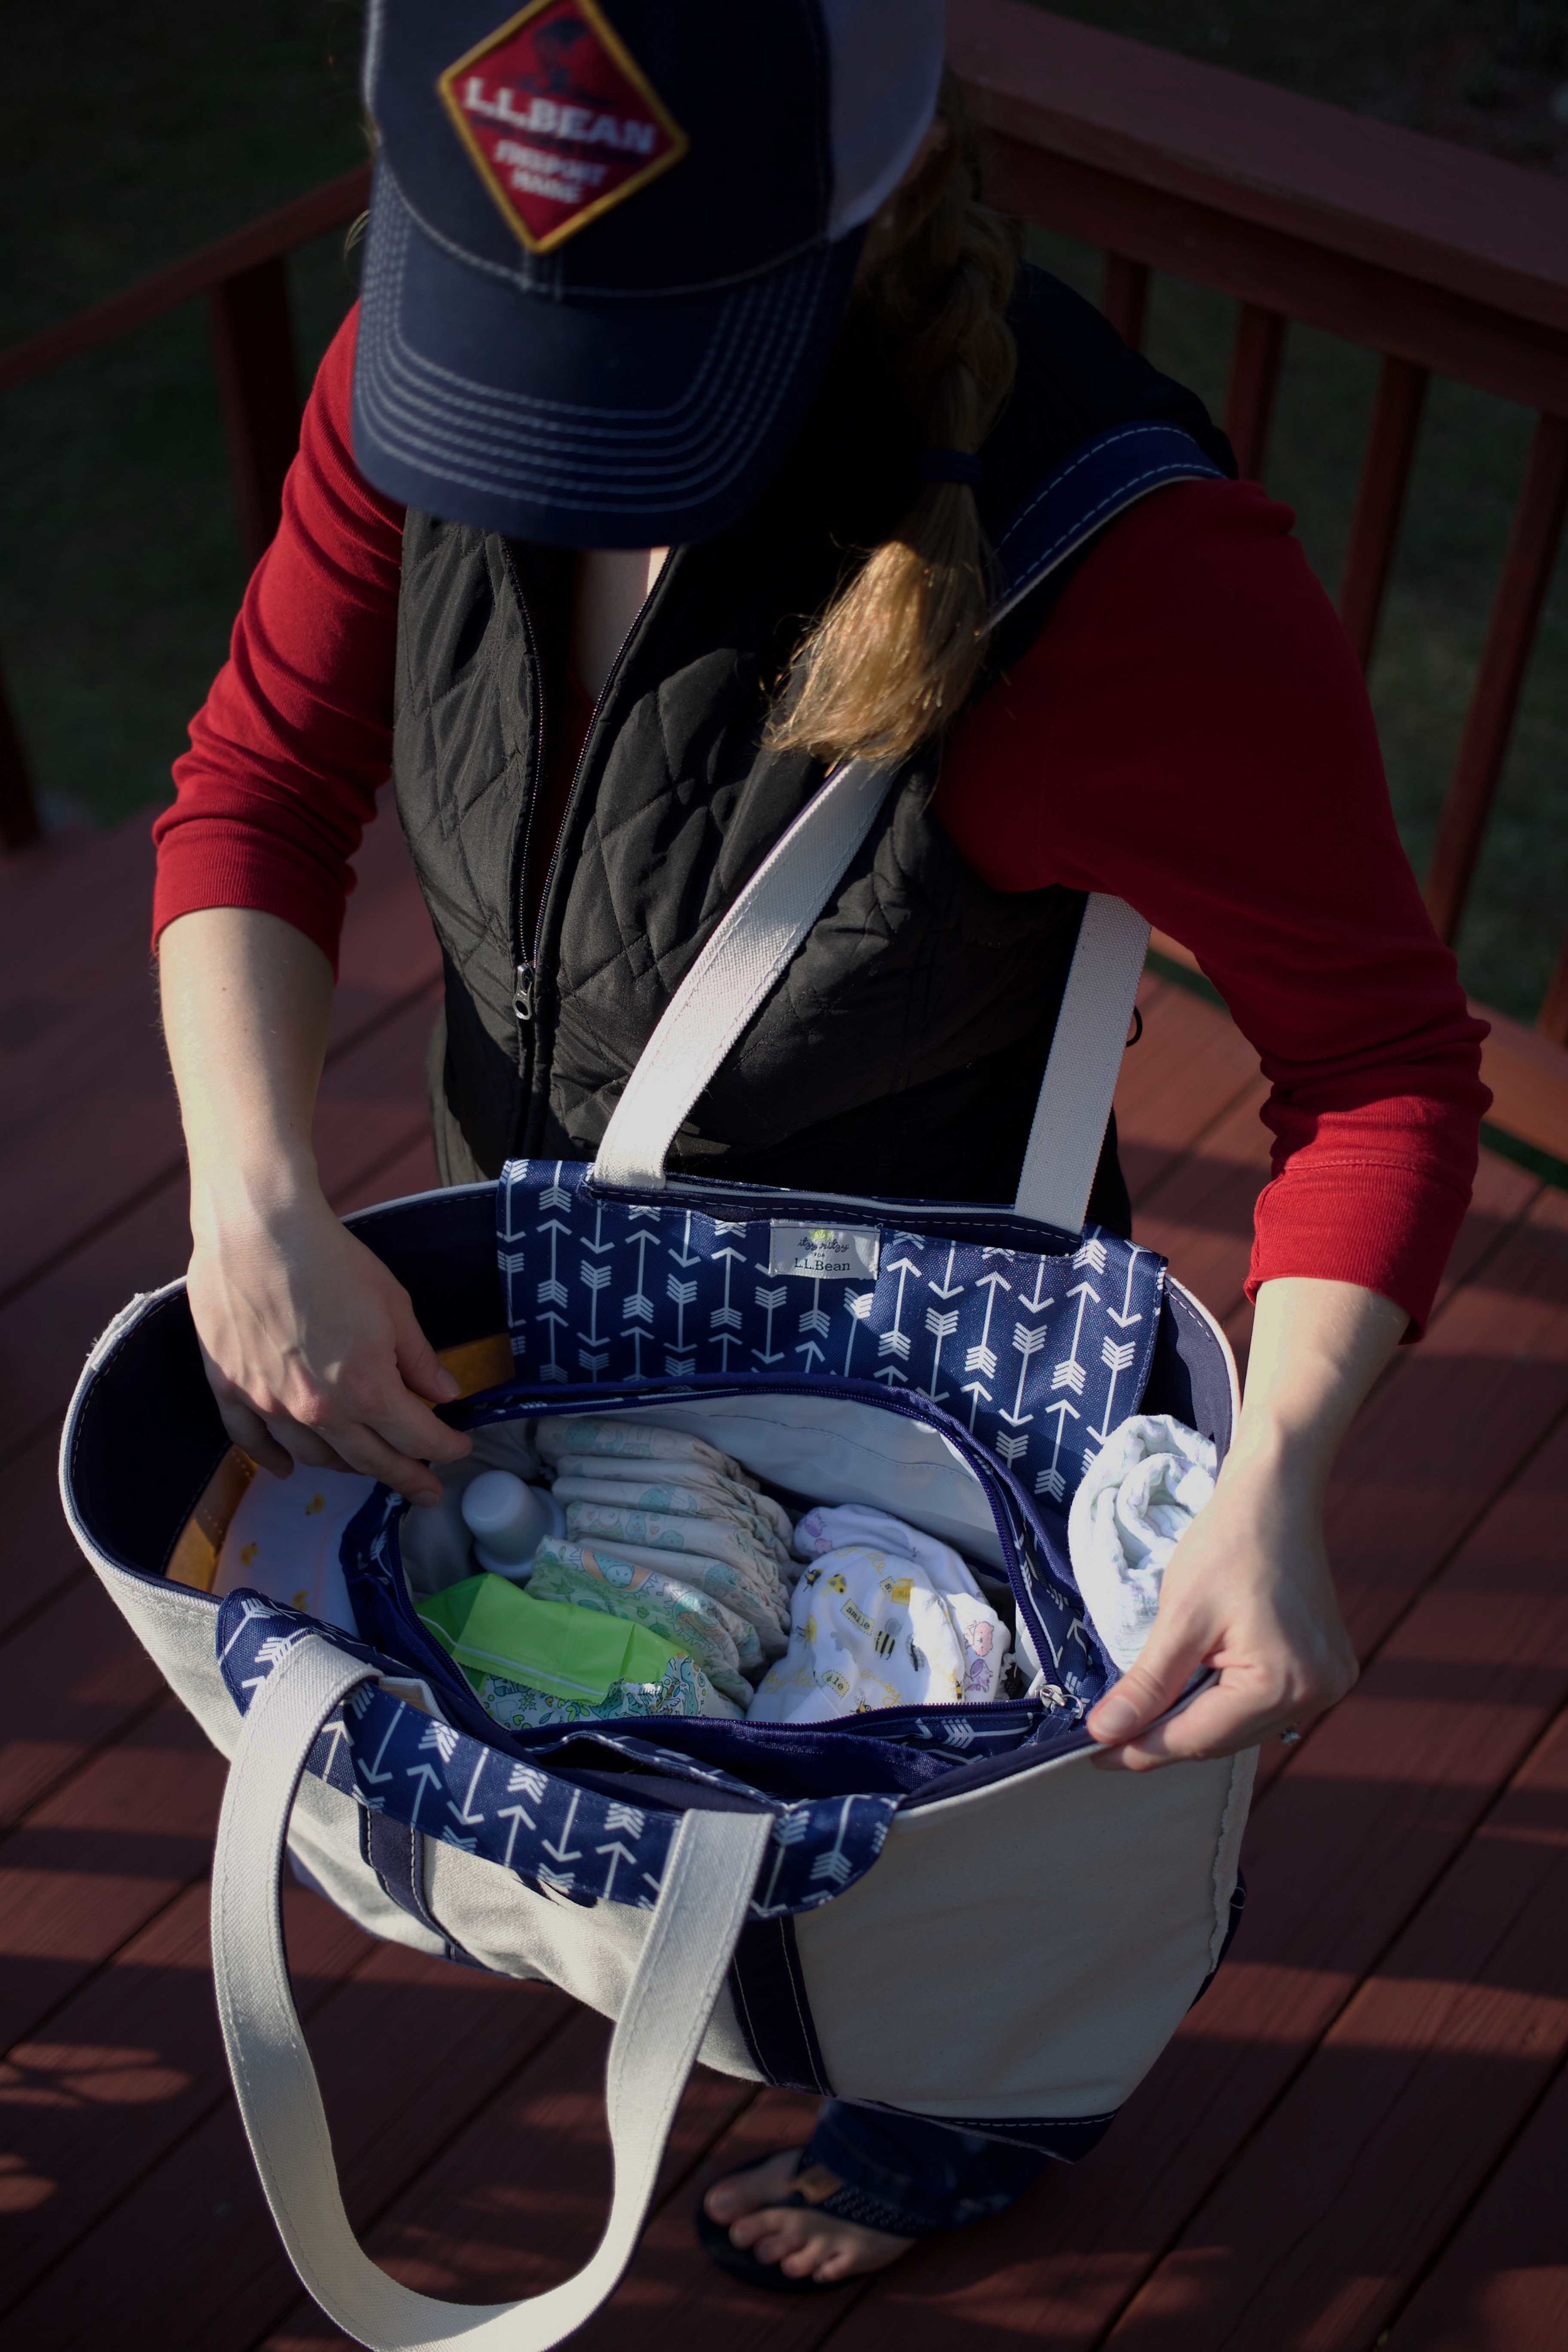
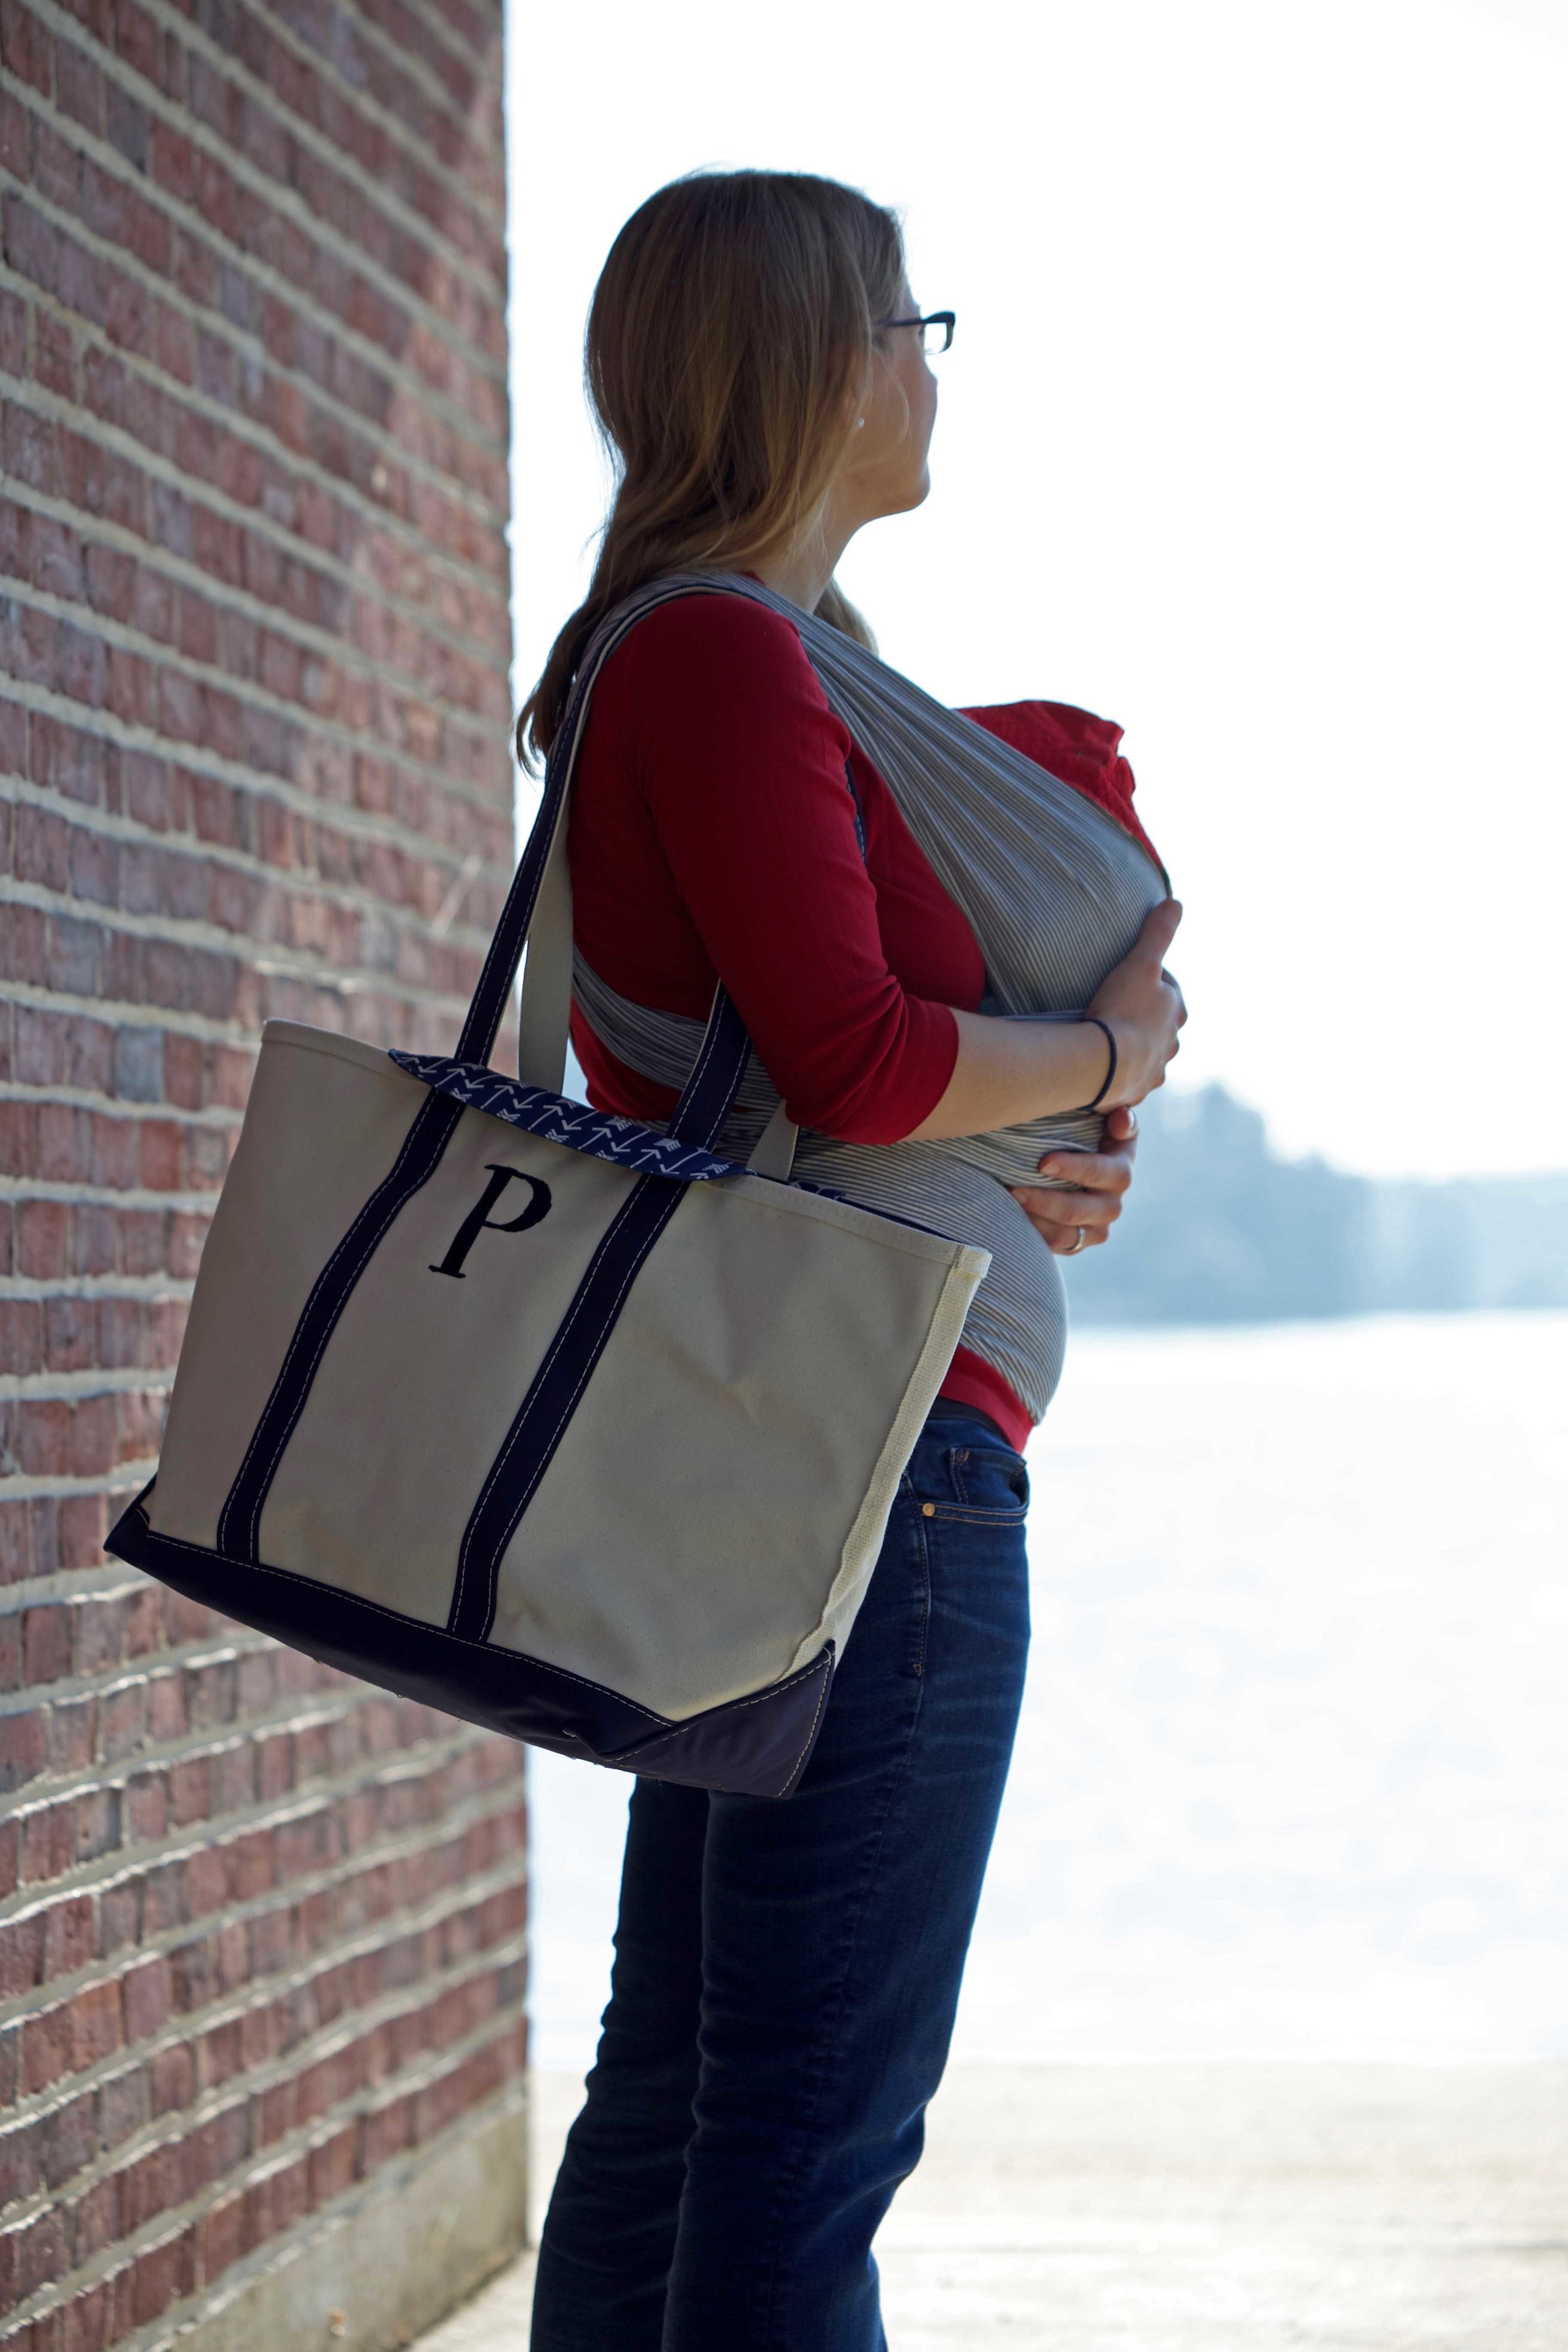
Whew, this post was a long time coming! The end of our pregnancy really knocked me for a loop as did the reality check of having a newborn again (how you forget these things!). So the past couple of weeks really has been a whirlwind. Thankfully L.L. Bean had been kind enough to send me their new diaper tote insert to try along with their large boat tote bag and it's been so helpful to carry around our gear as a new family of four. | This post contains affiliate links as well as an honest review of products provided by L.L. Bean |
Since we got home from the hospital after the birth of our little one, we've kept our outings pretty minimal - grocery store, doctor appointments, school, that sort of thing. But now that momma is feeling better and baby has been doing well it's high time we get back outside and enjoy this beautiful weather before the snow flies.
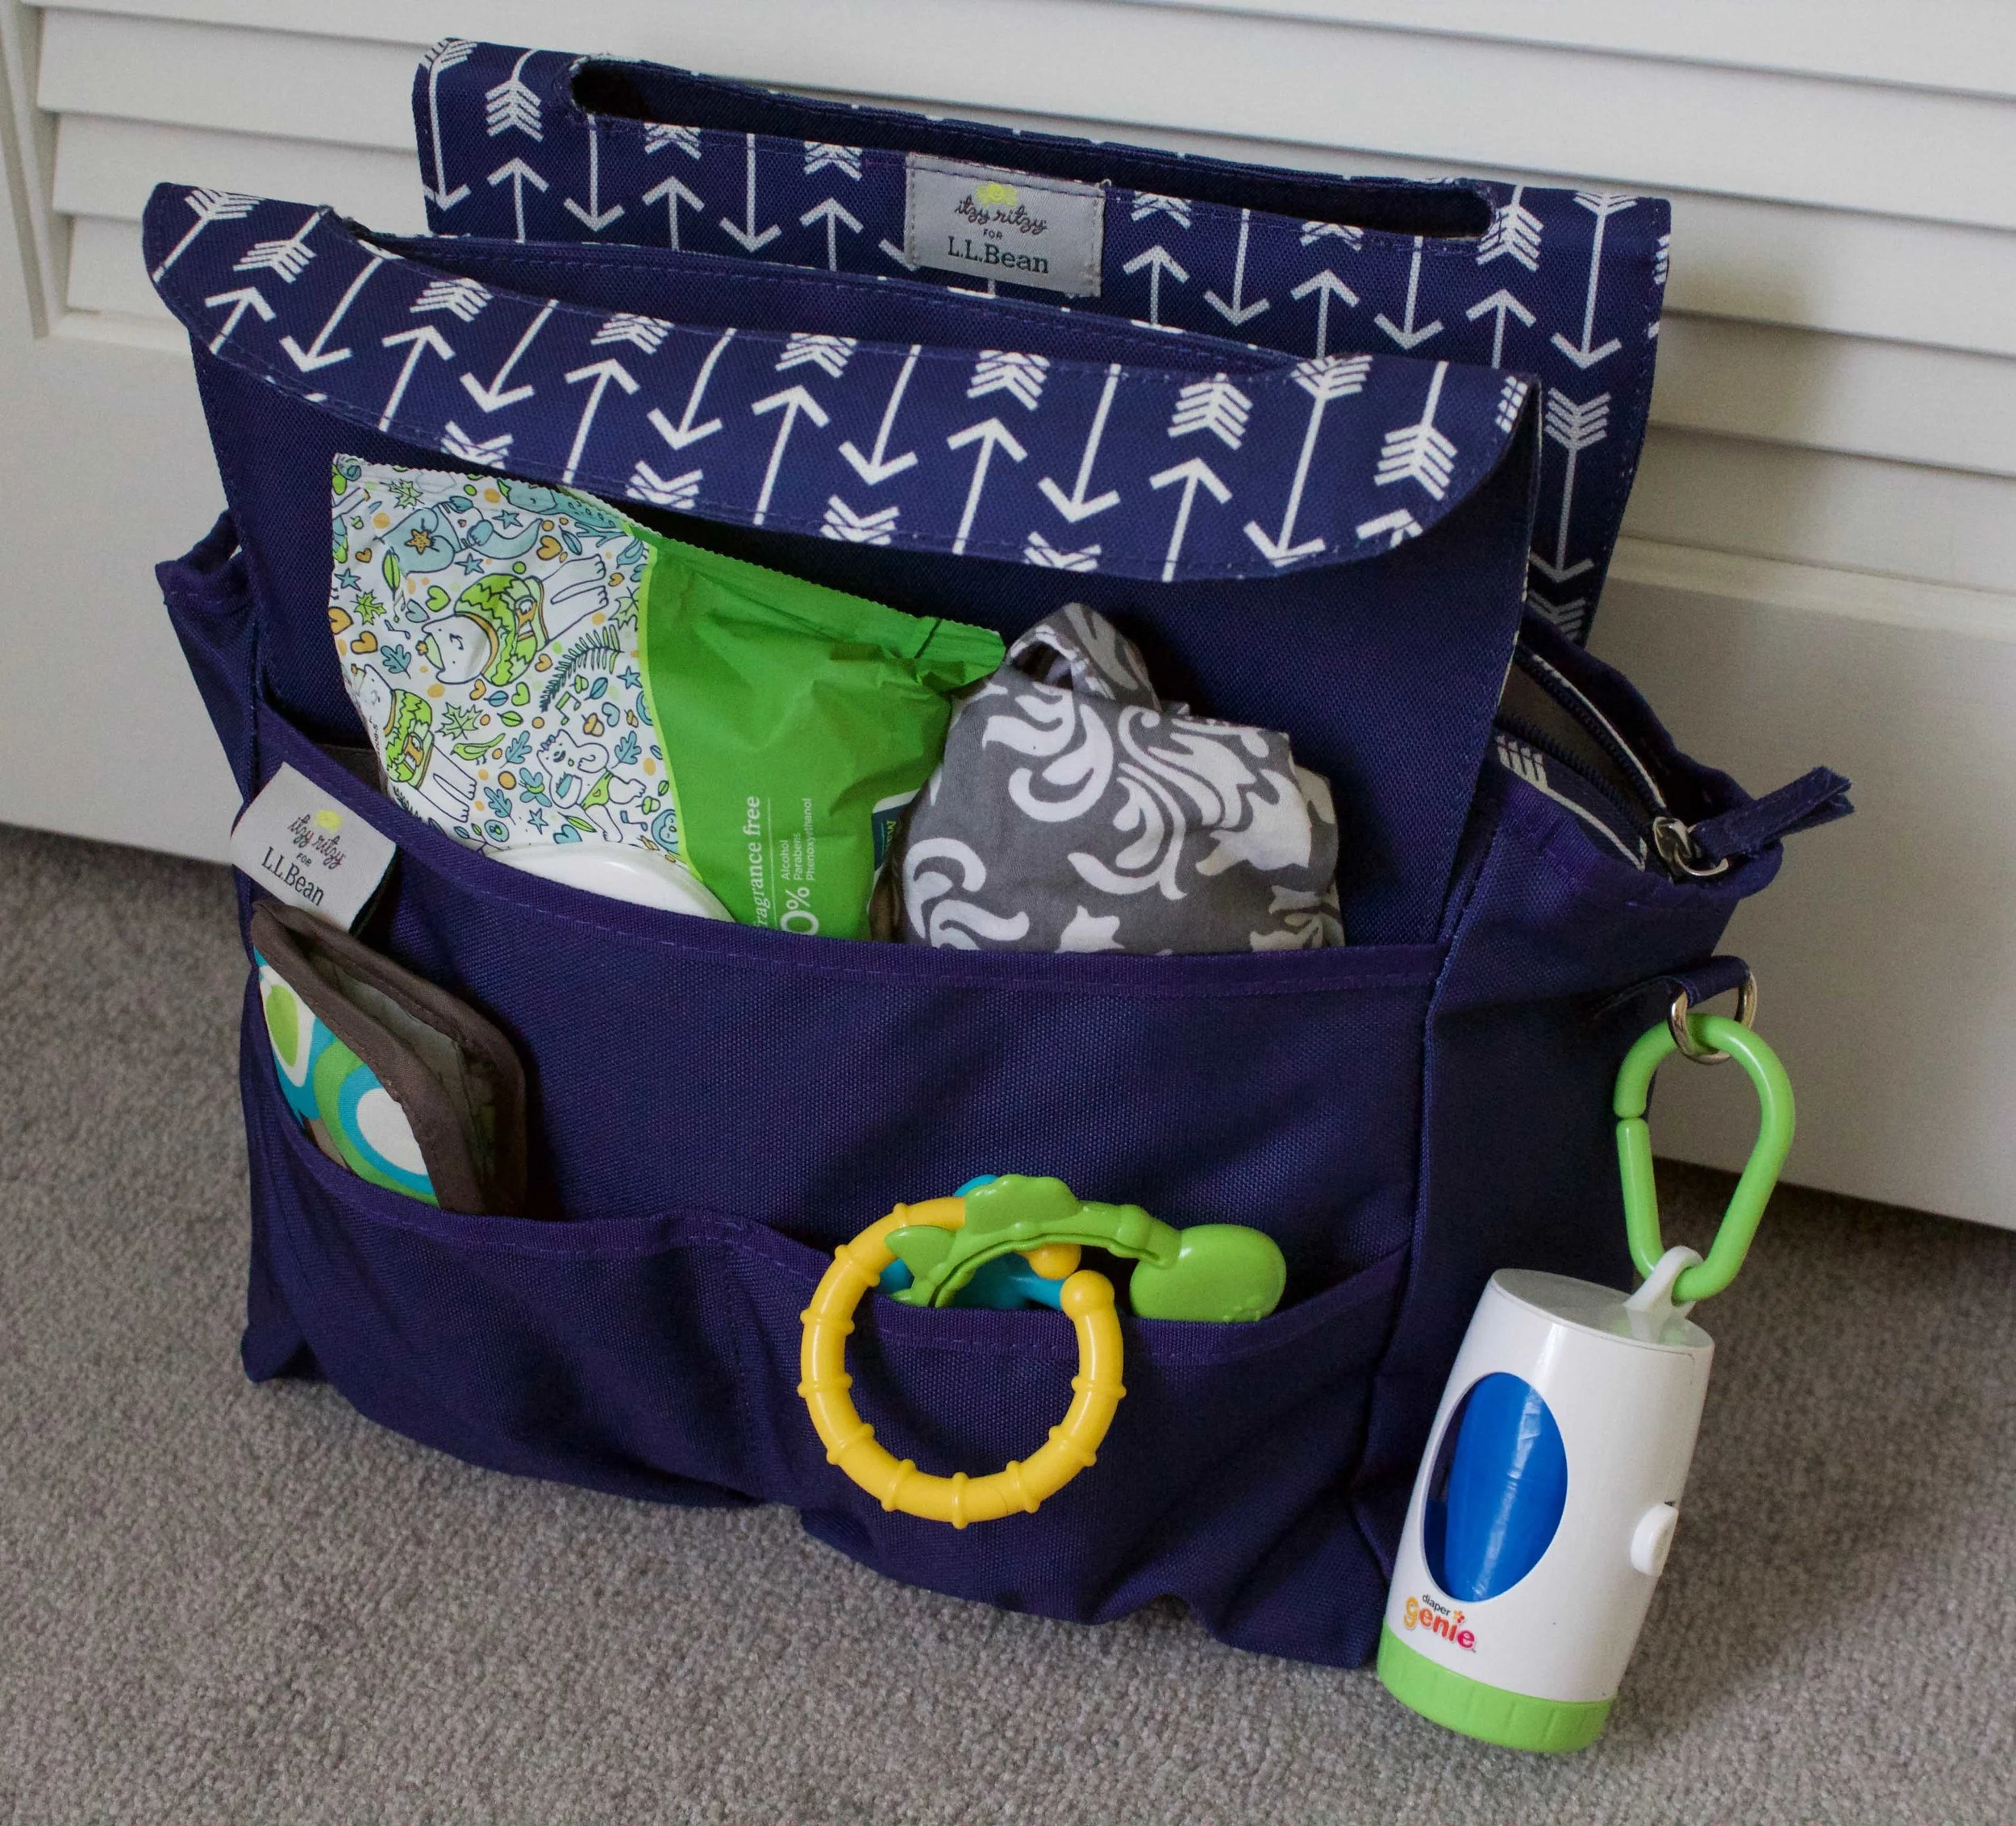
So much room and so easily organized!
Packing a diaper bag is always a little tricky - and even more-so when you have both a newborn and a toddler! After all, you don't want to be caught without a necessity, but you don't want to overpack either. Thankfully using the Diaper Tote Insert has made packing so much easier. In the insert I am able to pack all the necessities like a changing mat (which is included!), diapers, wipes, a change of clothes for the newborn, small first aid kit, nursing cover, bottles, etc - all in handy pockets and zippered compartments.
(NOTE: This Reviewed Diaper Tote Insert is no longer available, however L.L. Bean has an amazing new Diaper Bag to check out HERE.)
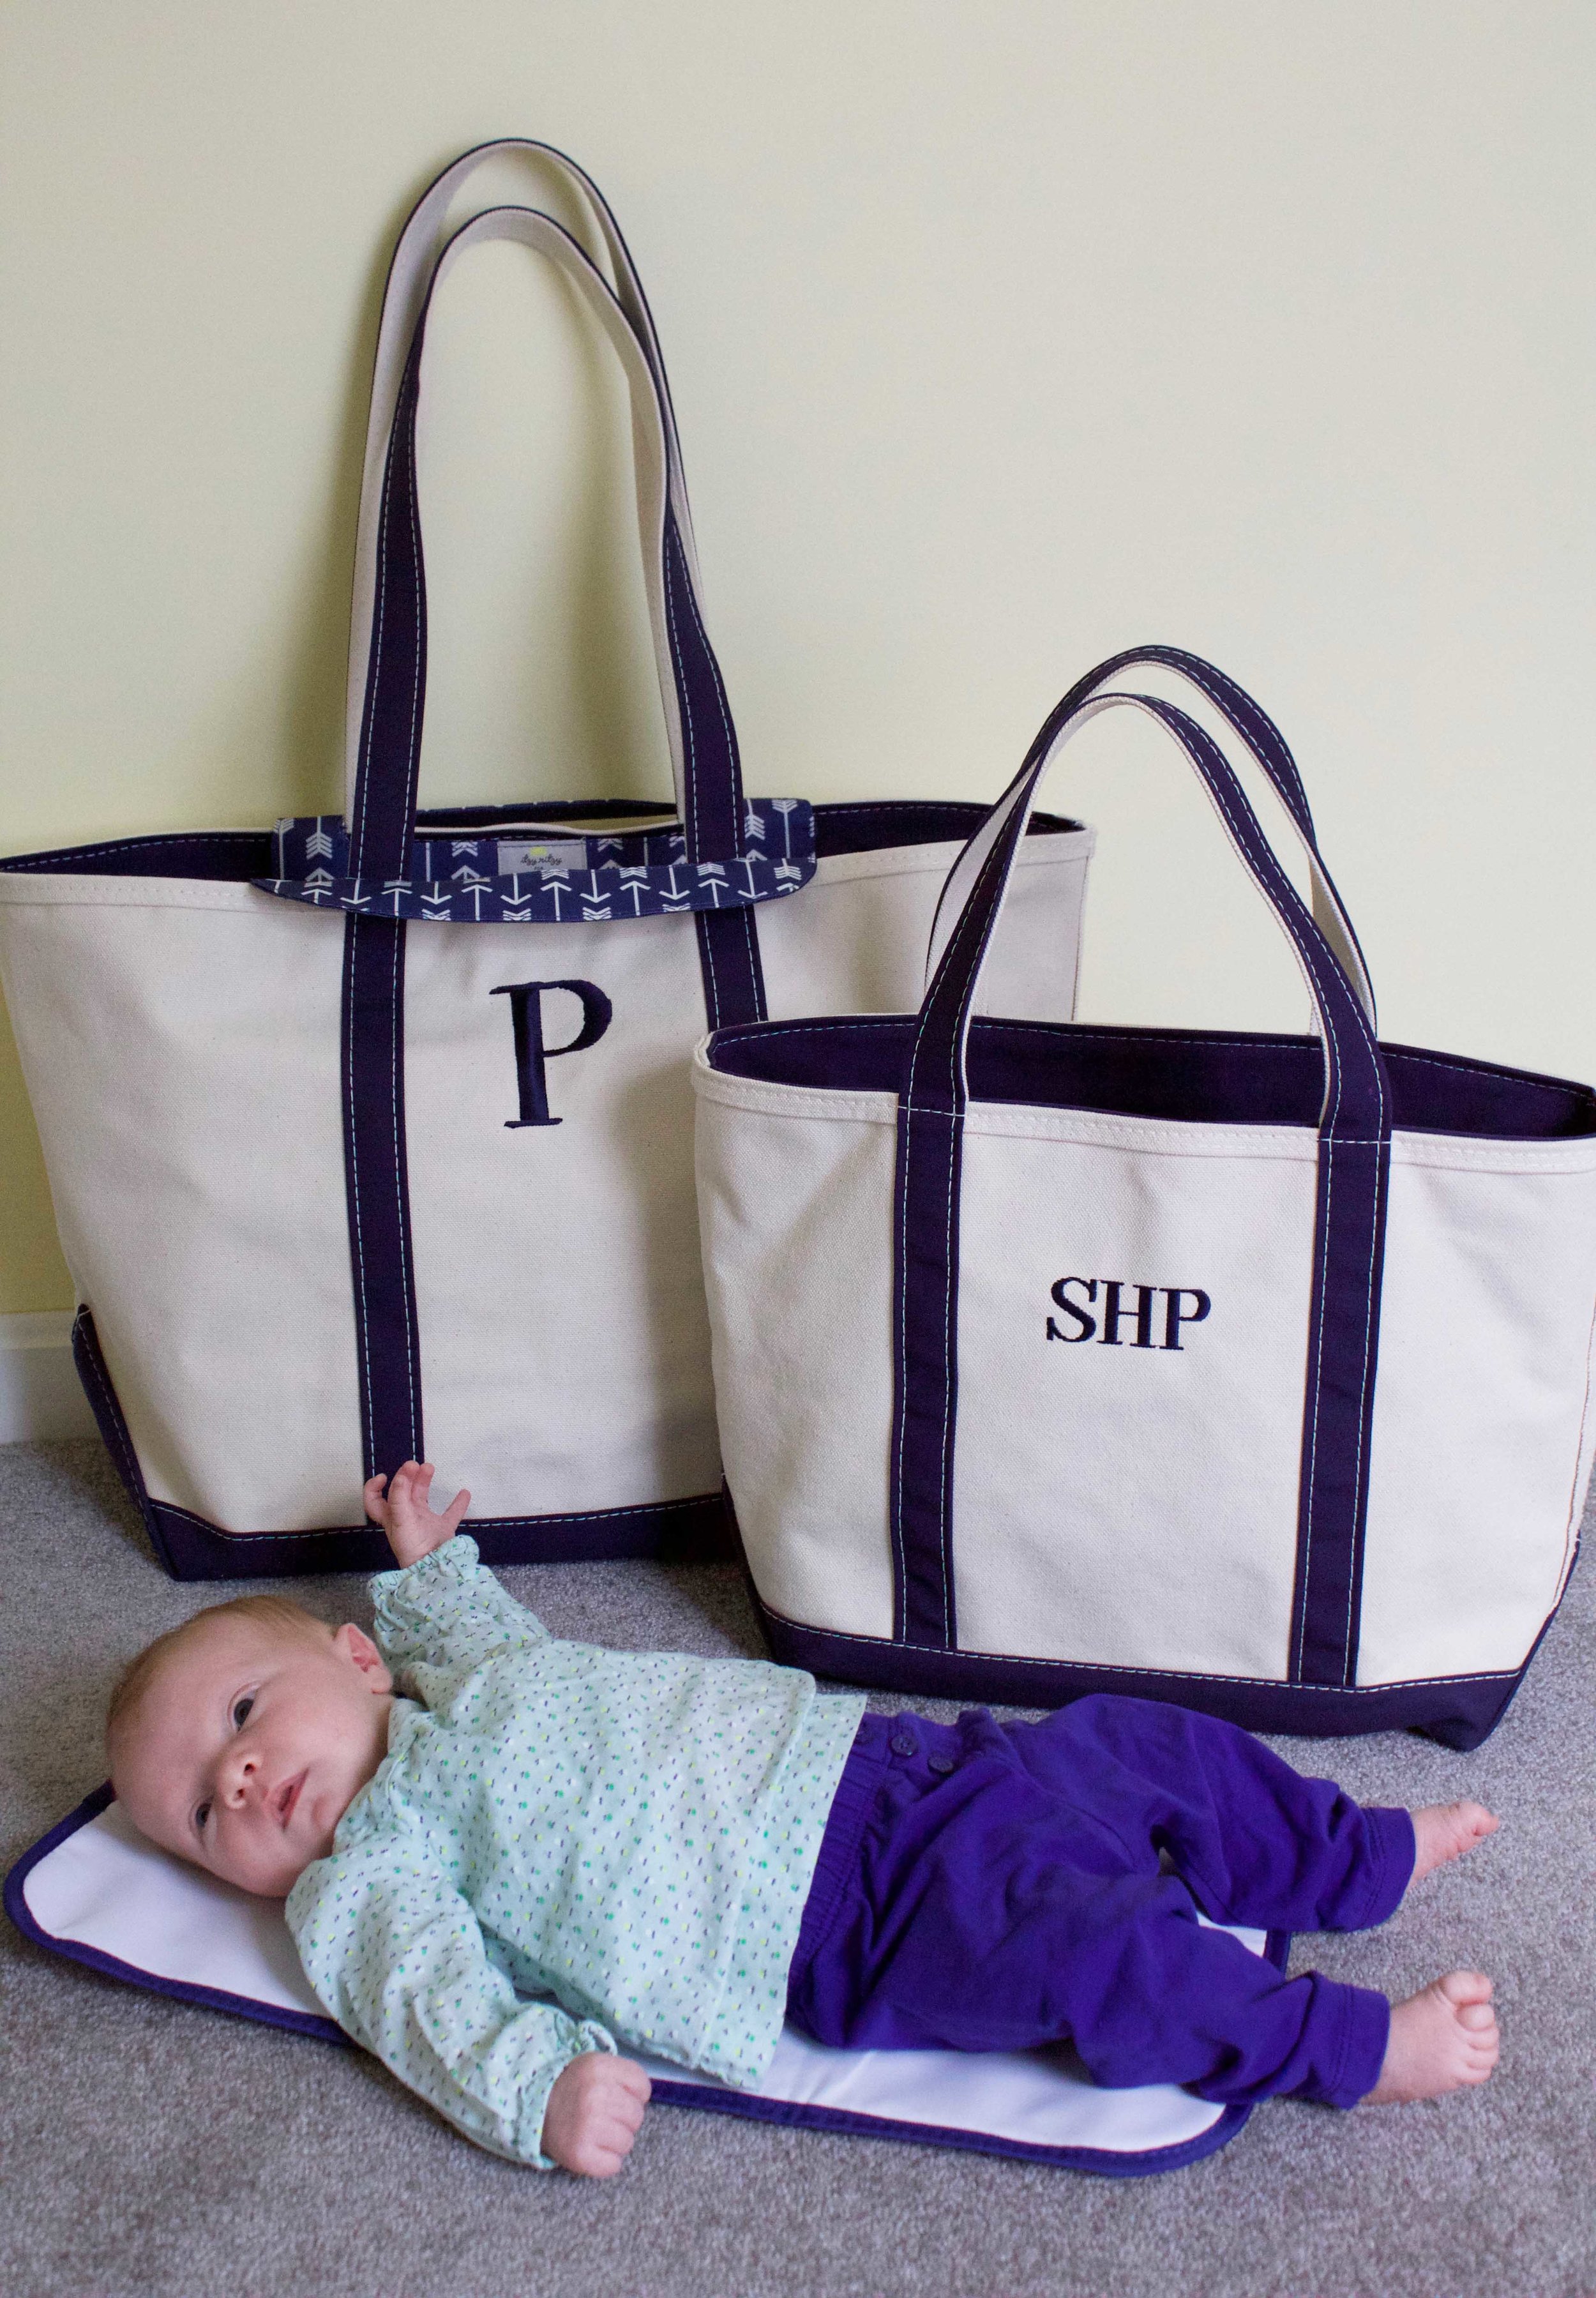
After the Insert is packed it's easily interchangeable between a Medium or Large Boat Tote Bag, depending on what fits your needs best. We've found that putting the insert in the Medium Tote works perfectly for grocery trips, school drop-offs, errands etc. The insert fits snuggly inside with all your necessities.
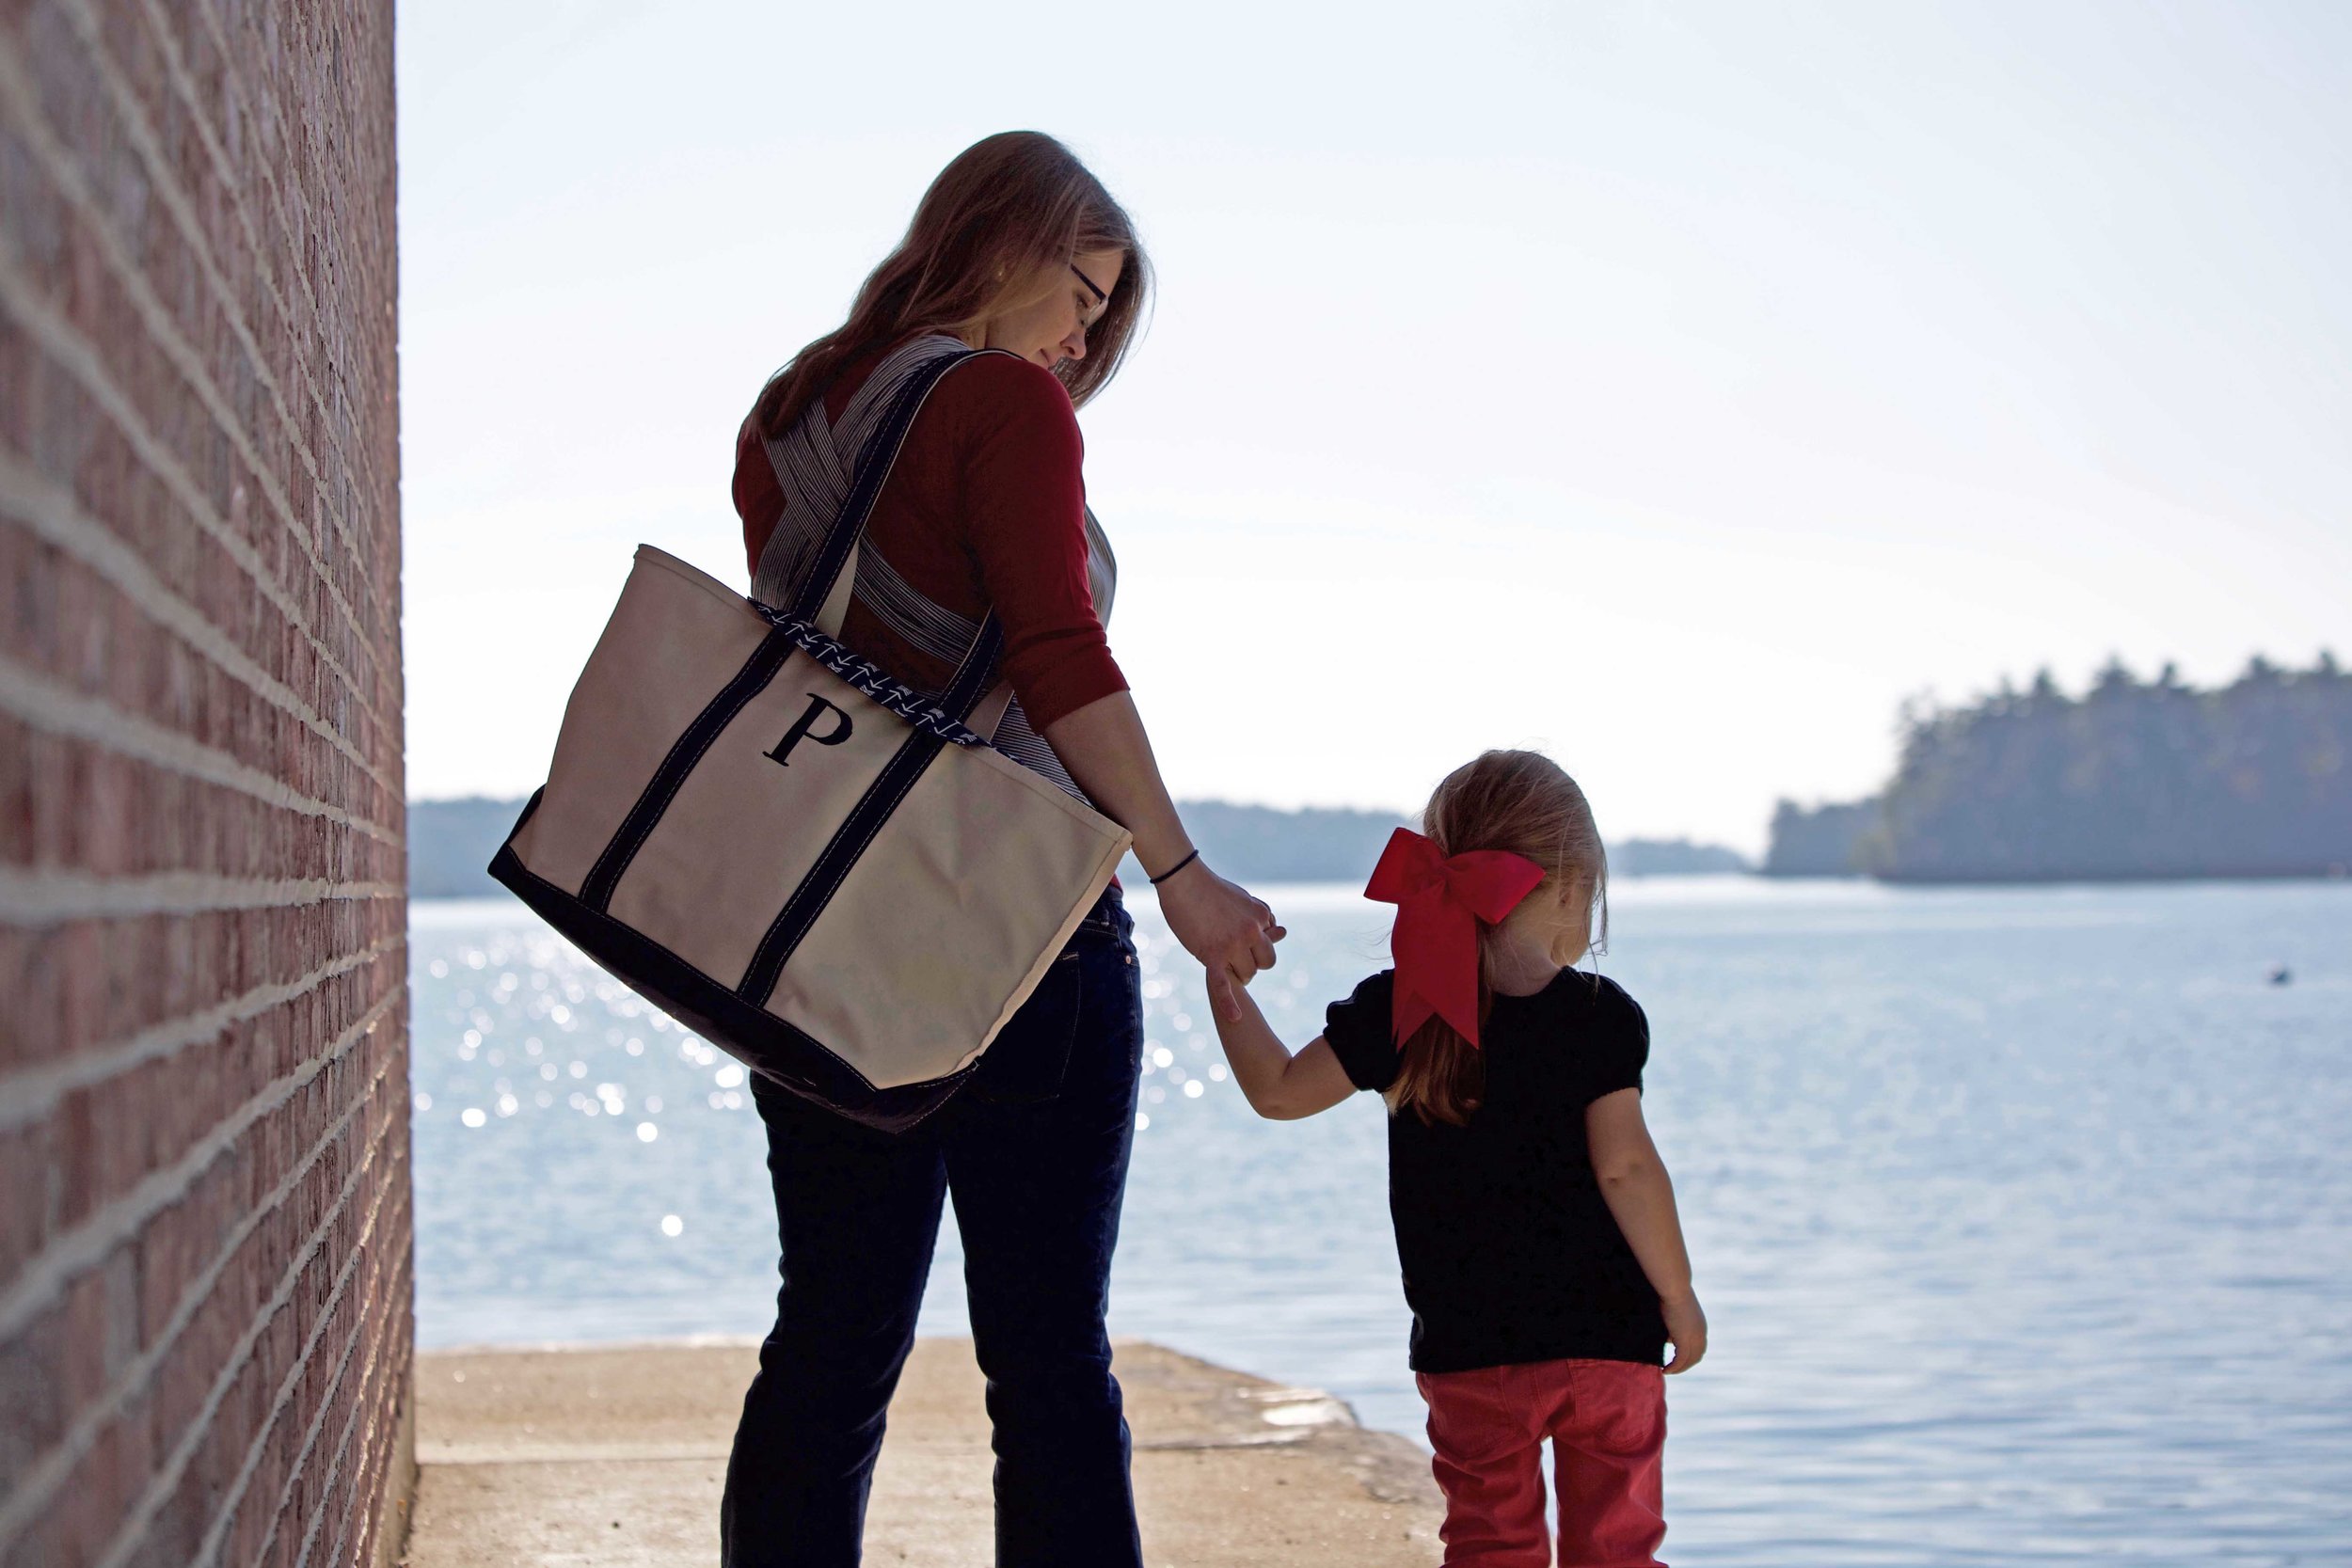
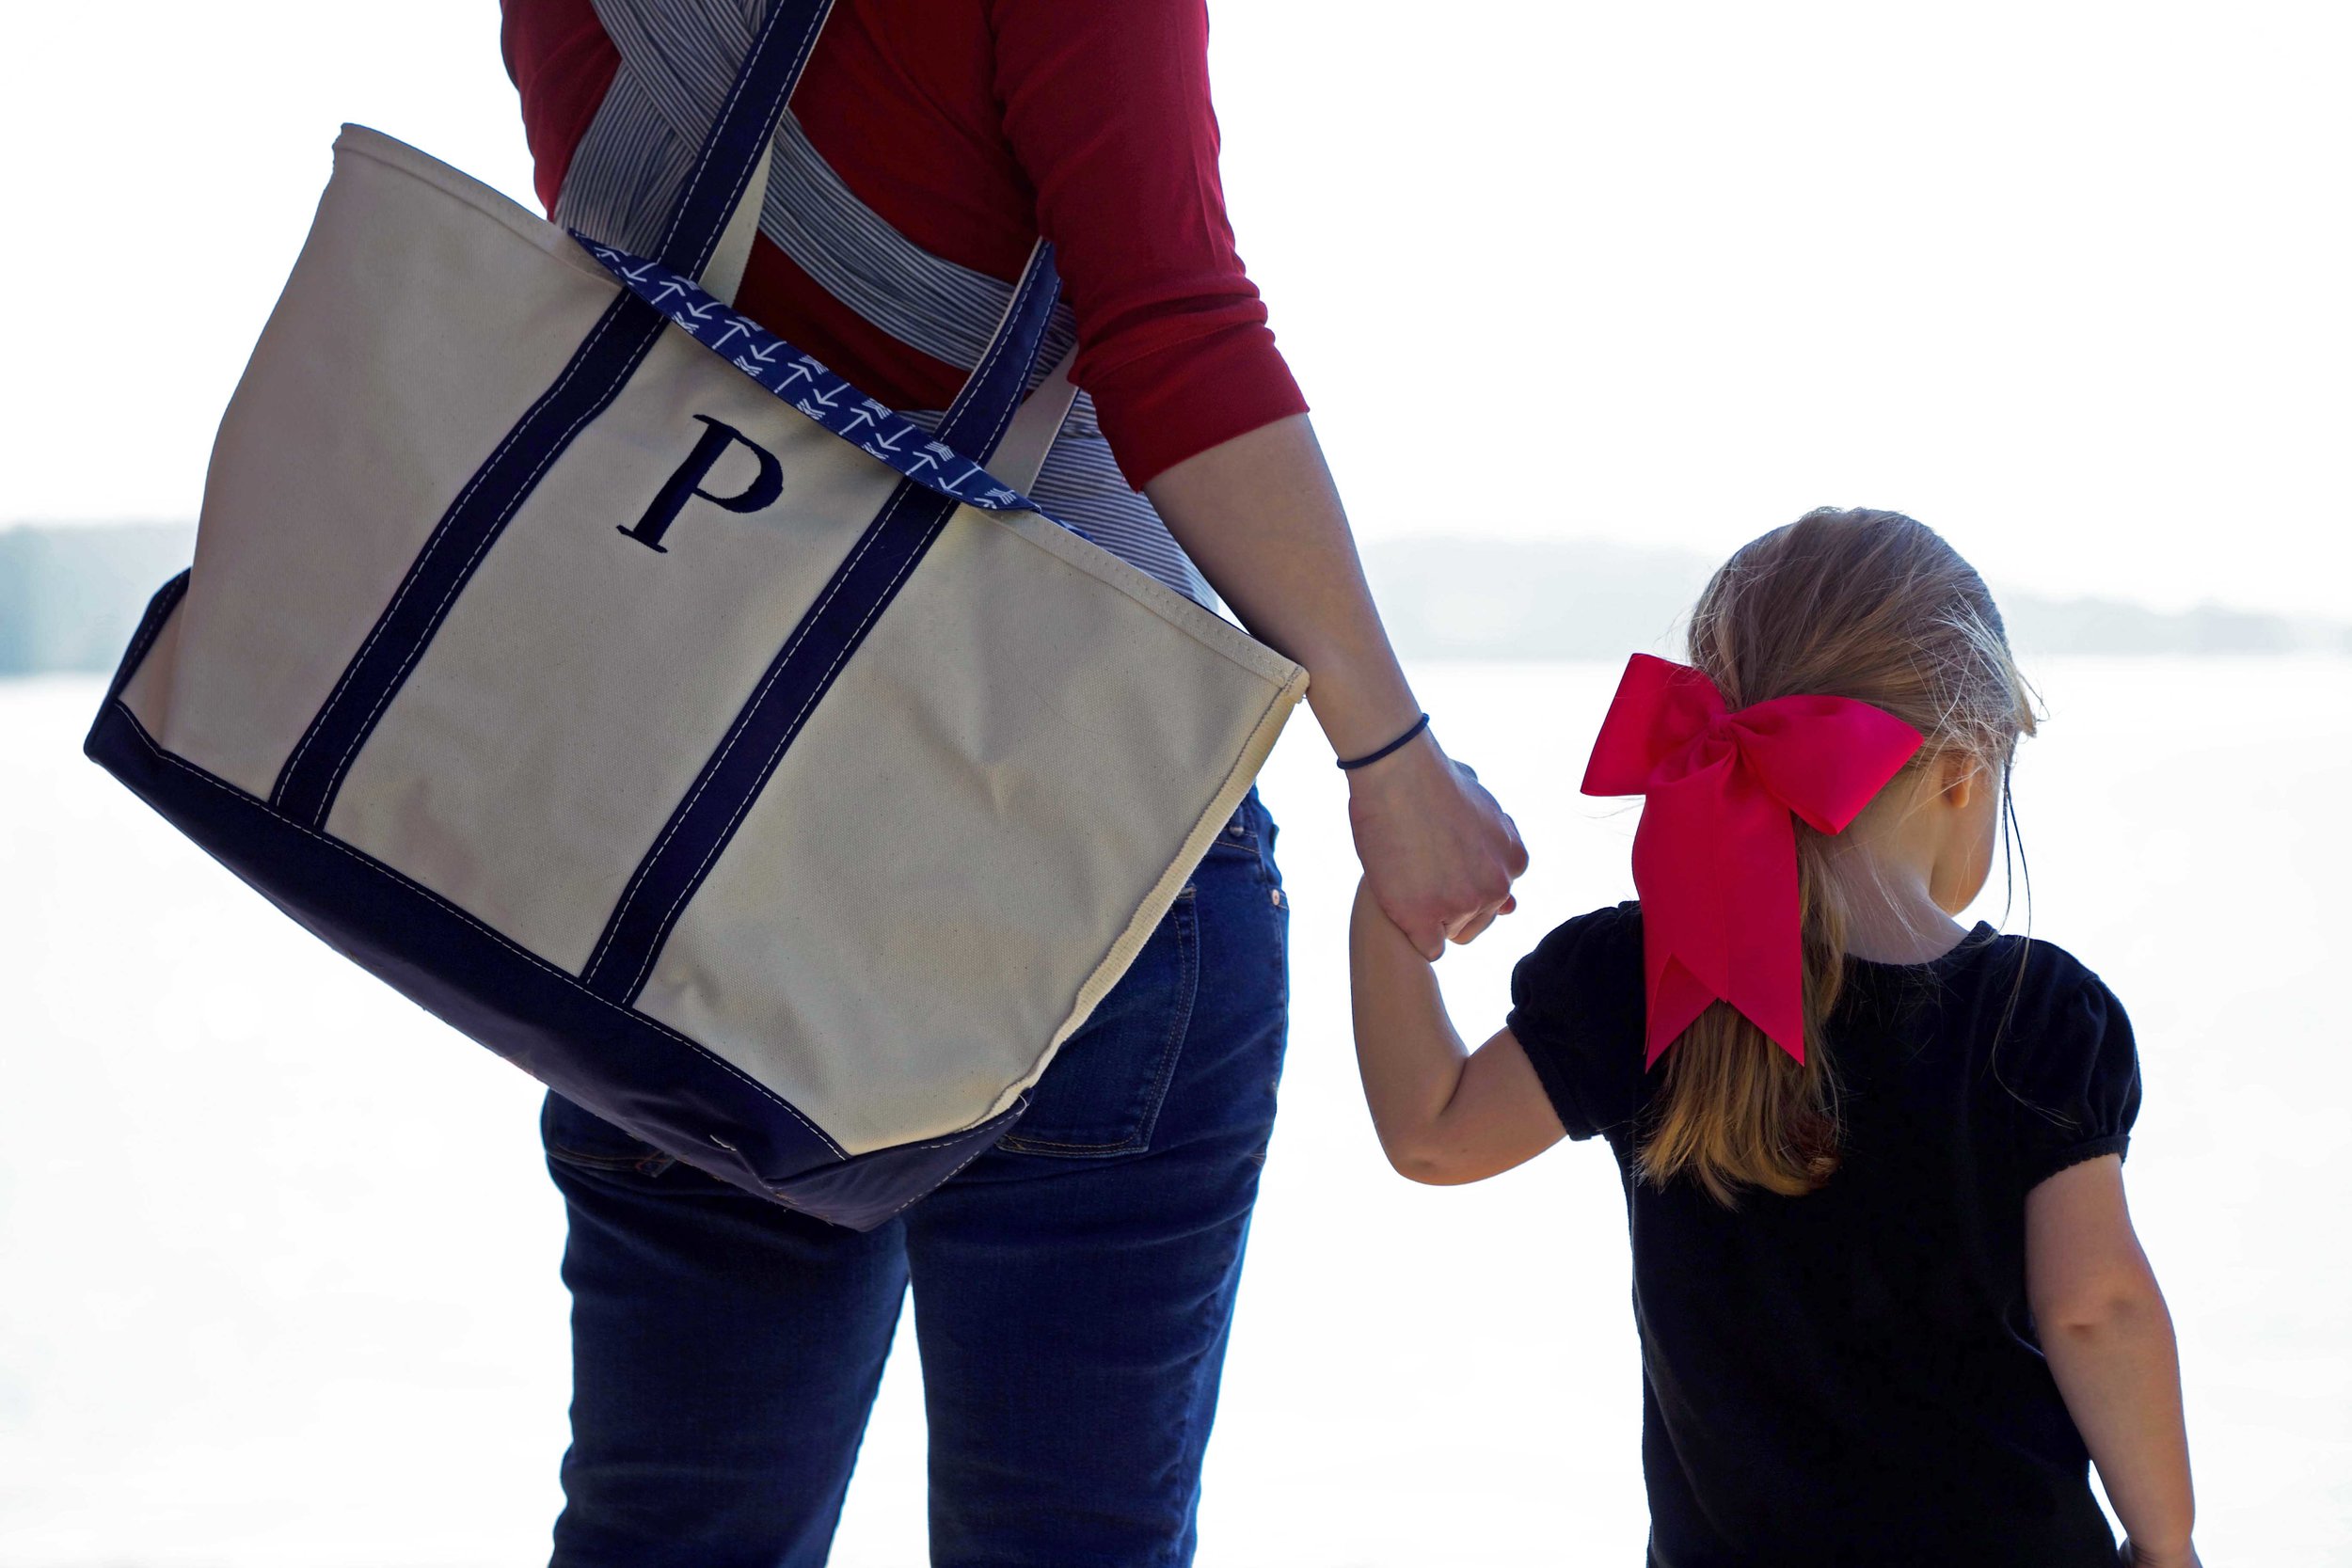
For longer outings we've really loved putting the insert in the Large Tote (with long handles), which allows for extra room along each side of the insert as well as at the bottom of the bag. This additional room gives plenty of space for extra changes of clothes, blankets, toys, etc and the long handles make it a breeze to carry, even if you're juggling two kids.
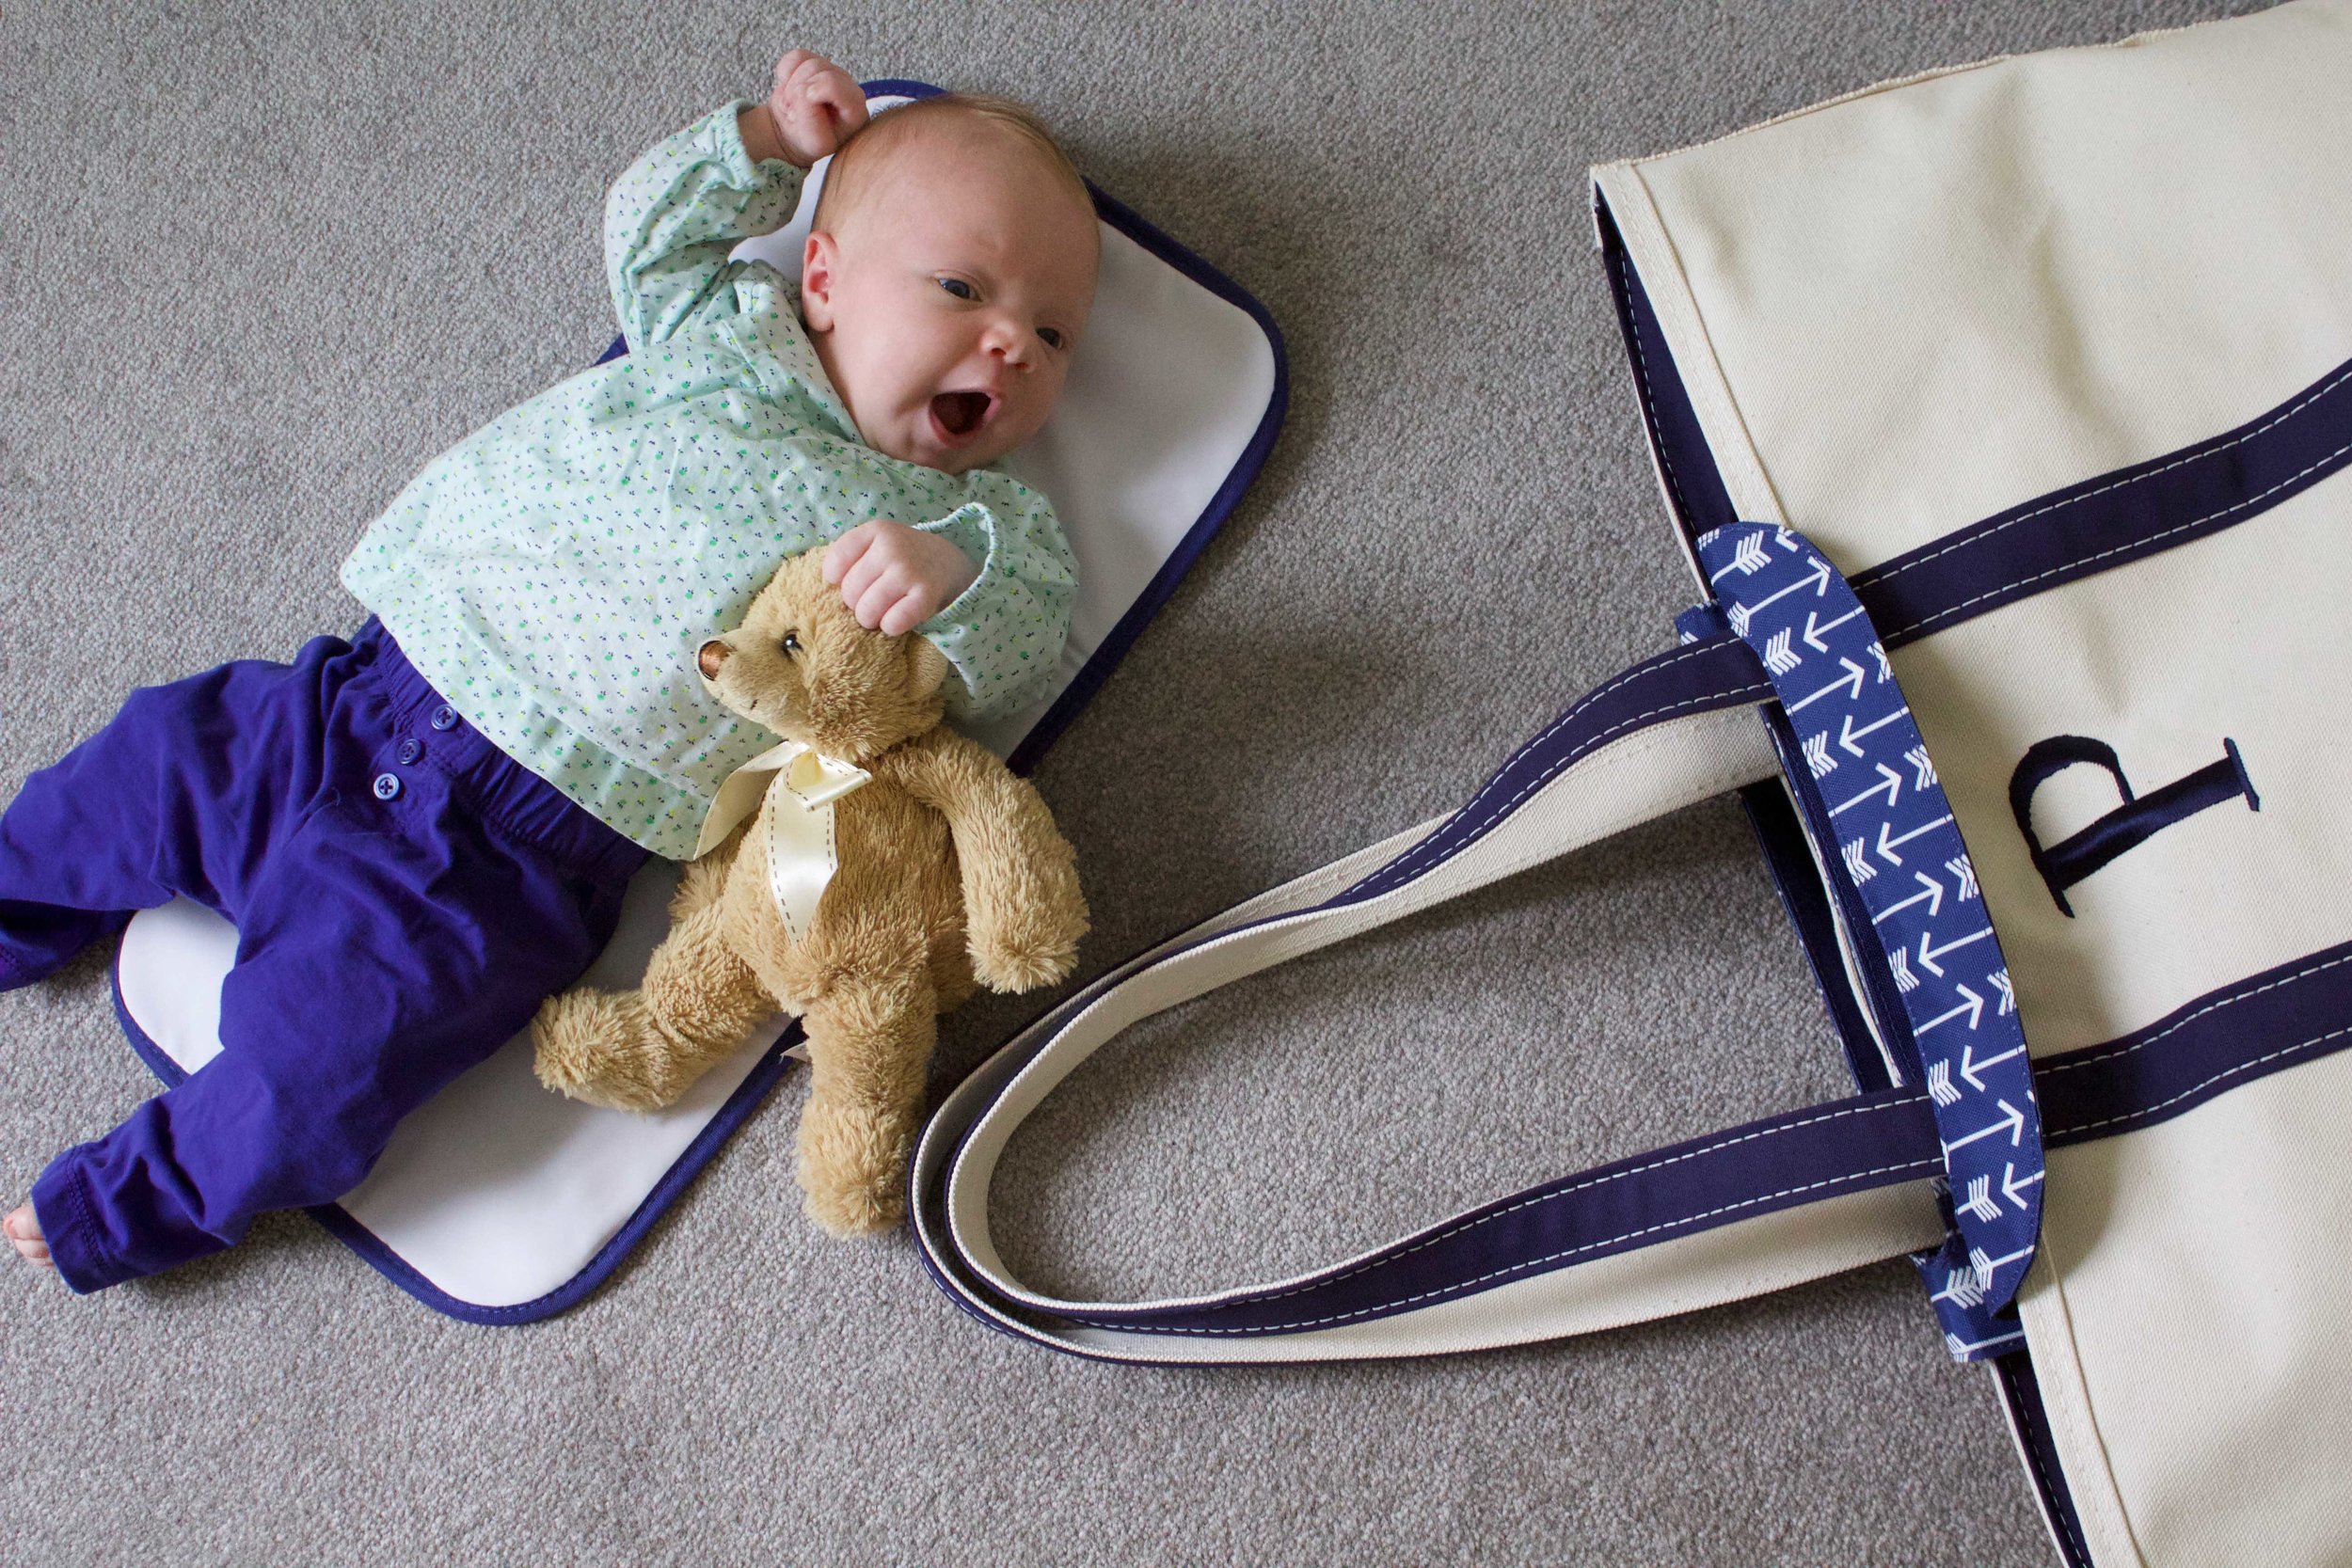
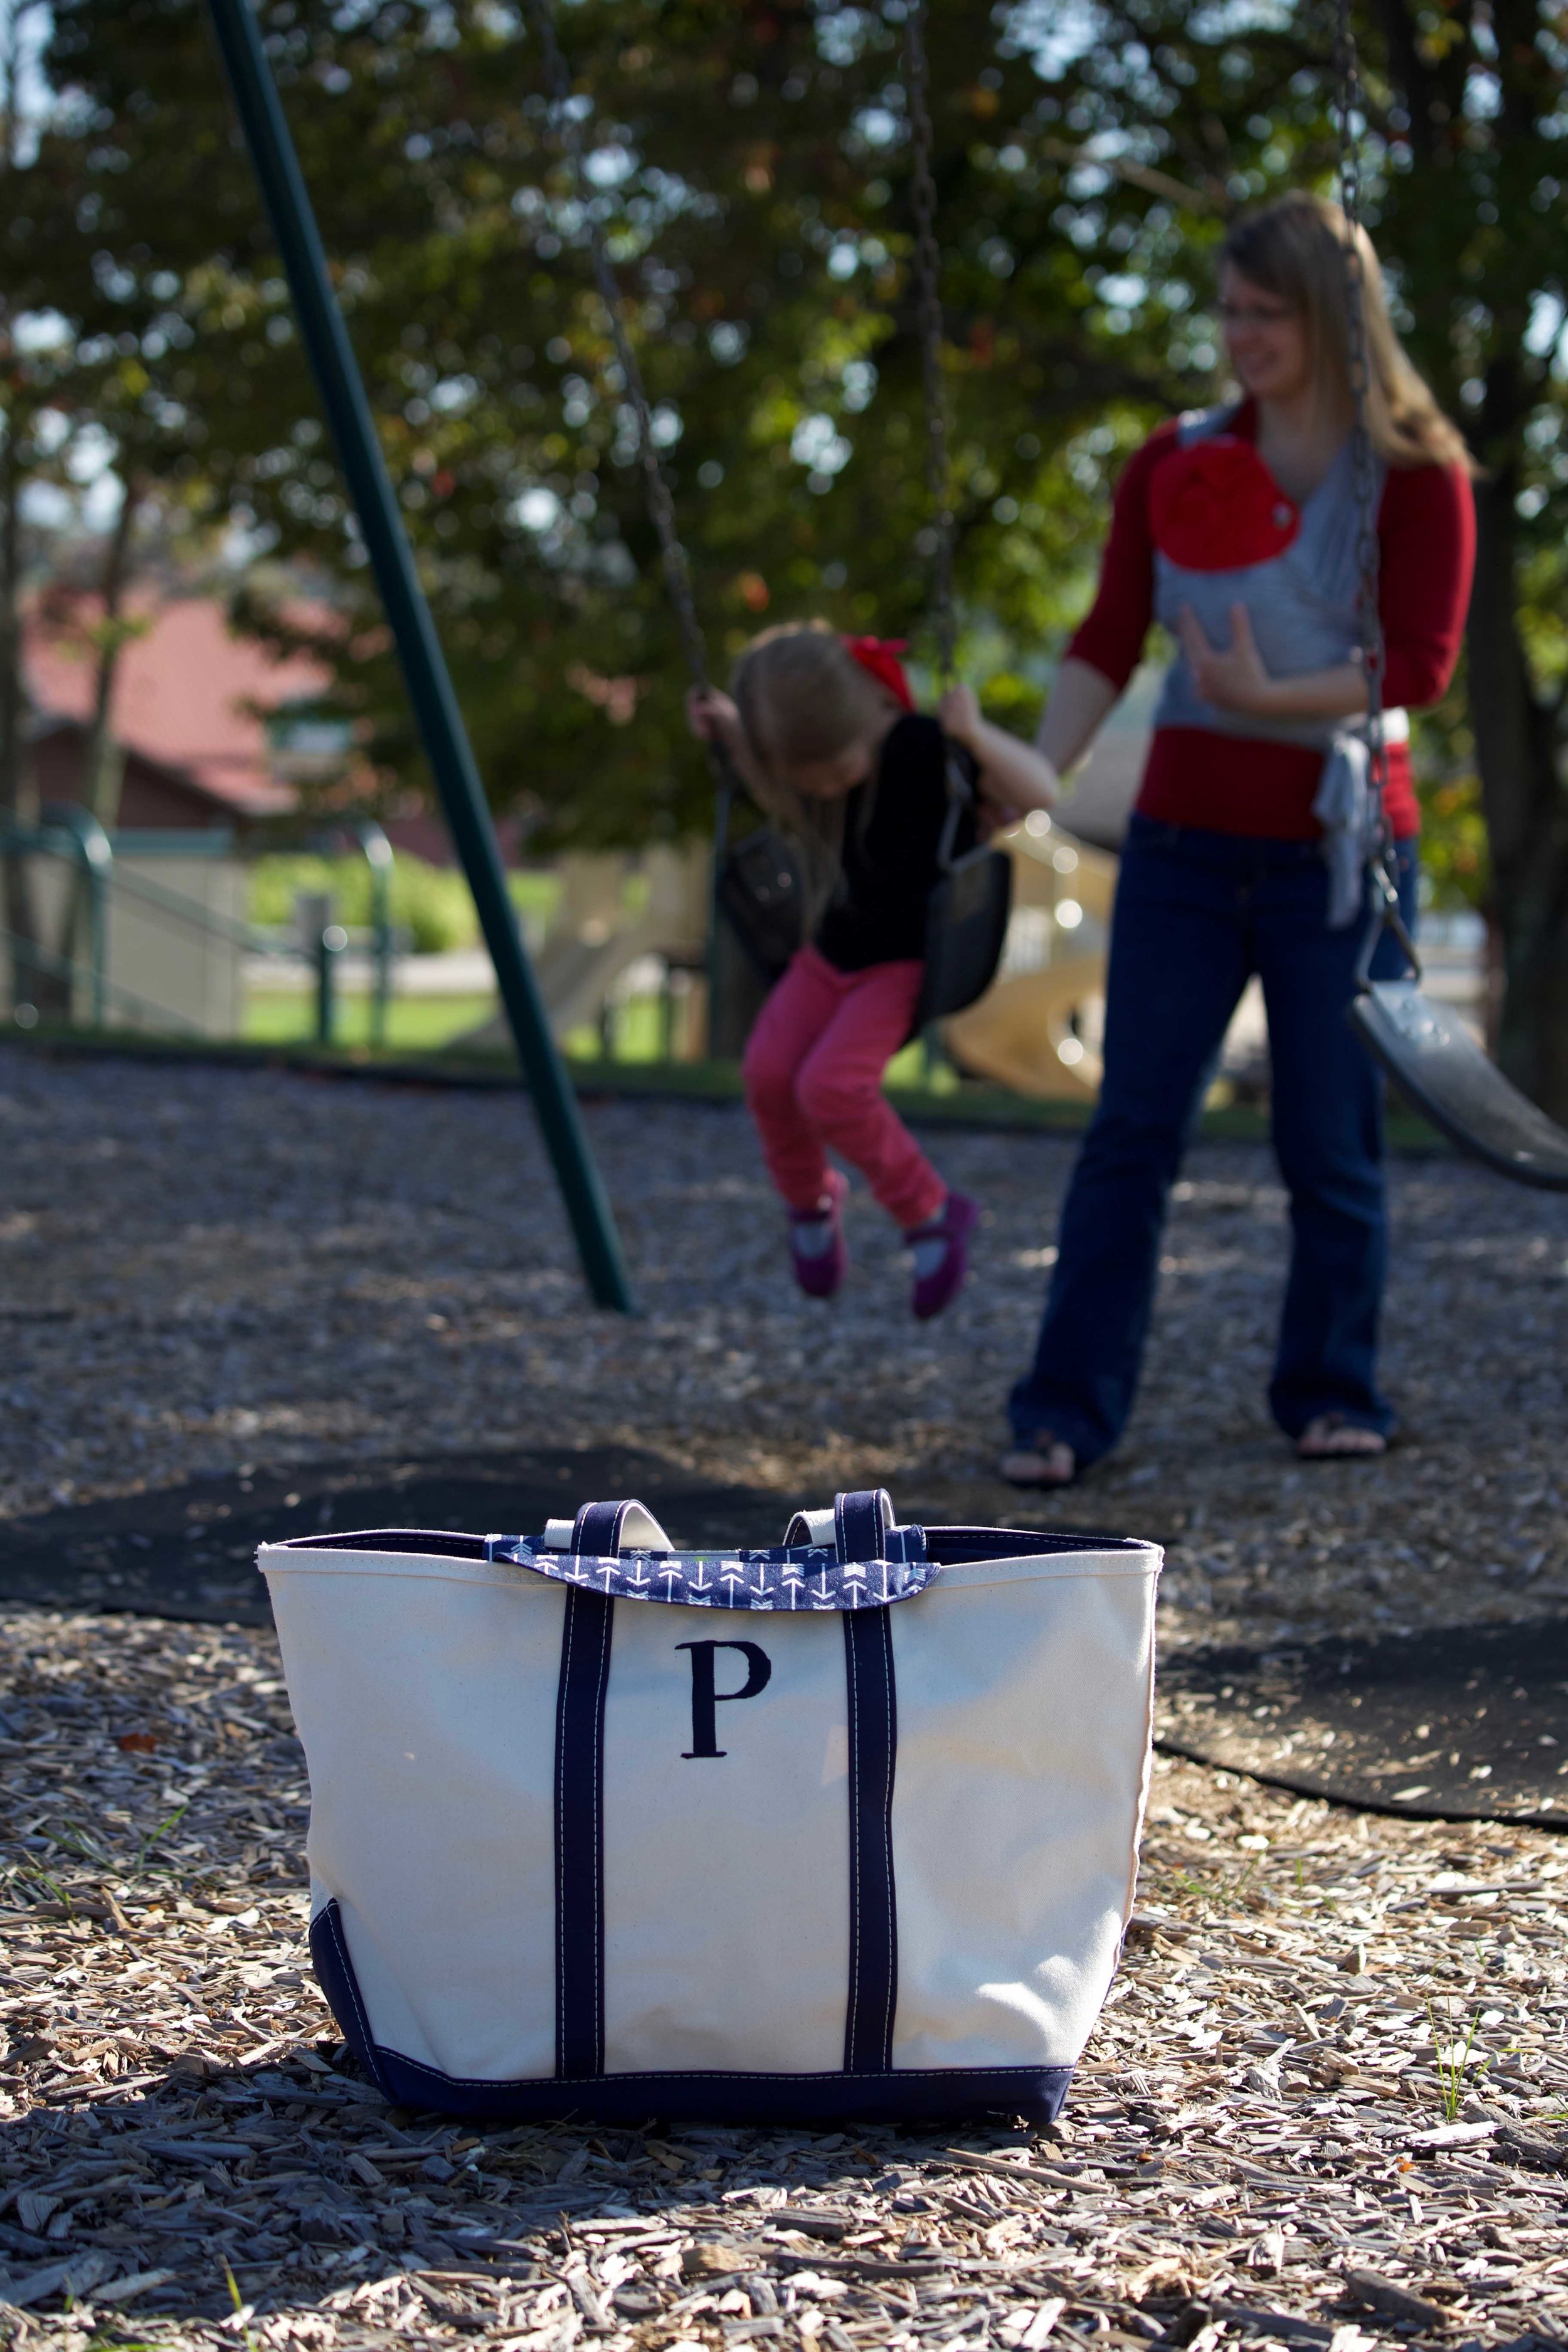
By using the Boat Tote Bags as diaper bags, they really pull double duty! Their classic looks never go out of style and by going with a simple last initial monogram for the large bag, it becomes something that will grow with us and can be repurposed by anyone in our family. By picking something classic like this you’ll be able to use it for many years to come!
This past weekend we finally got out of the house as a family of four and headed to do something fun - and what better way to take advantage of this beautiful day than spending time down by the lake and hitting up the playground before visiting family.
Since we were going to be out for the full day, I made sure to pack the insert in the Large Boat Tote so I could pack extra supplies for everyone - and it's a good thing I did! Right before we left our toddler got her pants all dirty playing in the wet sand at the edge of the water so it was great to have clean clothes packed for her for the rest of the day.
We had a lot of fun exploring around this brick boathouse from the 1900's!
Diaper Bag Must-Haves
changing pad
diapers
wipes
baggies for dirty diapers and soiled clothes
nursing cover
change of clothes for baby
small first aid kit
hand sanitizer
wrap carrier
pacifier (and a backup one!)
snacks and water for mom and older siblings
bottles
formula
a small receiving blanket or swaddle blanket
small toy or book
Overall, having the versatility of this diaper tote organizer has been so helpful! And I especially love that I can easily switch it between bags on the way out the door to best fit our needs for the day.
- I received the Large Boat Tote and Diaper Tote Insert from L.L. Bean but all opinions expressed are my own. Please see our full Disclosure Policy for more information. Thank you to L.L. Bean for providing these items to me for review. -
With baby #2 coming, we've been more mindful than ever about where our money is going and working hard to stay on-budget. By closely keeping track of everything we're getting a better idea on where everything is going and where we can shave off a few dollars. With only one income and a lot of expenses (both expected and unexpected) it can make it very challenging to stay on-budget each month. | This post contains affiliate links. |
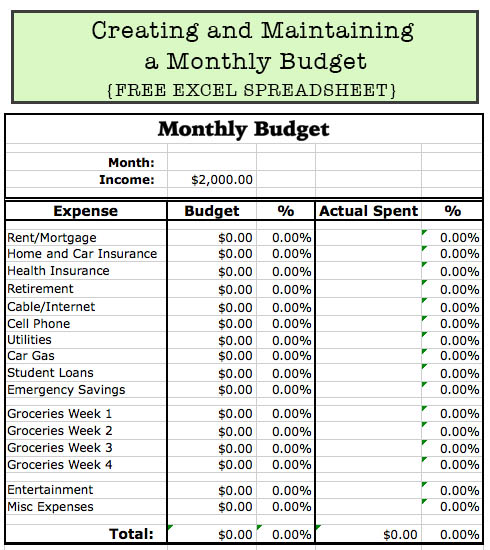
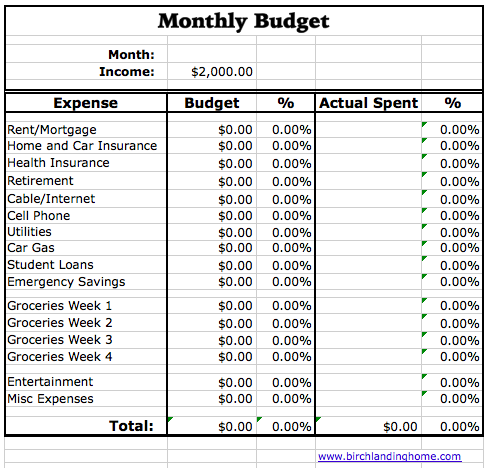
Here I've shared a more simplified version of the spreadsheet we use (since we're self-employed we also need to set aside money for quarterly taxes and other expenses). You can change the Expense titles in the left hand column to fit your needs, but I've tried to include all the basic expenses that most young adults will have.
Next replace the monthly Income in the example with your own monthly income (I had to put in a number here as an example so the formulas wouldn't result in error). Then go down the Budget column and fill in what you expect or budget your bills to be. As your bills come in, put in these figures in the Actual Spent column. All of the percentages and totals will auto-update as you fill in the chart.
Over the course of the next few months, you'll see how your expectations (Budget) line up with reality (Actual Spent) and will be able to identify trends. Maybe you spend more for Gas than you thought you did.. or maybe you realize that you spend too much on Entertainment and should put some of that towards other bills...? Keeping track of where everything is going is very eye-opening and will help you stay ahead. The most important thing is writing everything down and sticking to it!
In the event the doing an Excel spreadsheet isn't your thing, there are also many great paper-based Budget Planners/Trackers you can buy out there! I haven't used it myself (yet), but I have heard great things in particular about this highly rated Budget Planner Notebook.