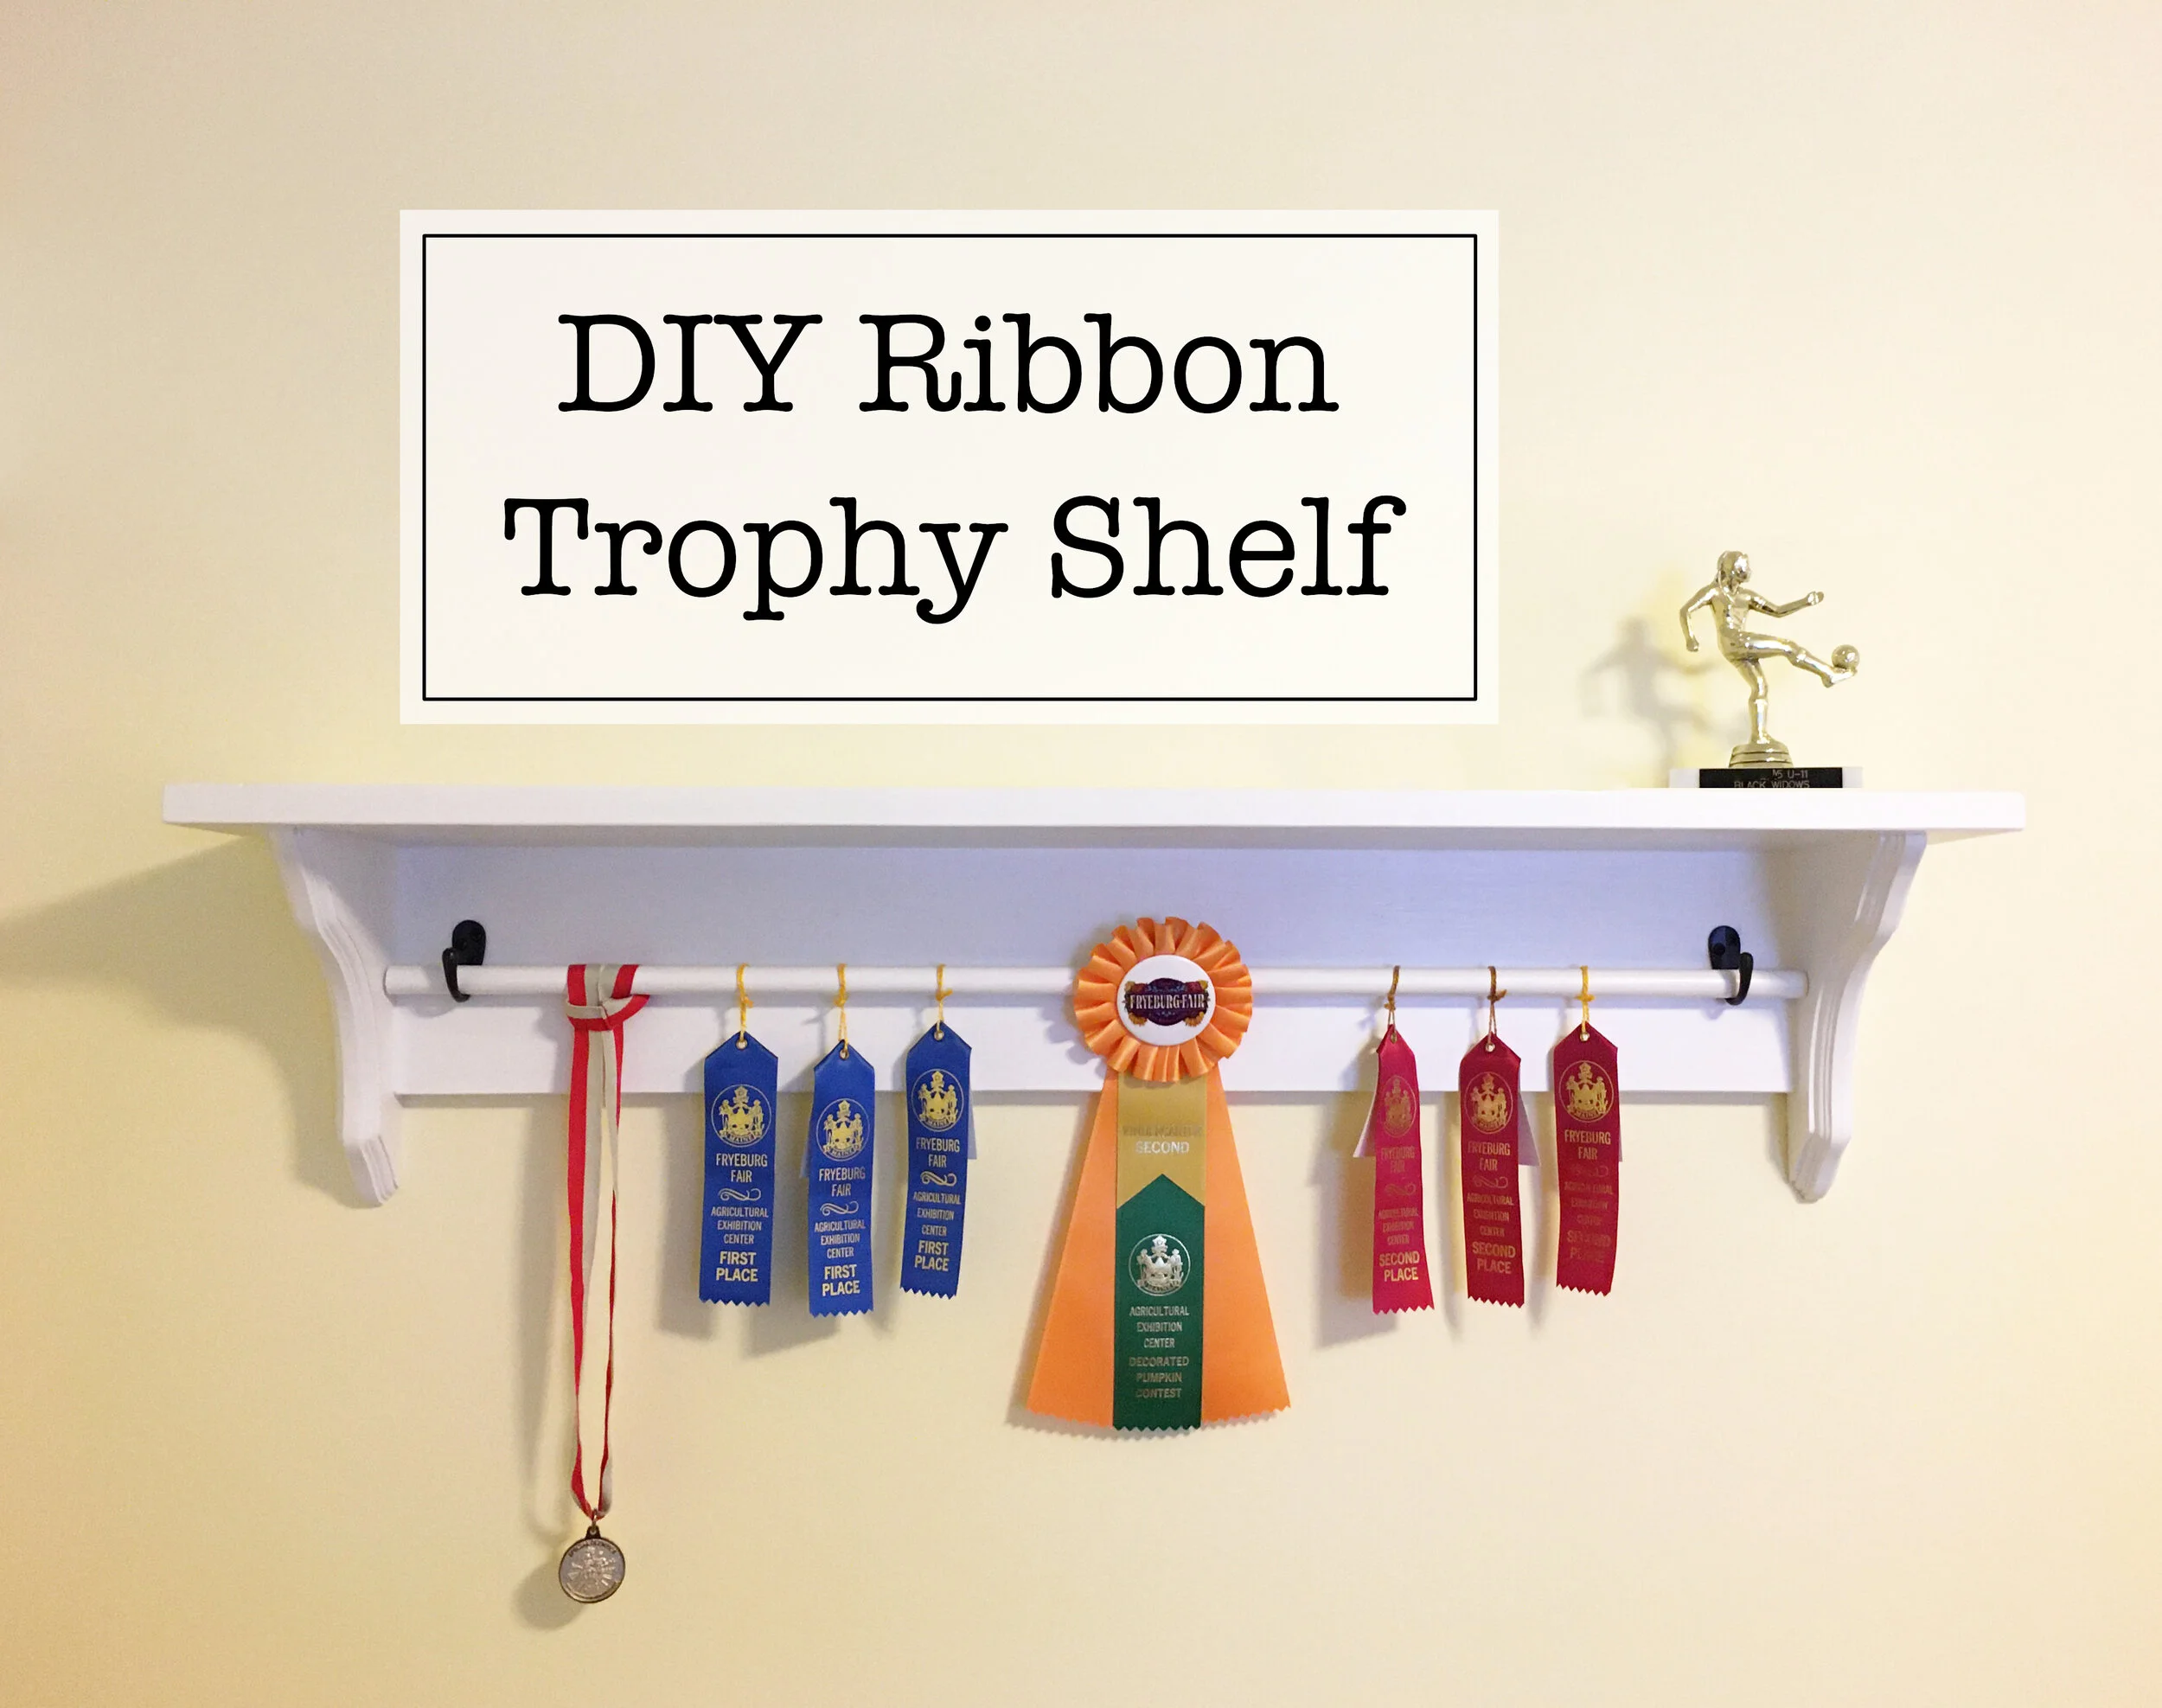
DIY Ribbon and Trophy Display

It seems kind of weird and petty to write about fun DIY projects during a Pandemic, but maybe fun projects to work on at home is just what we need right now :) I did this project about two months ago when I was looking for a nice way to display our oldest’s growing collection of award ribbons and medals but couldn’t find a display setup that I liked or was remotely affordable.
The whole project was super easy and done start-to-finish within two days. Here’s hoping for things to go back to normal someday soon so she can continue to add to her award collection. | This post contains affiliate links |
DIY Ribbon and Trophy Display

Materials:

DIY Ribbon and Trophy Display

How-To:

First decide how long you want the overall shelf to be (in our case I decided on making it 3ft wide). Then cut your shelf top to that length.
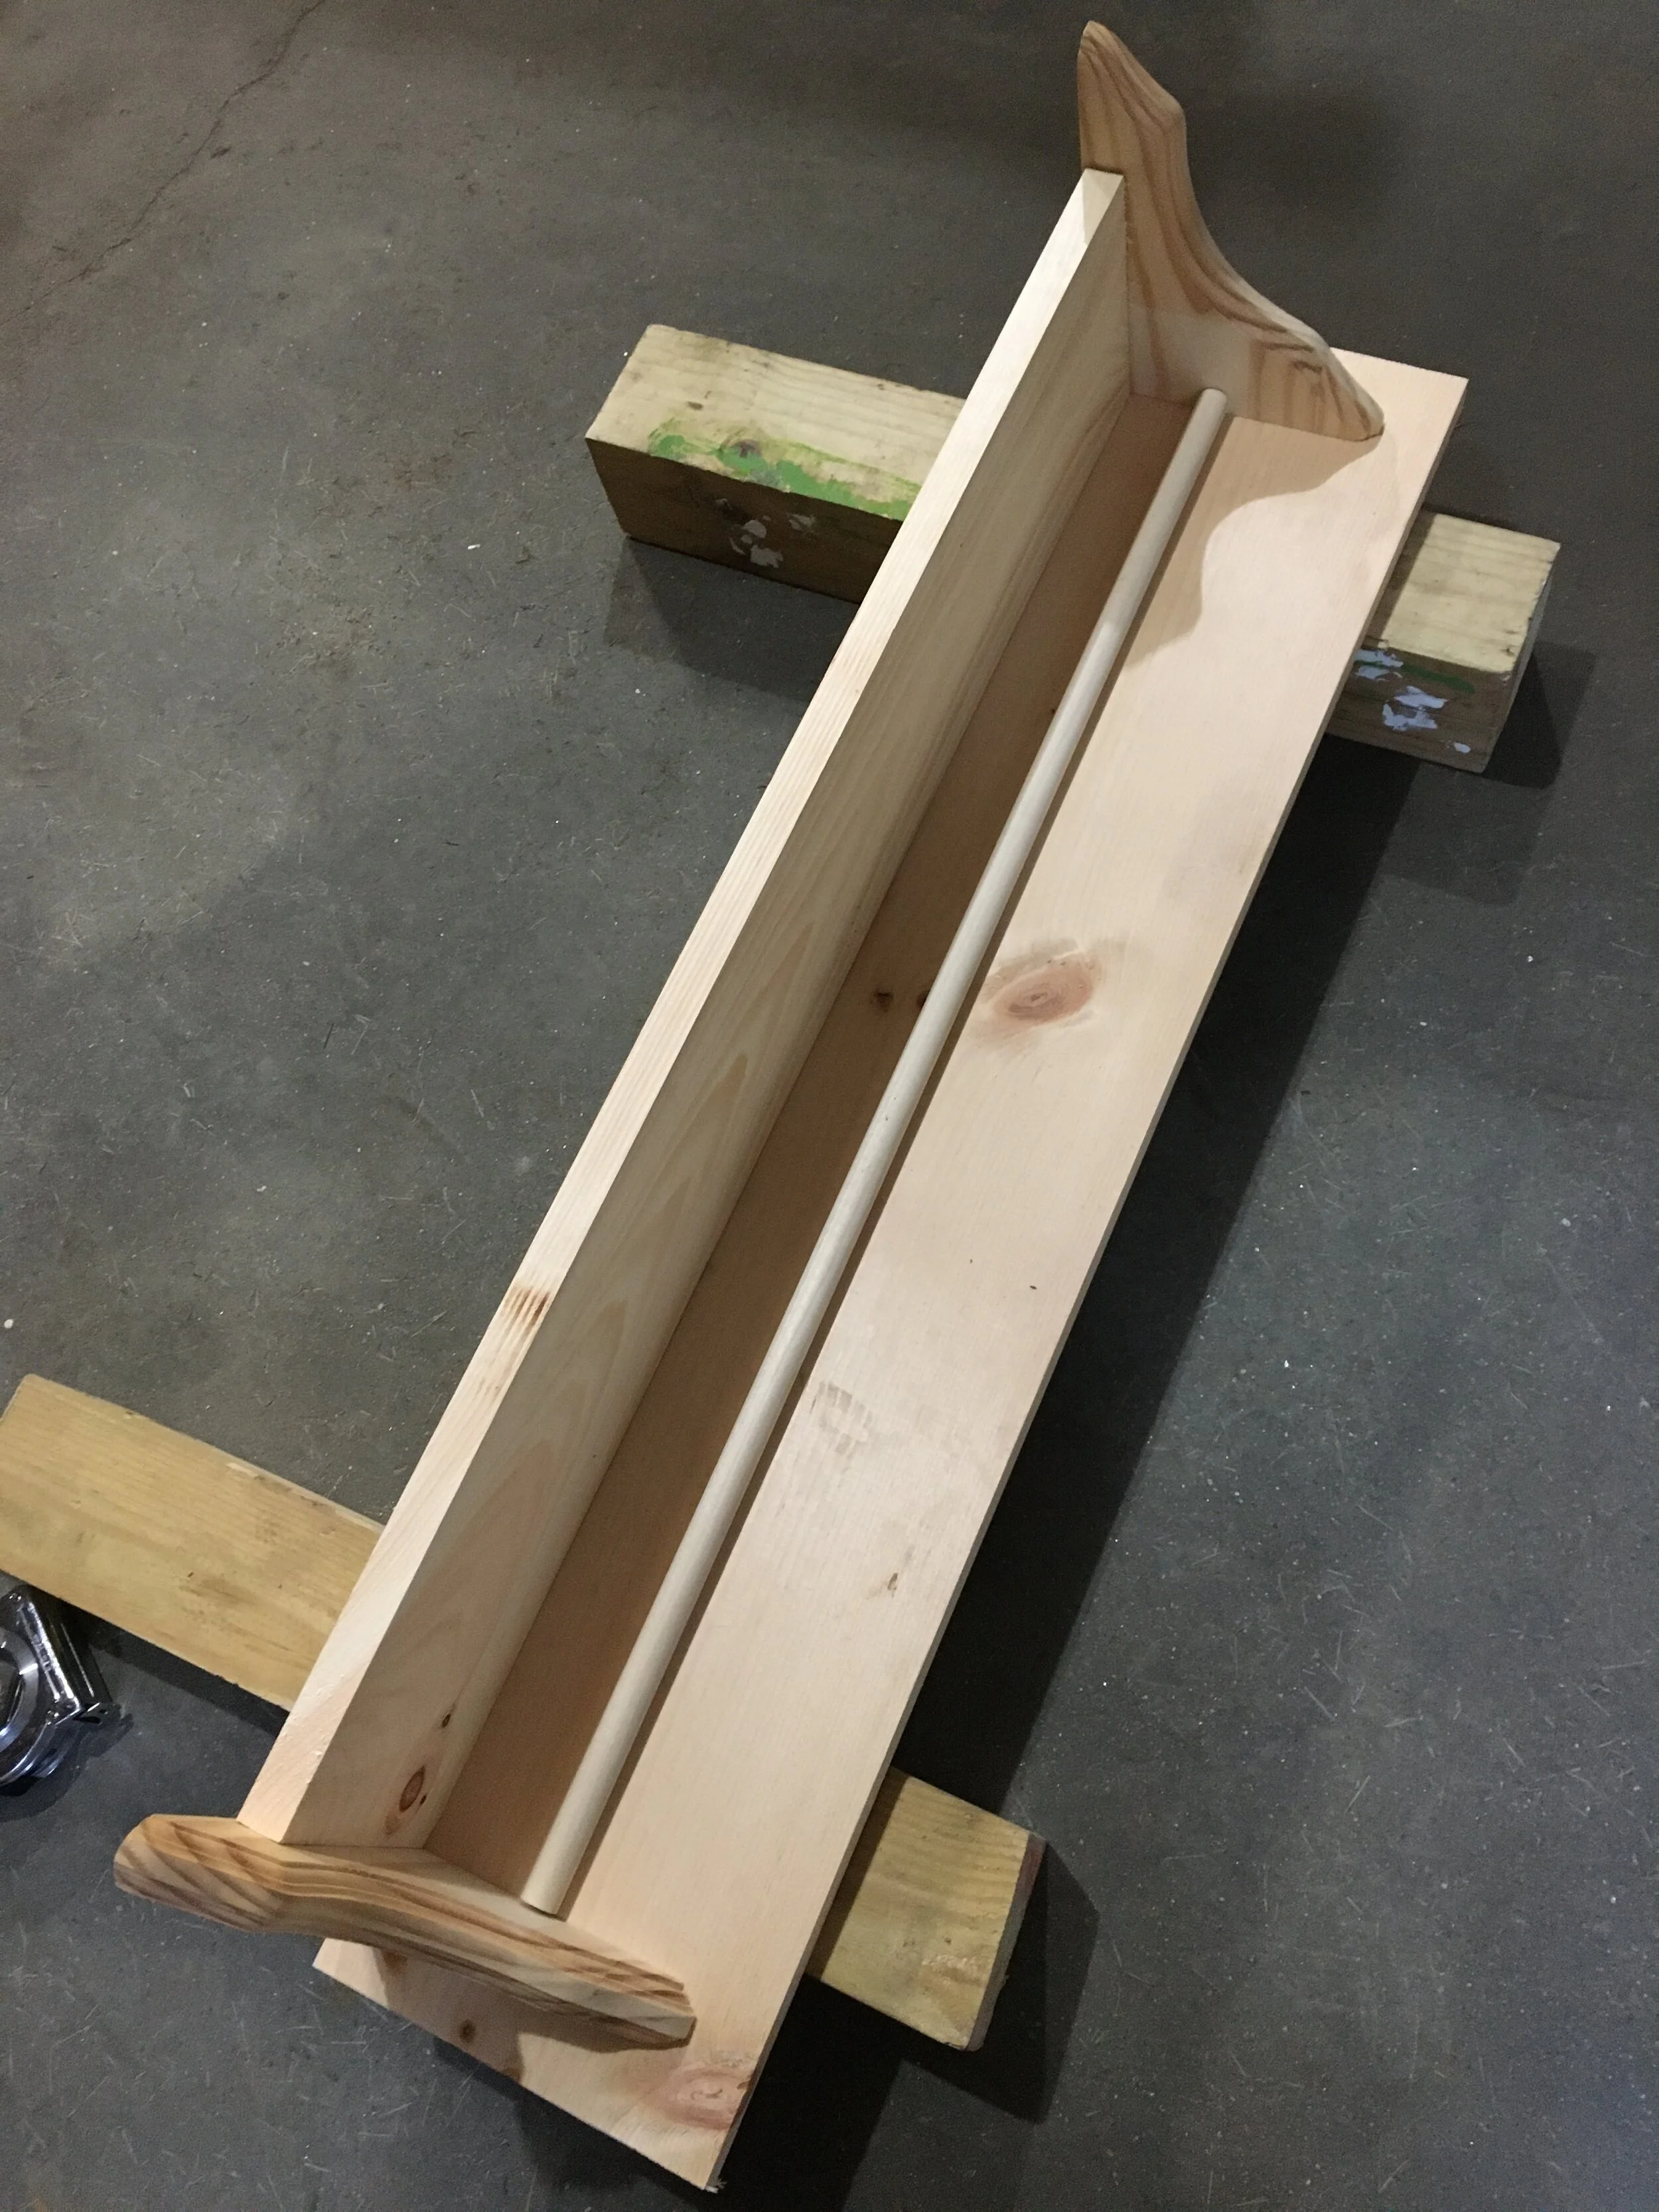
(Nothing is screwed in yet here… just laying everything out to make sure it will fit like I want it to.)

(Nothing is screwed in yet here… just laying everything out to make sure it will fit like I want it to.)

Next decide how wide you want the shelf back to be - remember that the self back plus the brackets should fall within your overall shelf top length. Ultimately how long you cut the shelf back is your preference though. But visually I think that the shelf back and the brackets look best if they fall within about 2 inches of the shelf top on each side.

(Side note: If you have a router you can cut a dovetail channel along the back of the shelf back now to make for easier hanging… I do not have one of those handy so I skipped this step and will hang our shelf another way.)

Once you have everything laid out, cut your dowel to about 1/8” less than your shelf back length so it will fit comfortably within that space.
DIY Ribbon and Trophy Display

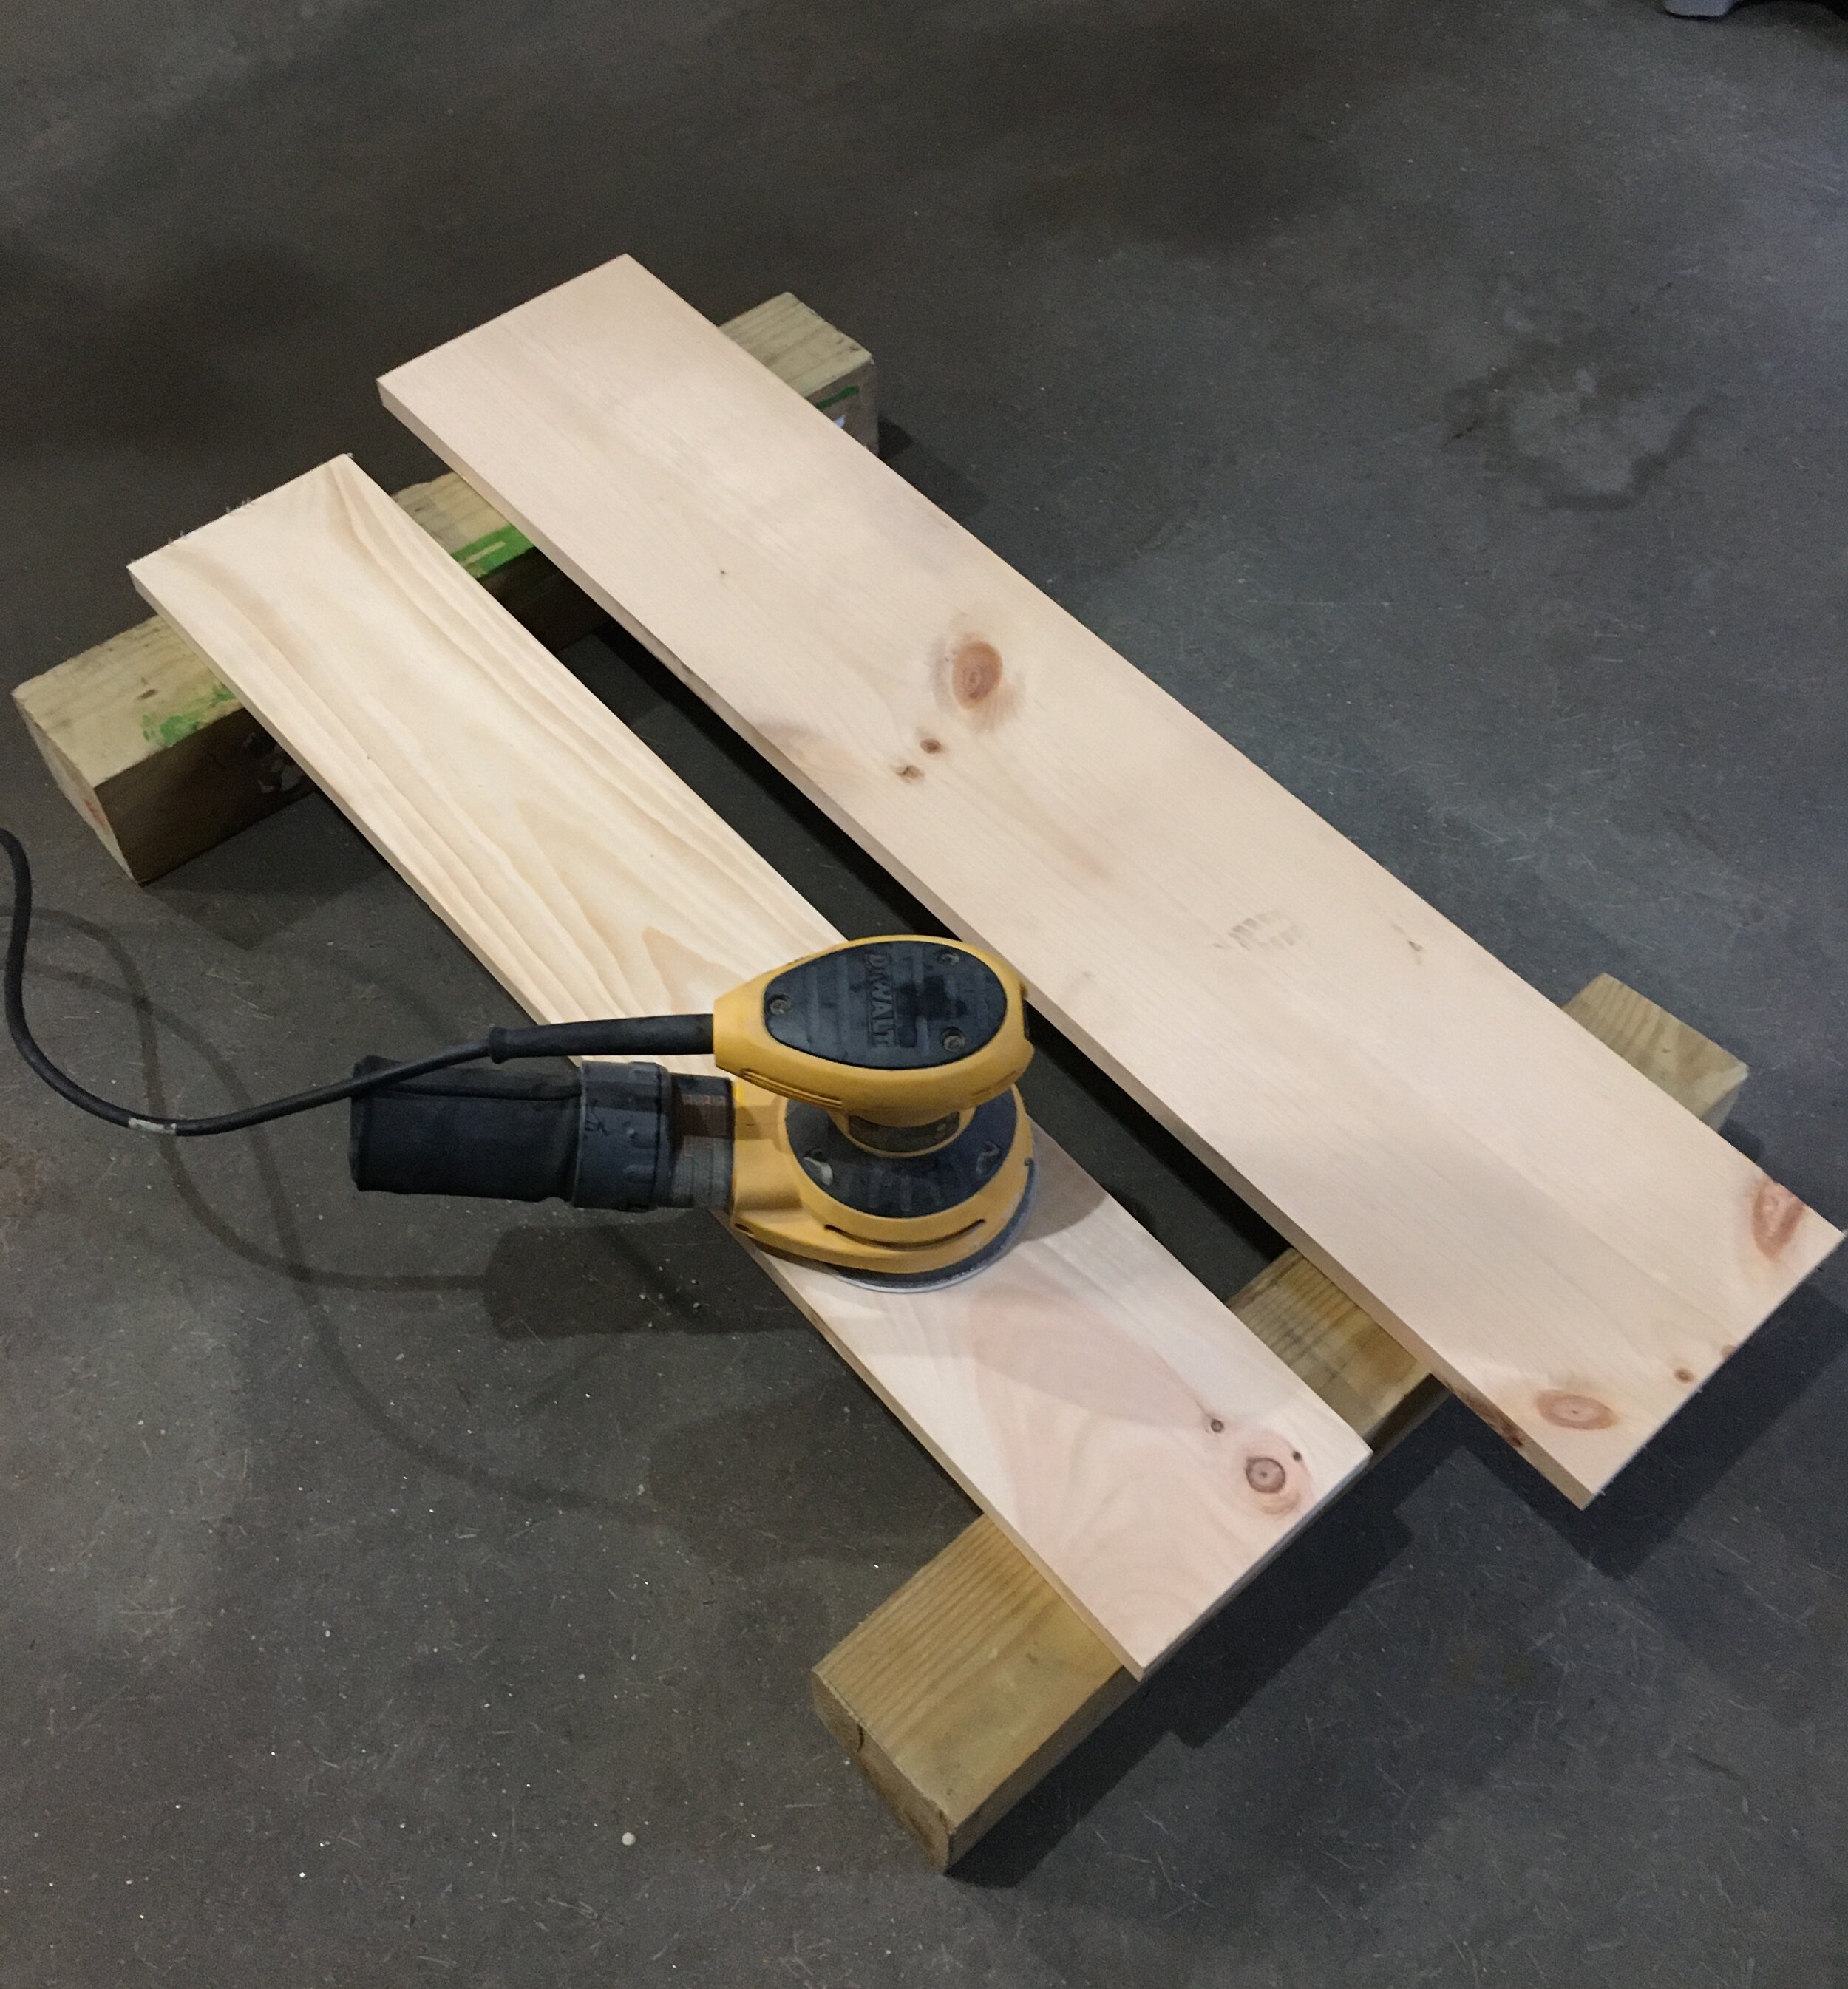
After everything is cut, I recommend sanding everything first before you assemble. I love using our orbital sander - it makes for quick work and does a nice job.

DIY Ribbon and Trophy Display

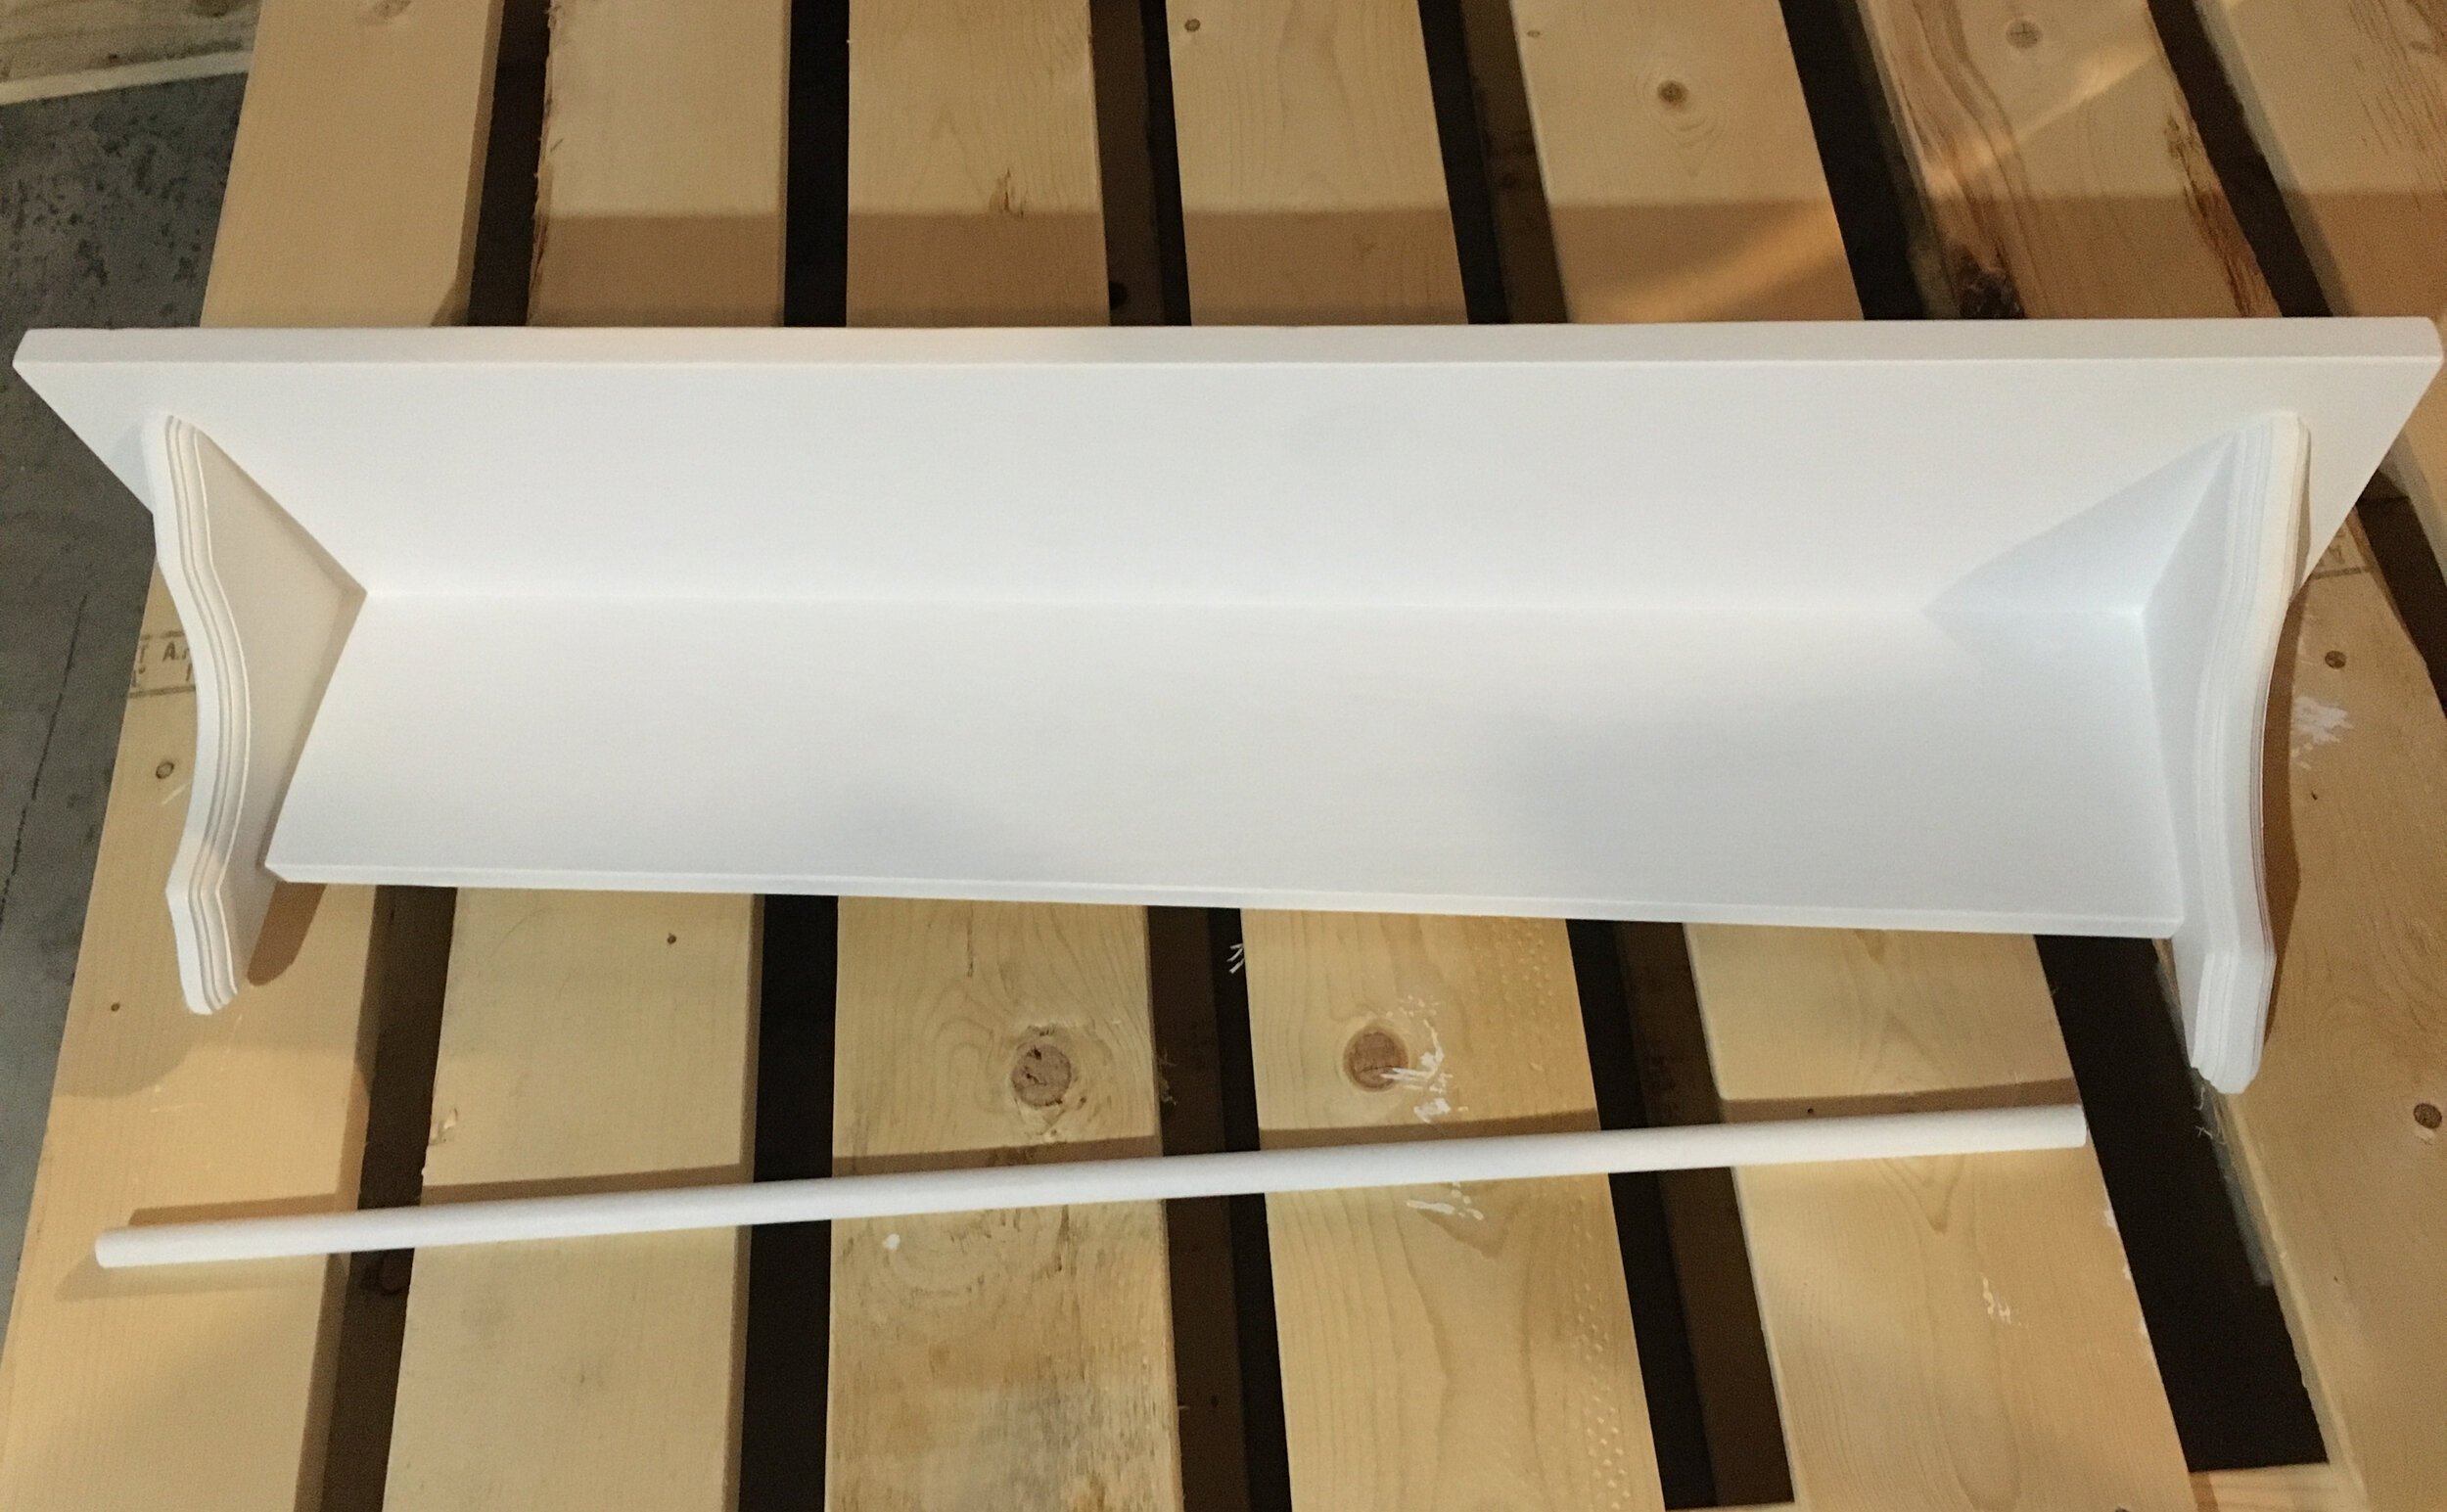
Next start assembling. Screw the shelf supports to the backing first, making sure everything is lined up and flush.

DIY Ribbon and Trophy Display

Next carefully center the shelf top, making sure it’s flush with the back and screw in.
DIY Ribbon and Trophy Display

Now for the fun part - paint! I did one coat of primer and then three coats of semi-gloss white paint, though you could choose any color you wish. I like semi-gloss paint since it has a slight sheen to it and is easier to dust and keep clean.

DIY Ribbon and Trophy Display

For hanging - first I measured this wall side-to-side to figure out where the shelf should fall within that space to be centered. Then I marked the studs with a stud finder.

To be honest I usually use two different kinds of stud finders when I have to hang something - I use a magnetic stud finder first to identify exactly where the stud is and then a digital one to find the edges of the stud. I’ve found that sometimes the digital ones can be finicky so it’s nice to know where the studs are first rather than get a false stud reading when it could be something else (a pipe, a thick area of plaster on the wall, etc).

Then using a level to make sure the shelf was level, I screwed directly into the wall studs through the shelf back making sure to place the screws where they would be hidden by the dowel once I installed it.

DIY Ribbon and Trophy Display

Next I hung the dowel by centering it and adding a simple hook to support it on each side, as shown above (this also hides the screws I used to hang it). And now the project is finished and ready to display ribbons, medals, and trophies!

DIY Ribbon and Trophy Display

To hang the ribbons and medals you can easily lift the dowel up and string them on, or loop them around the dowel like I did here.

I hope you liked the project and we look forward to when this Pandemic is over and there will be sport and fair ribbon awards again - stay well!


DIY Ribbon and Trophy Display

UPDATE:

Years later our kids are still using the DIY Ribbon and Trophy Displays but they’re getting a little full. In order to spread things out a bit I bought these simple medal holders (similar one linked), so they could hang their medals on these and keep the DIY Display just for their ribbons/trophies. It’s working great!


Similar Posts:

Shop some of our Outdoors + Sports picks:

Scroll sideways to see more —>

KEEP UP WITH BIRCH LANDING HOME
|  Etsy  |  Facebook  |  Instagram  |  Pinterest  |  Bloglovin'  |  Hometalk  |

Hearts for Heroes

Yesterday the kids finger-painted some big sheets of paper and today we cut hearts out to hang in all our windows as a way to say THANK YOU to all the heroes out there - especially medical personnel, but also mail/package carriers, truck drivers, and our neighbors and community that are staying home.

Hearts for Heroes

I hope everyone can find some small way to help spread some hope and gratitude in your neighborhoods too. Thank you all!

Hearts for Heroes
Hearts for Heroes


KEEP UP WITH BIRCH LANDING HOME
|  Etsy  |  Facebook  |  Instagram  |  Pinterest  |  Bloglovin'  |  Hometalk  |

Preparing for the Novel Coronavirus

Whether you believe the extent of the hype about the Novel Coronavirus (COVID-19) or not, you should still take it very seriously. This is unprecedented for our generation and a lot of people are in denial that something may be so out of our control.

Preparing for the Novel Coronavirus (COVID-19)

I wanted to share this link to a post by Scientific American that I found - I felt like this was a really calm and helpful perspective on why we should prepare now - and no, you don’t have to go overboard. We personally bought extra groceries this week, along with diapers, dog food, and the OTC medicine our toddler takes daily. I'm also planning on taking this opportunity to potty train her so we hopefully don't run out of diapers.
I pray this virus doesn't become a widespread issue but it's best to prepare now.

The whole point of being cautious and complying with “social distancing measures” is to keep our hospitals and medical personnel with their heads above water - because if this outbreak becomes large it will overwhelm our capabilities, which would be bad for everyone but especially our vulnerable populations (elderly, those with chronic illness, etc). So please, I ask you to take it seriously and prepare - then hope and pray for the best. Stay healthy out there! <3


KEEP UP WITH BIRCH LANDING HOME
|  Etsy  |  Facebook  |  Instagram  |  Pinterest  |  Bloglovin'  |  Hometalk  |

Potty Training On-The-Go

You know that potty training is getting serious when you start driving around with a tiny toilet in your trunk! Thought I’d hop on here real quick and share some of our potty training “on-the-go” hacks. | This post contains affiliate links |

Potty+Training+On-The-Go

First, while we may be doing undies in the house - we still use pull-ups at night and when we leave the house… why? Because Mama don’t like having to change wet or poopy clothes in Target or get a carseat full on a drive. That is not fun for anyone and doesn’t set your kid up for success. Also, cleaning carseats is the worst.

Potty Training On-The-Go

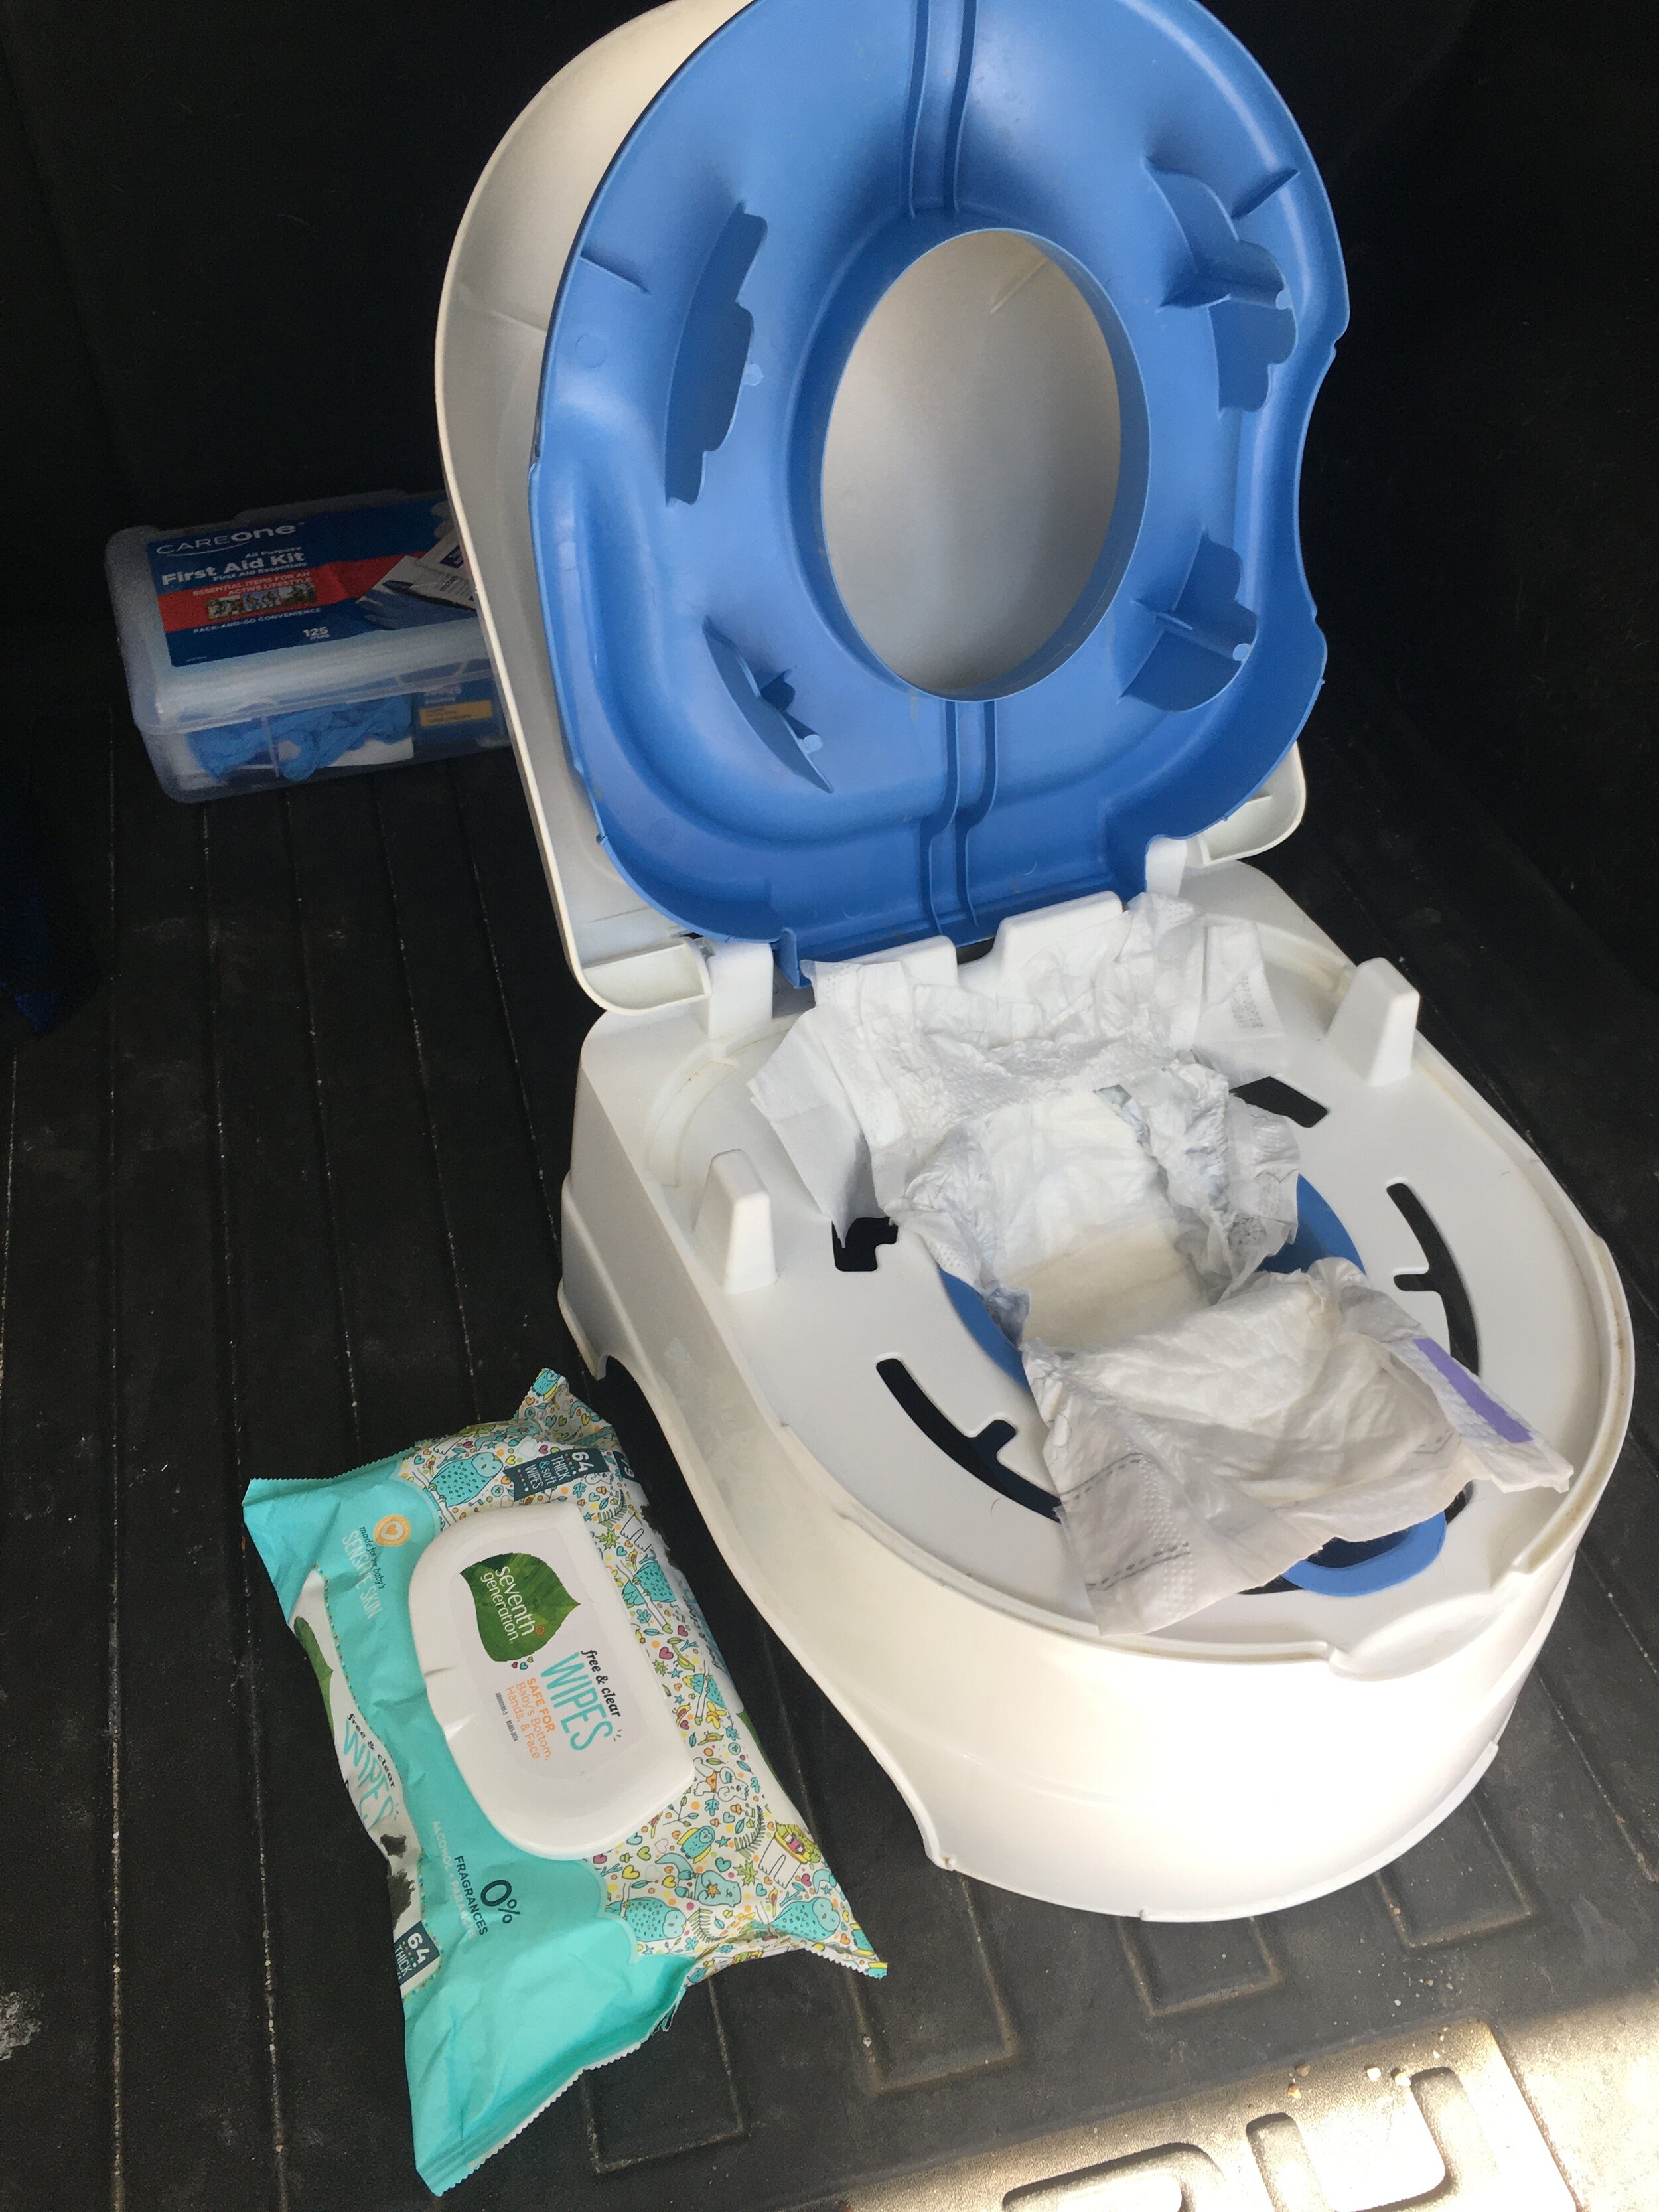
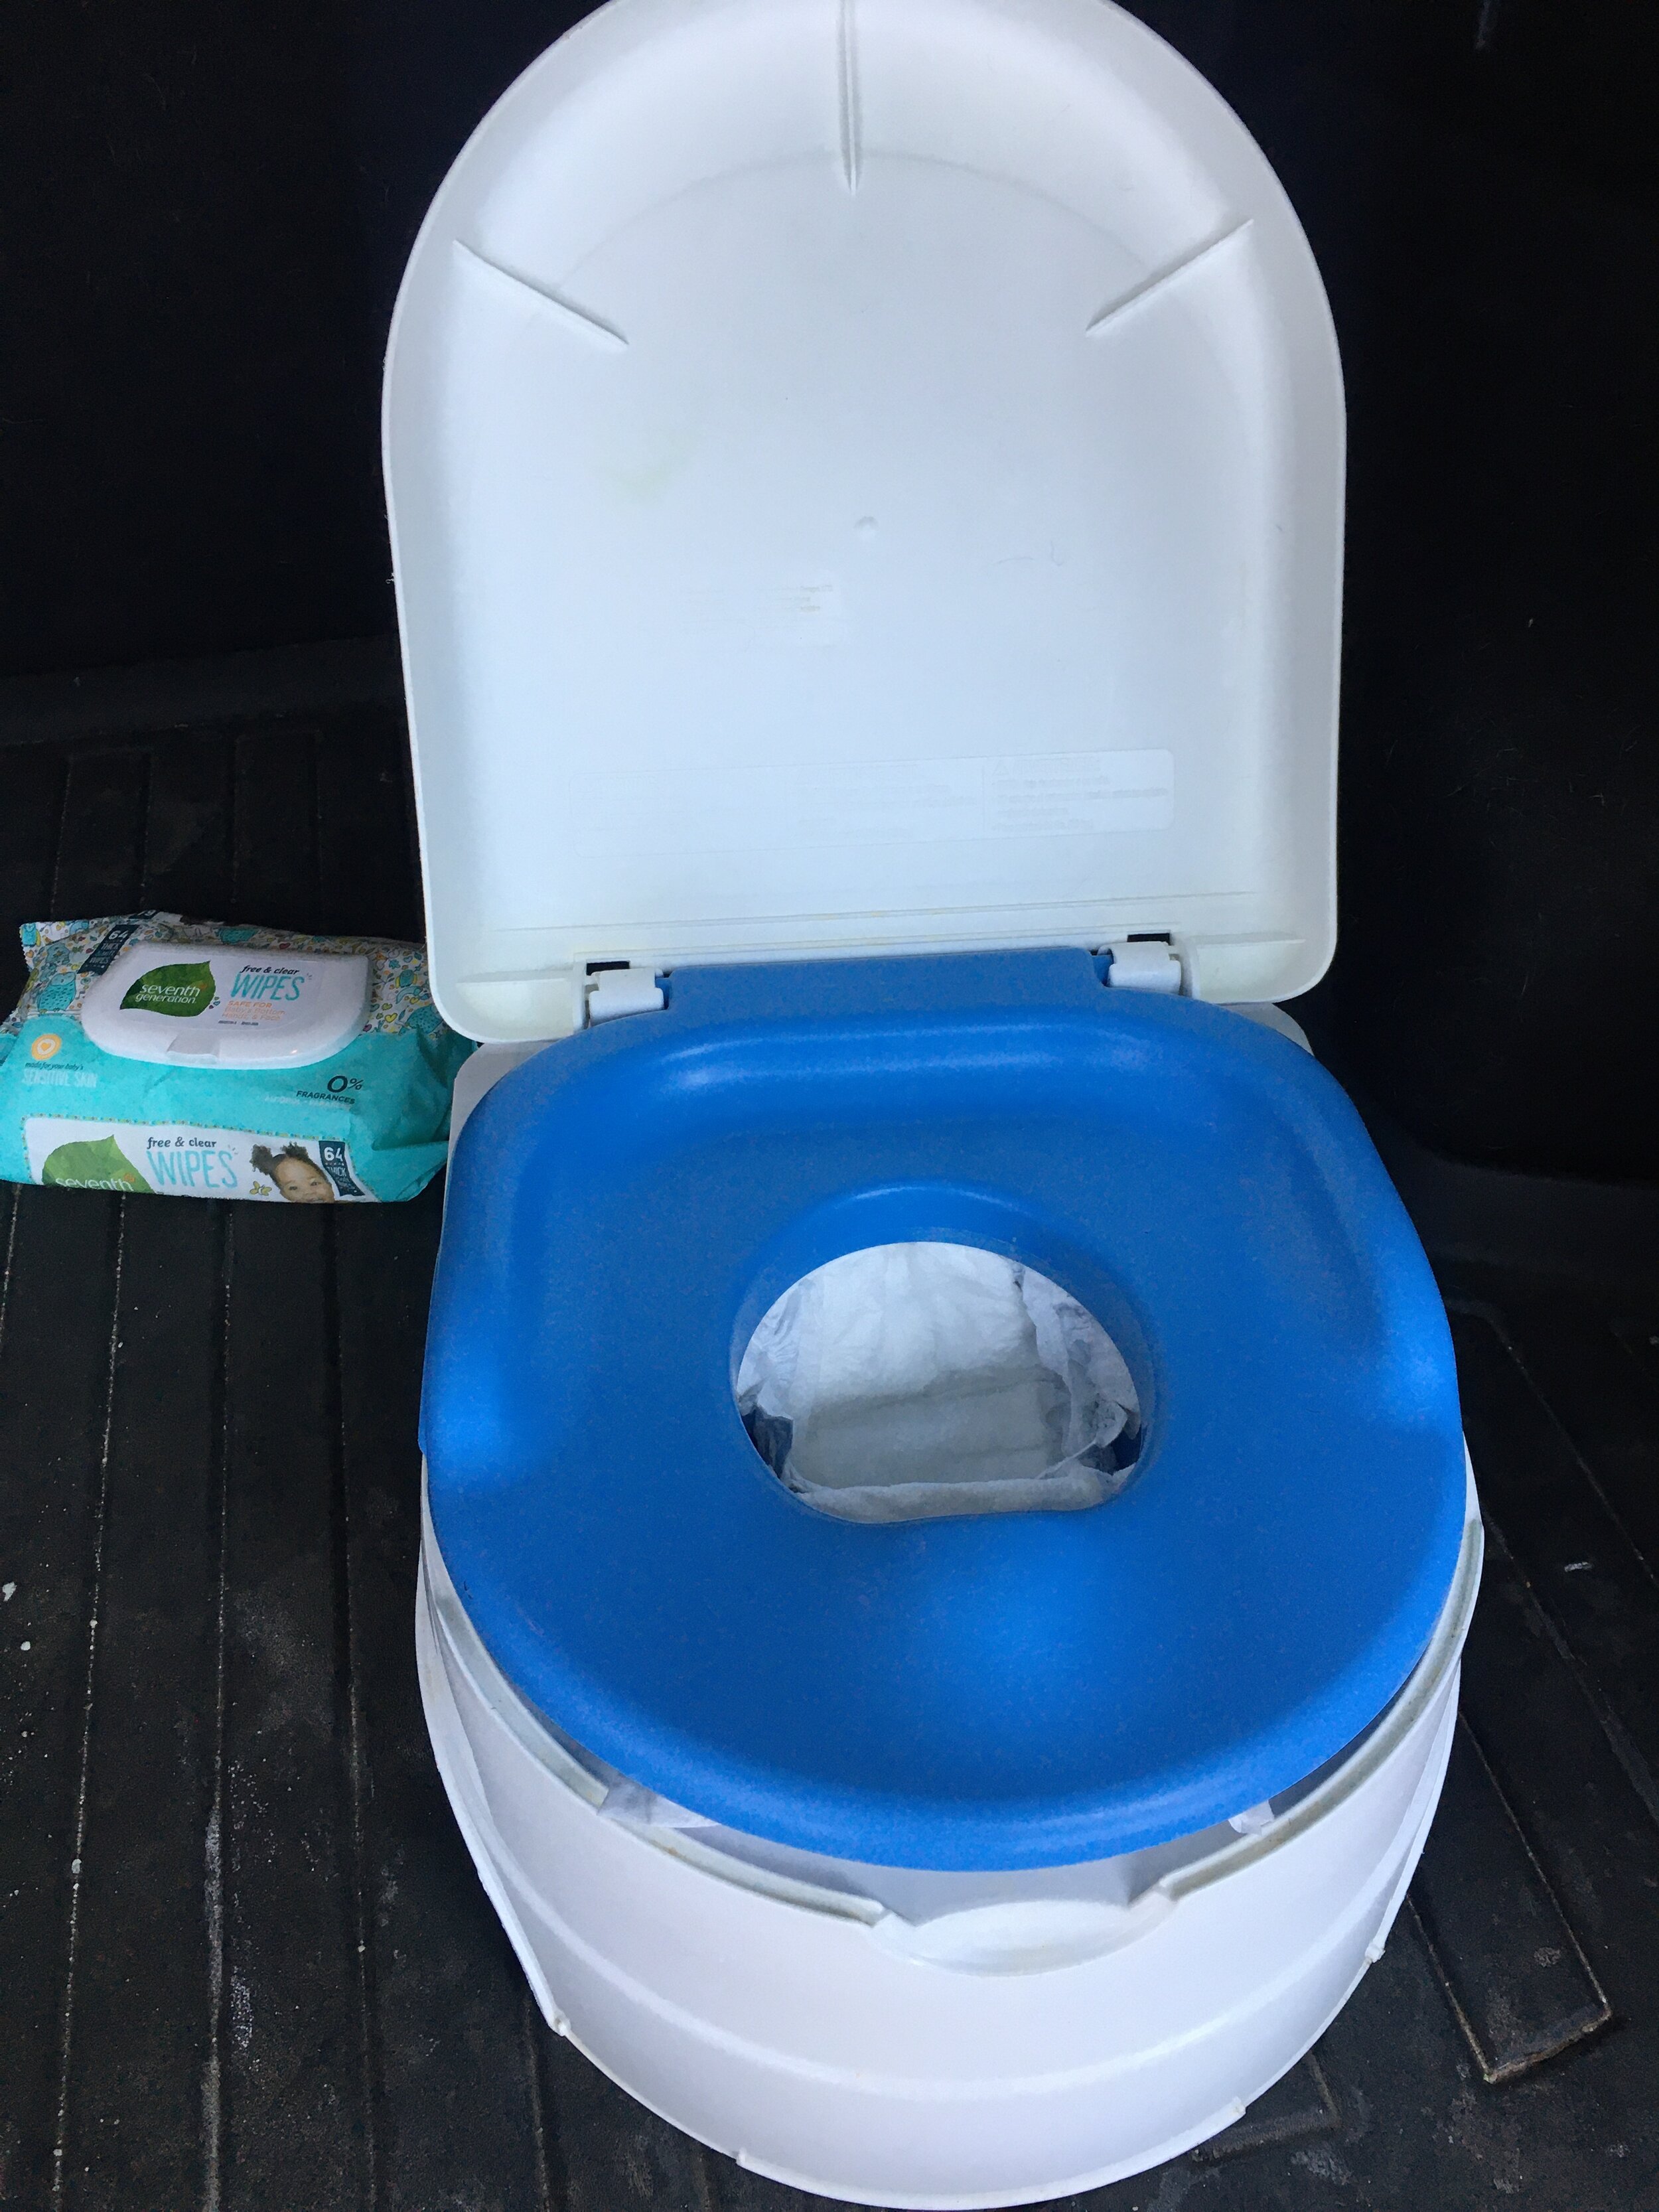
For us we potty train our kids 100% at home and let them be flexible (by using a pull-up) whenever we’re out and about until they are VERY good at it, before transitioning them to undies all the time. During this transitionary time, we always keep a small potty in our trunk in case they need to go. It’s a lot easier and more comfortable for them to use a little potty that they’re used to, rather than having you dangle them over a public toilet at Starbucks.

The biggest helpful trick to the trunk potty? Line it with a clean diaper to absorb waste - that way you’re not driving around with a cup full of pee sloshing around in your trunk. It also makes for much easier cleanup!

And it goes without saying to keep wipes, clean pull-ups, a change of clothes, and a towel within reach in the trunk as well too… just in case.

Potty Training On-The-Go

Best of luck on your potty training adventure!

KEEP UP WITH BIRCH LANDING HOME
|  Etsy  |  Facebook  |  Instagram  |  Pinterest  |  Bloglovin'  |  Hometalk  |

How We're Handling the Tooth Fairy

A lot of families have their own traditions for when the Tooth Fairy comes - some do elaborate gifts or glitter-covered dollar bills, others do a quarter under the pillow and keep it very simple. We decided to keep our tradition simple, but still make it special. Here’s how we’re handling it… | This post contains affiliate links |

How We're Handling the Tooth Fairy

Those loose teeth seem to sneak right up on you. Out of nowhere our daughter’s tooth became suddenly very loose and she lost it within a few days. Luckily I was on top of it and had already planned how we were going to do the Tooth Fairy, but I suggest being prepared and having any special Tooth Fairy supplies or money set aside well ahead of that first loose tooth.

Since our daughter can be a light sleeper, we decided having a separate "Tooth Pillow" would be the easiest and safest bet to keep the Tooth Fairy's visit undetected. The Tooth Pillow we purchased also came with a cute little notepad for the Tooth Fairy to leave her receipts and a bottle of glitter (which we decided not to use... we didn't want glitter all over the place, haha). When she looses a tooth, it goes into the pillow which we hang on her closet doorknob and the Tooth Fairy trades the tooth for money and a receipt.

How We're Handling the Tooth Fairy

How much money should the Tooth Fairy leave? Well, that’s up to you and your family. Some people leave a lot of money per tooth (like $5-10), others just leave change. We decided $1-2 per tooth was a good amount but to make it more special we leave “unusual” money that you don’t see every day. Prior to her loosing her first tooth I went to our local bank and traded a $10 bill for any unusual US Currency they had in their drawer. In exchange I got a few $1 gold coins, some $2 bills, and a few half dollar coins. This way she gets special unique “Tooth Fairy Money” that can be saved or spent at her discretion.

To Keep or Not to Keep the Teeth? Again, another personal choice for you and your family. For us, we decided to just keep that first lost baby tooth in a small jar which we put away with other baby keepsakes. (They also sell some cute specialty Keepsake Boxes for these things.) Some people do decide to keep all lost teeth, but for us that's just not our thing.

Once those teeth start getting loose be prepared for them to keep coming. After our daughter lost the first tooth, we had about a two month break and then she lost three more teeth in less than one week - it’s definitely a good idea to be prepared with a stash of Tooth Fairy Money because you never know when the next one will happen.

KEEP UP WITH BIRCH LANDING HOME
|  Etsy  |  Facebook  |  Instagram  |  Pinterest  |  Bloglovin'  |  Hometalk  |

Emergency Preparedness: Preparing, Sheltering in Place, Having a "Go Bag," and Evacuating

God forbid you or your family ever encounter an emergency situation, evacuation, natural disaster, etc. But if you do, it’s best to be prepared. Now, you probably can’t prepare for everything but even some level of preparedness is much better than none. In this post I’m sharing some general ideas on ways you can prepare your home and your family if you’re stuck or need to evacuate, but please do your own homework and contact local authorities for the best advice on what situations are most likely to arise for you. | This post contains affiliate links |

Emergency Preparedness ideas for your Family and Home.

Disclaimer: I am not a survival or emergency expert, but just sharing my opinion on ideas and discussion points on how you might prepare. Do your own research and contact local authorities on the best way to prepare your home and your family for any emergency situation which could arise.

Prepare Your Home

First let’s talk about the home front - it’s a good idea to make sure you have a generator (correctly installed and well ventilated) and extra fuel (safely stored) in the event you’re without power for awhile. Make sure you have shovels, flashlights, extra food that doesn’t need to be cooked (like crackers, canned goods, etc), pet food, water, blankets, matches, and candles too. Some people recommend filling bathtubs and sinks with water prior to bad weather coming so that you have a supply of water for cooking/drinking/washing/flushing toilets. Make sure phones and electronics are charged and you have extra charging packs.

Whether you have a generator or not to run your refridgerator or freezer during a power outage, it's a good idea to keep thermometers inside both fridge and freezer to monitor the temperature for food safety. Do not open the doors unless you really need to (opening them lets the precious cold air out), but by having thermometers in place you can make sure your food is still safe to eat after a prolonged outage.

Have a battery-operated or crank radio on hand - if the power or cellphone/internet services are disrupted you’ll want to be able to listen to the radio to get updates.

It’s also important to have a First Aid Kit and enough medications on hand if someone has a pre-existing medical condition, as well as general medications that you and your family may need like fever/pain reducers. If someone in your family has an allergy or restricted diet, make sure you have a backup of enough “safe” foods in the house for them to have. It’s also a good idea to have medical information for your family posted in the house for first responders if needed.

Make sure to also have working smoke detectors, carbon monoxide detectors, and fire extinguishers in your home. Keep important documents in a Fireproof Safe.

In the event of a local outbreak of illness (flu, stomach bug, - edited to add COVID-19 too), it’s a good idea to have basic over-the-counter medications on hand as well as disinfectant supplies and face masks.

Decide Where and How You May Need to Shelter In Place

Think about different scenarios that could ever happen, which is probably most dependent on where you live. If you live in tornado or hurricane-prone area, maybe you need to have a plan in place to quickly bring in lawn furniture and other items that could go air-born, shut your storm shutters, and shelter in the basement or bathroom. If you live in a city, maybe a scenario that’s more likely is you may have to shelter in place due to violence or riots - where would be the safest place in your home or apartment to do that? If you live in winter-storm prone area, maybe that’s making sure your heating vents stay clear from snow and you have a roof rake and shovels ready to make sure your roof doesn’t get overloaded and you can shovel your way out of your front door. If you live in an earthquake-prone area, maybe that’s being aware where the safest place in your house to shelter would be (maybe a strong doorway), or know if it would be safest to evacuate the building entirely and wait it out outside.


What is a “Go Bag” and Why Your Family Should Have One

A “Go Bag” is something you have packed and ready in the event you needed to evacuate your home immediately and potentially survive outside (in the woods or on the road in your vehicle) on your own for several days… situations that may arise where you may be put in that situation could be quick moving storms, flash floods, wild fires, etc. A Go Bag is something that is ready to go with emergency supplies including food, water or a water flirtation system, survival blankets, first aid kit, personal medications that you/your family may need, medical ID cards, masks (to help filter smoke/dust/germs), etc. It’s also a good idea to have local maps in there as well, as phones and internet may not work.

You can put your own Go Bag together or order a pre-made Go Bag and add what personal things you may need to it.

Have an Evacuation Plan

First, it goes without saying you should have plans for things like Fire Drills. Consult your local fire department for tips, but in general make sure you and your family (including kids) understand what a fire/evacuation drill is, how to safely and quickly exit the building, what to do if you get trapped, and where to meet outside afterwards. Practice this a few times a year so it’s second nature, but hopefully you never ever need to do it for real.

Now to take that one step further - take some time to think through different scenarios that could happen where you might have to evacuate your area/town (God forbid they ever do), and plan how you would react. If a wild fire or flood was happening nearby, how would you and your family evacuate your area? Take some time to familiarize yourself with area roads and which ones would be the best to evacuate by - make sure you also come up several backup plans too as your first choice exit plan may be blocked off. Also be aware of which roads may be most prone to fall victim to a natural disaster - for example, a low-lying road near a stream would be likely to flood, and probably shouldn’t be counted on as an exit road in a weather emergency. Keep maps in your car too as phones/GPS may not work and it would be beneficial to have a paper map to consult. It's also important to have cash on hand as ATMs/credit card machines may be down as well.

Always try to keep your car gas tank fairly full too, that way you’ll be ready to go anytime and won’t have to worry about running out of gas or being able to buy gas (as gas stations may be out of gas or there could be long lines) wasting valuable time for your family to make an efficient exit.

Hopefully you will never fall into a scenario where you’ll ever have to use any of your emergency supplies or shelter/evacuation plans, but it’s best to be prepared. Make sure to re-evaluate your plans and supplies regularly as roads and situations can change and supplies will expire over time (check those expiration dates on medicine, first aid items, and food/water). May you all stay safe and well!

Disclaimer: I am not a survival or emergency expert, but just sharing my opinion on ideas and discussion points on how you might prepare. Do your own research and contact local authorities on the best way to prepare your home and your family for any emergency situation which could arise.


KEEP UP WITH BIRCH LANDING HOME
|  Etsy  |  Facebook  |  Instagram  |  Pinterest  |  Bloglovin'  |  Hometalk  |
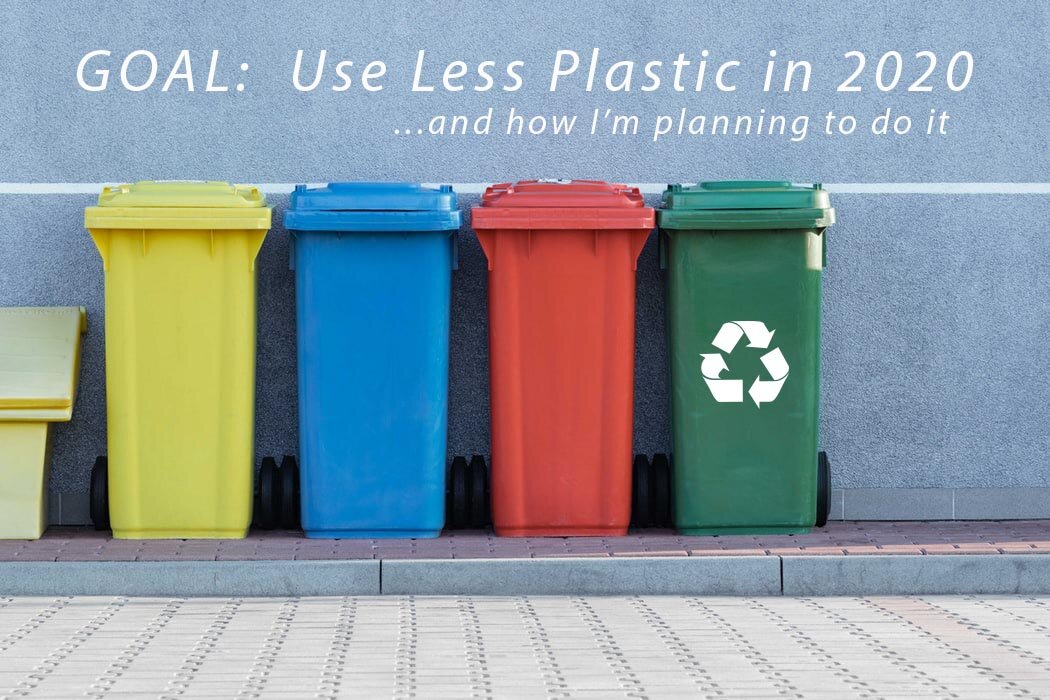
Goal: Use Less Plastic in 2020

As I had mentioned previously in my “Goals for the New Year” post, one of my goals is to use less plastic in our daily lives. We already make an effort to recycle as much as possible and not be wasteful but watching the documentary “Broken: Recycling Sham” on Netflix was eye-opening. So much of what people put in the recycling bin ends up in landfills or the ocean in the end, as a lot of plastic is too difficult or expensive to recycle and it’s sorted out and discarded. (PS - if you haven’t watched this documentary yet, I highly recommend it!) If everyone were to decrease their use of plastic in small ways it would eventually decrease the demand and less plastic would be made and end up in the environment. Here I’m sharing some small ways we’re working towards less plastic in our lives. | This post contains affiliate links |

GOAL:  Use Less Plastic in 2020

As Emily Ley would say, I’m striving for “progress, not perfection.” I am not planning on eliminating all plastic from our home overnight - after all that wouldn’t be environmentally responsible either. We have plenty of BPA-free Tupperware, kids plates, reusable bottles, containers, etc and they are serving us well - there’s no need to go chuck them in the trash now. It’s also impractical (and arguably impossible) for our family to totally eliminate plastic from our lives. - But moving forward, we will try to consume less plastic, and as things wear out and need replacing we will look to non-plastic or high-recycled-content materials for replacements.

Here are a few eco-friendly “swaps” we have implemented or are planning to in the future:

  • Reusable Water Bottles. This is a very easy one... find a Reusable Water Bottles that you like and carry it around with you, refilling it as needed. I personally prefer stainless steel bottles, but others prefer glass or plastic. Not only is a reusable bottle good for the environment, it's good for your wallet too as you'll never have to buy an overpriced bottle of water at a gas station or cafe again. Most office buildings, schools, and malls have bubblers (AKA water fountains for all you non-New Englanders) where you can fill your bottle, and most cafes and fast food restaurants will refill your bottle with water for free too.
  • Reusable Grocery Bags. This is another easy change - in fact, I can almost guarantee you have some Reusable Grocery Bags kicking around in your closet or car trunk this very minute since businesses often give out reusable bags for promotions and advertising. Dig those bags out and make a neat stash of them in your trunk or car door pocket and make a mental note to grab them before heading into the grocery store. (Side note: It's a good idea to periodically wash your reusable bags to keep them clean and reduce the spread of potential germs.)
  • Reusable Produce Bags. Purchase some small cotton Reusable Produce Bags to use when you go grocery shopping. Produce bags are often overlooked since they're small but they add up fast during a weekly grocery trip. By using reusable bags you're reducing your plastic consumption (and not to mention no more busted plastic produce bags when you're buying a decent amount of potatoes or apples - yay!).
  • Reusable Travel Mug for Coffee/Tea. Find a travel mug that you love (personally I love my Yeti Rambler - worth every penny in my opinion!) and take your coffee to go. A lot of coffee shops will give a small discount for bringing a reusable mug in too - it pays to be green ;)
  • Silicone "Plastic" Bags. Plastic snack and sandwhich bags are another thing that quickly add up, especially if you pack your own lunch. Switching out plastic for washable and reusable Silicone "Plastic" Bags will cut back on a lot of the single-use plastic in your life.
  • Silicone "Plastic" Wrap. Plastic wrap for covering leftovers also quickly adds up but can be replaced with washable and reusable Silicone Covers.
  • Glass or Metal "Tupperware". We have plenty of good quality plastic tupperware for packing lunches and leftovers, but as they need replacing we'll look to switching to glass or stainless steel.
  • Sustainably Made Wooden Toys. Our kids will still play with plastic toys (legos, action figures, etc)... we're not going to forbid it. But we're definitely being mindful about what and how much plastic toys we do buy - and when we have the opportunity to provide them with sustaibably-made wooden toys like play food for their kitchen set or blocks we definitely will. (Side note: I had recently partnered with the company Lovevery to review their sustainably-made Block Set and was super impressed! Feel free to check out that previous post HERE, I highly reccomend them).

And while the recycling business is far from perfect, you should still always recycle whenever you can. That way your waste has a chance of being reused. If items are reusable things in good shape (toys, containers, etc), donate them to local charities or a "drop 'n swap" where people leave items to be taken for free by someone that can use them (check your local dump/transfer station to see if they have one).

If they are single-use items (like plastic bags, milk jugs, food packaging, etc) then sort and recycle as best you can. Setting up an in-home recycling system can make sorting and recycyling second-nature so everything (plastic, glass, paper, cans, etc) makes it to recycling center with the best chance of getting recycled.

Are there more ways to go plastic-free? Oh heck yes. But I’m personally looking for doable, attainable changes that fit with our lifestyle. I feel like these are changes most people could accomplish as well too. If everyone just reduced their plastic consumption with simple changes it would add up and make a huge difference.


KEEP UP WITH BIRCH LANDING HOME
|  Etsy  |  Facebook  |  Instagram  |  Pinterest  |  Bloglovin'  |  Hometalk  |
Educational, Sustainable Toys by Lovevery

We’re making more of an effort to be more conscious about what we buy our kids - less plastic “junk” that they will quickly loose interest in and more toys that are educational and encourage open-ended play. I was so excited when I stumbled across Lovevery - a company that is passionate about making educational and sustainably made heirloom toys for babies and young children. | This post contains an honest review of product provided by Lovevery as well as affiliate links |

Educational, Sustainable Toys by Lovevery

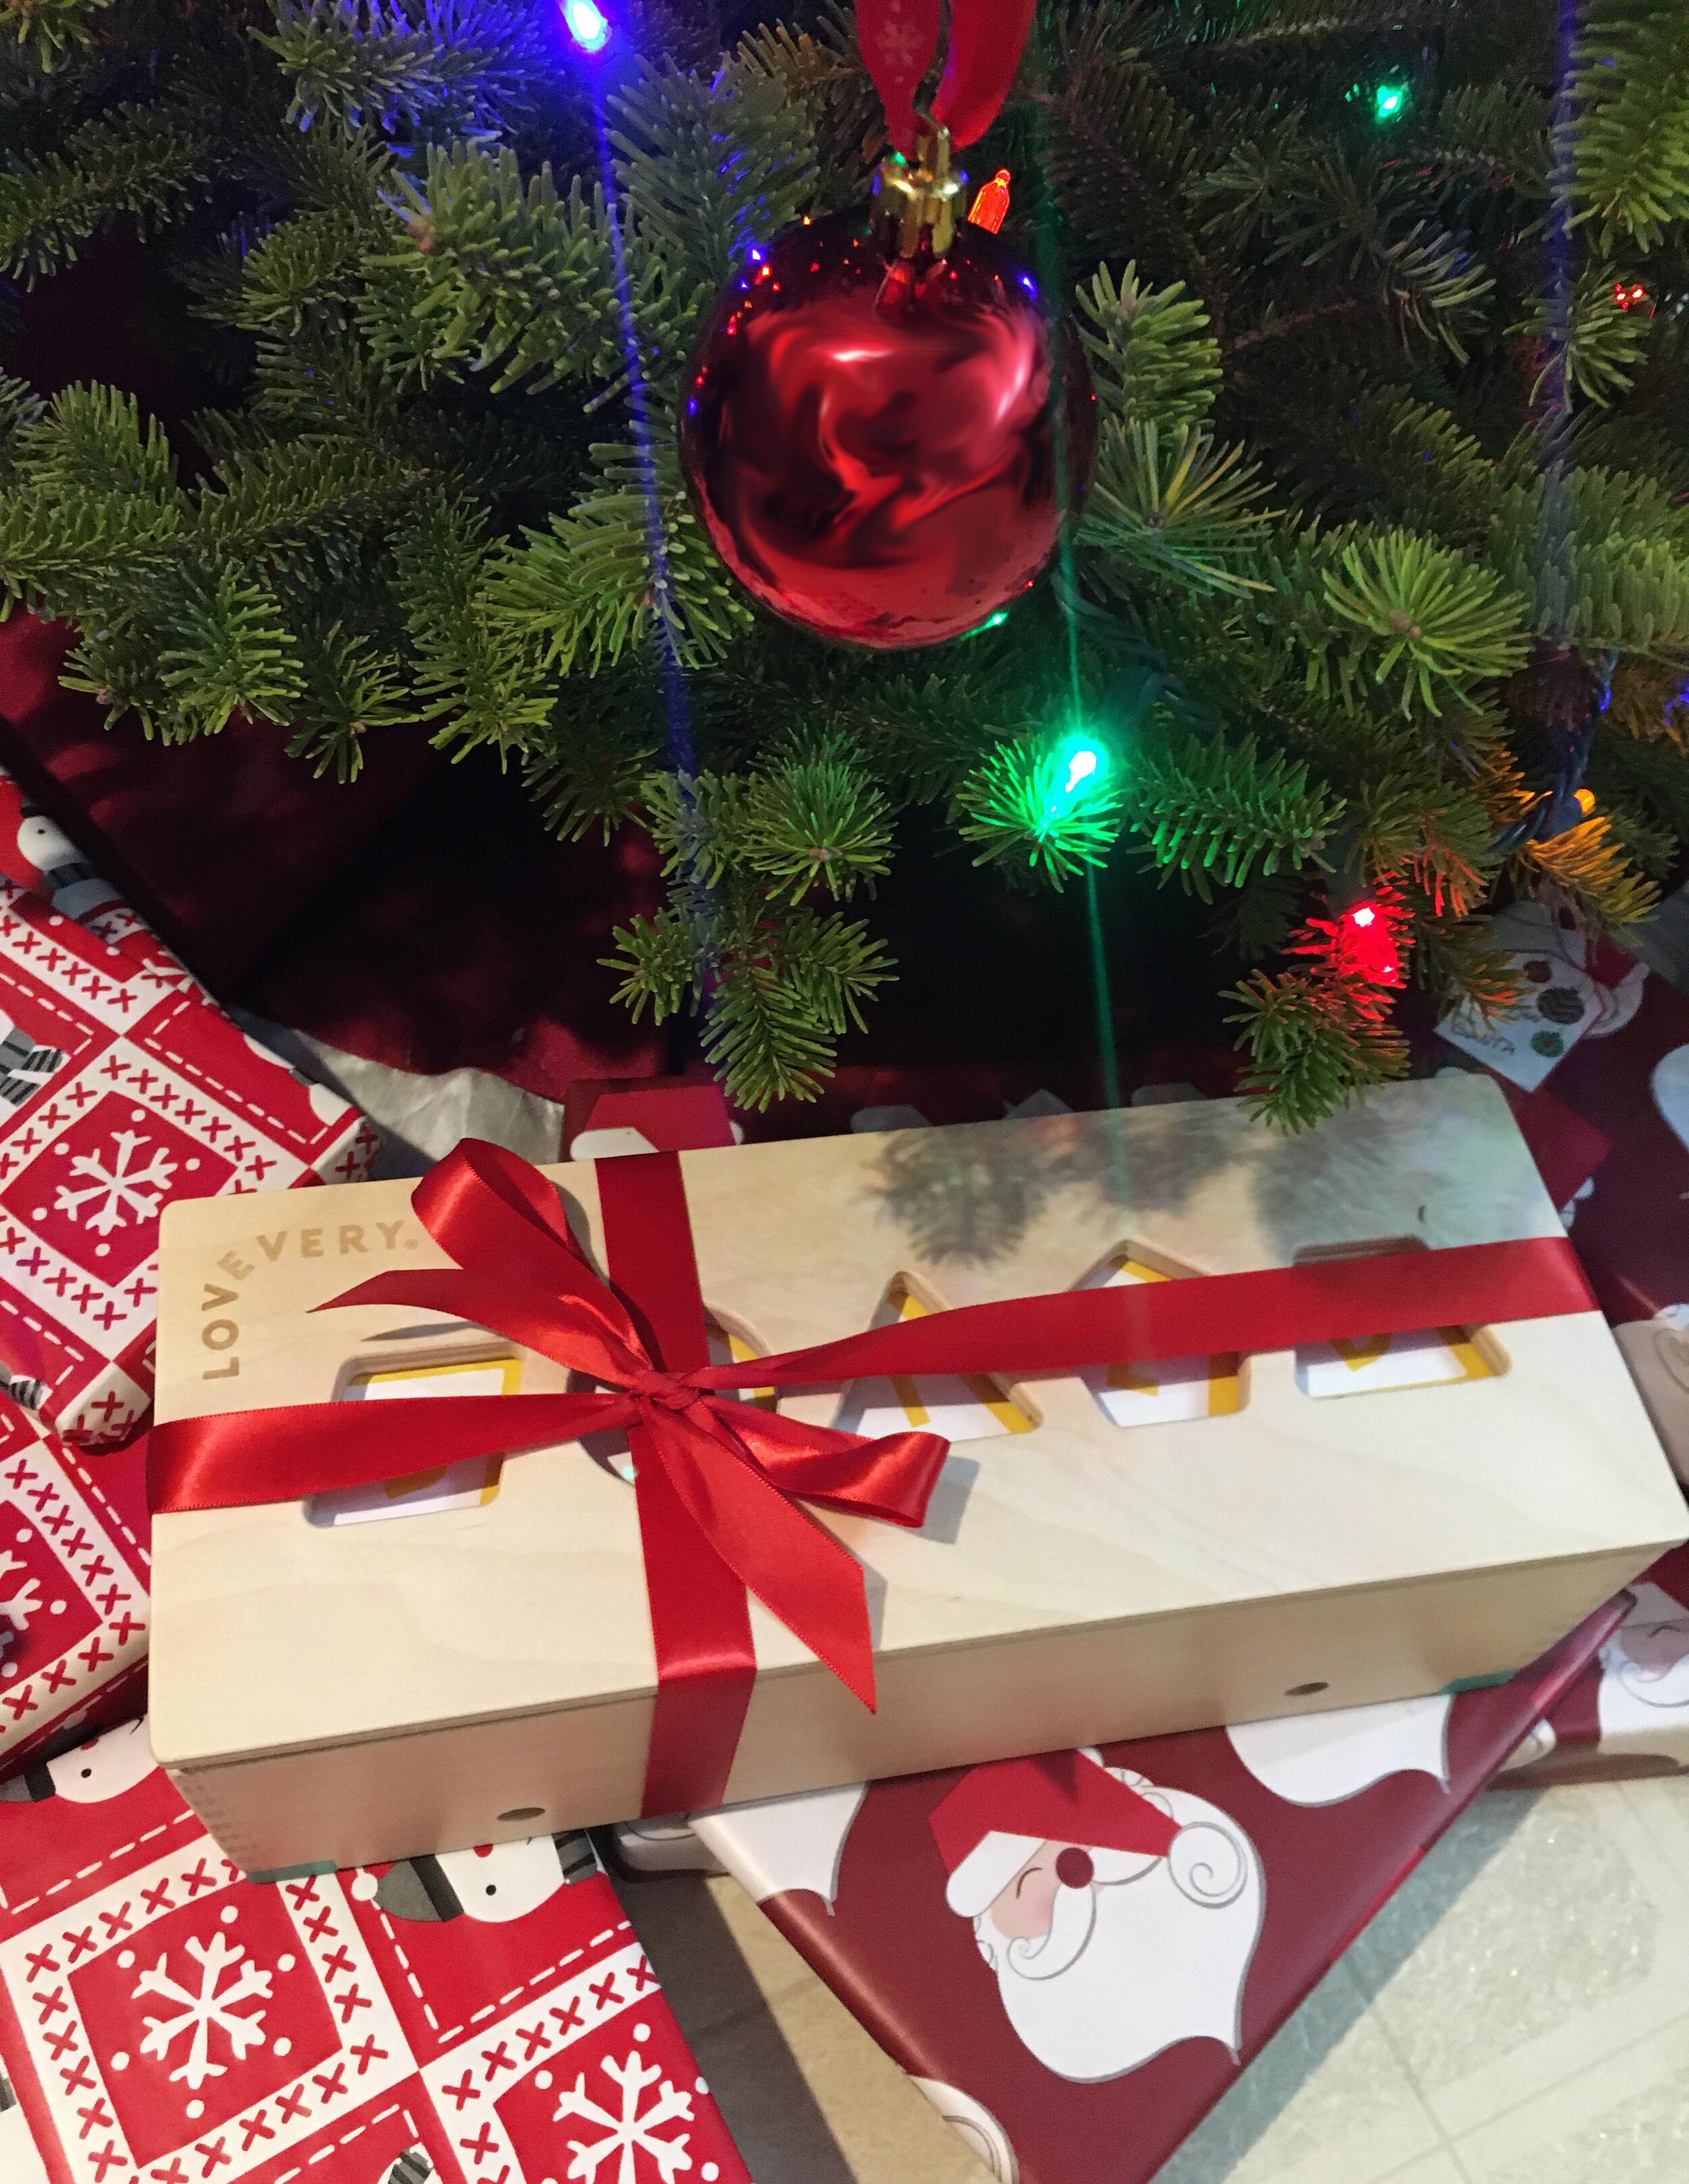
We received The Block Set from Lovevery right before Christmas and thought it would make the most perfect gift for our two-and-a-half year old. Lately with Christmas, birthdays, and other holidays we’ve been striving for “quality” over “quantity” for gifts - buying only thoughtful toys and books that will be enjoyed for a long time. This block set fit that requirement perfectly! We opted for a simple red ribbon to wrap it for Christmas morning and let our kids start enjoying it right away.

Educational, Sustainable Toys by Lovevery

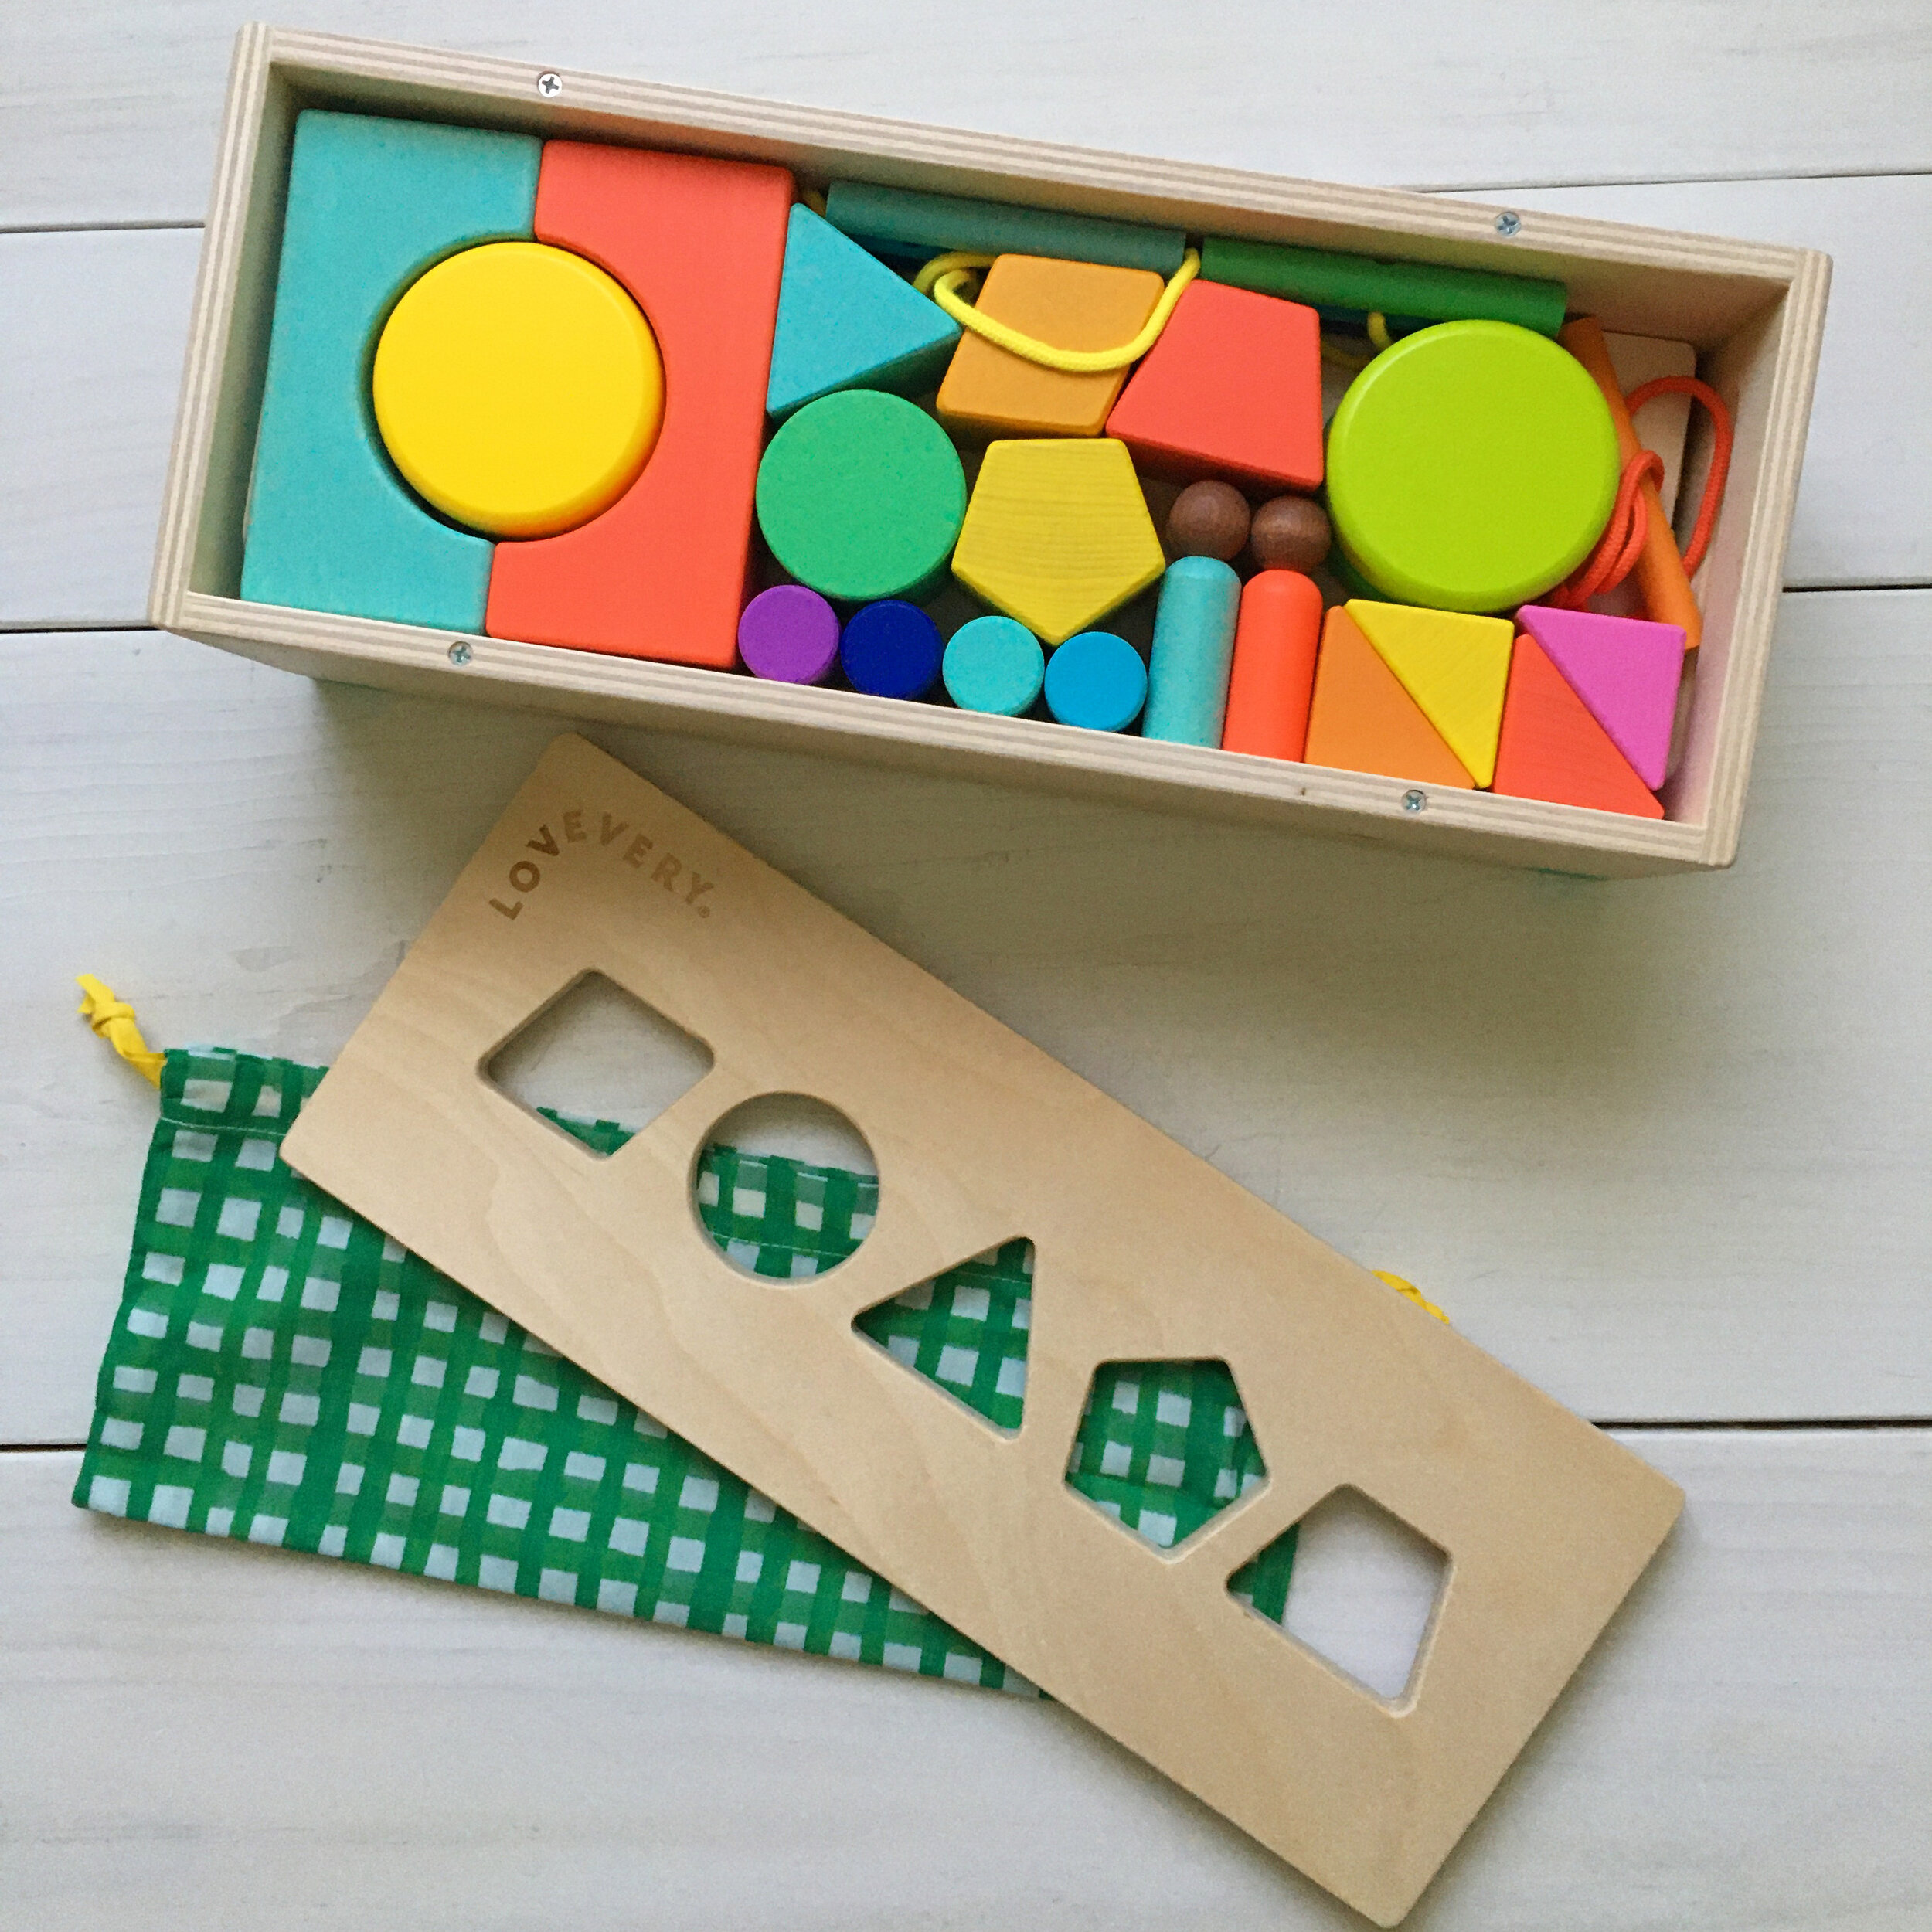
What was I most impressed about with The Block Set? The quality and the variety of blocks that it came with! Everything is solid, sustainably-harvested wood which has been finished with brightly colored water-based non-toxic paints. There are 70+ pieces, and 18 different shapes and tools including little people with different skin tones. It even comes with an activity guide and planks which I haven’t seen in other block sets, making for lots of fun building and game opportunities (think bridges, houses, dominoes, and more)!

Educational, Sustainable Toys by Lovevery

Our two year old (and six year old)’s favorite feature of The Block Set? How the storage box turns into a car! The circle blocks have recessed magnets which connect to dowels that can be threaded through the box, making for a very sturdy and easy-to-build car. Every day since Christmas she has pulled this car all around our house collecting blocks, dolls, dog toys, and whatever else she can find!

Educational, Sustainable Toys by Lovevery

Another innovative feature of The Block Set is how the lid is also designed as a shape sorter, allowing for little ones to learn organization, as well as shape and spatial recognition. Lovevery consults with experts so their toys are designed to help promote cognitive and motor skill development as well as encourage pretend play.

Educational, Sustainable Toys by Lovevery

And as a mom, I love that it also came with a cute gingham drawstring bag for flexible storage or quick pick-ups!

Educational, Sustainable Toys by Lovevery

Lovevery has lots of other amazing, heirloom-quality toys and products as well - including play gyms, pull and push toys, and age-based subscription boxes for little ones from birth-27+ months. I wish Lovevery had been around when our kids were first born - their subscription boxes are definitely something I would have loved to do for them! Everything I have seen from Lovevery is thoughtful and high-quality, and I honestly recommend them highly (and no, exceptionally high praise isn't something I normally throw around!). If you’re looking for something unique and thoughtful for your little one or as a gift, definitely check out Lovevery.

Educational, Sustainable Toys by Lovevery

- I received this item for review from Lovevery but all opinions expressed are my own.  Please see our full Disclosure Policy for more information -   


Shop some of our picks for Baby + Young Children:

Scroll sideways to see more —>

KEEP UP WITH BIRCH LANDING HOME
|  Etsy  |  Facebook  |  Instagram  |  Pinterest  |  Bloglovin'  |  Hometalk  |