I'm a wife, stay-at-home mom, crafter, and blogger living in rural New England. As seen in Martha Stewart Living, Food Network Magazine, and more! | Tutorials, DIY, crafts, parenting tips, recipes, money saving tips, product reviews, local product features, New England living, intentional living, and more! |
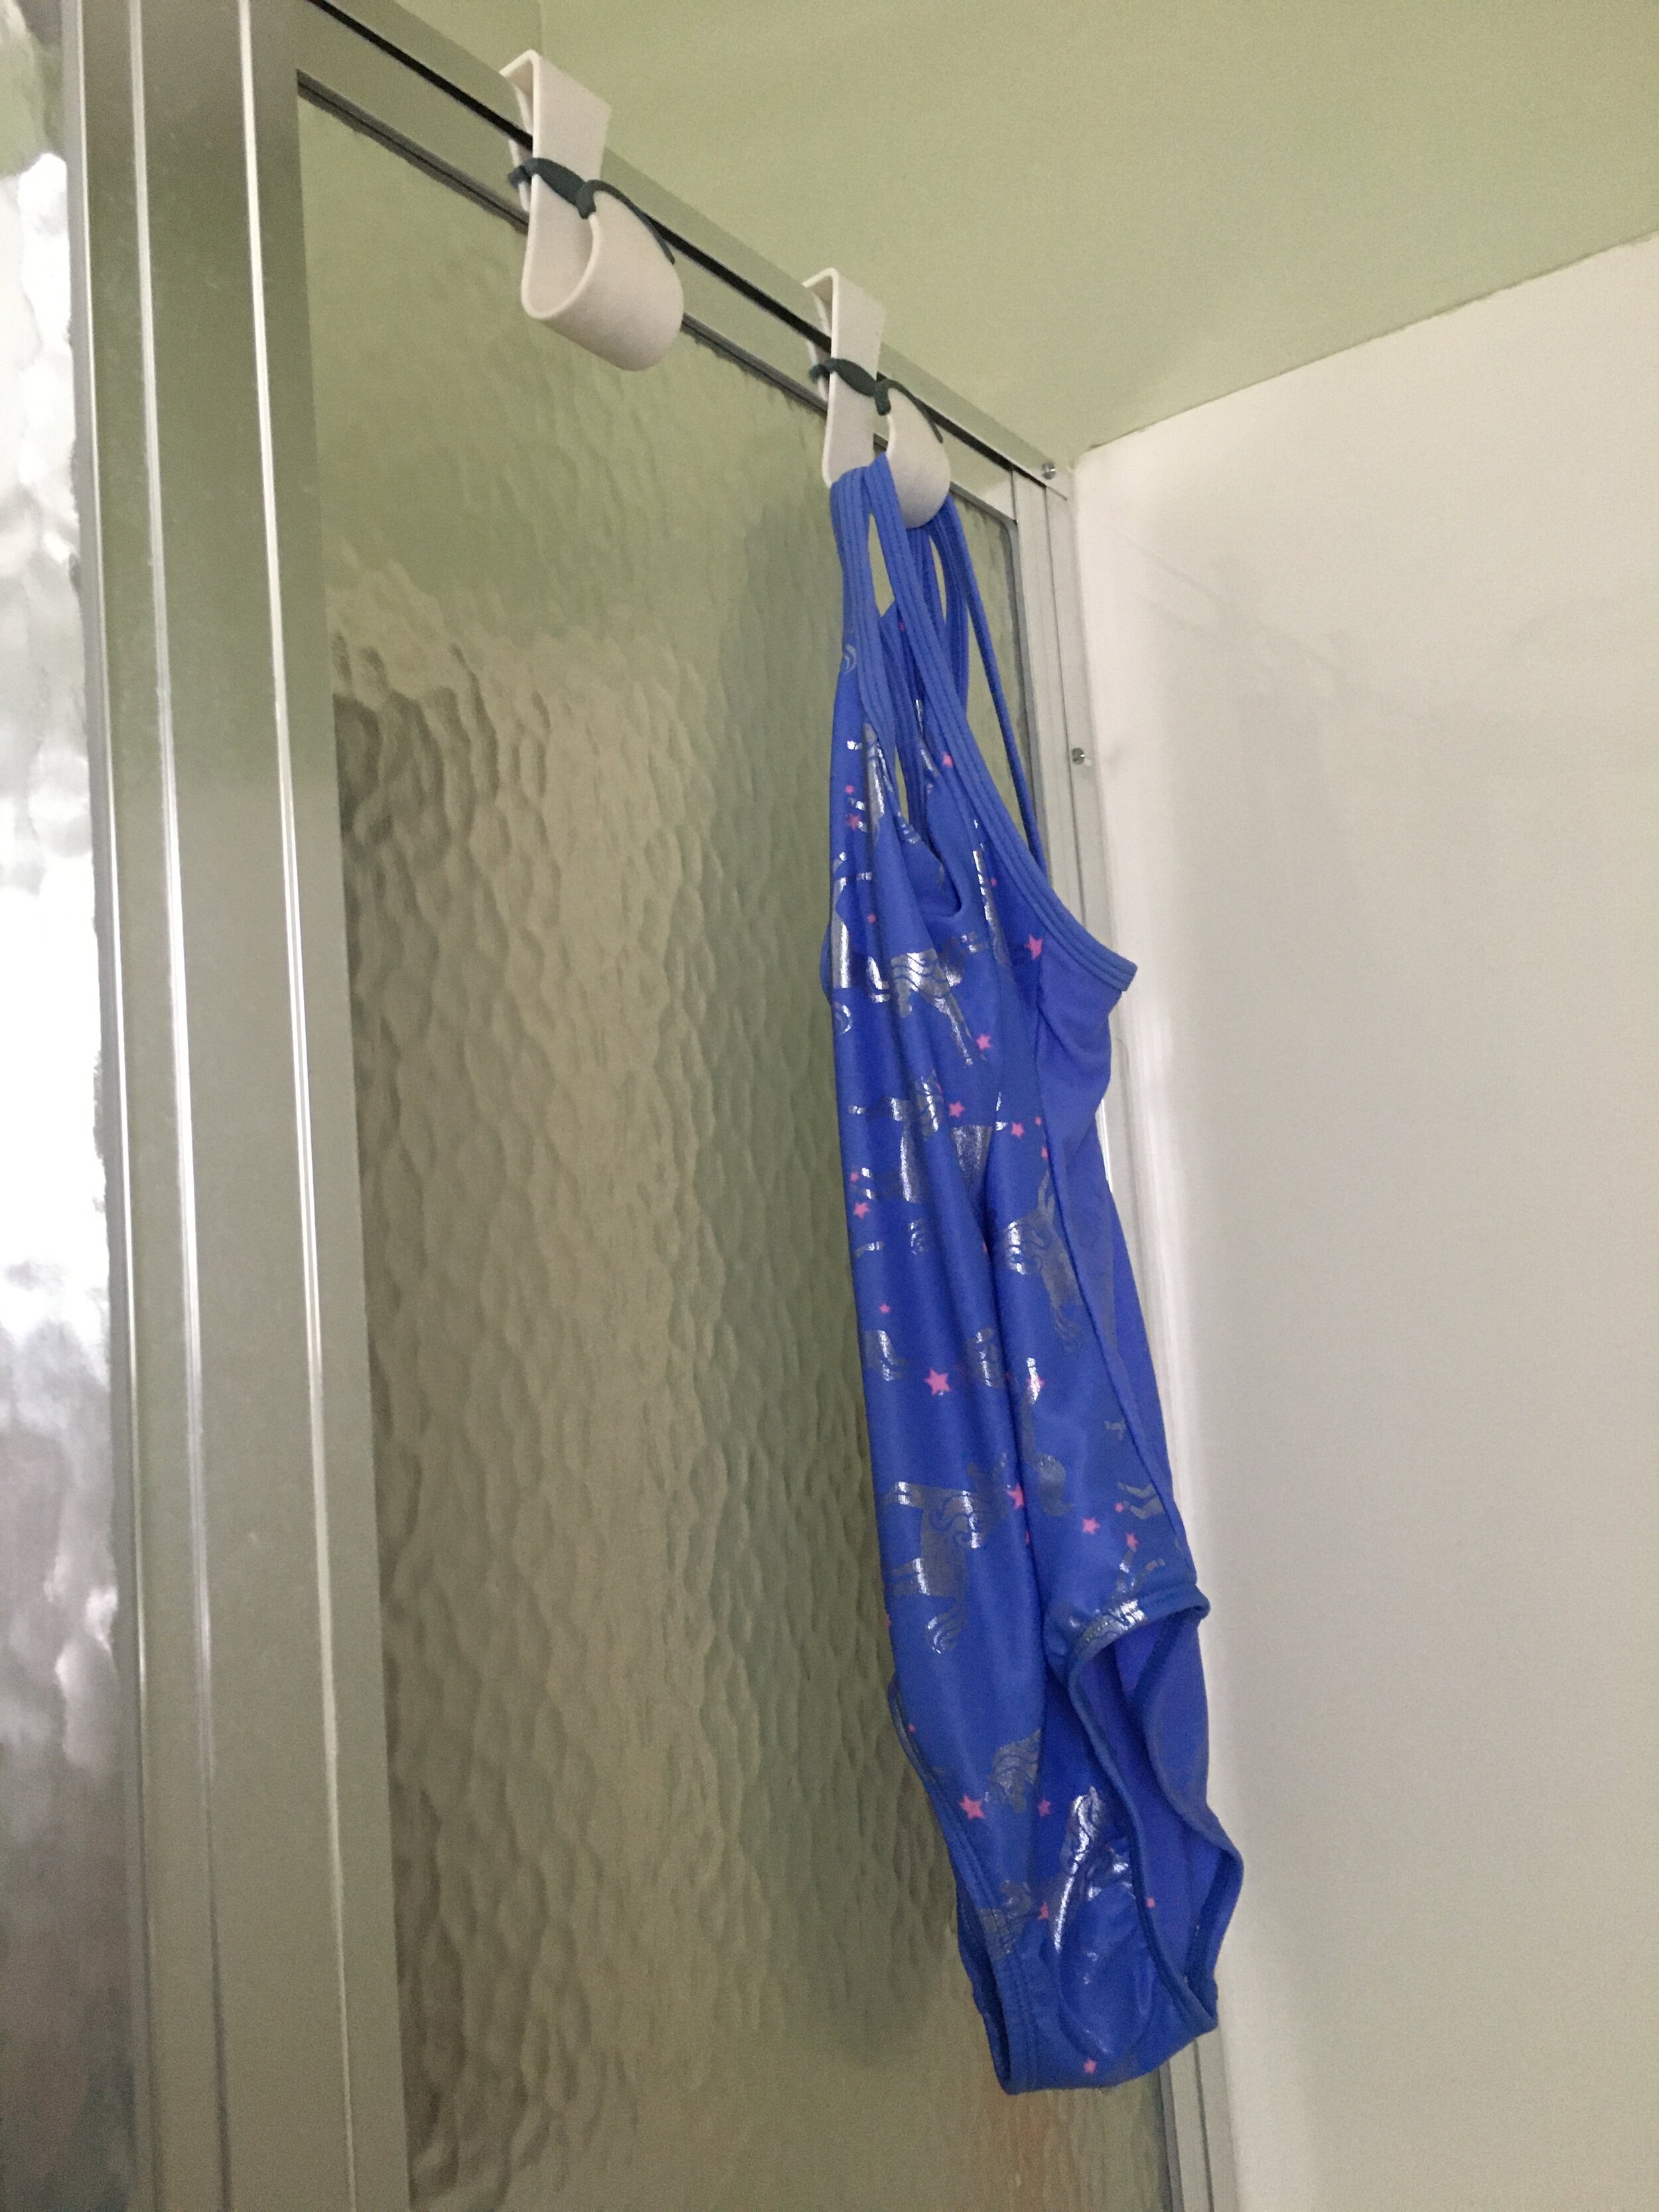
Living by the lake, we constantly have wet bathing suits all summer that need to be hung to dry, At first we used a drying rack in our shower but it was rather cumbersome and a pain to constantly set it up and take it out, until I had a revelation and found these awesome plastic hooks that hang from our glass shower walls. | This post contains affiliate links |
These plastic hooks fit perfectly over our shower wall, won’t rust, are easy to clean, and are perfect for hanging wet bathing suits from to drip dry into the shower. They have been the perfect bathing suit drying solution for us!
Bonus tip: Always rinse your bathing suits out in the sink with fresh water before hanging to drip dry. You don’t want them to sit and dry with dirty lake water or harsh chlorine from the pool on them. Rinsing them out with clean water helps keep your bathing suits looking good and lasting longer.
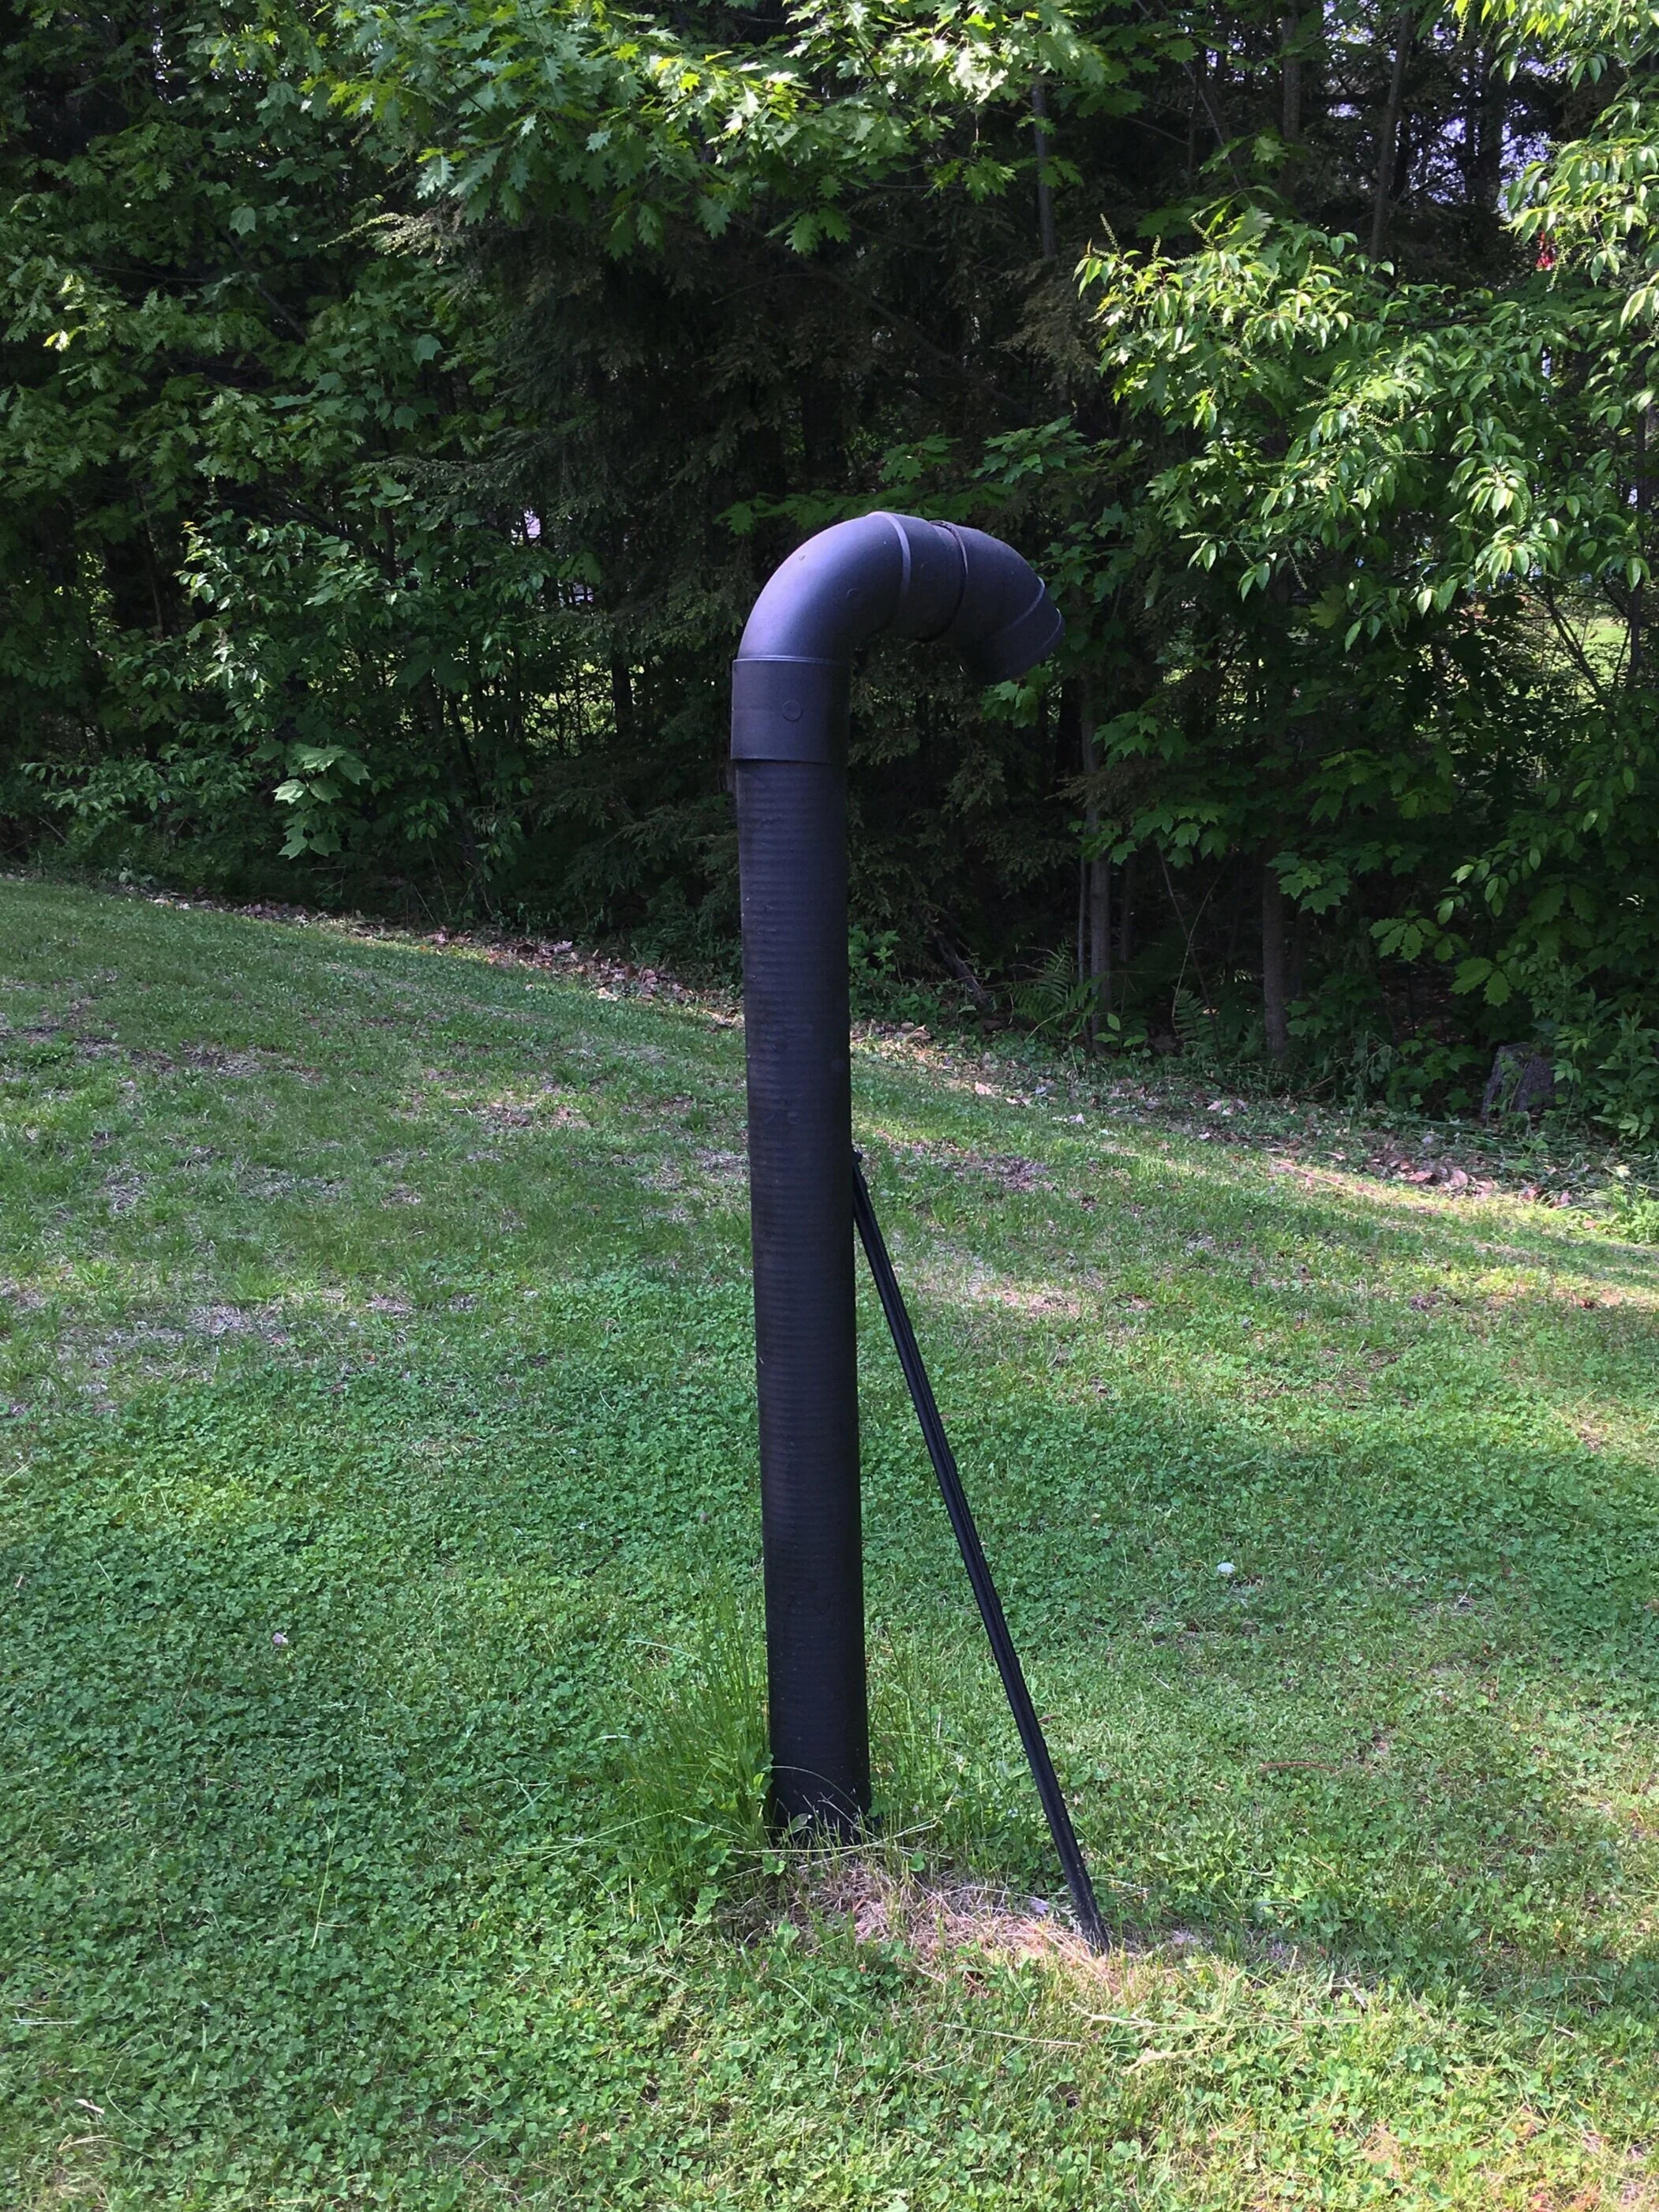
Okay, so I don’t know if “makeover” is the right word here because it’s not a huge change but it certainly helps! So in our area, most homes have septic tanks/leach fields with terribly ugly white or sea foam green PVC vent pipes that stick out like a sore thumb in their lawn. They can be tricky to hide because you don’t want to plant or build anything too heavy or substantial around them and risk damaging the leach field underground or diminish their venting capabilities… so we were limited on options on how to “make it over.”
In any case, I decided to pick up some outdoor rated matte black spray paint from our local hardware store and give our vent pipe a quick coat of black paint and it’s made a huge difference! The black definitely makes the pipe look more industrial and blends in with the grass and trees better than a bright white pipe. Like I said before, it’s certainly not a huge change but it’s a small one that’s made a big difference in my opinion.
AFTER: I forgot to take a “Before” photo but this is the After! The black definitely helps the pipe blend in with the trees and background much better than a white pipe.
Happy Earth Day! Today we stopped by the garden center to pick up some lavender plants for our deck. Lavender not only smells and looks beautiful but it can help as a natural bug repellent. Win-win!
I’ve also updated my Amazon Storefront to include a list of “Green Living” products and ideas to help you live like it’s Earth Day every day - because it is!
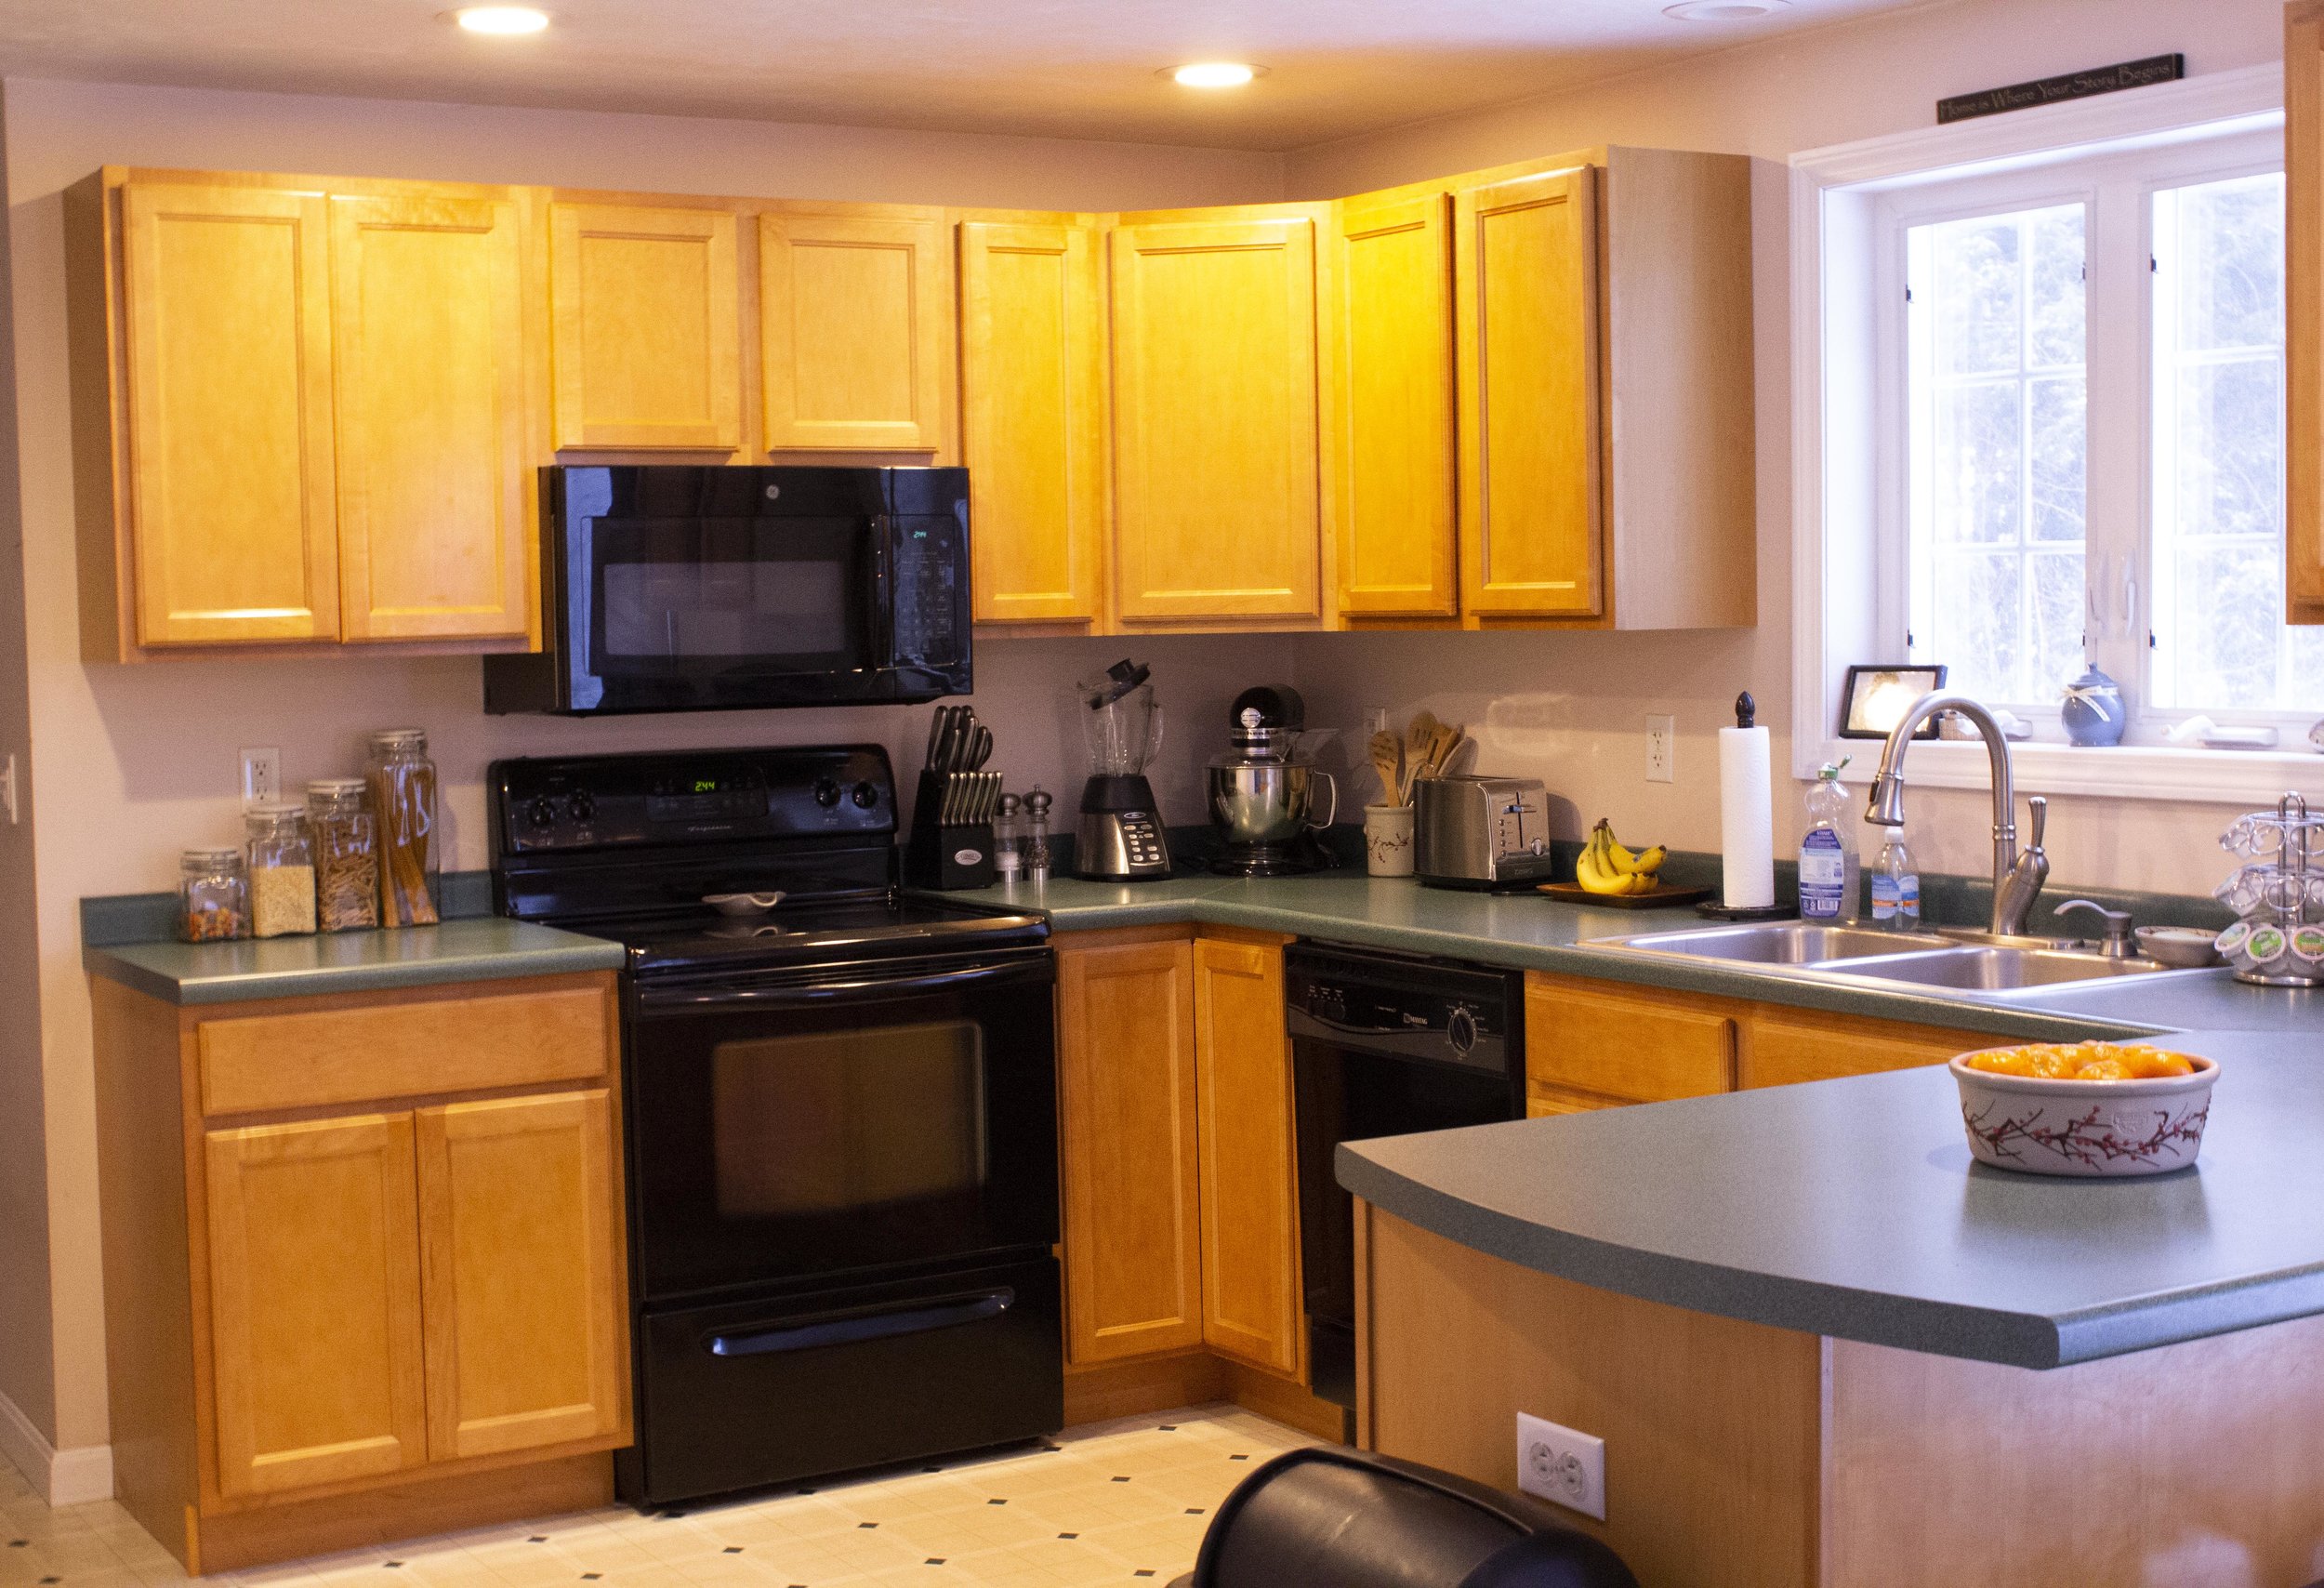
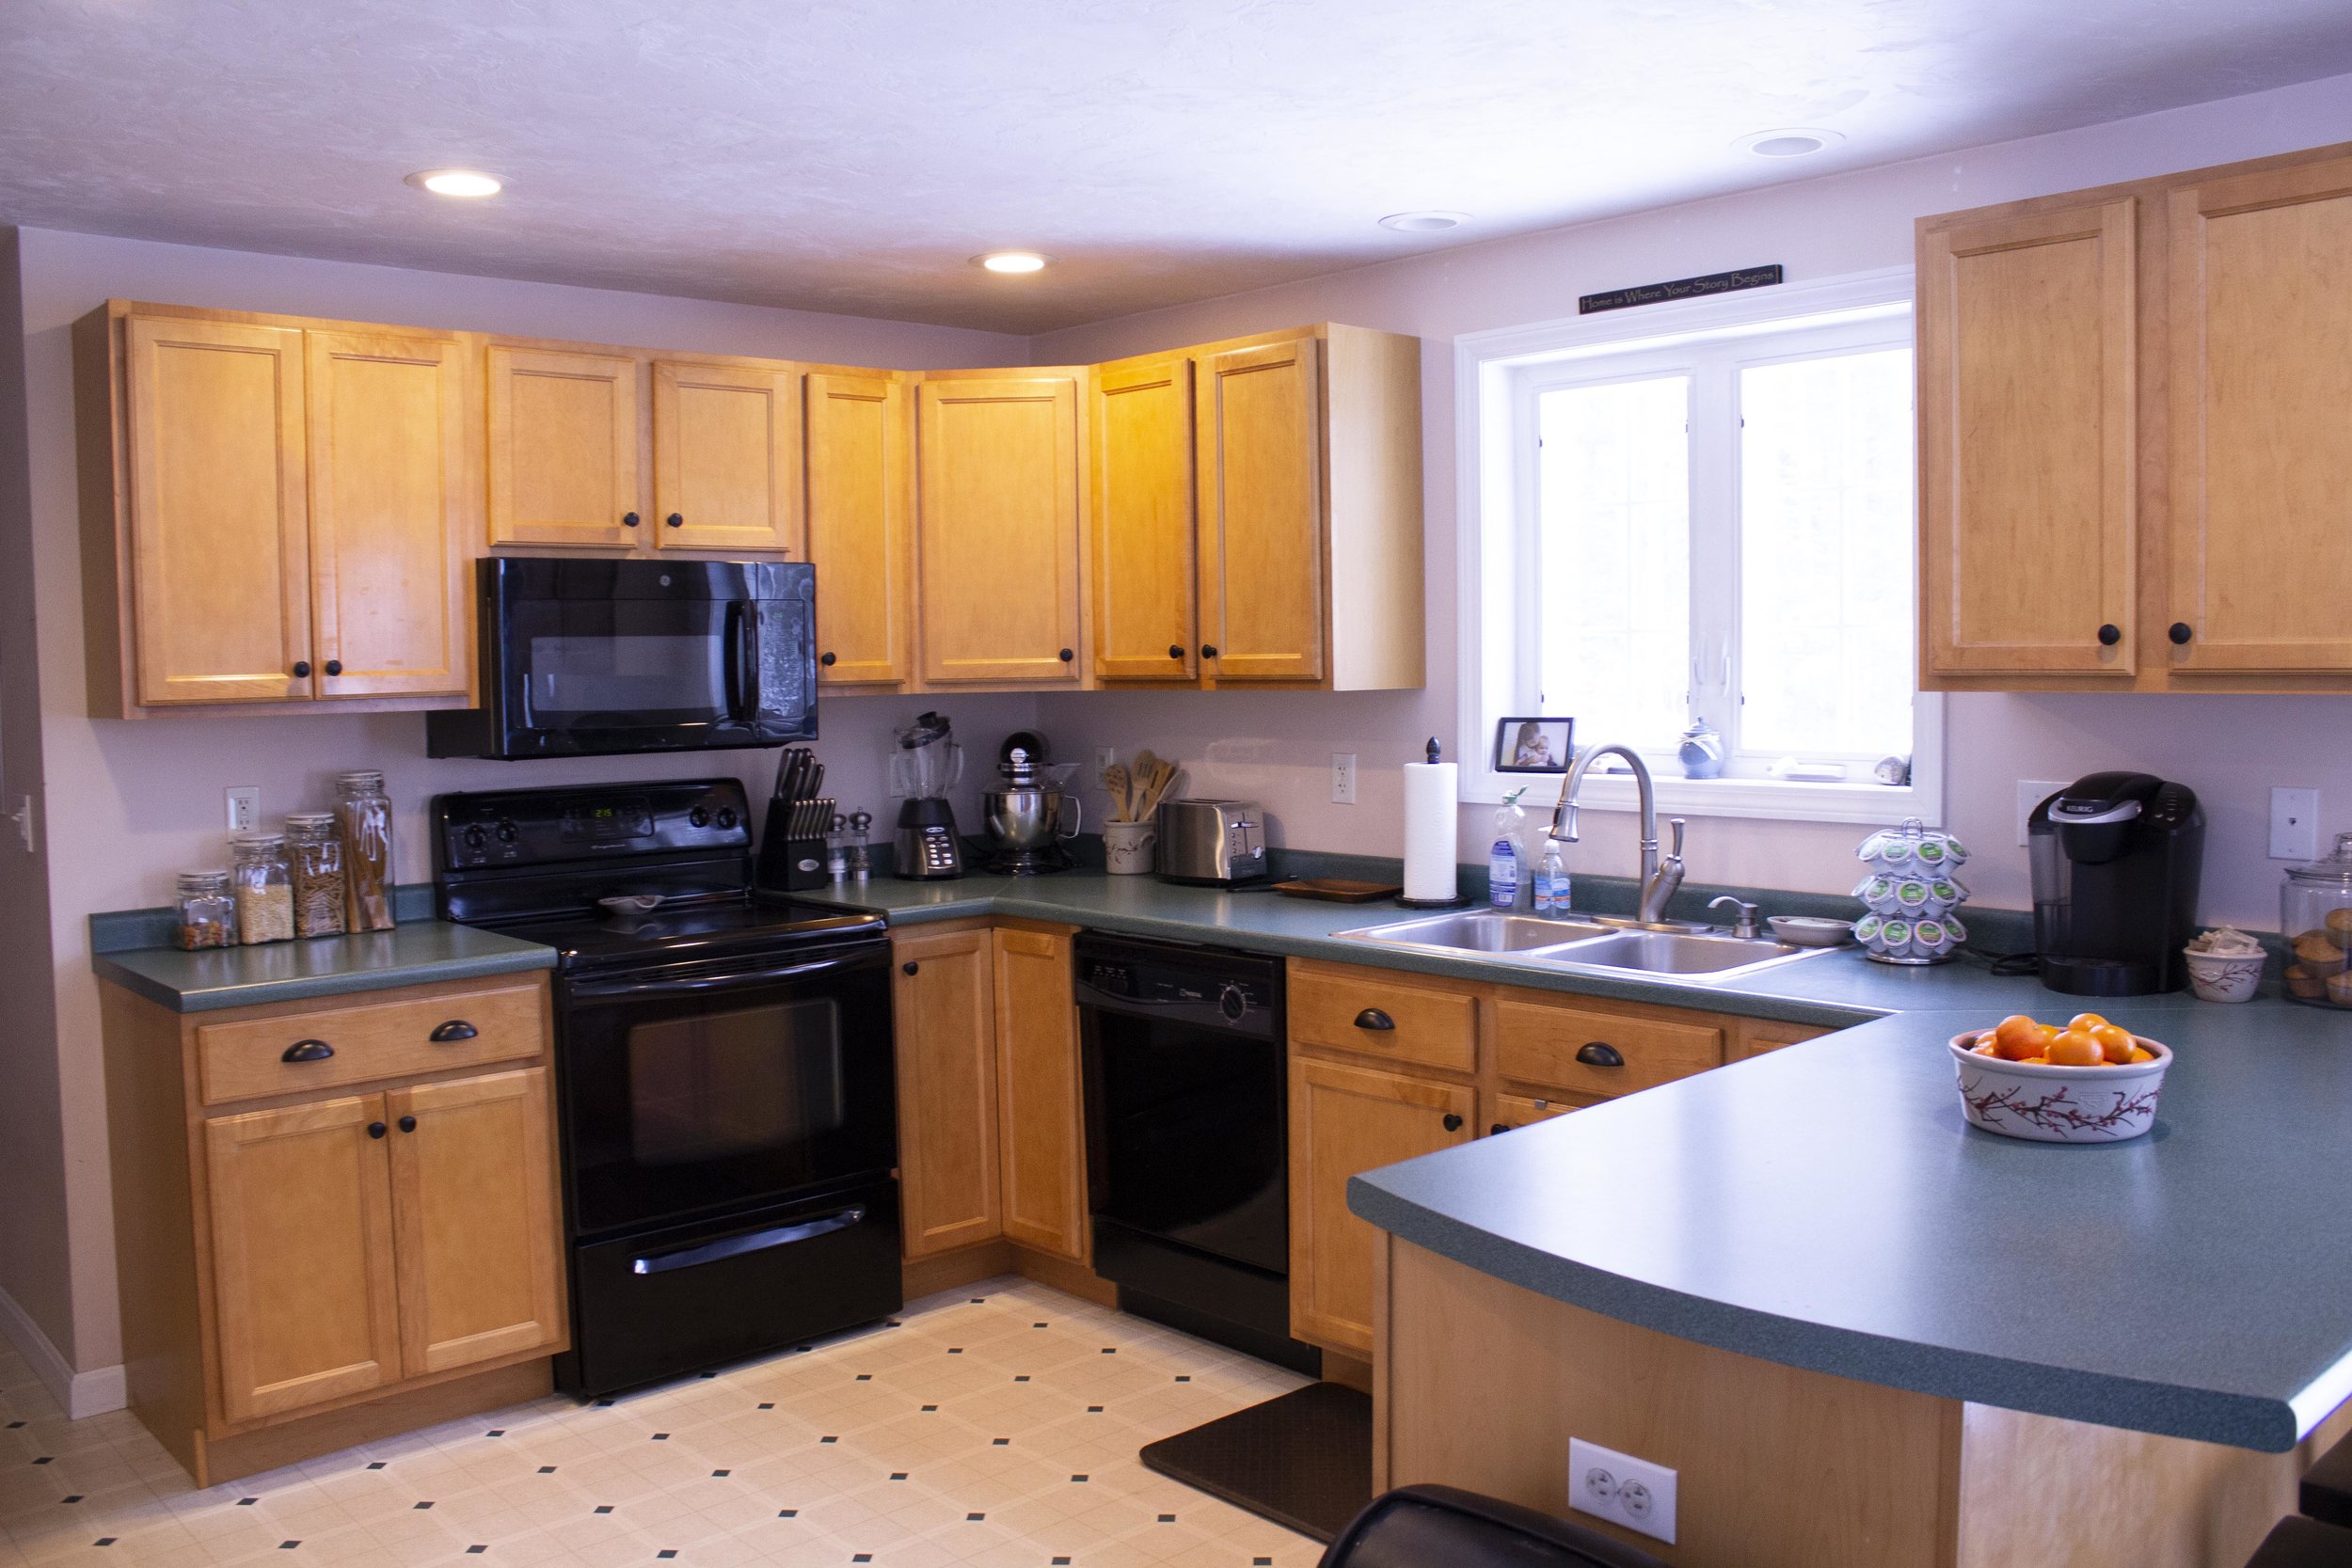
Our home came with a classic late 90’s “builder’s grade kitchen” - you know the type: honey-colored basic cabinets with no hardware and laminate counters. Someday we’d love to totally overhaul the space and paint the cupboards, trim them out, and install granite countertops - however all those things involve a lot of work and money and just aren’t in the budget right now. In the meantime we’re working on making small upgrades ourselves that will make the space look more finished. And what’s the easiest, budget-friendly way to update the look of your cabinets? Replace or install new hardware! If you’re installing new hardware on blank cabinets it can be a bit intimidating, so read on for my tips on installing for the first time. And don’t forget to enter our GIVEAWAY over on Instagram for a $50 Credit to Cosmas Hardware! | This post is sponsored by Cosmas Hardware and affiliate links |
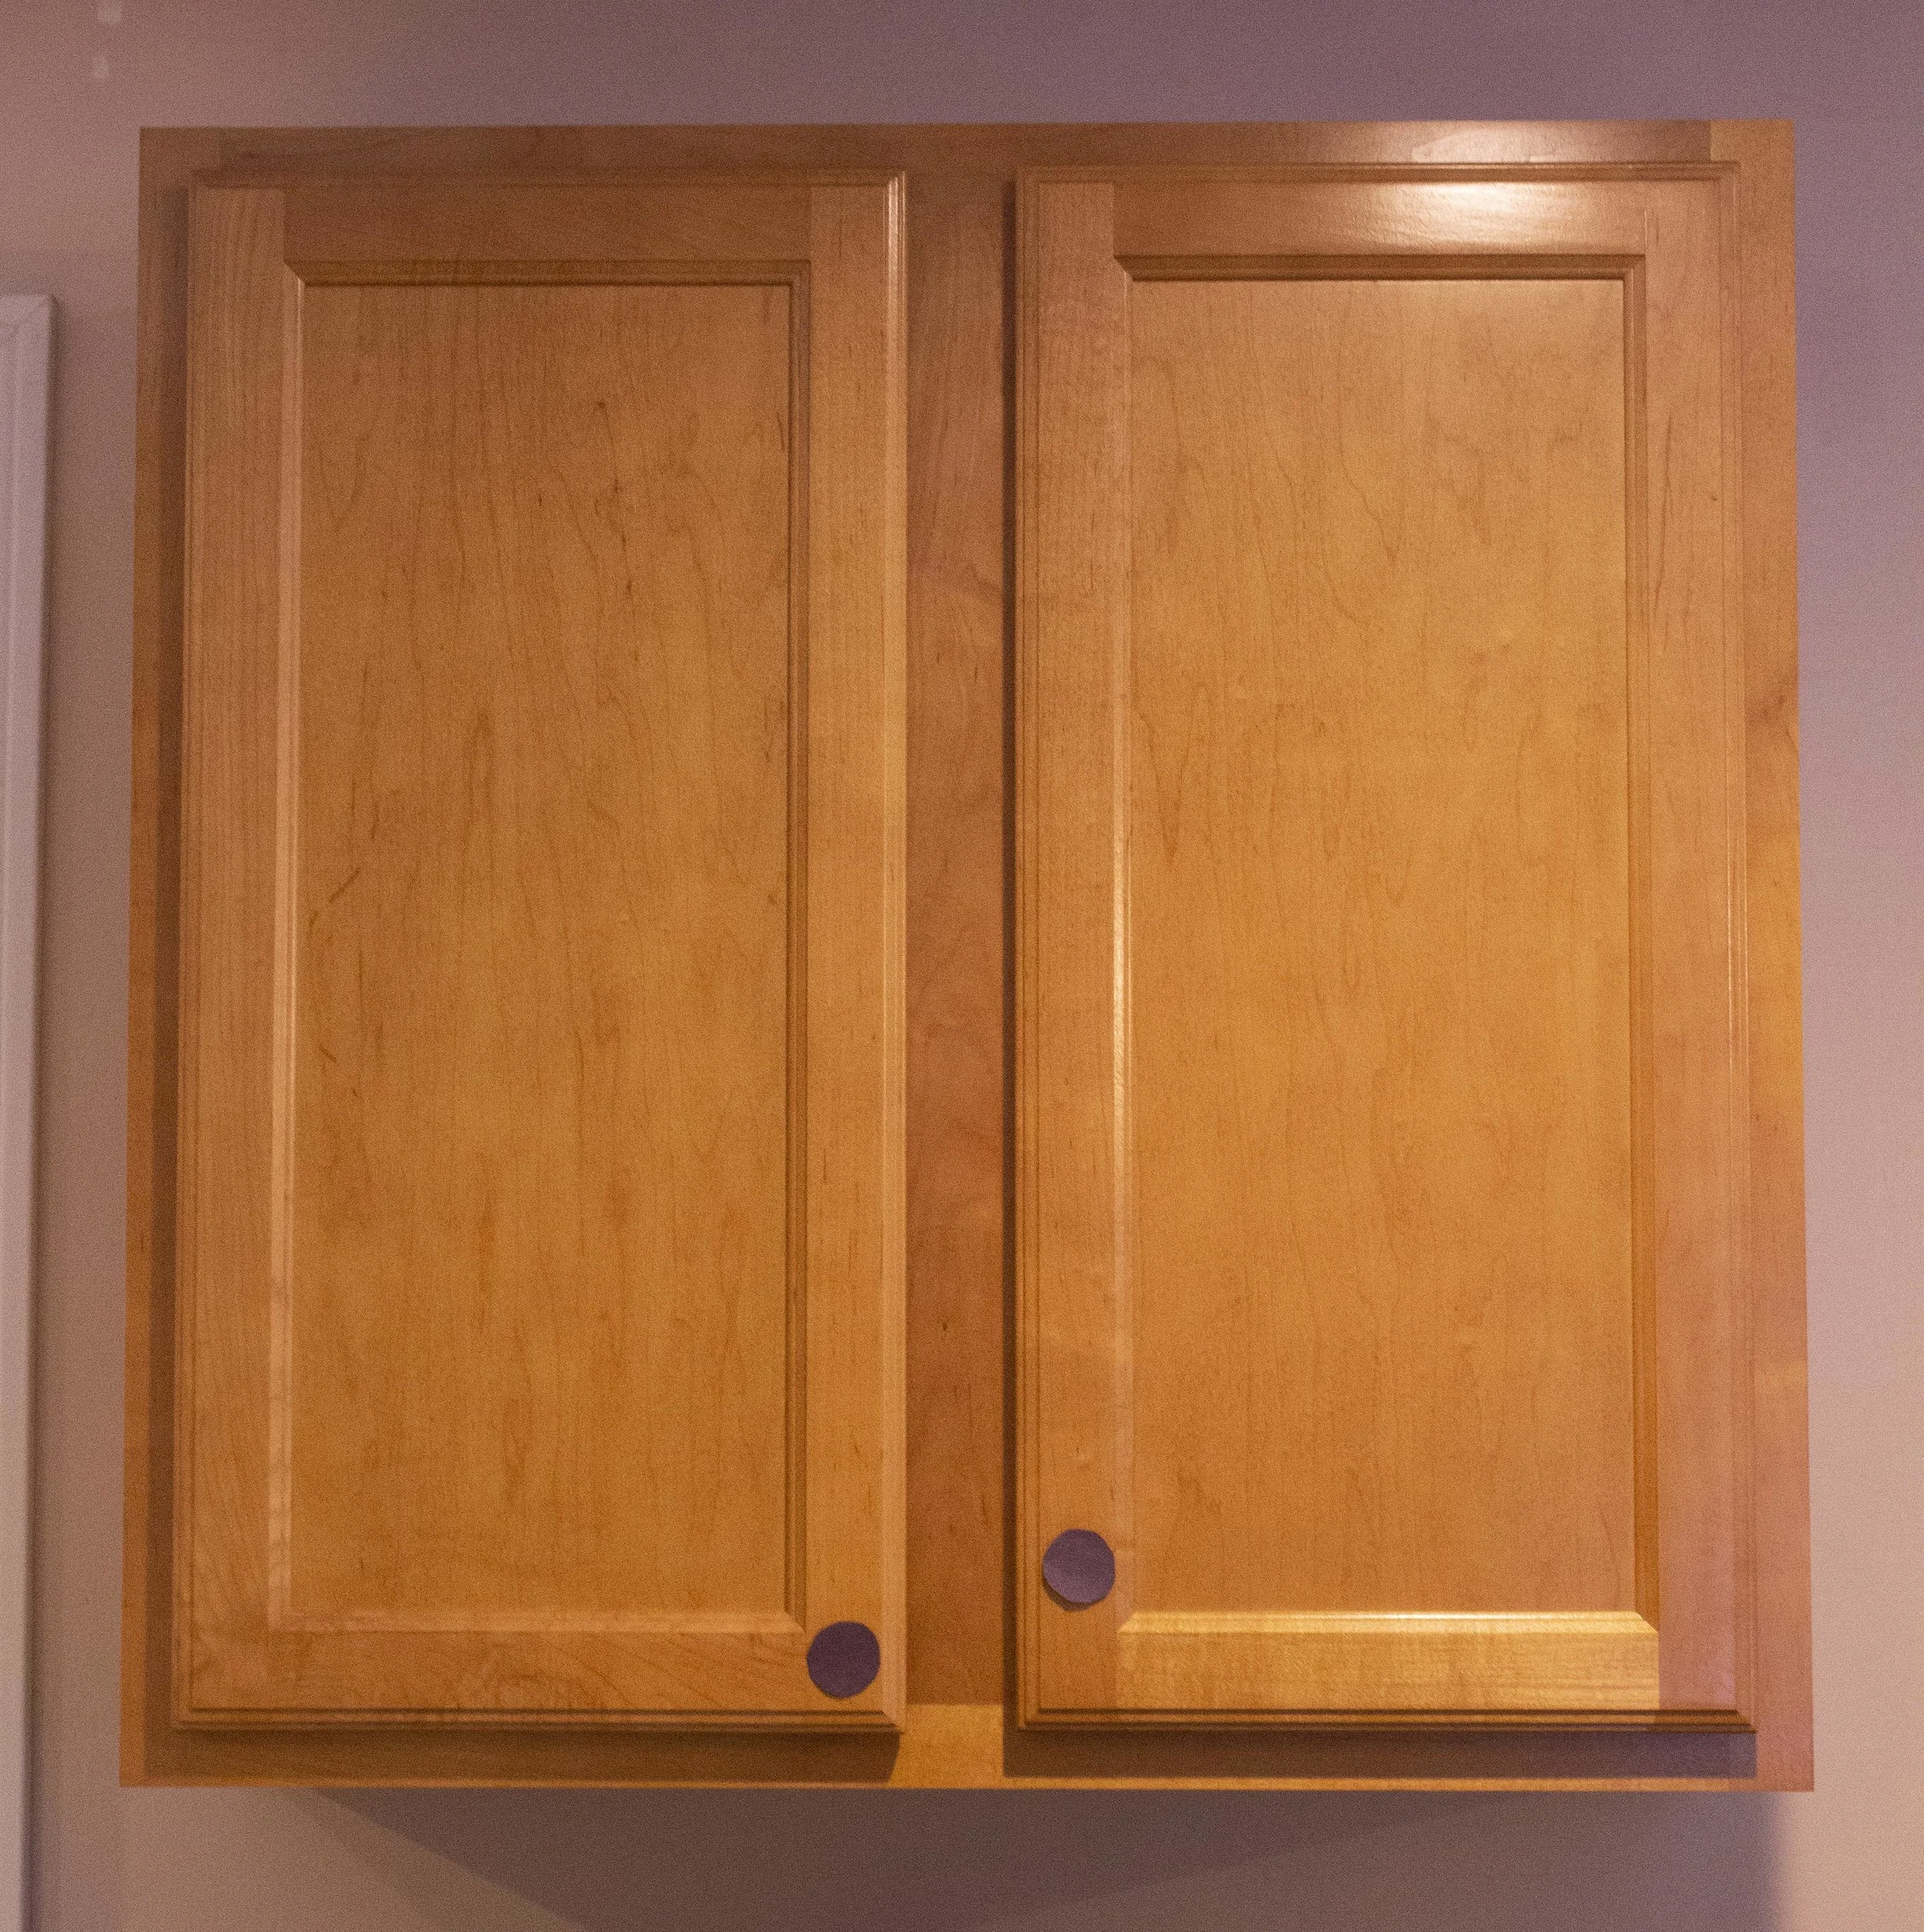
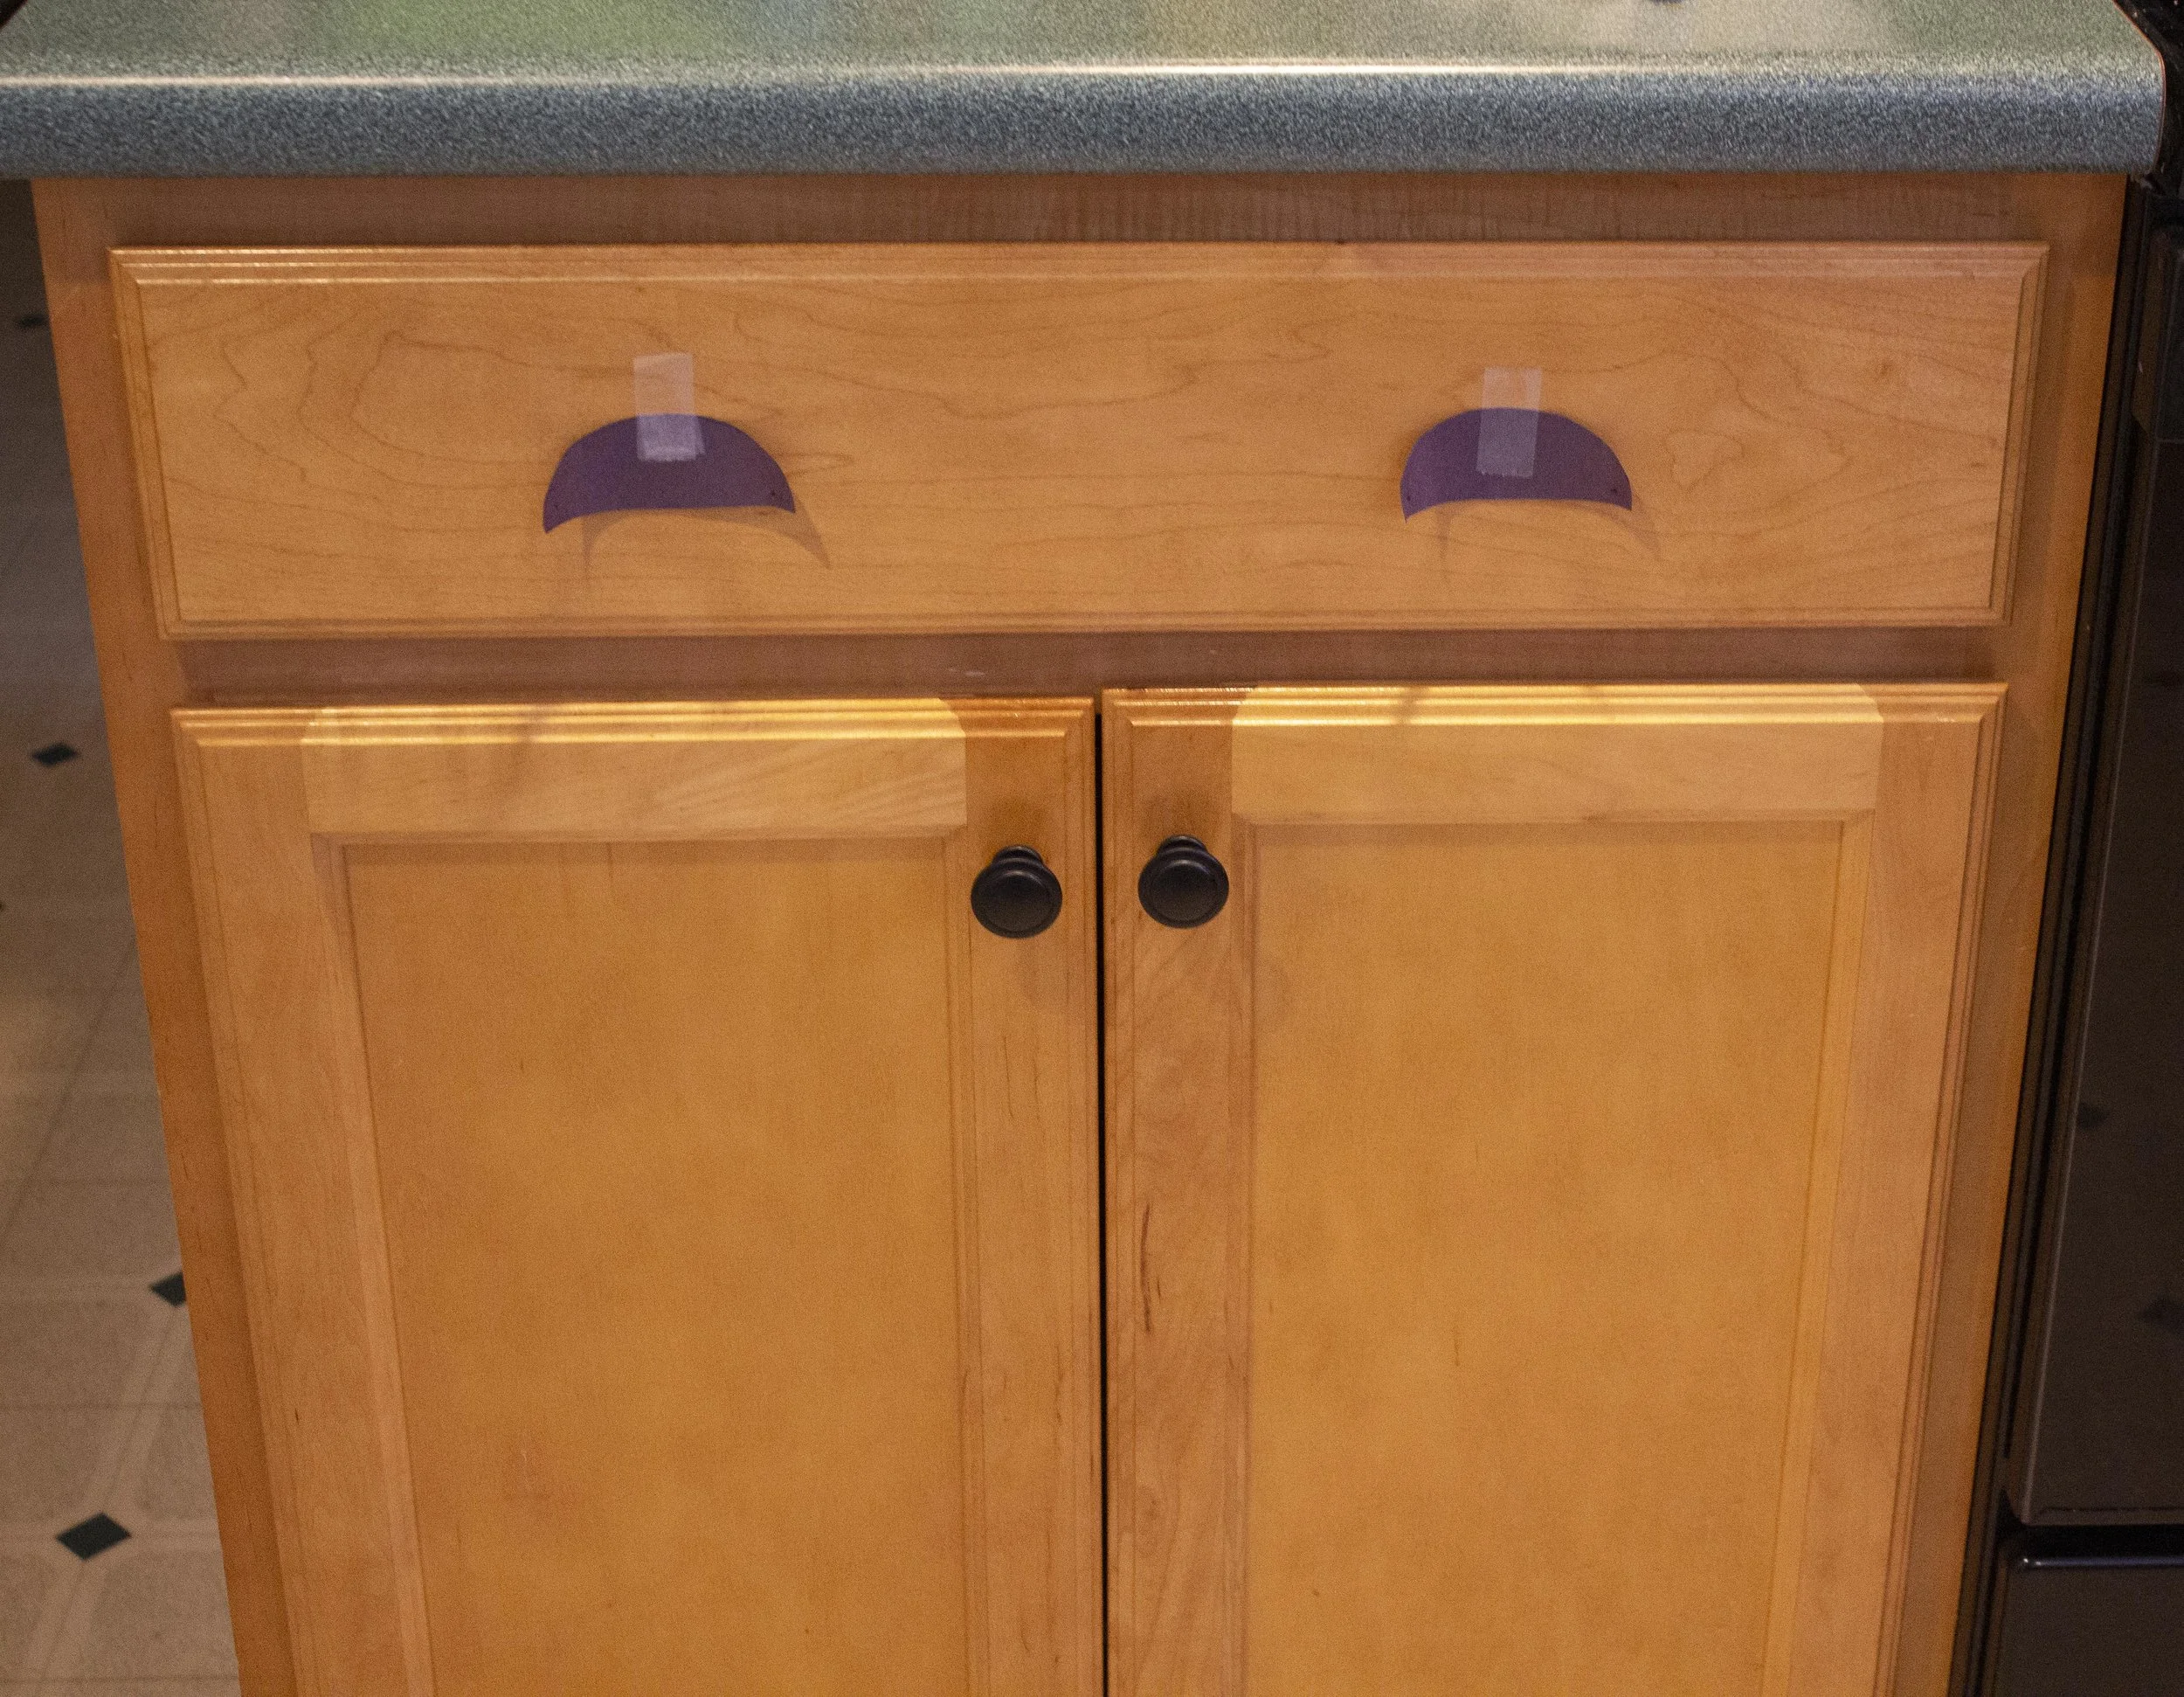
If you’re installing new hardware on a blank cabinet door, the first step is deciding hardware placement. I’m a very visual person so to help me decide on where things would go I first traced the hardware on a piece of black construction paper, cut it out, and taped them to the door and drawer fronts. This way I could step back and play around with the placement before I finalized it.
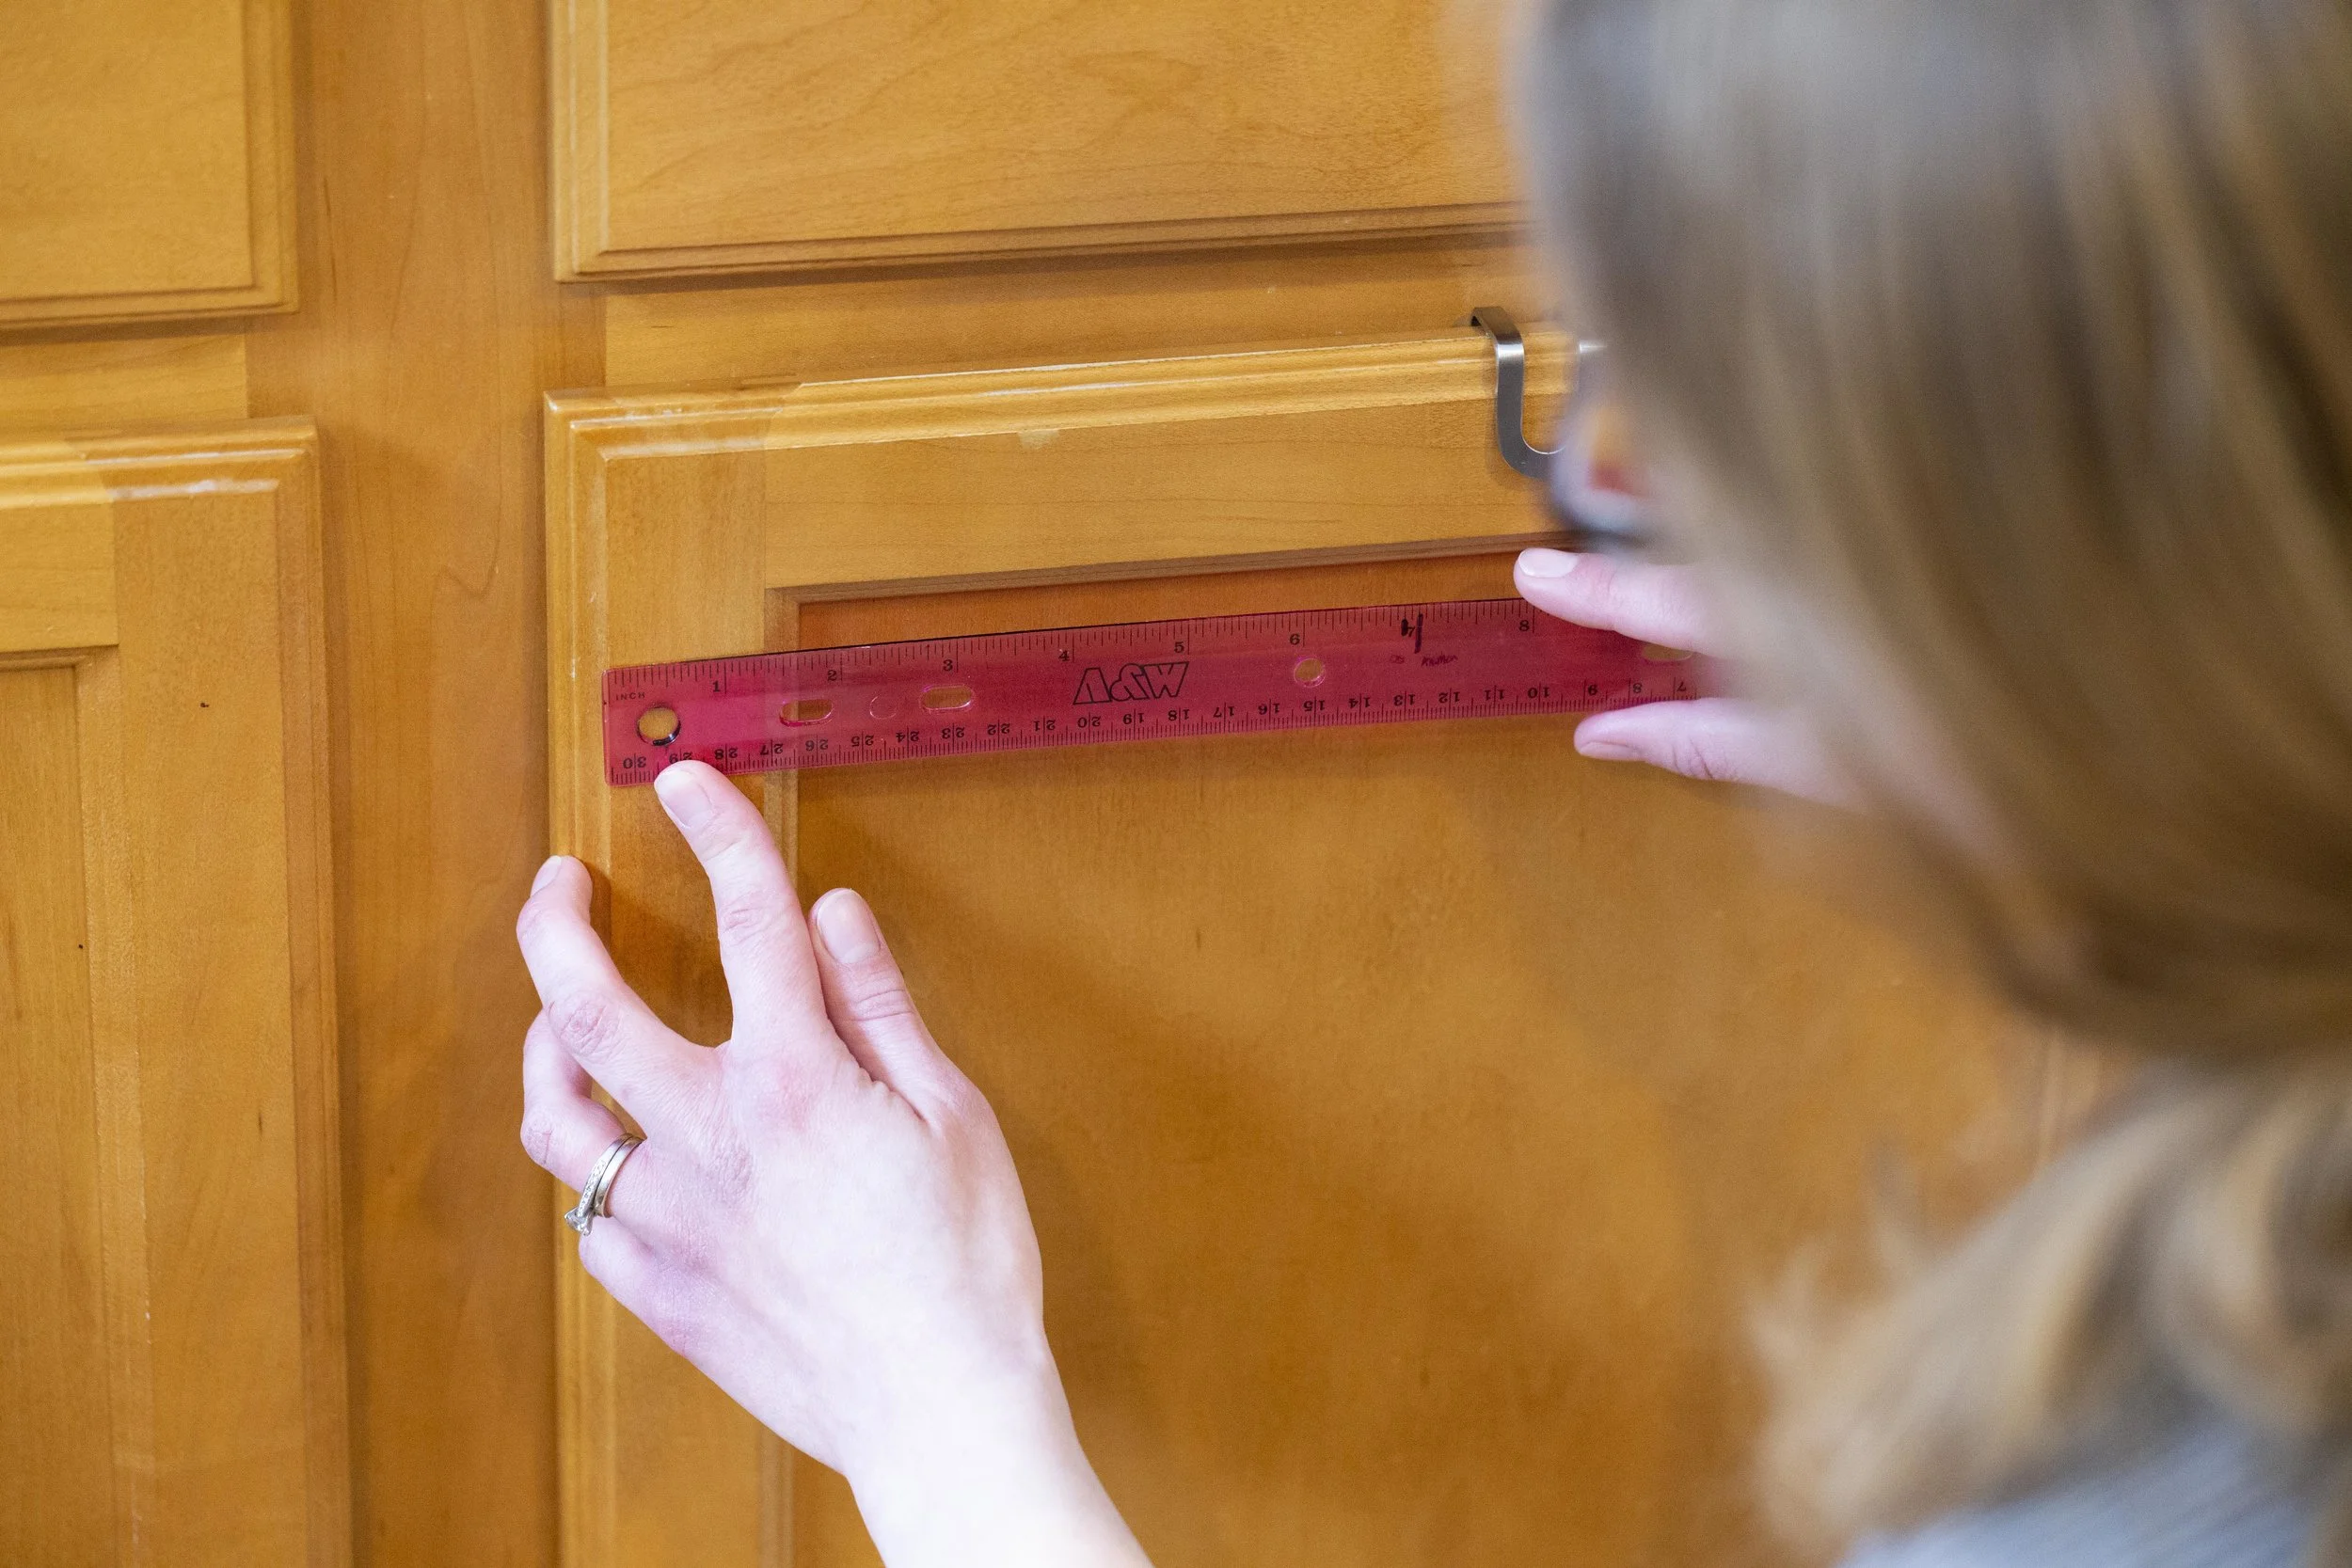
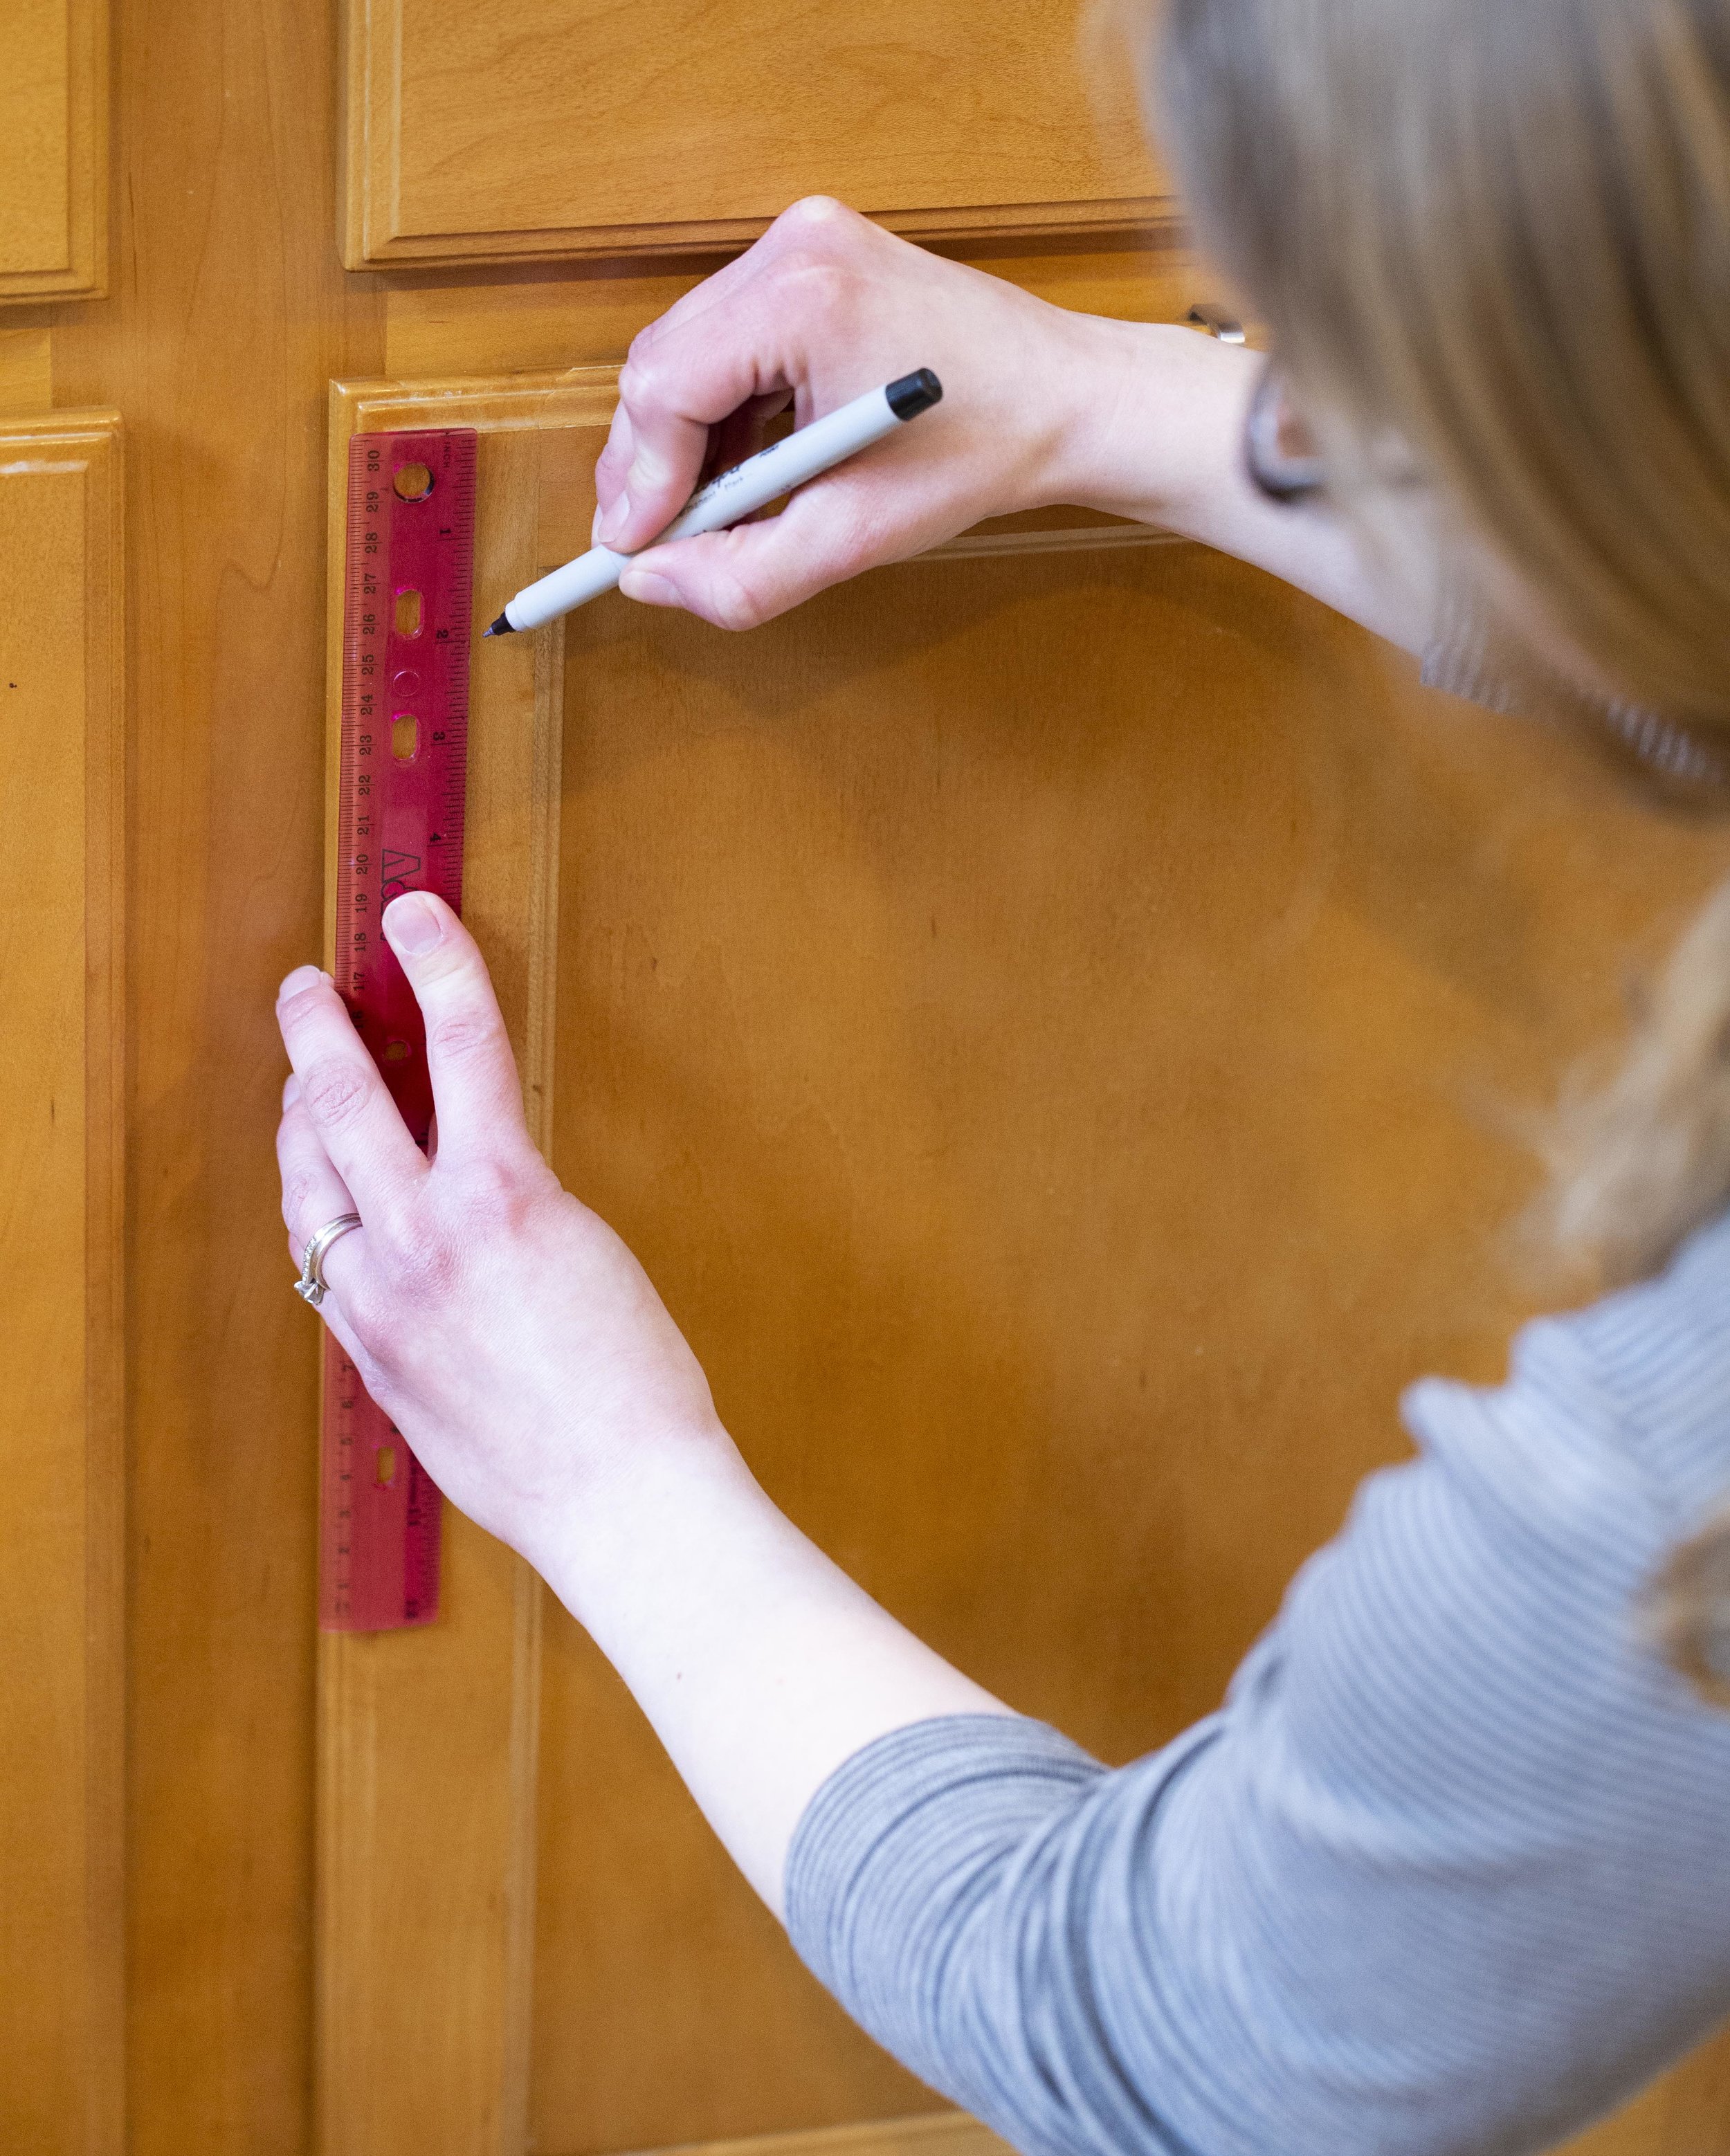
For our cabinets, we decided we liked the knobs two inches from the edge of the cabinet (not including the beveled edge). Once we decided on this placement, it was just a matter of measuring it out on all the cabinet doors so they were centered side-to-side on the trim piece as well as two inches in. Consistency is key to having uniform placement - and I made sure to measure multiple times in both directions before marking it with a pen
It’s important to measure the knobs on each door independently - if the doors aren’t hung evenly, it may look off initially but the hinges can be adjusted later so everything (the doors themselves as well as the hardware) will line up visually.
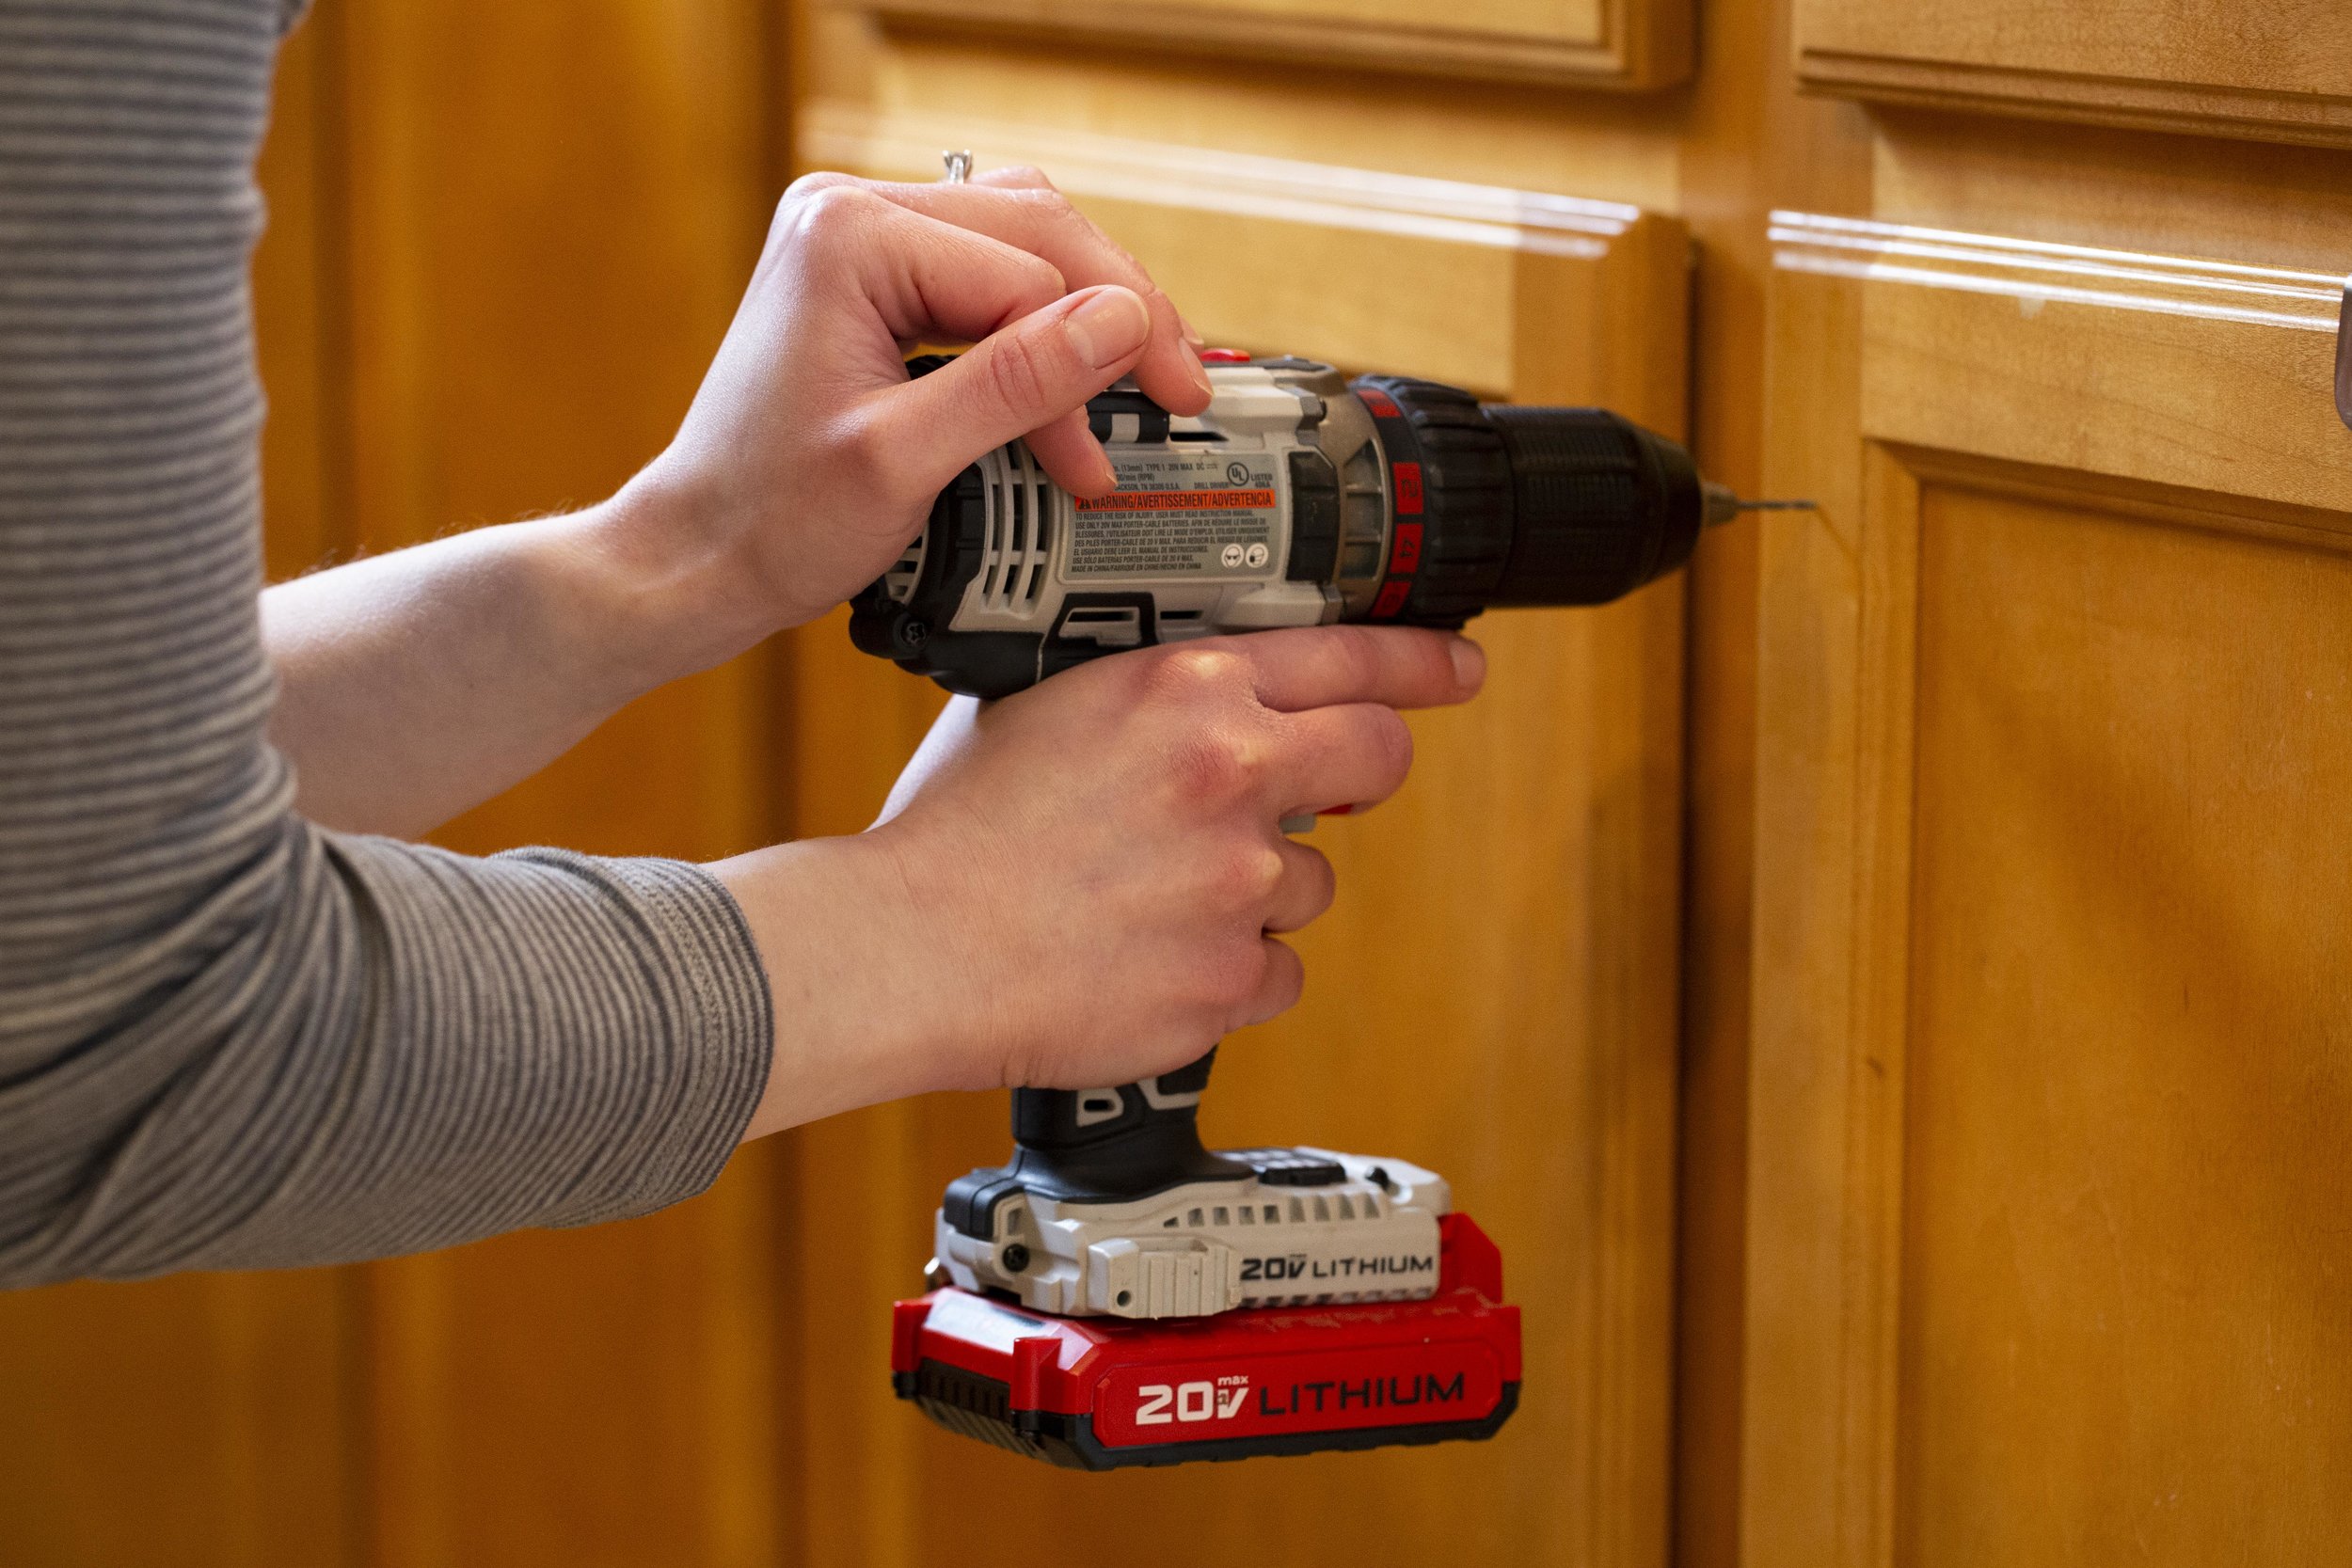
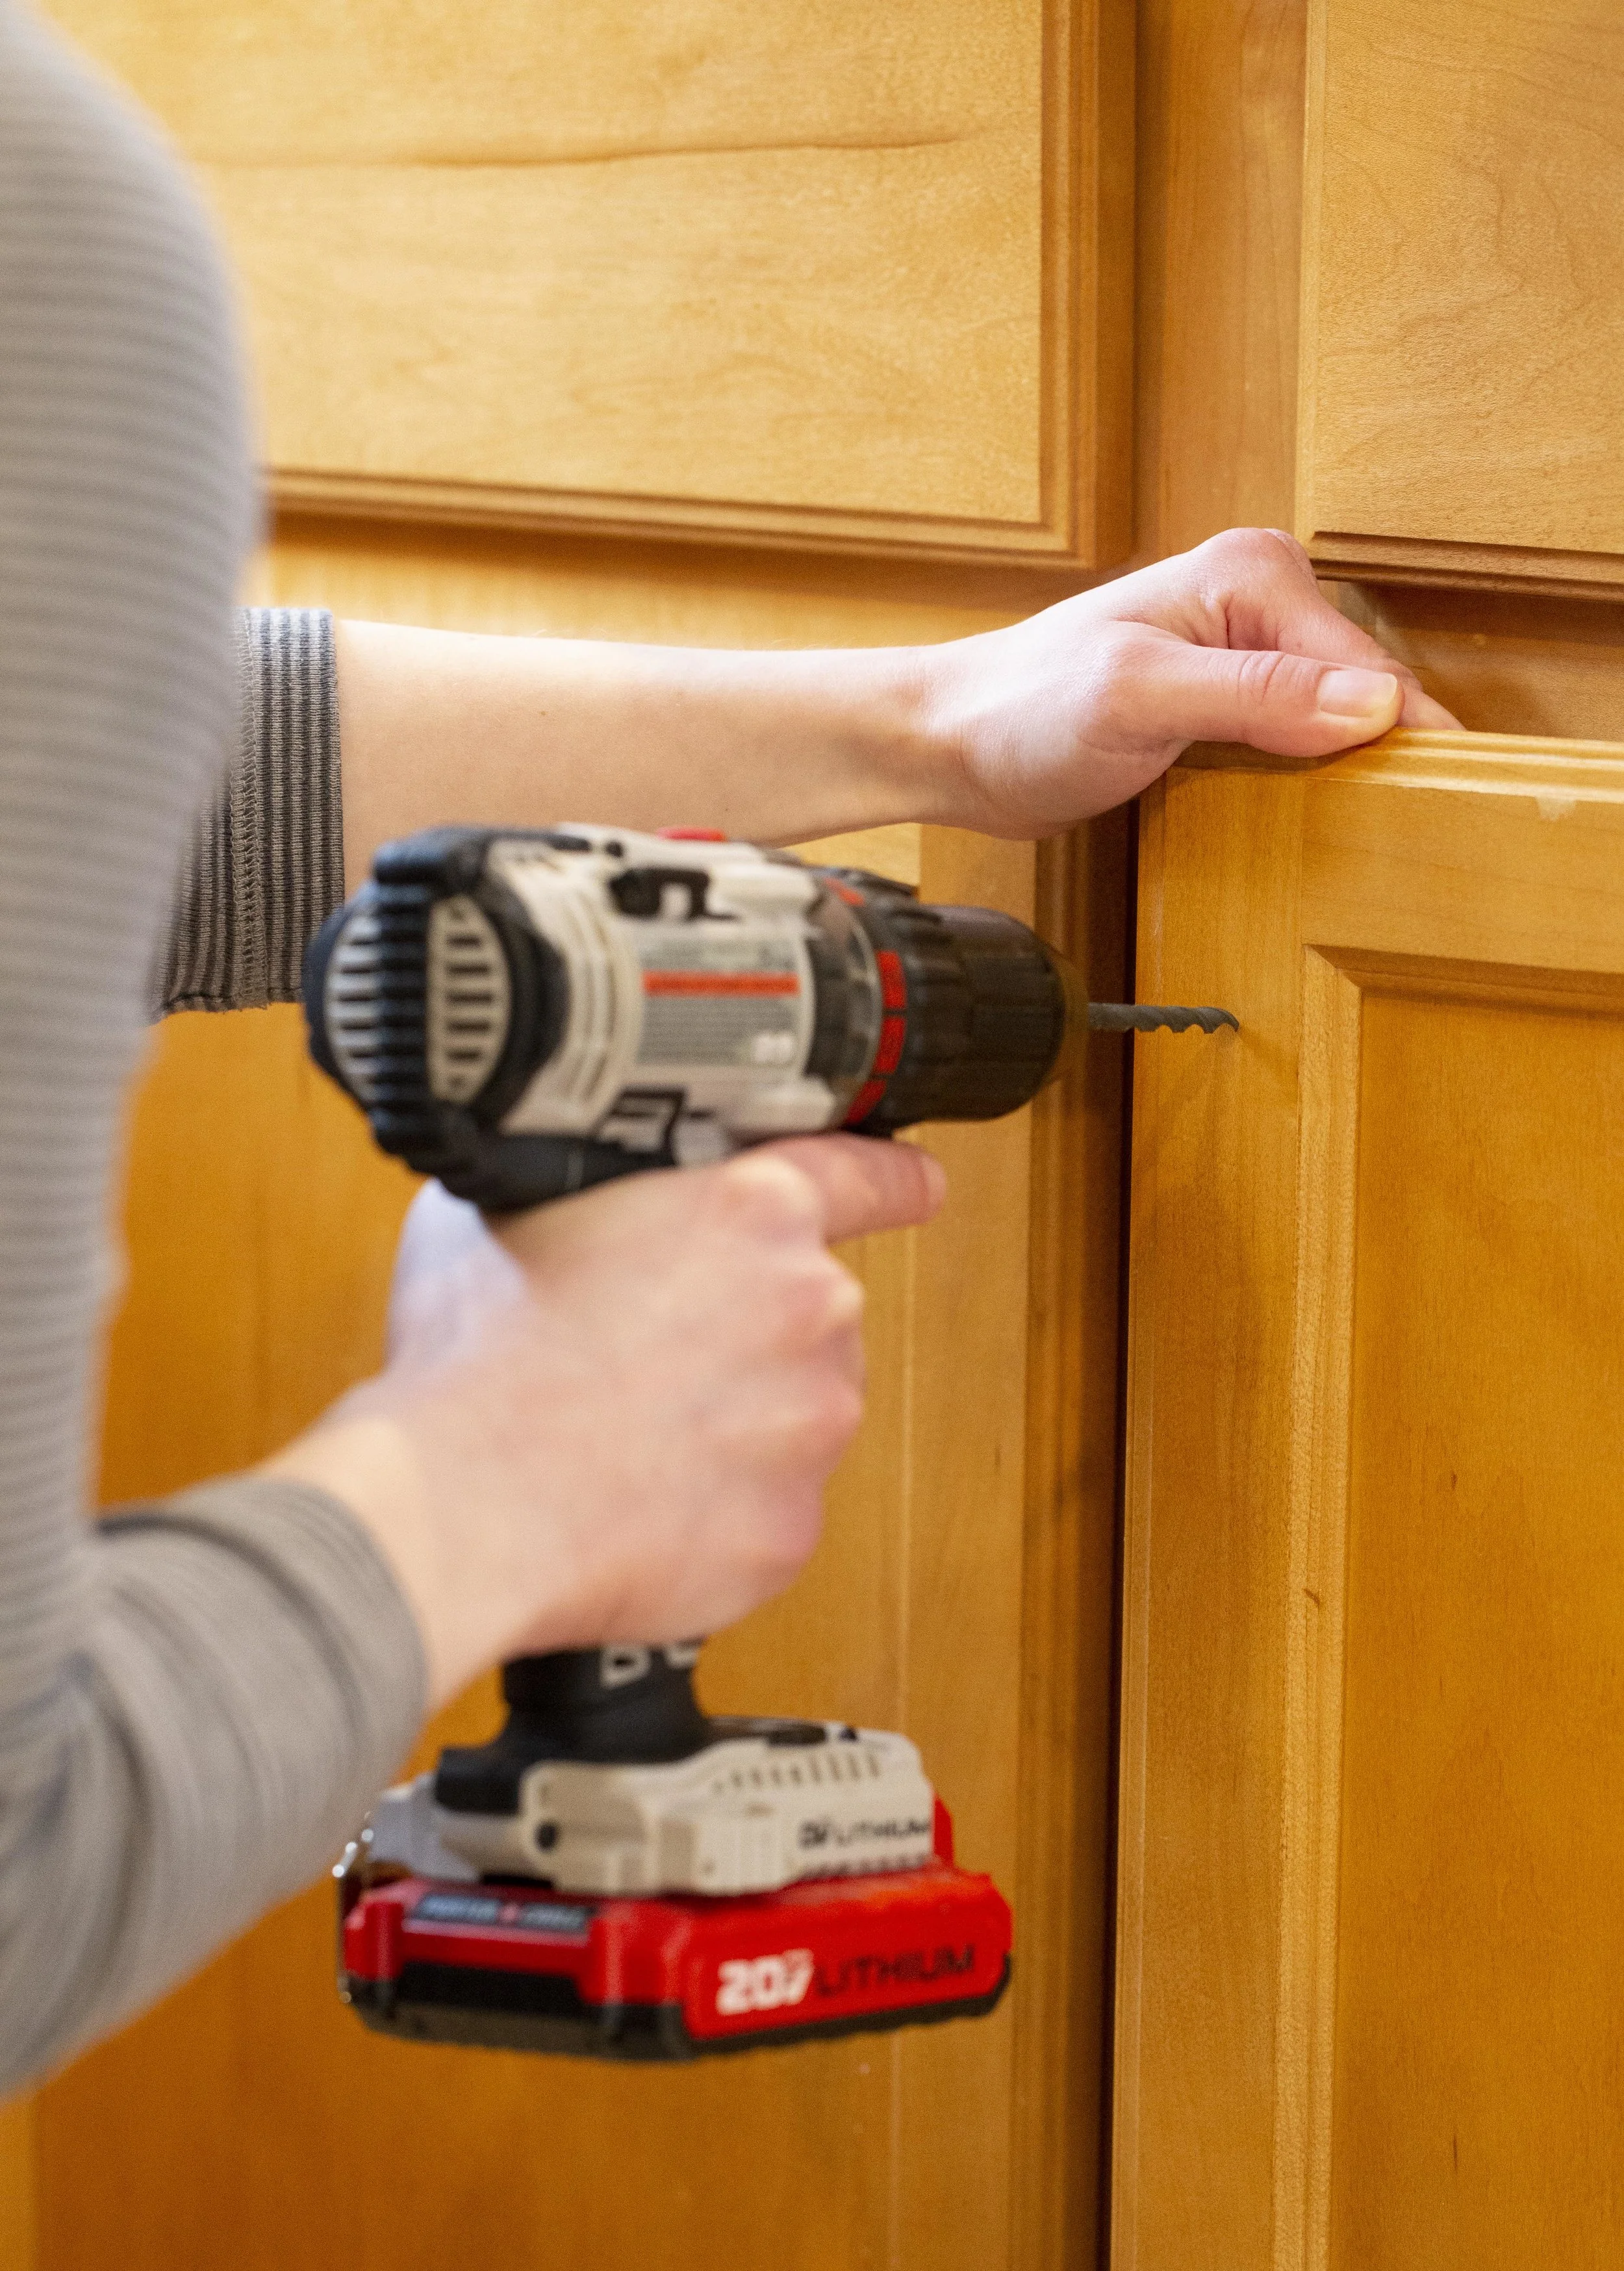
When it comes time to drill the holes, it’s important to make a small pilot (starter) hole before you drill the full size hole. There’s several reasons for this, but the two most important ones being that larger drill bits tend to “walk” when you drill on a smooth surface, and without drilling a pilot hole first you might end up off your mark. The other important reason is that pre-drilling the hole smaller first will help lessen the chance of the wood splitting. Be aware of what’s behind the cabinet front when you drill! Make sure you aren’t drilling into the cabinet frame or dishes that may be in the cabinet behind the door. For the larger hole you’ll want the drill bit diameter to be just barely bigger than the diameter of the screws that come with the hardware.
Once the larger hole is drilled, slide the screw in from the back and use a screwdriver to hold it in place while you thread the knob on snuggly.
Deciding on drawer pull placement. (Note that while the lower cabinet knobs are each in the correct place, they look off since the cabinet doors are uneven - this can be fixed by adjusting the cabinet door hinges, which I did once I was finished installing all the hardware.)
For the drawer pulls I followed a similar procedure as I did for the door fronts. One thing I had to keep in mind though is the drawer pulls I chose aren’t symmetrical top-to-bottom - the mounting screws are towards the bottom of of the pulls. Therefore, playing around with the placement of the drawer pulls was very important - the drawer pulls needed to look centered visually from top to bottom on the drawer fronts, even though that made for the screw placement to be slightly below center.
Once I liked the visual placement of the paper templates I carefully measured out the spacing on each side as well as down from the screw holes to make sure everything was accurate and even. These particular drawer pulls have screws 3” apart so I made sure that the spacing between the screw markings was accurate as well. (Once you get an idea of placement, you could also use a Cabinet Hardware Template here to help mark everything out.) In our kitchen the drawers are three different sizes, so this process needed to be repeated several times - on the shorter drawers I used one pull, and on the longer drawer I used two pulls.
After the hole placements were marked, I remeasured the spacings several times before drilling the pilot holes and then the screw holes. Then it’s simply a matter of screwing the screws in from the backside of the drawers with a screwdriver into the drawer pulls.
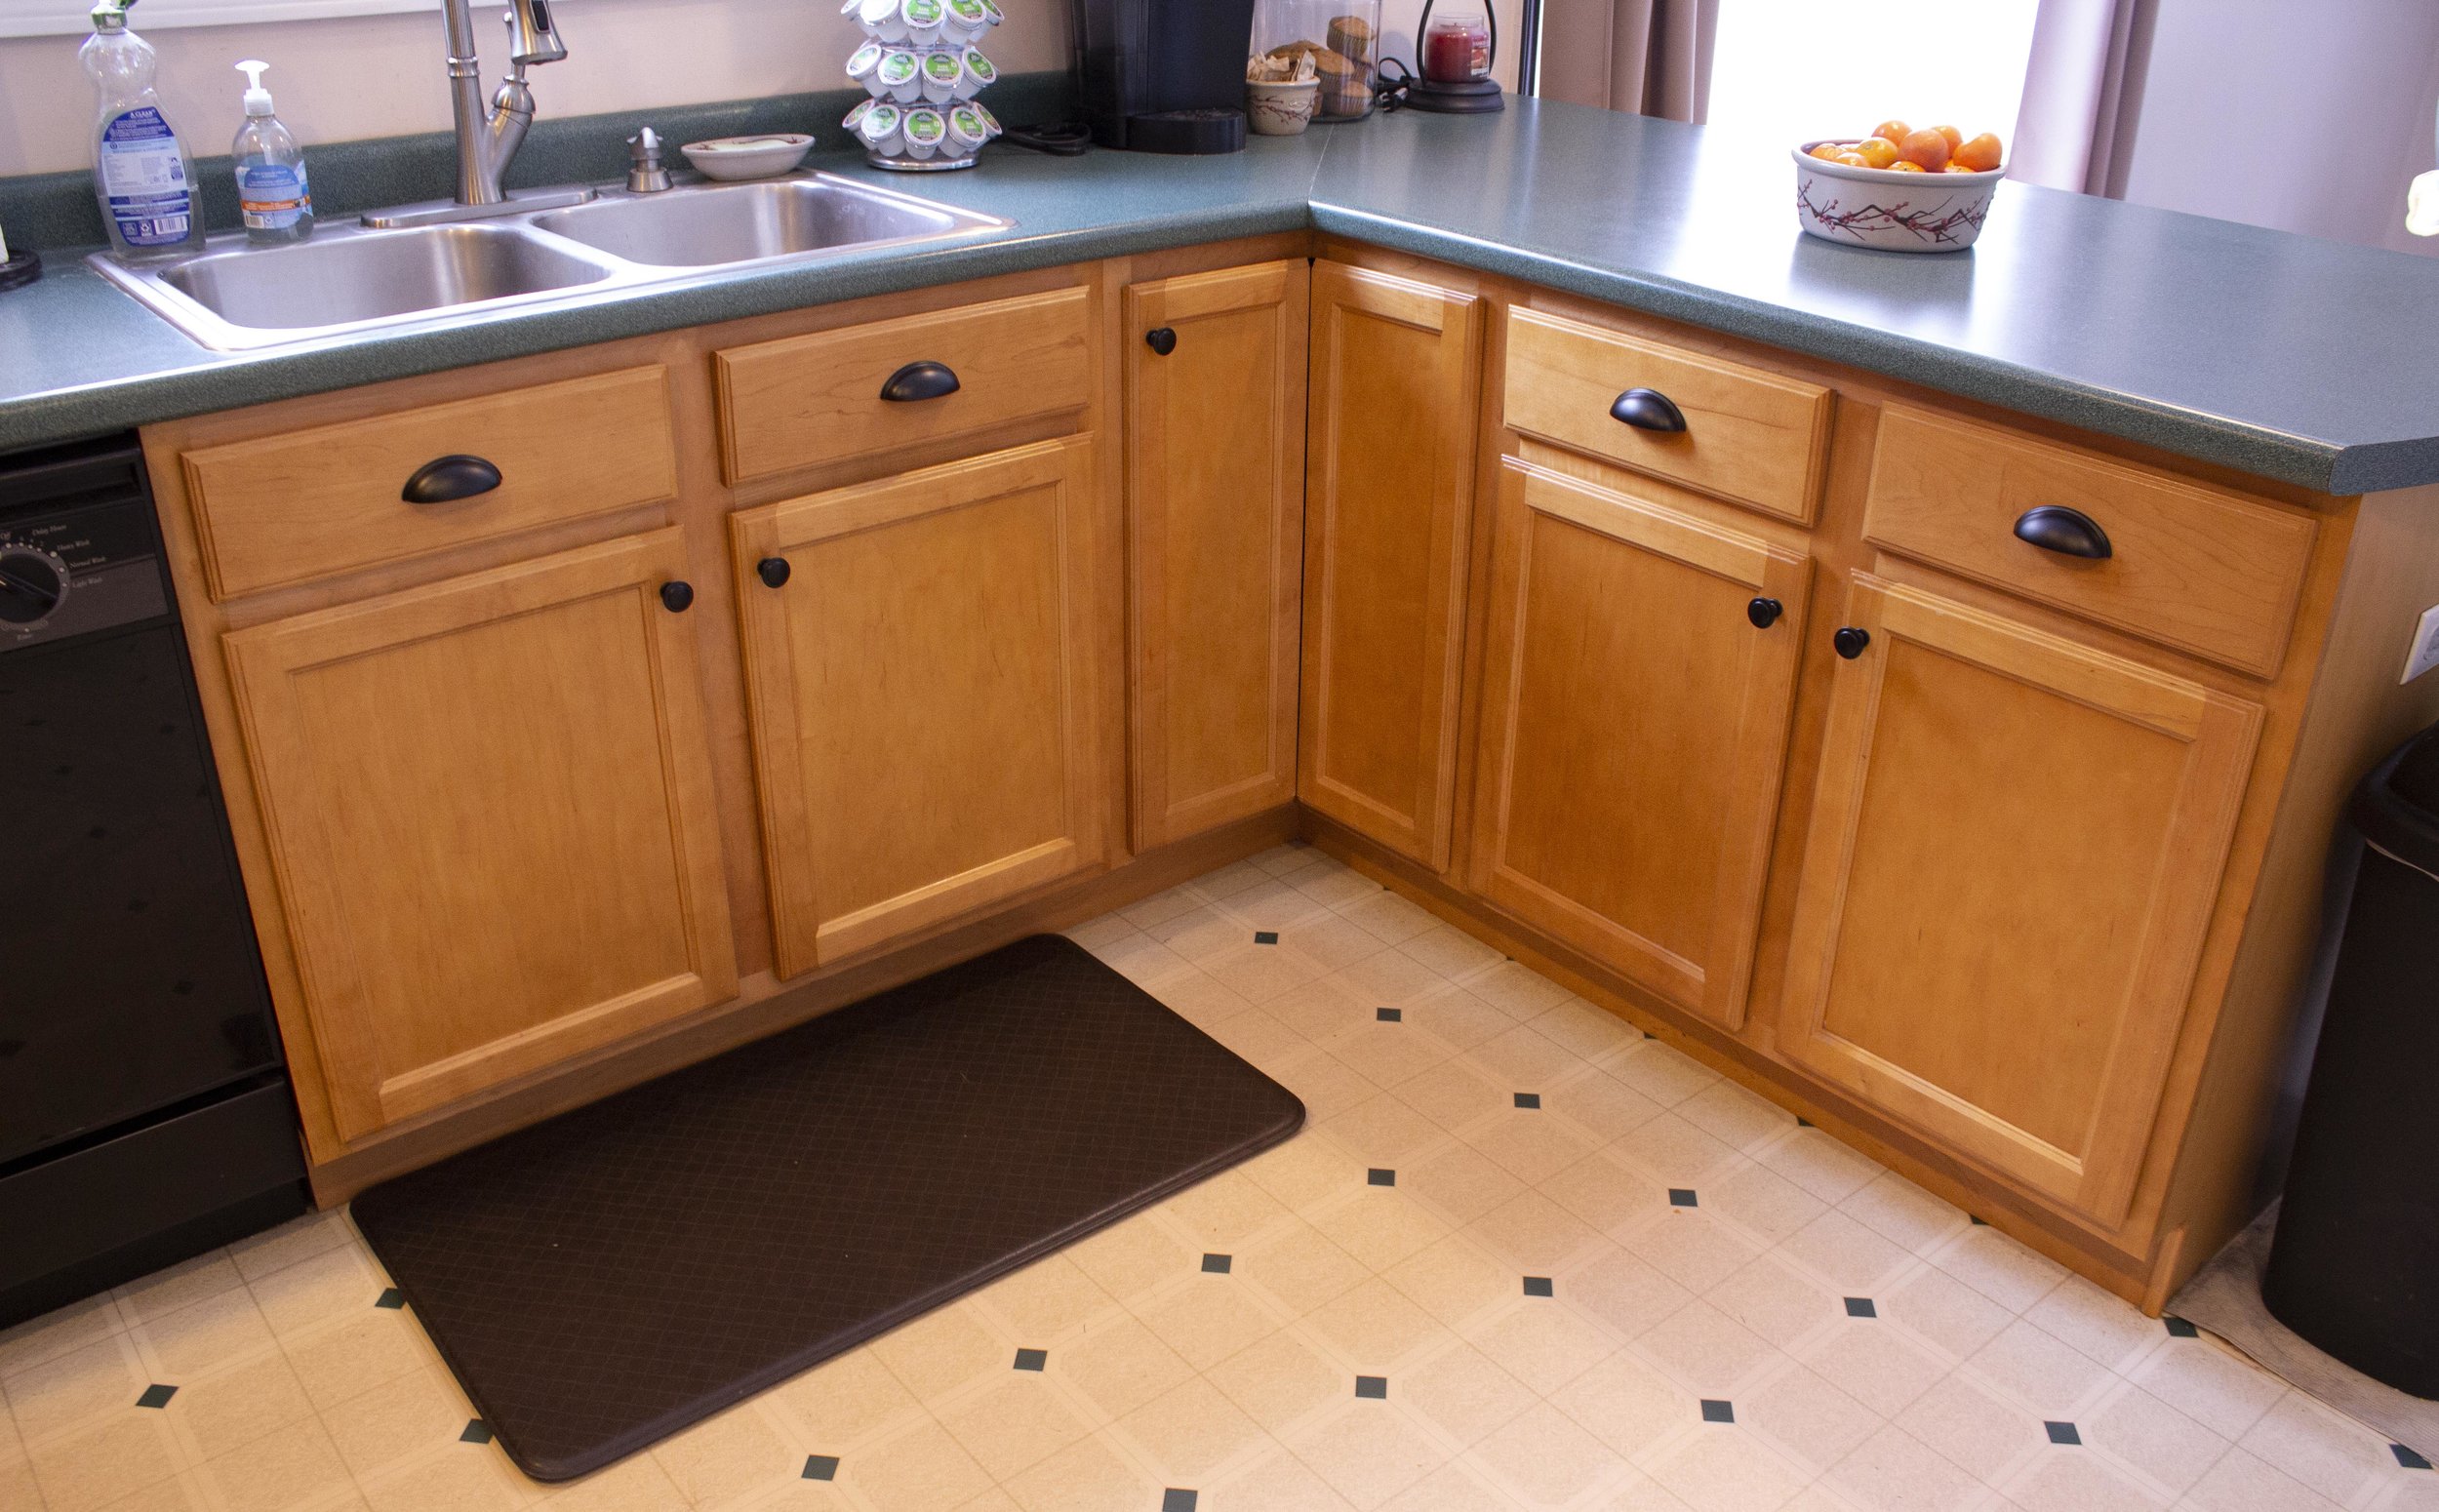
AFTER
And that’s it - the whole project took less than an afternoon to do and it really helps our kitchen look more finished. I just love how it came out! Once we replace our countertops with a more modern granite counter the space will really look sharp and the hardware will compliment it beautifully.
GIVEAWAY!
Head on over to our Instagram for details and to enter our Giveaway with Cosmas Hardware for a $50 shop credit so you can update the look of your kitchen too with the hardware of your choice!
- I received these items from Cosmas Hardware but all opinions expressed are my own. Please read our full Disclosure Policy for more information -
Disclaimer: Installing new cabinet hardware from scratch is something that most people can very easily do on their own and here I’ve shared my tips on the easiest way I’ve personally found to measure and install them. However, use your best judgement when installing your hardware - if you’re in doubt of your measuring or drilling skills, there’s no harm in consulting a professional before you tackle this or any project.
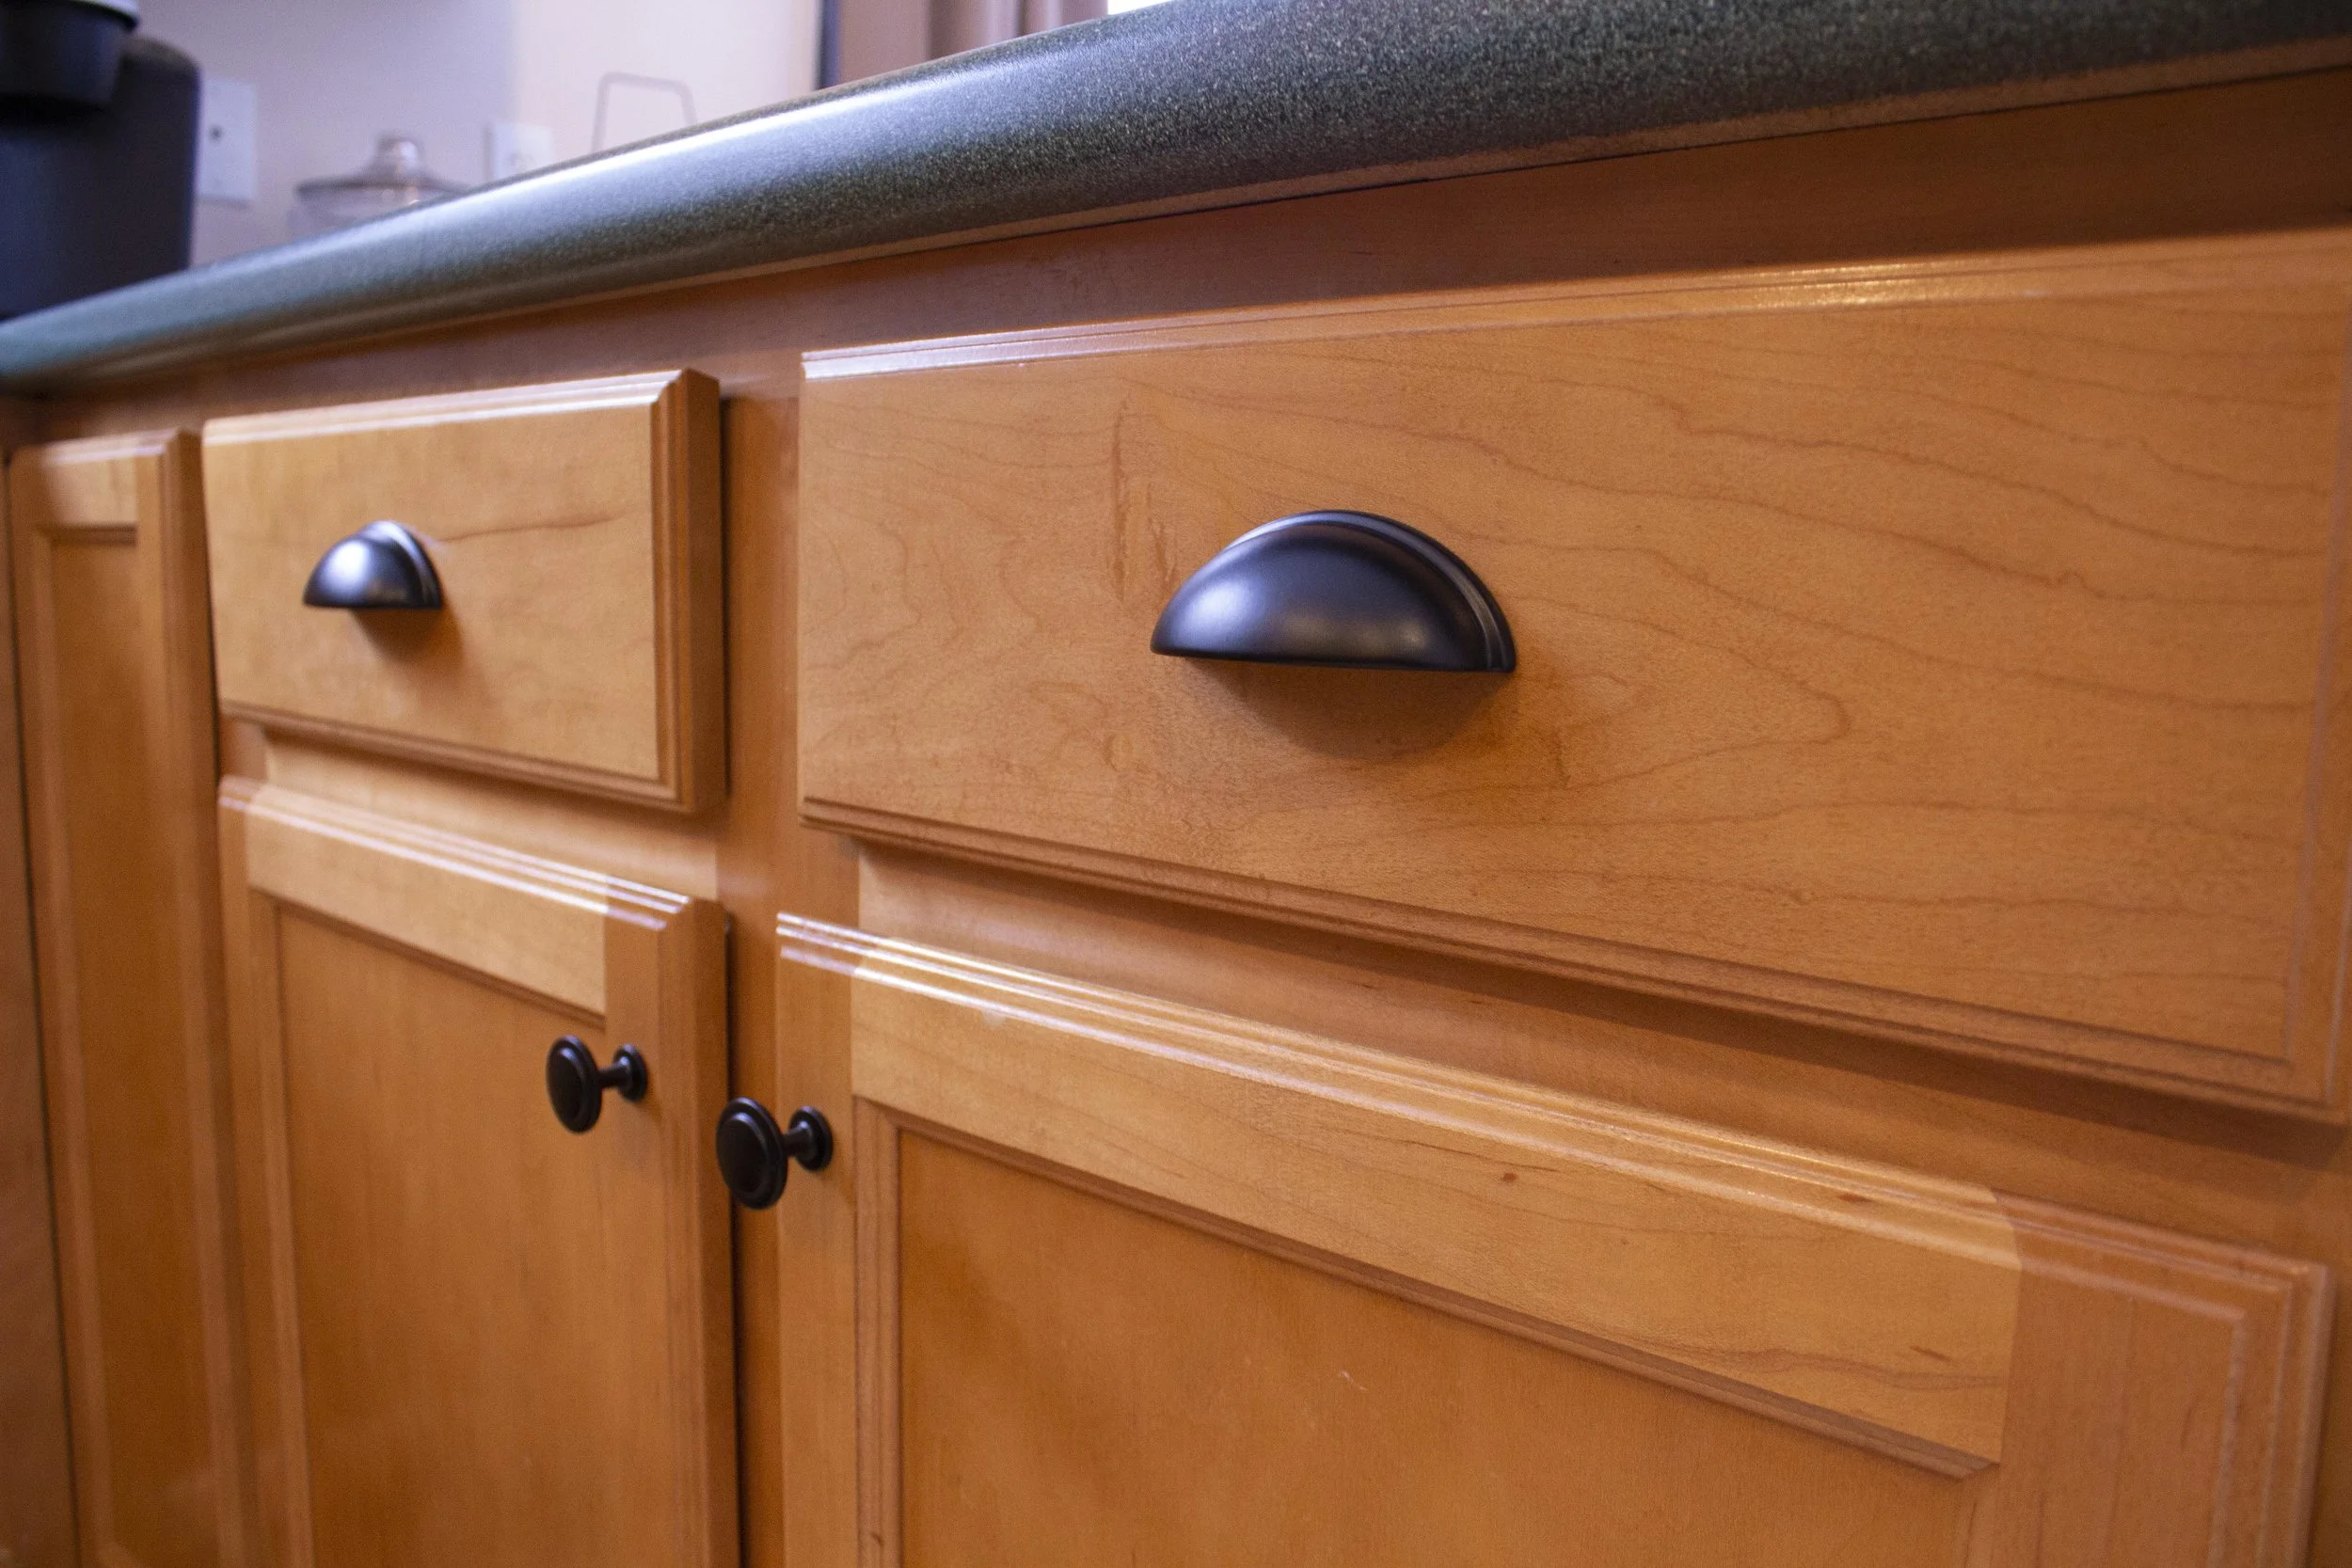
Just wanted to share a quick sneak peek of the beautiful knobs and drawer pulls from Cosmas Hardware I’ll be using in an upcoming blog post on how to install cupboard hardware yourself. We’ll also be giving away a credit to Cosmas Hardware too - so stay tuned!
I’ve been wanting to hang a few decorative signs on the outside of our house… a welcome sign by the door and this “gather” sign on our back deck. However, with vinyl siding I was very hesitant… I didn’t want to drill into it or make a mess of it. Which is why I was so happy when I came across this incredibly simple, no tools needed solution! | This is not a sponsored post, but an honest independent review of a product. This post contains affiliate links |
Vinyl Siding
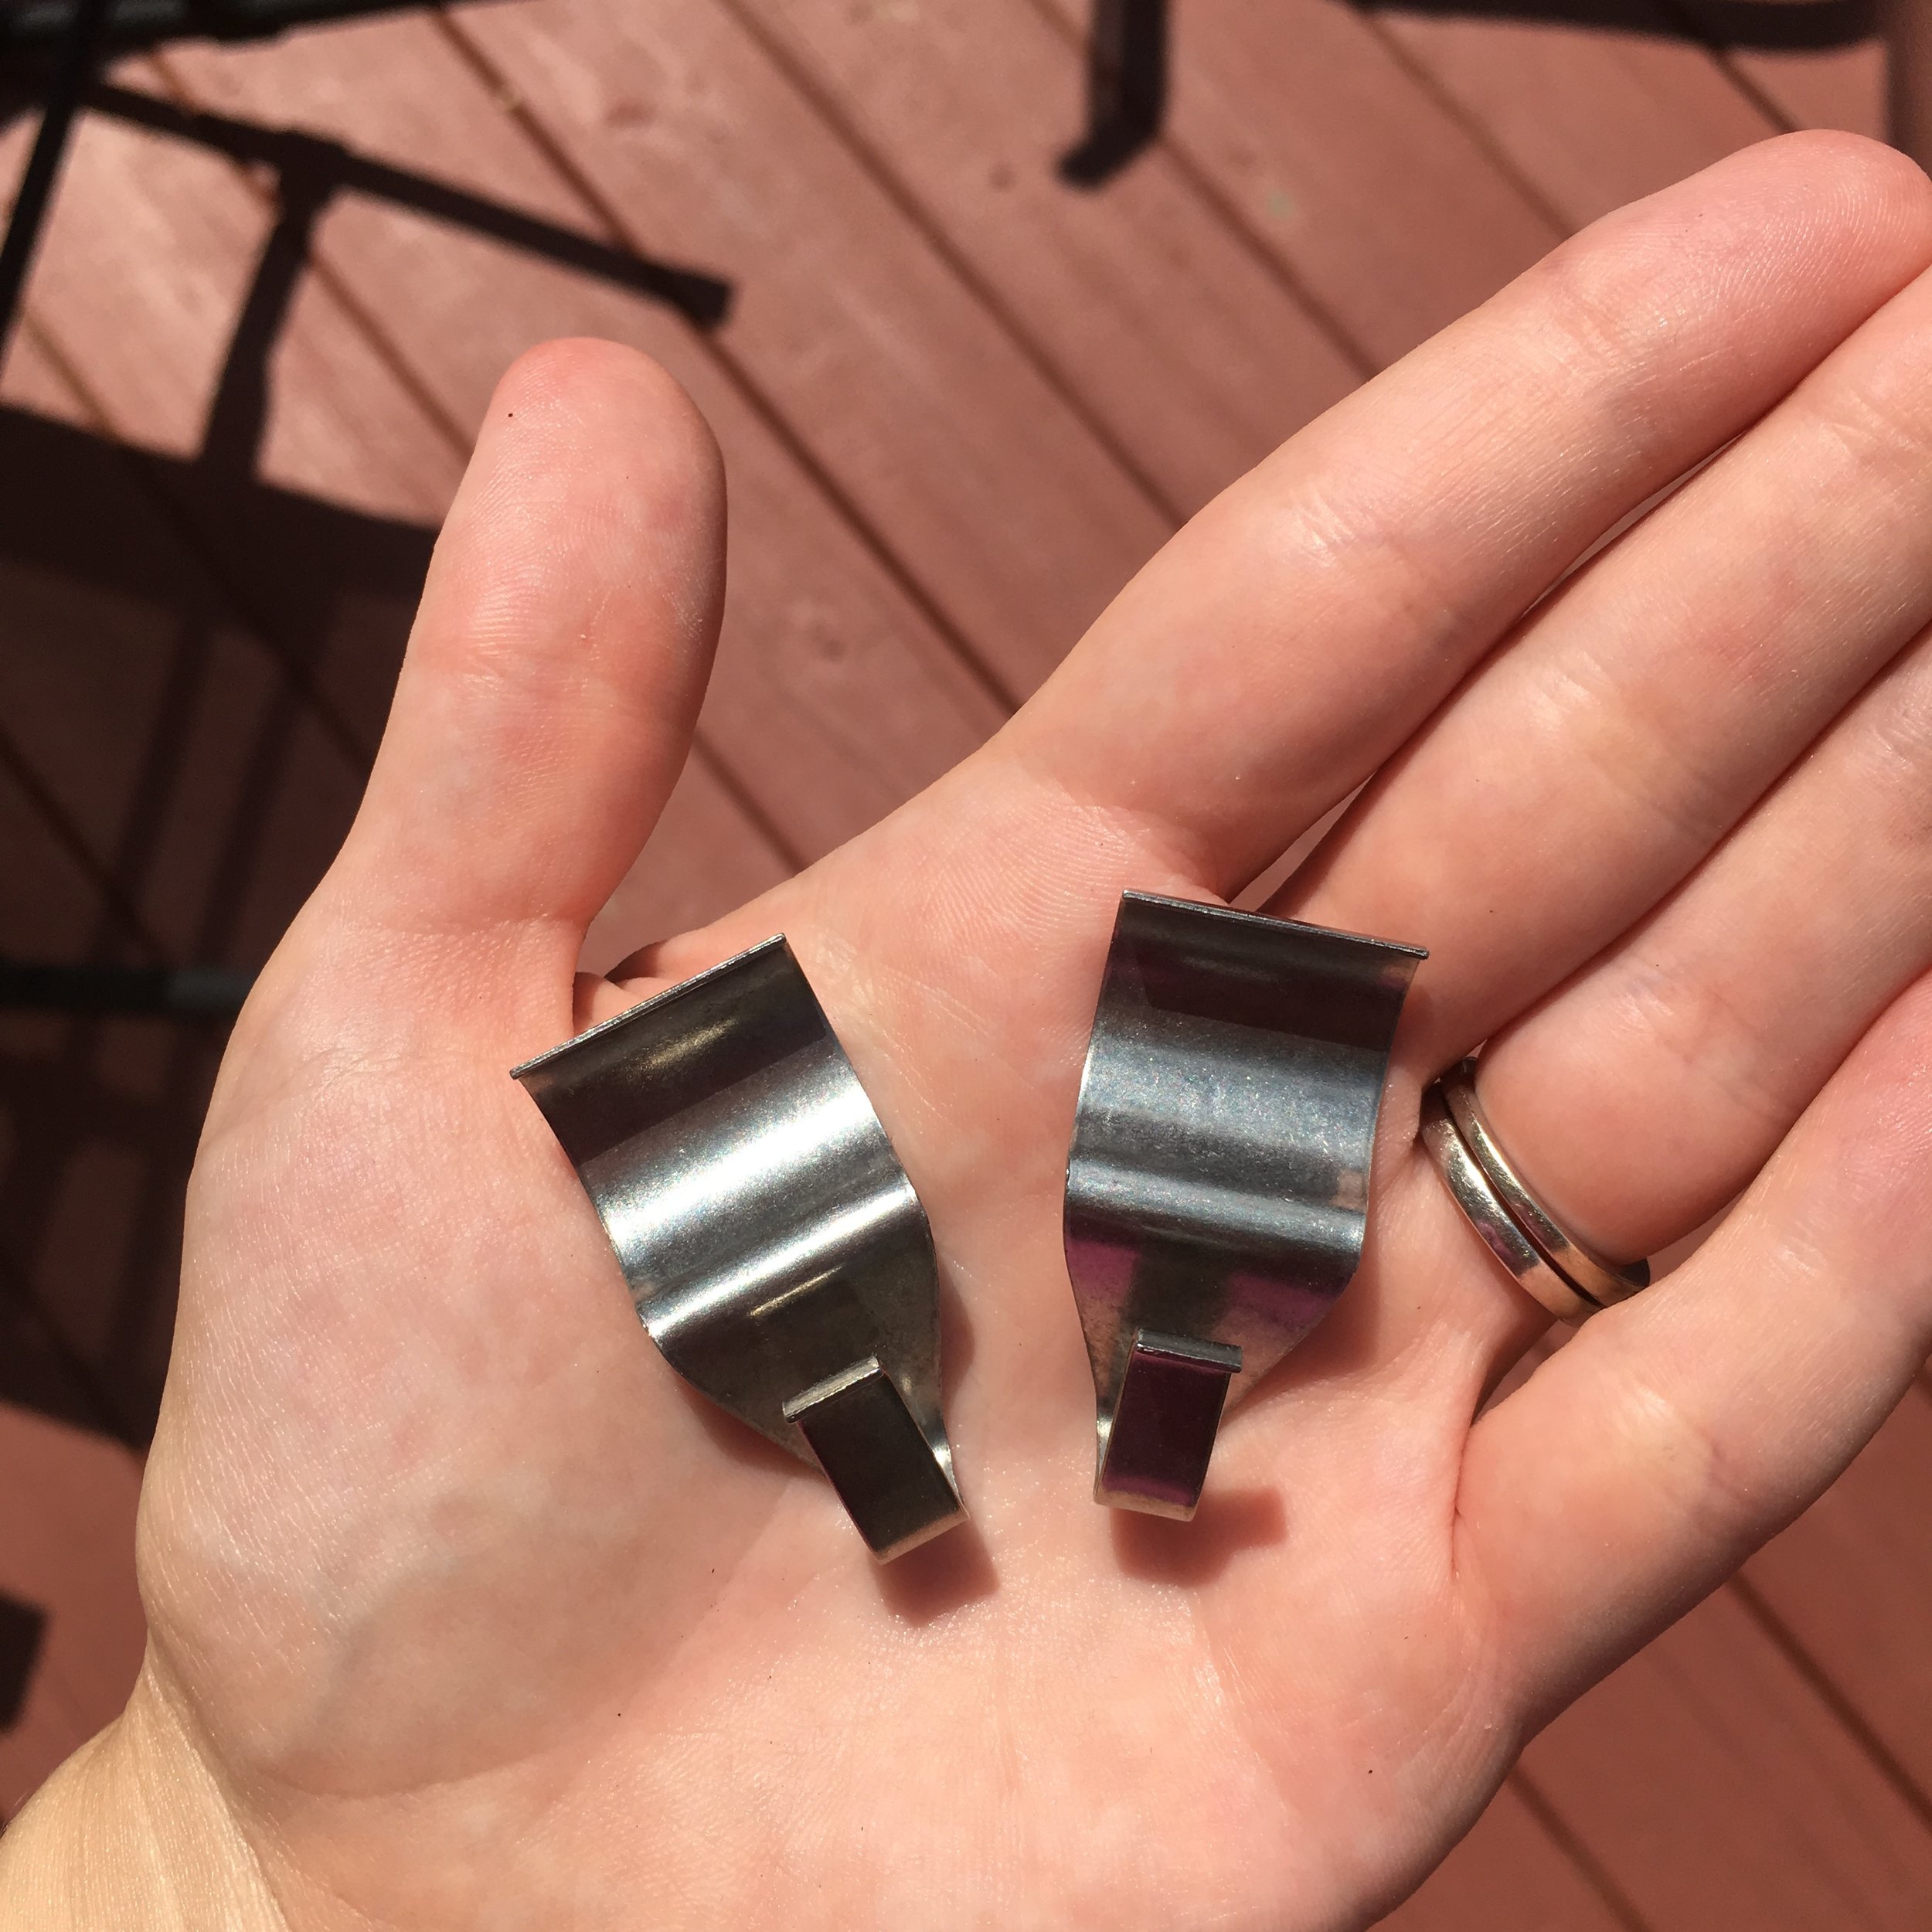
After some searching on Amazon I came across these
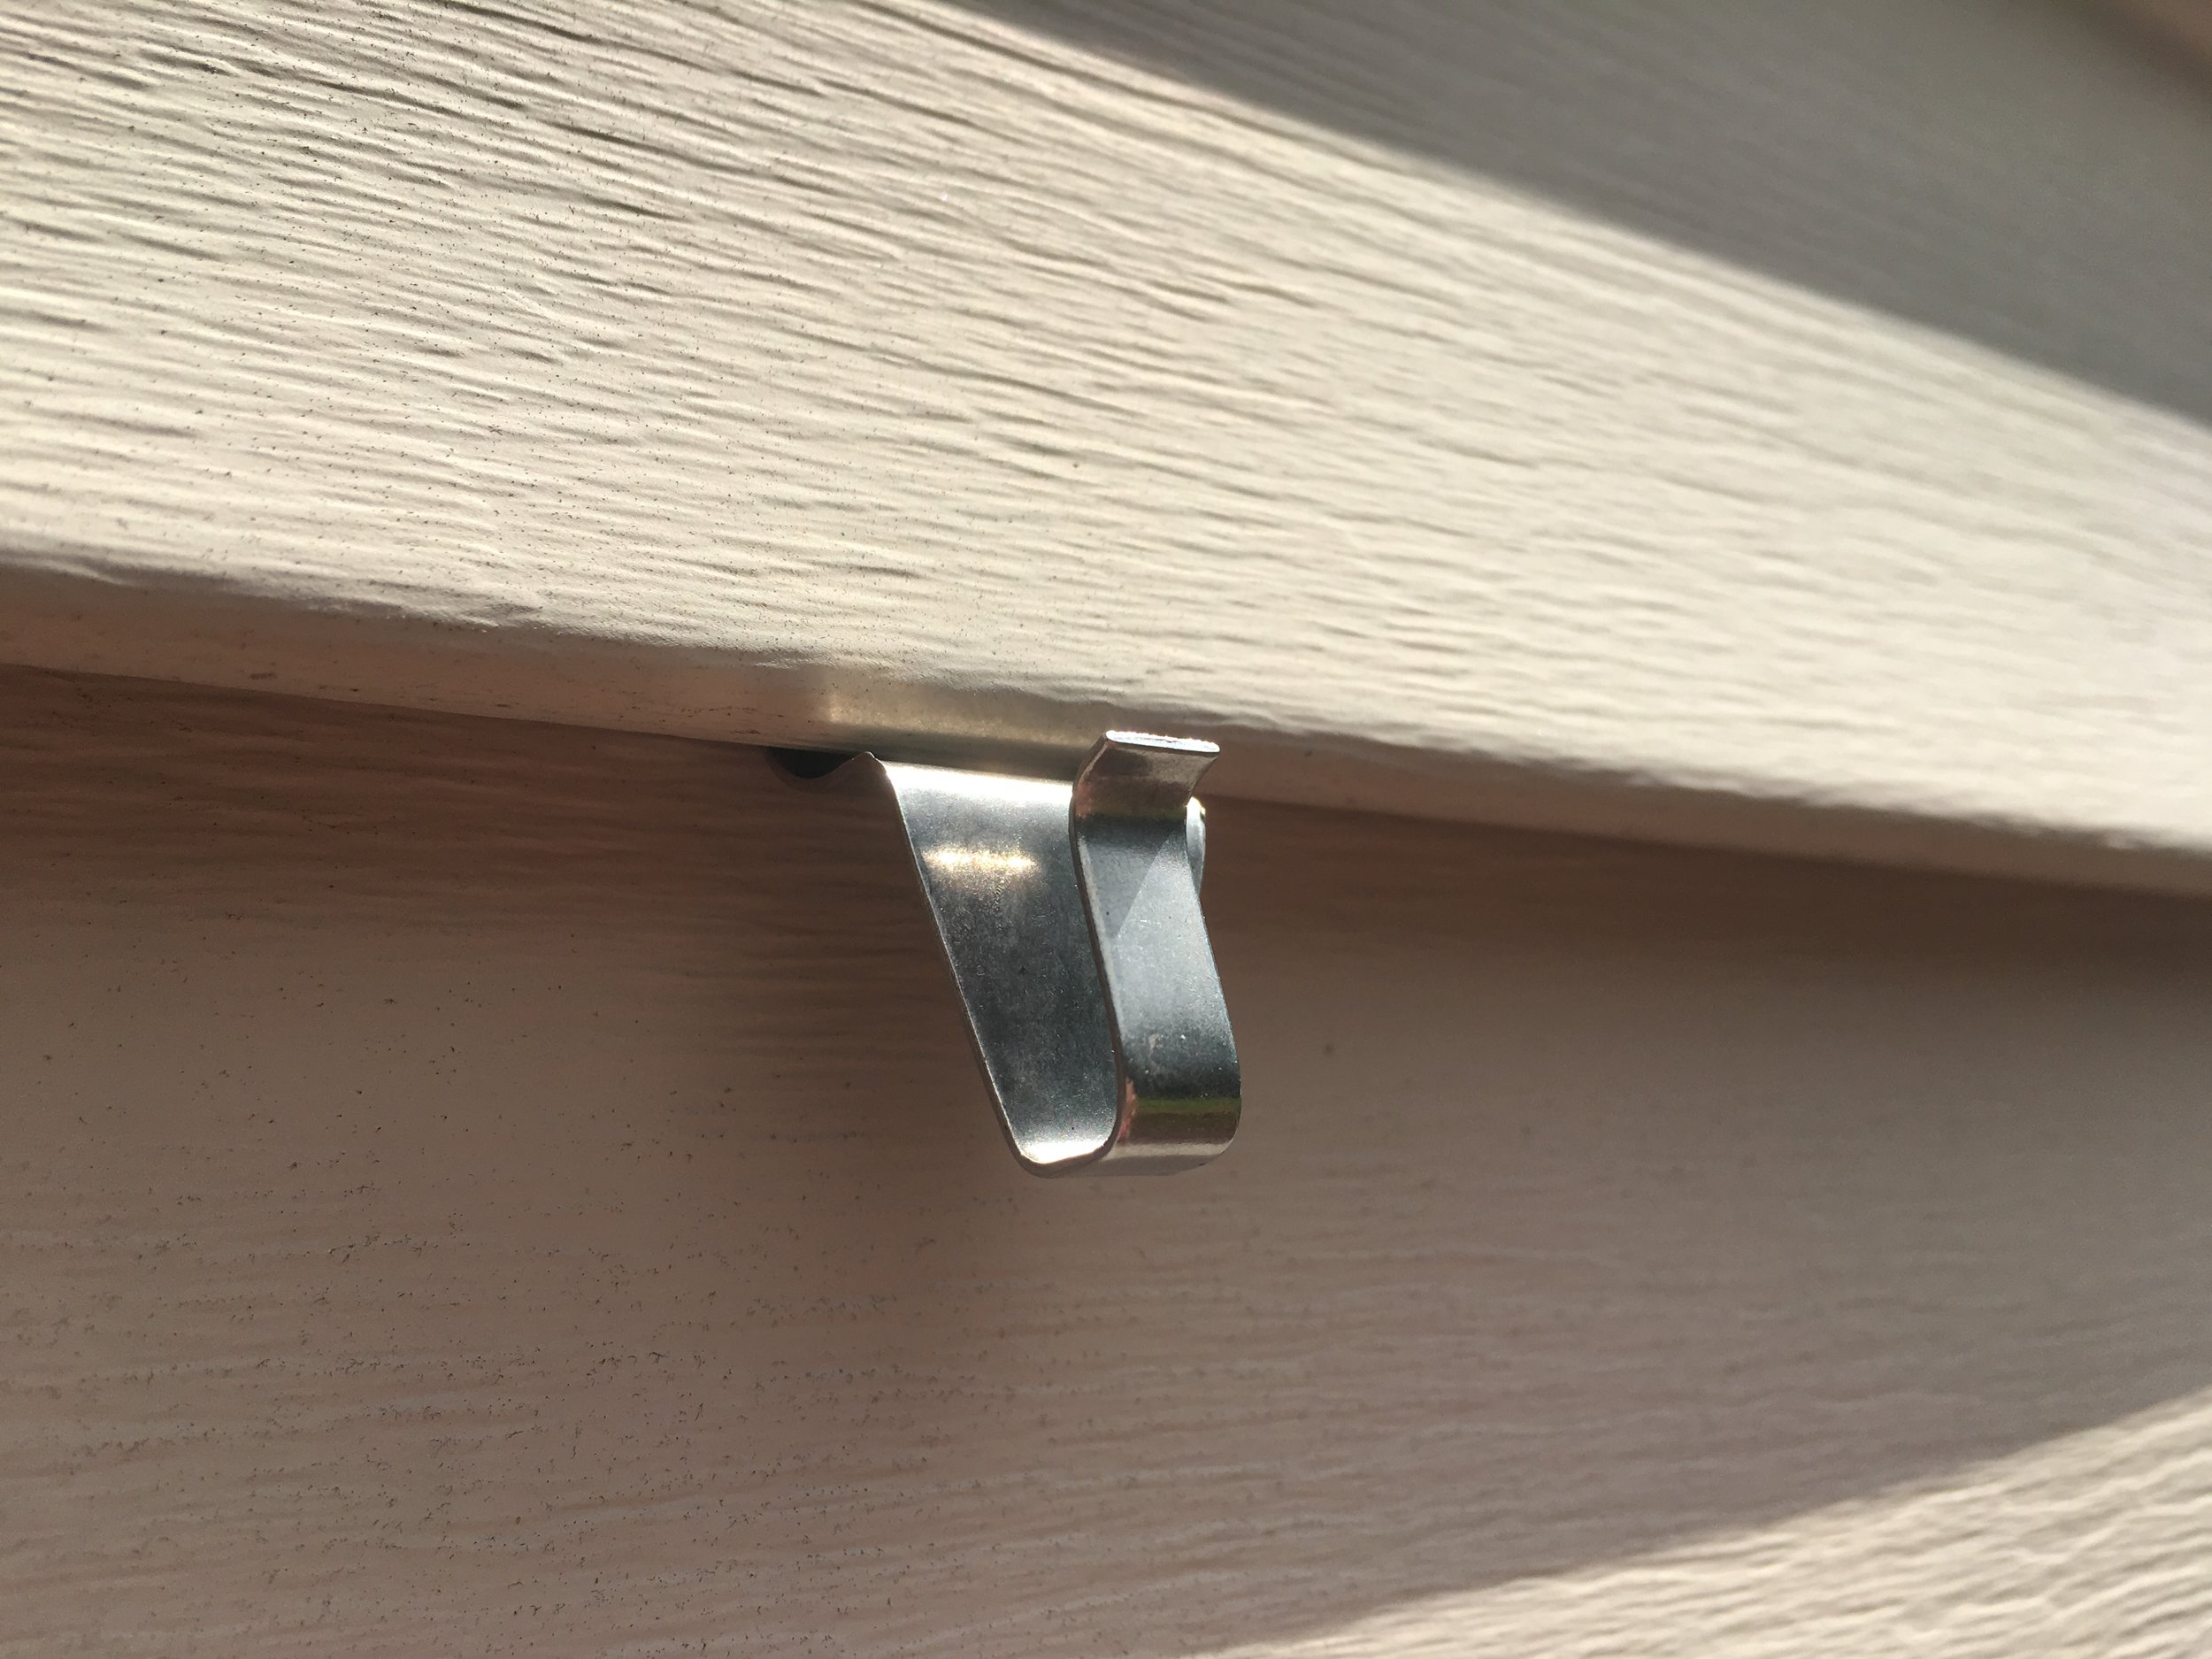
"No-Hole Hooks" and it seemed to be the perfect solution! These are special stainless-steel hooks that are meant to "roll" under the lip of your vinyl siding and hang lightweight decor. Just what I needed!
I measured out the distance between the hangers on the back of my sign, placed the hooks at the correct distance, and hung the sign - ta-da! It couldn’t have been easier! I’m really happy with how easy it was.
It seems that as long as you have good condition (not sun brittle), quality siding and hang only light-weight items, this would be a great solution over drilling into your siding. I also love that if we decide to take down the decor, it leaves no holes behind! I’ve had these signs up for a few months now and I’ve been really happy with how these have worked and held up.
Similarly there is a no-drill product to hang items on bricks too! We do not have any brick surfaces at our home, so I personally haven't tried them myself but these Brick Hook Clips are well rated and meant to hang decor on brick surfaces, indoors or outdoors. Just make sure to follow the manufacturer's instructions regarding installation and weight limits.
Disclaimer: This is not a sponsored post, but an honest independent review of a product. Always follow manufacturer’s guidelines when using and use product at your own risk. Not liable for any damages or improper use.
I love Christmas as much as anyone, but once the holidays are over I’m ready to pack it all up and start the New Year fresh with a clean house! Some of the most annoying decorations to pack up for me has been garland or string lights… they just get tangled so easily which makes unpacking them next Christmas equally as aggravating.
A simple solution? Cut out a piece of cardboard in a “spool shape” and wrap the garland or lights around it. This packs neatly away and keeps things from getting tangled. Trust me, you’ll thank me next Christmas ;)
Every Halloween we participate in the Teal Pumpkin Project to promote awareness and inclusion of all trick-or-treaters, no matter their dietary restrictions. Unfortunately a lot of kids have food allergies, ranging from mild to potentially very dangerous. These allergies can include dairy, chocolate, nuts, soy, gluten, artificial dyes, and more. These kids either can't participate in trick-or-treat or have to throw out most of what they get - and when you're a kid that's really rough. | This post contains affiliate links |
By having a teal pumpkin out, you're letting kids and their parents know that your house is a safe place to trick-or-treat and you have non-food items available. These can be things like novelty pencils, erasers, stickers, bubbles, crayons, small toys, etc. You can still give out the usual candy, but it's a good idea to keep the non-food items separate. This is a great project to allow all kids a chance to feel included in trick-or-treat on Halloween.
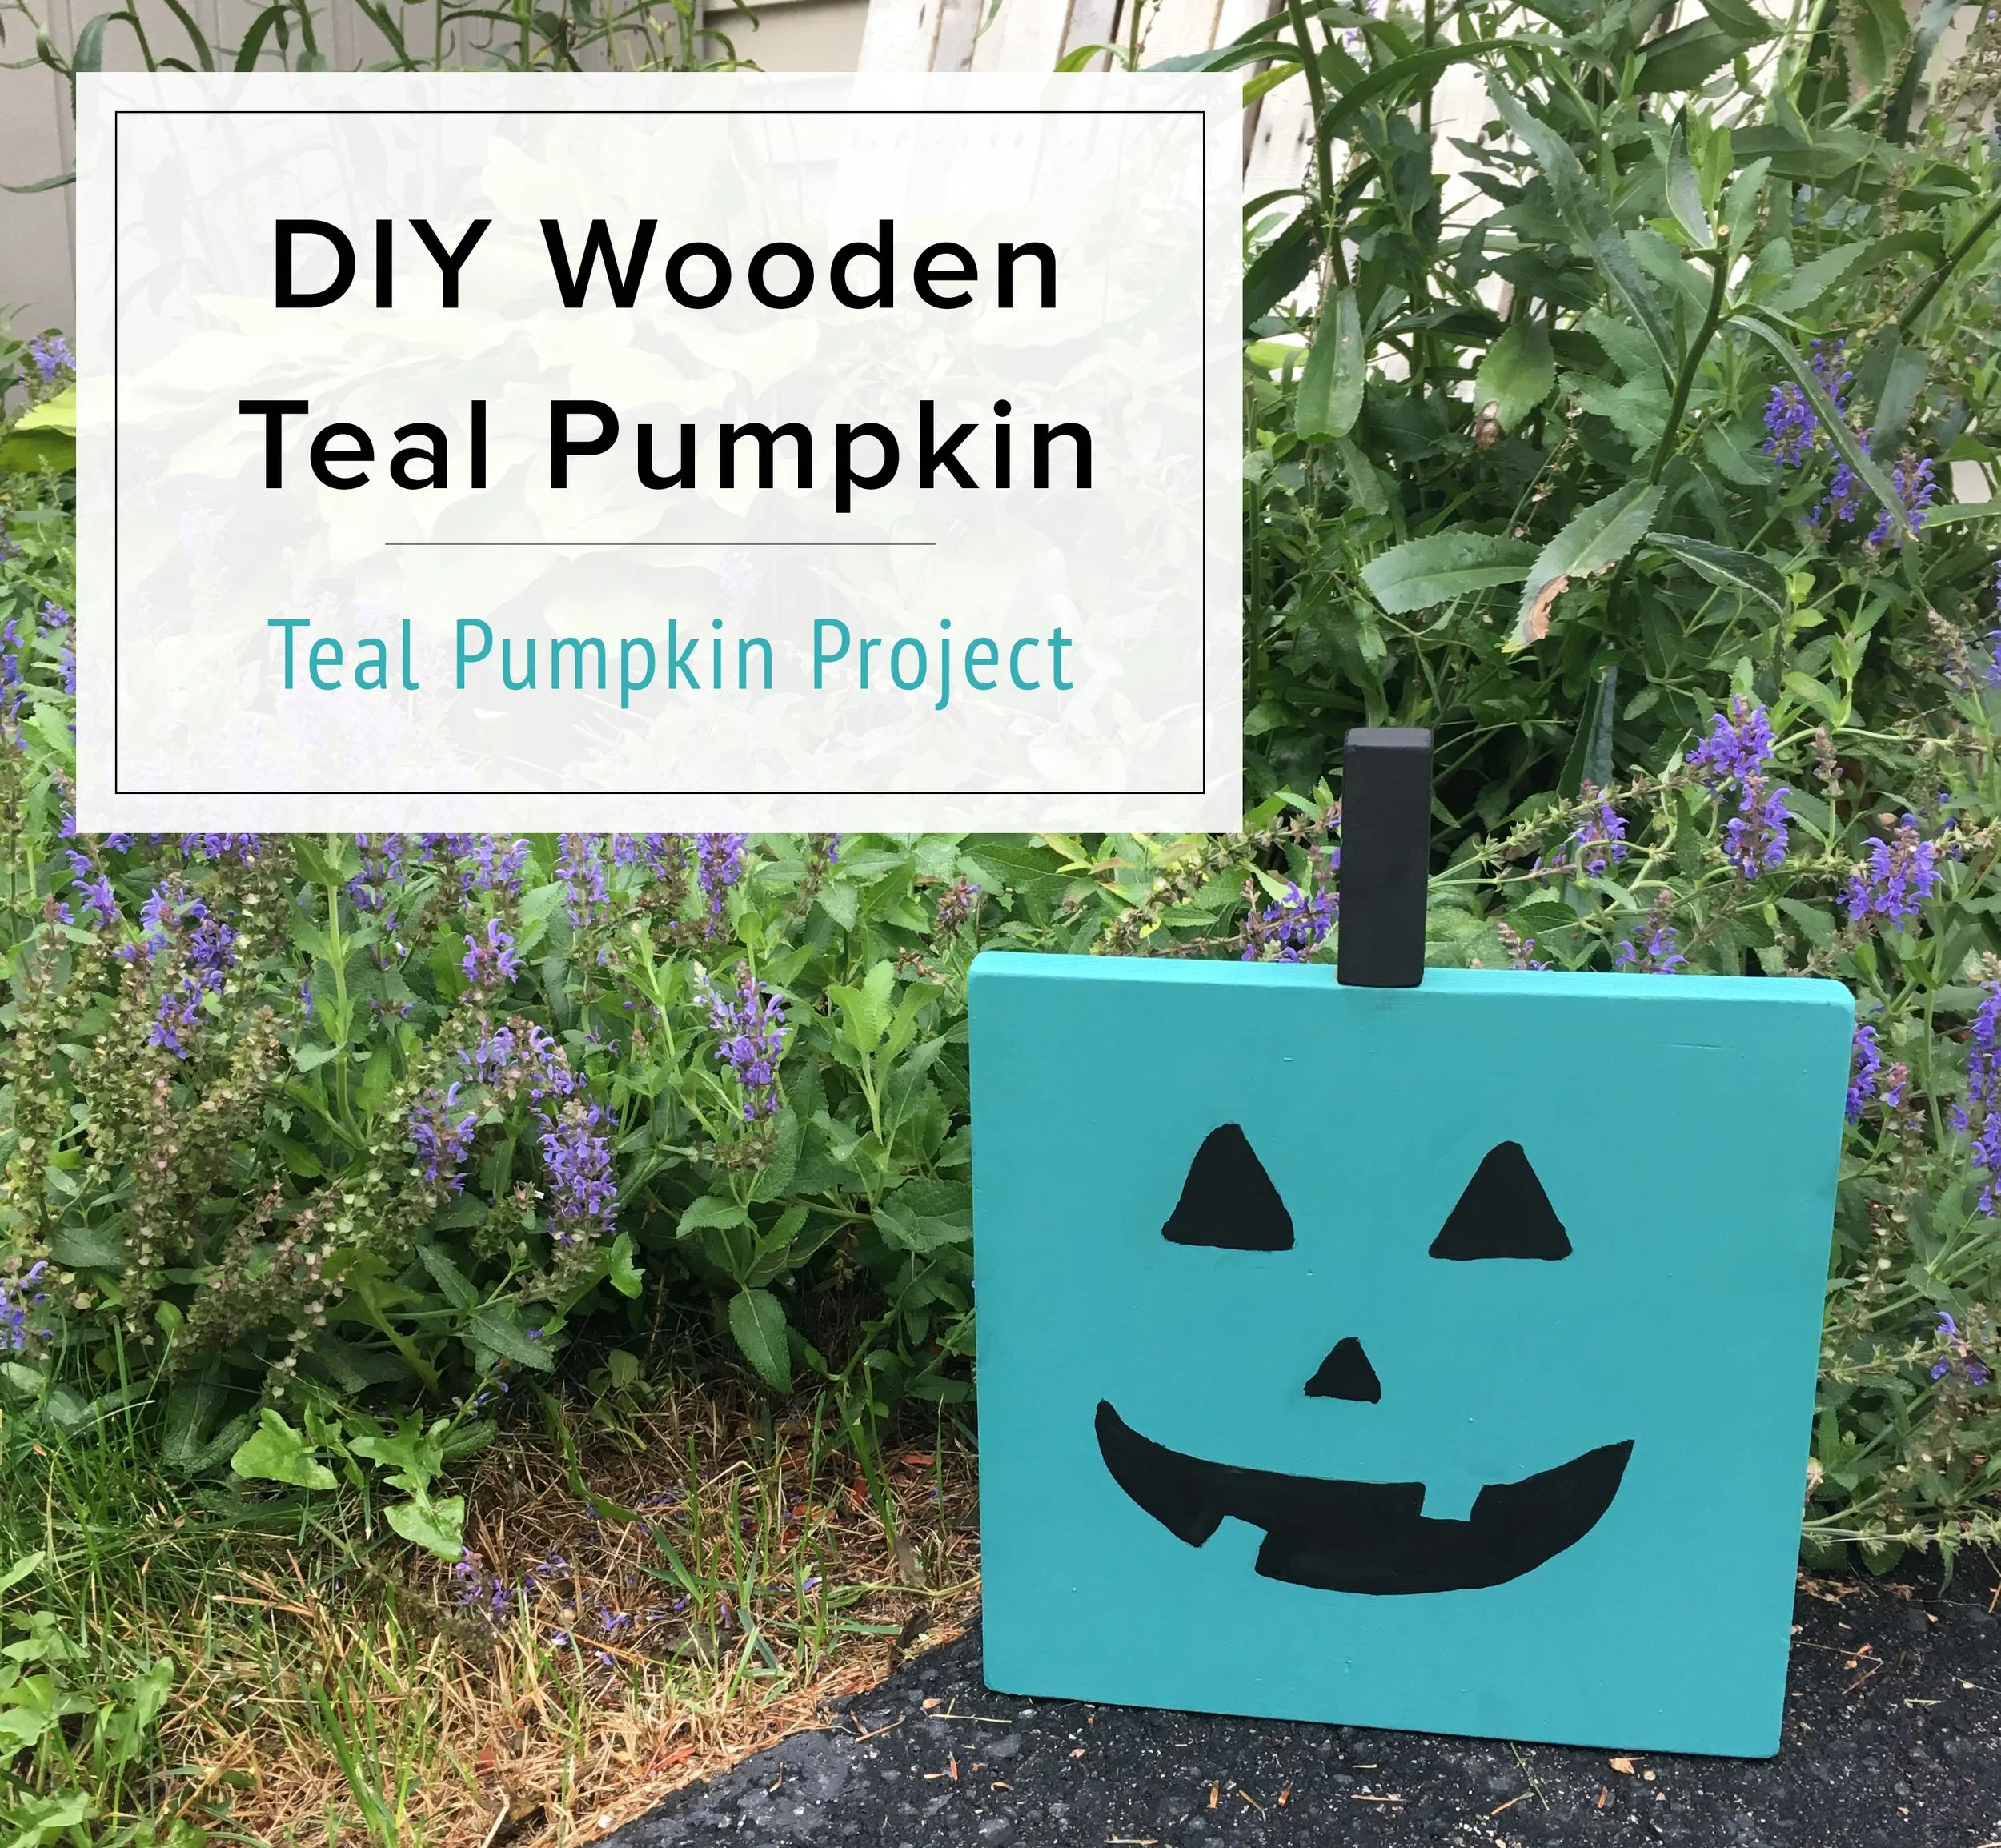
We usually paint a real pumpkin teal each year, but this year the squirrels and chipmunks have been eating all the decorations we put out on our porch (*shakes fist*). So yesterday afternoon during nap time I whipped up a Wooden Teal Pumpkin that can be used for many years to come. And the best part? It cost me NOTHING! I made it all with scraps from our wood bin and paint we already had.
Materials:
Scrap wood for pumpkin (you can use any sizes or shapes of wood you have around)
1. Cut your wood scraps down to size if necessary. You need one larger piece for the face, one small piece for the stem, and a piece for the support at the back (the support piece does not have to be triangular, that’s what I happened to have though).
2. Next attach the support piece of wood to the back of the large piece with a screw or nail.
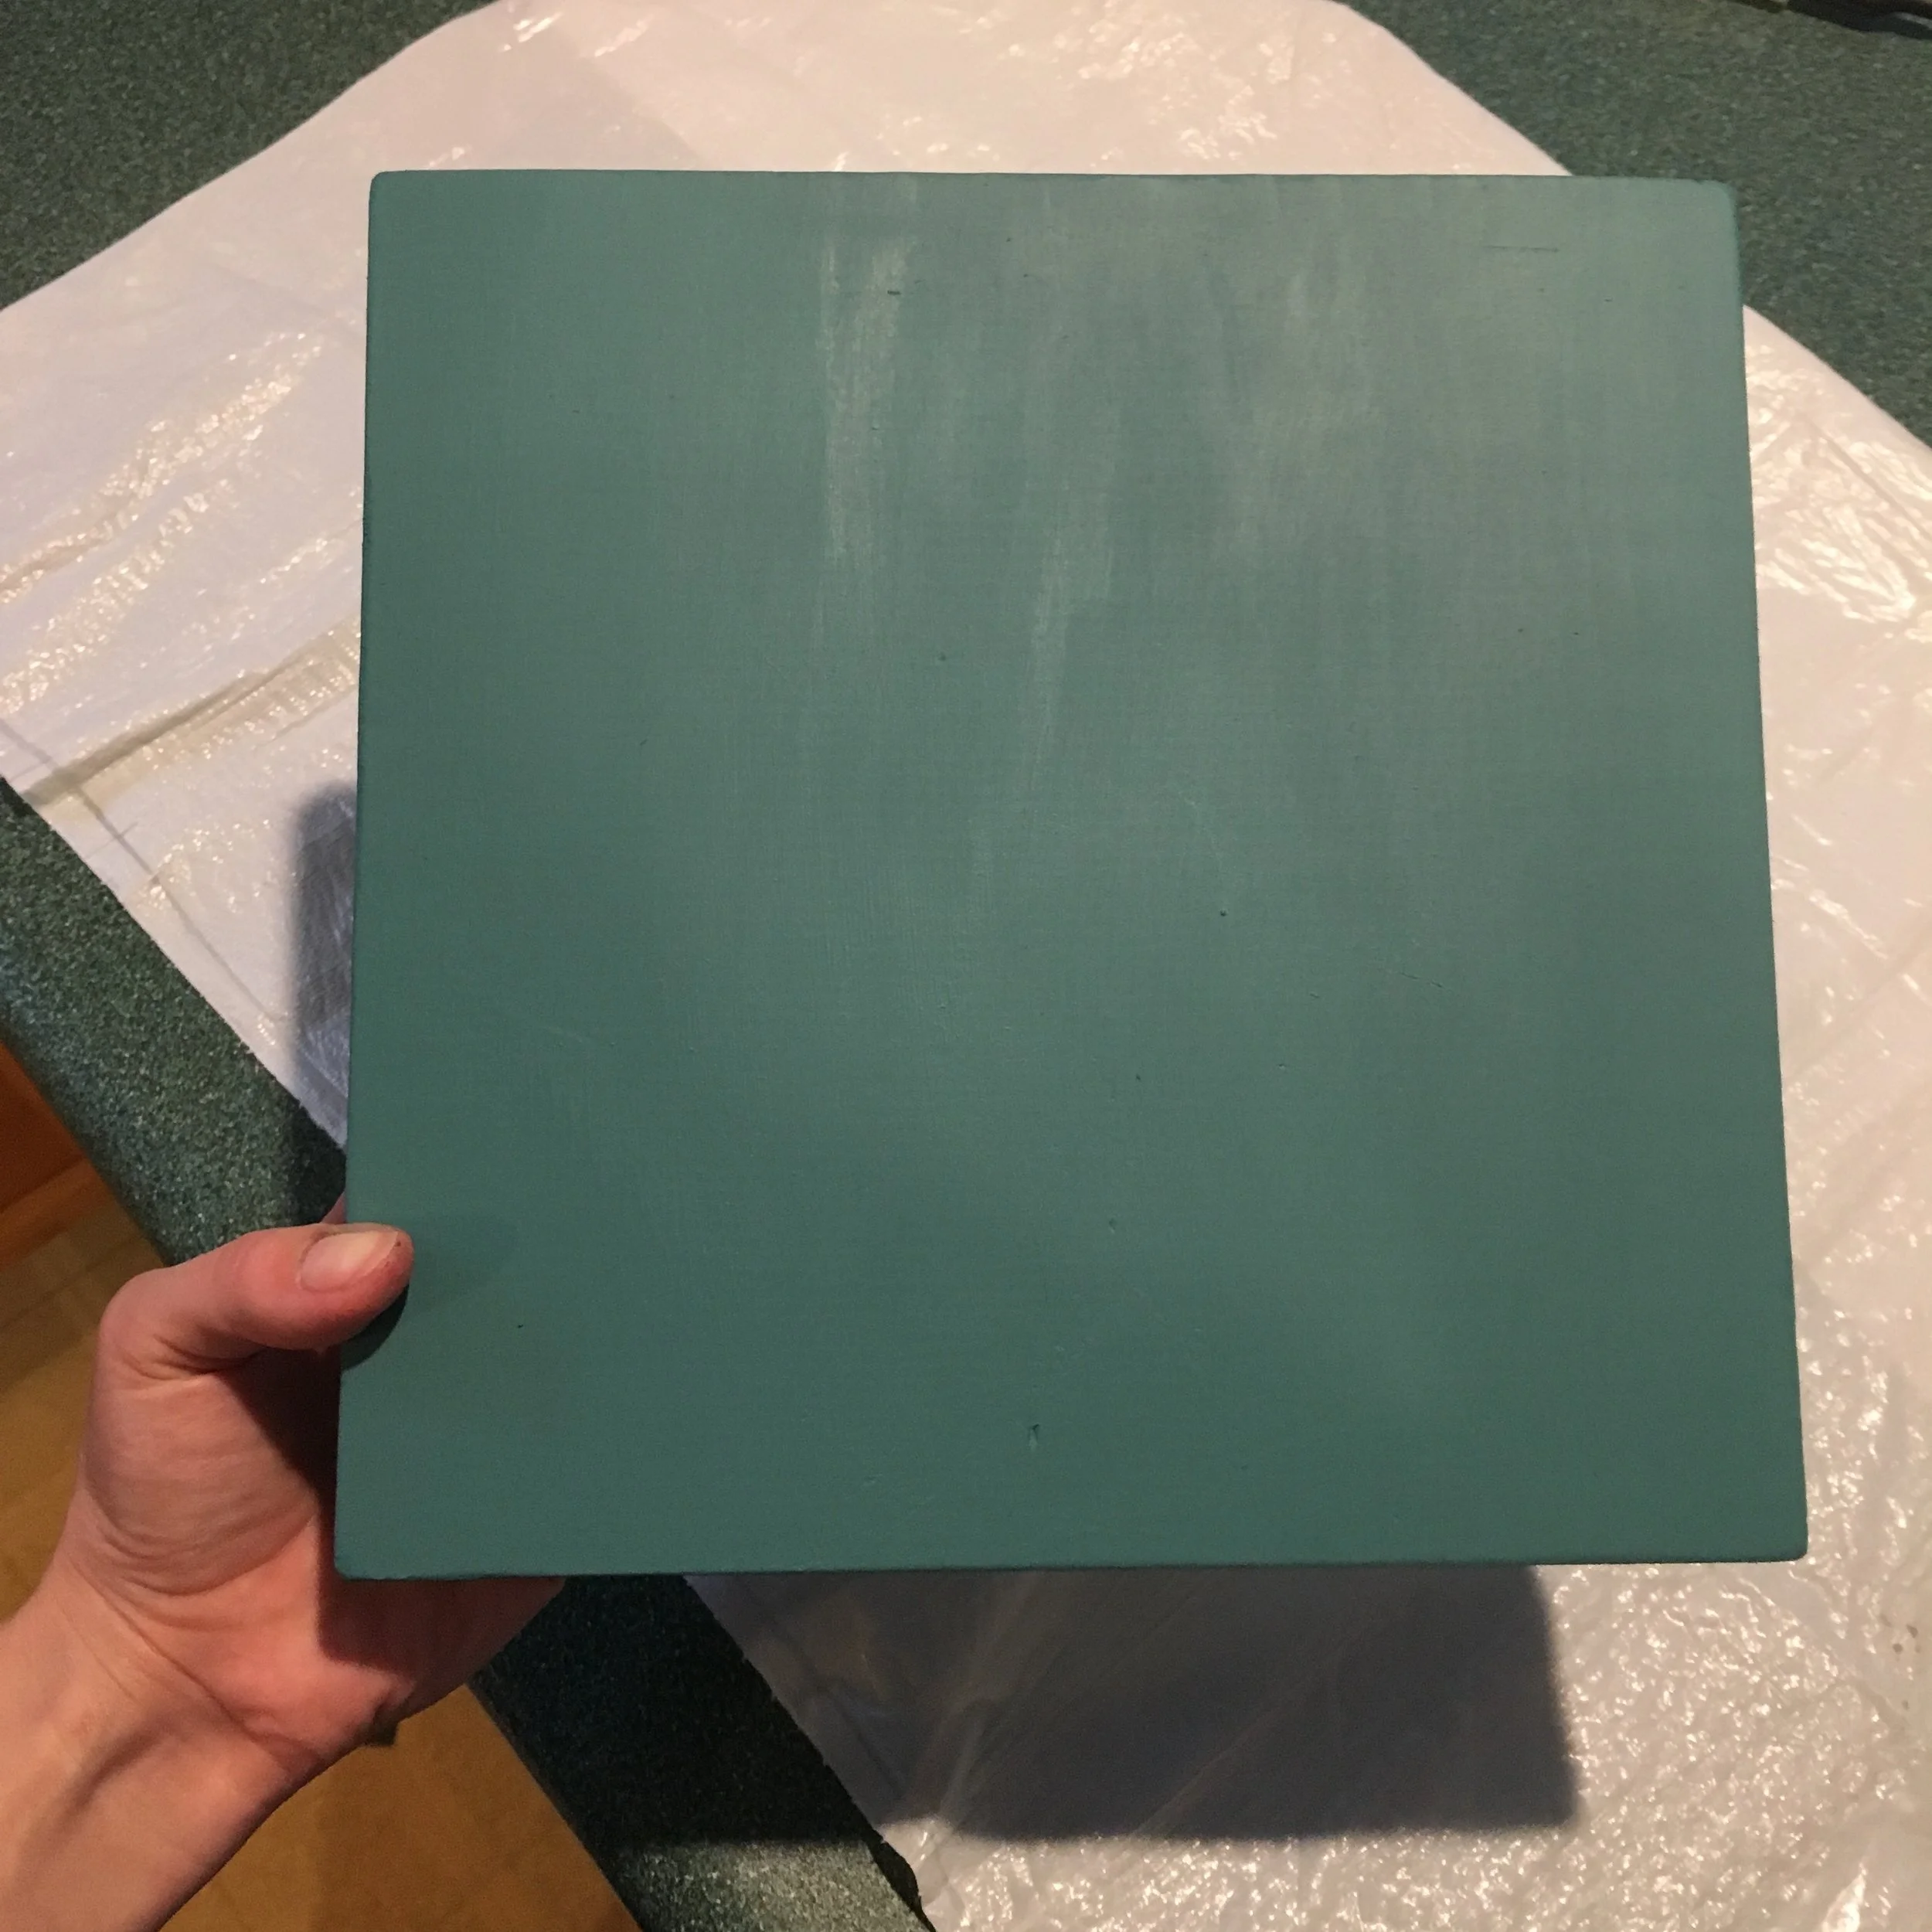
3. After that, give it at least two coats of teal paint. Paint it all over, including the sides and back.
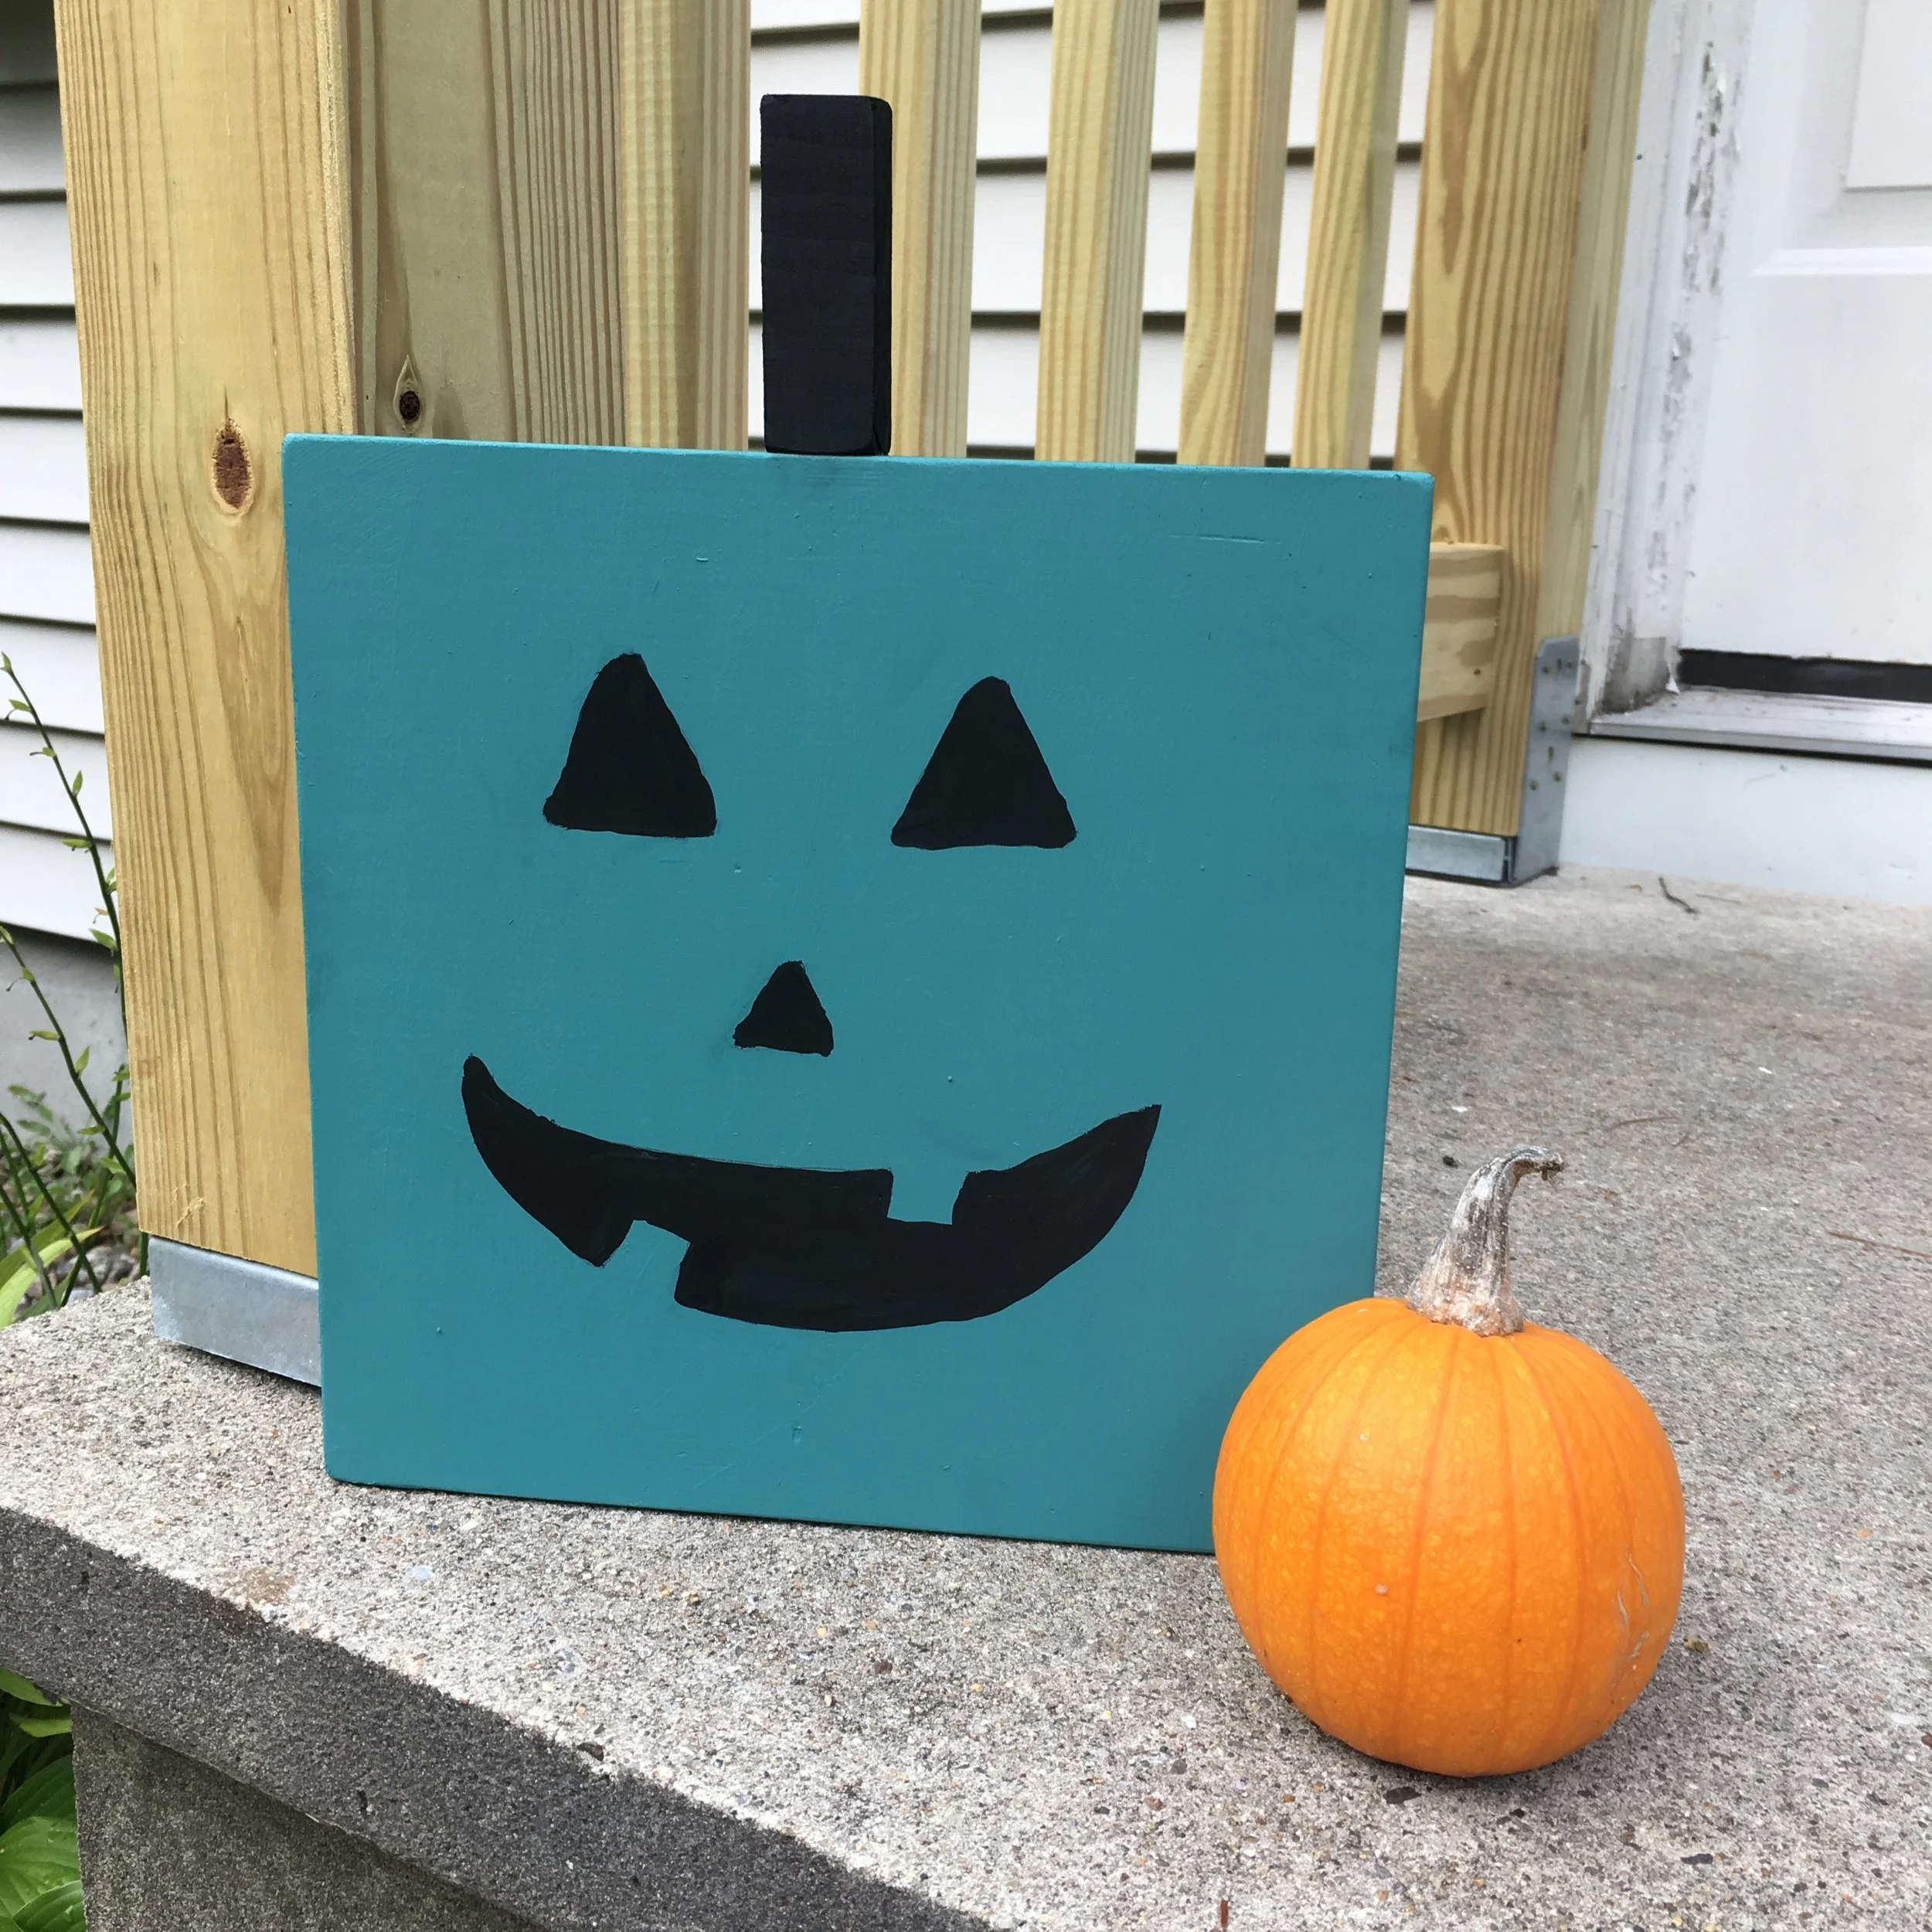
4. Once that’s dry, use black paint to paint a jack-o-lantern face on it and paint the stem piece black as well.
5. Once everything is dry use wood glue to attach the stem to the top of the pumpkin and give a good spray of clear sealer if you’ll be putting it out not under the cover of a porch, etc.
And that’s it! Now you’re ready to put your teal pumpkin out to welcome all kids for Halloween. Happy Halloween!
FARE (Food Allergy Research & Education) has some wonderful resources on their website - including crowdsourcing maps to identify participating houses, printables you can use to proudly show your support and educate others, and fundraising opportunities to help fund food allergy research and awareness.