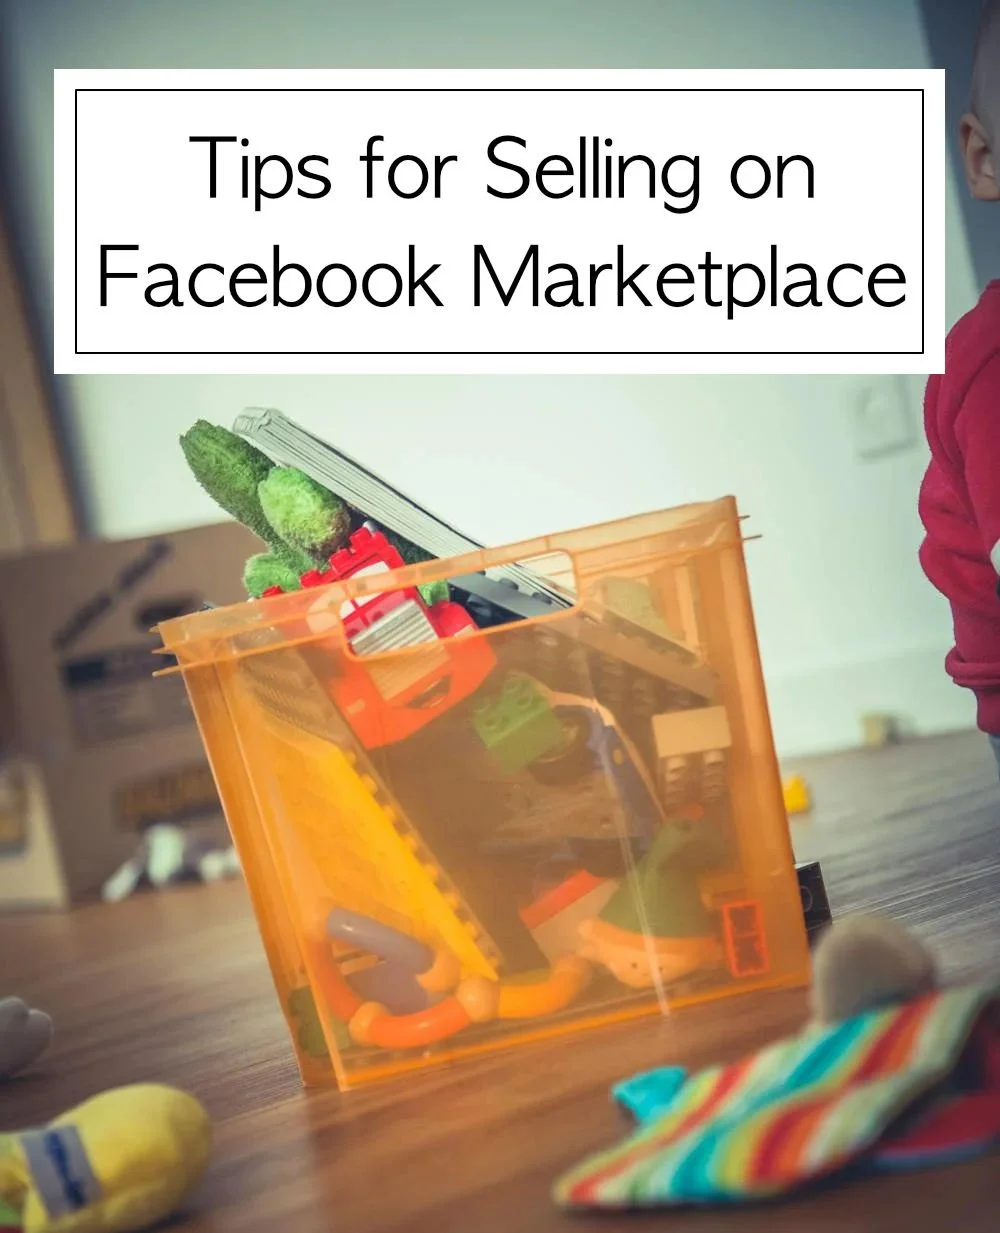
Tips for Selling on Facebook Marketplace
Lately I’ve been on a huge decluttering kick. I really want to pare down what we have in our home so we only have stuff we love, use, or is sentimental/important to us. Everything else can go. I’ve been taking my time with this process but it’s been really freeing to open up some space in our home. I try to throw away as little as possible and have been either donating items locally or selling them on Facebook Marketplace. Read on for my tips on how to sell your unwanted items on Facebook.
| Disclaimer: These are suggestions. Sell/buy on Facebook at your own risk. |
| Disclaimer: These are suggestions. Sell/buy on Facebook at your own risk. |
Tips for Selling on Facebook Marketplace
Clean Your Items Before Taking Photograpshs
Oh my gosh - this is the most obvious one that I feel like so many people neglect to do. They will post a picture of a table for example, still covered with magazines and cups - or the table will be filthy with dust. Kids’ shoes is another big example - make sure to take a little time and clean kids’ shoes. Get any stains/dirt you can off up the uppers and take an old toothbrush and clean the mud out of the treads. No one is interested in your dirty items - clean them up!
Consider the Backdrop of Your Photos
Don’t take photos somewhere messy or that looks unclean (like a basement or garage - unless you’re selling something that really belongs there like sports equipment or tools). For example, if you’re selling a nice piece of furniture, dress, kids’ toys, etc make sure the backdrop is somewhere clean and nice inside your home - don’t take a sketchy looking photo in a dirty/damp-looking basement because that implies the items weren’t well-cared for.
Price Your Items Well
Keep in mind this is a “yard sale.” And while things are typically priced a little higher than they would be at an actual yard sale, don’t be unreasonable. I usually price my items at the higher-end of reasonable, and then decrease my price periodically. If it doesn’t sell in a few weeks, it typically gets donated.
Be Safe
Be really wary with selling/buying on Facebook. Always check out the profile of who’s interested in the item to make sure it looks like it’s a real account with some history (it wasn’t just made in the last few months). Also never give out your phone number.. a lot of scammers will send you a message that says something like “I’m working, what’s your phone number so I can text you about this item? -or- Here’s my number, please text me.” Always decline to give out your number and say you only do correspondence through Facebook Messenger. It’s also a good idea to never accept electronic payments (Venmo, PayPal, etc) - stick to cash-only. (And if you’re a buyer never send an electronic payment as a “deposit to hold an item” - that’s a very common scam and a big red flag.)
And the biggest one - ALWAYS MEET IN A PUBLIC PLACE THAT ISN’T YOUR HOUSE. I strictly will only meet at local Police Department parking lots. Our surrounding town police departments all have designated parking spots under video surveillance that are meant for online sale exchanges. Several times someone has messaged me asking to meet for an item but instantly declined once they found out I only meet at the Police Station - that’s a huge red flag if they won’t meet at the Police Station and you want nothing to do with that person.. block them and move on.
Send a Reminder Message about an Hour Before the Meet
No-shows are the worst, and unfortunately fairly common. To help reduce no-shows, send a one-line reminder message about an hour before you’re supposed to meet the person.. something like “See you at XXX Police Department at 3PM.” Most of the time if they forgot or weren’t going to show up they will message you back and say “whoops, I won’t be there” and you’ll save yourself the trip. I also try really hard to line up my yard sale meets with other errands so I’m in that area anyways and it’s not as much of an inconvenience if I get stood up.
What Generally Sells Really Well:
Kids’ toys
Kids’ shoes & clothing (clothing typically sells better in big lots by size)
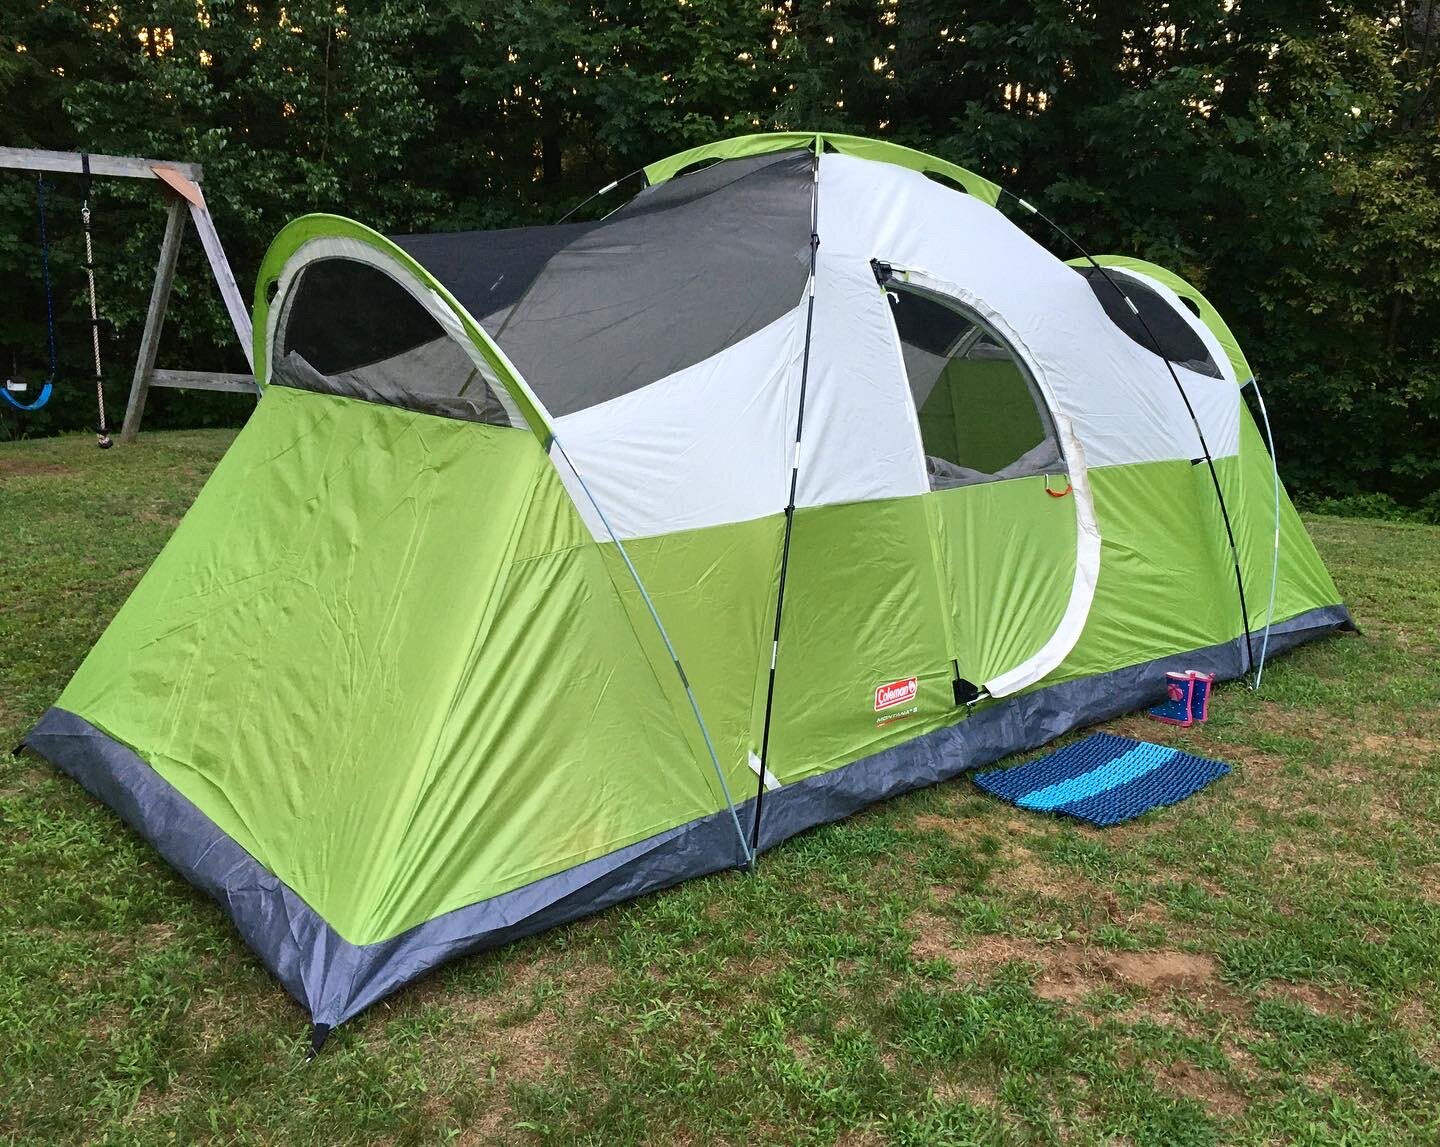
Sporting equipment
Tools
Furniture
Garden Items
I’ve found that some items in particular (like books and women’s clothing) do not generally sell well. Also make sure to try to sell items seasonally - don’t list snow pants for sale in April, they probably won’t sell. List them for sale in Fall when people are looking for them.
And always - make sure to follow Facebook guidelines on what is allowed for sale or not.
Good luck with your decluttering journey!
KEEP UP WITH BIRCH LANDING HOME
| Etsy | Facebook | Instagram | Pinterest | Bloglovin' | Hometalk |