I'm a wife, stay-at-home mom, crafter, and blogger living in rural New England. As seen in Martha Stewart Living, Food Network Magazine, and more! | Tutorials, DIY, crafts, parenting tips, recipes, money saving tips, product reviews, local product features, New England living, intentional living, and more! |
As a mom of two little ones, I’m always on the hunt for a stylish way to haul our gear when we’re out and about - which is where Town and Country Tote comes in! They are the perfect solution for your diaper or work bag. | This post contains an honest review of product provided by Town and Country Tote |
Town and Country Tote is a small business that offers quality, Made in USA classic tote bags with a twist - these tote bags come in a variety of colors and patterns as well as a really handy durable canvas insert that organizes all your gear perfectly! I just love the variety of compartments in the organizer, and how it’s set up like it’s own little filing system with everything at your fingertips!
These classic tote bags are super versatile and would make the perfect diaper, work, or gym bag for both women and men. They also offer great personalization options which can machine embroider, hand embroider, or hand paint your monogram and/or coordinating stripes on the tote bag. These special details really set the bag apart from others and make it unique and beautiful as well as practical!
Want to win a Custom Tote Bag for yourself?
Go over to my Instagram (@birchlandinghome), like our Town and Country Tote post, follow both accounts, and tag a friend! Winner will get to choose a Classic Tote Bag with the personalization option of their choice - up to a $160 value!
- This post contains an honest review of product provided by Town and Country Tote, LLC but all opinions expressed are my own. Please see our full Disclosure Policy for more information -
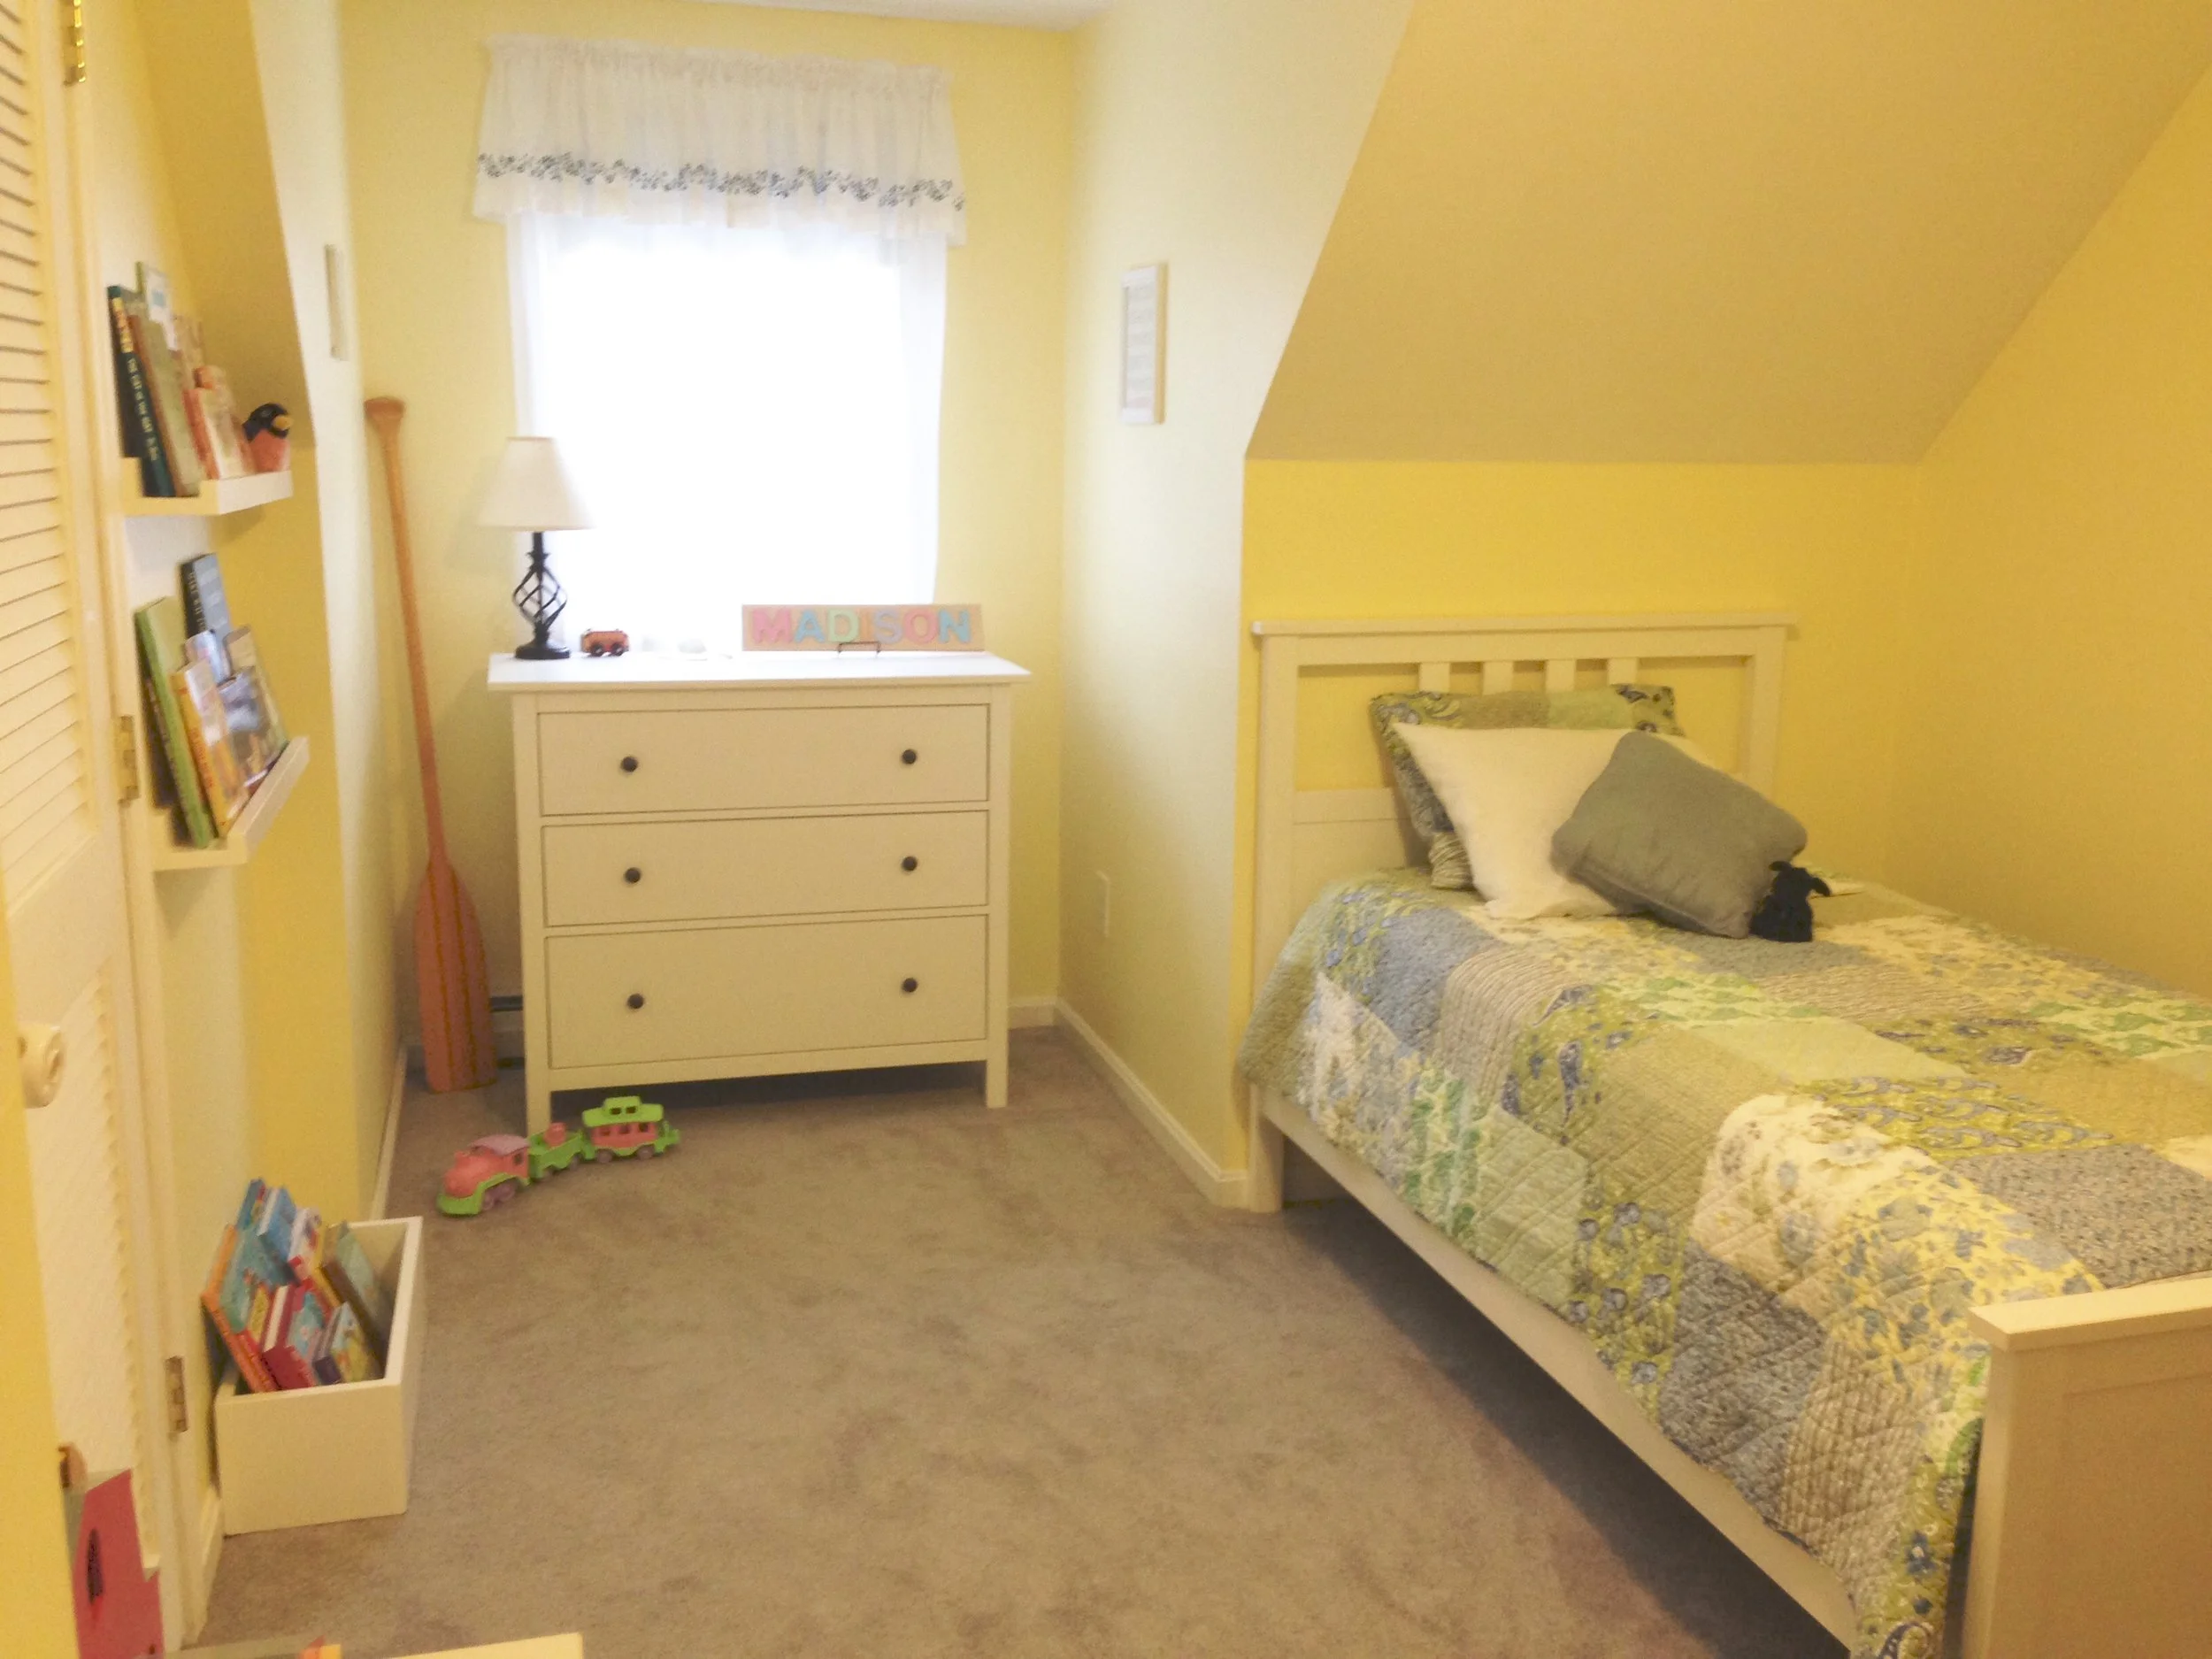
It's been a long time coming, but we've finally moved our little one up to her "big girl room"! Decorating and organizing this space has been a challenge since it's such a tiny room. And while arrows, deer, and gold polka dots are all the rage right now, we wanted to get the biggest bang for our buck and go with a timeless, classic theme that our daughter can grow into. | This post contains affiliate links |
We decided to go with a blue, white, and yellow color scheme (which always reminds me of Cape Cod) and just a few decorative touches that can easily be changed out as our little one grows and tastes change. Keeping everything pretty light in the room helps make it feel just a little bit bigger too.
The bed and dresser came from Ikea and were very reasonably priced. In fact, these were my first purchases from Ikea EVER (gasp) and I was very impressed with the quality and sturdiness of them. While not shown in these photos, we have under-mattress bedrails that are typically on the bed so she doesn't roll out.
The bedding was one of the most reasonably priced quilt sets I could find and came from Amazon (*at the moment it's listed for double what I had paid, but Amazon pricing can change often so hopefully the price will come down again soon). I just love all the different blues, greens, and creams in the bedspread! It keeps with the Cape Cod color scheme and adds a country touch.
The "love you to the moon & back" sign was made by me and will be coming to our Etsy shop soon ;)
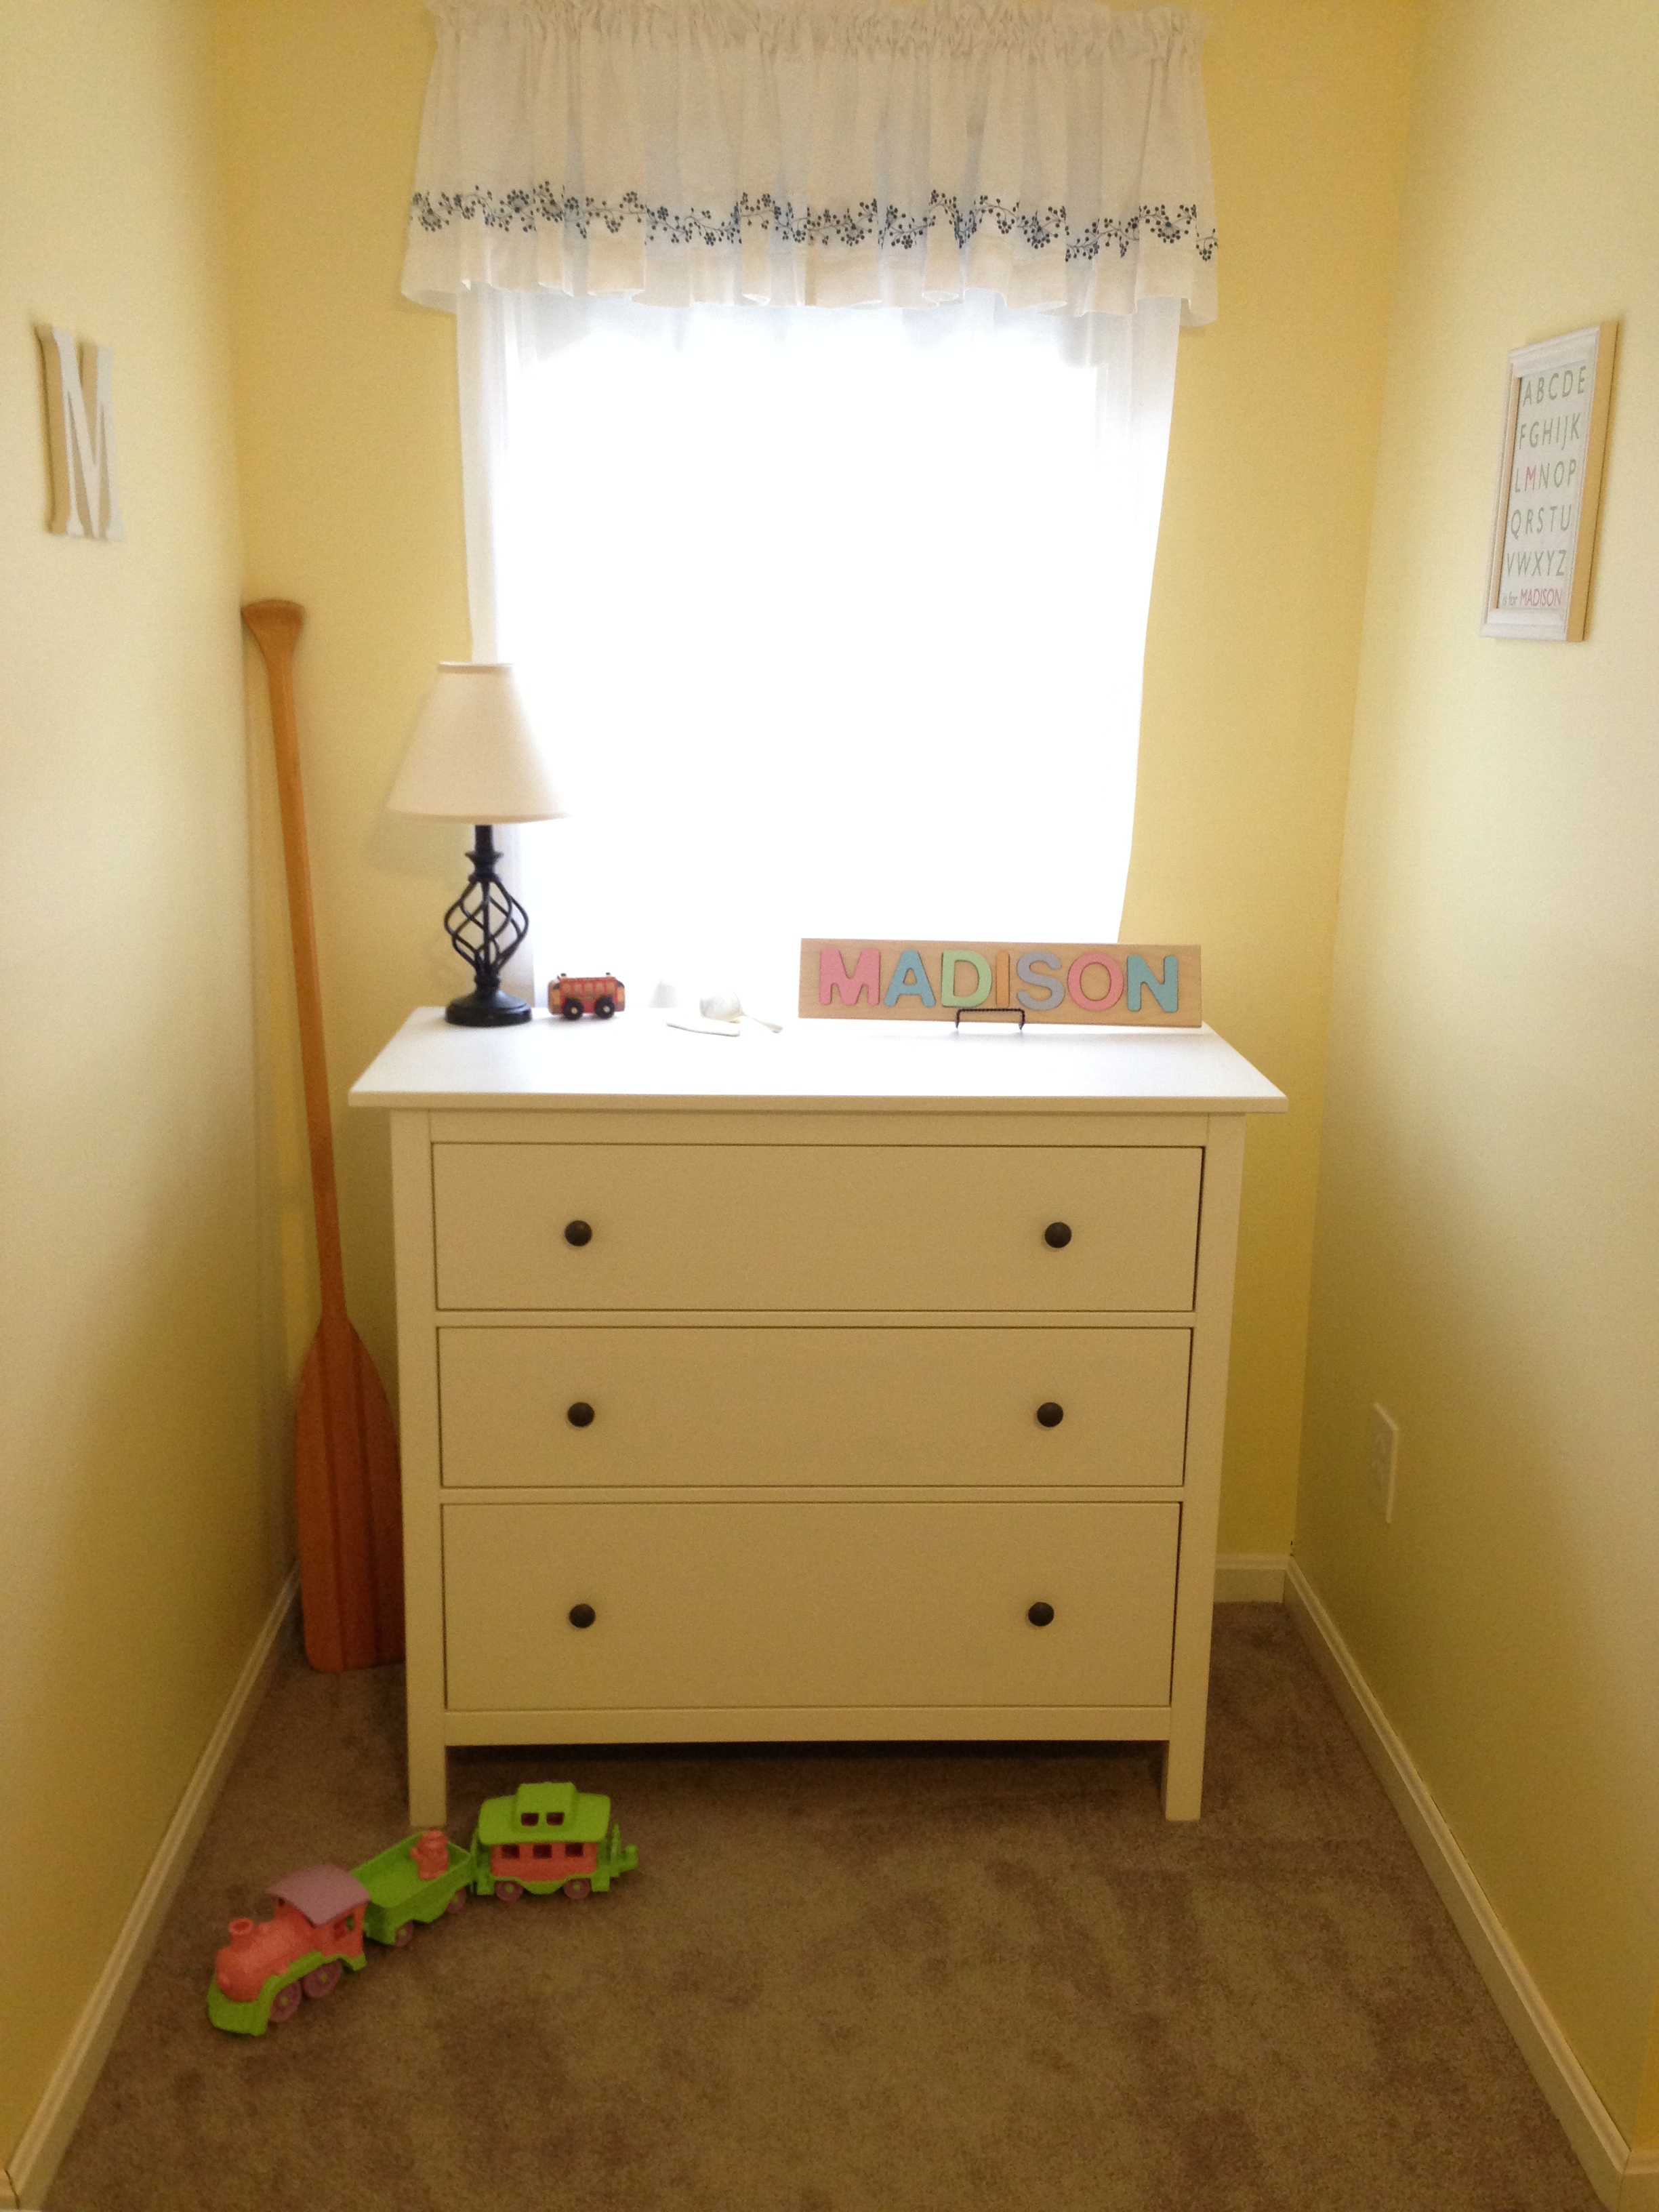
This little dormer was the perfect spot to tuck the dresser in as well as some decorative touches like the wooden oar, which was a freebie find. The custom name puzzle is from Amazon, and both the lamp and the curtains are from Wal-Mart.
We also added this Personalized Alphabet Printable from my Etsy shop as well, and our daughter loves finding the letters from her name in it.
This Moon Bed was a custom creation from my brother and sister-in-law as a gift for our baby shower - it makes the perfect spot for snuggling up with a good book and some stuffed animals. The starfish watercolor painting is by New England artist Jen Scully of Mack & Ro. I love how it compliments this corner with the "moon and stars" theme but also fits in perfectly with the overall coastal vibe of the room.
What's New England without a farm? This little Pottery Barn table was a yard sale find (score!) and makes the perfect spot for a barnyard scene. The wooden barn is from Melissa and Doug but the animals are Little People (all yard sale finds again). The woven rope basket to hold accessories for the farm adds a coastal touch. This rope basket is old, but I've linked a very similar one here.
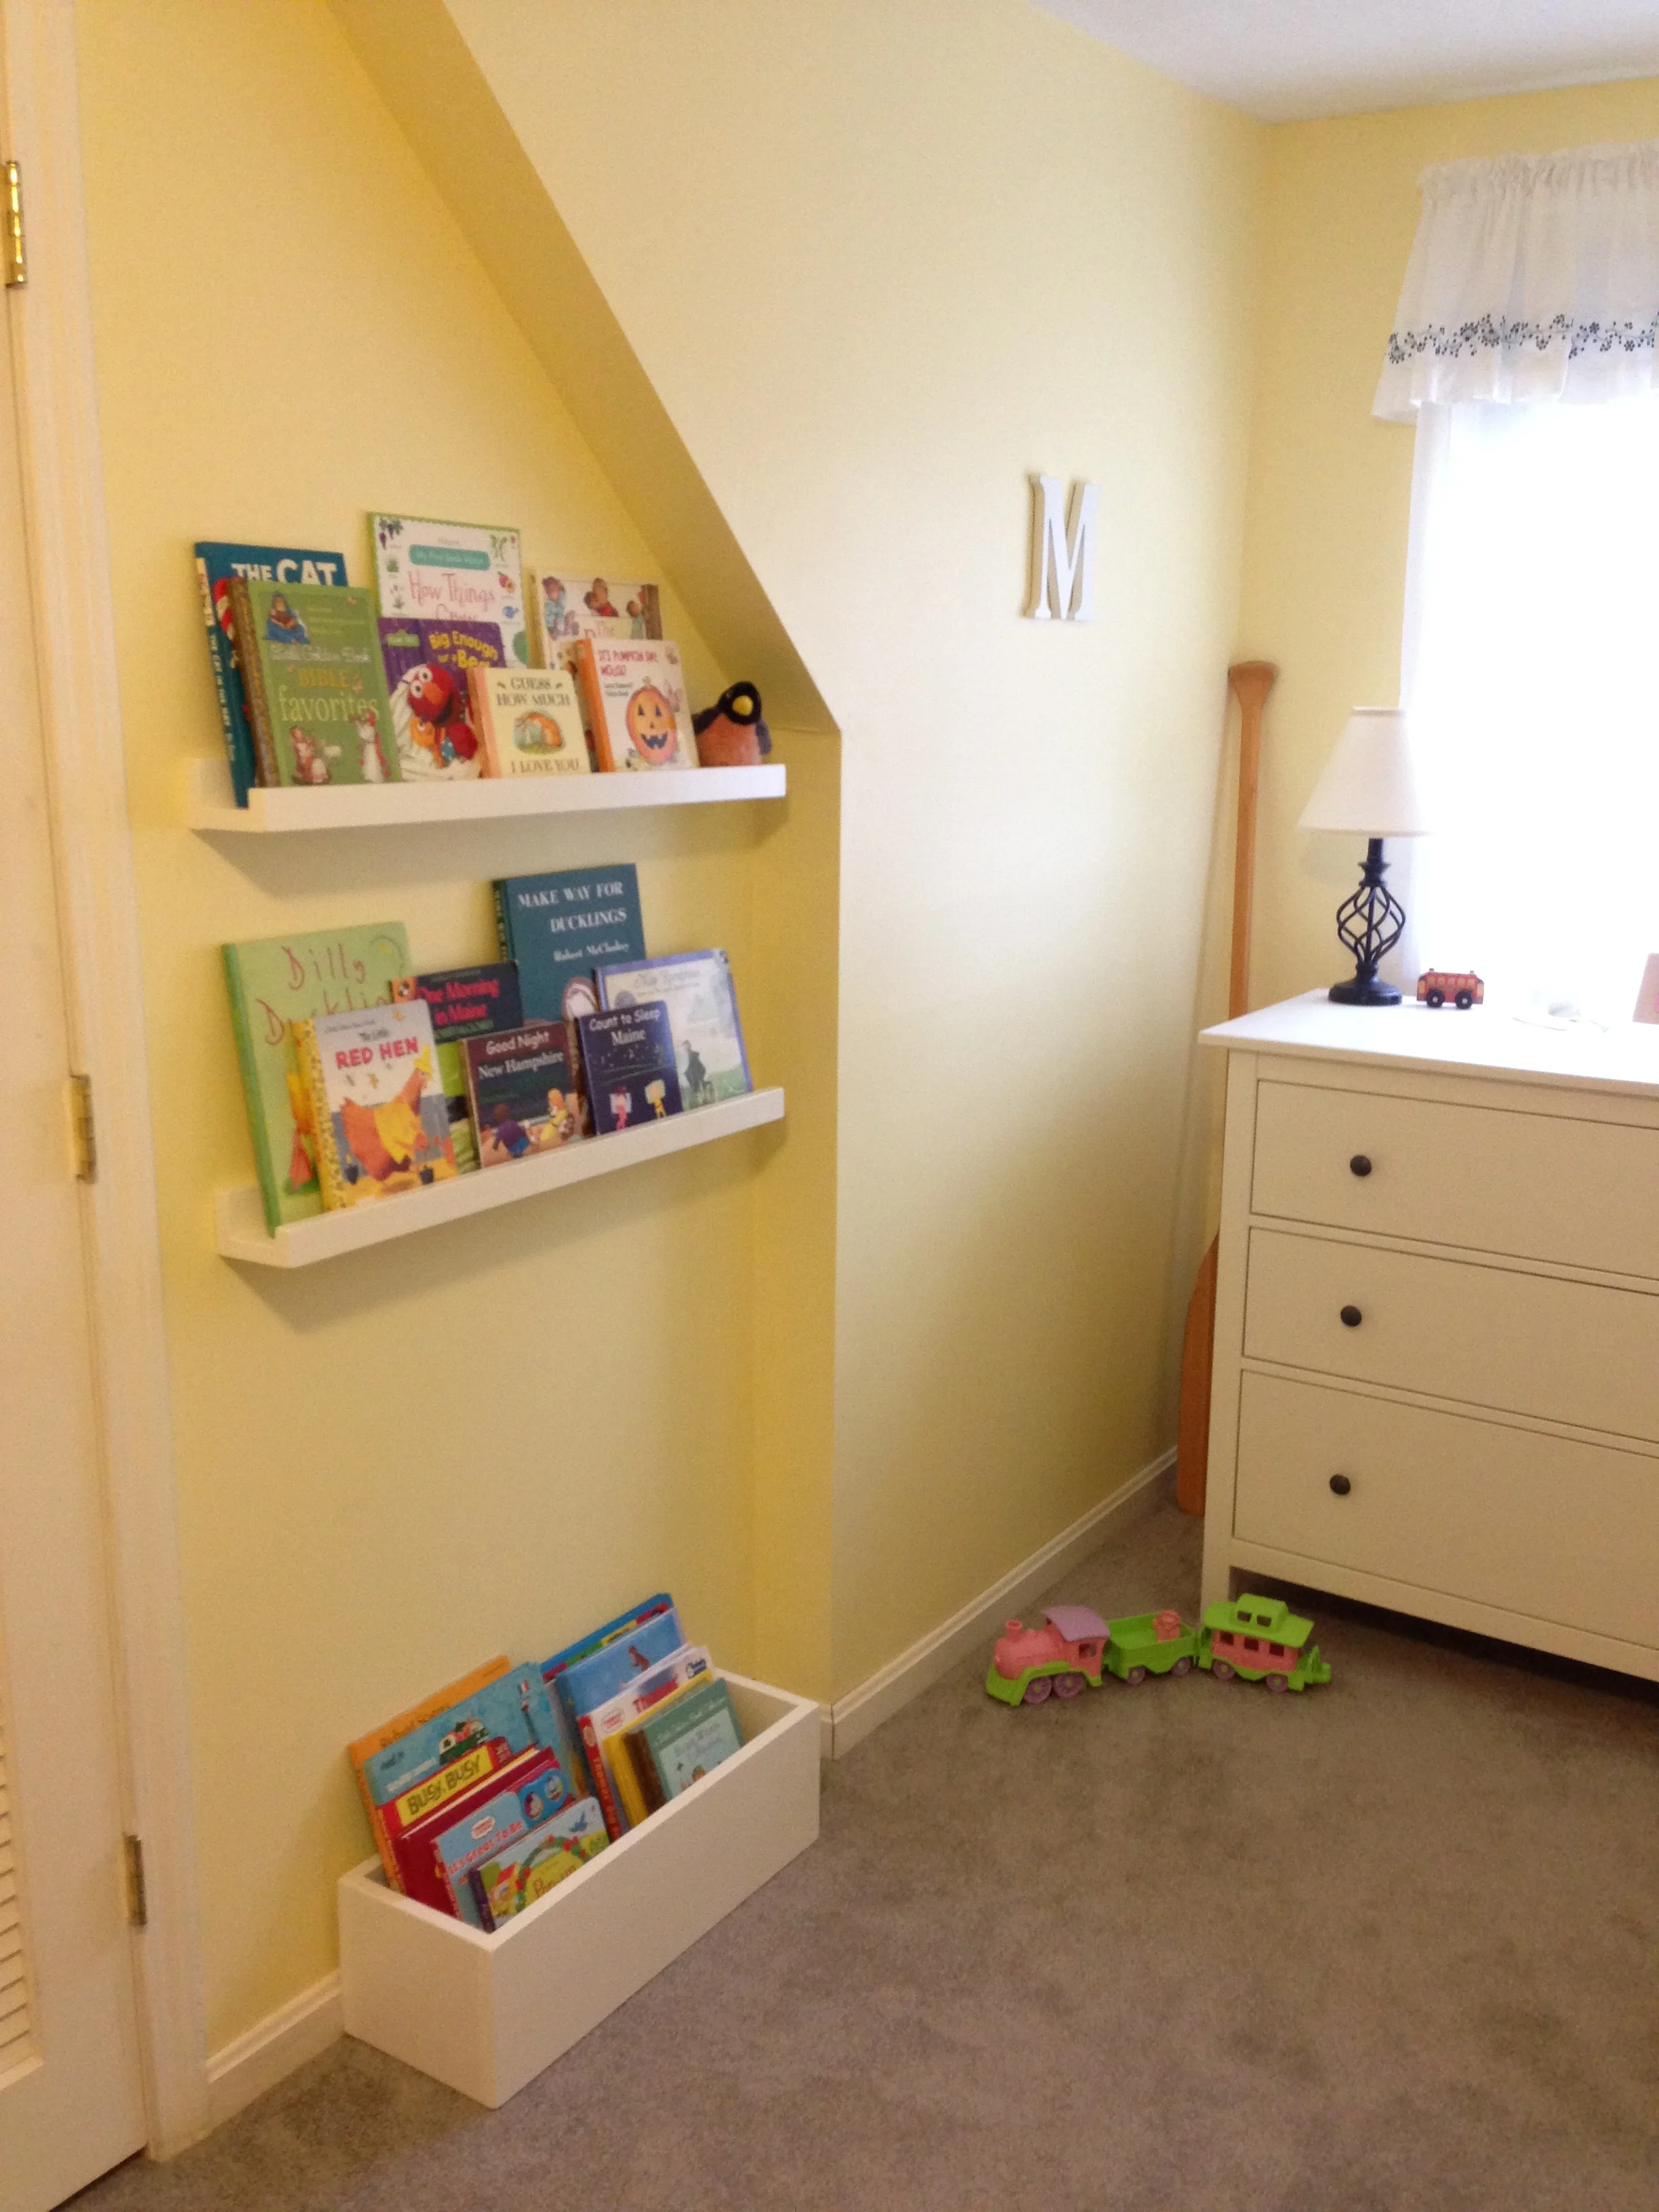
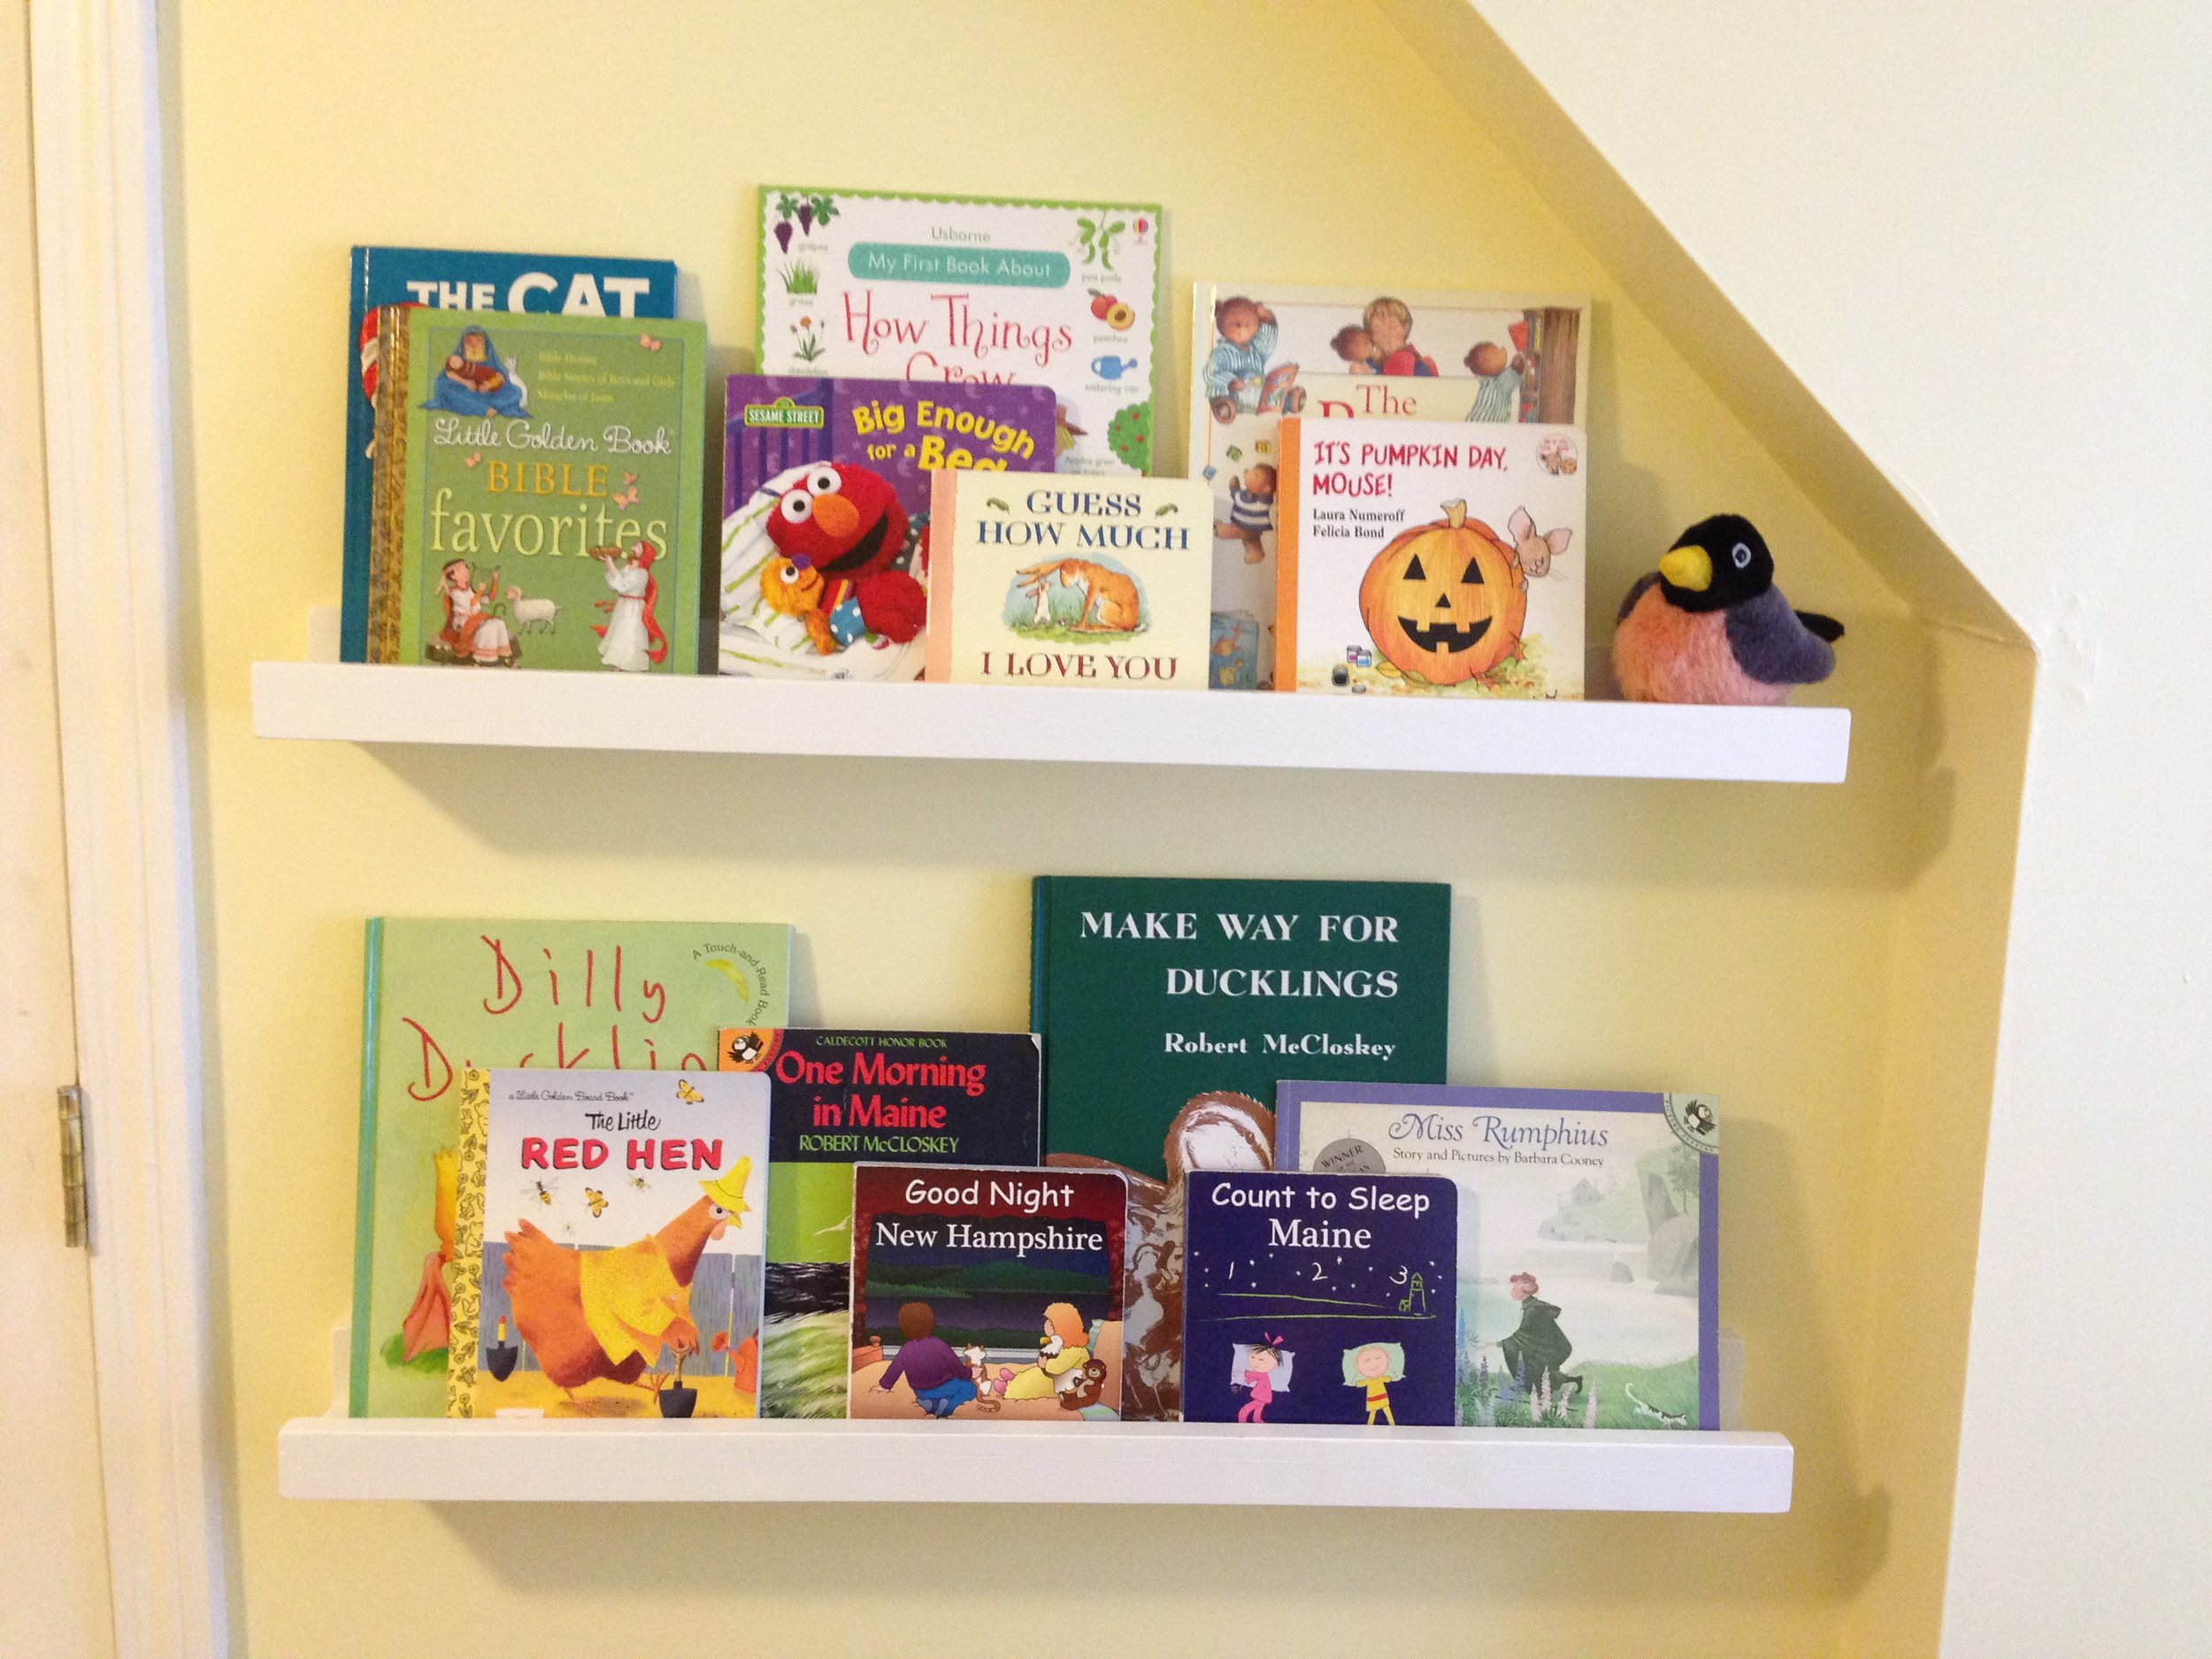
This room has a very shallow alcove and to make the most of the space I built custom book rails in it for storage and display. I debated on putting one more rail down lower but decided against it since I know our toddler would try to climb it like a ladder. Instead, I made a custom narrow wooden crate to sit on the floor and hold her heavier books that I didn't want to put up on the wall.
The book rails make for great storage that doesn't take up a lot of room, as well as gives us a chance to show of some of our current favorite books (including some fun New England-themed ones).
And last but not least, possibly the most important addition to our daughter's big girl room, the
Ready to Wake Clock! I was a bit skeptical at first, but this clock really has been a lifesaver (and no, this is not a sponsored endorsement). Our daughter used to get up between 4-5AM everyday, but once she learned that she needs to stay in bed until the clock turns green she now sleeps to the decent hour (6:45AM) that we set her clock to (thank goodness!).
I've tried to link all my sources for the room but if there's anything I'm missing that you have a question on, please send me a message.
I've never really liked the cheesy Easter baskets they push at the big box stores. You know, the cheaply-made dyed ones.. the ones you always seem to need to re-buy every year because they're so easily damaged? Not to mention, they're pretty boring. This year I decided to make a special one for our daughter. I LOVE buttons and thought that would make a very adorable theme for decorating an Easter basket. | This post contains affiliate links |
I started with a sturdy willow basket (we purchased ours off Amazon, but you could get one just about anywhere), and used a needle strung with heavy button thread to "sew" the buttons to the basket. Really I'm just tying them on, but the needle makes it a lot easier to thread the string around a few times.
"Sewing" the buttons to the basket.
Once I felt as though the button was good and secure (we don't want them coming off, remember they can be a choking hazard), I tied off the thread with a couple knots and cut off the excess string.
Sewing one of the last buttons on.
This project took less than half an hour and now we have a cute, special Easter basket to use for years to come!
Looking for more Easter ideas? Check out our other Easter posts: