Passive Programming Ideas for a School Library
Having worked in a 7-12 public school library for a few years we’ve been brainstorming and implementing some Passive Programming ideas to make the library a welcoming and fun place. We hope this encourages students to come check out the library and stay for a bit, even if they don’t get book - though we hope of course this leads to them checking out our books while they’re here! Passive programming is programming that you can “set and forget” and takes little or minimal supervision and instruction. | This post contains affiliate links |
Passive Programming Ideas for School Libraries
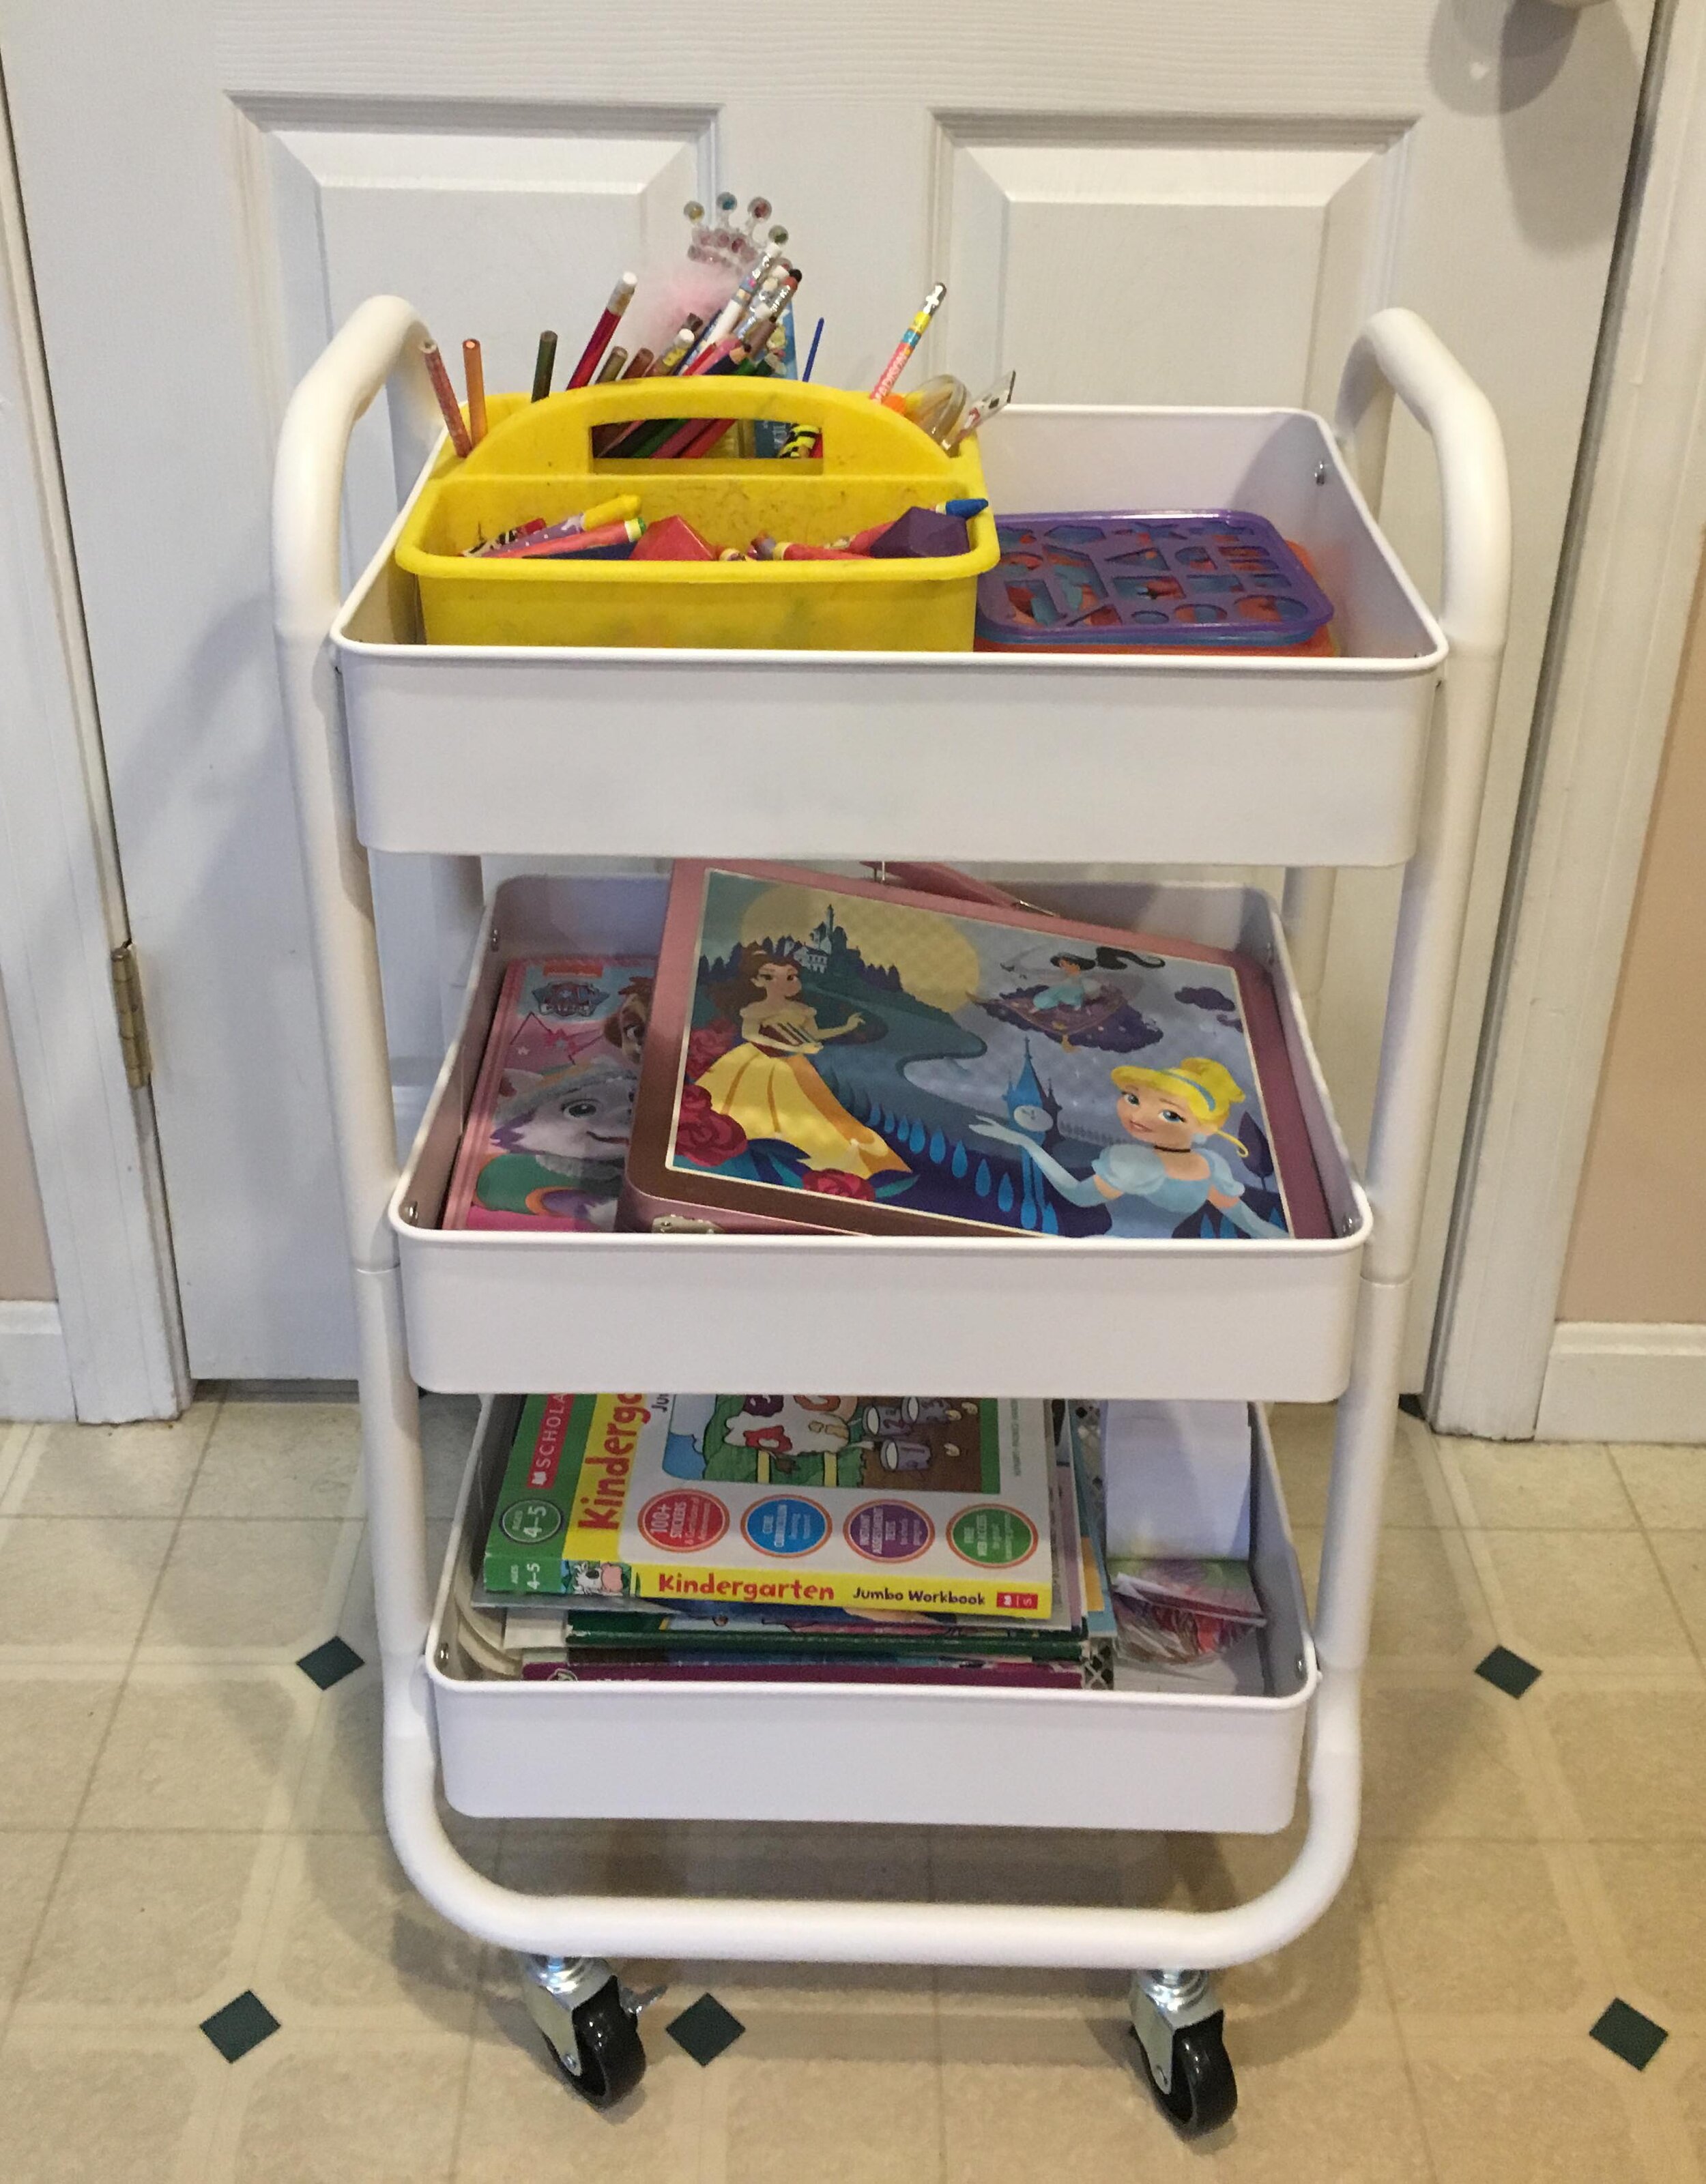
In our library we have a designated table with a few chairs around it for Passive Programming and rotate these ideas periodically. Most of these ideas are for older grades but I’ve also thrown in some ideas for younger grades as well. These would also work for public libraries and private school libraries as well:
- puzzles
- bracelet making station
- keychain making
- bookmark making
- chess
- origami
- 3D Puzzle
- Sudoku sheets
- communal sticker mosaic
- communal coloring poster
- coloring sheets
- communal crossword
- magnetic poetry
- Scrabble or other board games
- trivia
- reading challeges
- simple robot kits (STEM/STEAM)
- write your own book reviews
- scavenger hunt
- kinetic sand
- sensory bin (theme could be updated monthly or seasonally)
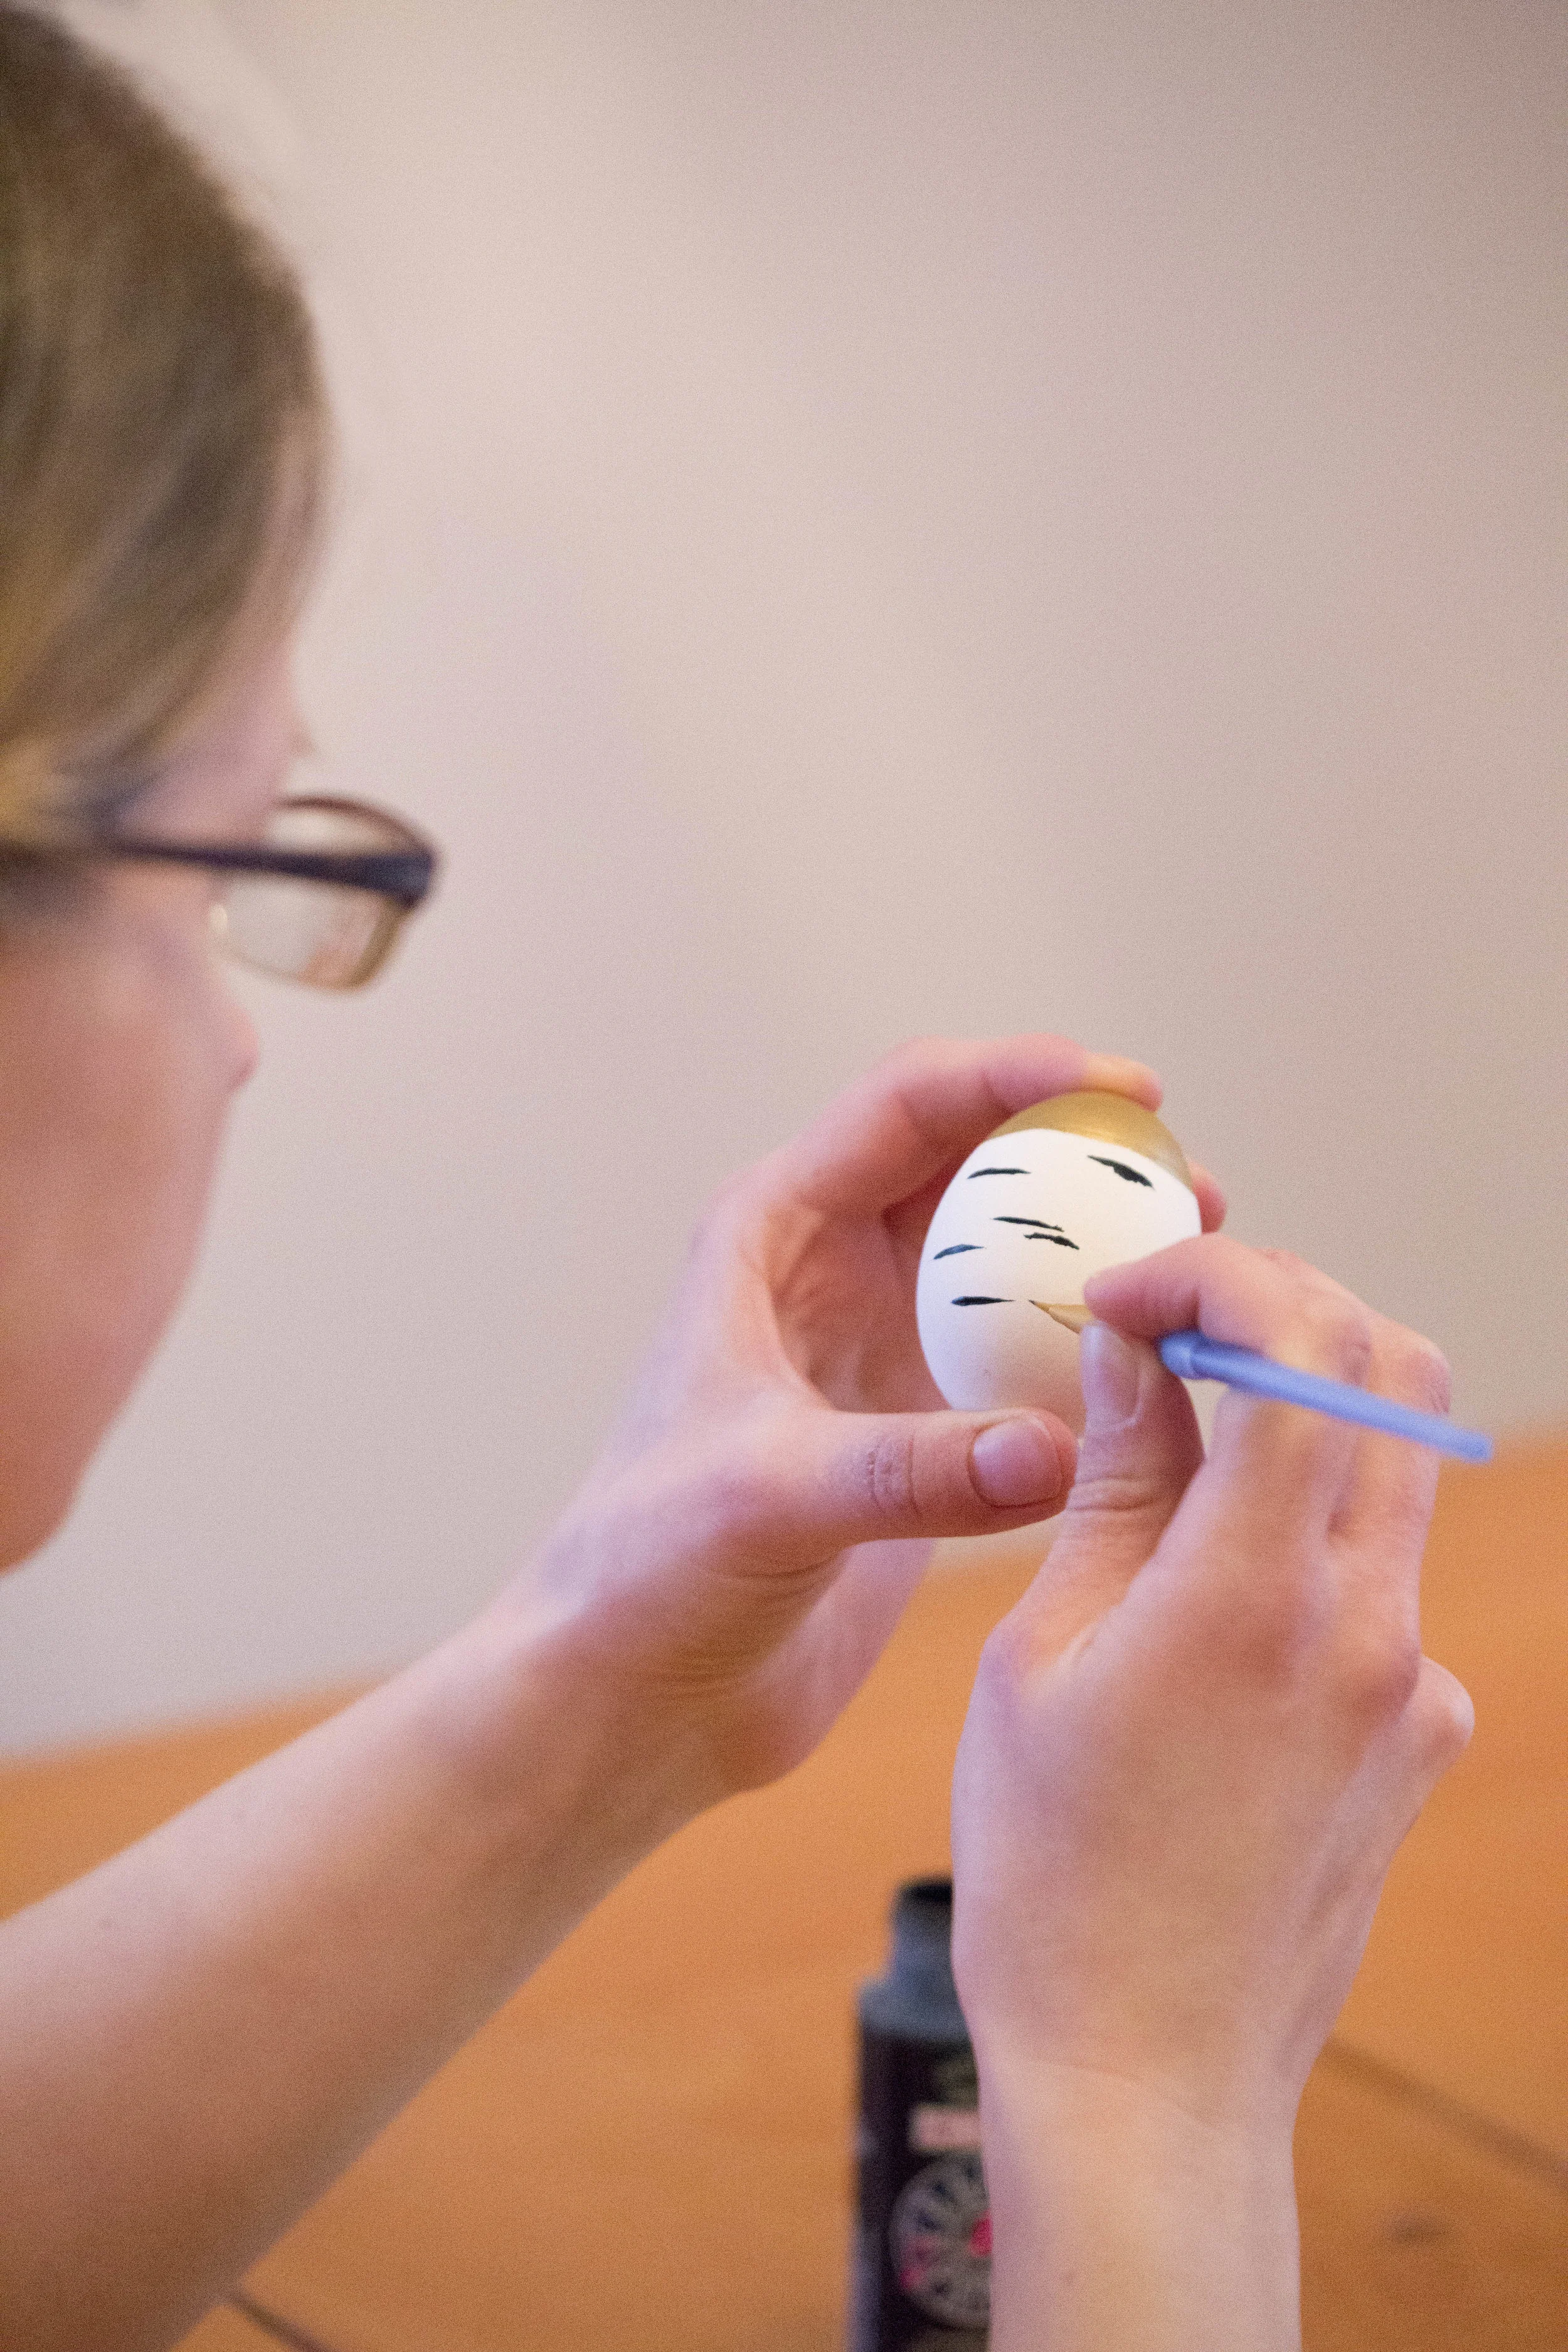
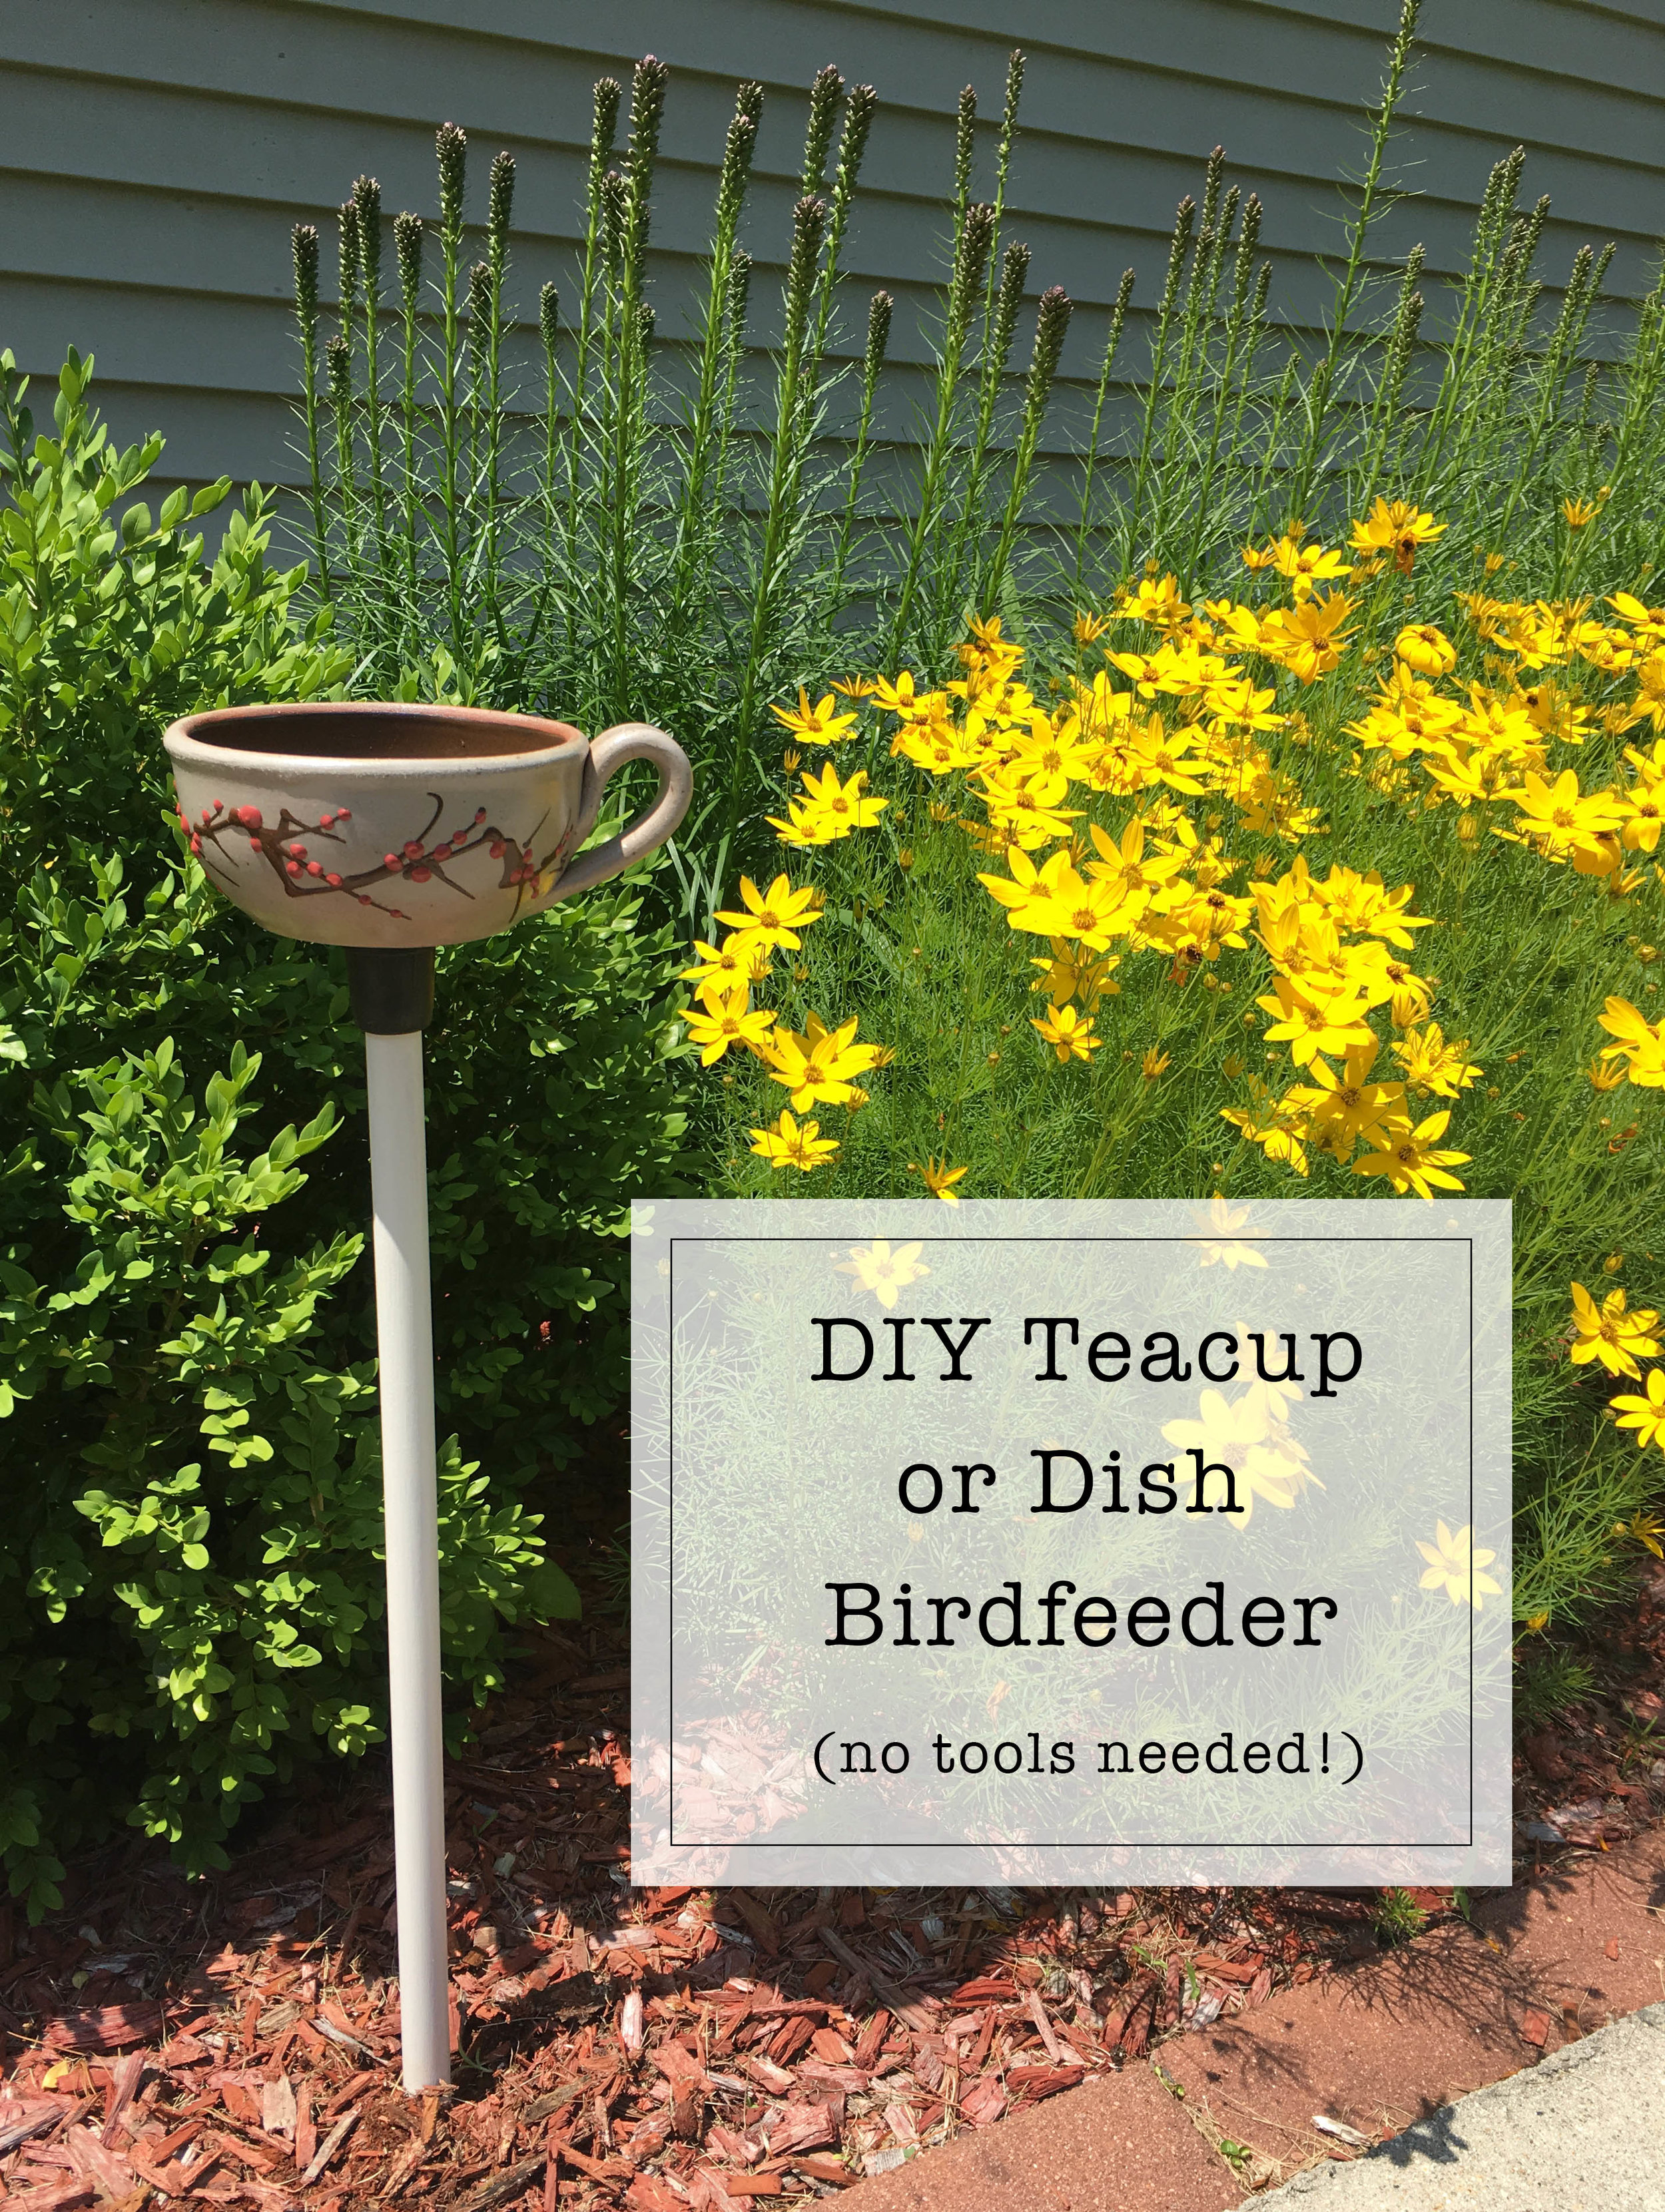
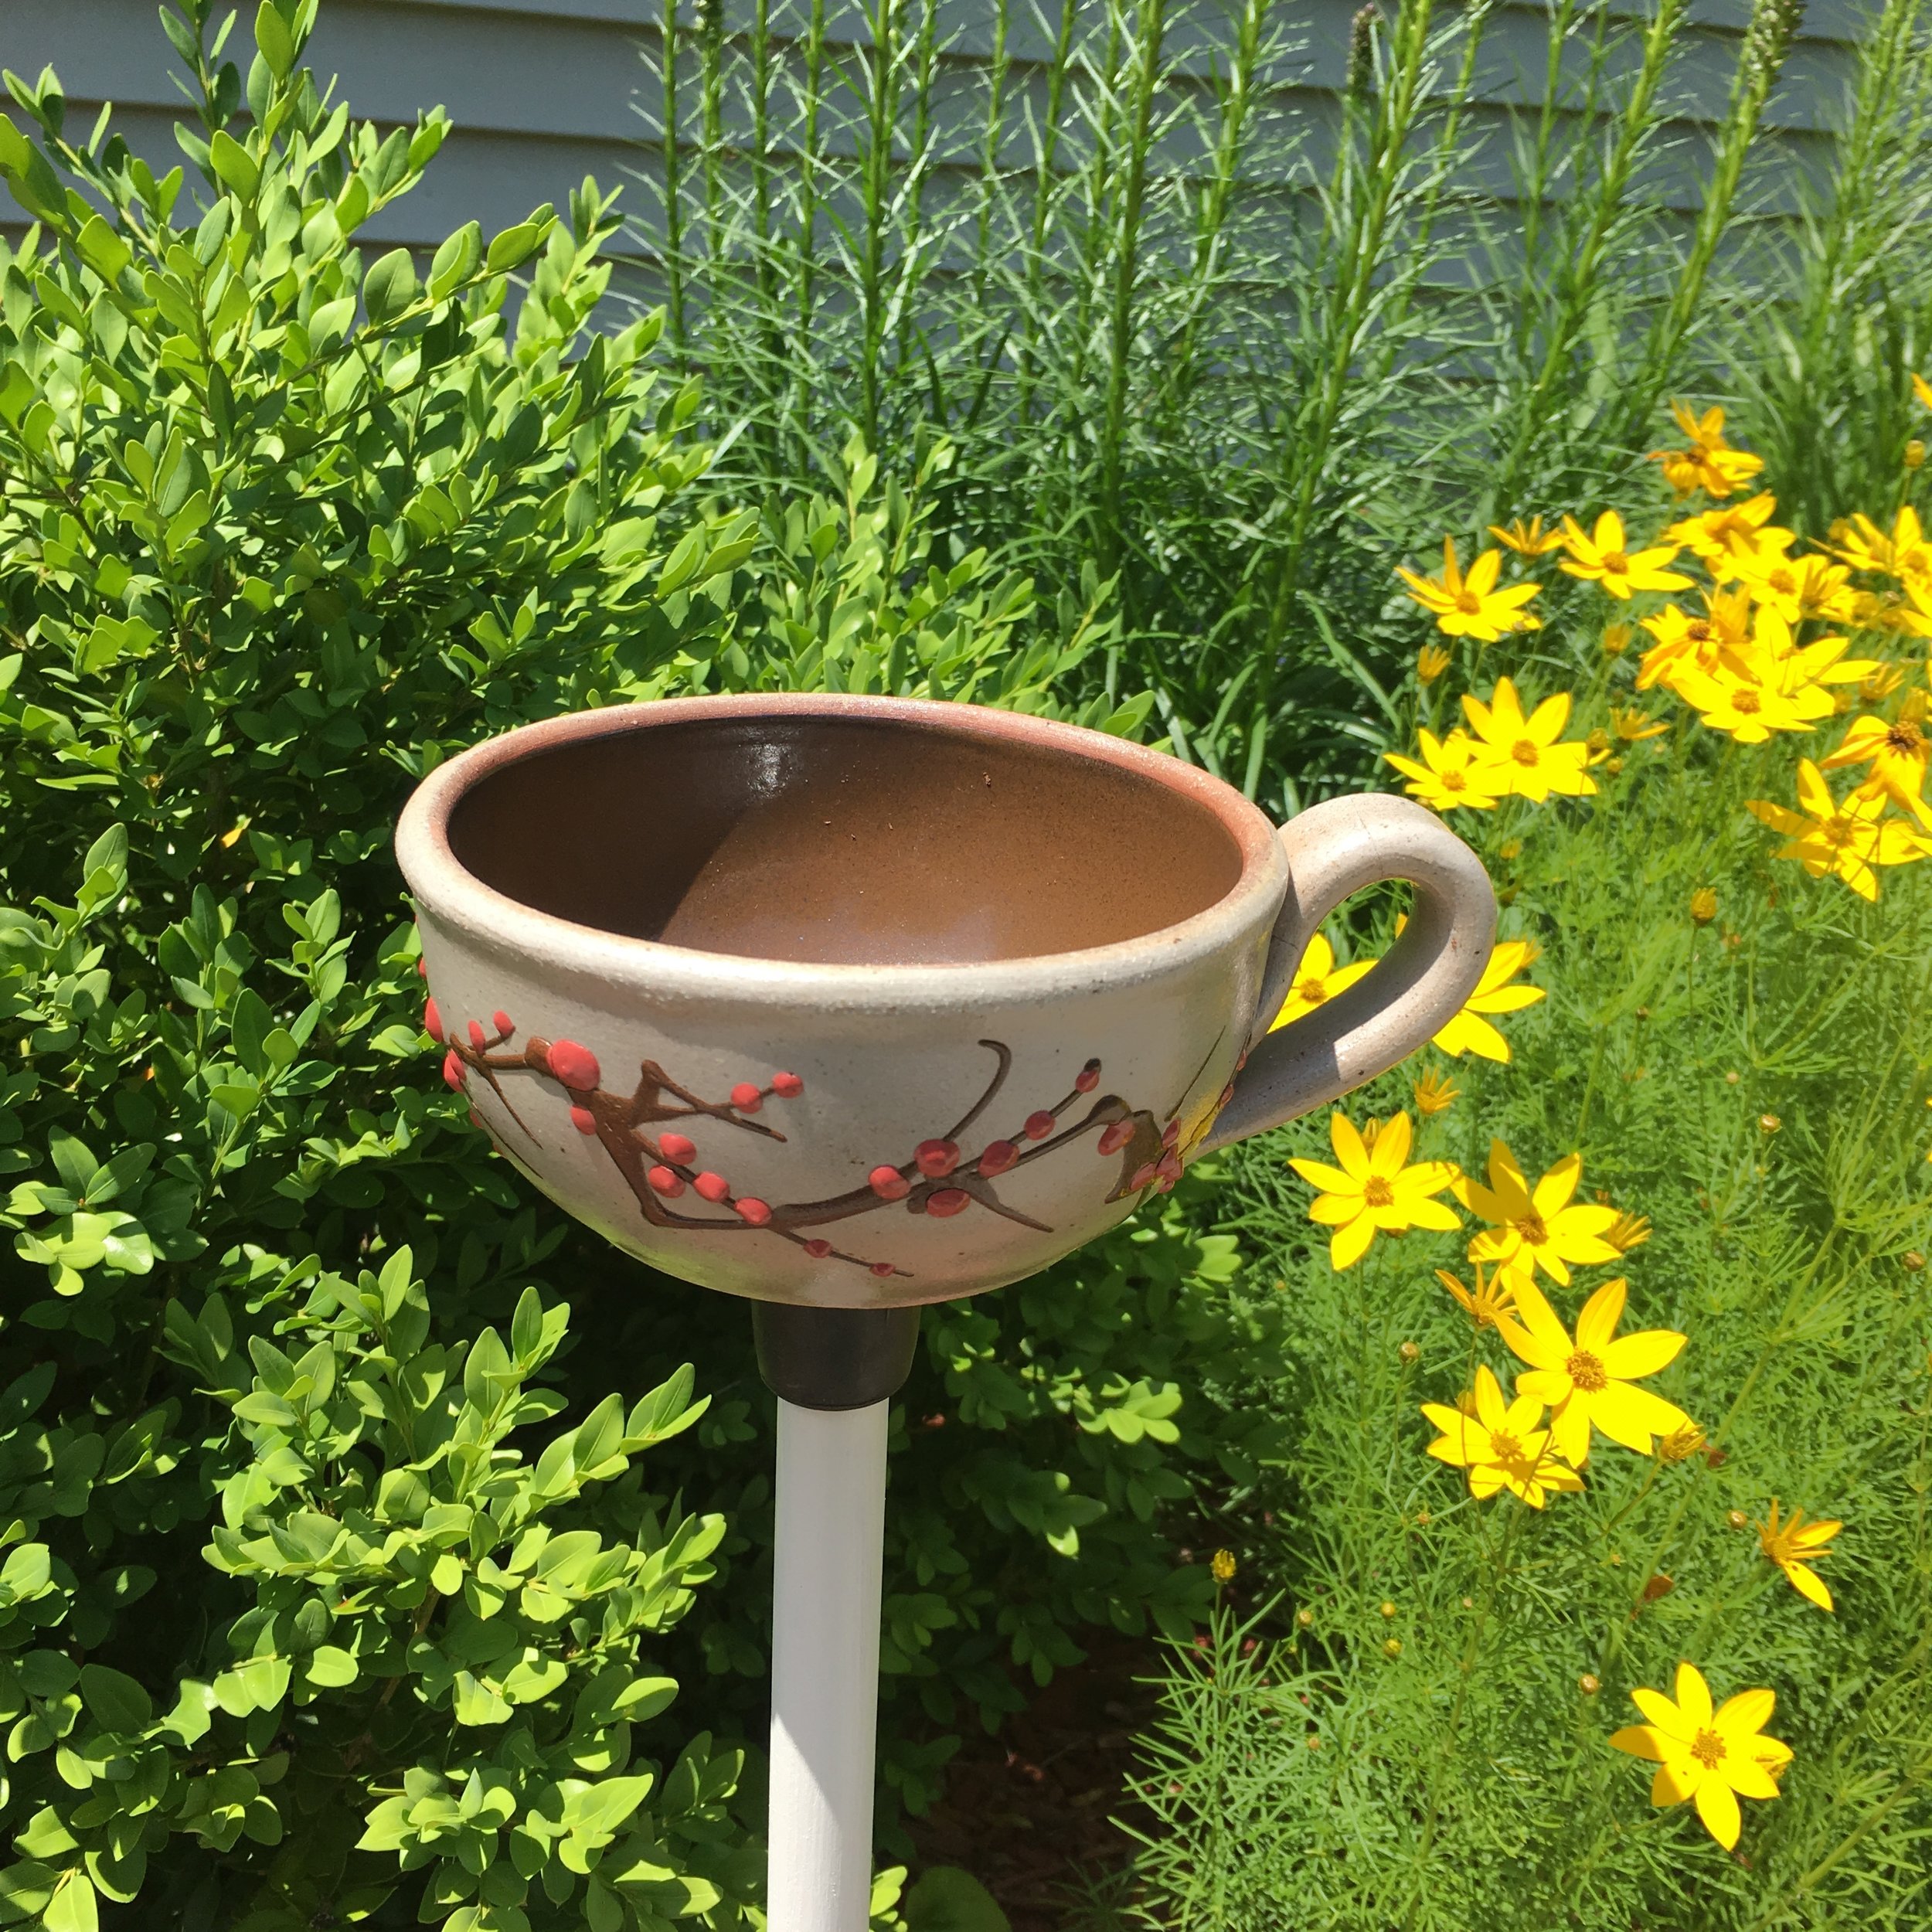
- seasonal crafts
- book-themed crafts
Teaching Curated Picks:
Scroll sideways to see more —>
KEEP UP WITH BIRCH LANDING HOME
| Etsy | Facebook | Instagram | Pinterest | Bloglovin' | Hometalk |