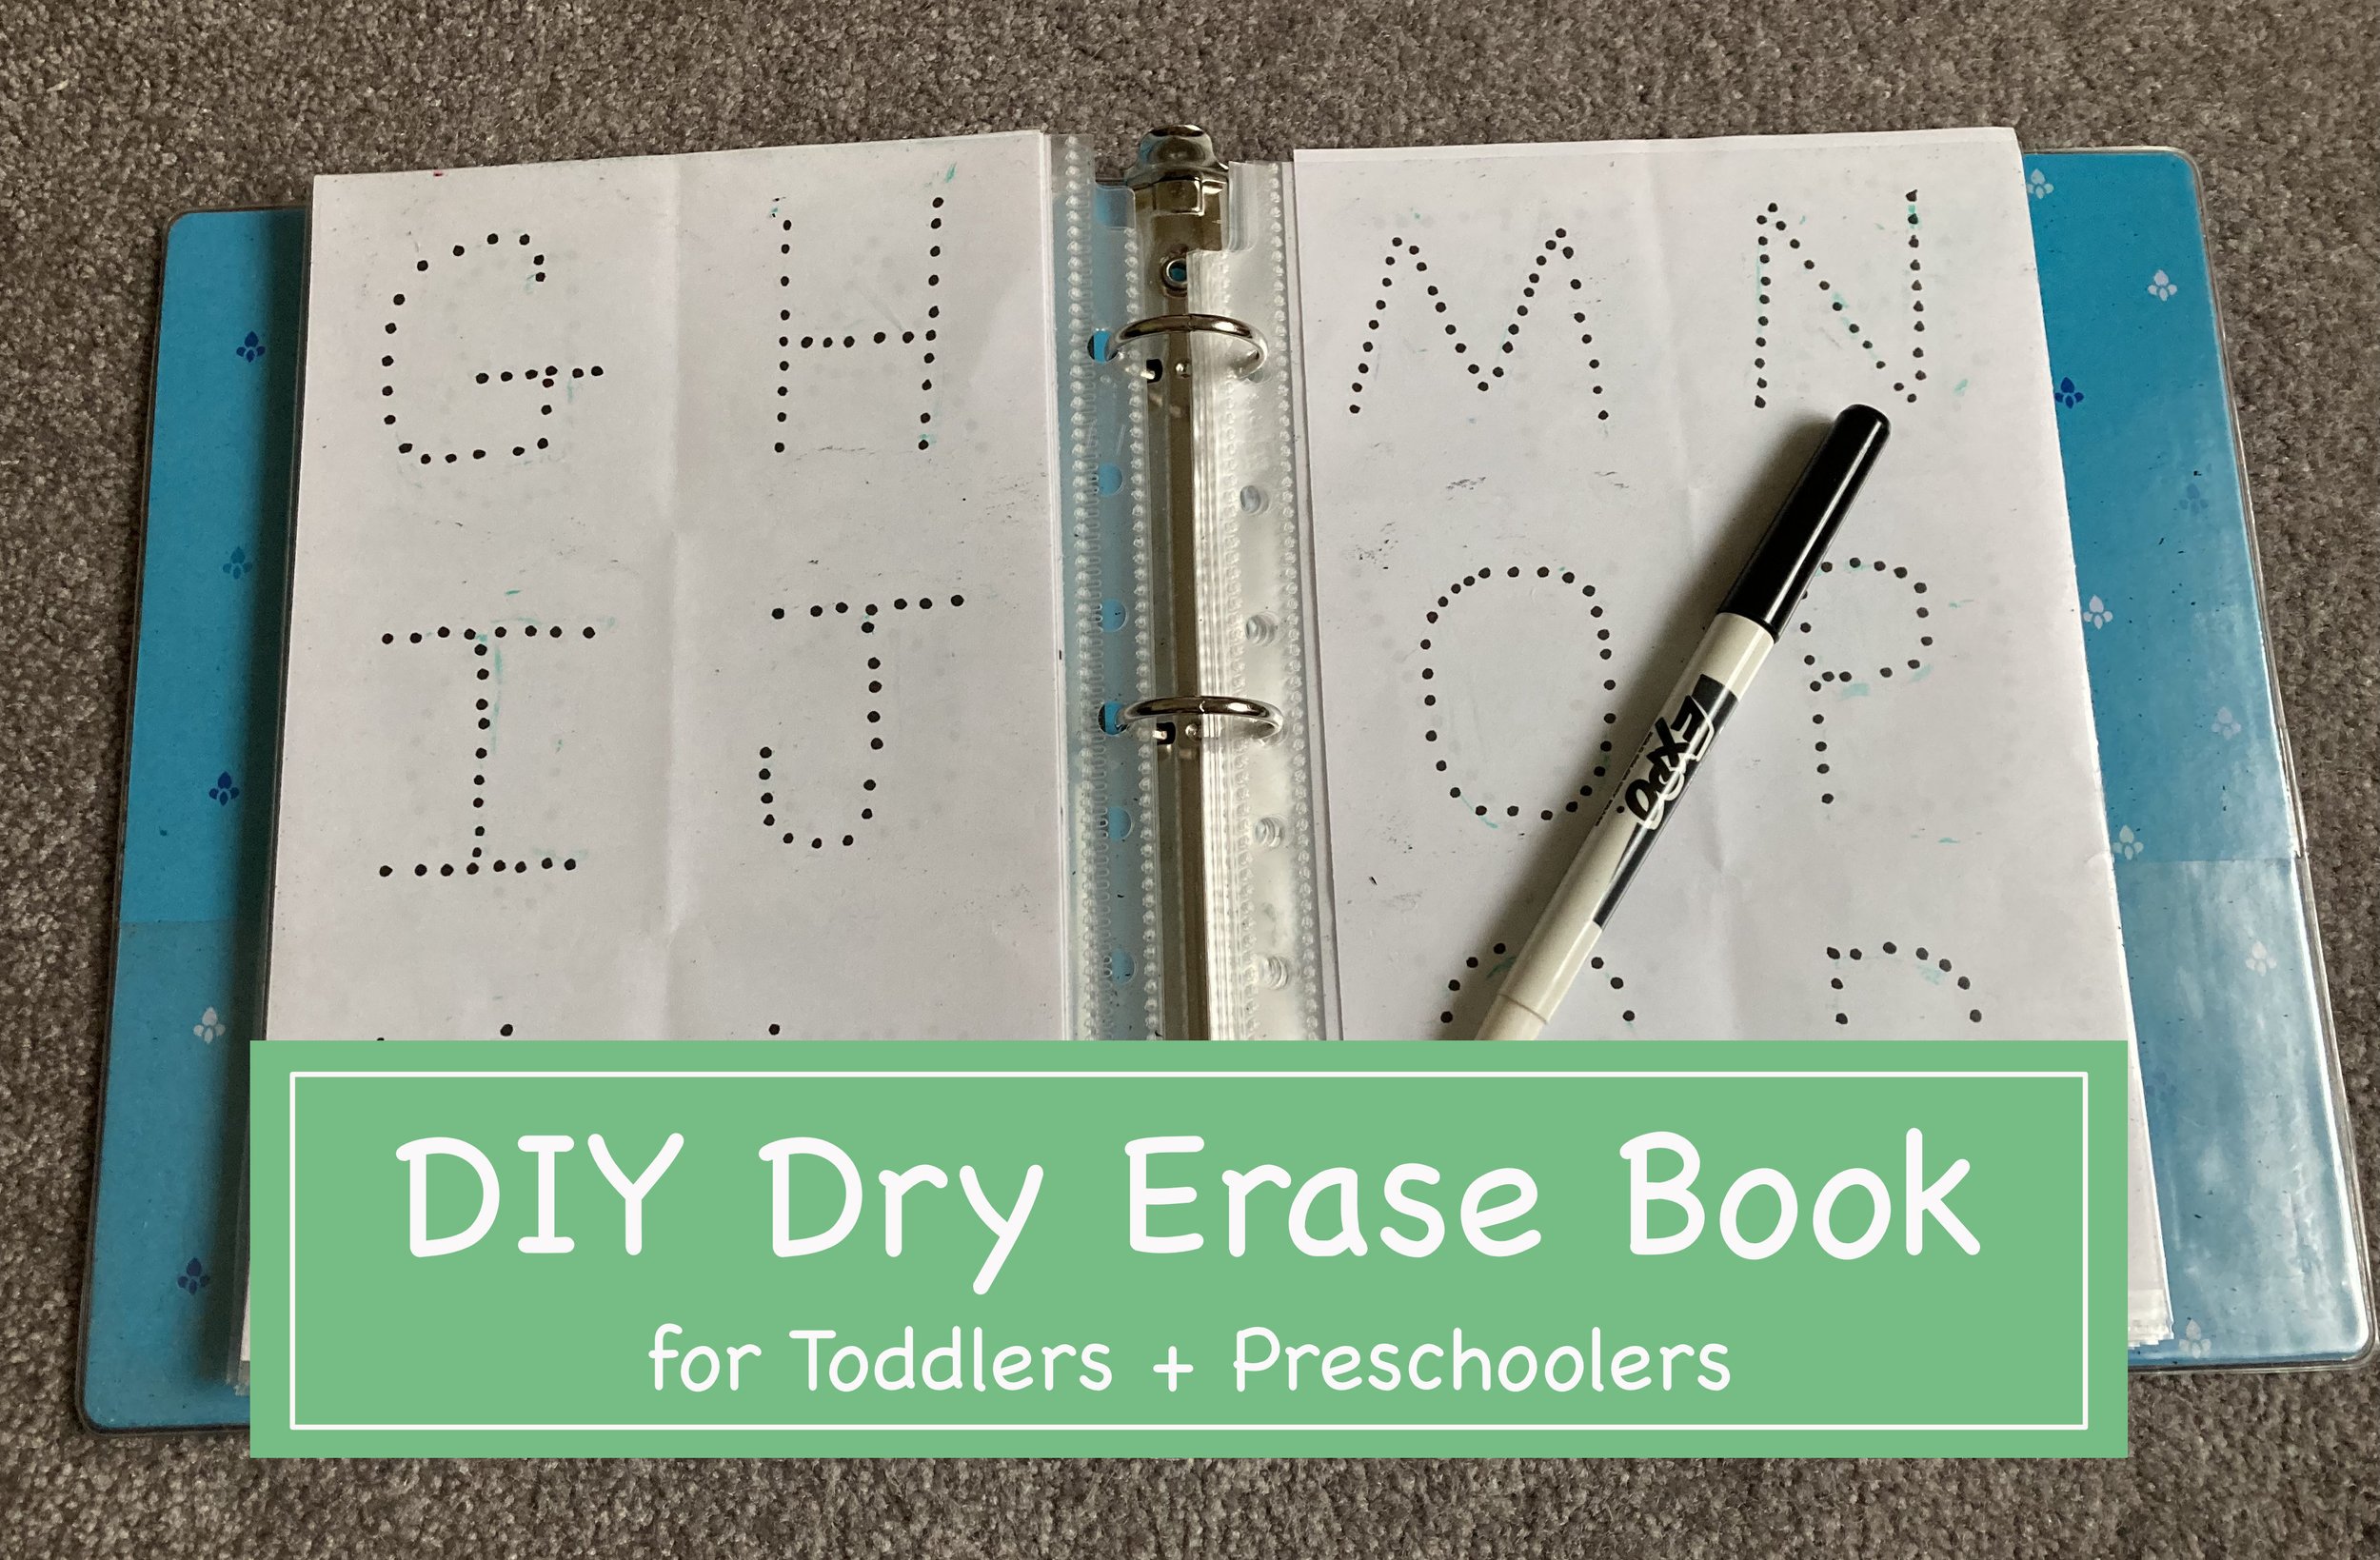
I was just refreshing the little books and toys we keep in our car, when I realized I had never shared about this Dry Erase Activity Book I made for our first kid years ago (and now our youngest uses it). It was incredibly easy to make and tailor to each child with what stage they were at/needed to work on. Here’s the super easy how-to, hopefully it will inspire you to make one yourself! | This post contains affiliate links |
How-To:
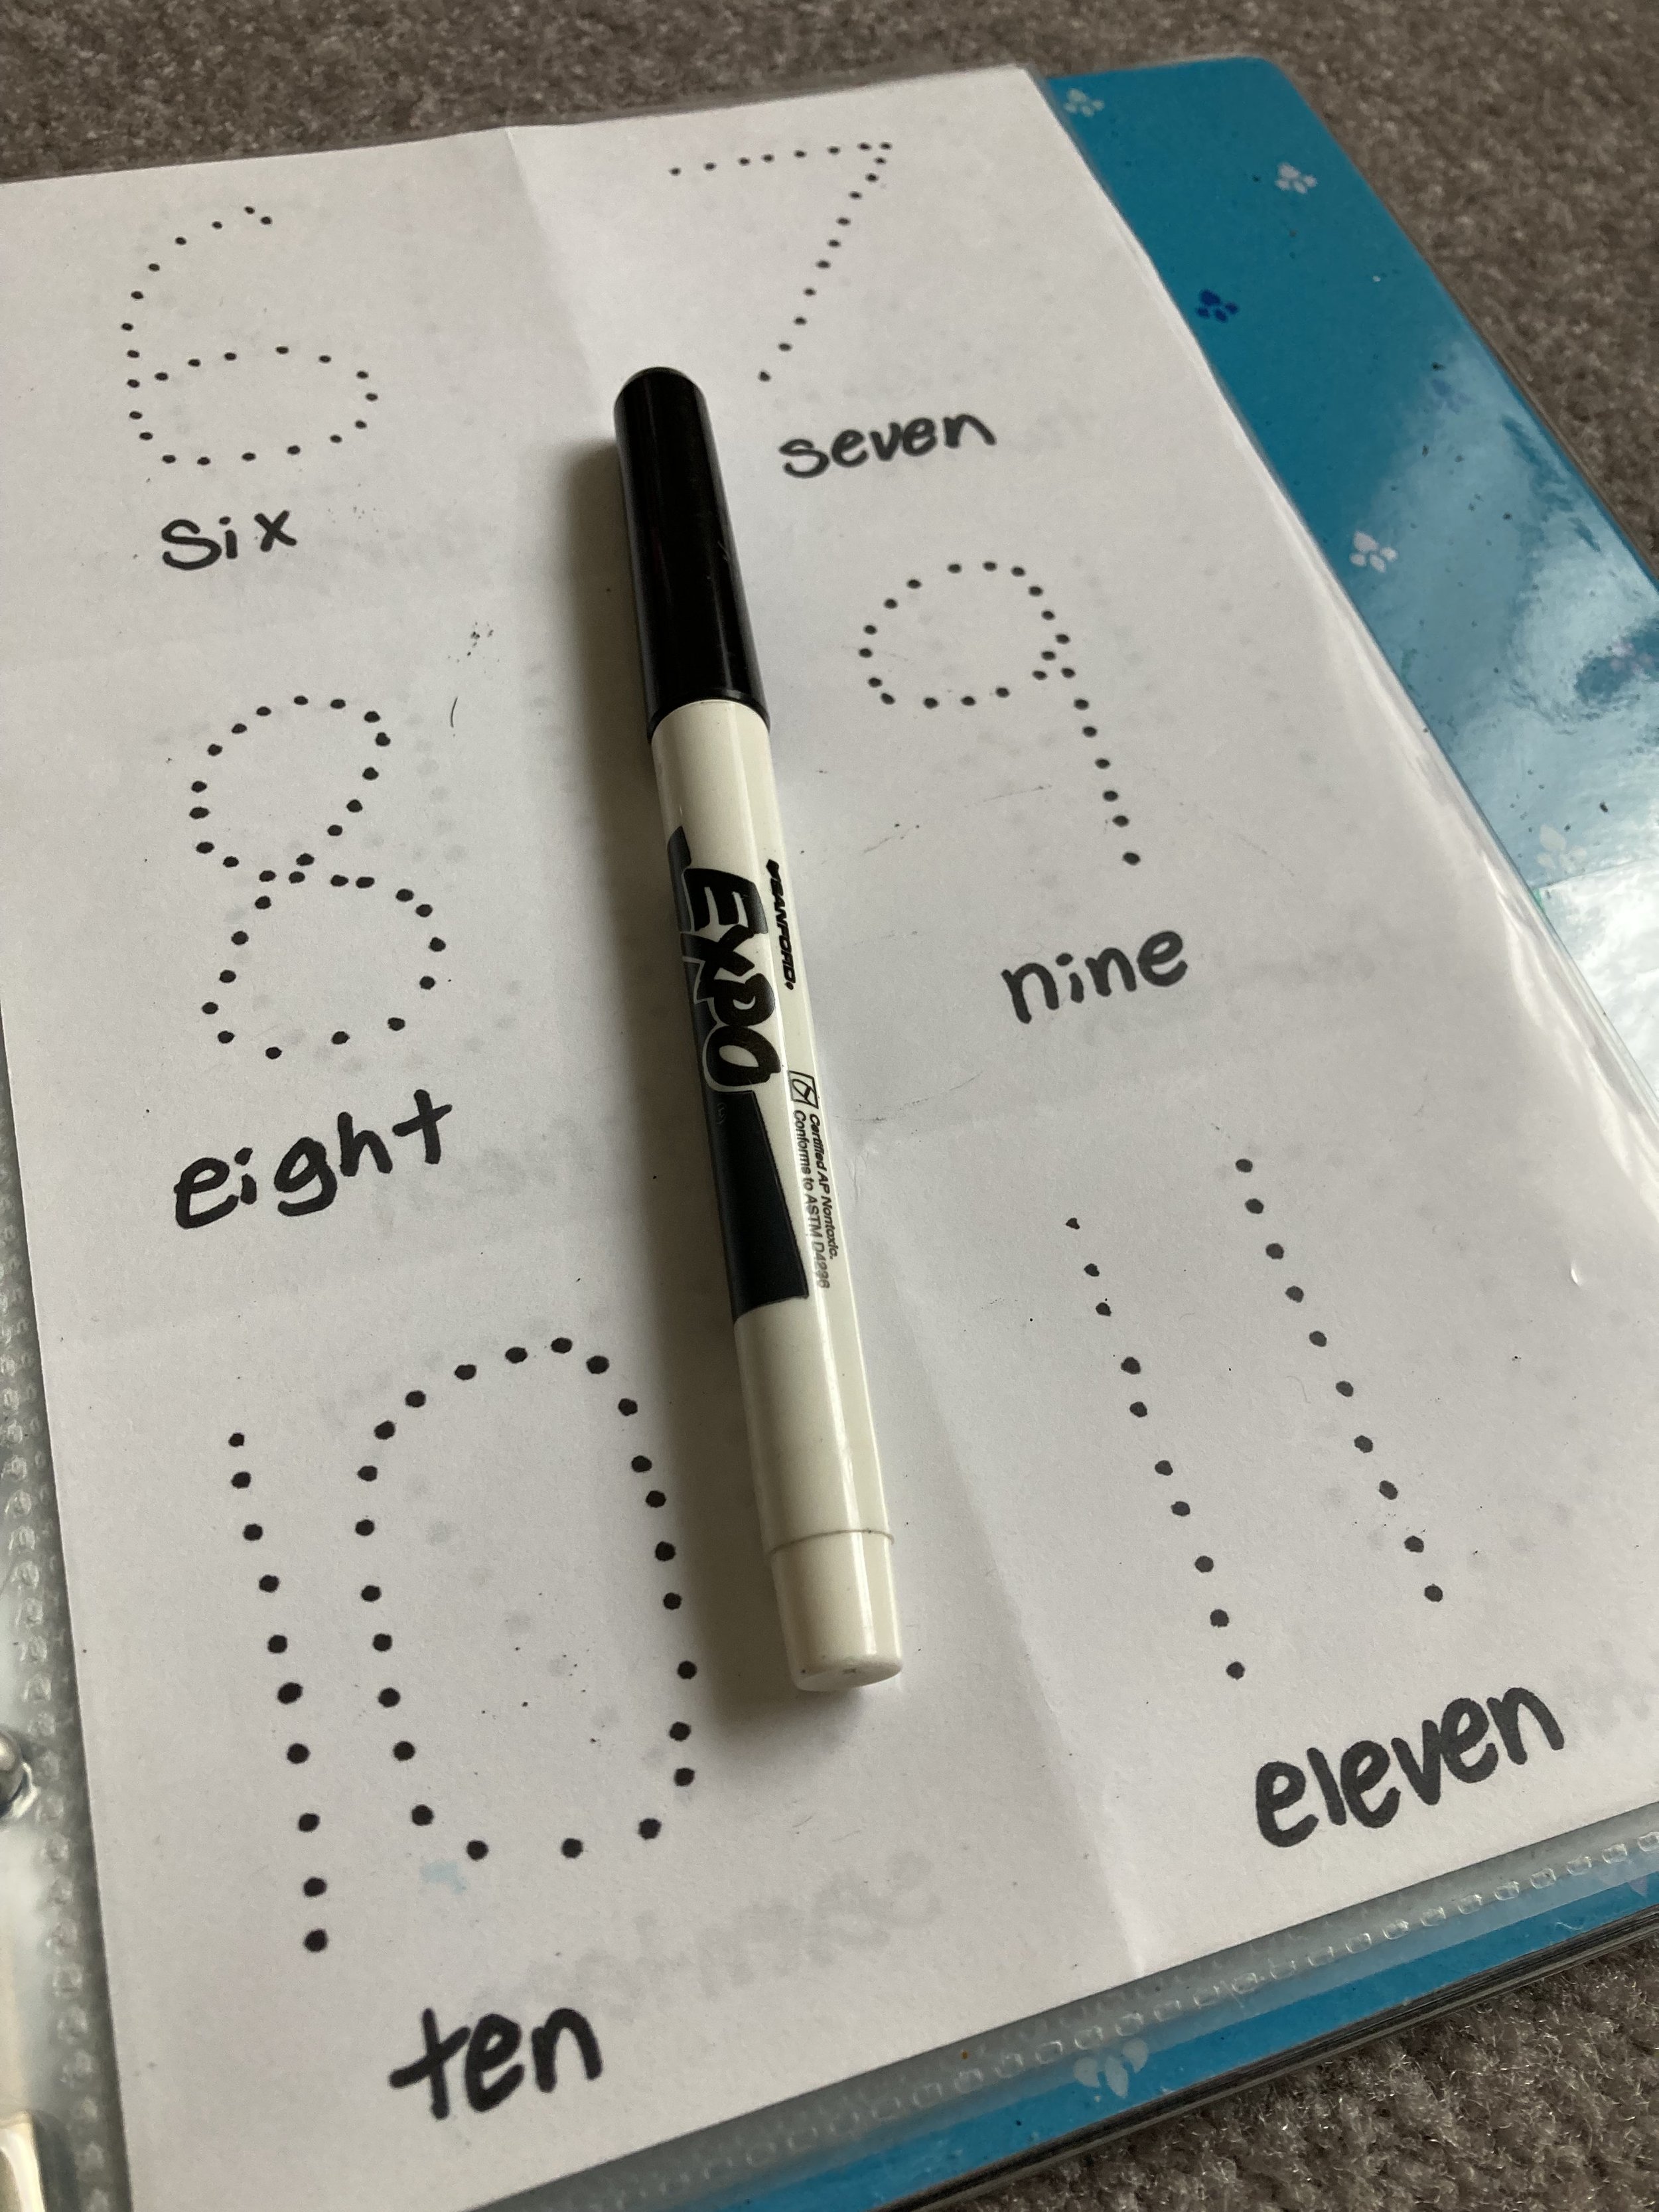
Really the how-to could not be easier! All you have to do is cut the computer paper in half to make it the correct size to fit in the sheet protectors, and then create your worksheets however you would like. I used dots for the kids to trace as well as made some free-draw pages and pages for them to practice writing out their whole names. In the pocket we keep a dry erase marker and some folded up paper towels to wipe the pages when they’re done.
We love this as a car toy and activity to do while the oldest is doing soccer practice, etc. And as your child grows you can update the pages with anything - math problems, maps to label, spelling practice, etc. Have fun tailoring it your kids and their age groups - we love that this can grow with our kids.
Page Ideas (for both young kids and older kids):
tracing shapes
tracing letters (uppercase and lowercase)
tracing numbers
writing name (all uppercase as well as with lowercase)
free draw pages
matching
math problems
spelling practice
labeling maps
labeling planets
draw features (eyes, hair, etc) on a blank face
draw details on a landscape photo
come up with your own - the possibilities are endless!
This Car Seat Organizer where our DIY Dry Erase Activity Book lives (along with other various car toys/books).
KEEP UP WITH BIRCH LANDING HOME
| Etsy | Facebook | Instagram | Pinterest | Bloglovin' | Hometalk |
When you have kids, the chaos of their stuff seems to follow you everywhere - including into your car. I accept that our cars will never be pristine (dirt, crumbs, and dog hair will always be present), but I make sure that despite that we have a simple system to keep our things organized and to make sure we always have our essentials at hand. | This post contains affiliate links |
Disclaimer: Use organizers and other items at own risk. Make sure they are properly installed and compatible with your vehicle.
Keeping Toys in Check
I got tired of loose books and small toys spilling all over the back seat and the floor, so I got a backseat organizer to corral the kids’ items and keep them within easy reach for long car rides. In the organizer we always have some small books, an electronic kids toy, and some puzzles like a Rubik's Cube, as well as sunglasses for each kid in the small pockets in the front. I like this organizer because it fits between the car seats and can also buckle in so it doesn't slide around. (Side note: Where's Waldo has become a favorite car read and keeps the kids entertained for a long time.)
With young kids we always carry supplies like a first aid kit, full change of clothing for each child, trash bags for wet/dirty clothes, extra towel and blanket, etc. For awhile all those items lived in a diaper bag in the trunk, but we are past the diaper stage now and it was time to retire the diaper bag and upgrade to something sleeker and space-saving. I am really loving this sturdy SUV trunk organizer for keeping everything hidden but still within reach.
If you know, you know… With small kids traveling with a potty is a must, even for awhile once they’re past potty training age. You never know when an urgent bathroom request will happen, and these days with the pandemic it’s great to have a clean personal potty for your kid to use, rather than a dirty rest stop bathroom. Pro tip: We line our car potty with an open diaper to absorb liquid and waste and reduce the risk of a spill (makes for easier clean up too!).
Registration/Insurance Holder
It’s a good idea to keep all your car paperwork handy and organized in the glove box, because if you need it you don’t want to have to go digging for it - especially if it’s of an urgent nature (if you got pulled over, fender bender, etc). I personally like the little portfolios that keep everything ready and easy to find.
Roadside Kit / First Aid Kit
Always keep a roadside emergency kit and first aid kit in your car in the event you break down or have an accident. You may be able to find a kit that covers all your bases, but often you may have to purchase these separately or at least supplement with some additional tools or first aid items. Our trunk area has a hidden compartment underneath where we store all our roadside and first aid gear.
It’s a sign of the times… make sure you always keep a spare set of extra masks in your car for the whole family. That way you’re never caught without one if you need it. We made our mask case using a slim wipes container (similar container linked here).
Disclaimer: Use organizers and other items at own risk. Make sure they are properly installed and compatible with your vehicle.
KEEP UP WITH BIRCH LANDING HOME
| Etsy | Facebook | Instagram | Pinterest | Bloglovin' | Hometalk |
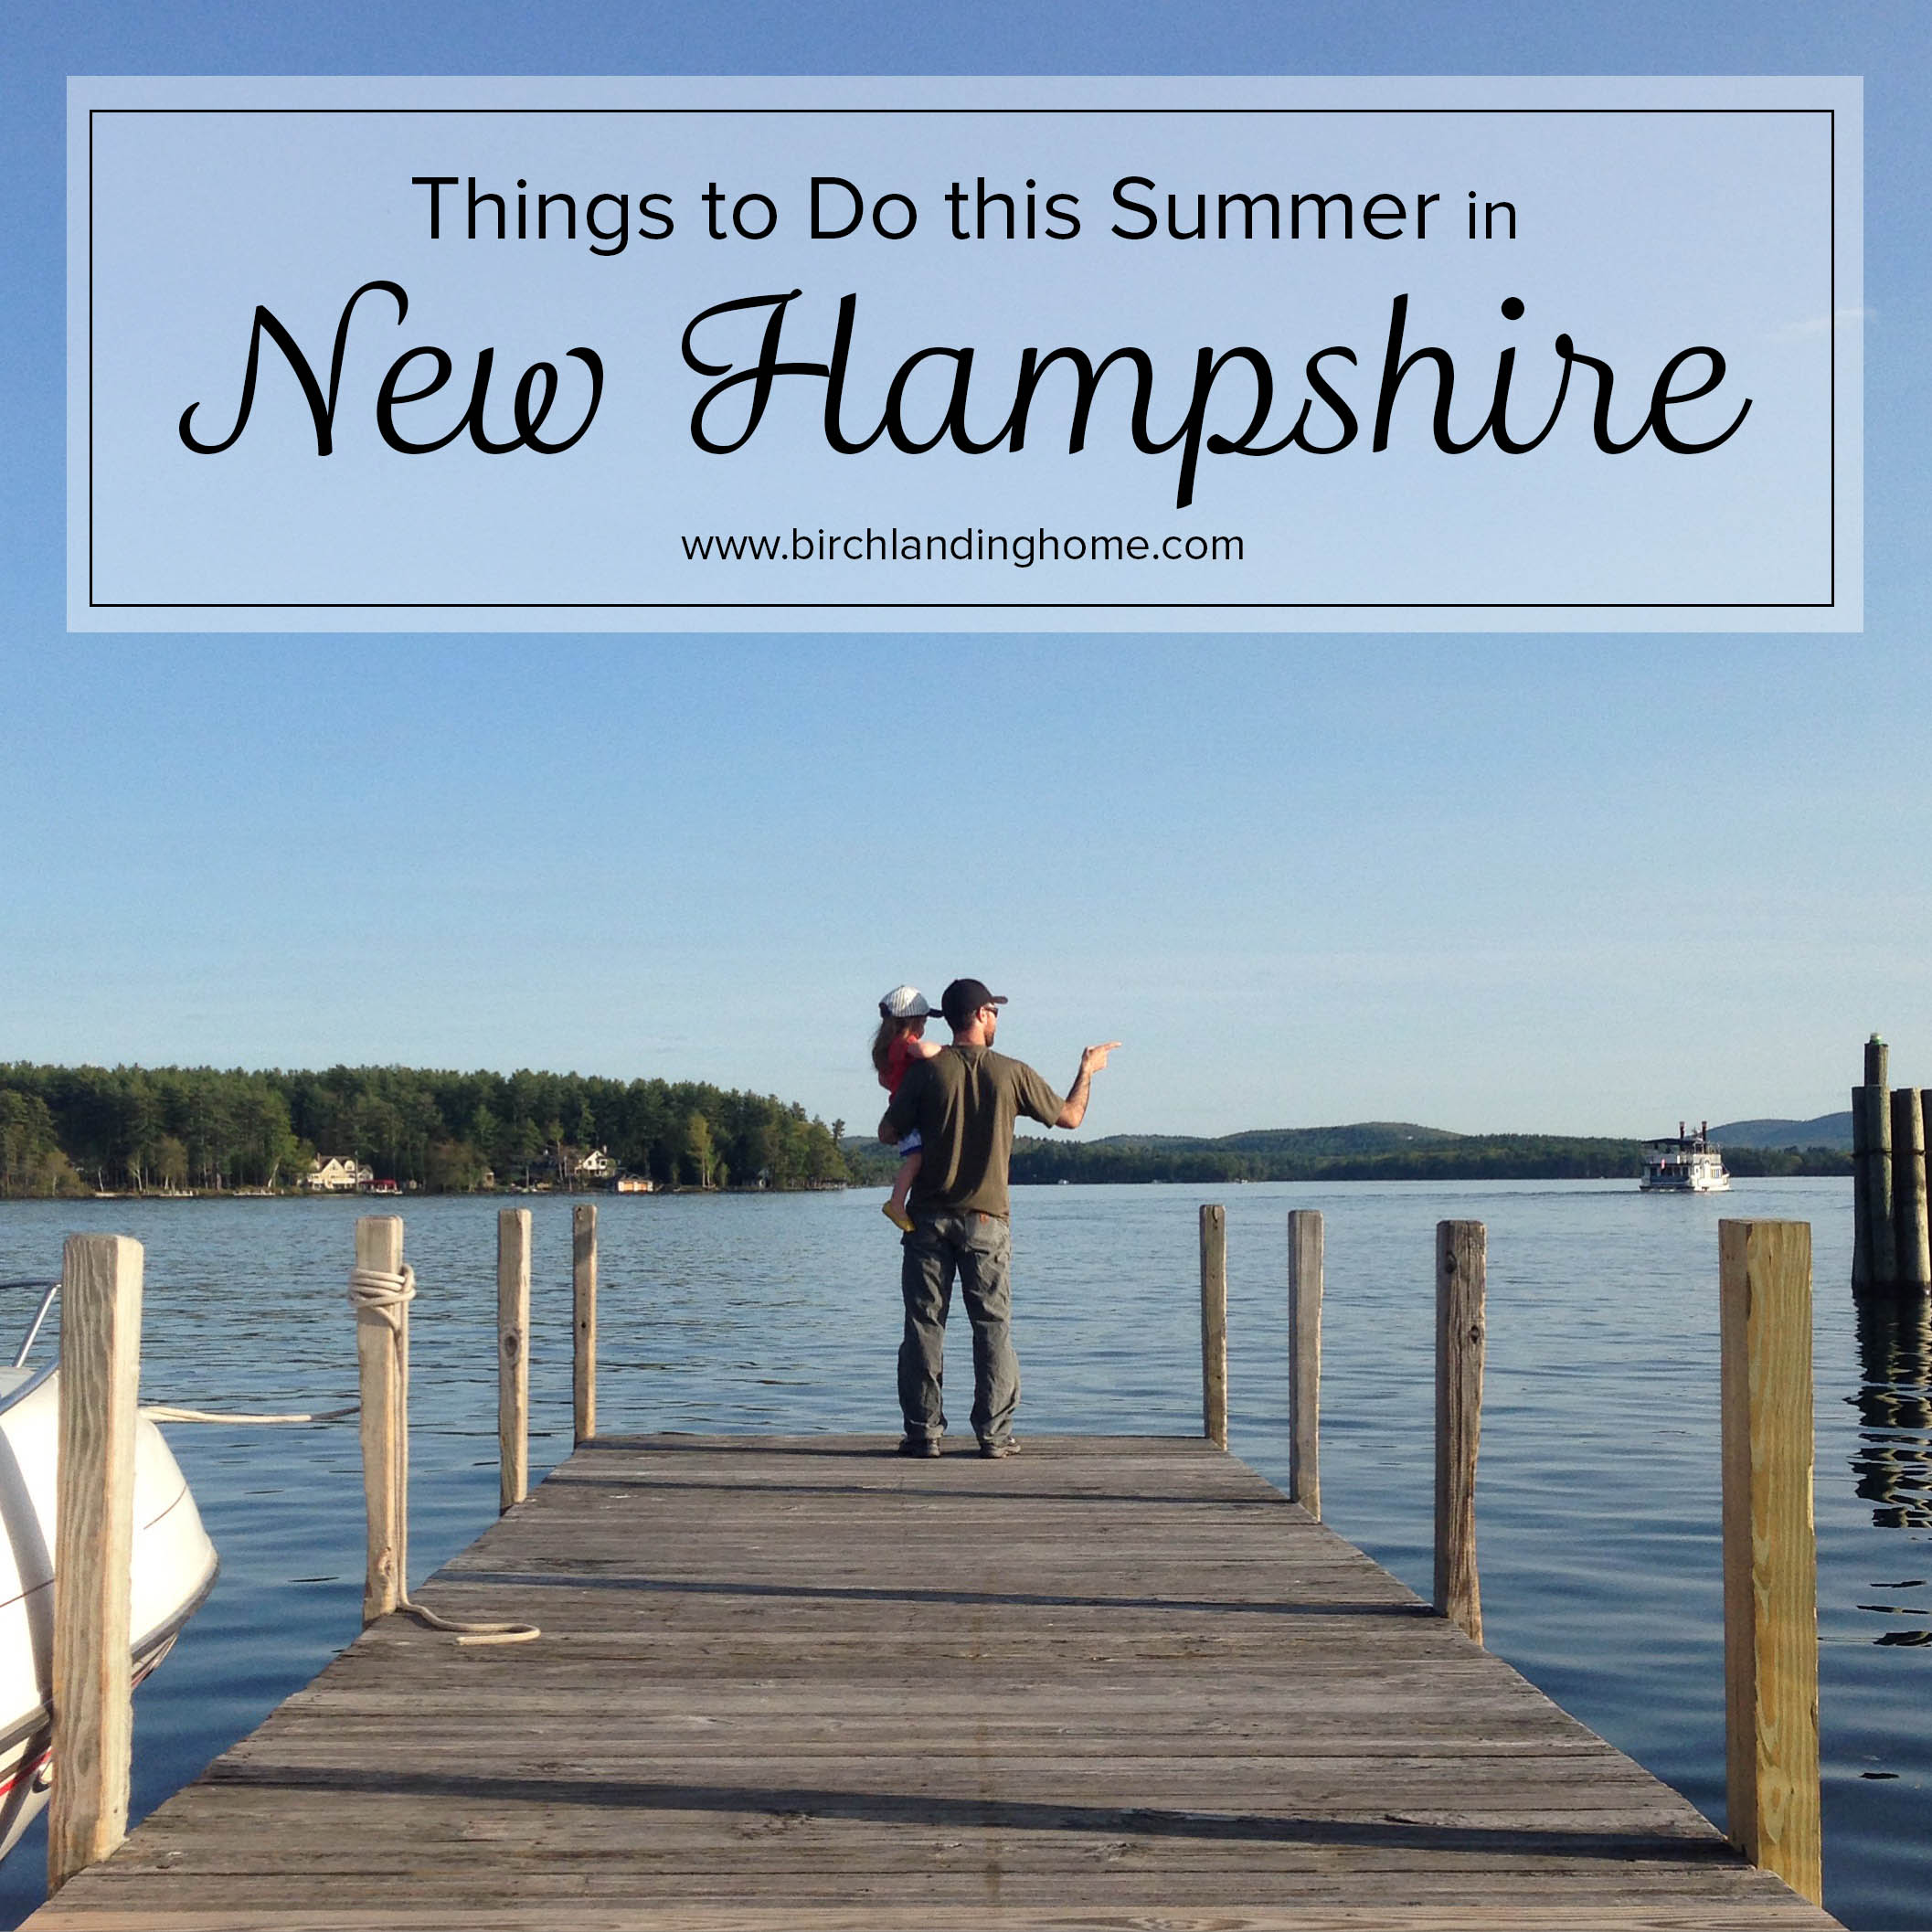
I'm a New Hampshire native, born and raised. I love this state and all the great things it has to offer. I thought I'd share some of our favorites - from the city, mountains, ocean, and countryside, New Hampshire has it all!
Things to Do in New Hampshire This Summer
- This list will be continually added to, so be sure to check back often for more ideas -
The Flume
Located in the White Mountains, The Flume is a fairly short loop trail that brings you right through a narrow gorge with a rushing river and several waterfalls. There is a covered bridge, stairs, and deck walkways to help you through the tricky parts with ease.
Castle in the Clouds
I confess I'm biased to this place - afterall it's where my husband popped the question and where we got married :) But Castle in the Clouds does offer some of the most breathtaking views of the Lakes Region from the lawn of the Lucknow Estate (aka "The Castle"), where you can also explore the rooms of the mansion during your-self guided tour. There are also miles of hiking trails, horseback riding, and a restaurant on site.
Polly's Pancake Parlor + Lupine Festival
Pancakes - do we really have to say more..? But seriously folks, Polly's has amazing pancakes, delicious hearty breakfasts, and great views of the mountains. We recommend making the trip up there in June for the Lupine Festival and checking out the gorgeous fields of lupines in bloom after your hearty breakfast.
Strawberry Banke, a 10-acre historic collection of buildings along the seaside in Portsmouth is rich in history and historic architecture. The buildings on the property span 300 years and costumed guides and artisans fill you in on interesting stories and facts from an era gone by. I especially love seeing all the quirky features of the buildings there.
4th of July Parade in Wolfeboro
As "The Oldest Summer Resort in America," Wolfeboro does the Fourth like no one else with the largest parade in the state complete with their traditional Precision Lawn Chair Drill Team, Antique Tractor Brigade, and Presidential hopefuls. Jimmy Fallon and Mitt Romney are frequent attendees of the parade.
Isles of Shoals
The Isles of Shoals is a group of islands off the coast of NH is known for it's rugged coastal beauty and it's historical significance. Guided tours are available through the Isles of Shoals Steamship Company. (Taking a tour of the islands is something we haven't done ourselves yet but have been meaning to for years - this year we plan to change that though and finally go!)
Paddleboard Yoga
There are various places around NH that offer this new trend, one being Full Moon Paddleboard in Wolfeboro. It's a lot of fun and adds a whole other level to your yoga practice. Whether you're a yogi master or just a beginner, you'll have a fun (yet challenging) time.
Zip-Lining
There are many places throughout the state that offer zip line tours and obstacle courses. We've gone with Alpine Adventures in Lincoln before and highly recommend them - great staff, great views, and a lot of fun.
Go Hiking
There are countless mountains and great hiking trails in New Hampshire (this website is a great resource for trail info), but Mount Monadnock is definitely the most popular. After all it's one of the most-hiked mountains in the world, and with good reason - a moderately difficult hike rewards you with great 360-degree views atop it's rocky peak. If you hike Mt. Monadnock we recommend getting there early to beat the crowds, then getting lunch and ice cream at Kimball's in Jaffrey after.
Cog Railway
A must-do, the Cog Railway brings you up Mount Washington (the tallest mountain in the Northeast) on the first mountain-climbing train in the world! Make sure to bring extra clothes for the summit since Mt. Washington is also home to some of the world's worst weather.
Go Camping
There are countless campgrounds across the state, with varying degrees of amenities. Two of our personal favorite campgrounds are Fransted Campground in Franconia and Crawford Notch Campground in Hart's Location - both are family friendly, well-kept, and convenient to hiking trails.
Canoe Trip
There are also many canoe tour companies throughout the state, but we really love Contoocook River Canoe Company in Concord, NH. They offer many choices for rentals, shuttles, and tours of surrounding rivers and lakes. I've done the 9-mile Contoocook River Tour a few times and can't say enough great things about it.
Clark's Trading Post
A true NH novelty, Clark's Trading Post is a little theme park tucked away in the White Mountains. It's best known for it's trained black bear act and "The Wolfman," an ornery prospector who chases the train ride to keep visitors away from his mine.
A day in Portsmouth
Portsmouth is a gem of a city tucked away along the seacoast - there are countless amazing restaurants to eat at, unique shops to explore, and historic buildings to see. Get into downtown before 11AM to best ensure finding a parking spot in the downtown parking garage, then spend the rest of the day eating and shopping your way through town.
Fisher Cats Game
The Fisher Cats is NH's own Minor League baseball team - their beautiful new ballpark is located conveniently in Manchester where affordable tickets ensure everyone can enjoy America's favorite pastime.
Storyland
Storyland is a wonderful theme park where kids of all ages will find rides and attractions to enjoy. I have so many great memories of going to Storyland with my parents and exploring the different themed areas. Our young daughter really loves Storyland as well and I'm so excited to share the experience with her too.
A Day Out with Thomas
If you have a Thomas fan in your family, going to A Day Out with Thomas in North Conway is a must. You'll not only be able to meet Thomas, Percy, and Sir Topham Hatt but you'll also be able to go for a ride on the famous trains!
KEEP UP WITH BIRCH LANDING HOME
| Etsy | Facebook | Instagram | Pinterest | Bloglovin' | Hometalk |
Our little one made this Paper Pizza at story time at the public library the other day and I thought it was so cute I wanted to show you all. The story time lady read several pizza-related stories and then had the kids make their own paper pizzas to bring home. The kids really enjoyed this project and I think it would make a great activity for a pizza-themed kids' party.
They gave the kids paper plates and a brown crayon to color the "crust" (our daughter skipped this part), then a paper red circle "tomato sauce" to glue down, shredded yellow paper "cheese", as well as paper mushrooms, pepperonis, and meatballs. After the pizzas were done, the kids took them home in actual pizza boxes which was the perfect finishing touch to the project. These brand new boxes had been bought ahead of time at the local pizza shop for a few cents each.
I don't remember the actual books she read before the project, but I've linked some cute-looking pizza stories here (affiliate links):
KEEP UP WITH BIRCH LANDING HOME
| Etsy | Facebook | Instagram | Pinterest | Bloglovin' | Hometalk |
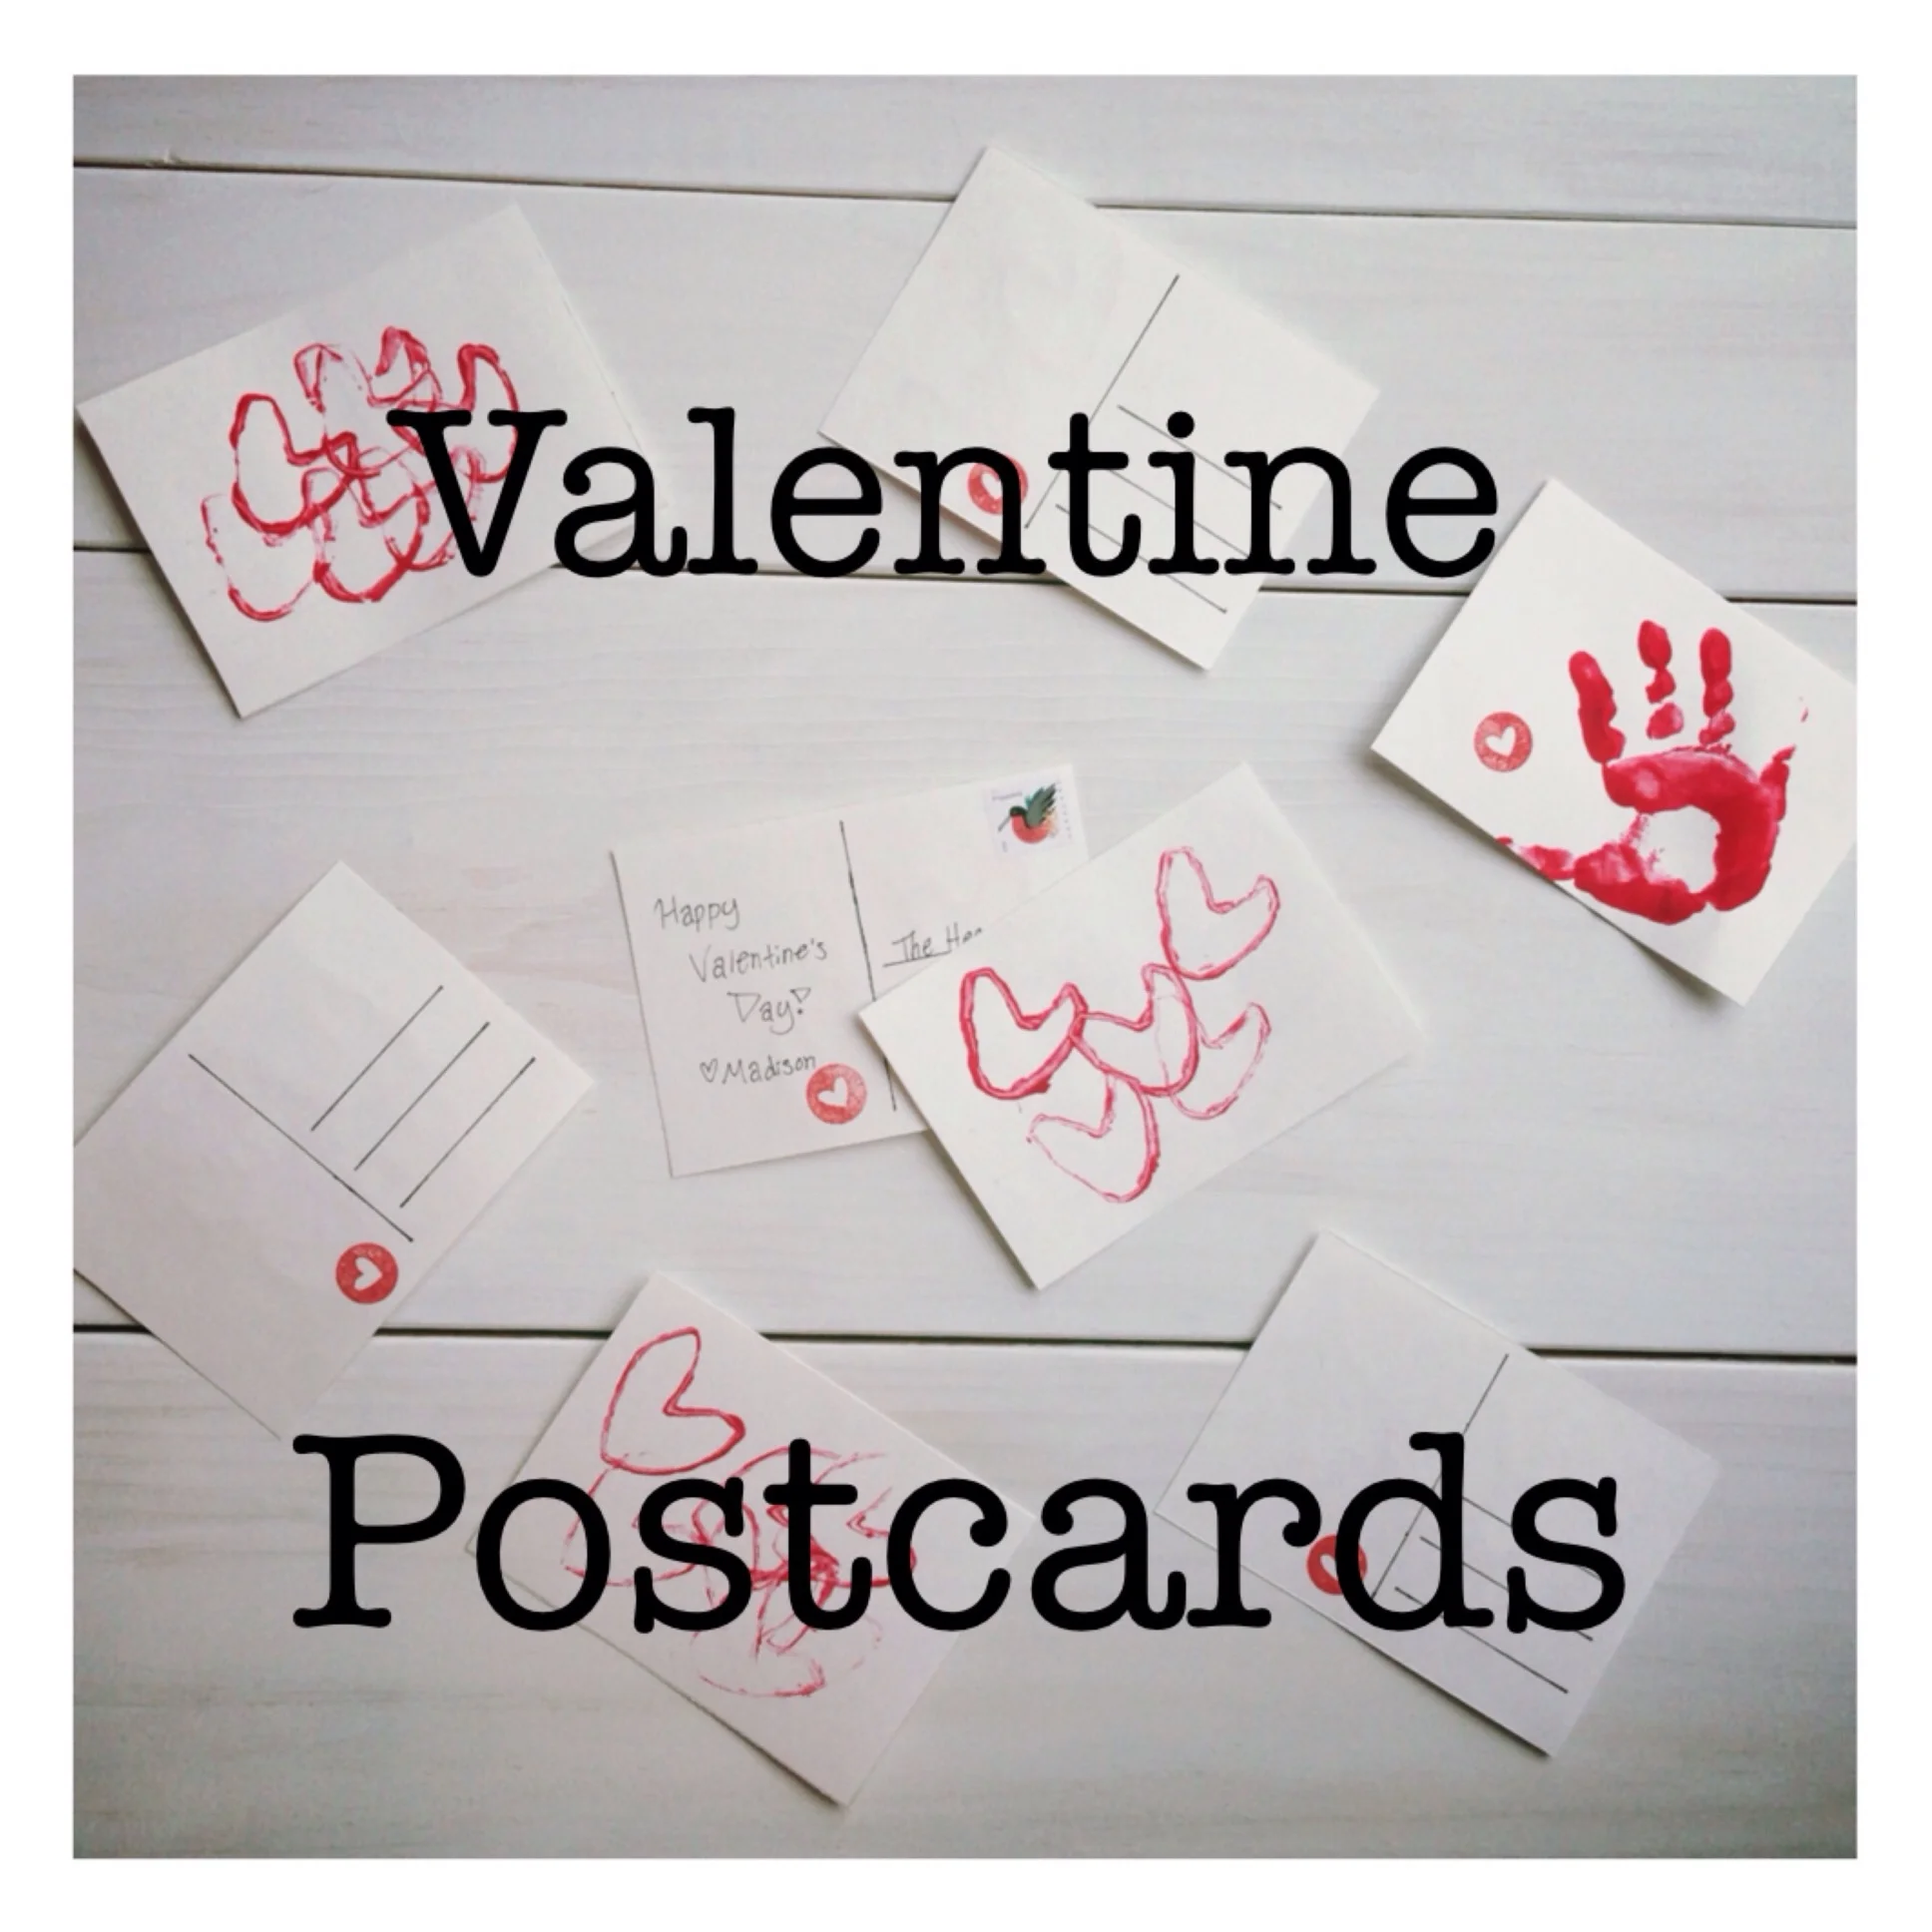
Last year I started the tradition of having our little one make Valentines for close family and friends. This year I wanted to continue the tradition but find a way to make them as inexpensive as possible, and so I settled on the idea of DIY Valentine Postcards.
| This post contains affiliate links |
Materials:
How-to:
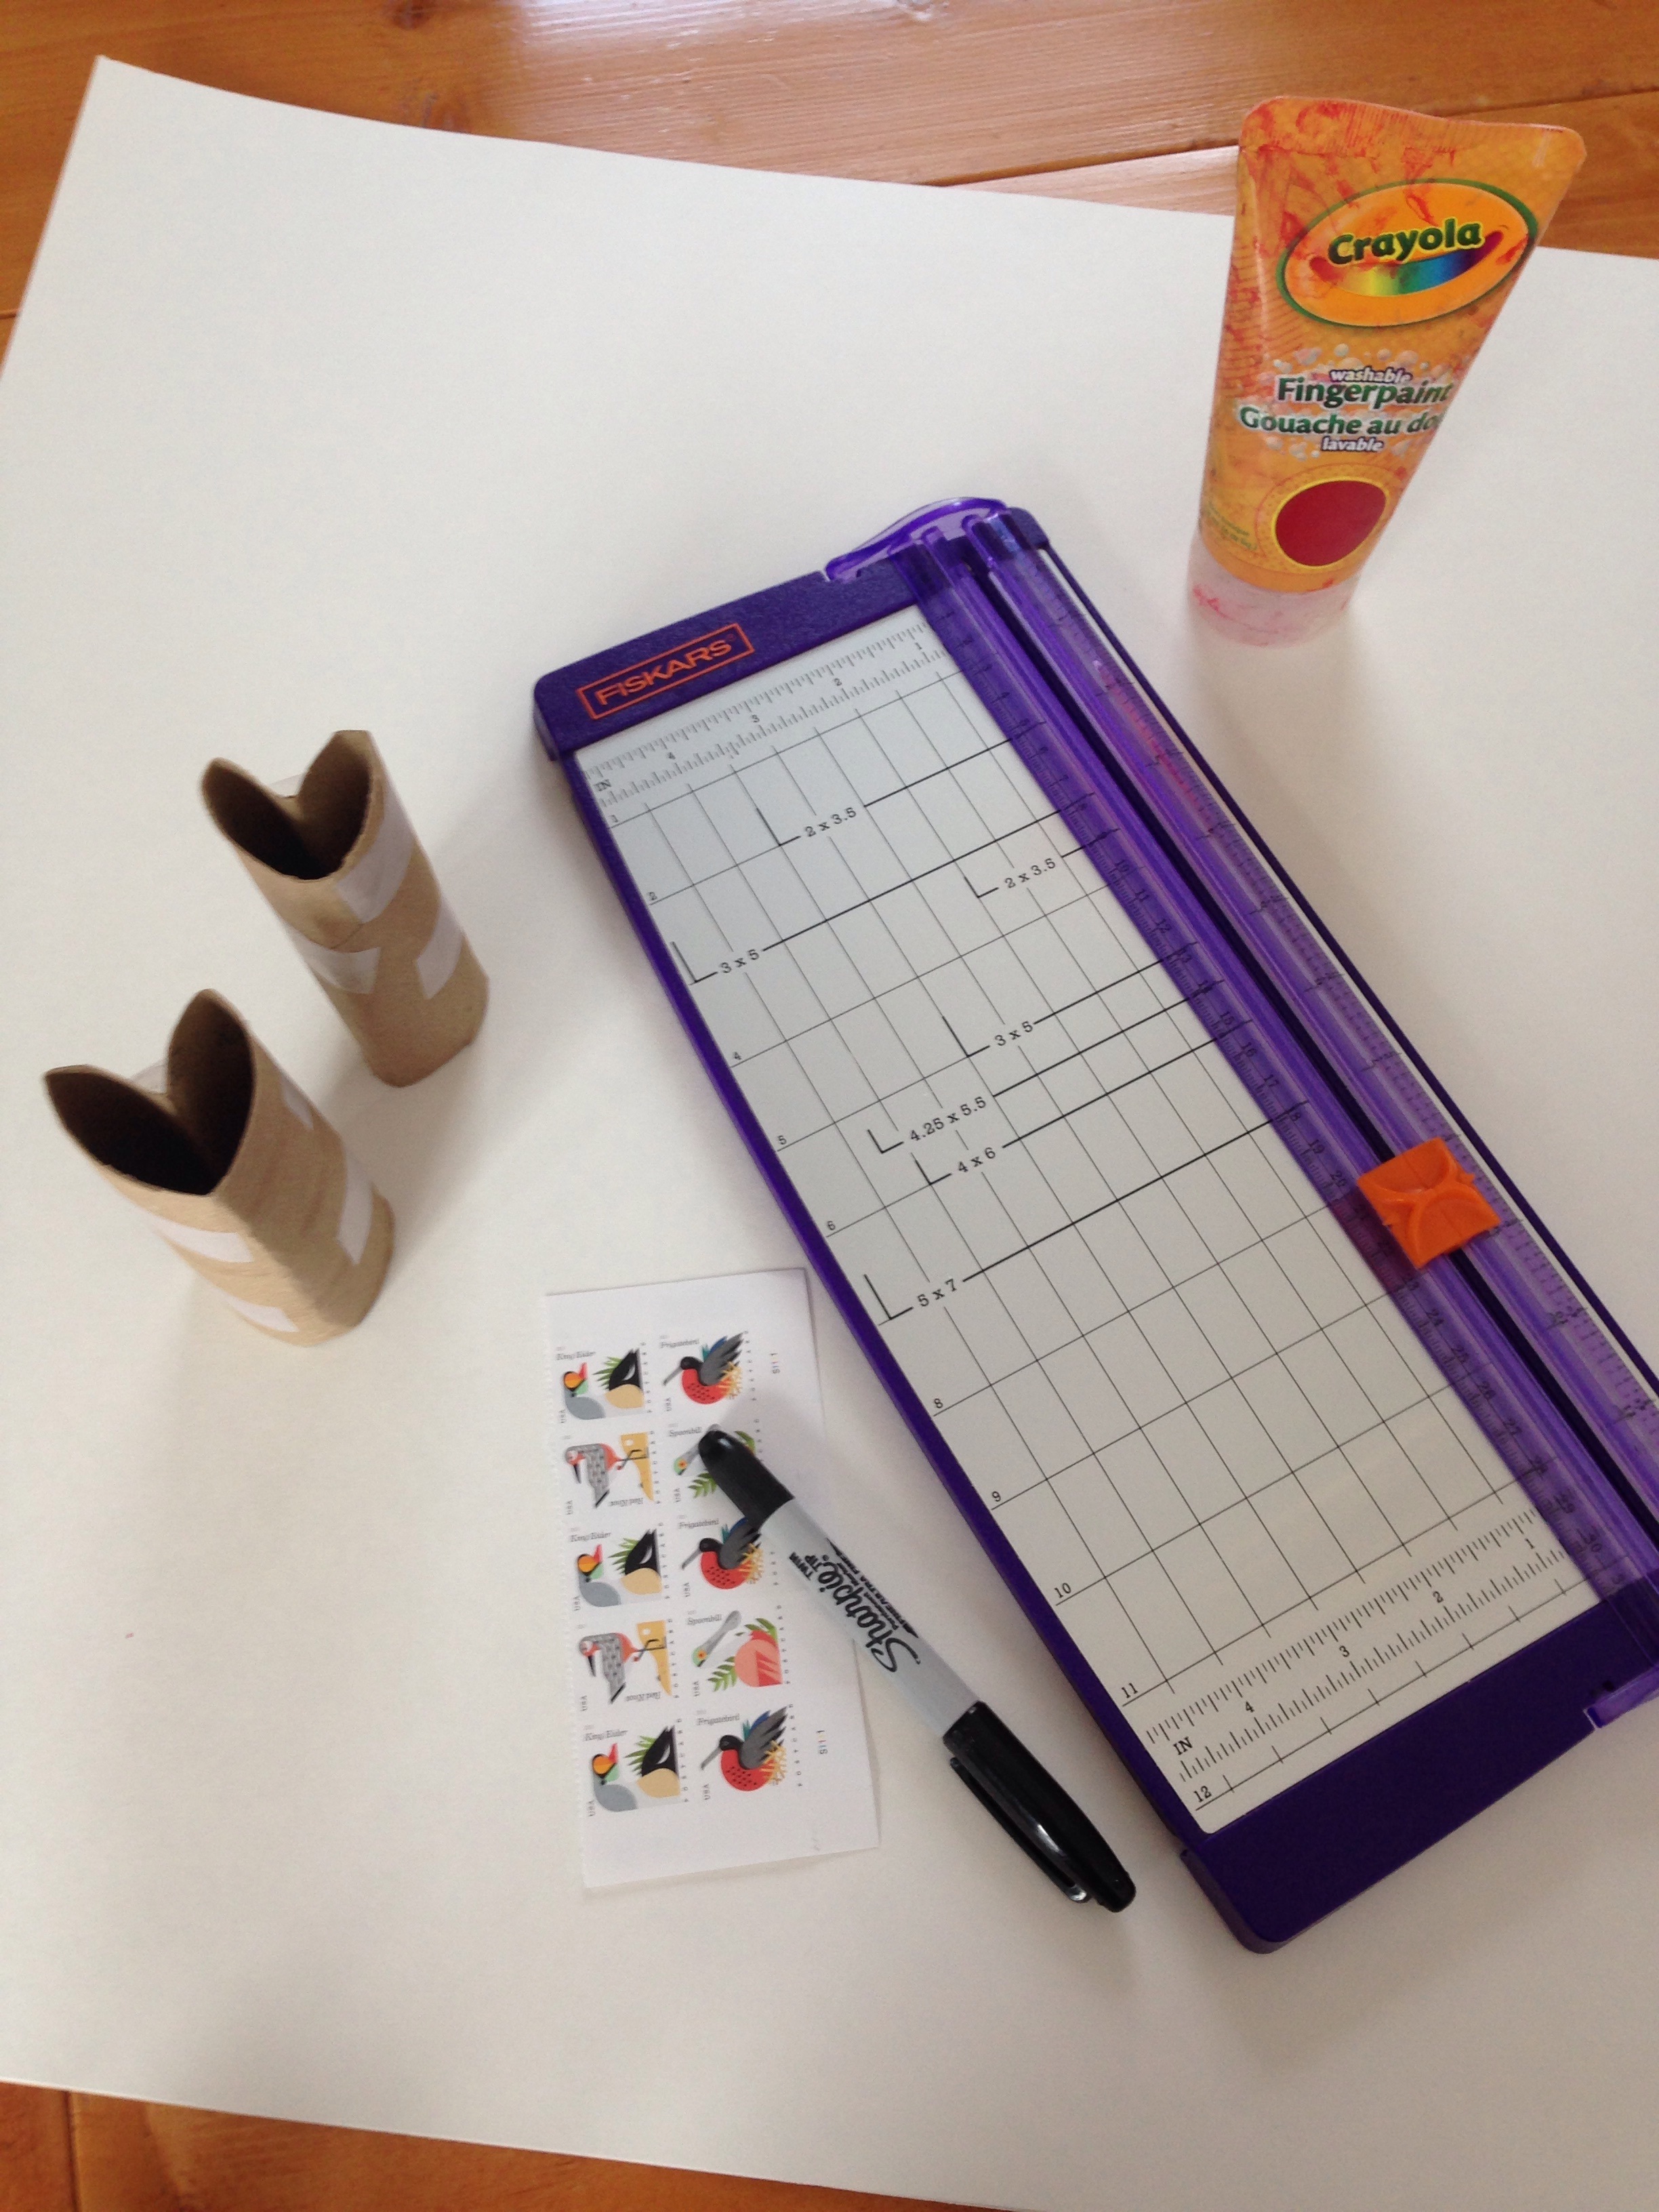
One of the reasons I decided to make postcards this year instead of traditional cards was, not only are postcards cuter, they cost almost 30% less to mail than a traditional card - these postage savings add up! As a result, this project cost next to nothing to do. I already had the paint, toilet paper rolls, rulers, etc. - I just had to run down to the local store and pick up a piece of poster board which cost a whopping 99 cents.
The how-to is pretty straight forward: use a ruler to measure and cut out your postcards (I made mine 4x5.5", but you can check here for more details on postcard requirements). If you have a paper cutter that can come in quite handy to make quick work of cutting them out.
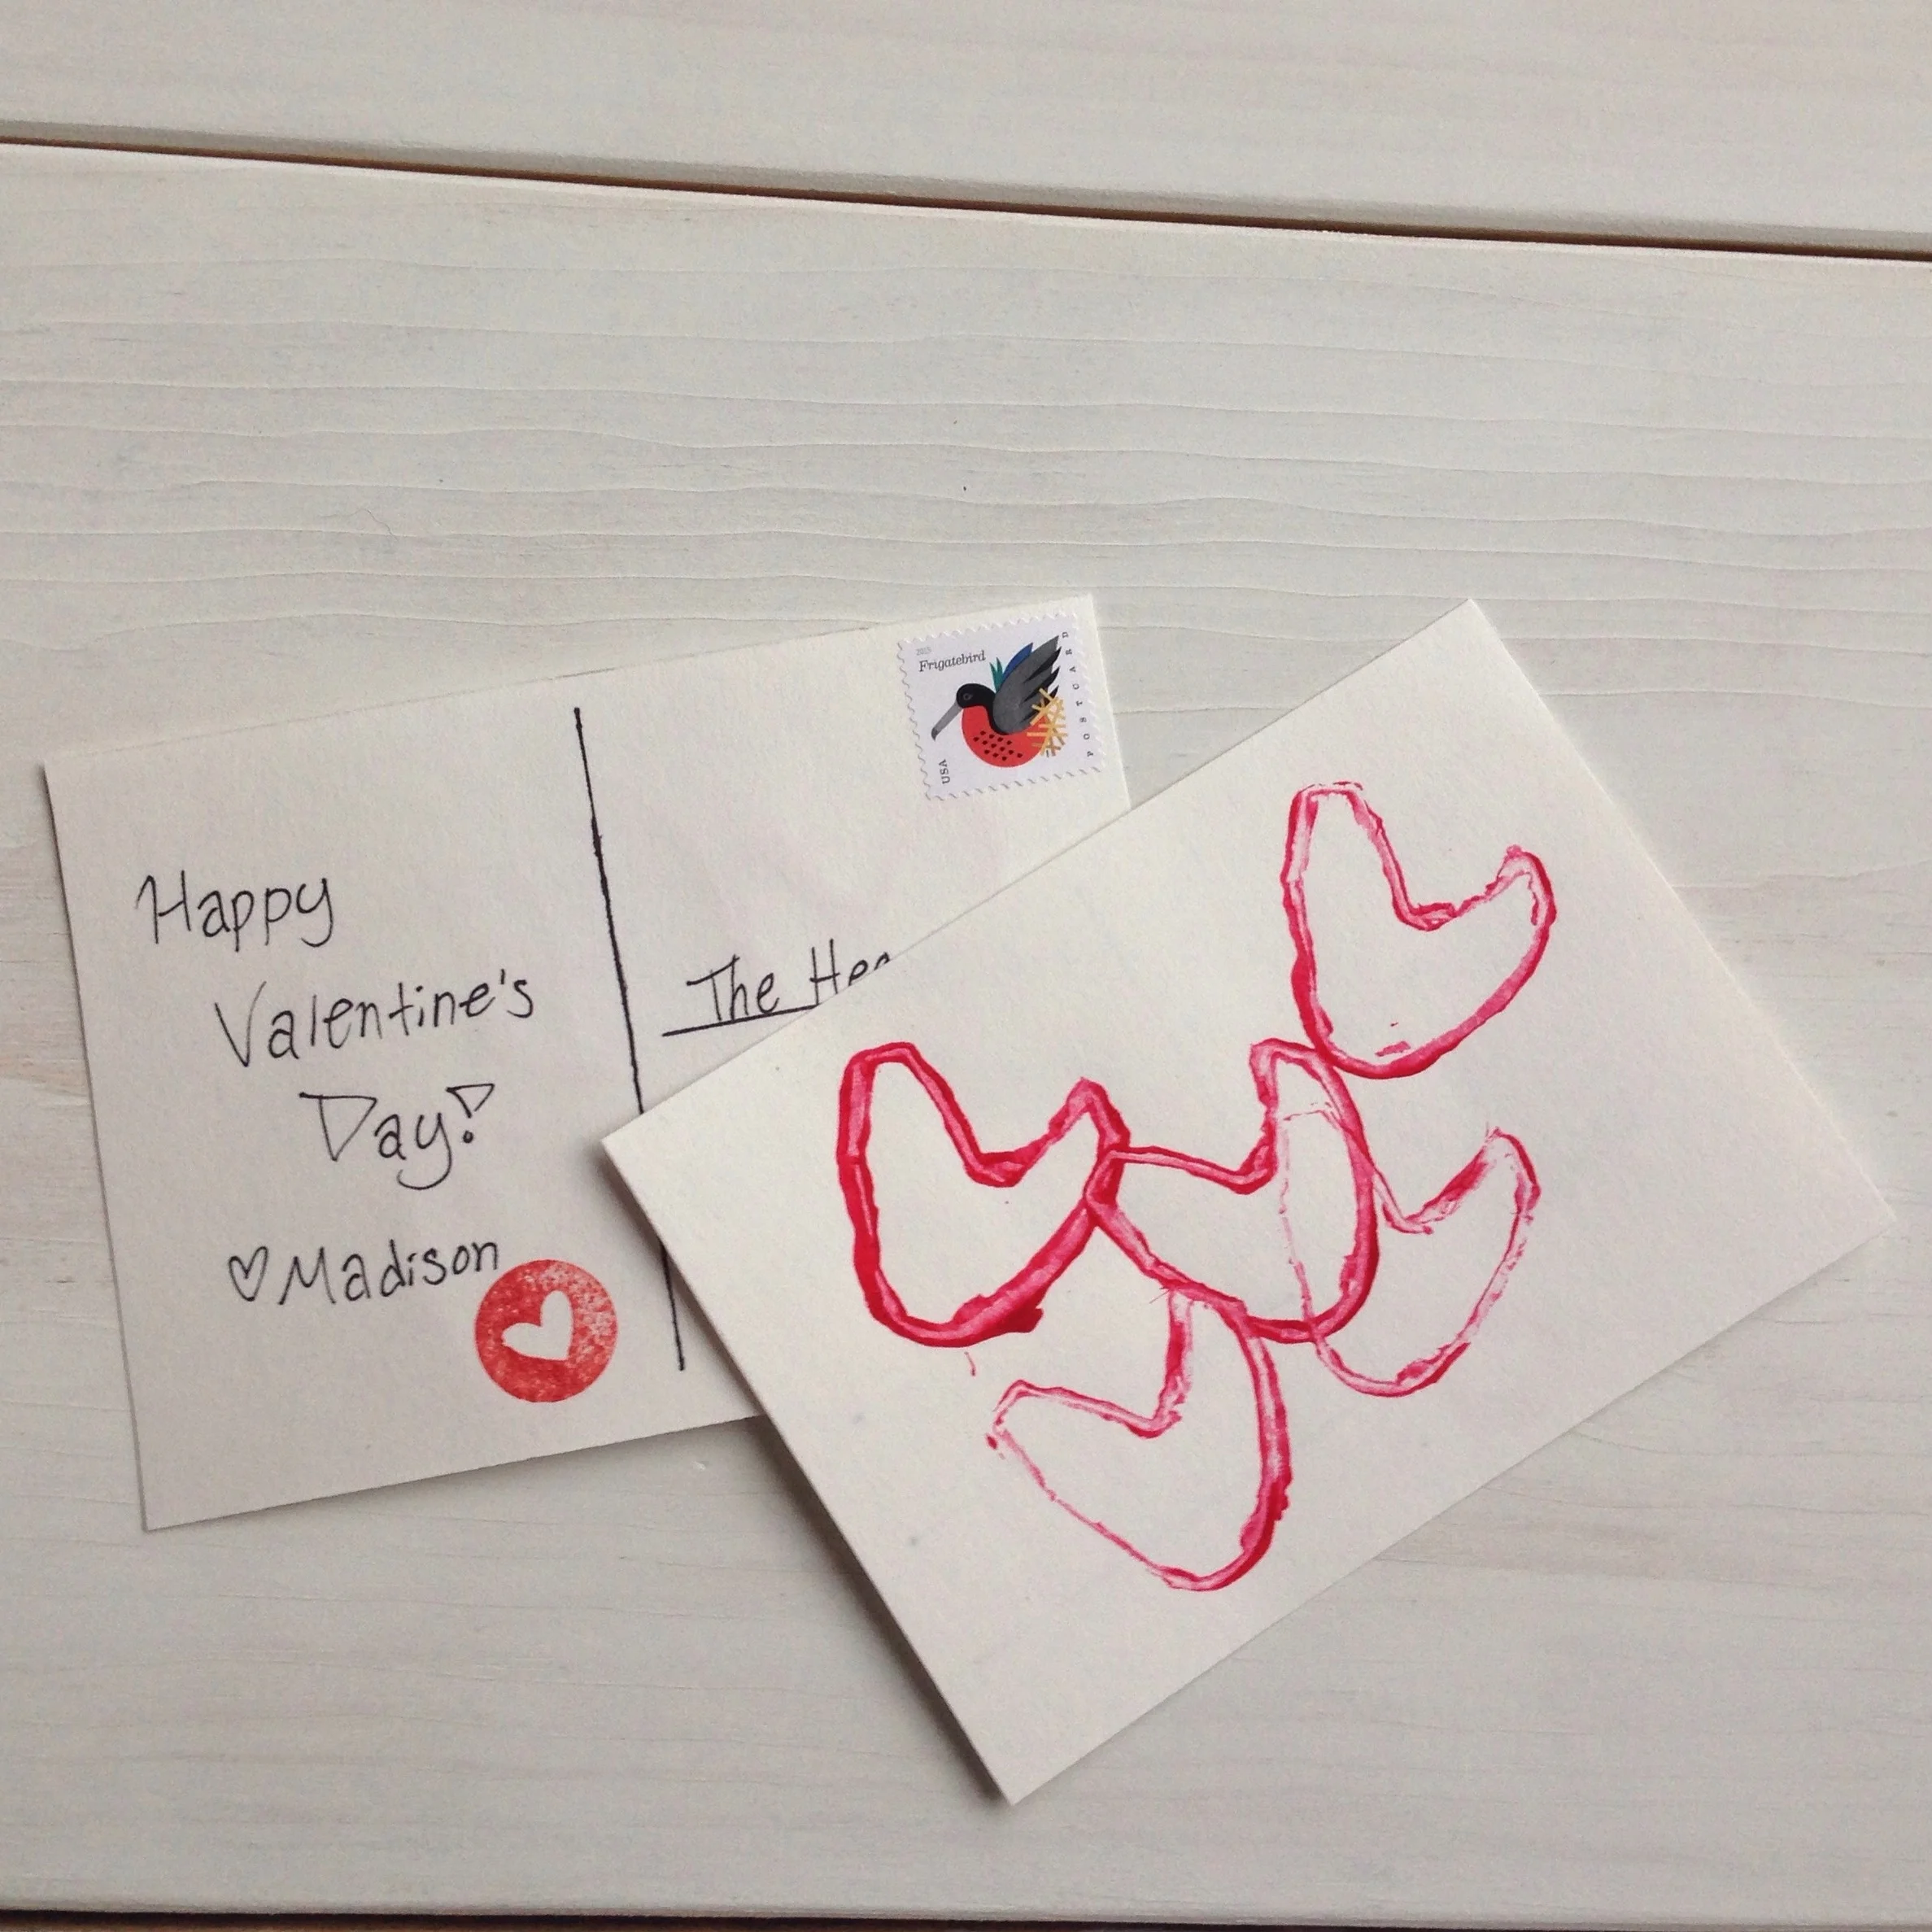
Next use a ruler and a sharpie to create the back of the postcard, one line down the middle and then three lines on the right hand side for the address.
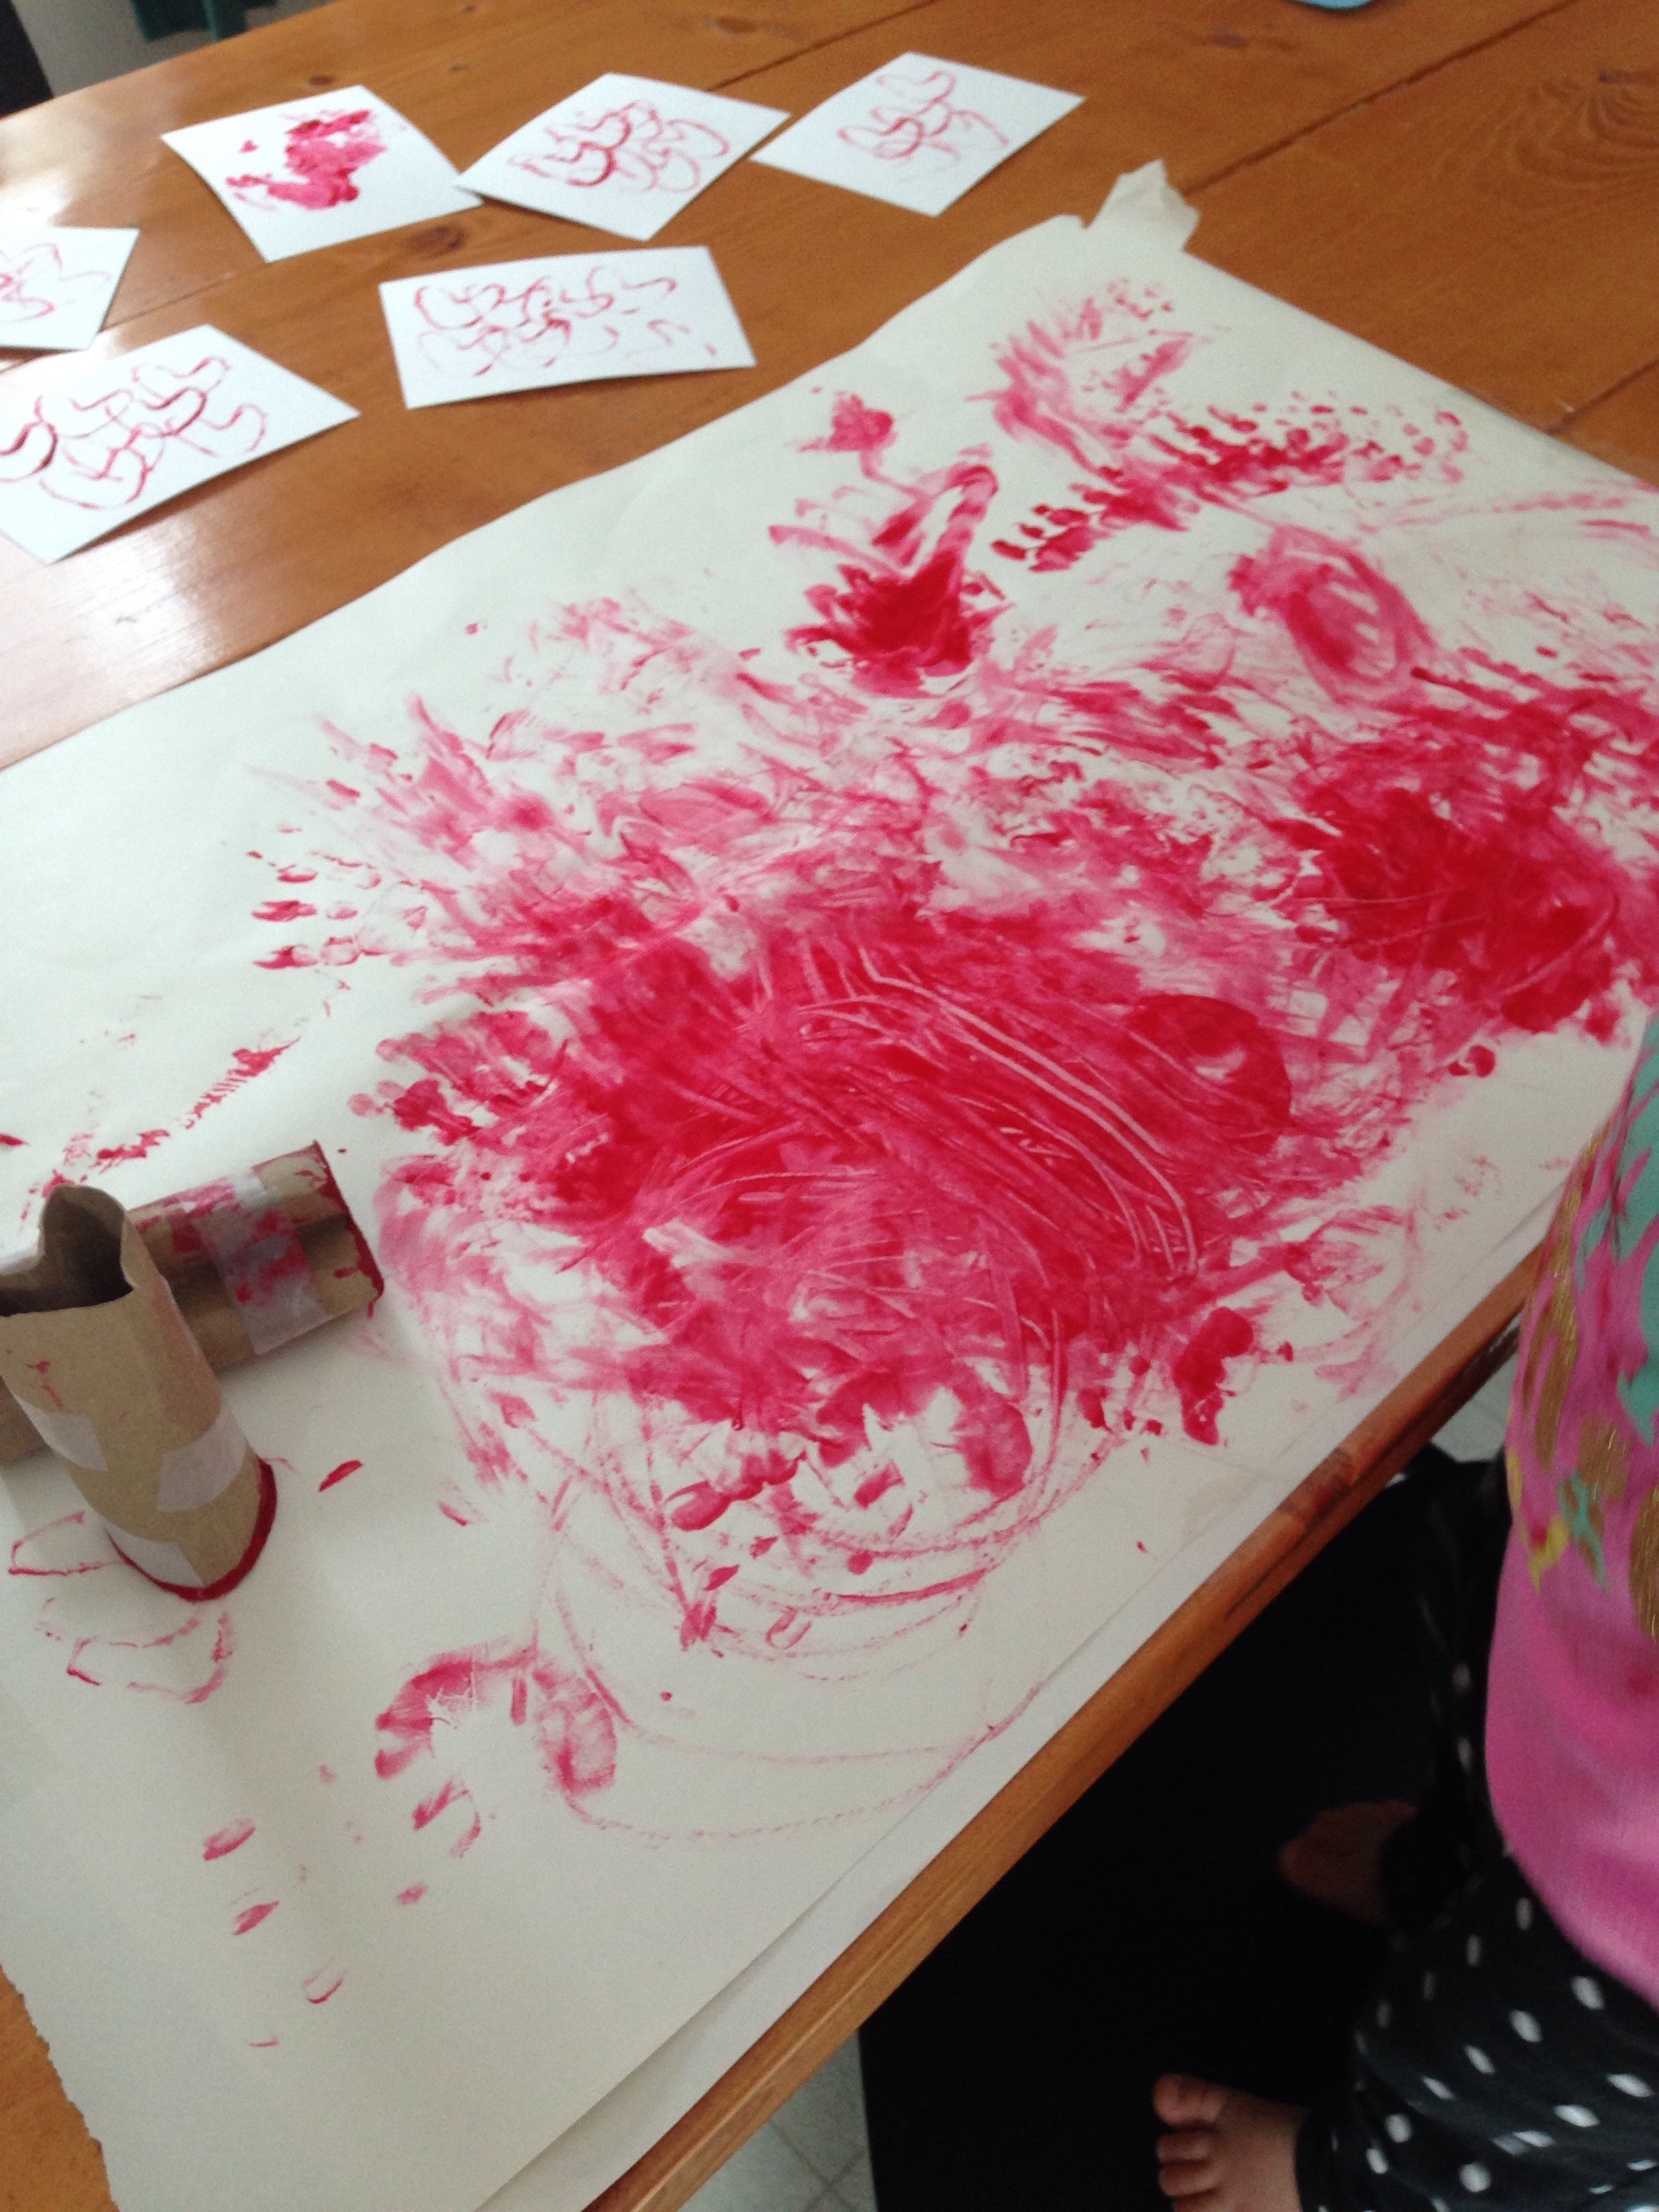
Next let your toddler go to town! I put down one card at a time to keep the backs clean from paint as well as to keep them from getting over-saturated. To make the heart "stamp" I used toilet paper tubes bent into a heart shape and held together with tape.
Once the cards were done I let our little one go crazy on the table covering.
The cards drying - they came out pretty great!!
I kept the backs very basic with a simple handwritten message and a little heart stamp.
I hope you enjoyed this little Valentine DIY! It was very quick and easy and the possibilities are endless when it comes to how you want to paint, color, or draw the front of the postcard.
Happy Valentine's Day!
Check out our other Valentine's Posts:
KEEP UP WITH BIRCH LANDING HOME
| Etsy | Facebook | Instagram | Pinterest | Bloglovin' | Hometalk |
Our little one may be happily playing independently but the second I go to make dinner she demands to be held and refuses to be put down, making cooking impossible. To help keep her occupied but still involved I've been eyeing a learning tower / kitchen helper on Amazon for months now, but at $200 it just wasn't in our budget. My sister-in-law had made a learning tower from a plan by Ana White and suggested I try to make one too. I was unsure at first, I've never made anything more complicated than a birdhouse, but I decided to give it a go! Read on for my lessons learned and know that you can totally make one too. | This post contains affiliate links |
{ Note: the plans that I worked from were from Ana White and can be found HERE }
The first step to making the learning tower was buying the lumber.. which is easier said than done when you just have a little car! Nevertheless, Miss M and I made the nearly hour-long trek out to Lowe's to pick up lumber, paint, and screws. One thing I really liked about the Ana White plan was that it had both a shopping list and a "cut list" so you knew exactly how much of each kind of wood to buy and then how to cut it up. I made a mistake at Lowe's though and ended up buying 6-foot boards instead of 8-foot.. I don't know if I read the sign too quickly or what, but it made me come up short for the project. Thankfully we had some extra wood in the garage and I was able to fudge it.
For our learning tower, I made some modifications - some were planned and some kind of happened as the project went on (partly due to the wood shortage). For example, I decided against doing the arches on the top - as lovely as they were, we don't have a jigsaw so I had to nix it. I also did the base of the tower a little differently and I didn't do the tip resistors (at least not yet), my sister-in-law omitted the tip resistors and has had no problems. Our little one is pretty good with the tower (knock on wood), but for peace of mind I think we will do something to help prevent it ever tipping - most likely adding some scrap wood to make a lip that will fit under the edge of our counter. Another thing I did differently was make the front and back top railing wider, the reasoning for this was two-fold - for one thing, it gave me more room to screw in the the top railings without the screws running into each other. Another was that the wider wood makes it impossible for our little one to open the kitchen drawers in front of her (so key).
One criticism of Ana White's plan is that while it gives you a great outline of what to make and how to go about it, it definitely doesn't spell everything out - and for this detail-oriented person that drove me nuts! For example, it doesn't detail how many screws you should use when attaching each piece or how to position the screws when you join sides together (this was a huge issue so they didn't run into each other). Another big problem was that the plan had quite a few typos and some of the steps would stop mid-sentence missing the full explanation of what to do.
I highly suggest cutting all the wood, labeling it, laying it out and really thinking through how it's going together. My biggest challenge by far was figuring out a good way to hold the pieces together while I pre-drilled and screwed them together. The wood the plan calls for is pretty thin (another downside of the plan), so that limited the ways I felt I could hold it without damaging it. I tried using vices and clamps to help hold everything together but they always seemed to be in the way so I ended up holding it in place anyway I could, even with my foot if necessary (awkward).
I also had to improvise on how to center the front and back side pieces against the wider side of the legs. It turned out that a picture book we had was the perfect thickness and became a great spacer.
To space the boards for the platform I placed some extra screws between them as spacers. Once it was all attached together, I just pulled the screw spacers out.
For paint, I used a high-gloss black enamel paint by Val-Spar and gave it two coats (though I probably should have done 1-2 more). I really recommend using high-gloss paint or stain so it can be wiped down easily after every use.
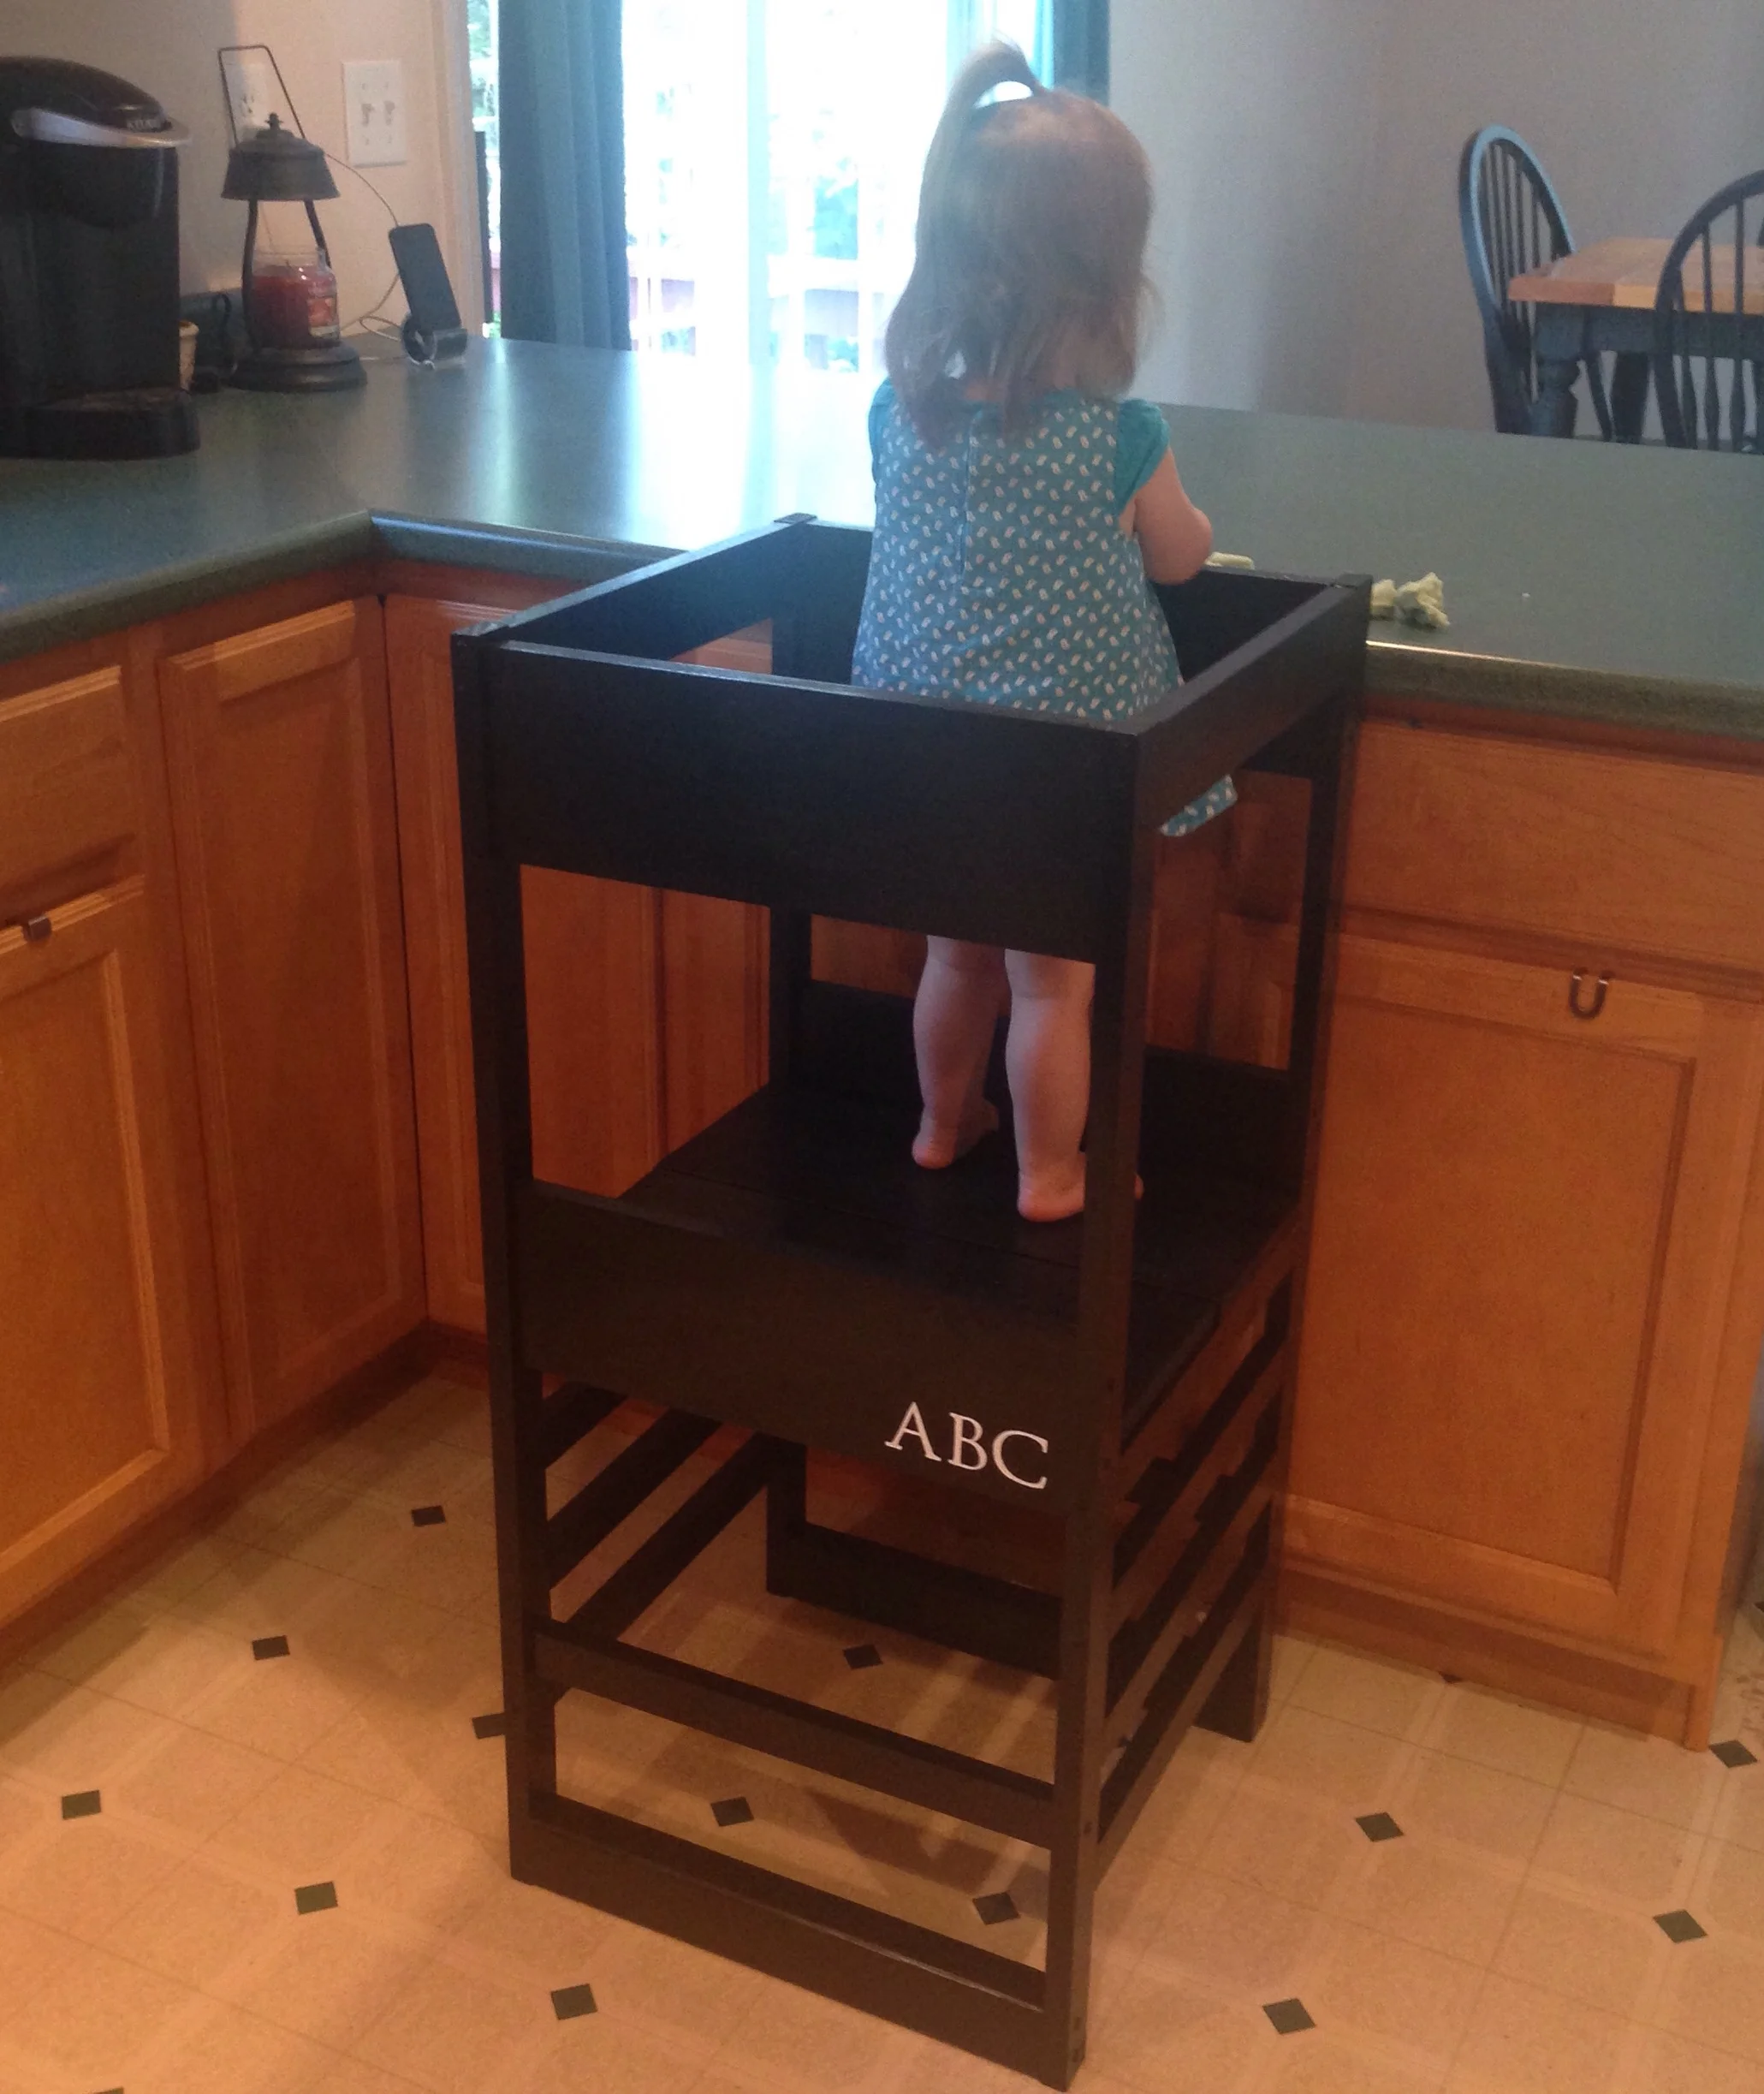
I wanted to add some personalization or decoration to the learning tower, but also wanted to keep it simple so that it would blend into the kitchen better. I decided against personalizing the tower since we're hoping to have more kids and I wanted to keep it "neutral" - so I settled for stenciling "ABC" on one of sides for a little decoration, using the Martha Stewart Monogram Serif Stencil Set.
Our little one loves her new learning tower and now feels like she can "help" when I'm making dinner. This tower also makes arts and crafts a lot easier (here she's playing with some homemade playdough).
Safety Notice: It goes without saying, but always supervise your little one while they're using the learning tower and make sure there is nothing dangerous within reach (hot plates, knives/other sharp objects, stove, off-limit foods, etc). Use at your own risk.
Other posts you might enjoy:
KEEP UP WITH BIRCH LANDING HOME
| Etsy | Facebook | Instagram | Pinterest | Bloglovin' | Hometalk |