I'm a wife, stay-at-home mom, crafter, and blogger living in rural New England. As seen in Martha Stewart Living, Food Network Magazine, and more! | Tutorials, DIY, crafts, parenting tips, recipes, money saving tips, product reviews, local product features, New England living, intentional living, and more! |
A few years ago we built a detached garage on our property which we nicknamed “the barn.” We were on a tight budget when we had it built so we kept everything very basic - basic windows, basic doors, etc. Now that we’ve lived with it for a few years we’re slowly upgrading what we can with easy and cheap DIYs, like this two minute garage door makeover - no tools needed! | This post contains affiliate links |
The front of our barn just looked so plain and boring... it definitely needed "something" to give it more character and the basic builder-grade garage door just wasn't cutting it. One day while I was on Amazon I came across these magnetic faux hinges and handles with amazing reviews and thought that was perfect!
To install them I wiped down the garage door real quick first to remove any dirt and then just stuck the hinges to the door right from the box. There are several magnets on the back of each item so they’re easy to stick on and reposition as needed.
The faux hinges and handles are made from thick plastic so they won’t rust - but they certainly don’t look plastic! Even up close they have a lot of texture and really look like forged metal. The handles even fooled my kids and they totally thought they were real! And if you want to keep your doors more simple you could easily just put the hinges up or just the handles and leave it at that.
This quick addition to our plain garage door really has made a difference in making our “barn” look more finished and giving it better curb appeal. Hopefully next year we’ll get the driveway paved up to it and add some landscaping and then it really will be done.
Looking for more cheap and easy DIY’s? See our previous Blog Post on how I added “window panes” to our basic builder-grade windows and it’s made such a difference. They’re still up years later and look as good as the day I first put them up.
We’ve been slowly helping to clean out a family member’s attic and came across this old heavy “silver” (not actually silver) serving tray. Since not many people still use serving trays I thought it might be fun to repurpose it into something else - and since it seems to be made of some kind of steel (therefore magnetic), I thought it would make a fun magnetic memo board! | This post contains affiliate links |
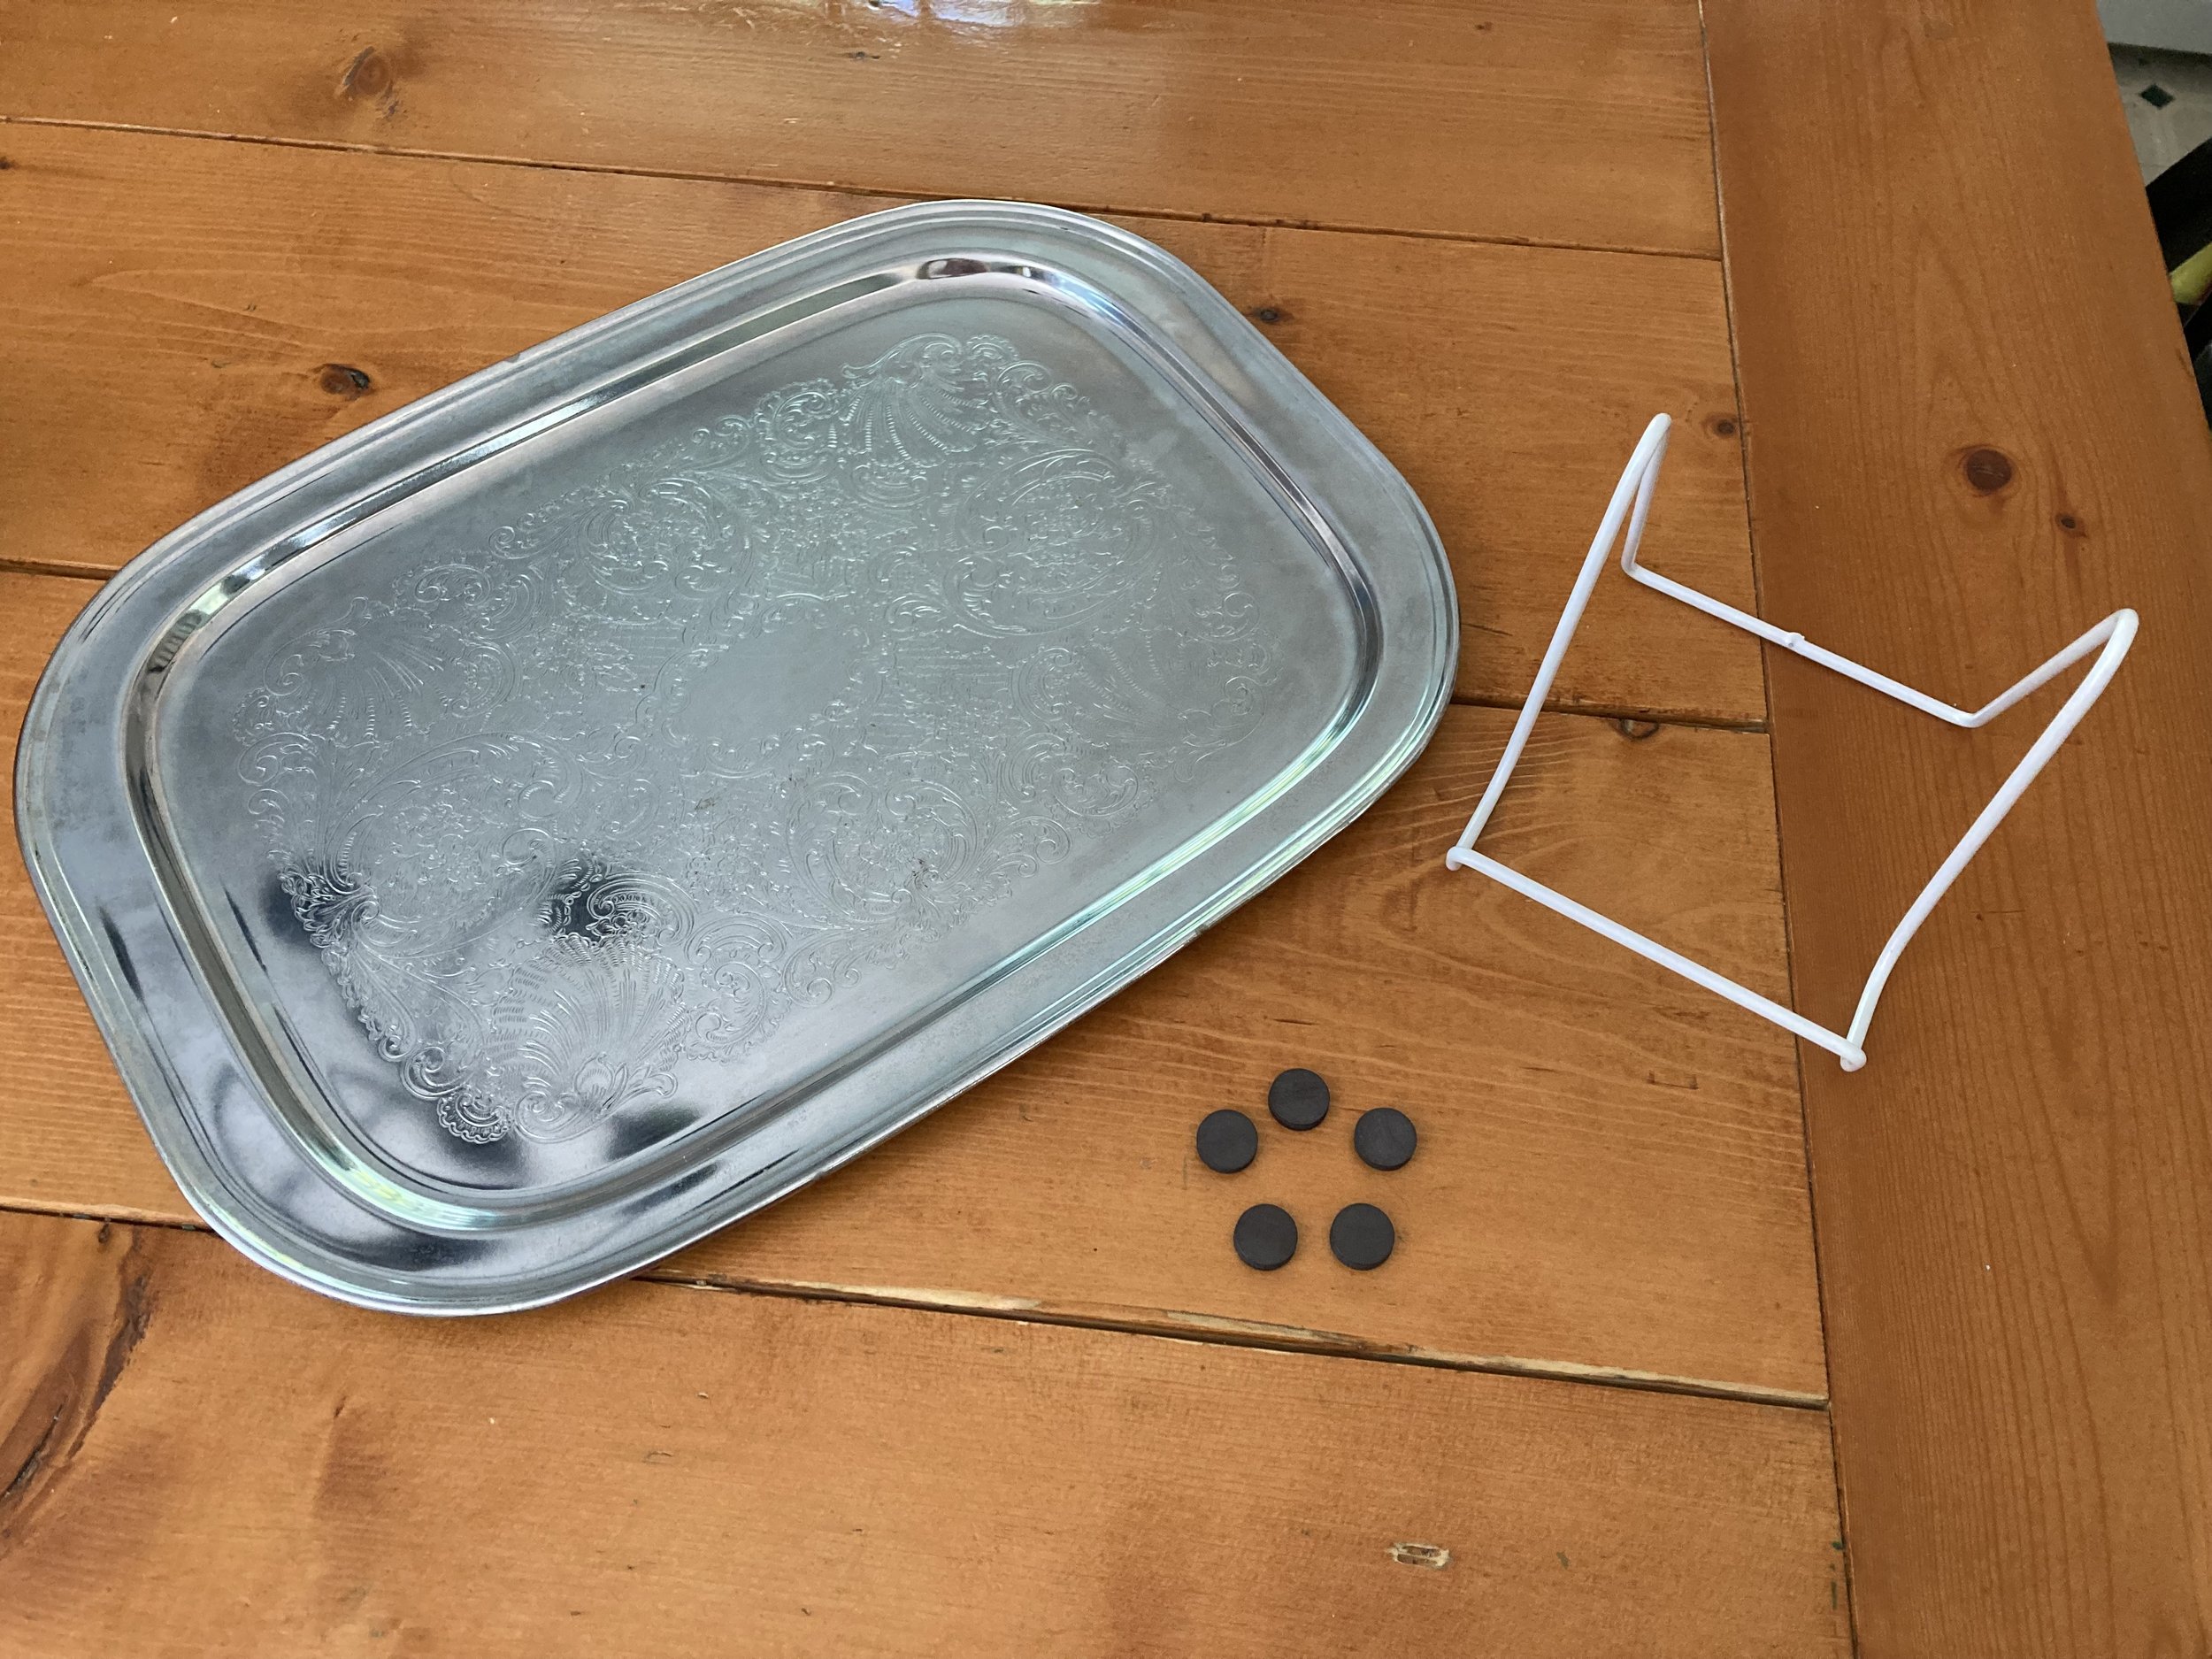
Materials:
Vintage metal tray (check to make sure it's magnetic)
plate stand big enough to support the tray (similar size stand linked)
magnets
How To:
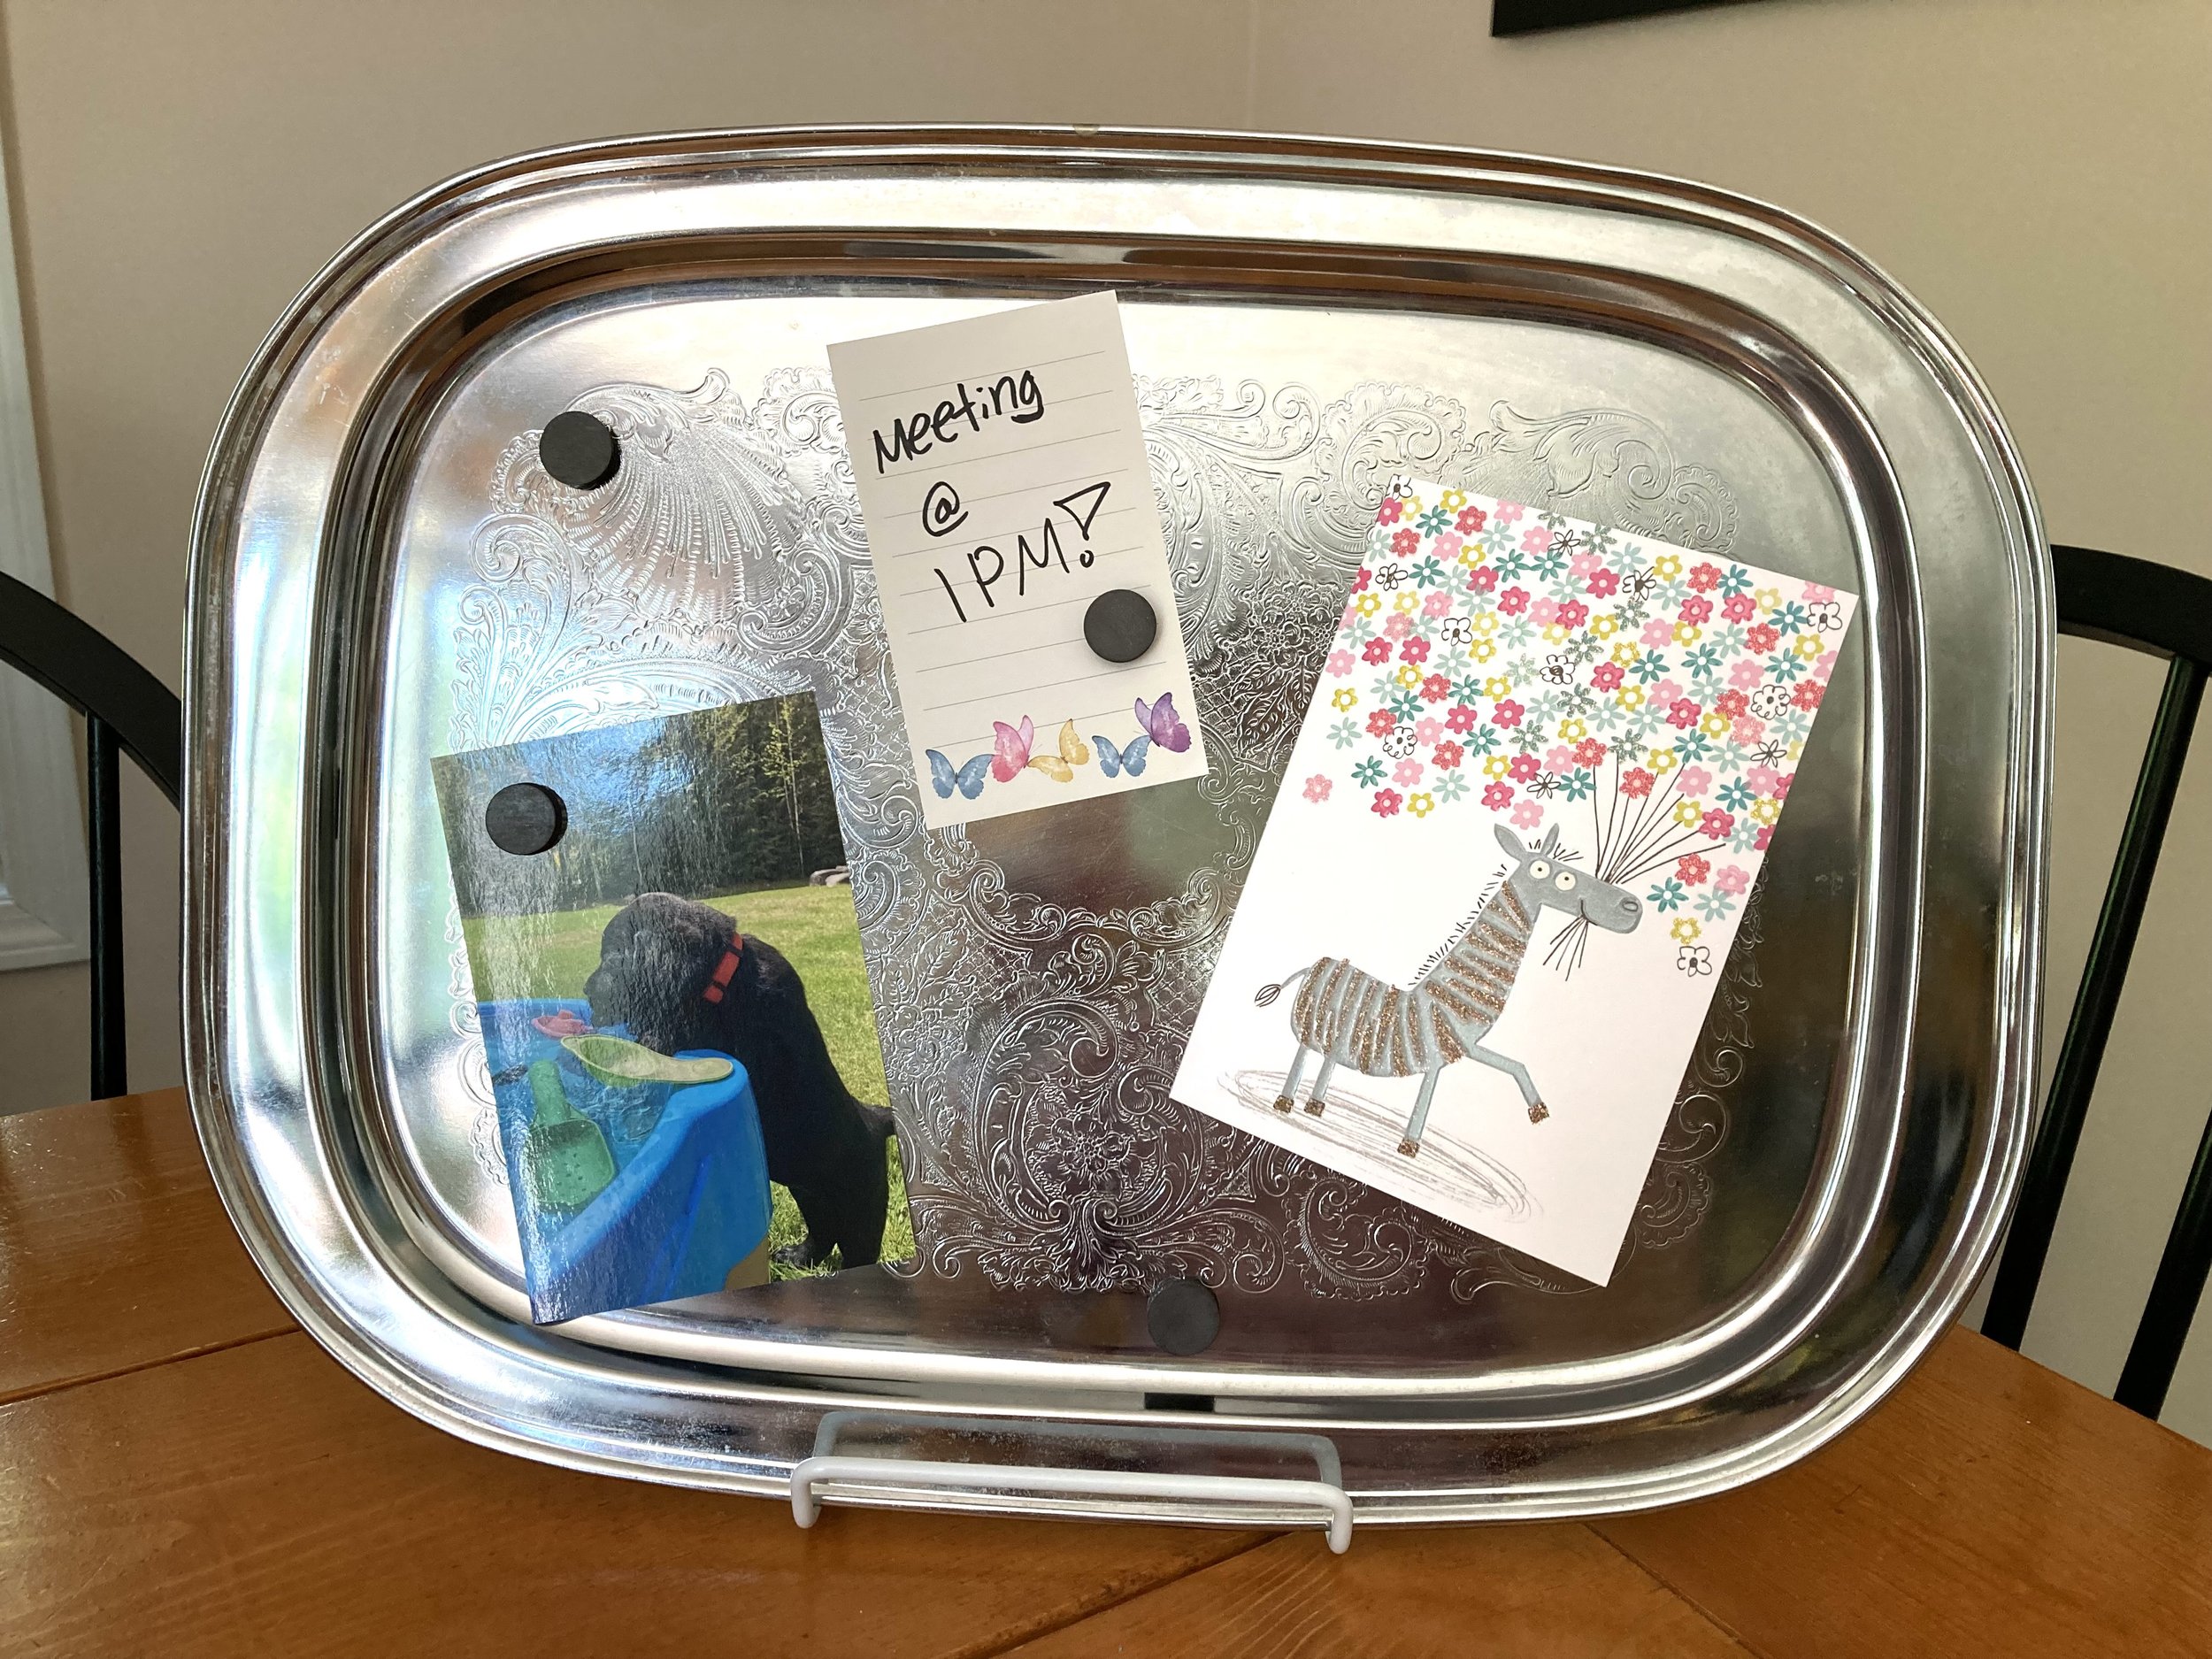
Really the how-to for this project could not be easier! Rest that serving tray on a plate stand that’s big enough/sturdy enough to support it, add some magnets, and BAM, you’re done! I think this project would look so cute on a dresser in a bedroom, a feminine office space, or on a desk nook in the kitchen. It can be used to hold reminders, photos, thank you notes, recipes, mementos, and more.
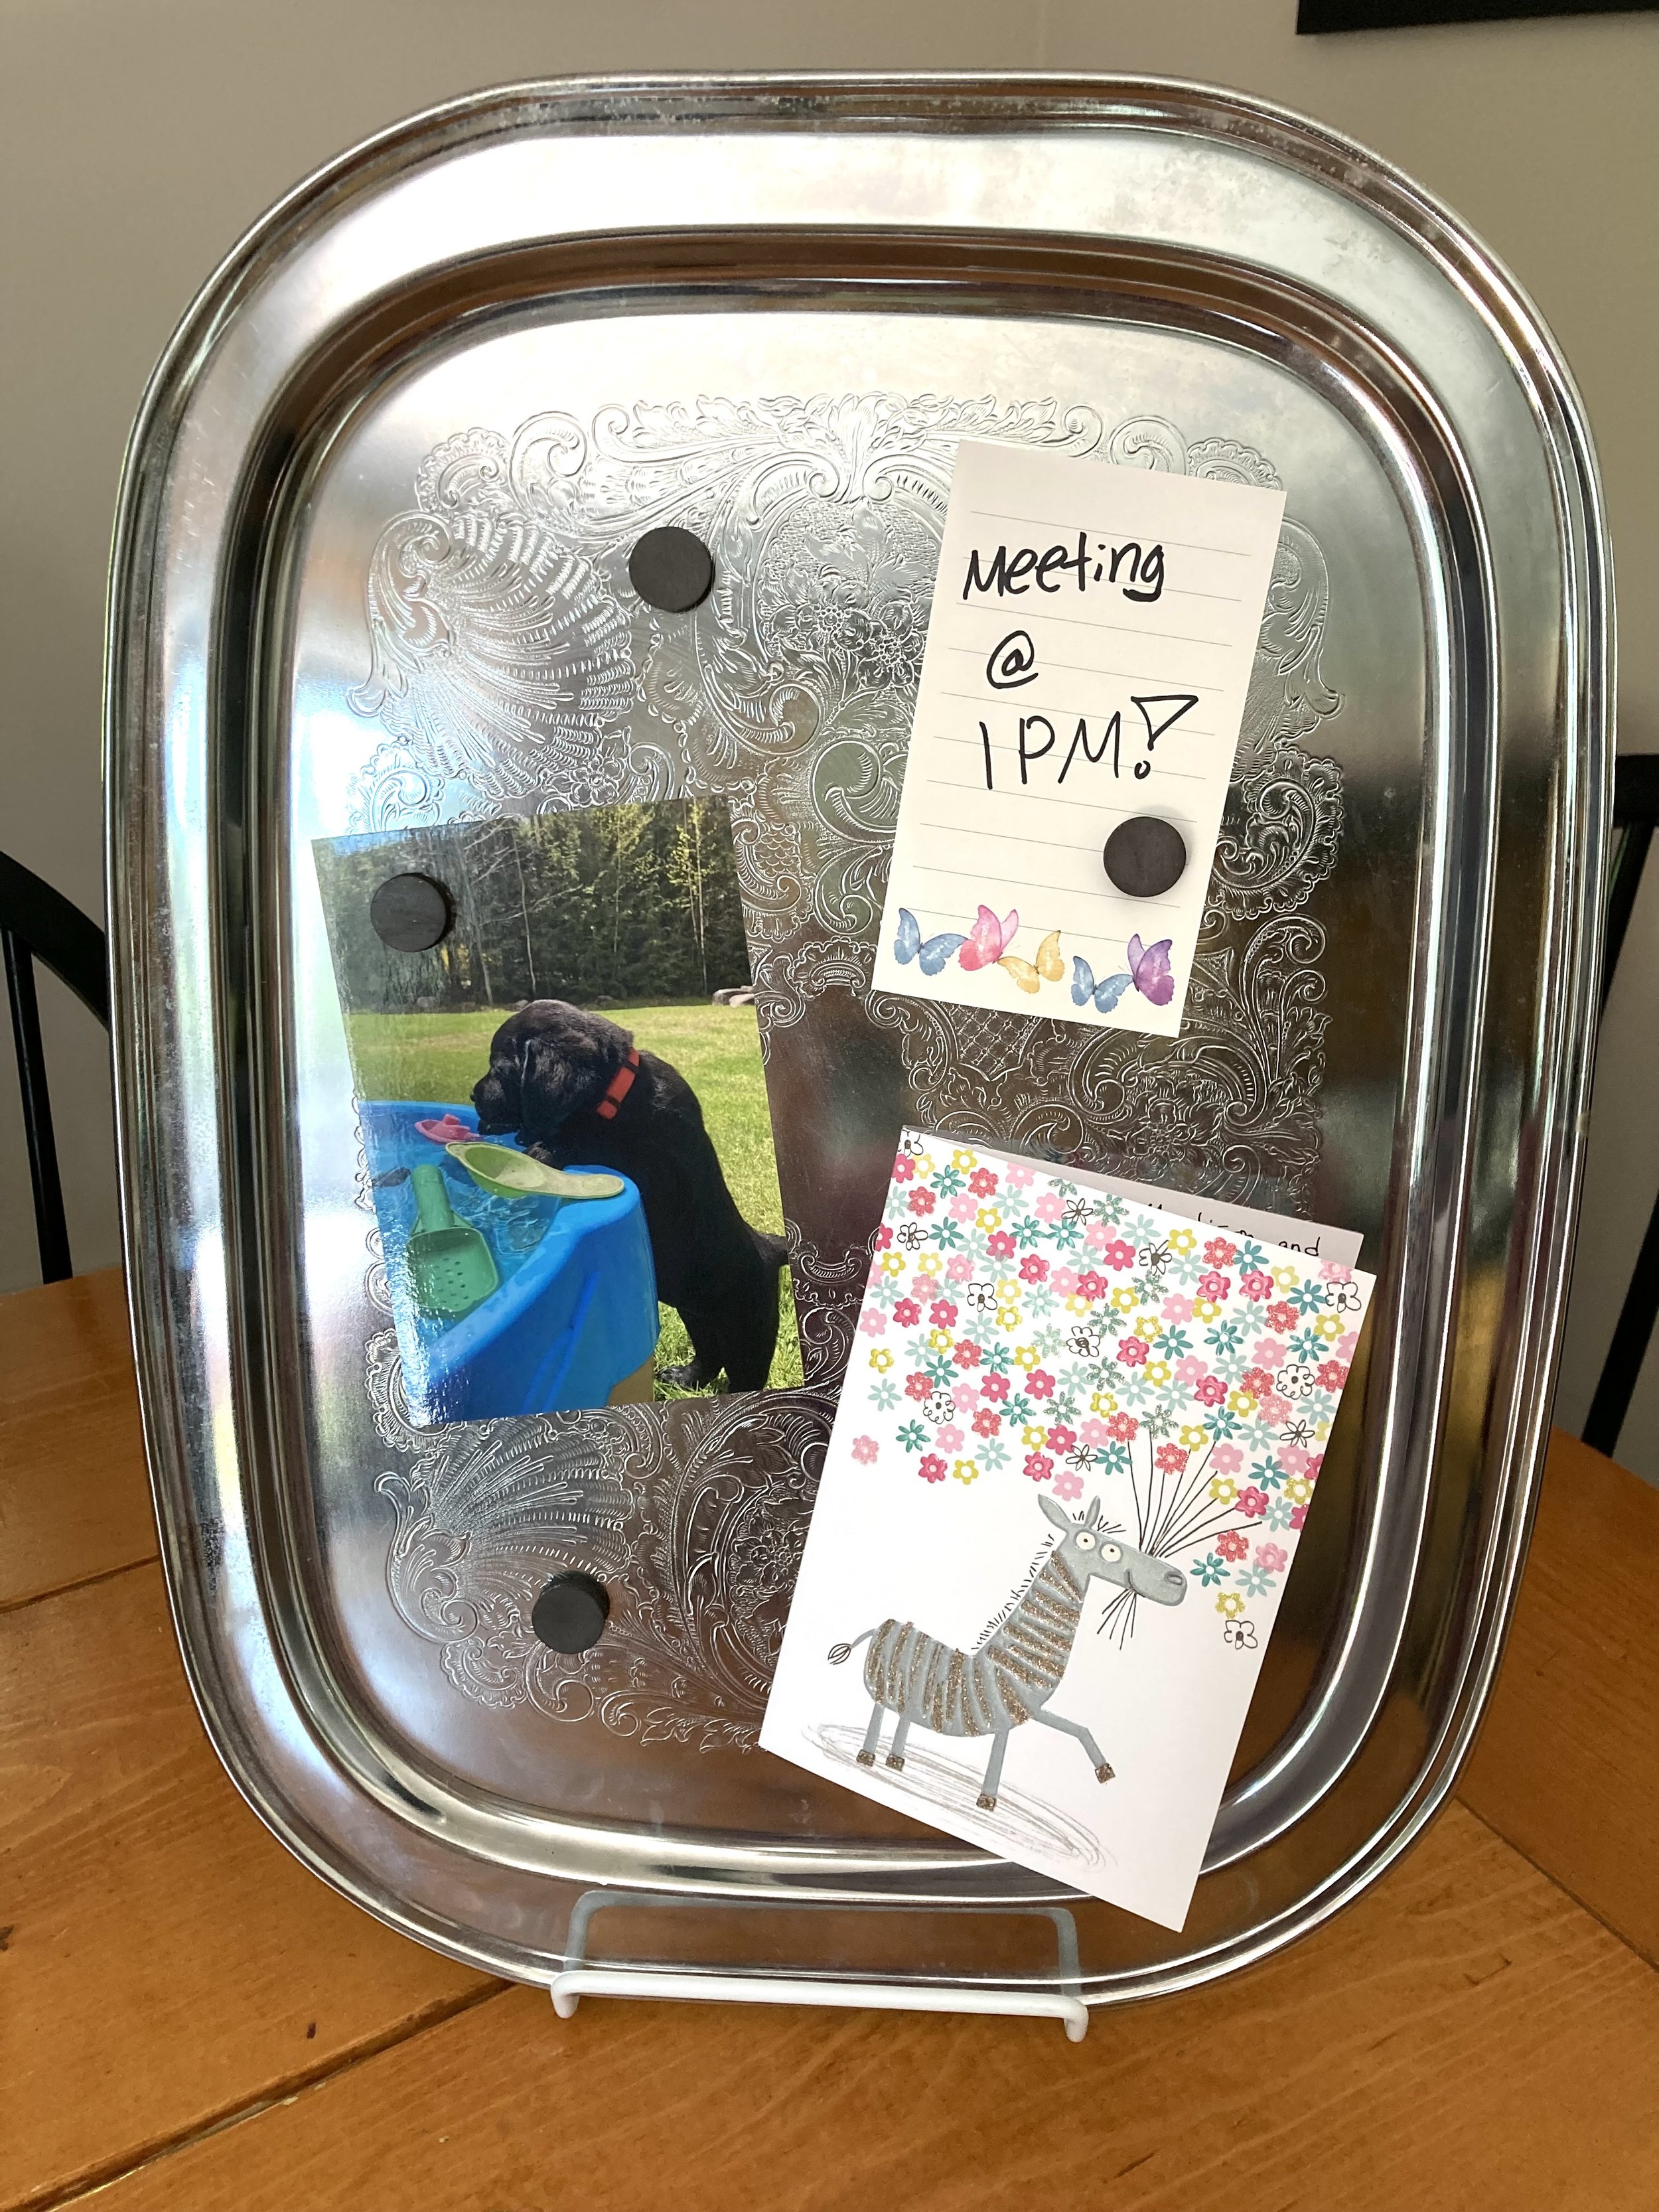
And if the horizontal orientation isn’t working for your space, just turn the tray and you instantly have a vertical memo board!
If you wanted to hang the tray on a wall instead, you could try using a tray hanger. Just make sure to buy the correct size hanger for your tray and make sure it's rated to support the weight of it.
PS - looking for vintage items like the serving tray in this post? Be sure to check out our Etsy Shop for some fun vintage finds! Our inventory is always changing so check back often :)
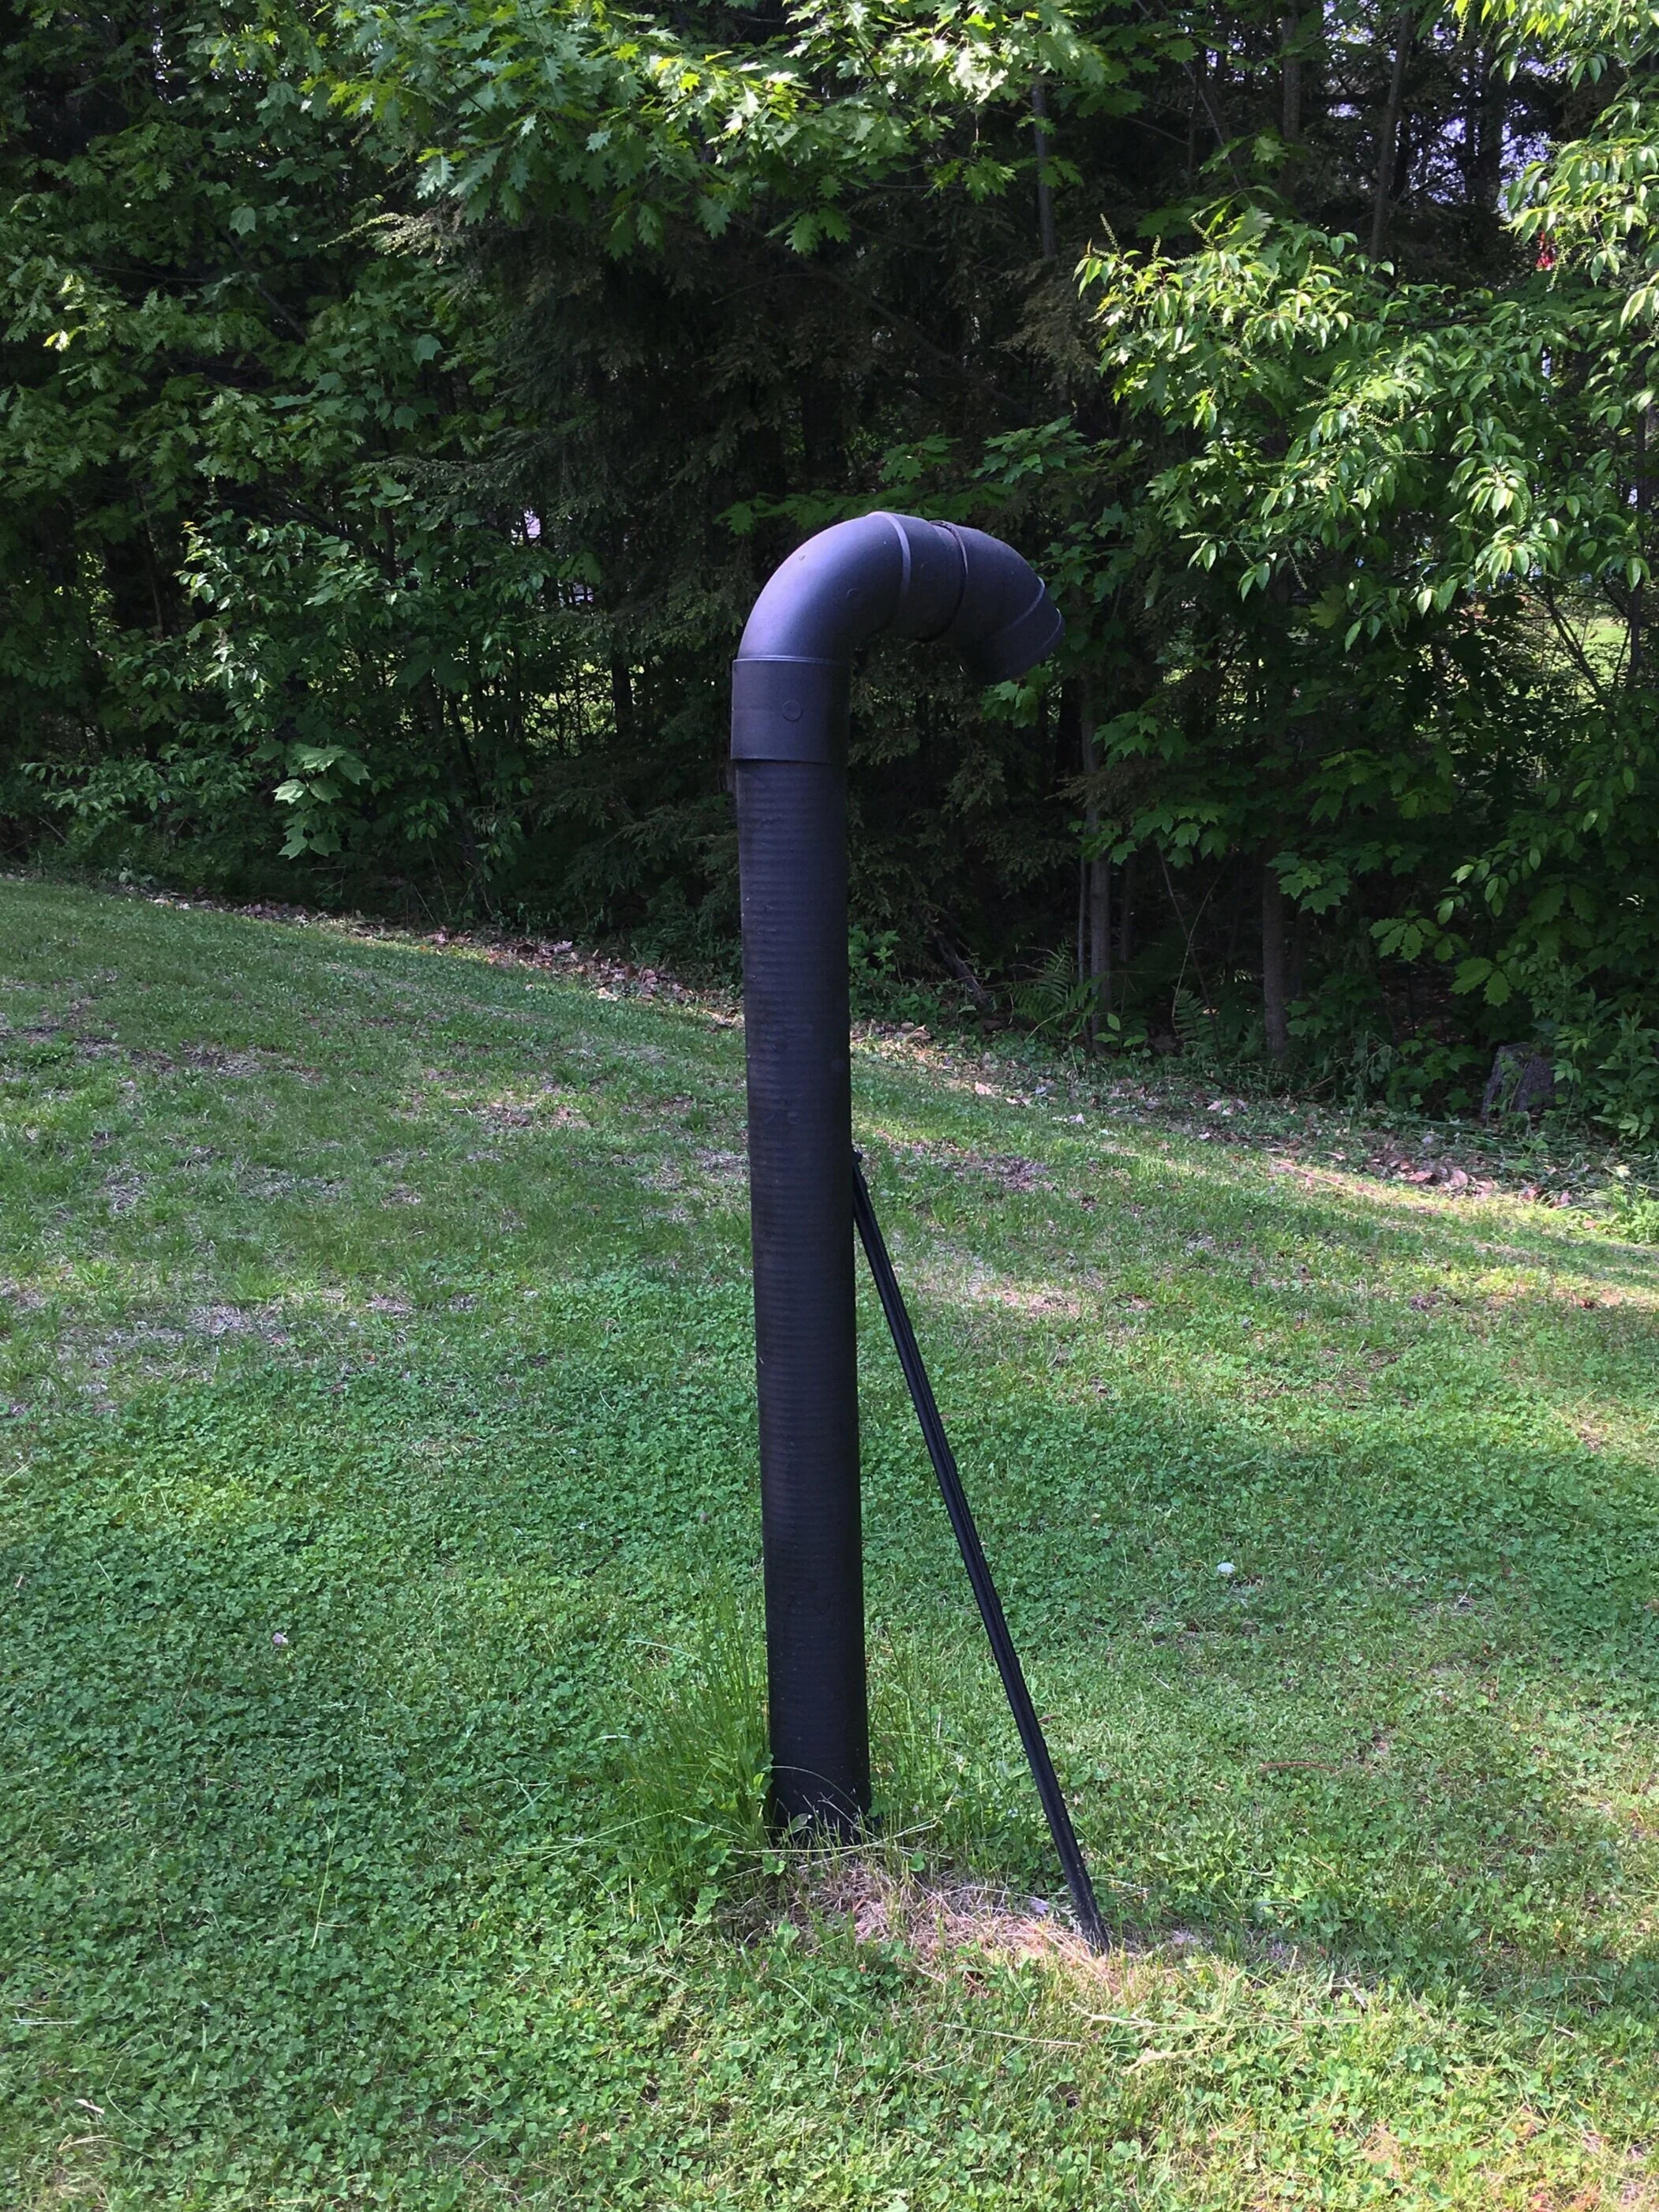
Okay, so I don’t know if “makeover” is the right word here because it’s not a huge change but it certainly helps! So in our area, most homes have septic tanks/leach fields with terribly ugly white or sea foam green PVC vent pipes that stick out like a sore thumb in their lawn. They can be tricky to hide because you don’t want to plant or build anything too heavy or substantial around them and risk damaging the leach field underground or diminish their venting capabilities… so we were limited on options on how to “make it over.”
In any case, I decided to pick up some outdoor rated matte black spray paint from our local hardware store and give our vent pipe a quick coat of black paint and it’s made a huge difference! The black definitely makes the pipe look more industrial and blends in with the grass and trees better than a bright white pipe. Like I said before, it’s certainly not a huge change but it’s a small one that’s made a big difference in my opinion.
AFTER: I forgot to take a “Before” photo but this is the After! The black definitely helps the pipe blend in with the trees and background much better than a white pipe.