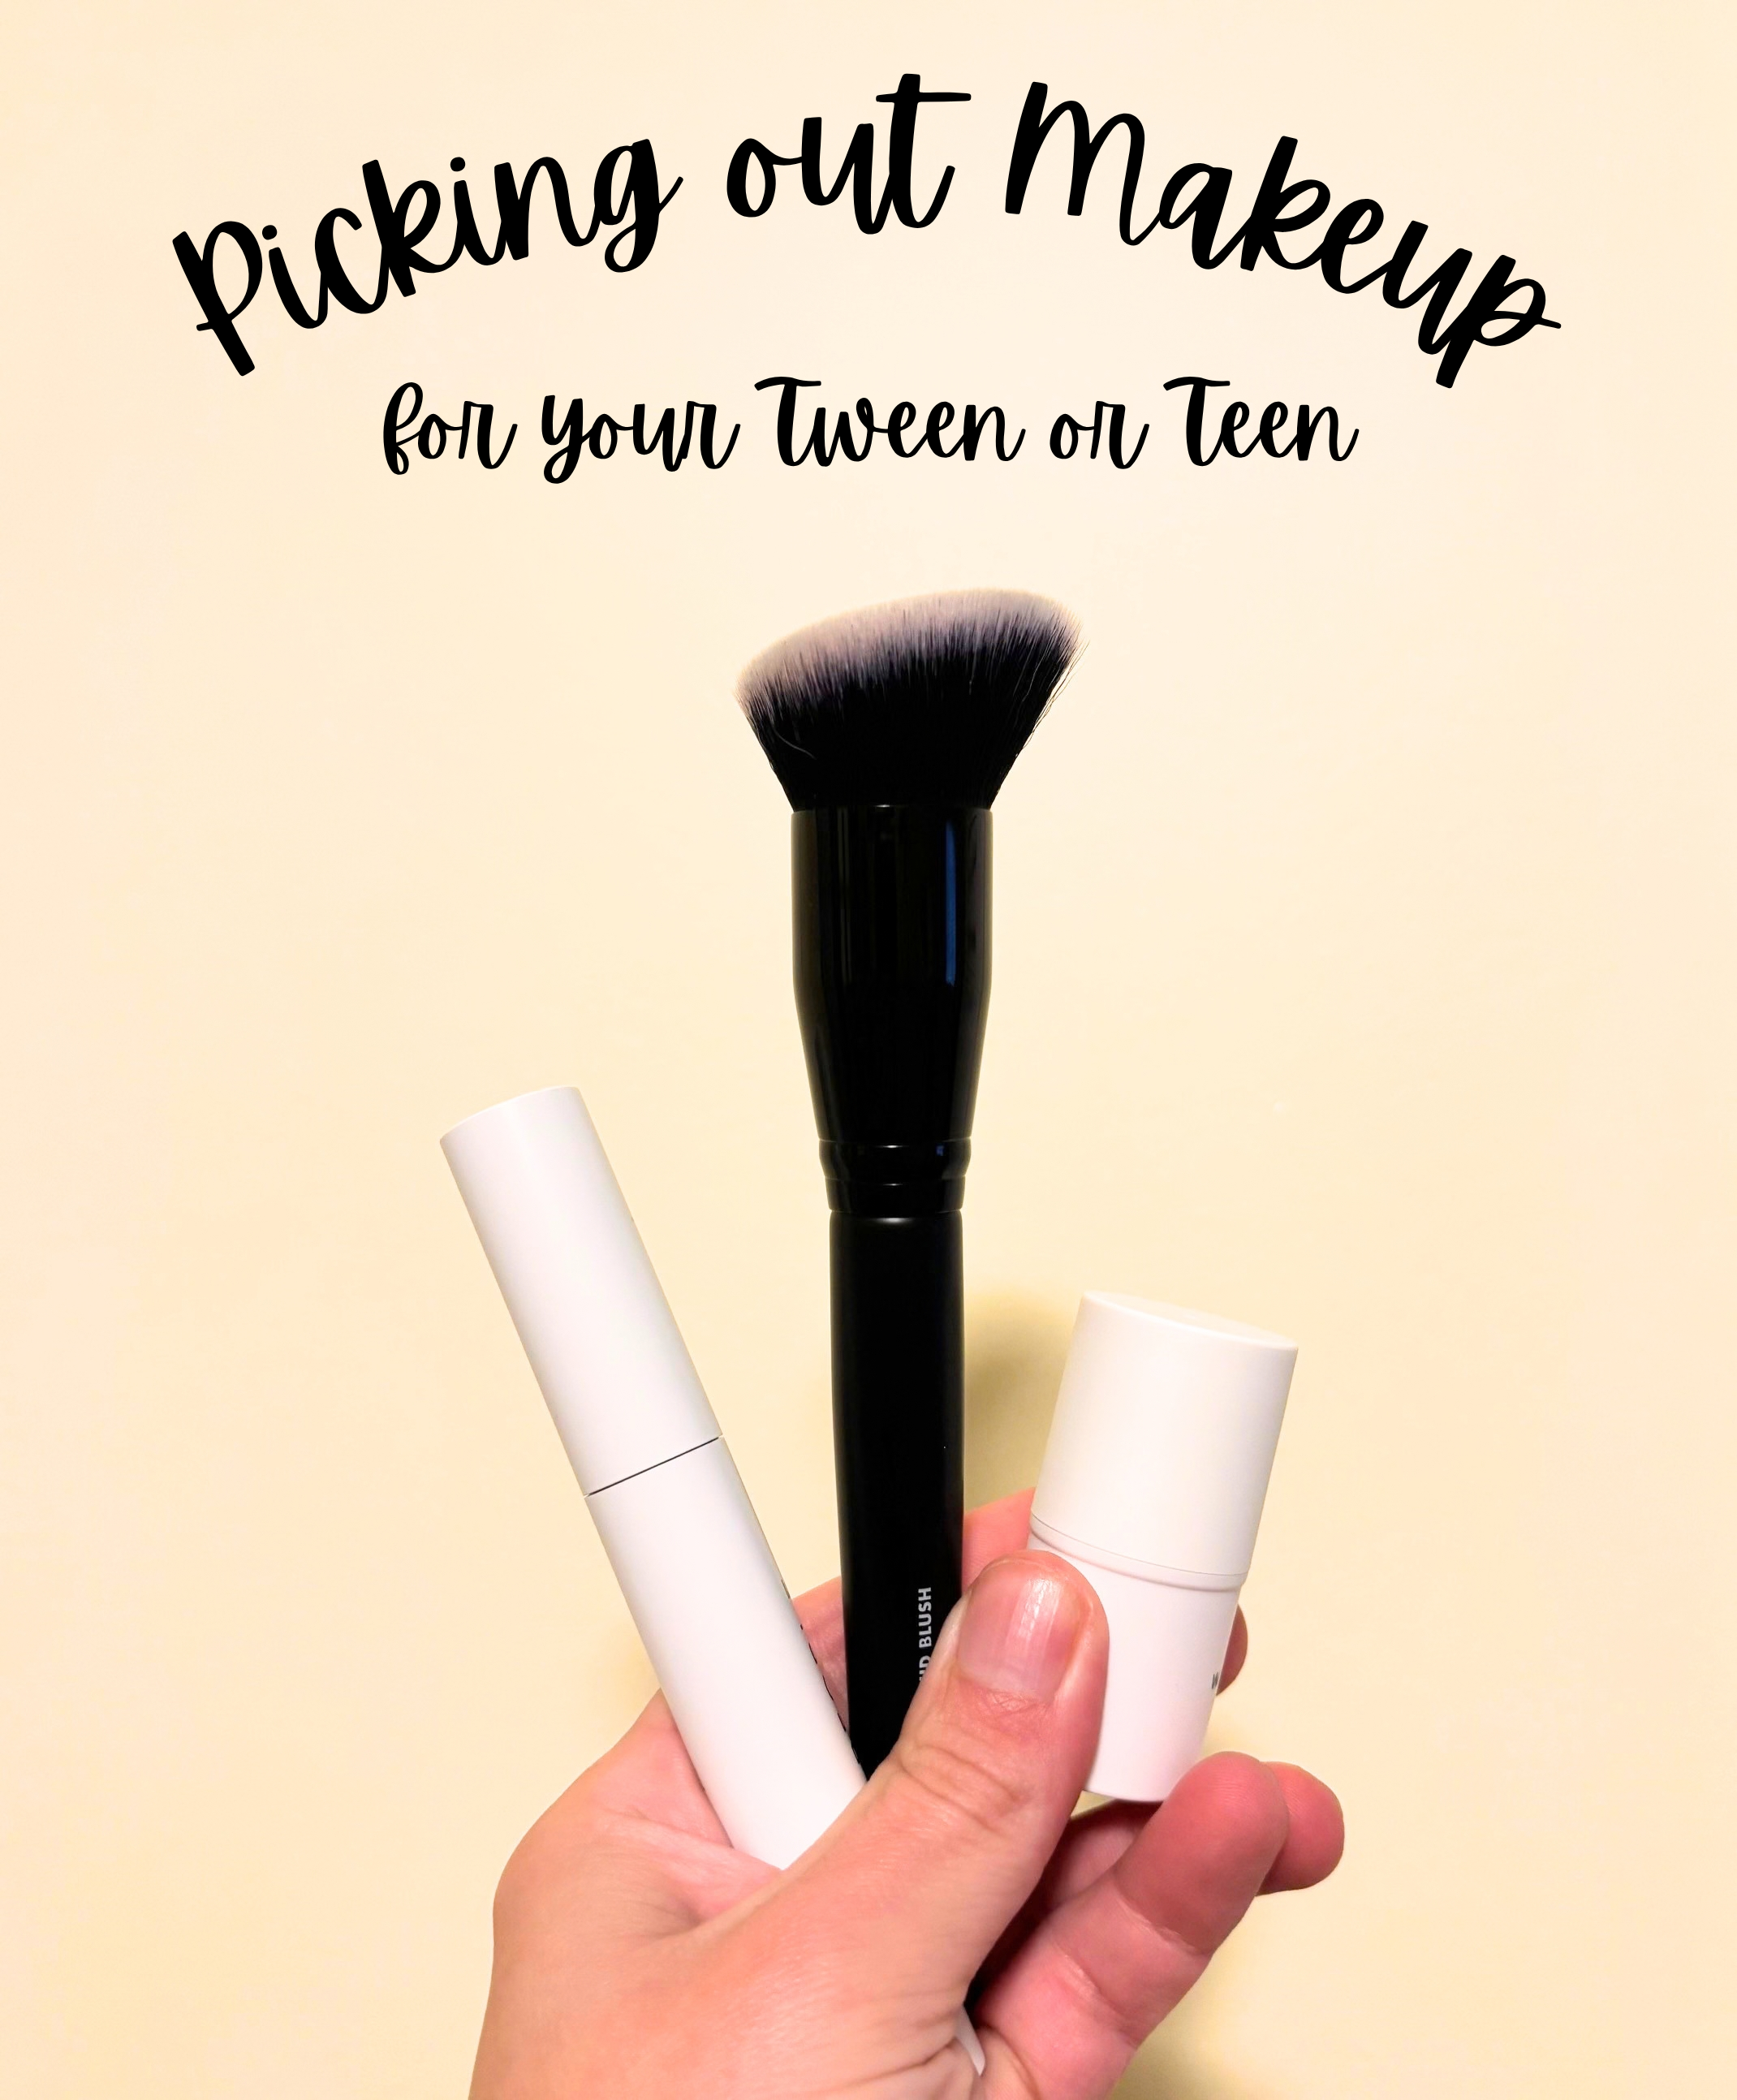
Picking out Makeup for your Tween or Teen

When our daughter started middle school it was like a switch flipped and she was instantly interested in wearing makeup. It’s a totally normal part of growing up and I remember first getting into makeup in middle school as well - nevertheless, it’s still so bittersweet watching them grow up so quick. I told her she could wear makeup as long as I helped pick it out because if it’s something she wants to wear all day and everyday it’s important to wear safe products. | This post is not sponsored and contains my personal opinion as well as affiliate links |
Picking Out Makeup for your Tween or Teen

Disclaimer: This post contains my personal opinion based on what I’ve learned - please do your own research on the matter and choose what make up is right for your daughter.

In the past I’ve let our kids wear cheap drugstore-brand makeup for things like dance recitals and plays, after all it’s just for a short time a few times a year and the bold colors are important to show up on stage - I wasn’t really concerned about chemical exposure or anything. But now that my daughter wants to wear make up daily I think it’s important to pick products that are considered safer and don’t have chemicals or additives that could affect long-term health.

After reading around, I found EWG’s Skin Deep website, where you can look up products and see what they rate. EWG Verified or a low number implies that it’s safer, while a higher number means that it contains ingredients that are considered less-safe. It’s my understanding that these ratings are to be taken with a grain of salt, but it’s a great starting point when consciously trying to choose safer products.
Picking out Make Up for your Tween or Teen

The basics.

What we Chose for Makeup

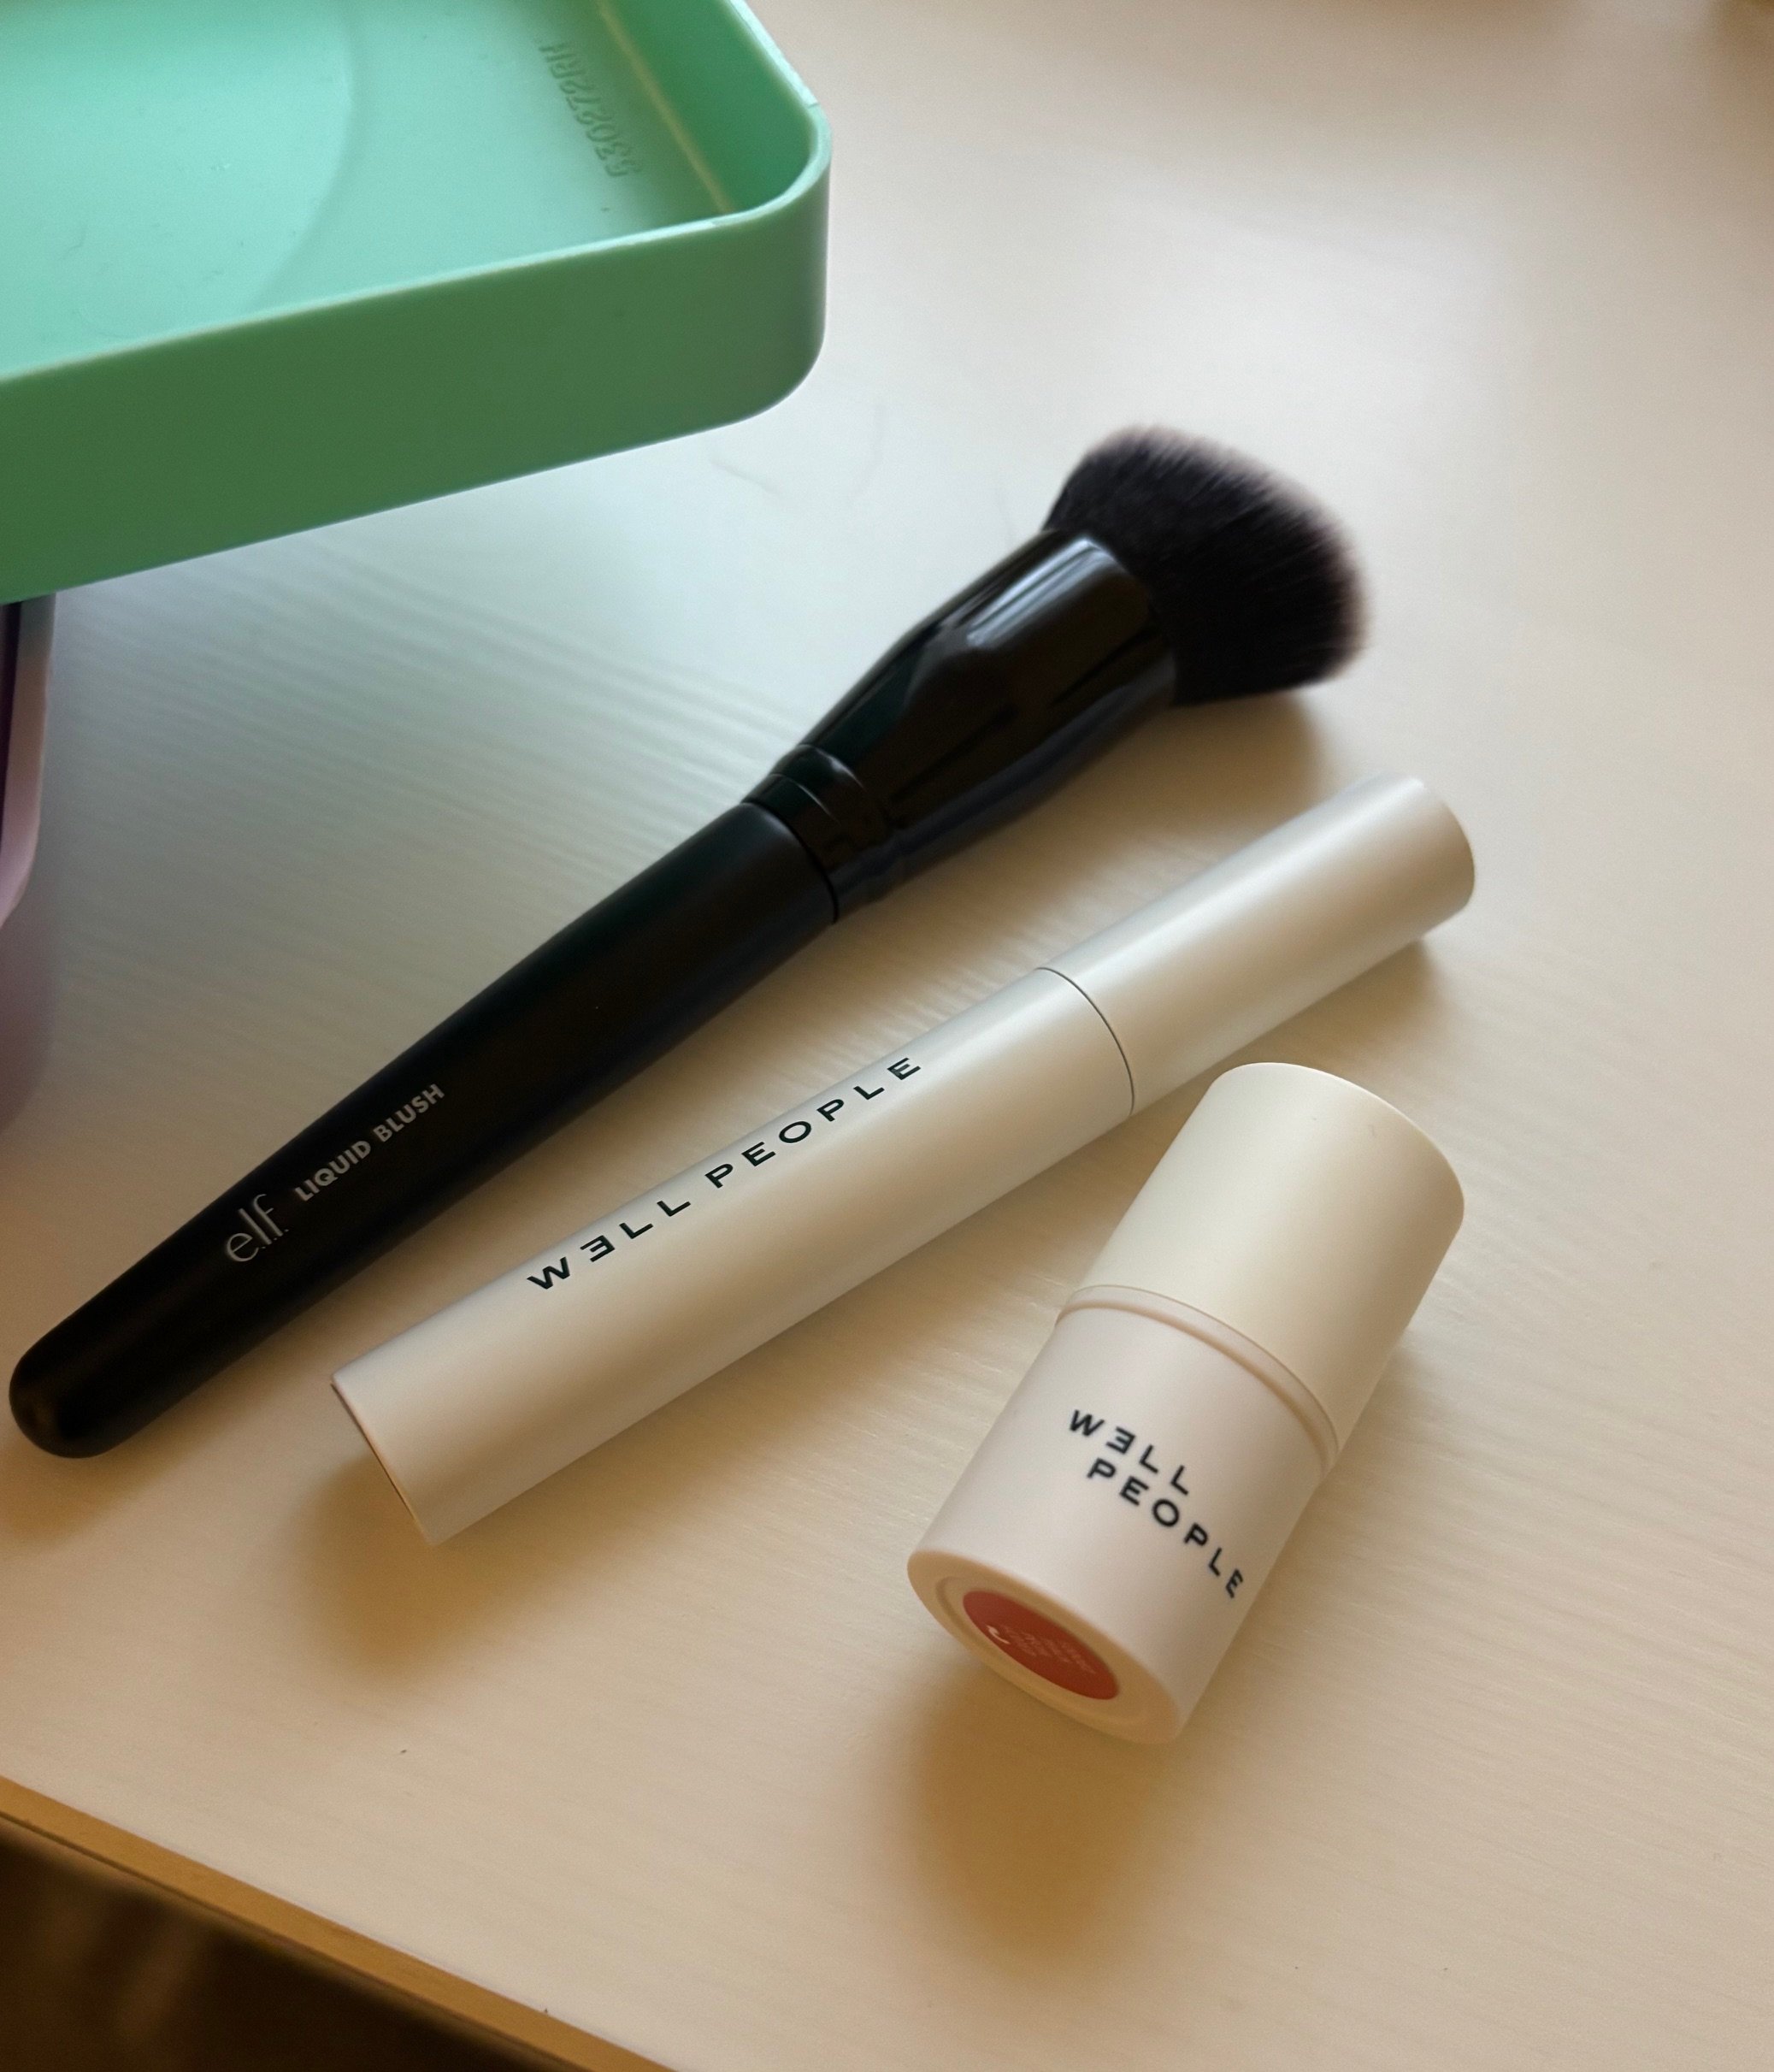
For us, we wanted to choose natural-looking makeup that was very well ranked through EWG. After consulting the list and comparing prices we chose:

  • Well People Expressionist Pro Mascara in Brown - this was ranked very well on EWG and priced so much more affordably than most other brands. We chose the brown color over the black for a more natural look.
  • Well People Supernatural Stick Multi-Use Blush in Peach - again, this was ranked very well on EWG and priced so much more affordably than most other brands. We chose Peach because it complimented our daughter's skin tone the best. This product can also be used as a lip color as well so it does double-duty!
  • Blending Brush for blending cream blush - this brush was not certified or anything but I have this brush myself and love it! It feels great, helps blend cream blush perfectly, and you can't beat the price point!

I think this is the perfect starting point for natural looking, safer makeup for a tween or teen. I know we will build on this over time and eventually add concealer, eye shadow, etc but this is a great introduction to makeup and skincare. After all, makeup looks best on well taken care of skin and it’s important to remind your daughter to remove her makeup every night and go to bed with a clean face. Enjoy this milestone of growing up!

Side note: If your tween or teen wants to wear makeup, consider having them pay for it themselves instead of you buying it for them. They are growing up and having them pay for it is a great lesson in responsibility and being mindful on how much things cost. Since my daughter had to purchase these products herself she’s been very good about not wasting them or losing them.

Shop some of our Picks for Tweens + Teens:

Scroll sideways to see more —>

KEEP UP WITH BIRCH LANDING HOME
|  Etsy  |  Facebook  |  Instagram  |  Pinterest  |  Bloglovin'  |  Hometalk  |
DIY Stock Tank Garden Planter

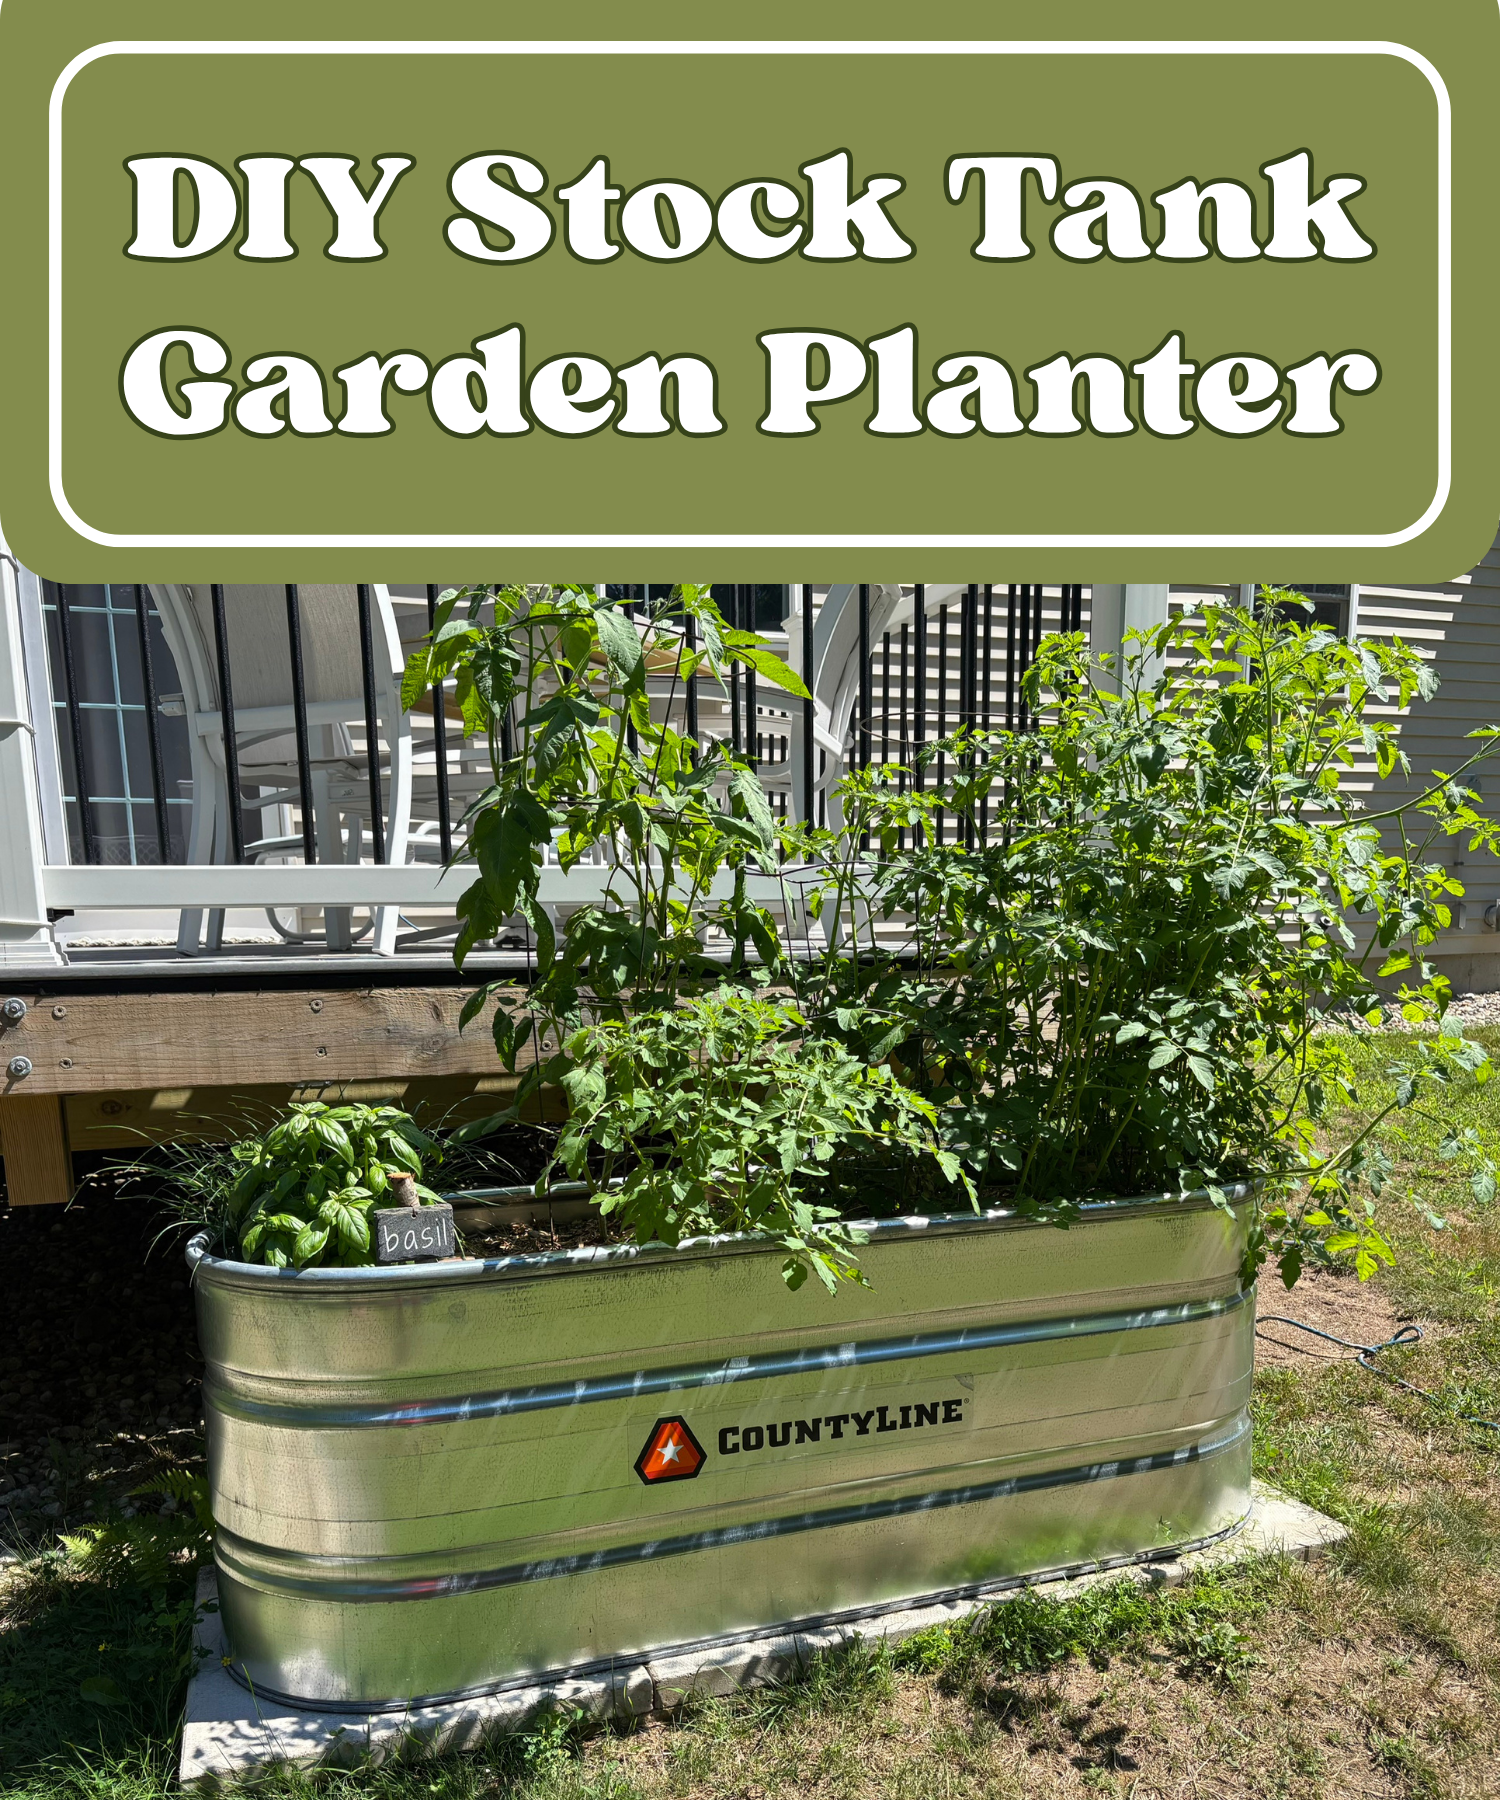
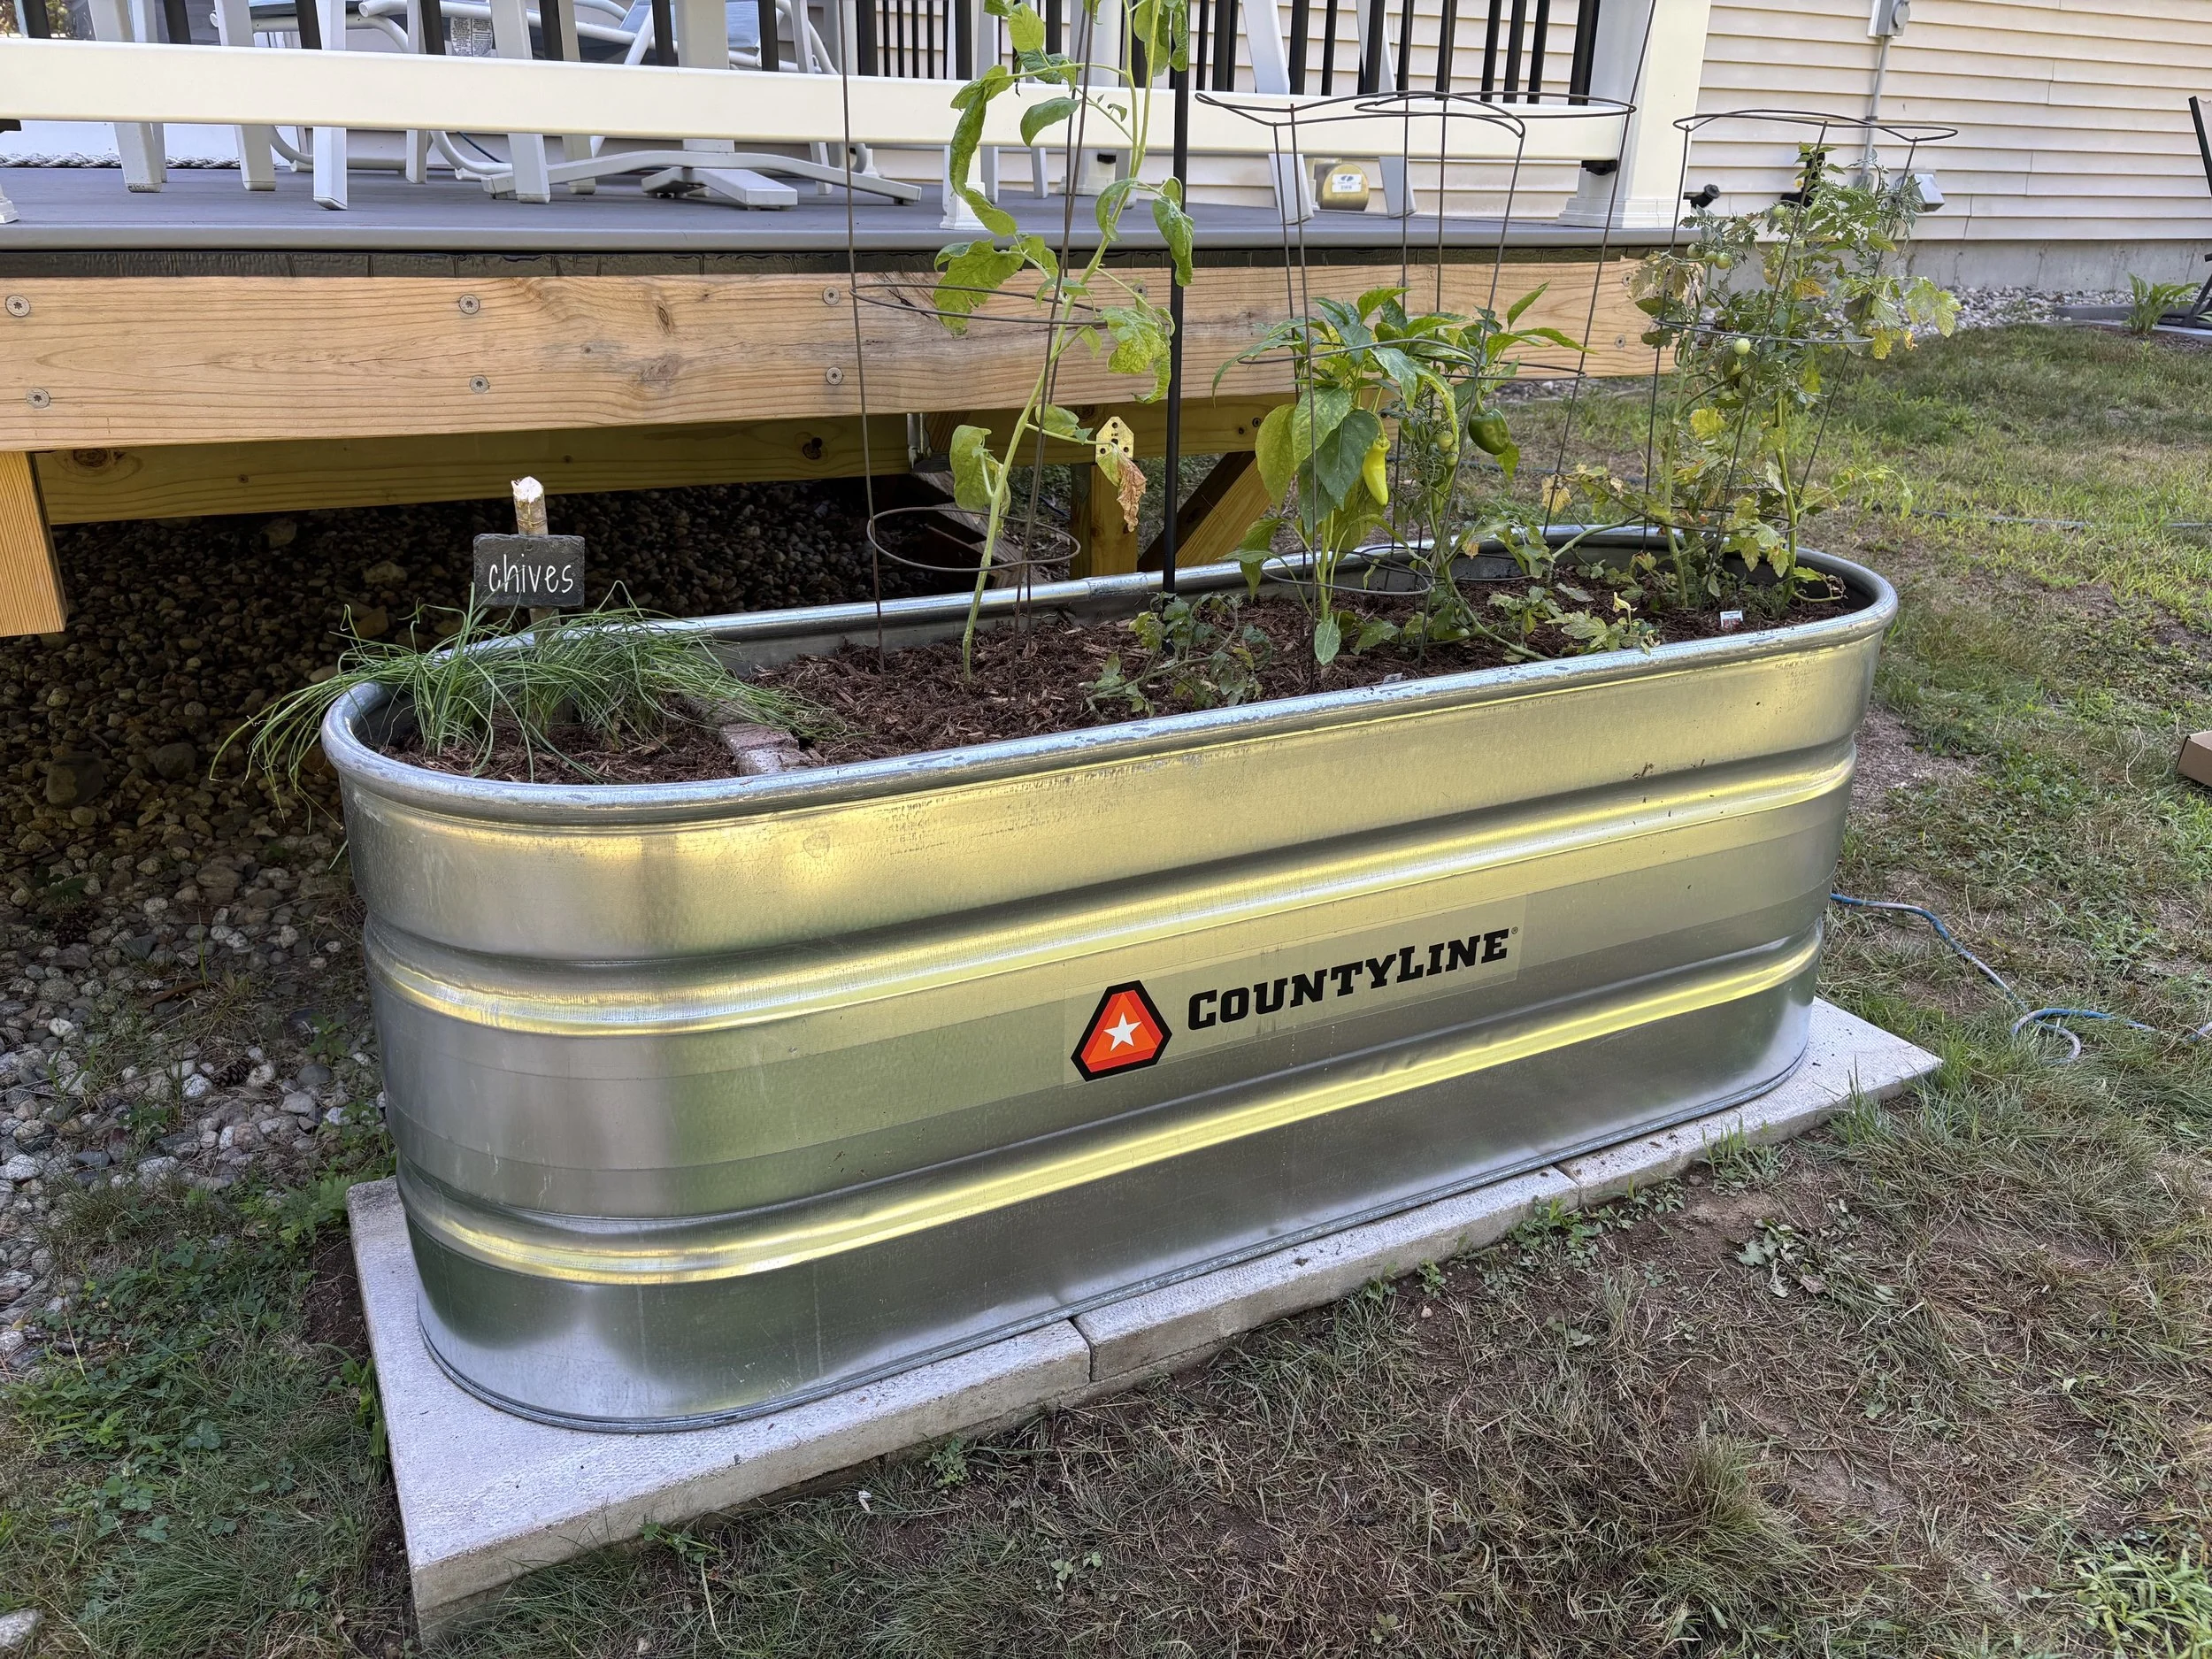
Our house came with some old whiskey barrel planters that were used for tomatoes and herbs, however 15 years later they were literally falling apart and it was time for something new. Originally I was going to build a cedar raised garden planter but after pricing out the cost of cedar (yikes!) and the time it would take to make it I decided to look into other options. In the end I opted for repurposing a stock tank into a garden planter and it was such an easy and quick project to do. Read on for my tips and advice on how to prep and create your own. | This post contains affiliate links |

DIY Stock Tank Garden Planter

Materials:

  • Paving stones for the base
  • Stock Tank - we used a 2'x6'x2' tank here but they come in other sizes as well. (If your local store doesn't have the one you want, you can order it online and have it shipped to store or maybe even your house depending on where you're located.)
  • Drill & drill bits
  • Weed supressant fabric
  • Gravel
  • Dirt
  • Good quality soil to top it off (this Coast of Maine Raised Bed Garden Soil is AMAZING!)
  • Cedar wood chips (optional)
  • Seedlings or seeds

How-To:

DIY Stock Tank Garden Planter

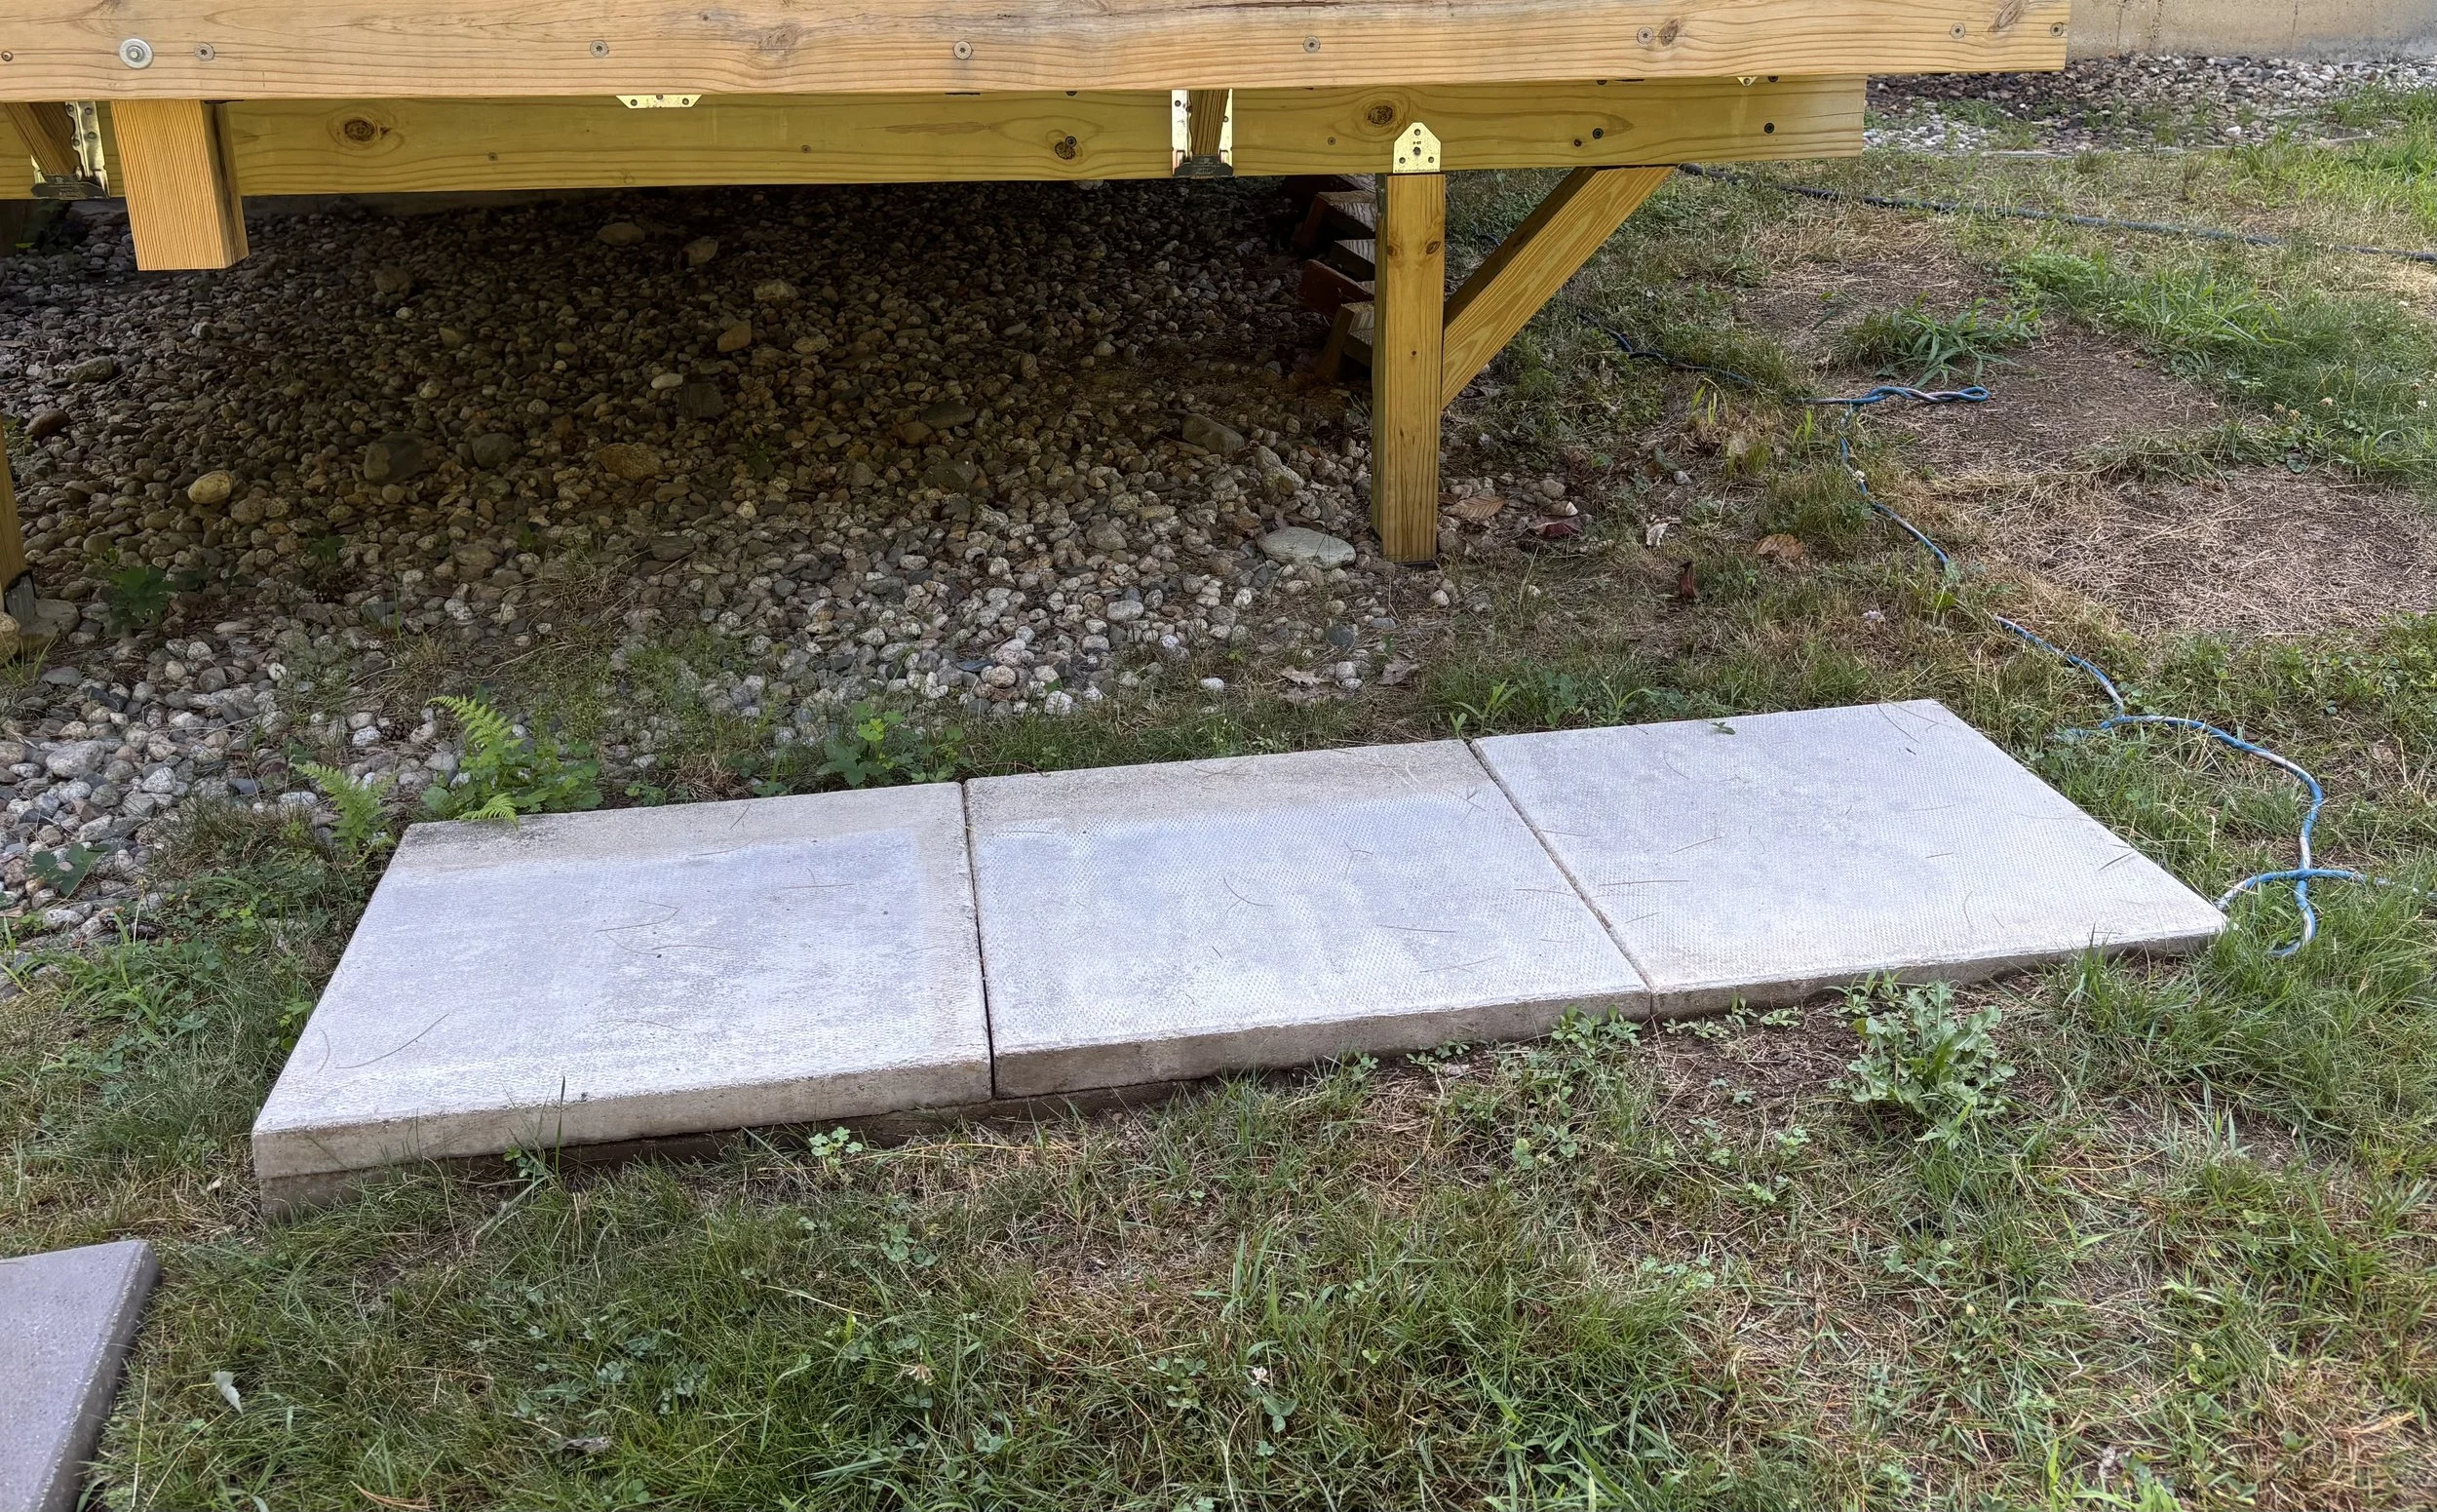
Even though this photo doesn’t look it, these pavers are perfectly level.

First, it’s a good idea to prep the base of where you are going to put your stock tank planter. You can use pavers or gravel, but you want something that will keep the base of the planter from sitting directly against the ground.

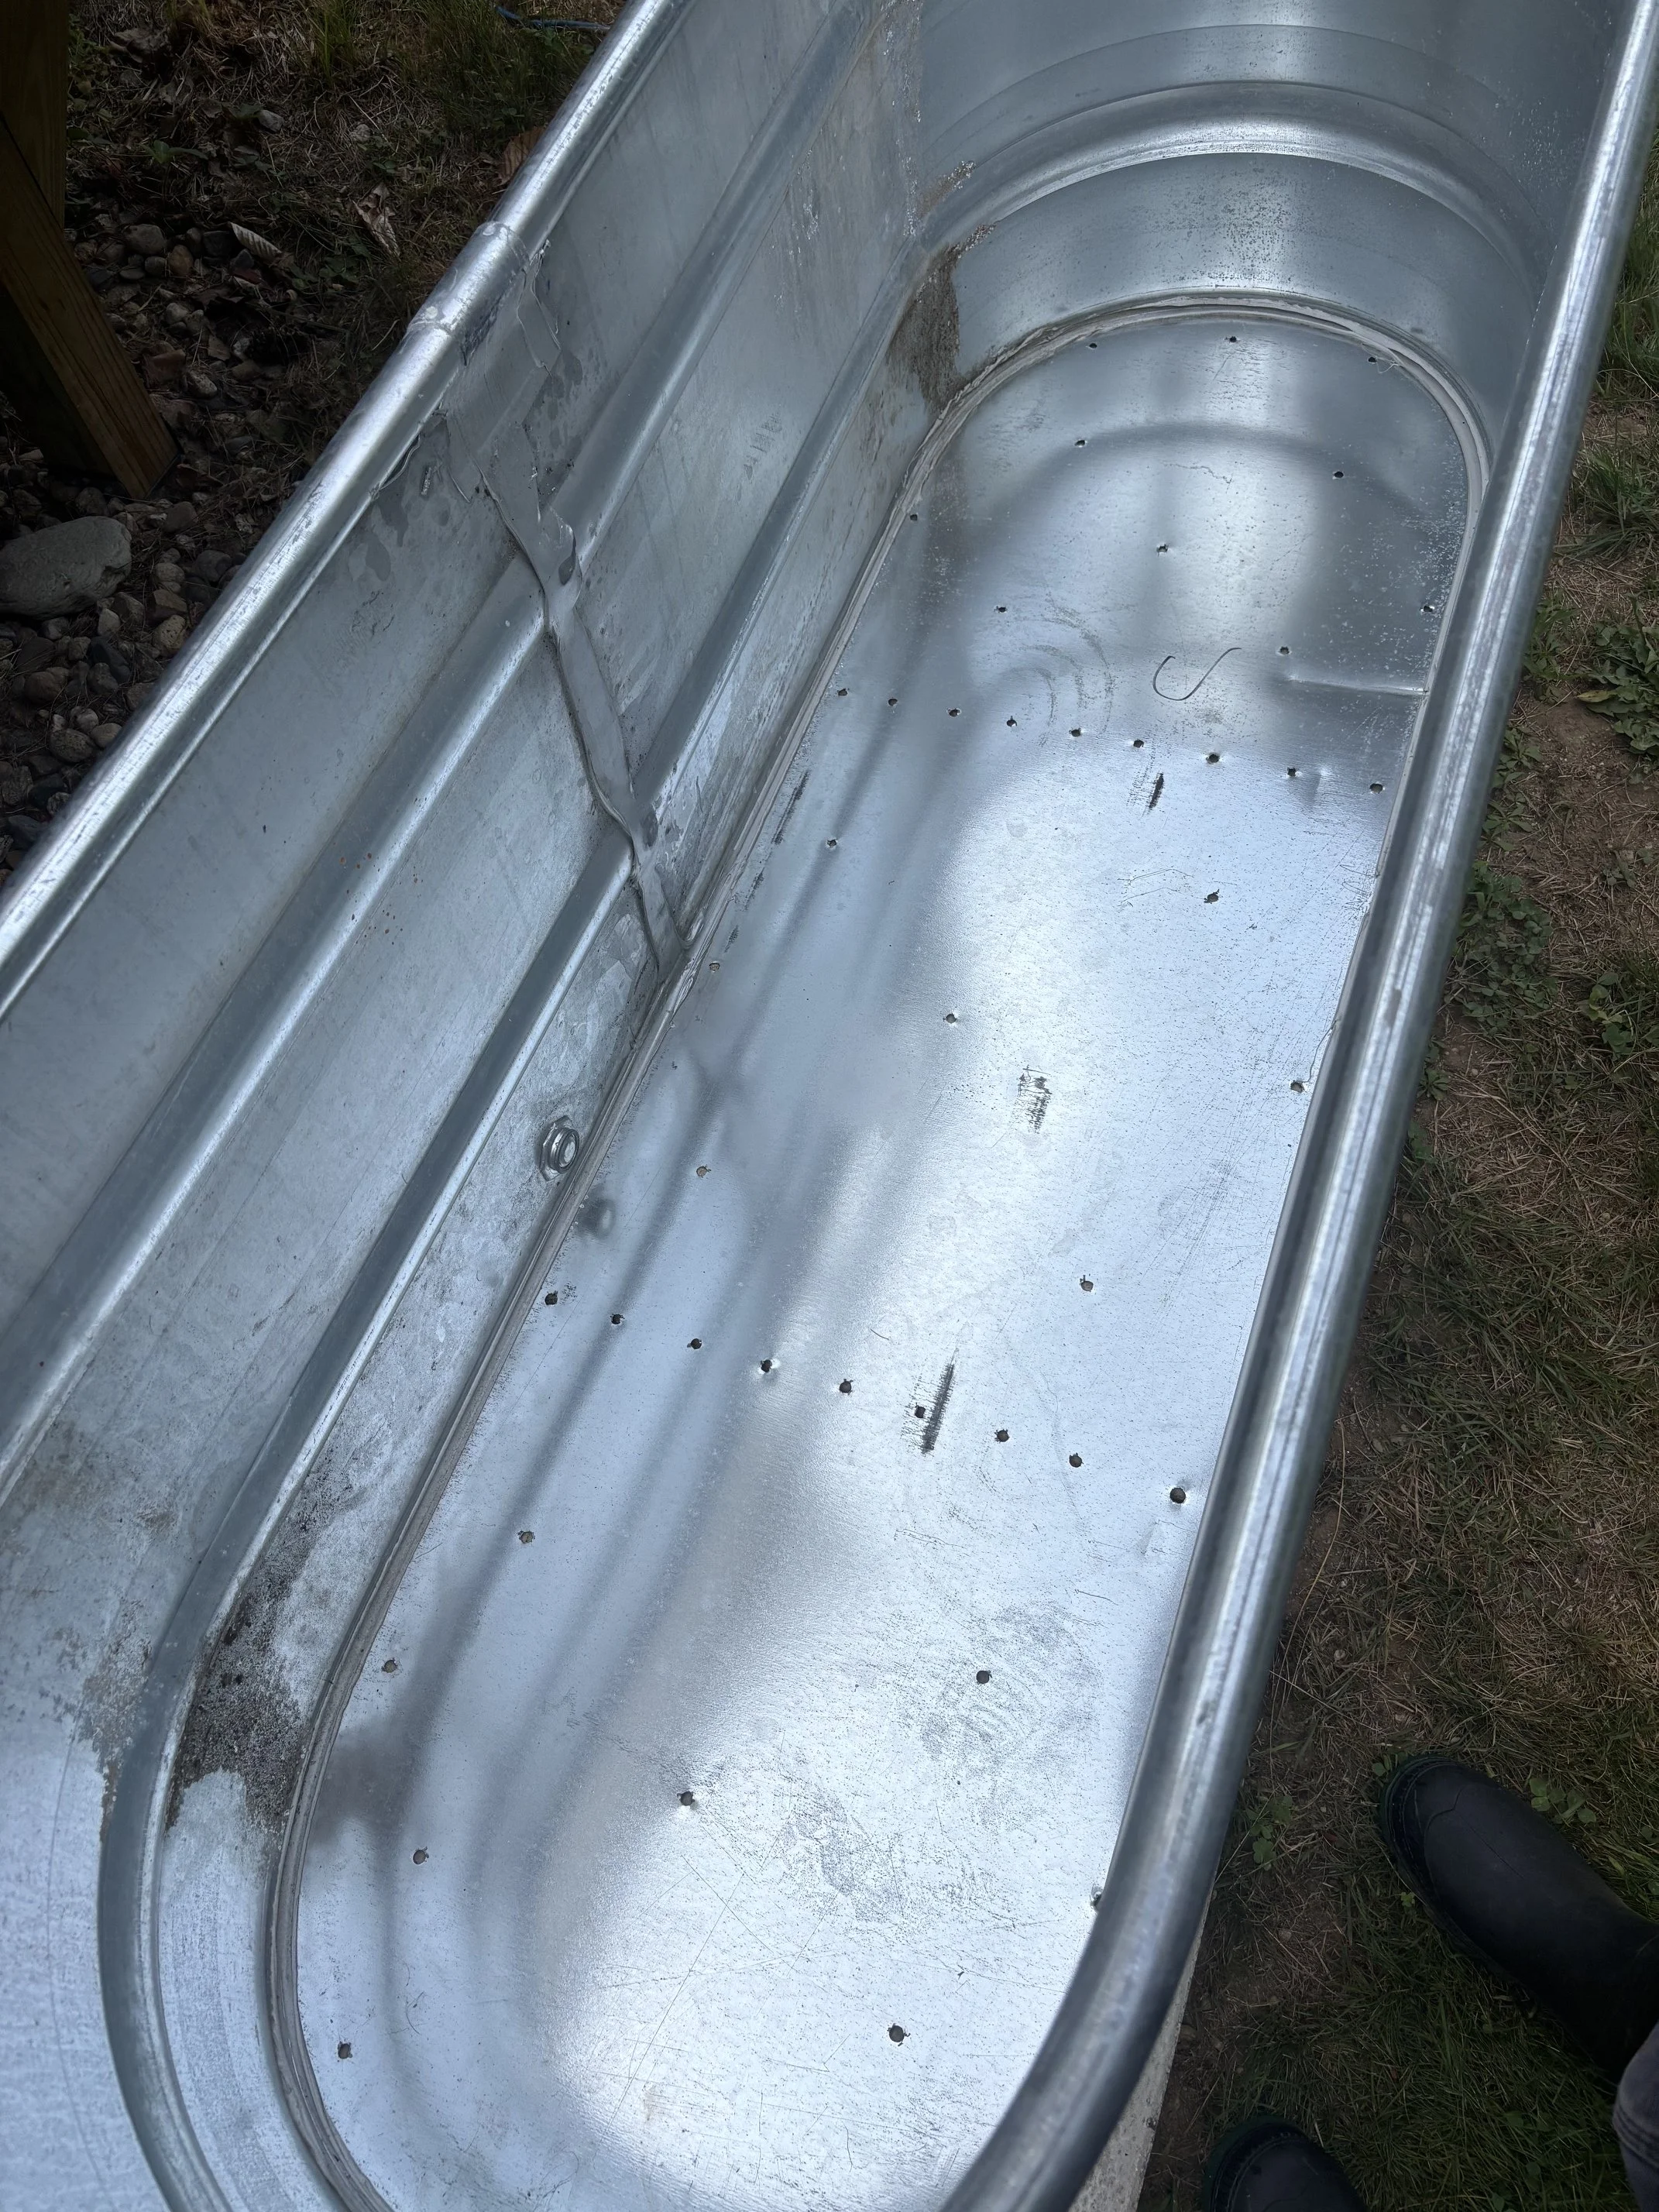
Next you want to flip the tank over and drill a considerable amount of drainage holes across the bottom of it because as a planter, you don’t want it to hold water. In order to keep the galvanized steel from tearing, start with a small diameter drill bit and work your way up in sizes. (I concentrated some of my drainage holes along where the joints of my paver base will be since I know the water will drain better in those areas.)

DIY Stock Tank Garden Planter

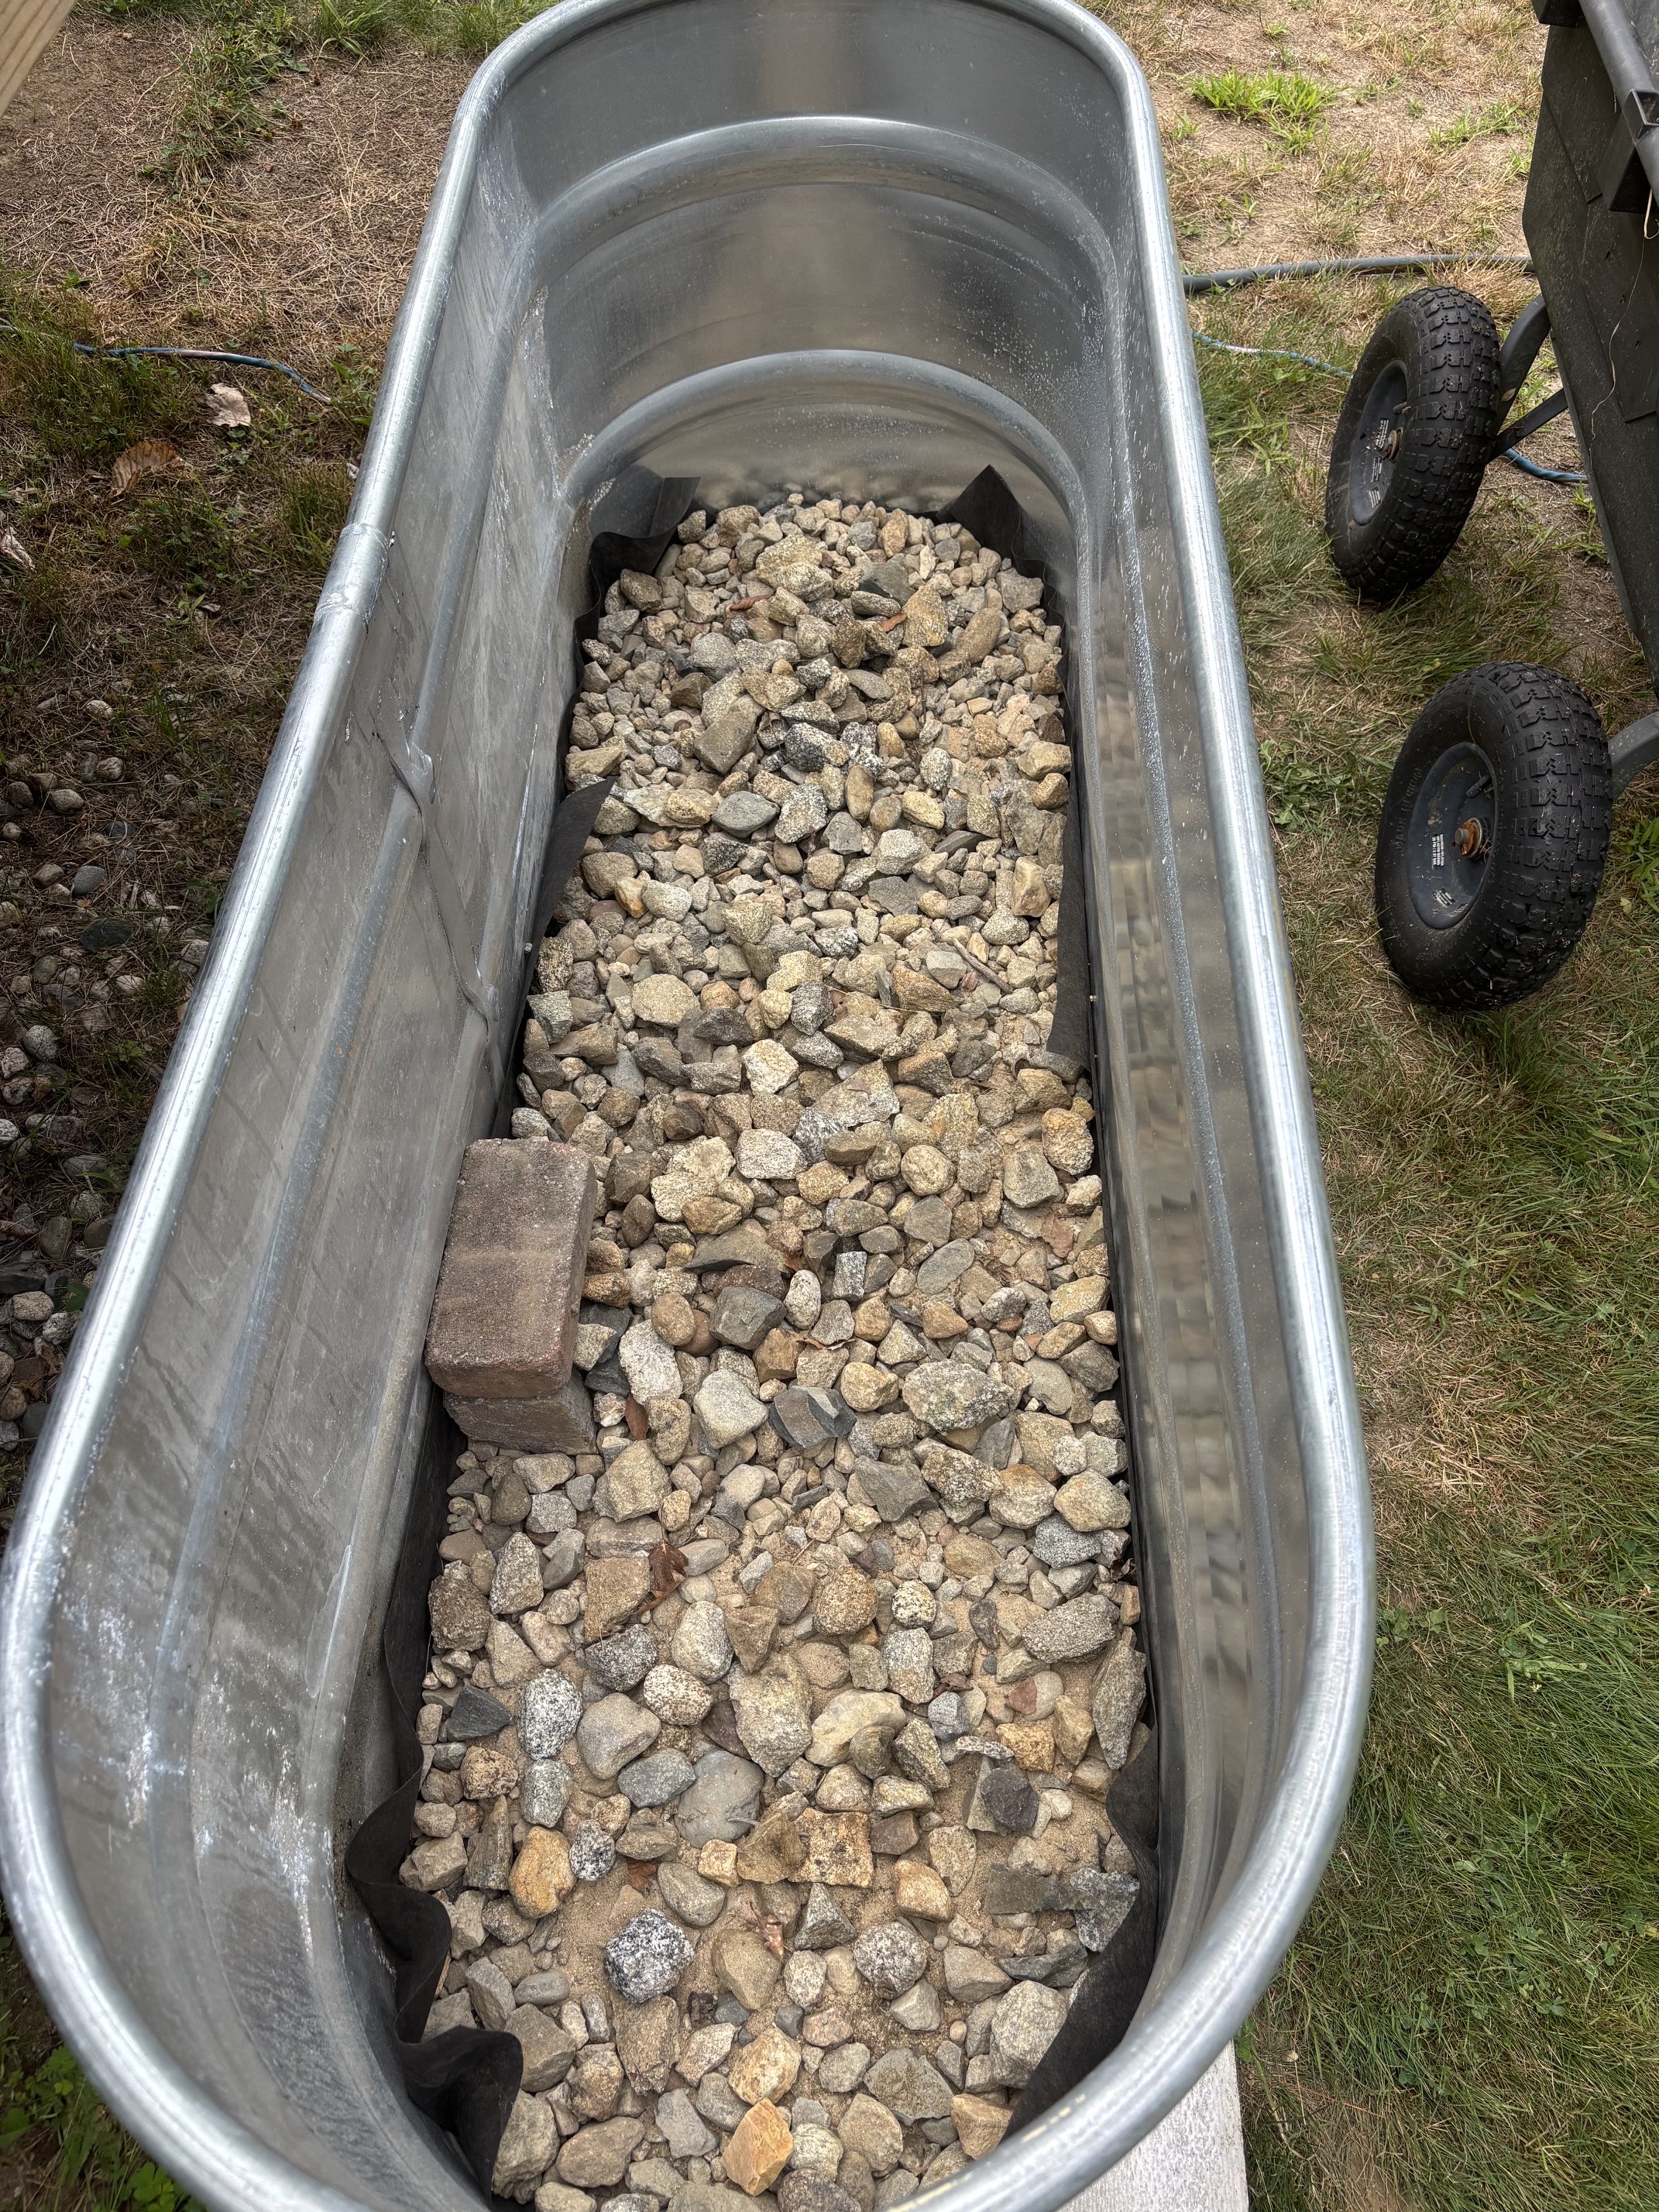
Then line the bottom of the stock tank with weed suppressant fabric to keep soil and sand from filling the holes, and lay down a layer of stones and gravel to help with drainage.
Optional: I also built a little “bridge” around the main drain of the tank and put gravel around it to help optimize drainage, just in case we ever need to use it.

DIY Stock Tank Garden Planter

Next, it’s time to fill the tank with dirt. We had a lot of old “exhausted” dirt from the previous planters and this was perfect to use to fill in the bulk of the planter.

Once we were about two thirds full, I topped it off with compost and great quality garden soil. (I LOVE this Coast of Maine Raised Bed Garden Soil. It's seriously amazing and my little seedlings got huge and produced so much in just a few weeks.)

DIY Stock Tank Garden Planter

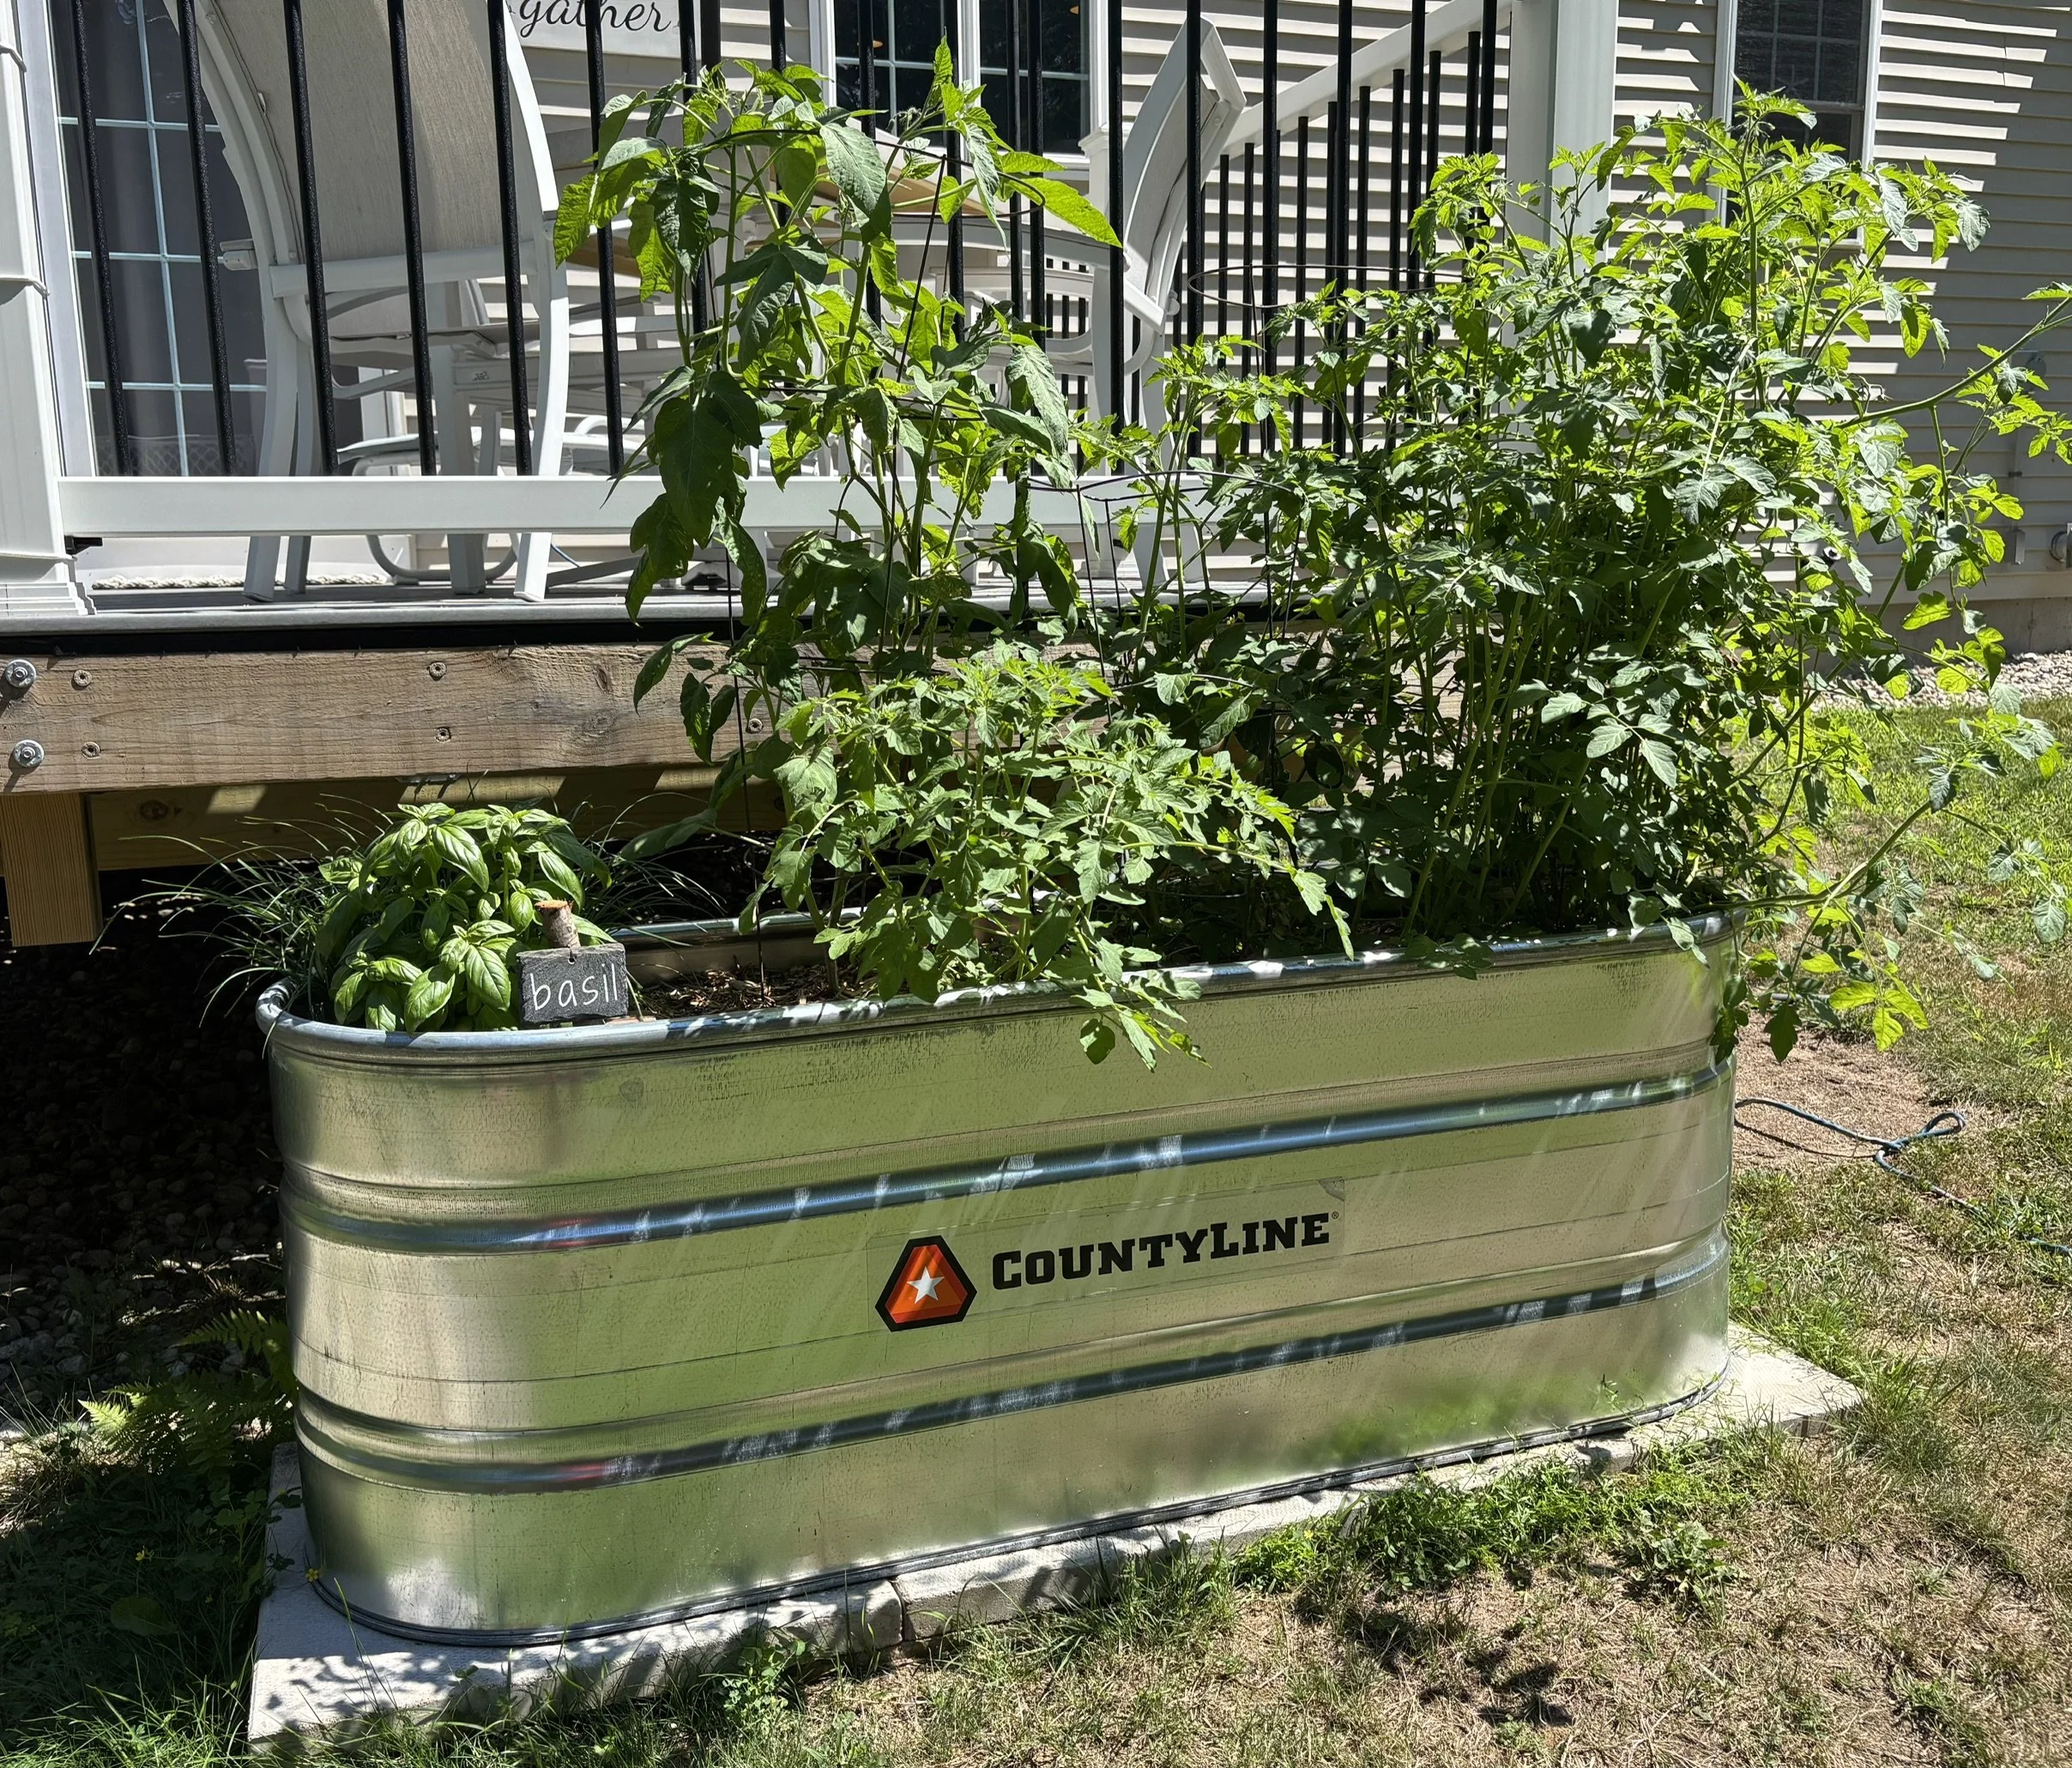
Now it’s time to fill with seedlings or plant your seeds! I decided to section off one end with some bricks to make a little herb garden. (Check out our old blog post on how to make these DIY Slate Garden Markers.) I also added a thin layer of cedar mulch to help with water retention.

Enjoy your raised stock tank garden planter!

DIY Stock Tank Garden Planter

Feel free to add a little whimsy…

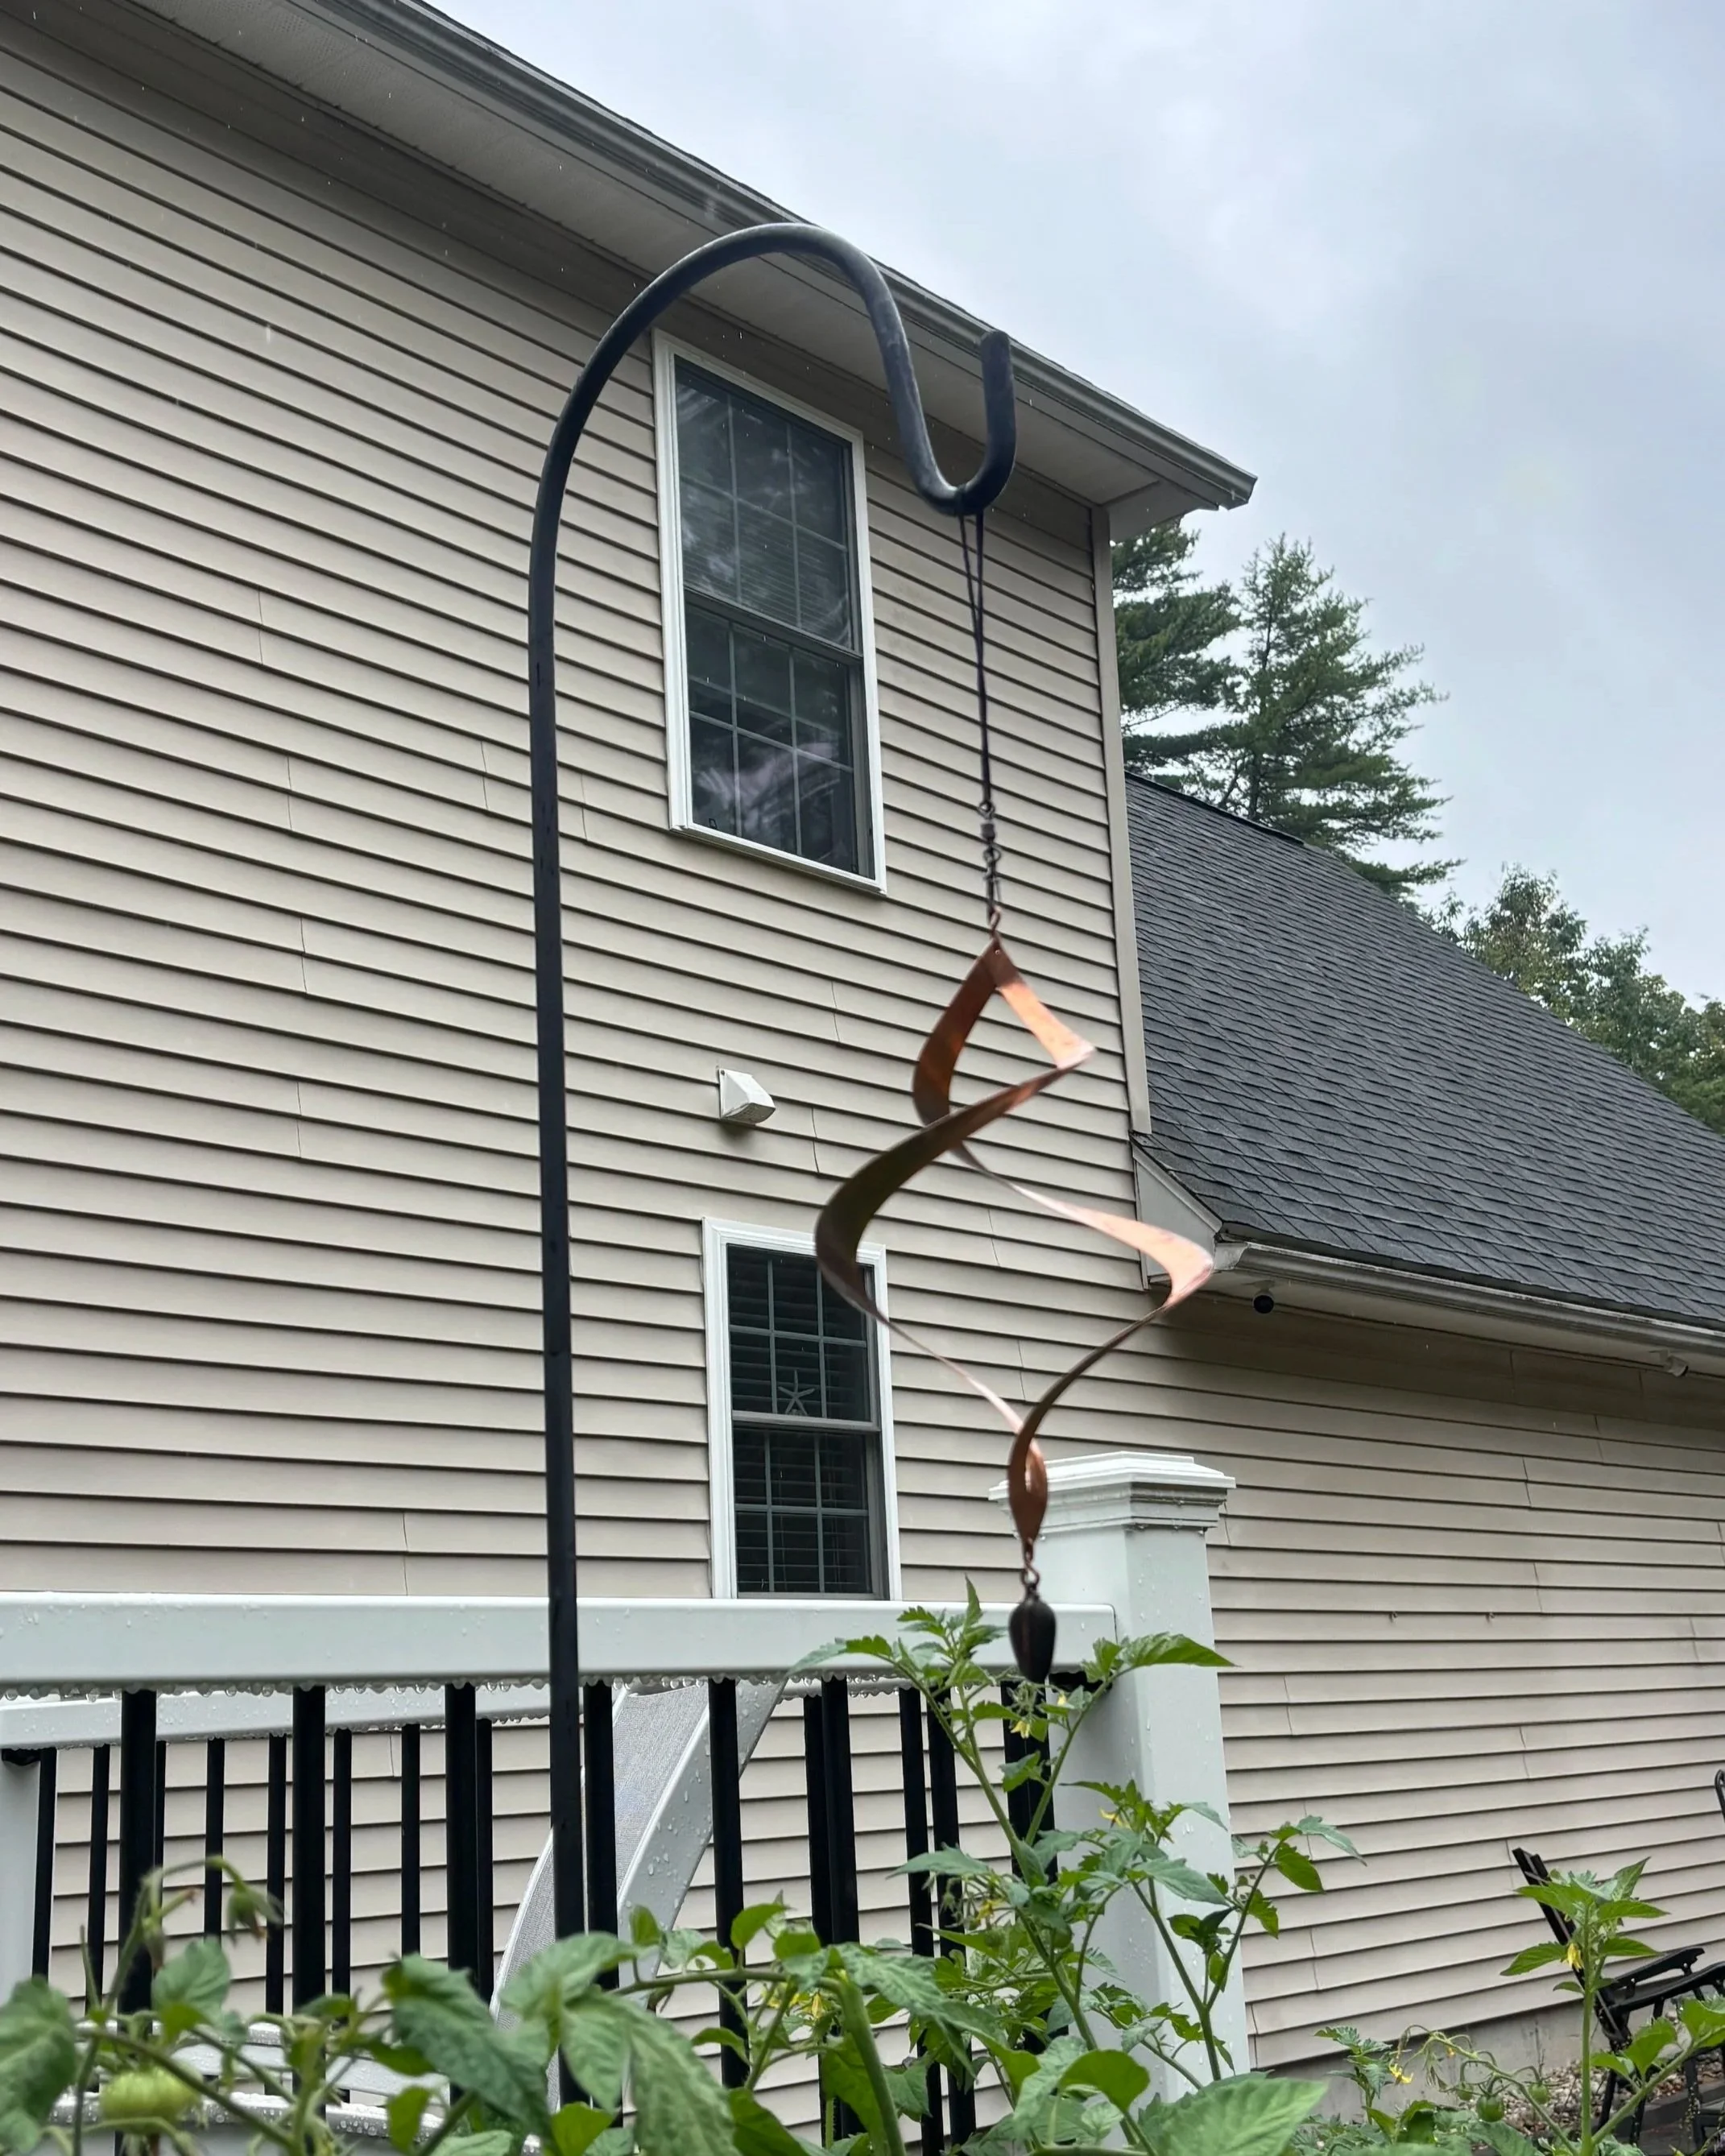
I also added a shepard's hook and this beautiful Copper Kinetic Wind Sculpture I purchased on Etsy. We love watching it spin from the deck and it's a fun way to add some whimsy to this raised planter.


Some of our Garden + Patio Picks:

Scroll sideways to see more —>

KEEP UP WITH BIRCH LANDING HOME
|  Etsy  |  Facebook  |  Instagram  |  Pinterest  |  Bloglovin'  |  Hometalk  |
Create an "Analog" Bag or Basket for You and Your Family

It’s more important than ever to incorporate screen-free time for yourself and your family into our daily lives. Most of us spend too much time on our phones or watching TV that we’ve forgotten how to entertain ourselves without a screen. Probably the biggest red flag is kids out and about (especially in restaurants or in the car) always need a tablet to keep them occupied - they don’t know how to sit and enjoy others’ company anymore or entertain themselves. Teens and adults are often guilty of it as well, we keep our noses in our phones and ignore who we’re with.
One easy solution is to create an “analog bag” - a bag that has screen-free activities in it. It can be travel games, puzzles, books or magazines, knitting, small toys, coloring, word searches, etc. You can make it for on-the-go or something to keep in your living room for designated screen-free time. Read on for more ideas on how to incorporate this easy modification into your lives.…
| This post contains affiliate links |

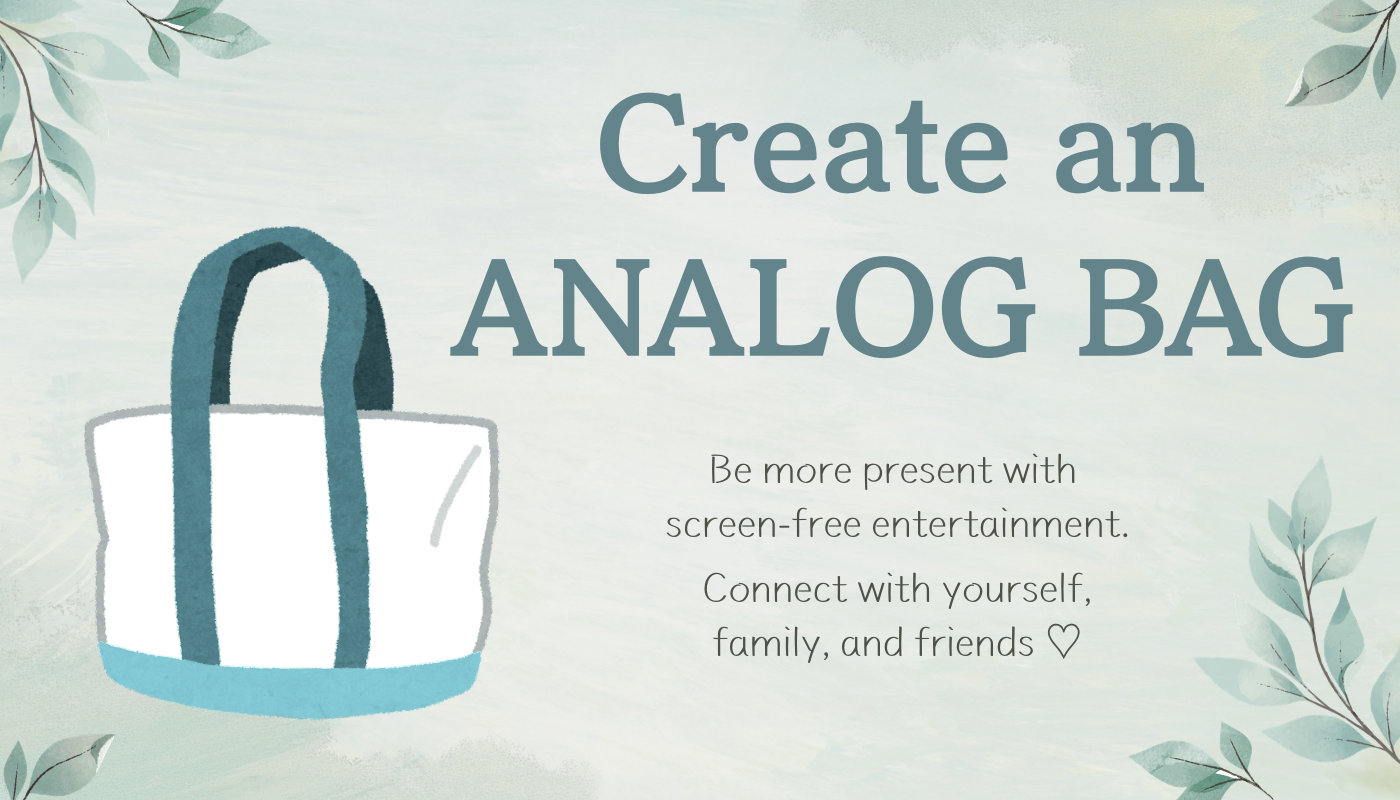
Create an Analog Bag and be more present with screen-free entertainment; connect with yourself, family, and friends. Image of tote bag.

An Analog Bag is something you can make for yourself, your young or older kids, or the whole family! You can also tailor it to things to use on-the-go or something that you keep at home for quiet evenings. Whatever it is you can make it yours and change it up as much as you want! Here are some ideas:

Analog Bag Basics:

Ideas for Adults & the Whole Family:

Ideas for Teens & Tweens:

Ideas for Young Children:

Analog “Basket” Ideas for Home:

The Analog Basket is something that would stay in your living room or family room and your family can use everyday! The following ideas are for a mix of age groups.


Shop some of our Analog Bag picks here:

Scroll sideways for more —>

KEEP UP WITH BIRCH LANDING HOME
|  Etsy  |  Facebook  |  Instagram  |  Pinterest  |  Bloglovin'  |  Hometalk  |
Happy New Year! Giving Back for 2025

Happy 2026! Wishing everyone a healthy, happy, and successful new year!

A tradition I started back in 2016 was to donate a percentage of profits from Birch Landing Home to charity at year end, and it’s a tradition I’ve been proud to continue every year since.

2025 had been a challenging year for a lot of small businesses, including mine. Many of my remaining wholesale accounts have been cutting back how often they reorder, regular sales on Etsy have been slow, and affiliate sales/ad revenue on the blog are down (thanks AI). Inflation and spending habits have impacted everyone.

Nevertheless today I made a small donation to continue the tradition. I think it’s important to give back when you can and I want to make sure this tradition continues. This year’s donation goes to Lake Winnipesaukee Alliance, to help protect our local lake for generations to come. Thank you all for the continued support of my little business - wishing everyone lots of health, happiness, peace, and love in the New Year!

Happy New Year!  Giving Back for 2025

KEEP UP WITH BIRCH LANDING HOME
|  Etsy  |  Facebook  |  Instagram  |  Pinterest  |  Bloglovin'  |  Hometalk  |
Reducing Plastics and Microplastics in our Kitchen

After reading some articles about the amount of microplastics the average person gets exposed to and consumes I knew we had to make some changes in our household. Here are some easy and simple swaps and replacements we made in the kitchen to try to reduce our exposure to plastics. | This post contains affiliate links |

Reducing Plastics and Microplastics in our Kitchen and Home

Disclaimer: I am not an expert, just sharing some swaps and changes we made to try to be more intentional and reduce plastic exposure in our home. Please make sure to do your own research on this matter.

Get Rid of All the Plastic Cooking Utensils

Reducing Plastics and Microplastics in our Kitchen and Home

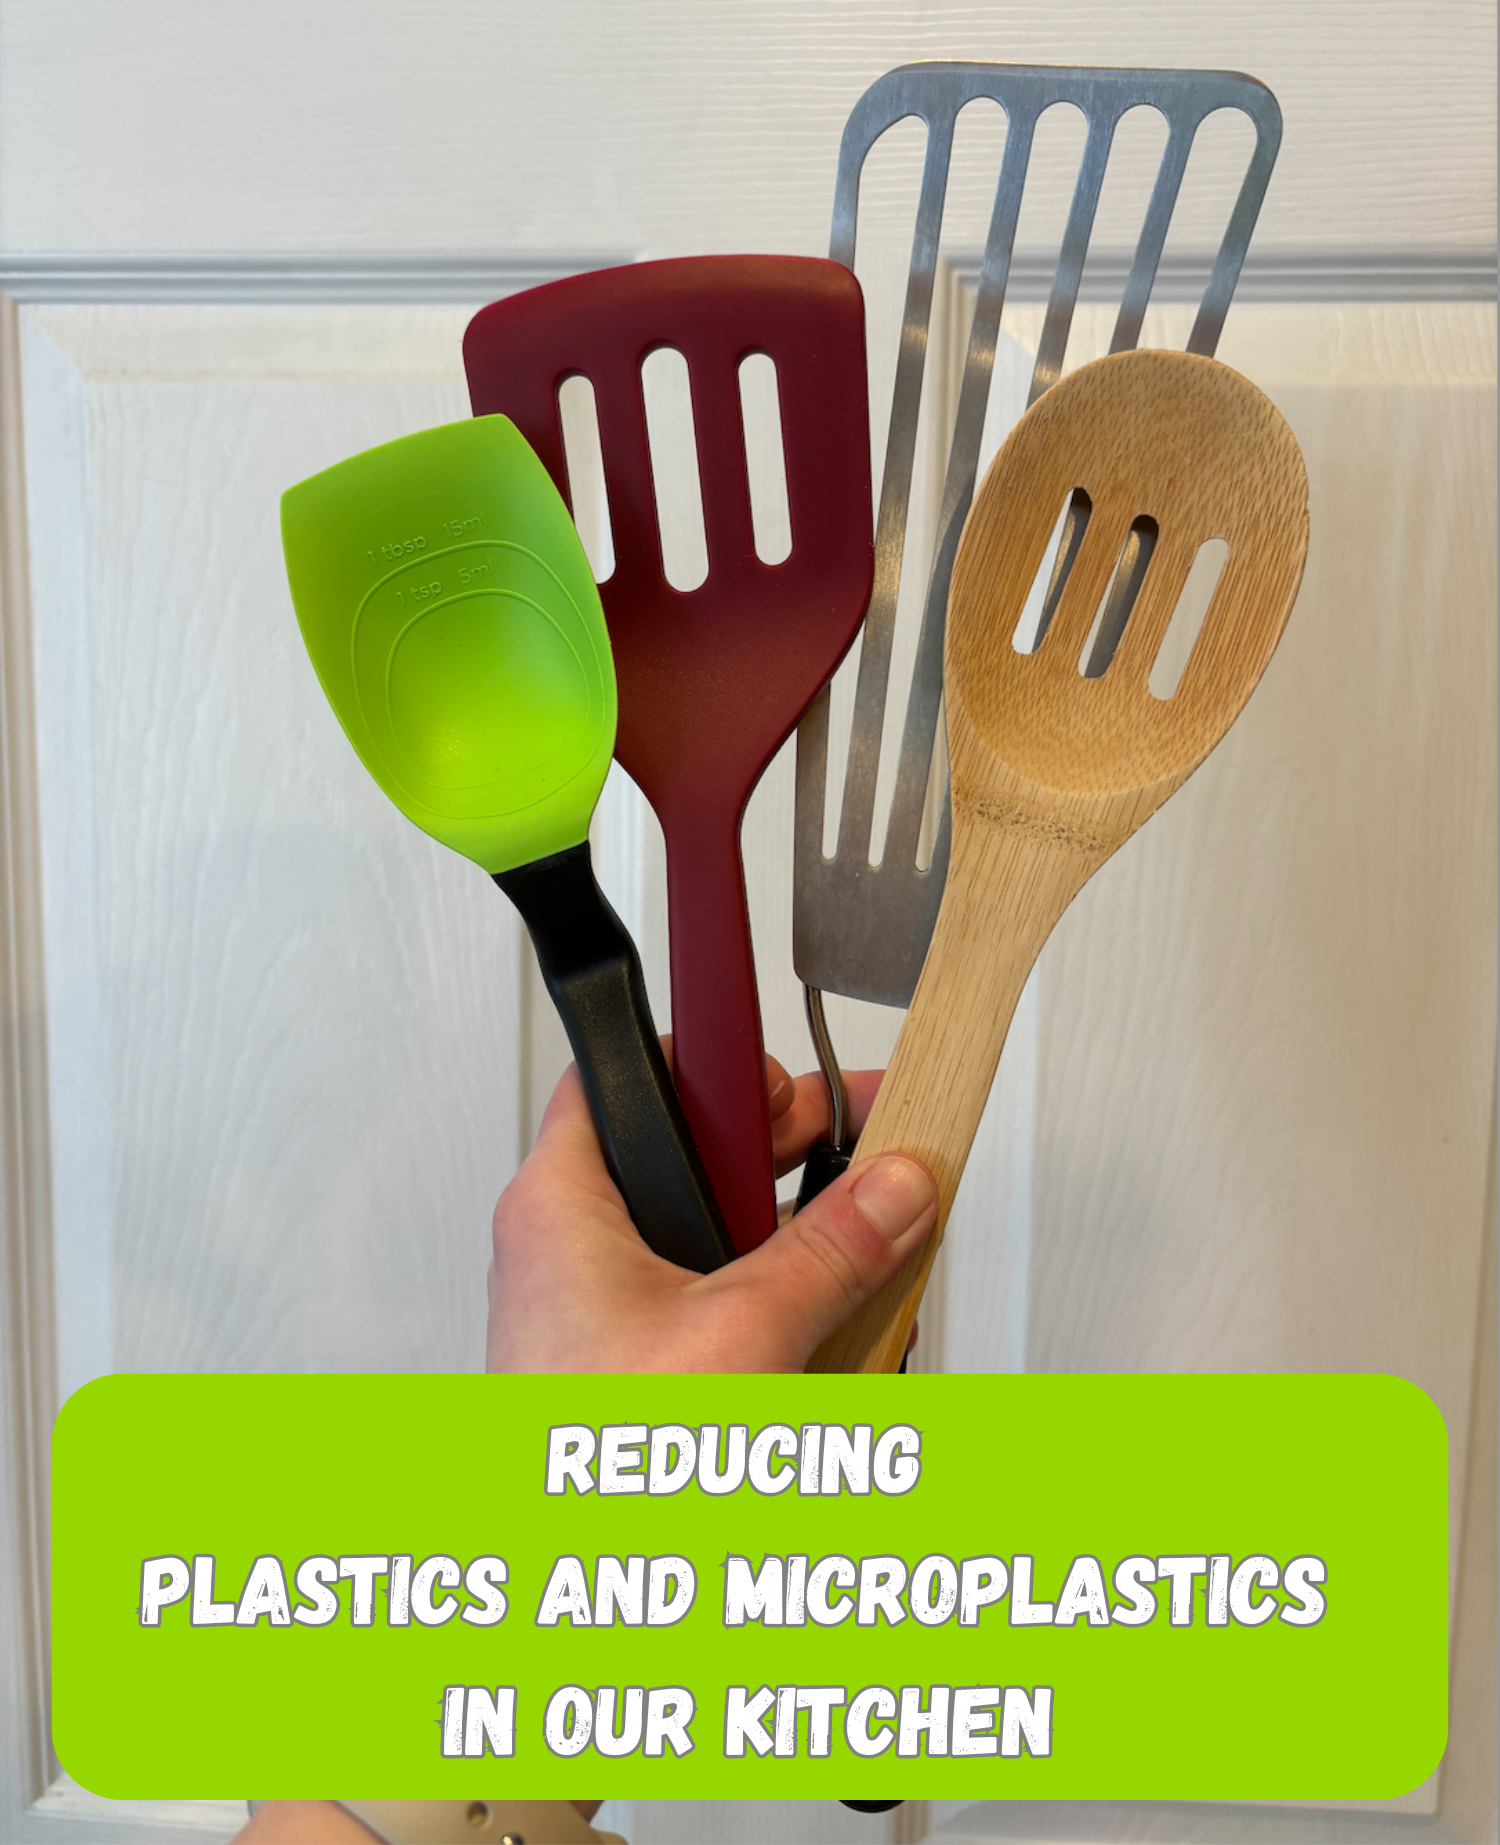
The first step was getting rid of ALL the plastic cooking utensils we had in our home (I just recycled or tossed them all to make sure I wouldn't continue to reach for them). These utensils are constantly getting heated and scraped on pans, contributing microplastics. I thoughtfully replaced all the plastic utensils with a combination of bamboo, wood, silicone, and stainless steel cooking utensils.

Replace Plastic Cutting Boards

This is supposedly one of the biggest sources of microplastics in the kitchen - a plastic cutting board! If you think about it, every time you cut with a knife you’re cutting and scraping the plastic board, adding microscopic (and not so microscopic) plastic shavings to your food. We replaced our cutting board with a quality hardwood one made by a local craftsman, but you could also use a bamboo cutting board.

Get Rid of Non-Stick Cookware

This is a big change we made several years ago - we got rid of all of our non-stick cookware in order to reduce microplastics and PFOAs exposures. Instead of using non-stick pans, we switched to quality stainless-steel cookware and have never looked back!

Never Heat Plastic

Make sure to never reheat food in plastic containers - always use glass!

Never Cut on Plastic Dishes

This goes right along with never using plastic cutting boards - but to take it a step further, don’t cut on plastic dishware (like kids’ dishes) either - and for the same reasons. Always make sure to cut on a cutting board or glass plate before transferring the food to your kids’ dishes.

Use More Glass and Stainless Steel Dishware

This one is pretty self-explanatory - use glass or stainless steel dishware more and try to phase out your plastic ones. We have been working towards slowly replacing our plastic Tupperware with glass and stainless steel varieties.

When You Must Use Plastic, Use High Quality

When you must use plastic dishware in your kitchen (like for kids’ dishes), always use high quality ones. Avoid cheap plastic dishes, especially if you don’t know if they’re BPA-free or lead-free, etc. And if they seem to be breaking down with just normal use (fading, scratching easily, discolor easily, etc) definitely get rid of them.

Silicone Food Covers

Rather than use plastic wrap for leftovers we switched to silicone food covers years ago. We love that they’re reusable (better for the environment!) and not plastic.

Air Purifier

To take it a step further for general home health we also added several air purifiers in our home. This helps reduce dust and allergens we breathe in and we feel better knowing the air in our home is being filtered.

Disclaimer: I am not an expert, just sharing some swaps and changes we made to try to be more intentional and reduce plastic exposure in our home. Please make sure to do your own research on this matter.

KEEP UP WITH BIRCH LANDING HOME
|  Etsy  |  Facebook  |  Instagram  |  Pinterest  |  Bloglovin'  |  Hometalk  |
Simple Soap Saving Hack

Does your family waste SO much liquid soap at the bathroom or kitchen sink? I know mine sure does. Here is a quick, easy, and CHEAP tip to save soap (and money) big time! | This post contains affiliate links |

Soap Saving Hack - Cheap, Easy, Great for Kids

The cover photo for this post shows the bottle of soap “before” - but I’m going to show you a quick and easy way to modify the pump so that it uses less soap with every pump! To do this you only need 3 simple items you probably have on-hand already.

Simple Soap Saving Hack

Materials

  • Liquid Soap - you can use any liquid soap pump (even refillable ones) but personally we love Mrs. Meyer's handsoap (usually we use Oat Blossom but we're still using up one of the holiday scents here)
  • Small Zip Ties (we used black here because the pump is black, but you could use white or another color zip tie if it matches better)
  • Scissors

How To

Seriously this couldn’t be much easier!

Simply put the zip tie around the soap pump where it goes down, tighten (but not too tight), and then trim off the extra. Ta-da, it’s done!

This “ring” made by the zip tie will prevent the pump from going down all the way. This way you get like a “half-pump” of soap rather than a whole pump (personally I feel like a whole pump tends to dispense far too much soap).

Now it dispenses far less soap = less waste!

Simple Soap Saving Hack

Once the zip tie has been trimmed it’s barely noticeable. This little hack has saved SO much soap in our family - I really notice us going through the hand soap much slower. I hope this little trick will save you soap and money too!

PS - if you buy the same brand soap over and over you can reuse the pump top from bottle to bottle so you can keep reusing the same zip tie modified top if you don’t want to keep using up zip ties.

Disclaimer: Use at own risk.

KEEP UP WITH BIRCH LANDING HOME
|  Etsy  |  Facebook  |  Instagram  |  Pinterest  |  Bloglovin'  |  Hometalk  |
Happy Giving Tuesday!

A tradition I started back in 2016 was to donate a percentage of profits from Birch Landing Home to charity at year end, and it’s a tradition I’ve been proud to continue every year since.

2024 has been a challenging year for a lot of small businesses, including mine. This year I had 4 brick and mortar shops I wholesale to close their doors, many of my remaining wholesale accounts have been cutting back how often they reorder, regular sales on Etsy have been slow, and affiliate sales/ad revenue on the blog are down. Inflation and spending habits have impacted everyone.

Nevertheless I am still planning on making a donation at year-end even if it’s small. I think it’s important to give back when you can and I want to make sure this tradition continues. If you have a suggestion of a charity or non-profit to consider please let me know! And thank you all again for your continued support - even just views, clicks, and likes on social media and my blog or Etsy go a very long way to supporting my business and don’t cost anything. Thank you!

KEEP UP WITH BIRCH LANDING HOME
|  Etsy  |  Facebook  |  Instagram  |  Pinterest  |  Bloglovin'  |  Hometalk  |
A List of Educator (Teacher and Staff) Discounts - Happy New School Year!

I’ve been working in the school system for a few years now - while I did have a teaching degree at one time (I let it lapse), I’ve been working in a support staff role. Being a school staff member doesn’t pay much so getting discounts at different retailers is a small but appreciated perk of the job. I’ve complied a list of some of the stores and restaurants that give Educator/Teacher/School Staff Discounts. Also if you homeschool some places will honor that and give you a homeschool educator discount too so it’s always worth asking! | This post contains affiliate links |

A List of Educator (Teacher and Staff) Discounts; image of shopping bags

Disclaimer: Different stores have different offers and rules - and they’re subject to change. Make sure to double check on discounts and read the fine print and before you use them. Some of these discounts are in person and others you can do online with verification. If I’m shopping in-store I always ask if they offer an educator discount - you’d be surprised how many random places do!

A Quick List of Some Educator Discounts:

  • Many local museums - Always ask when going to a local museum if they offer an Educator Discount - many do for admission or at least for the gift shop

  • Some local restaurants/coffee shops - You may find a local restaurant or coffee shop may offer an educator discount on a particular item (like coffee) or your whole meal - it’s always worth asking!

  • L.L. Bean - 10% off (online or retail stores - does not work at L.L. Bean Outlets)

  • Target - varying offers throughout the year with special coupons/discounts

  • JoAnn Fabrics - 15% off

  • Michael’s - 15% off

  • J.Crew - 15% off

  • Under Armour - 20% off

  • Crocs - 15% off (full-priced items only)

  • Loft - 15% off (full-priced items only)

  • New Balance - 25% off

  • Sunglass Hut - 15% off

  • Canva - may be free if you sign up for an educator account with your school email (not all schools are eligible)

What other places give you a teacher/educator discount? Let me know!

Disclaimer: Different stores have different offers and rules - and they’re subject to change. Make sure to double check on the discounts and read the fine print and before you use them.


Curated Teacher Picks:

Scroll sideways to see more —>

KEEP UP WITH BIRCH LANDING HOME
|  Etsy  |  Facebook  |  Instagram  |  Pinterest  |  Bloglovin'  |  Hometalk  |