I'm a wife, stay-at-home mom, crafter, and blogger living in rural New England. As seen in Martha Stewart Living, Food Network Magazine, and more! | Tutorials, DIY, crafts, parenting tips, recipes, money saving tips, product reviews, local product features, New England living, intentional living, and more! |
Living in the Northeast, ticks have just been awful the last few years and it seems as though you can't enjoy the outdoors anymore without finding one. It's so important to protect yourself and family from getting a tick in the first place (if you want to read more on my tips to keep ticks at bay, check out my previous post "Safeguarding Against TICKS"). But in the event you unfortunately get one on you, you need to be prepared so you can remove that awful thing ASAP. By having a Tick Kit handy, you'll be able to remove the tick quickly and safely and hopefully lessen your chances of catching a tick-borne illness. | This post contains affiliate links and personal tips - Disclaimer: I am not a medical expert, always check with your doctor for advice |
I recommend putting together several tick removal kits and keeping them handy at all times - keep one at home, one in the car, and one in your hiking bag for outdoor trips or diaper bag for playground excursions. That way if you're out and about and find one on you or your family you can safely remove it and document it, ready for testing purposes.
If you unfortunately get a tick attached to you, safely remove it immediately to help reduce your exposure to tick borne illnesses. Use the alcohol wipes to cleanse the area where the tick was removed as well as wipe down the tick spoon after removal.
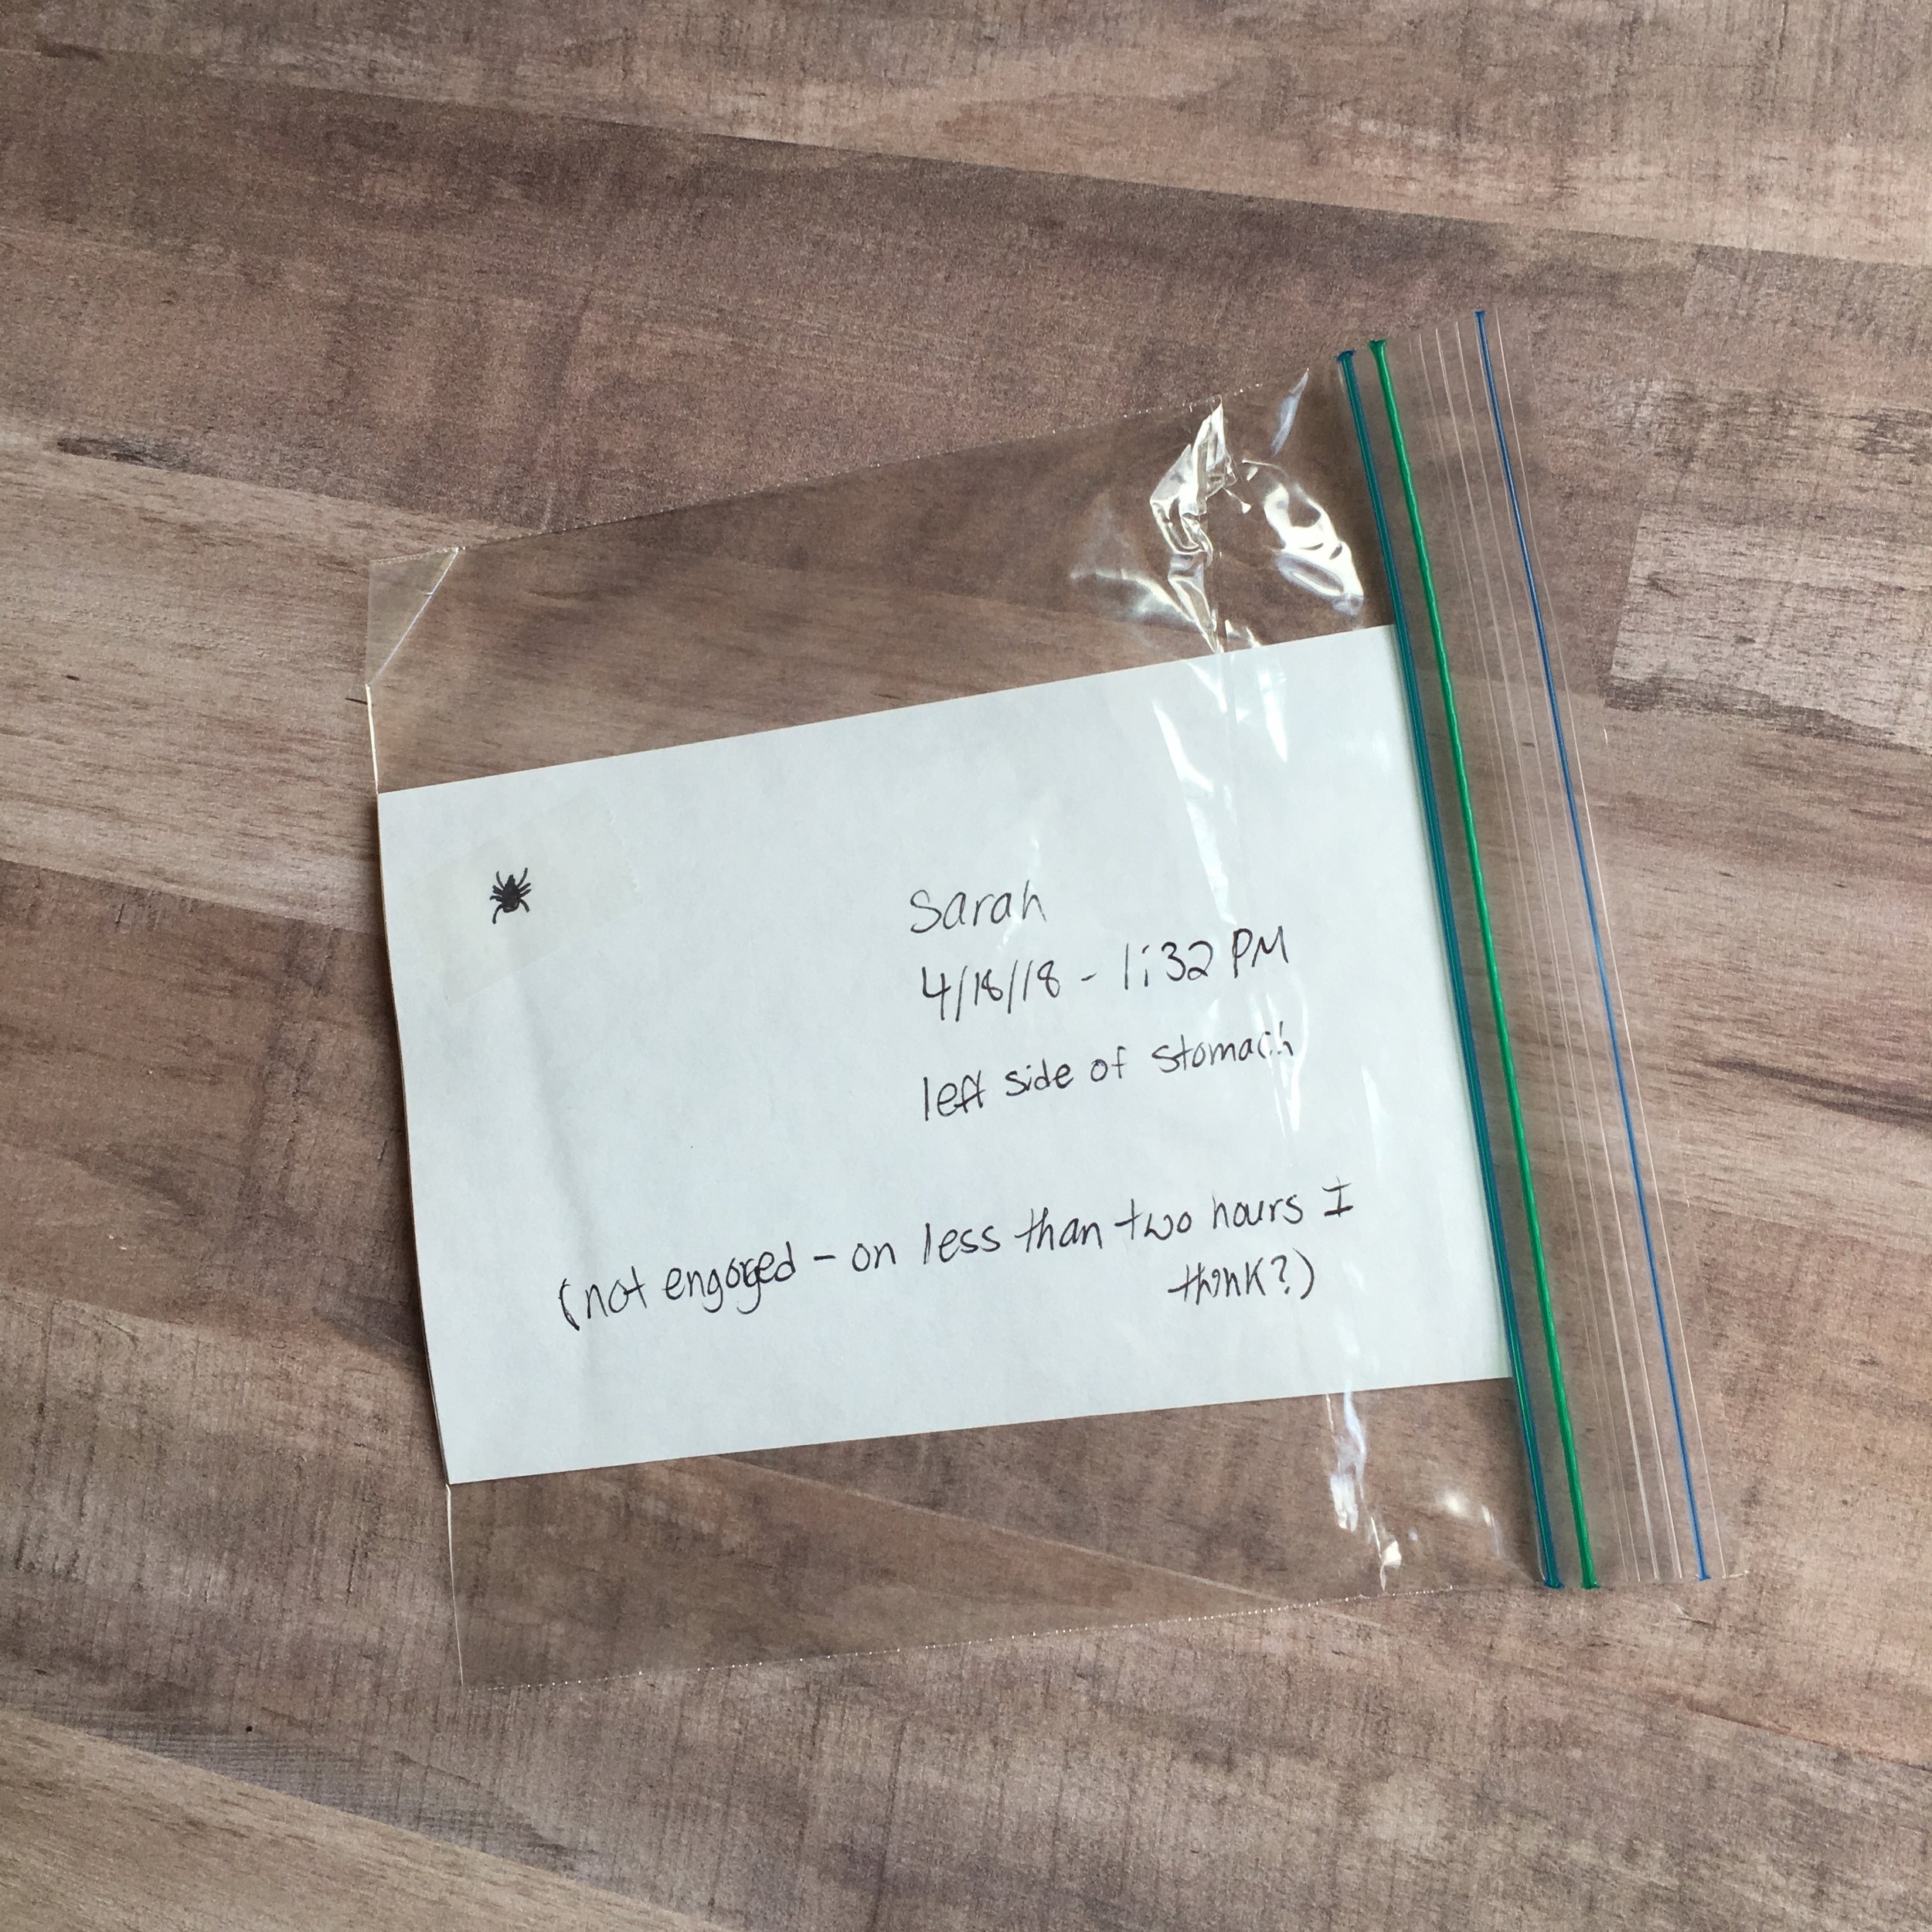
It's important to keep the tick itself - as well as note when and where it was located and any other information about the situation (if the tick was engorged, your best guess at how long it could have been attached, etc). Tape the tick to an index card and use your pen to record all of this information, then place in an empty ziplock bag - feel free to double bag it if you want. Then call your doctor right away for advice on any precautions you may need to take, or if he wants to order to get the tick tested.
Whether or not you get the tick tested (either by your doctor or privately), you can also report your tick bite to TickEncounters. TickEncounters is a program run by the University of Rhode Island, recording and monitoring trends and information regarding tick bites and your information helps aid in their research. They can also help advise you about how to get the tick tested for your peace of mind in the event your doctor's office doesn't do it.
DISCLAIMER: I am NOT an expert or medical professional. These are tips and information I've learned over the years living in a tick-prone area. Always check with your own doctor and local experts for the best prevention and treatment plans for yourself and your family. Discuss with your doctor ahead of time what to do in the event of a tick bite (and I hope you never need to use that information).
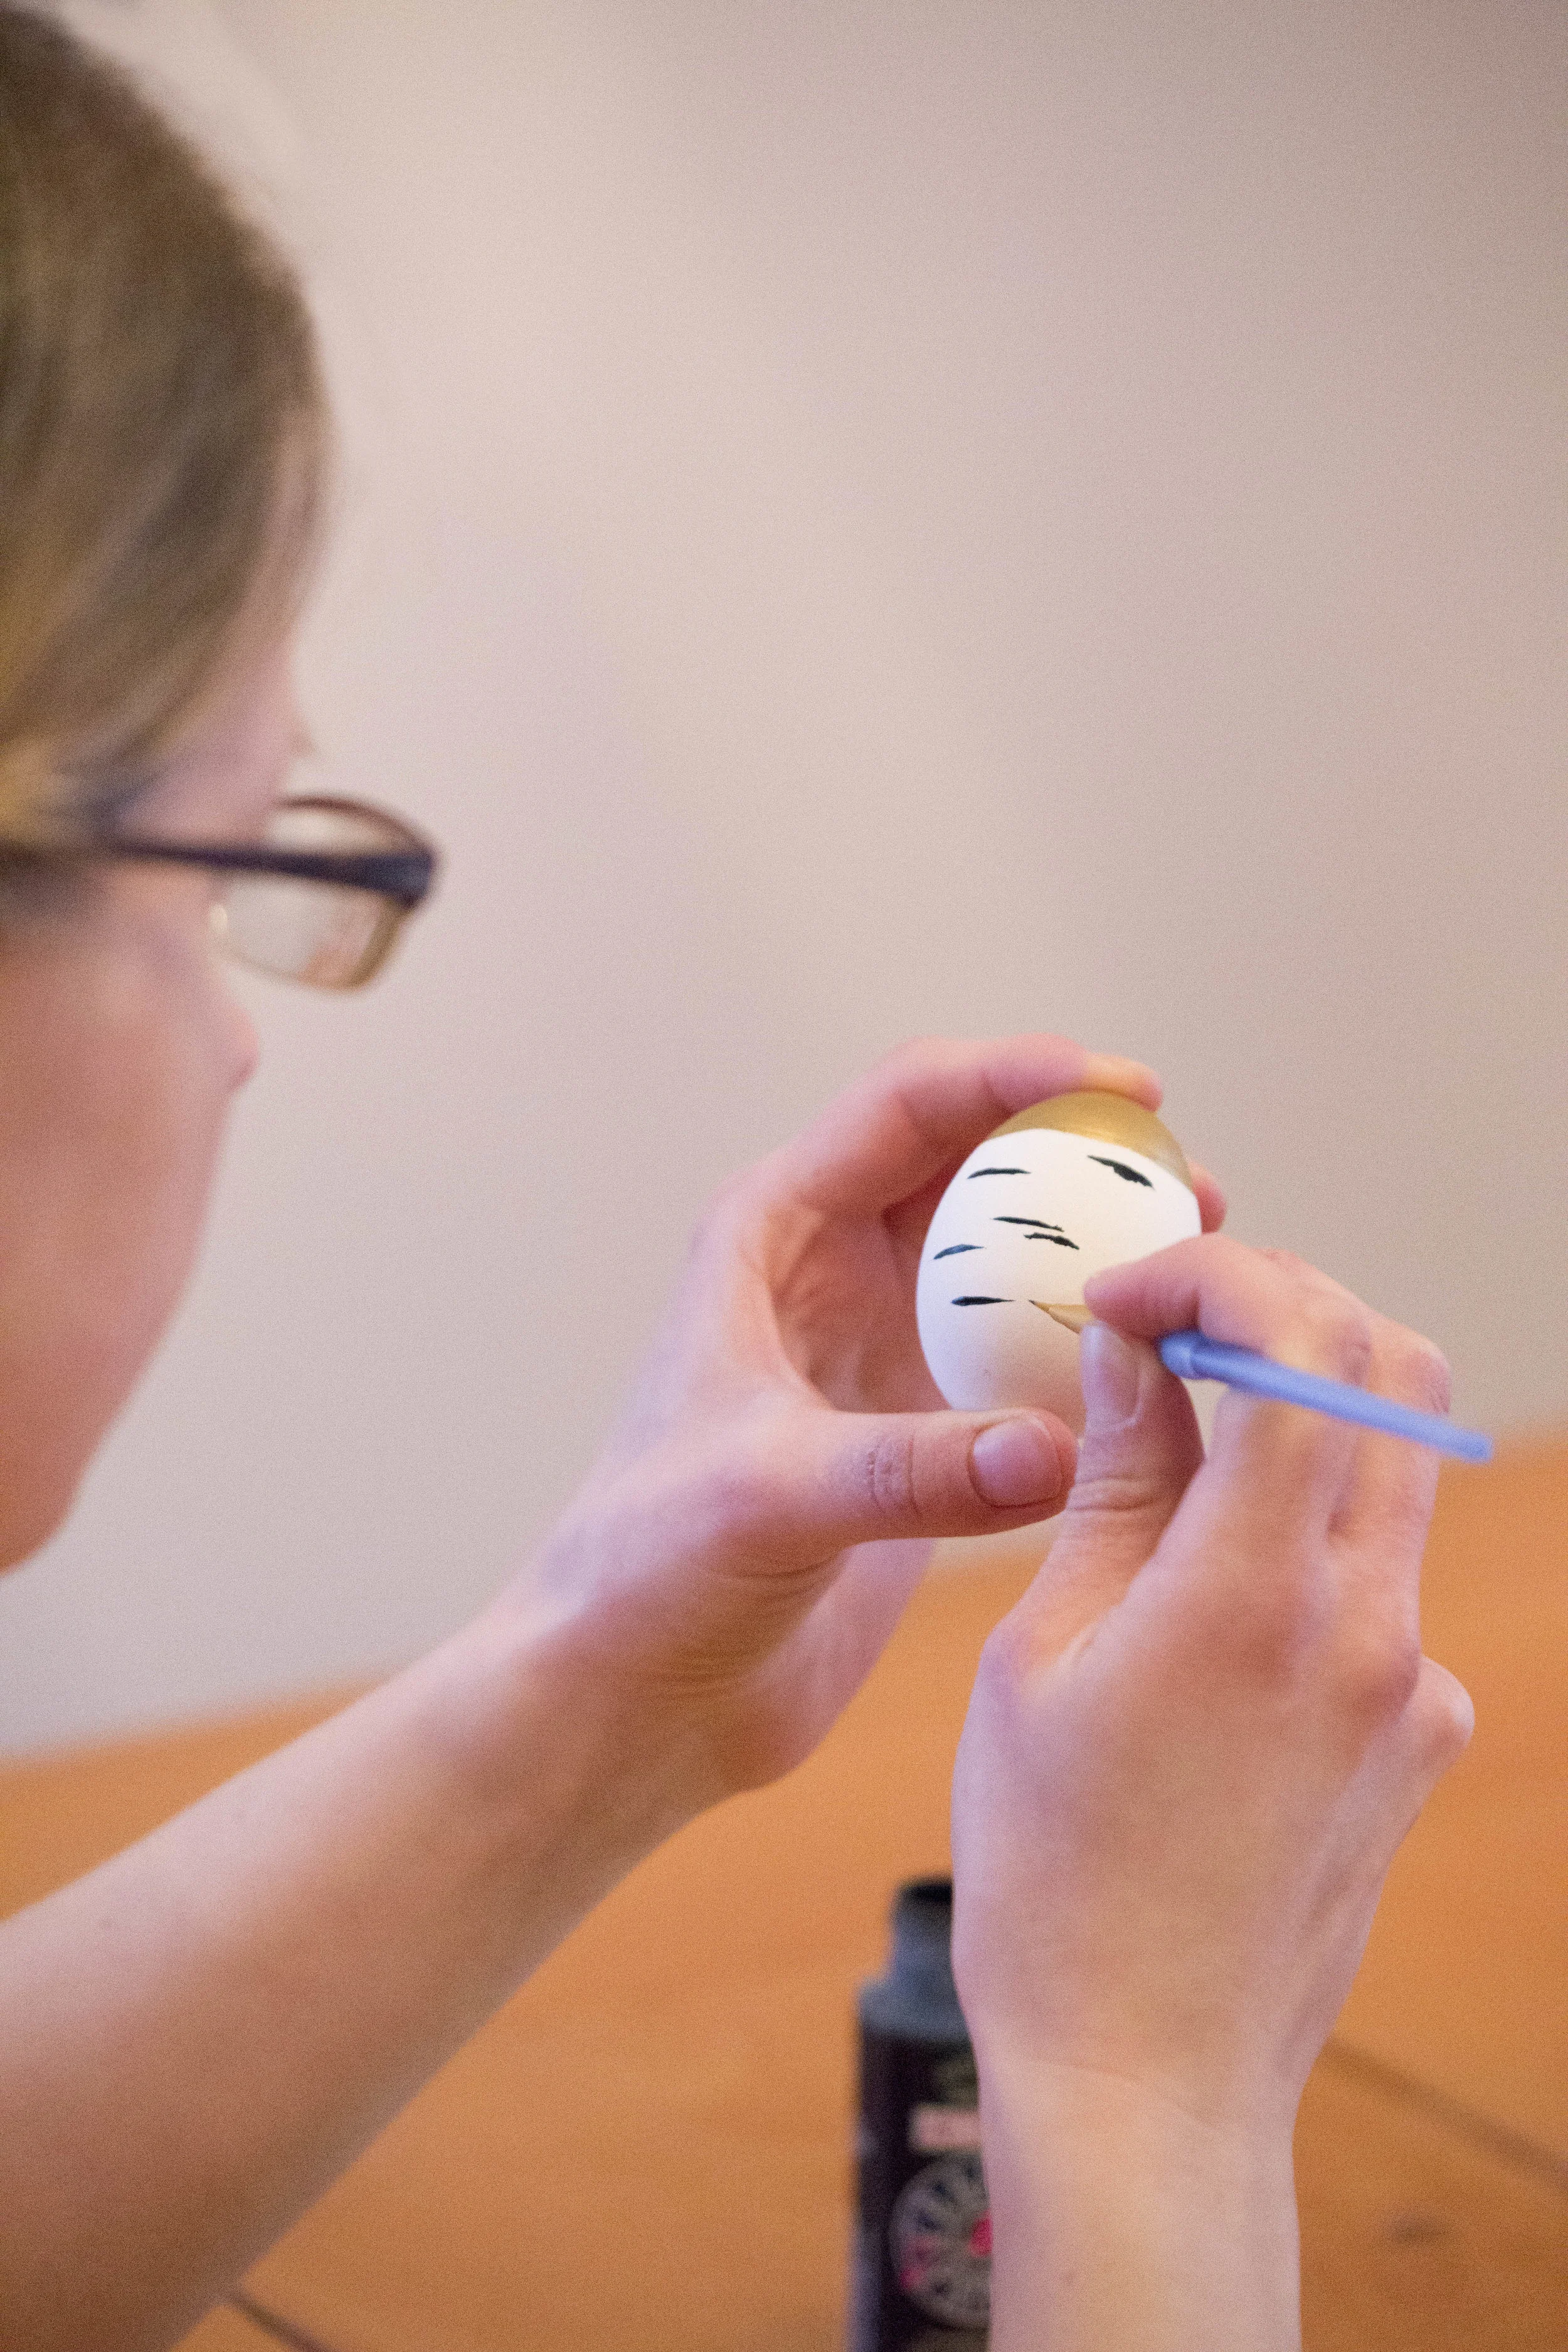
A few months ago, Food Network Magazine emailed me and asked if I'd be interested in designing a New Hampshire-themed egg for their Easter issue! I was completely blown away and honored for the opportunity. My New Hampshire egg design was a gold-dipped, faux birch bark egg - gold-dipped to represent our State House with it's golden dome, and the birch bark paint finish to represent our our state tree, the white birch. Fun Fact: My great-grandfather was a steeplejack and did the gold leaf on the New Hampshire capitol dome back in the 1920's! | This post contains affiliate links |
Creating one of these gold-dipped birch eggs for yourself is pretty simple! Here's the full how-to:
Materials:
faux egg (for the Food Network Magazine example and most of the photos in this how-to, I used an Eggnot, a fake ceramic egg - but you could also use a wooden egg. If you use real hardboiled eggs I would not recommend eating them after painting)
white acrylic paint (if your fake egg isn't already white to begin with)
paper cup
thin paintbrush
tinfoil to make a stand for the egg to dry on
How-to:
1. First, make a tinfoil ring to hold your egg while it dries between steps. Then if your egg isn't already white, paint white and allow to dry between coats. It may need several coats of paint.
2. Next shake the gold acrylic paint well and pour about half an inch of it into a small paper cup. Dip the top of the egg carefully into the cup. (I found it best to to do the gold-dip first, then paint the bark pattern after since sometimes the black lines were visible under the gold-dip.) Gold paint tends to be thick and you may have some swirling or thick drips after dipping. You can try to smooth these out a bit with a paintbrush but it usually looks cleaner if you just leave it as-is, even if you end up with a thick spot within the dip. After the gold dip, carefully place the egg in the tinfoil ring to dry.
3. Once the gold-dip is dry, use a thin paint brush to paint horizontal black lines on the egg, all the way around. Vary the placement and thickness of the lines a bit to mimic the look of birch bark. You may have to carefully hold the egg for a few minutes to let it air dry a bit before carefully setting it, gold top down, into the tinfoil ring to finish drying.
And that's it! While making them can be tedious with the drying time between steps, it's really quite easy. And in the event you don't feel like tackling this project yourself, I have a limited supply of painted Wooden Gold-Dipped Birch Eggs in my Etsy Shop!
I think this makes the third Nor'easter in two weeks for us here in New England. As pretty as the snow is, I'm sure ready for warmer weather and gardening! At least Harley is loving the snow :) Now, if you'll excuse me - we have about two feet of snow to snowblow and shovel.
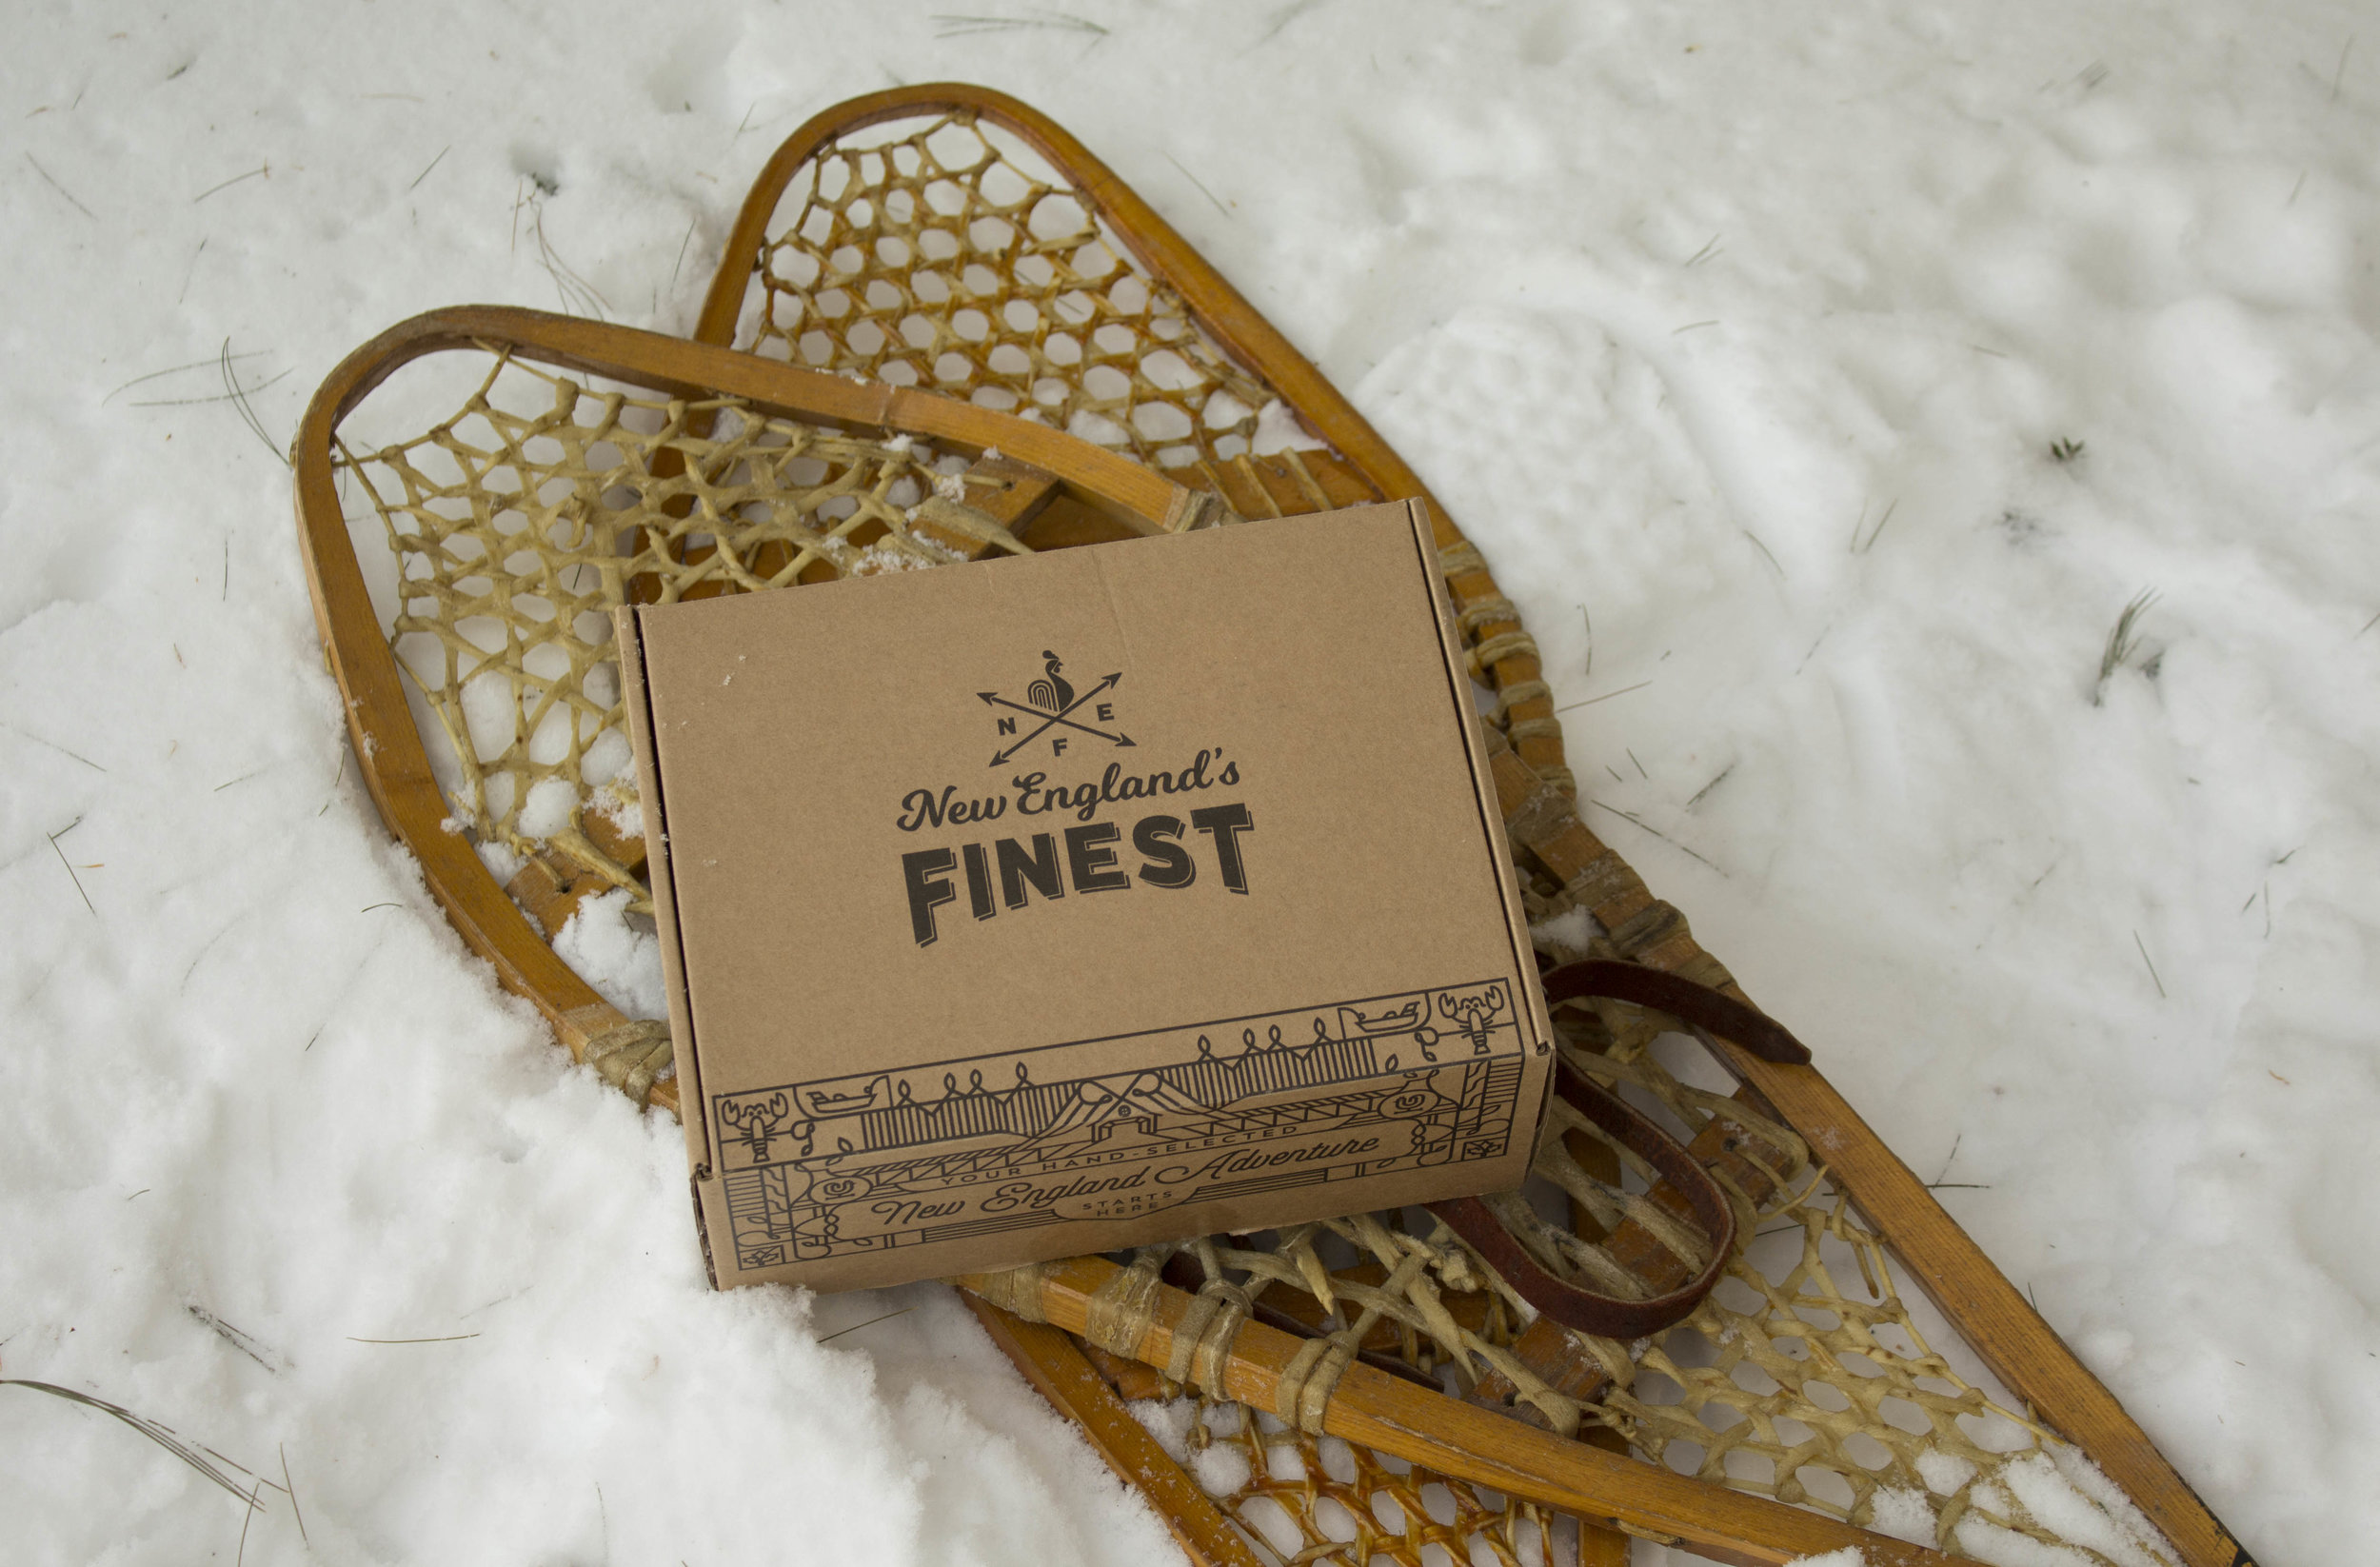
Brrrrrr! Anyone who lives in the Northeast knows just how brutally cold it's been here lately - in the past two or three weeks I don't think it's gotten over 5 degrees outside! So when the thermometer hit double digits (10 whole degrees!), we decided to take advantage of the heat wave and head outside for a little snowshoeing and a picnic. | This post contains affiliate links and an honest review of New England's Finest |
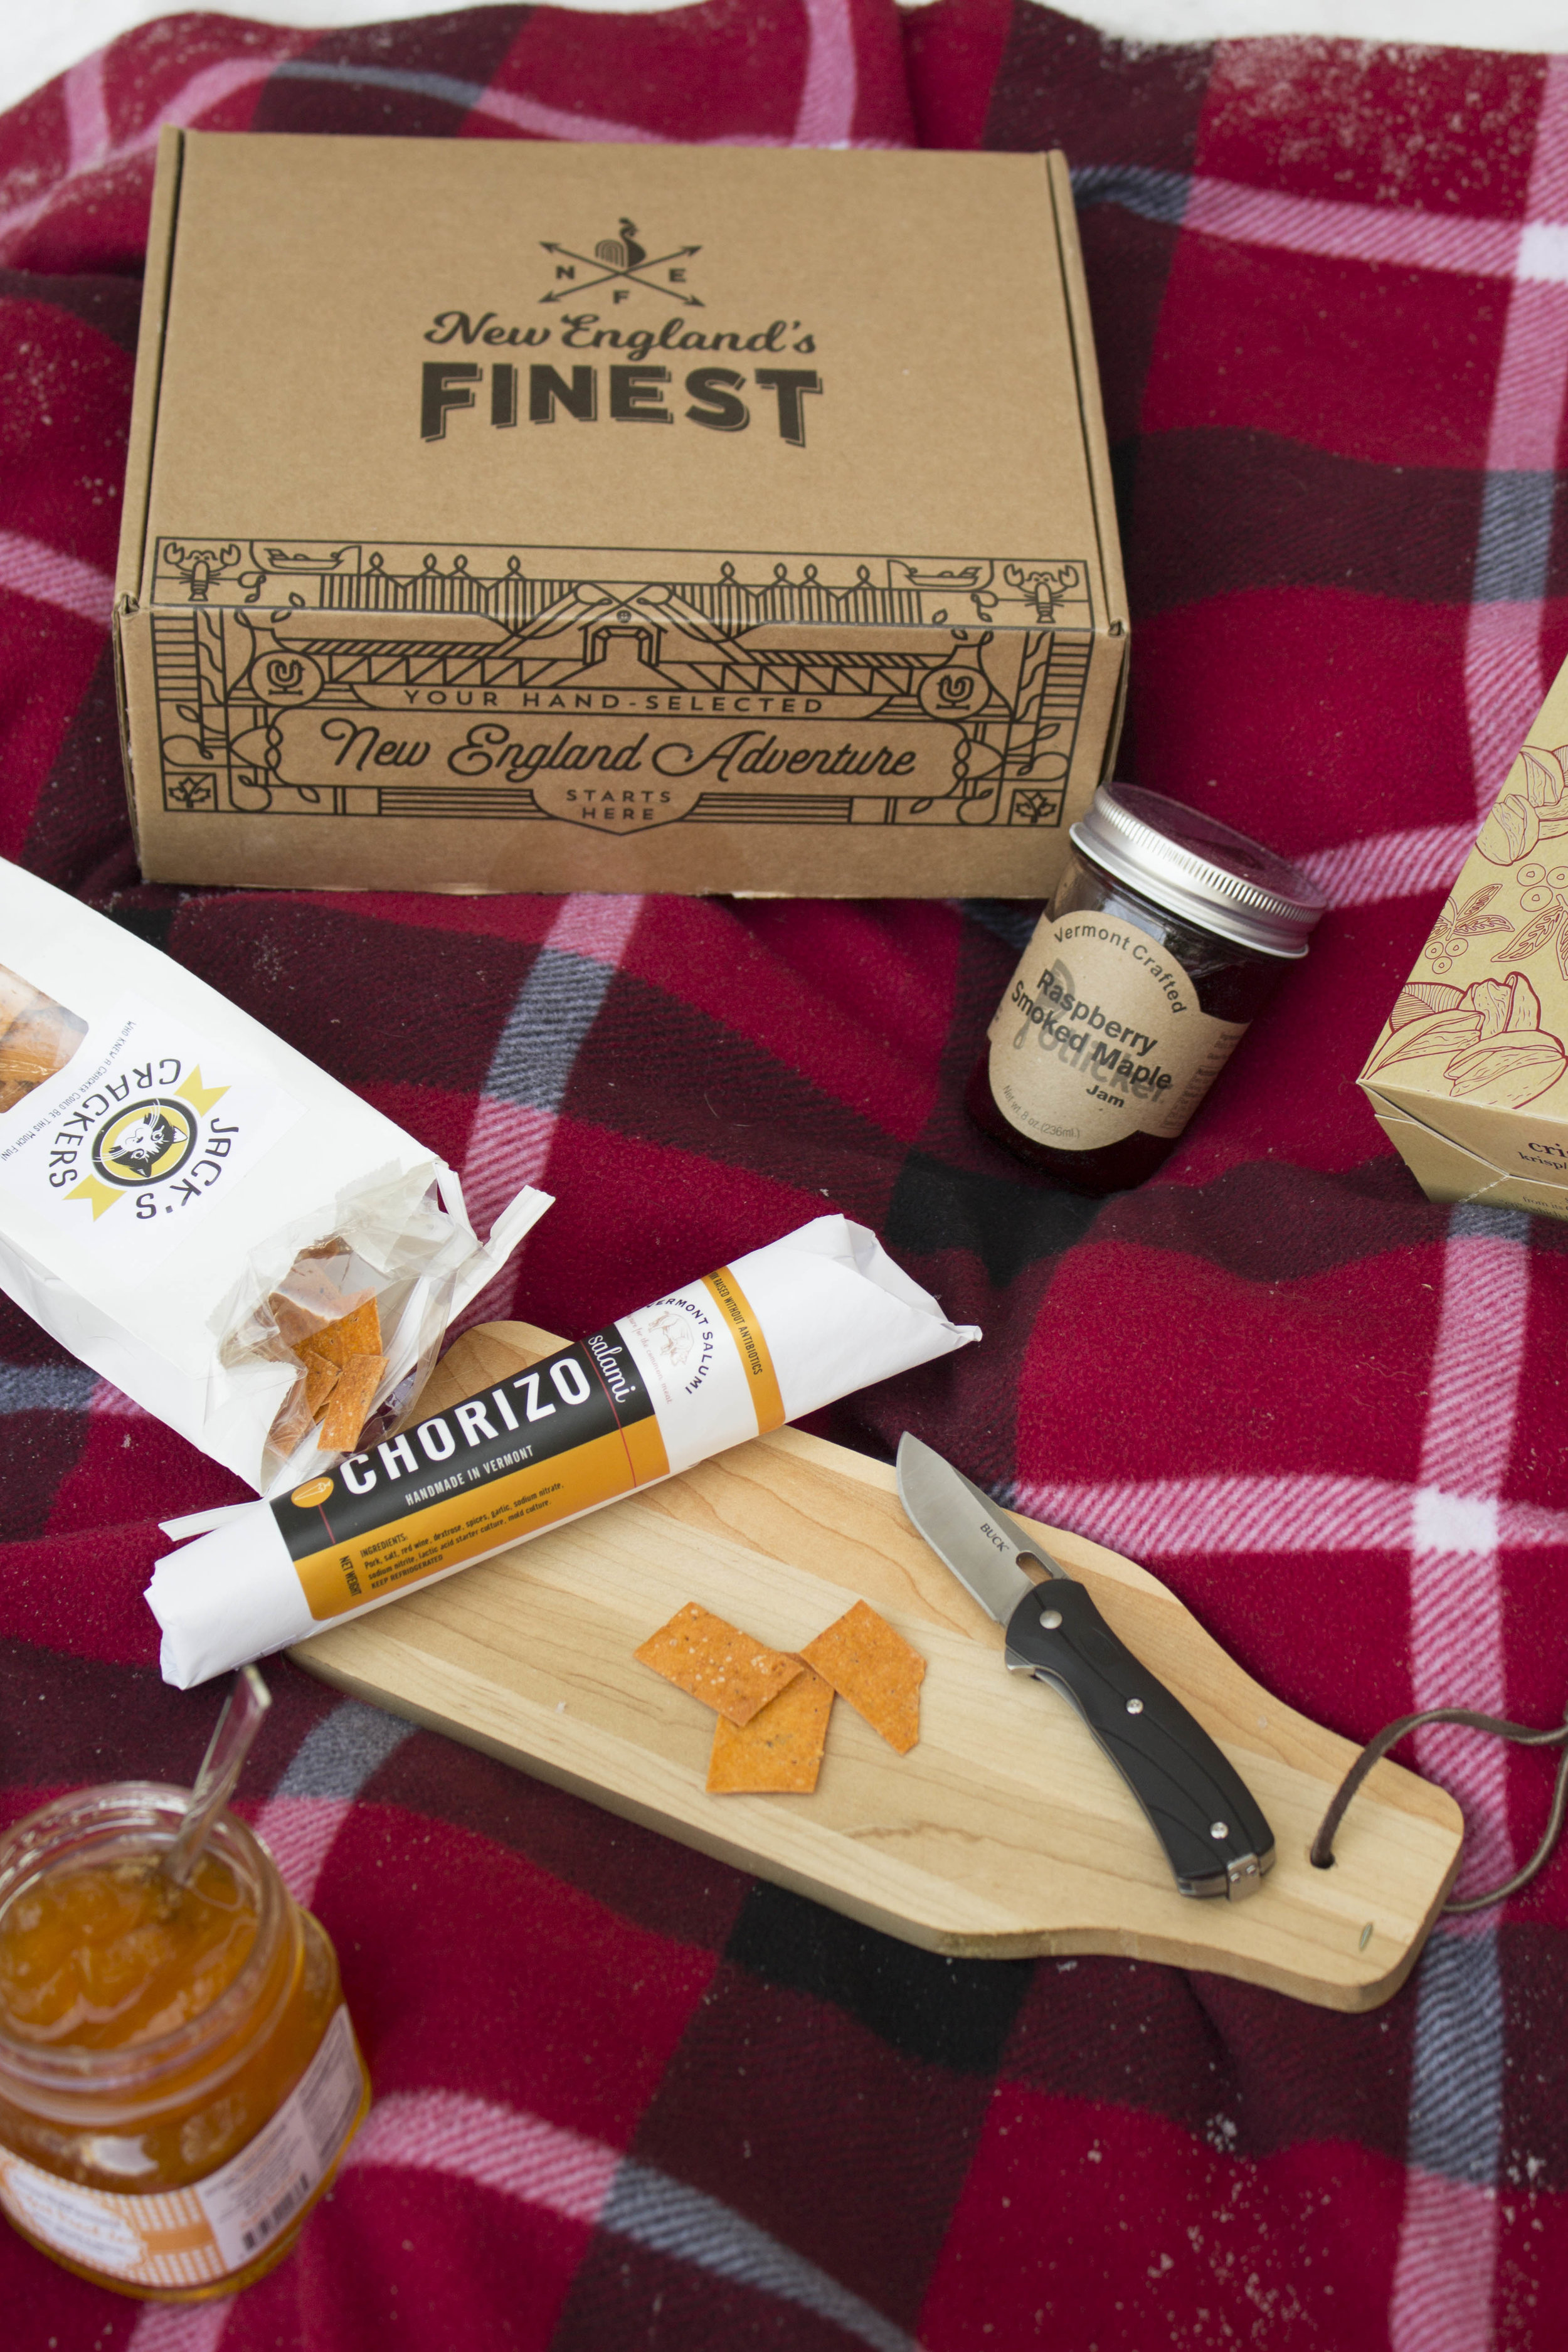
As you all know, I LOVE sharing about New England-based products on the blog and was so excited to find out about New England's Finest - a carefully curated subscription and gift box service that only features products crafted right here in New England. New England's Finest was kind enough to let me check out their "Picnic for Two" Box which made for a perfect lunch for me and my husband on our little hike. We're lucky enough to have some great trails here within walking distance of our house, so the second the thermometer hit 10 degrees we bundled up, grabbed our snowshoes, and headed out to enjoy the balmy weather (ha!).
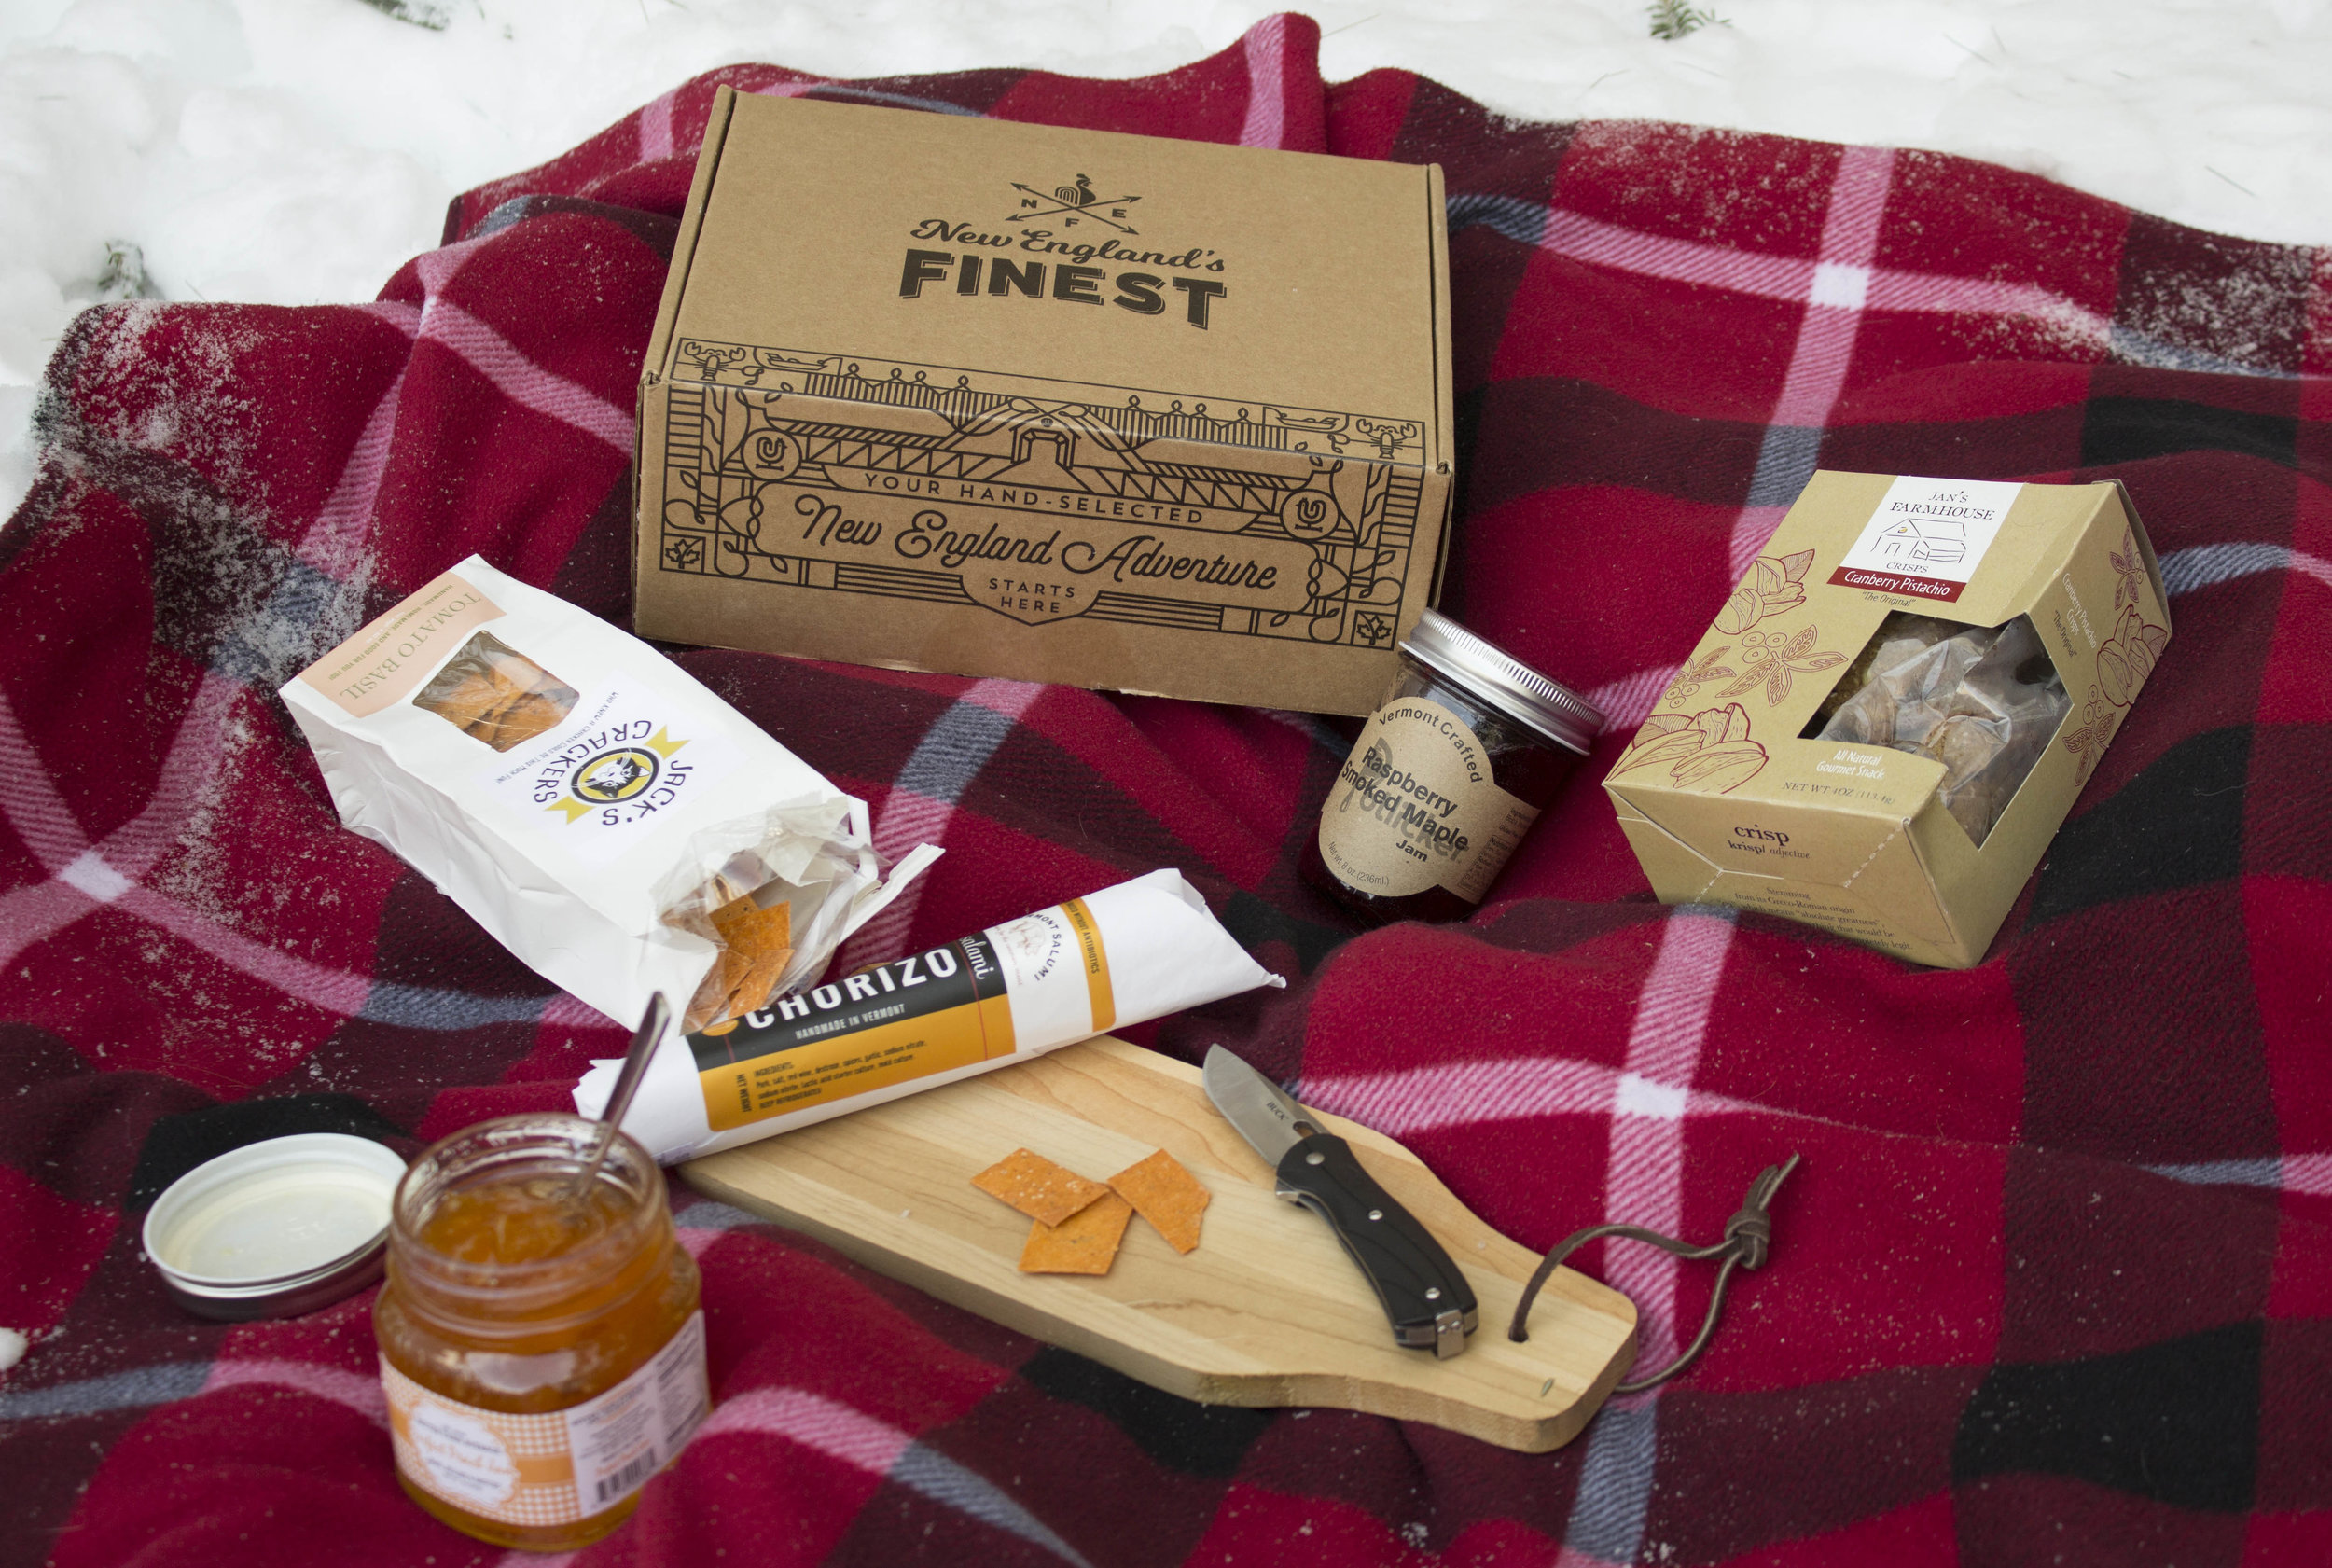
After a short hike we found the perfect little clearing, spread out our picnic blanket, and unpacked our lunch. Each New England's Finest Box has a different theme (BBQ, sweets, cocktails, etc) and ours was full of yummy locally-made foods perfect for a picnic! In this particular box we had a selection of delicious jams/jellies, crackers, and salami - all we had to do was pack a cutting board and grab some cheese from our fridge.
One thing I particularly love about NEF as a company is that for every 12-month gift subscription purchased they donate a gift box to a family receiving care at Boston Children's Hospital as a way to give back to the community. So if you're looking for that perfect gift for someone (or yourself!) who loves New England or is a New Englander at heart, be sure to check out New England's Finest and get "a little flavor and charm from the Northeast."
Follow New England's Finest on Facebook and Instagram to see their latest promotions and boxes.
- I received this item for review from New England's Finest but all opinions expressed are my own. Please read our full Disclosure Policy for more information -
I shared this photo on my Instagram Stories earlier and got so many comments I figured it was worth explaining! Here in New England during winter, things get sooo dry indoors with the freezing cold temps outside and heat cranking inside - as a result your skin and throat really suffer, feeling constantly dry and scratchy. | This post contains affiliate links |
One solution is to get a humidifier to put some moisture back into the dry air. In fact we do have a
cool mist humidifier upstairs that we run at night when it's particularly dry or we're sick, but otherwise you can't beat the price and efficiency of an old fashioned "New England Humidifier" - a.k.a. a pot of water on the wood stove or radiator.
It works by simply adding moisture into the air by letting the water evaporate. It's most efficient when you put the pot of water on the heat source so it evaporates a bit quicker, but if you don't have a stove or radiator you can also leave the pot by a heating vent or just in the room with you. If you do leave the pot on your stove or radiator, just make sure it doesn't go dry (you want to take it off when you leave the house too) otherwise you might end up with a scorched pot!
I love sharing New England-made makers here on the blog and Instagram, and what's more New England than lobster buoys?! Cobalt Sky Studio was kind enough to partner with me for a little Giveaway for one of her iconic Lobster Buoy Pillows over on Instagram just in time for Thanksgiving!
Entering is easy - just head over to my Instagram for details and to enter. You don't want to miss out on a chance to win this little piece of Maine!
Our Etsy shop is back open for business after my Maternity Leave!
Quantities in the shop will be very limited this season since we're still so busy with our newest addition to the family. Please shop early and check back often as I'll be restocking the listings as I am able.