DIY Slate Garden Markers

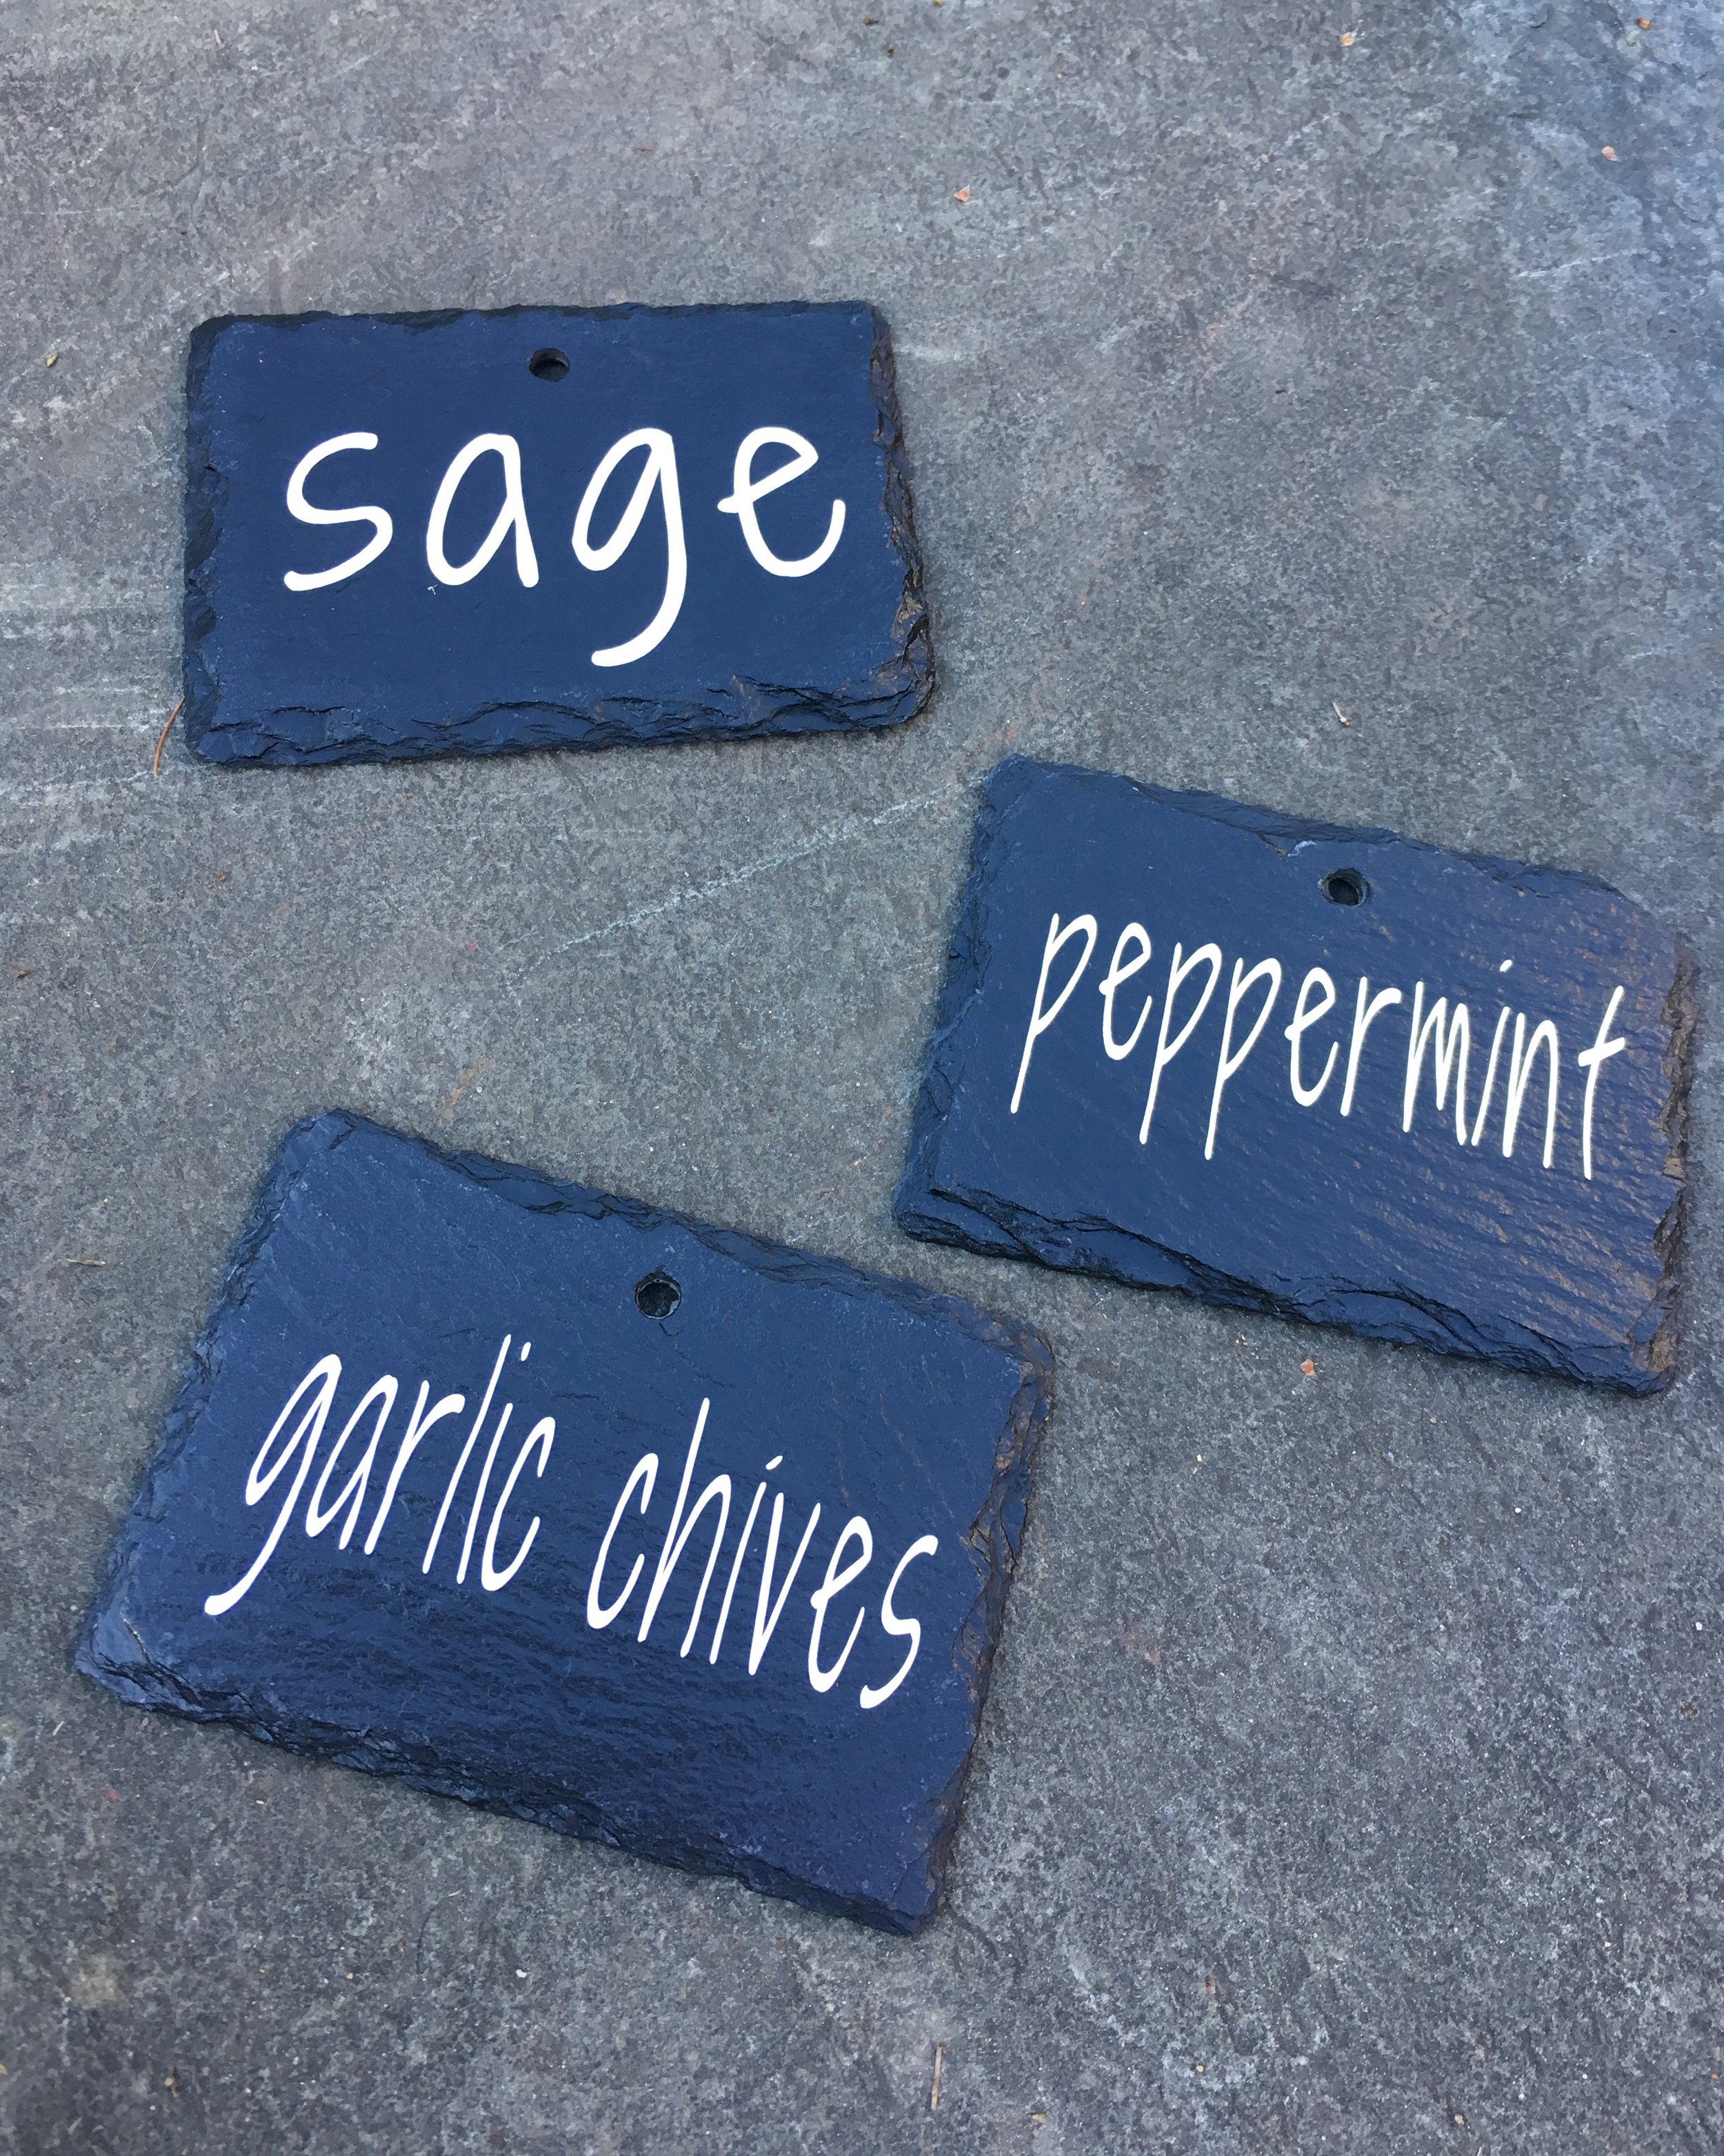
I've been eyeing slate garden markers for our herb garden for awhile now, but buying pre-made ones are soooo expensive and they never have all the varieties I want.  So I decided to take matters into my own hands and make my own.  Because I have the world's worst handwriting (it's true, ask anyone) I used a Cricut to cut the text for me, but if you have half-decent handwriting you could easily do this project with a paint marker too.  | This post contains affiliate links |

DIY Slate Garden Markers

Materials:  

How To:  

1.  If using your Cricut to make the text, measure your garden markers and make each "label" in Design Space the appropriate size.  I chose a font with a handwritten feel, but you can use whatever font you prefer.  You may need to play around with the scale of the lettering to get it to fit.  Use 651 Permanent Vinyl to cut your text.  

Making the labels in Design Space for Cricut

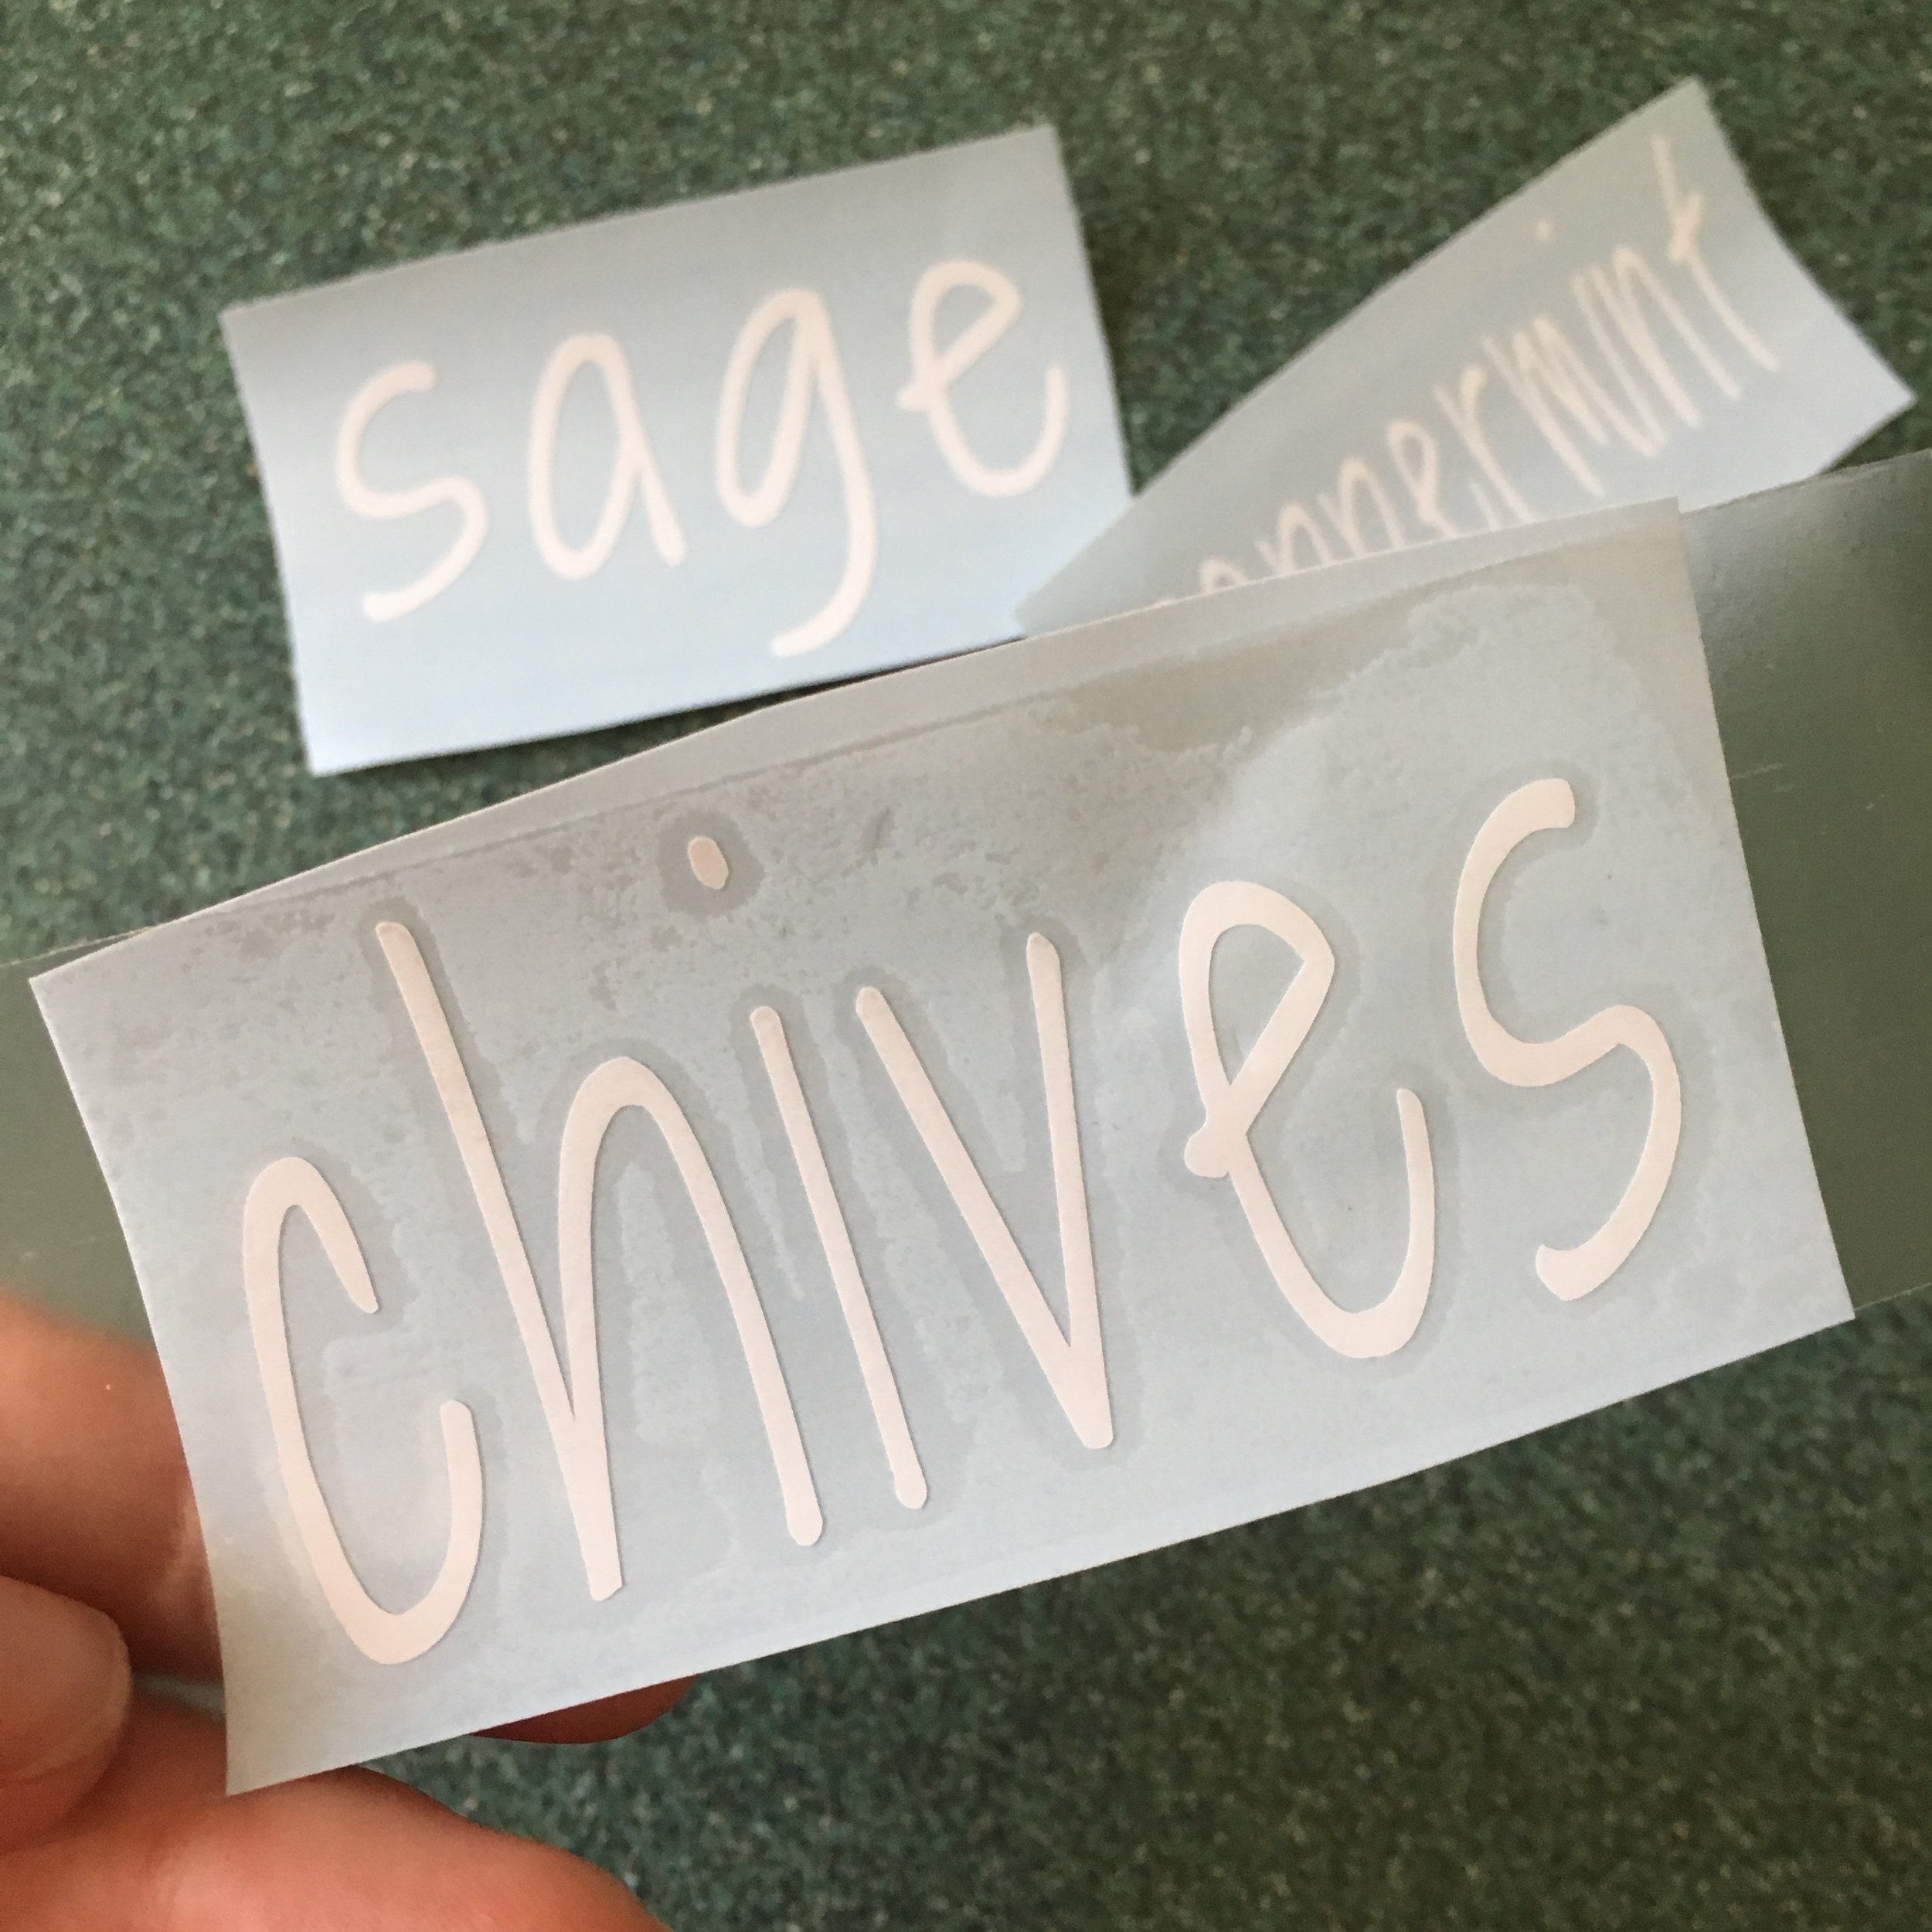
2.  "Weed out" your text, removing any pieces of vinyl you don't want to be in your final design.  I find a dental explorer to be super useful here to get rid of the pieces inside of letters, but it's not necessary.  The finer-point text was definitely a lot harder to weed (which is why you'll notice the dot on the "i" in garlic chives isn't in the right place).  

DIY Slate Garden Markers in progress

3.  Next use contact paper or transfer tape to put over your final vinyl design and rub well to make sure it's on there good.  This will "carry" the vinyl once the backing is removed.  

DIY Slate Garden Markers in progress

4.  Carefully peel the backing off your design.. this can be tricky.  My advice is to go slowly and have your dental explorer handy if you have one!  It can help hold letters down as you peel off the back.  

5.  Once the backing is removed, carefully place on a clean and dry slate marker.  Rub the design on well (I use an old gift card like a squeegee).  Once it's on there good, carefully peel off the contact paper.  
Alternatively:  If you don't have a Cricut or want to do this project by hand, you can skip steps 1-5 and just write your text freehand with a white paint marker and allow to dry.  

DIY Slate Garden Markers in progress

6.  To make sure the vinyl doesn't peel or come loose, I use a spray acrylic sealer to seal them.  Just put the markers on a scrap piece of cardboard, give a light coating of the spray sealer, and allow to dry (make sure you're in a well-ventilated area). 
If you used a paint marker instead I would also suggest sealing them.  

DIY Slate Garden Markers in progress
DIY Slate Garden Markers

7.  Hang your new garden markers!  You can buy special hangers for them if you like, or use sticks and some twine or wire.  In my case I wanted them on the barrels in our herb garden so I simply used some thin copper wire and "flossed" it through the slots in the barrel, tying it off with a large washer at the back so they don't pull through.  

It has been SOOO abnormally hot in New England these past few weeks that my herb garden isn't looking too wonderful at the moment (hence the limited "after" pictures).  We have six wine barrel planters on a small patio; four of the planters have perennial herbs (chives, garlic chives, sage, and peppermint) that come back each year and the other two planters I switch up each summer.  Currently my poor plants are a bit sun-stressed and I'm far behind on weeding, but I hope you'll get the idea of the final install below.  I think it really helps finish the space and I love that things are finally labeled.  

EDIT Spring, 2020: Just wanted to hop on here and add that I’ve left these up year-round on our herb barrels since 2018 and they still look great! No fading or peeling with the sun or snow. The slate with the permanent vinyl labels and sealer have definitely held up wonderfully.

DIY Slate Garden Markers

KEEP UP WITH BIRCH LANDING HOME
|  Etsy  |  Facebook  |  Instagram  |  Pinterest  |  Bloglovin'  |  Hometalk  |

Shop my Amazon Favorite Finds with Ease!

Amazon Influencers now have categories which makes browsing my Favorite Finds so much easier!  Check out my lists and let me know if you have any questions on the products - I have different lists for Home, Kitchen Favorites, DIY Supplies + Tools, Fashion + Beauty, Outdoors, and Baby + Kid Items. 
| This post contains affiliate links |

Shop Birch Landing Home's Amazon Favorites with Ease!

KEEP UP WITH BIRCH LANDING HOME
|  Etsy  |  Facebook  |  Instagram  |  Pinterest  |  Bloglovin'  |  Hometalk  |

DIY Teacup or Dish Bird Feeder

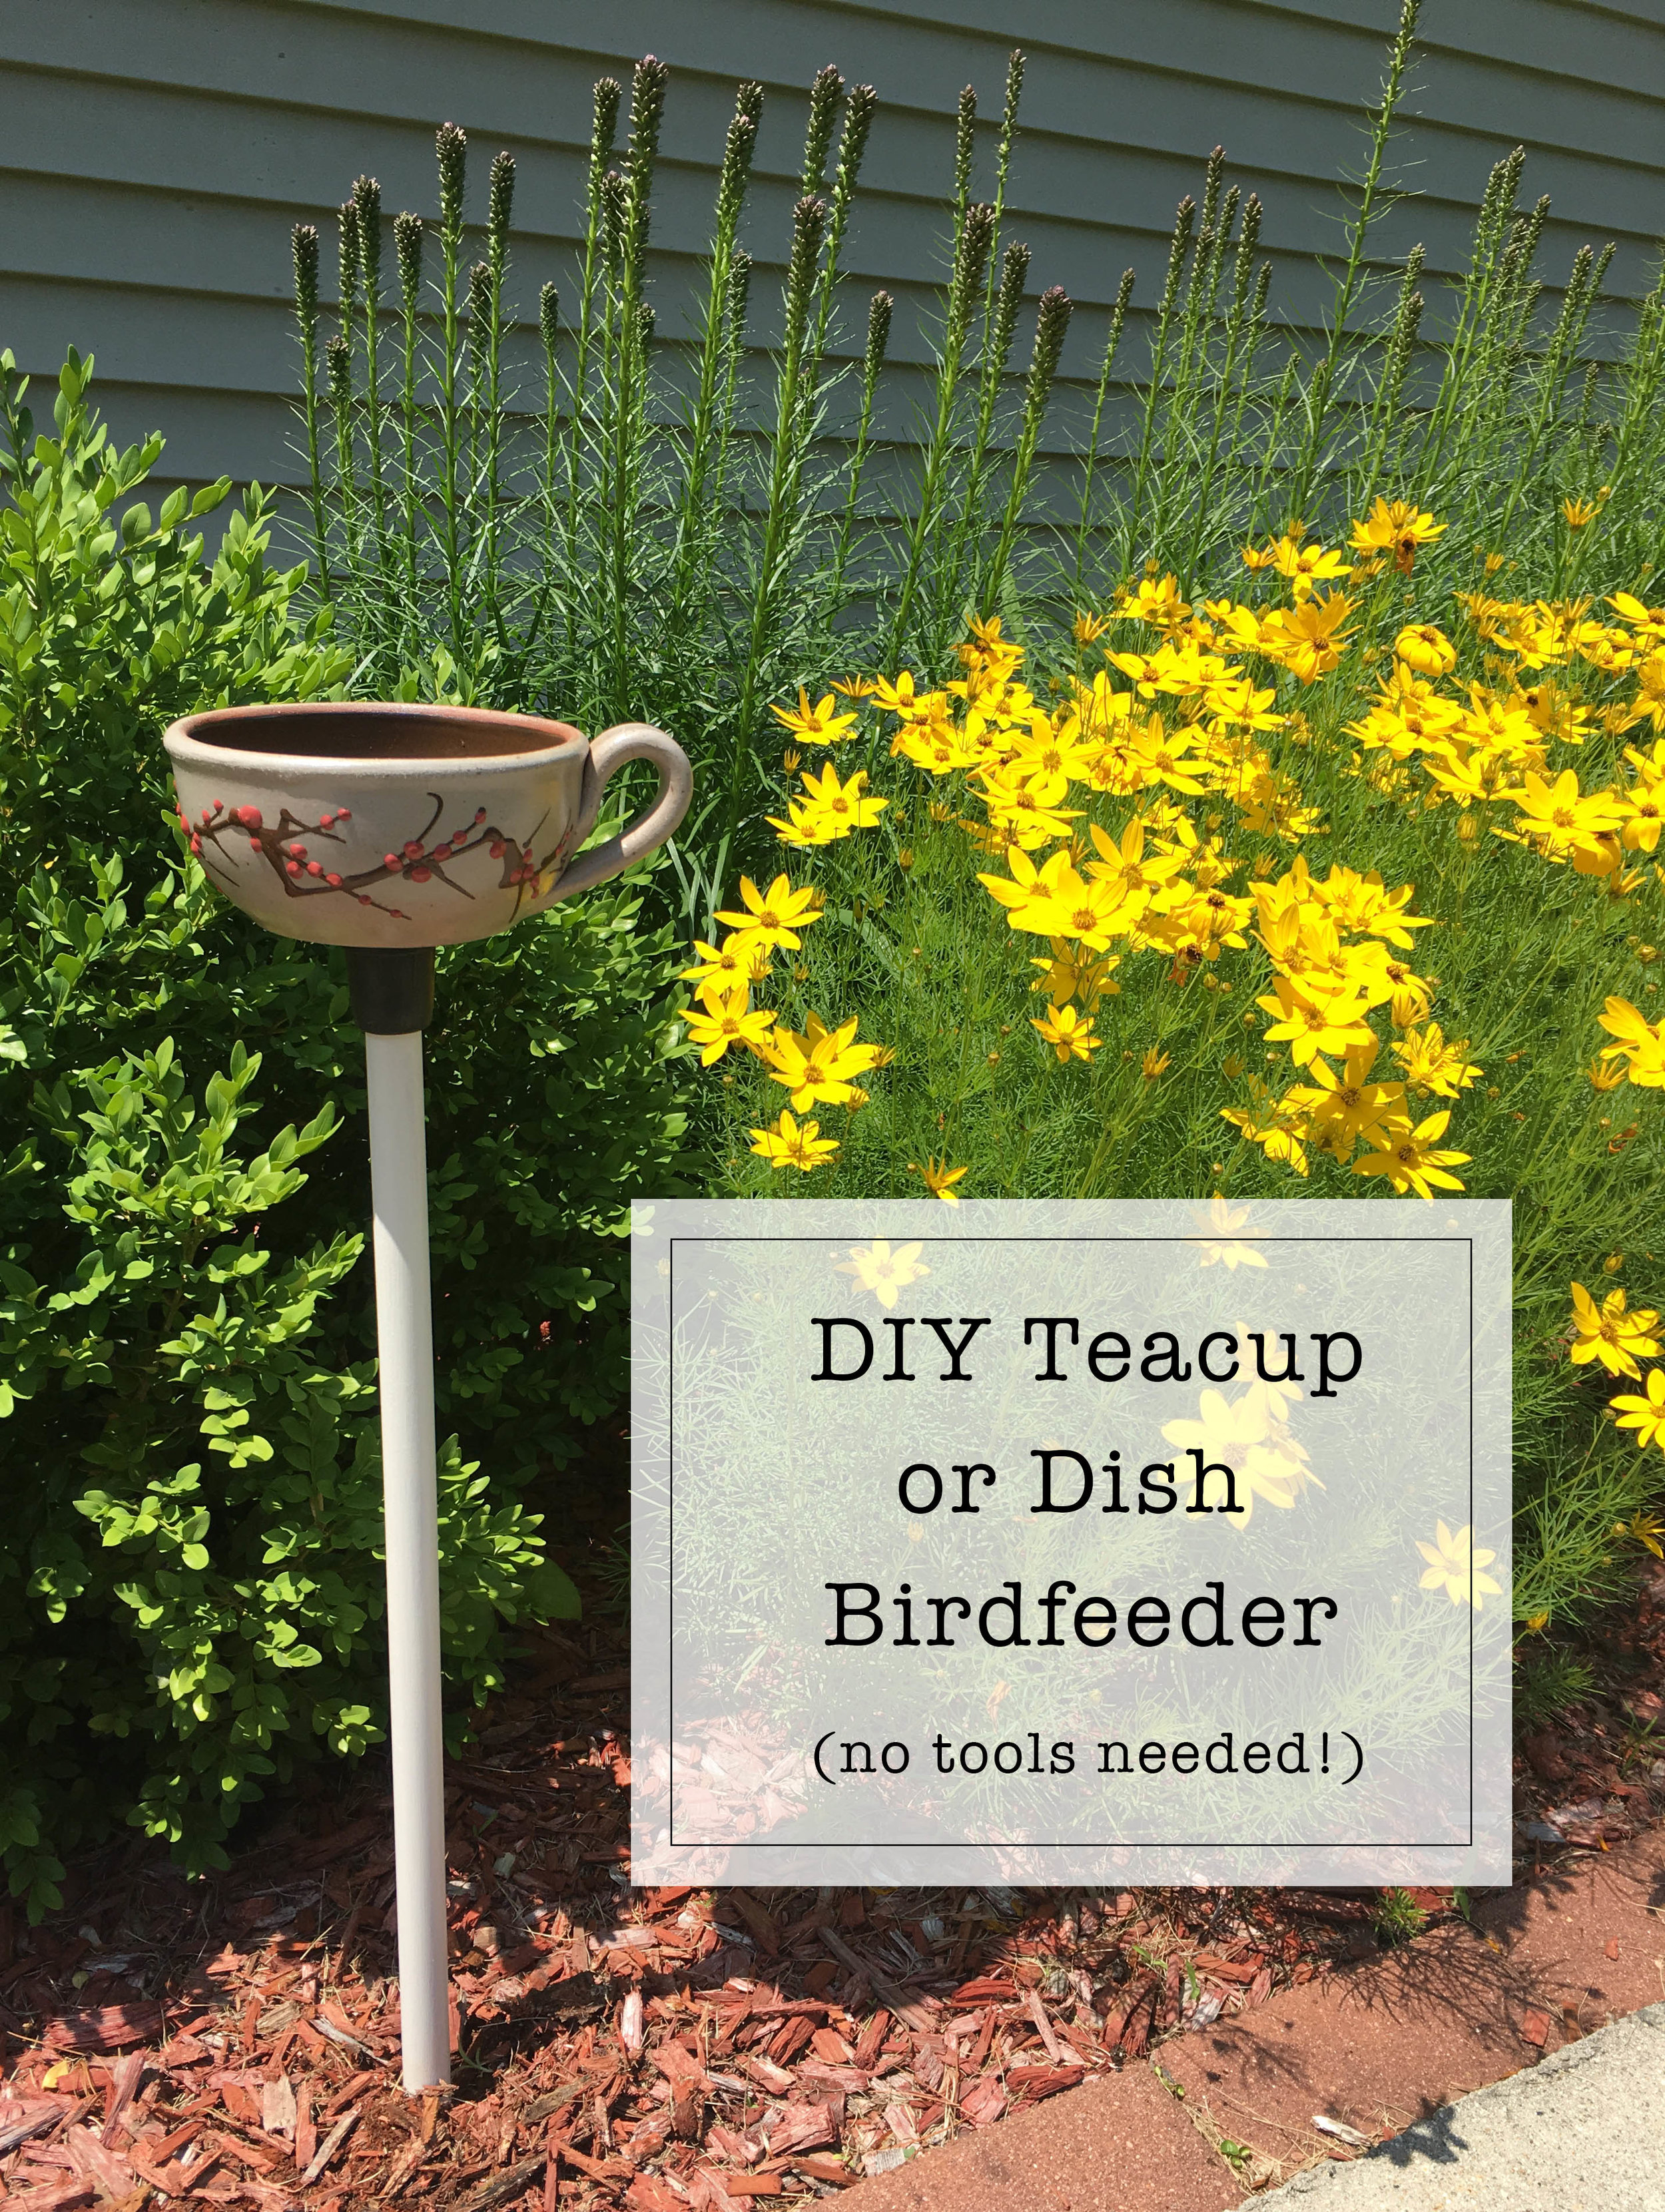
You might remember a previous post where I reused a repaired coffee mug as an herb planter in the kitchen.  Well this year I decided to transform that mug one more time into a little bird feeder for a focal point in the flower garden.  

DIY Teacup or Dish Bird Feeder
IMG_1642.JPG

Supplies & How-to:   

The supply list really couldn't be more simple - all you need is a mug, bowl, or plate, a wooden dowel, a rubber cap, and some super glue!  That's it!  

I had my husband paint the wooden dowel with a couple coats of white outdoor paint first (normally I would have painted it, but the outdoor paint isn't recommended to be used by pregnant women).  I wanted it painted to give a bit more of a finished look and to help make sure the dowel lasts longer outdoors.  

IMG_2348.JPG

Then with a little bit of Super Glue, I attached the rubber cap to the bottom of the ceramic mug.

By having the mug be removable from the dowel, you can easily pound the dowel sturdily into the ground with a small mallet or hammer then add the feeder once the dowel is in place.  It also makes it easy to clean out the feeder regularly.  

IMG_2351.JPG

Since we've had bears frequent our neighborhood lately, I will just be filling the mug with water for now for birds and butterflies to drink from.  Once the bears go into hibernation again I will be able to safely fill it with bird seed for our feathered friends.  

Overall I'm happy with how this simple project came out - it adds the perfect touch to our flower bed!  

IMG_2354.JPG

KEEP UP WITH BIRCH LANDING HOME
|  Etsy  |  Facebook  |  Instagram  |  Pinterest  |  Bloglovin'  |  Hometalk  |

Safeguarding Against TICKS

TICKS.  Just the word makes my skin crawl.  Living in the Northeast, we've always known to look out for them after spending time in the woods or tall, grassy fields but recently the amount of ticks has seemed to reach plague status.  We're now finding ticks places where they should just NOT be - including short trimmed lawns, sandy areas, even in our asphalt driveway.  There's more ticks than ever, with many of them likely carrying potentially debilitating diseases like Lyme.  Because of the great risk, we're not taking chances any more and have taken precautions to protect our yard and ourselves against ticks.  | This post contains affiliate links |

Safeguarding your yard, family, and pets against TICKS

DISCLAIMER:  I am not an expert or medical professional.  These are tips and information I've learned over the years living in a tick-prone area.  Always check with your own doctor, vet, and local experts for the best prevention and treatment plans for yourself and your family.

Safeguarding your Yard

Eliminate Tick Habitats  

Ticks like to hide and breed in brushy areas, leaf litter, log piles, dampness, etc.  It's important to eliminate these places.  Keep your lawn cut short, trim back bushes and over hanging tree branches to maximize sun exposure to your lawn, get rid of compost piles or move them as far away from your usable yard as possible.  Also make sure to thatch (rake and scrape) your entire lawn every spring - this will reduce the litter mat under your lawn.  

Deter Mice 

Believe it or not mice, and not necessarily deer, are one of the biggest culprits at carrying ticks and transmitting diseases carried by ticks. A single mouse can easily carry and feed hundreds of baby ticks on it's body. If you have mice in your yard and around your house, they are dropping ticks. To deter them eliminate brush and log piles and spray peppermint oil around sheds, decks, and other places they might nest or hide. Mice hate peppermint oil (they are very sensitive to smells) and will generally avoid the areas where it's been sprayed. Also, make sure to get rid of bird feeders in your yard since dropped bird seed with attract mice and other small rodents.

Get Guinea Hens or Chickens

Okay, so this tip certainly isn't for everyone - but guinea hens and chickens can be very effective at reducing the tick population in your yard.  As they free-range they forage for bugs, including ticks, and can eat a lot throughout the day.  Guinea hens are particularly known for their tick-eating abilities but can be harder to keep than chickens.  Make sure to do your homework and talk to your neighbors as a courtesy before getting guineas or chickens.  

Tick-Repelling Plants 

Ticks do not like certain plants - including lemongrass, lavender, sage, and mint.  Planting these can help keep ticks away, at least in the immediate area of the plant.  We make sure to include these in flowerbeds and planters around paths, our deck, and doorways to help deter ticks from hanging around these high-traffic areas.  

Tick Tubes

By selectively placing Tick Tubes around your property, you can help kill off the ticks that are hitching a ride on mice and other small rodents that may not have been deterred by the peppermint oil. Tick Tubes contain permethrin-soaked cotton and are placed in areas where these rodents frequent (brush piles, under decks/sheds, in stone walls, etc). Rodents take the cotton and use them in their nests. Permethrin will not hurt the rodents, but will kill the baby ticks riding on them.

Have Your Yard Sprayed

Last year was the first year we actually had our yard professionally sprayed - despite all our best efforts, the ticks in our area were just out of control.  We chose to have our yard sprayed with an all-natural spray option because we had chickens, a toddler, and a veggie garden.  We were very pleased with the results and only saw one or two ticks in our yard for the rest of the summer.  There are many spray options available out there - from all-natural to chemical-based.  There are pros and cons to every option, so it's important to discuss your concerns and situation to your pest-specialist when choosing a treatment plan.  

Despite our best efforts - short lawn, maximum sun exposure to the backyard, keeping chickens, etc. - there were still lots of ticks (as seen here on our daughter's playhouse). Soon after this we decided to have our yard professionally treated for t…

Despite our best efforts - short lawn, maximum sun exposure to the backyard, keeping chickens, etc. - there were still lots of ticks (as seen here on our daughter's playhouse). Soon after this we decided to have our yard professionally treated for ticks and it helped immensely.

Safeguarding your Family

Bug Spray

Whenever we spend time outside, we use bug spray each and every time. Typically we use an all-natural repellent, especially for our little one, but bug sprays containing DEET are supposed to be even more effective.

Permethrin-Treated Shoes and Clothing

Permethrin is supposed to be one of the best tick deterrents around (it's also what's used in Tick Tubes). By pre-treating your shoes and outer clothing with it, it can be very effective at keeping ticks off of you. We treat all of our shoes, yard work clothes, and hiking gear with permethrin. Check the label for exact instructions, but many permethrin treatments are good for several washes or 40 days so it's great for lasting protection. We've personally had the best luck with Sawyer Permethrin Spray.


Most Importantly:  Check for Ticks - Twice

The most important safety measure against ticks is always checking for ticks - at least twice.  Despite all your best efforts, yard treatments, and bug sprays, you can still pick up ticks.  For us, we've come up with our own protocol to thoroughly check for ticks whenever we come in from spending time outdoors.  We're lucky enough to have a bathroom/laundry room right by our back door, so as soon as we come in we stop in to put all the clothes we wore directly into the washing machine and shut the door (shoes are left in the garage and not brought into the house).  Then we thoroughly check for ticks - paying close attention to check those hard-to-see areas and scalp; a full-length mirror can be very helpful with this. Then, if possible, take a shower or bath next before getting dressed in fresh clothes.  Ticks won't drown but thoroughly washing right after you come in will hopefully rinse any missed un-attached ticks off of you.  Then that night before going to bed, make sure to do a second tick check just to confirm that nothing was missed earlier in the day.  

You might think this tick-checking protocol is a little overboard, but if you live in a tick-prone area (like the Northeast) it's unfortunately very necessary.  After following this protocol for two years now, we have had instances where we found dead ticks in our dryer lint trap (it's actually the high heat of the dryer that kills them - not the washing machine) and a live one on the shower wall once... these were ticks that were on us but were stopped by our thorough system.  

Safeguarding your Pets

Up-to-Date on Preventatives and Vaccines

Talk with your vet about the best tick preventative option (collars, topical, oral medication, etc) for your pets and make sure you keep on schedule with it, even during the winter months.  You might not think that ticks are out in the winter since they go dormant, but even a brief warm streak can bring them out.  

Check for Ticks

It's a very good idea to check your pets for ticks when bringing them in as well, since ticks can "ride in" on them. We have a black lab which is particularly tricky to check, so we make sure to keep a brush and a lint roller by the back door to check her before coming in. We stop her outside and brush out her coat, then use the lint roller to roll over her legs, underbelly, and snout to make sure no ticks are hitching a ride. We also vacuum carpets and her dog beds often to make sure none get dropped around the house in the event we miss one.

If you Find an Attached Tick

**Always call your doctor right away for the best advice for your situation**

If you find an attached tick, remove it carefully without squeezing it's body - you do not want it to potentially expel any more toxins into you. Tick Spoons can be particularly helpful in removing them; we also like Tick Keys which fit handily on your keychain so it's always with you. Then wash the area with antibacterial first aid wash and call your doctor immediately. The doctor will help determine whether you need to start medications right away or wait and see if symptoms develop.
Don't count on seeing the hallmark "bulls-eye rash" though - many people who contract Lyme will never get it. Make sure to keep the removed tick as well (you can stick it in an empty jar), and see about getting it tested right away for Lyme and other diseases. This will give you the quickest and most definitive answer since even if you did contract Lyme yourself from the tick you would not test positive for it for some time.


Related posts:  


DISCLAIMER:  I am NOT an expert or medical professional.  These are tips and information I've learned over the years living in a tick-prone area.  Always check with your own doctor, vet, and local experts for the best prevention and treatment plans for yourself and your family.  Discuss with your doctor ahead of time what to do in the event of a tick bite (and I hope you never need to use that information).  Stay vigilant and stay safe!  

KEEP UP WITH BIRCH LANDING HOME
|  Etsy  |  Facebook  |  Instagram  |  Pinterest  |  Bloglovin'  |  Hometalk  |

Pumpkin Porch Decor Roundup

Fall is here and that means decorating up your front porch with, you guessed it - pumpkins!  I've rounded up 15 very different pumpkin-themed decor ideas for you.  Just click on the author's name to be brought to the original post for the how-to details.  Enjoy!  

Pumpkin Porch Decor Roundup

Pumpkin Porch Decor Roundup

5 Minute Monogramed Pumpkin 

5 Minute Monogram Pumpkin

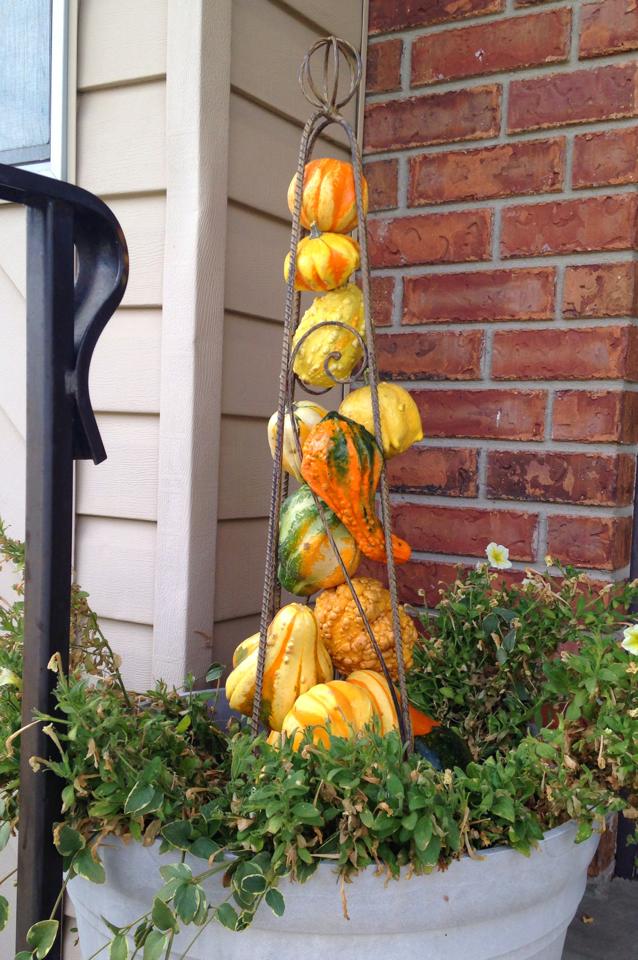
Gourds in an Obelisk

Gourds in an Obelisk

Teal Pumpkin Project

DIY Wooden Teal Pumpkin | Teal Pumpkin Project

Wooden Pumpkin Fall Sign

Wooden Pumpkin Fall Sign

Nail Head Pumpkins

Nail Head Pumpkins

Shabby Chic Door Hanger

Shabby Chic Pumpkin Door Hanger

Painted Pumpkins and DIY Stems

Painted Pumpkin and DIY Stems
 

DIY White Pumpkin Fall Wreath

DIY White Pumpkin Fall Wreath

Pink Fall Decor for Breast Cancer Awareness Month

Pink Fall Decor for Breast Cancer Awareness Month

How to Build a Rustic Pumpkin Stand

How to Build a Rustic Pumpkin Stand

DIY Fall Wreaths

DIY Fall Wreaths

DIY Pretty Porch Pumpkins

DIY Pretty Porch Pumpkins

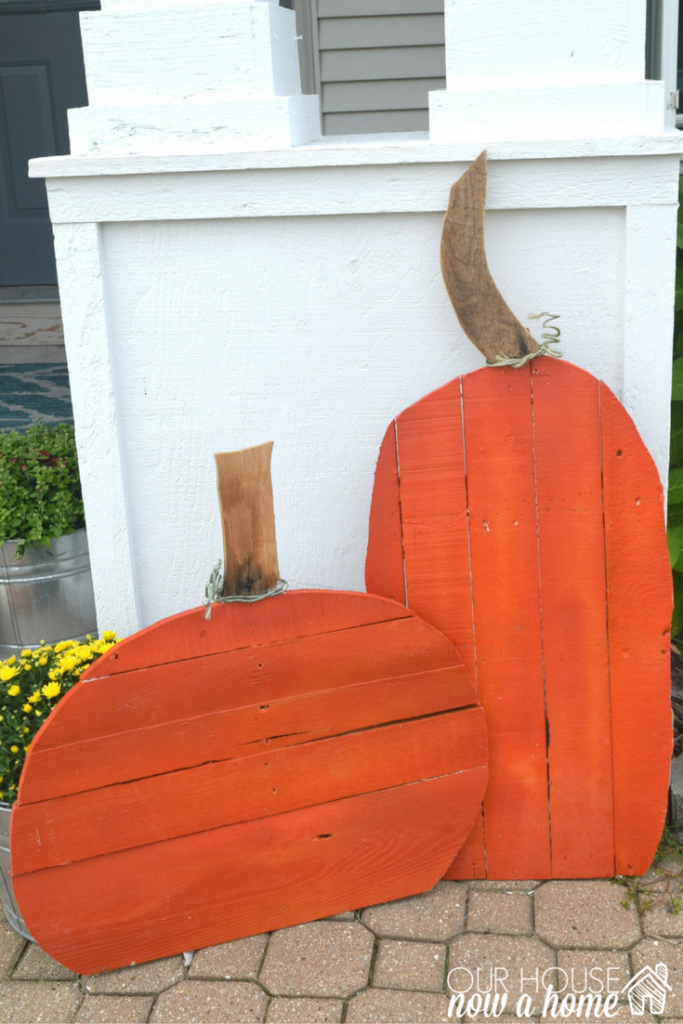
DIY Wood Pallet Pumpkins

DIY Wood Pallet Pumpkins

Fall Porch & Courtyard Home Decor

Fall Porch & Courtyard Home Decor

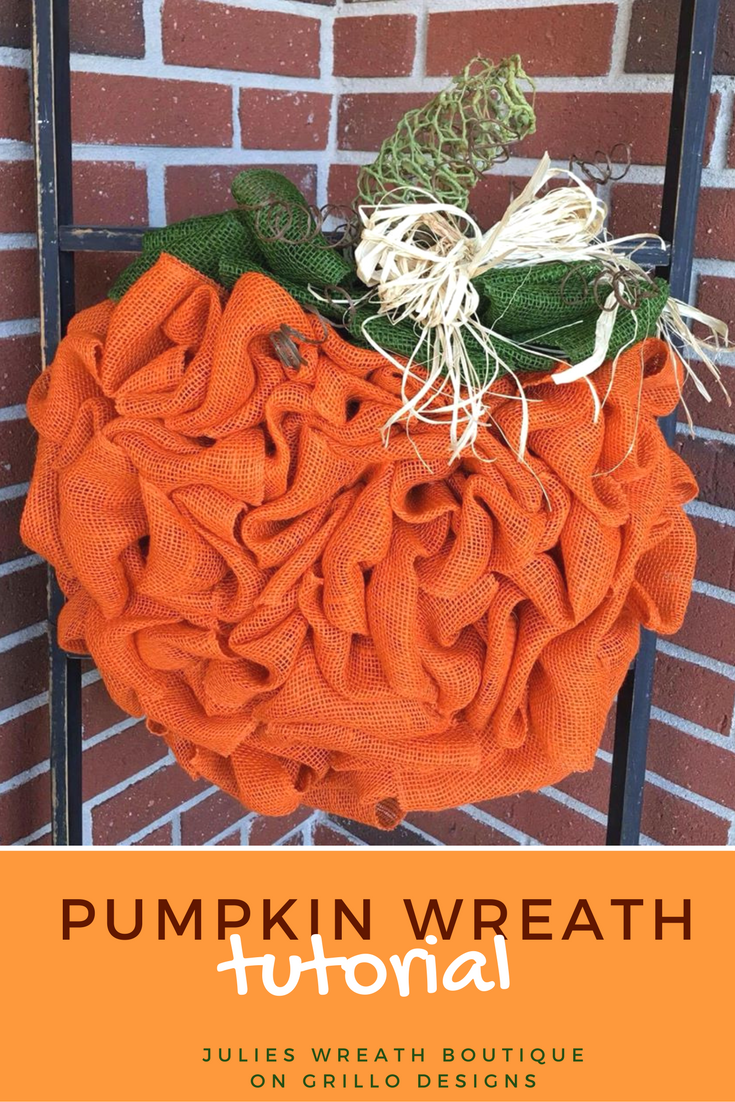
Pumpkin Wreath Tutorial with Burlap

Pumpkin Wreath Tutorial with Burlap

All images and links are used with permission from the authors.  

Shop Fall Fashion

KEEP UP WITH BIRCH LANDING HOME
|  Etsy  |  Facebook  |  Instagram  |  Pinterest  |  Bloglovin'  |  Hometalk  |
Porch and Garden Farmhouse Finds on Amazon

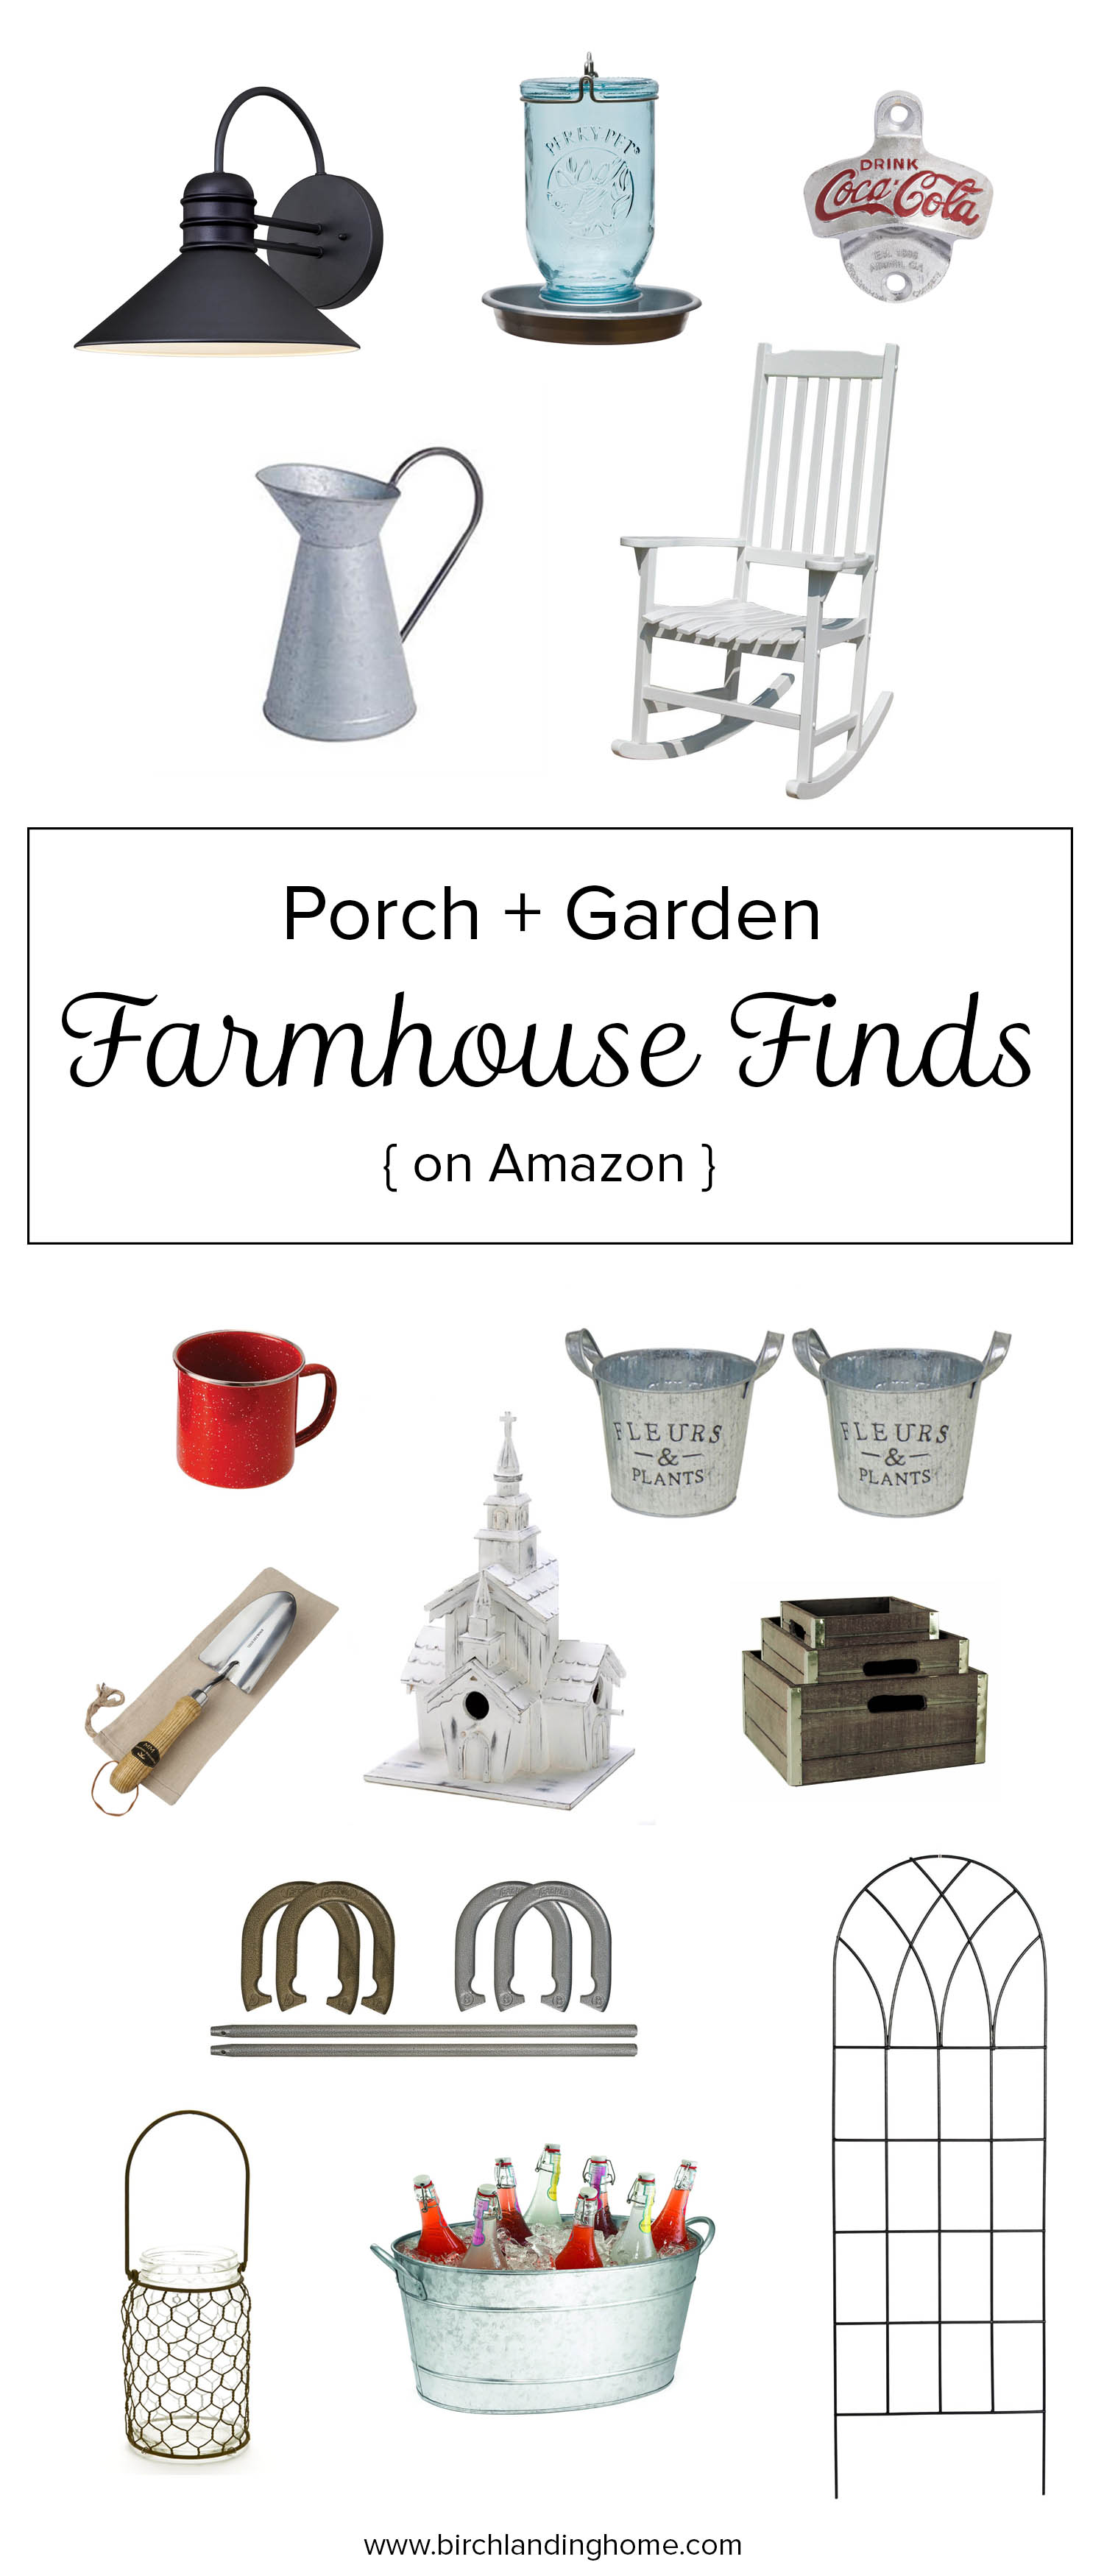
I don't know about you, but I'm obsessed with HGTV's Fixer Upper and Joanna Gaines' Industrial Farmhouse Style.  Summer has me dreaming about redoing our outdoor spaces so I thought I'd put together a collection of great Amazon finds to bring you some farmhouse inspiration on a budget.  | This post contains affiliate links |

Farmhouse Fixer Upper Finds for your Porch and Garden from Amazon

My Porch + Garden Farmhouse Picks

Click text for direct link to item on Amazon


KEEP UP WITH BIRCH LANDING HOME
|  Etsy  |  Facebook  |  Instagram  |  Pinterest  |  Bloglovin'  |  Hometalk  |

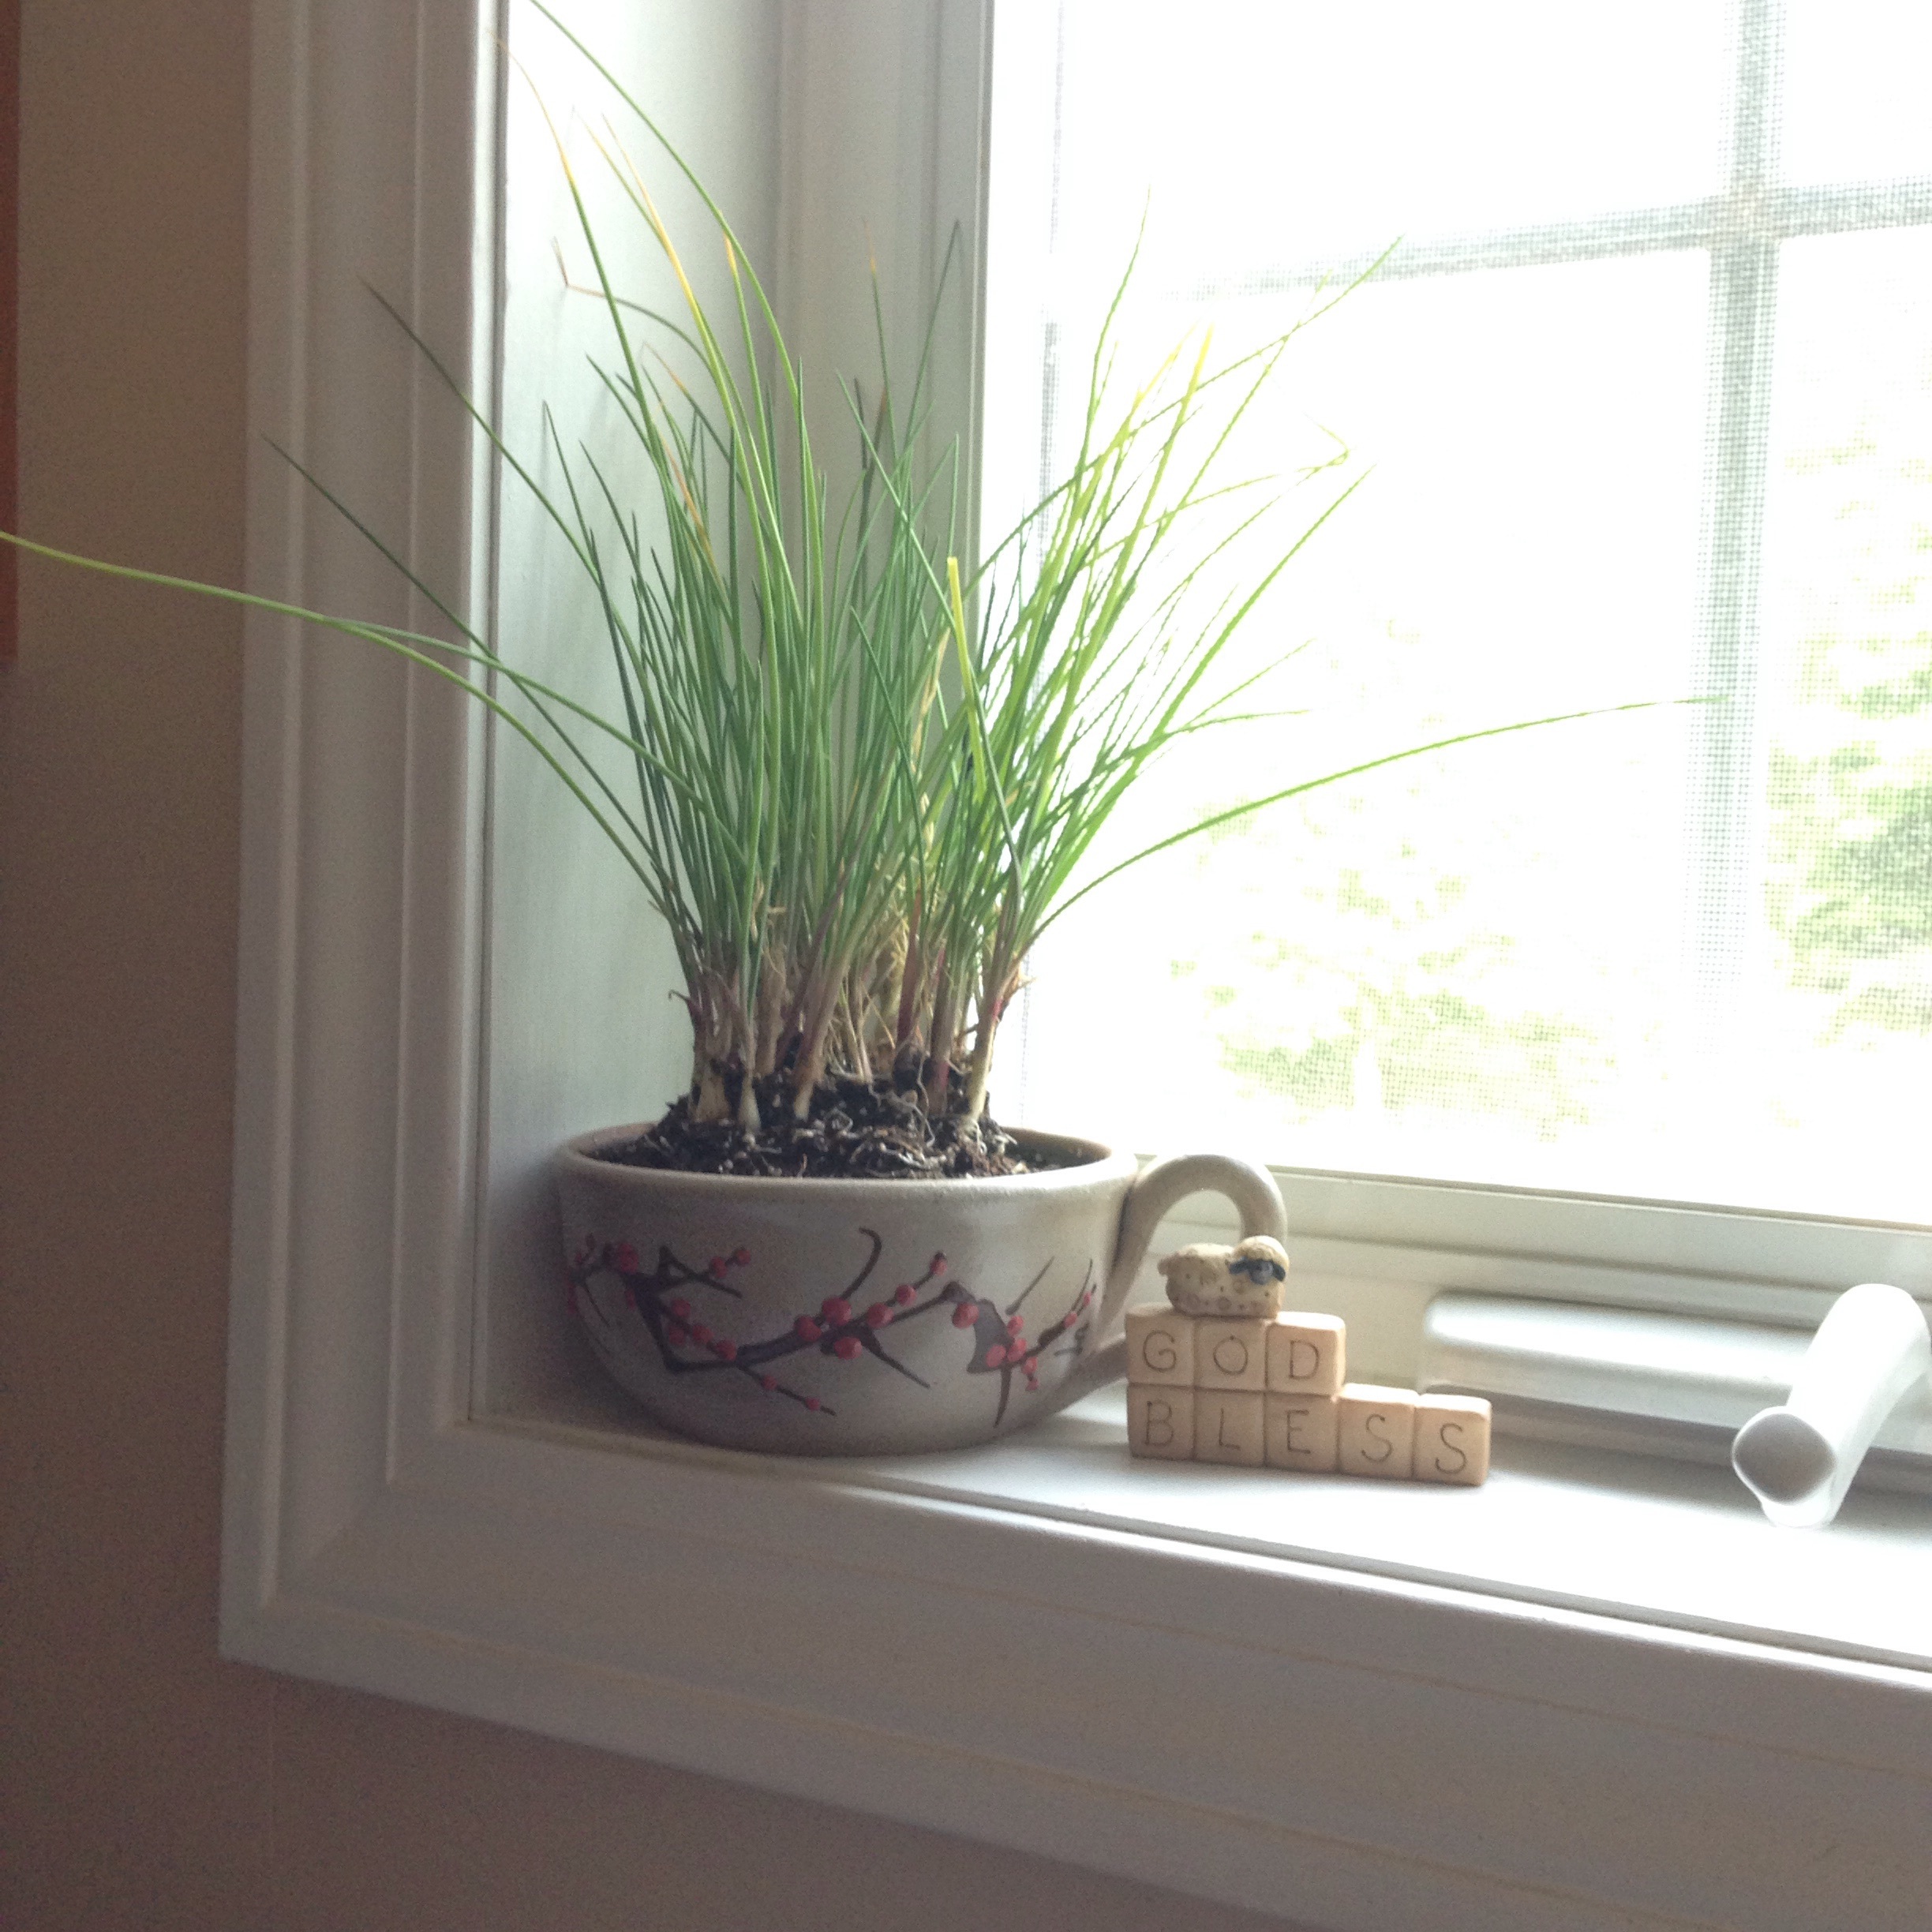
Kitchen Herb Garden in a Mug

Repurpose a broken or chipped coffee mug into a kitchen herb garden

Ever have a favorite mug but the handle broke?  :(  Well that very thing happened to this great Salmon Falls Chowder Mug I have.  I superglued it back together and while the repair looked pretty good I didn't dare trust it to hold a piping hot cup of soup or coffee over my lap anymore.  I was thinking of tossing it but decided to repurpose it into a little herb planter for the kitchen instead.  

Repurpose a broken or chipped coffee mug into a kitchen herb garden

The first step was to fill the bottom with some gravel so my herbs won't sit directly in water.  Alternatively, you could drill a hole in the bottom for drainage and put a saucer underneath, but since I don't have anything to put under the mug that matches I decided to use it as-is.  

Repurpose a broken or chipped coffee mug into a kitchen herb garden

Then I filled it with dirt and added an Italian Chive plant I picked up at the local garden center and it was done!  (Pretty easy, right?)  Depending on the size of your mug and your plants, you could add more than one type of herb in it.  You could also grow your herbs from seed.  

Now I just need to keep it on a sunny windowsill and water it very carefully as needed.  Keep in mind since there's no drainage hole at the bottom and it's a small container, it would be very easy to over-water a plant like this.  

Repurpose a broken or chipped coffee mug into a kitchen herb garden

KEEP UP WITH BIRCH LANDING HOME
|  Etsy  |  Facebook  |  Instagram  |  Pinterest  |  Bloglovin'  |  Hometalk  |

Spring has Sprung!

I've been very busy around the house lately, working on a lot of spring cleaning and garden projects.  
It seems like there isn't enough time to get it all done... raking, weeding, mulching, planting our veggie garden, cleaning out the closets and donating/consigning our unwanted warmer weather clothing... just a few of the things on my to-do list.  Whew.  

But you certainly can't beat lilac season!  These beauties are from our next door neighbor and a reminder to stop and smell the roses (or lilacs) no matter how much there is to get done.  

Love me some lilacs!  A perfect sign of spring.

Happy Spring from Birch Landing Home!  

KEEP UP WITH BIRCH LANDING HOME
|  Etsy  |  Facebook  |  Instagram  |  Pinterest  |  Bloglovin'  |  Hometalk  |