I'm a wife, stay-at-home mom, crafter, and blogger living in rural New England. As seen in Martha Stewart Living, Food Network Magazine, and more! | Tutorials, DIY, crafts, parenting tips, recipes, money saving tips, product reviews, local product features, New England living, intentional living, and more! |
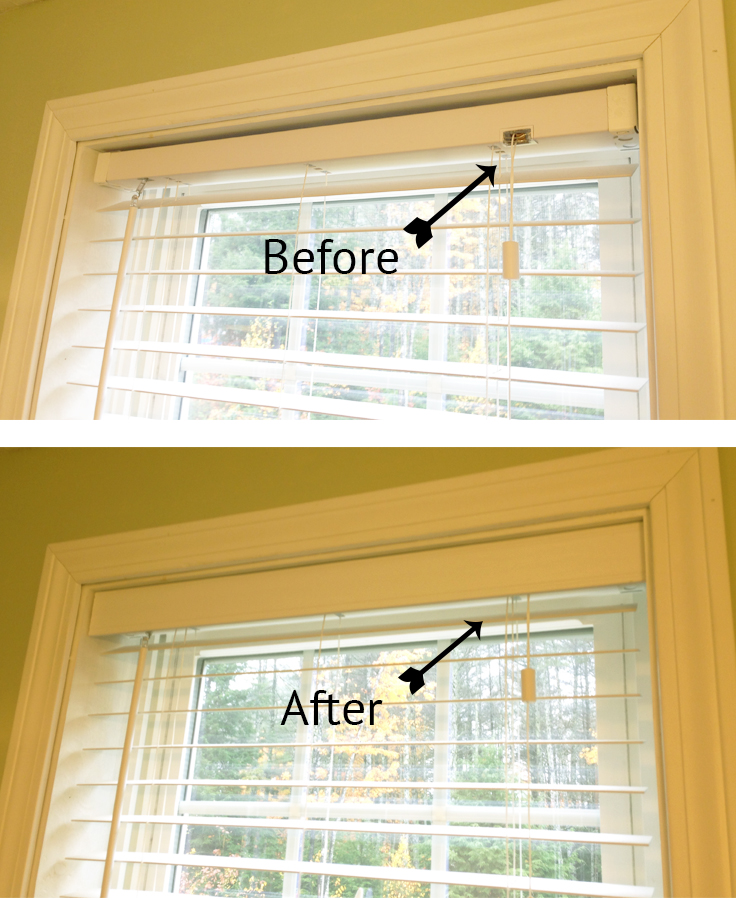
Wooden blinds are a great window treatment option, but finishing them off can be tricky, especially if you don't want to hang curtains too. Today I'm sharing my easy, no hardware-needed solution for dressing up the blinds.
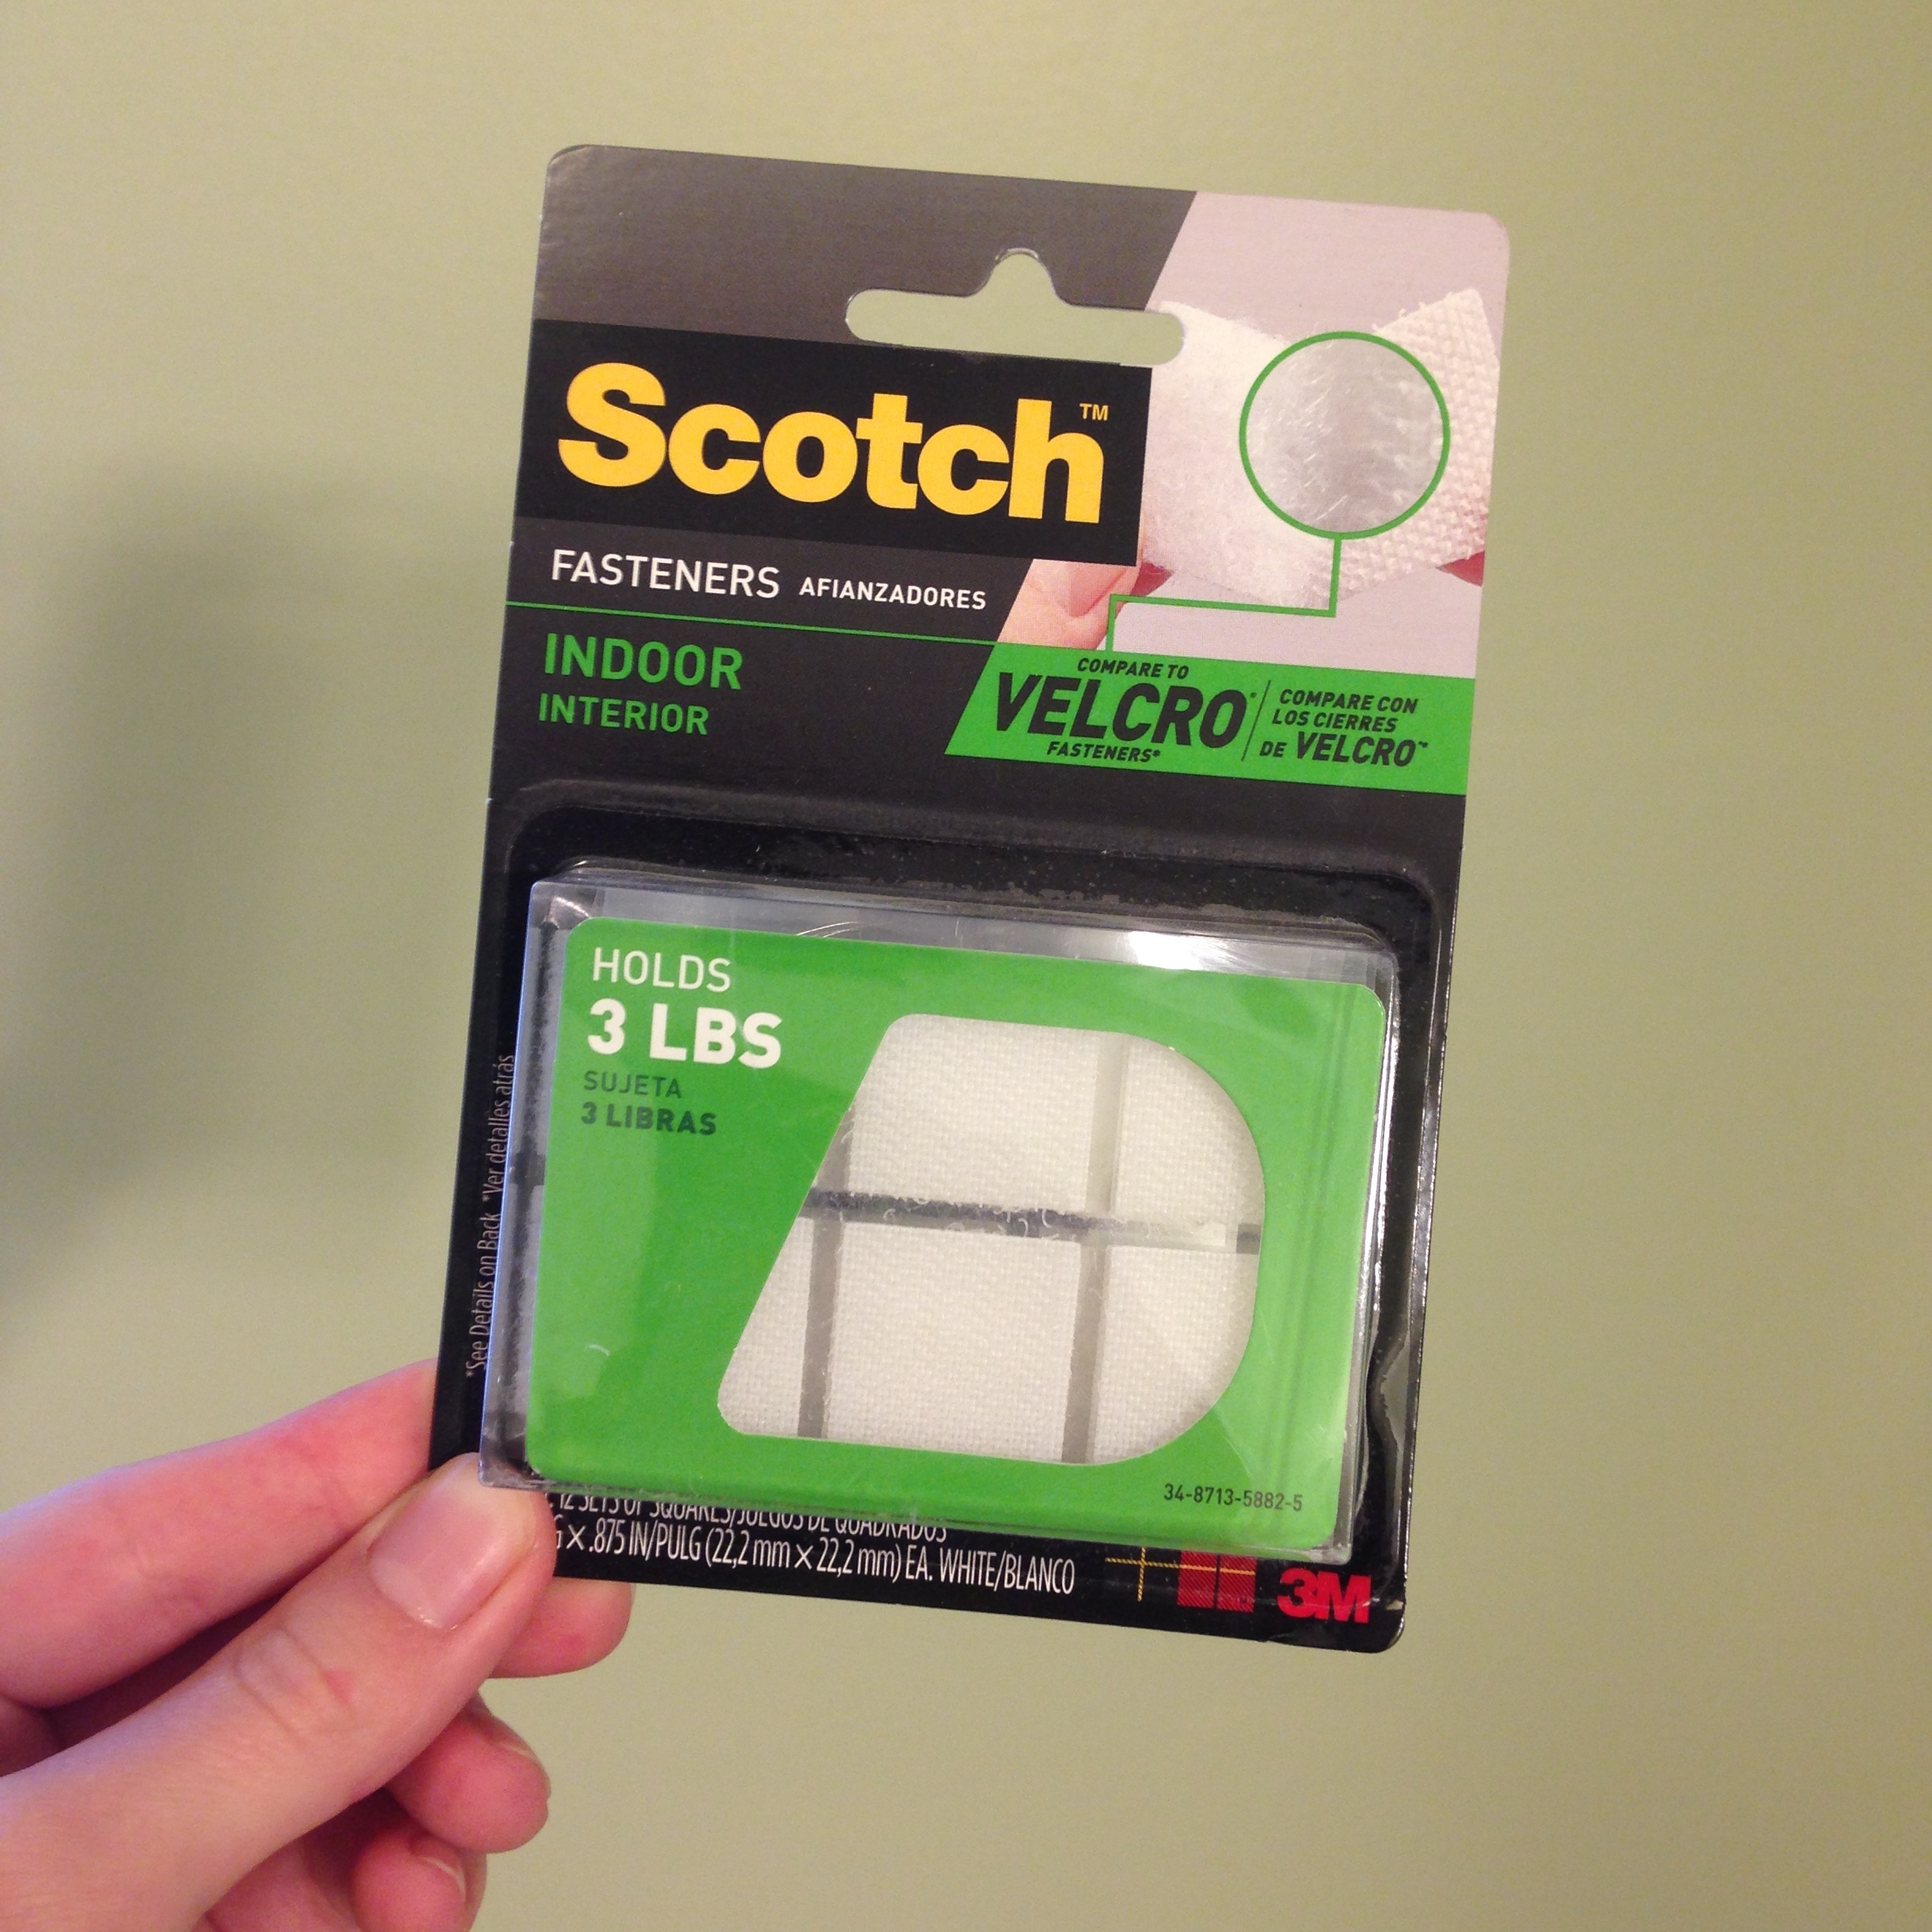
All you need is a thin piece of wood or trim (about 1/4" thick) painted to match your blinds and adhesive velcro - that's it! I cut down our trim board myself, but if you don't have a saw you could ask your hardware store to cut it to the width of your blinds when you purchase it.
For velcro I used Scotch Indoor Velcro Squares. They have a 3 lb weight limit which is more than enough needed for our project, but I made sure to use three velcro tabs per window for a secure hold.
To hang, I just put the adhesive velcro tabs along the top assembly of the blinds and pressed the trim board on top securely. That's it!
This makes for a quick and professional finish to the blinds but still allows you to easily take it down to access the mounts for the blinds for window maintenance and cleaning.
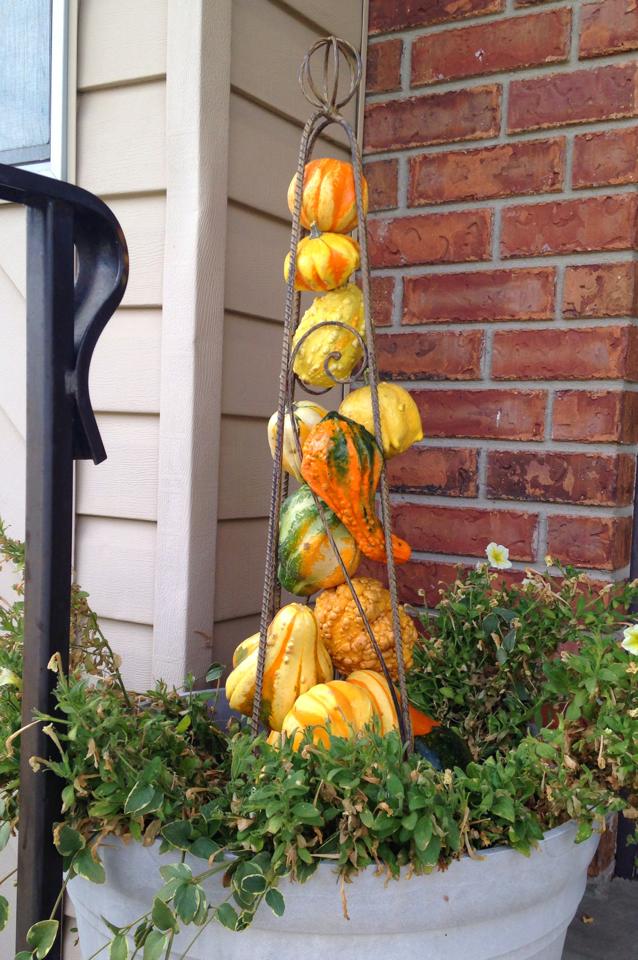
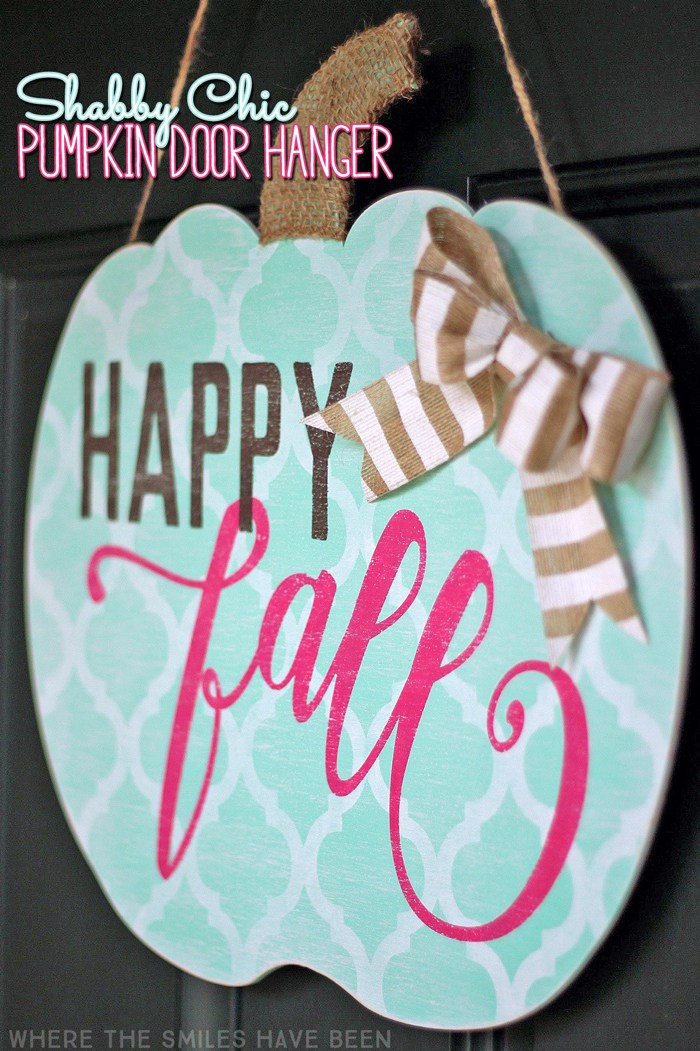
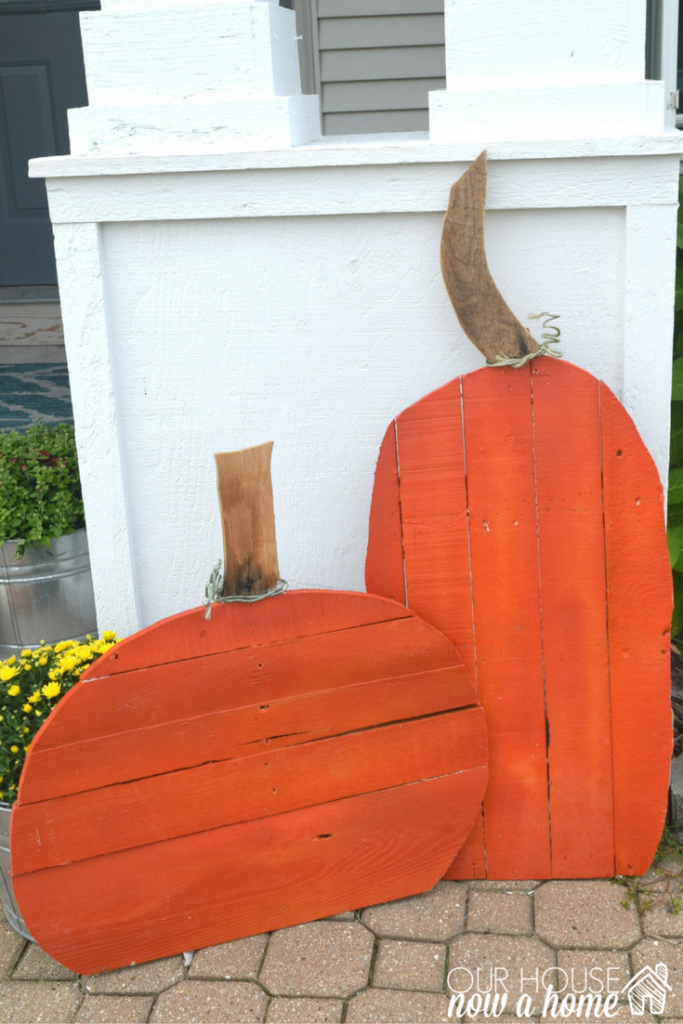
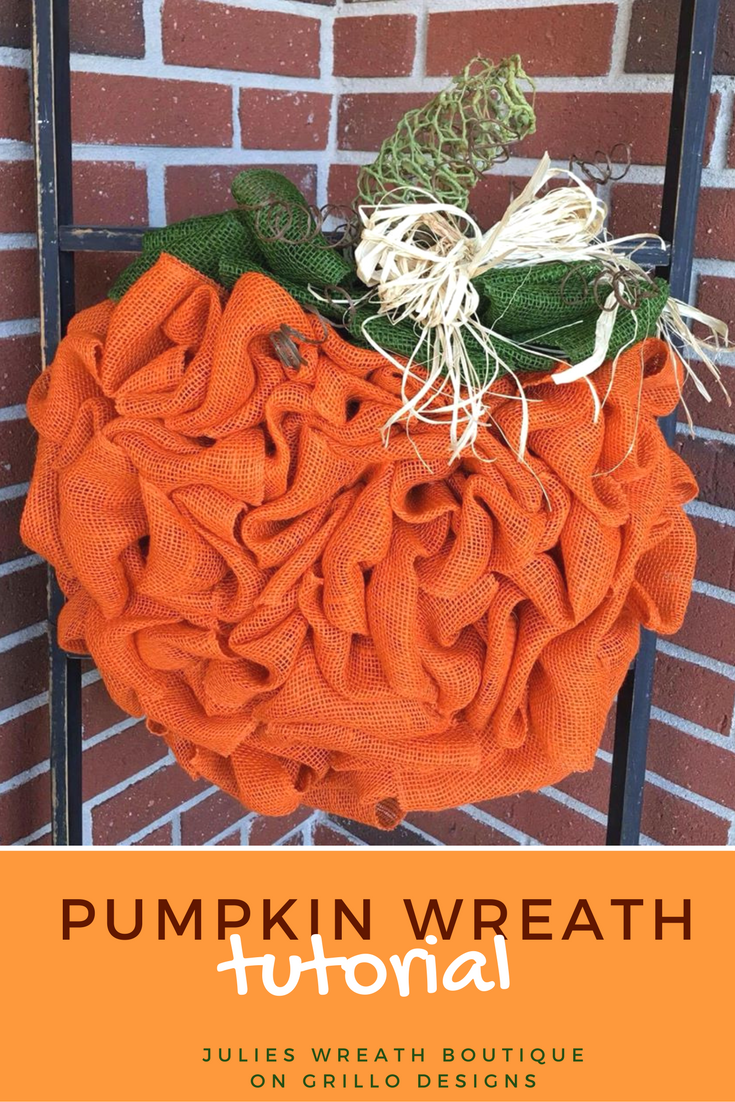
Fall is here and that means decorating up your front porch with, you guessed it - pumpkins! I've rounded up 15 very different pumpkin-themed decor ideas for you. Just click on the author's name to be brought to the original post for the how-to details. Enjoy!
Just a little reminder to give back when you are able, even if it's something small.
Over the course of the summer we've been blessed with a lot of produce from our garden - we enjoyed it, shared with family and friends, and froze quite a bit for future use. Last week we picked the last of the veggies and pulled out the rest of our vining plants to get ready for winter. We ended up with quite a few squash, cucumbers, and tomatoes and rather than try to squeeze them into the freezer we opted to bring them to our local food pantry where we know the donation will be greatly appreciated.
Giving back doesn't always have to mean volunteering a day of your time or making a large monetary donation - it can be giving back in small ways everyday to help your neighbor and those around you. We all need to remember this more (myself included), and next year we'll make a point to share even more of our produce with the food pantry all summer long.
Making over our daughter's room has been slow-going to say the least. We had a busy, wonderful summer and now I'm already deep into Christmas ornament orders so finding time to work on the whole makeover has been tricky.
In progress
Today I finally hung the book rails I made in this tiny nook and I think it will help make this space functional. Now I need to make something to hold the large, heavy books on the floor - and finish the rest of the room - and then I will share the whole project! ;)
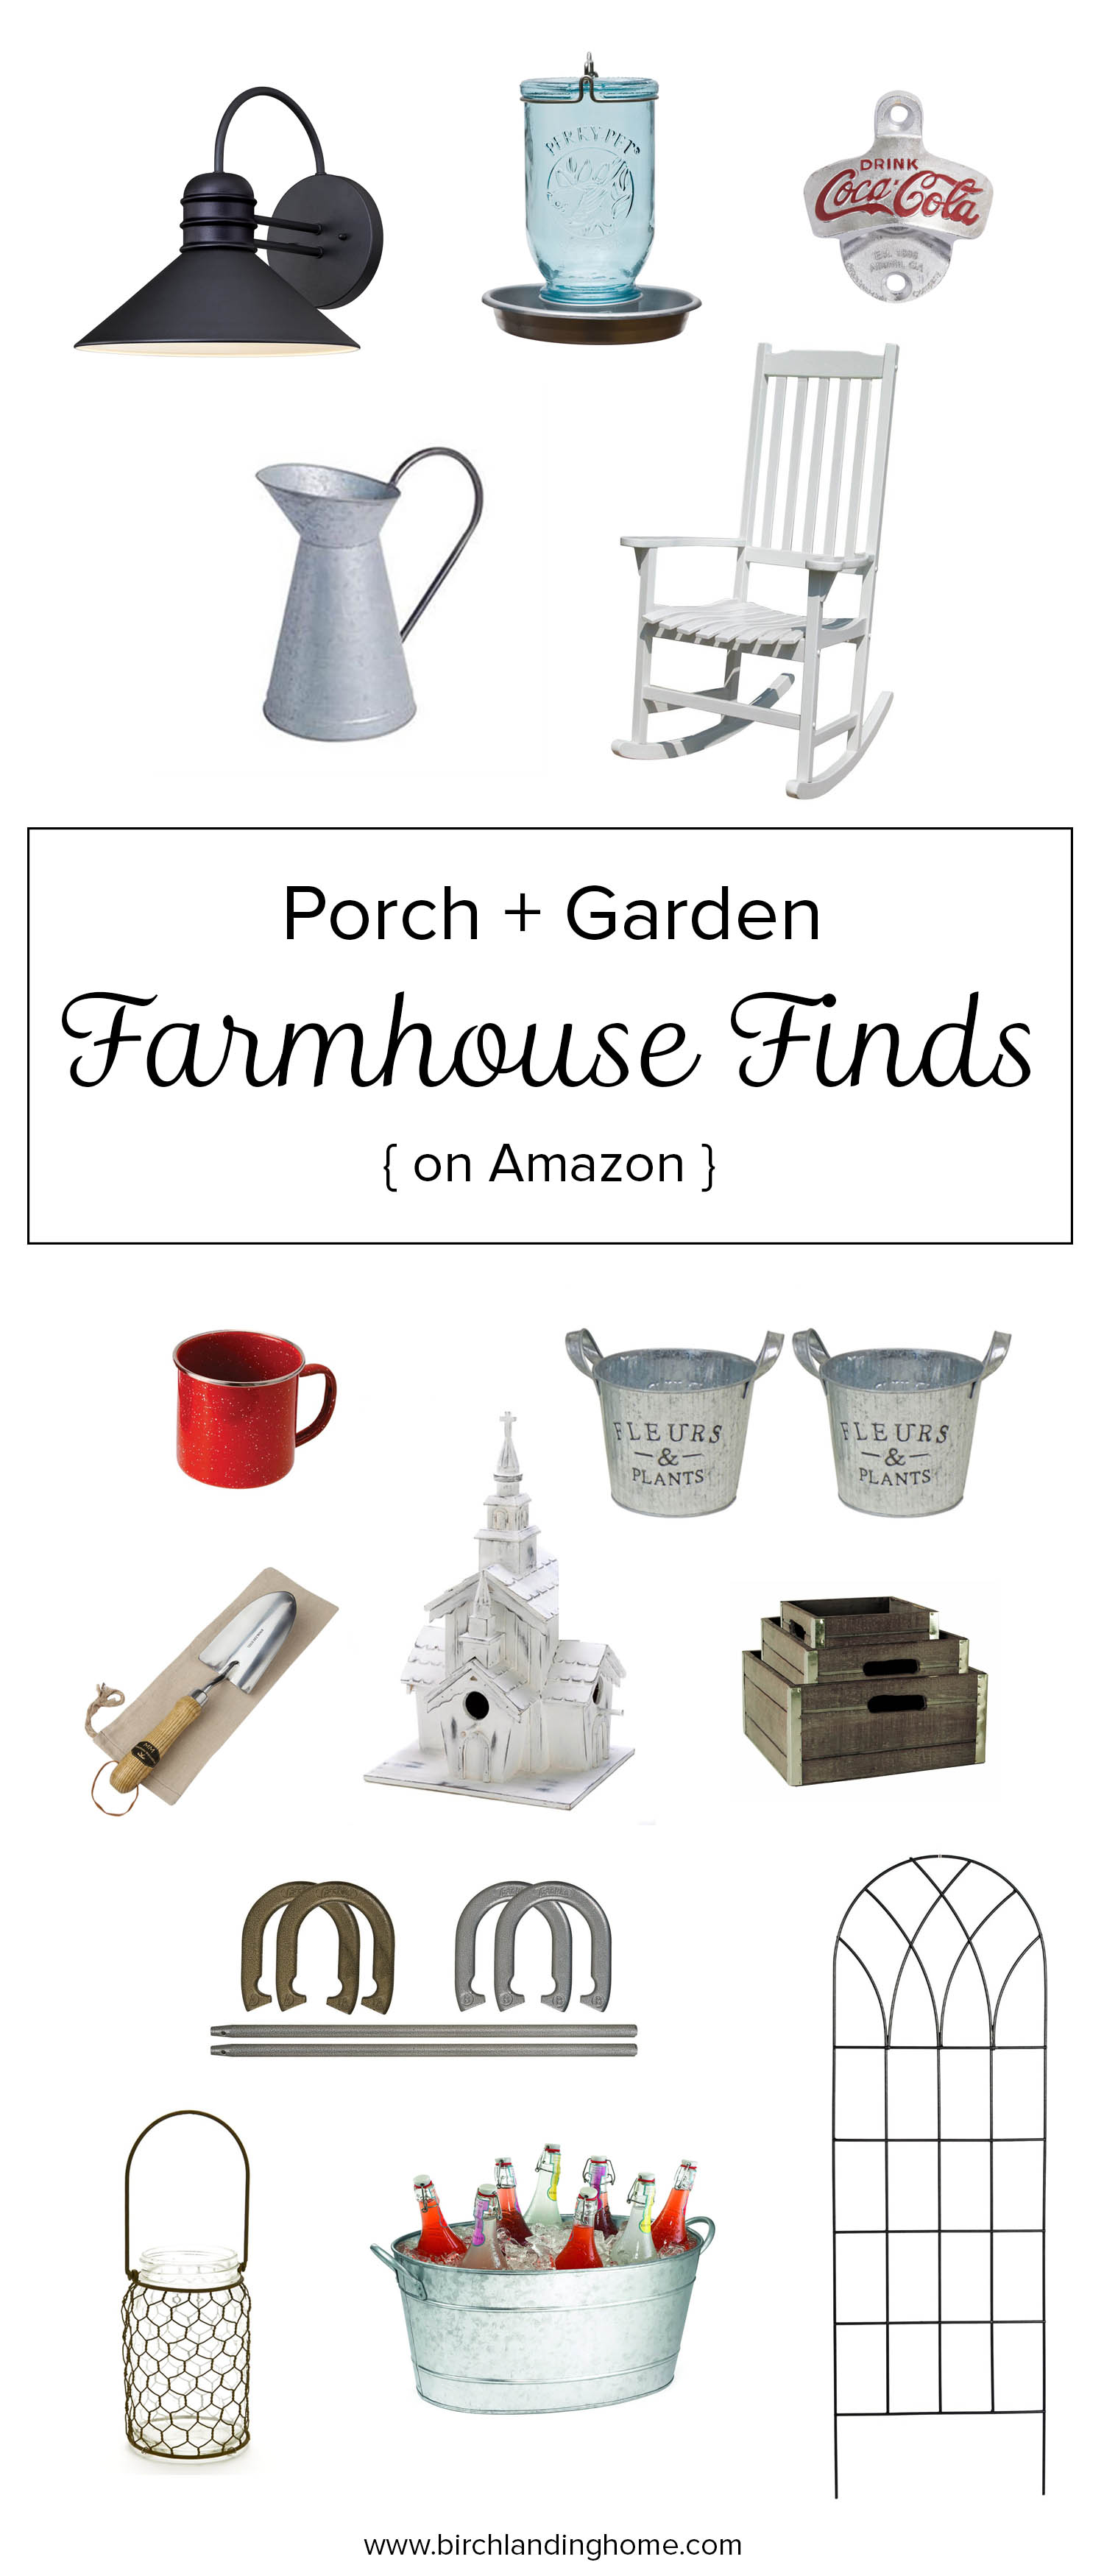
I don't know about you, but I'm obsessed with HGTV's Fixer Upper and Joanna Gaines' Industrial Farmhouse Style. Summer has me dreaming about redoing our outdoor spaces so I thought I'd put together a collection of great Amazon finds to bring you some farmhouse inspiration on a budget. | This post contains affiliate links |
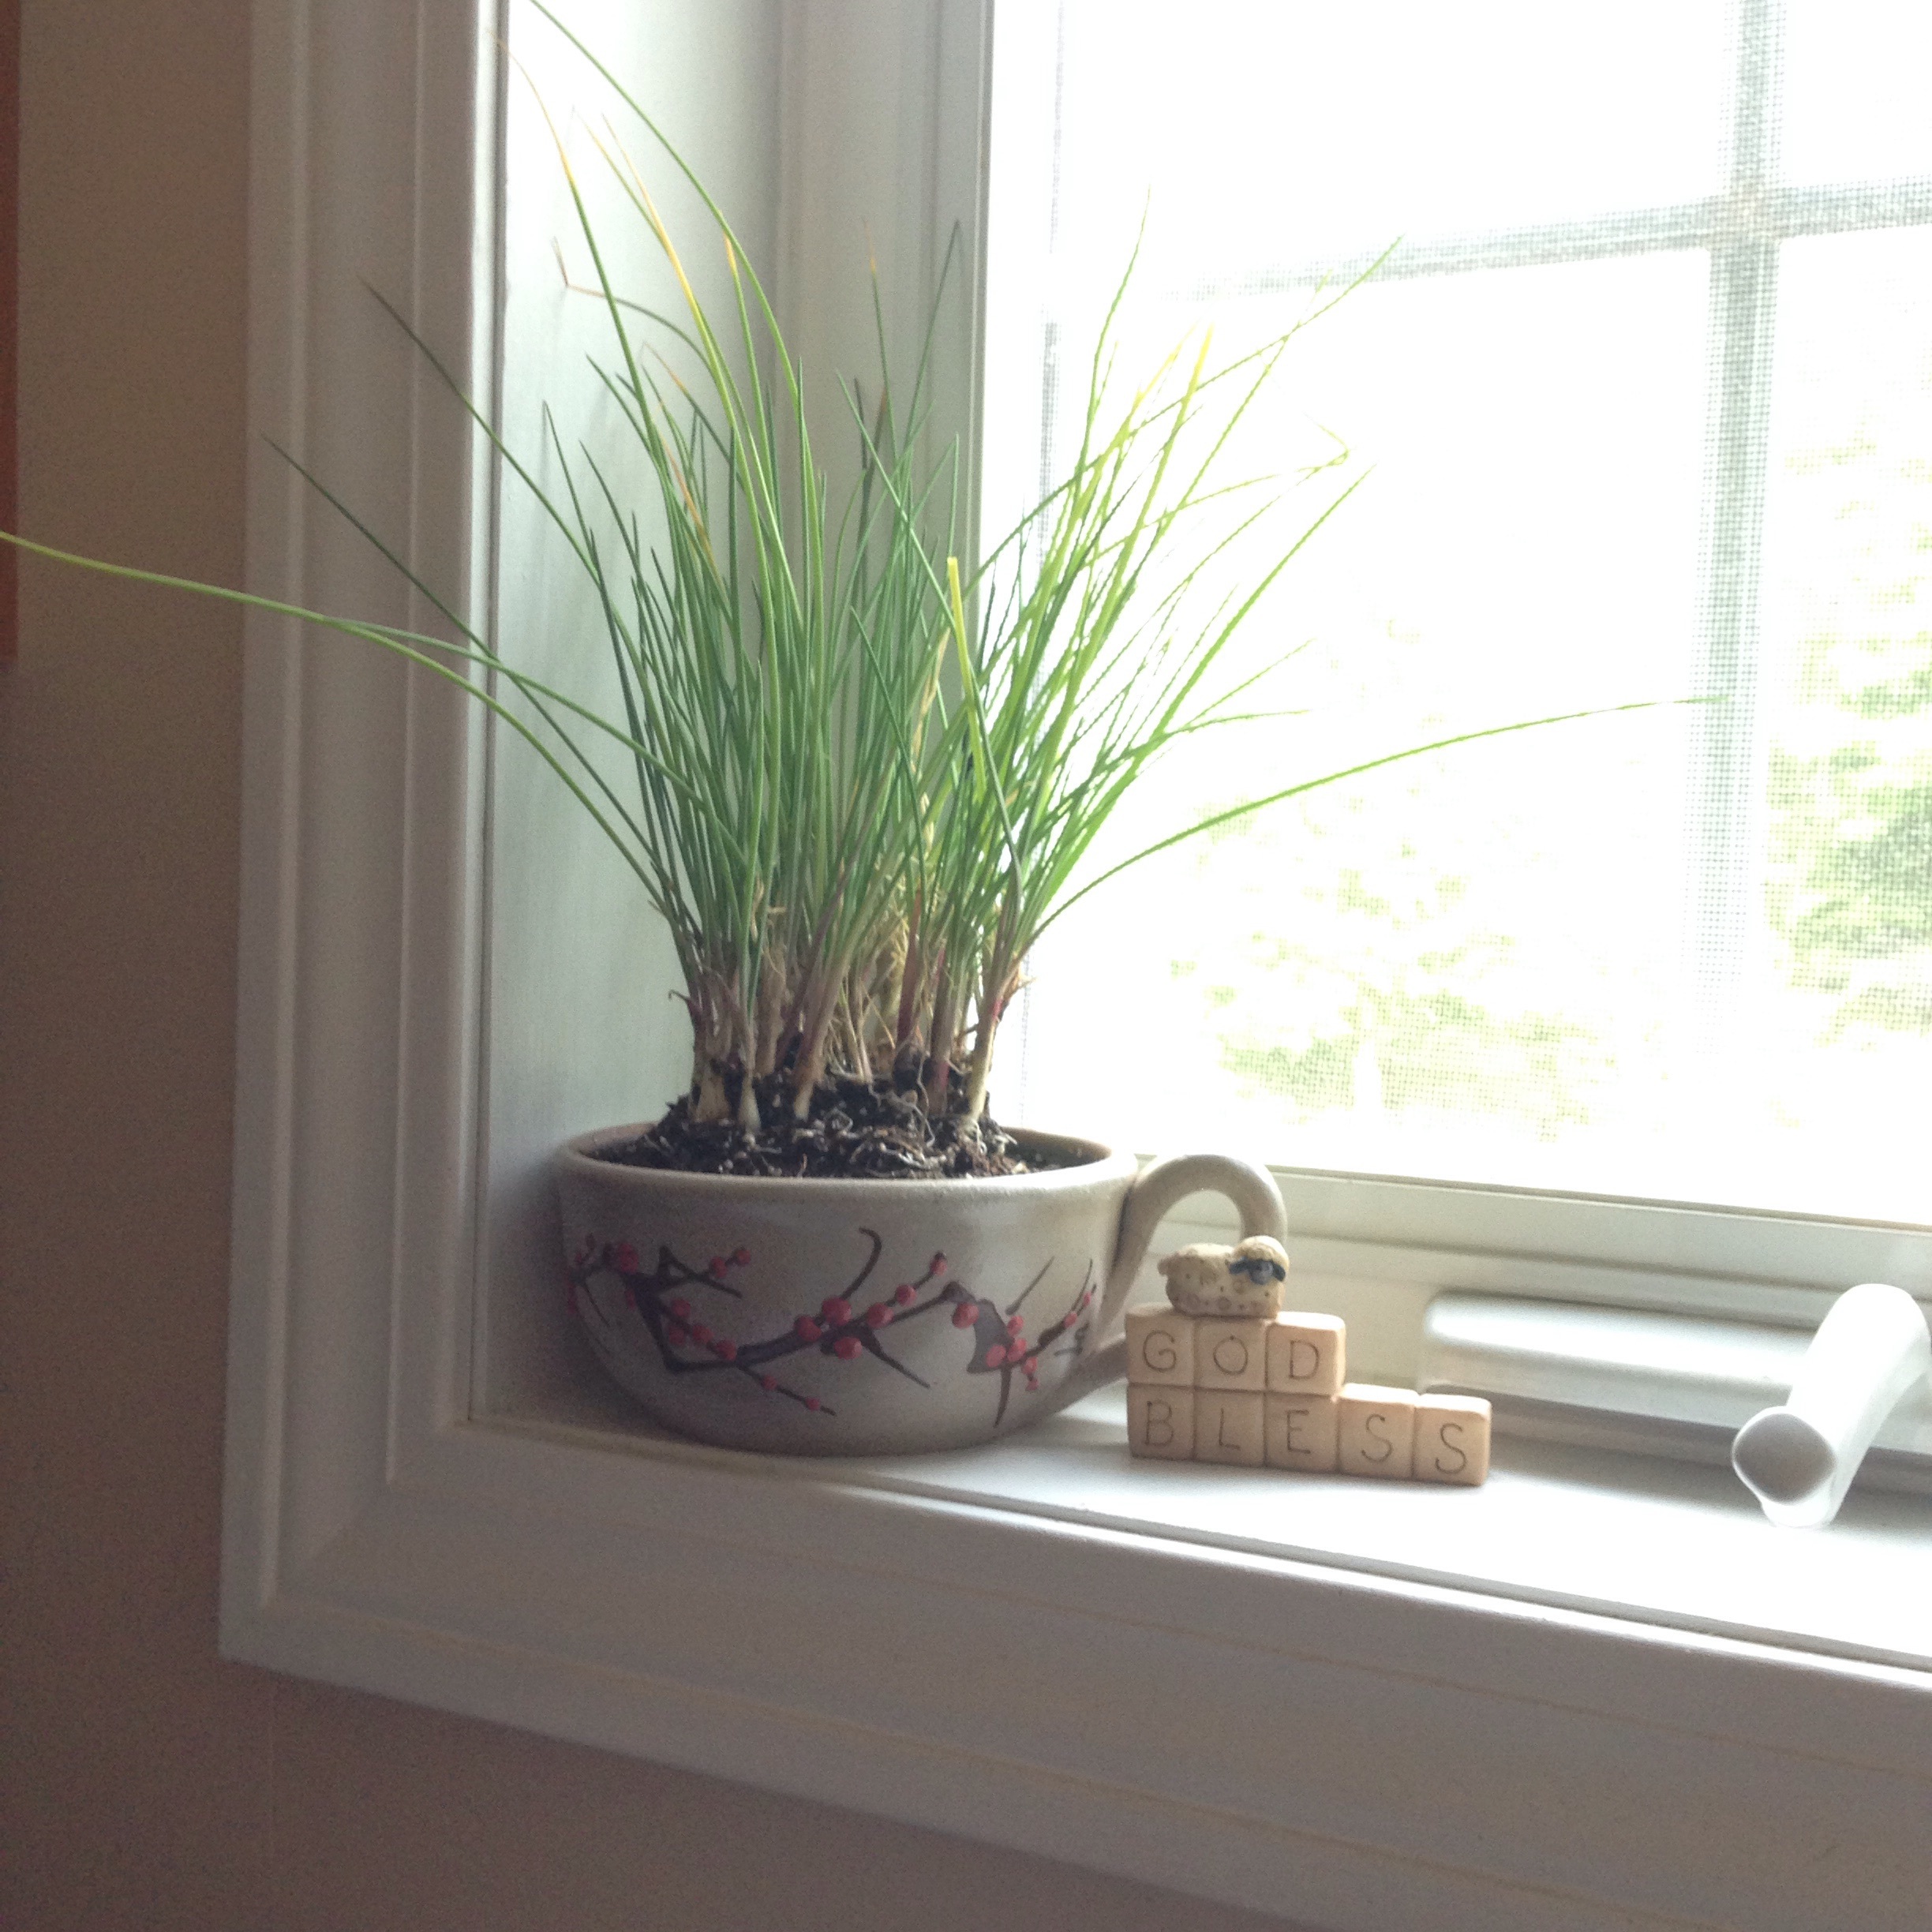
Ever have a favorite mug but the handle broke? :( Well that very thing happened to this great Salmon Falls Chowder Mug I have. I superglued it back together and while the repair looked pretty good I didn't dare trust it to hold a piping hot cup of soup or coffee over my lap anymore. I was thinking of tossing it but decided to repurpose it into a little herb planter for the kitchen instead.
The first step was to fill the bottom with some gravel so my herbs won't sit directly in water. Alternatively, you could drill a hole in the bottom for drainage and put a saucer underneath, but since I don't have anything to put under the mug that matches I decided to use it as-is.
Then I filled it with dirt and added an Italian Chive plant I picked up at the local garden center and it was done! (Pretty easy, right?) Depending on the size of your mug and your plants, you could add more than one type of herb in it. You could also grow your herbs from seed.
Now I just need to keep it on a sunny windowsill and water it very carefully as needed. Keep in mind since there's no drainage hole at the bottom and it's a small container, it would be very easy to over-water a plant like this.
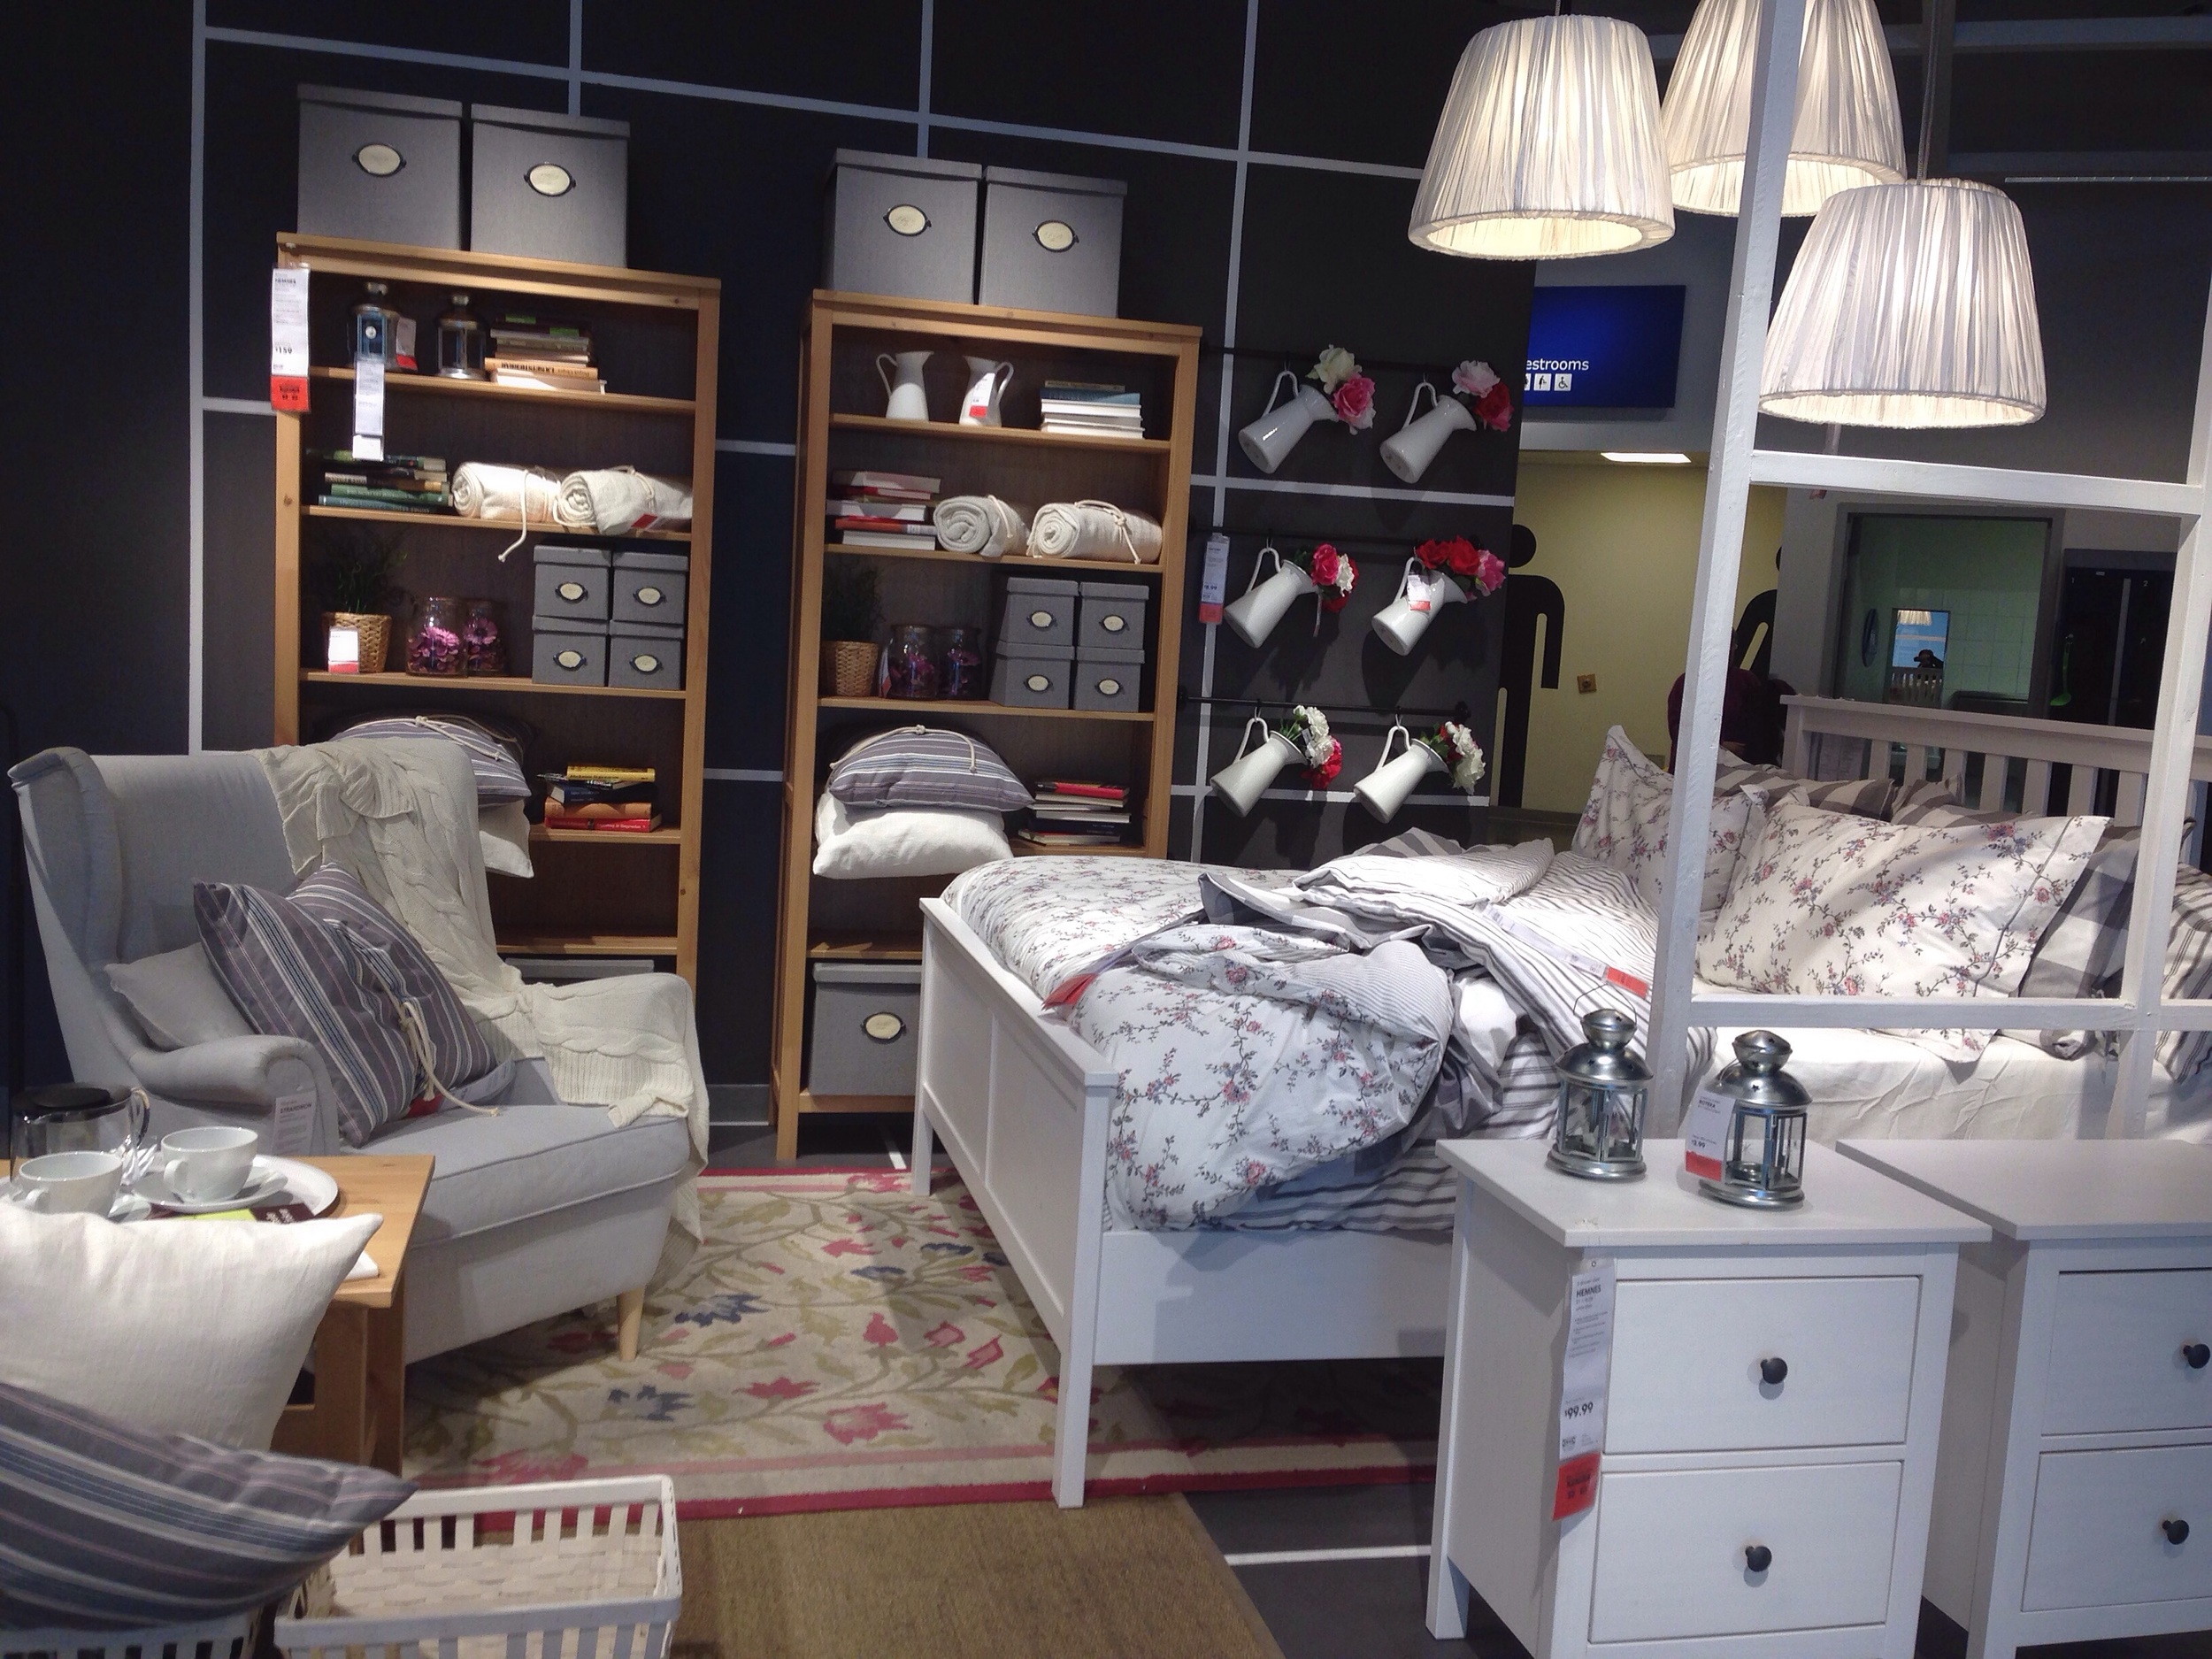
Today was my first time going to IKEA and let me tell you, it was ah-mazing!
We live about 3 hours away from the nearest IKEA, and that's probably a good thing because I liked way too many of the things they have there. What blew me away most was how beautiful, sturdy, and reasonably-priced the furniture was.
We left with "big girl" furniture for our daughter's new room since she'll be transitioning out of her crib soon (eek) and moving into what was my craft room. We got her the small Hemnes dresser and Hemnes twin bed (full review and room makeover will be on the blog soon). And since my craft room will become her room, we decided to bite the bullet and get the Hemnes sideboard to hold all my displaced craft supplies. I just loved the Hemnes line from IKEA, can't you tell? We also picked up a cute (and cheap!) wooden train set for her.
I was expecting IKEA to be a lot of modern furniture and accessories, but I was pleasantly surprised to see they had a lot of great "farmhouse-inspired" pieces that fit with our New England style.
I should have taken more pictures for the blog while we were there, but I was just too busy browsing and shopping! ;)
Okay, so I struggled for a bit whether to blog about this little DIY closet makeover. I really loved the project and I think it came out great, but it was just SO impossible to photograph. This closet is at the end of a narrow hallway with no natural light, and there's no way to photograph the whole thing in a single picture. So please forgive me for the poor photos - they aren't to the standard I like to try to keep for the blog but the project and message were just too good not to share. | This post contains affiliate links |
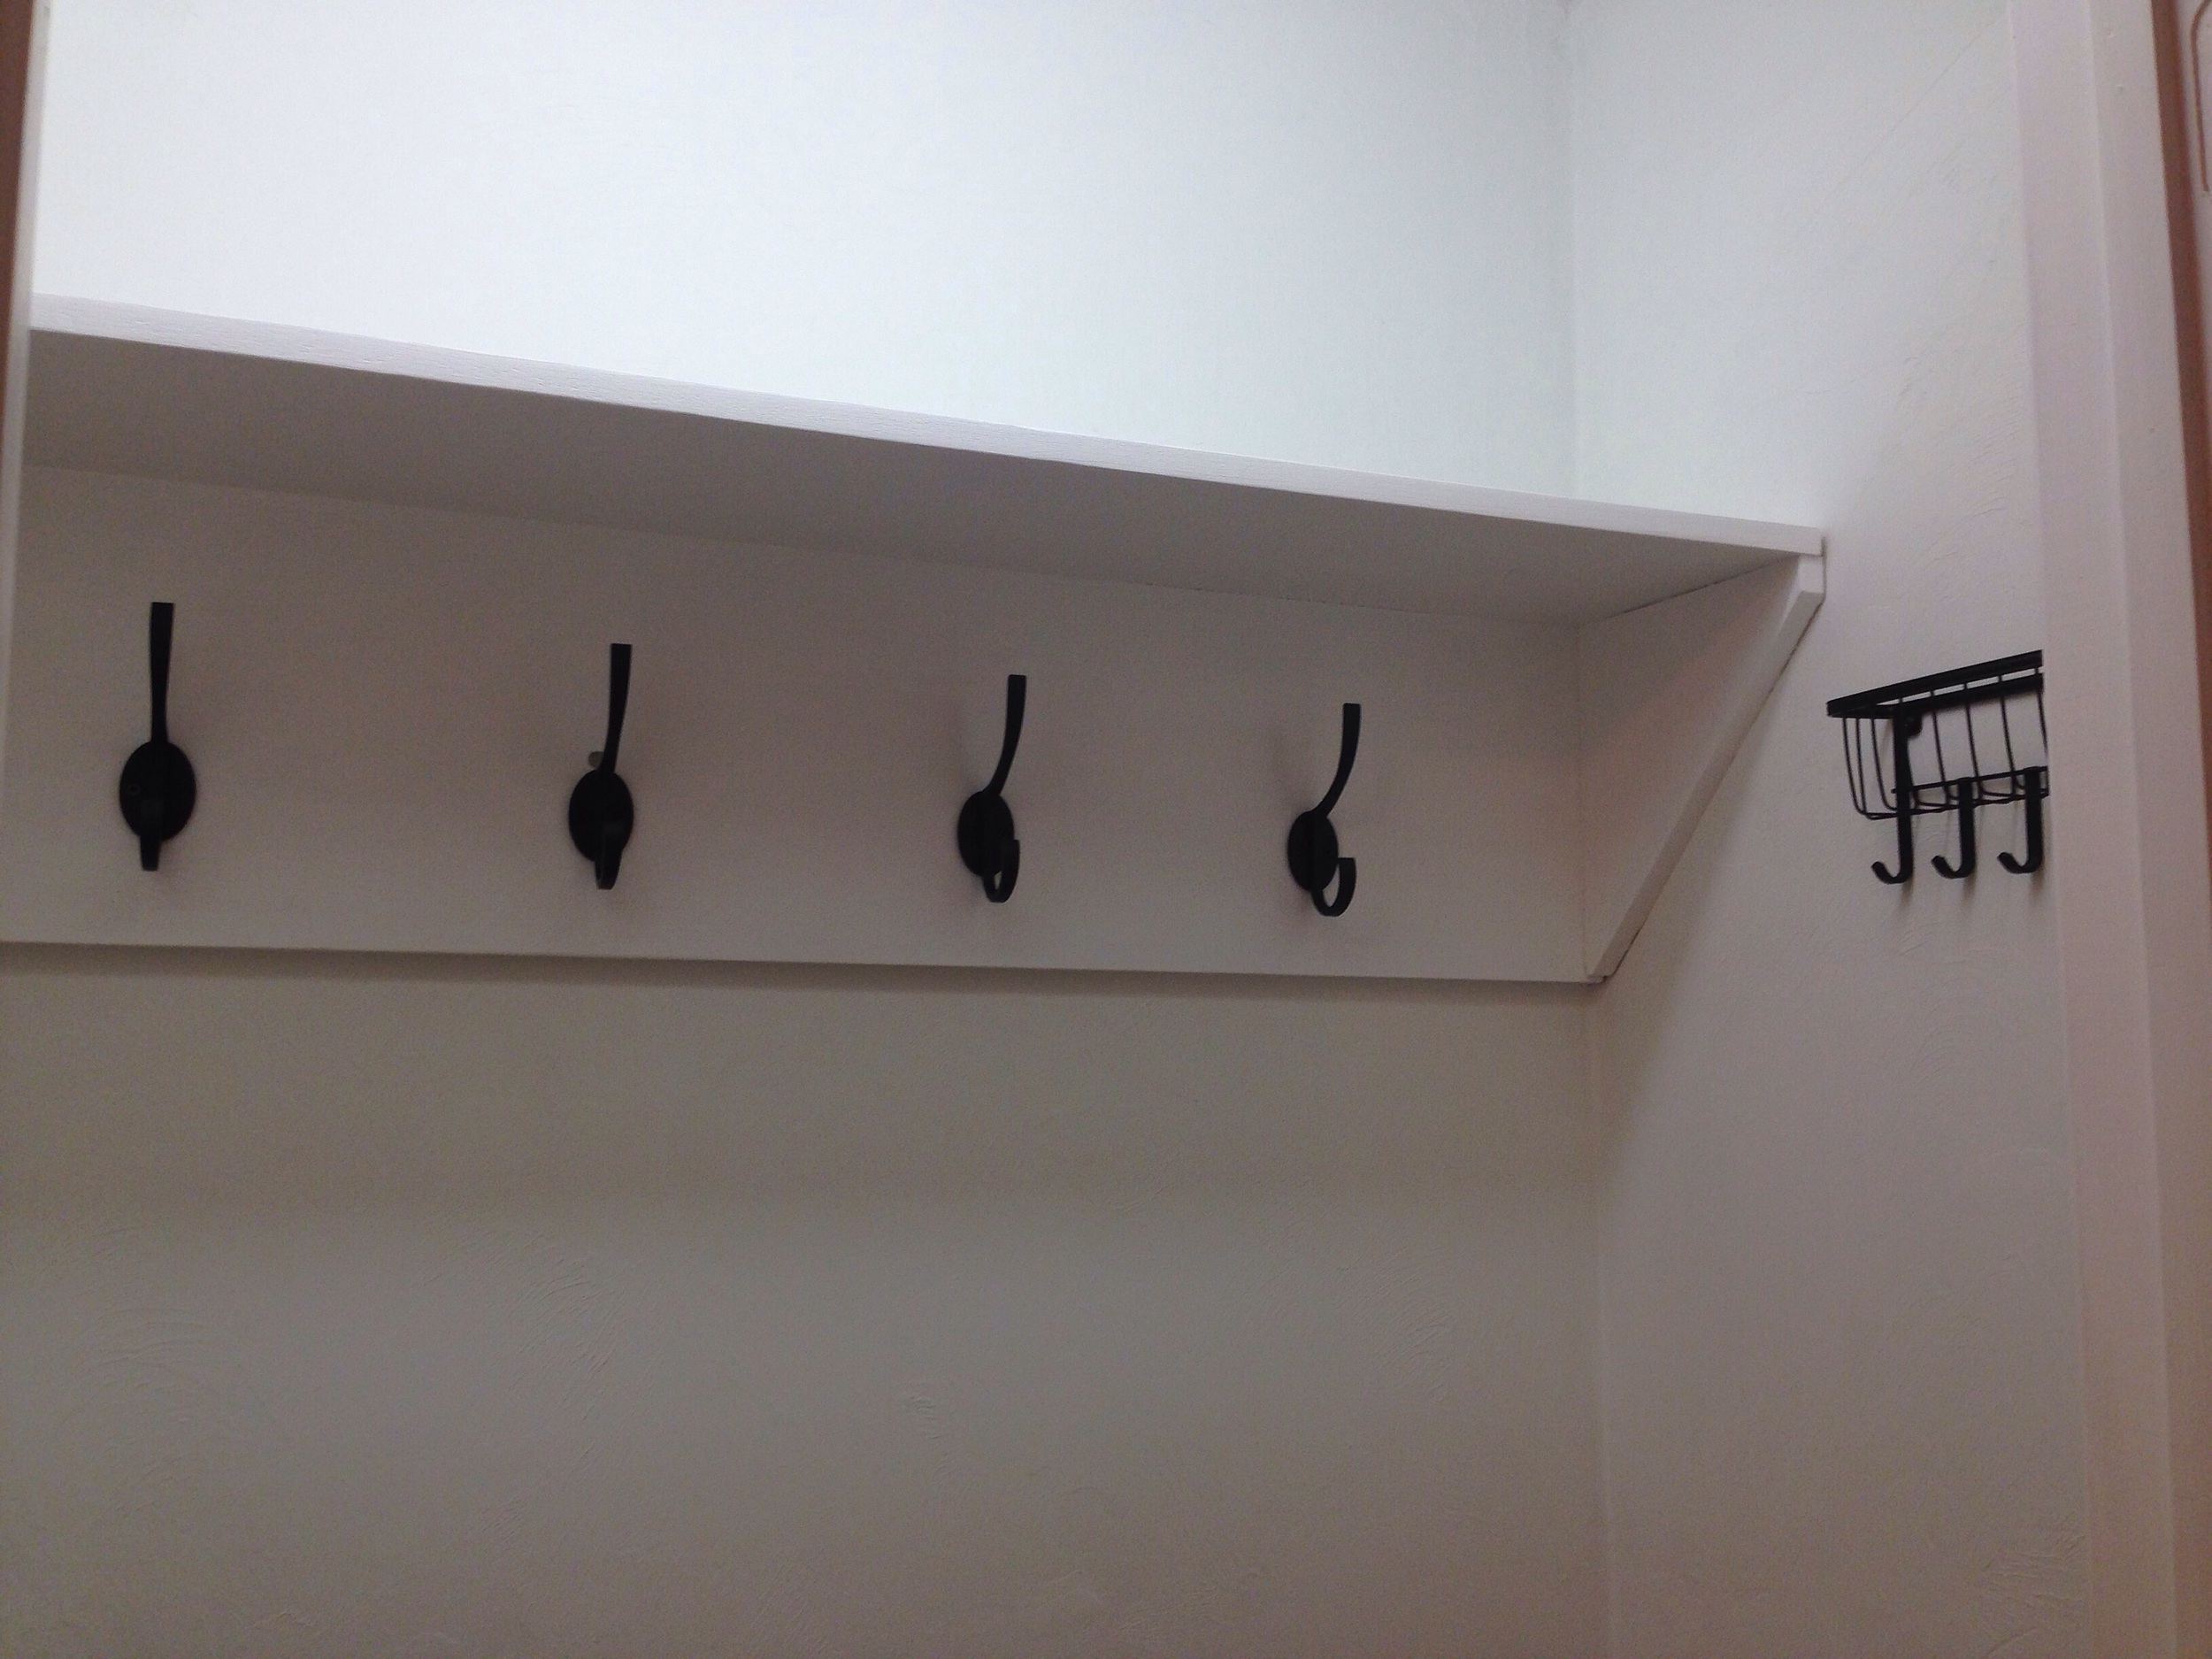
When we moved into our home we quickly realized we needed a "drop zone" by the back door. It was really the only door we used and we needed a place to put all our stuff as we came and went. Thankfully there was an under-utilized pantry here and while we can always use more storage, for us it was more important have a mudroom/drop zone. After surfing Pinterest we decided to turn it into a mini mudroom complete with beadboard, a shelf, hooks, a built-in bench with metal baskets underneath for shoes, mail organizer - the works. And so within weeks of moving in we took the door off the pantry and it became our temporary drop zone while we planned... and there it stayed for three years (yikes).
Embarrassing, right?
You see, our dream mini mudroom would have cost big bucks and we kept sidelining it for other, more important things (furnace fixes, putting in a vegetable garden, repairing the driveway..). And then we got a puppy. And then we had a baby. And then spending big bucks on a teeny mudroom was just absurd. And the closet stayed the way it was, and just looked ugly and cluttered.
Then we realized: it's great to dream big for make-overs and remodels but what's more important is to assess what's realistic now. Realistically we couldn't afford now what we wanted to do originally but we still needed a mudroom - so the design got cut to the very basics. We needed a shelf, hooks, and mail/key organizer; the beadboard, bench, baskets, and accessories would have to wait.
The first step was removing the Closet Maid shelving system. To do this, I used a flat head screwdriver and needle nose pliers to pull out the pins and drywall anchors that held the shelves and supports in place. We saved all the shelves and supports in case we want to add more shelving to another closet down the road. We were left with a ton of holes to fill, but some drywall patch and light sanding filled the holes in fine.
Afterwards I repainted the walls of the closet with some white ceiling paint we had in the basement. My goal was to use as much materials as we had already and I didn't want to buy a new can of paint just to do this little area. The ceiling paint covered great and it only needed one coat.
Then I marked the studs with painters tape and cut a 1x12 (given to us by my father-in-law who had scrap boards in his basement) down to the length of the back of the closet, attaching it into the studs with long screws.
I cut the angled side supports down and cut another board to make the top shelf (all cuts were made with just a chopsaw). Everything was glued, screwed, and nailed into place so it was nice and sturdy. Then I patched all the screw holes and lightly sanded before painting the shelf with trim paint, which we already had on-hand.
Once the paint was dry, I added the hardware - the only items we actually had to buy for this project! The four coat hooks were from Lowes and cost about $4 each, the two accessory hooks were also from Lowes and were less than $1.50 each, and the mail/key organizer was from Amazon and cost about $10. All-in-all since we reused paint and wood we already had we spent around $30 for everything! Someday I'd still like to add a bench, baskets, and cover the textured walls with beadboard but in the meantime we have a functional, simple, efficient mudroom which is what we really needed from the beginning. I'm kicking myself for living with the messy old closet for so long when doing a simplified mudroom was so achievable this whole time!