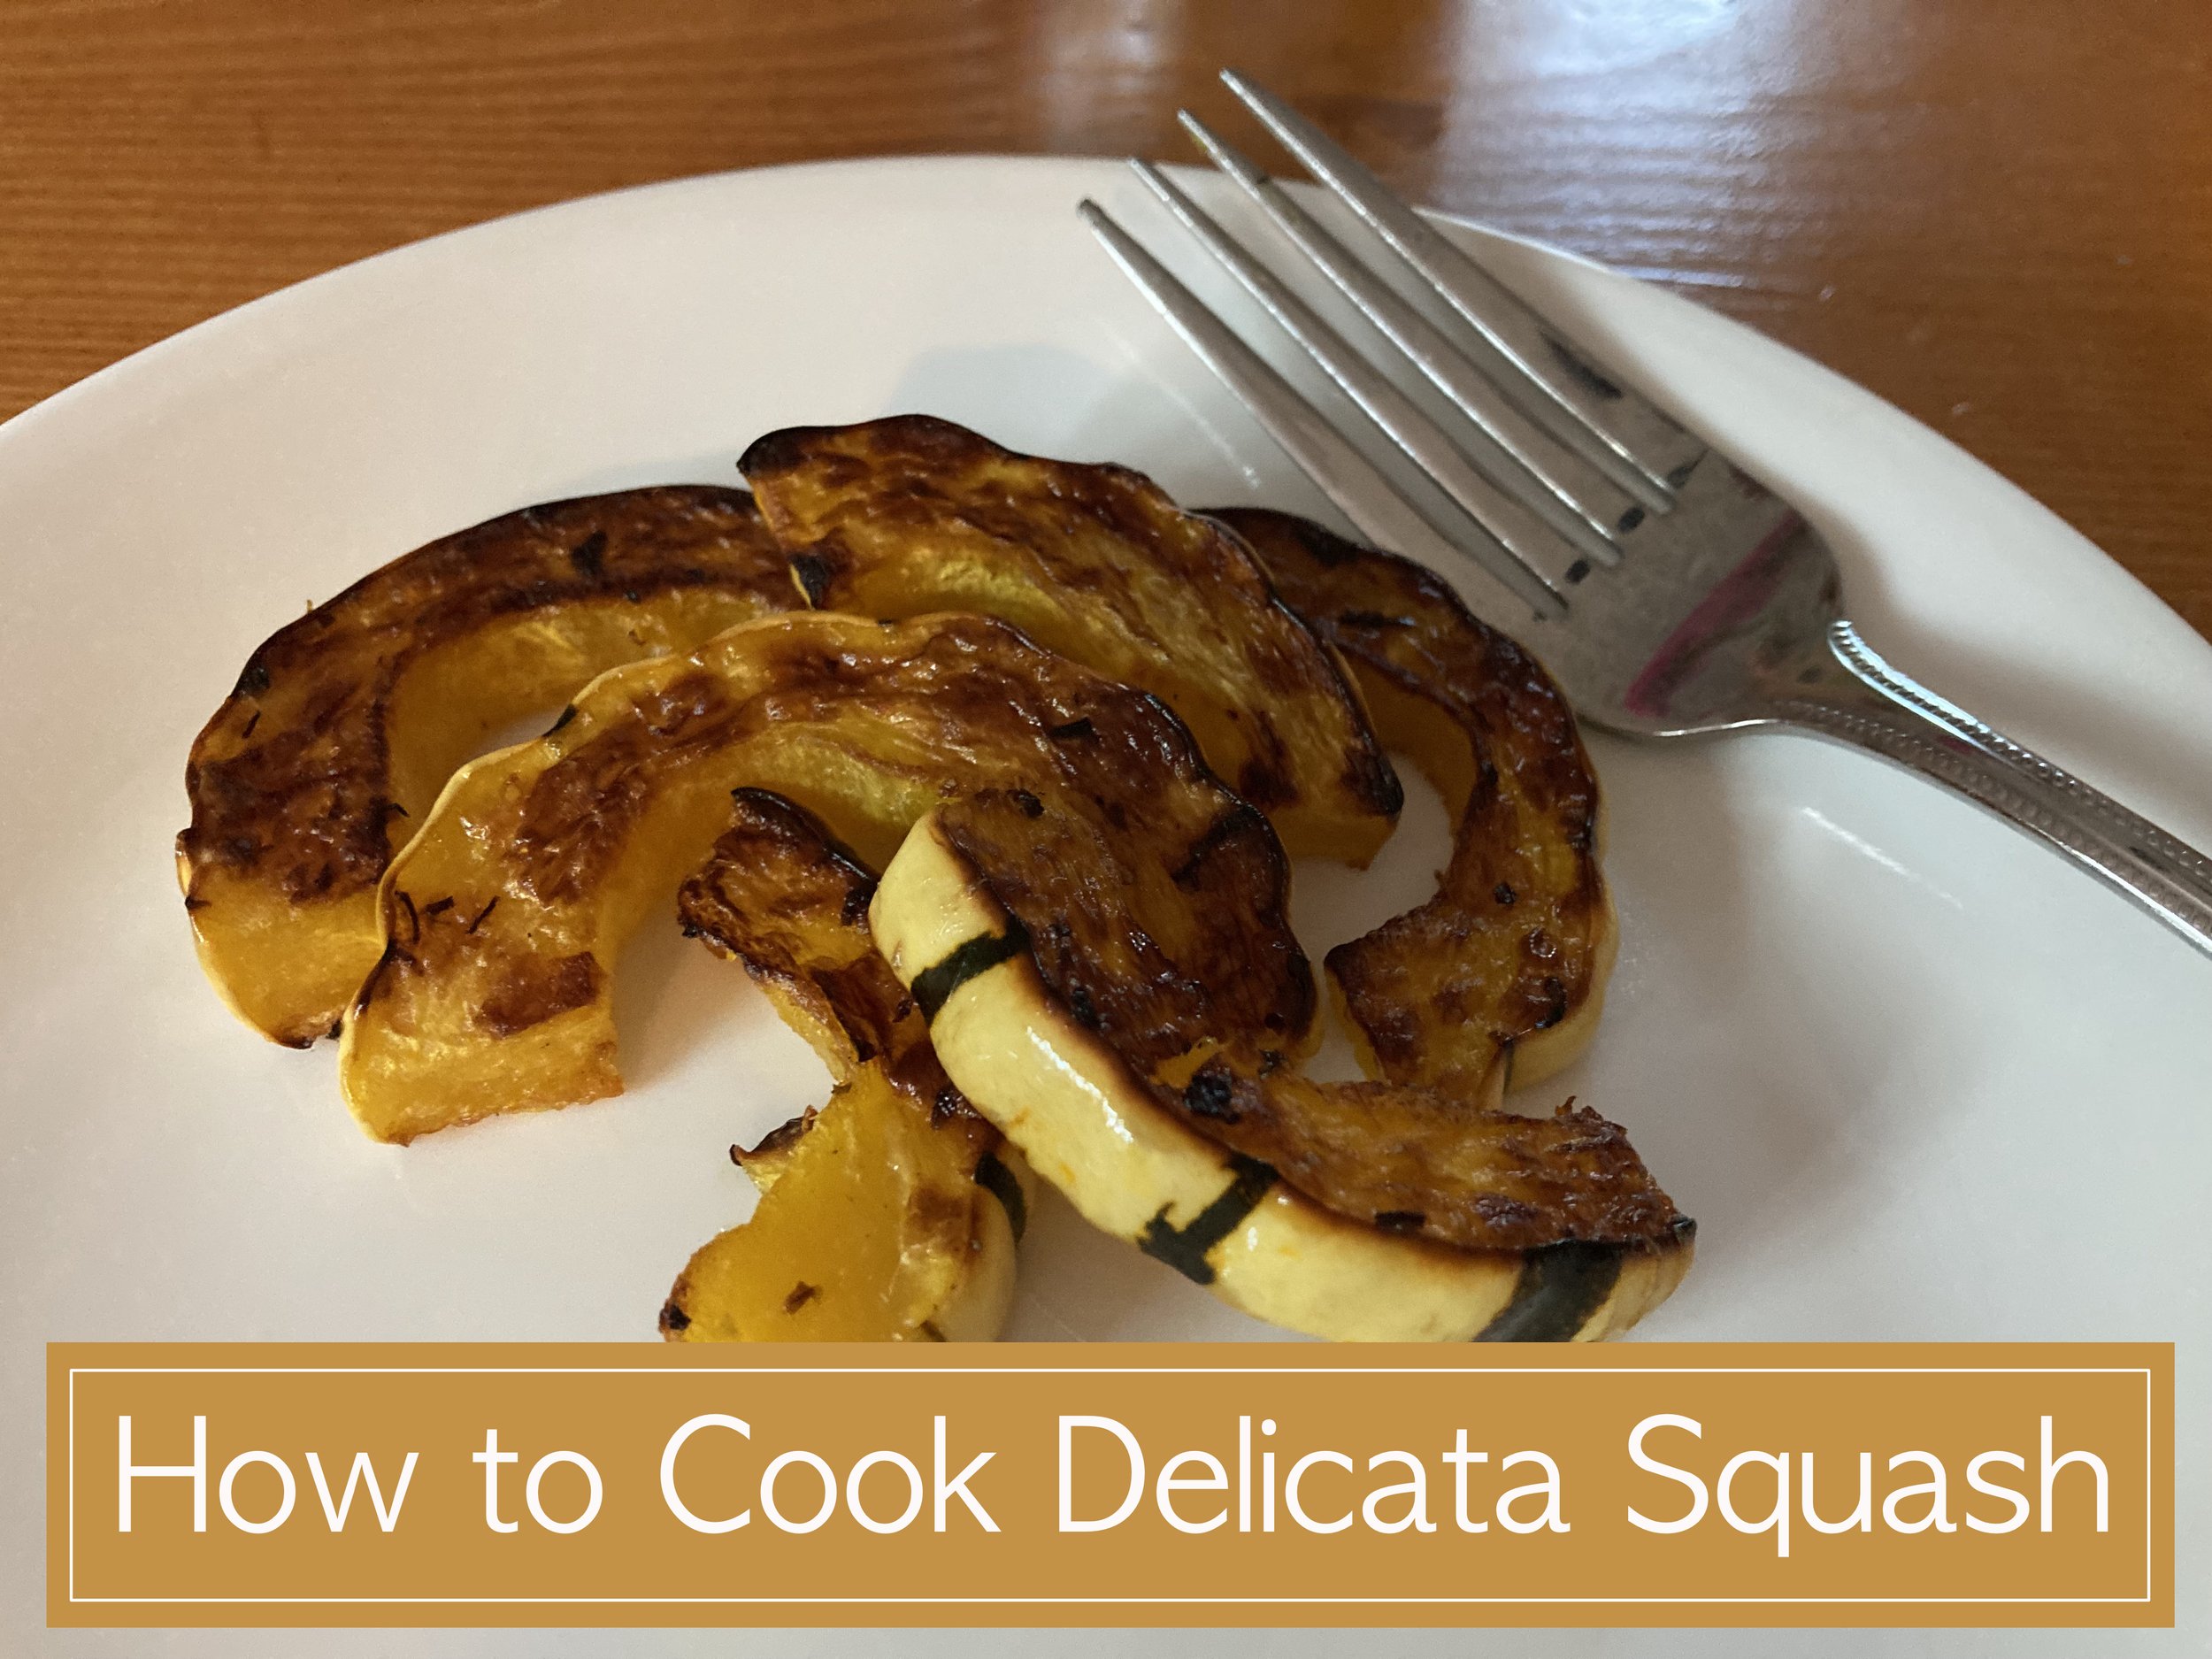
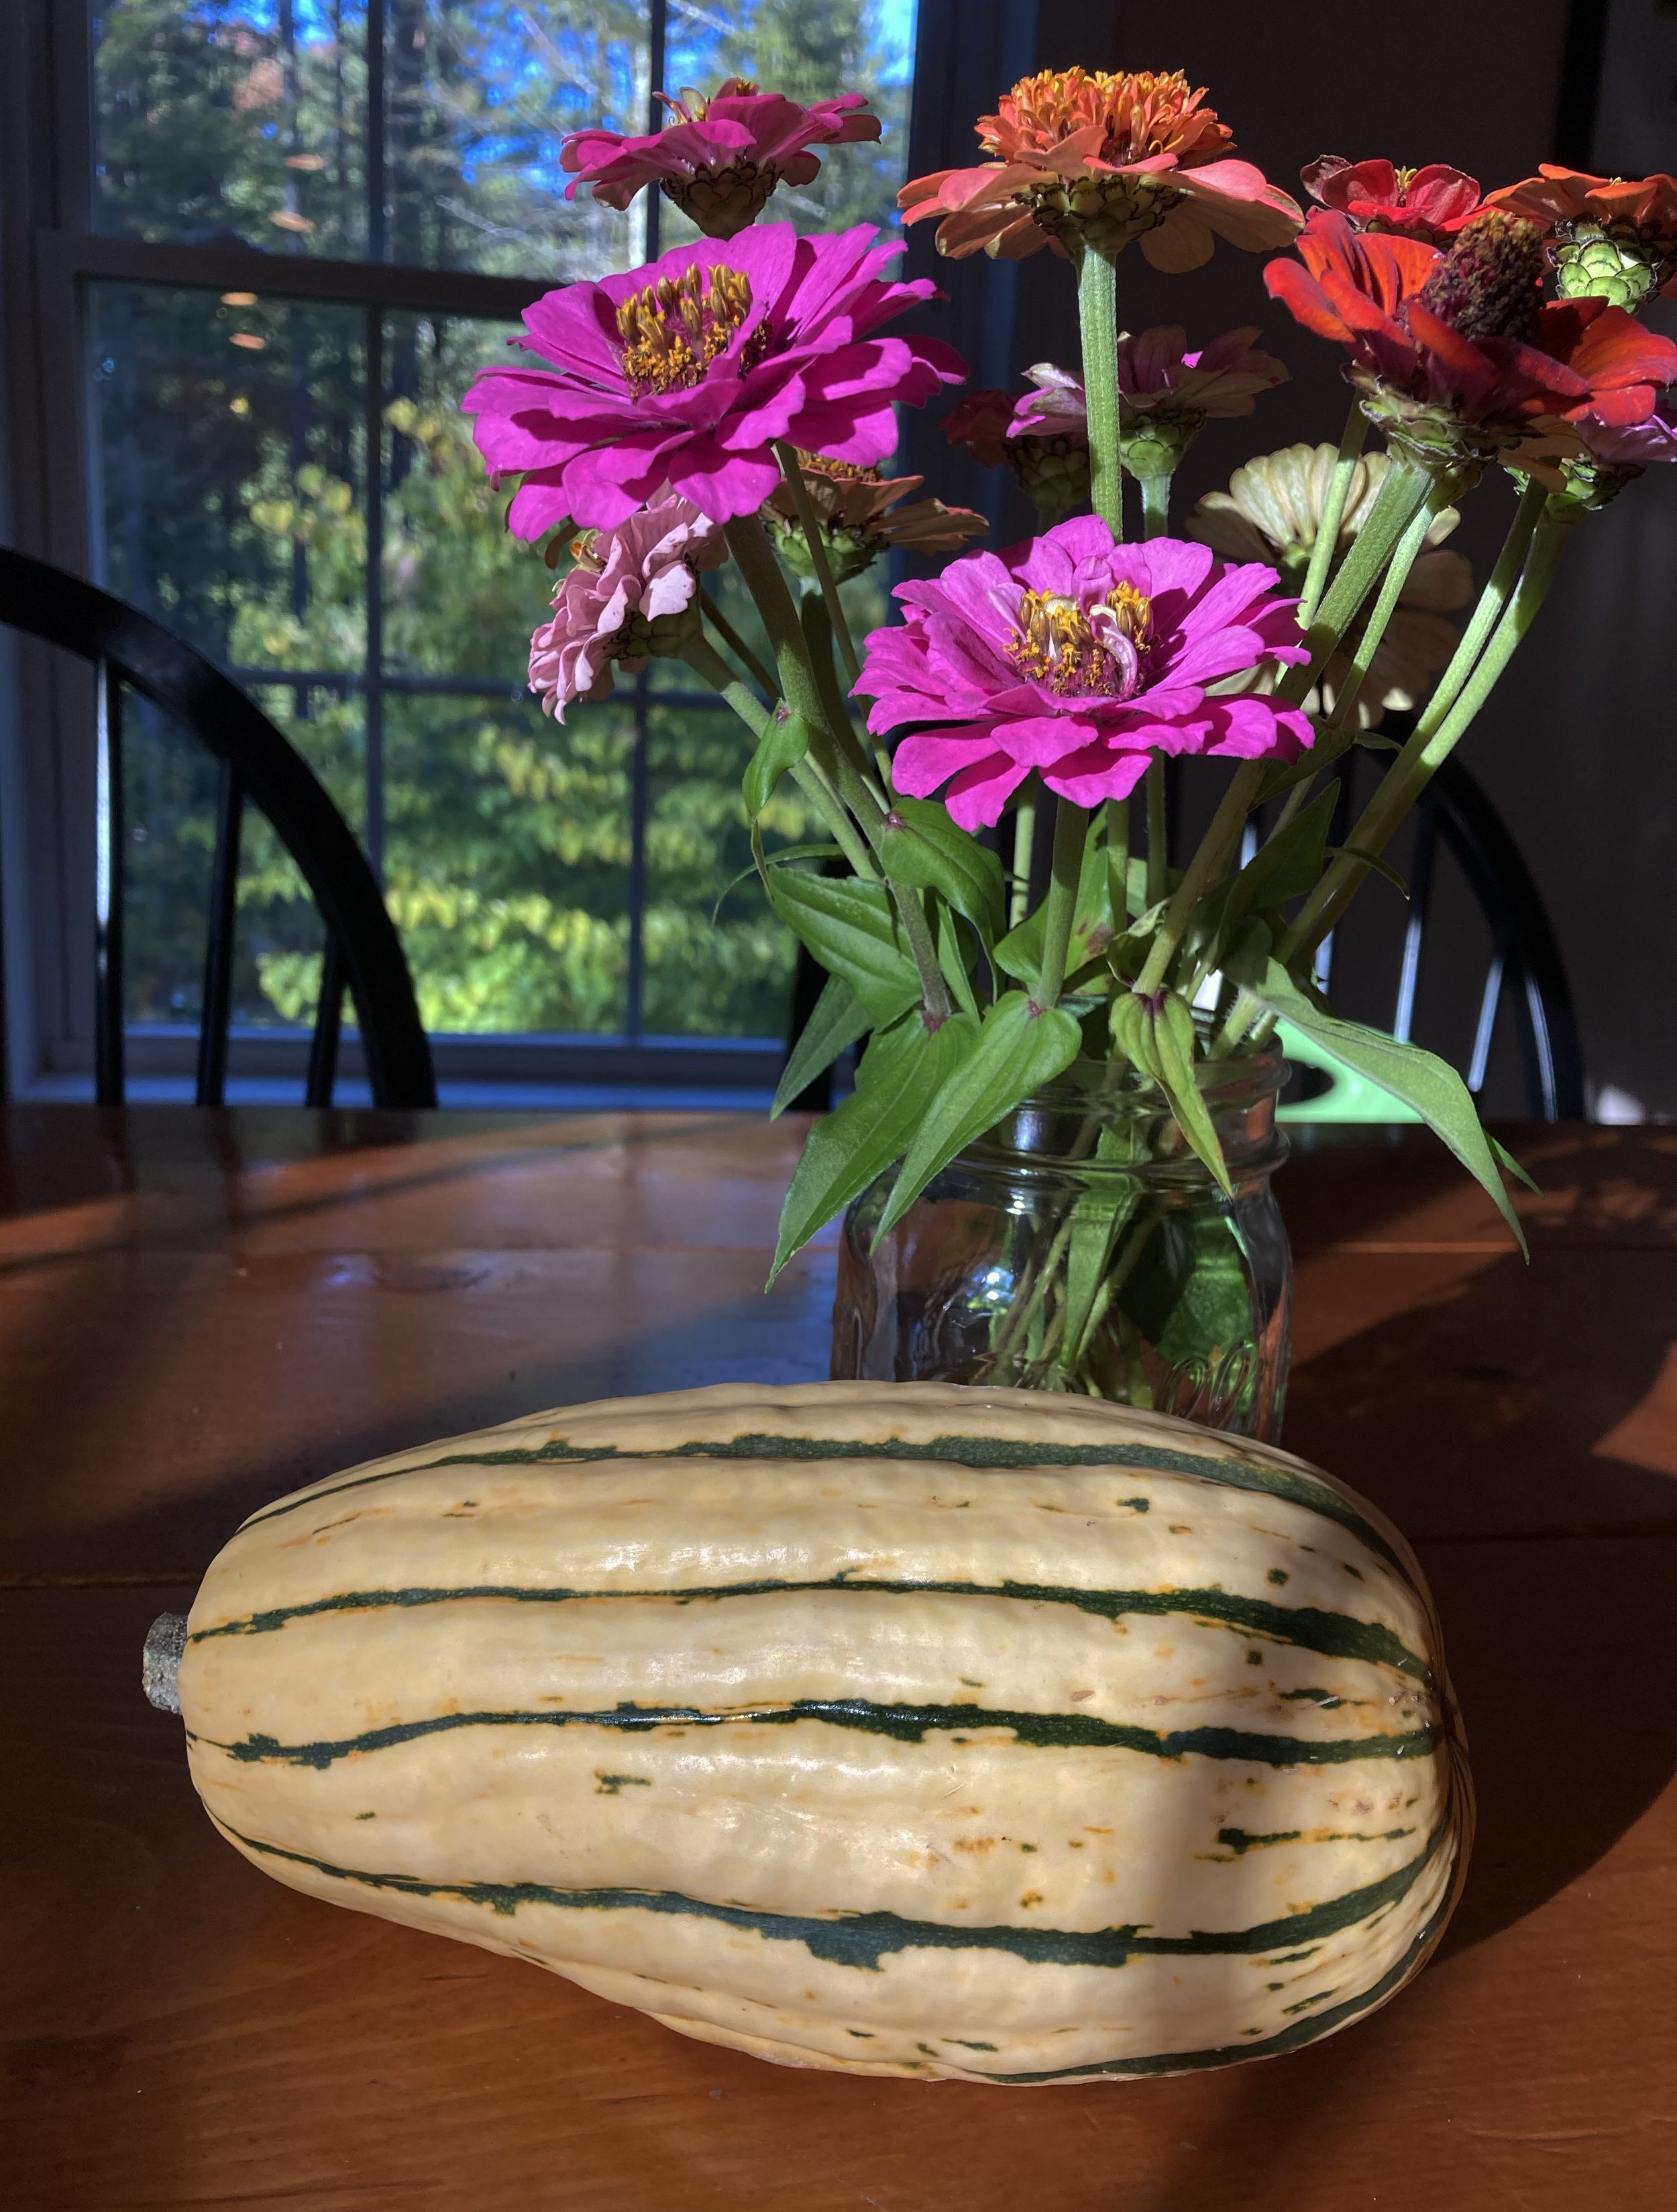
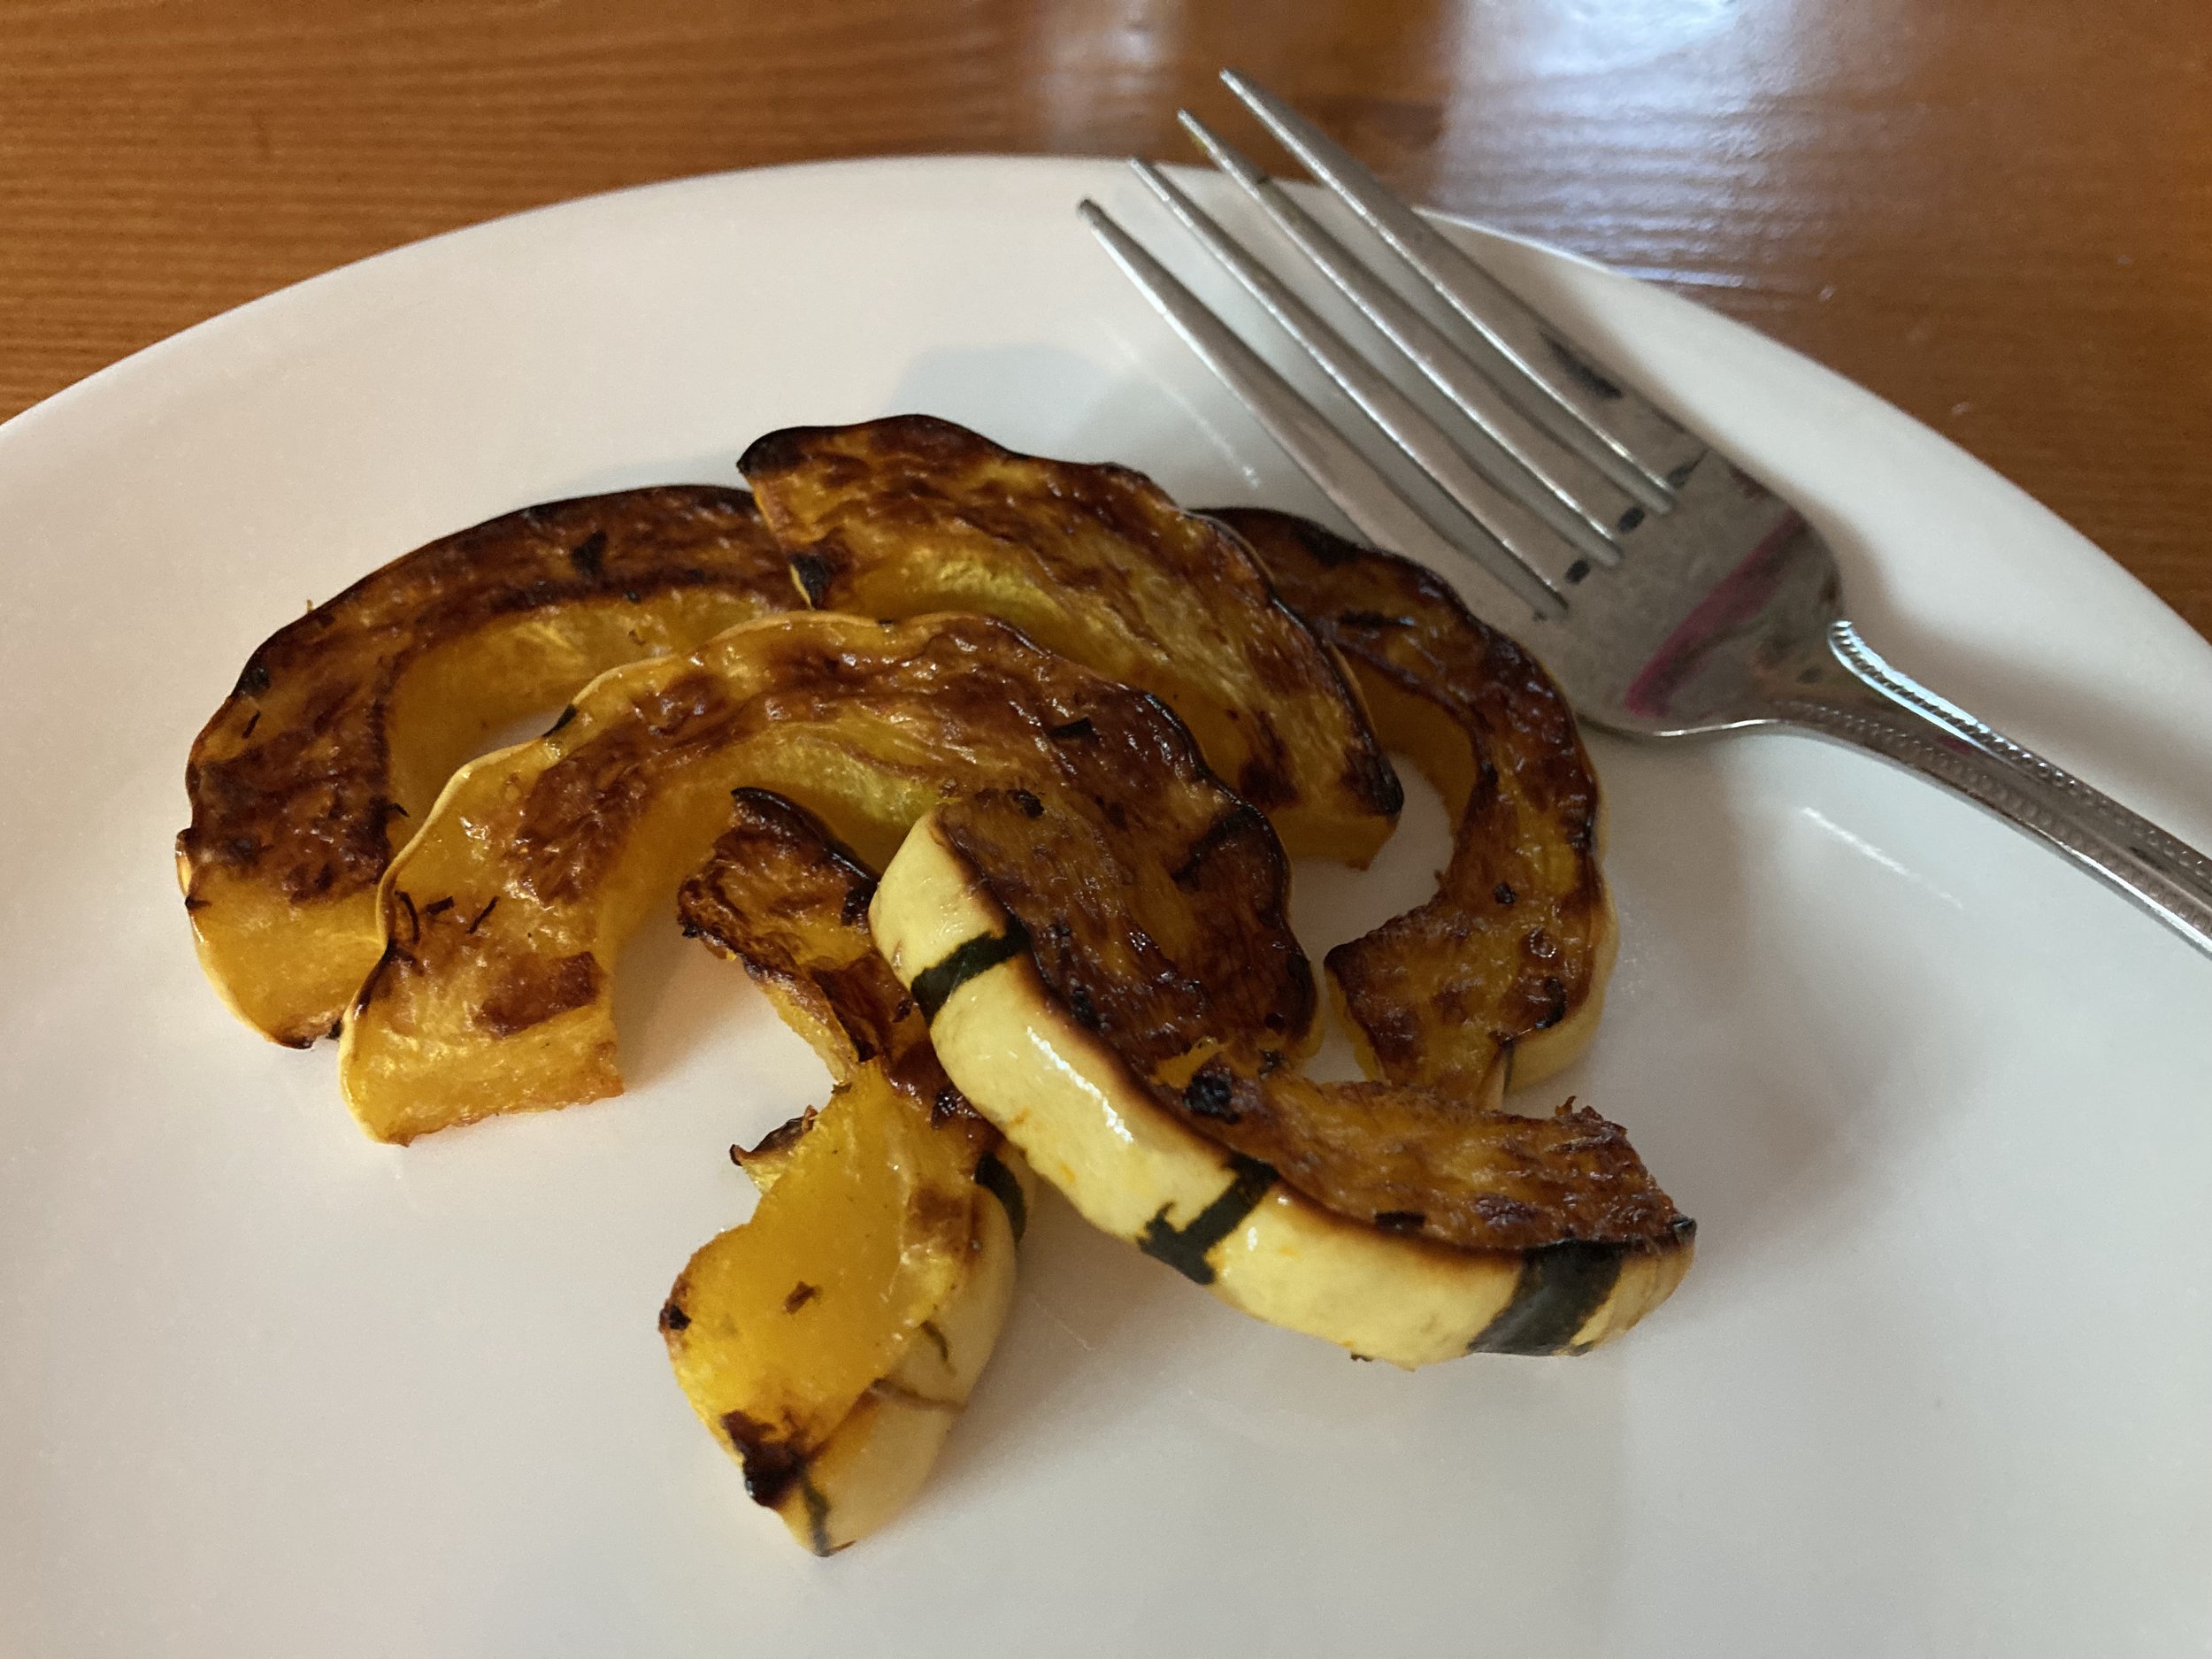
After trying Delicata Squash for the first time it quickly became a favorite - super easy to cook, no peeling (that’s a huge plus!), and a delicious maple-y taste without adding any sweetener. This squash is still an unknown to many people so I thought I would share the easy how-to of roasting them. | This post contains affiliate links |
- delicata squash
- olive oil
- salt and pepper
- kale flakes (optional)
How-To:
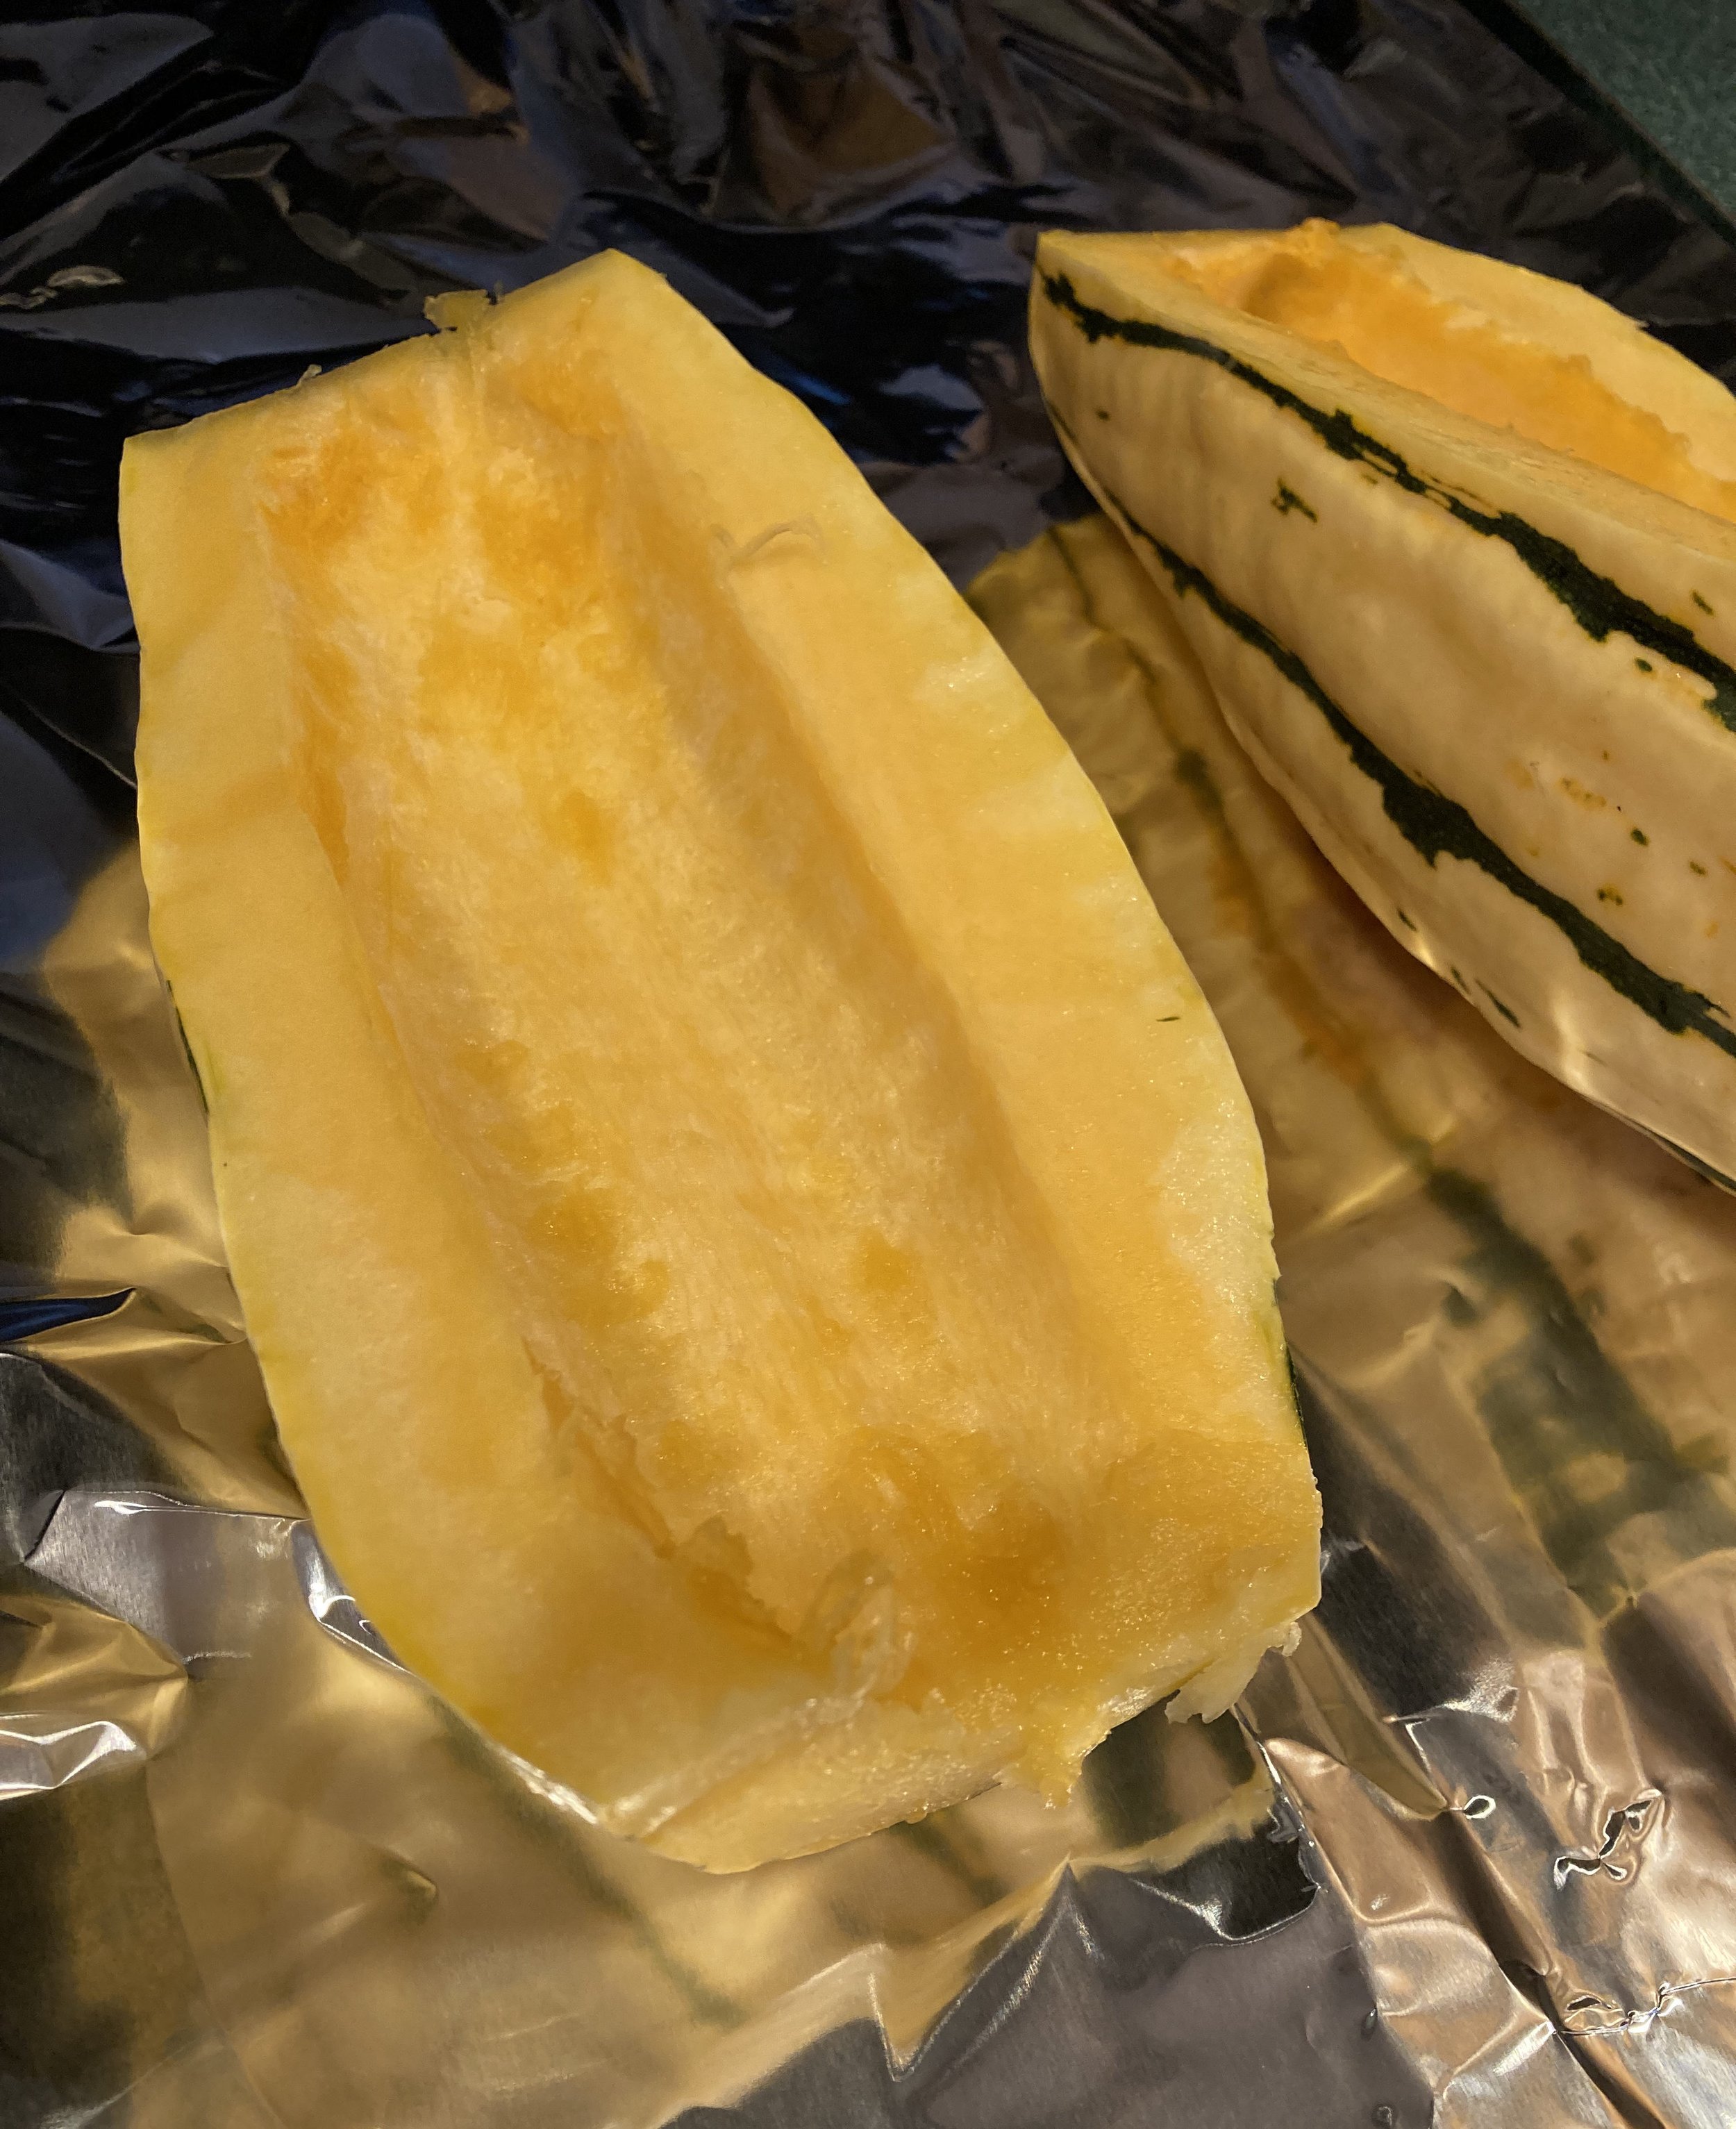
First make sure to wash and scrub the delicata squash thoroughly since you’ll be roasting and eating the skin as well - you don’t want any gritty dirty from the field left on!
Once it’s clean, chop each end off and cut open the long way. Next scoop out all the seeds and strings with a spoon until it’s nice and clean (like the photo on the right).
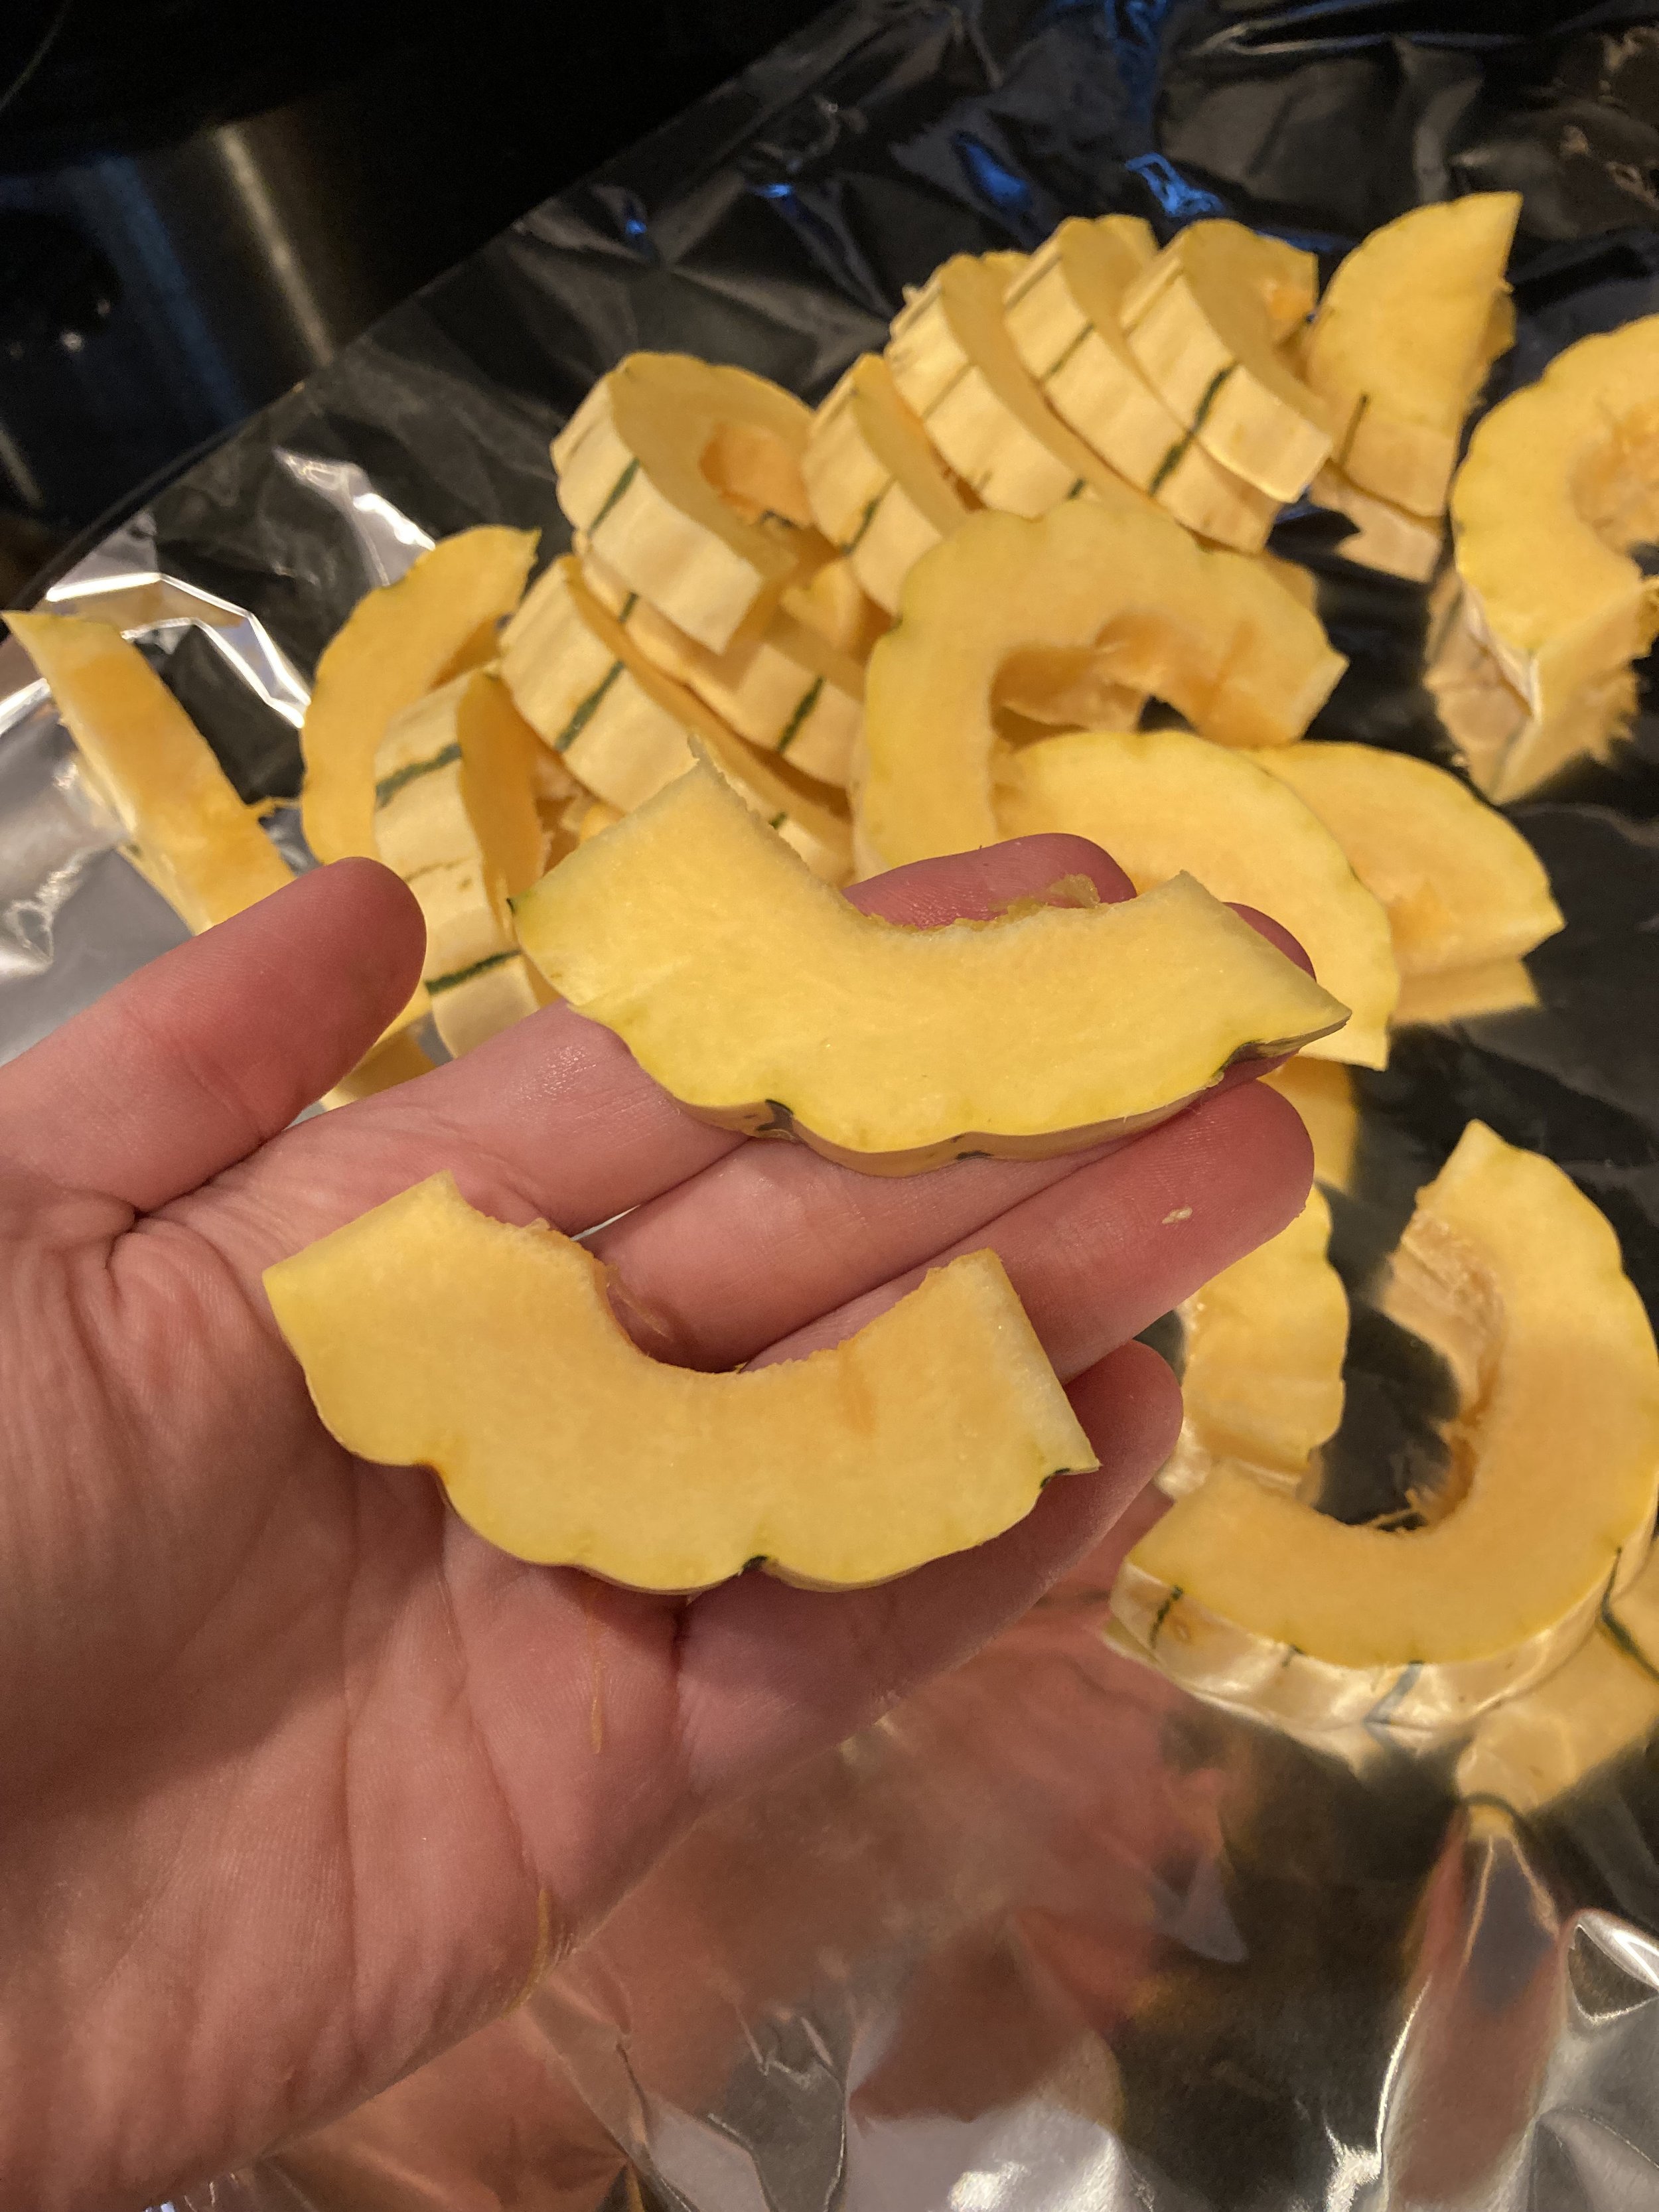
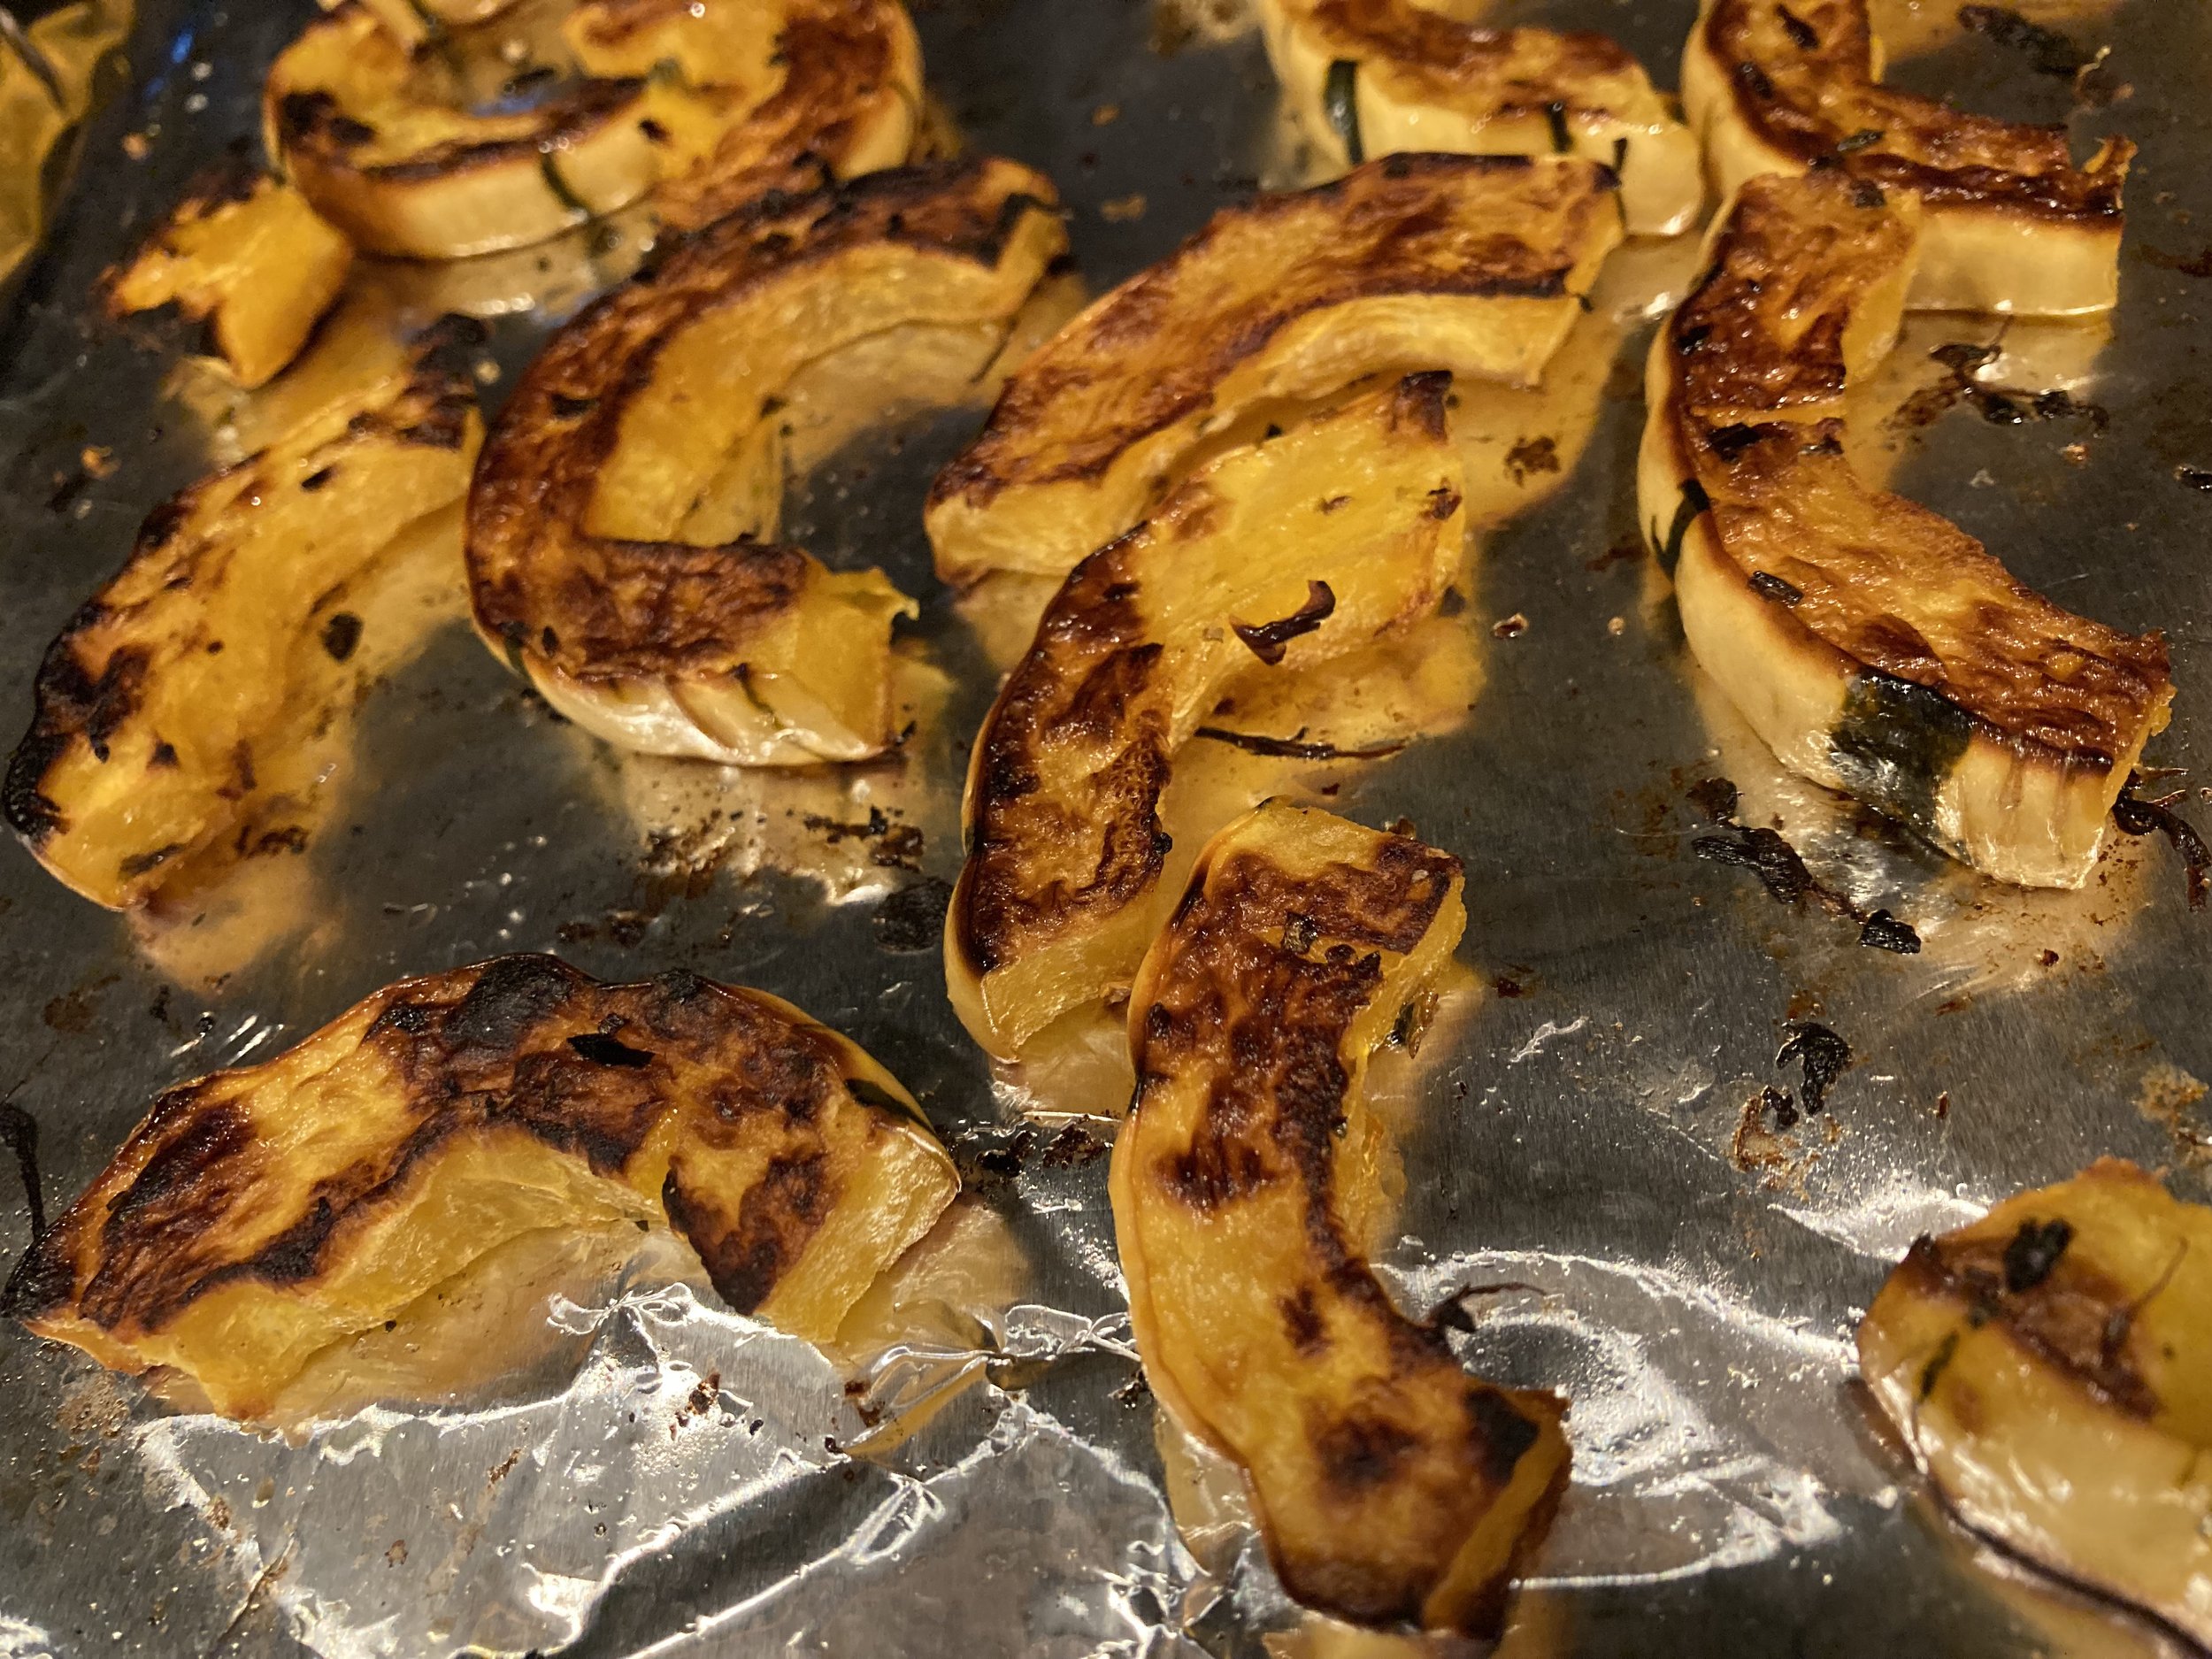
Next chop up the squash into whatever size pieces you prefer. We like cutting them into “quarter smiles” about half an inch thick.
Toss with some olive oil to coat and then sprinkle with salt and pepper to taste. We also love sprinkling on dehydrated kale flakes too - it adds a super subtle flavor and a tiny extra veggie boost too. (We add these kale flakes to most of our meals - love them!)
Now that it’s ready to cook, roast at 425 degrees in a preheated oven for approximately 20-30 mins, flipping halfway through. Cook until it’s soft and starts to caramelize and look burnt. Enjoy!
This squash has become a favorite in our house and I’m looking forward to trying to grow some in our garden next year.
KEEP UP WITH BIRCH LANDING HOME
| Etsy | Facebook | Instagram | Pinterest | Bloglovin' | Hometalk |
So our garden isn’t magazine-worthy (and it definitely could use a good weeding - the spot by the gate gets so over-run with crab grass I can never seem to keep up) - but it’s been doing really well this year and I thought I would give a quick tour and share some things we’ve been doing in our Victory Garden. New England, Zone 4-5. | This post contains affiliate links |
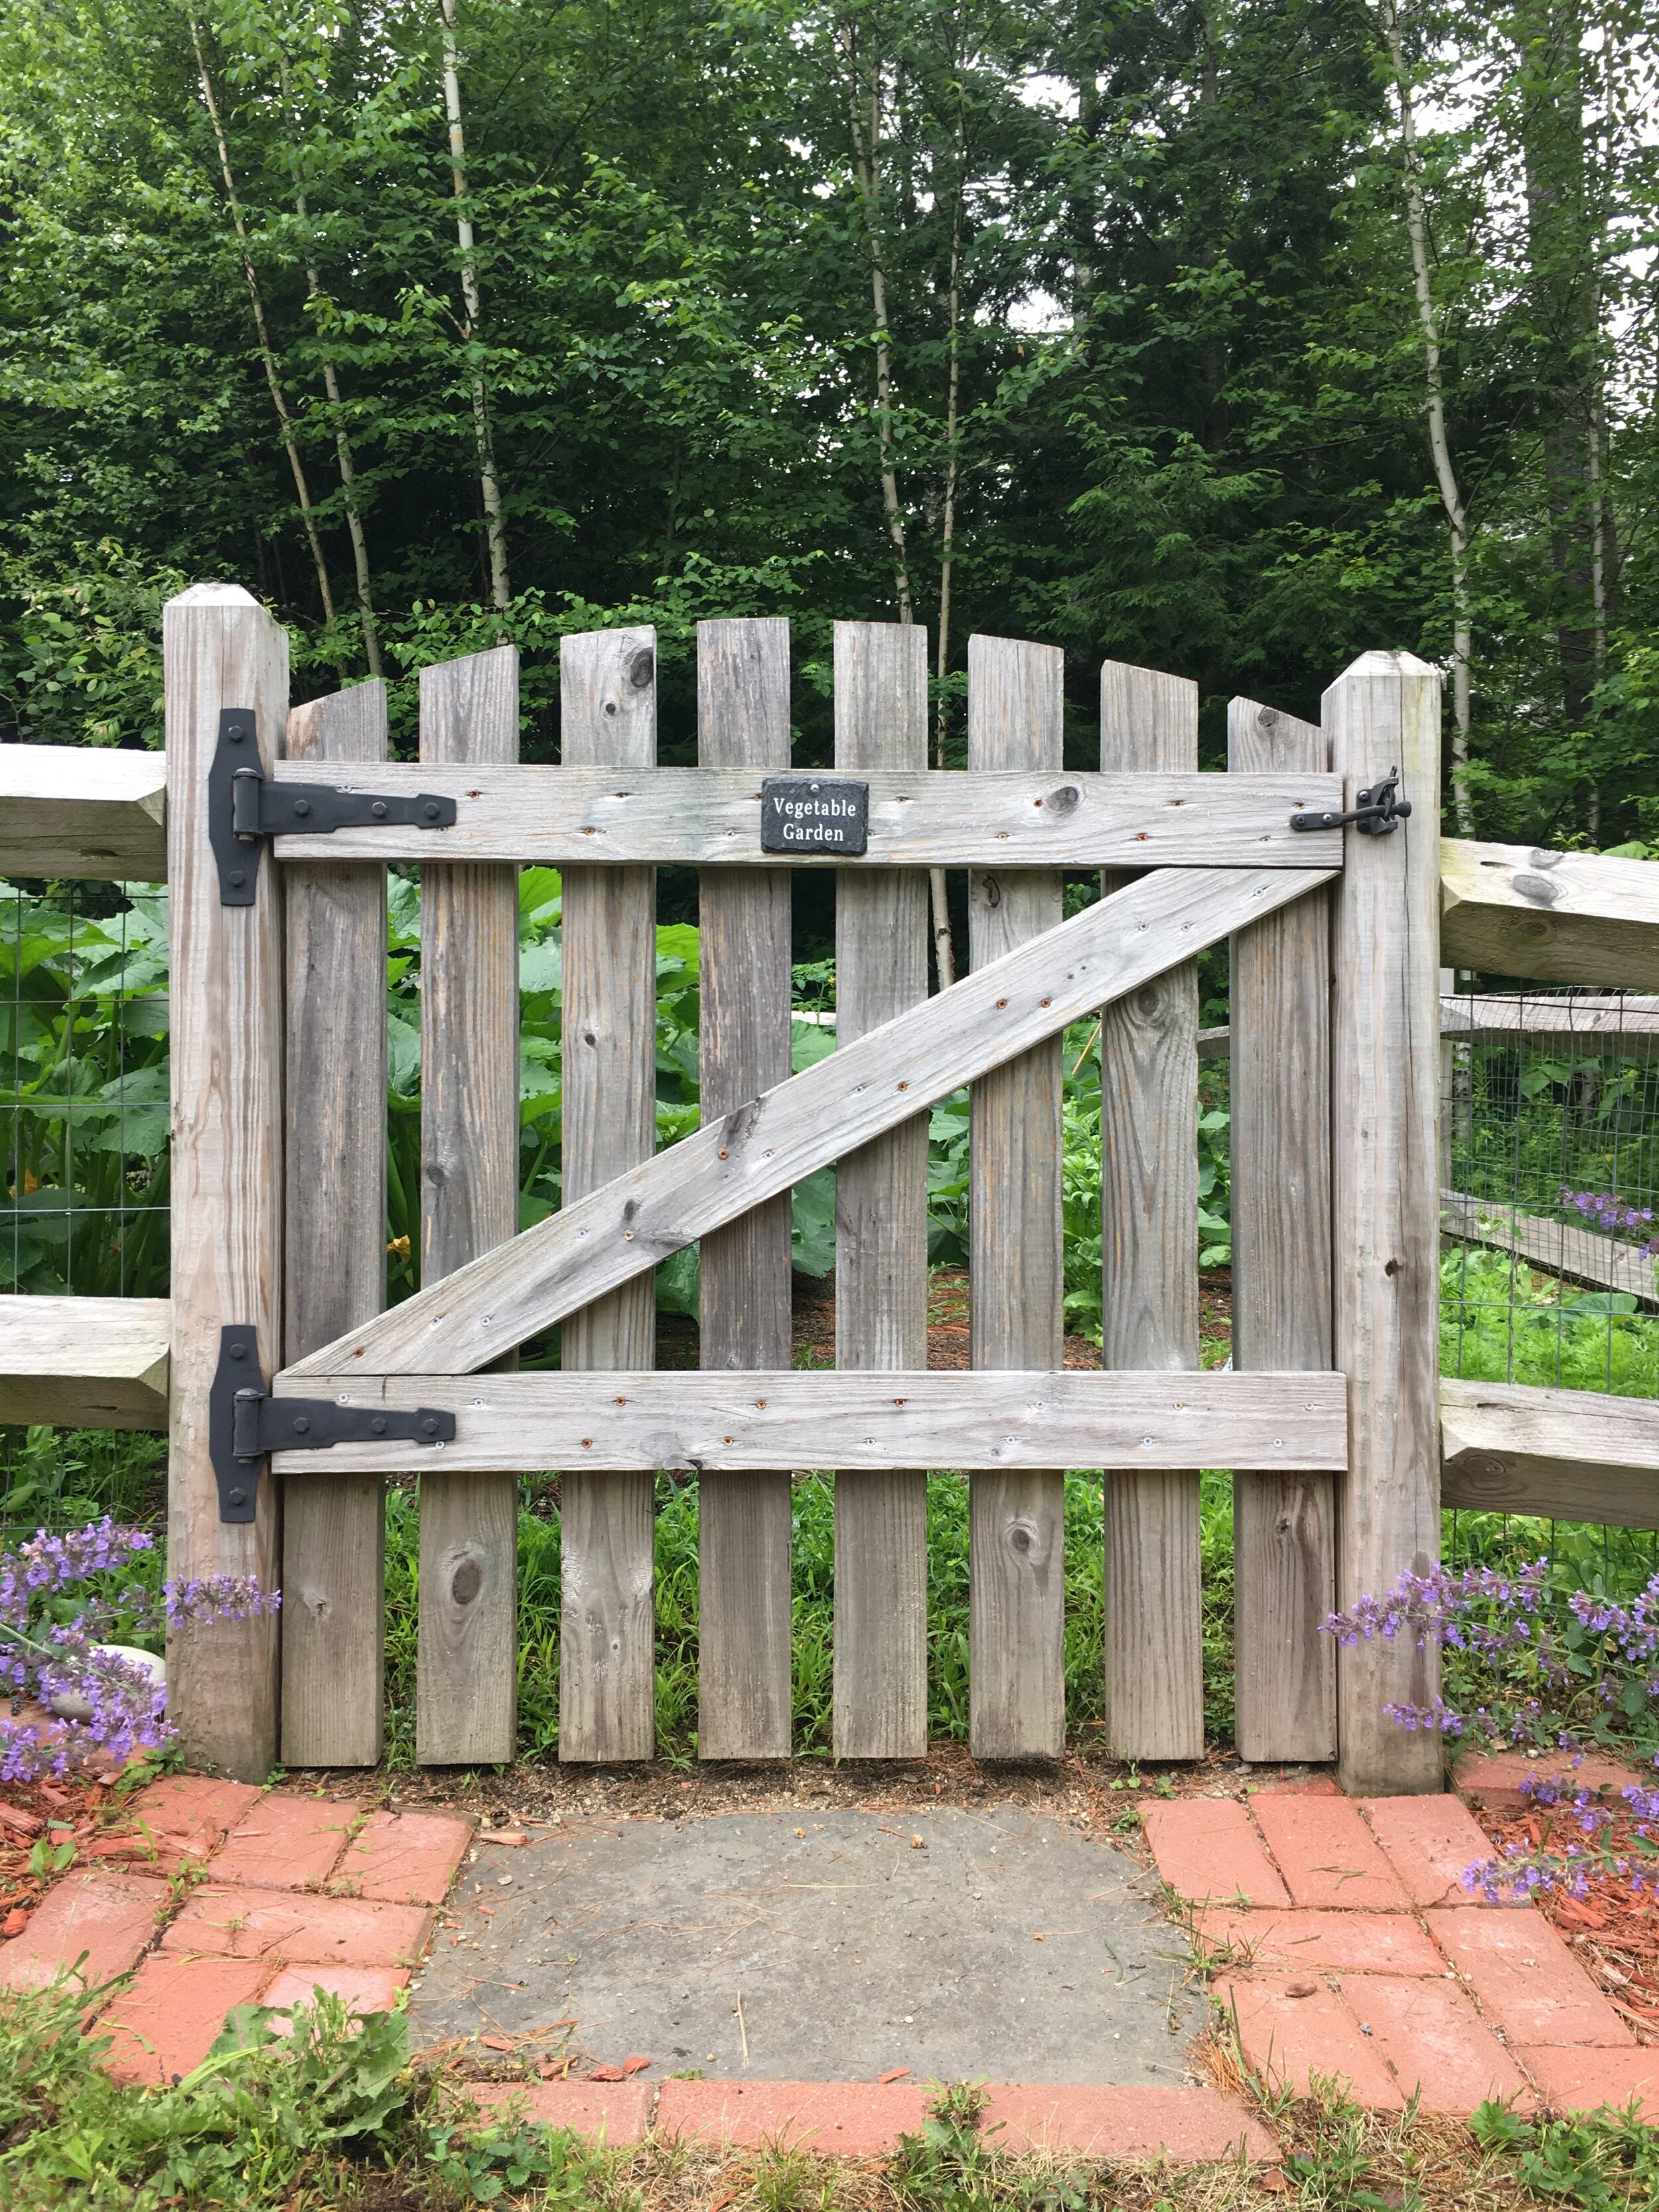
Our garden is approximately 12x24 feet. My husband built the enclosure seven years ago with split-rail fence lined with garden wire fencing (to help keep critters out) and then designed and built the gate himself - the gate is absolutely my favorite part! At the front of the garden I inlayed bricks and pavers (all of which we had on our property left over from the previous owner years ago) to create a little stepping stone walkway leading up to the entrance of the garden and a small flower bed on each side.
Inside the garden everything was planted from seed and directly sown into the ground mid-May with the exception of the Rhubarb plant (it’s a perennial) and the Tomato plants (I purchased them as seedlings from a local garden center).
For fertilizer we put a few bags of composted cow manure in before rototilling in the spring, and then after planting the seeds I sprinkled a small amount of 10-10-10 Fertilizer across the garden.
In each of the front flower beds I planted Catmint which is a perennial and a great pollinator plant! The blooms attract lots of bees and butterflies and help encourage pollination in the vegetable garden. I also just love how wild and cottage-y they look. They’re also very drought tolerant and hardy - a great no-care plant once they’re established.
Soon I would like to also get some type of Mason Bee House to add to the garden to further ecourage pollinators to come to the garden.
Just inside the garden, along either side of the front, I planted Snap Peas against the fence so they would have something to climb. I also planted Carrots along this front area on each side as well.
When I directly sow the seeds into the ground, I usually stake the empty seed packet with a twig (seen above for the Snap Peas), to mark where I’m planting and so I can reference when the seeds should start to sprout, mature, etc as they grow. Now that my plants are mature I could take all these out but I haven’t just yet.
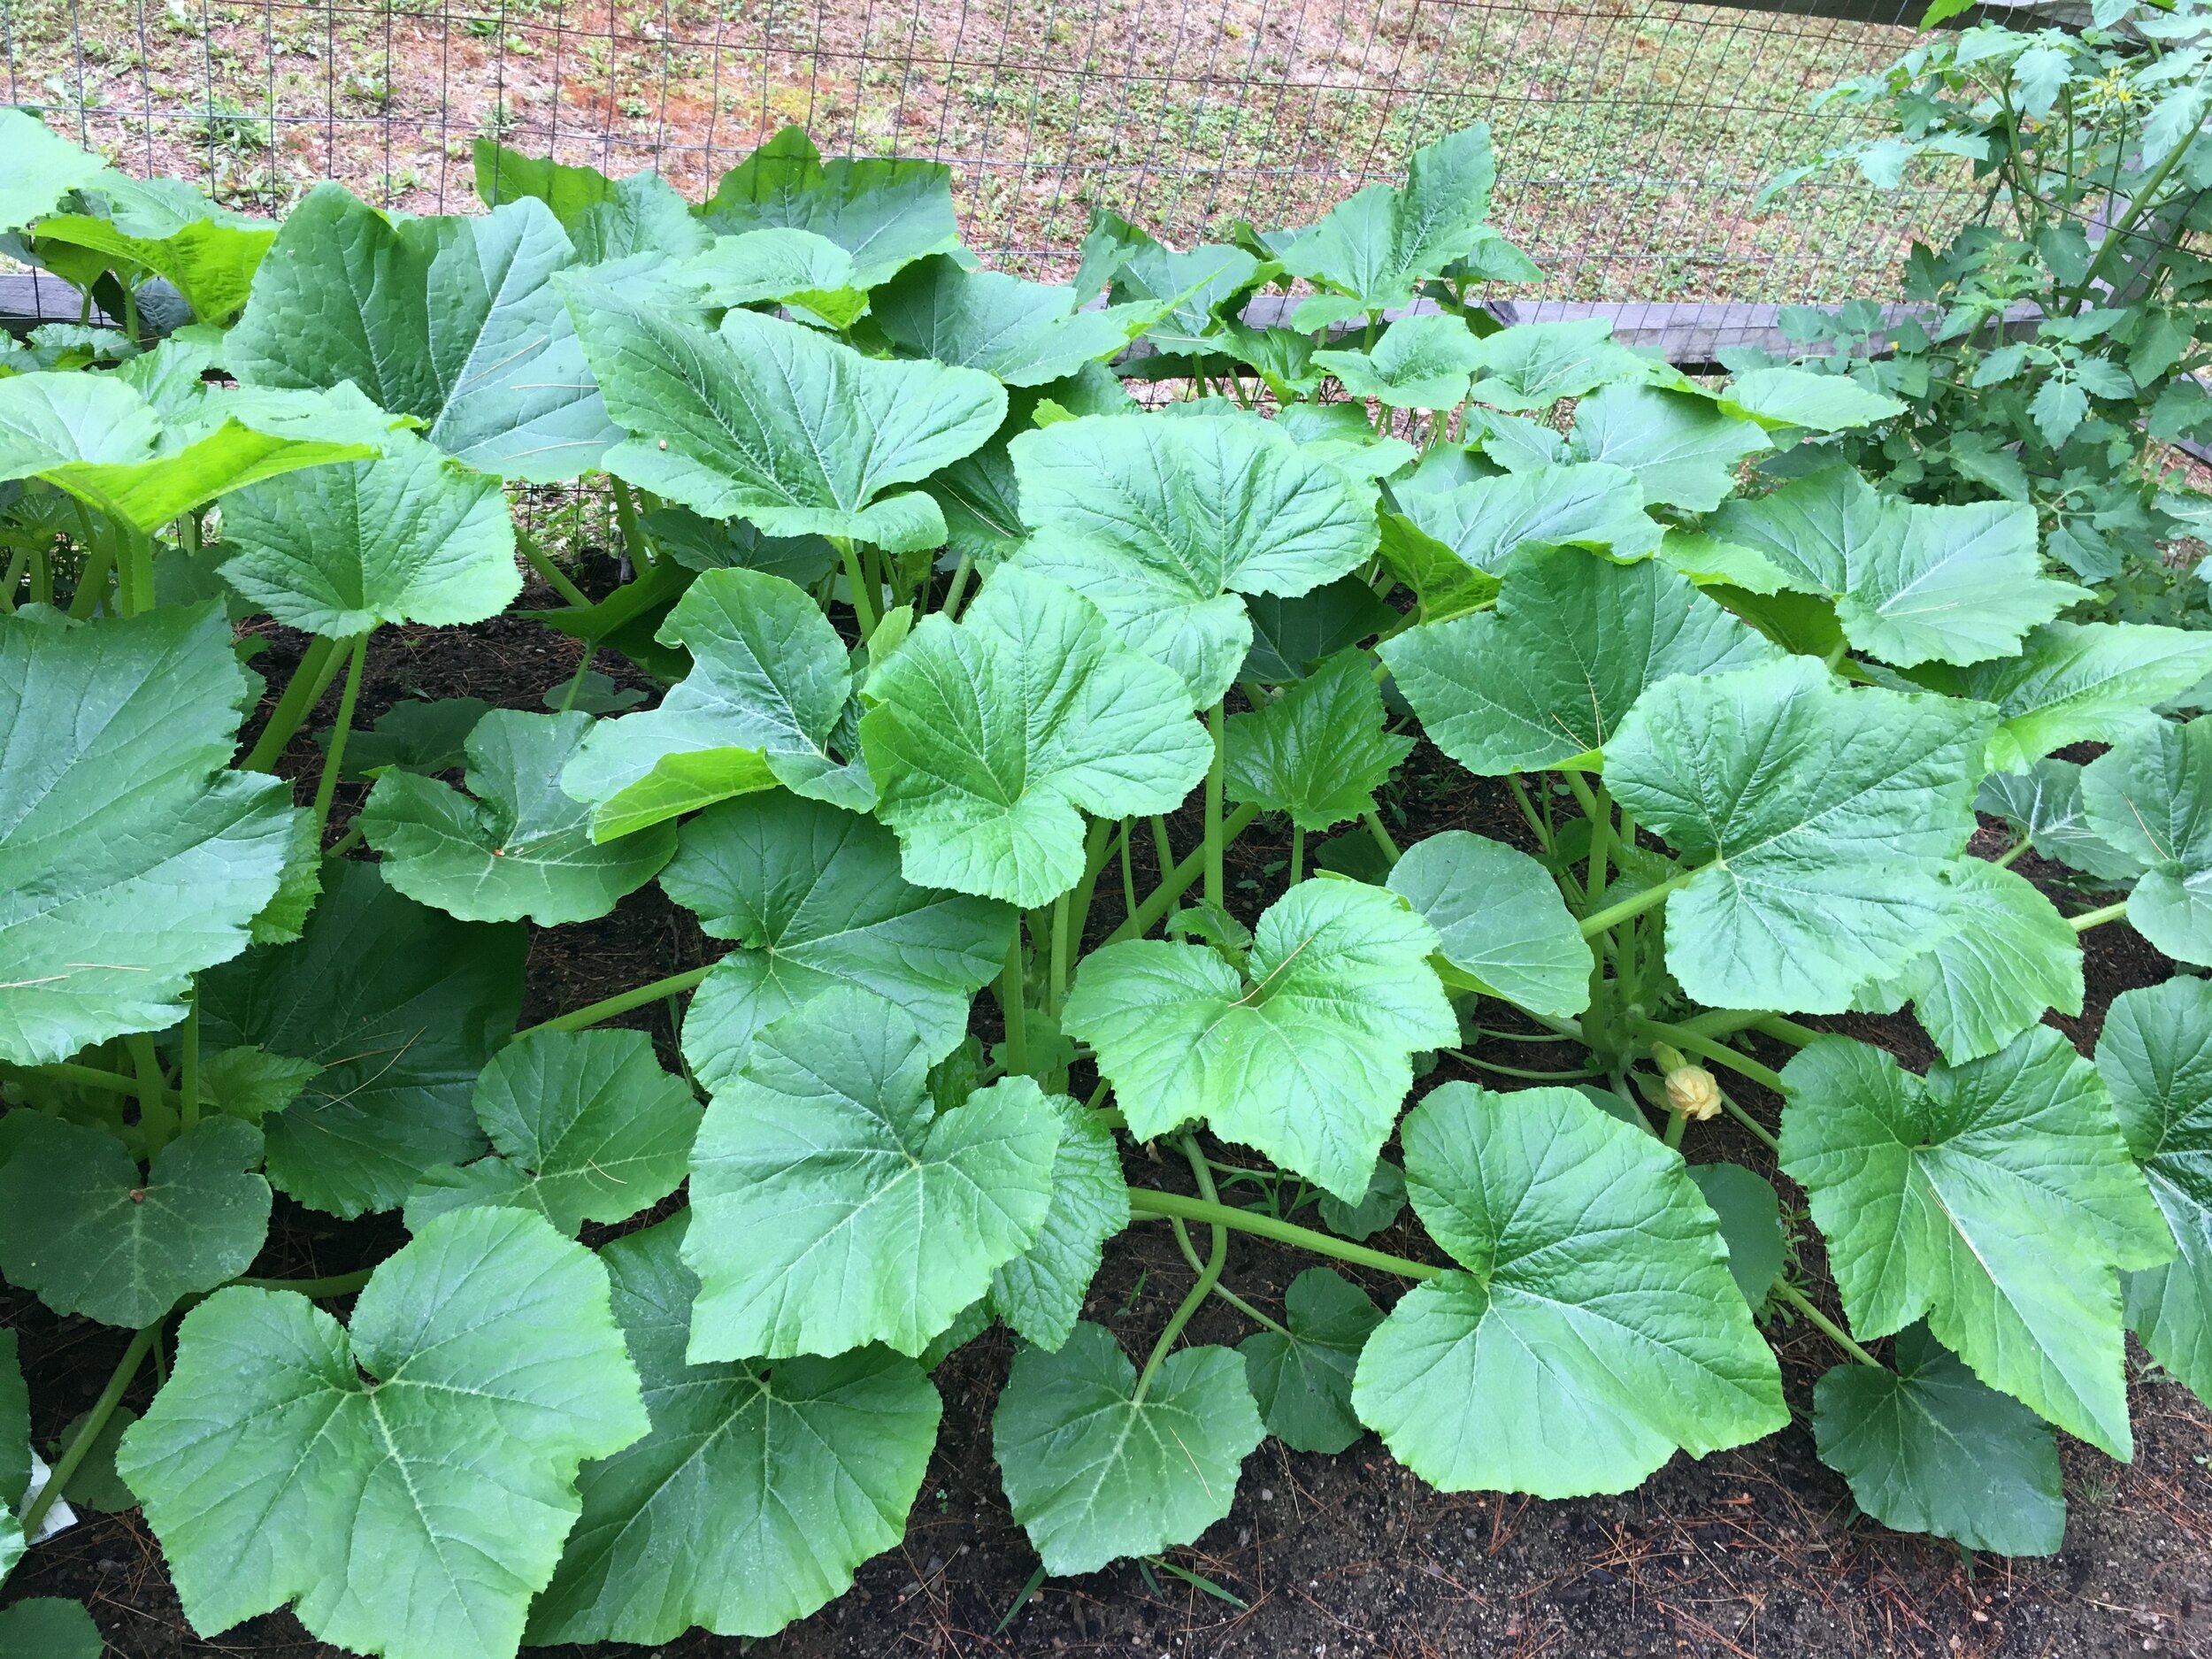
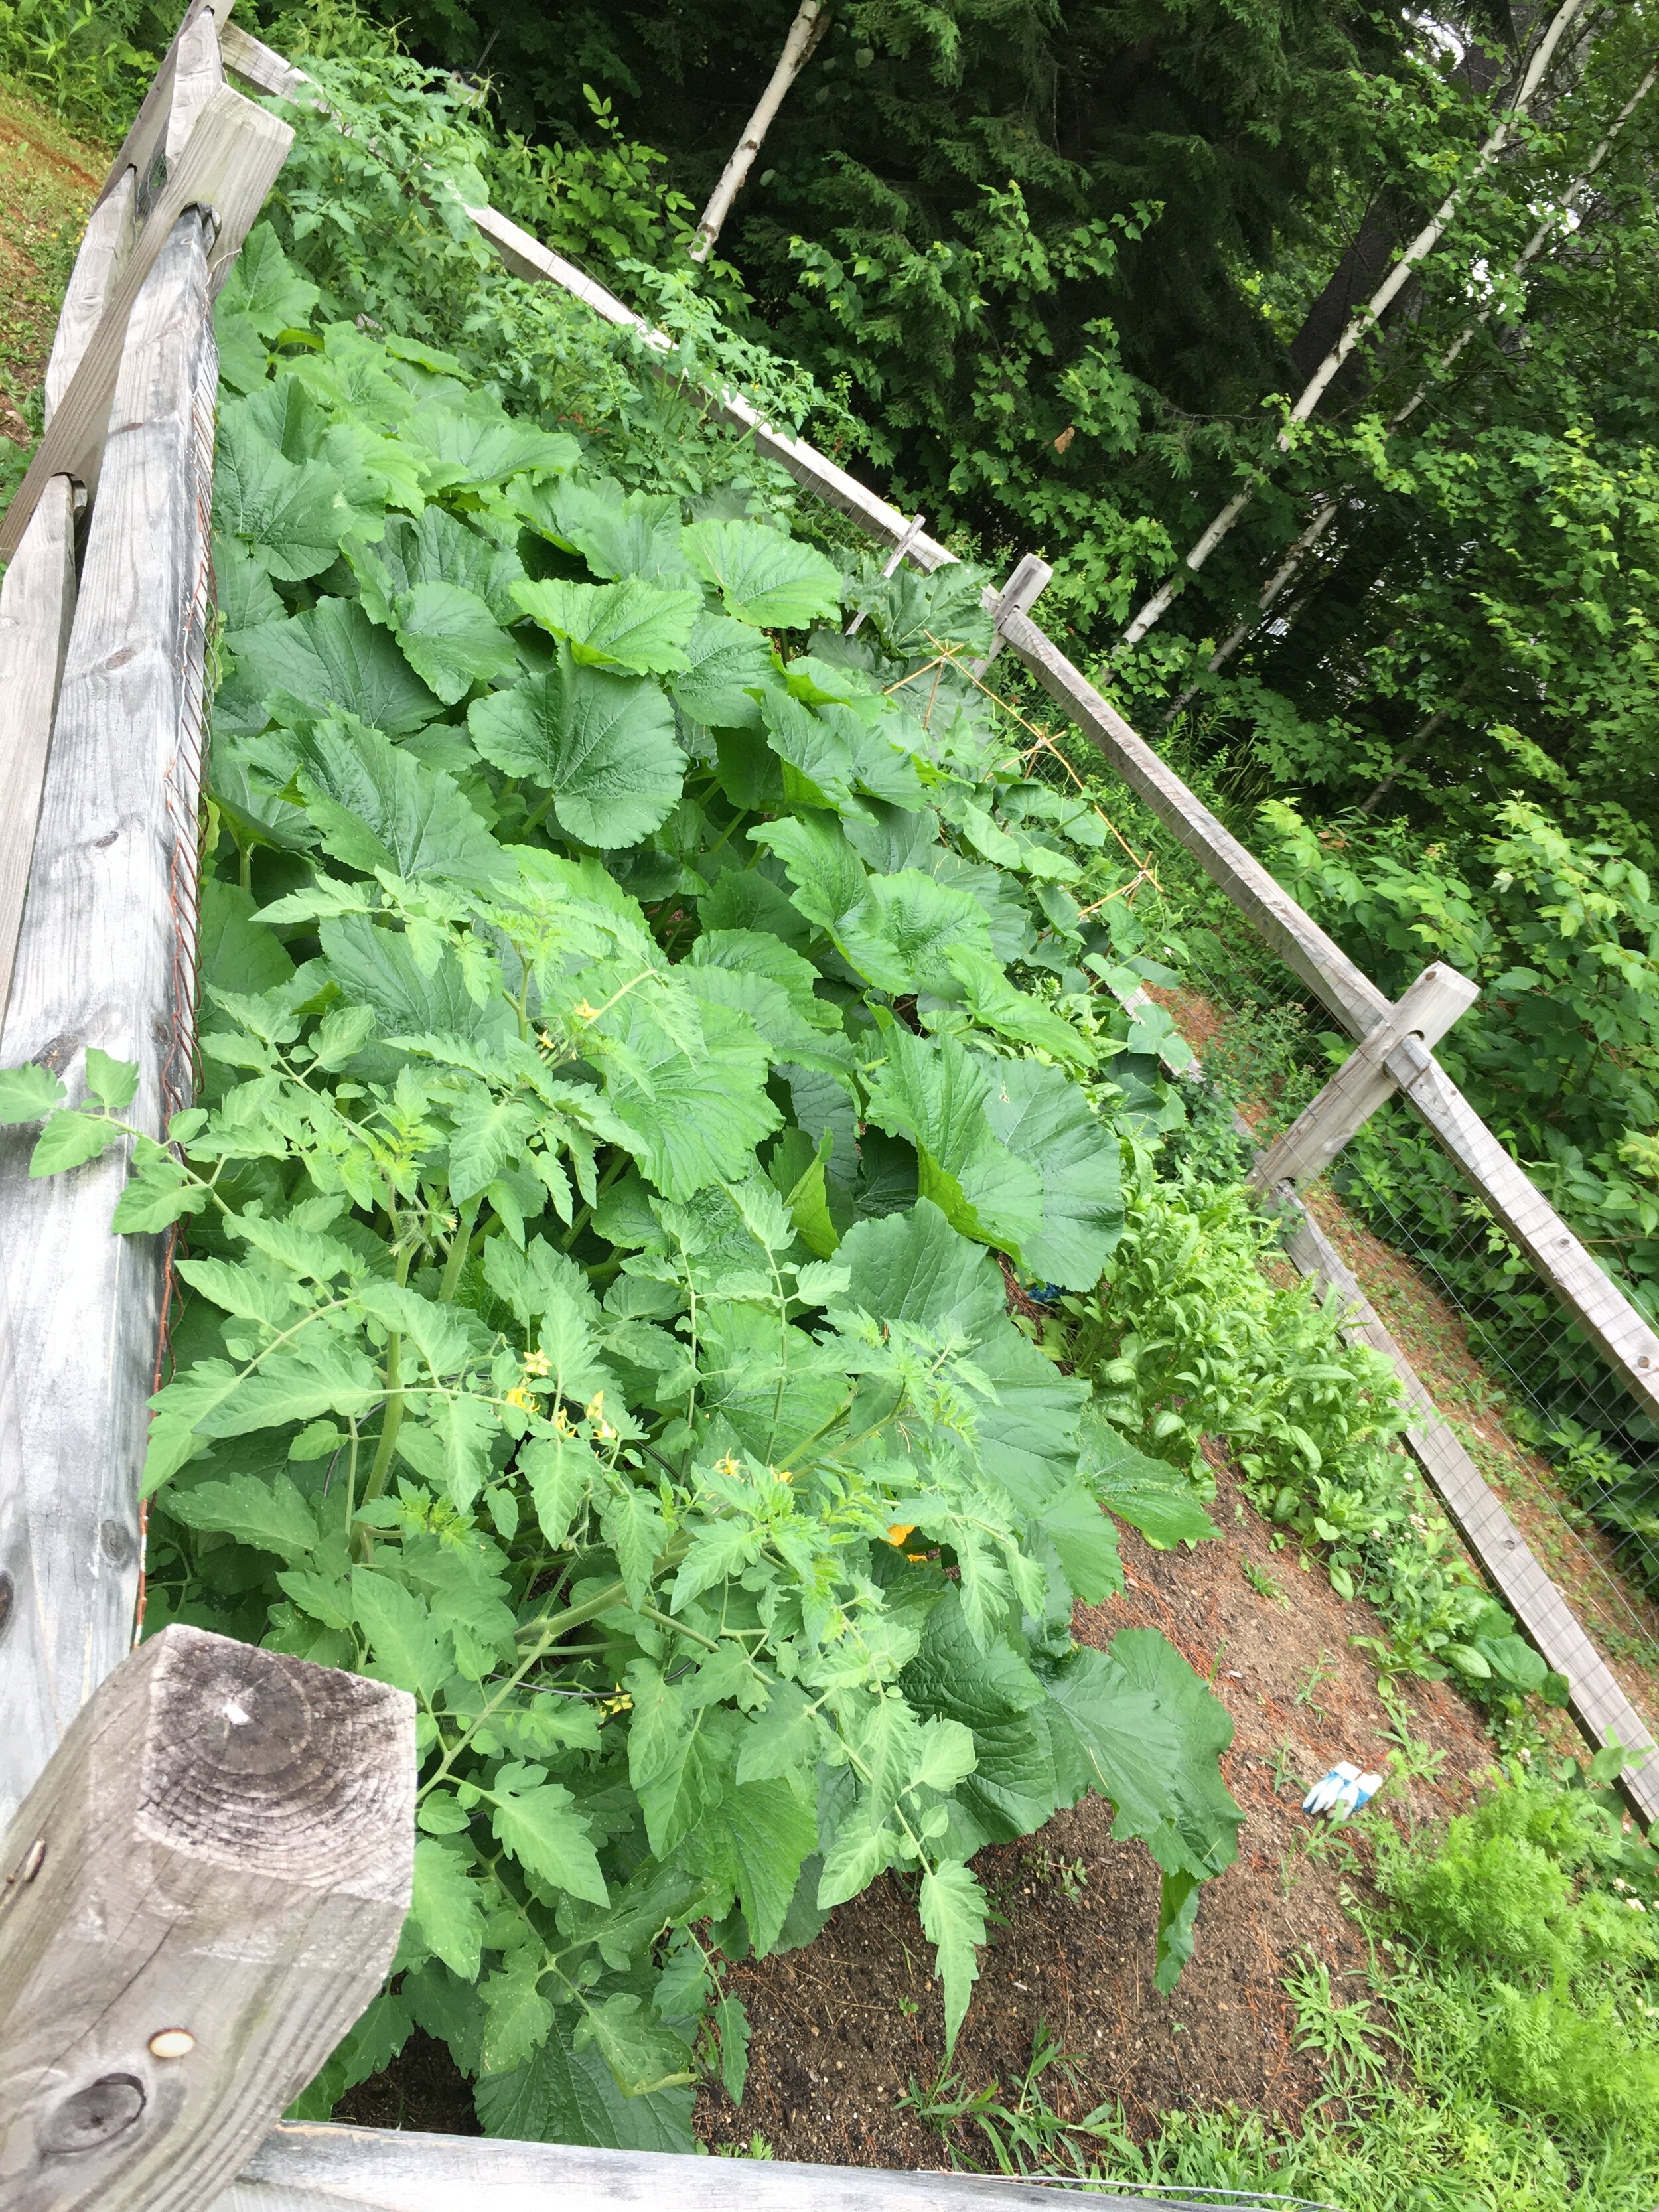
The Zucchini plants are huge this year! Right up to the top of the fence… though I do need to thin out some of the lower leaves on the ground soon for better air flow and access for pollinators (it also can help keep your plants from getting disease/mildew from the ground too).
Here are my Summer Squash plants, which are a bit smaller than the Zucchini ones but doing really well overall. I also need to thin out some of the lower leaves on these as well.
Spinach are cold weather plants and these ones pictured above are sadly done (I actually pulled them out after I took these photos). Once it starts getting hot they tend to “bolt” or grow upwards really fast and flower. Once they do that the leaves are bitter and don’t taste good. This spinach crop is done for now - though I will try to plant more Spinach late summer/early fall to get another harvest in the Fall.
Cucumbers are doing well too. It's a bit hard to see in this photo but I made a small trellis out of Bamboo Stakes and twine for them to grow on. The trellis may look flimsy, but bamboo is actaully really strong (and eco-friendly) so it's great to use in the garden to help support plants.
Along the back I have several Tomato plants growing, both cherry tomato and slicing tomato varieties; behind these along the fence I also have some Sunflowers growing too.
Now for the “showstopper” of the garden - our Rhubarb plant! This is definitely the plant that gets the most interest and questions about in our garden because it’s so big. Rhubarb is a perennial and will come back each year - so make sure to plant it somewhere out of the way where it will have room to grow. We planted this one in the back corner of our garden and marked the area with a stake so we don’t rototill over it in the spring.
While I’m honestly not a huge fan of Rhubarb myself (it’s very sour), growing it is a tradition in our family… when I was growing up we had a very large garden with at least 16 Rhubarb plants. We had so much Rhubarb that we would pick literally garbage bags full of it to give to neighbors and people at Church.
I transplanted this Rhubarb plant from my parents’ garden so I’m not sure on the variety… though from reading around online I’m guessing it’s some type of Canadian or Siberian variety. It can get very large with thick stalks and leaves over two feet across. If you decide to grow Rhubarb, make sure to read up on how to harvest it - you don’t want to over-pick the plant and the leaves are inedible (they’re actually somewhat toxic), it’s just the stalks that can be used.
Across the yard we also have some wine barrels that we’re using for an herb garden. Some of the more hardy herbs (Chives, Garlic Chives, Peppermint, Oregano) come back yearly, despite the fact the wine barrels freeze solid in the winter. I bought the blank slate garden markers on Amazon (and here is the how-to post on how I made them).
This year we also added two blueberry bushes to our landscaping since we didn’t have any fruit trees or bushes yet. It’s recommended to have two different varieties of blueberry bushes to encourage cross-pollinating and better fruit production, so we planted two different kinds near each other. We are already getting a few large berries from them which is very exciting! Here’s hoping they continue to do well in the years to come.
And that’s our little garden tour - thanks so much for following along! I’m no expert by any means, but if you have any questions please let me know.
Happy gardening!
KEEP UP WITH BIRCH LANDING HOME
| Etsy | Facebook | Instagram | Pinterest | Bloglovin' | Hometalk |
Whew, where is the summer going? It seems like just last week school got out - but here we are with just a few precious weeks of summer vacation left. We’re trying to squeeze in what fun we can with family hikes, day trips, visiting friends, - and of course enjoying some of our favorite summertime foods. One of my favorites is this Easy Chopped Greek Salad which can make a perfect dinner on a hot night or a side dish to bring to the neighborhood BBQ. | This post contains affiliate links |
- 2 cucumbers
- 2 large tomatoes (or a bunch of cherry tomatoes)
- half a red onion (I love red onions and tend to put in a lot... feel free to adjust the amount of red onion to your taste)
- 4 oz canned black olives, rinsed and drained
- 1 lemon
- olive oil (California Olive Ranch Brand is my favorite)
- oregano
- salt and pepper to taste
- 1 package of feta cheese
- fresh chives for garnish
This recipe is a great way to use up tomatoes, cucumbers, and herbs from your garden too!
How-to:
Chop cucumbers and tomatoes into bite sized chunks (remove seeds from tomatoes if they’re too “sloppy”).
Dice up to half a red onion (adjust amount of onion to taste).
In a separate bowl, make the dressing: juice one lemon, and add a splash of olive oil. Add about a tsp of dried oregano, and salt and pepper. Whisk together and add more olive oil or herbs/spices to taste.
Combine veggies, black olives, and dressing in bowl and mix well.
Add feta cheese and chives to garnish before serving.
Enjoy!
I make this salad just by “winging it” each time and don’t have exact amounts for olive oil or spices - really it’s up to you and your personal taste. Just experiment and see what tastes good to you.
KEEP UP WITH BIRCH LANDING HOME
| Etsy | Facebook | Instagram | Pinterest | Bloglovin' | Hometalk |
Here in New England we seemed to have a very late start to spring this year… after all the snow didn’t even melt from our yard until May 2nd! The rest of May has been generally cool and rainy and didn’t give us a chance to rototill and prep our garden until now. I finally planted the garden with our older daughter today and fingers crossed it does well this year! Last year our garden was a bust… we inadvertently overdid it with adding woodash the year before and nothing grew. But thanks to soil testing with UNH we have since re-set the pH and other imbalances and things should be off to a better start this year!
KEEP UP WITH BIRCH LANDING HOME
| Etsy | Facebook | Instagram | Pinterest | Bloglovin' | Hometalk |
These are always fun! Sharing my top nine Instagram posts from this past year - and it's a little bit of everything, which is quite fitting!
You can follow me on Instagram at @birchlandinghome
KEEP UP WITH BIRCH LANDING HOME
| Etsy | Facebook | Instagram | Pinterest | Bloglovin' | Hometalk |