I'm a wife, stay-at-home mom, crafter, and blogger living in rural New England. As seen in Martha Stewart Living, Food Network Magazine, and more! | Tutorials, DIY, crafts, parenting tips, recipes, money saving tips, product reviews, local product features, New England living, intentional living, and more! |
Last summer Pinterest blew up with DIY Cattle Panel Trellises and I decided I was going to jump on this bandwagon next season… And so here we are - it’s spring and I’m excited to get this set up and document my garden’s progress this year. | This post contains affiliate links |
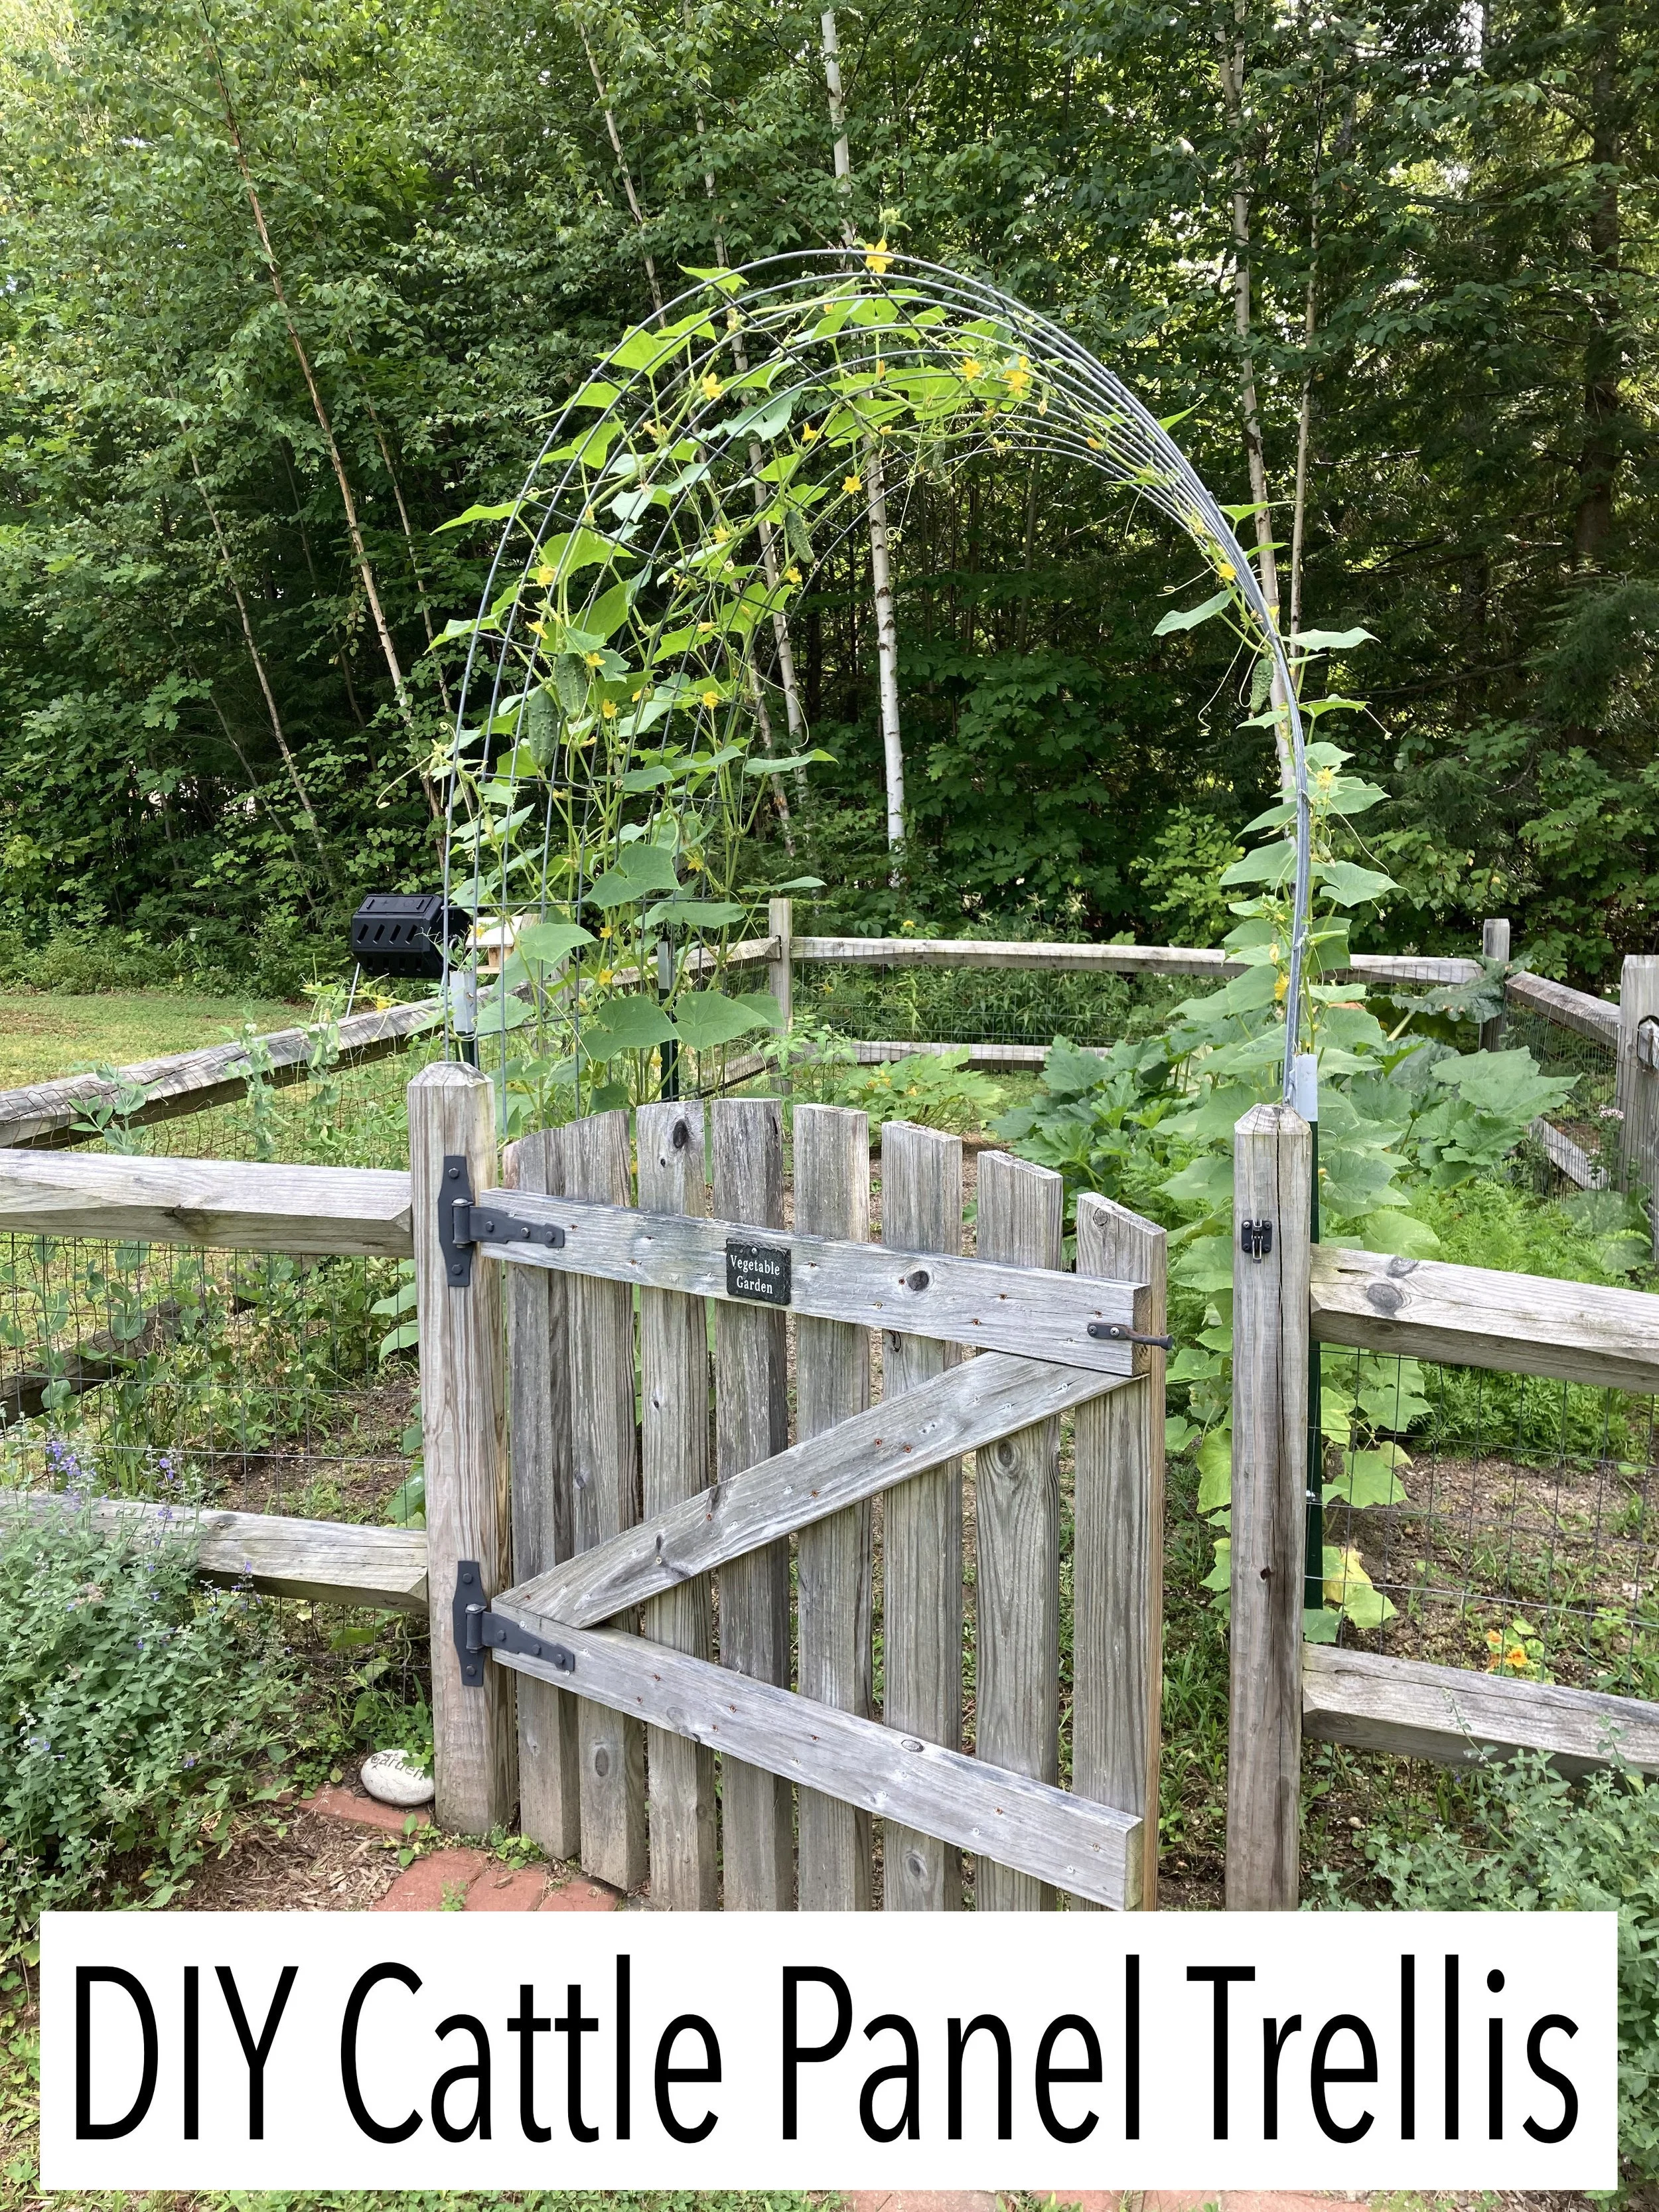
- This post will show how we built our Cattle Panel Arch and I will also add progress photos to this post as our garden grows -
To make a Cattle Panel Trellis, you really only need a few things. We picked up most of our materials at a local Tractor Supply store but you could find these materials at other farm/garden centers too or order online. The trickiest part was getting everything home since the cattle panel is fairly large. Thankfully my father-in-law has a pickup truck and was able to pick up the items for us.
Materials:
Cattle Panel (we ordered online and picked it up at our local store)
T-posts (you can buy them individually in store too)
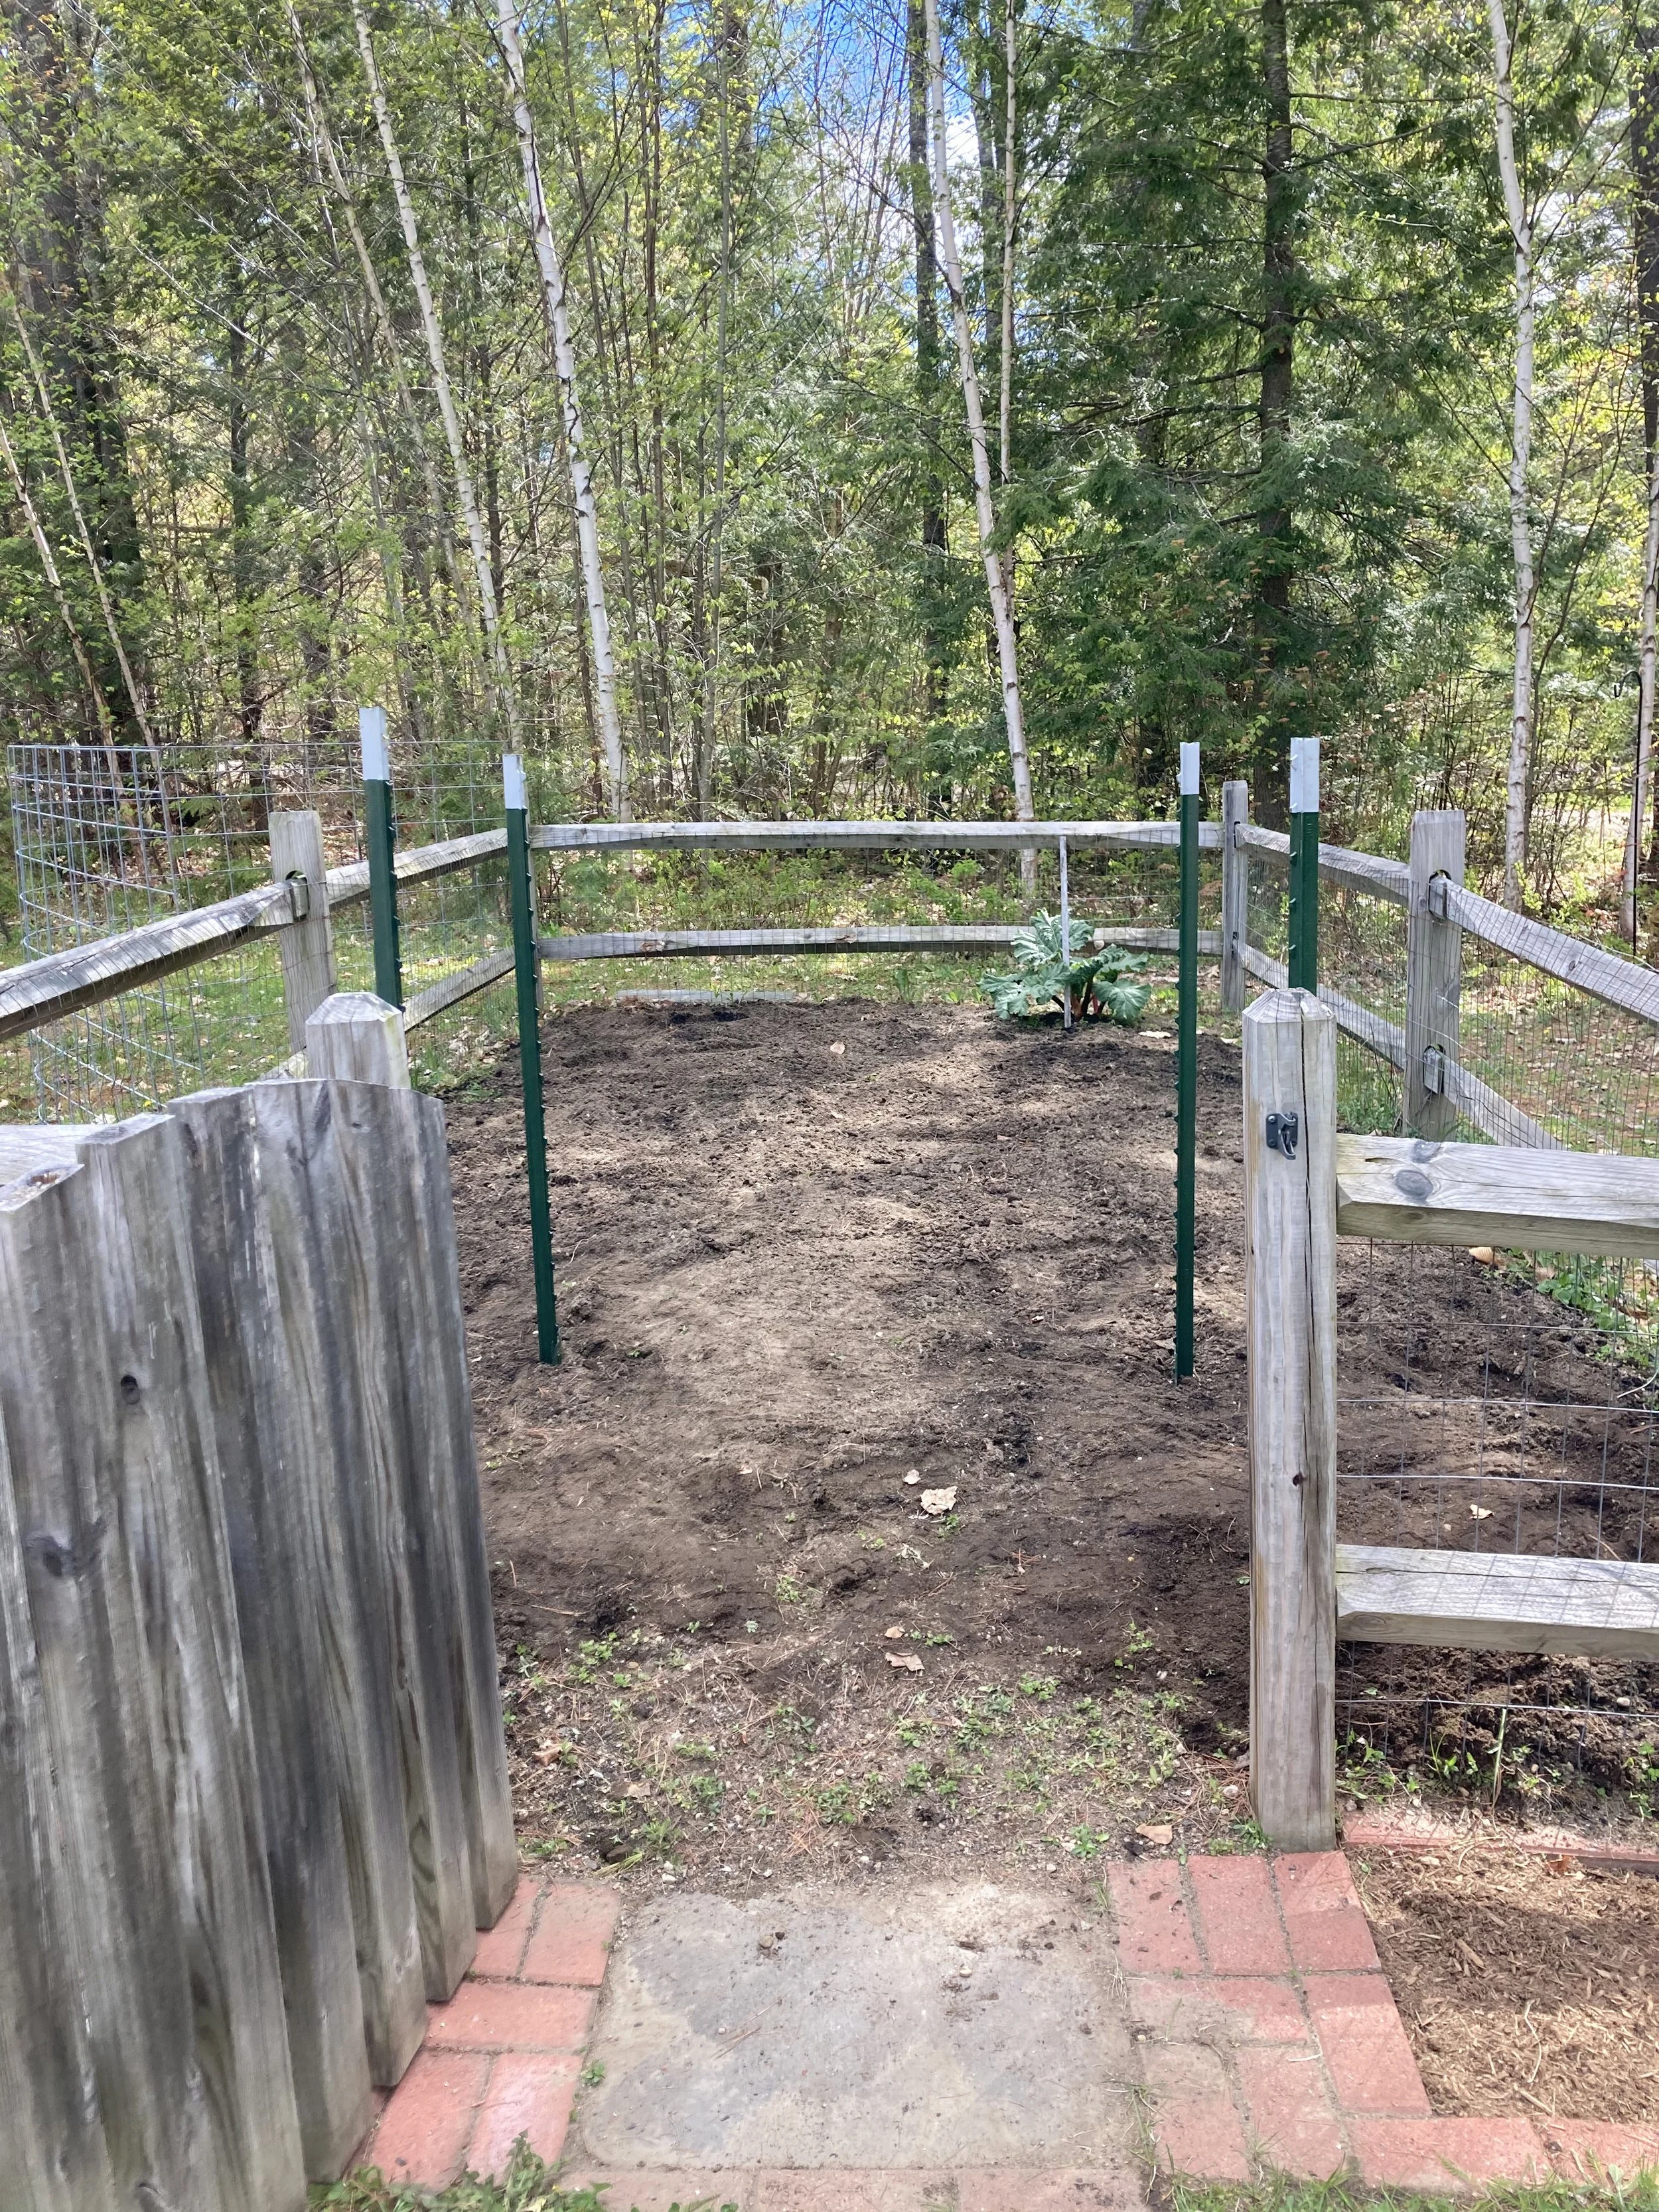
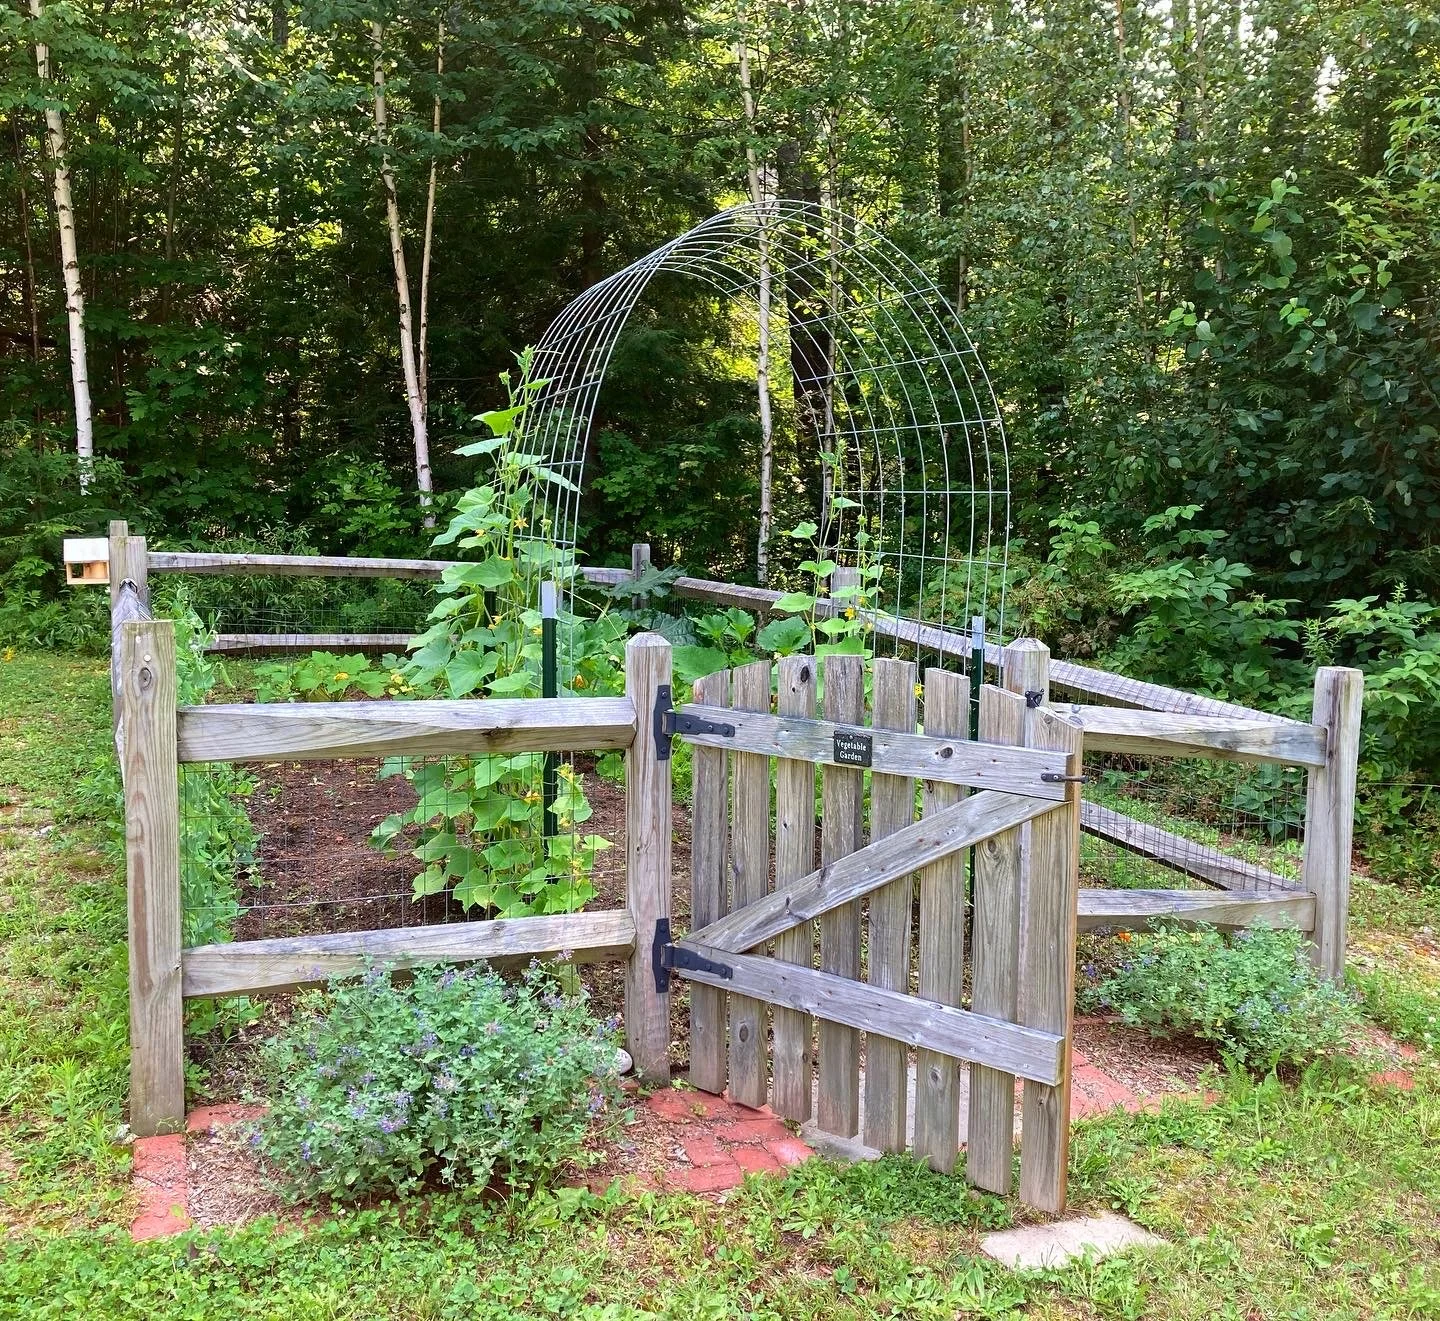
First, figure out where you want your arch to go. For us we put it just inside our garden gate to frame the entrance. It’s also on the north side of our garden so it won’t shade the other veggies too much.
Once you have it laid out and square, drive the t-posts in with a hammer or post driver until they’re deep and sturdy. This was easier-said-than-done with our rocky soil here in NH, so one post couldn’t go in quite as deep as the others but it was sturdy enough still.
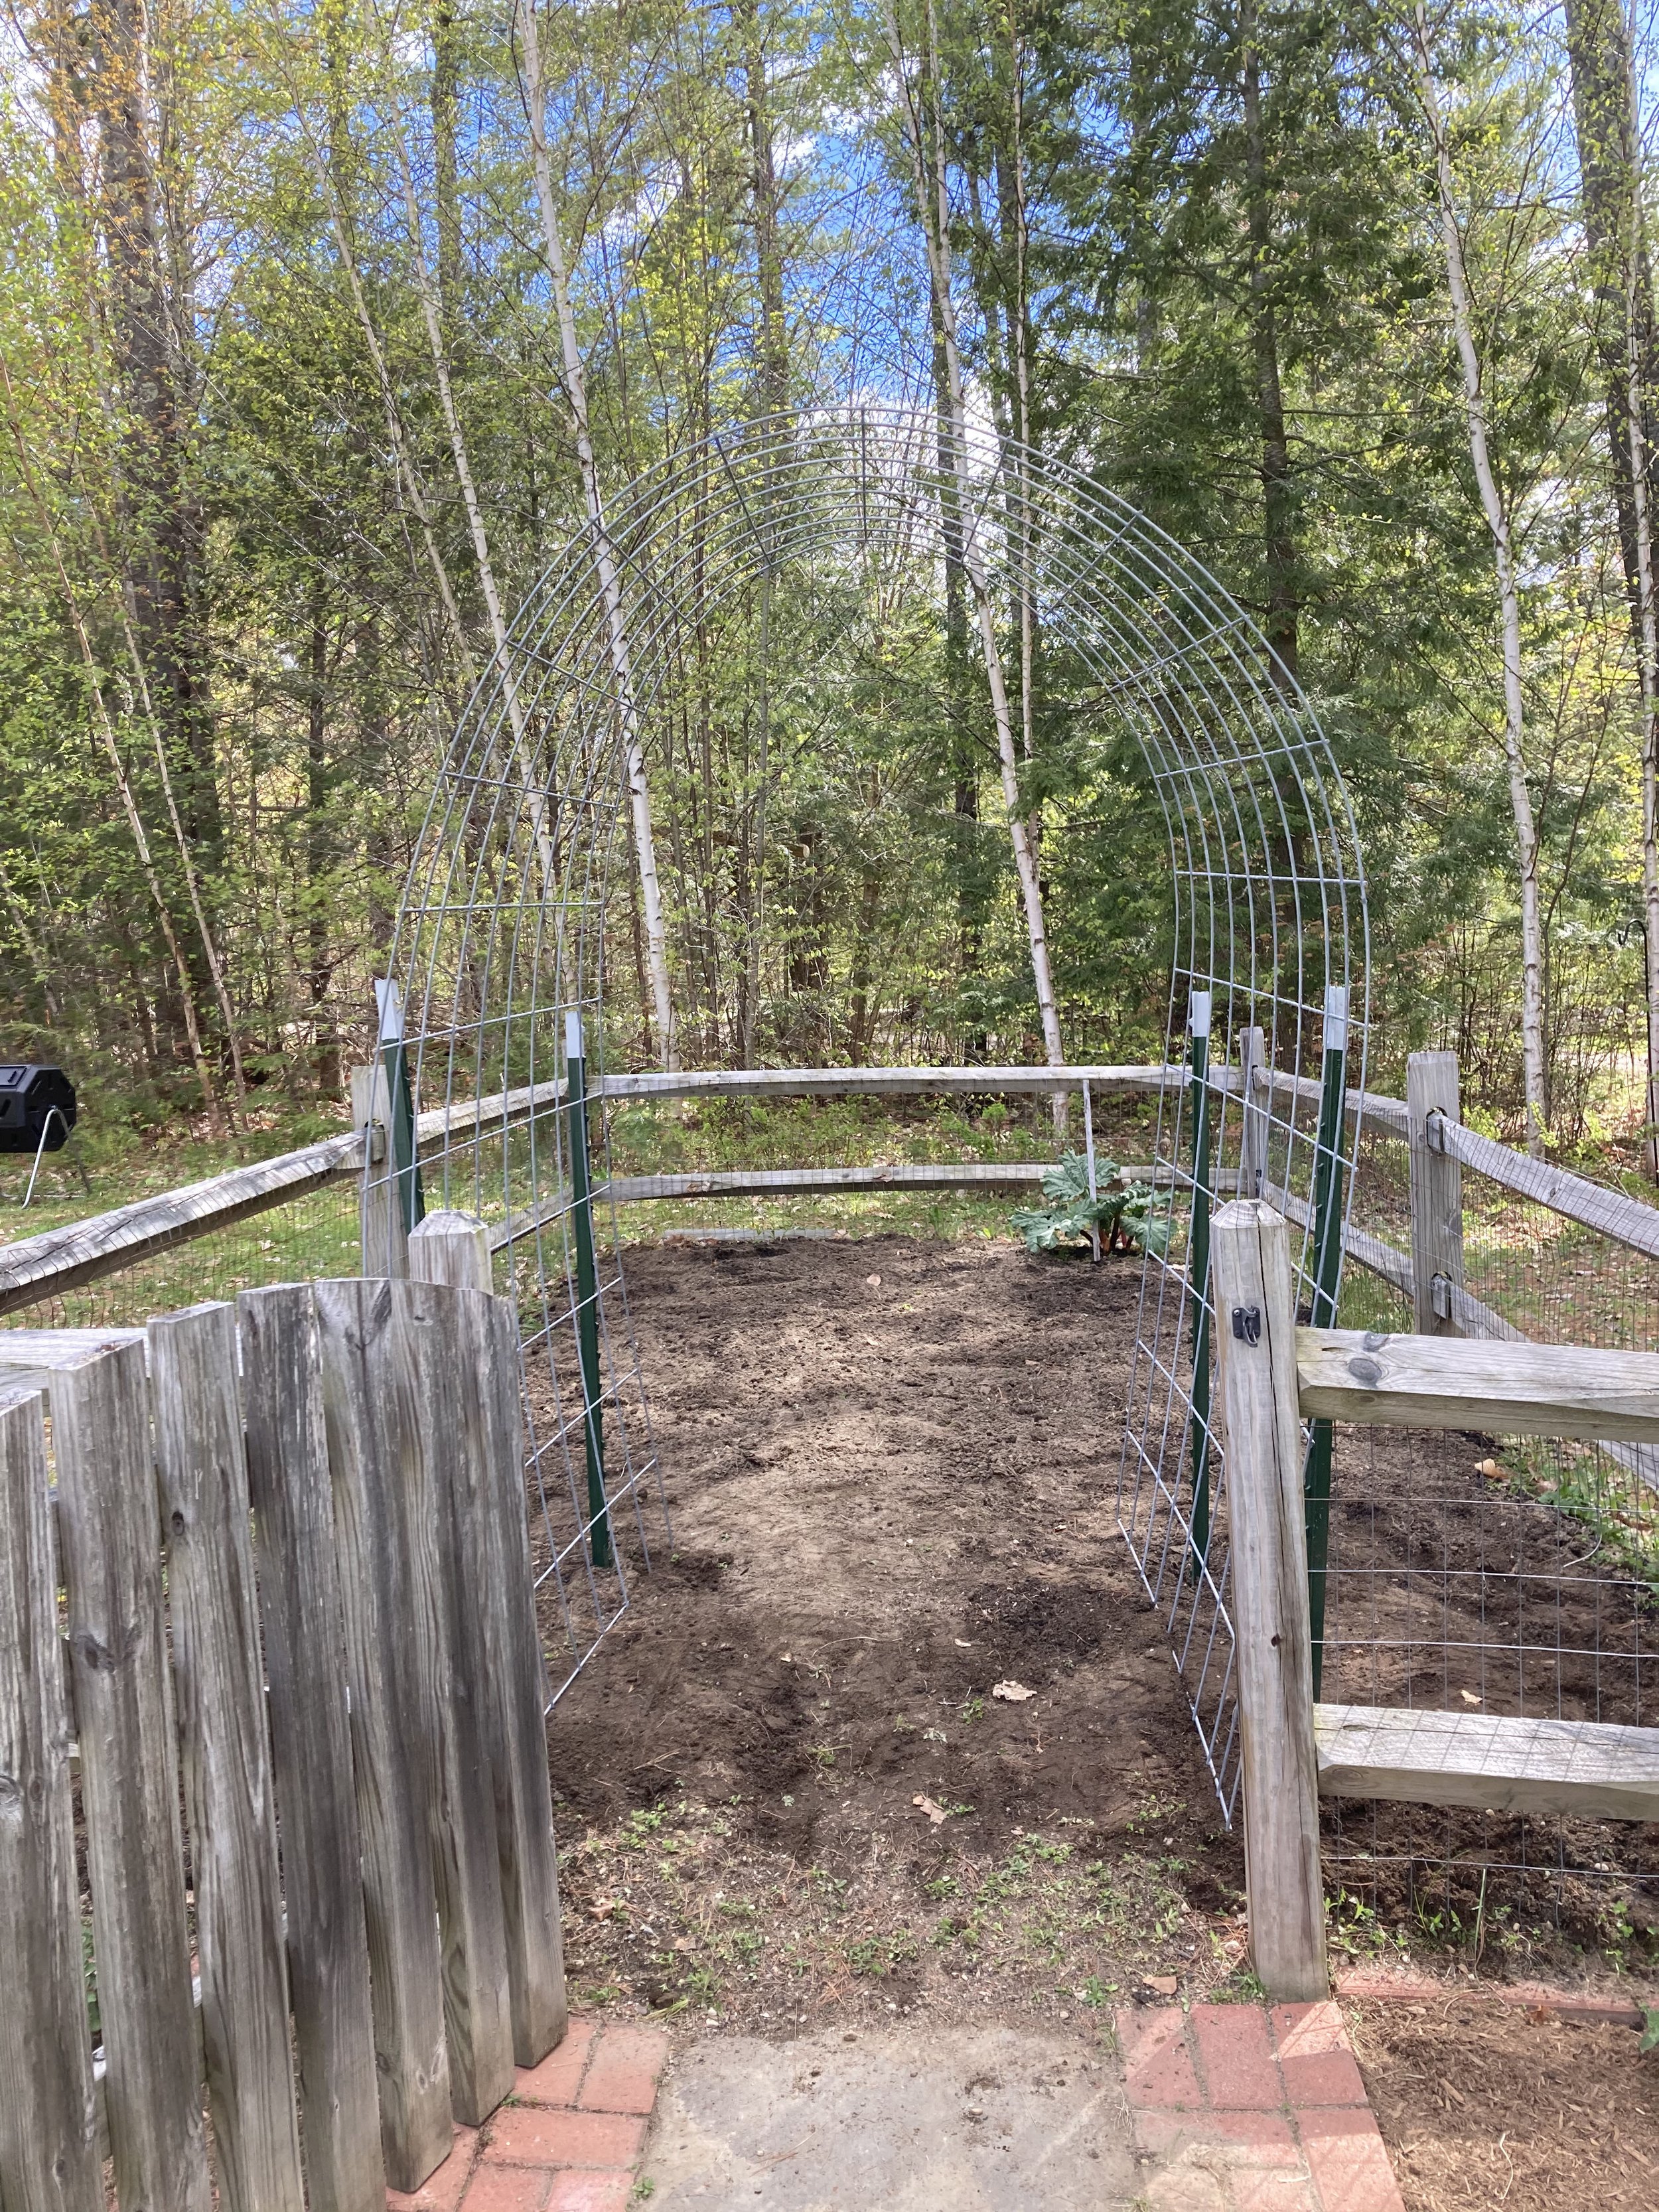
Next gently bend the cattle panel into a “rainbow” and set it inside the square you made. (Next year we might move our t-posts out a little wider to get a more gentle and less-tall arch, but this worked fine for us too as-is.)
Once you get it in place, secure it with hose clamps, heavy duty wire, or some rope so it stays in place.
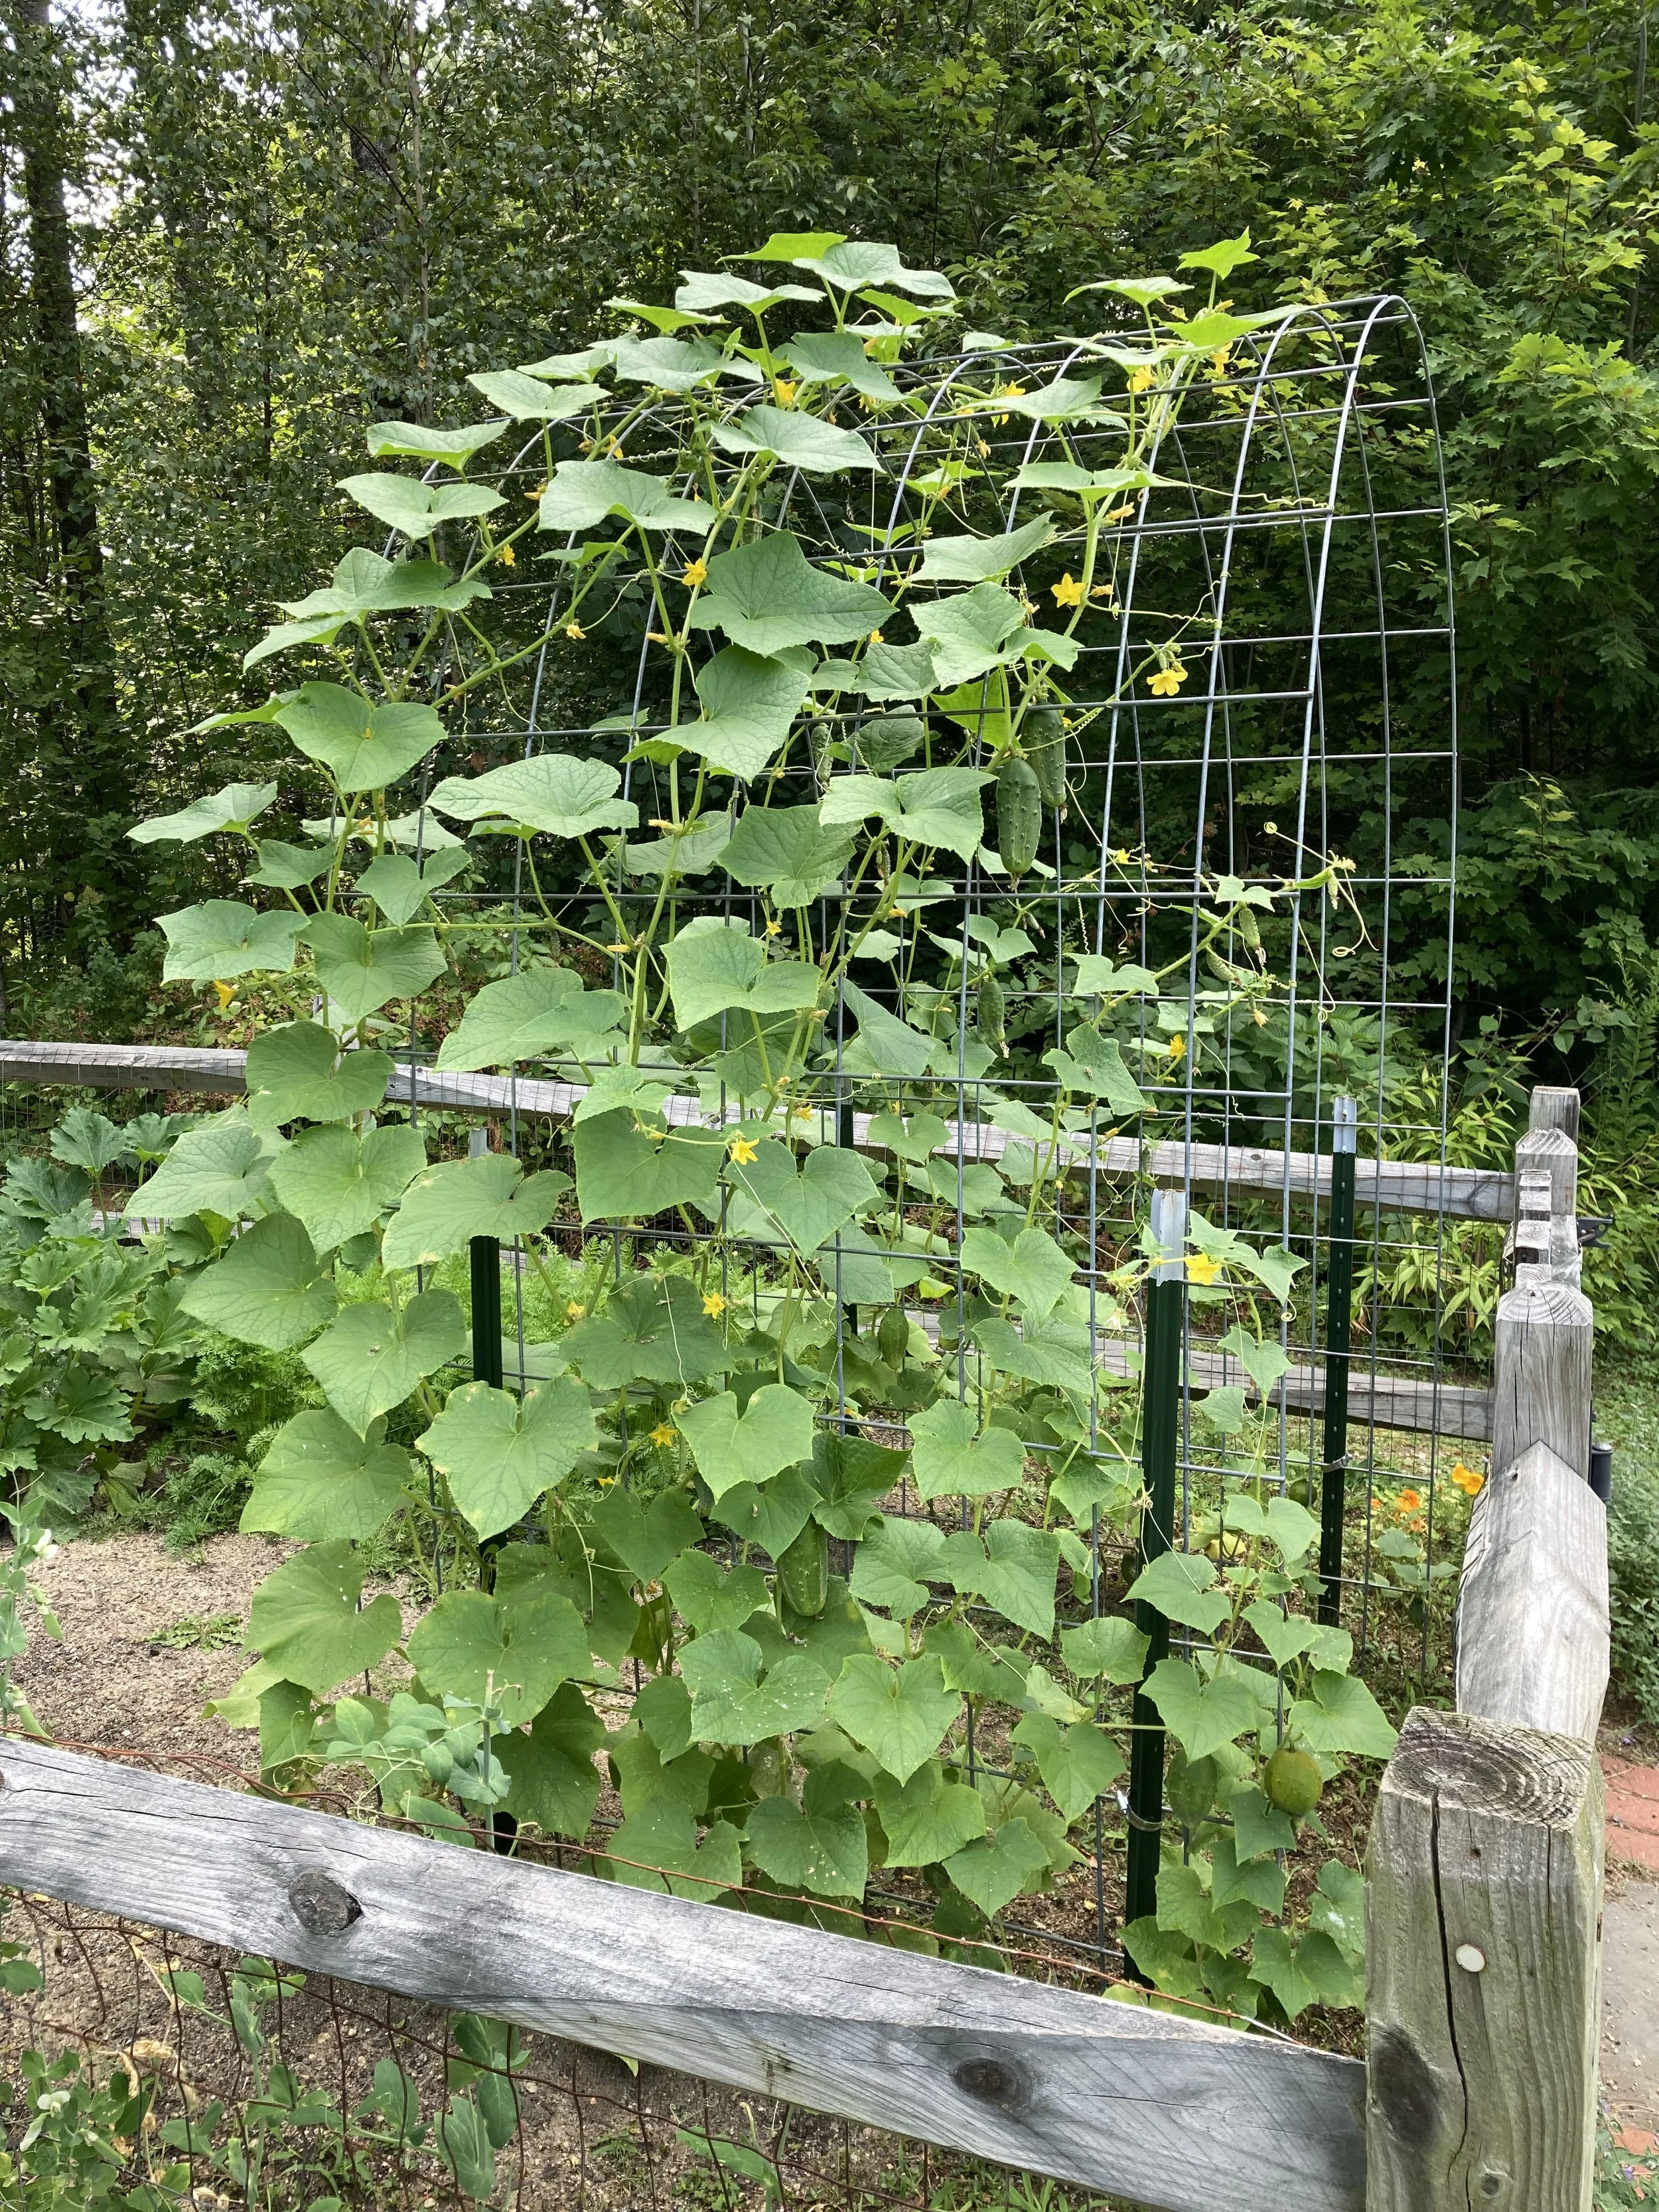
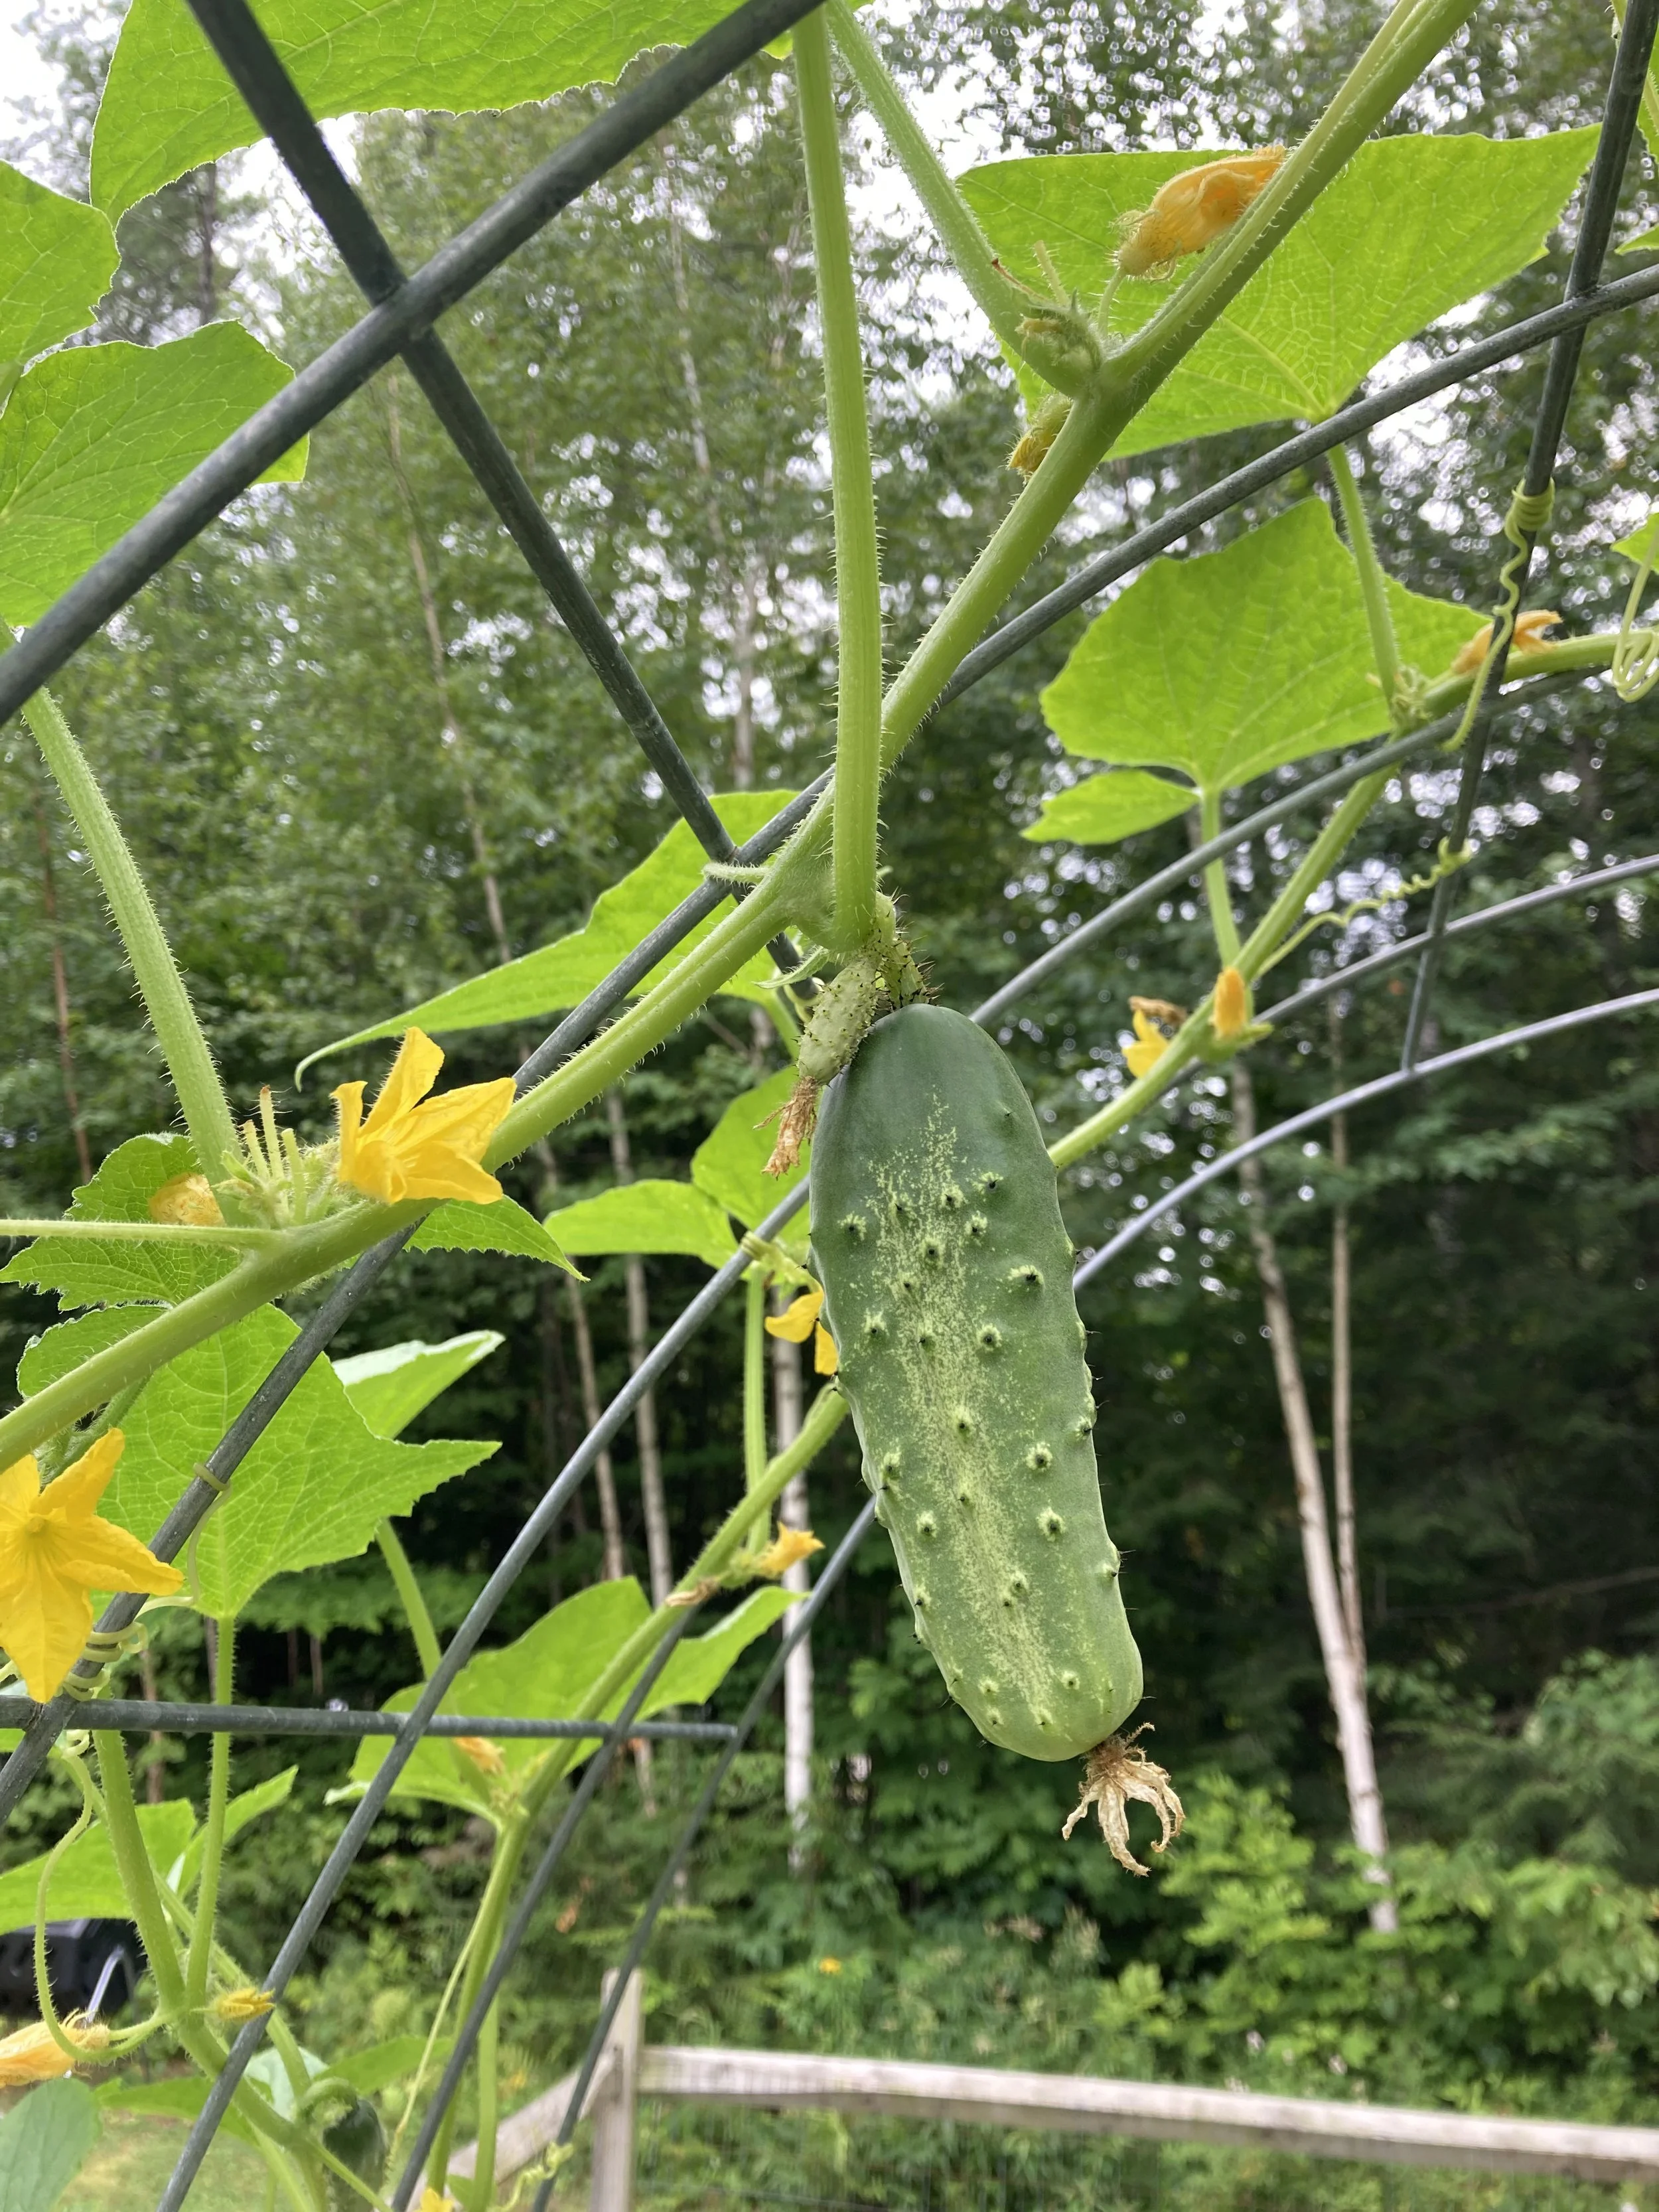
Now you can plant! We planted ours with vining cucumbers, but you could plant just about any vining plant on these - including peas, squash, ornamental gourds, flowers, etc.
The vines do a great job climbing the arch on their own, but it’s a good idea to check them daily and gently guide the vines where you want them. There’s always a rogue vine that will try to go the other way! They will especially need some help being trained to follow along the top of the arch since their natural inclination will be to continue growing straight up rather than bending around the curve at the top.
And that’s it! Overall it was a very easy project and one we will definitely continue with in the future. I also noticed a huge benefit for our pollinators too - the bees were able to reach the flowers easily and we had a bumper crop of cucumbers this year. They were also very easy to pick hanging down from the arch.
Good luck on your cattle panel trellis adventure!
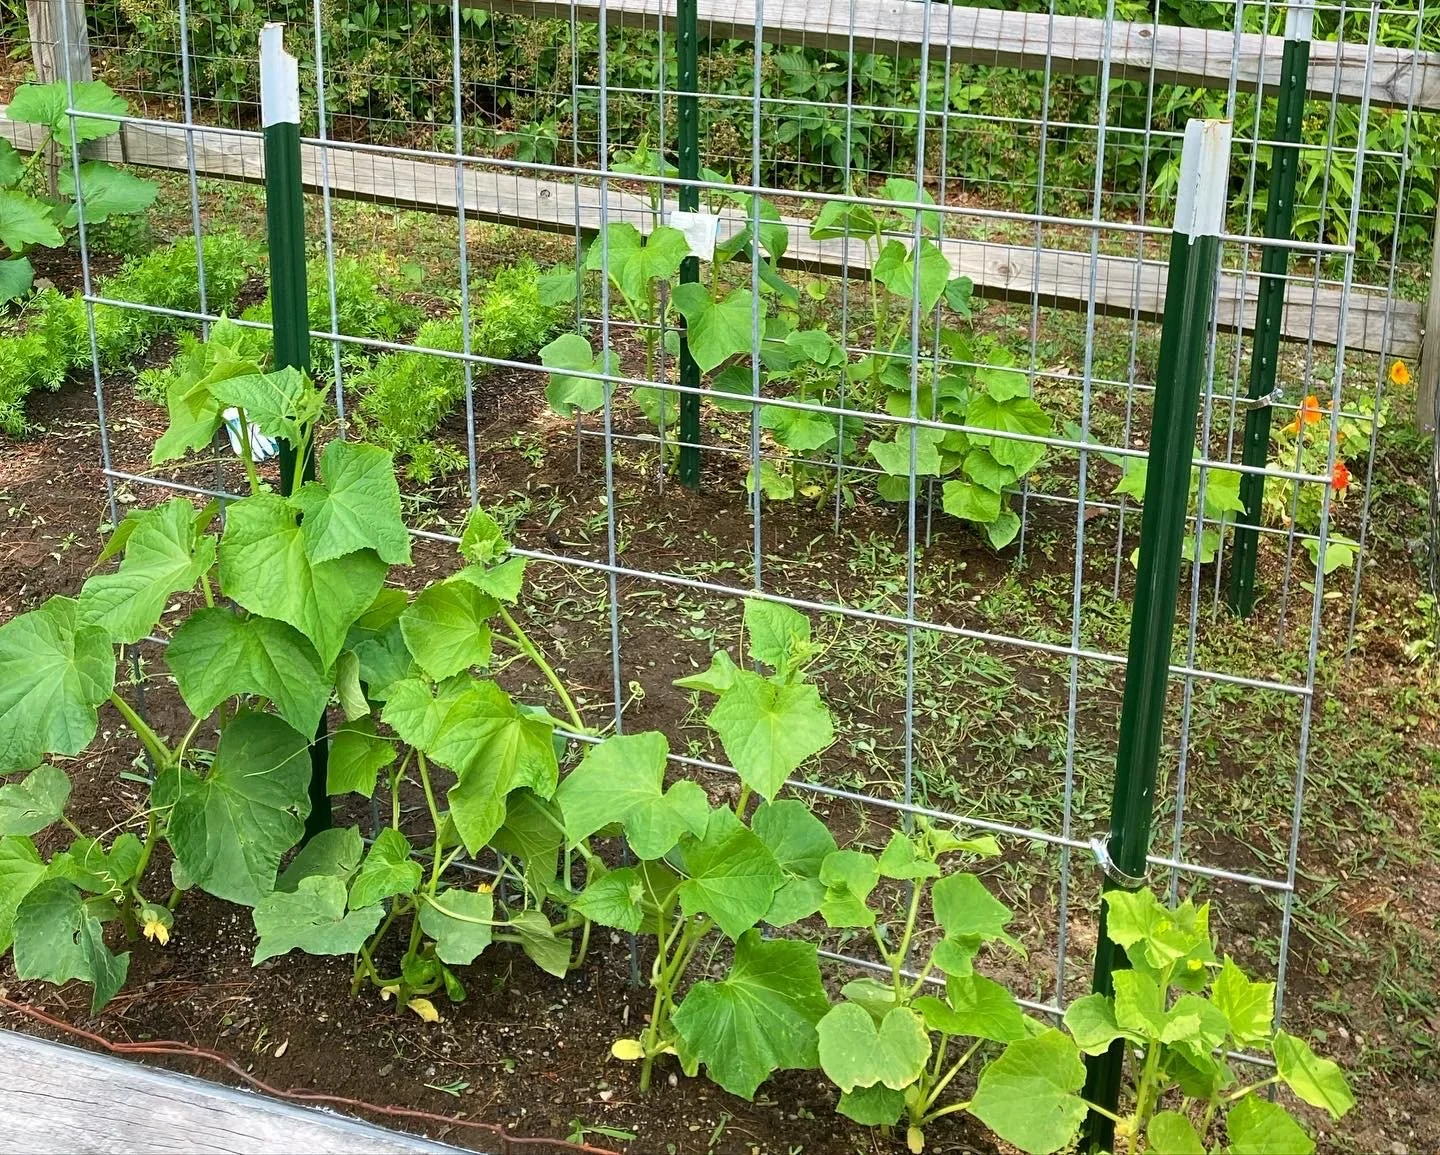
From earlier in the season, before the vines reached the top.
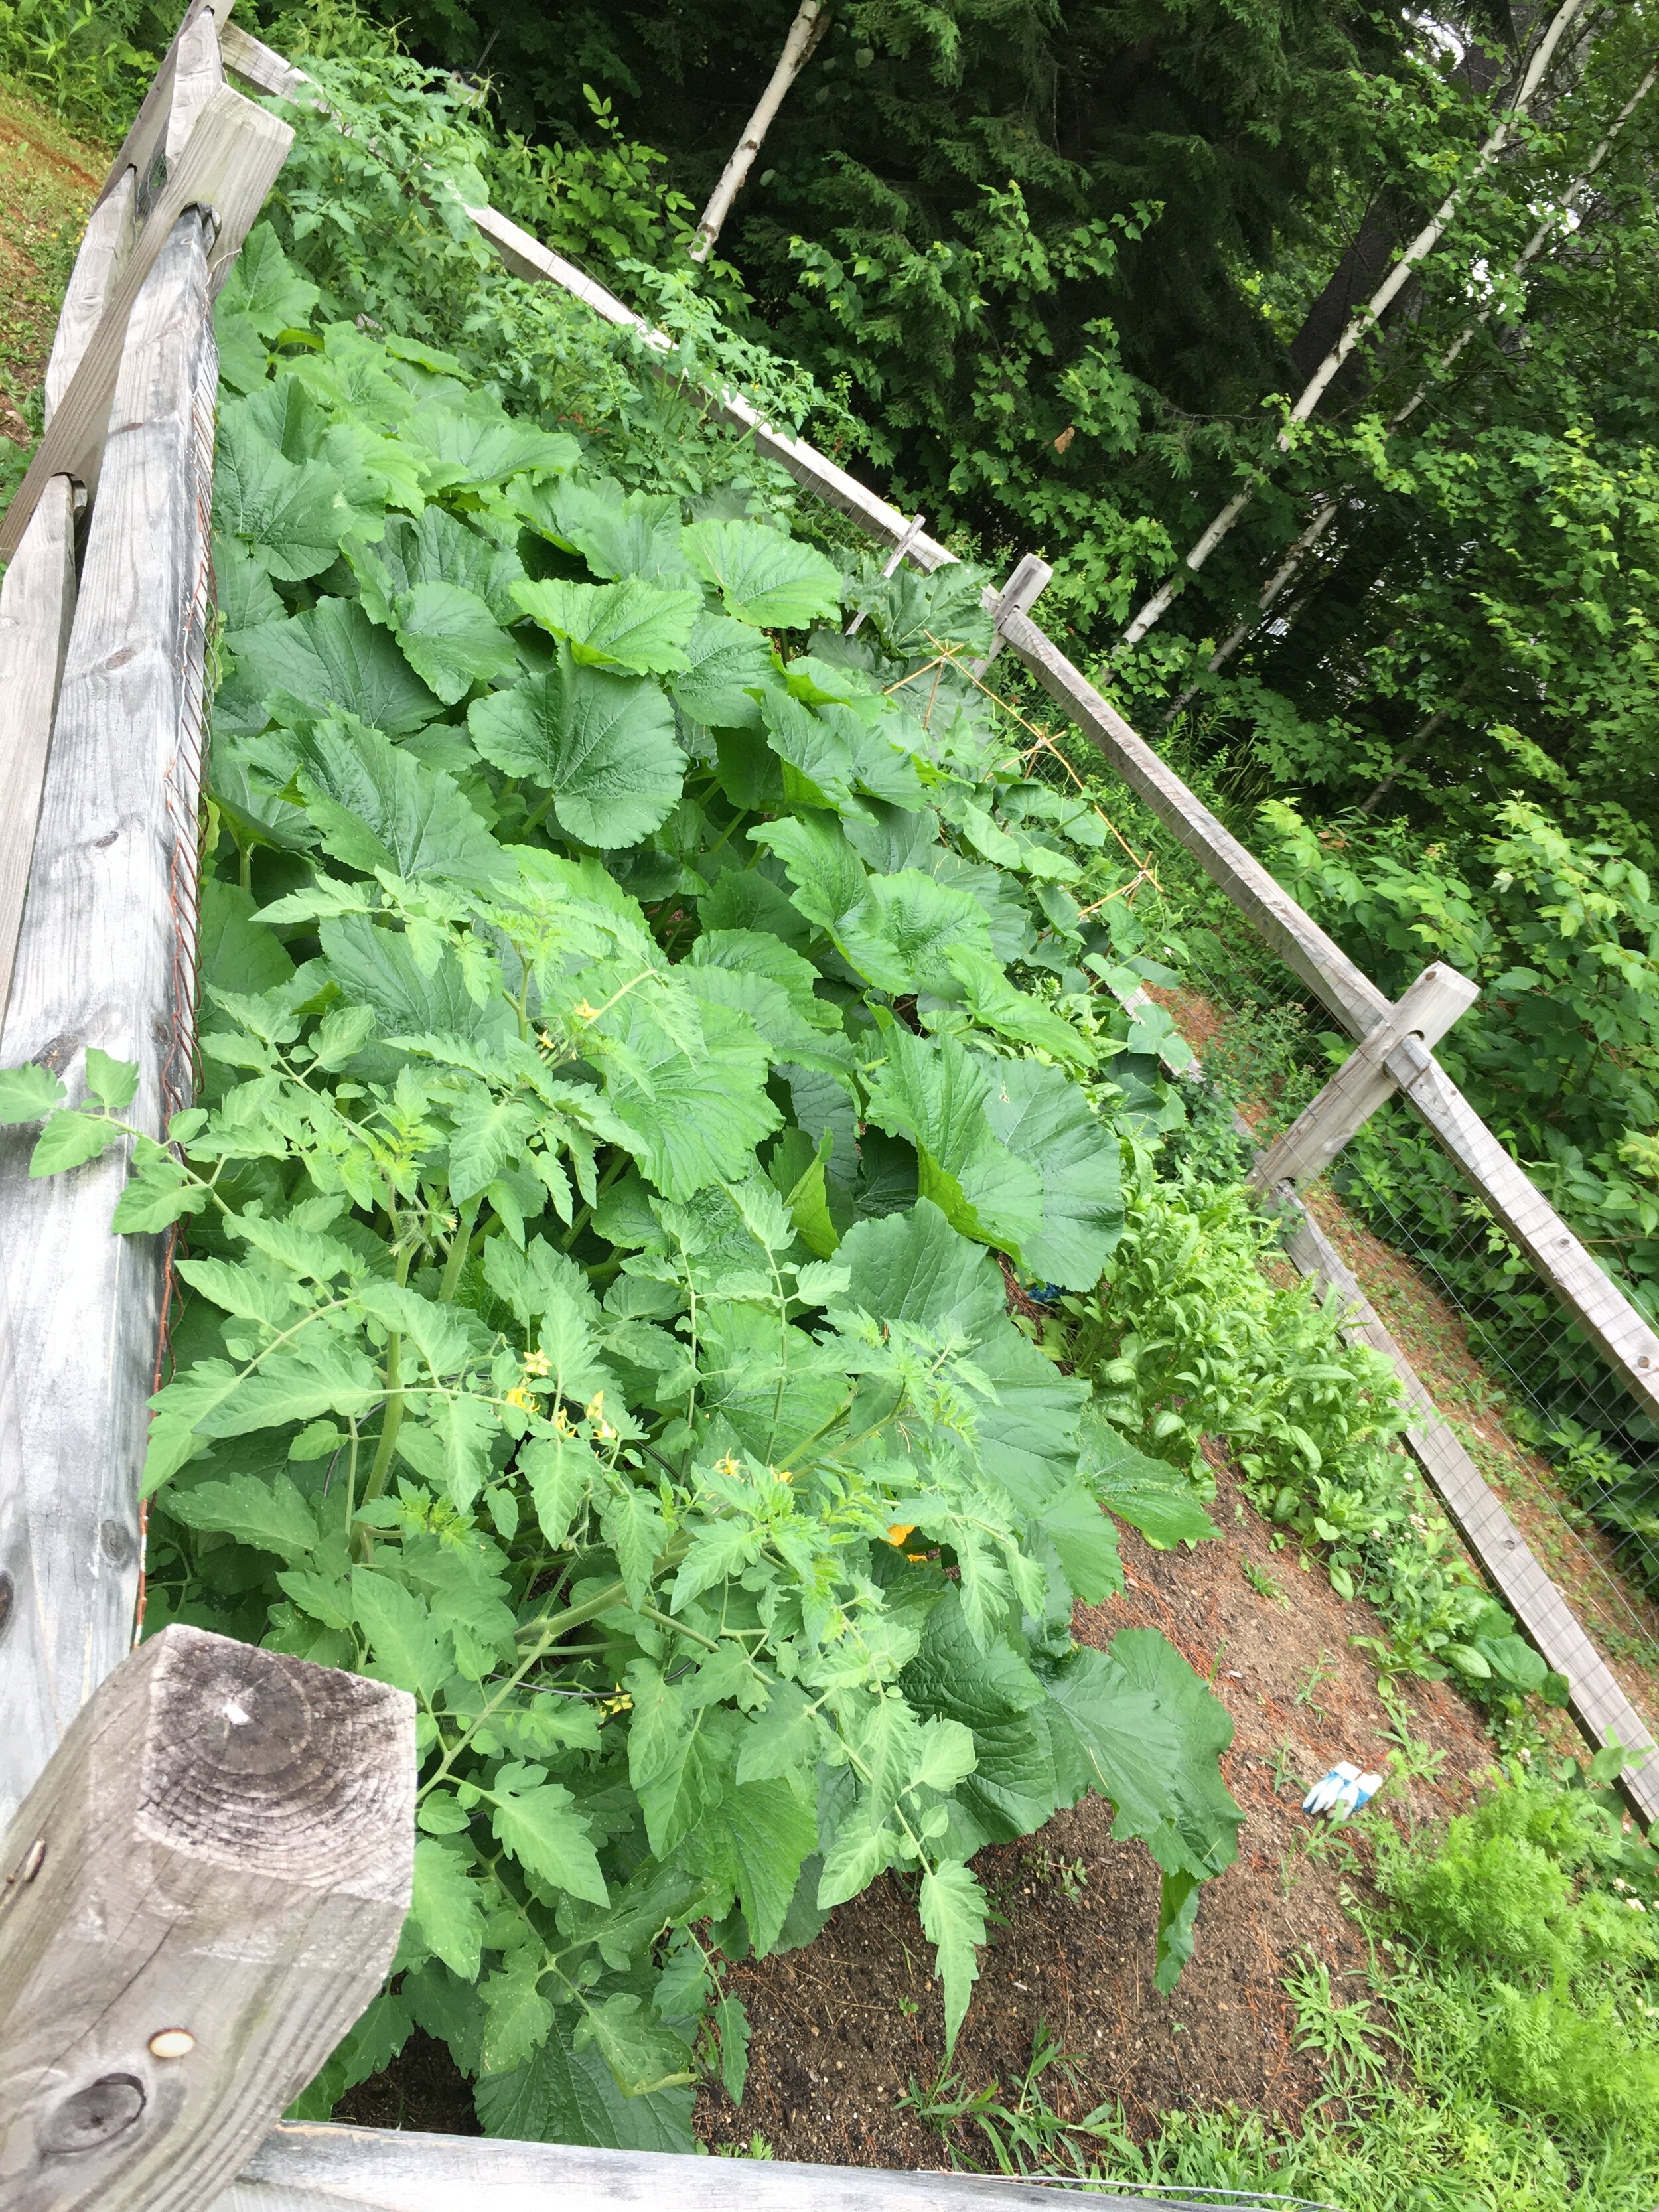
So our garden isn’t magazine-worthy (and it definitely could use a good weeding - the spot by the gate gets so over-run with crab grass I can never seem to keep up) - but it’s been doing really well this year and I thought I would give a quick tour and share some things we’ve been doing in our Victory Garden. New England, Zone 4-5. | This post contains affiliate links |
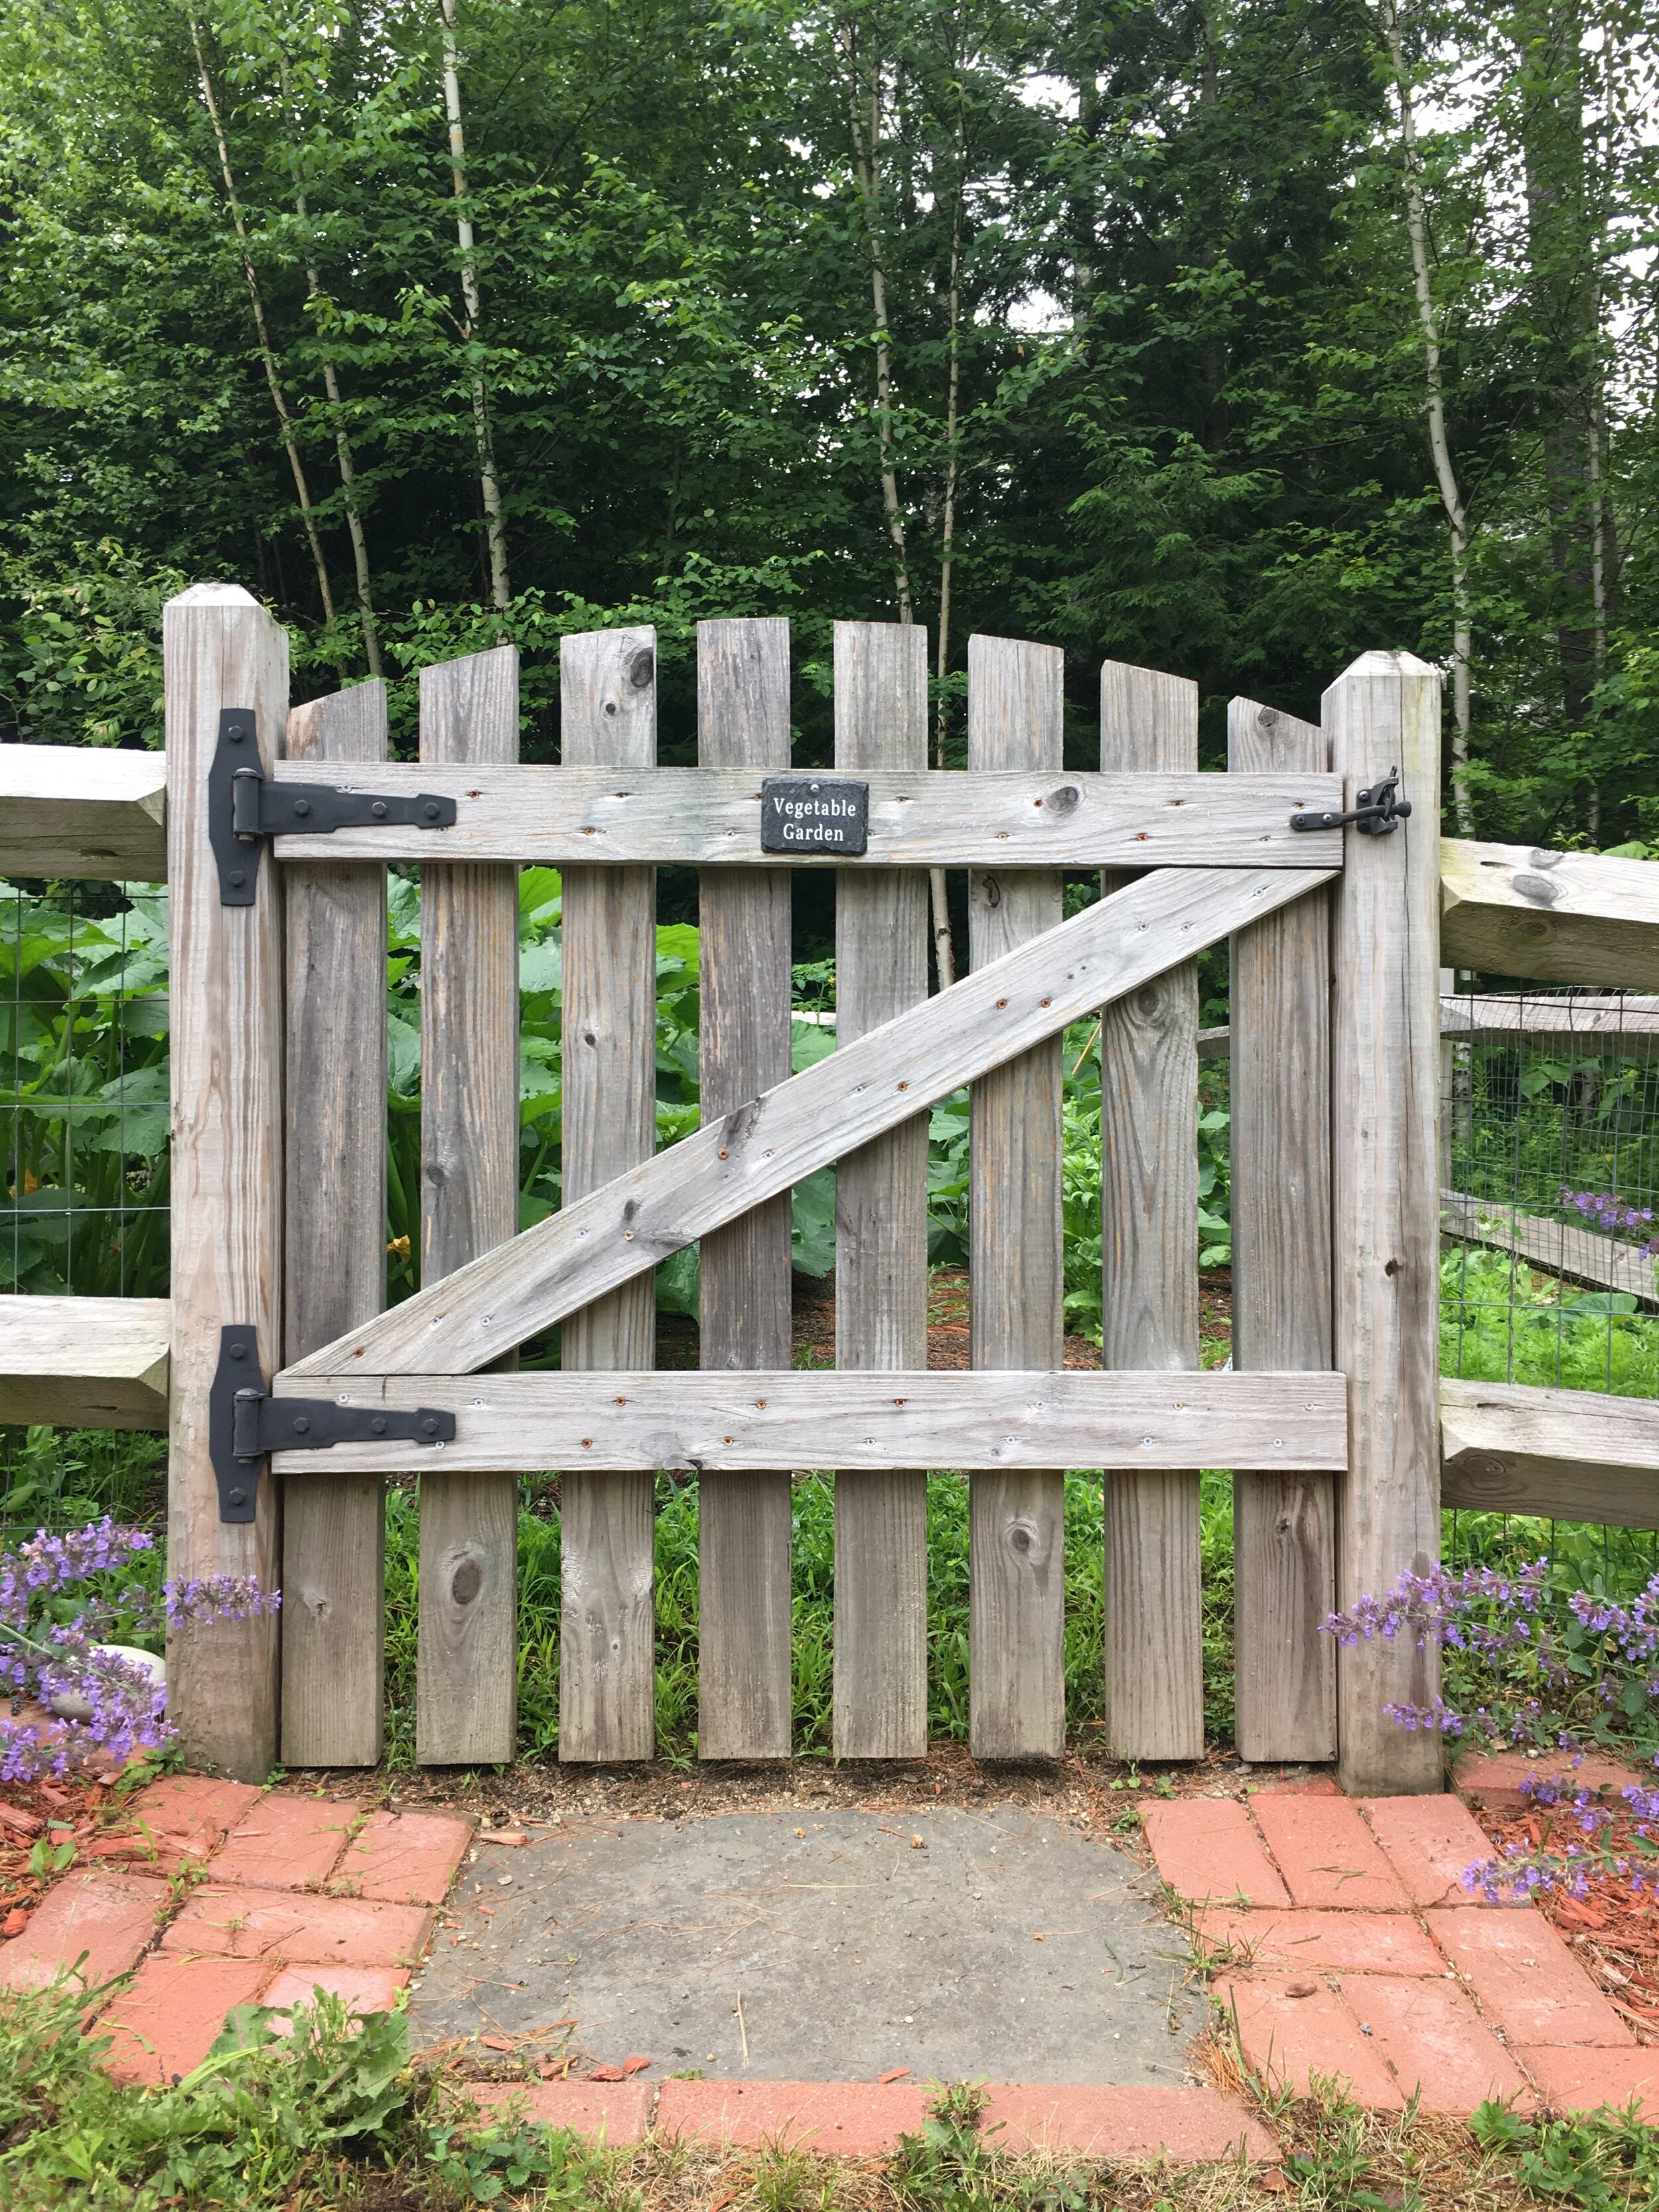
Our garden is approximately 12x24 feet. My husband built the enclosure seven years ago with split-rail fence lined with garden wire fencing (to help keep critters out) and then designed and built the gate himself - the gate is absolutely my favorite part! At the front of the garden I inlayed bricks and pavers (all of which we had on our property left over from the previous owner years ago) to create a little stepping stone walkway leading up to the entrance of the garden and a small flower bed on each side.
Inside the garden everything was planted from seed and directly sown into the ground mid-May with the exception of the Rhubarb plant (it’s a perennial) and the Tomato plants (I purchased them as seedlings from a local garden center).
For fertilizer we put a few bags of composted cow manure in before rototilling in the spring, and then after planting the seeds I sprinkled a small amount of 10-10-10 Fertilizer across the garden.
In each of the front flower beds I planted Catmint which is a perennial and a great pollinator plant! The blooms attract lots of bees and butterflies and help encourage pollination in the vegetable garden. I also just love how wild and cottage-y they look. They’re also very drought tolerant and hardy - a great no-care plant once they’re established.
Soon I would like to also get some type of Mason Bee House to add to the garden to further ecourage pollinators to come to the garden.
Just inside the garden, along either side of the front, I planted Snap Peas against the fence so they would have something to climb. I also planted Carrots along this front area on each side as well.
When I directly sow the seeds into the ground, I usually stake the empty seed packet with a twig (seen above for the Snap Peas), to mark where I’m planting and so I can reference when the seeds should start to sprout, mature, etc as they grow. Now that my plants are mature I could take all these out but I haven’t just yet.
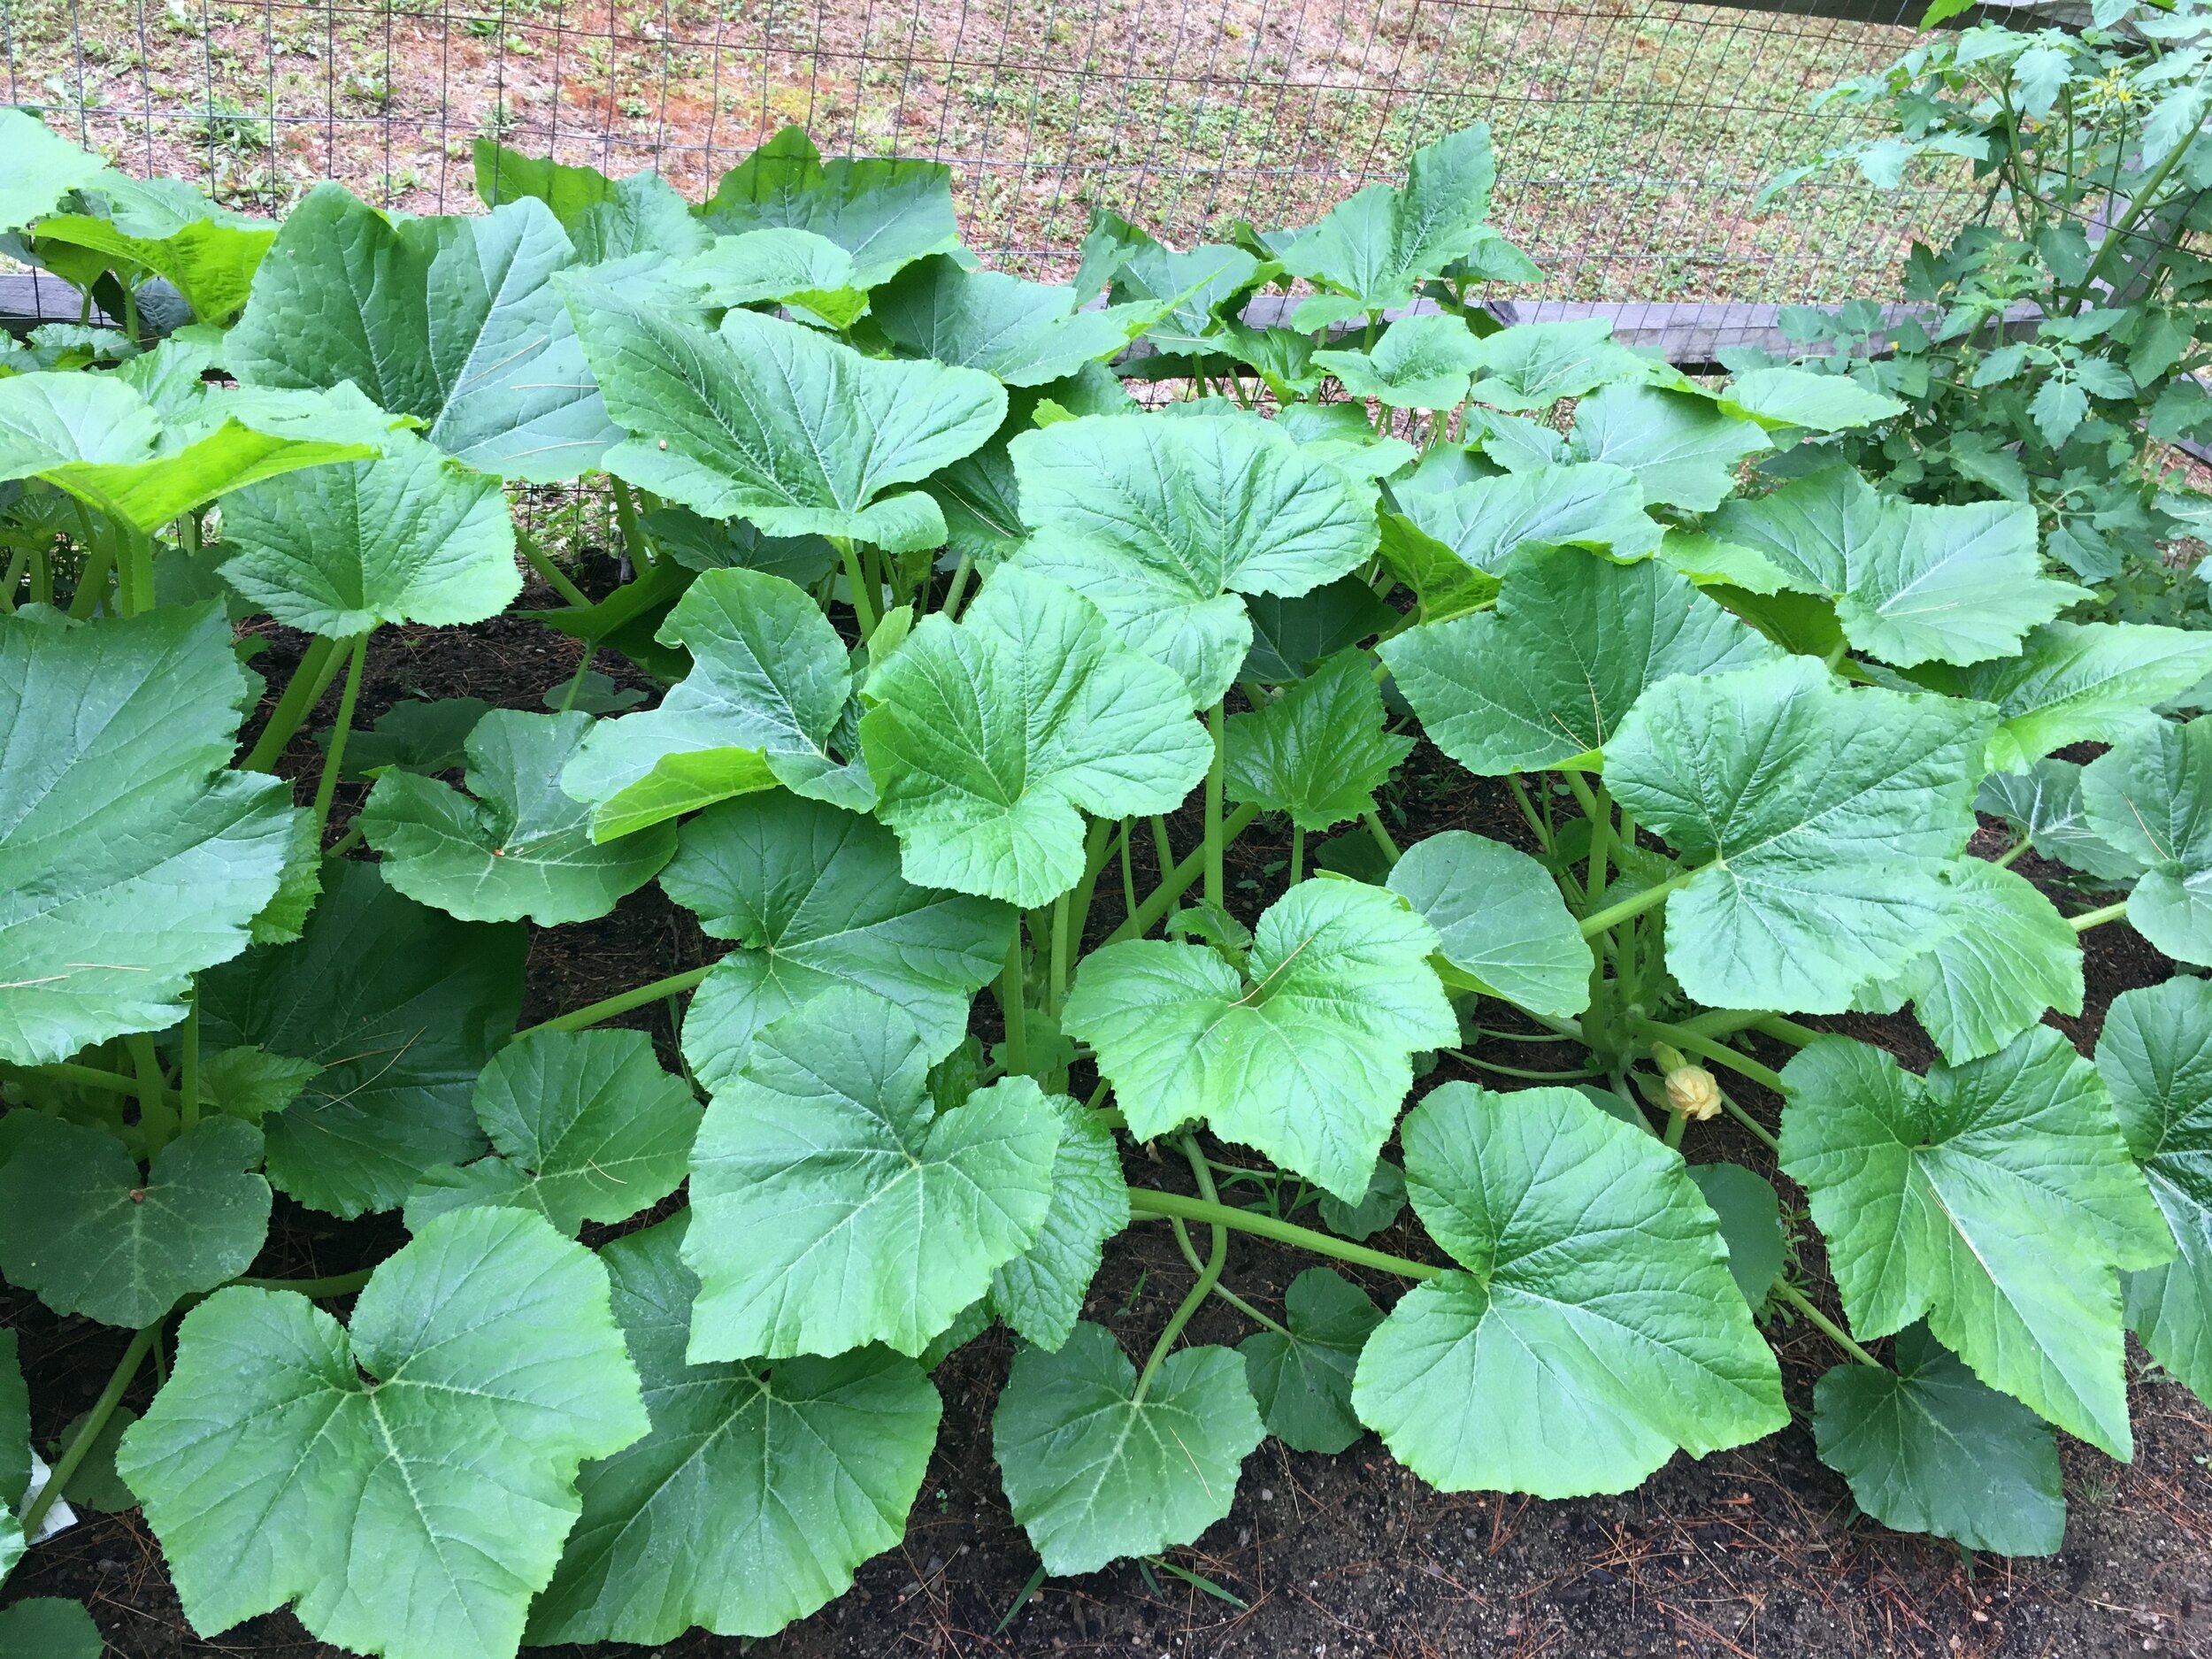
The Zucchini plants are huge this year! Right up to the top of the fence… though I do need to thin out some of the lower leaves on the ground soon for better air flow and access for pollinators (it also can help keep your plants from getting disease/mildew from the ground too).
Here are my Summer Squash plants, which are a bit smaller than the Zucchini ones but doing really well overall. I also need to thin out some of the lower leaves on these as well.
Spinach are cold weather plants and these ones pictured above are sadly done (I actually pulled them out after I took these photos). Once it starts getting hot they tend to “bolt” or grow upwards really fast and flower. Once they do that the leaves are bitter and don’t taste good. This spinach crop is done for now - though I will try to plant more Spinach late summer/early fall to get another harvest in the Fall.
Cucumbers are doing well too. It's a bit hard to see in this photo but I made a small trellis out of Bamboo Stakes and twine for them to grow on. The trellis may look flimsy, but bamboo is actaully really strong (and eco-friendly) so it's great to use in the garden to help support plants.
Along the back I have several Tomato plants growing, both cherry tomato and slicing tomato varieties; behind these along the fence I also have some Sunflowers growing too.
Now for the “showstopper” of the garden - our Rhubarb plant! This is definitely the plant that gets the most interest and questions about in our garden because it’s so big. Rhubarb is a perennial and will come back each year - so make sure to plant it somewhere out of the way where it will have room to grow. We planted this one in the back corner of our garden and marked the area with a stake so we don’t rototill over it in the spring.
While I’m honestly not a huge fan of Rhubarb myself (it’s very sour), growing it is a tradition in our family… when I was growing up we had a very large garden with at least 16 Rhubarb plants. We had so much Rhubarb that we would pick literally garbage bags full of it to give to neighbors and people at Church.
I transplanted this Rhubarb plant from my parents’ garden so I’m not sure on the variety… though from reading around online I’m guessing it’s some type of Canadian or Siberian variety. It can get very large with thick stalks and leaves over two feet across. If you decide to grow Rhubarb, make sure to read up on how to harvest it - you don’t want to over-pick the plant and the leaves are inedible (they’re actually somewhat toxic), it’s just the stalks that can be used.
Across the yard we also have some wine barrels that we’re using for an herb garden. Some of the more hardy herbs (Chives, Garlic Chives, Peppermint, Oregano) come back yearly, despite the fact the wine barrels freeze solid in the winter. I bought the blank slate garden markers on Amazon (and here is the how-to post on how I made them).
This year we also added two blueberry bushes to our landscaping since we didn’t have any fruit trees or bushes yet. It’s recommended to have two different varieties of blueberry bushes to encourage cross-pollinating and better fruit production, so we planted two different kinds near each other. We are already getting a few large berries from them which is very exciting! Here’s hoping they continue to do well in the years to come.
And that’s our little garden tour - thanks so much for following along! I’m no expert by any means, but if you have any questions please let me know.
I've been eyeing slate garden markers for our herb garden for awhile now, but buying pre-made ones are soooo expensive and they never have all the varieties I want. So I decided to take matters into my own hands and make my own. Because I have the world's worst handwriting (it's true, ask anyone) I used a Cricut to cut the text for me, but if you have half-decent handwriting you could easily do this project with a paint marker too. | This post contains affiliate links |
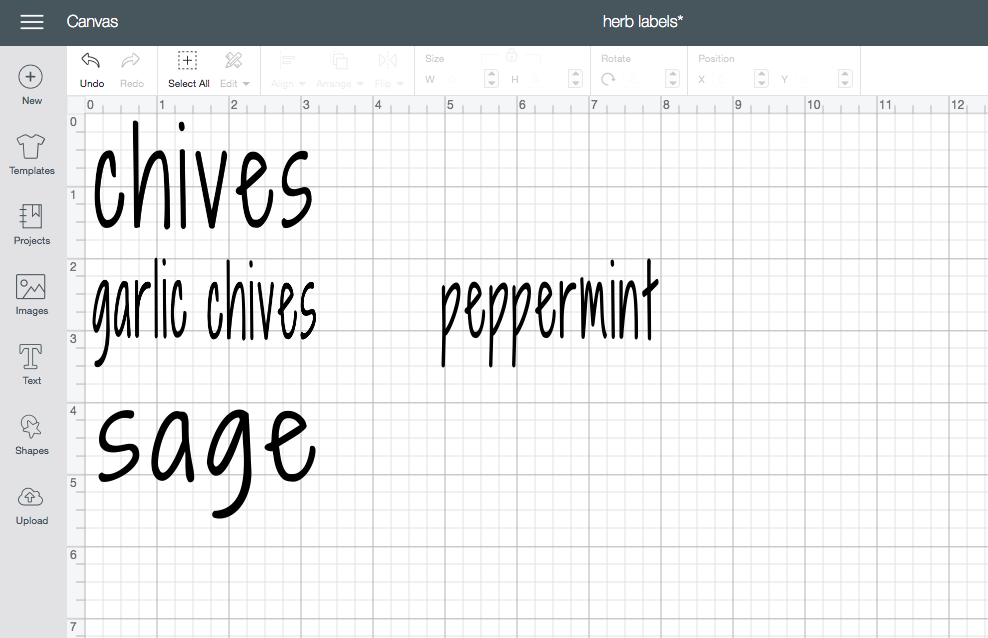
1. If using your Cricut to make the text, measure your garden markers and make each "label" in Design Space the appropriate size. I chose a font with a handwritten feel, but you can use whatever font you prefer. You may need to play around with the scale of the lettering to get it to fit. Use 651 Permanent Vinyl to cut your text.
2. "Weed out" your text, removing any pieces of vinyl you don't want to be in your final design. I find a dental explorer to be super useful here to get rid of the pieces inside of letters, but it's not necessary. The finer-point text was definitely a lot harder to weed (which is why you'll notice the dot on the "i" in garlic chives isn't in the right place).
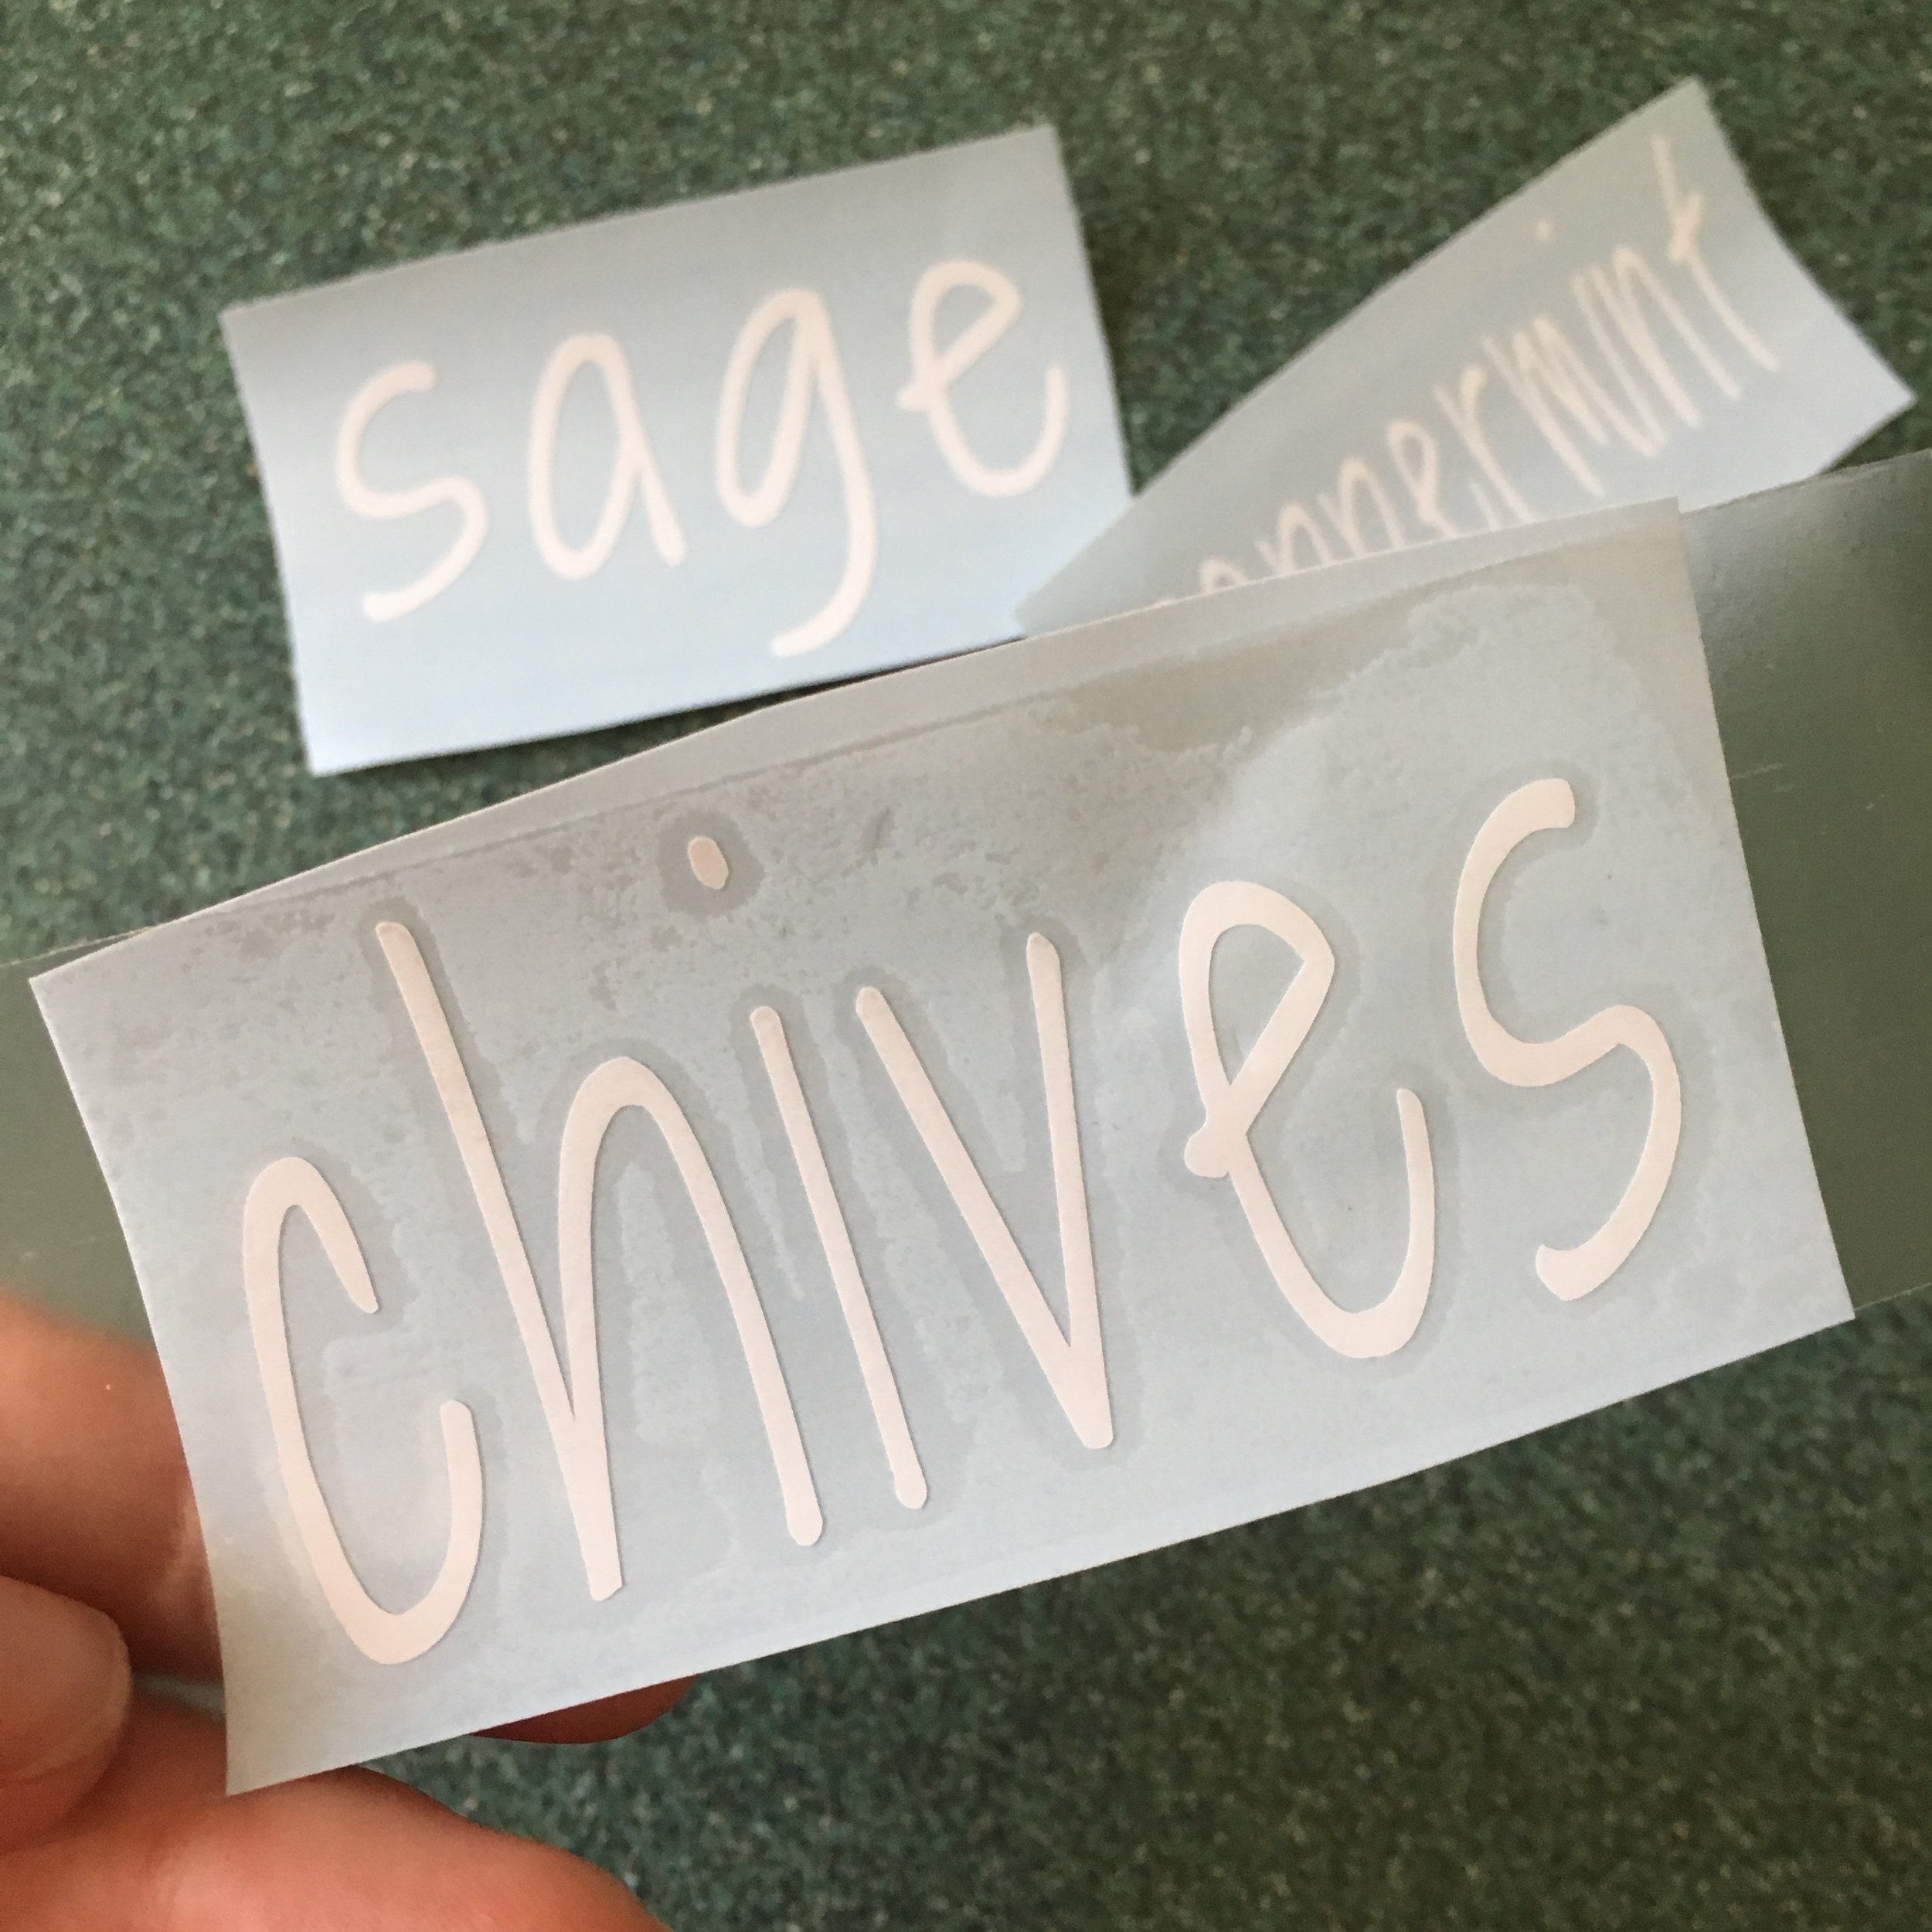
3. Next use contact paper or transfer tape to put over your final vinyl design and rub well to make sure it's on there good. This will "carry" the vinyl once the backing is removed.
4. Carefully peel the backing off your design.. this can be tricky. My advice is to go slowly and have your dental explorer handy if you have one! It can help hold letters down as you peel off the back.
5. Once the backing is removed, carefully place on a clean and dry slate marker. Rub the design on well (I use an old gift card like a squeegee). Once it's on there good, carefully peel off the contact paper. Alternatively: If you don't have a Cricut or want to do this project by hand, you can skip steps 1-5 and just write your text freehand with a white paint marker and allow to dry.
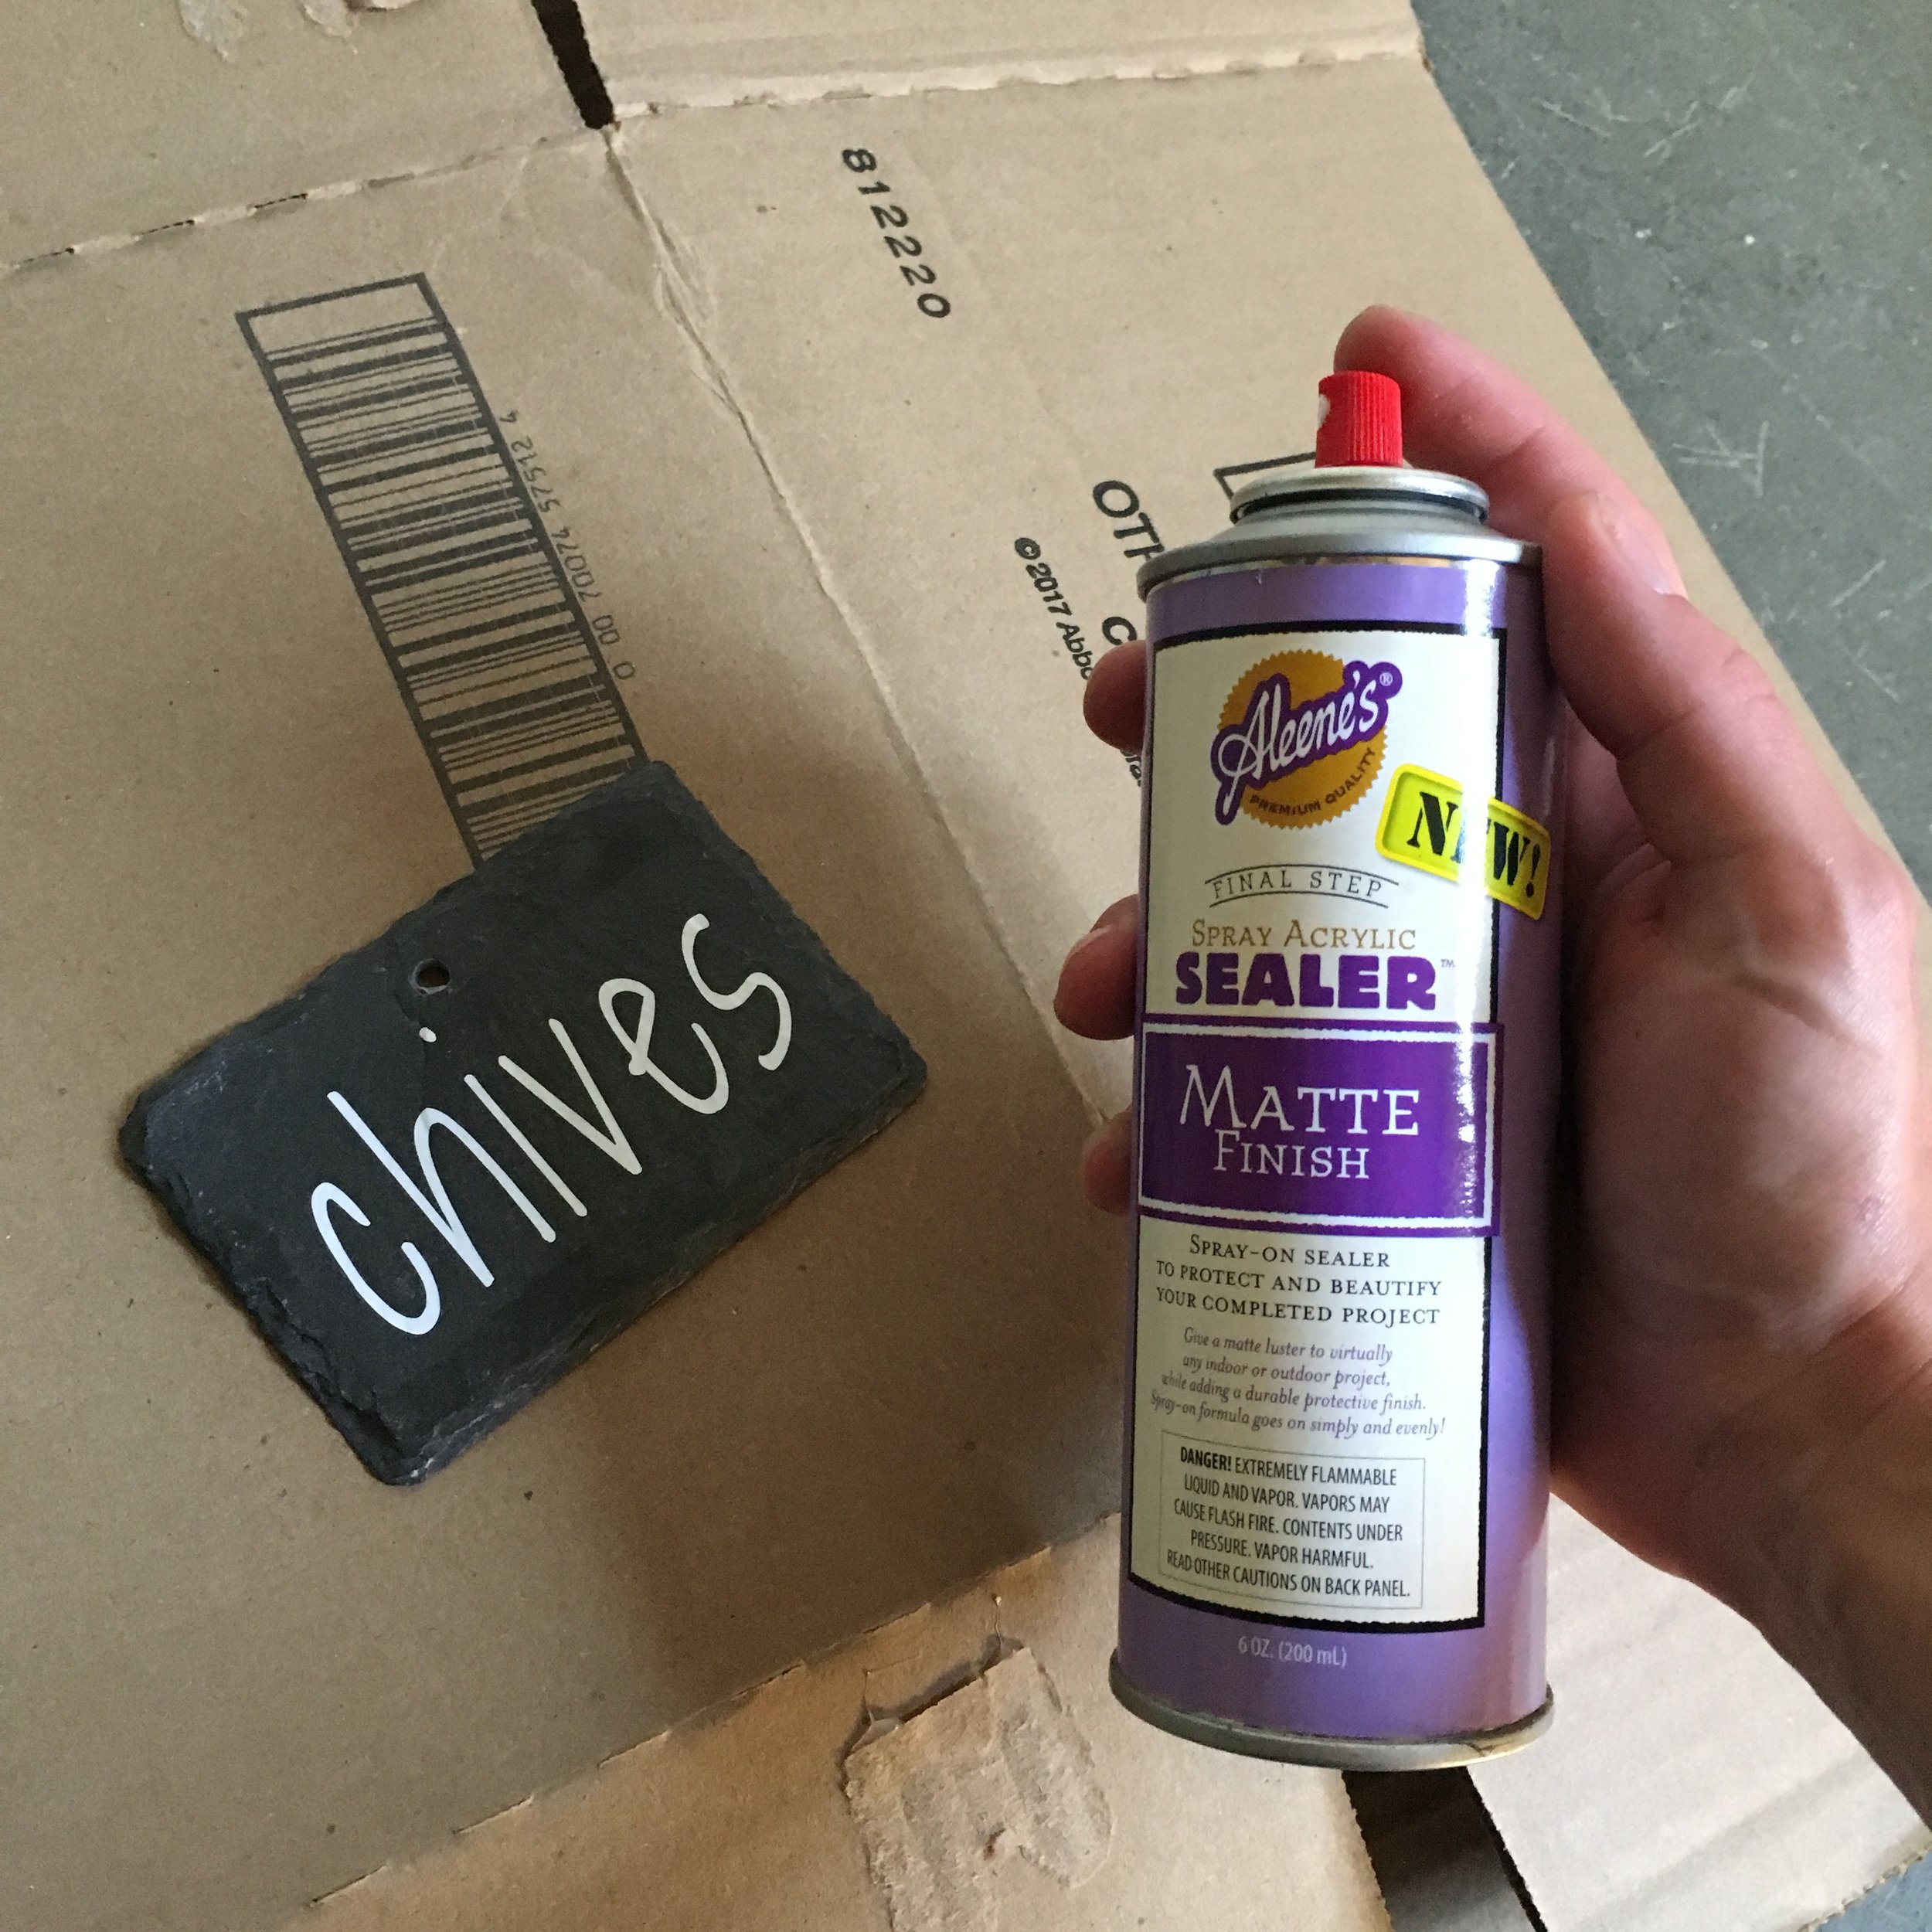
6. To make sure the vinyl doesn't peel or come loose, I use a spray acrylic sealer to seal them. Just put the markers on a scrap piece of cardboard, give a light coating of the spray sealer, and allow to dry (make sure you're in a well-ventilated area). If you used a paint marker instead I would also suggest sealing them.
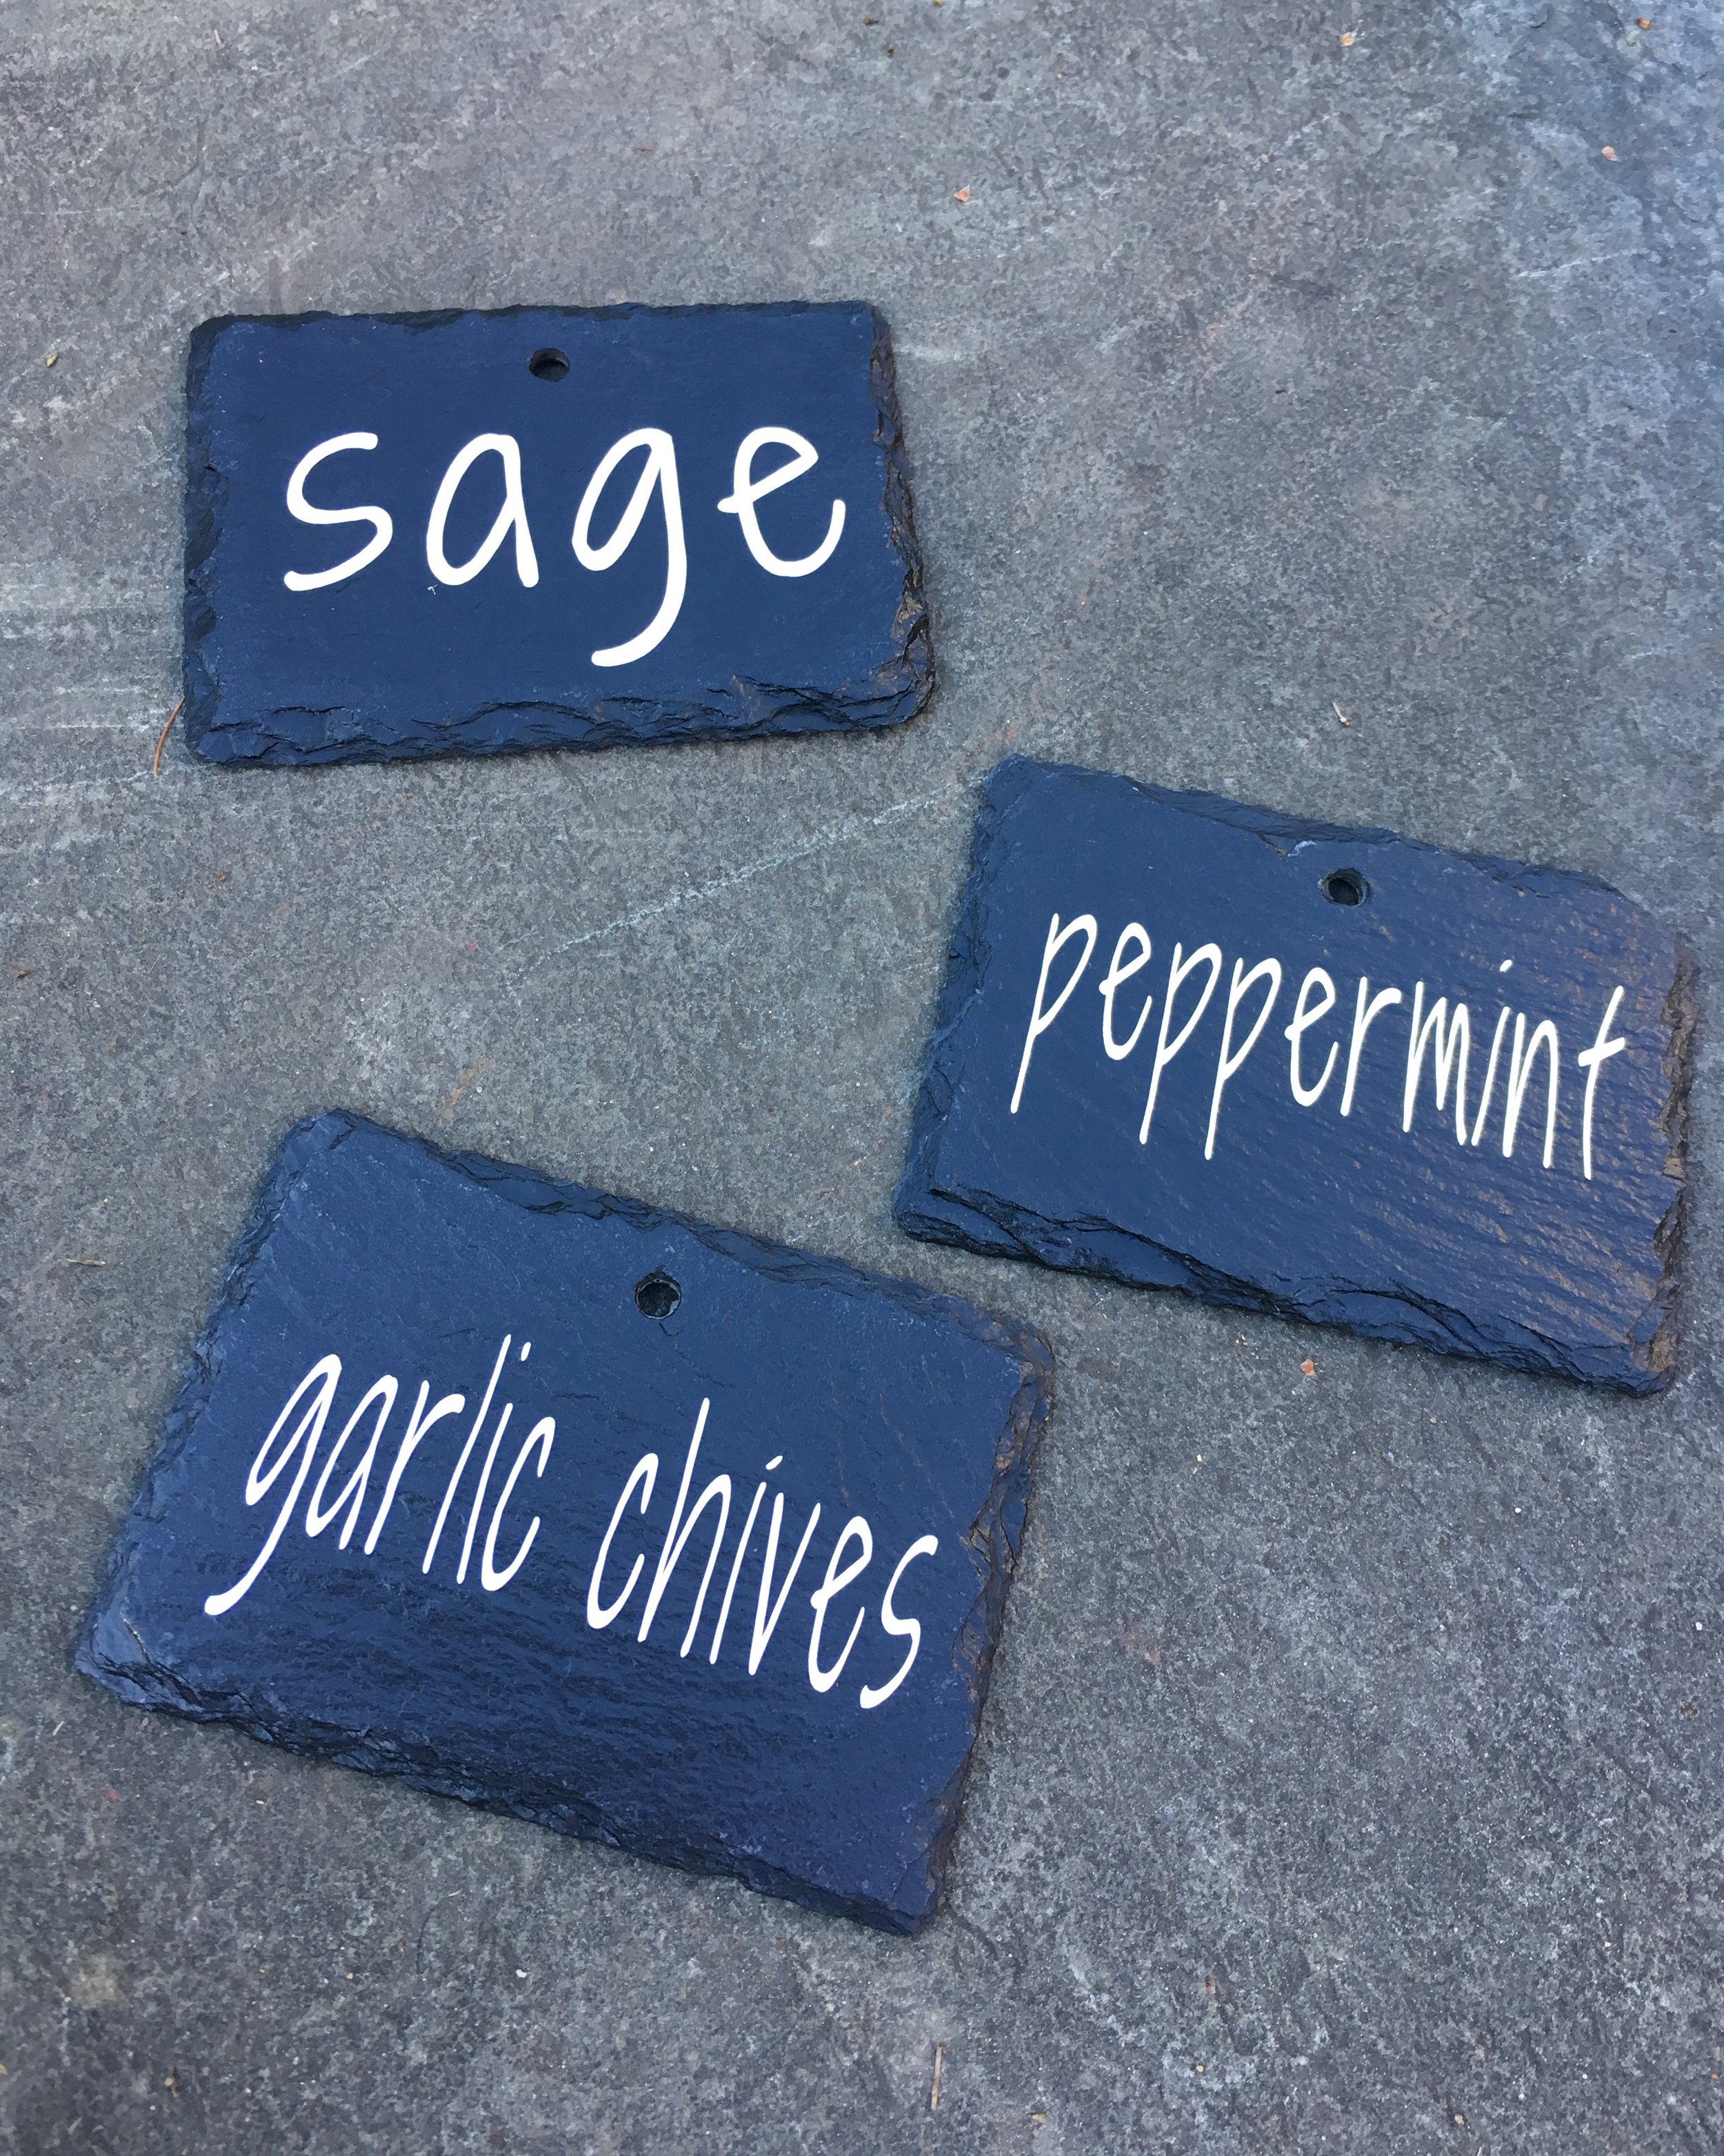
7. Hang your new garden markers! You can buy special hangers for them if you like, or use sticks and some twine or wire. In my case I wanted them on the barrels in our herb garden so I simply used some thin copper wire and "flossed" it through the slots in the barrel, tying it off with a large washer at the back so they don't pull through.
It has been SOOO abnormally hot in New England these past few weeks that my herb garden isn't looking too wonderful at the moment (hence the limited "after" pictures). We have six wine barrel planters on a small patio; four of the planters have perennial herbs (chives, garlic chives, sage, and peppermint) that come back each year and the other two planters I switch up each summer. Currently my poor plants are a bit sun-stressed and I'm far behind on weeding, but I hope you'll get the idea of the final install below. I think it really helps finish the space and I love that things are finally labeled.
EDIT Spring, 2020: Just wanted to hop on here and add that I’ve left these up year-round on our herb barrels since 2018 and they still look great! No fading or peeling with the sun or snow. The slate with the permanent vinyl labels and sealer have definitely held up wonderfully.
I absolutely love where we live - a small resort town, surrounded by lakes and mountains. Always lots of great outdoor activities to do or small shops to explore in town. But living out here does have it's drawbacks too - for one thing, the hospital we delivered our daughter at was an hour and half away (ugh). But one of the biggest things we struggle with on a day-to-day basis is not going broke on groceries - with discount stores over an hour away and only IGA (Independent Grocer Alliance) grocery stores in town we tend to pay up to 30% more for most items. I support shopping local and shopping small whenever possible, but as a single-income household saving money where we can is absolutely necessary. I've read many articles tailored to saving money at big-box and discount stores, but most of those tips just don't apply here. Please read on for some of my rural livin' money-saving grocery tips. | This post contains referral links |
Tips for Saving Money on Groceries {Rural Edition}
Grow/Raise What You Can. I know not everyone has a green thumb or is willing to raise livestock but having even a small backyard garden or some patio veggie plants can pay off big. For example spending a few dollars for a couple patio tomato plants can supply you with more than enough tomatoes to last you the entire summer. For us, we've had a small garden for the past couple of years and this spring we decided to add raising chickens to the mix. We go through as many as two dozen cage-free eggs a week and figured that raising our own chickens would be fun, educational for our daughter, and eventually would provide us with a savings on eggs too.
The Freezer is Your Friend. I hate throwing out food, especially food that I paid good money for. So lately I've taken to freezing more and more things, especially those that seem to have the shortest shelf life. For example, my husband loves putting kale in his breakfast smoothies (you can't even taste it!) but it would always go slimy before he finished the bunch. Now we wash and freeze it right away and he blends it, still frozen, into his smoothies. Other things that I've been freezing more lately are meats, mushrooms, fresh herbs, bread, and of course leftovers.
Shop Local and Extra-Small. Try shopping for produce at local farmer's markets, or even better, roadside mom and pop farm stands. Those little tables and coolers at the end of driveways are often amazing deals on fresh vegetables. These people usually aren't out to make a profit, they're simply selling their extra produce for fun and a little extra cash so it's usually a really great value - and if you're lucky they may be giving things away if they have an over-abundance. One year a gentleman down our road gave away bushels and bushels of corn because he just had so much and didn't want it to go to waste.
Amazon and Online Shopping. I know this is the polar opposite of "shop small" but you just have to be practical too. Items like paper towels, toilet paper, and cereal can cost nearly twice as much here in town than it does at big-box stores or online. And so we choose to buy these items on Amazon - and by using some of Amazon's features like free Prime shipping and "subscribe and save", we're able to save even a little more. If you use Amazon, don't forget to sign up for AmazonSmile so your purchases benefit the charity of your choice!
Bring Your Own Bags. Every store has different policies, but more and more are rewarding their customers for bringing their own bags. At our local grocery stores they give you 5 cents off your total for every reusable bag you use. I think this is a wonderful policy - great for the environment and good for our wallets. For example, if you brought 8 bags for your weekly groceries you would end up saving over $20 a year, and every little bit helps.
Meal Plan and Grocery List. The most efficient way to do groceries is to take a few minutes at the beginning of every week, plan out your dinners, and make a list as to what you'll need. That way you'll be able to better plan what you need and what you can reuse, wasting less. I confess I often struggle with this.. grocery day always seems to sneak up on me and I end up going to the grocery store winging it or with a sad excuse for a list more often than I'd like to admit. I know planning ahead and making good lists are super important for wasting less and saving more, and I'm always trying to get better about it. {EDIT: I've finally gotten good (okay, a whole lot better) at meal planning! Check out my Reusable Weekly Planner + Free Printableto see how.}
Periodic Trips to Big-Box Stores to Stock Up. Every few weeks, I make a point to drive almost 40 minutes, longer in summer due to tourist traffic, to the nearest "big chain" grocery store to stock up on certain items. And no, it's not even Wal-Mart or another discount chain (as far as grocery chains go it's one of the more expensive ones out there but it's the closest). I use these trips to buy the items they don't carry at our IGA stores (like the coconut milk creamer my husband and I love in our coffee), and the perishable items that are just too expensive at the IGA (like organic milk and almond milk - both are almost double the price here in town!).
Buy Store Brand. Whether I'm picking up things at a big chain grocery store or the local IGA, I try to buy store brand whenever I can. Most of the time store brand tastes just as good and works just as well (IGA even has it's own store brand called "Shurfine"). We always buy store brand organic milk, canned goods, ziplocks, and more. Store brand can cost anywhere from 5 cents to a dollar less than name brand, and all those little savings add up.
Coupons. There's no doubling, matching, or store loyalty cards at our local grocery stores, but coupons are still a great way to save a little every trip. I keep our coupons organized in a little file so they're easy to find as I'm writing our grocery list. (PS - my plaid coupon organizer is only $2.99 on Amazon - can't beat it!)
Ibotta. The Ibotta app allows you to earn rebates back on many items you already buy. (While this app doesn't work at most small independent grocers, you can use it when you visit large chain stores to stock up.) In order to unlock the rebates, you simply have to view an ad, watch a short commercial, or take a one question poll about the product. In exchange for helping them with their market research, you get rewarded with a small rebate when you purchase the product (items must be verified via receipt or through a linked store loyalty card). You can read my full review of this app here: Get Paid to Shop and Save Money with Ibotta. [This tip was added 5/4/16]
I hope my tips gave you some ideas to save on groceries "out here." Do you have any other helpful tips?