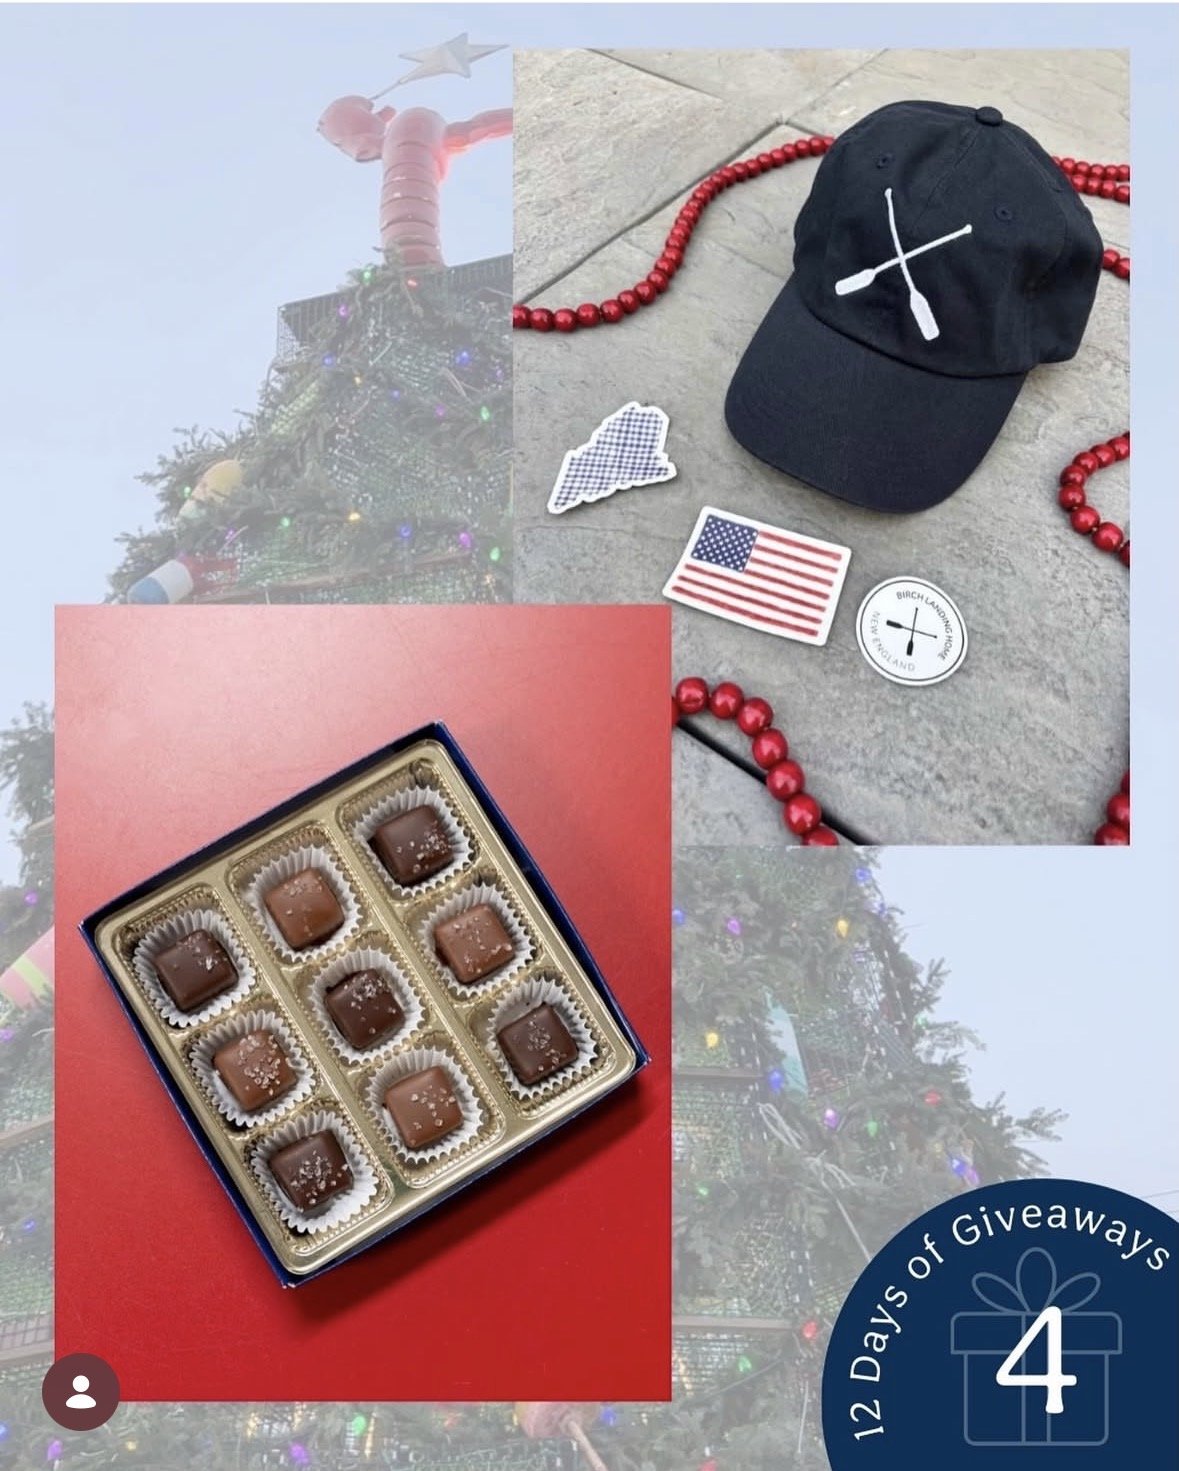
Today we’re hosting an amazing giveaway with our friends Bixby Chocolates over on Instagram - Don’t miss out! You can enter by visiting either of our Instagram pages and following the instructions on the post. Good luck!
KEEP UP WITH BIRCH LANDING HOME
| Etsy | Facebook | Instagram | Pinterest | Bloglovin' | Hometalk |
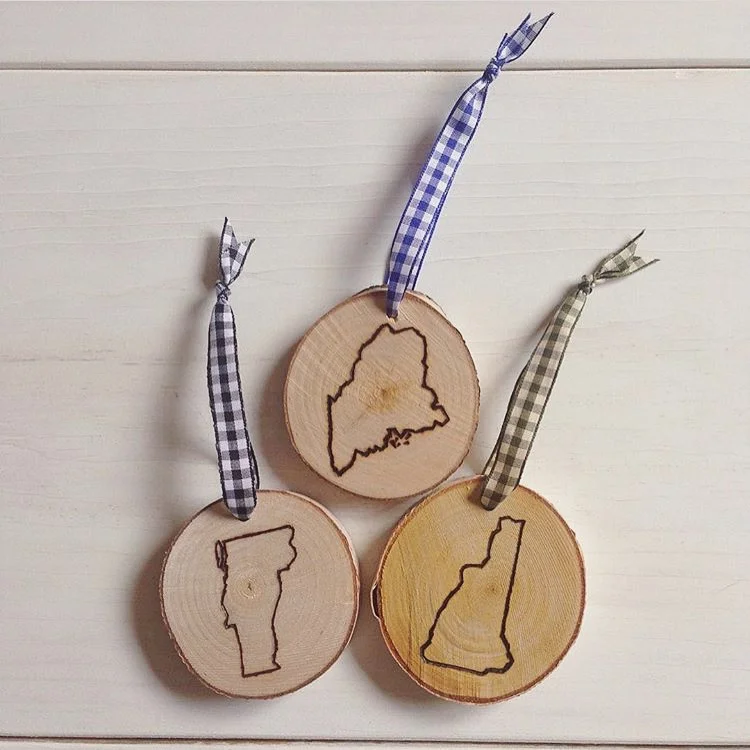
Wolfeboro Candle Company has put together some wonderfully curated Gift Boxes for the holiday season. These are full of great New England-made products and I am so honored to have my Hand-Etched Birch Snowflake Ornaments included among them.
KEEP UP WITH BIRCH LANDING HOME
| Etsy | Facebook | Instagram | Pinterest | Bloglovin' | Hometalk |
It’s so important that kids and chaperones can be seen by motorists to help avoid any accidents, so to remind everyone of this basic Halloween safety tip - make sure you can be seen and seen well while out Trick-or-Treating. | This post contains affiliate links |
Some Ways to Increase Visibility While Trick-or-Treating:
- Carry a Flashlight. Make sure everyone in your group has a flashlight so that everyone can see where they're going and others can see you better too. (It's also a good idea to remind your kids not to shine them in others eyes as you come across other trick-or-treaters.)
- LED Bracelets/Wearables. These bright, colorful, often flashing lights can really help you be seen at night - and kids think they're really fun.
- Glow Sticks. Glow Sticks and glow jewelry can be useful to help be seen at night, and kids generally love them and will wear them without a fight.
- Reflective Stickers/Patches. We put reflective stickers on our Halloween buckets (pictured above) to help make them more noticable at night. It's hard to capture it on camera, but these stickers reflect really well in low-light conditions and are super durable, even on fabrics. (For what it's worth, we put these on everything year-round - helmets, bikes, backpacks, hiking gear, coats, etc. We love them!)
- Stay Together. Having everyone in your party stay together in a group is a great way to increase visibility. When kids scatter and dart around it can be very disorientating for drivers and hard to see where everyone is. Make sure your group stays together and walks on the sidewalks or off the shoulder of the road. Also make eye contact with stopped drivers before you cross the road to ensure that they do see you.
For specific ideas about what’s recommended in your area for safe Trick-or-Treating, contact your local public safety or Police department for more ideas. Stay safe and Happy Halloween!
KEEP UP WITH BIRCH LANDING HOME
| Etsy | Facebook | Instagram | Pinterest | Bloglovin' | Hometalk |
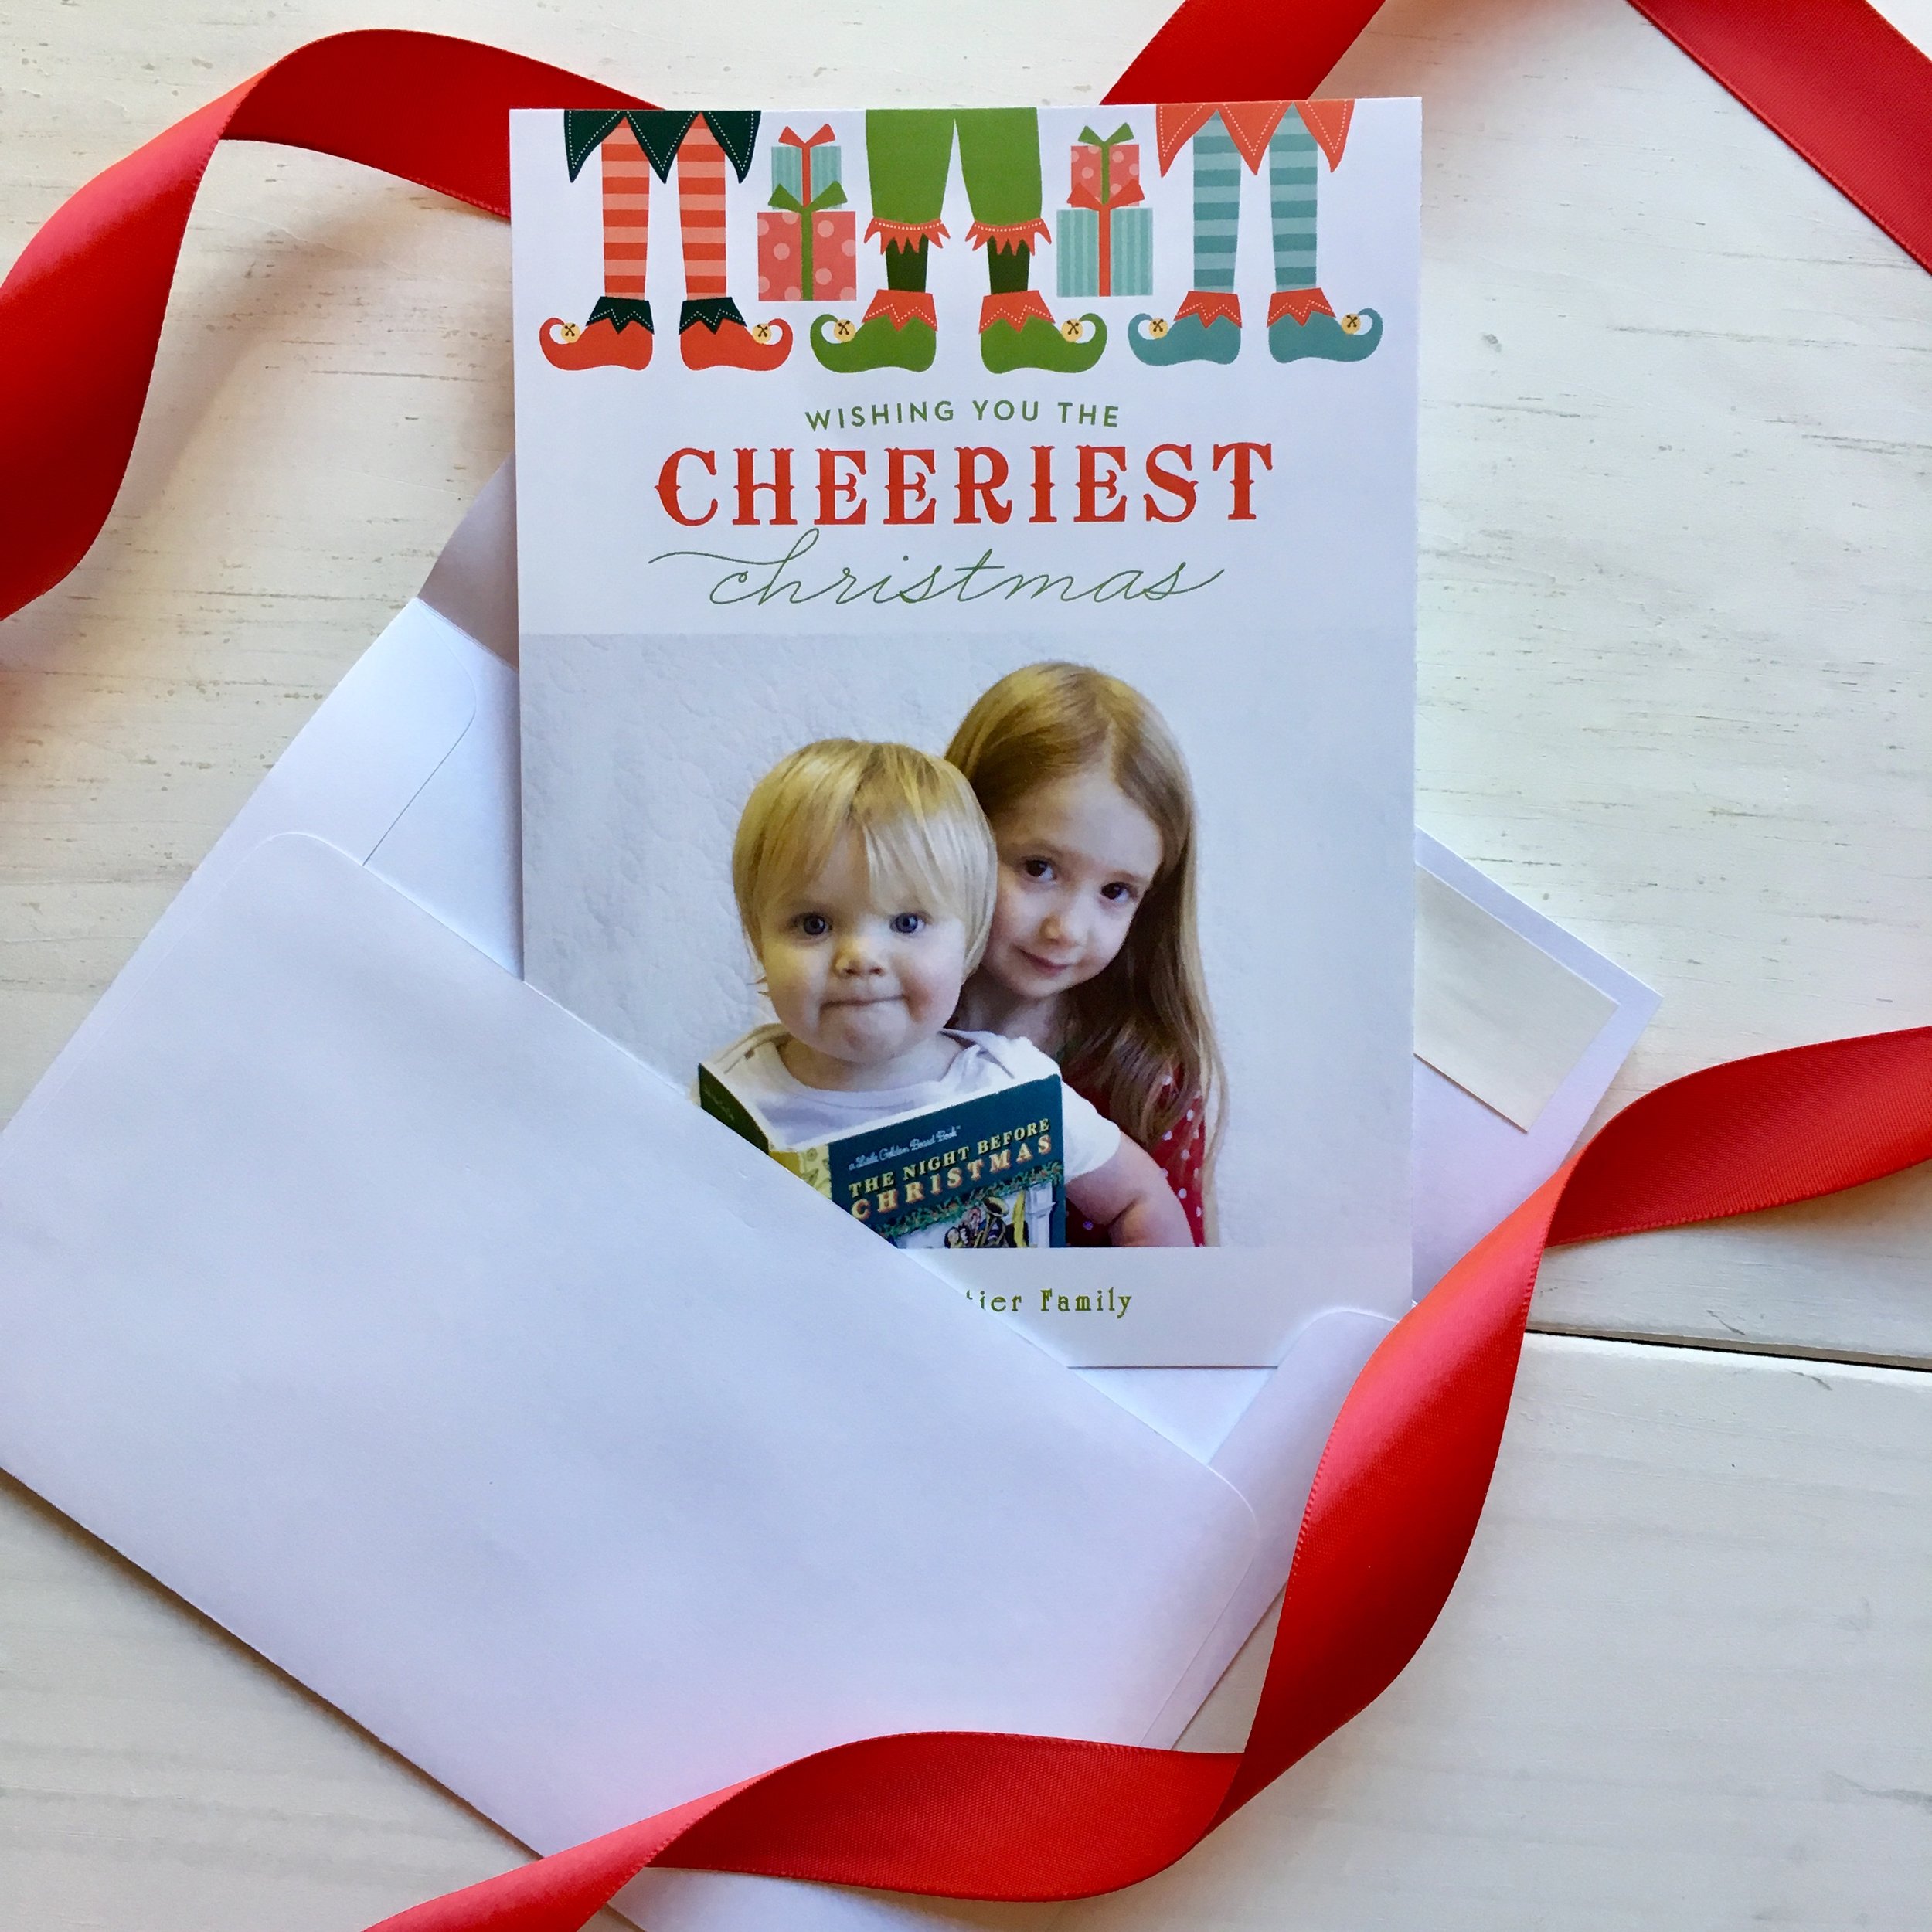
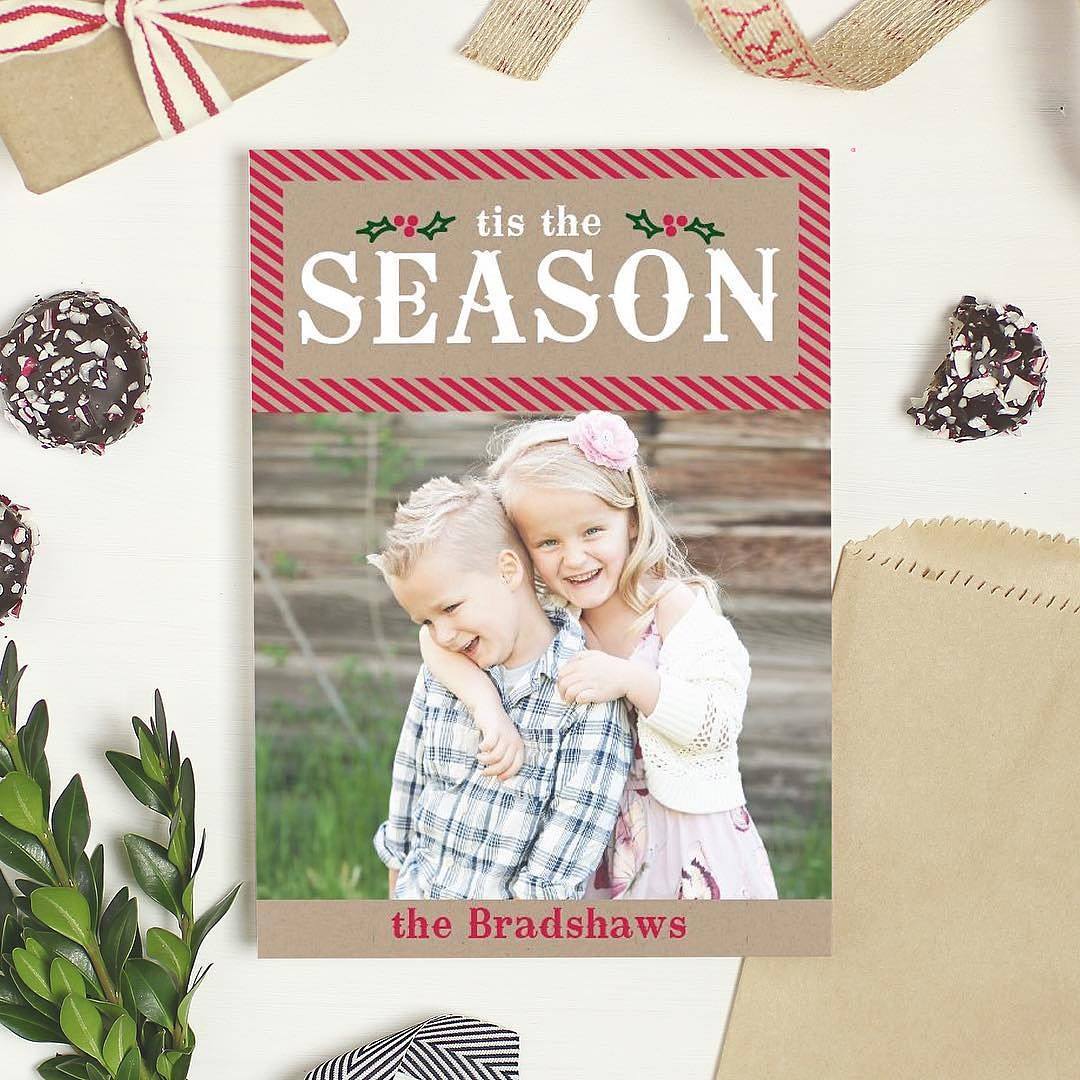
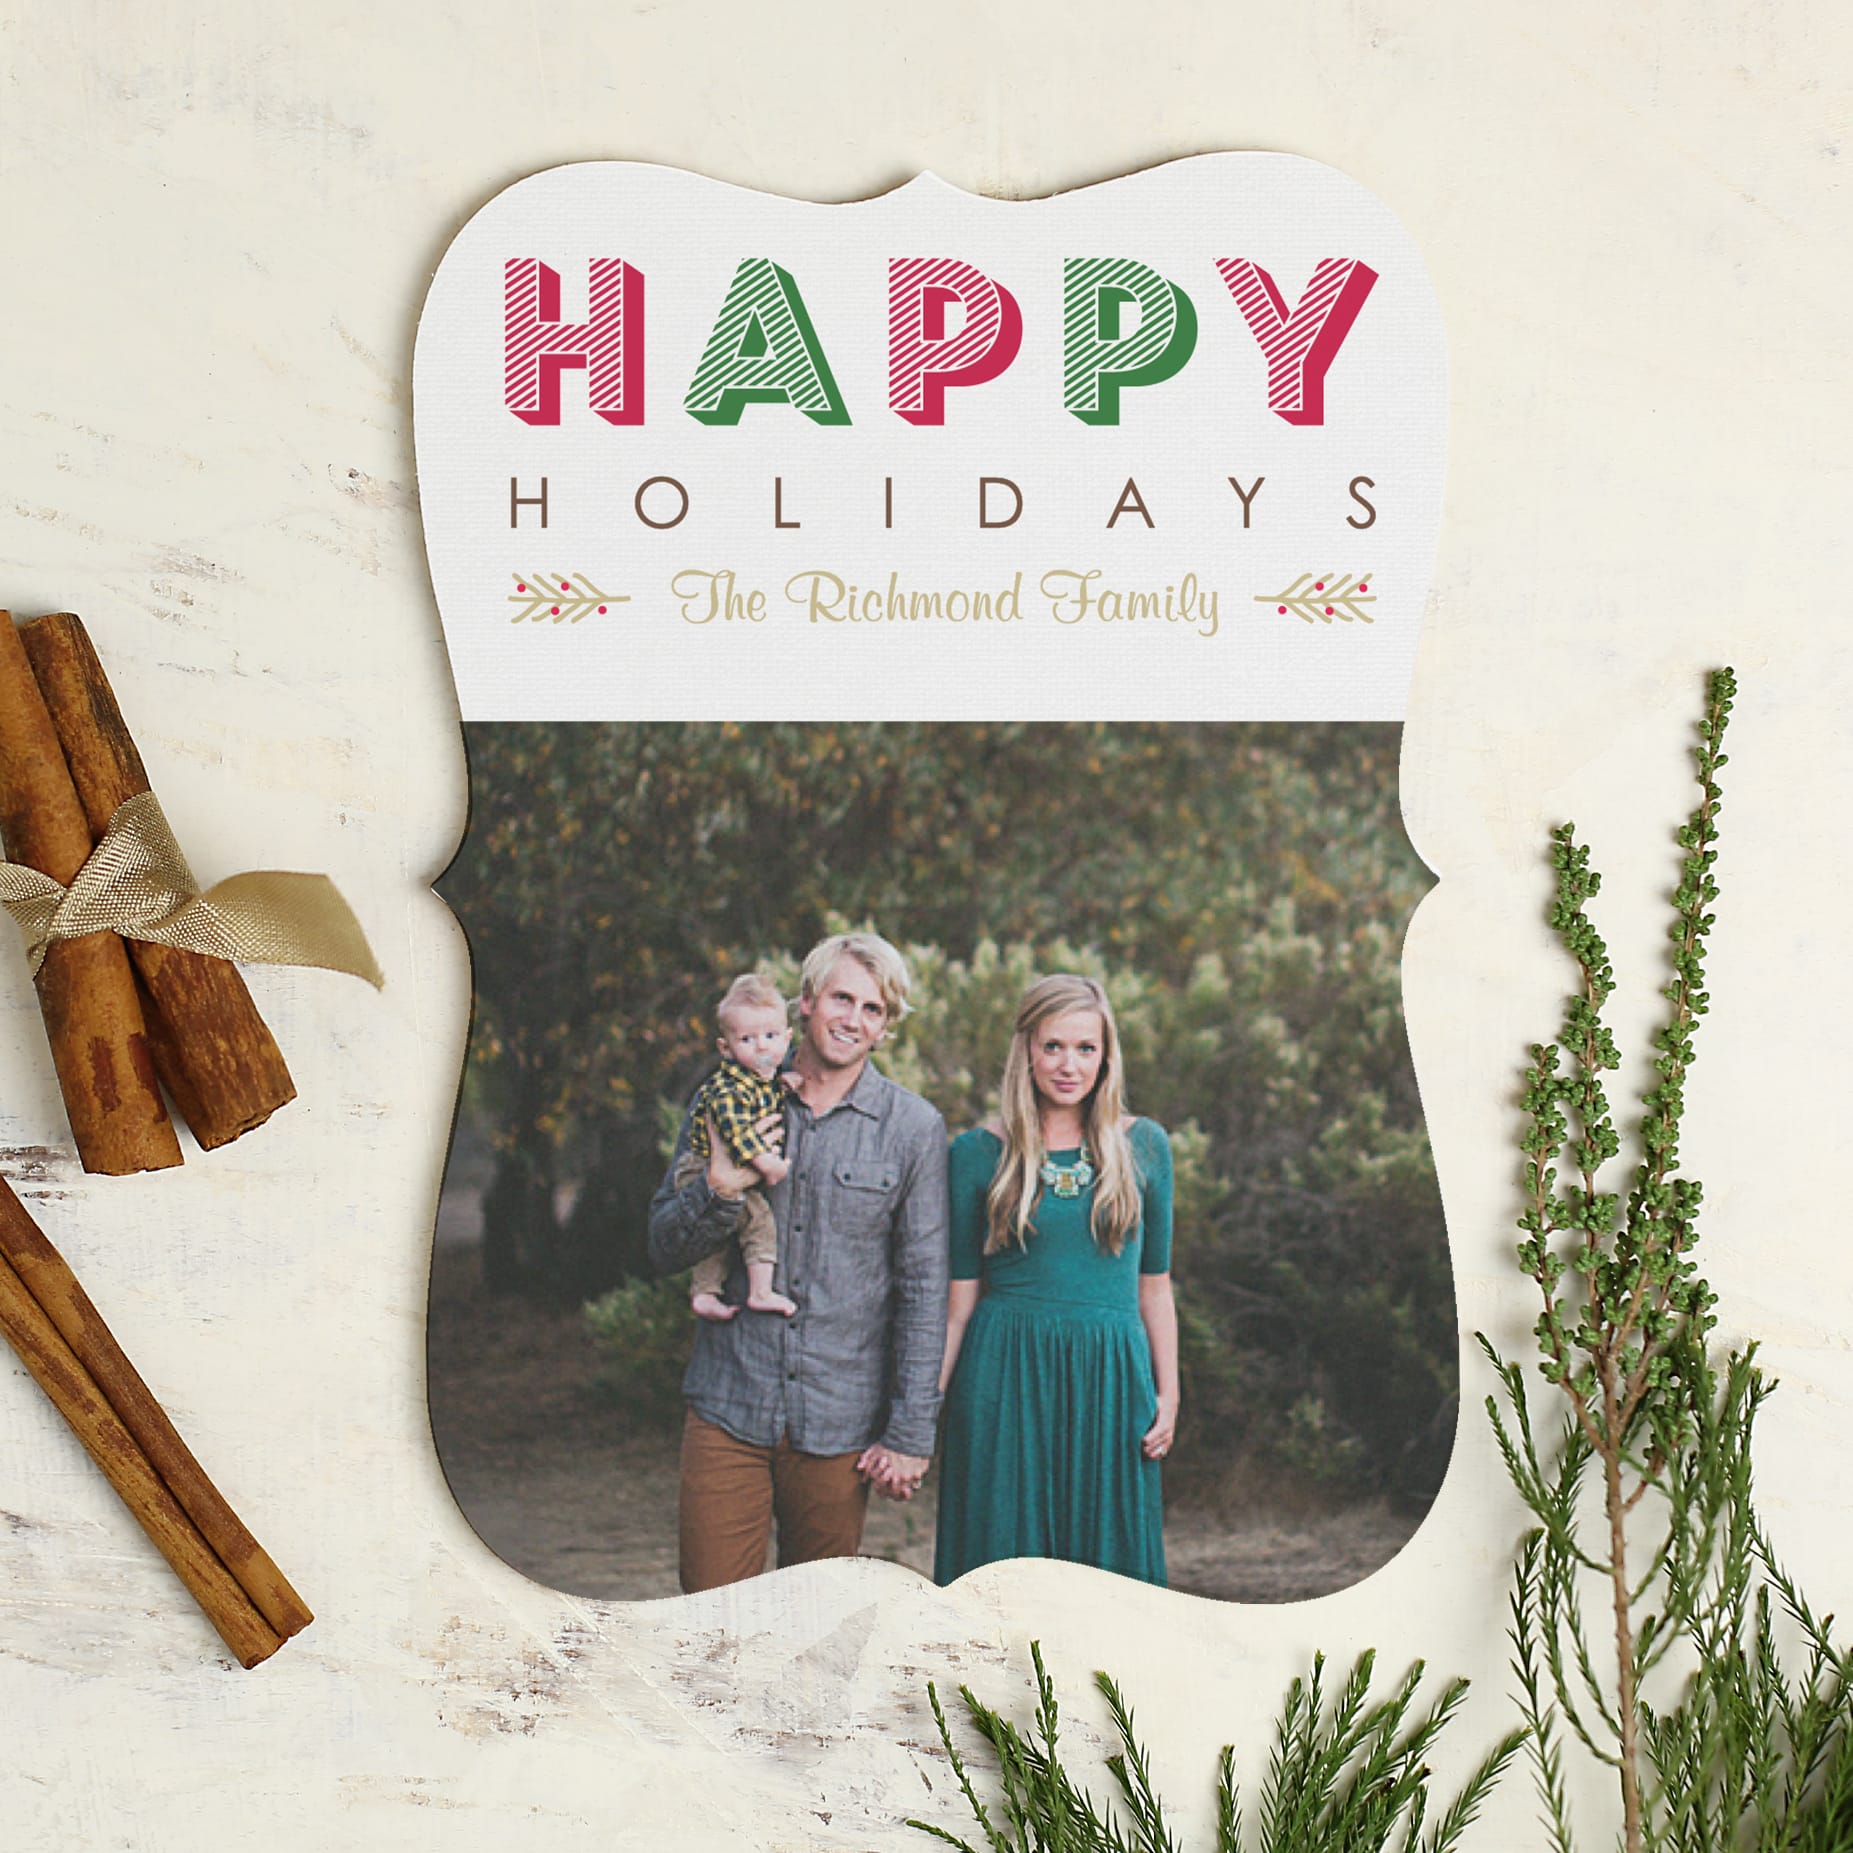
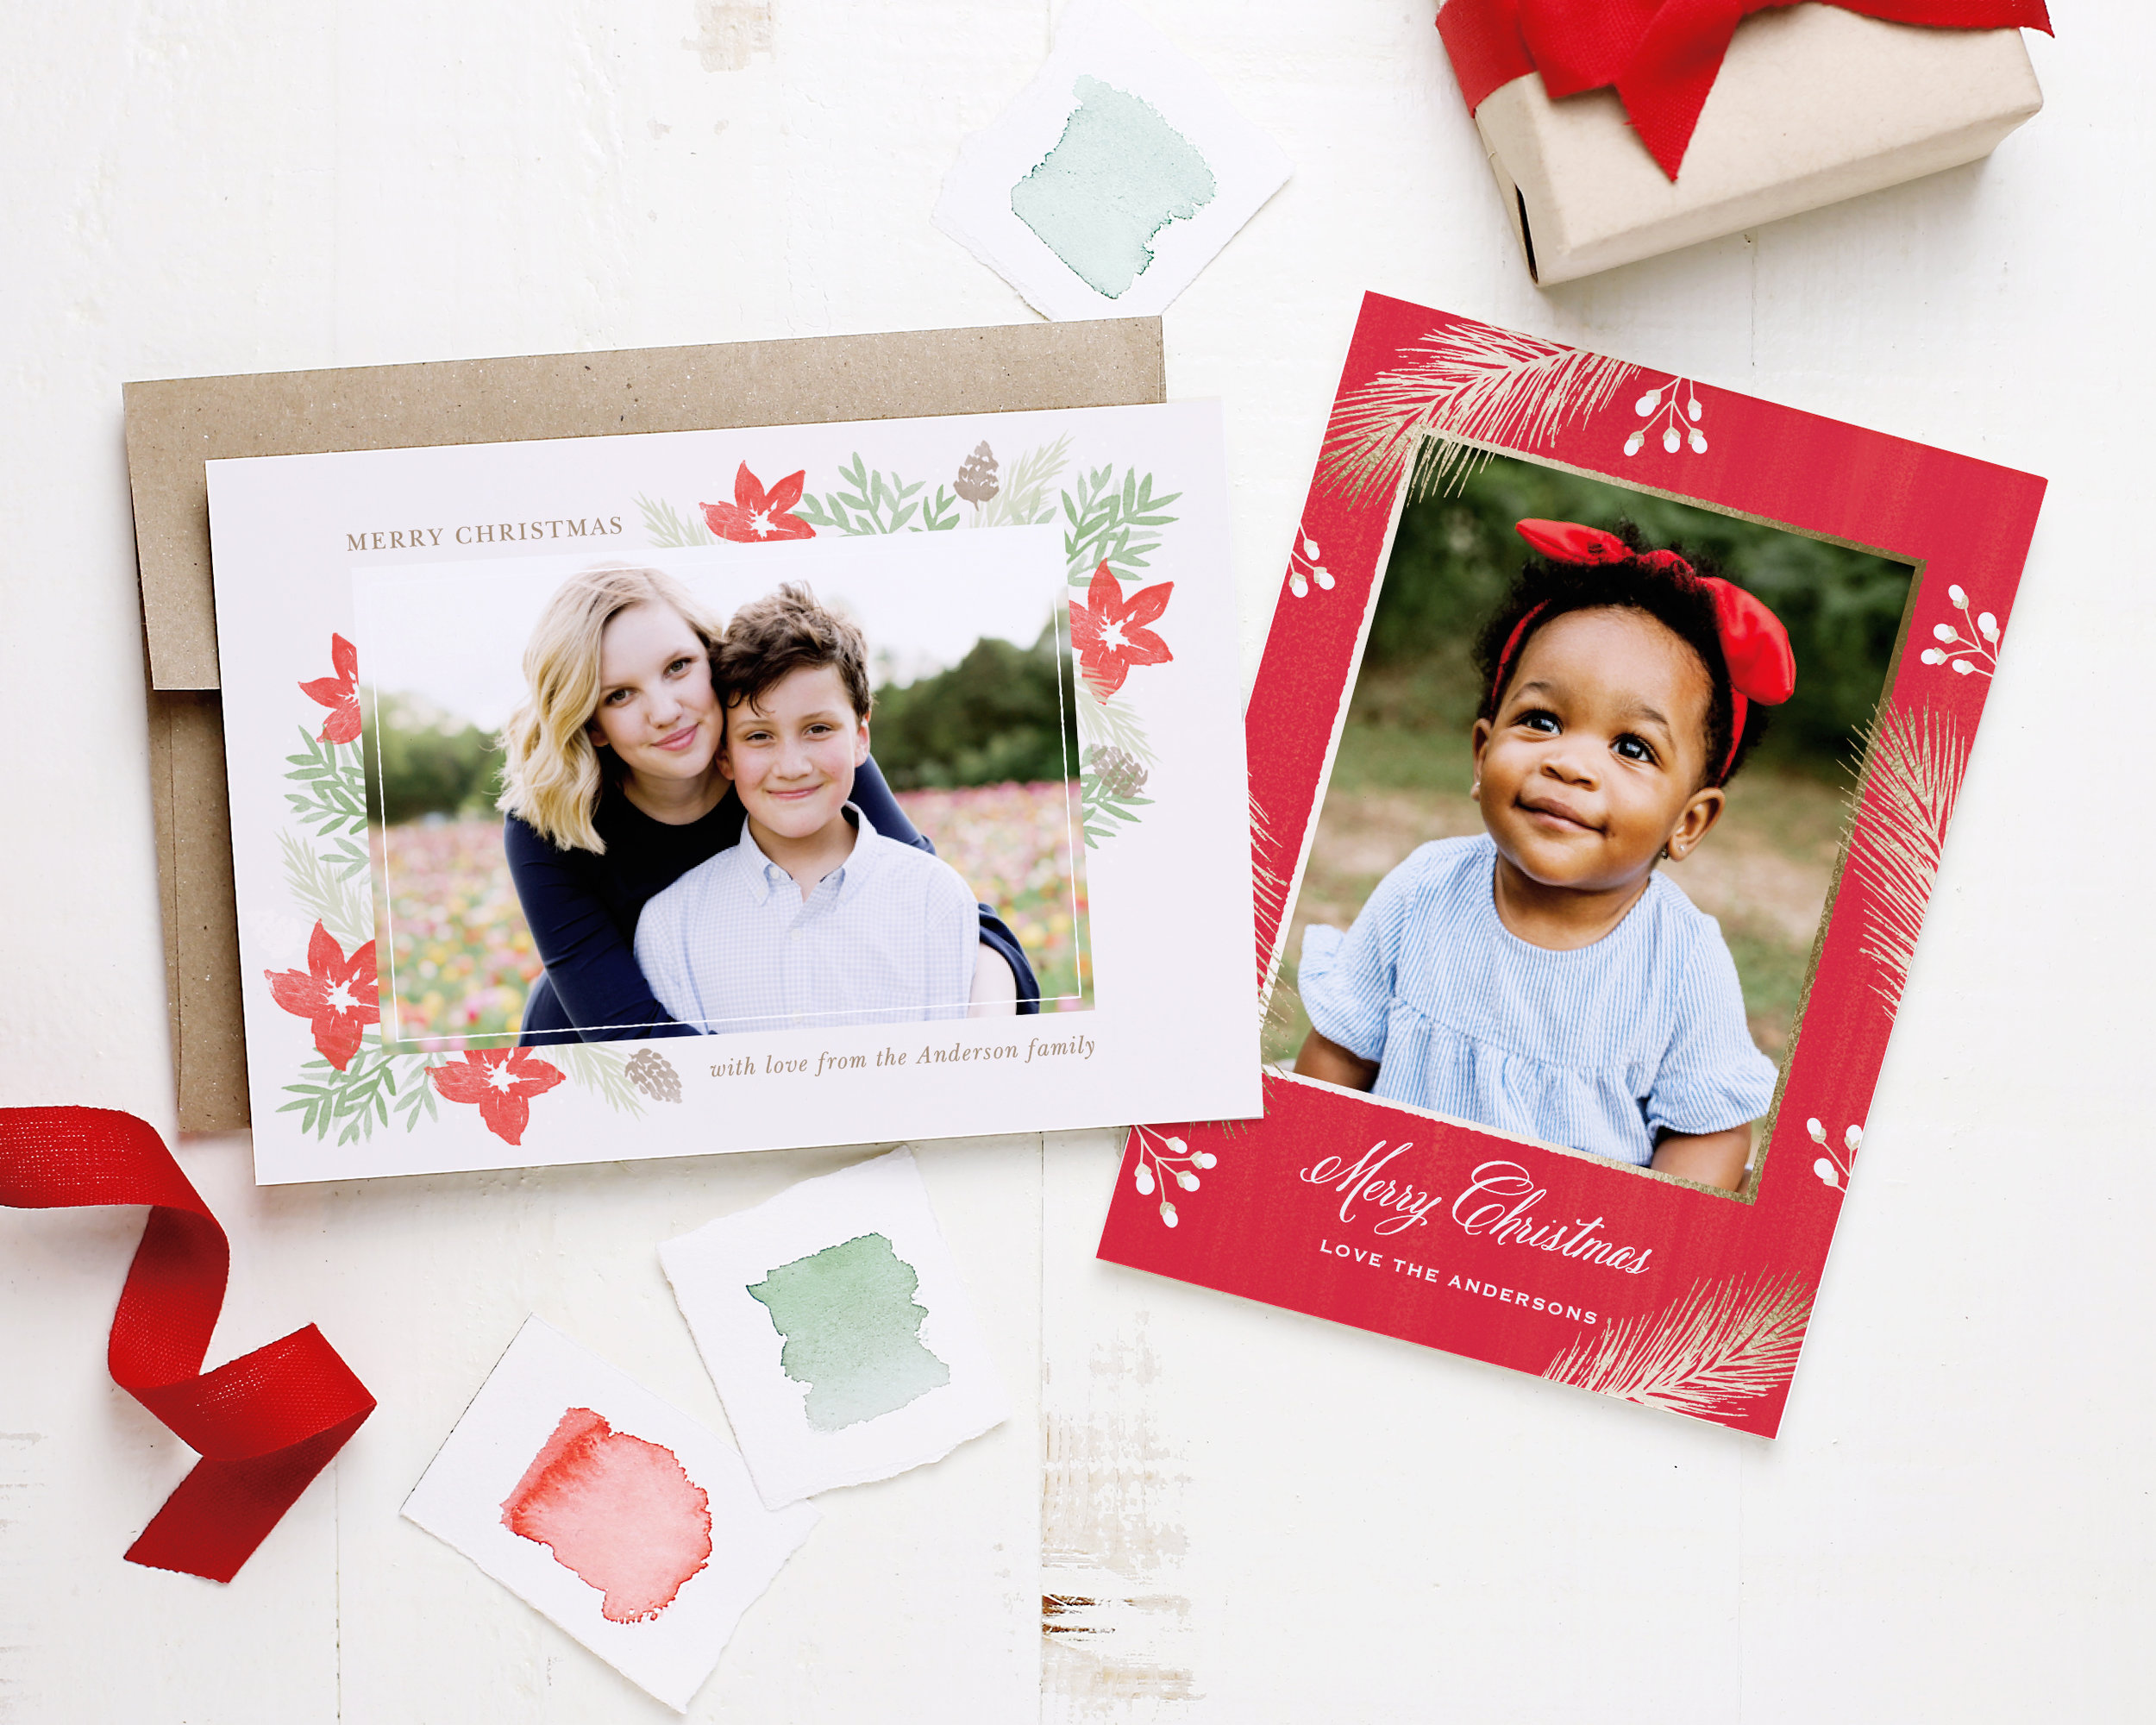
Typically I am such a procrastinator when it comes to ordering our Christmas cards. I always have good intentions on getting a jump start on them but things always get busier and busier as November comes along. — But not this year! This year I’m happy to say I got them done early - and perfectly - with some help from Basic Invite.
| This is a sponsored post with my honest feedback of Basic Invite |
^ Our
Christmas Cards 2018
!
This was my first time using Basic Invite and I can honestly say that I was very impressed! Basic Invite has tons (over 500 actually) of Christmas and holiday card designs to choose from so the hardest part was picking my favorite design! I decided to go with a cute elf design for our
unique holiday photo cards
to compliment our own little elves.
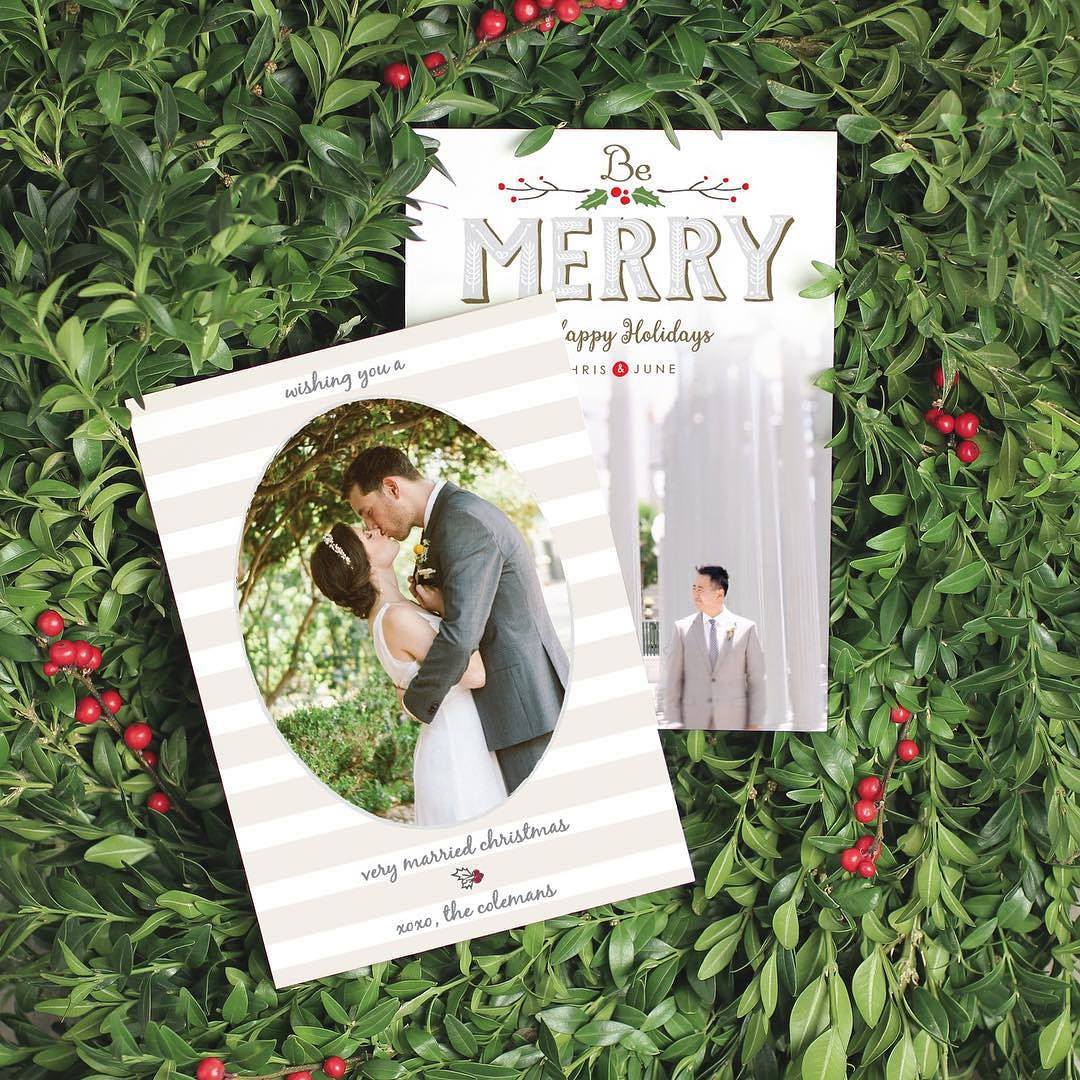
But what really blew me away with Basic Invite’s designs? You can customize just about every single detail! Want to make the elves’ shoes purple? You can do that, and choose from many shades of purple to boot. The ability to change all the colors on their card designs - from the background, to the text, to the details - is just incredible with over 180 color options to choose from. This feature is incredibly useful, especially for something like wedding invitations since you can customize all the colors to your exact theme. They also offer over 40 colors of self-seal envelopes to choose from too, so even your envelopes can be on-point.
Basic Invite is also one of the few websites that gives customers the ability to order a printed sample of their actual invitation - that way you can see exactly how it will print as well as feel the paper quality before placing your final order. And when it comes time to place your final order, you can order exactly how many you need - that way you don’t get stuck purchasing card sets in wasteful large lots (a huge pet peeve of mine).
Basic Invite also offers lots of great holiday cards buisness to choose from too! Sending out cards from your business is a smart marketing move and can help boost sales and repeat business in the coming year.
Right now Basic Invite is offering 30% off with the coupon code “HOLI30” - order now and get ahead on your Holiday cards too!
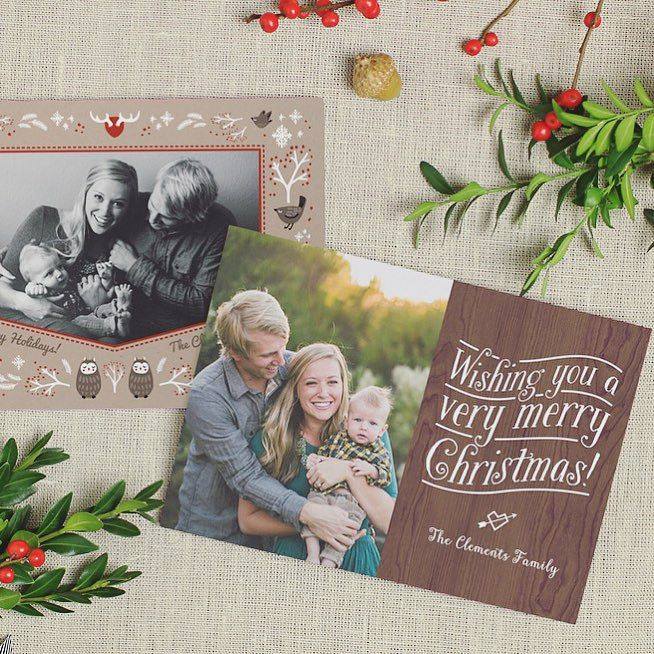
Here are some great holiday card examples from Basic Invite:
Keep up with Basic Invite
- This post was sponsored by Basic Invite but all opinions expressed are my own. Please see our full Disclosure Policy for more information -
KEEP UP WITH BIRCH LANDING HOME
| Etsy | Facebook | Instagram | Pinterest | Bloglovin' | Hometalk |
I have already reached out to all my current wholesale accounts, but if you were thinking of working with me this Christmas season I'm asking for orders to be placed (very early) by May 15th.
We're expecting baby #2 right around when I get all our large holiday orders and I'm trying to plan ahead for what will be an extra busy time. If you'd like wholesale info or have any questions, please send me an email. Thanks so much for your understanding!
KEEP UP WITH BIRCH LANDING HOME
| Etsy | Facebook | Instagram | Pinterest | Bloglovin' | Hometalk |
Last call, folks! Orders received by tomorrow night (12/10/16) are guaranteed to ship in time for Christmas. After that I will do my best to get all orders out ASAP, but I can make no promises that they will definitely make it in time.
Please click the "SHOP NOW" button below if you would like to order anything. Thanks so much again for all your support!
KEEP UP WITH BIRCH LANDING HOME
| Etsy | Facebook | Instagram | Pinterest | Bloglovin' | Hometalk |
Look what came in the mail today! New Hampshire Magazine's December issue along with their 34-page Holiday Gift Guide (available to magazine subscribers only), packed with ideas of local places to shop, products to buy, and fun holiday events to do. And we're so excited to be included - you can find Birch Landing Home right on page 12 in their "Master the Yankee Swap" Gift Guide.
Make sure to check out all their great local selections in the Gift Guide, and if you're not a NH Magazine subscriber the guides can also be found online here.
And did you hear the news of our upcoming sale?
We'll be hosting a sale all this weekend for Black Friday/Plaid Saturday/Cyber Monday (whew). The sale code will be posted online Friday, but subscribers to our Newsletter will get the code Thursday night - if you don't want to miss out on the sale be sure to sign up now!
Correction: There is a misprint in NH Magazine's writeup. While I have in fact been featured in Martha Stewart Living Magazine, I haven't been featured in Yankee Magazine (yet anyways - hopefully someday soon though!) :)
KEEP UP WITH BIRCH LANDING HOME
| Etsy | Facebook | Instagram | Pinterest | Bloglovin' | Hometalk |
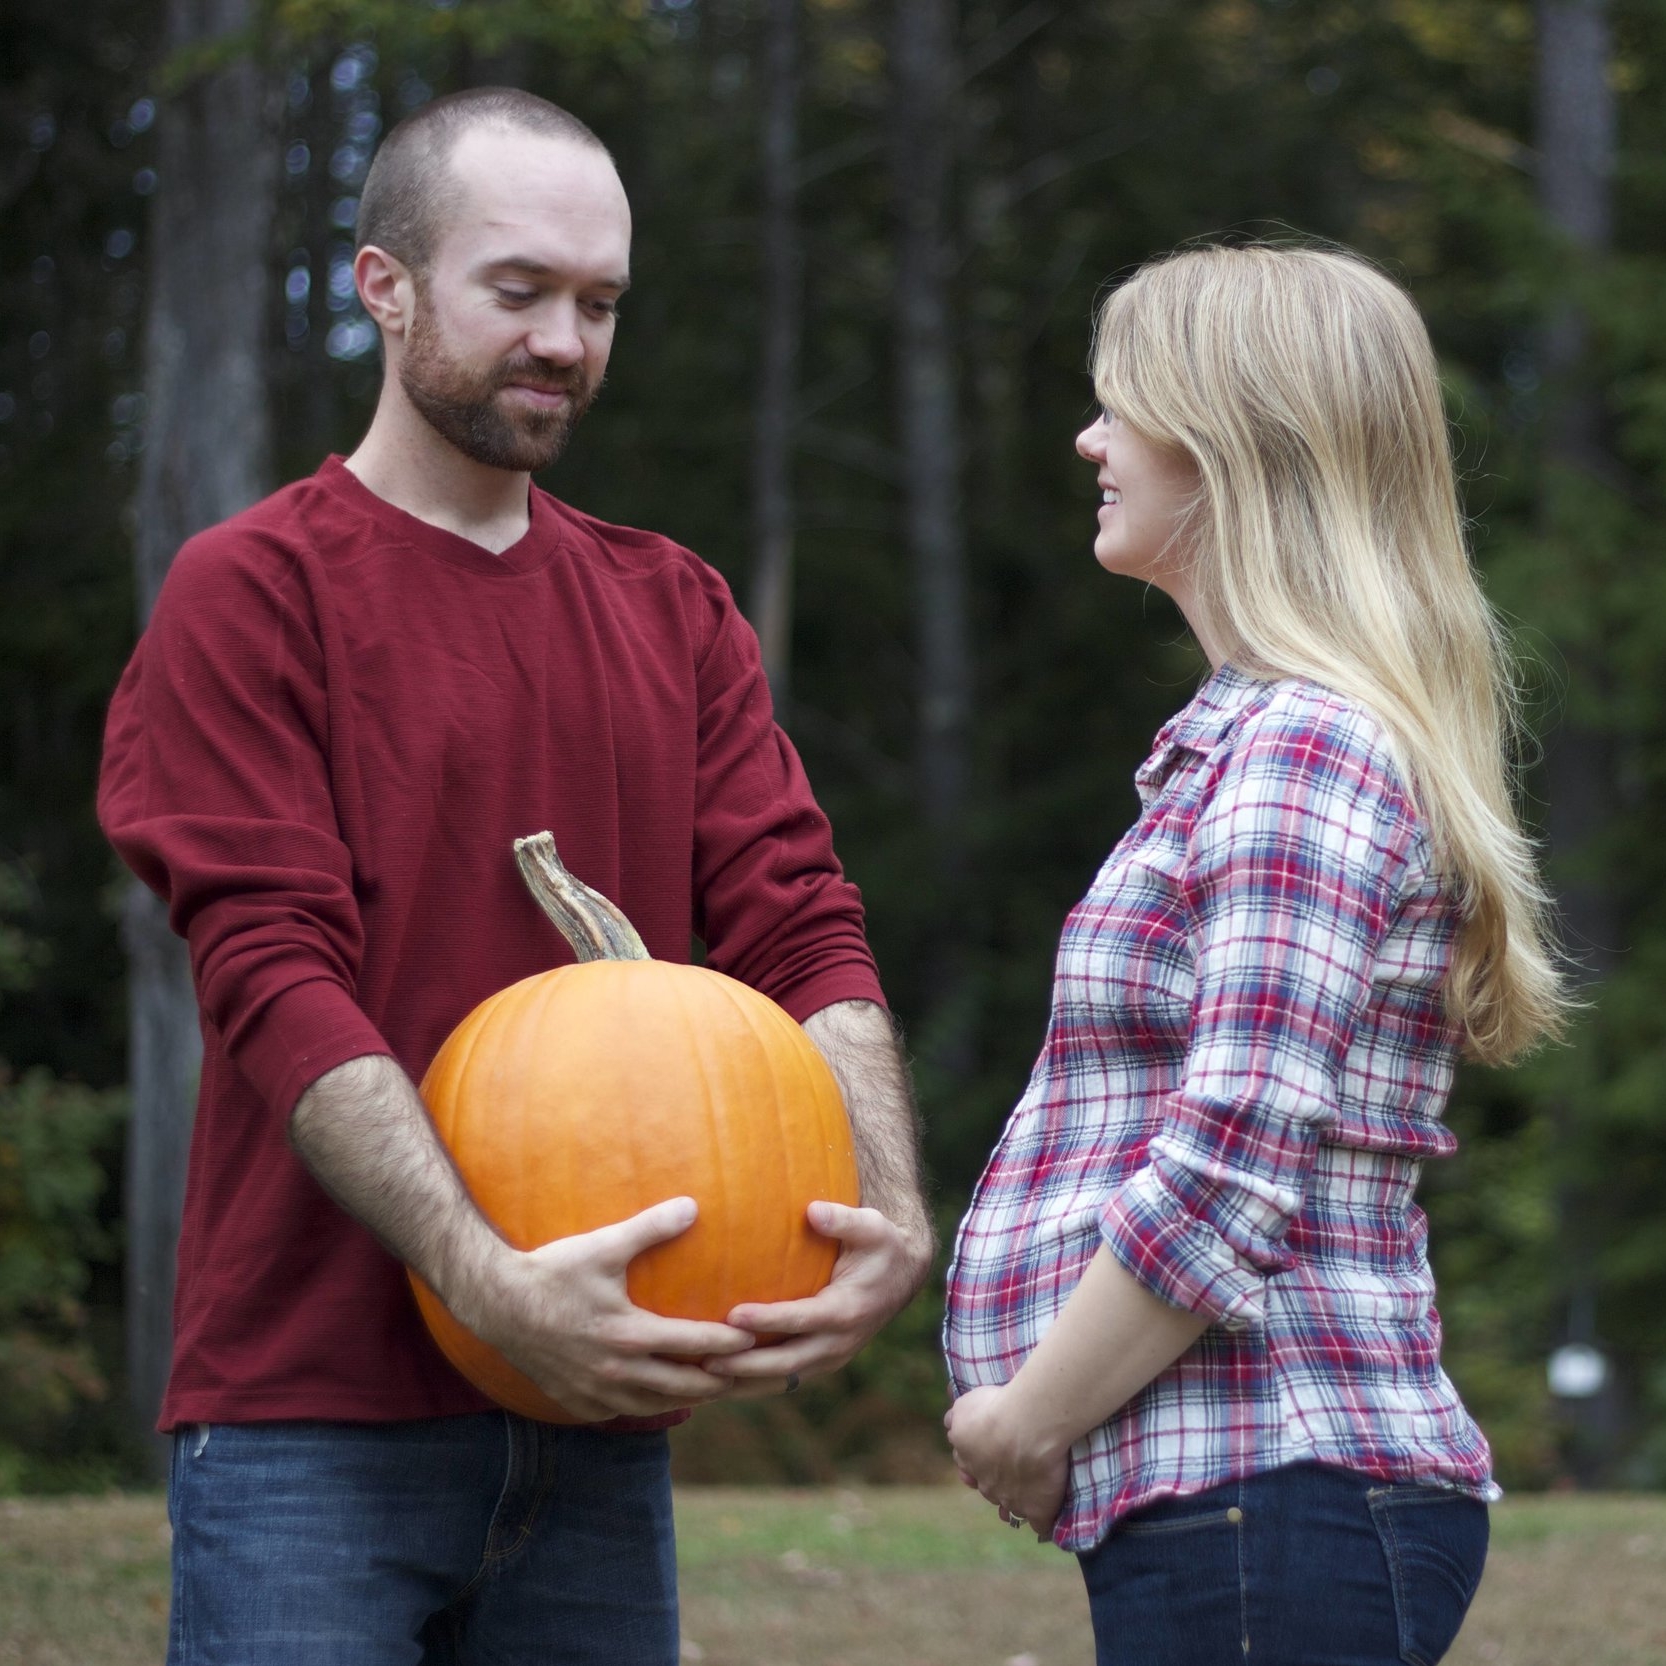
Okay, throwing it back to our last pregnancy and still in love with this easy Fall-themed maternity picture my husband and I took with a pumpkin! It's so simple but I think it came out so sweet. This idea would also be perfect for a Fall pregnancy announcement too. Fall is our favorite time of year, so I'm happy we could capture a classy Fall-themed "belly" picture.
I promise I'll share some photos from when I was farther along at our Christmas maternity photo session too - some sweet, simple ideas for your "special delivery" to come!
Shop Fall Fashion
KEEP UP WITH BIRCH LANDING HOME
| Etsy | Facebook | Instagram | Pinterest | Bloglovin' | Hometalk |