I'm a wife, stay-at-home mom, crafter, and blogger living in rural New England. As seen in Martha Stewart Living, Food Network Magazine, and more! | Tutorials, DIY, crafts, parenting tips, recipes, money saving tips, product reviews, local product features, New England living, intentional living, and more! |
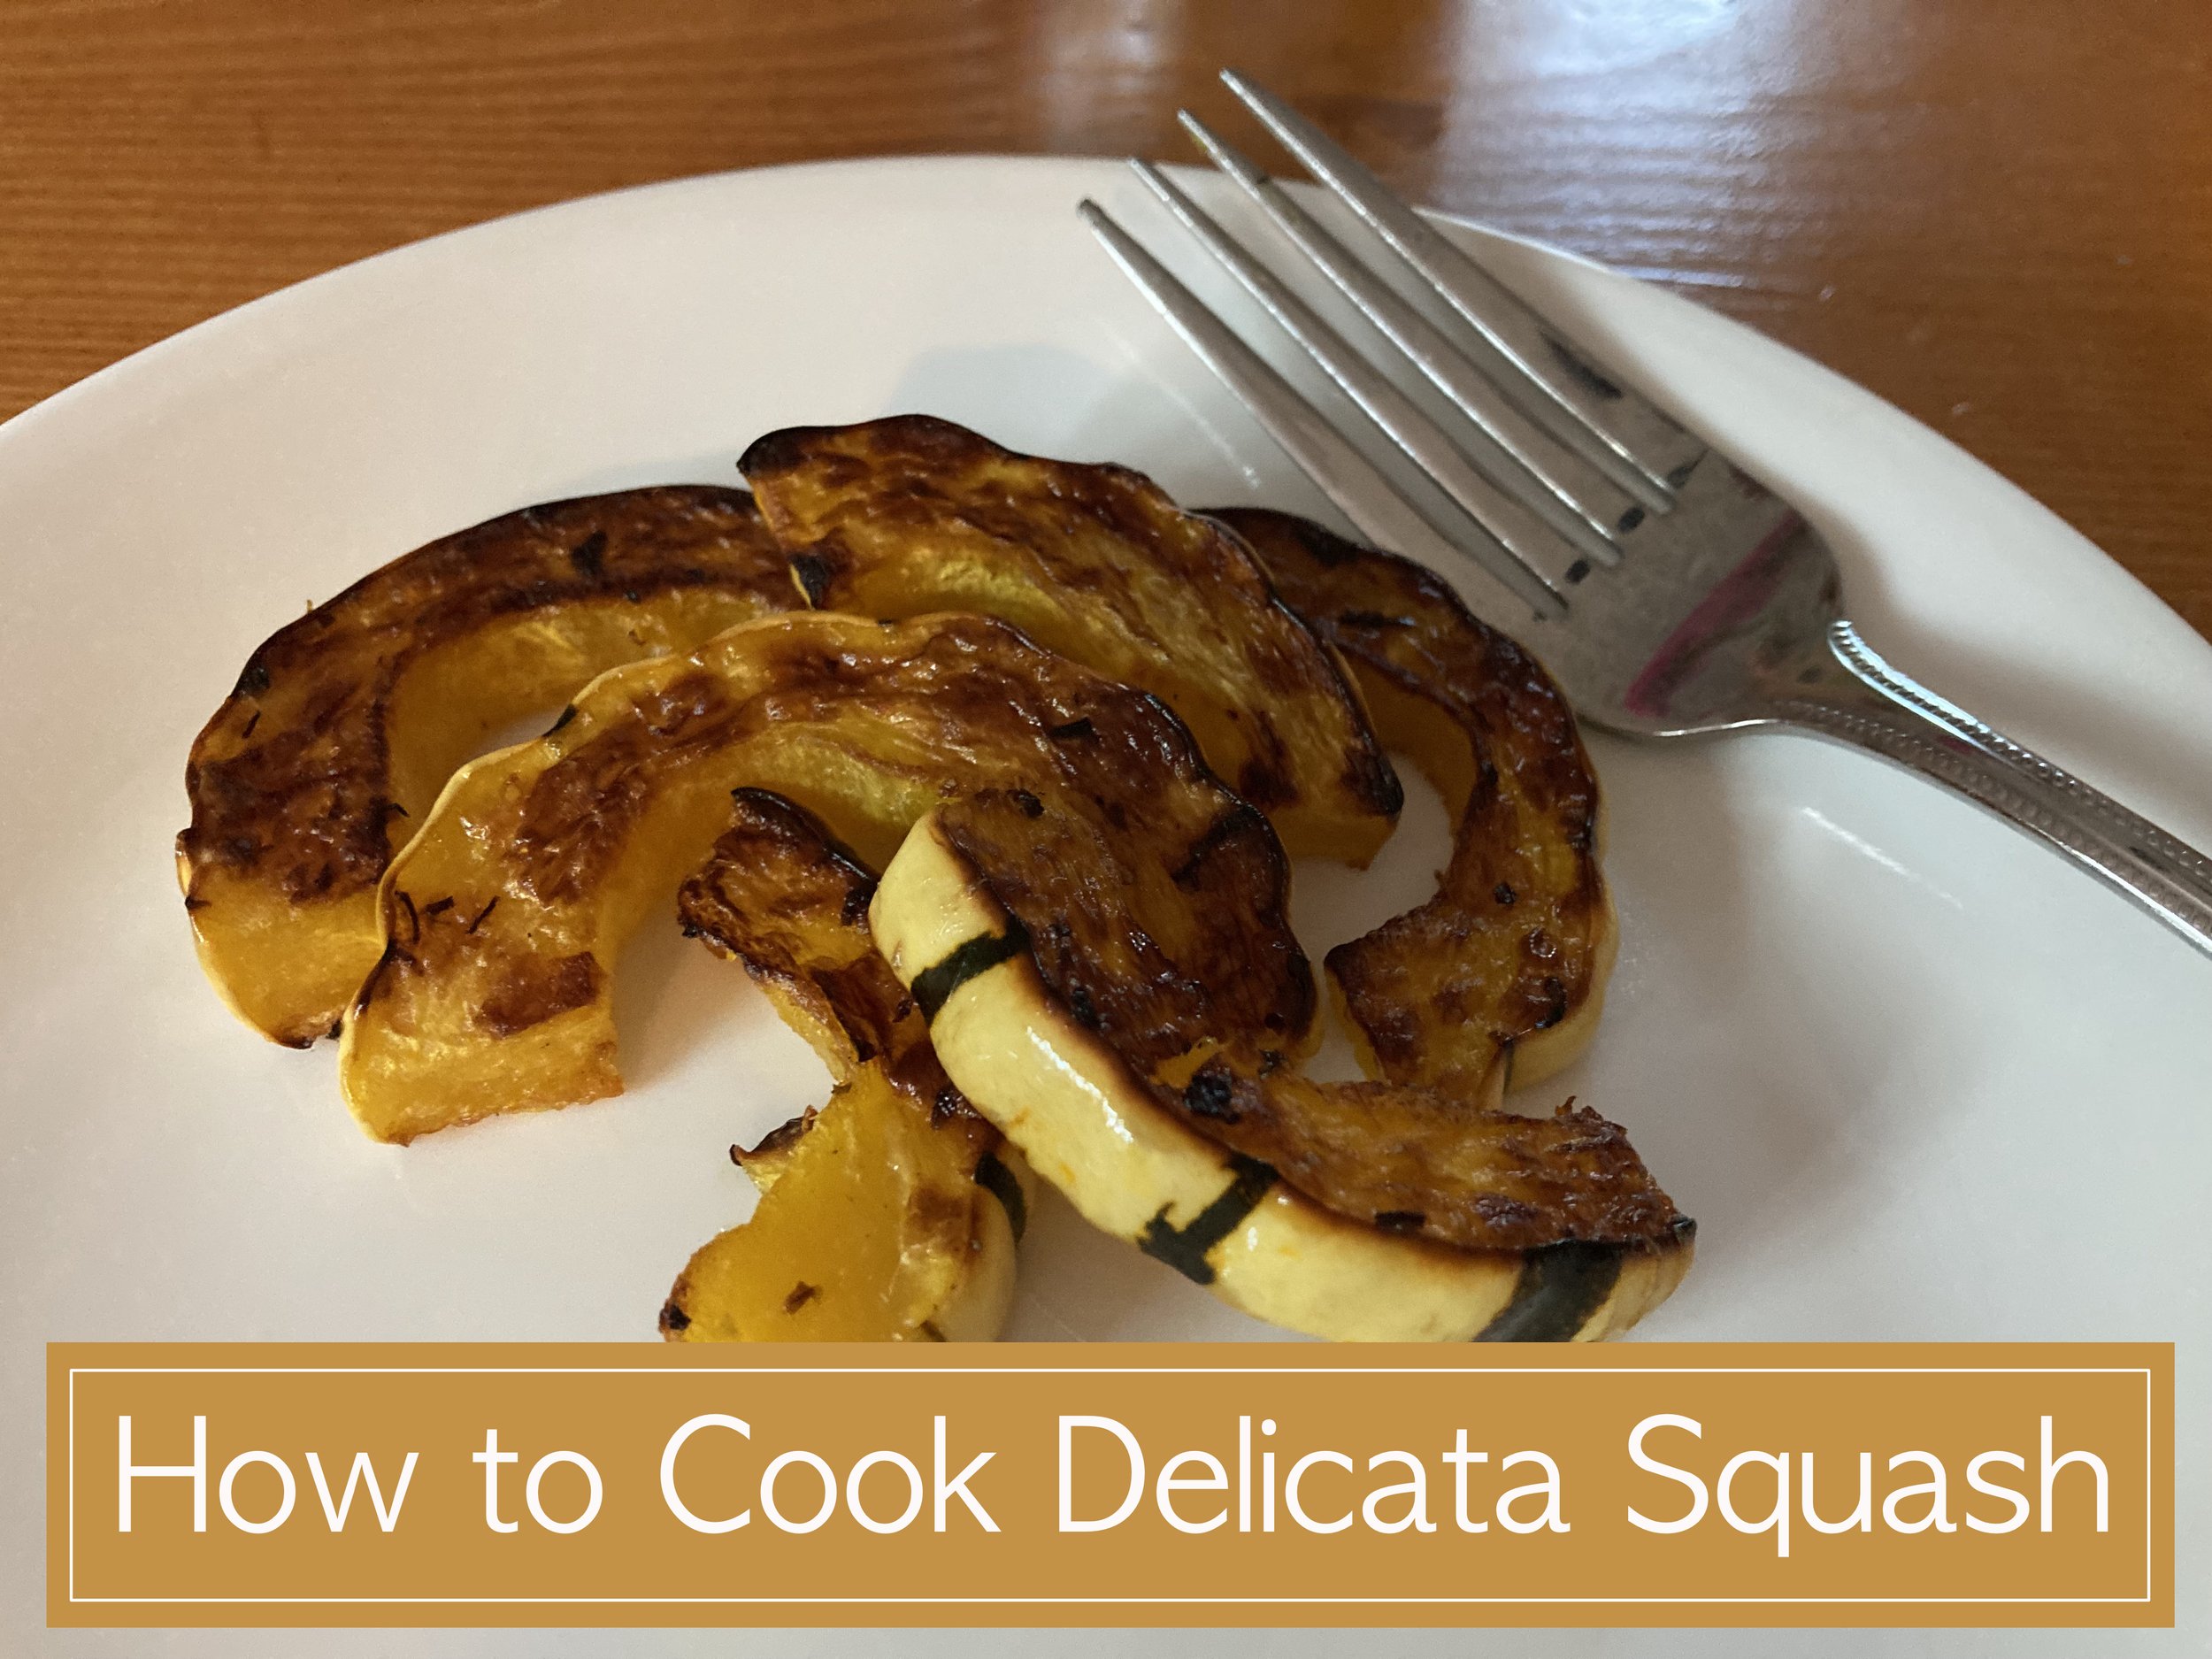
After trying Delicata Squash for the first time it quickly became a favorite - super easy to cook, no peeling (that’s a huge plus!), and a delicious maple-y taste without adding any sweetener. This squash is still an unknown to many people so I thought I would share the easy how-to of roasting them. | This post contains affiliate links |
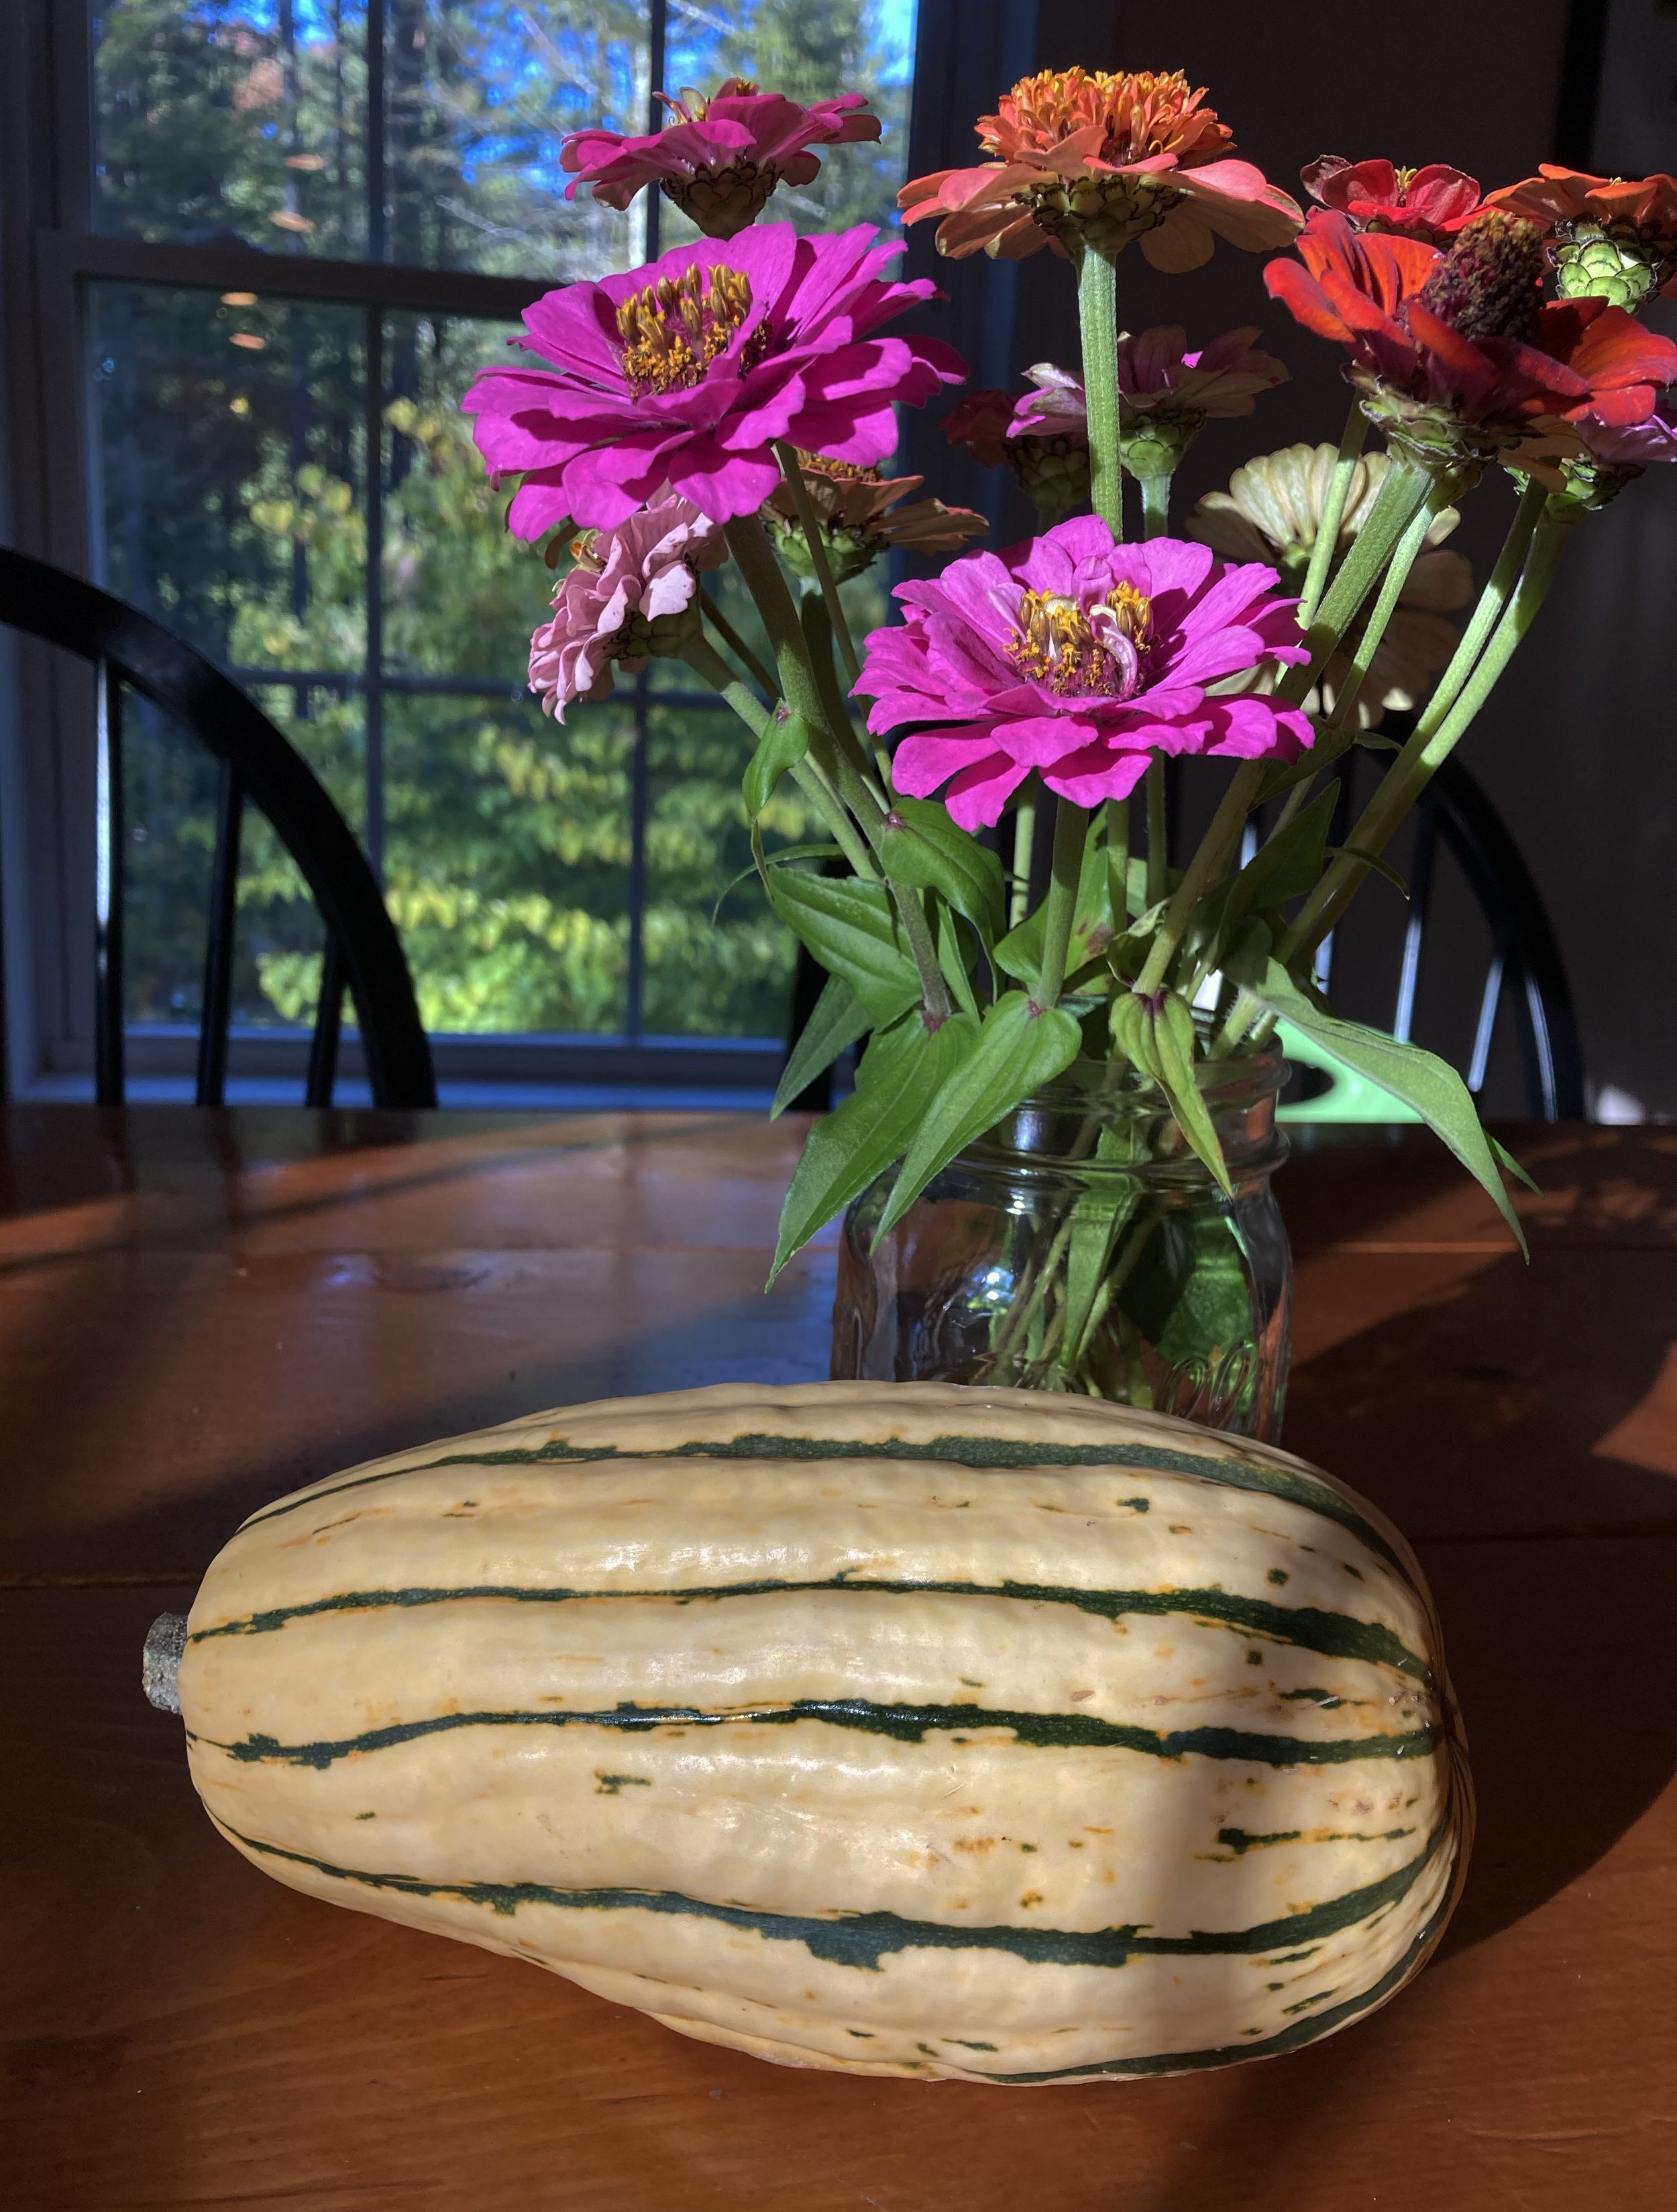
First make sure to wash and scrub the delicata squash thoroughly since you’ll be roasting and eating the skin as well - you don’t want any gritty dirty from the field left on!
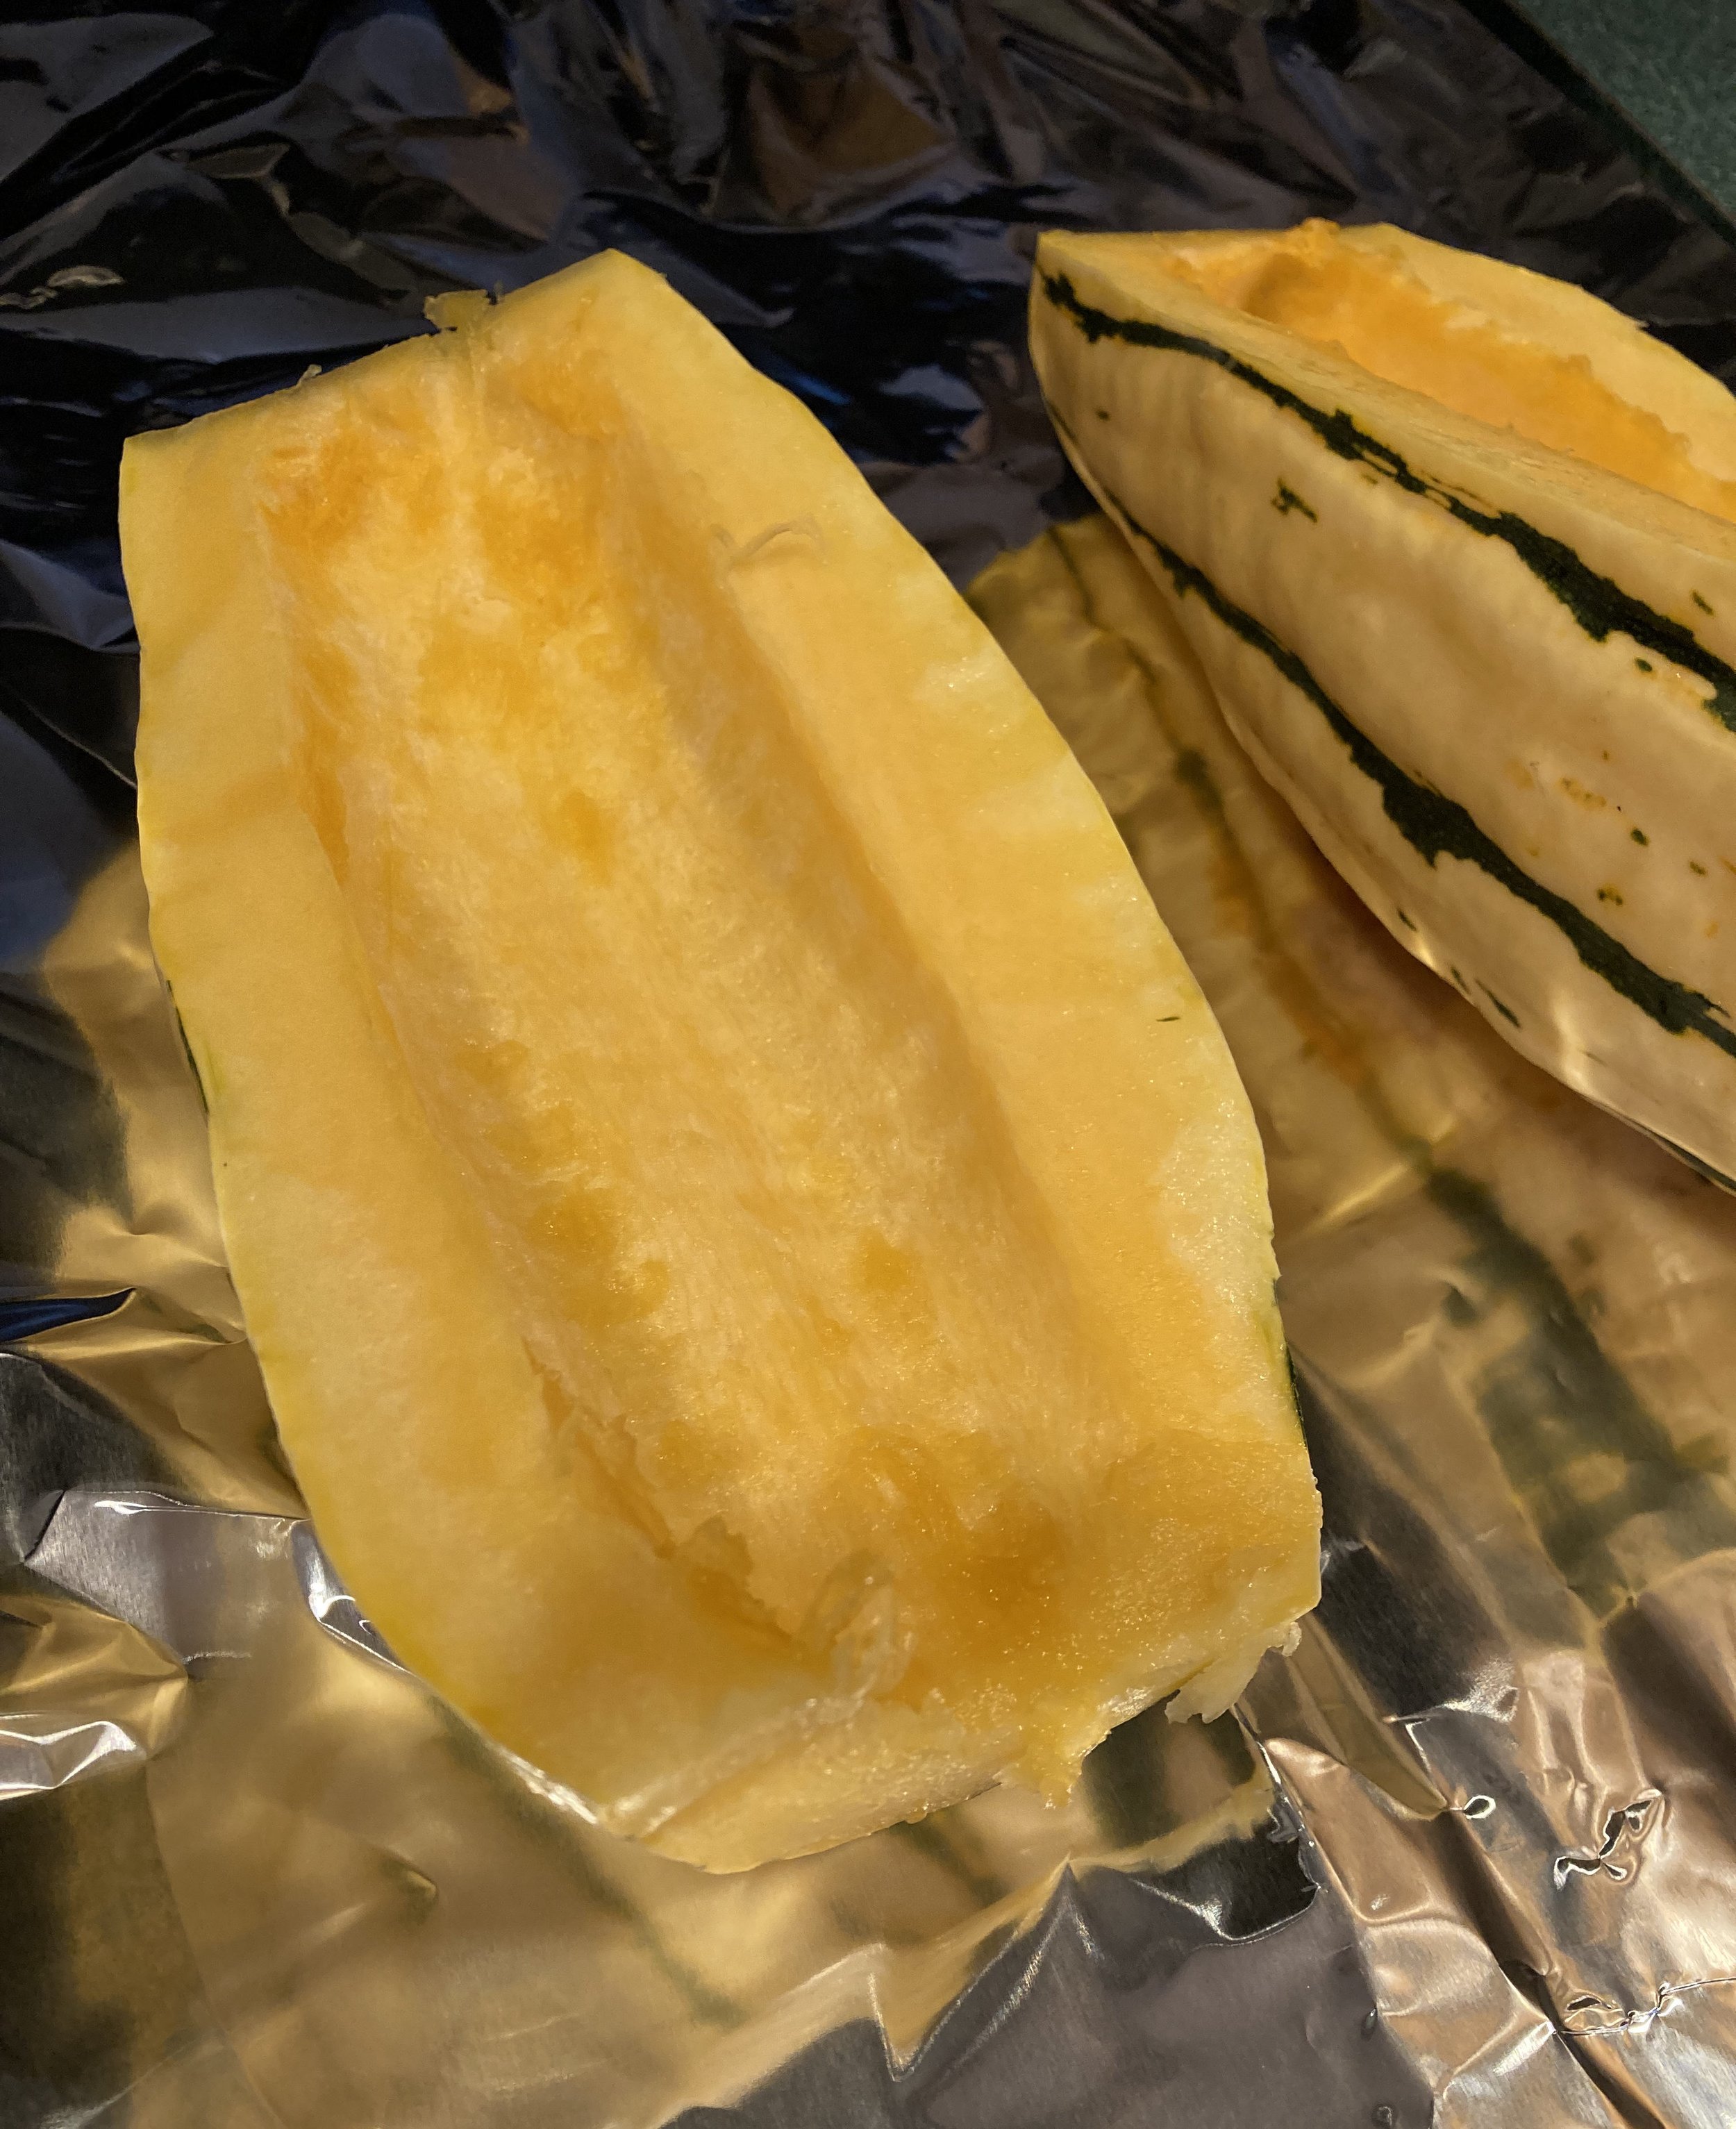
Once it’s clean, chop each end off and cut open the long way. Next scoop out all the seeds and strings with a spoon until it’s nice and clean (like the photo on the right).
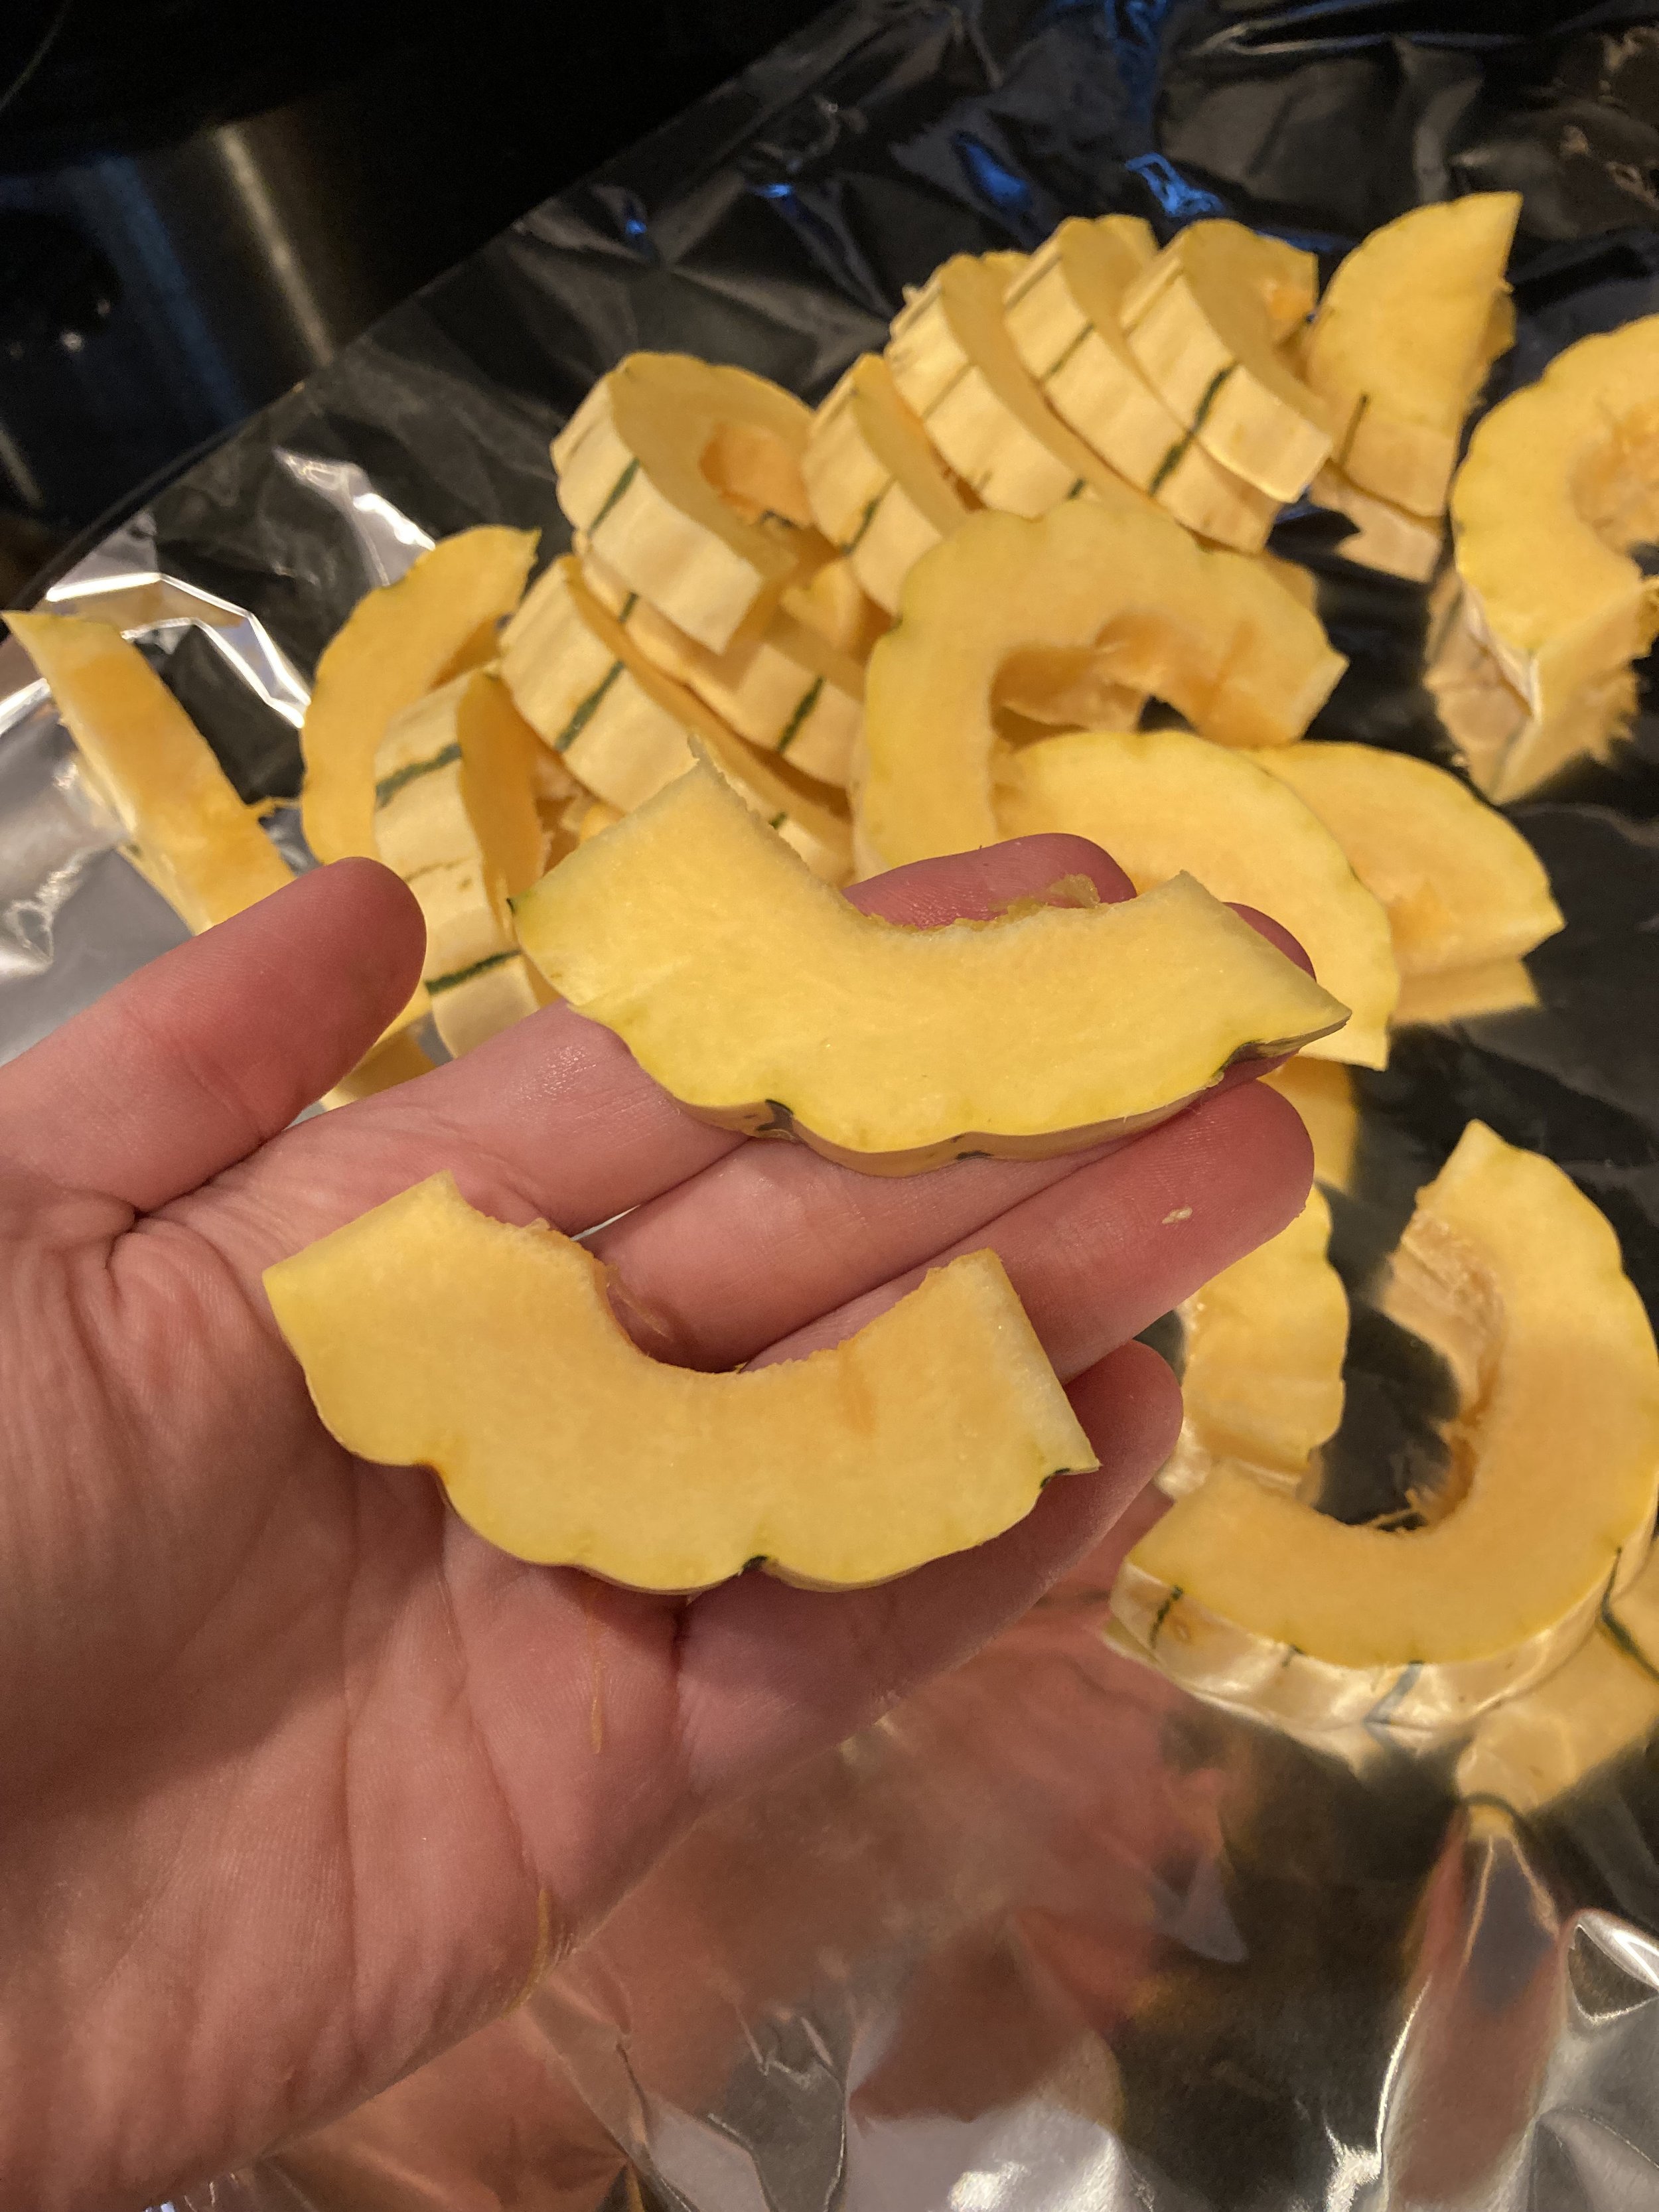
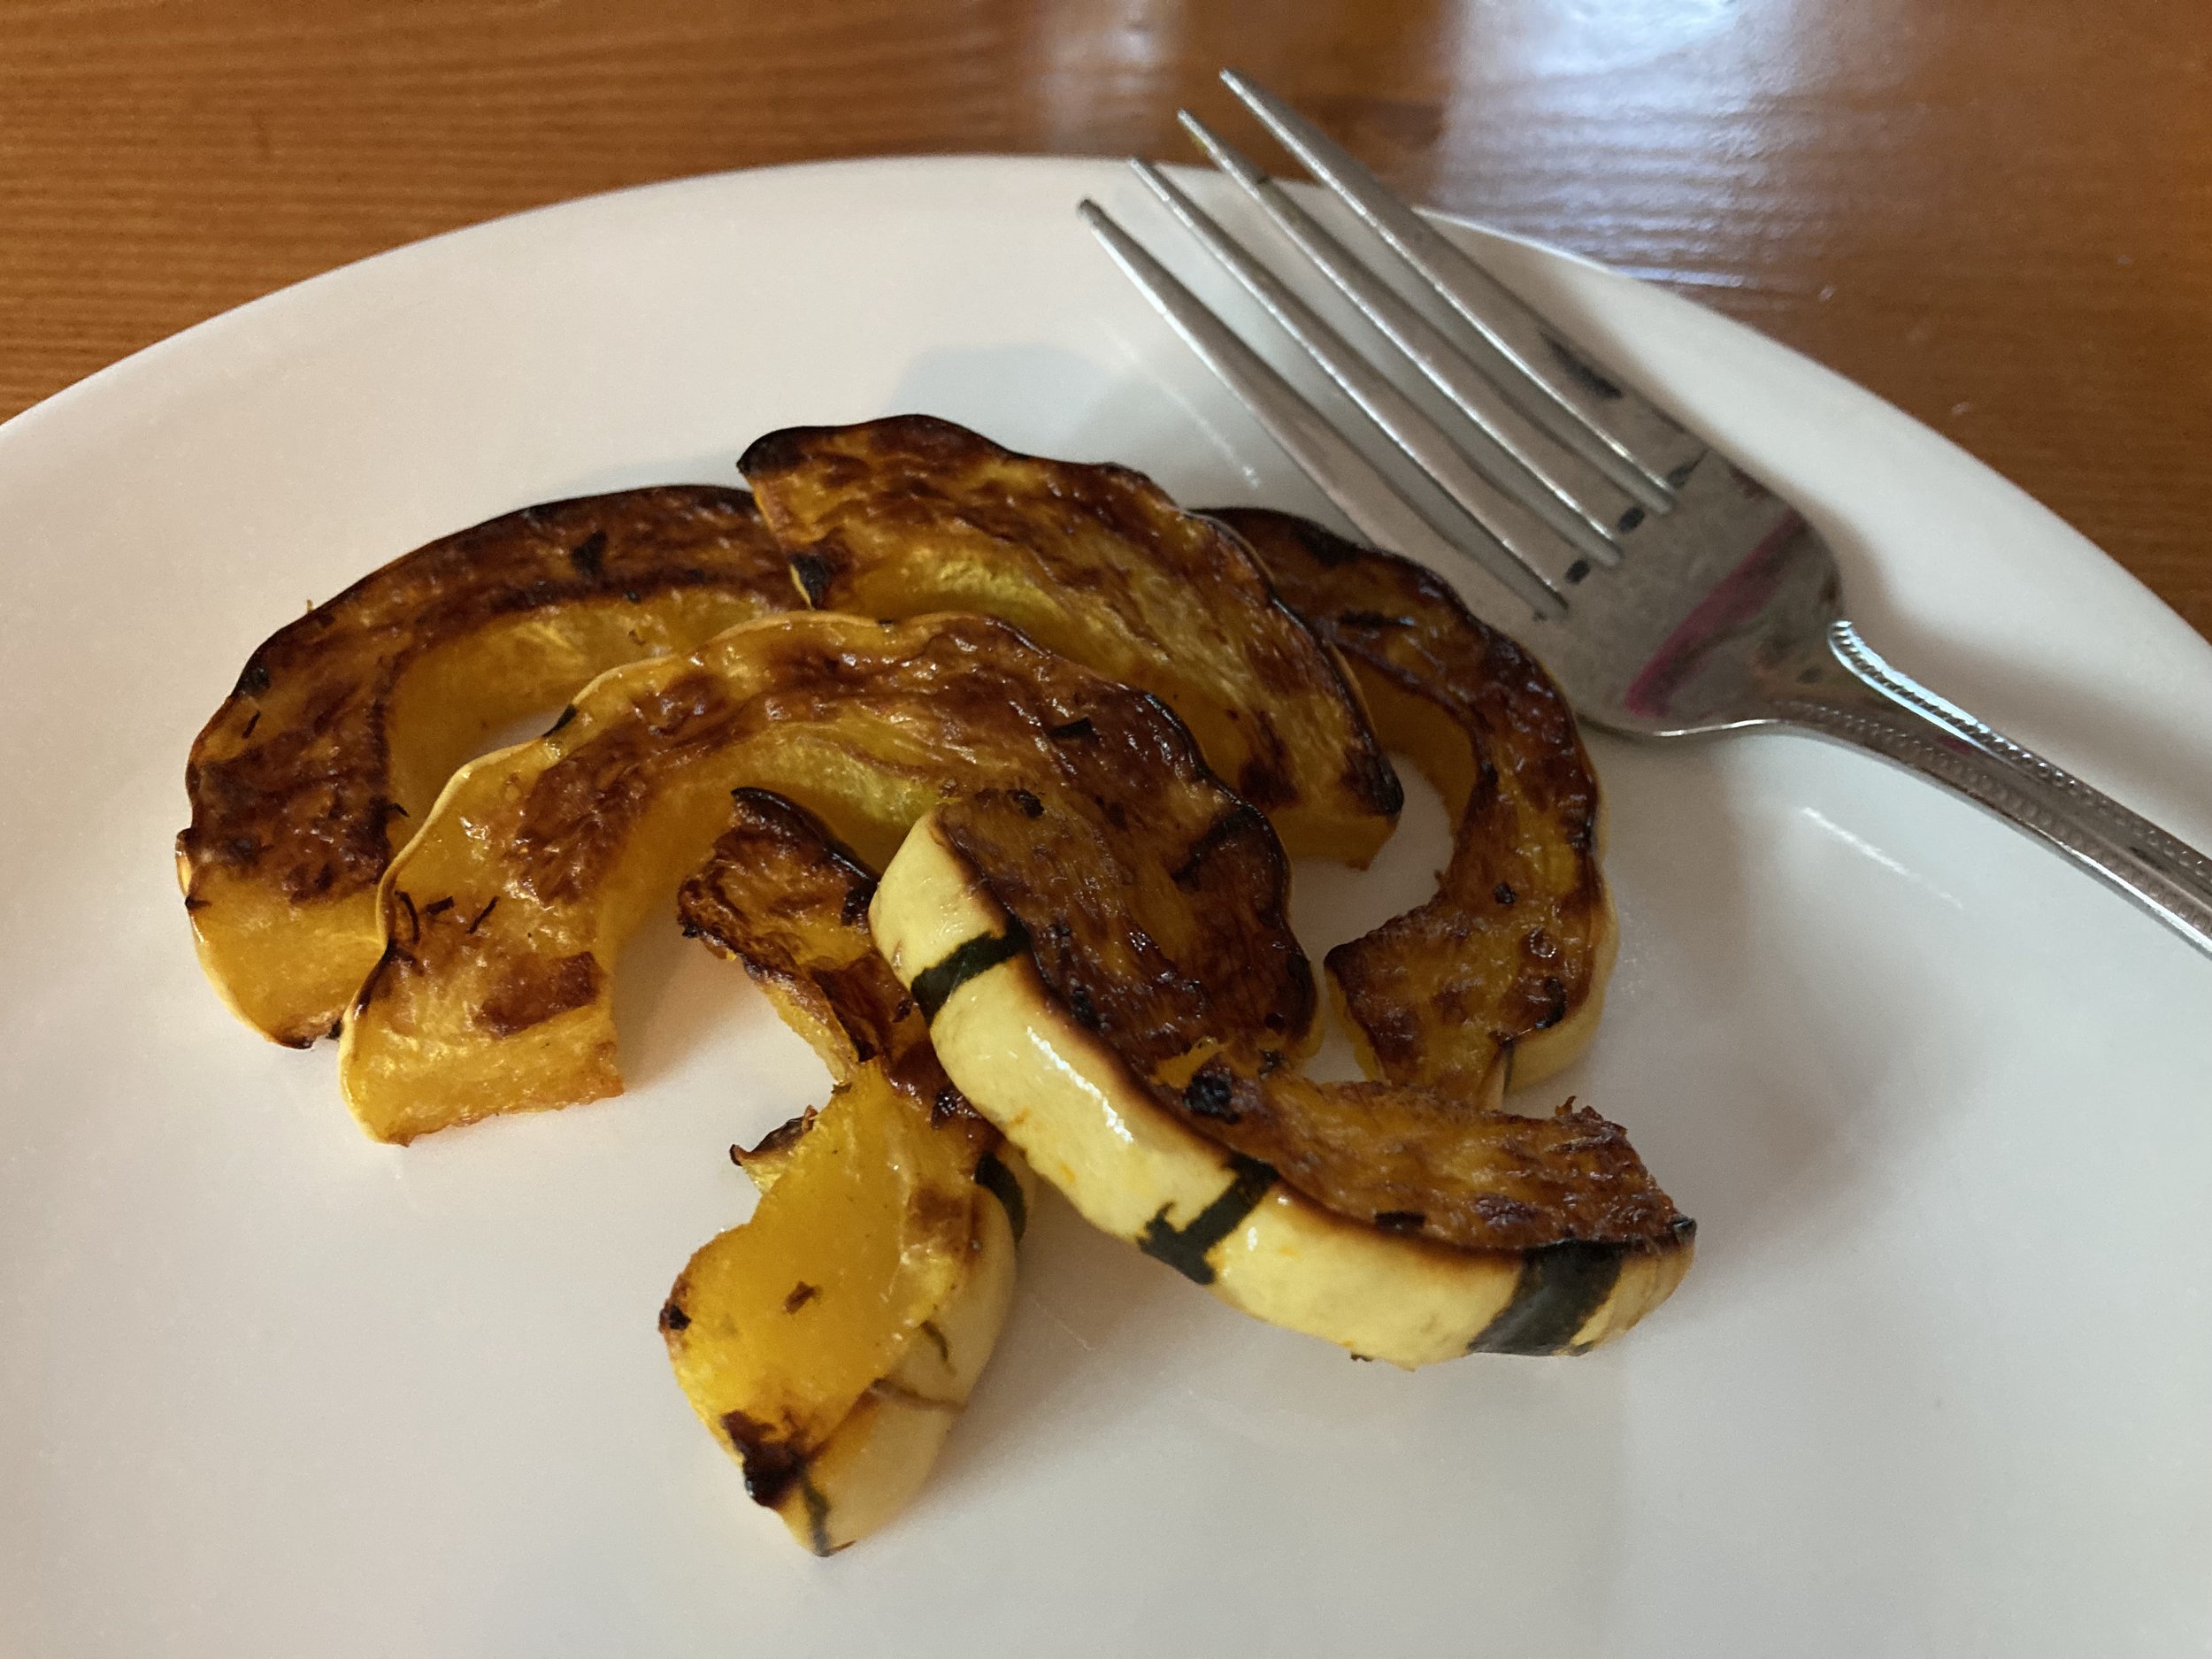
Next chop up the squash into whatever size pieces you prefer. We like cutting them into “quarter smiles” about half an inch thick.
Toss with some olive oil to coat and then sprinkle with salt and pepper to taste. We also love sprinkling on dehydrated kale flakes too - it adds a super subtle flavor and a tiny extra veggie boost too. (We add these kale flakes to most of our meals - love them!)
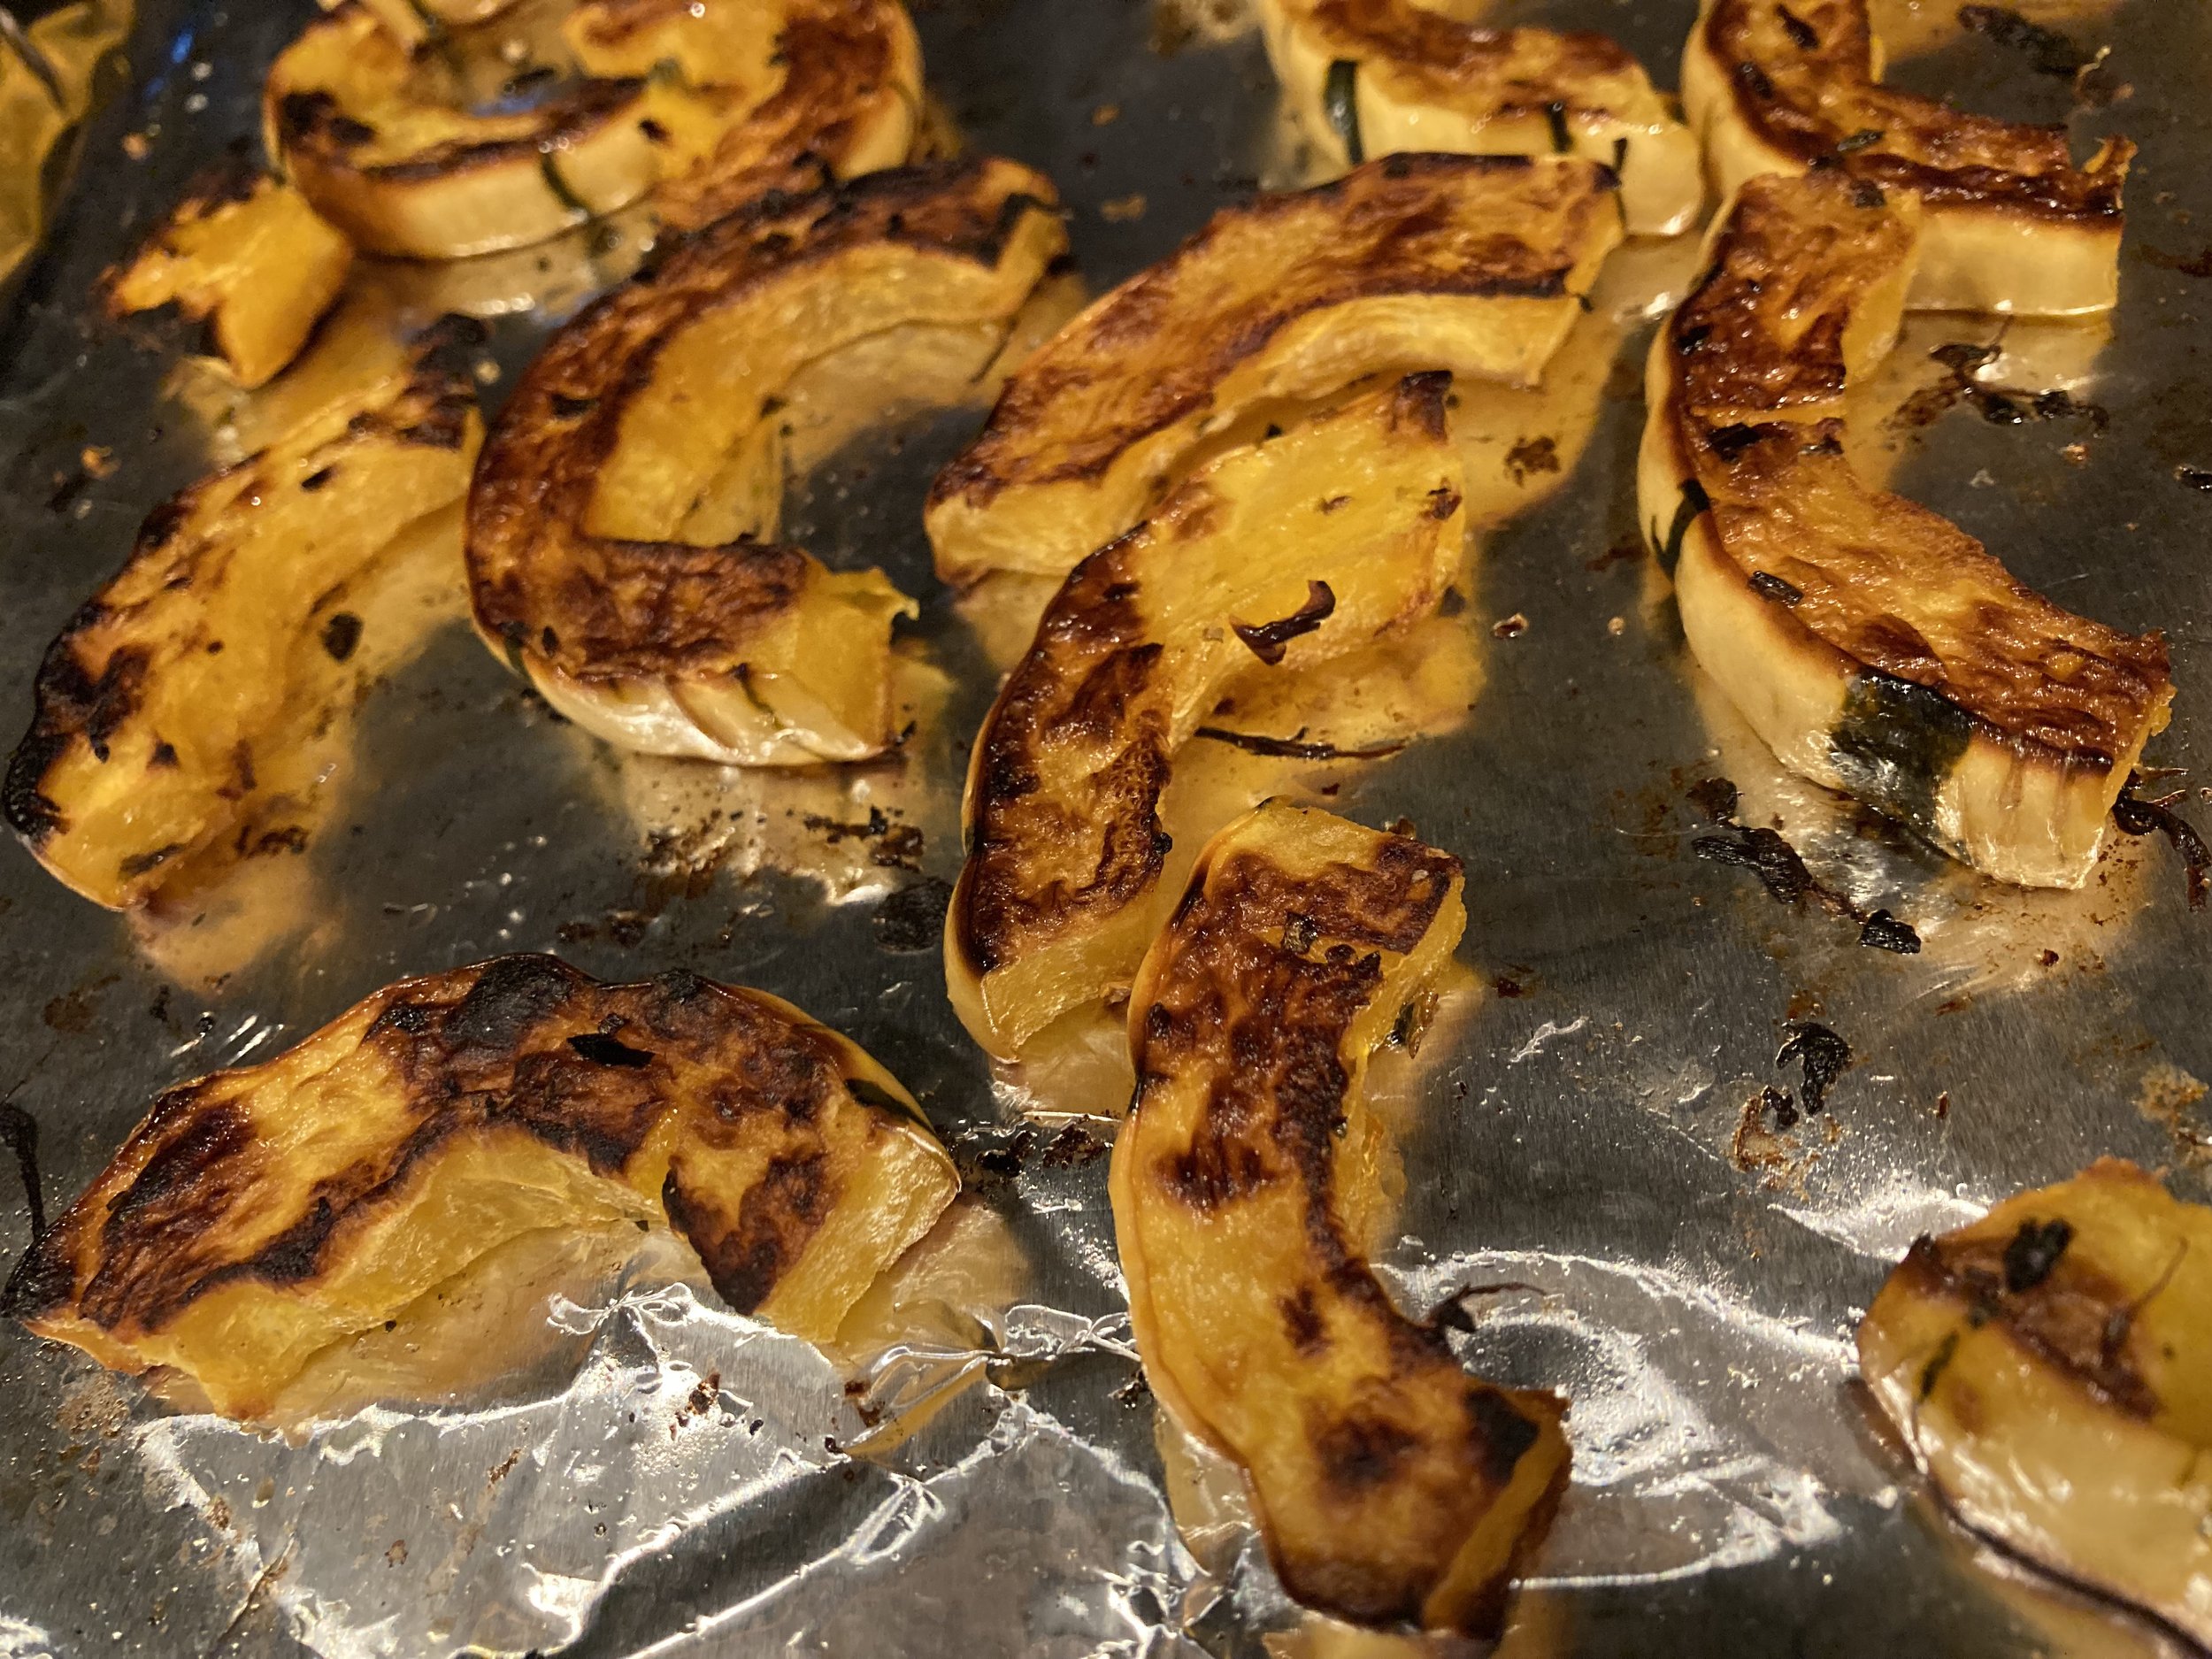
Now that it’s ready to cook, roast at 425 degrees in a preheated oven for approximately 20-30 mins, flipping halfway through. Cook until it’s soft and starts to caramelize and look burnt. Enjoy!
This squash has become a favorite in our house and I’m looking forward to trying to grow some in our garden next year.
We are still waiting to hear the final plans for our local school district (whether that’s in-person learning only, remote learning only, or a choice/combination between the two) - but whatever our school district decides, we’ve already made our decision. Because of the unknowns regarding COVID and how things will play out this fall and winter, we have decided to keep our kids home either way. | This post contains affiliate links |
We are waiting to hear what our district offers before we purchase a curriculum… if they offer remote learning then we will likely do that and supplement on our own with what we feel our kids need more help with or are interested in learning more about. But if they don’t offer remote learning then we will choose a curriculum and officially homeschool.
I recommend looking into what your state requires regarding homeschooling as every state is different. In New Hampshire we have a lot of flexibility and pretty basic requirements… I find this to be a blessing and curse - it’s great because it’s very open-ended… but it also makes it very difficult to choose what to do because, well - it’s very open-ended. Right now I’m in the process of looking into different curriculums (in fact I’m attending an “e-open house” online tomorrow for our 1st grader). A family member also offered to loan us some of their homeschool books from a few years ago which is very helpful. But since our kids are only going to be entering 1st grade and preschool I’m not too stressed about choosing the right curriculum for them… what they need to learn is very basic and could be taught on our own if needed without following a specific curriculum (which could be okay in our situation). Regardless, I have more homework to do in the coming weeks to decide how we’re going to handle everything.
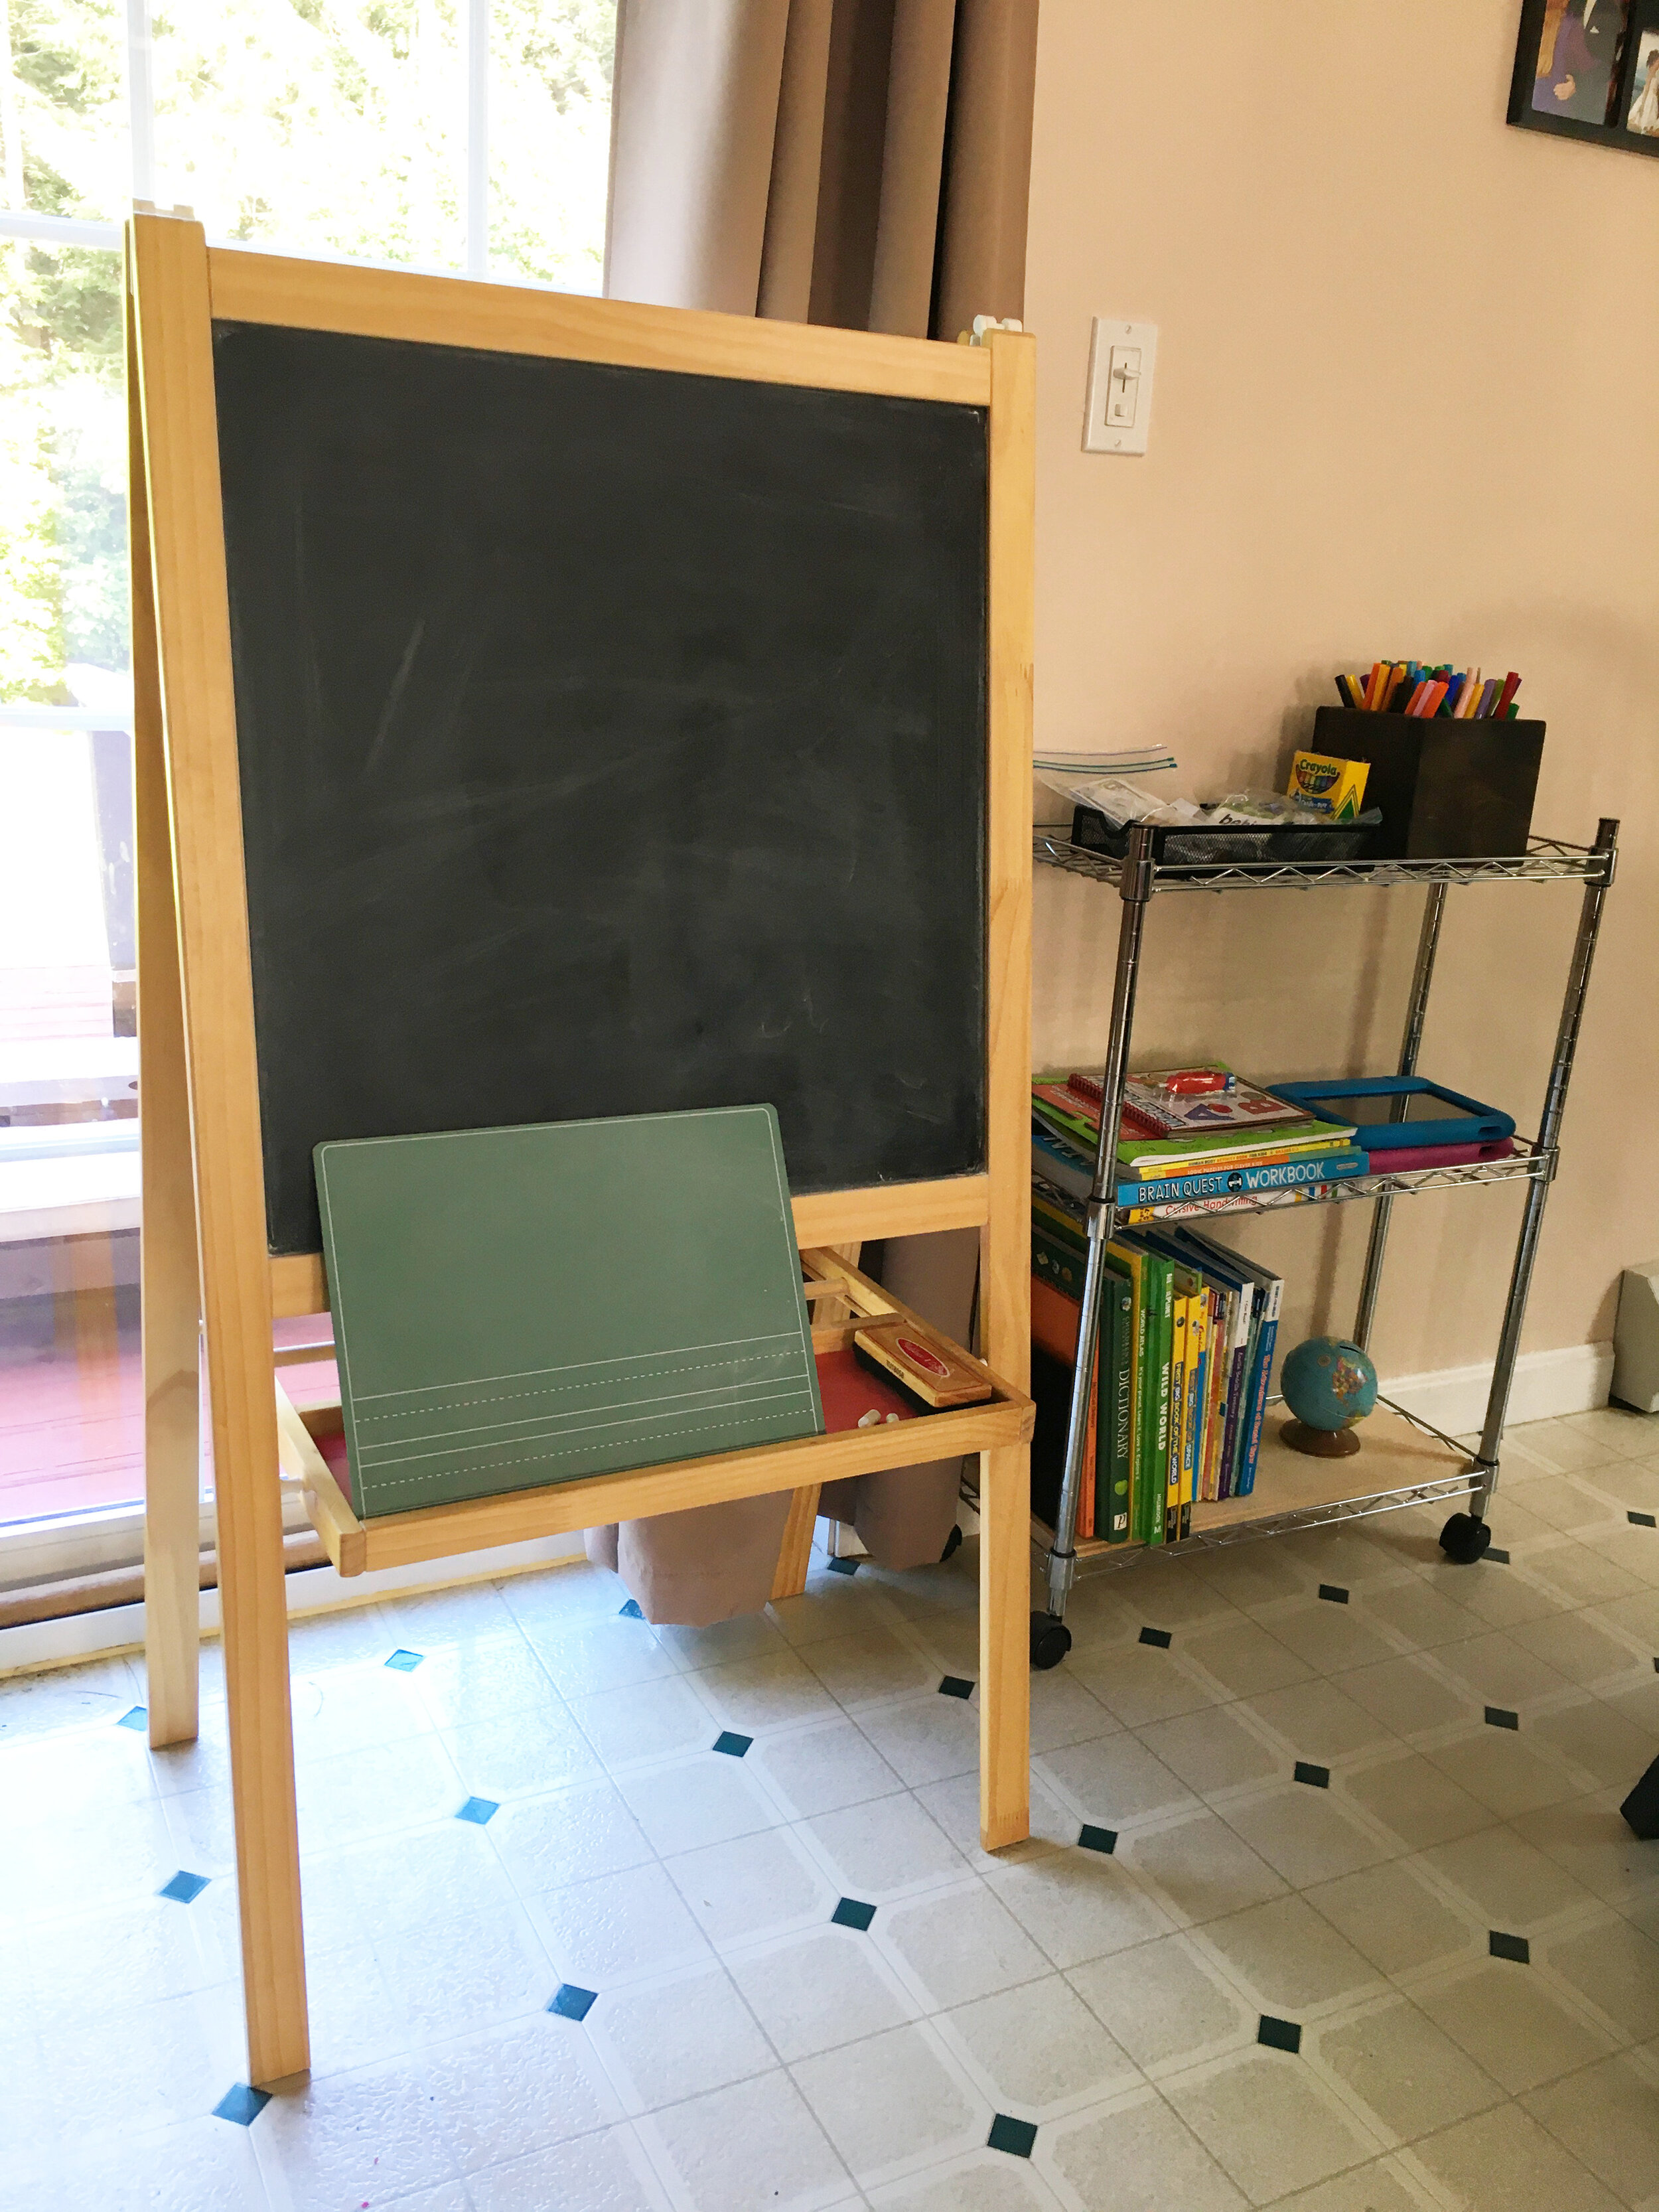
In the meantime though, I thought it would be a good idea to start setting up our homeschool area in our home. Ideally I would love to get our 1st grader her own desk and designated school space but we just don’t have the room. Instead we worked with what we had and decided to dedicate one corner of our dining room to be our homeschool area.
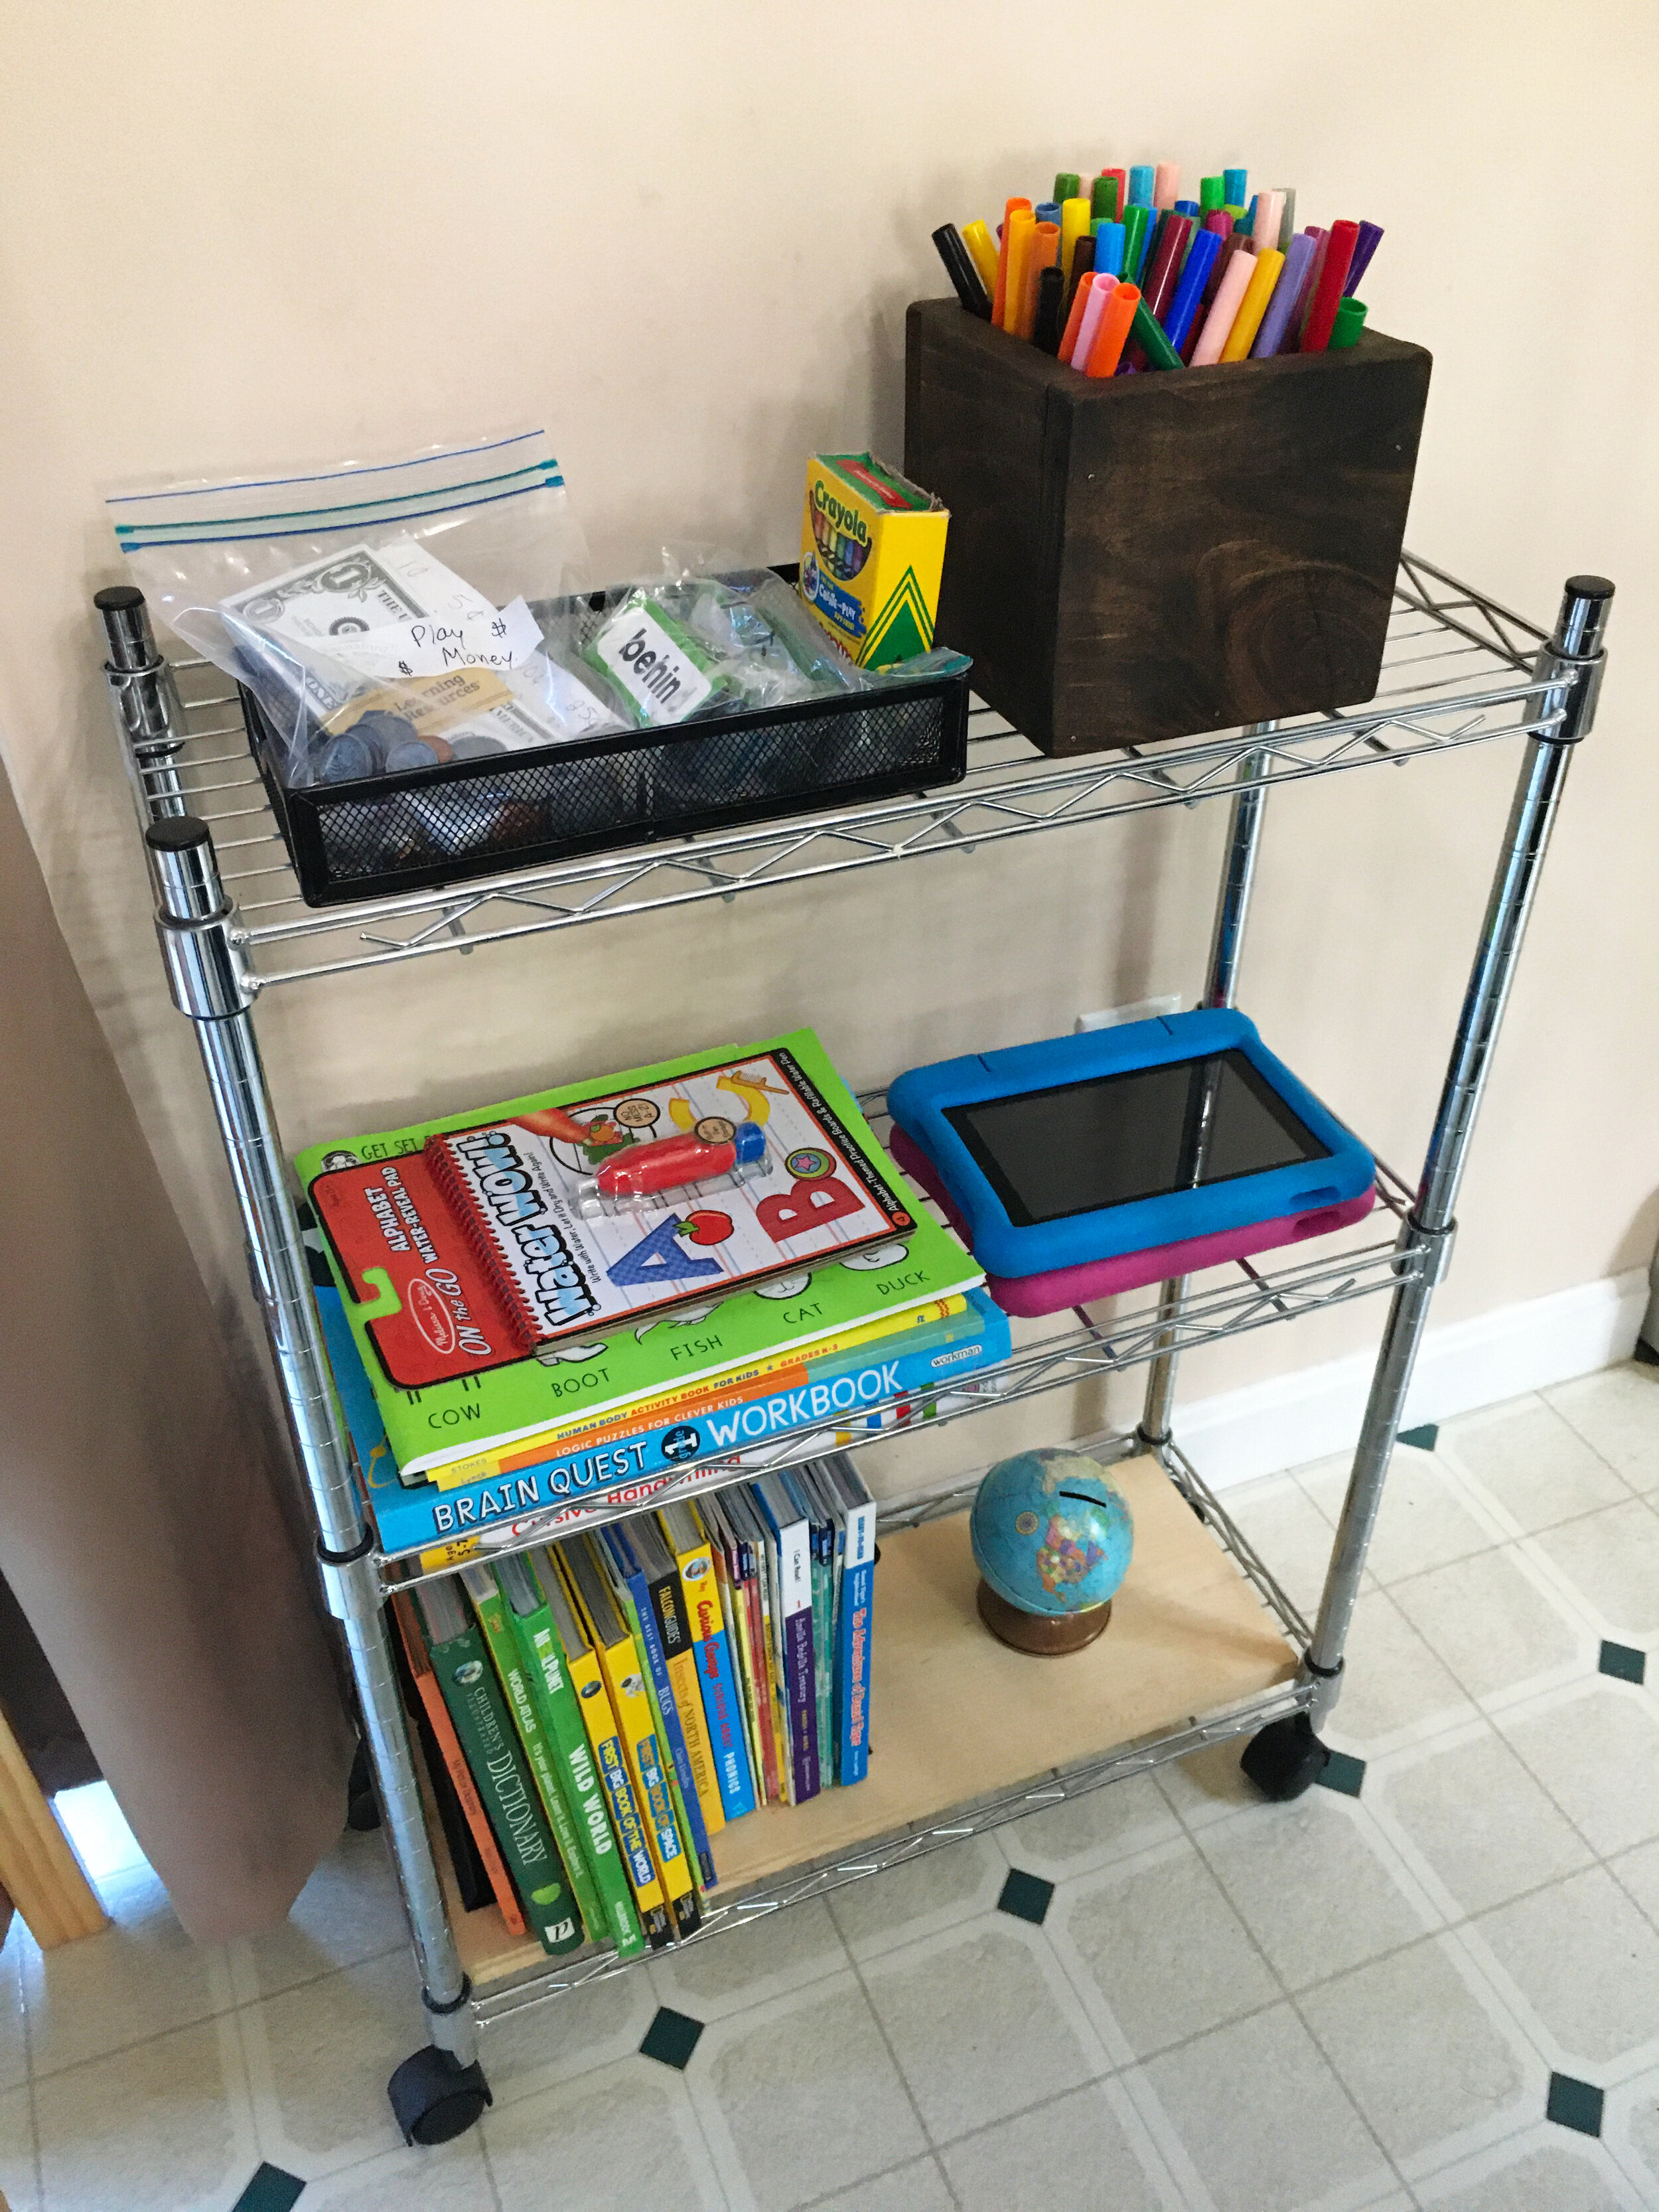
The cart will hold most of our supplies for homeschooling. On the top shelf we have play money, sight word cards, and some basic art supplies. On the middle shelf we have a collection of workbooks for both kids as well as their Kids Kindle Fires. We love the Kindles for playing age-appropriate educational games for each kid, and reading books for our first grader. On the bottom shelf we have a small collection of reference books for kids, some early reader books, and a small globe. I lined the bottom of this shelf with a wooden board so the books would stand up easier.
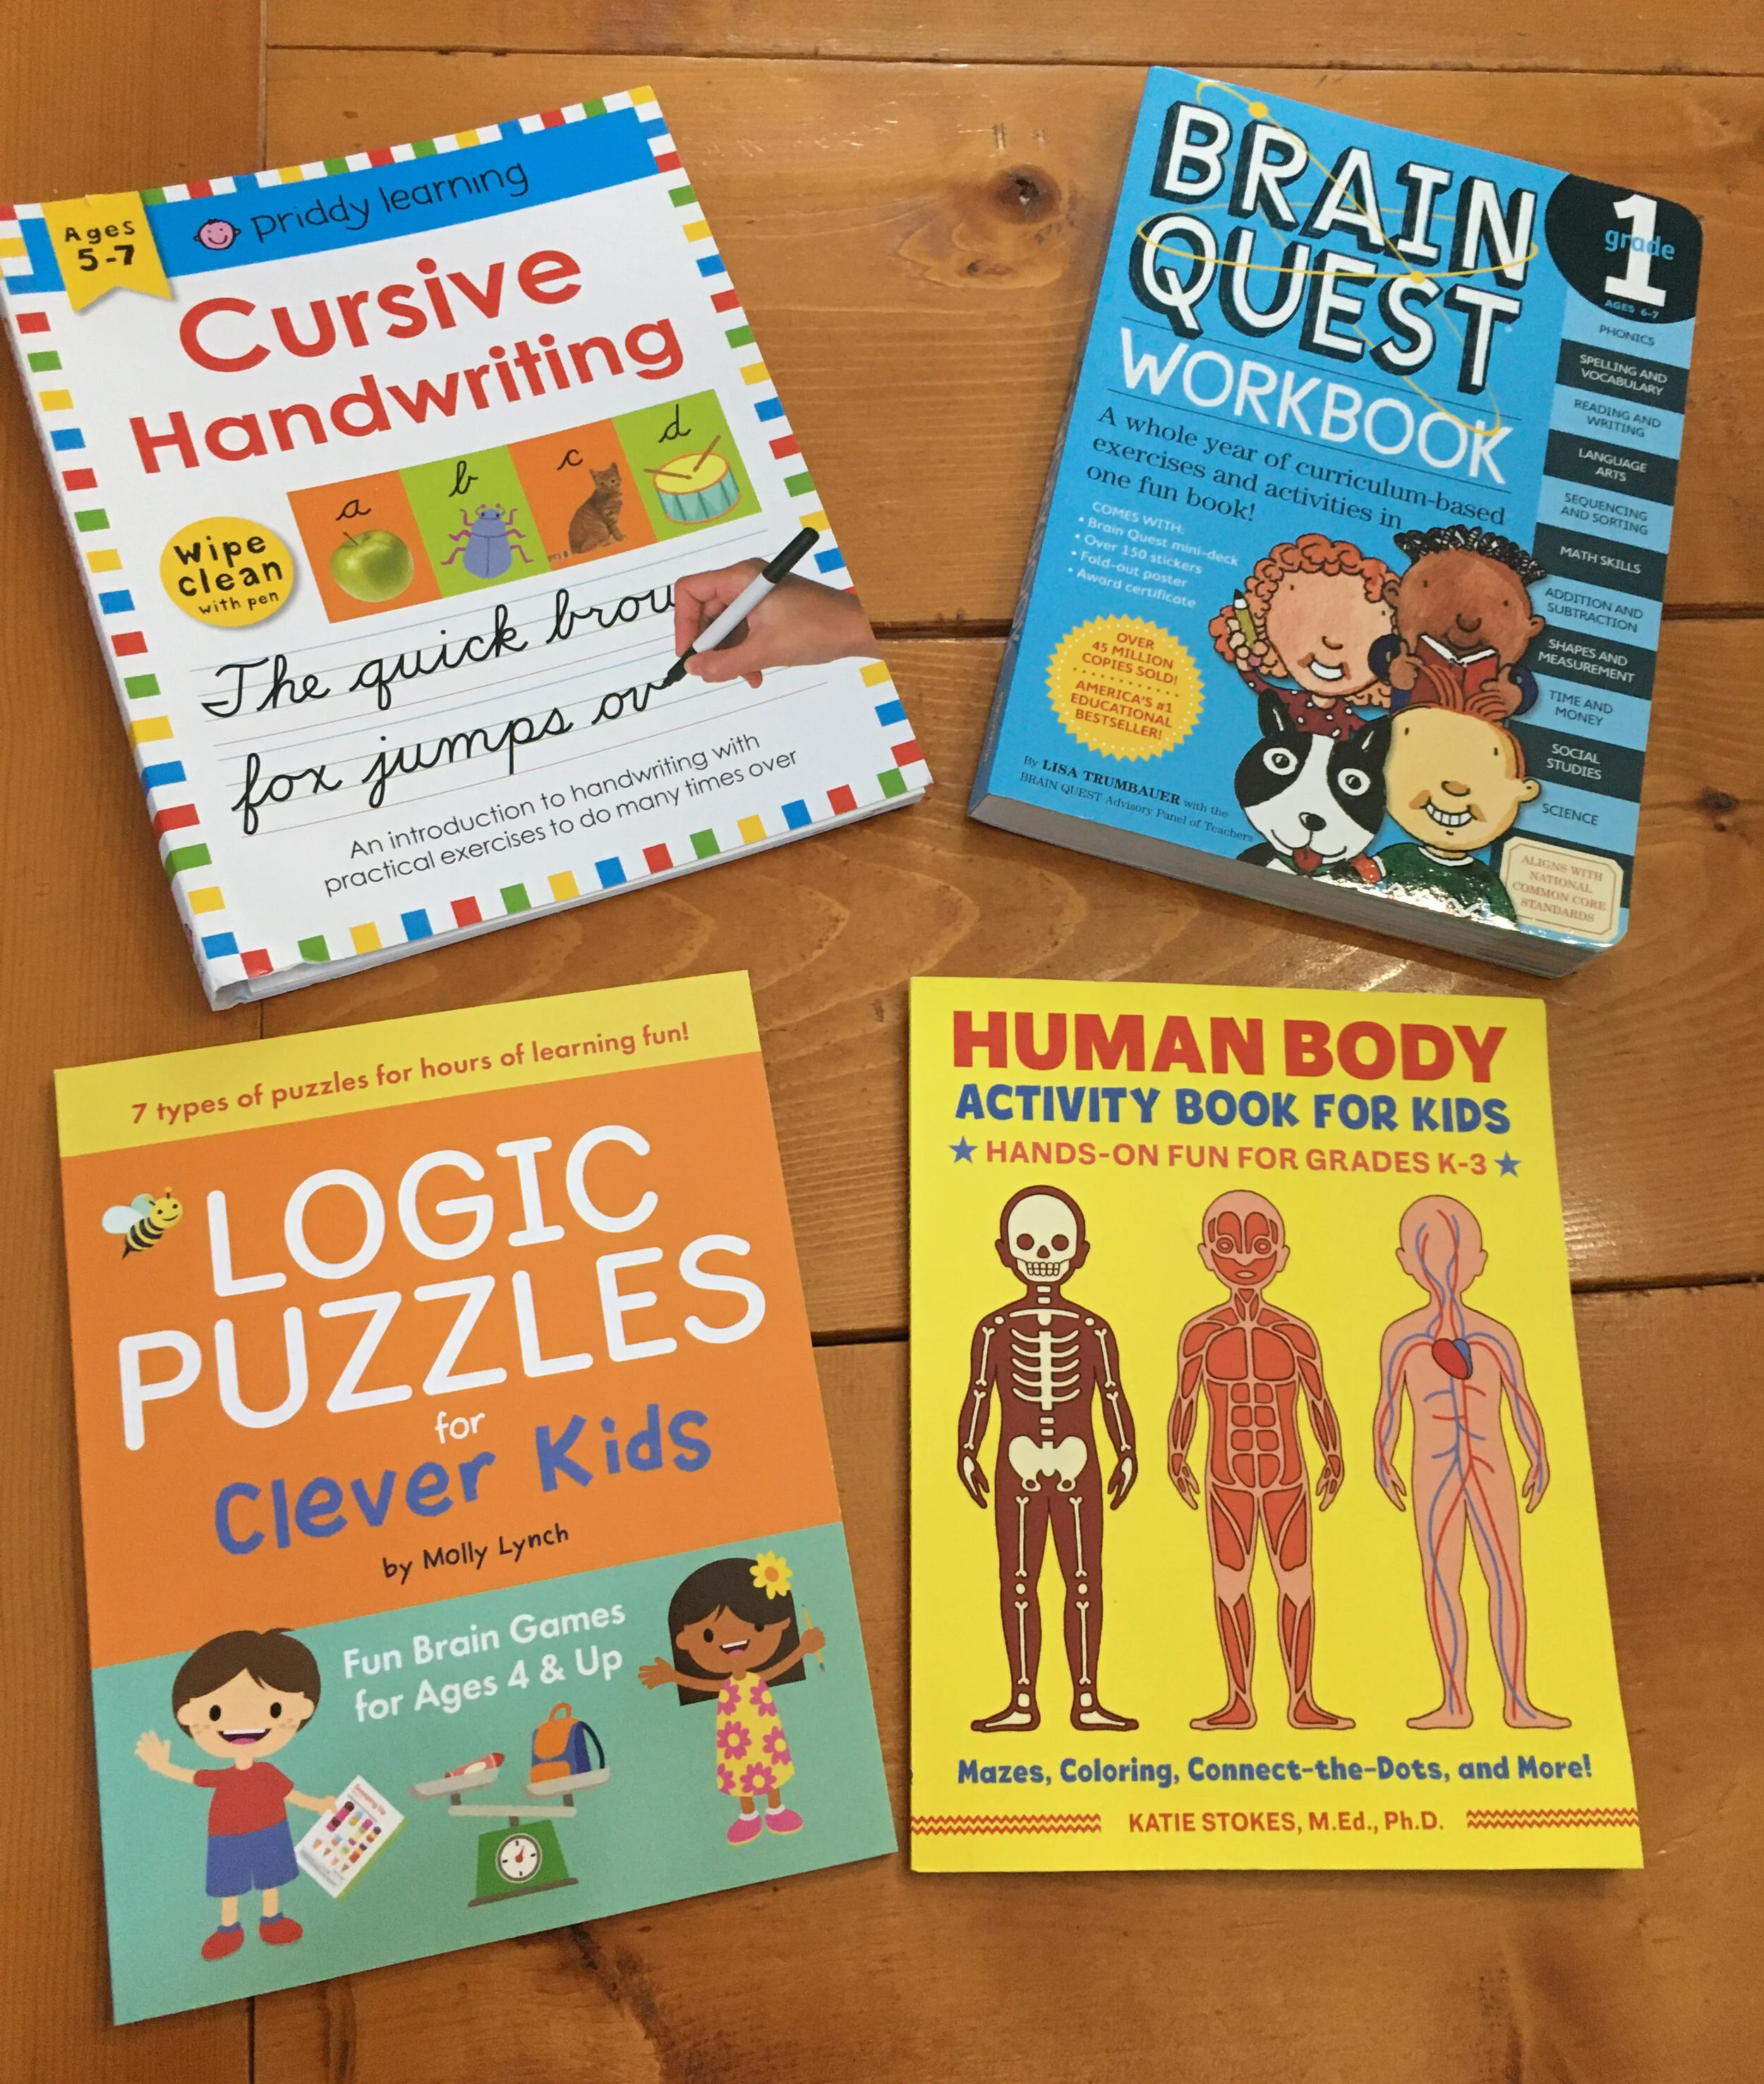
FIRST GRADER | Again, we still haven't picked a curriculum yet - but here are some supplemental workbooks we've gotten for our 1st grader so far: Cursive Handwriting (this isn't something that is typcially taught in first grade here but our daughter has expressed an interest in learning, so this is more of a fun bonus activity we plan on working on if she feels like it), Brain Quest Workbook: Grade 1 (we love this series of workbooks for fun, educational worksheets that cover a variety of subjects), Logic Puzzles for Clever Kids (age-appropriate logic puzzles are great for everyone to practice thinking and problem solving skills), and Human Body Activity Book for Kids (we chose this to cover some science and health basics).
For our First Grader we also ordered this set of play money. Getting kids familiar with money is so important on many levels - not only will they need to learn our currency and what everything is called and what it's worth, money is also great for teaching math concepts of addition, subtraction, and equivalences.
PRESCHOOL | For our preschooler, we're keeping it VERY basic. At this age I think it's best to mostly learn through playing, but we're going to work on reinforcing and learning some very basic things like letters, numbers, colors, and how to write her name. For her I purchased "My First School Book" from Learning Without Tears, which came very highly recommended to me. I also got a Melissa & Doug Water Wow ABC Book as a fun reusable resource to reinforce her ABCs.
A computer is also SUPER important in most remote learning/homeschooling situations these days... I upgraded my Macbook last year so our daughter has been using my old Macbook for school but a basic Chromebook is a great option for most. It's also a very good idea to have a printer available to print out worksheets and activities that can't be done online.
You also may want to consider some "school decor" to help set the stage for them to help it feel more like school. A calendar center might be a good idea for younger grades, or some laminated maps. I picked up some maps for us that I will hang up soon - our daughter has been really interested in maps and learning about the world and I personally think it's important to teach them about the bigger world out there, especially since we're so closed off at home these coming months.
Not pictured is our Art Cart which we keep in our pantry - it's well stocked with art supplies, pencils, crayons, glue, rulers, coloring books, paper, and just about anything they might need for hands-on activities or creativity.
We still have a lot to figure out but now that we have our classroom space starting to shape up I feel like we're heading in the right direction. Whatever you decide for the coming school year, know you’re not alone - it’s definitely a difficult and stressful decision no matter what you choose. Best of luck and stay healthy!
Now that we’re always eating at home and not going out for breakfast it’s great to have a fast and easy no-mess egg sandwich that you can make quicker than than it would take you to sit in the drive-thru line. This trick will make the perfect fluffy egg sandwich start-to-finish in just about ONE MINUTE. For reals. | This post contains affiliate links. |
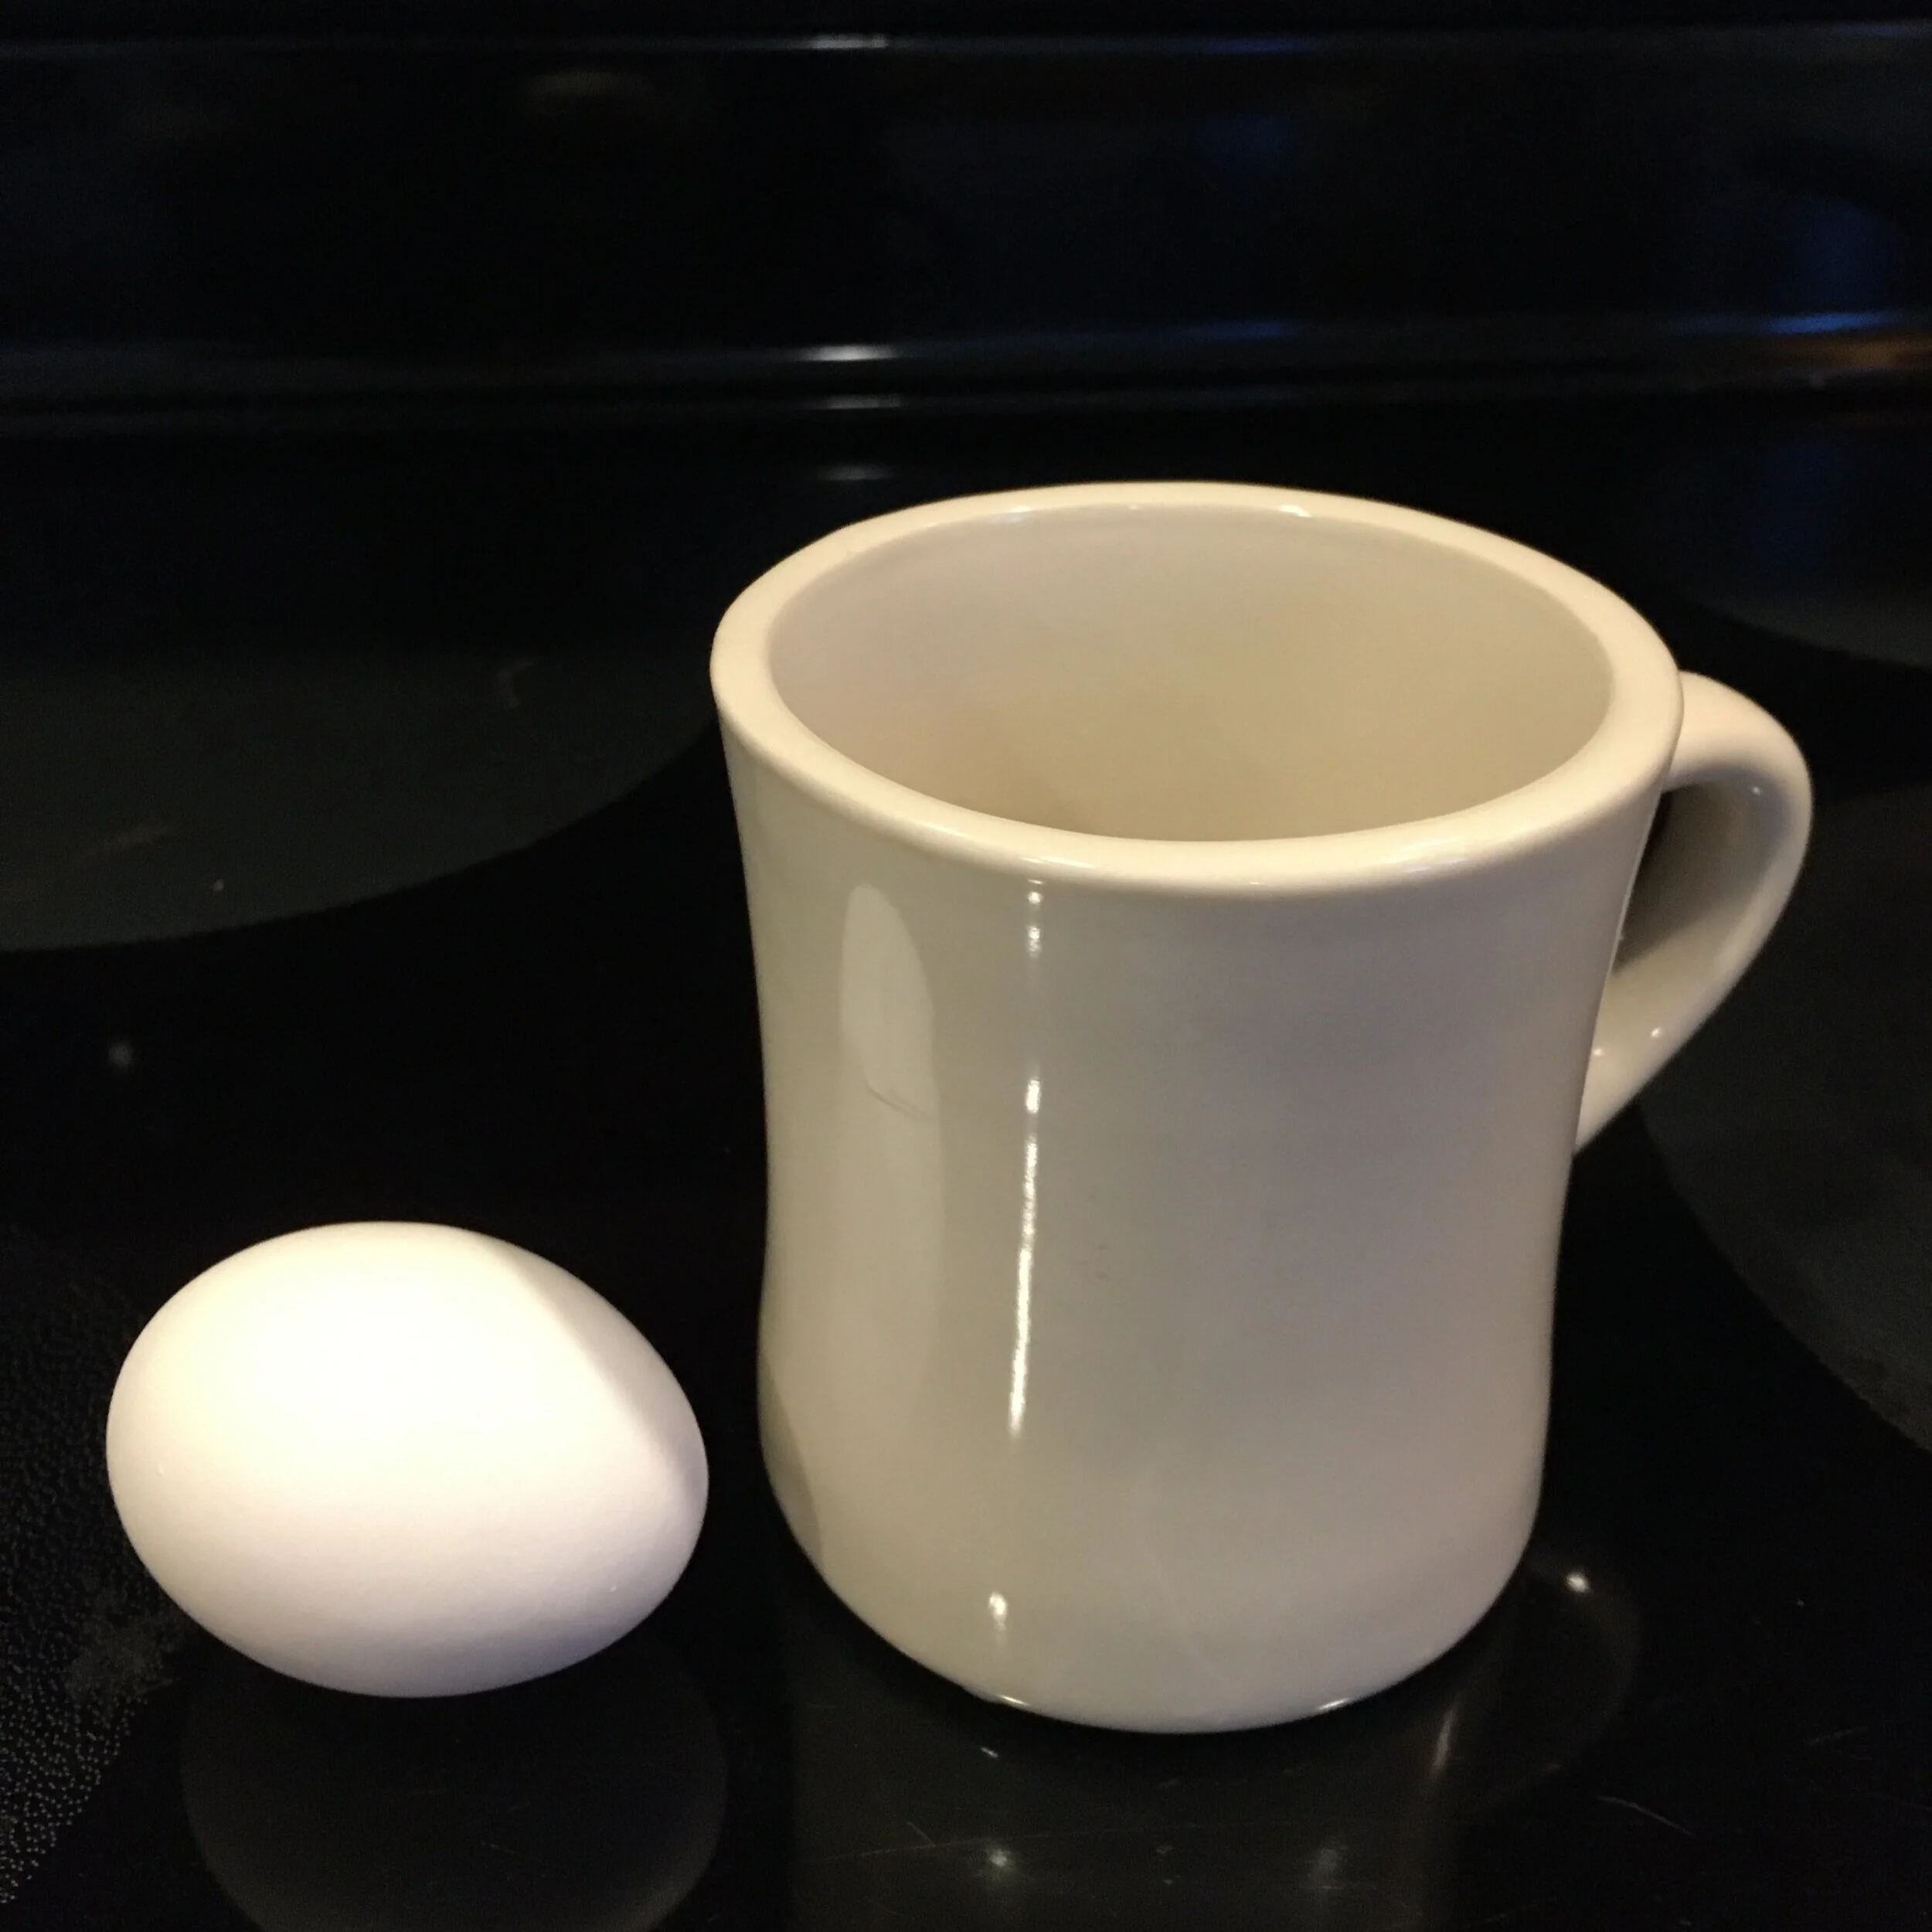
Really, this “recipe” couldn’t be any easier… the bottom line is you will need an egg, an English muffin (or some type of bread), a microwave-safe coffee mug, and a microwave. That’s it!
You might also want some shredded cheese handy, small diced precooked veggies (leftovers from the night before work great), hot sauce - or any other topping of your choice.
First, crack the egg into your microwave-safe coffee mug and “whisk” with a fork to break up the yolk. Now is also the time to add a generous pinch of shredded cheese (shown here) or a small amount of chopped pre-cooked veggies (leftovers work great). Put the mug in the microwave and cook on high/normal for one minute* (*please note that depending on your microwave model and what you add, you may need to adjust your cook time. Also DO NOT microwave fork.) While the egg is cooking you can toast your bread, if desired.
Once the egg is done make sure it is cooked throughly (it’s opaque with no runny spots and steaming all the way through) by checking with a clean fork and loosen it from the mug. Then simply turn the egg out onto your bread and add any condiments you desire - I personally can’t eat eggs without hot sauce.
And that is it! Once the coffee mug cools, just soak it in the sink to loosen any stuck-on egg and run through the dishwasher like normal. No pans to heat up or clean after which is a huge plus in my book. Enjoy your easy breakfast :)
Disclaimer: Please note that depending on your microwave model and what you add, you may need to adjust your cook time. Make sure your egg is fully cooked before eating.
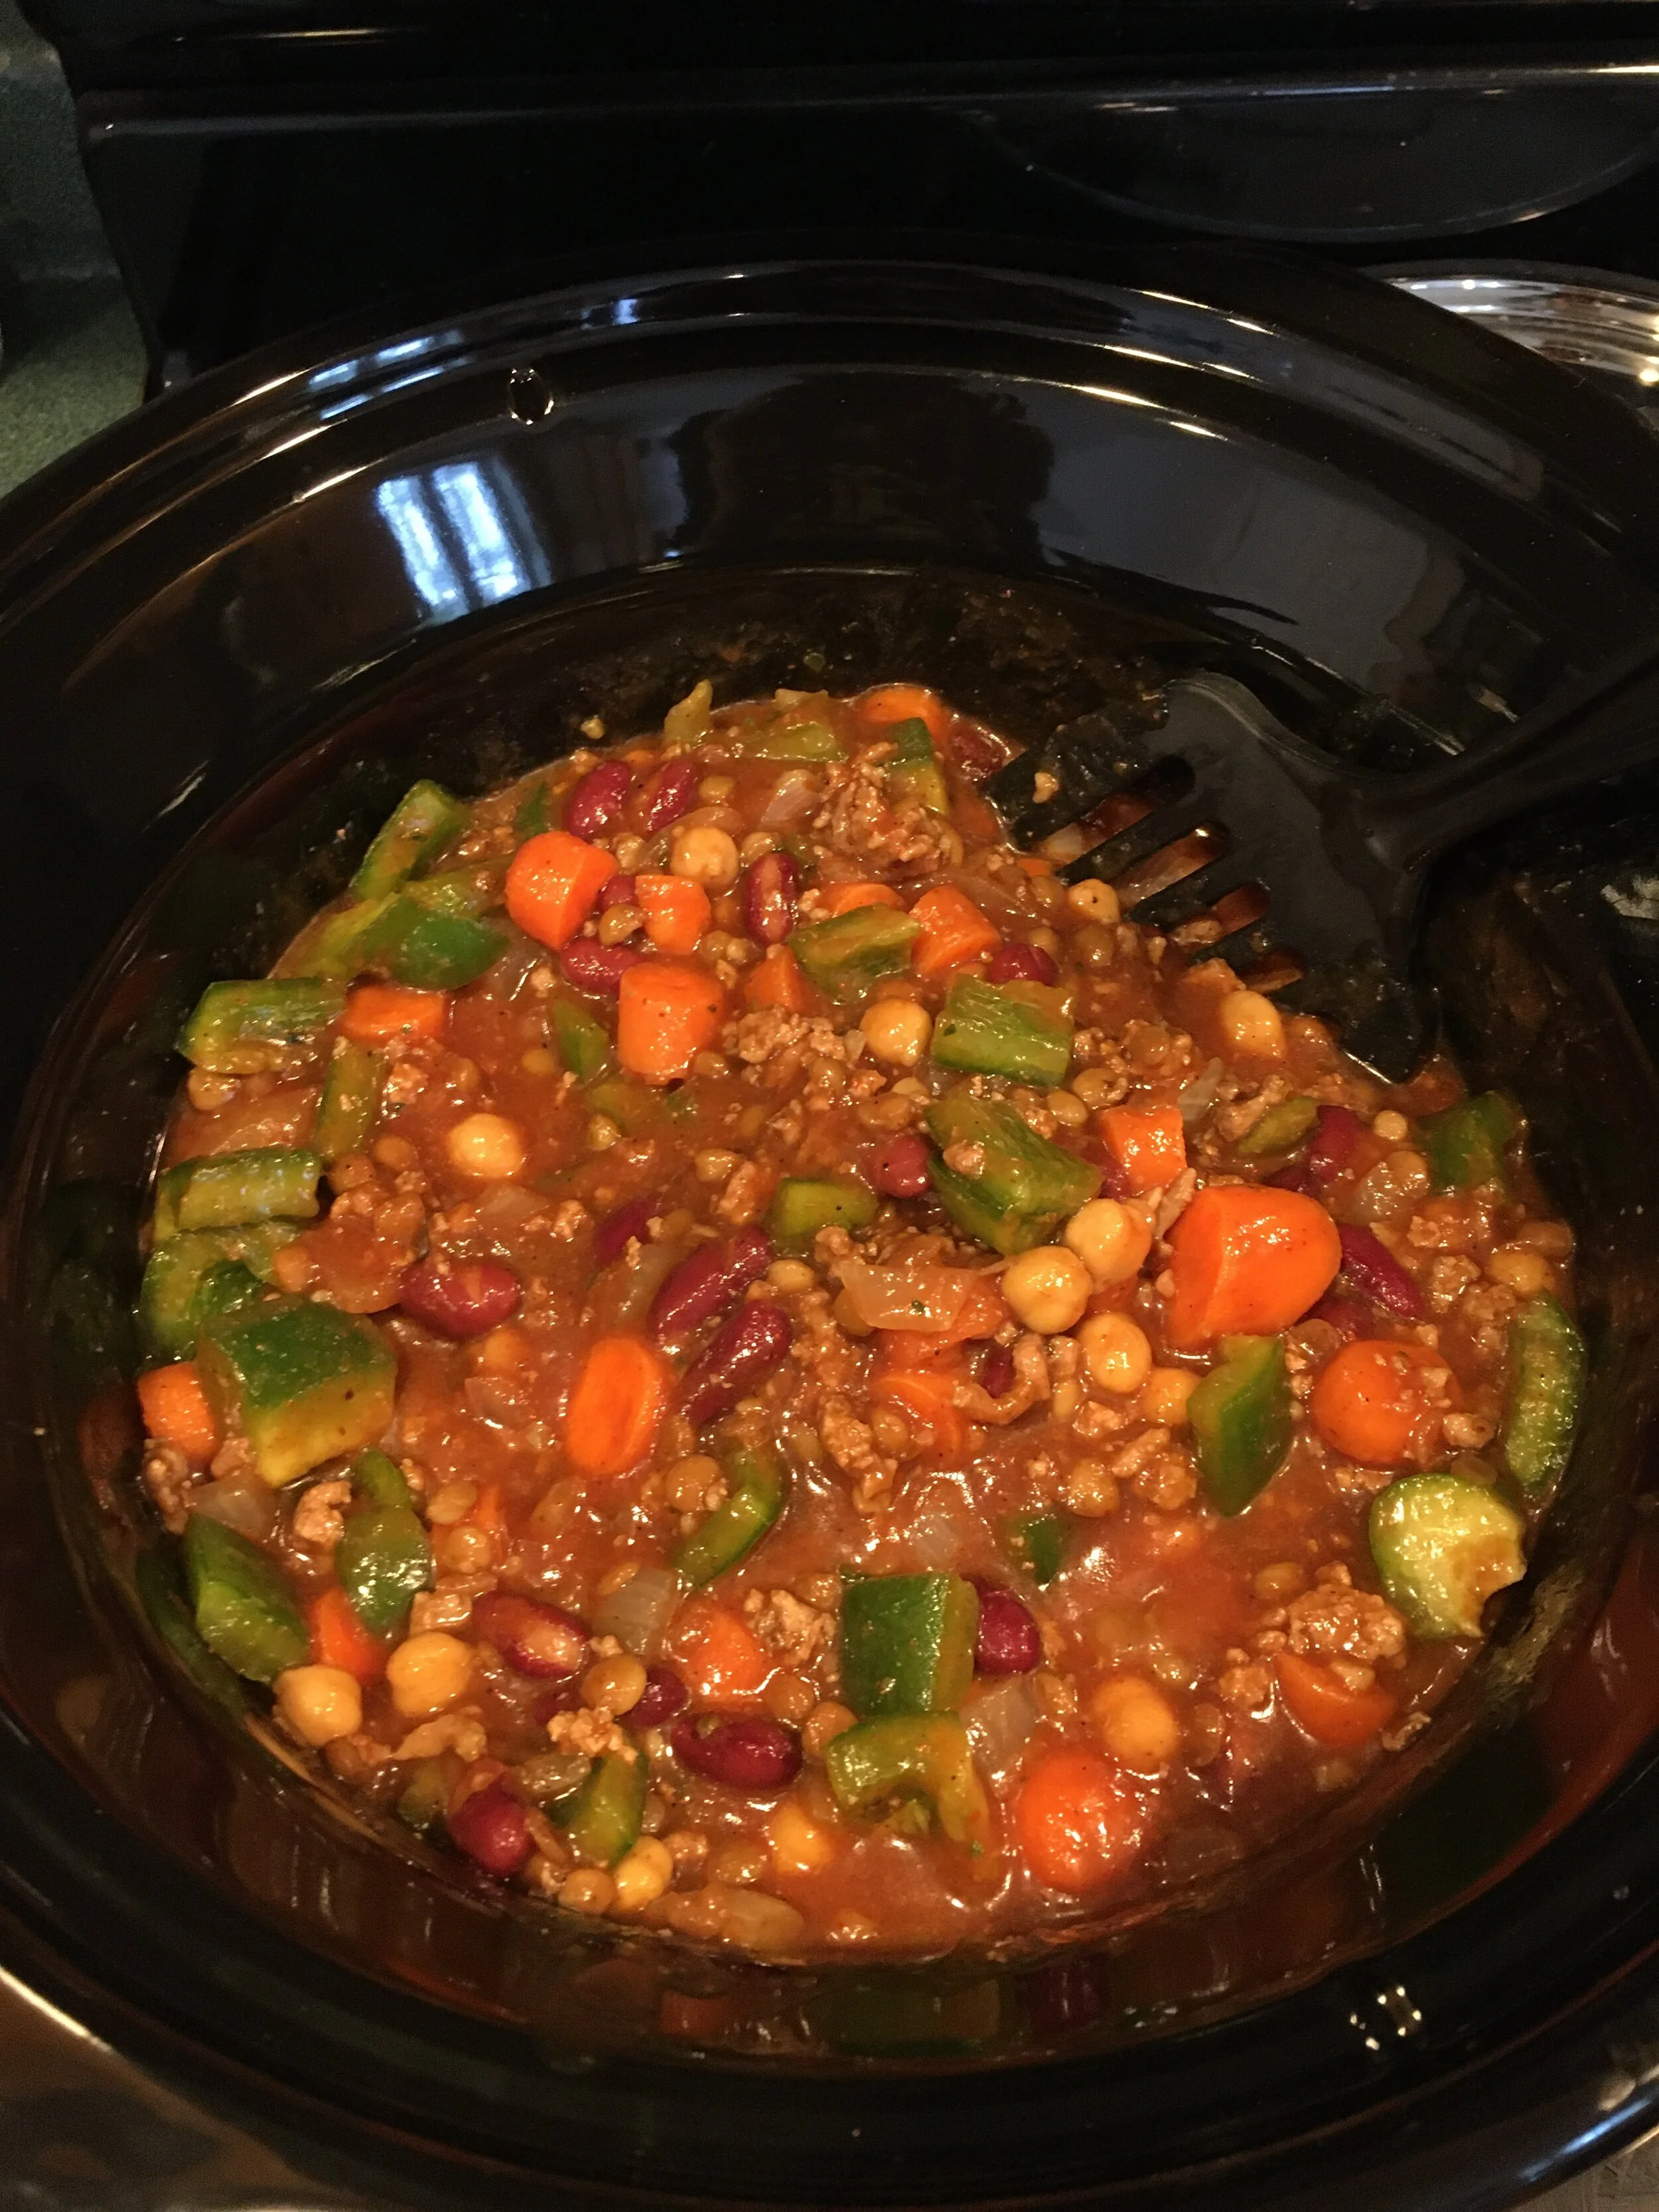
Yesterday I decided to make what I’m going to call “Quarantine Chili.” Now what is the recipe for Quarantine Chili you might ask? Well pretty much you take whatever fresh veggies or meat you have in your fridge that you worry may go to waste soon and throw them into a big crock pot of chili before they go bad. Waste not, want not!
Now for my chili I started with my typical chili “base”:
2 cans of tomato sauce
1 can of red beans (rinsed and drained)
1 can of garbanzo beans (rinsed and drained)
1 can of lentils (rinsed and drained)
2 tablespoons chili powder
1-2 teaspoons of jarred garlic
1 teaspoon of turmeric
1 teaspoon of Italian seasoning
To that I then added all the things I wanted to use up - this will vary depending on what you have in your fridge:
1 lb of cooked ground lamb (lamb is definitely an unusual choice for chili. I had originally planned to make lamb stuffed peppers with it, but by using it in chili I am able to stretch it farther and get more meals out of it… And surprisingly lamb in chili is just fine! I was worried it would taste weird but it’s still great)
a lot of carrots (we had a bag of carrots that have been in the fridge for awhile and were close to being done. I wanted to use them up and not go to waste so I added them to the chili… it was definitely heavy on the carrots but I’m glad we used them up)
handfuls of spinach (we have a big container of spinach that will be getting wet and smelly soon… better use some of it up!)
green pepper (the ones I was originally going to make the stuffed lamb peppers with)
a large onion (that one has been hanging out on the counter for awhile…)
Then combine all ingredients in a large Crock Pot and put on high for several hours until it’s cooked through and ready. We’ll be eating this for dinner for two nights and then I will portion out and freeze the rest to eat later.
Definitely be aware of what you’re using - you don’t want to use any ingredients are actually spoiling (very bad idea!) - but by using up what good ingredients you have by making a healthy, hearty chili you will not let your precious groceries go to waste and will make something nutritious to feed your family during this time.
It's been cold and snowy here in New England these last two weeks (like 3 Nor'easters in two weeks snowy!), so what better way to warm up than with a bowl of hearty and healthy chili! This recipe was done in our crockpot but could be made in less time in an Instapot. Don't have an Instapot? You're in luck - I've teamed up with several other bloggers to give one away! {Scroll down to enter the givewaway}
This chili is super easy to make and can be adjusted to your taste with whatever veggies you'd like to add. I often make chili as an excuse to use up all the extra veggies we have in the fridge - once all the flavors meld together you can hide just about any vegetable in there (perfect for picky toddlers or husbands). While not in this current batch, I've often added things like mushrooms, spinach, sweet potatoes, zucchini, tomatoes, carrots, squash, etc. As far as using canned beans and tomato sauce I always buy store-brand organic varieties when I can - they tend to have less additives and salt than non-organic and are cheaper than the name brand ones!
Ingredients
1 lb of lean ground turkey (can also use lean ground beef if you prefer)
2 cans of low sodium tomato sauce
1 can of red kidney beans
1 can of garbanzo beans
1 can of lentils (adds a lot of protein and you won't even notice them mixed in with the ground meat!)
2/3 cup of frozen corn (using frozen veggies is a great shortcut)
1/2 cup of frozen chopped peppers
2 tablespoons chili powder
1 teaspoon chopped jarred garlic
1 teaspoon turmeric (turmeric has great anti-inflammatory properties)
1 teaspoon Italian seasoning
salt and pepper to taste
shredded cheese and/or crackers to garnish
Directions
Brown ground meat in a skillet, pouring off excess fat.
Add meat and all remaining ingredients (except for garnishes) to crockpot.
Cook on low in crockpot for 8 hours or high for 4 hours, until veggies are soft and flavors have melded.
Garnish with shredded cheese and crackers, if desired.
Looking for a way to make this yummy recipe faster? Use an Instapot! I've teamed up with several other bloggers to give one away to a lucky follower. Enter below for a chance to win - good luck!
School is starting back up and that means it's back to the daily grind of packing lunches for most parents. Parenting New Hampshire magazine interviewed myself and few other NH-based bloggers for our "Brown-Bag Makeover" tips and tricks.
You can pick up a copy of this publication at many locations across the state, or read the article HERE online.
"Brown-Bag Makeover" | Parenting New Hampshire Magazine
Lisa Valinsky just put together a great list of The Healthy Snacks that 24 Influencers are Eating Right Now and it includes a snack from yours truly that's BIG in our house - in fact I think it currently makes up at least 25% of our toddler's diet (oops).
So if you're looking for some great healthy snack ideas - definitely check it out! You're sure to recognize some great bloggers on there too :)
Lunchtime is often kind of hectic around here. Mornings tend to be when we do errands, groceries, story time, swim lessons, etc. and we always seem to be rolling back into the house right at lunchtime. This means I often only have a few minutes to get lunch on the table before a hunger-induced meltdown occurs. Having a no-prep, no-cook lunch is key to keeping everyone happy. | This post contains affiliate links and an honest review of a Nûby product |
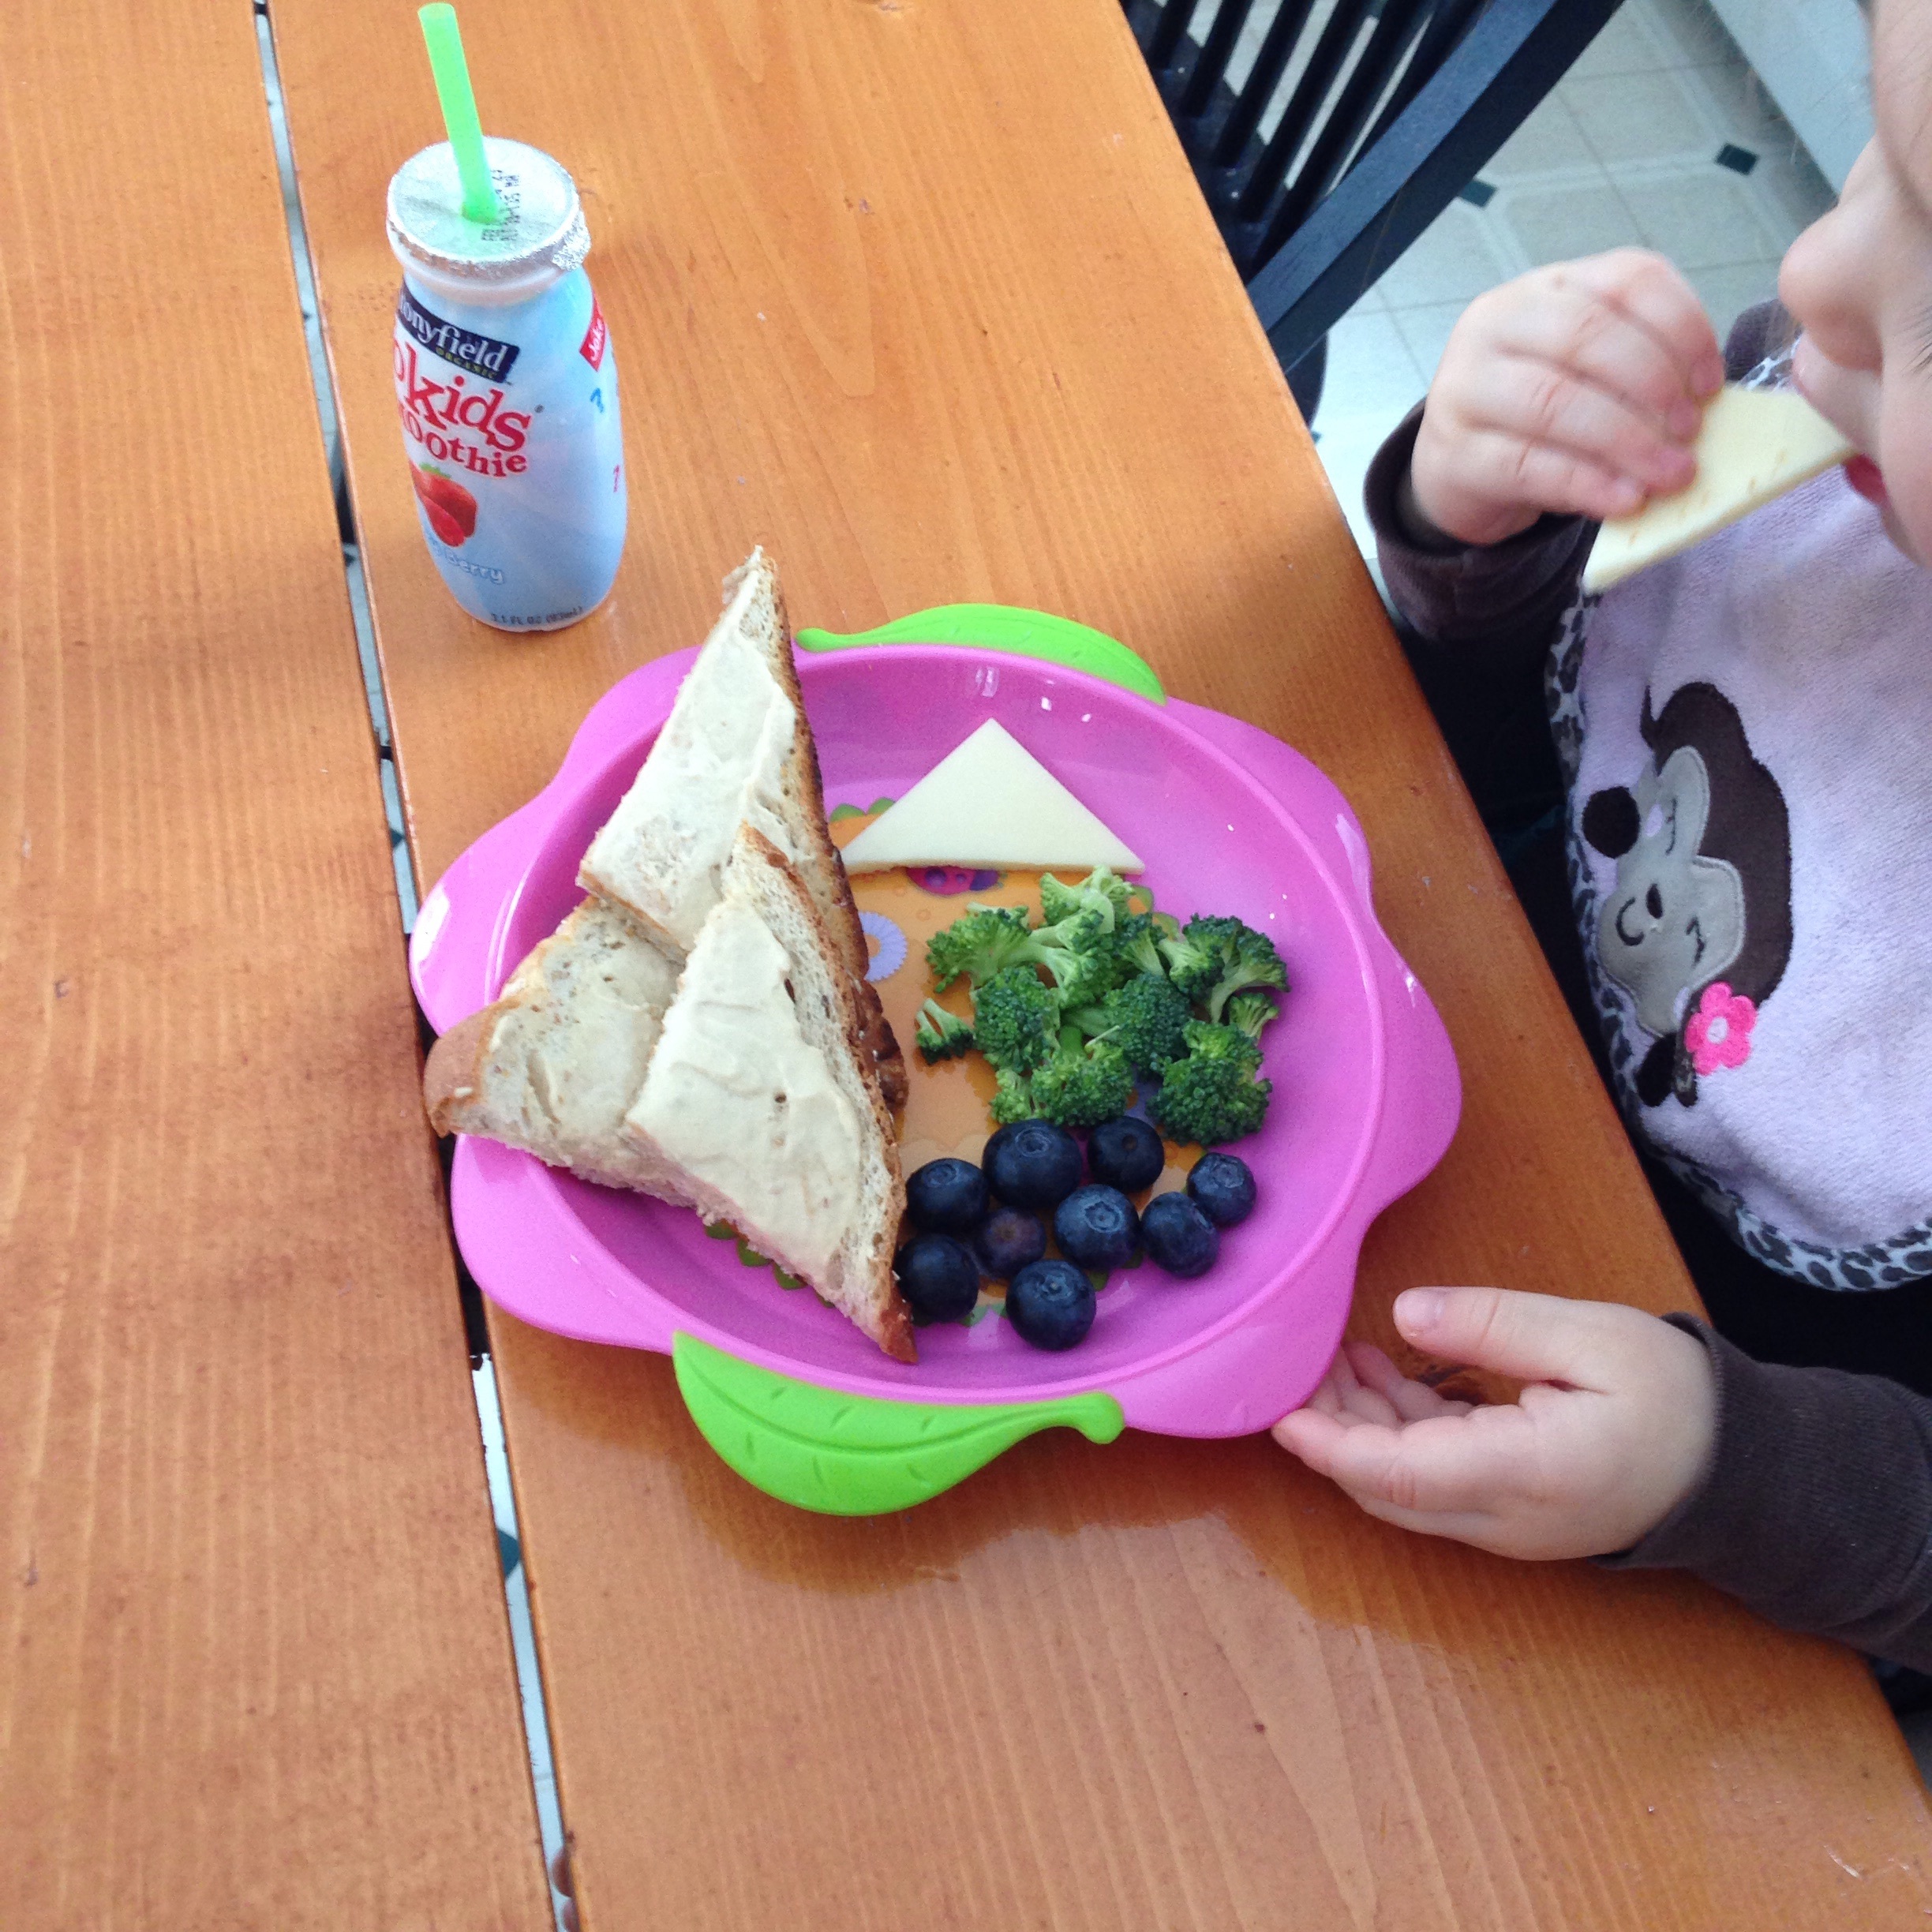
This little lunch isn't anything fancy but that's what's so great about it. It's essentially a collection of healthy snacks that, when put together, make a great toddler-friendly meal. This meal hits all the main food groups (dairy, protein, grains, fruit, and veggies) and best of all our little one loves it.
Our little one's meal includes a Stonyfield Yogurt drink, hummus on whole grain toast, blueberries, broccoli florets, and some cheese all served on this cute Nûby Flower Child Toddler Plate.
We love this fun plate from Nûby. It's BPA-free and has a great no-skid bottom which is really helpful when your little one is eating. Our daughter especially loves the fun shape, easy grip handles, and the pictures (lady bugs and daisies) printed on the bottom of the plate. This adorable plate has quickly become her favorite for mealtimes.
Toddler Meal Ideas
If you're looking for more meal ideas, mix and match these other great no-cook or quick-cook foods to make your own healthy toddler meal:
smoothies
puree pouches
fruit cups (make sure to get ones packed in juice, not syrup. It's also still a good idea to drain and rinse the fruit to reduce the sugar content a bit)
any fresh fruit (cut to appropriate-sized pieces if needed)
any fresh or previously cooked vegetables (cut to appropriate-sized pieces if needed)
yogurt
cottage cheese
cheese
toast with mashed avocado spread on it
hummus with crackers
hummus with unsalted pretzels
crackers with peanut, almond, or sun butter spread thinly on it (only use nut butters if your child does not have nut allergies)
instant oatmeal
cereal with milk
cereal bar
Always use use your best judgement when it comes to safe foods and safe serving sizes to give to your little one, and always supervise them while eating.
- I received this item for review from Nûby but all opinions expressed are my own. Please see our Disclosure Policy for more information. -
Nûby's Flower Child Toddler Plate can be found at various retailers including Amazon.