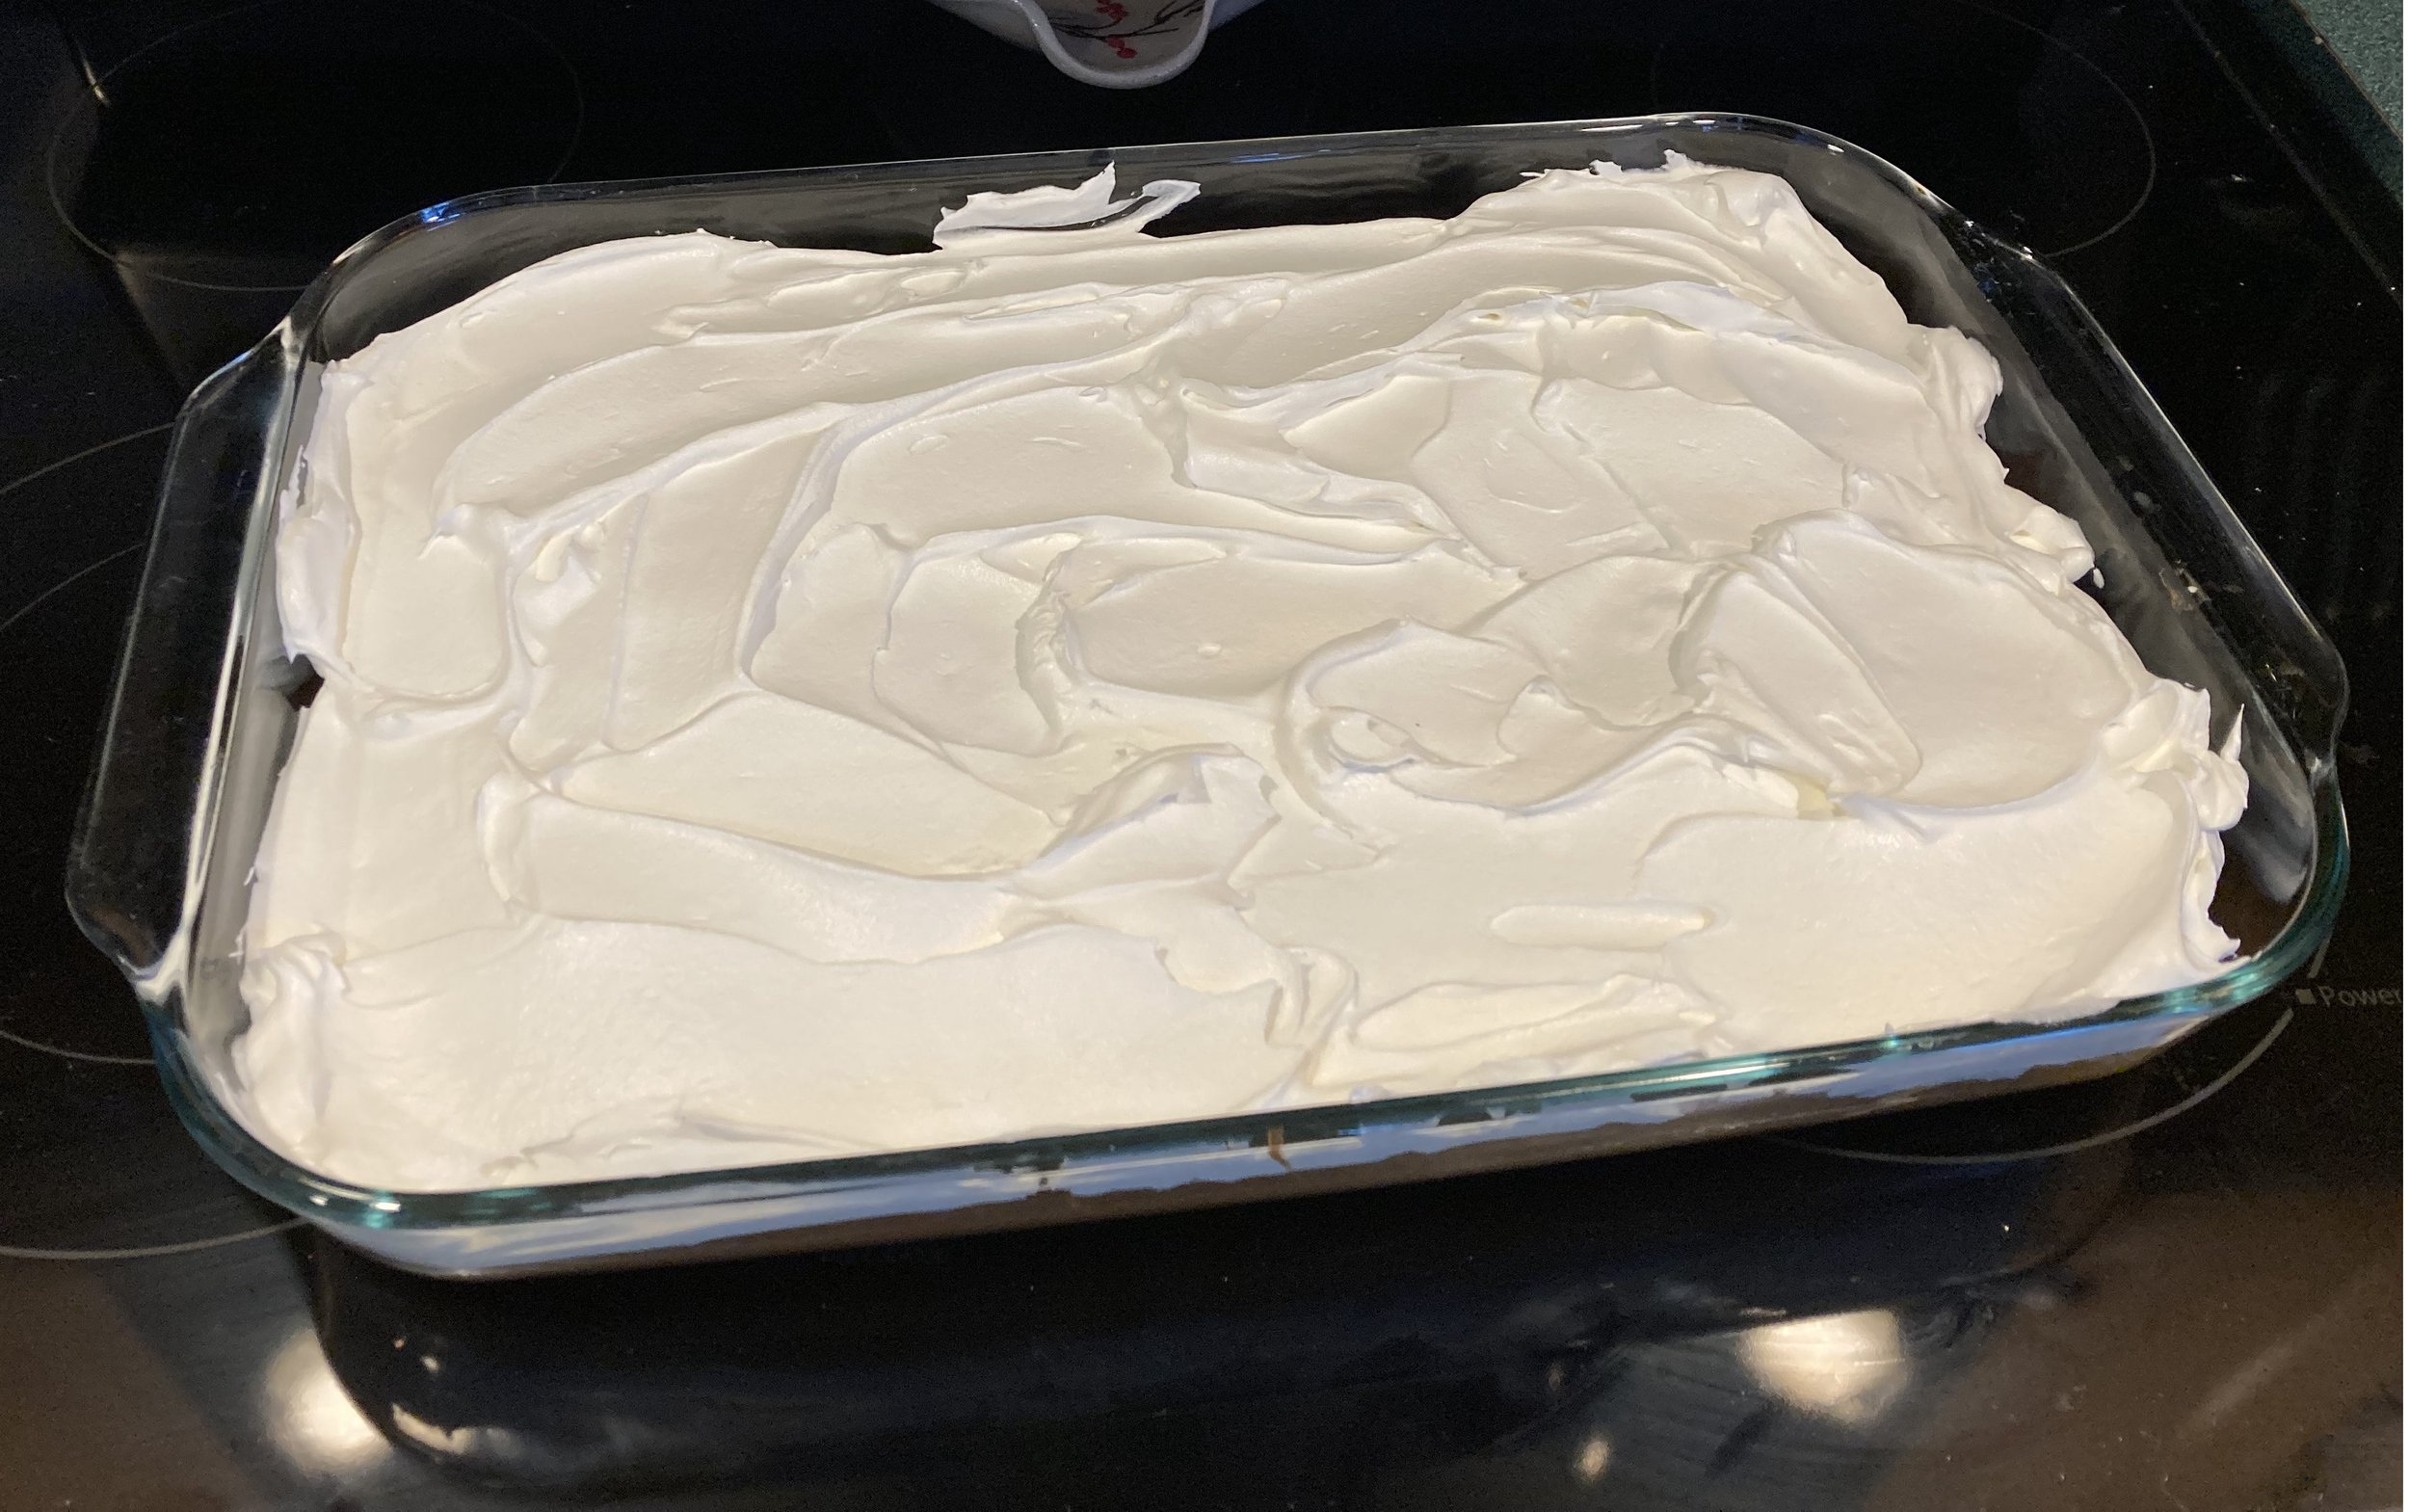
We make this super easy Flag Cake every year on the Fourth of July - it’s a little cheesy but it’s fun, delicious, and a tradition our kids look forward to. It’s never picture-perfect but it doesn’t have to be, just enjoy and have a Happy Fourth :) | This post contains affiliate links |
Really this “recipe” couldn’t be any easier! You just need a few very basic ingredients/pre-made items and you’re good to go!
Ingredients:
box of lemon cake mix and whatever you need to make it according to package directions (eggs, oil, etc). If you don’t like lemon you can use white or yellow cake mix too.
Cool Whip or other whipped topping
blueberries
sliced strawberries
How To:
First bake your cake mix according to package directions in a rectangular baking dish/sheet pan.
Once it has cooled completely, add your whipped topping. We always use Cool Whip but you could use homemade or store bought whipped cream too.
Once the cake is covered in your whipped topping, it’s time to make the flag! In the upper left corner, lay out the blueberries in a square shape. Then arrange sliced strawberries in lines to make the stripes. We use a strawberry slicer to make the process go quickly (I confess when I first got this strawberry slicer as a gift I thought I would never use it, but it's actually super handy and I've used it more times than I can count! It especially came in handy with young toddlers for cutting their fruit up). Don’t worry about trying to fit in 13 stripes, we’re going for simplistic here - just fit in as many as you can that look nice.
And that’s it! Super simple, super easy, and a great dessert to make with the kids. We absolutely love that combination of lemon cake, whipped cream, and berries - yum! I hope you all have a wonderful, healthy and happy Fourth!
KEEP UP WITH BIRCH LANDING HOME
| Etsy | Facebook | Instagram | Pinterest | Bloglovin' | Hometalk |
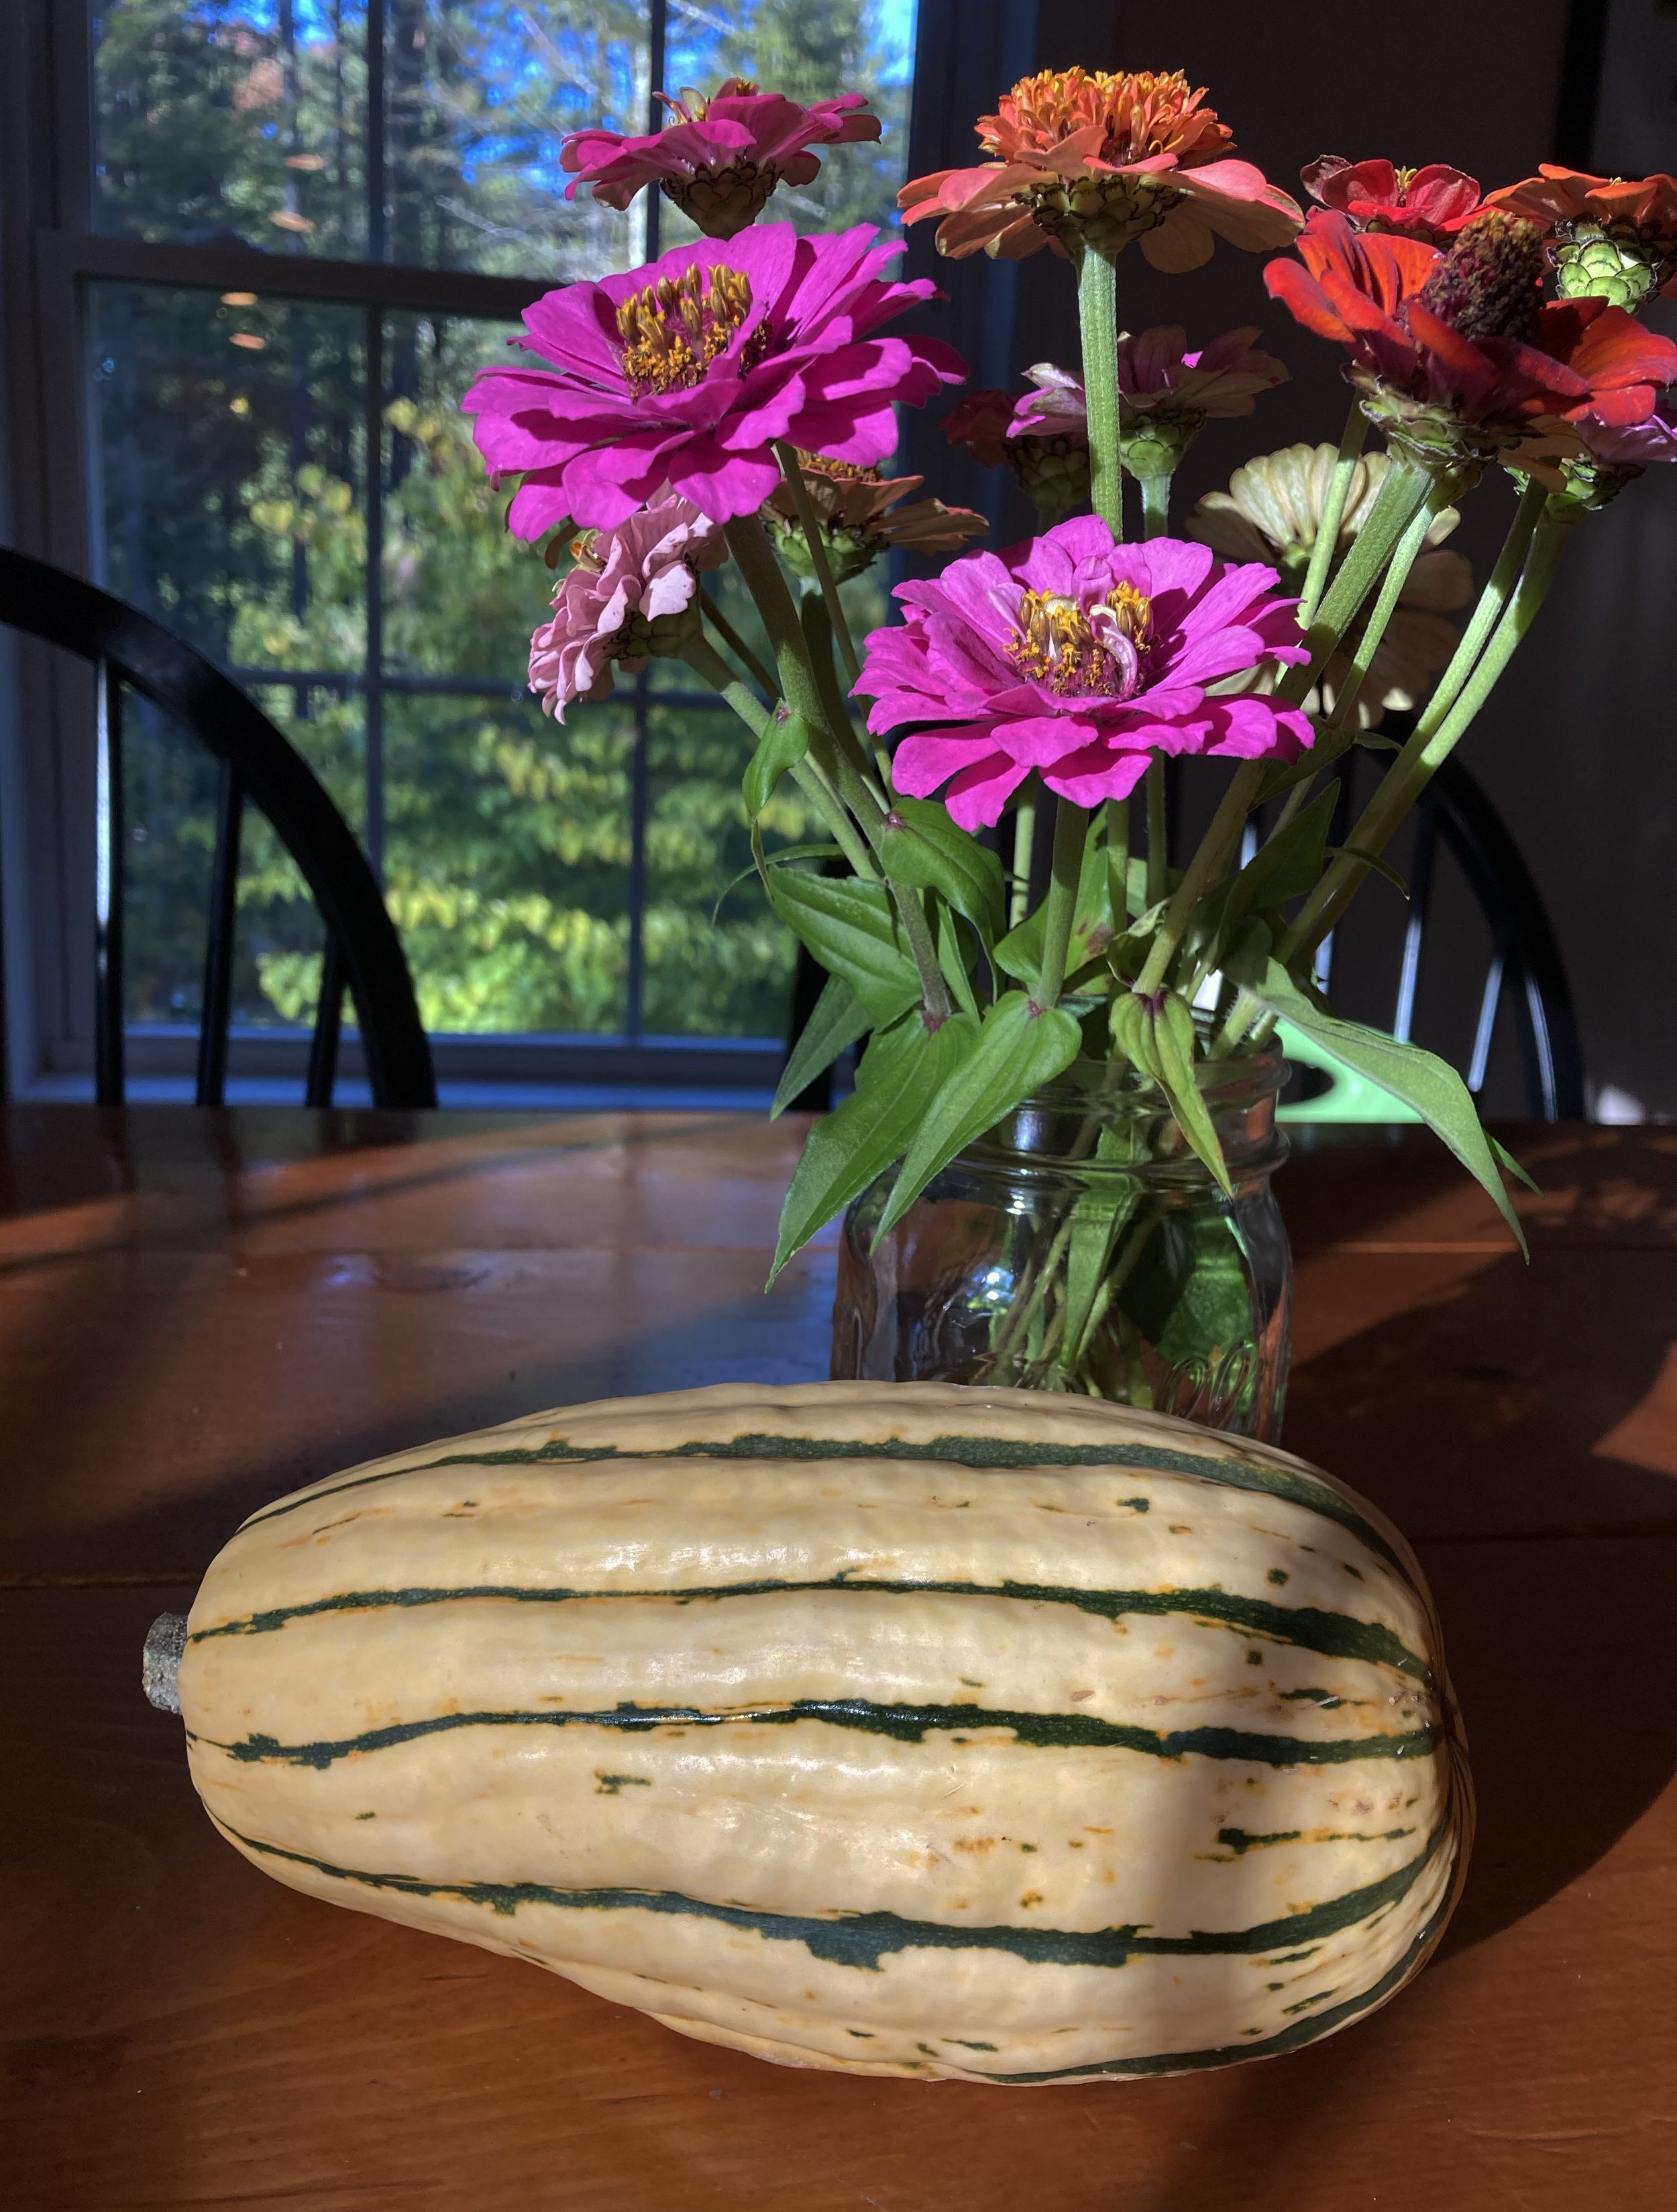
After trying Delicata Squash for the first time it quickly became a favorite - super easy to cook, no peeling (that’s a huge plus!), and a delicious maple-y taste without adding any sweetener. This squash is still an unknown to many people so I thought I would share the easy how-to of roasting them. | This post contains affiliate links |
- delicata squash
- olive oil
- salt and pepper
- kale flakes (optional)
How-To:
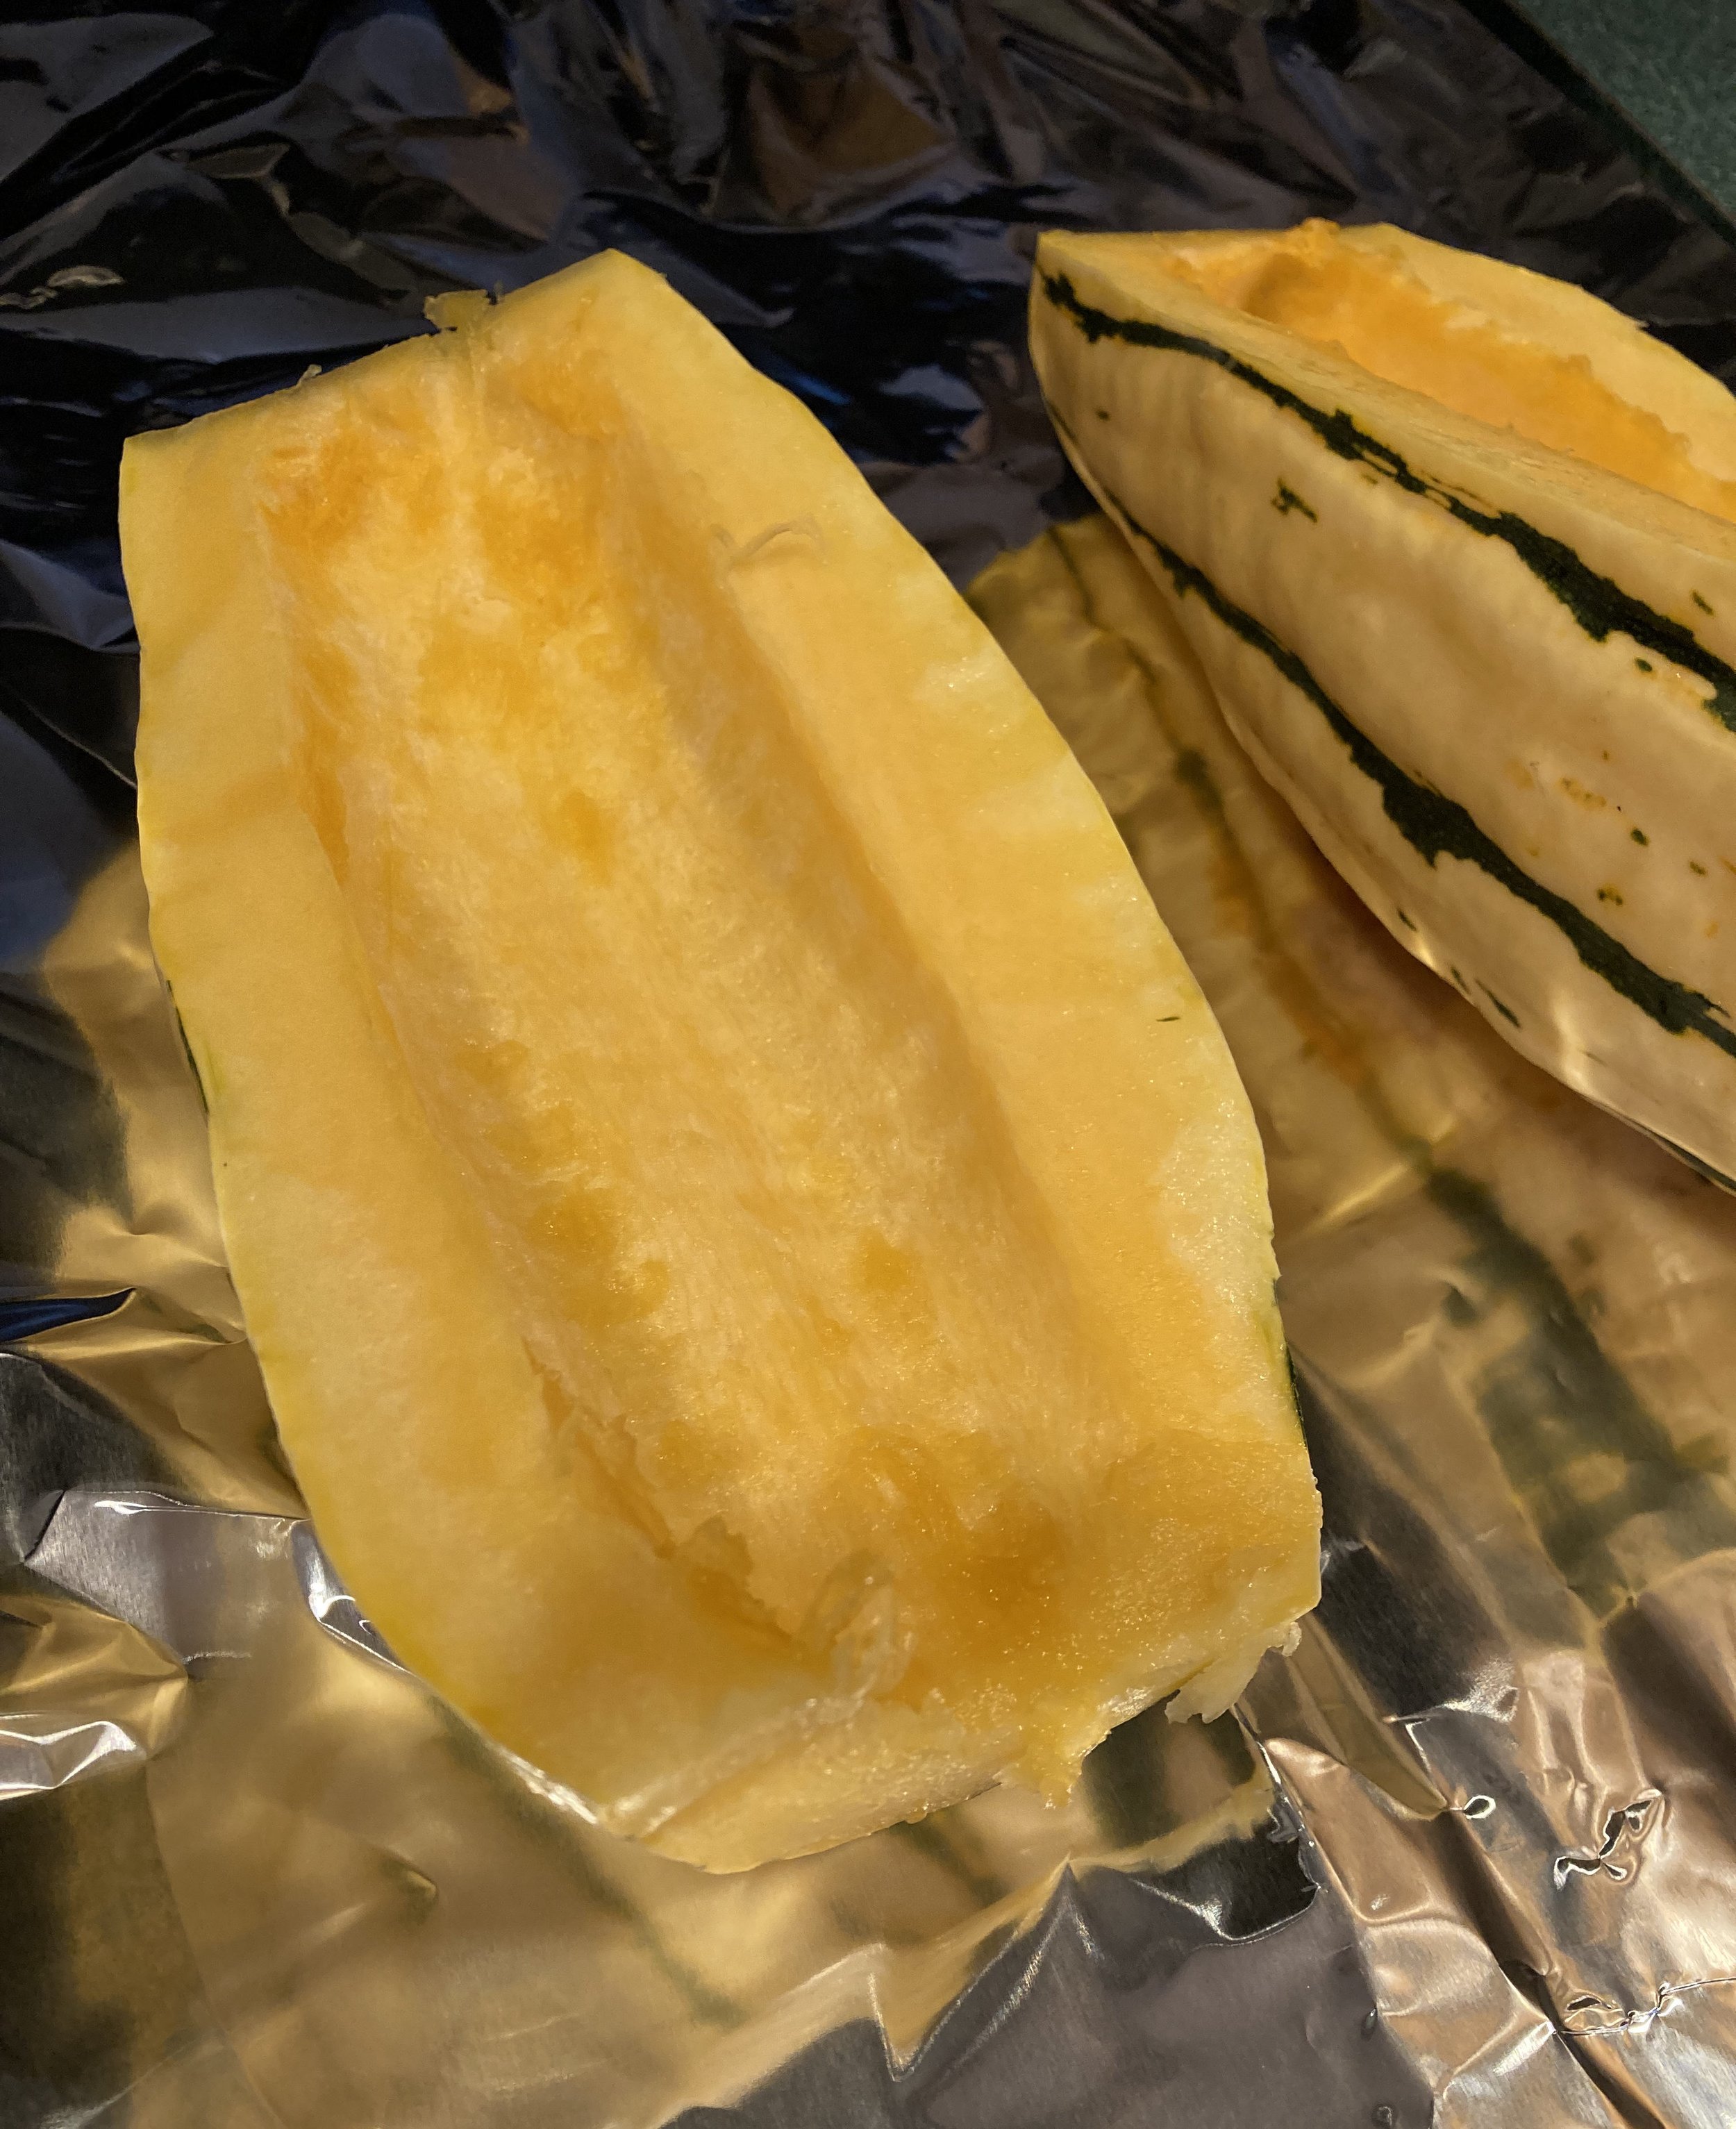
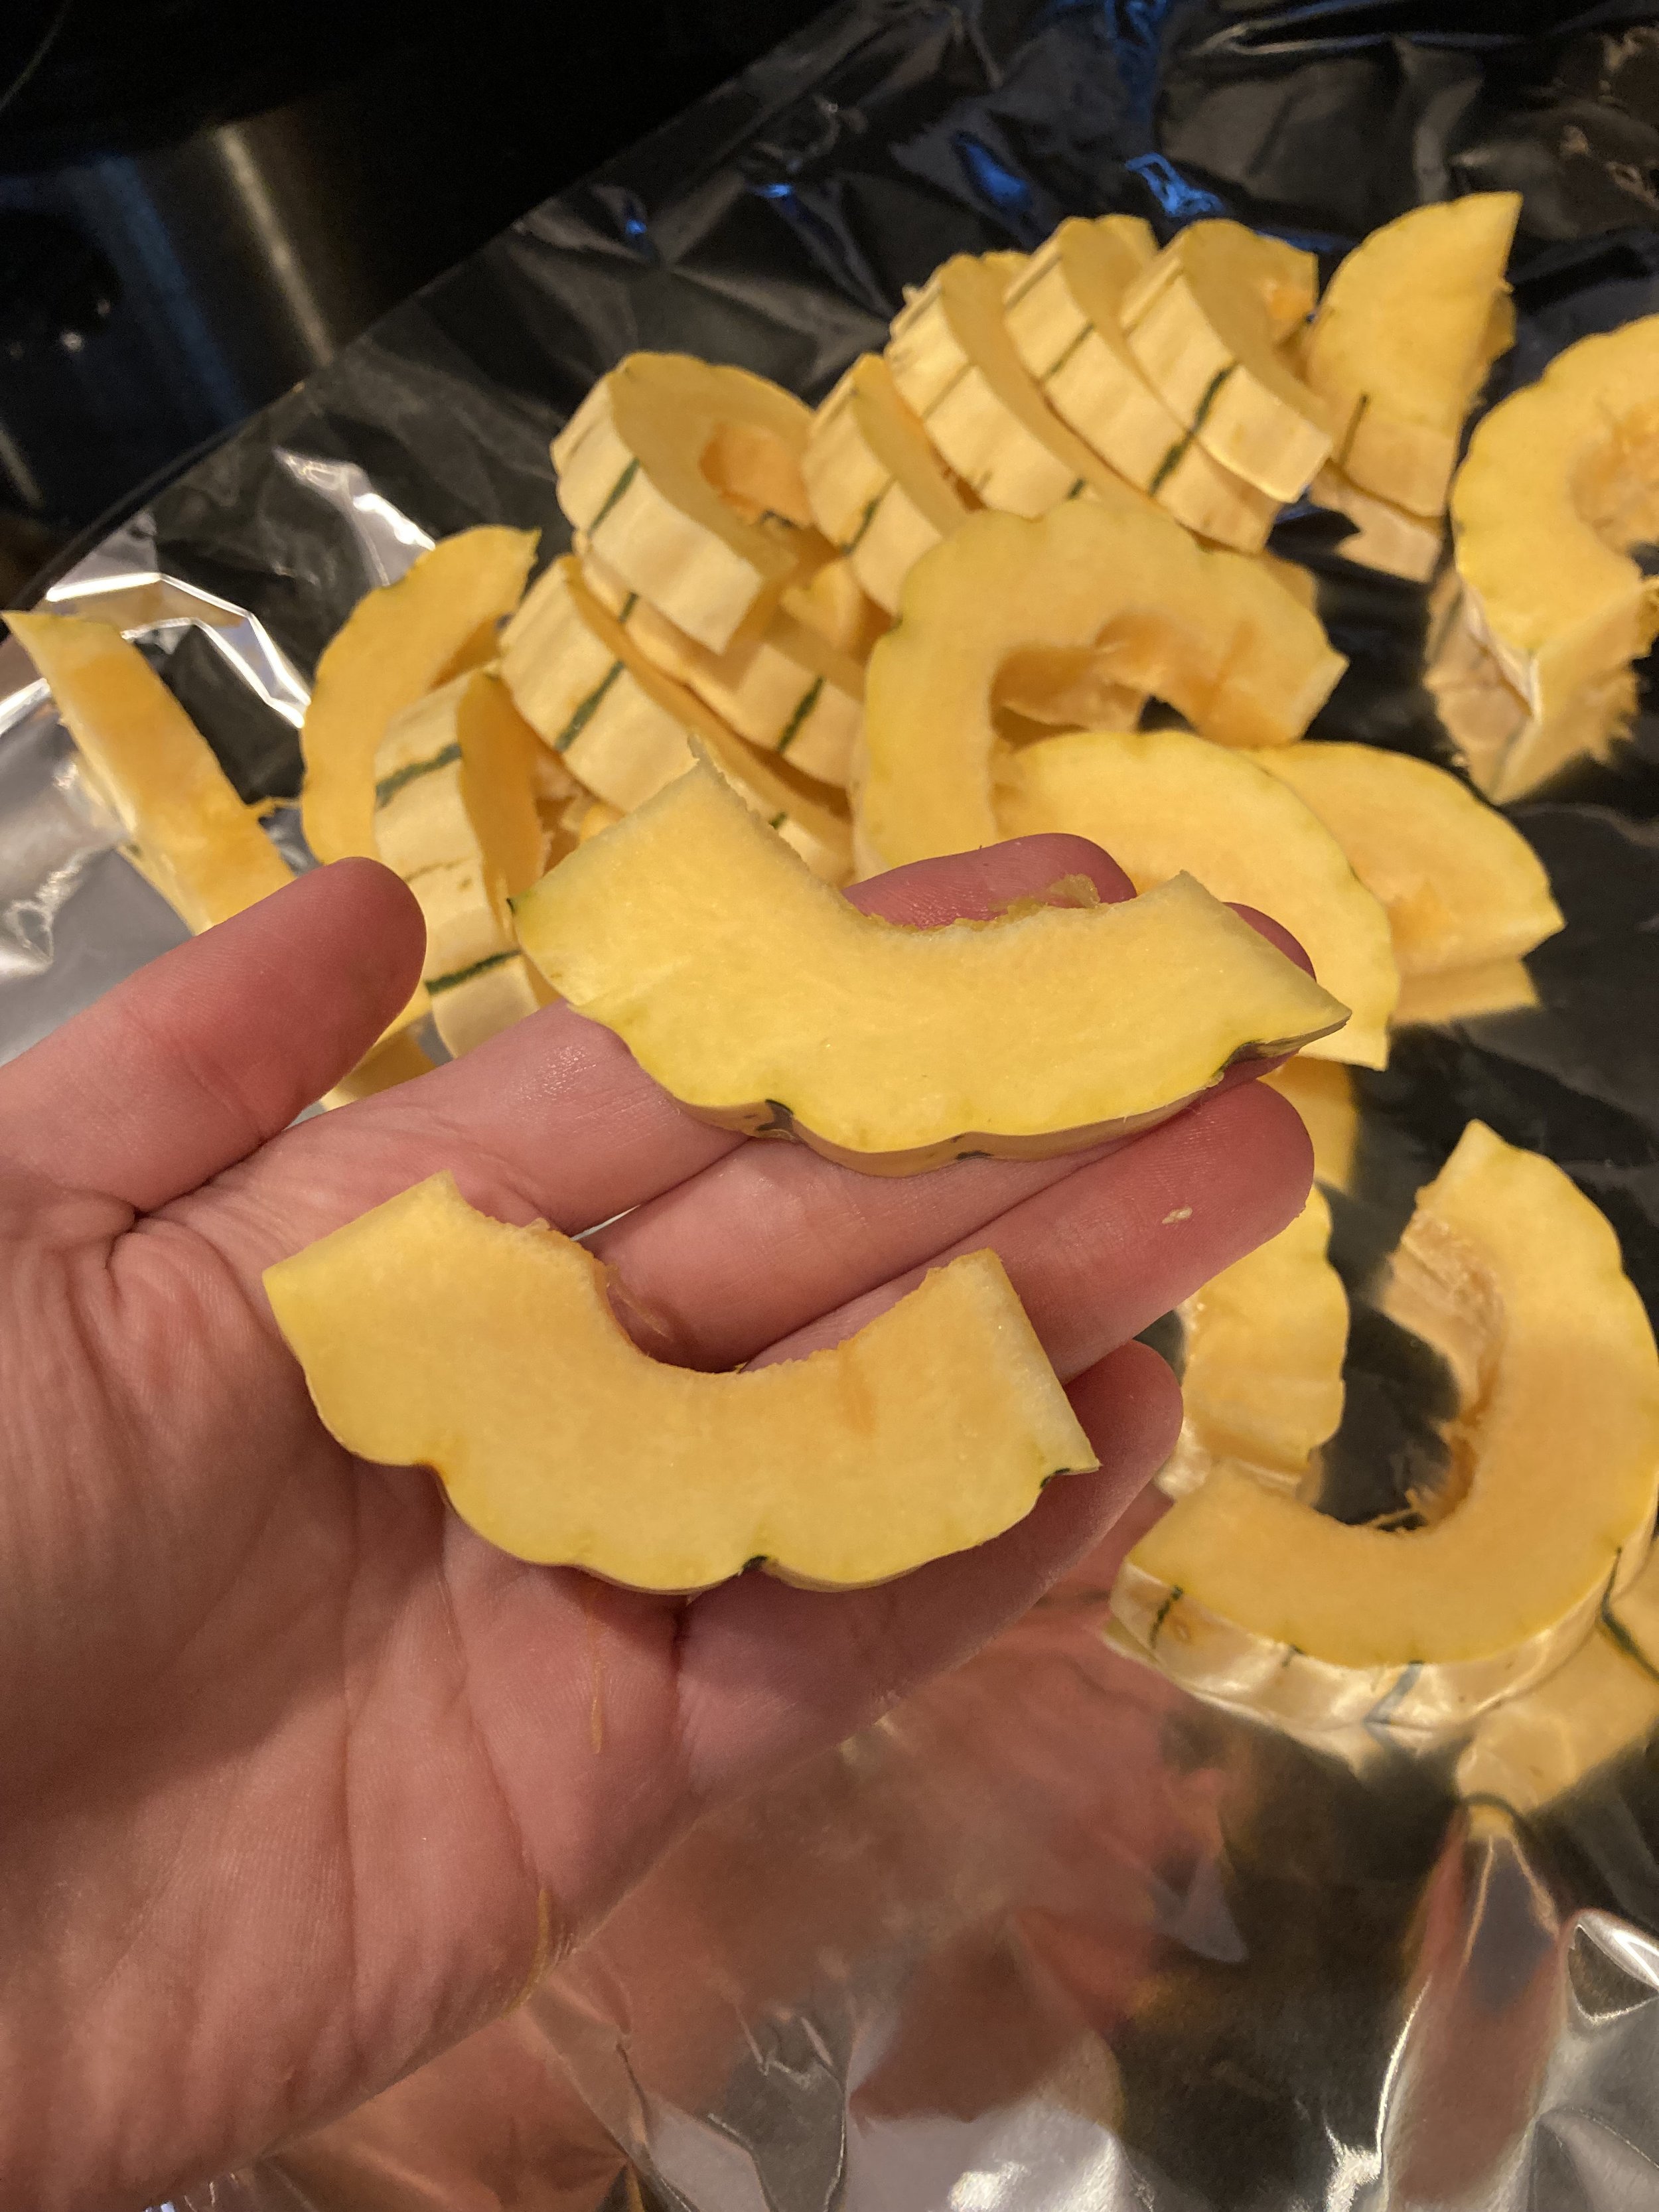
First make sure to wash and scrub the delicata squash thoroughly since you’ll be roasting and eating the skin as well - you don’t want any gritty dirty from the field left on!
Once it’s clean, chop each end off and cut open the long way. Next scoop out all the seeds and strings with a spoon until it’s nice and clean (like the photo on the right).
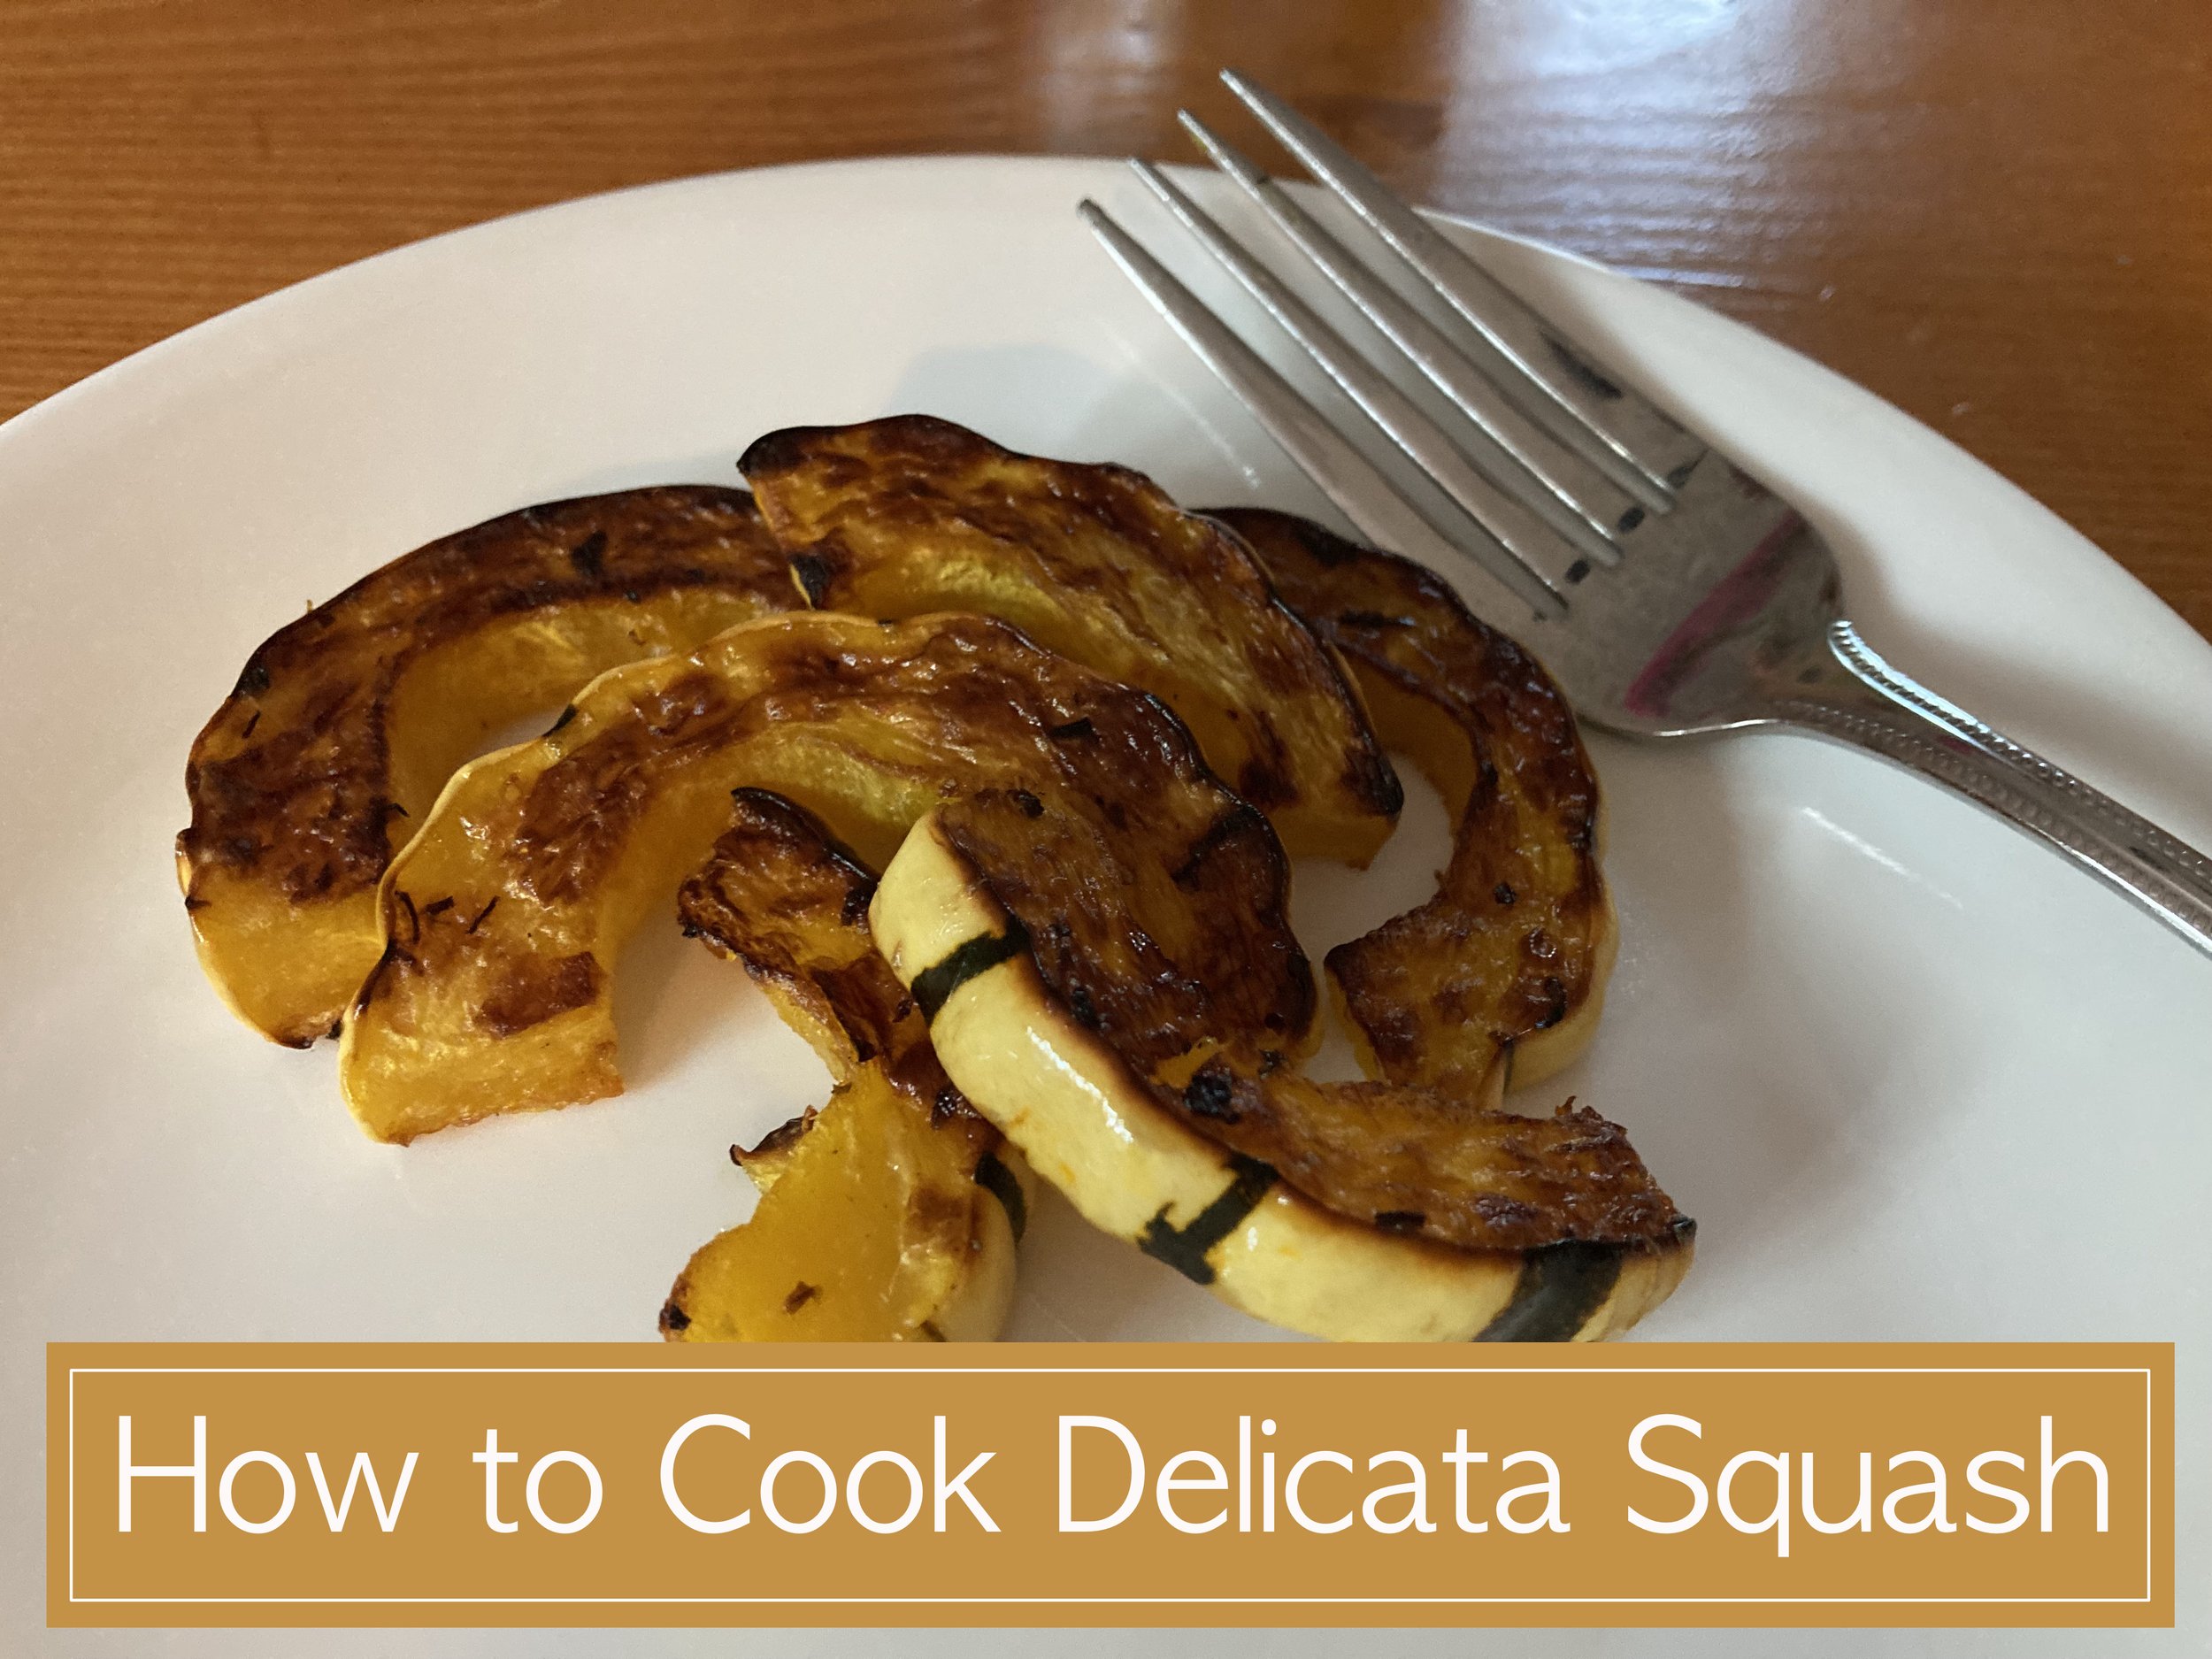
Next chop up the squash into whatever size pieces you prefer. We like cutting them into “quarter smiles” about half an inch thick.
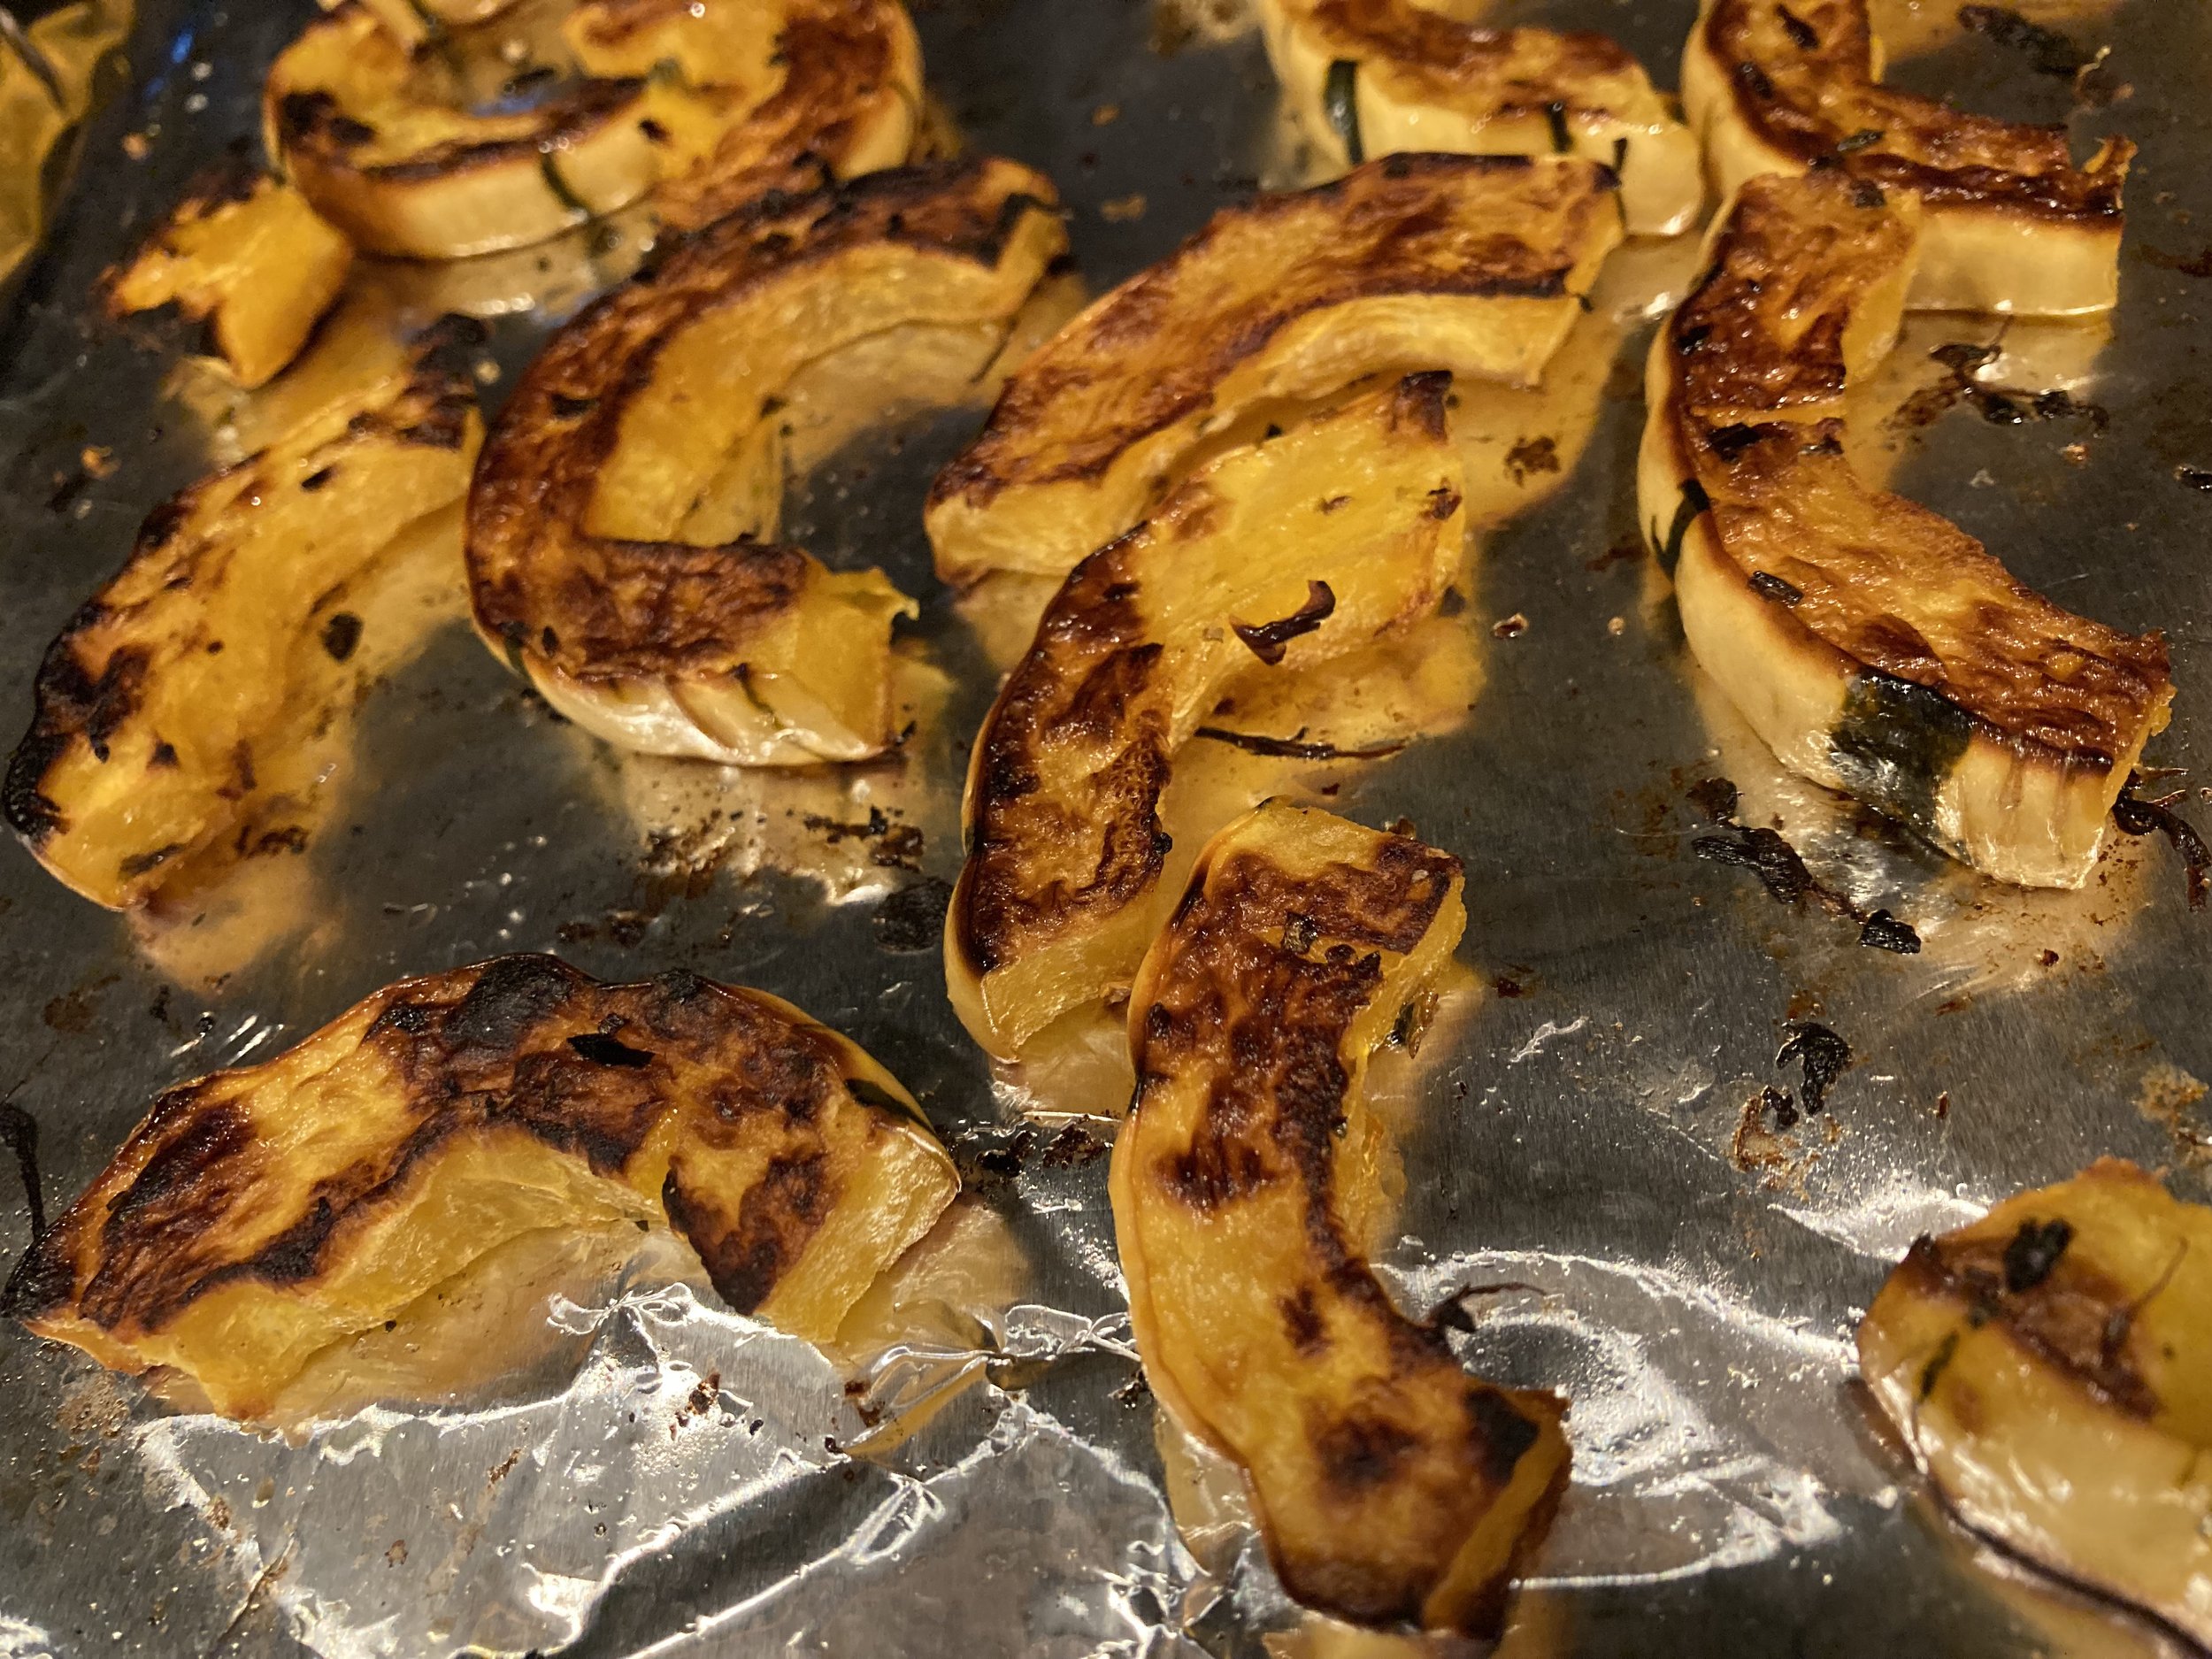
Toss with some olive oil to coat and then sprinkle with salt and pepper to taste. We also love sprinkling on dehydrated kale flakes too - it adds a super subtle flavor and a tiny extra veggie boost too. (We add these kale flakes to most of our meals - love them!)
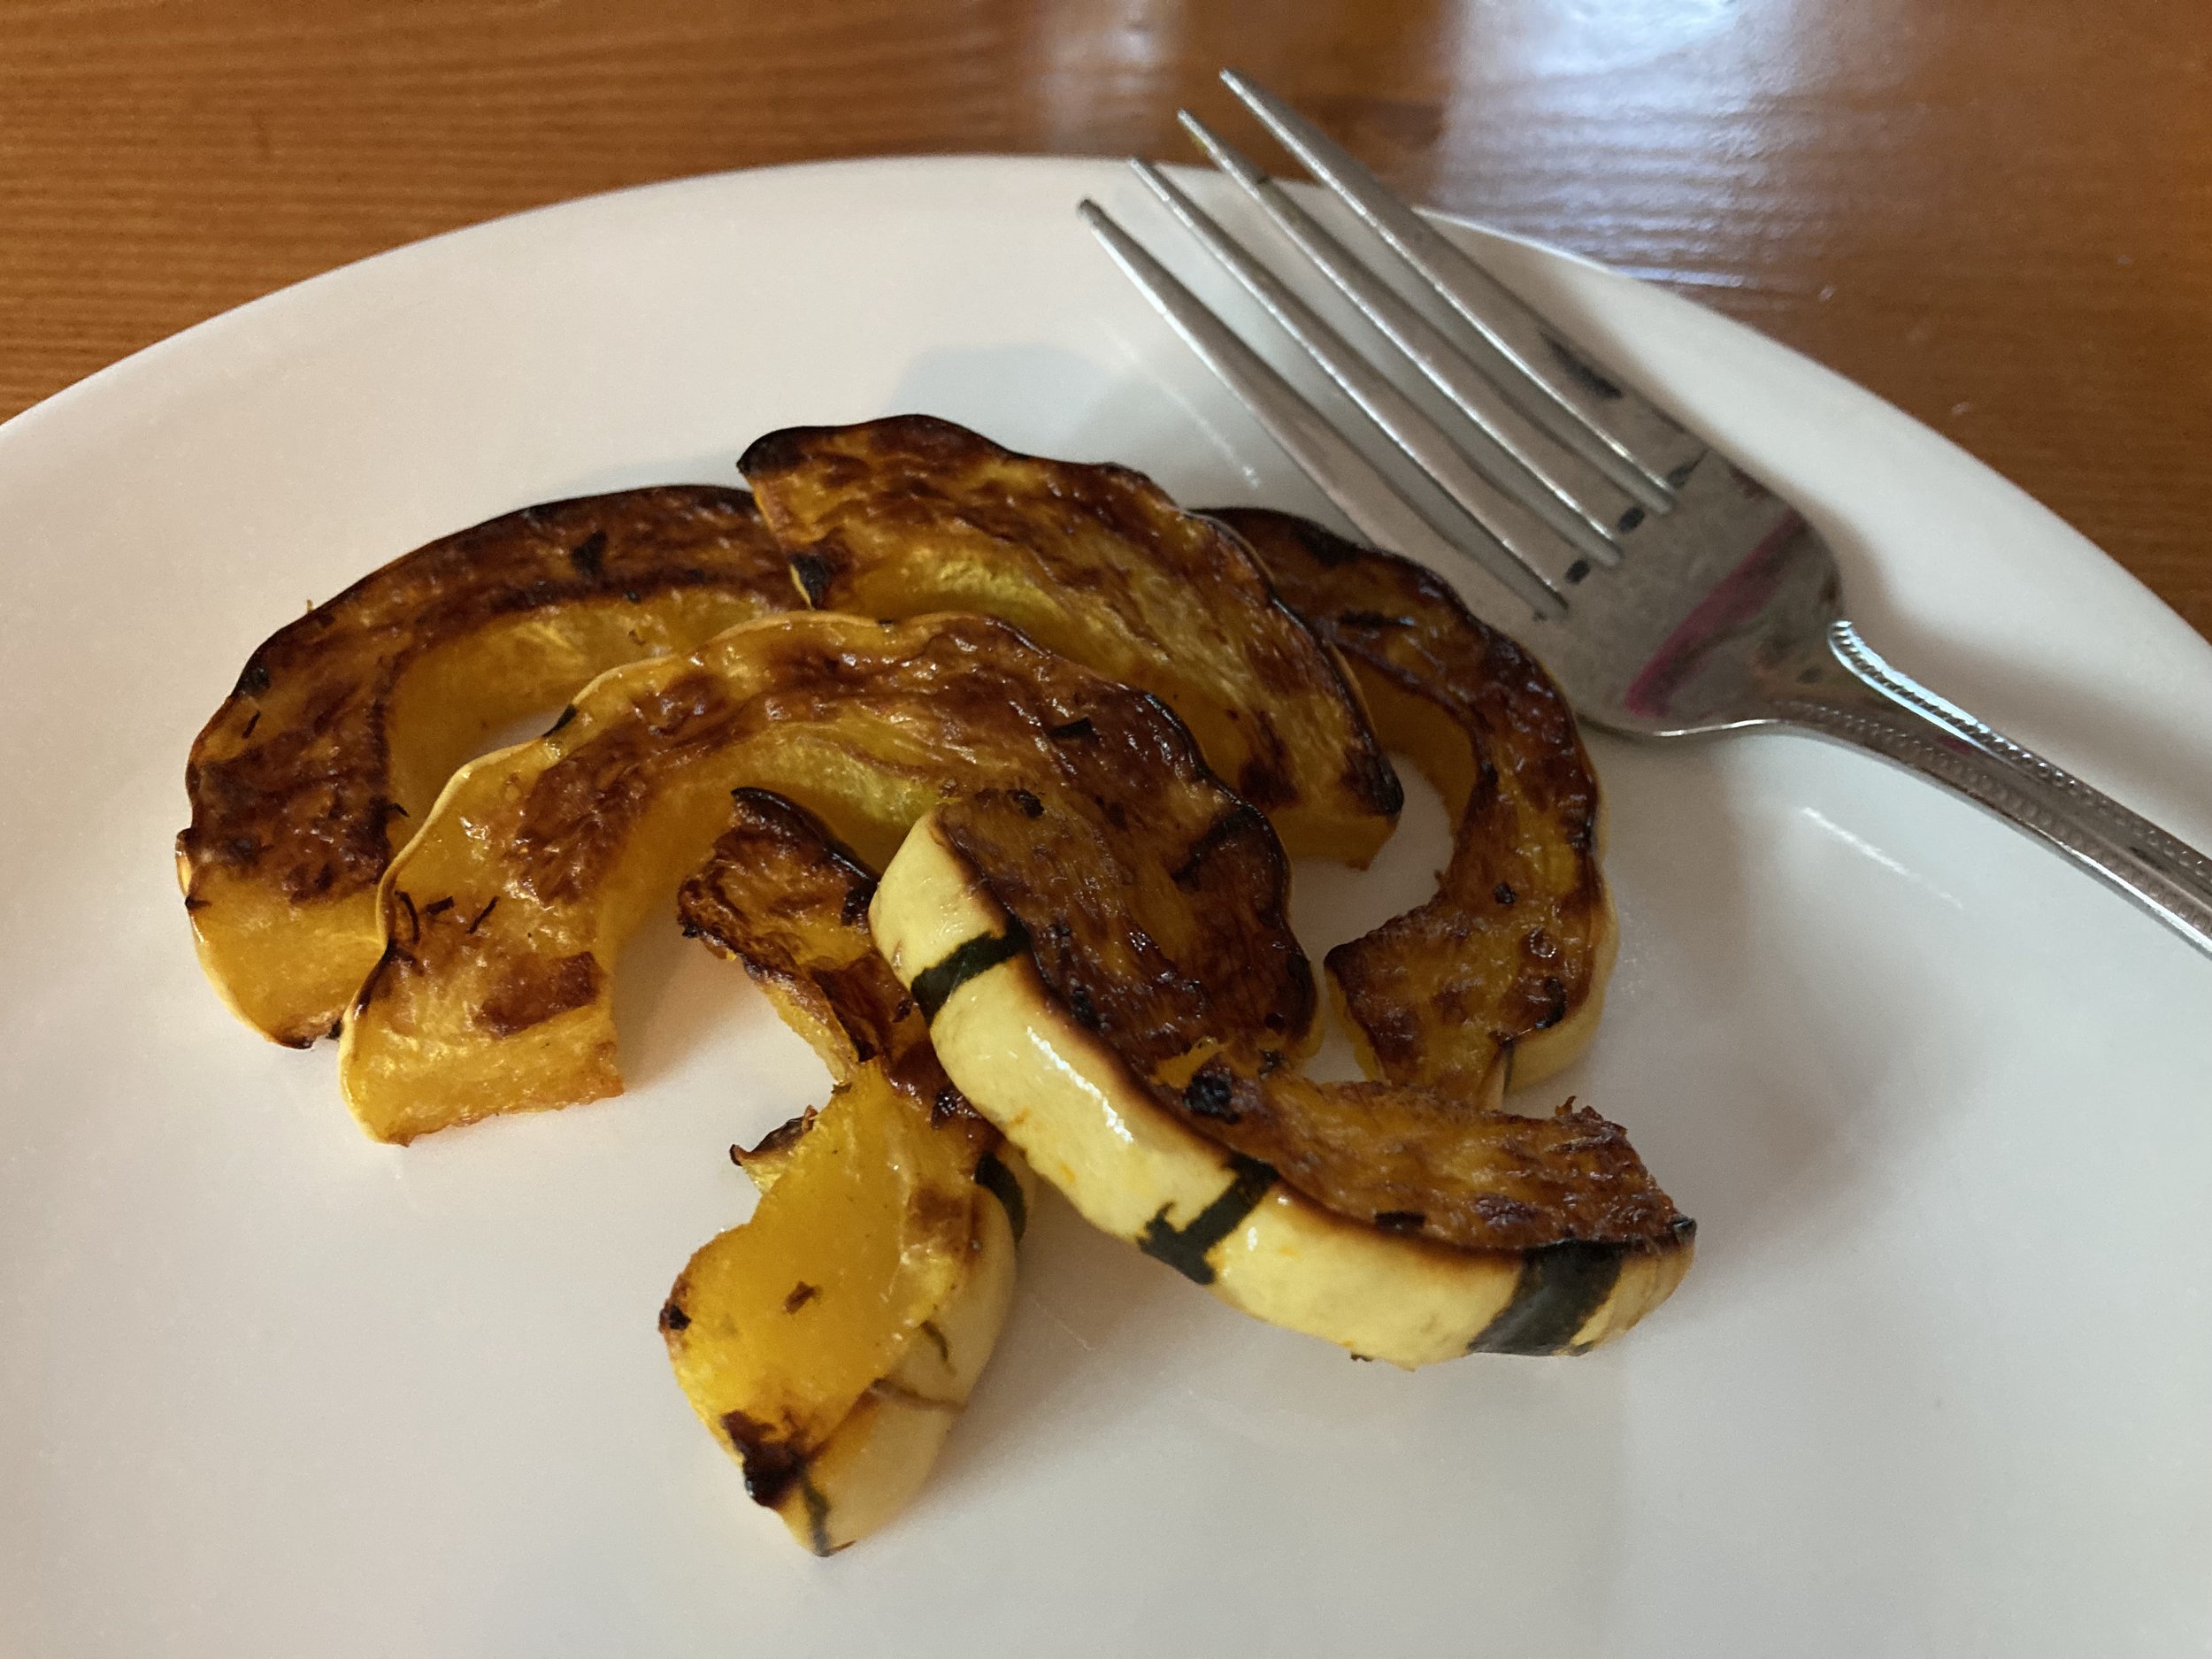
Now that it’s ready to cook, roast at 425 degrees in a preheated oven for approximately 20-30 mins, flipping halfway through. Cook until it’s soft and starts to caramelize and look burnt. Enjoy!
This squash has become a favorite in our house and I’m looking forward to trying to grow some in our garden next year.
KEEP UP WITH BIRCH LANDING HOME
| Etsy | Facebook | Instagram | Pinterest | Bloglovin' | Hometalk |
Now that we’re always eating at home and not going out for breakfast it’s great to have a fast and easy no-mess egg sandwich that you can make quicker than than it would take you to sit in the drive-thru line. This trick will make the perfect fluffy egg sandwich start-to-finish in just about ONE MINUTE. For reals. | This post contains affiliate links. |
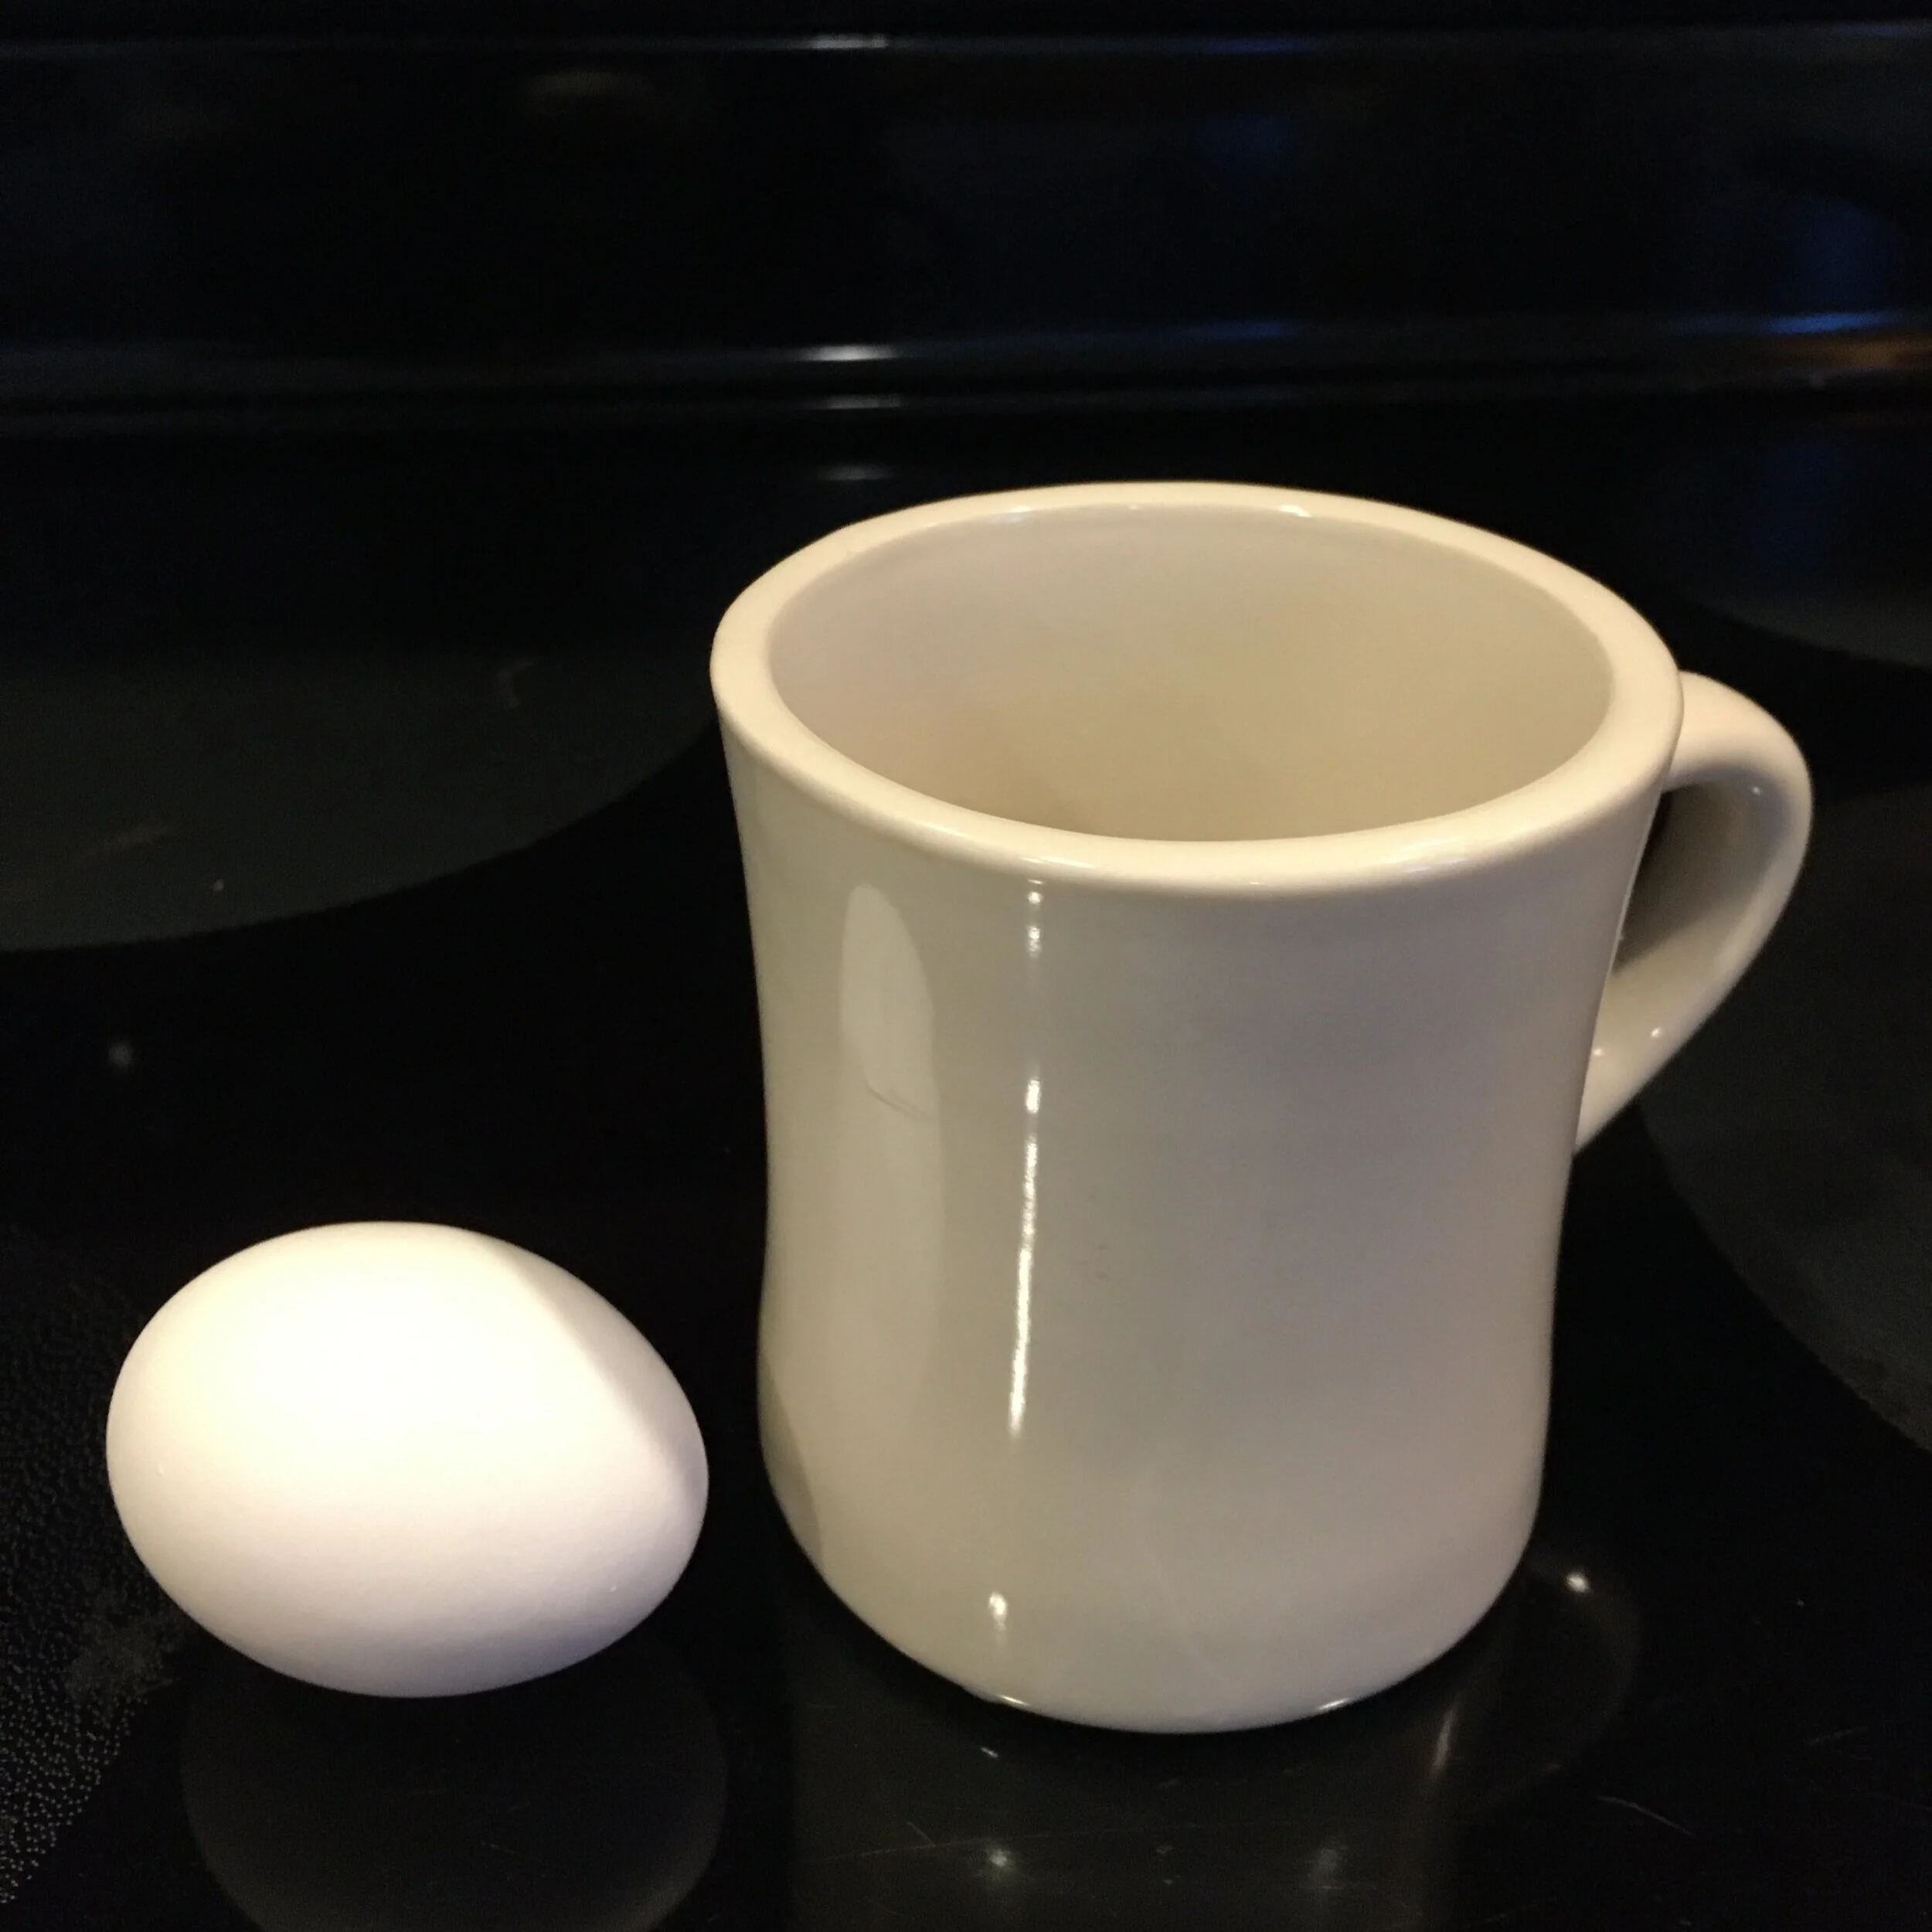
Really, this “recipe” couldn’t be any easier… the bottom line is you will need an egg, an English muffin (or some type of bread), a microwave-safe coffee mug, and a microwave. That’s it!
You might also want some shredded cheese handy, small diced precooked veggies (leftovers from the night before work great), hot sauce - or any other topping of your choice.
First, crack the egg into your microwave-safe coffee mug and “whisk” with a fork to break up the yolk. Now is also the time to add a generous pinch of shredded cheese (shown here) or a small amount of chopped pre-cooked veggies (leftovers work great). Put the mug in the microwave and cook on high/normal for one minute* (*please note that depending on your microwave model and what you add, you may need to adjust your cook time. Also DO NOT microwave fork.) While the egg is cooking you can toast your bread, if desired.
Once the egg is done make sure it is cooked throughly (it’s opaque with no runny spots and steaming all the way through) by checking with a clean fork and loosen it from the mug. Then simply turn the egg out onto your bread and add any condiments you desire - I personally can’t eat eggs without hot sauce.
And that is it! Once the coffee mug cools, just soak it in the sink to loosen any stuck-on egg and run through the dishwasher like normal. No pans to heat up or clean after which is a huge plus in my book. Enjoy your easy breakfast :)
Disclaimer: Please note that depending on your microwave model and what you add, you may need to adjust your cook time. Make sure your egg is fully cooked before eating.
KEEP UP WITH BIRCH LANDING HOME
| Etsy | Facebook | Instagram | Pinterest | Bloglovin' | Hometalk |
Whew, where is the summer going? It seems like just last week school got out - but here we are with just a few precious weeks of summer vacation left. We’re trying to squeeze in what fun we can with family hikes, day trips, visiting friends, - and of course enjoying some of our favorite summertime foods. One of my favorites is this Easy Chopped Greek Salad which can make a perfect dinner on a hot night or a side dish to bring to the neighborhood BBQ. | This post contains affiliate links |
- 2 cucumbers
- 2 large tomatoes (or a bunch of cherry tomatoes)
- half a red onion (I love red onions and tend to put in a lot... feel free to adjust the amount of red onion to your taste)
- 4 oz canned black olives, rinsed and drained
- 1 lemon
- olive oil (California Olive Ranch Brand is my favorite)
- oregano
- salt and pepper to taste
- 1 package of feta cheese
- fresh chives for garnish
This recipe is a great way to use up tomatoes, cucumbers, and herbs from your garden too!
How-to:
Chop cucumbers and tomatoes into bite sized chunks (remove seeds from tomatoes if they’re too “sloppy”).
Dice up to half a red onion (adjust amount of onion to taste).
In a separate bowl, make the dressing: juice one lemon, and add a splash of olive oil. Add about a tsp of dried oregano, and salt and pepper. Whisk together and add more olive oil or herbs/spices to taste.
Combine veggies, black olives, and dressing in bowl and mix well.
Add feta cheese and chives to garnish before serving.
Enjoy!
I make this salad just by “winging it” each time and don’t have exact amounts for olive oil or spices - really it’s up to you and your personal taste. Just experiment and see what tastes good to you.
KEEP UP WITH BIRCH LANDING HOME
| Etsy | Facebook | Instagram | Pinterest | Bloglovin' | Hometalk |
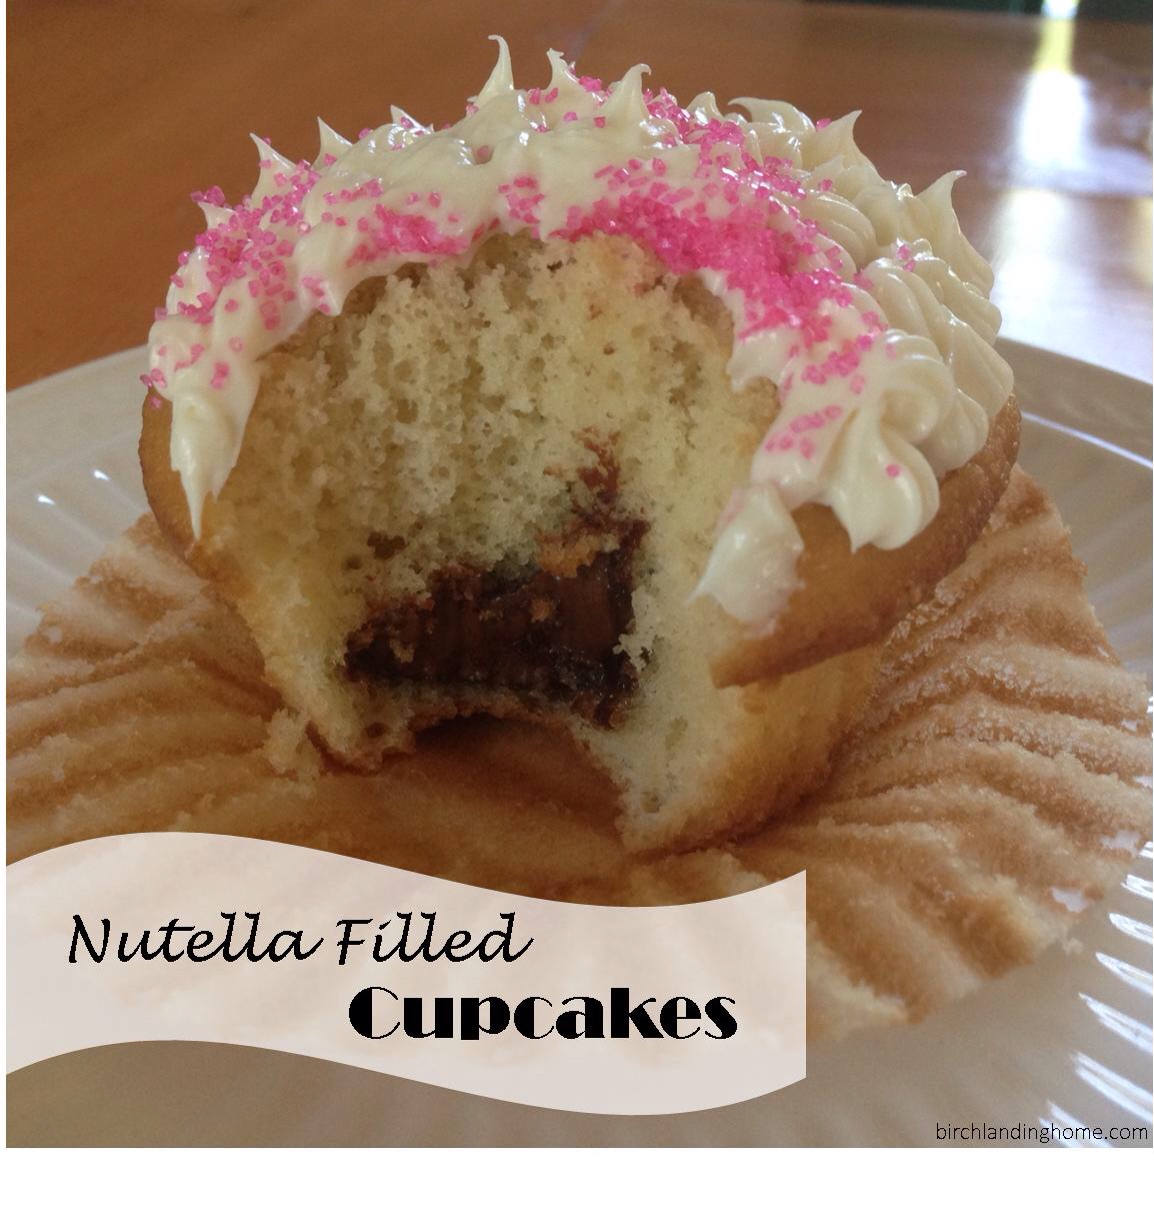
This past weekend we had some friends over and I needed to make a dessert for after dinner. After looking through the cupboards I realized we had a left over box of vanilla cake mix and vanilla frosting from my husband's birthday. I wanted to use that up, but needed something to jazz up the boring all-vanilla dessert. I saw a jar of Nutella and thought filling the cupcakes with that would be an awesome idea! This "recipe" can be super easy by using a box mix and ready-made frosting like I did, but if you have a great from-scratch recipe for cupcakes and frosting you can definitely use that instead!
At first I debated whether I should pipe Nutella into already cooked and cooled cupcakes, or put it straight into the batter before baking. I decided to go with adding the Nutella in before baking and other than it sinking towards the bottom half of the cupcake (some more than others), it worked great! Putting the Nutella in pre-baking also means a little less clean-up in the end, which is just fine by me.
Nutella Filled Cupcakes
Prep time 15 mins* | Cook time 20 mins* | Makes up to 24 cupcakes
*additional time needed to cool and decorate.
Ingredients
vanilla cake mix
wet ingredients needed for the cake mix (varies depending on brand, but you usually need eggs, water, vegetable oil)
vanilla ready-made frosting
Nutella
cupcake liners
sprinkles (optional)
Directions
Make cake batter according to package directions and fill muffin tin, lined with cupcake liners, with the batter.
Put a heaping teaspooon (or a little more) of Nutella on top of the batter.
Bake according to package directions (make sure cupcakes are thoroughly cooked).
Cool and decorate.
Enjoy!
Now wasn't that easy? :)
Tip: In the past I have used straight Nutella as frosting when I was short. It worked great, but keep in mind it stays very "goopy" and doesn't firm up or get that thin crust like most frostings do.
KEEP UP WITH BIRCH LANDING HOME
| Etsy | Facebook | Instagram | Pinterest | Bloglovin' | Hometalk |