I'm a wife, stay-at-home mom, crafter, and blogger living in rural New England. As seen in Martha Stewart Living, Food Network Magazine, and more! | Tutorials, DIY, crafts, parenting tips, recipes, money saving tips, product reviews, local product features, New England living, intentional living, and more! |
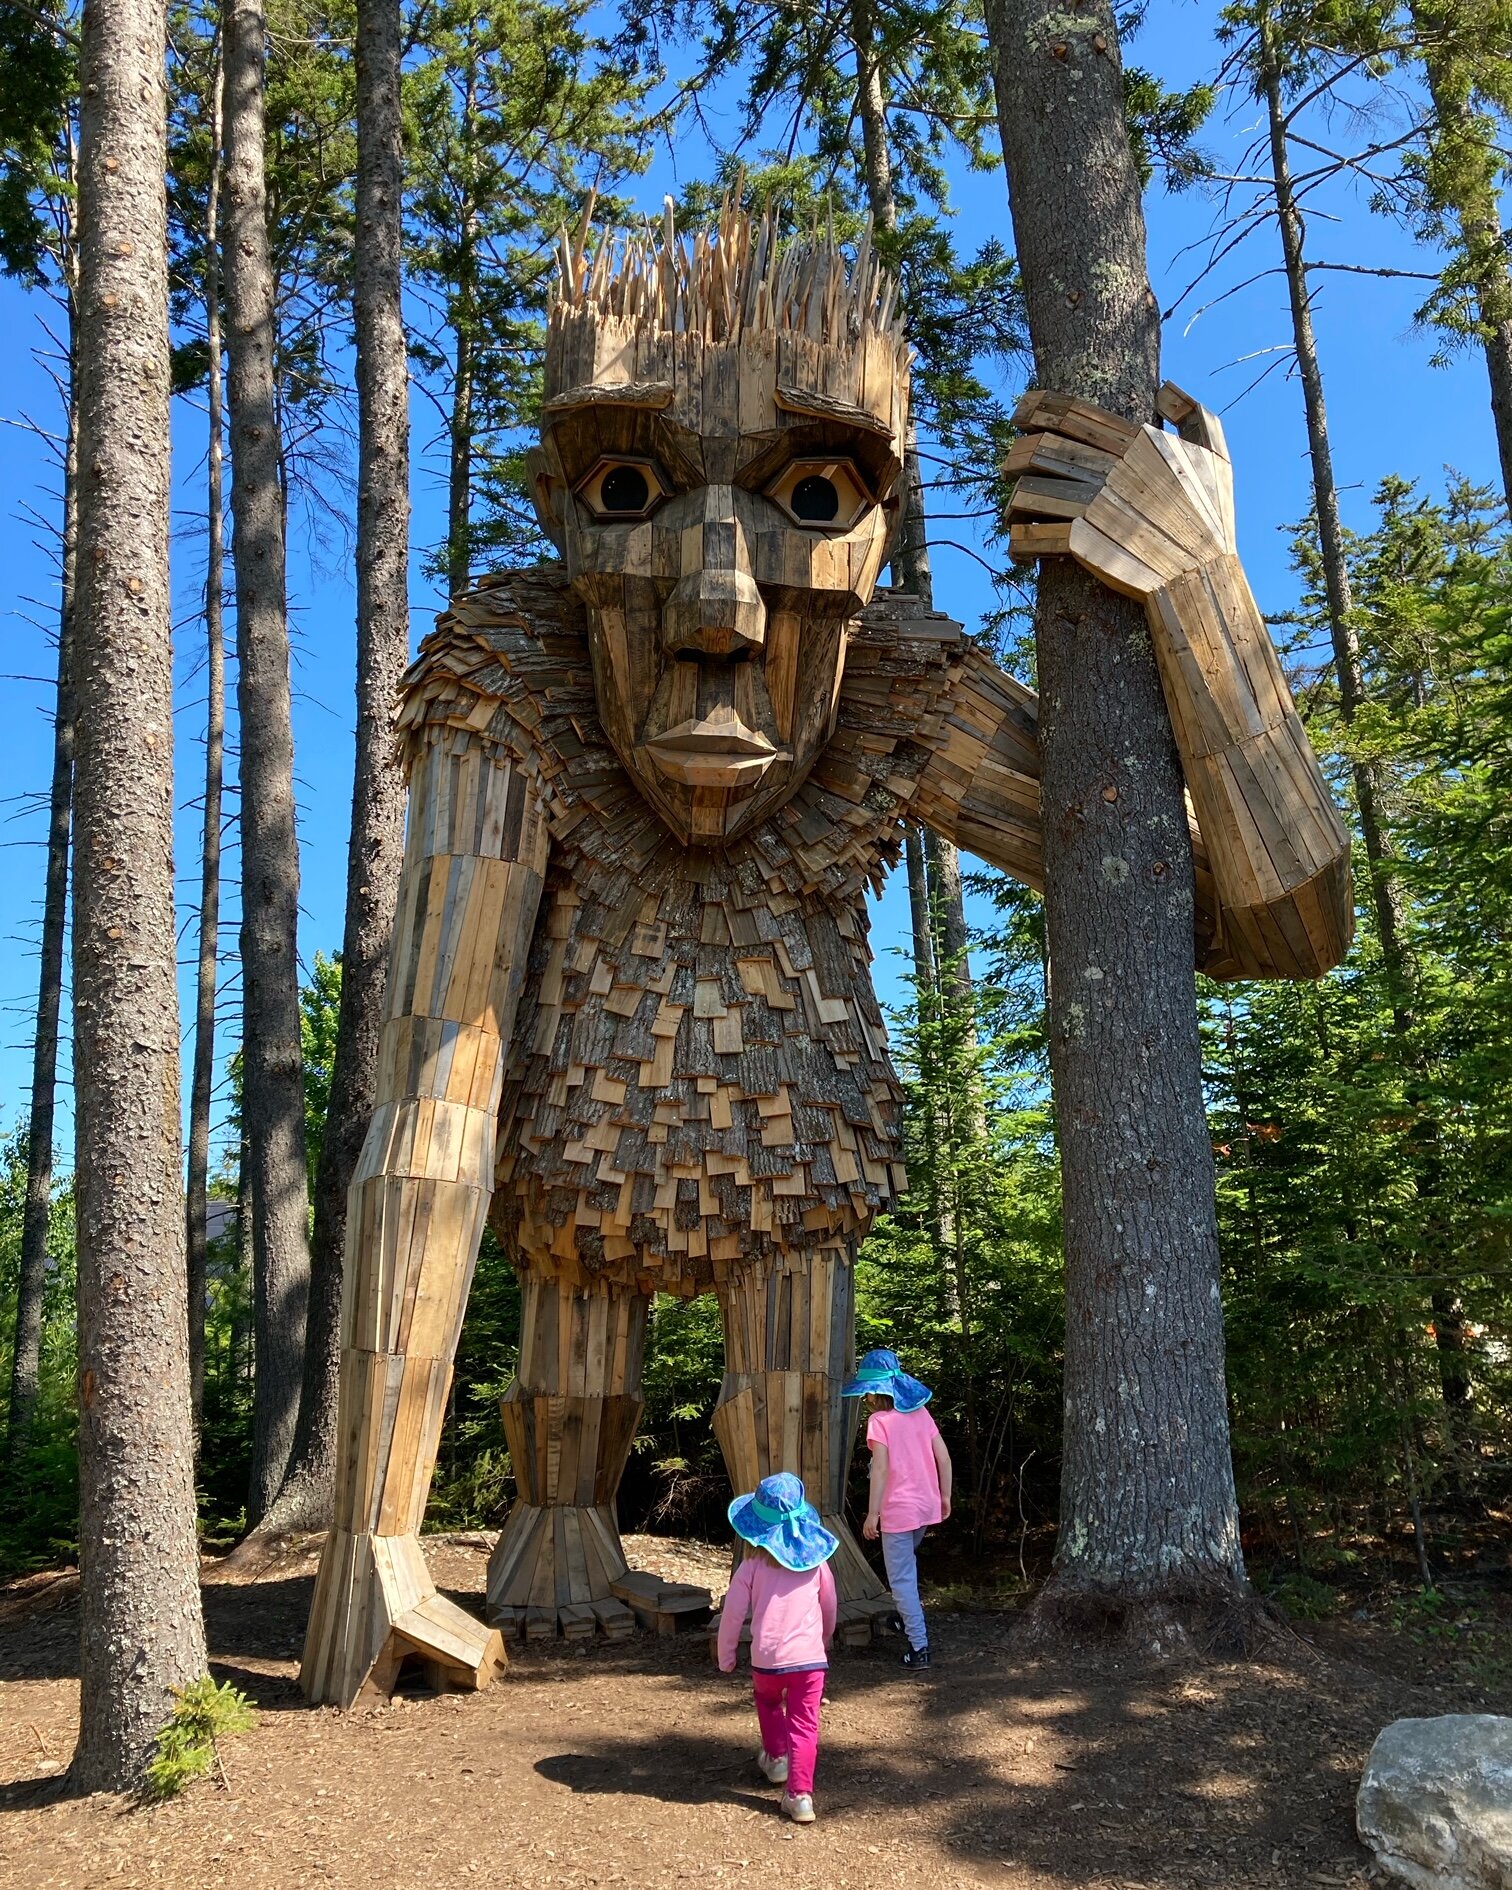
This past weekend we took a much needed day trip up to Boothbay, Maine to finally see the amazing Coastal Maine Botanical Gardens and its new art installation of giant trolls by Danish artist Thomas Dambo. The whole visit was beautiful and so fun. I’ve included a few photos here but they don’t do this magical place justice - the Gardens and the trolls must be seen in person if you ever have the chance! Here are a few tips and items of note from our trip. | This post contains affiliate links |
Tickets
Currently at this time Coastal Maine Botanical Gardens are requiring advanced purchased tickets only and your entry is timed (I believe this is for COVID precautions to help spread out visitors and limit the amount of visitors coming in at any one time to help reduce crowding). We purchased ours for one of the first time slots of the day and it was perfect. We found that the park was getting rather crowded by lunch so earlier was definitely better.
Masks
There were signs asking non-vaccinated guests to wear masks inside buildings, however we did not see that enforced. Nevertheless, we have been very COVID-cautious ourselves and made sure our kids put on their masks when we passed through the entrance building and when we left, also we had them put them on whenever we went into any other enclosed spaces.
The Trolls
There are five giant Trolls tucked away in the woods throughout the park. The map in the brochure was a bit confusing and it was difficult to tell exactly which paths some of them were on, but after a quick conversation with a very helpful gardener we had a good plan to see them all. At most of the trolls there were groups gathered to take photos but everyone was very respectful, waited their turn, and gave space so each group could take good photos with the trolls which was very nice.
So Much to Explore
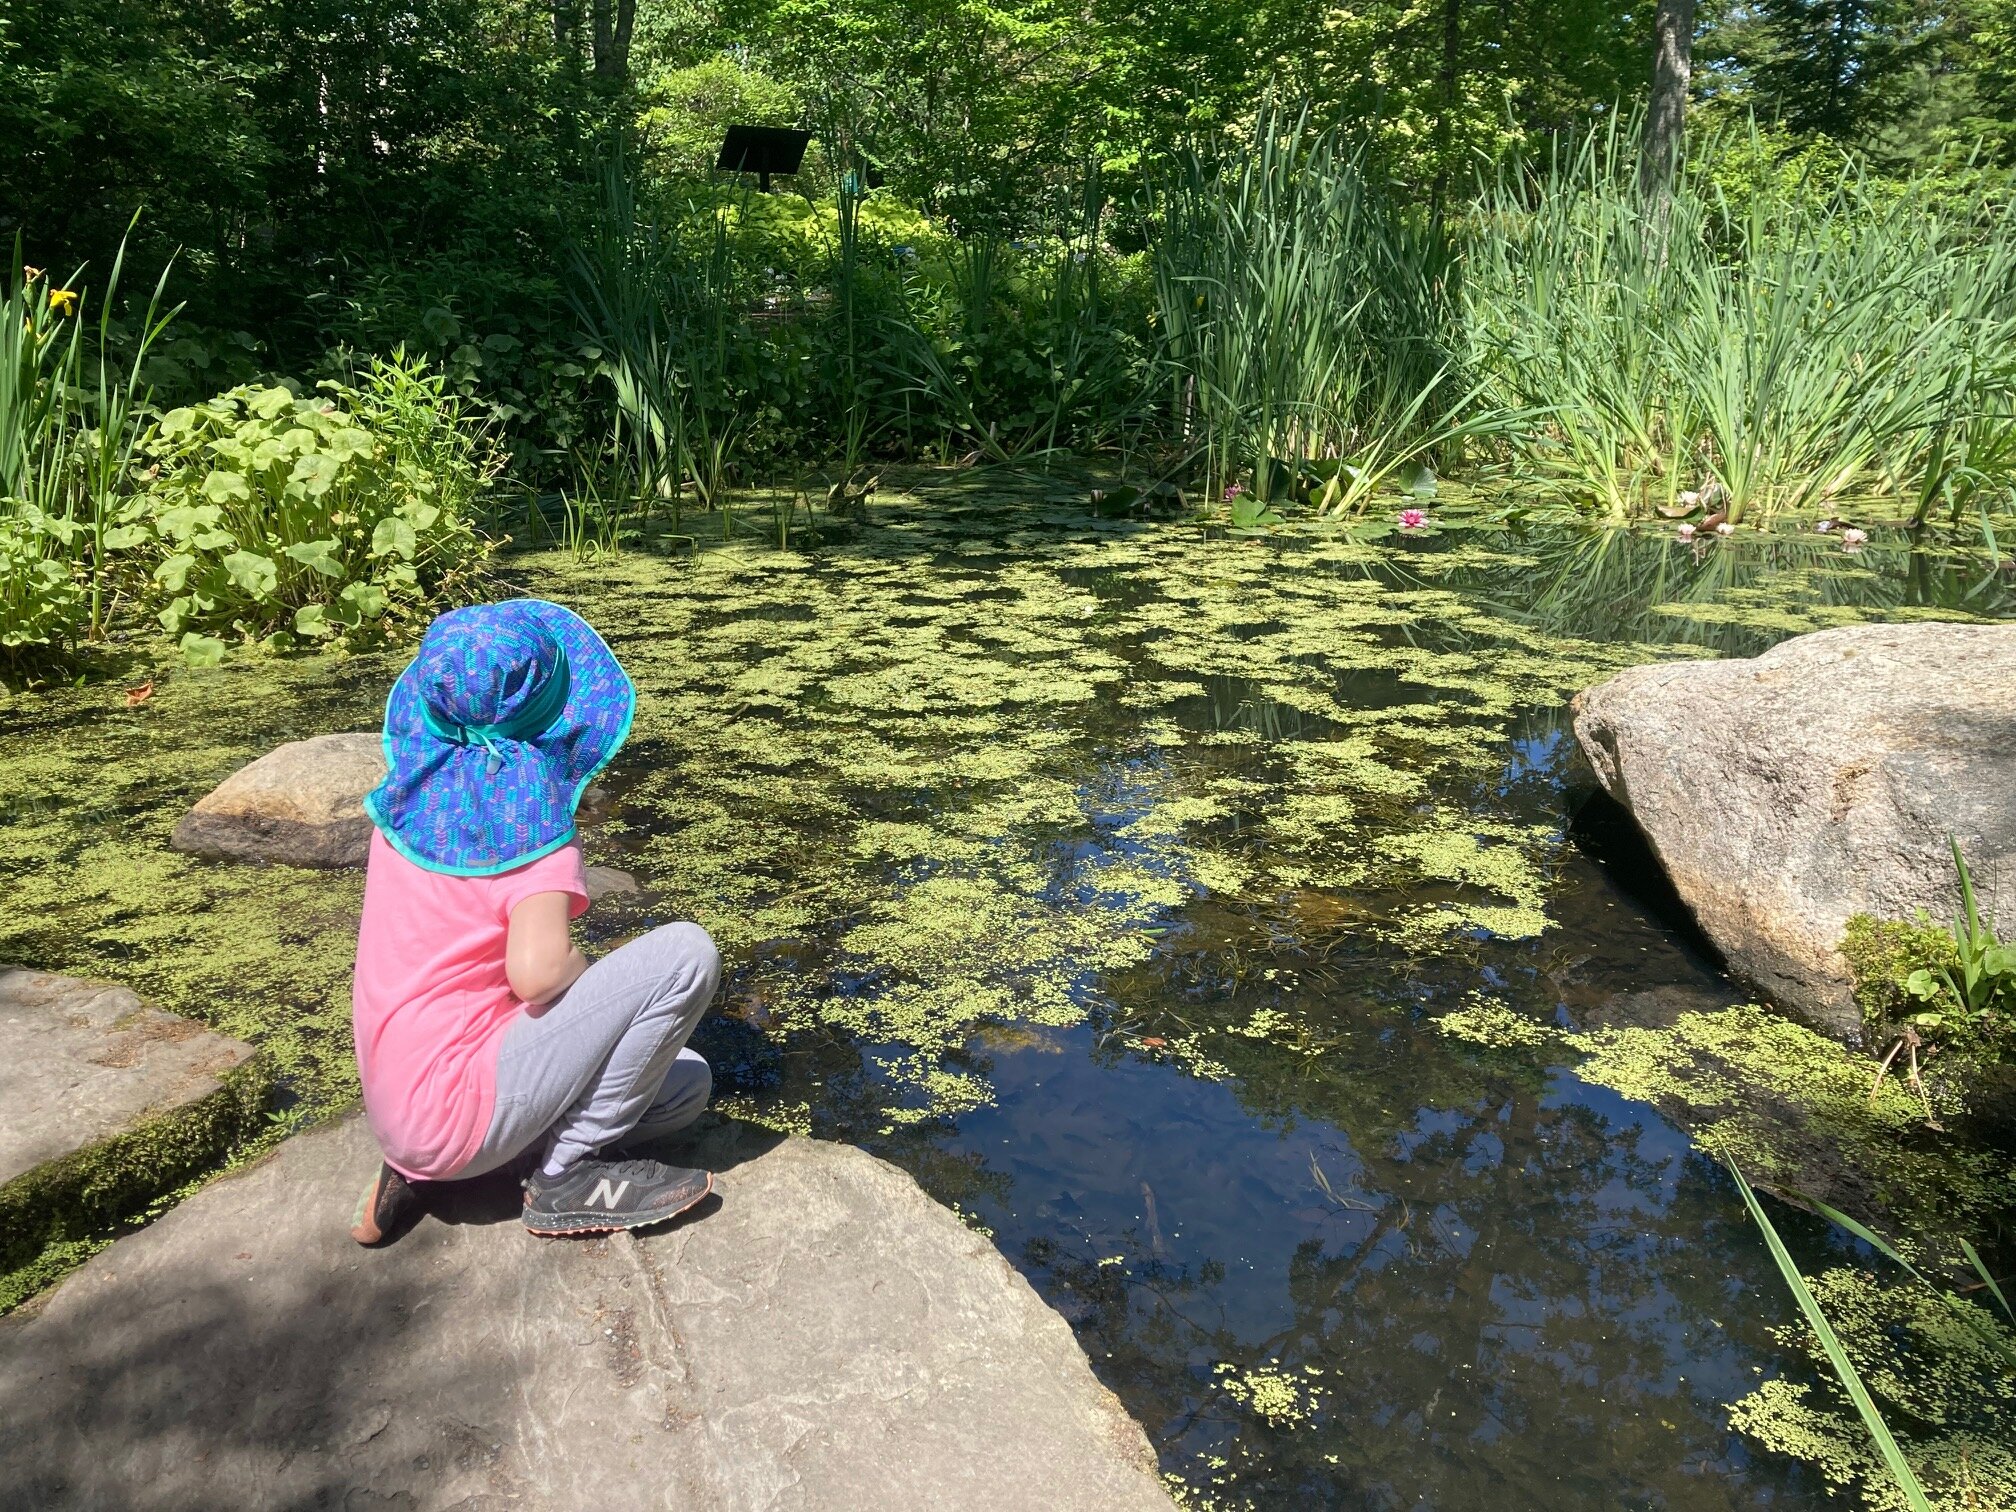
Besides the incredible trolls, there are miles of hiking trails and so many gardens to explore. We spent several hours there and didn’t even see most of them. Our favorite areas were the Children’s Gardens with its whimsical flowers, buildings, and animals, and the various ponds and fountains. Our kids especially loved watching the tadpoles (SO many tadpoles!) and turtles in the ponds.
We got lots of compliments on our kids' matching sunhats too! They are our absolute favorite ones by Sunday Afternoons.
Lunch
We headed out early afternoon when it started to get very hot and crowded but we easily could have stayed and explored longer! There was an on-site cafe that had grab-n-go food that looked great but we decided to forgo that and opt for seafood on the way home (when in Maine). We would have loved to stop at Red’s Eats in Wiscasset but the line was down the block when we went by, so we got takeout from Sea Basket instead and ate our weight in fried seafood and lobster rolls - it hit the spot.
Overall it was a beautiful day to get out and explore this beautiful place with our family - we’re already planning on coming back later in the summer to see everything with different plants in bloom.
It seems kind of weird and petty to write about fun DIY projects during a Pandemic, but maybe fun projects to work on at home is just what we need right now :) I did this project about two months ago when I was looking for a nice way to display our oldest’s growing collection of award ribbons and medals but couldn’t find a display setup that I liked or was remotely affordable. The whole project was super easy and done start-to-finish within two days. Here’s hoping for things to go back to normal someday soon so she can continue to add to her award collection. | This post contains affiliate links |
Materials:
lumber (I used a 1x8" board for the shelf top and 1x6" board for the back)
two decorative shelf brackets (or two pieces of wood cut at 45 degree angle)
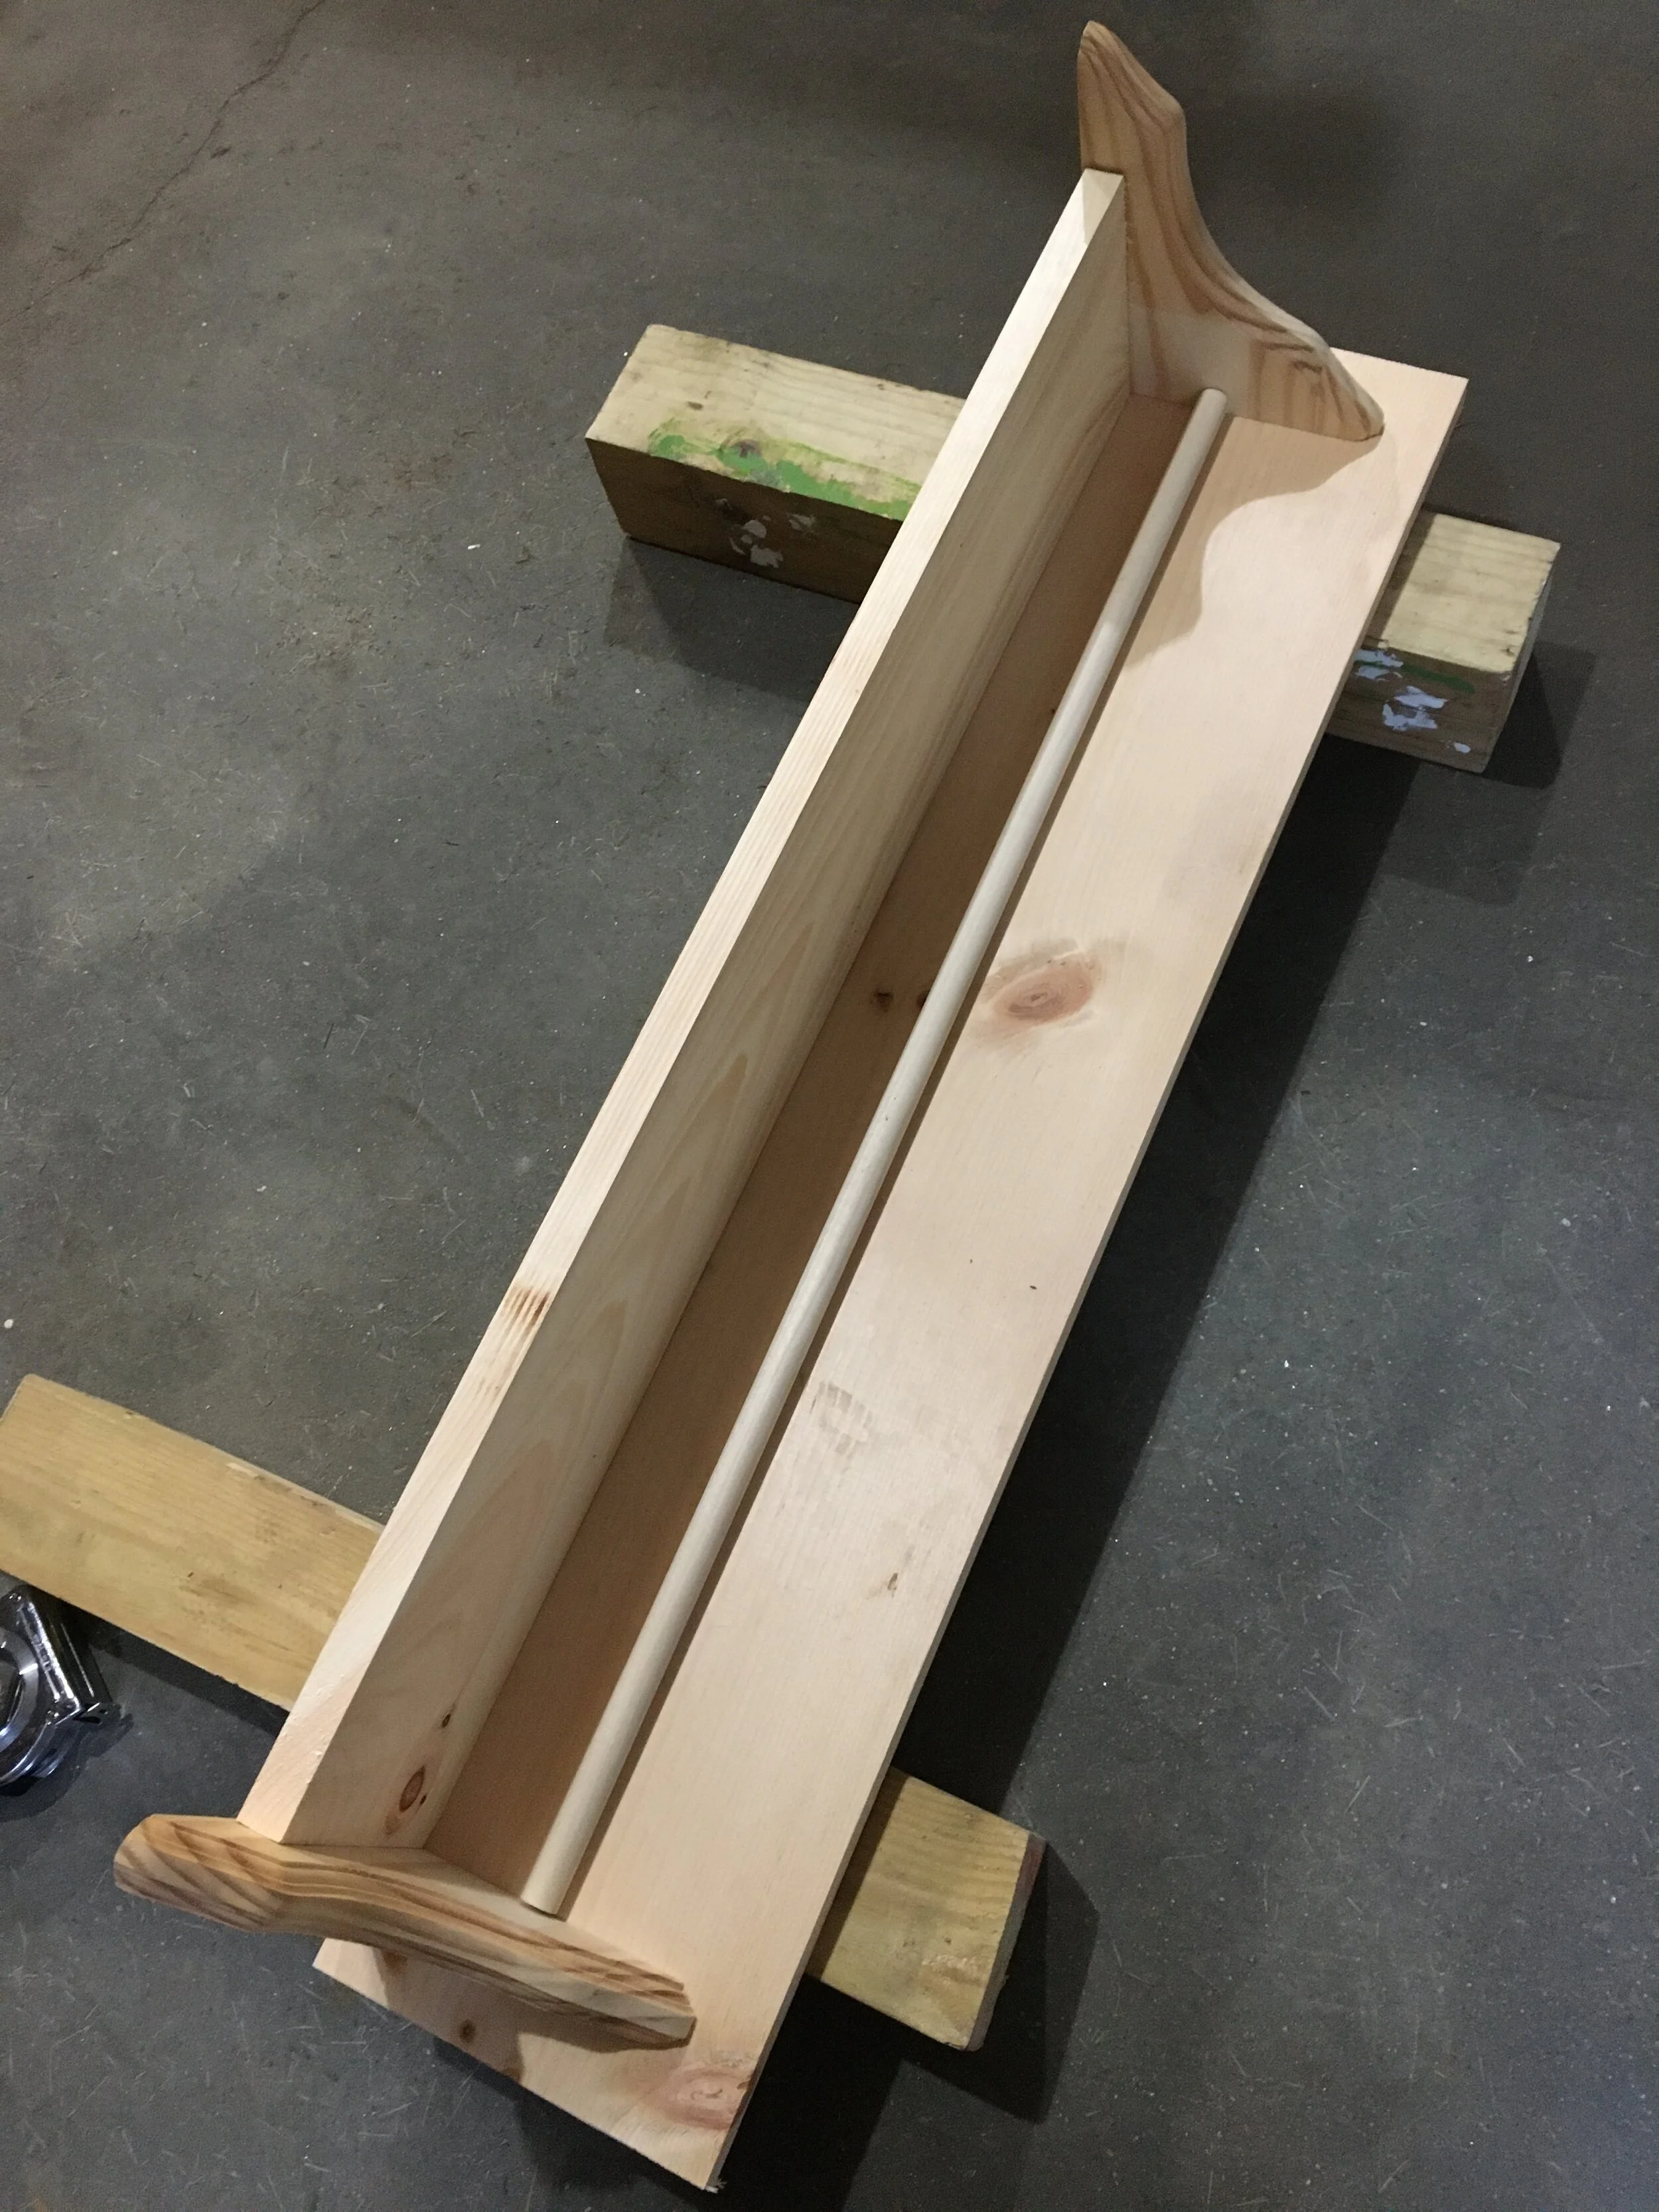
First decide how long you want the overall shelf to be (in our case I decided on making it 3ft wide). Then cut your shelf top to that length.
(Nothing is screwed in yet here… just laying everything out to make sure it will fit like I want it to.)
Next decide how wide you want the shelf back to be - remember that the self back plus the brackets should fall within your overall shelf top length. Ultimately how long you cut the shelf back is your preference though. But visually I think that the shelf back and the brackets look best if they fall within about 2 inches of the shelf top on each side.
(Side note: If you have a router you can cut a dovetail channel along the back of the shelf back now to make for easier hanging… I do not have one of those handy so I skipped this step and will hang our shelf another way.)
Once you have everything laid out, cut your dowel to about 1/8” less than your shelf back length so it will fit comfortably within that space.
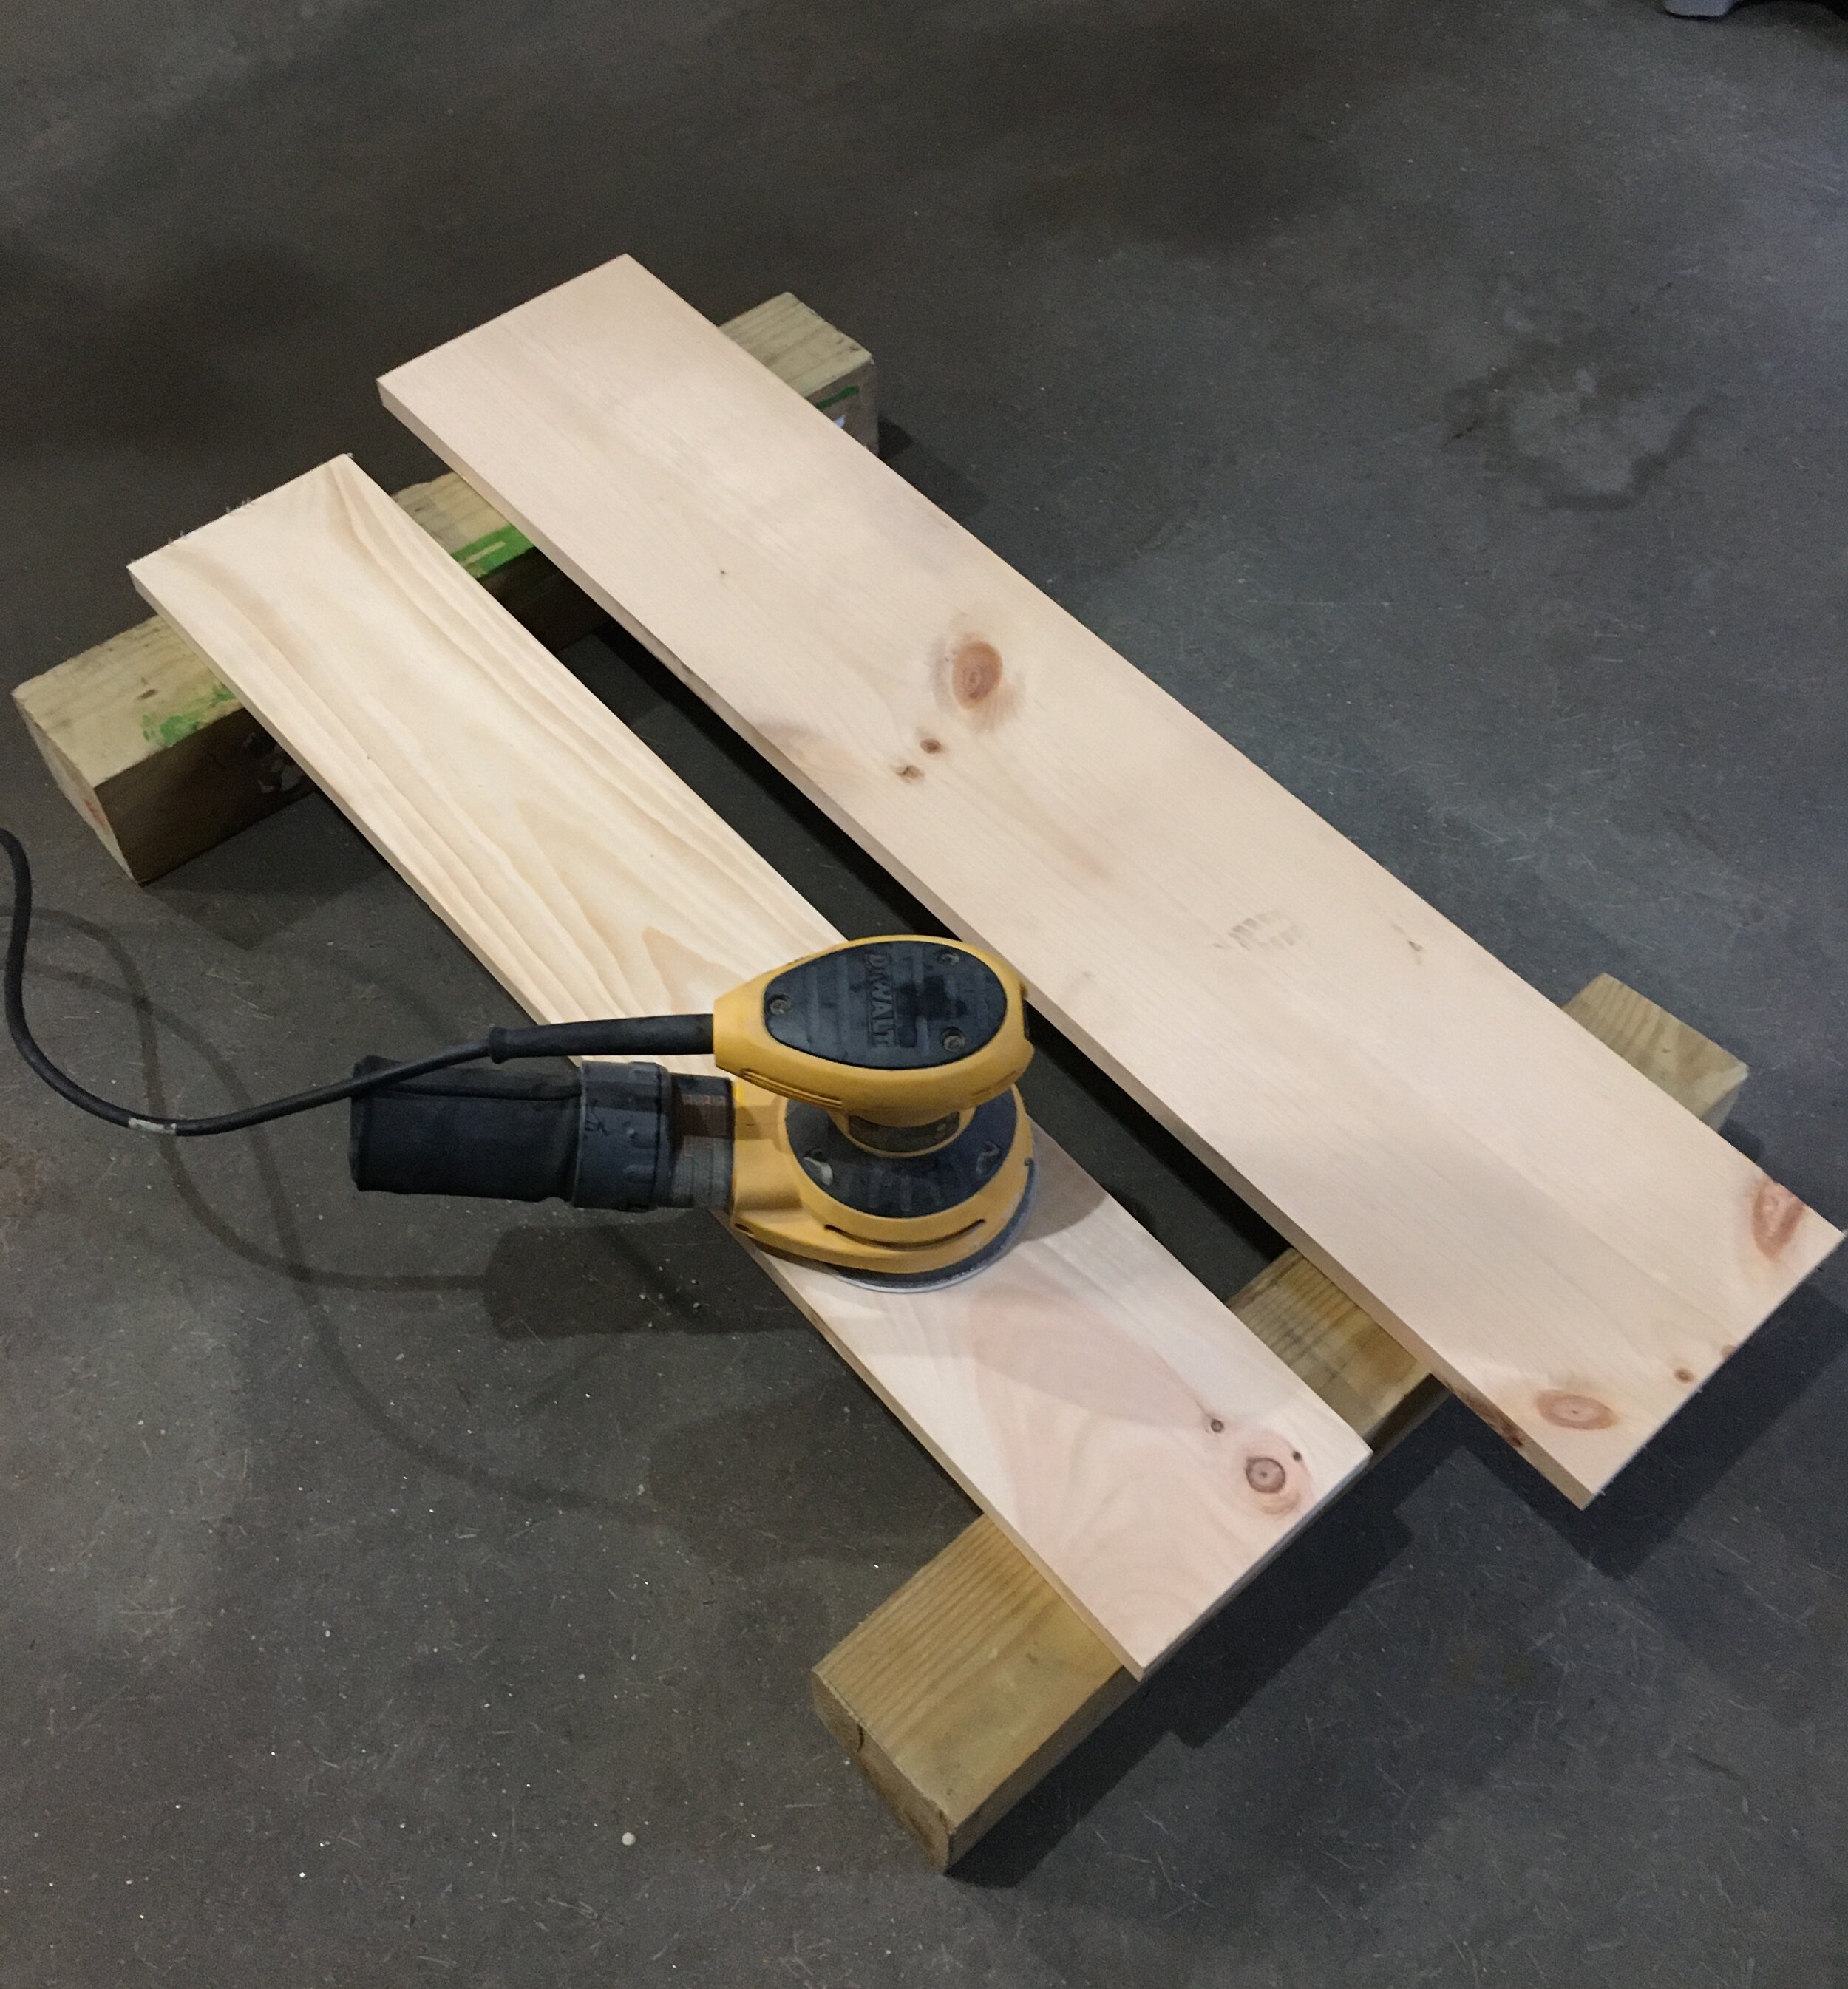
After everything is cut, I recommend sanding everything first before you assemble. I love using our orbital sander - it makes for quick work and does a nice job.
Next start assembling. Screw the shelf supports to the backing first, making sure everything is lined up and flush.
Next carefully center the shelf top, making sure it’s flush with the back and screw in.
Now for the fun part - paint! I did one coat of primer and then three coats of semi-gloss white paint, though you could choose any color you wish. I like semi-gloss paint since it has a slight sheen to it and is easier to dust and keep clean.
For hanging - first I measured this wall side-to-side to figure out where the shelf should fall within that space to be centered. Then I marked the studs with a stud finder.
To be honest I usually use two different kinds of stud finders when I have to hang something - I use a magnetic stud finder first to identify exactly where the stud is and then a digital one to find the edges of the stud. I’ve found that sometimes the digital ones can be finicky so it’s nice to know where the studs are first rather than get a false stud reading when it could be something else (a pipe, a thick area of plaster on the wall, etc).
Then using a level to make sure the shelf was level, I screwed directly into the wall studs through the shelf back making sure to place the screws where they would be hidden by the dowel once I installed it.
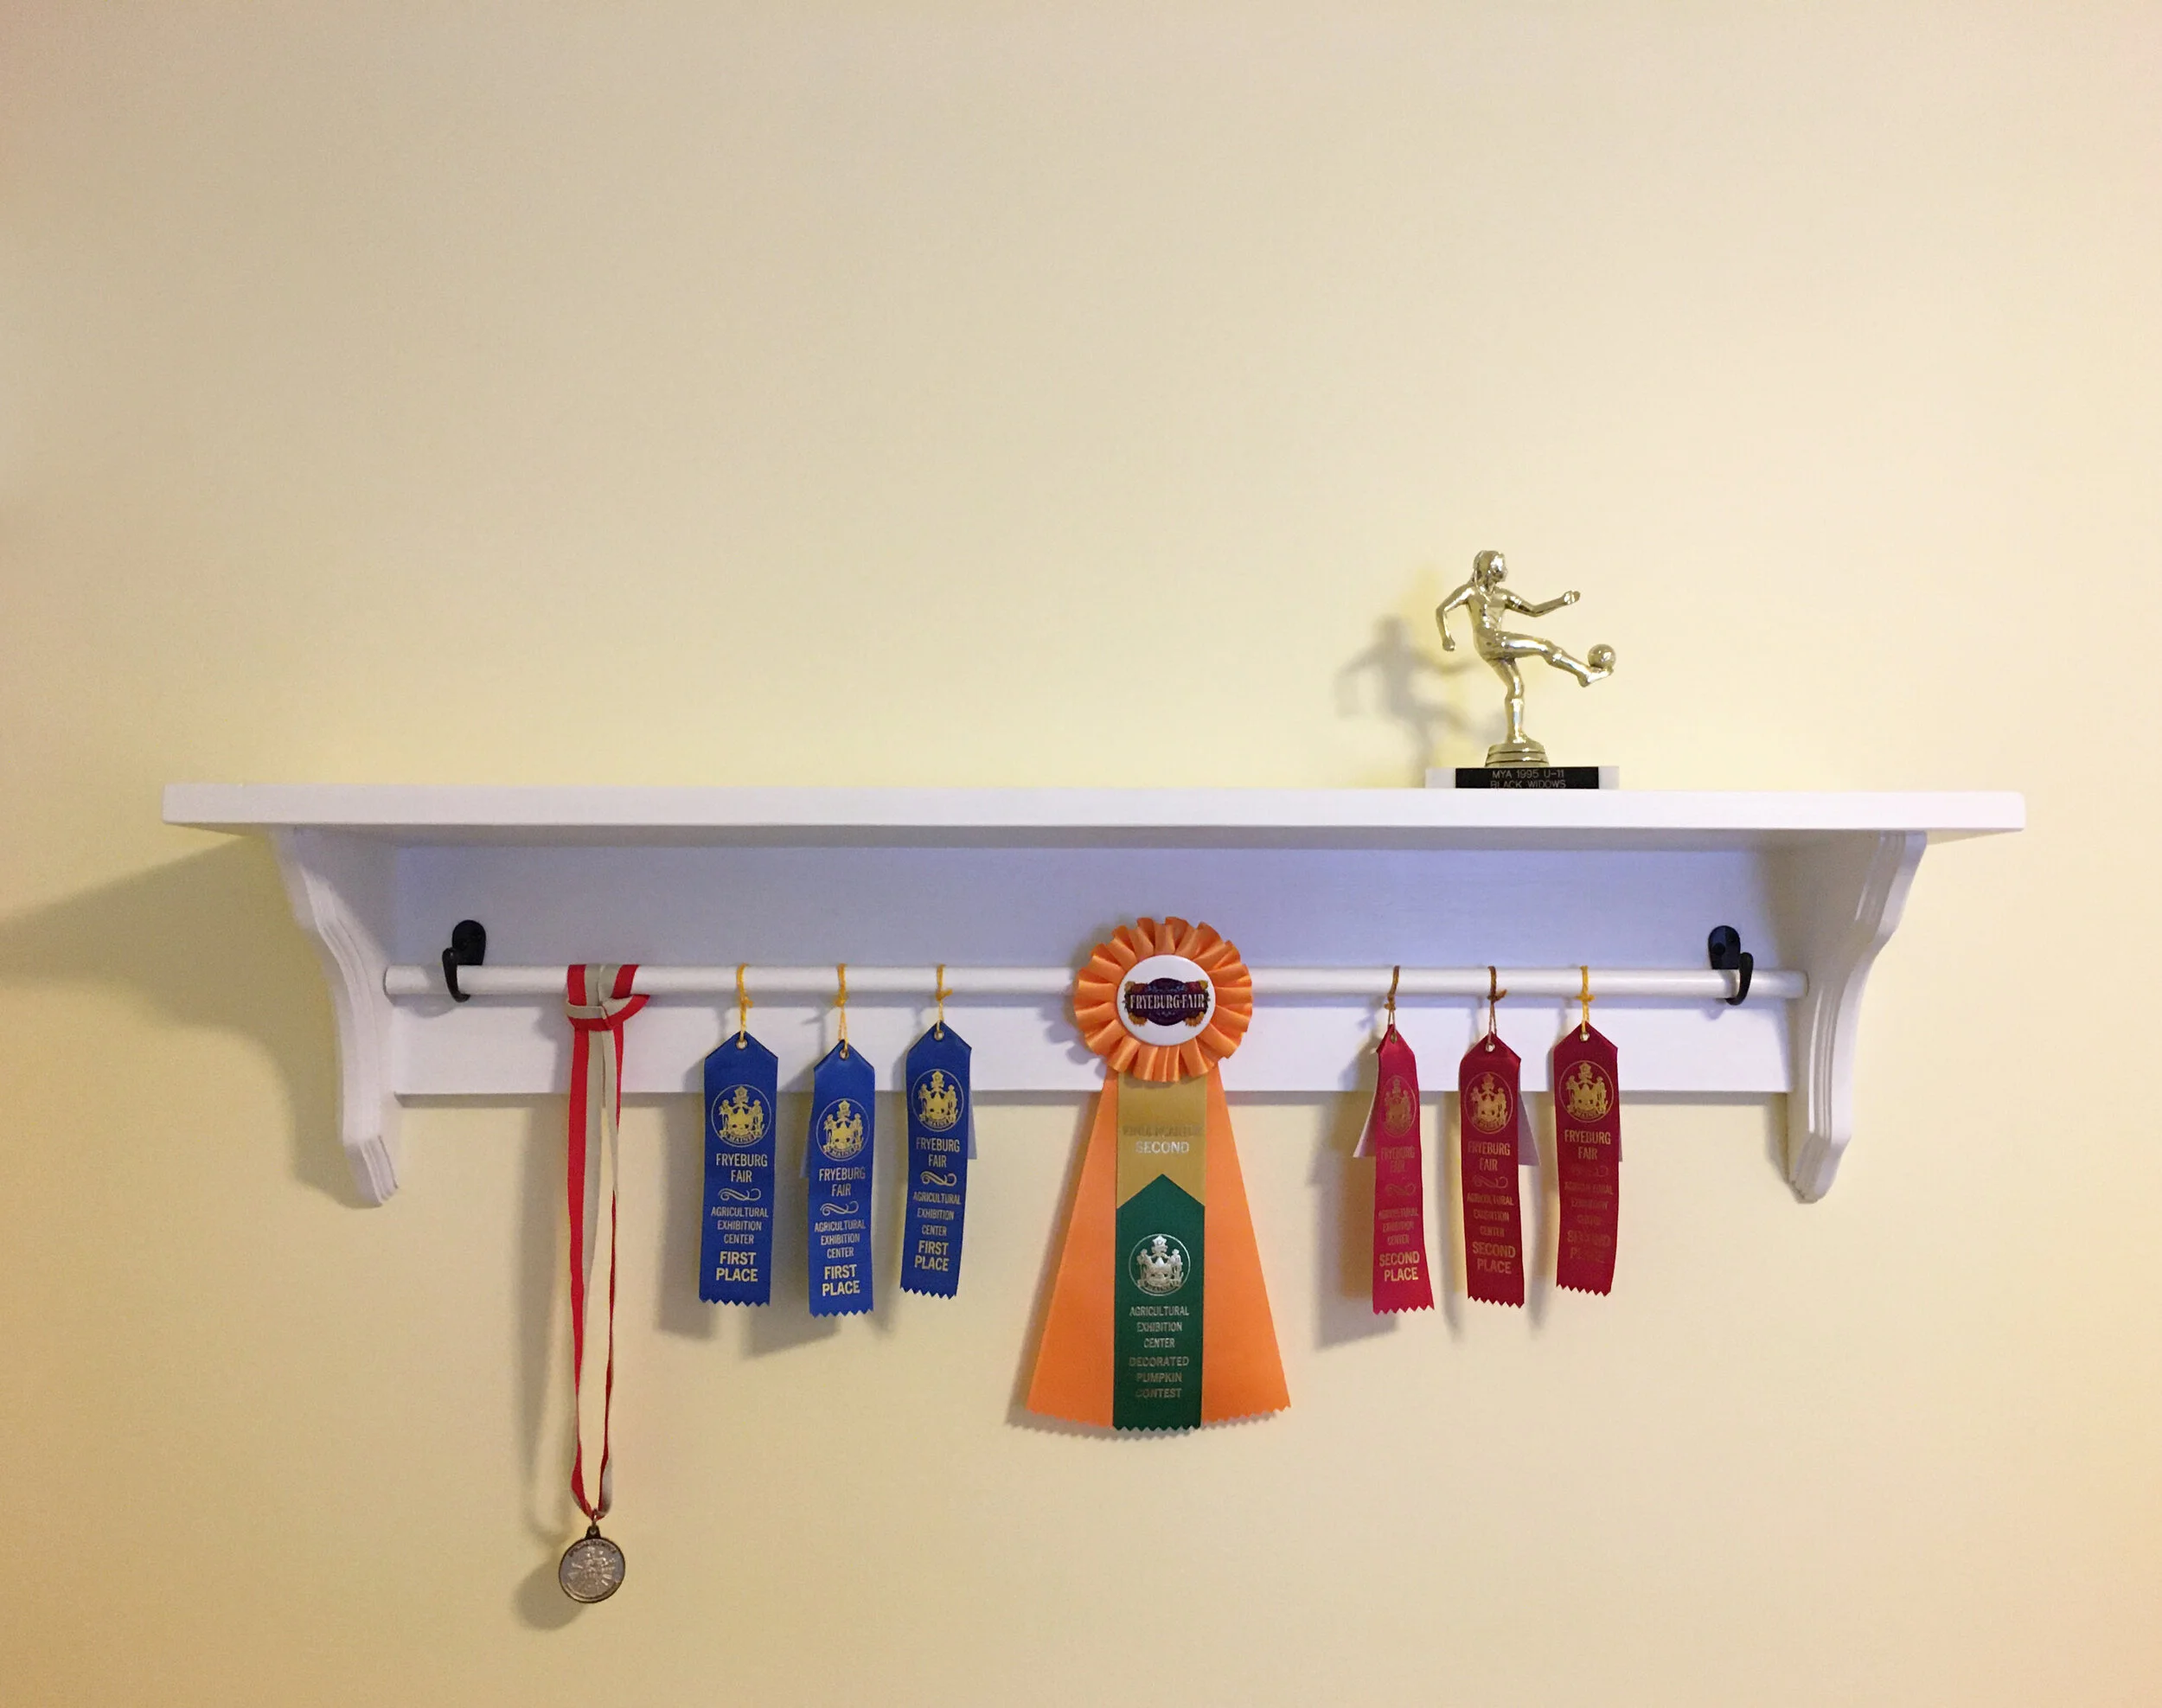
Next I hung the dowel by centering it and adding a simple hook to support it on each side, as shown above (this also hides the screws I used to hang it). And now the project is finished and ready to display ribbons, medals, and trophies!
To hang the ribbons and medals you can easily lift the dowel up and string them on, or loop them around the dowel like I did here.
I hope you liked the project and we look forward to when this Pandemic is over and there will be sport and fair ribbon awards again - stay well!
UPDATE:
Years later our kids are still using the DIY Ribbon and Trophy Displays but they’re getting a little full. In order to spread things out a bit I bought these simple medal holders (similar one linked), so they could hang their medals on these and keep the DIY Display just for their ribbons/trophies. It’s working great!
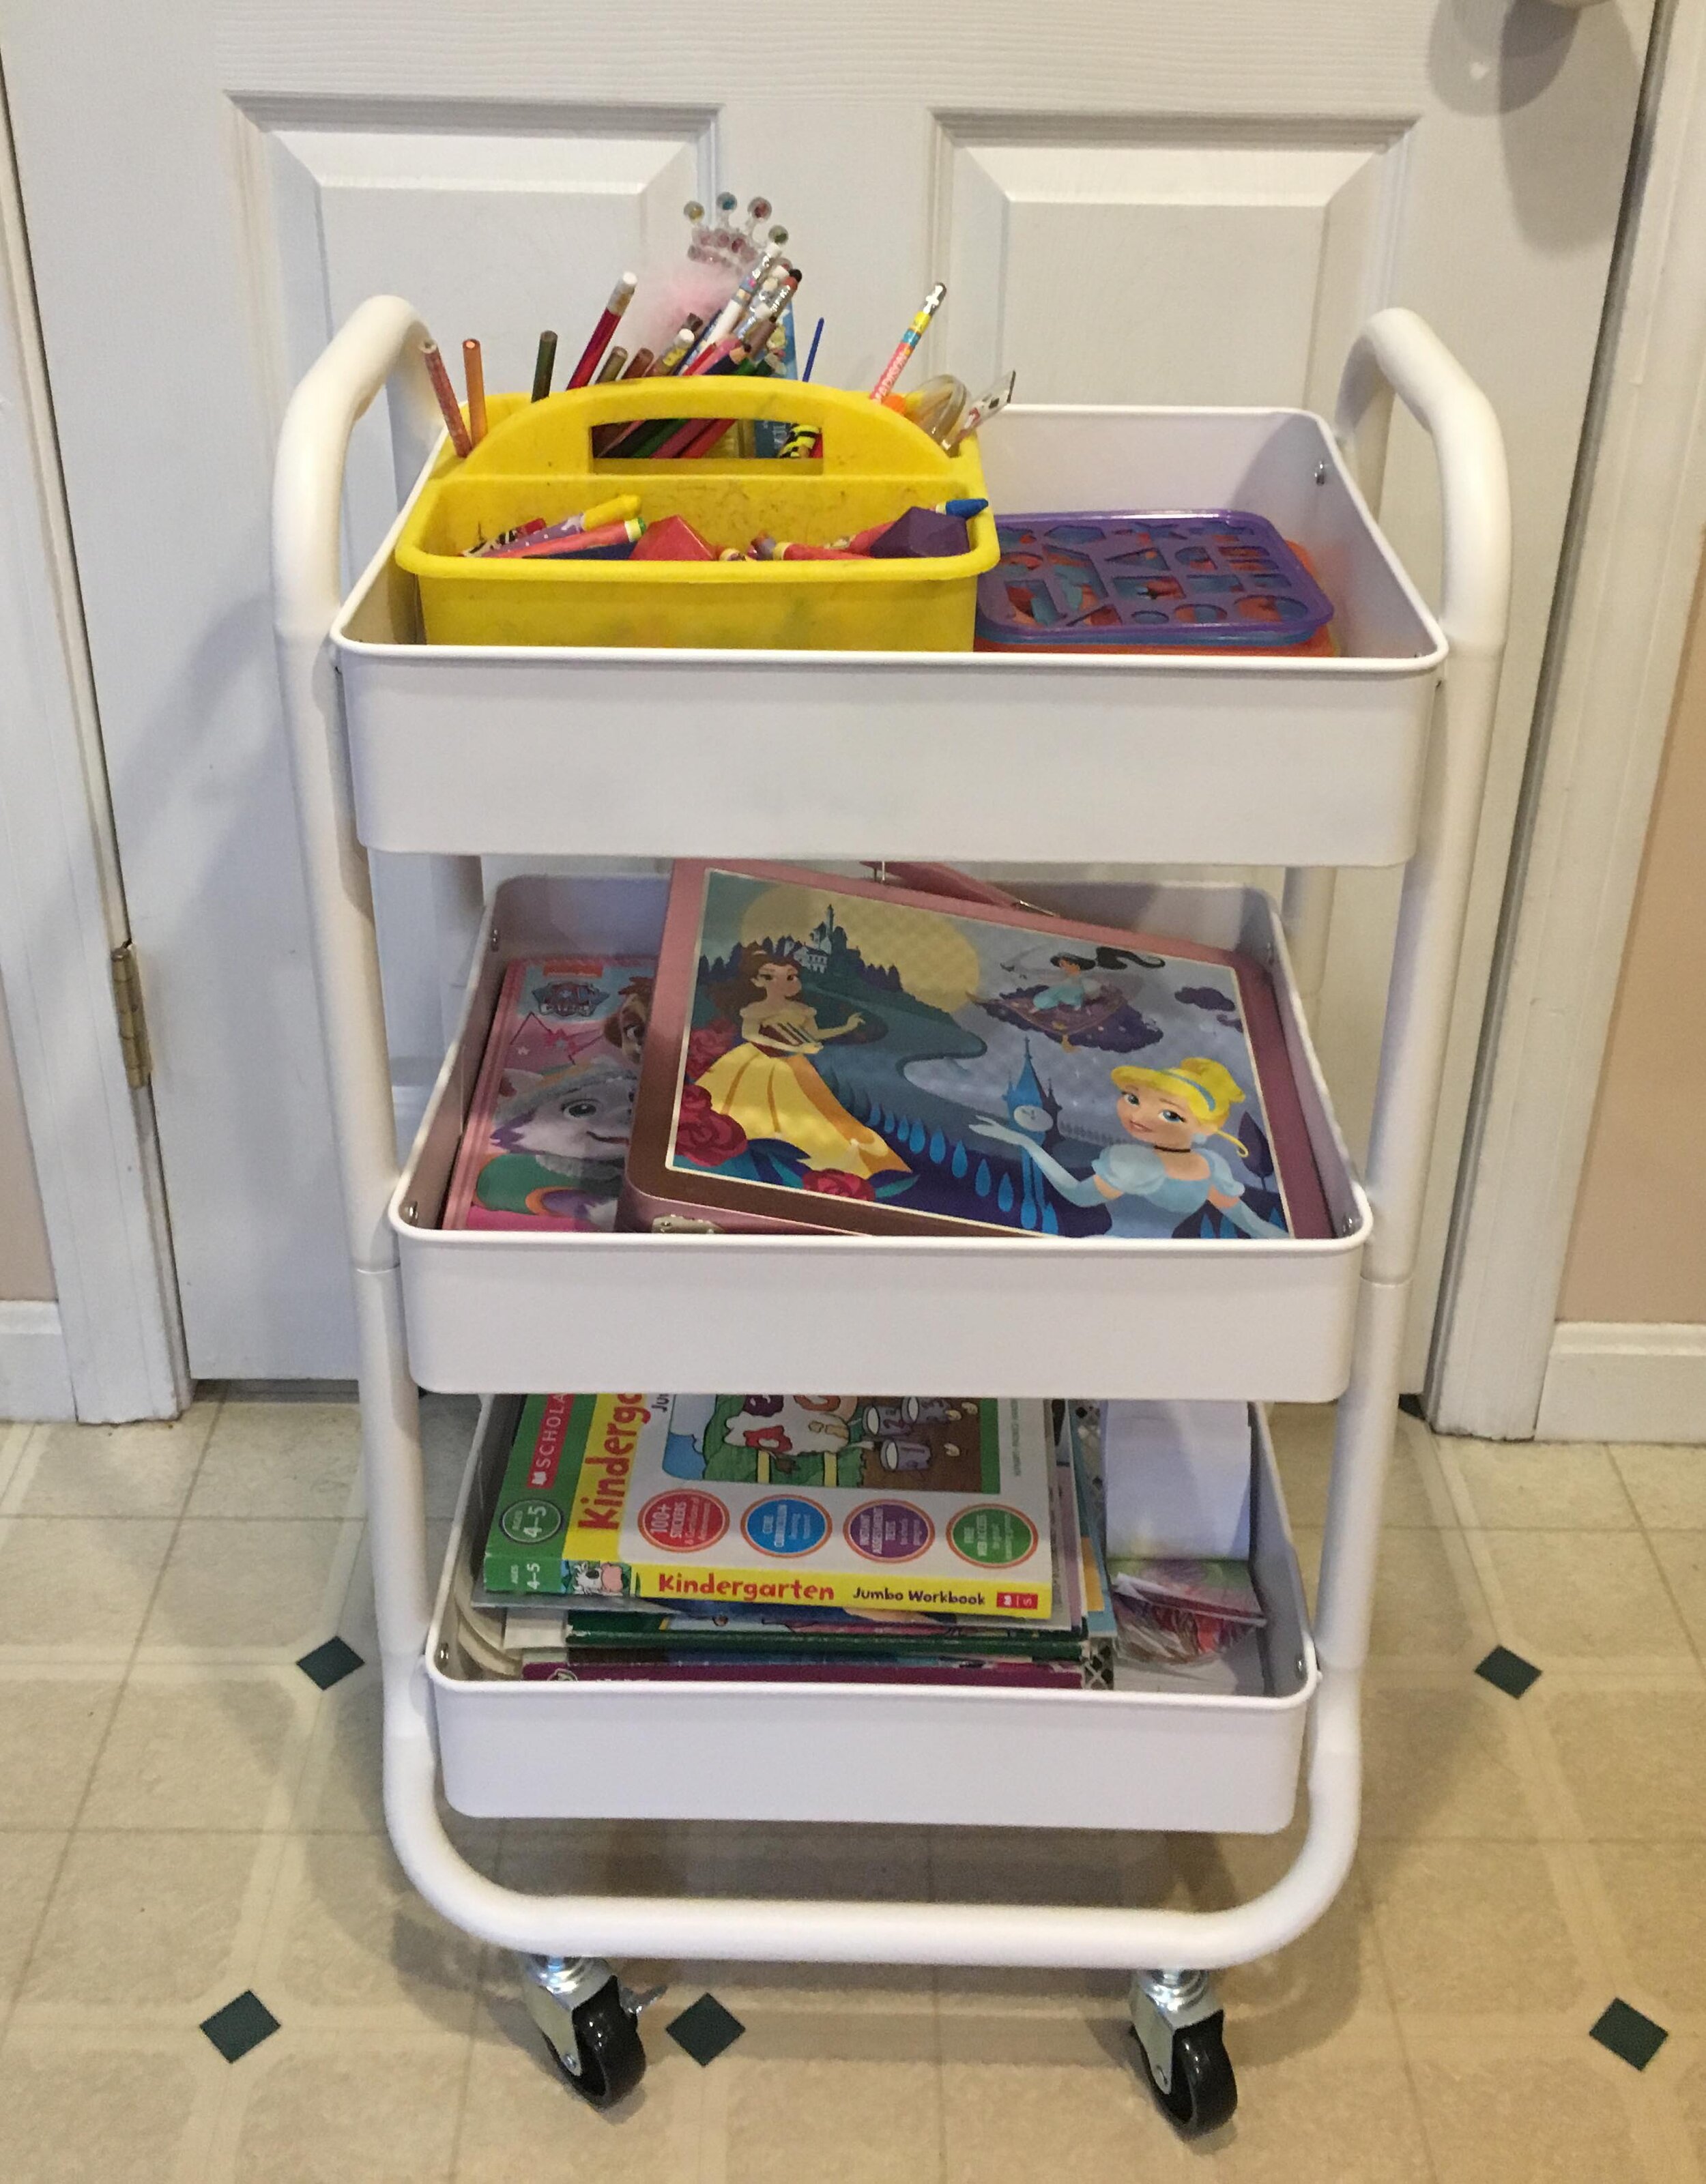
Our kids love arts and crafts, and at this age, they particularly love coloring and coloring books - however, the art supplies were totally taking over the house. In order to contain the chaos, I decided an “Art Cart” would be the perfect storage and organizational solution. | This post contains affiliate links |
I picked up this cart at Target, but I've linked a very similar one here from Amazon. We decided to stash the coloring books on the bottom shelf, then the tins full of stickers and art kits on the second shelf, and finally the top shelf was reserved for our Art Supply Caddy full of crayons, colored pencils, stencils, etc.
Finally to store everything, the Art Cart tucks neatly into our pantry where it’s easily accessible but still out of the way. The kids can go in and help themselves to craft supplies whenever they like, and when we want to do a big project the whole thing can wheel out for even easier access. This storage hack has been a game changer in our home and I hope it does the same for you too :)
We decided to try our hand at making our own toddler art Valentine cards to send to family and friends - it was so easy and a lot of fun! | This post contains affiliate links |
heart-shaped stencil (I just used a cookie cutter from the kitchen)
glue
How-to:
For our little one to make her art, I taped some big sheets of finger painting paper to our kitchen floor and let her go to town! This was also her first painting experience, and it's safe to say that she really enjoyed it... though I think she may have been just as interested in trying to pull the tape off the floor.
Even though I was an art education major, I'd never used special paper for finger painting and I was a bit skeptical at first. The paper touts being "glossy and non-absorbent" and I wasn't sure how the paint would stay on the paper or if it would dry well. Nevertheless, it worked great! The non-absorbency and glossiness is perfect for finger painting - a little paint goes a long way since it isn't absorbed into the paper and the smooth glossy surface makes it easy for little fingers to move the paint around. Drying time was pretty fast too and the paint stayed well on the paper, no flaking or peeling.
Once the paintings were dry, I used a heart-shaped cookie cutter to trace out the hearts and cut them out.
I glued the hearts onto a folded piece of white stationery from C.R. Gibson, then added a little handwritten note inside and they were done. Now to mail them off to family and friends!
A few weeks ago my mom picked up this Longaberger silverware caddy for me from a yard sale for $1. I couldn't find the exact item on their website, but a different style of silverware caddy is listed on there for $65. Gotta love yard sales.
I didn't really see myself using it as a silverware caddy though so I decided to ditch the fabric insert and use it as an art caddy on my little craft desk and I absolutely love it. It's great for corralling brushes, markers, pens, and scissors - not to mention it looks really nice against the yellow walls. I have to say, I'm pretty happy with this re-purpose!