I'm a wife, stay-at-home mom, crafter, and blogger living in rural New England. As seen in Martha Stewart Living, Food Network Magazine, and more! | Tutorials, DIY, crafts, parenting tips, recipes, money saving tips, product reviews, local product features, New England living, intentional living, and more! |
It seems kind of weird and petty to write about fun DIY projects during a Pandemic, but maybe fun projects to work on at home is just what we need right now :) I did this project about two months ago when I was looking for a nice way to display our oldest’s growing collection of award ribbons and medals but couldn’t find a display setup that I liked or was remotely affordable. The whole project was super easy and done start-to-finish within two days. Here’s hoping for things to go back to normal someday soon so she can continue to add to her award collection. | This post contains affiliate links |
Materials:
lumber (I used a 1x8" board for the shelf top and 1x6" board for the back)
two decorative shelf brackets (or two pieces of wood cut at 45 degree angle)
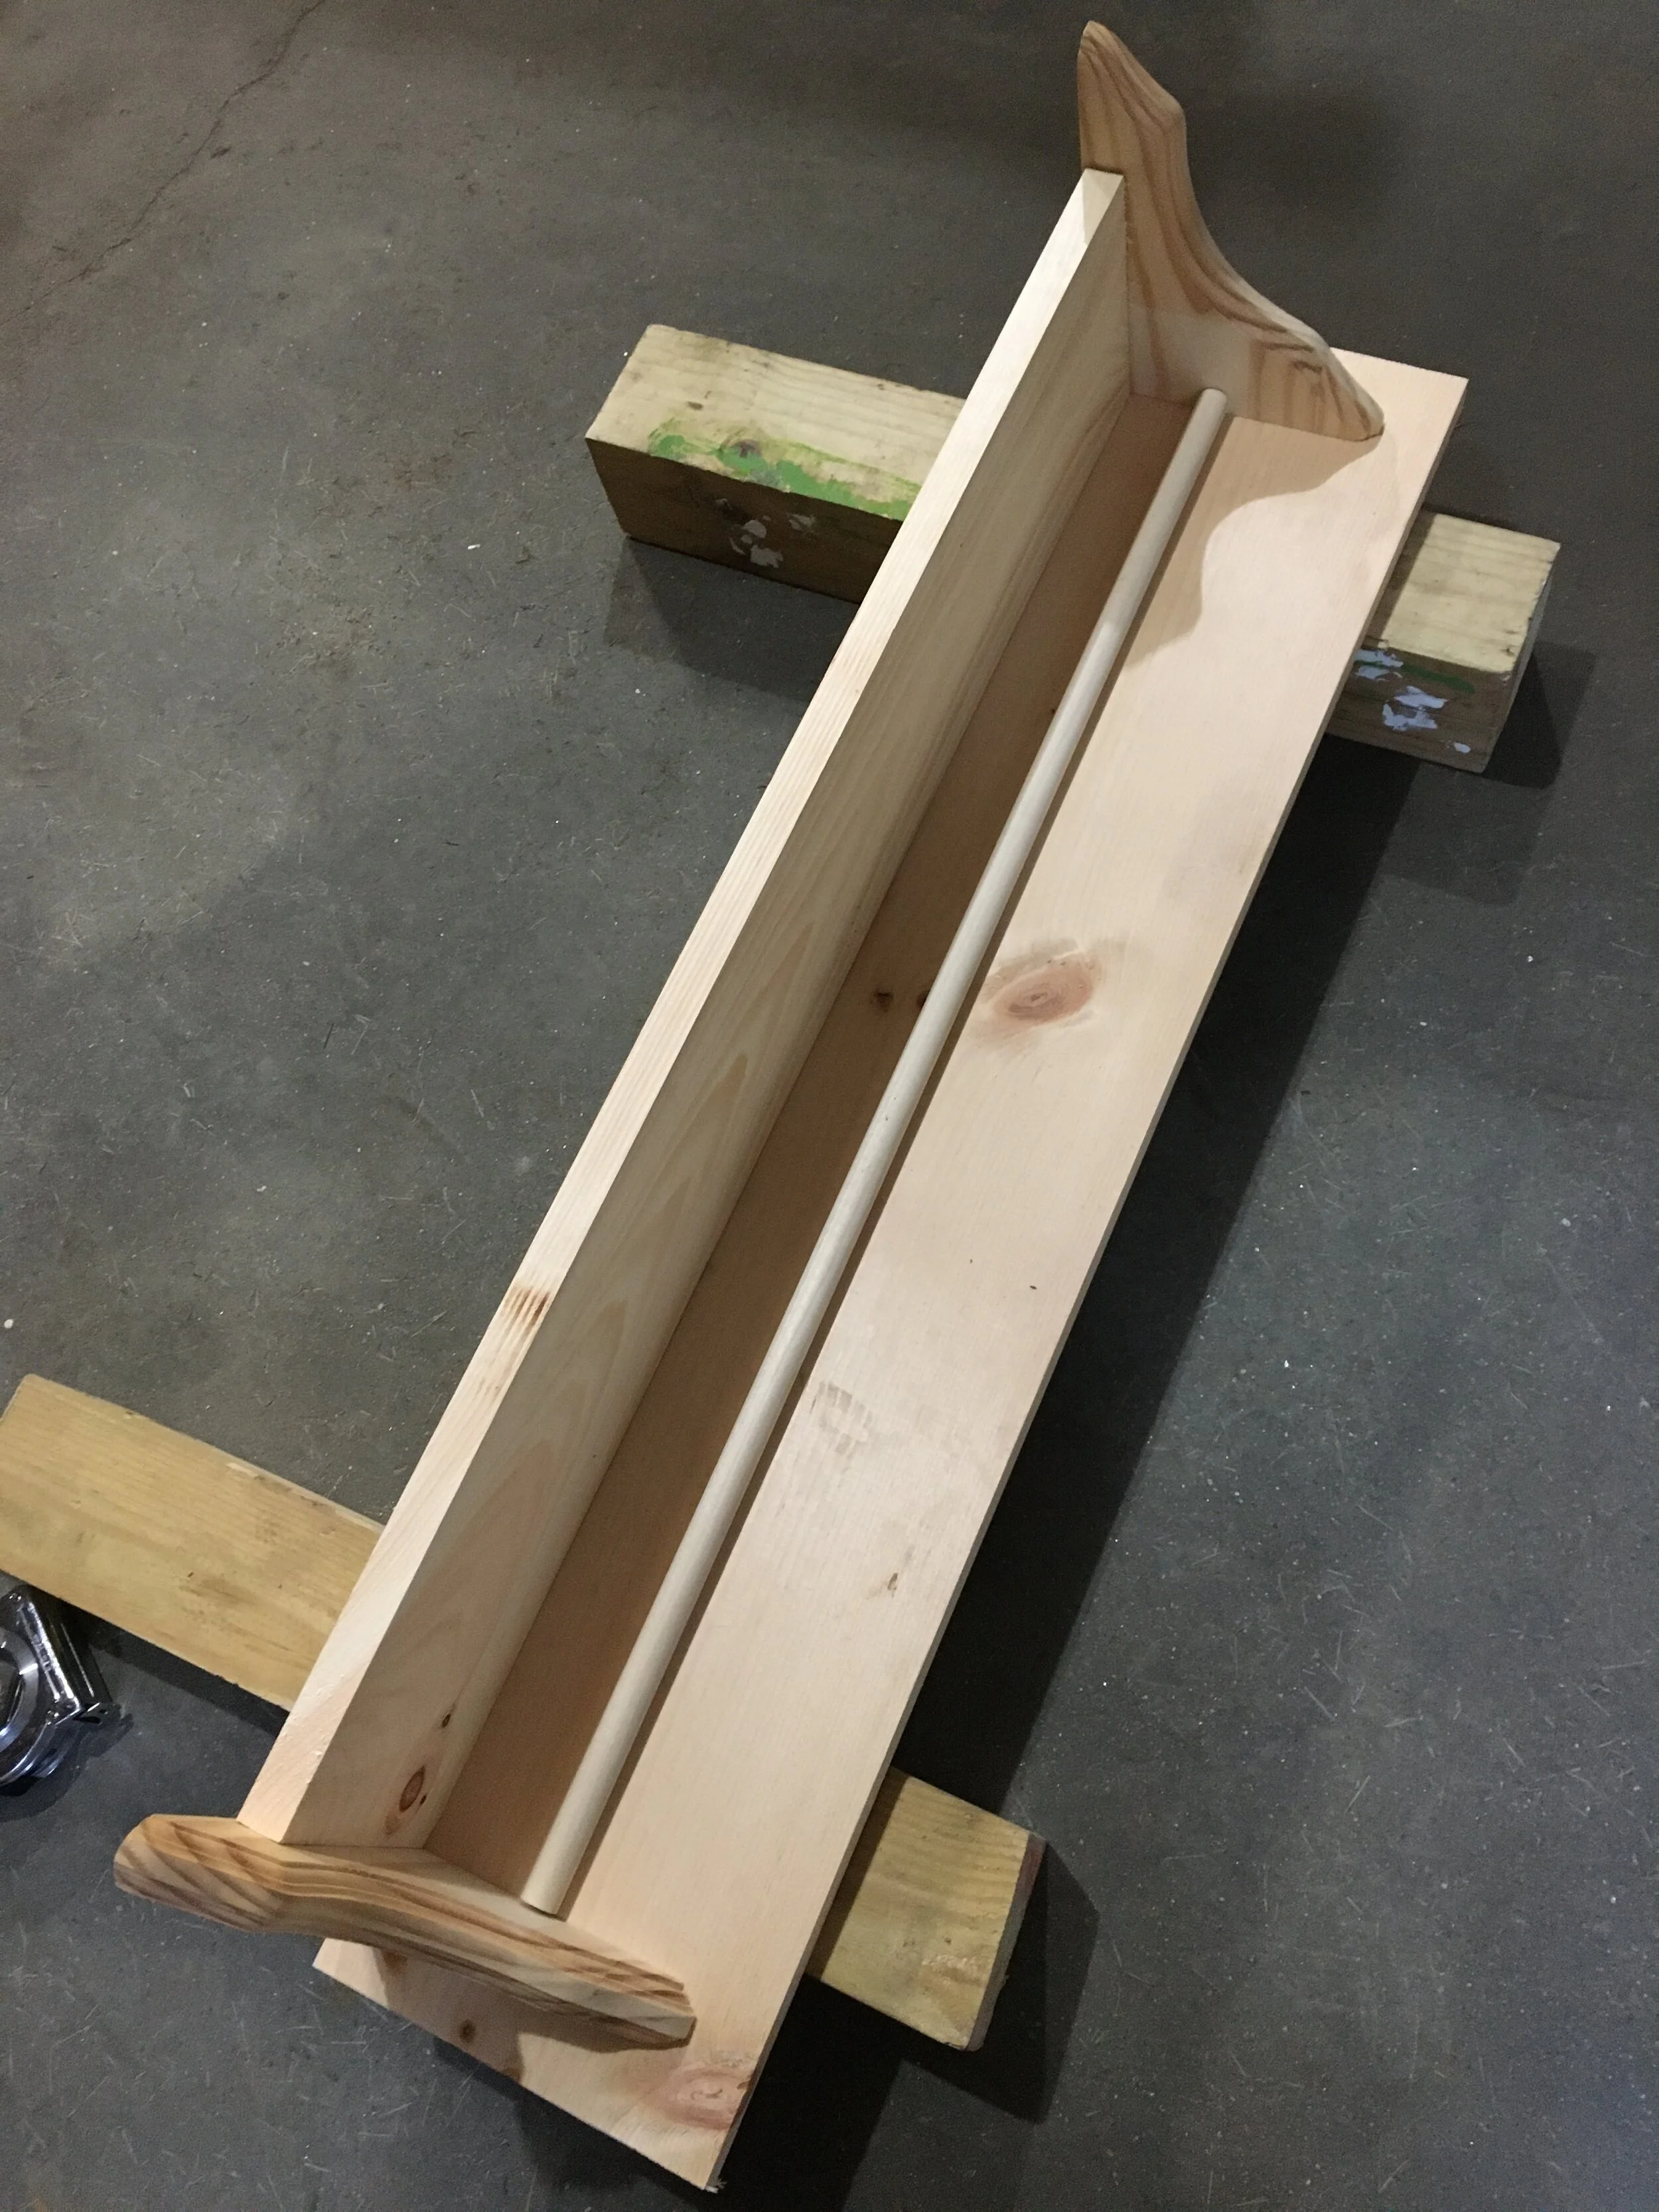
First decide how long you want the overall shelf to be (in our case I decided on making it 3ft wide). Then cut your shelf top to that length.
(Nothing is screwed in yet here… just laying everything out to make sure it will fit like I want it to.)
Next decide how wide you want the shelf back to be - remember that the self back plus the brackets should fall within your overall shelf top length. Ultimately how long you cut the shelf back is your preference though. But visually I think that the shelf back and the brackets look best if they fall within about 2 inches of the shelf top on each side.
(Side note: If you have a router you can cut a dovetail channel along the back of the shelf back now to make for easier hanging… I do not have one of those handy so I skipped this step and will hang our shelf another way.)
Once you have everything laid out, cut your dowel to about 1/8” less than your shelf back length so it will fit comfortably within that space.
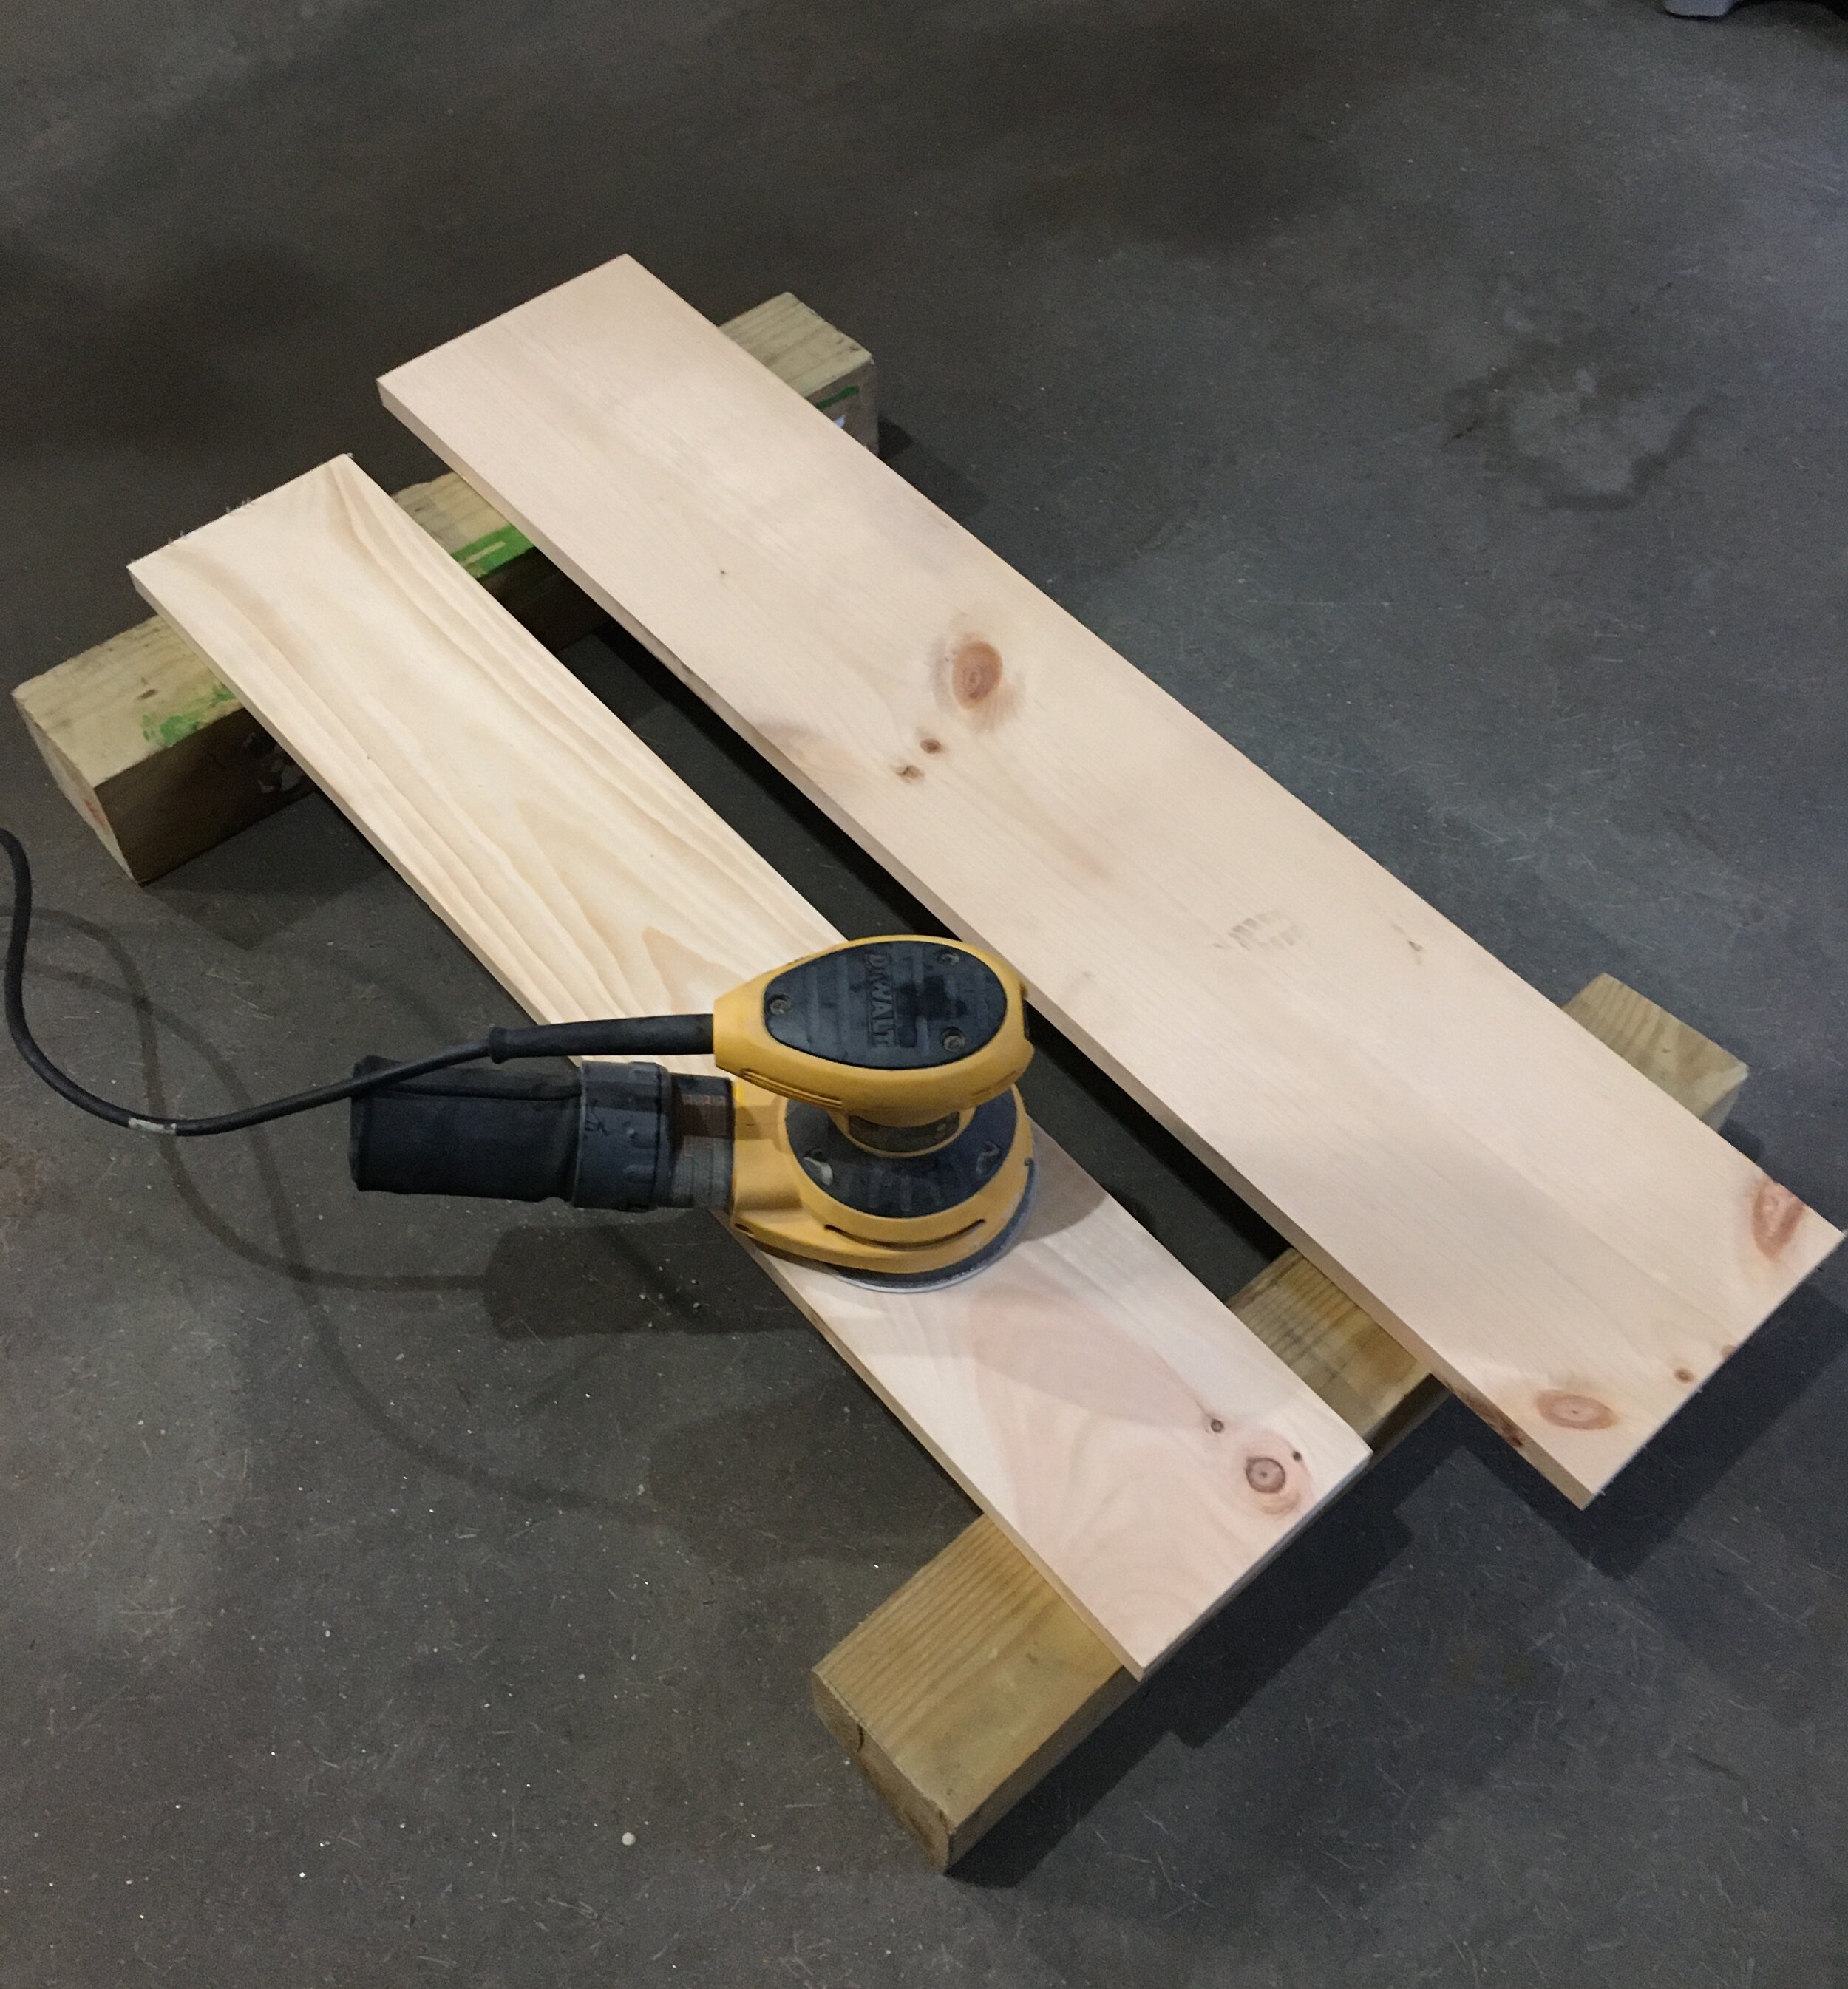
After everything is cut, I recommend sanding everything first before you assemble. I love using our orbital sander - it makes for quick work and does a nice job.
Next start assembling. Screw the shelf supports to the backing first, making sure everything is lined up and flush.
Next carefully center the shelf top, making sure it’s flush with the back and screw in.
Now for the fun part - paint! I did one coat of primer and then three coats of semi-gloss white paint, though you could choose any color you wish. I like semi-gloss paint since it has a slight sheen to it and is easier to dust and keep clean.
For hanging - first I measured this wall side-to-side to figure out where the shelf should fall within that space to be centered. Then I marked the studs with a stud finder.
To be honest I usually use two different kinds of stud finders when I have to hang something - I use a magnetic stud finder first to identify exactly where the stud is and then a digital one to find the edges of the stud. I’ve found that sometimes the digital ones can be finicky so it’s nice to know where the studs are first rather than get a false stud reading when it could be something else (a pipe, a thick area of plaster on the wall, etc).
Then using a level to make sure the shelf was level, I screwed directly into the wall studs through the shelf back making sure to place the screws where they would be hidden by the dowel once I installed it.
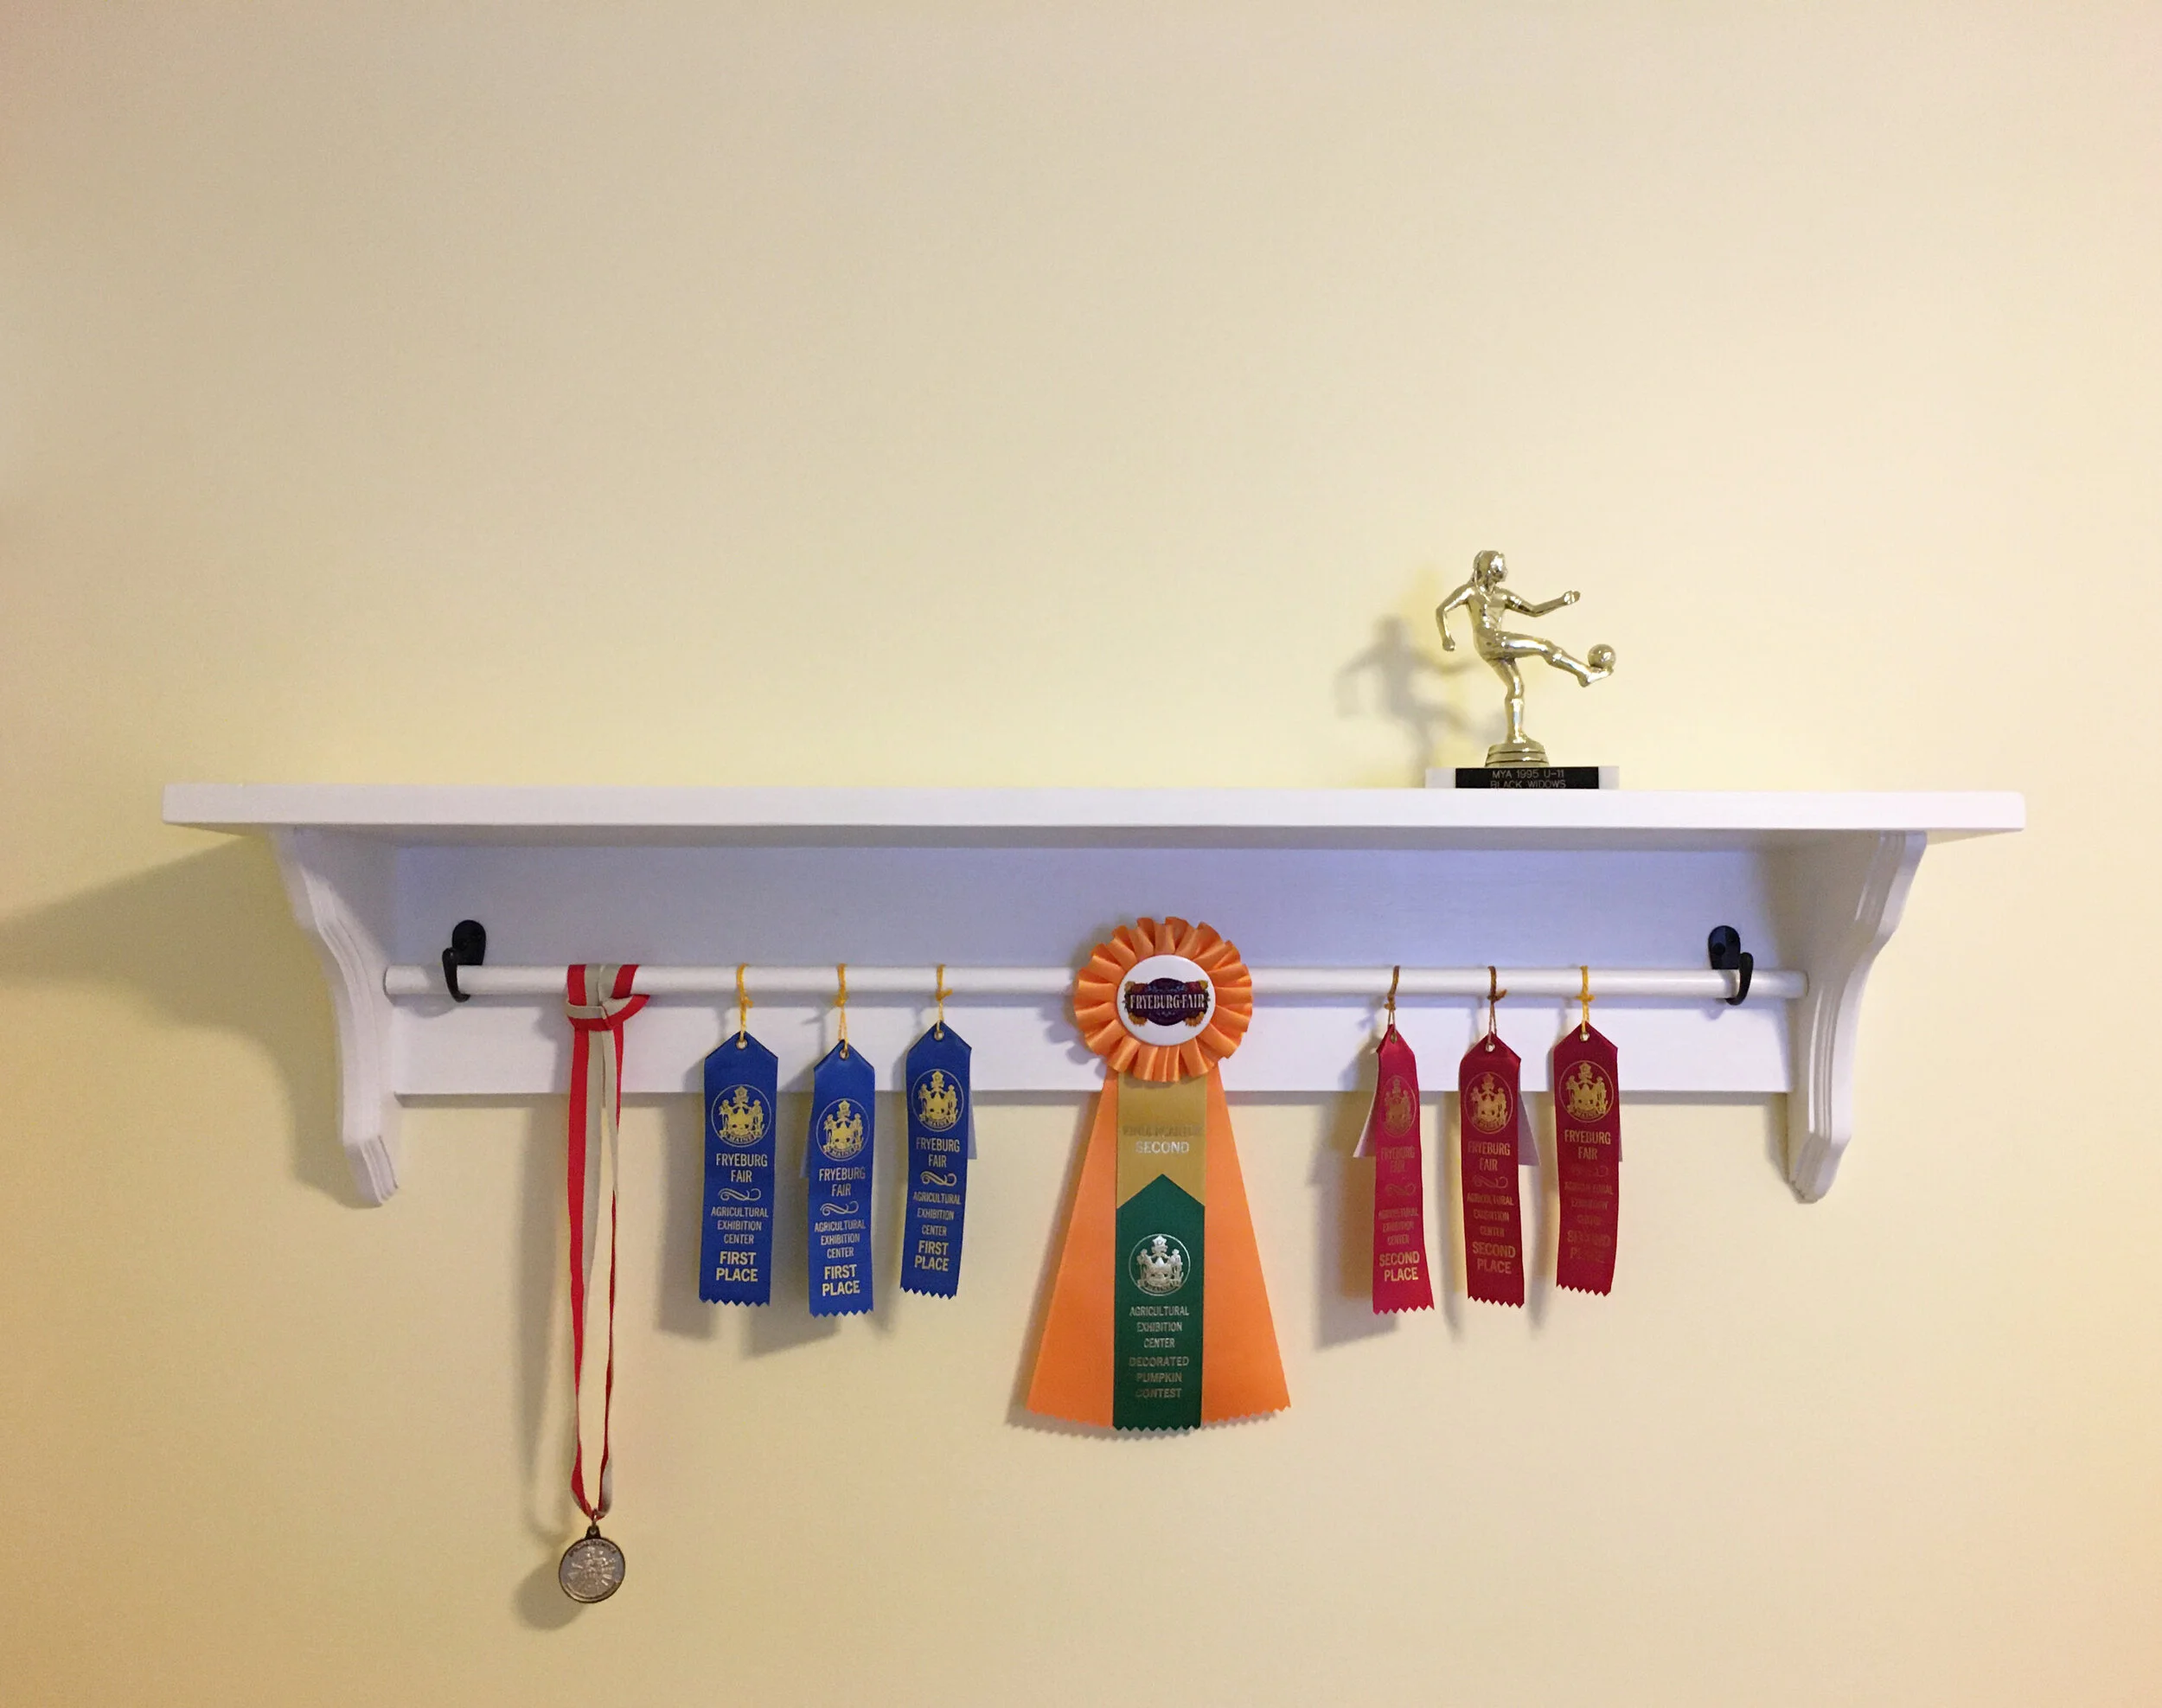
Next I hung the dowel by centering it and adding a simple hook to support it on each side, as shown above (this also hides the screws I used to hang it). And now the project is finished and ready to display ribbons, medals, and trophies!
To hang the ribbons and medals you can easily lift the dowel up and string them on, or loop them around the dowel like I did here.
I hope you liked the project and we look forward to when this Pandemic is over and there will be sport and fair ribbon awards again - stay well!
UPDATE:
Years later our kids are still using the DIY Ribbon and Trophy Displays but they’re getting a little full. In order to spread things out a bit I bought these simple medal holders (similar one linked), so they could hang their medals on these and keep the DIY Display just for their ribbons/trophies. It’s working great!
Our kitchen was lacking a pantry, so we often kept canned goods and backstock on a shelving unit at the foot of our stairs in the basement. But because half of our food and snacks were downstairs and half were upstairs it made for frequent mistakes when buying groceries… it was hard to visualize exactly what we had and where so we often ended up overbuying certain things and forgetting to buy others. Tired of wasting money, food, and time running up and down the stairs I decided to make over a coat closet into a functional pantry. | This post contains affiliate links |
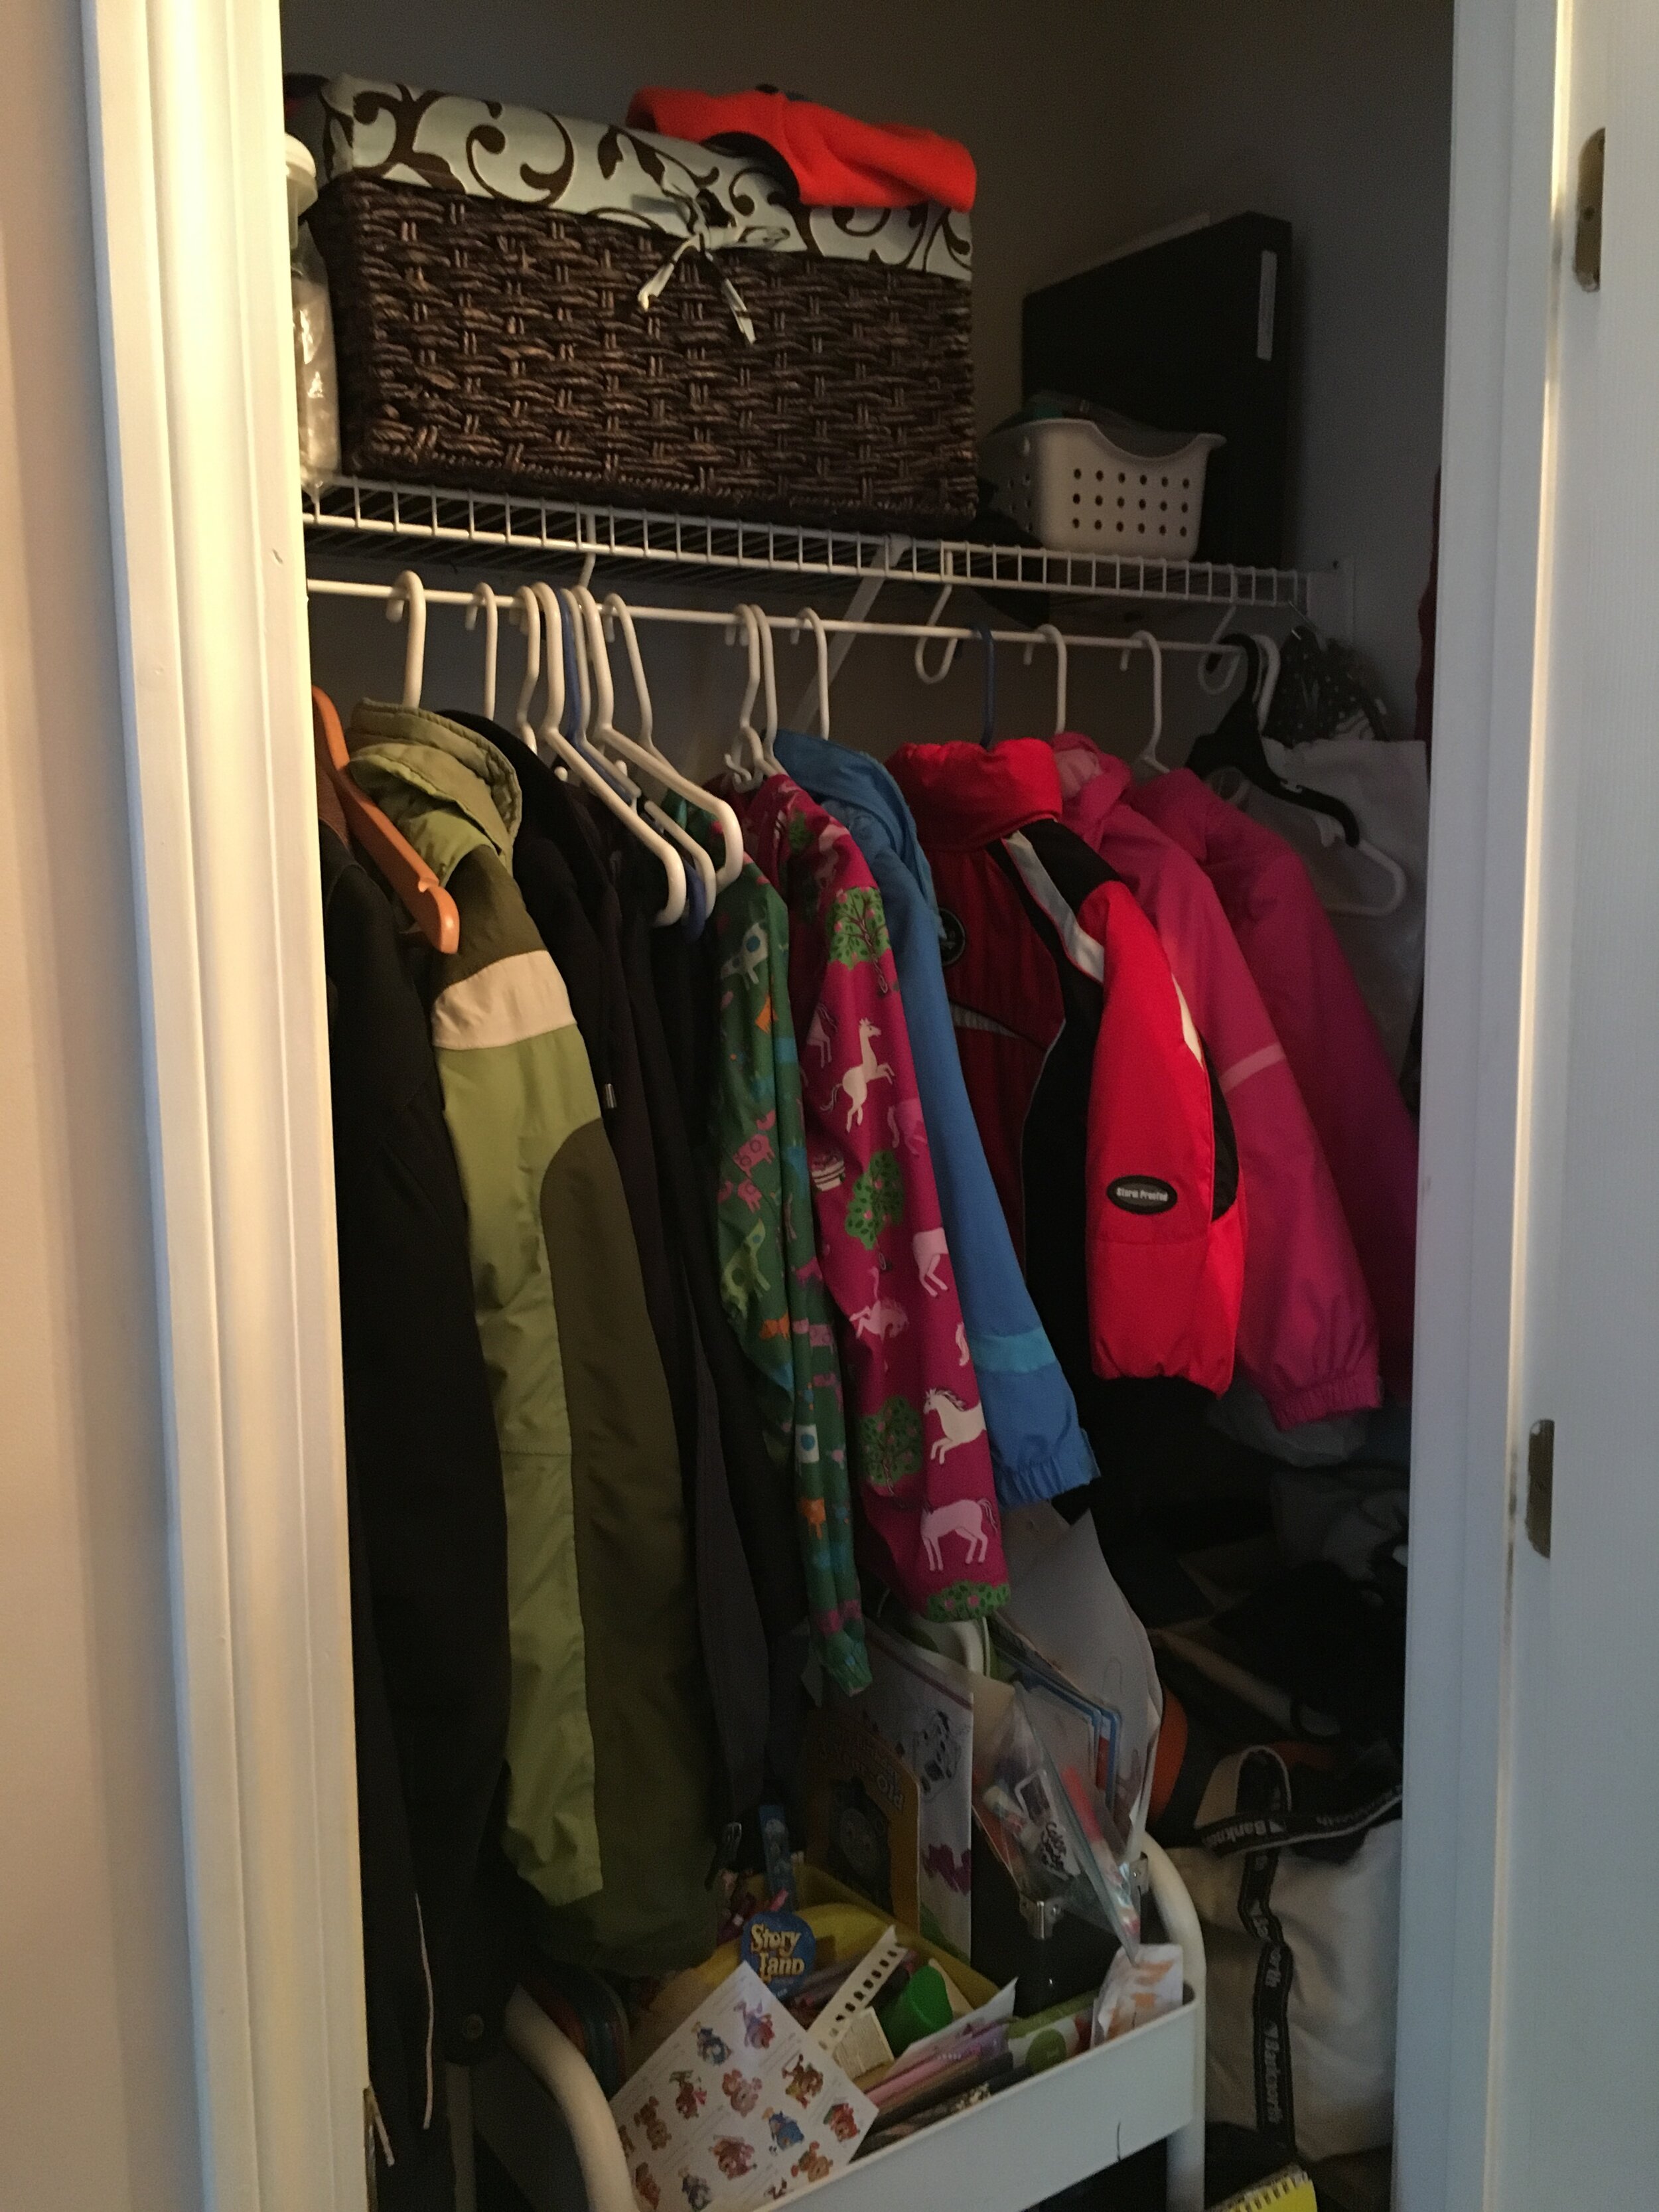
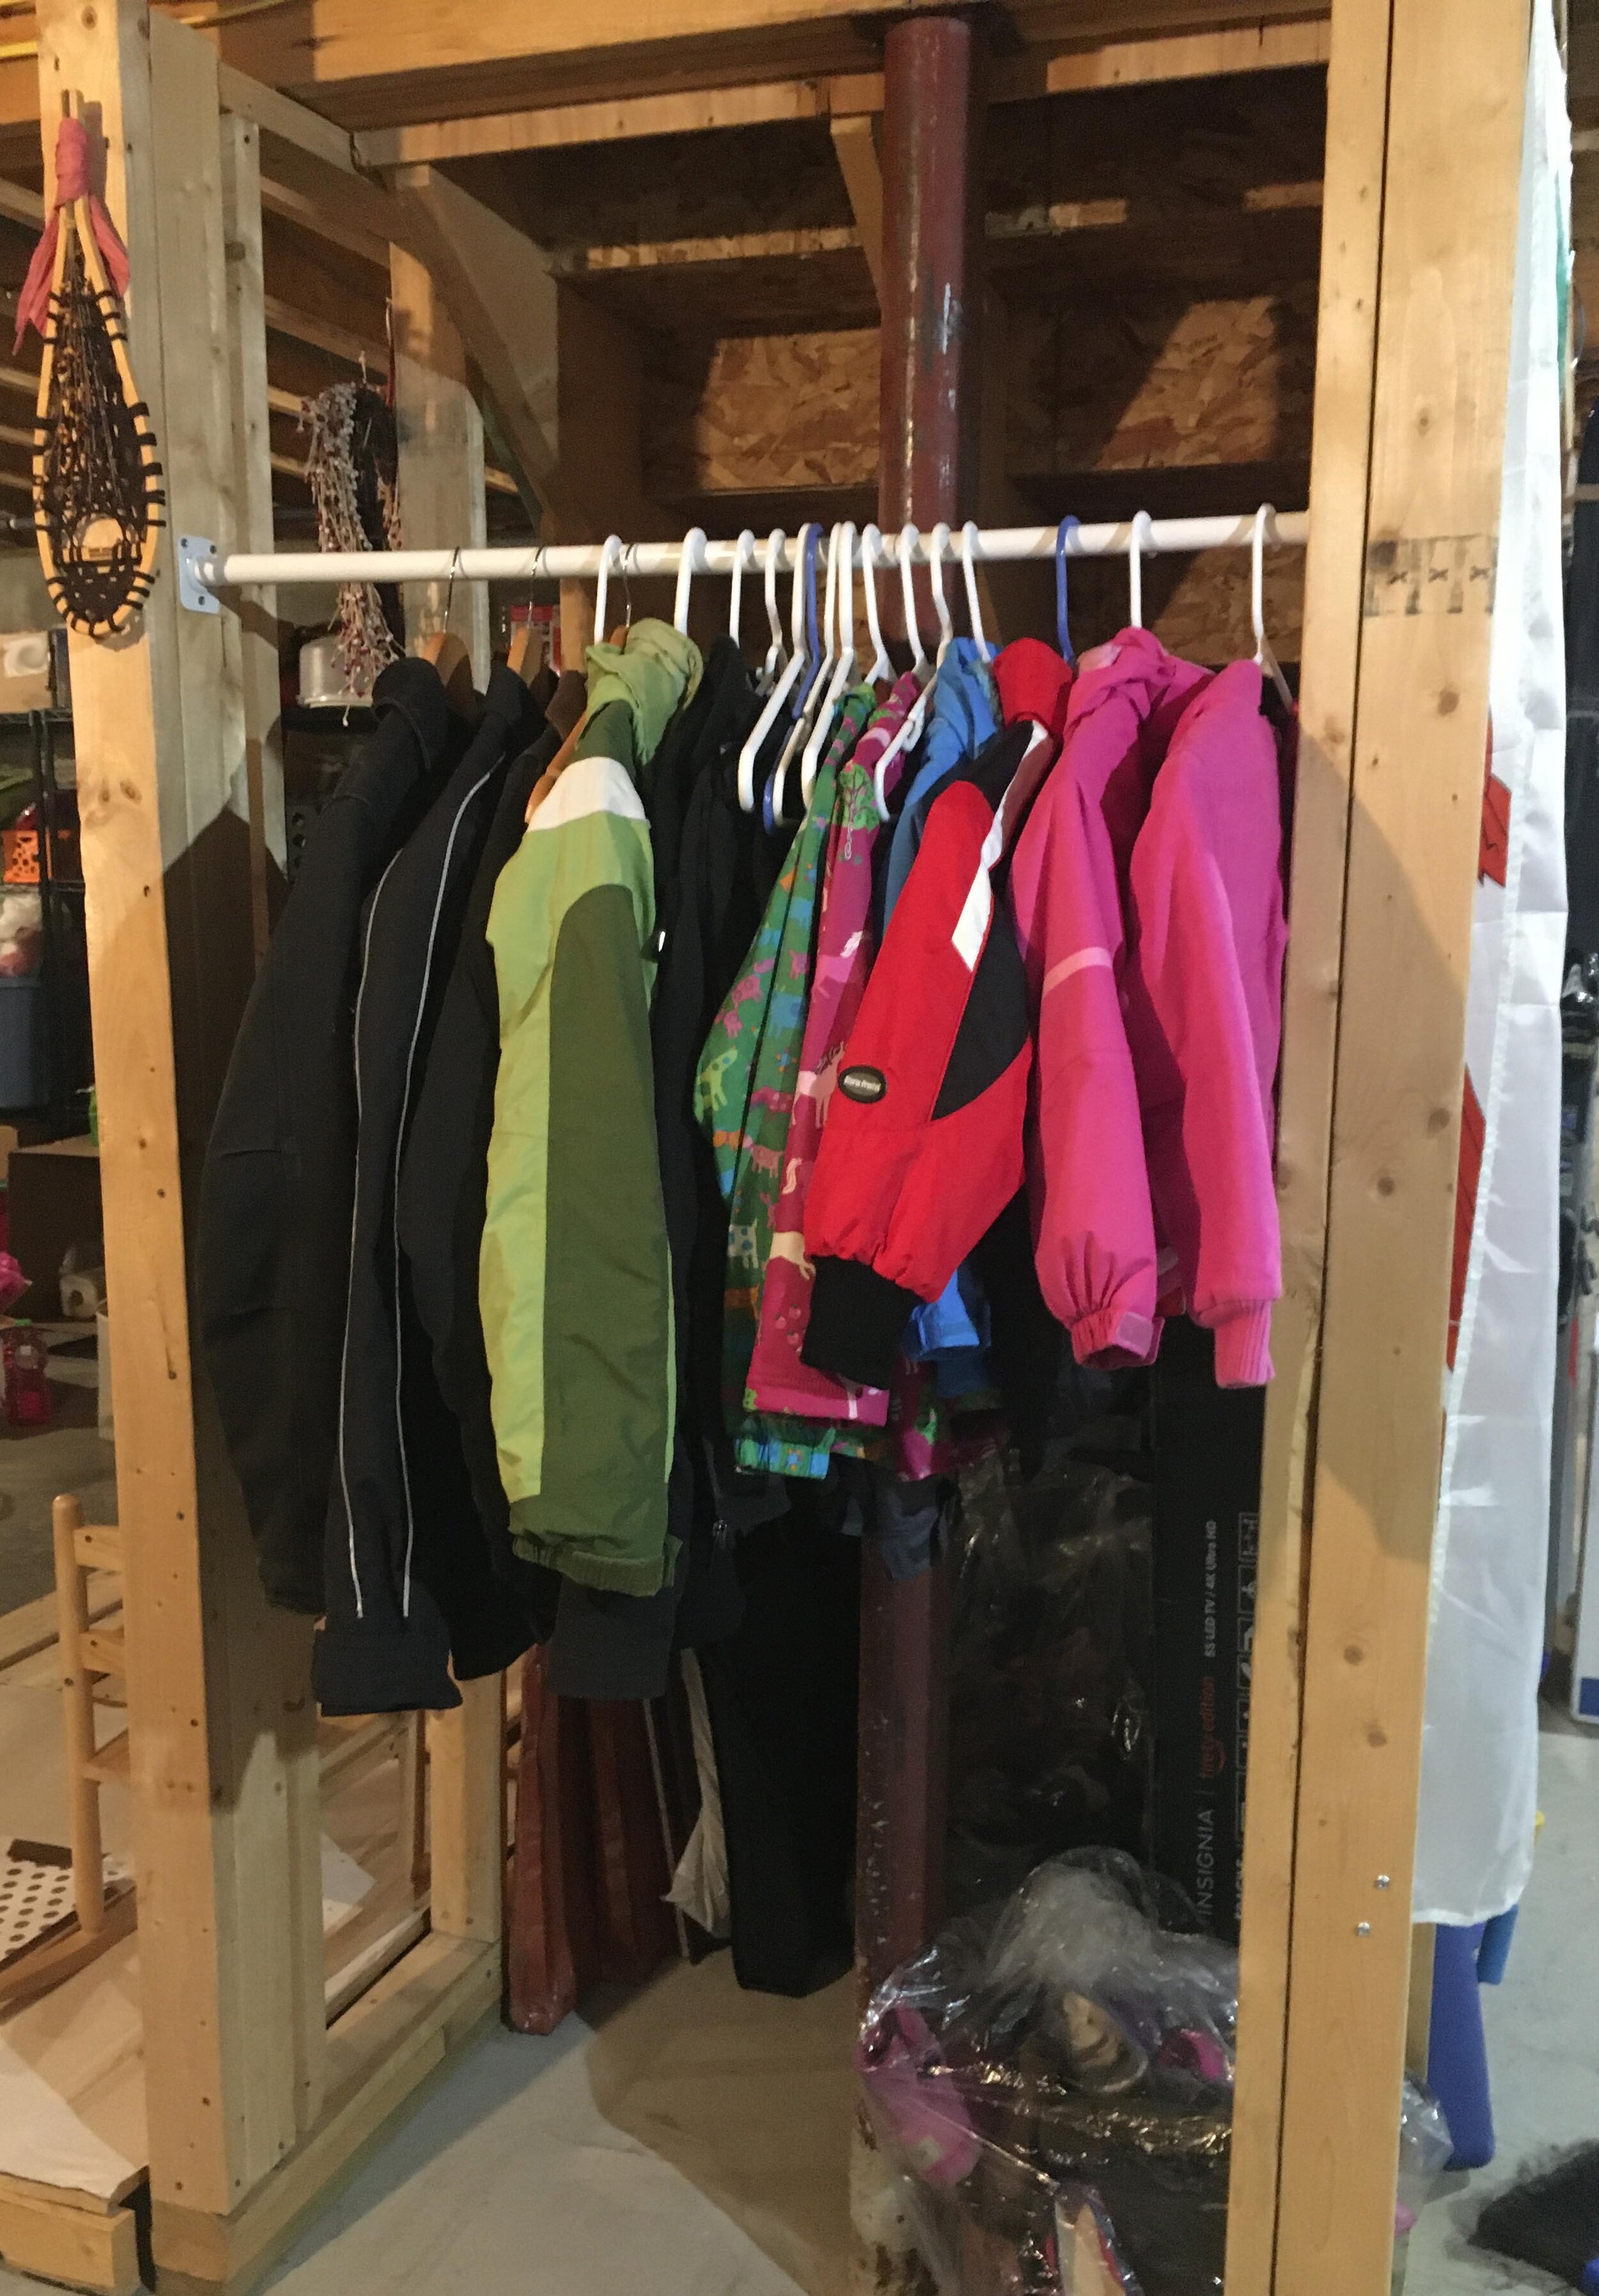
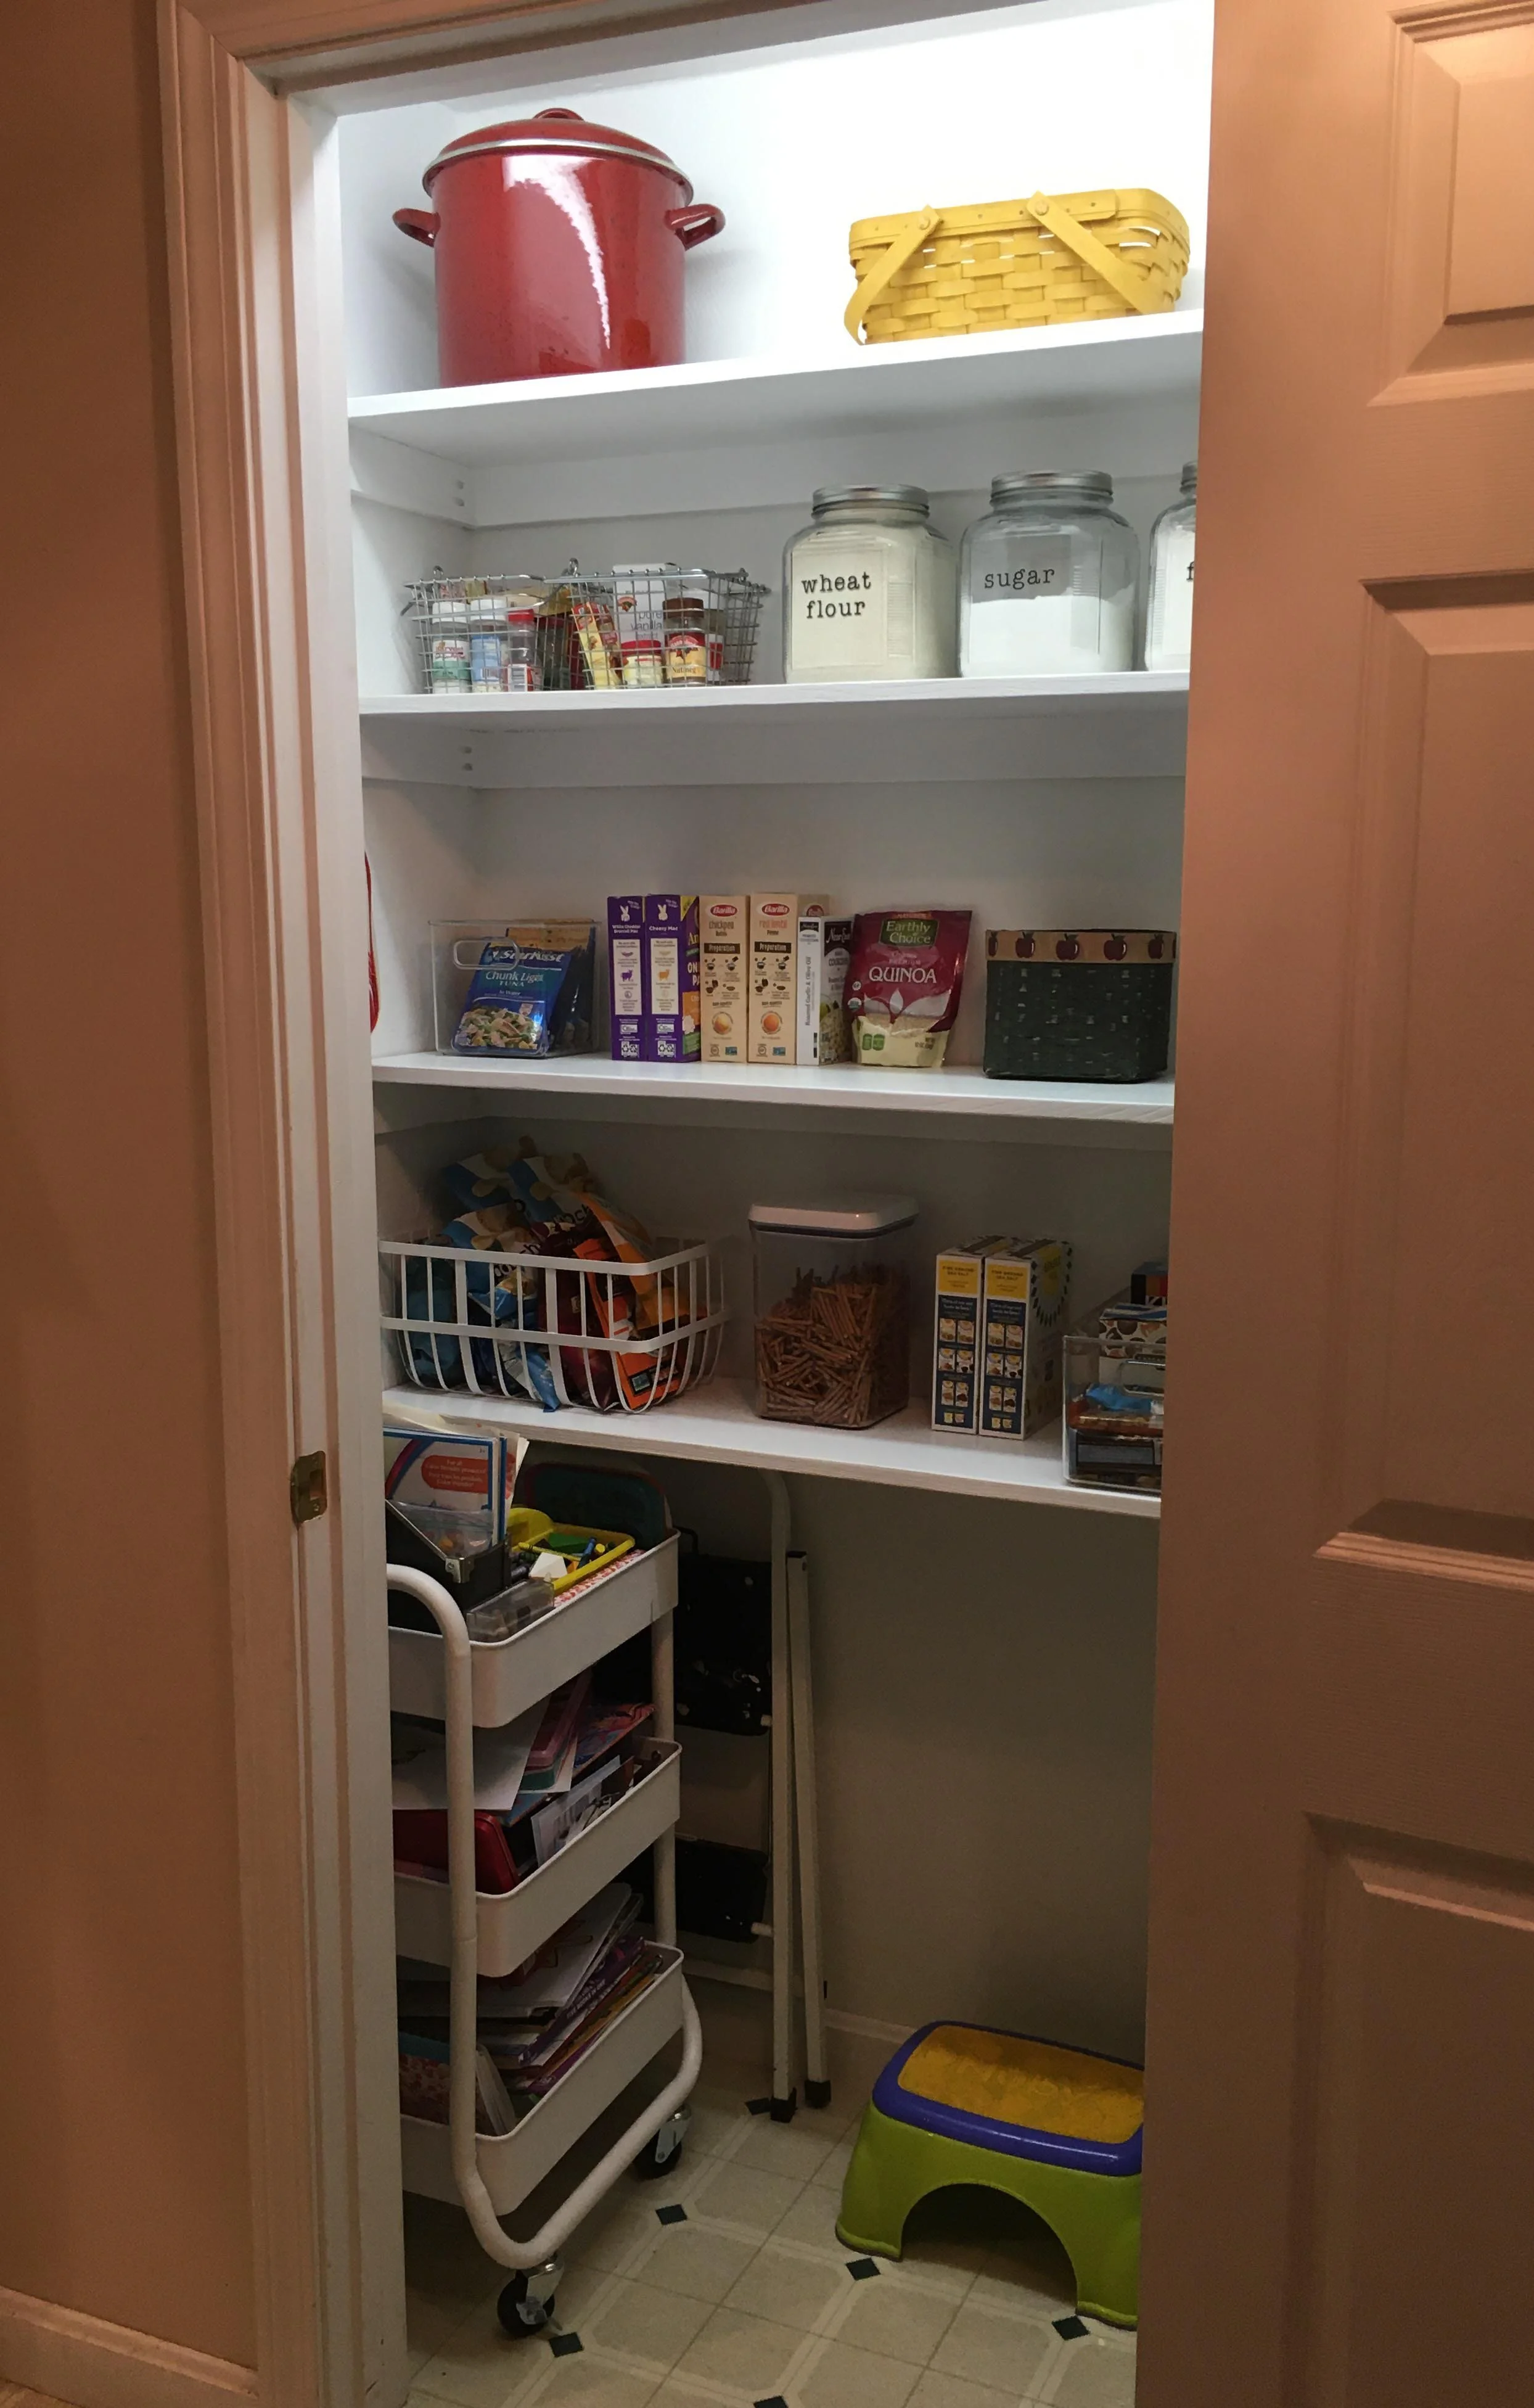
Now while this coat closet (pictured below) was pretty jammed full, it was very underutilized. It’s where we kept our off-season coats, hats, and boots as well as some hiking gear and my daughters’ Art Cart - most things we did not need to use daily, or often at all. My solution to this was to relocate all these items to our basement - I hung a closet rod under the basement stairs and moved all our off-season clothing and gear to this new space where it was still easily accessible but out of the way.
The next step was to pull out the old wire shelf and closet rod system, patch the holes, and repaint the inside of the closet. Thankfully I already had spackle and some leftover white paint so I was able to get the closet to a clean slate easily and it didn’t cost a dime.
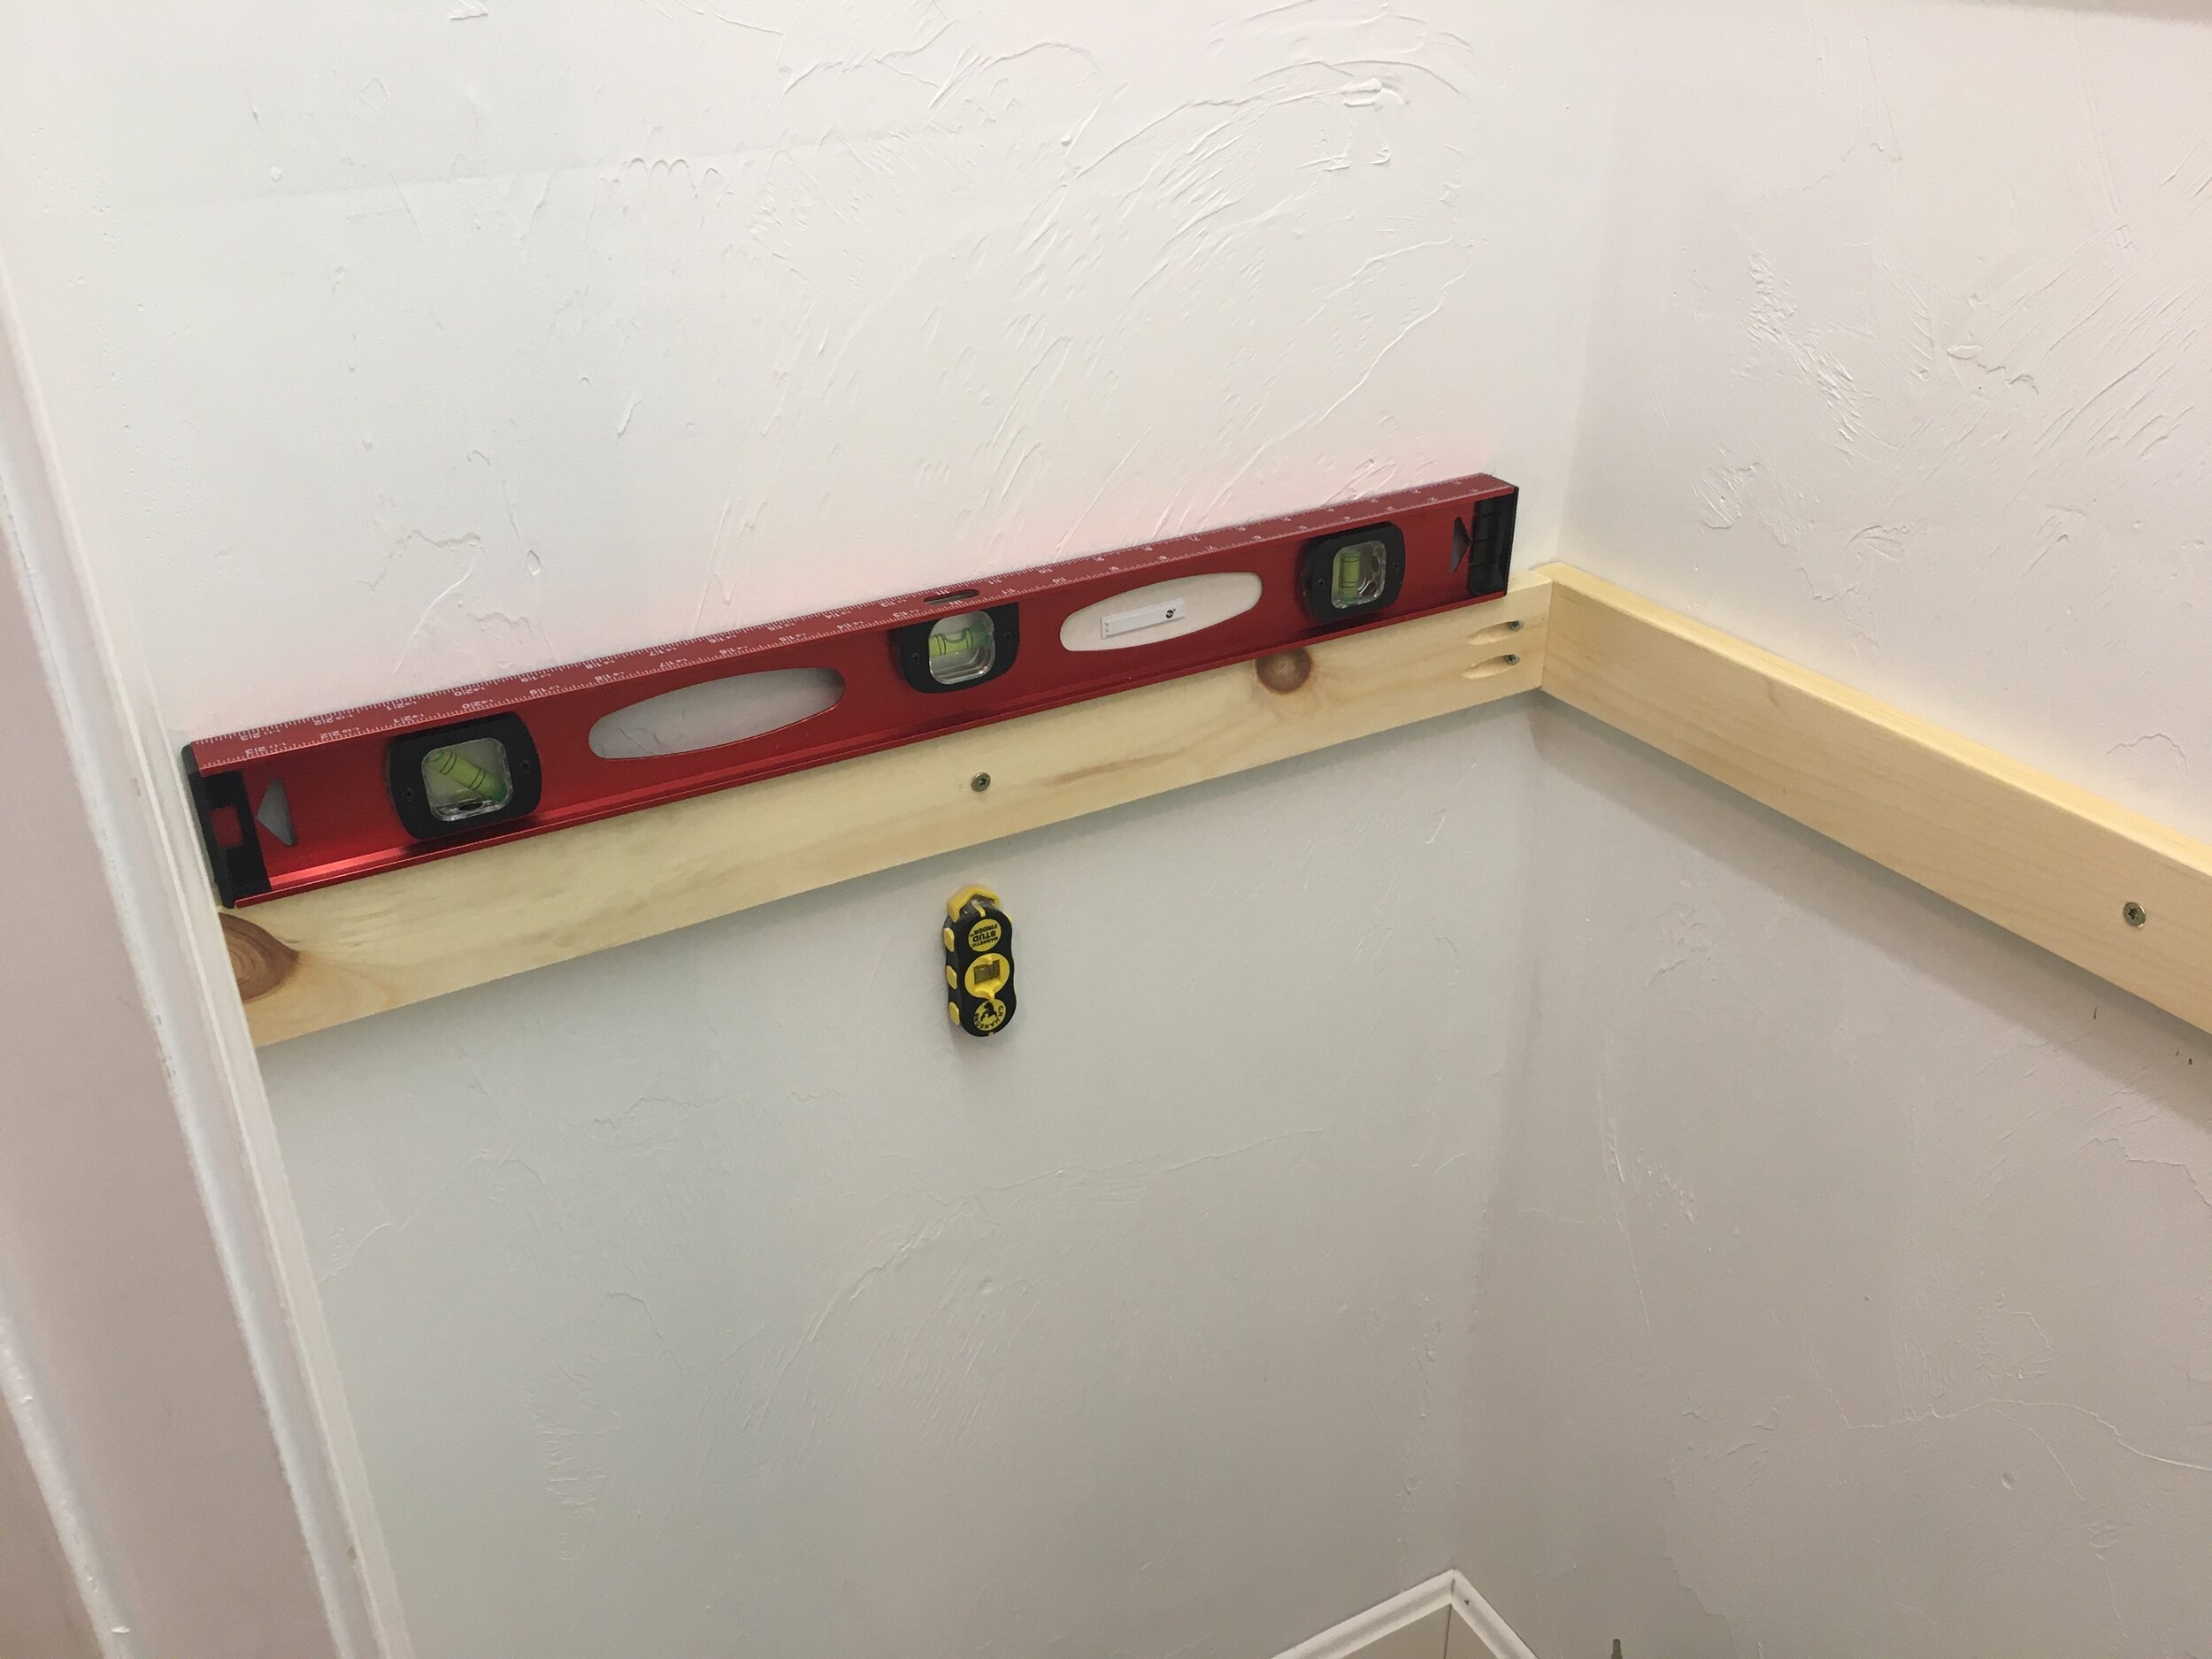
Now for the fun part! I got to decide how many shelves I wanted and the spacing, so I laid it out with painters tape to play with how I wanted it before I made a final decision. For our setup I decided on four shelves starting at about waist-height. I wanted to leave the bottom open to accommodate the dog food bin, the Art Cart, step stool, etc. Then I screwed in 1x3 inch “runners” that would support the shelves along the back wall. I used a stud finder to make sure I was screwing the runners into studs and a level to make sure everything was square.
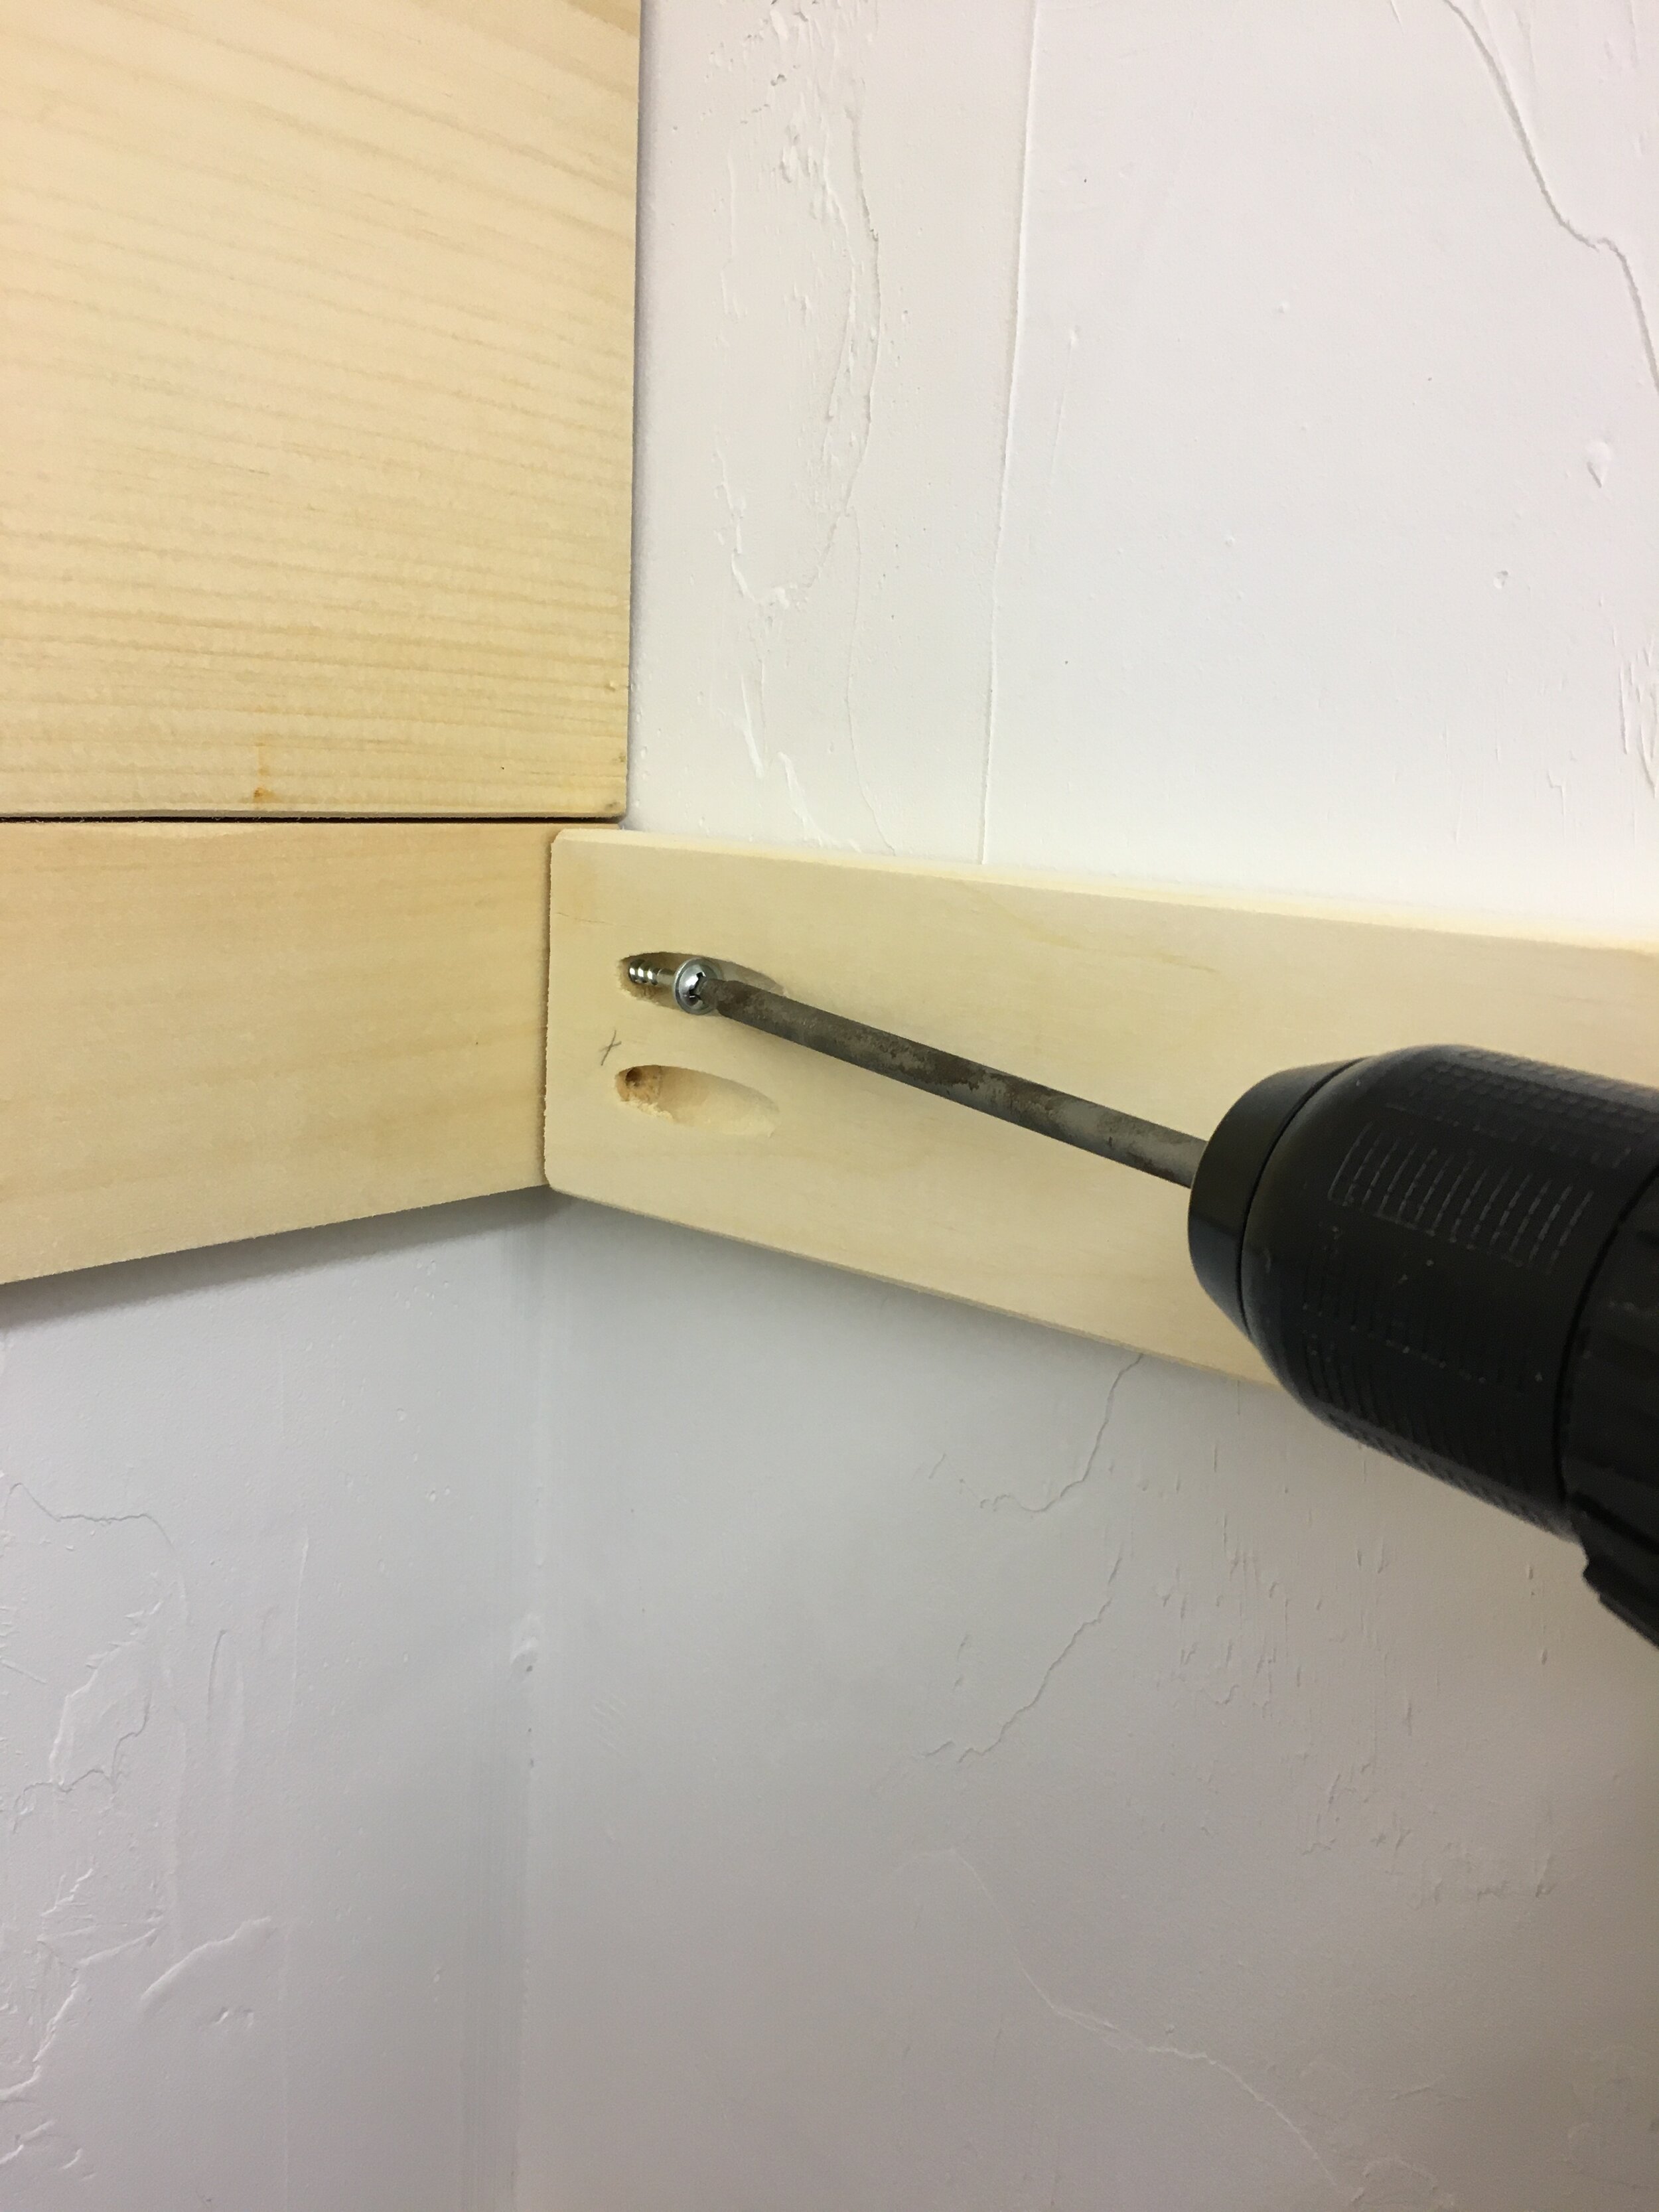
Then I added runners to one side of the closet next, following the same routine - but with these pieces I had pre-drilled pocket holes with our Kreg Jig first so it would make for a clean and secure joint in the corners.
Before installing the runners on the opposite side of the closet, it’s wise to keep in mind how you will be able to maneuver the shelf boards in once all the runners are in place (it would be very difficult to get the top shelf in with all the runners installed, for example). So before installing the opposite side’s runners I slipped some of the trickier shelf boards into place first (I used 1x12”s cut to length for the shelves) before I finished screwing in all the side runners.
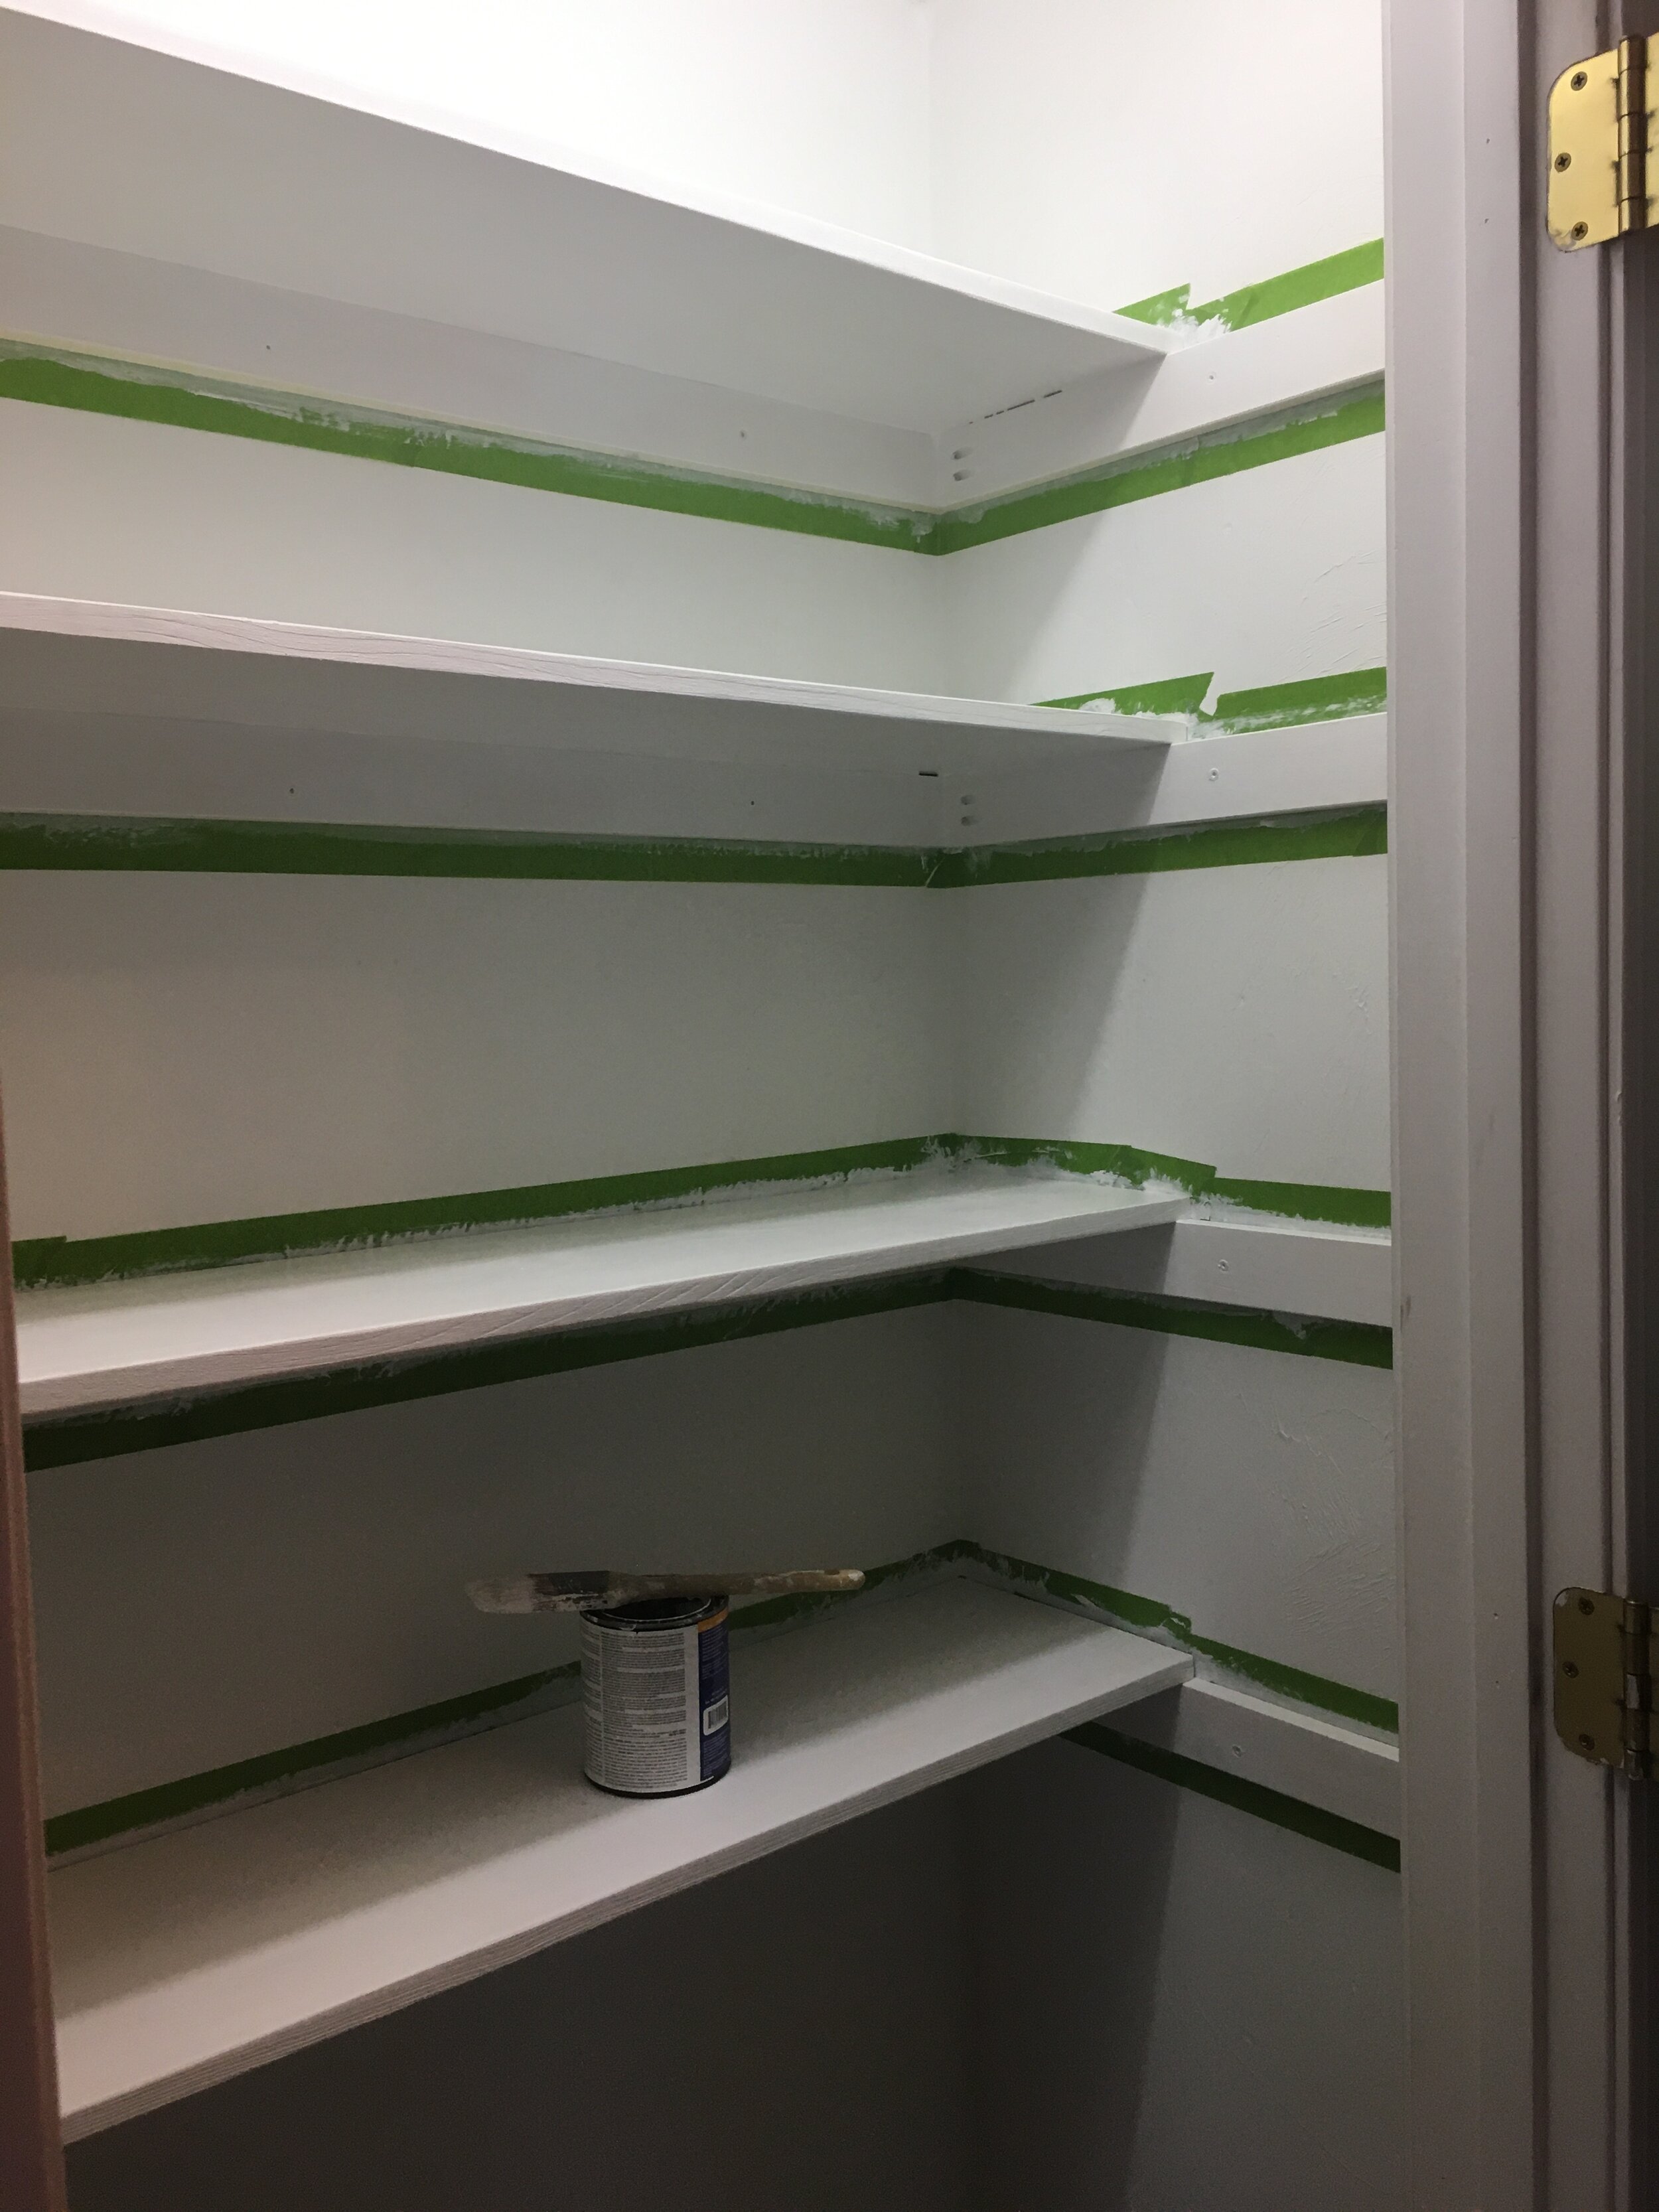
I secured the shelves into place with some finishing nails, then taped off the shelves and runners to get ready for paint. I used primer and then several coats of white semi-gloss paint since it’s a little easier to wipe down and keep clean.
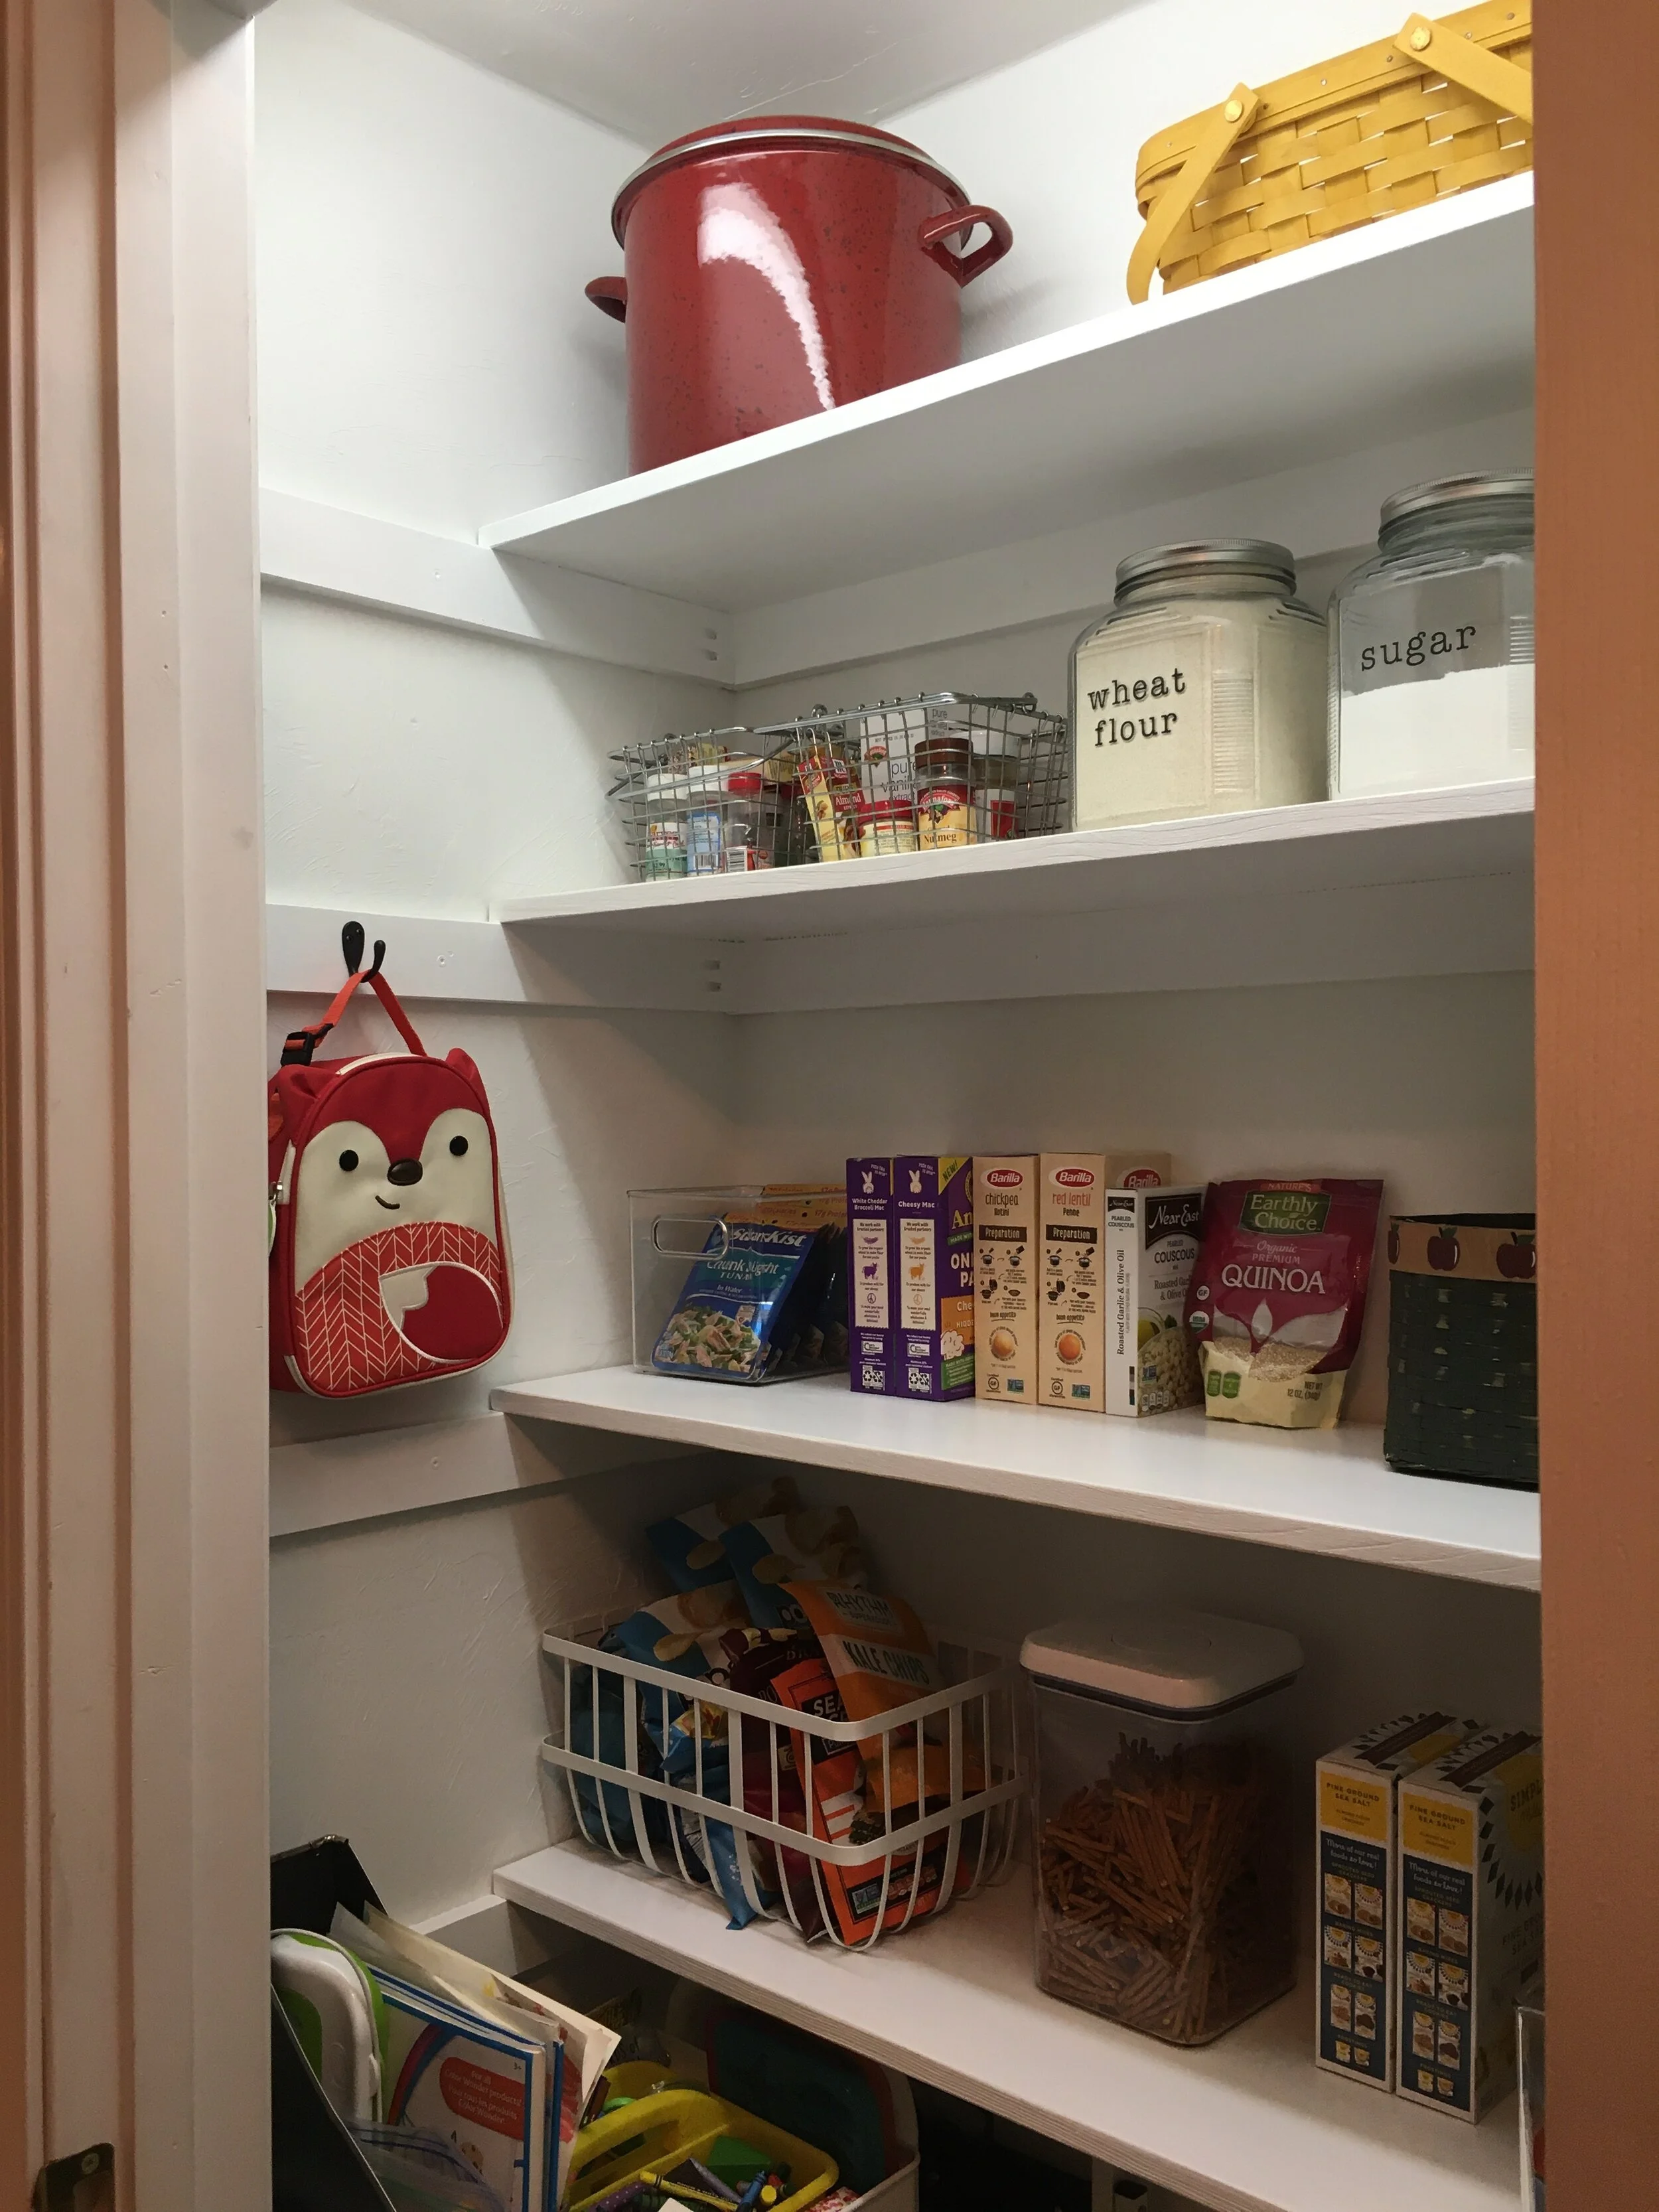
I just love how farmhouse and “Shaker” the exposed rails on the sides look and I wanted to play it up. Once the paint was dry I added some functional hooks to hang aprons, lunchboxes, etc on the side rails.
And now the project is complete! I am so happy with how it turned out and it’s wonderful to have everything in one place. I can see this project saving us money on groceries in the long run now as everything will be in one place now and we’ll be less apt to waste food.
Eventually, I would love to replace the closet door with a fun screen door and get some more glass jars and baskets for a cleaner looking pantry - but all in good time.
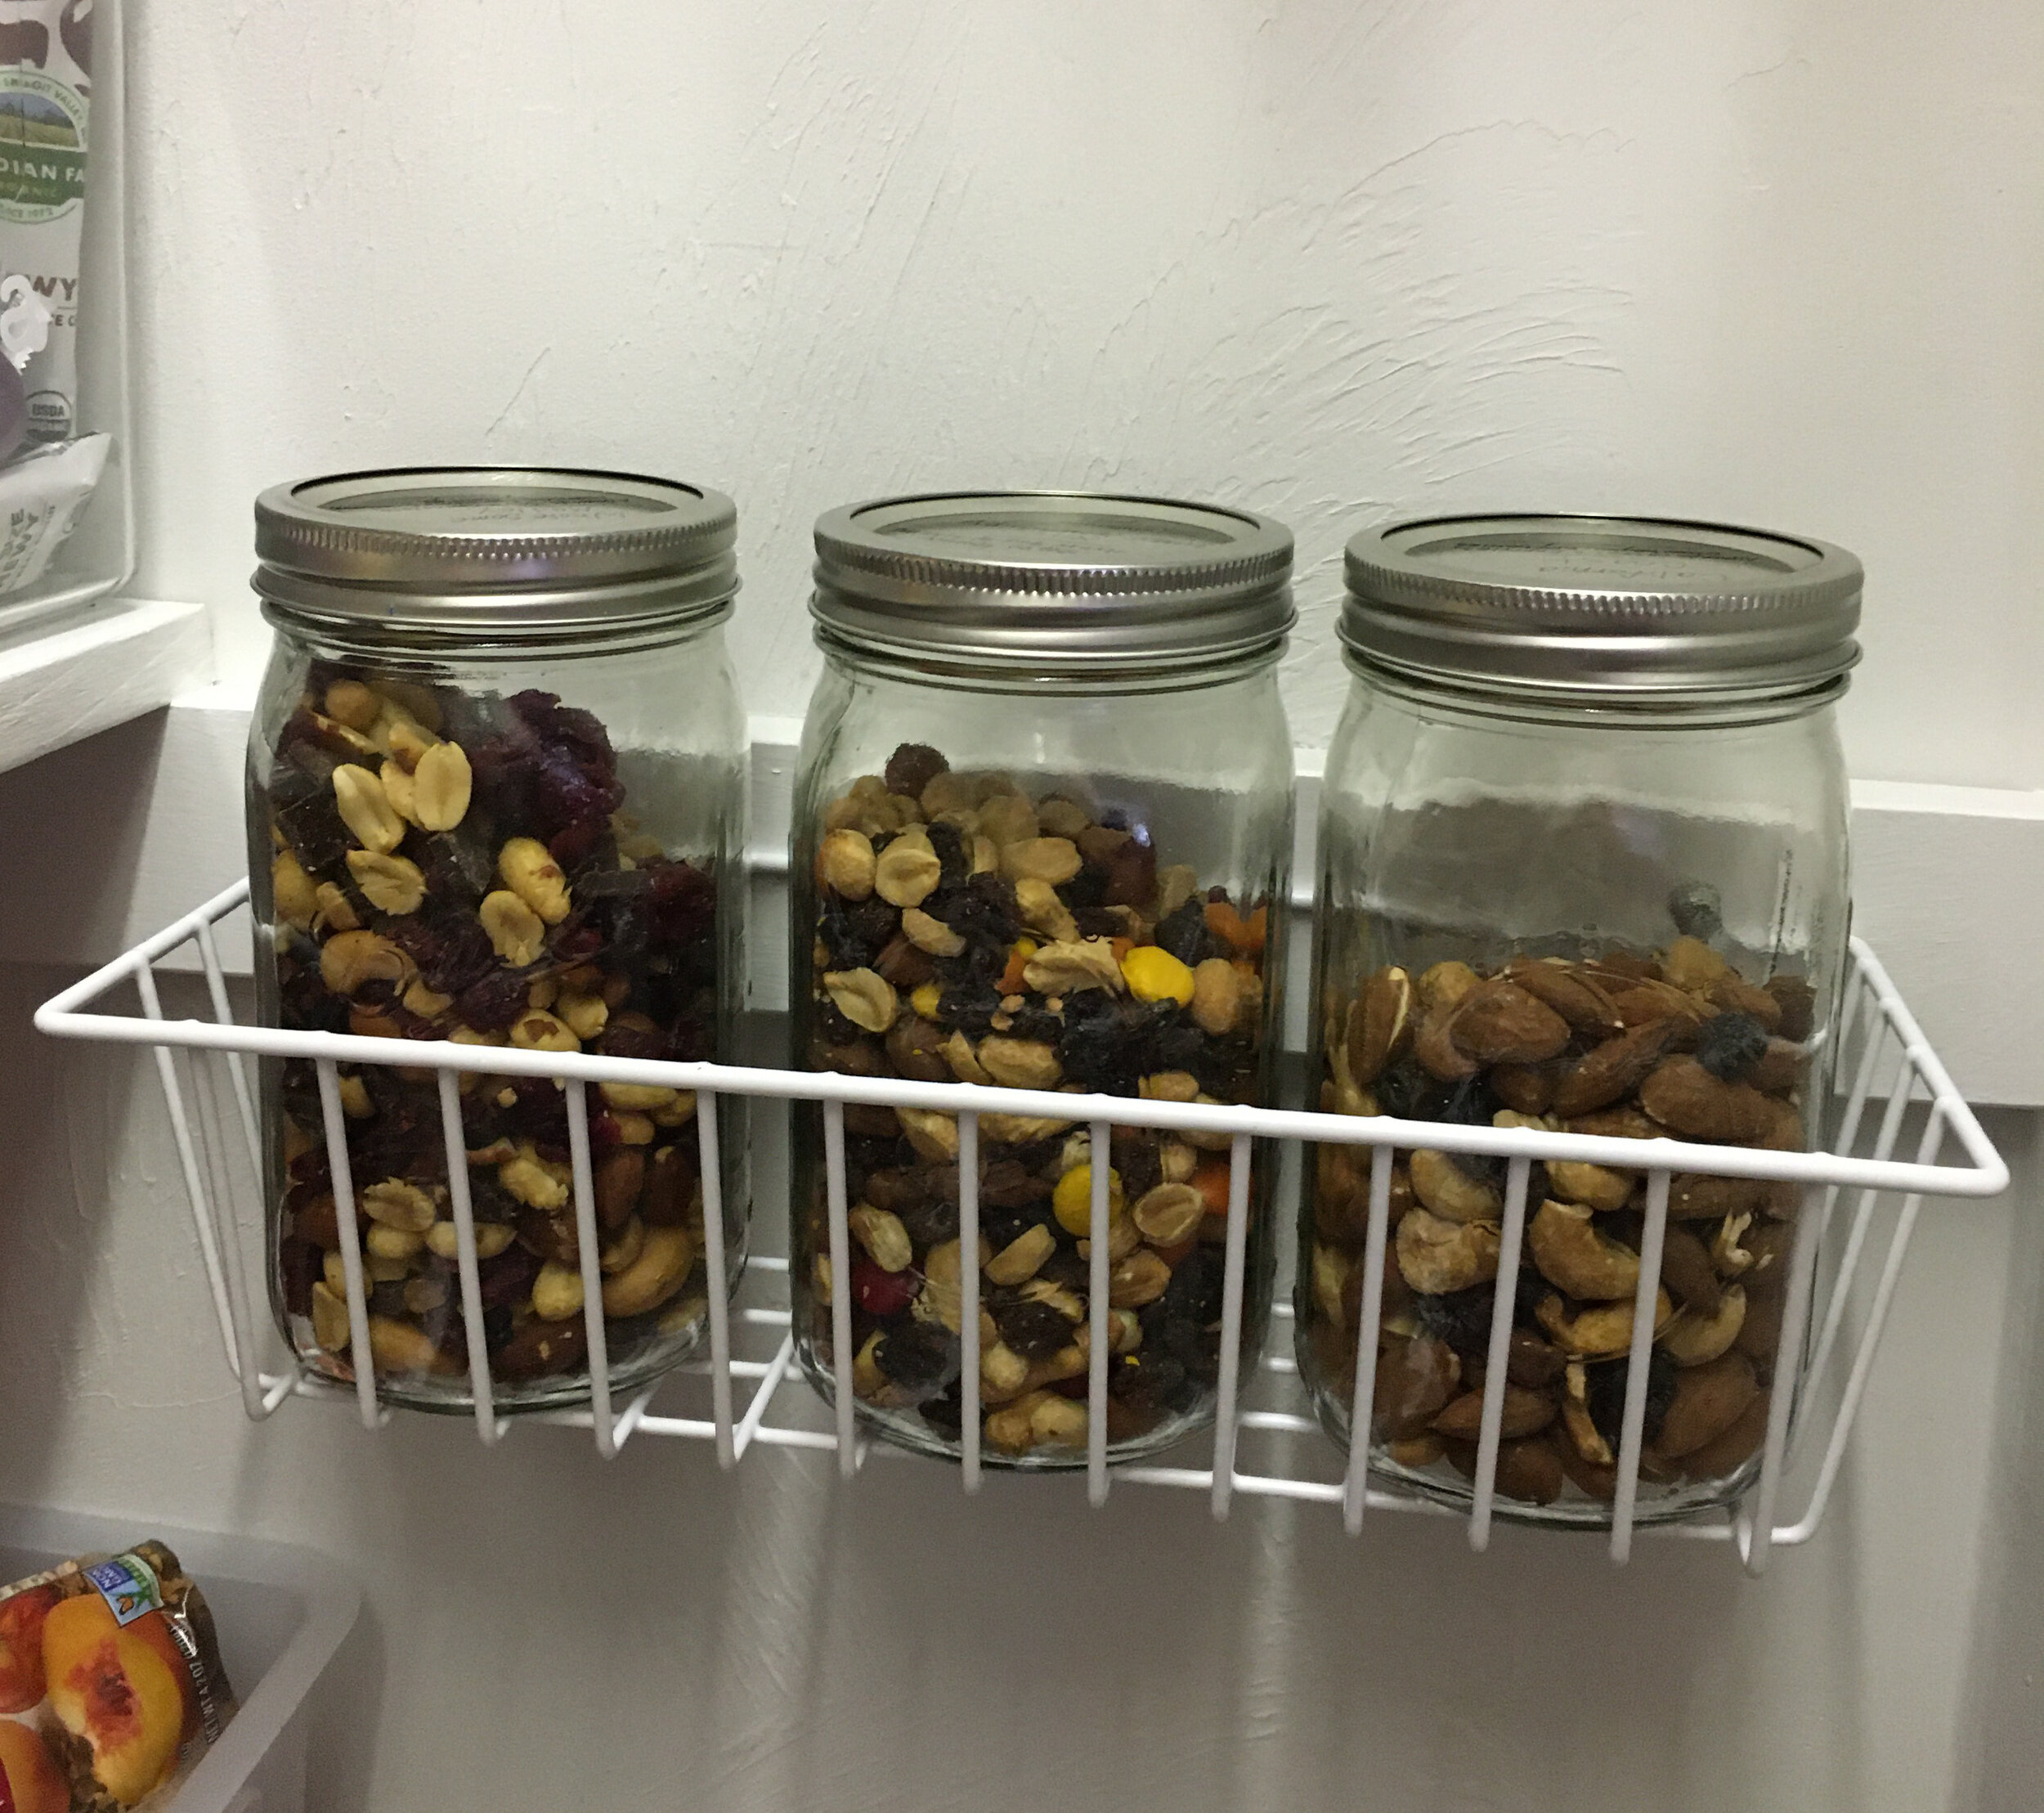
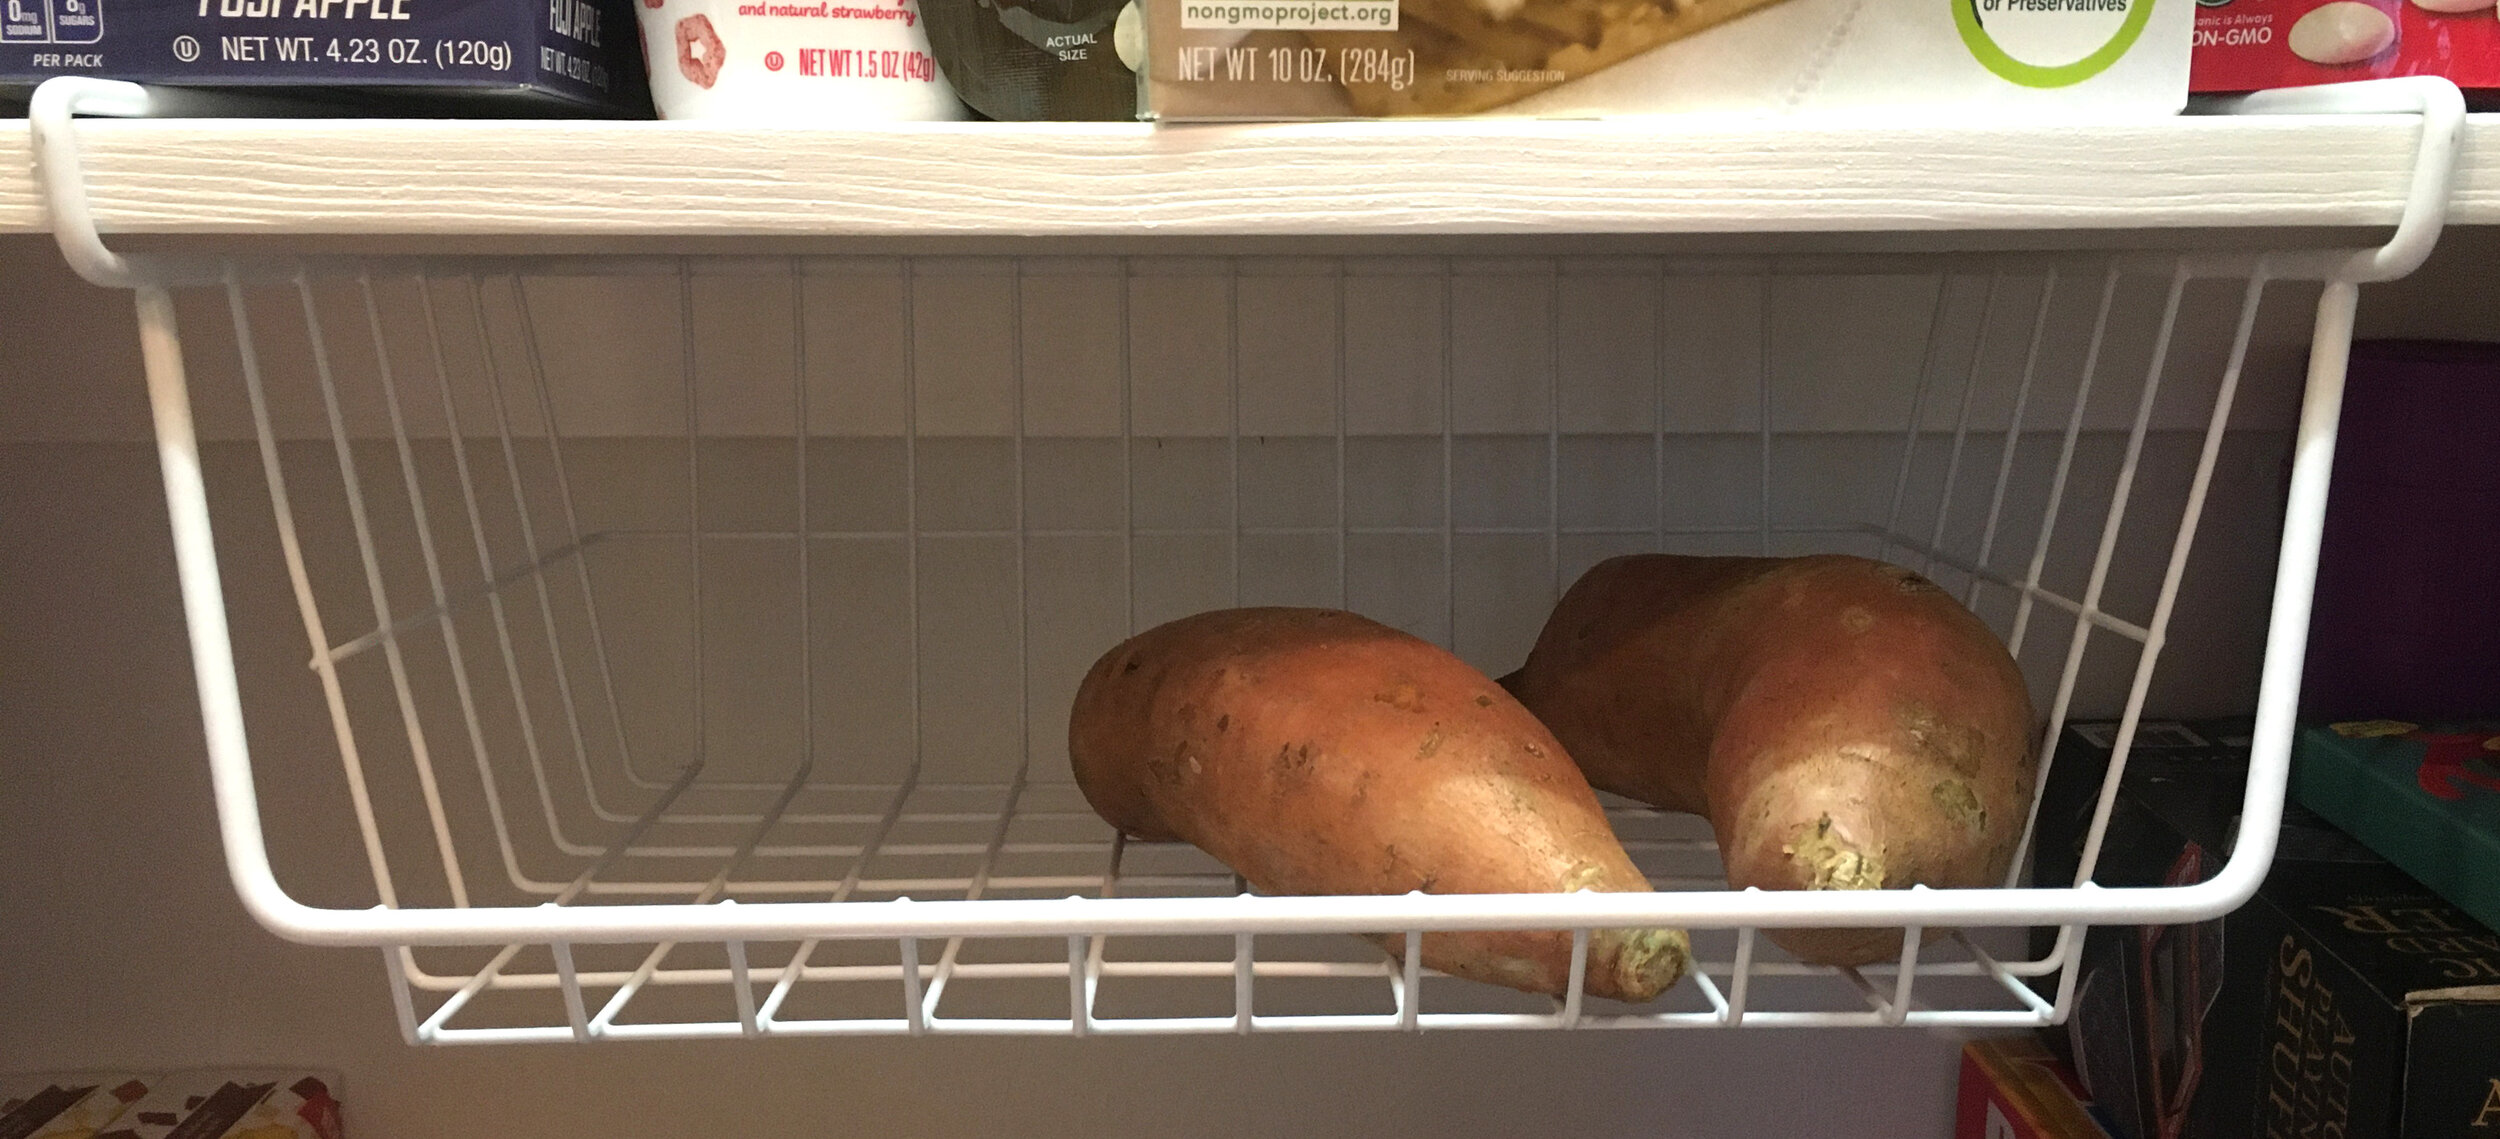
Over this past winter I added a few simple add-on organizers to our pantry to maximize the space and love how functional they are. Here they are below (and please excuse the glimpses of clutter in the pantry… as it now holds extra groceries and our family board games too - because, real life):
It turns out our door is an odd size and in order to get a screen door for it we would have to custom order one (at a cost of about $300+! Yikes). So instead I decided to cut a custom vinyl label to stick to the door to make it more finished. I could have designed my own but I found a design I really liked on
Etsy
and bought the digital design file. After purchasing the design file, I used my
Cricut
and
651 Permanent Vinyl
to make the label and then transferred it to the door. In hindsight I probably should have made it slightly smaller, but overall I love how it came out and how budget-friendly it was since I already owned a Cricut Machine and the vinyl.
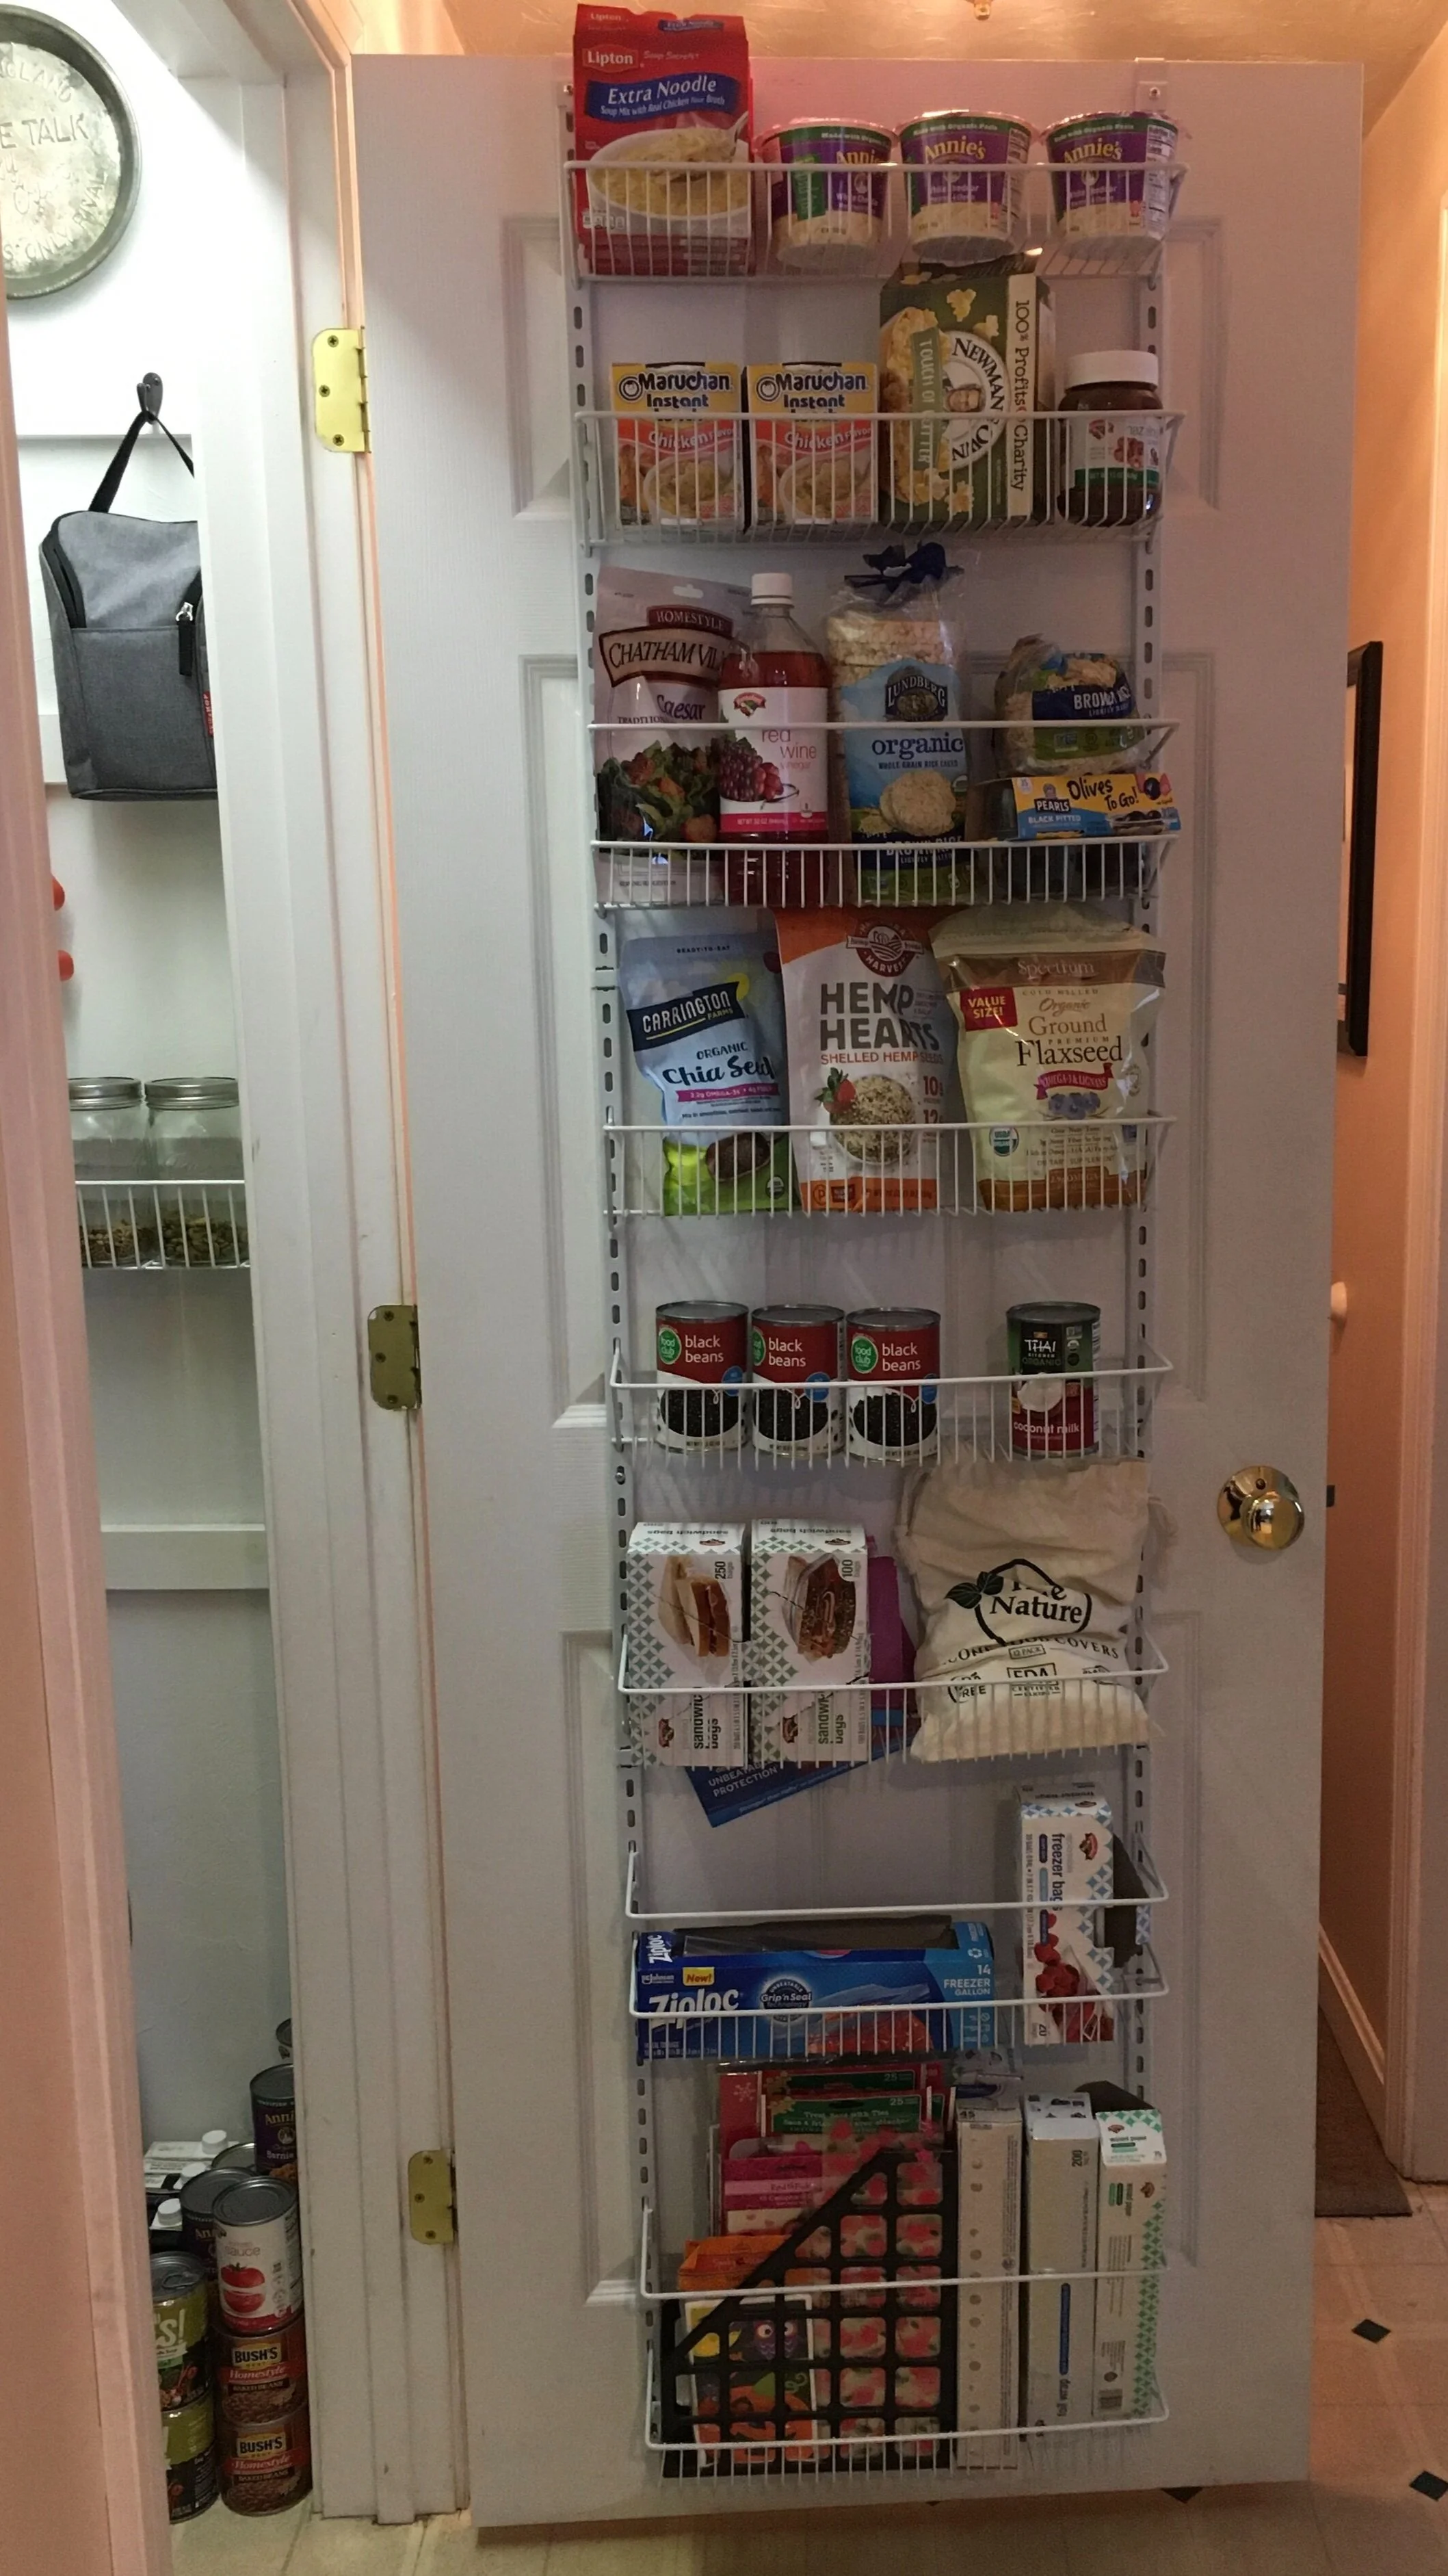
Finally, we decided to add a
ClosetMaid Adjustable Organizer
to the back of the pantry door to fully utilize the space. It was very simple to install and I am impressed with how sturdy it is once it's assembled and screwed in. We used the lower baskets for foil, parchement paper, ziplocks, silicone bowl covers, etc. The middle baskets we designated for frequently used canned goods, smoothie mix-ins, as well as salad fixings and rice cakes. Finally on the top two baskets we put convenience foods that we rarely use since I'm so short. Note: If you have a hollow-core door, you might want to use a specialty set of anchors/screws to attach it to the door for stability, rather than just screw into the door with regular screws.
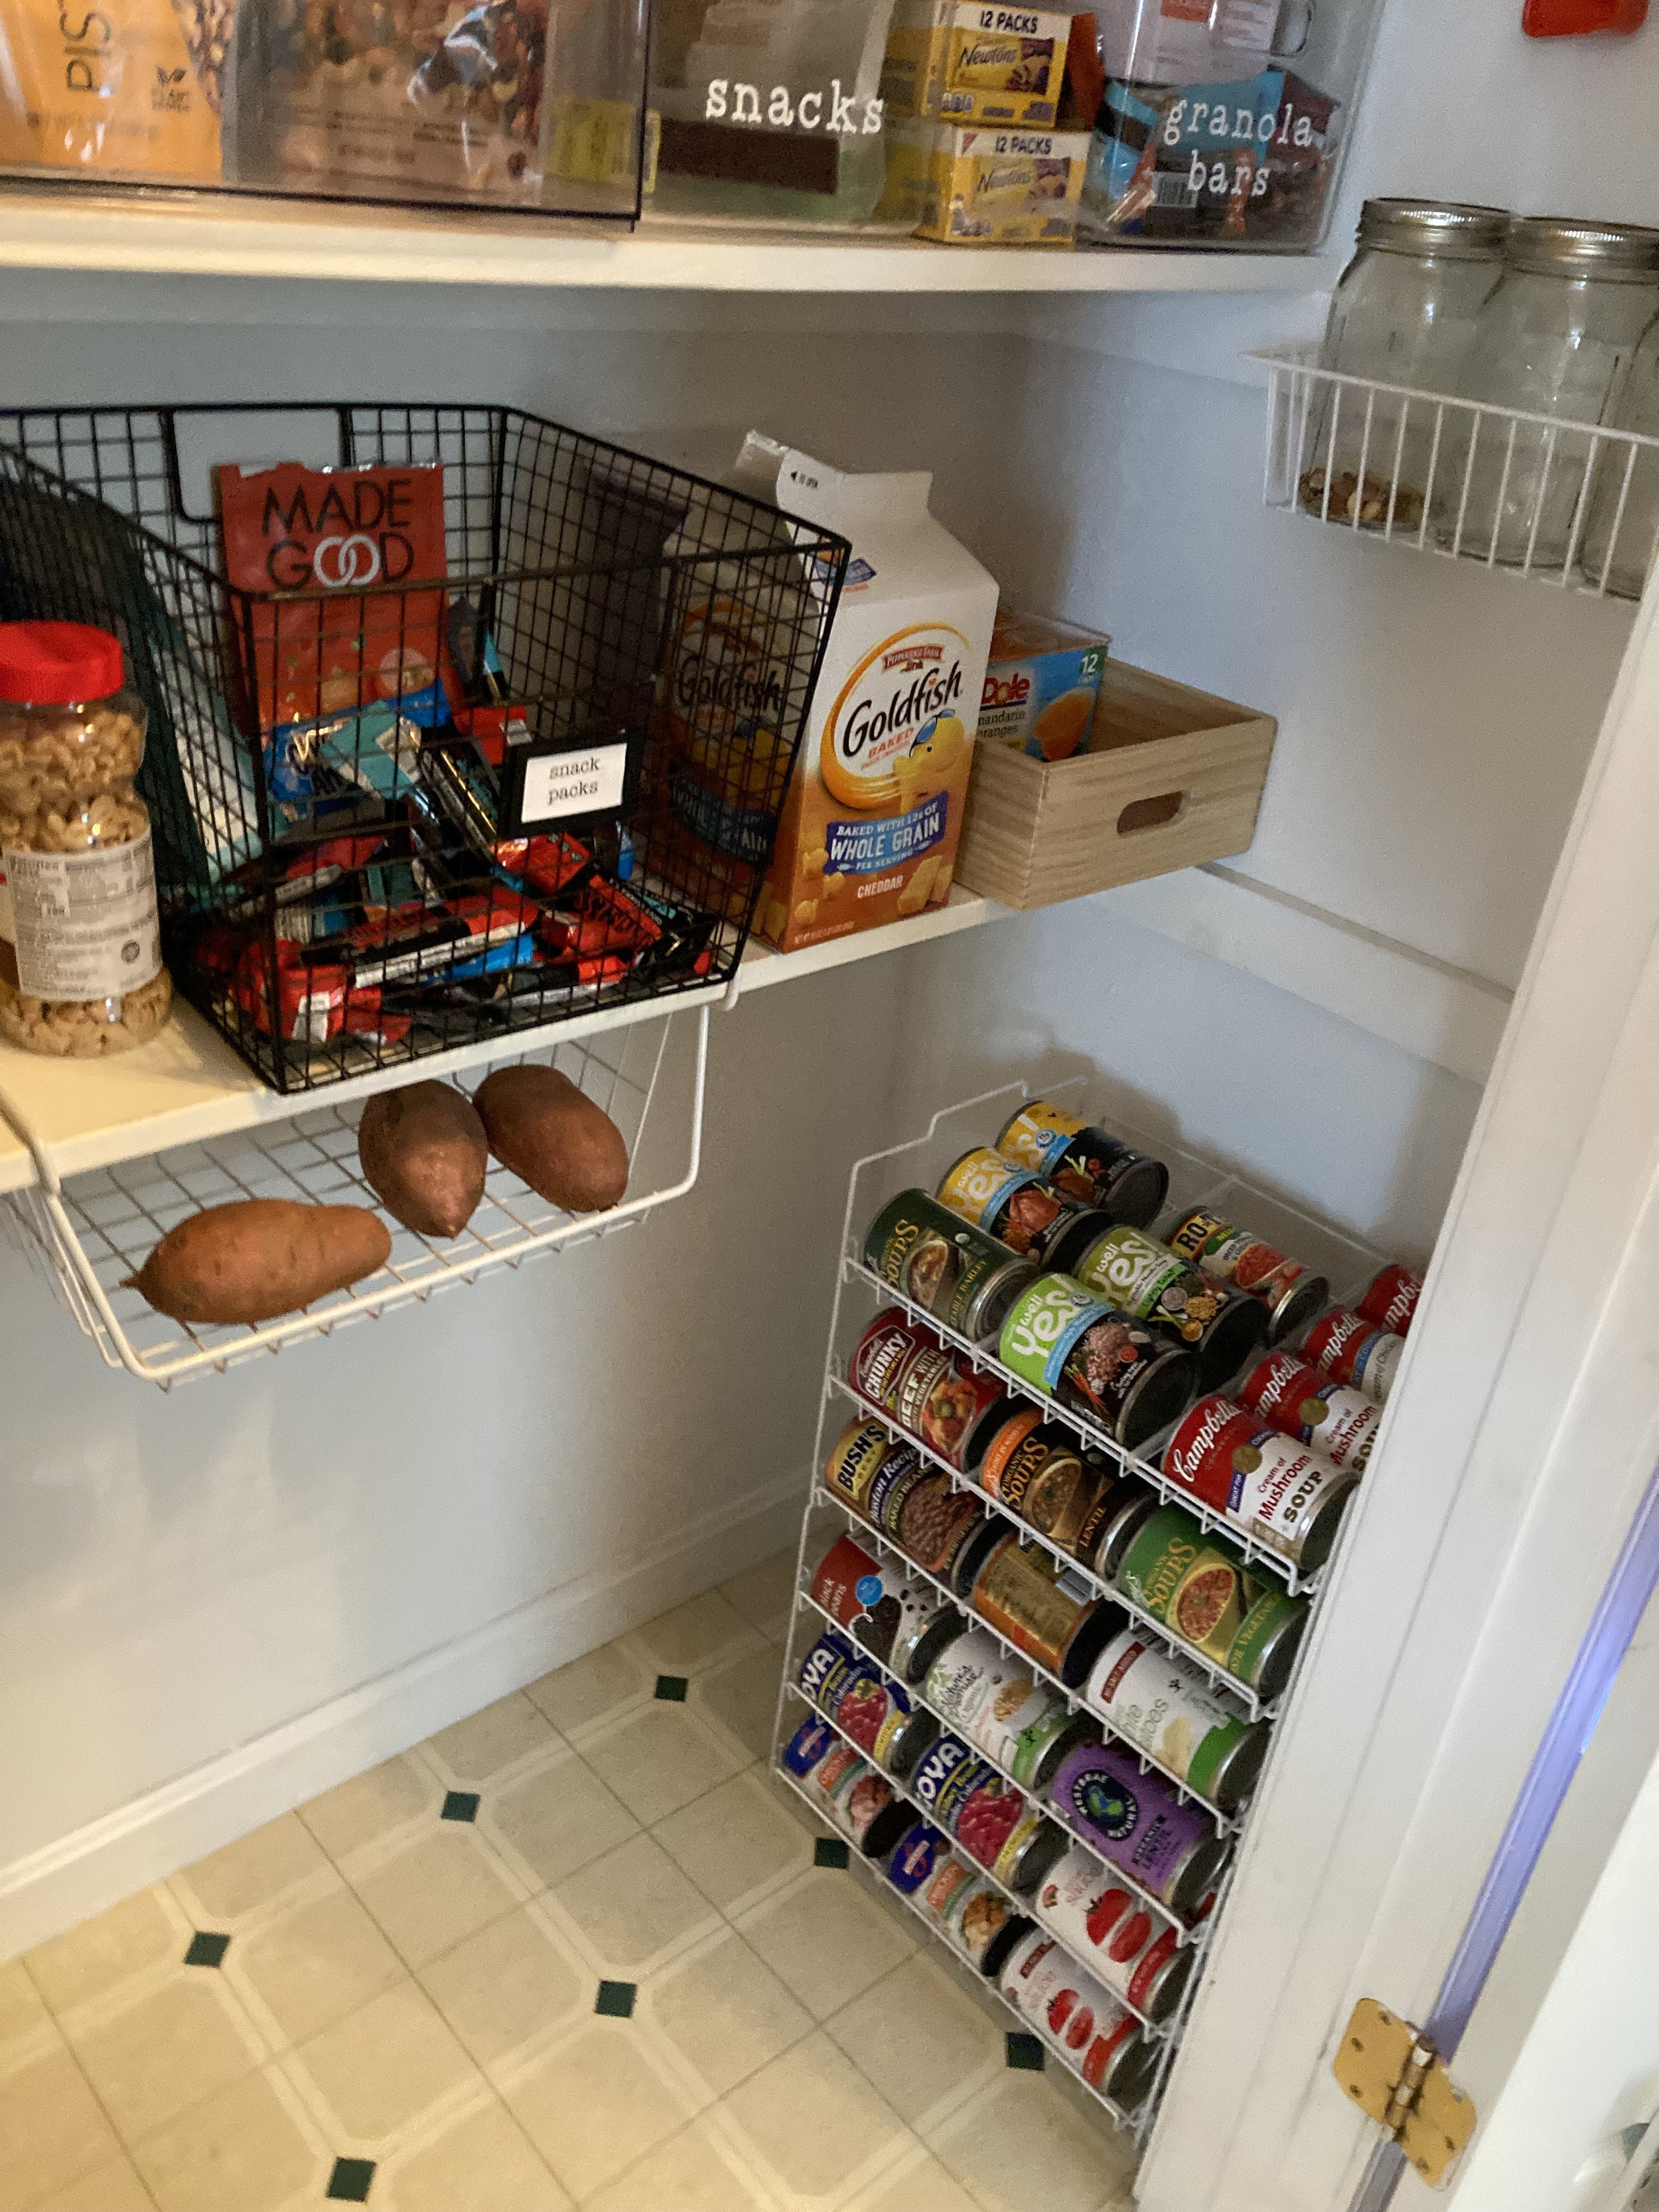
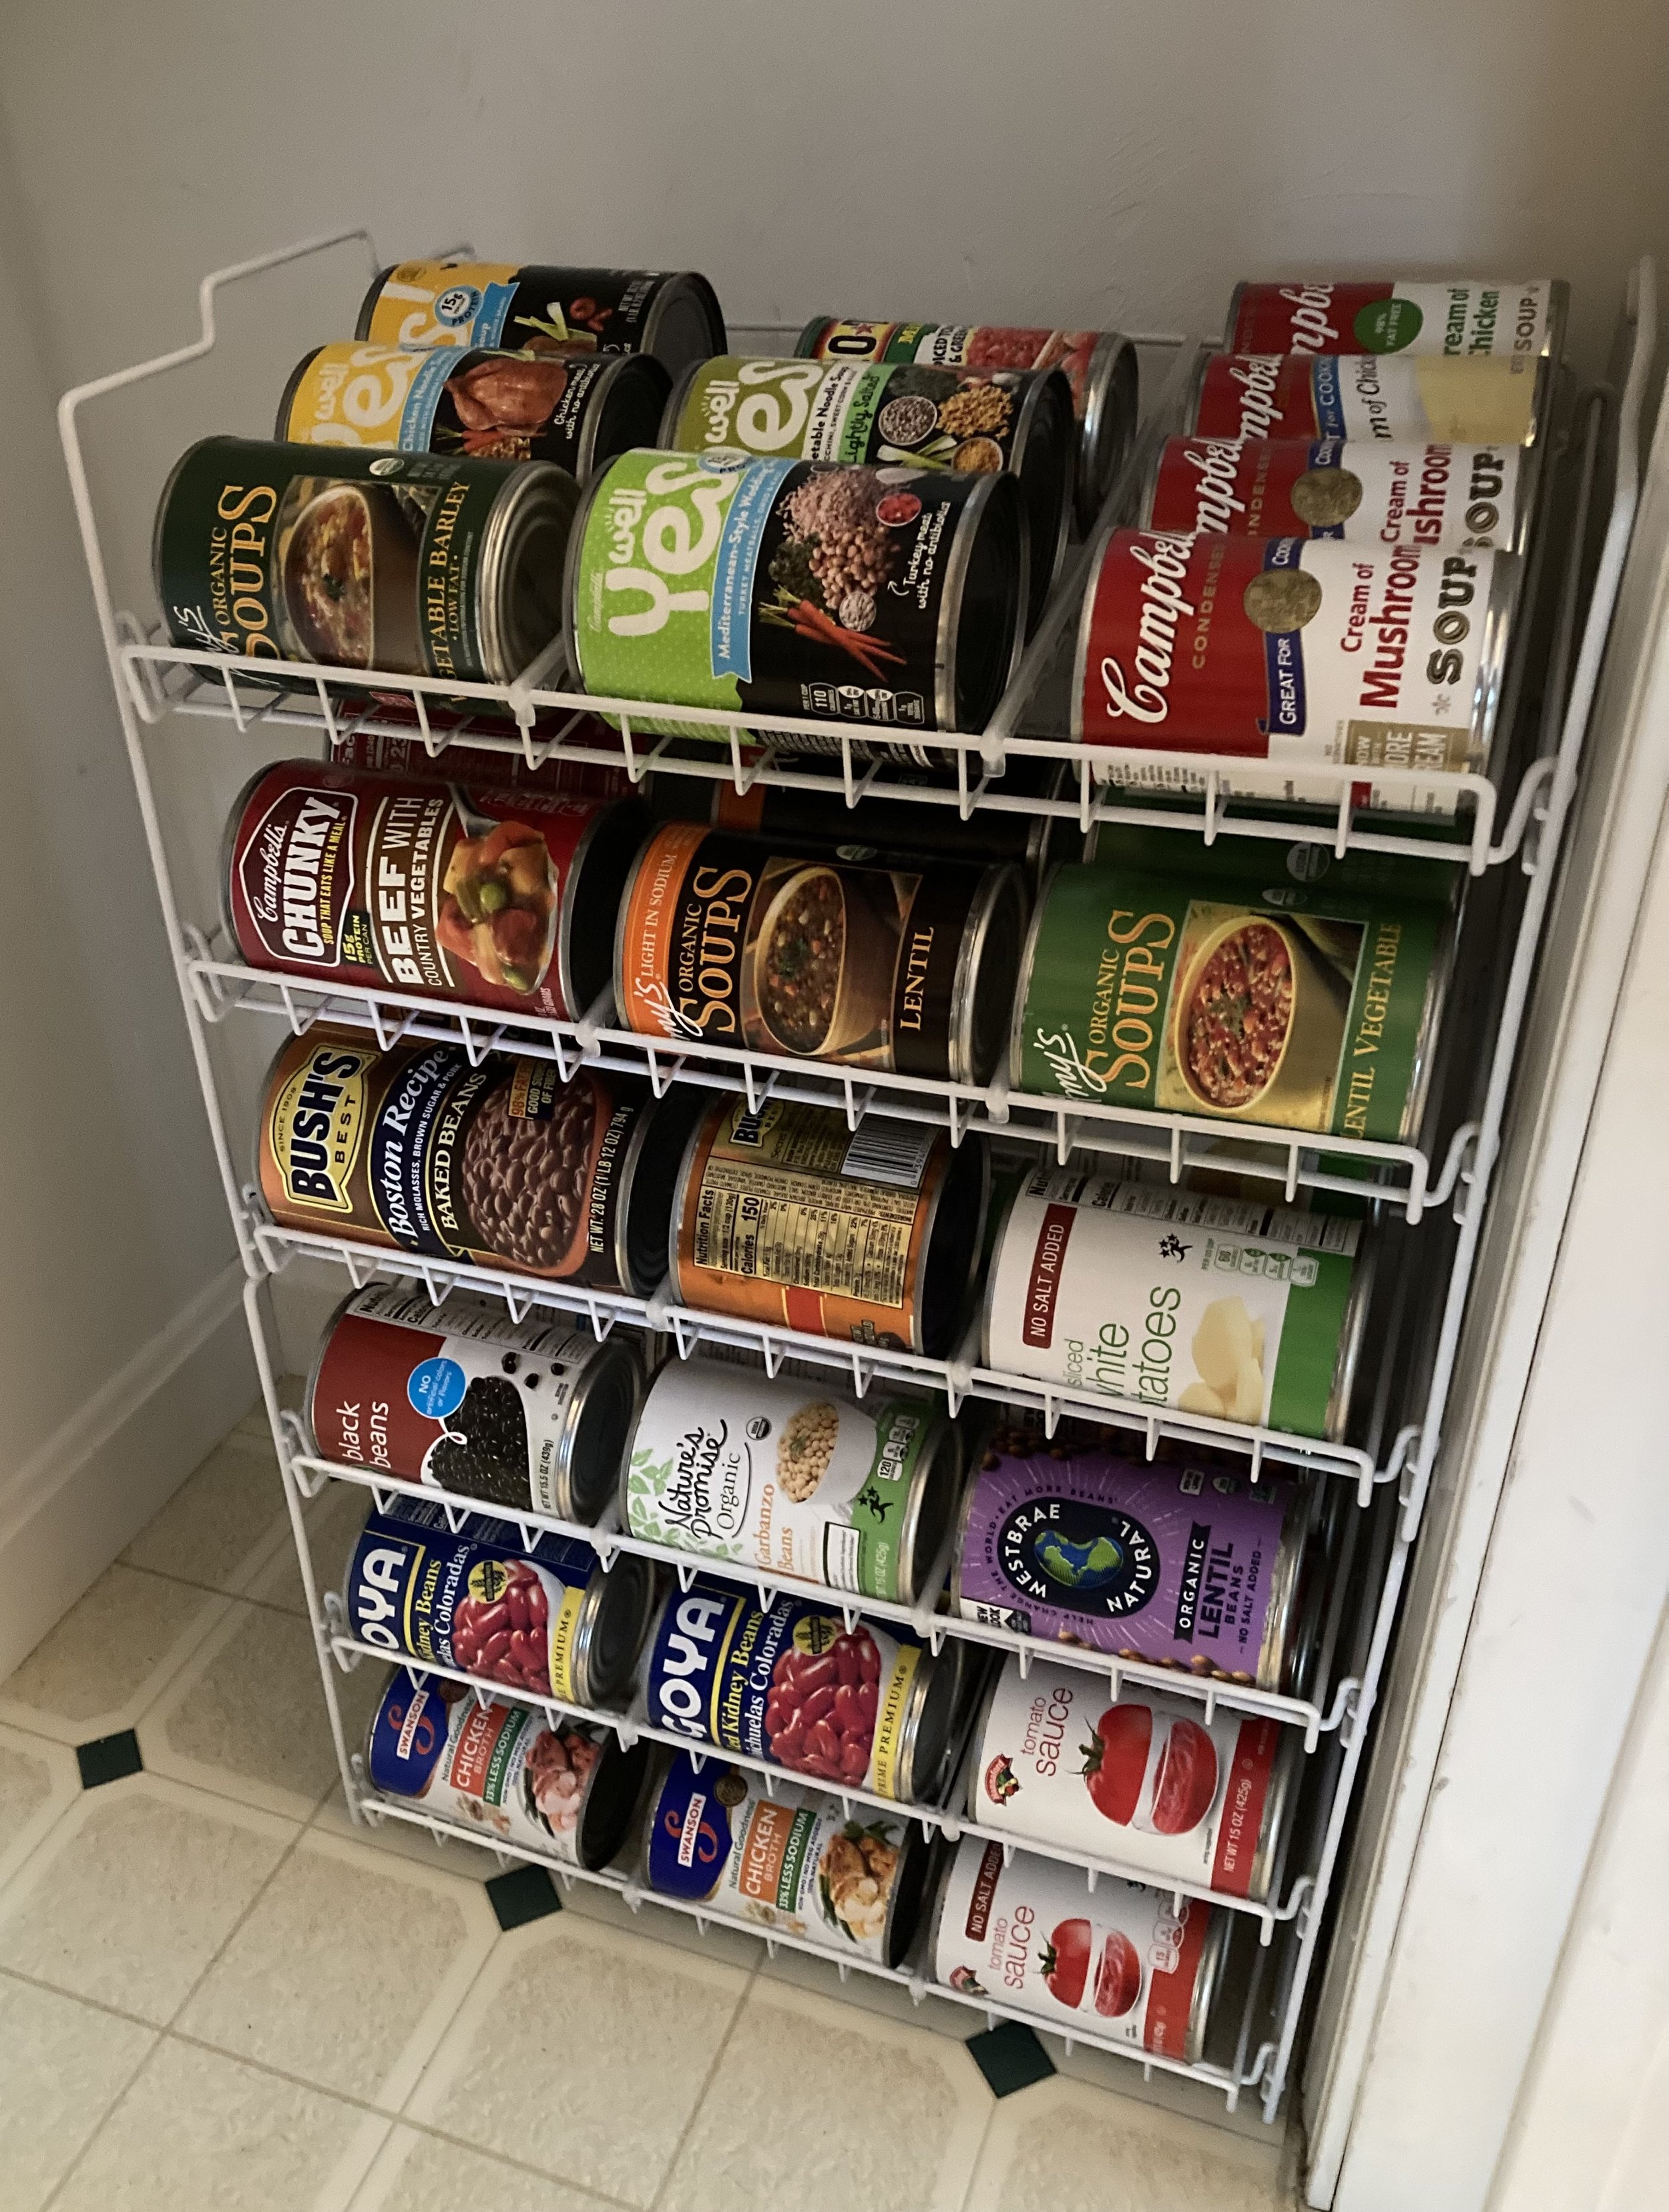
Another later addition to our pantry organization are these amazing stackable can racks for organizing canned goods. Before I had quite a few canned goods just sitting on the floor of the pantry and in a separate kitchen cupboard, but I never could see everything at once and often cans in the back got forgotten -- Now everything is in one spot where I can see them and I can meal plan more efficiently.
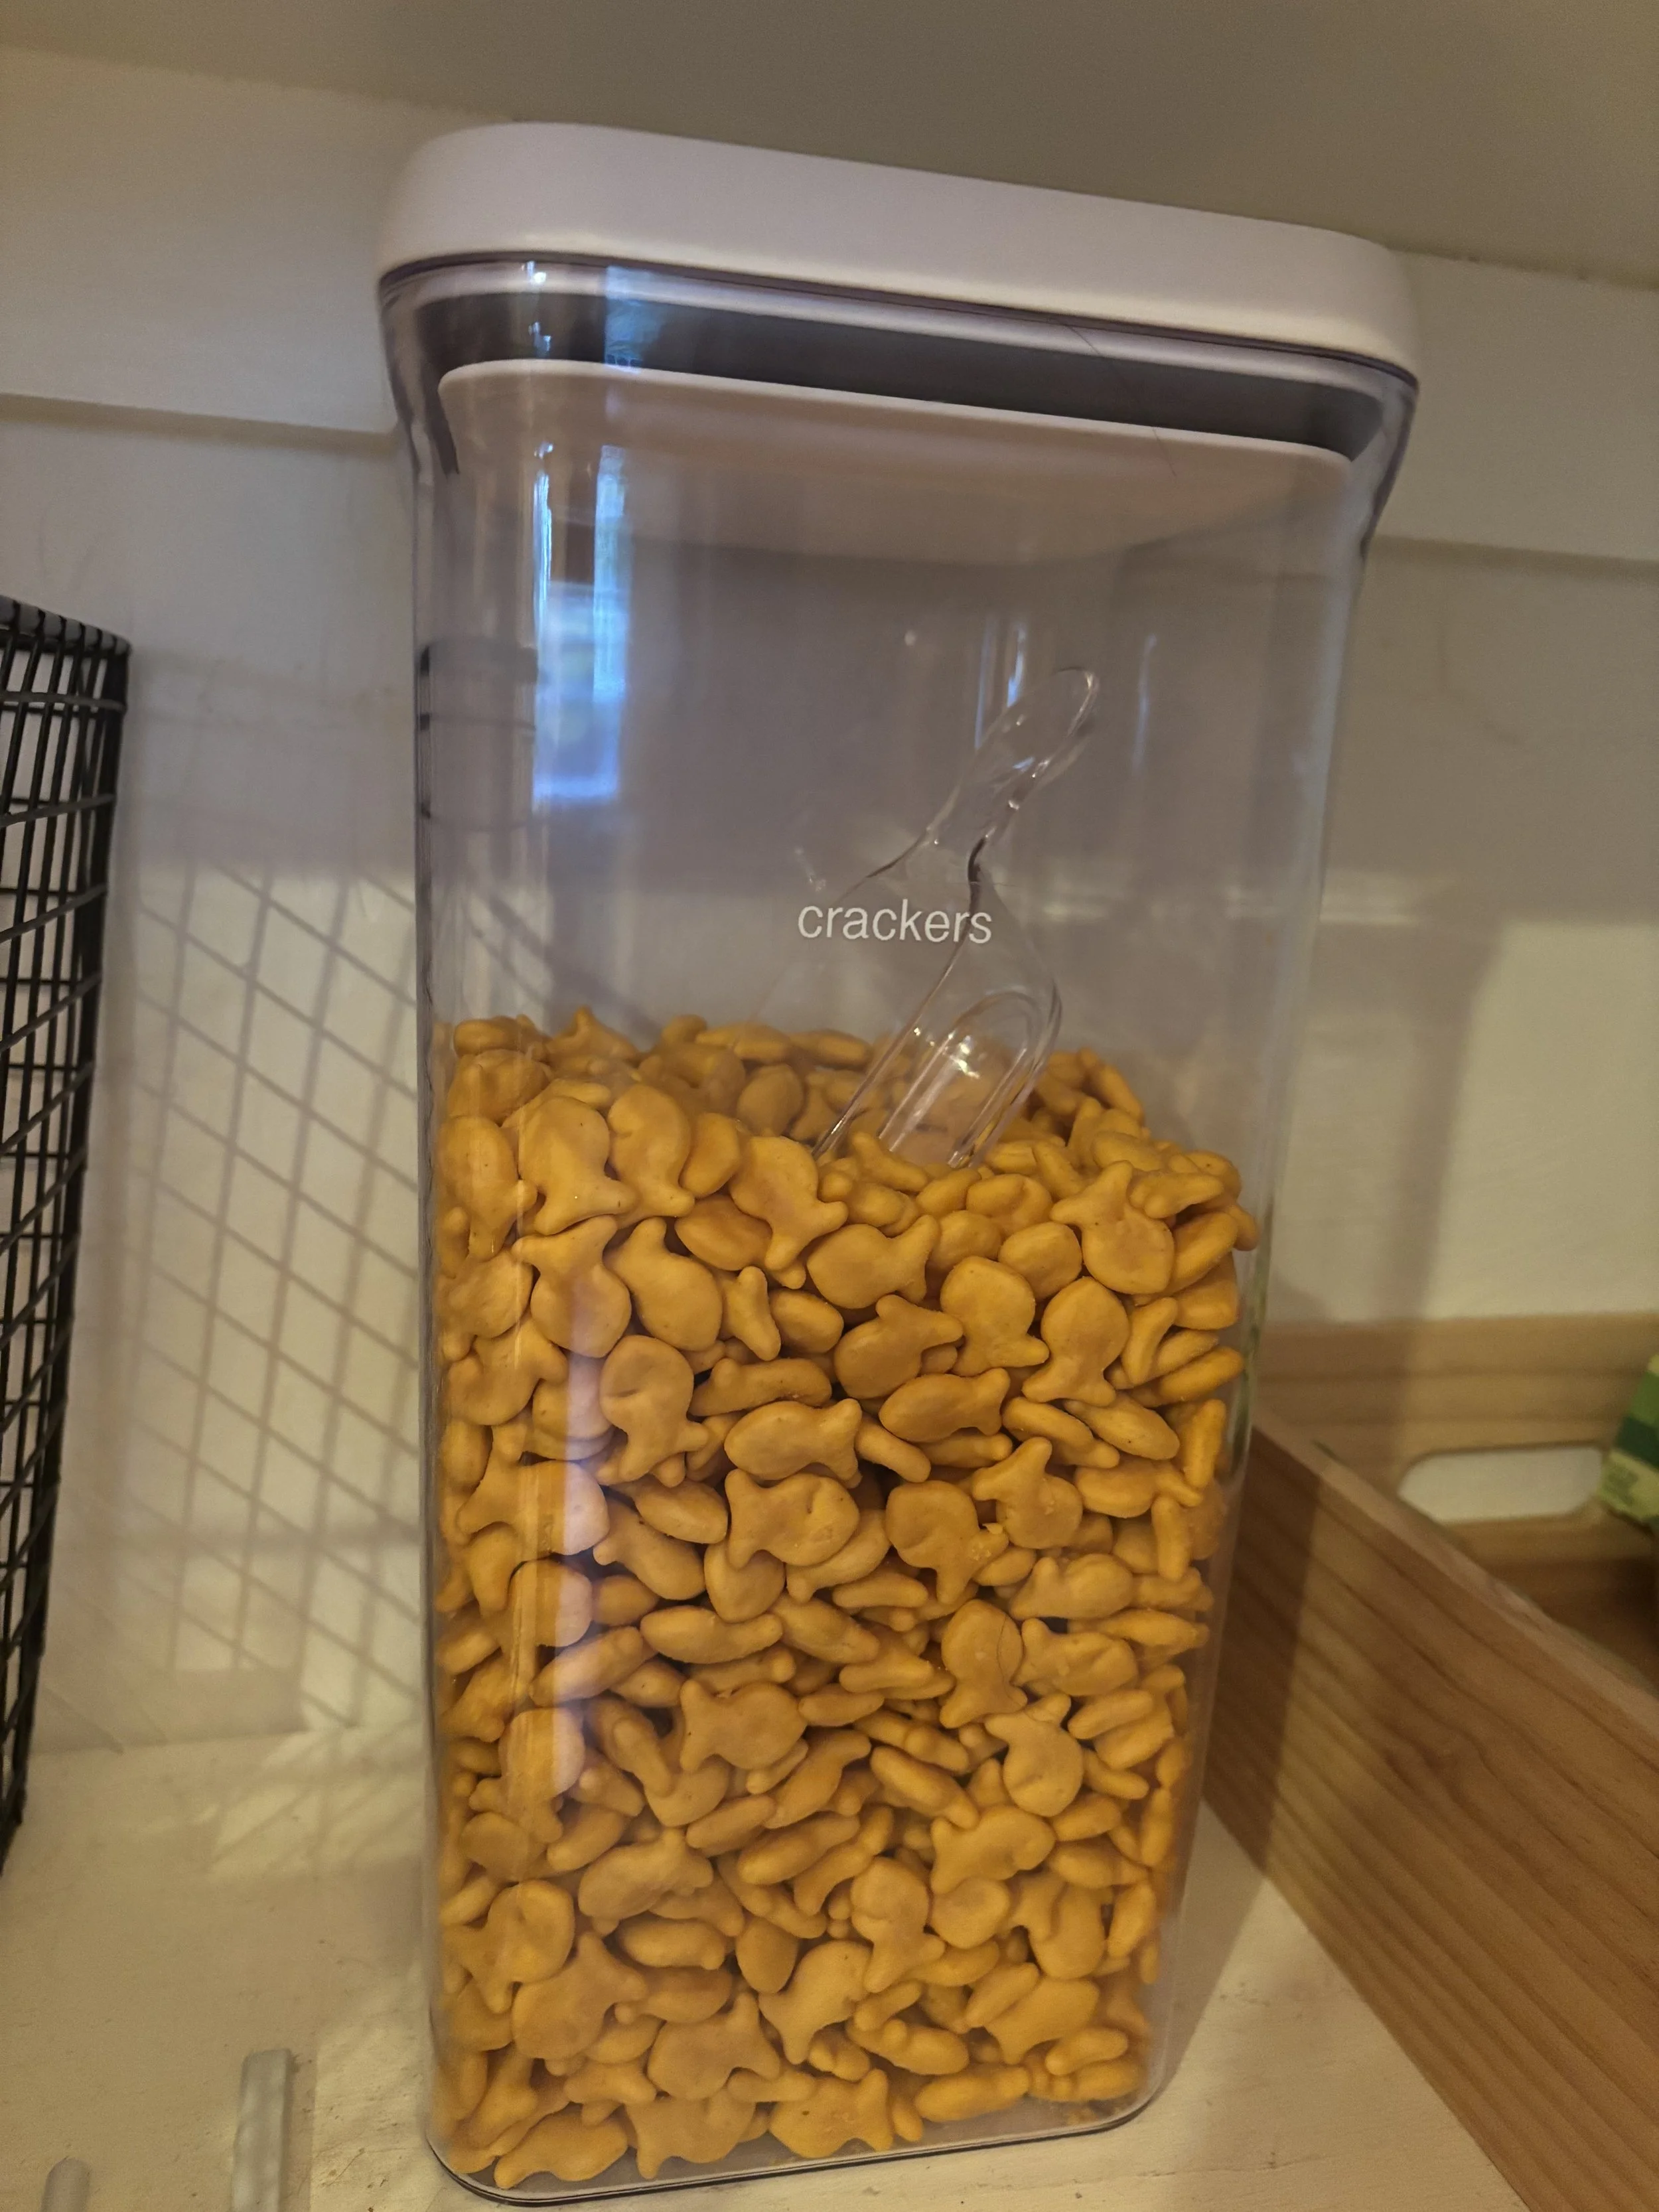
Another thing that's been a huge game changer is moving dry snacks into OXO POP Food Storage Containers. We love these for our snack crackers and pretzels. They keep everything fresh and it's easy to see if you're starting to run low on these staples. To keep the kids from going too wild with serving sizes we added clear OXO 1/2 Cup Scoops in each container too - making it easy to grab a serving. I used my Brother Label Maker to make labels for the containers. These can easily be peeled off and relabeled as needed.
This website shares personal opinions and experiences regarding a variety of topics. Please do your own research regarding all things and use information/opinions stated here at your own discretion and risk.
I’ve been wanting a potting bench for a while now - something by the back door to display some decor, use as an outdoor work station, and double as a place for UPS to leave packages. After looking around online and at local stores, I couldn’t find anything that I liked that fit the narrow space - so I did what any #woodworkingmom would do, I decided to build it myself. | This post is not sponsored but does contain affiliate links |
{ Note: The plans I worked from were from Ana White and can be found HERE }
I came across these Ana White plans for a Simple Potting Bench on Pinterest and thought it was perfect! It was exactly the simple, rugged style I was looking for and easy to tailor to our space too. Most of the wood needed were 2x4’s, which are sturdy and cheap - and thankfully between our garage and my father-in-law’s garage we had all the wood scraps I needed to piece together this project. Since I used leftover wood we already had, this project cost me nothing which was pretty amazing!
Since I only used what wood we had on hand, I had to make do - some of the wood was pressure-treated, some was not, some had knot holes or gashes, and not all of it was “true” (straight). But that was fine by me as this was to be a rustic piece for outside.
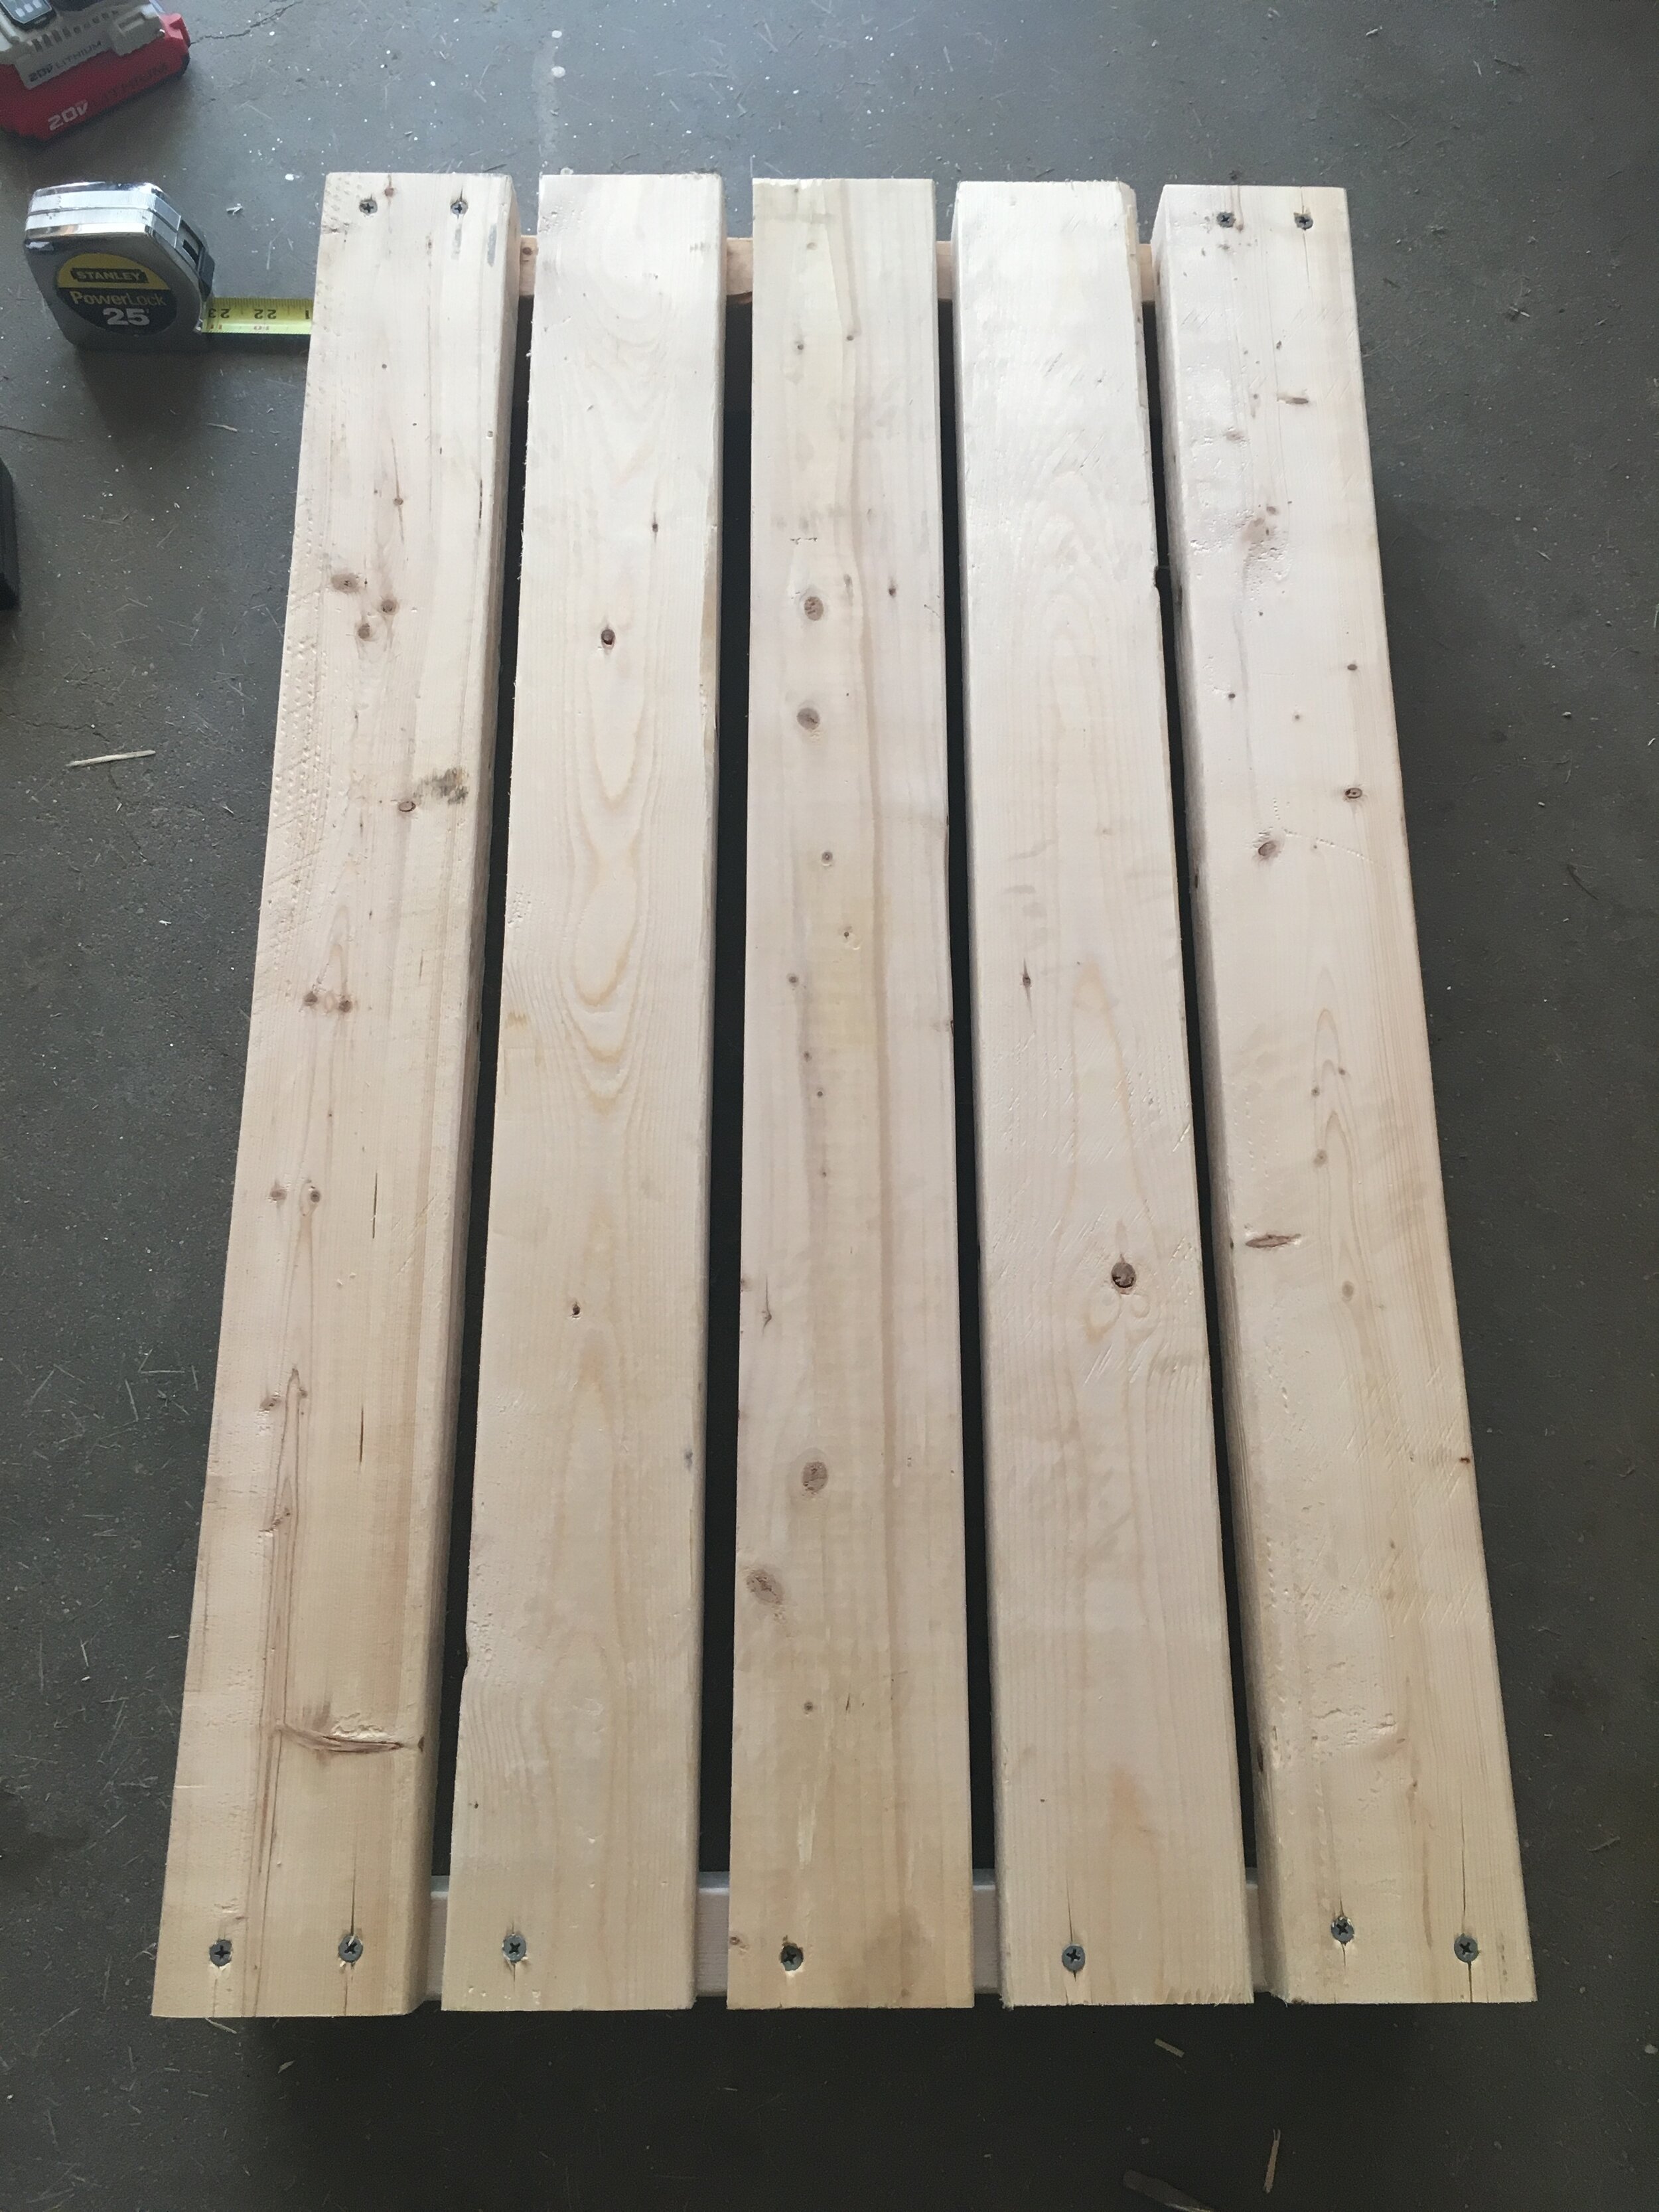
Before I started building, I followed Ana White’s “cut list,” cutting and making piles of all the wood in the dimensions I would need to build the project. I carefully chose the lumber for each section to minimize how the knot holes, gashes, or crooked pieces would be seen in the final piece. For our potting bench I made it 4 inches narrower so it would fit against the small wall next to our back door and because of this I had to adjust my cut list and refigure some of the overall dimensions.
The next step was constructing the shelves individually - attaching the outer planks first, checking for square, then spacing out the middle planks and attaching them. To build this whole project I used an Impact Driver, which made the entire project go much quicker and easier.
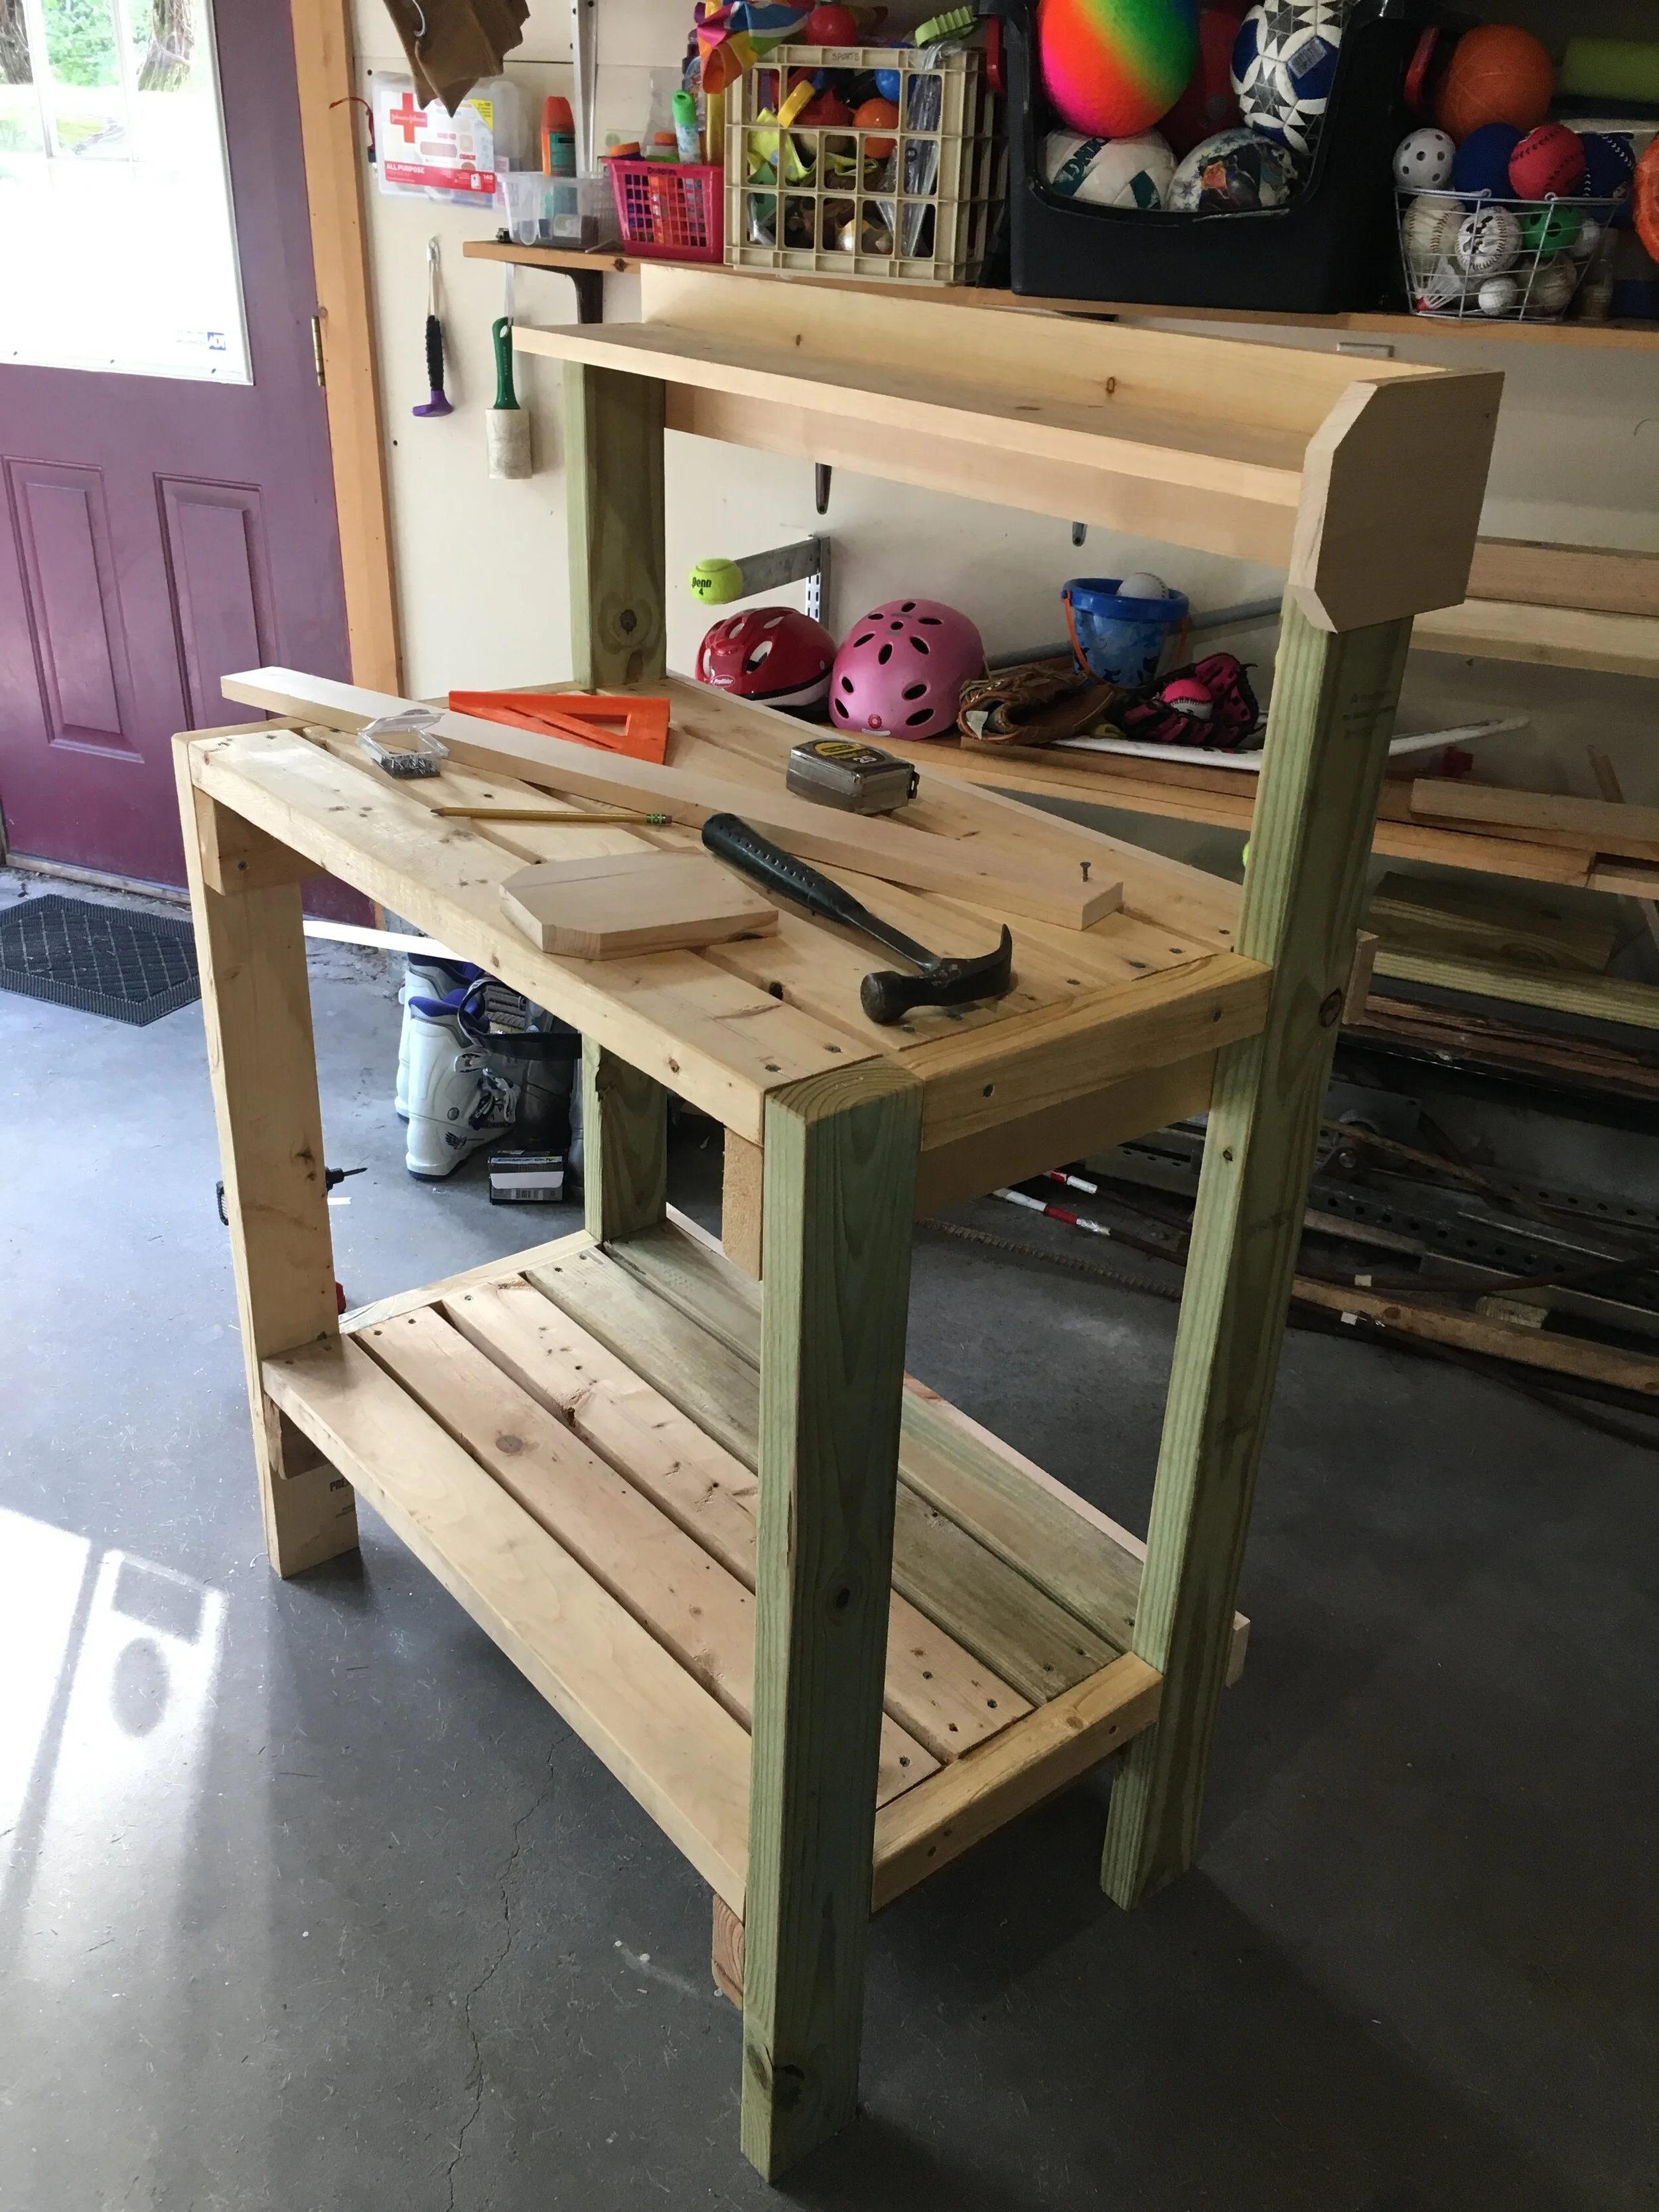
To attach the legs, I laid the project on it’s side and carefully measured the distances between the legs as well as up the legs before attaching the shelves to makes sure everything would be as level and as square as possible.
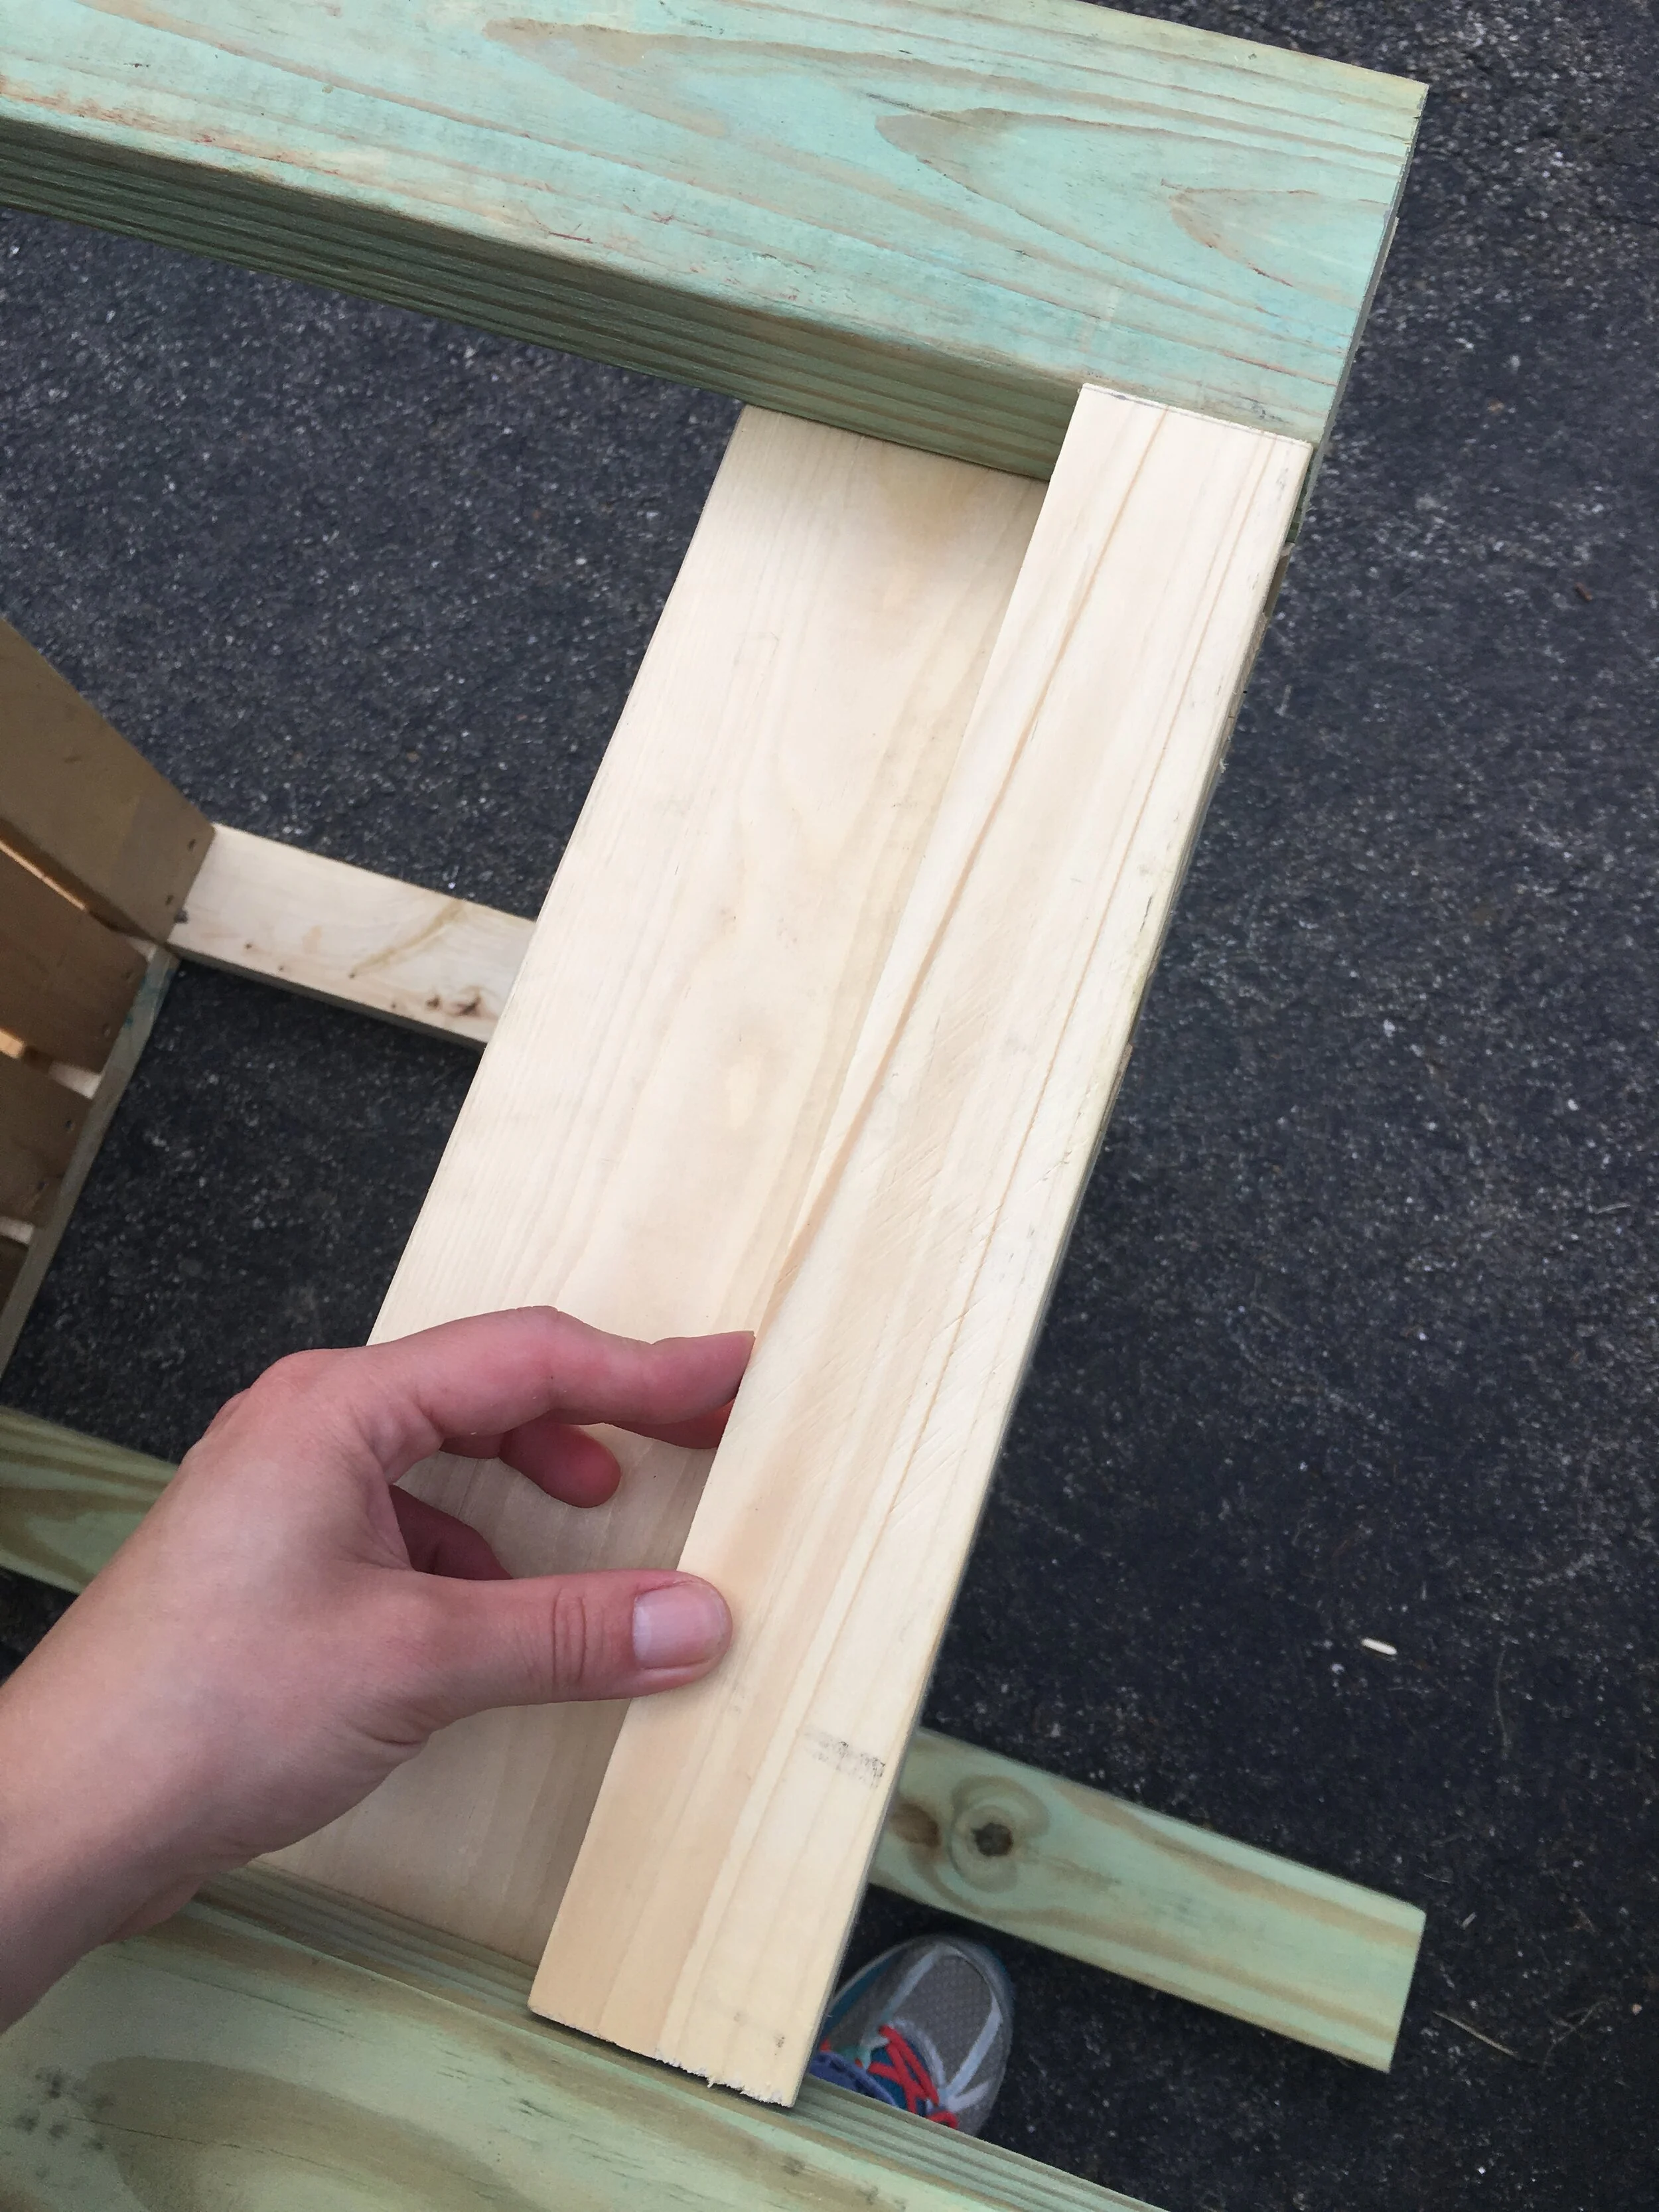
Finally to make the project look more “finished” I added some wood scraps to the sides of the project to conceal the butt ends of the shelves and make it look a little more polished.
I also decided to add some 1x3”s to the front of the shelves to make it look a little more polished from the front as well. (I did not counter-sink these screws, but I should have as they were more noticeable than I was expecting in the finished piece.)
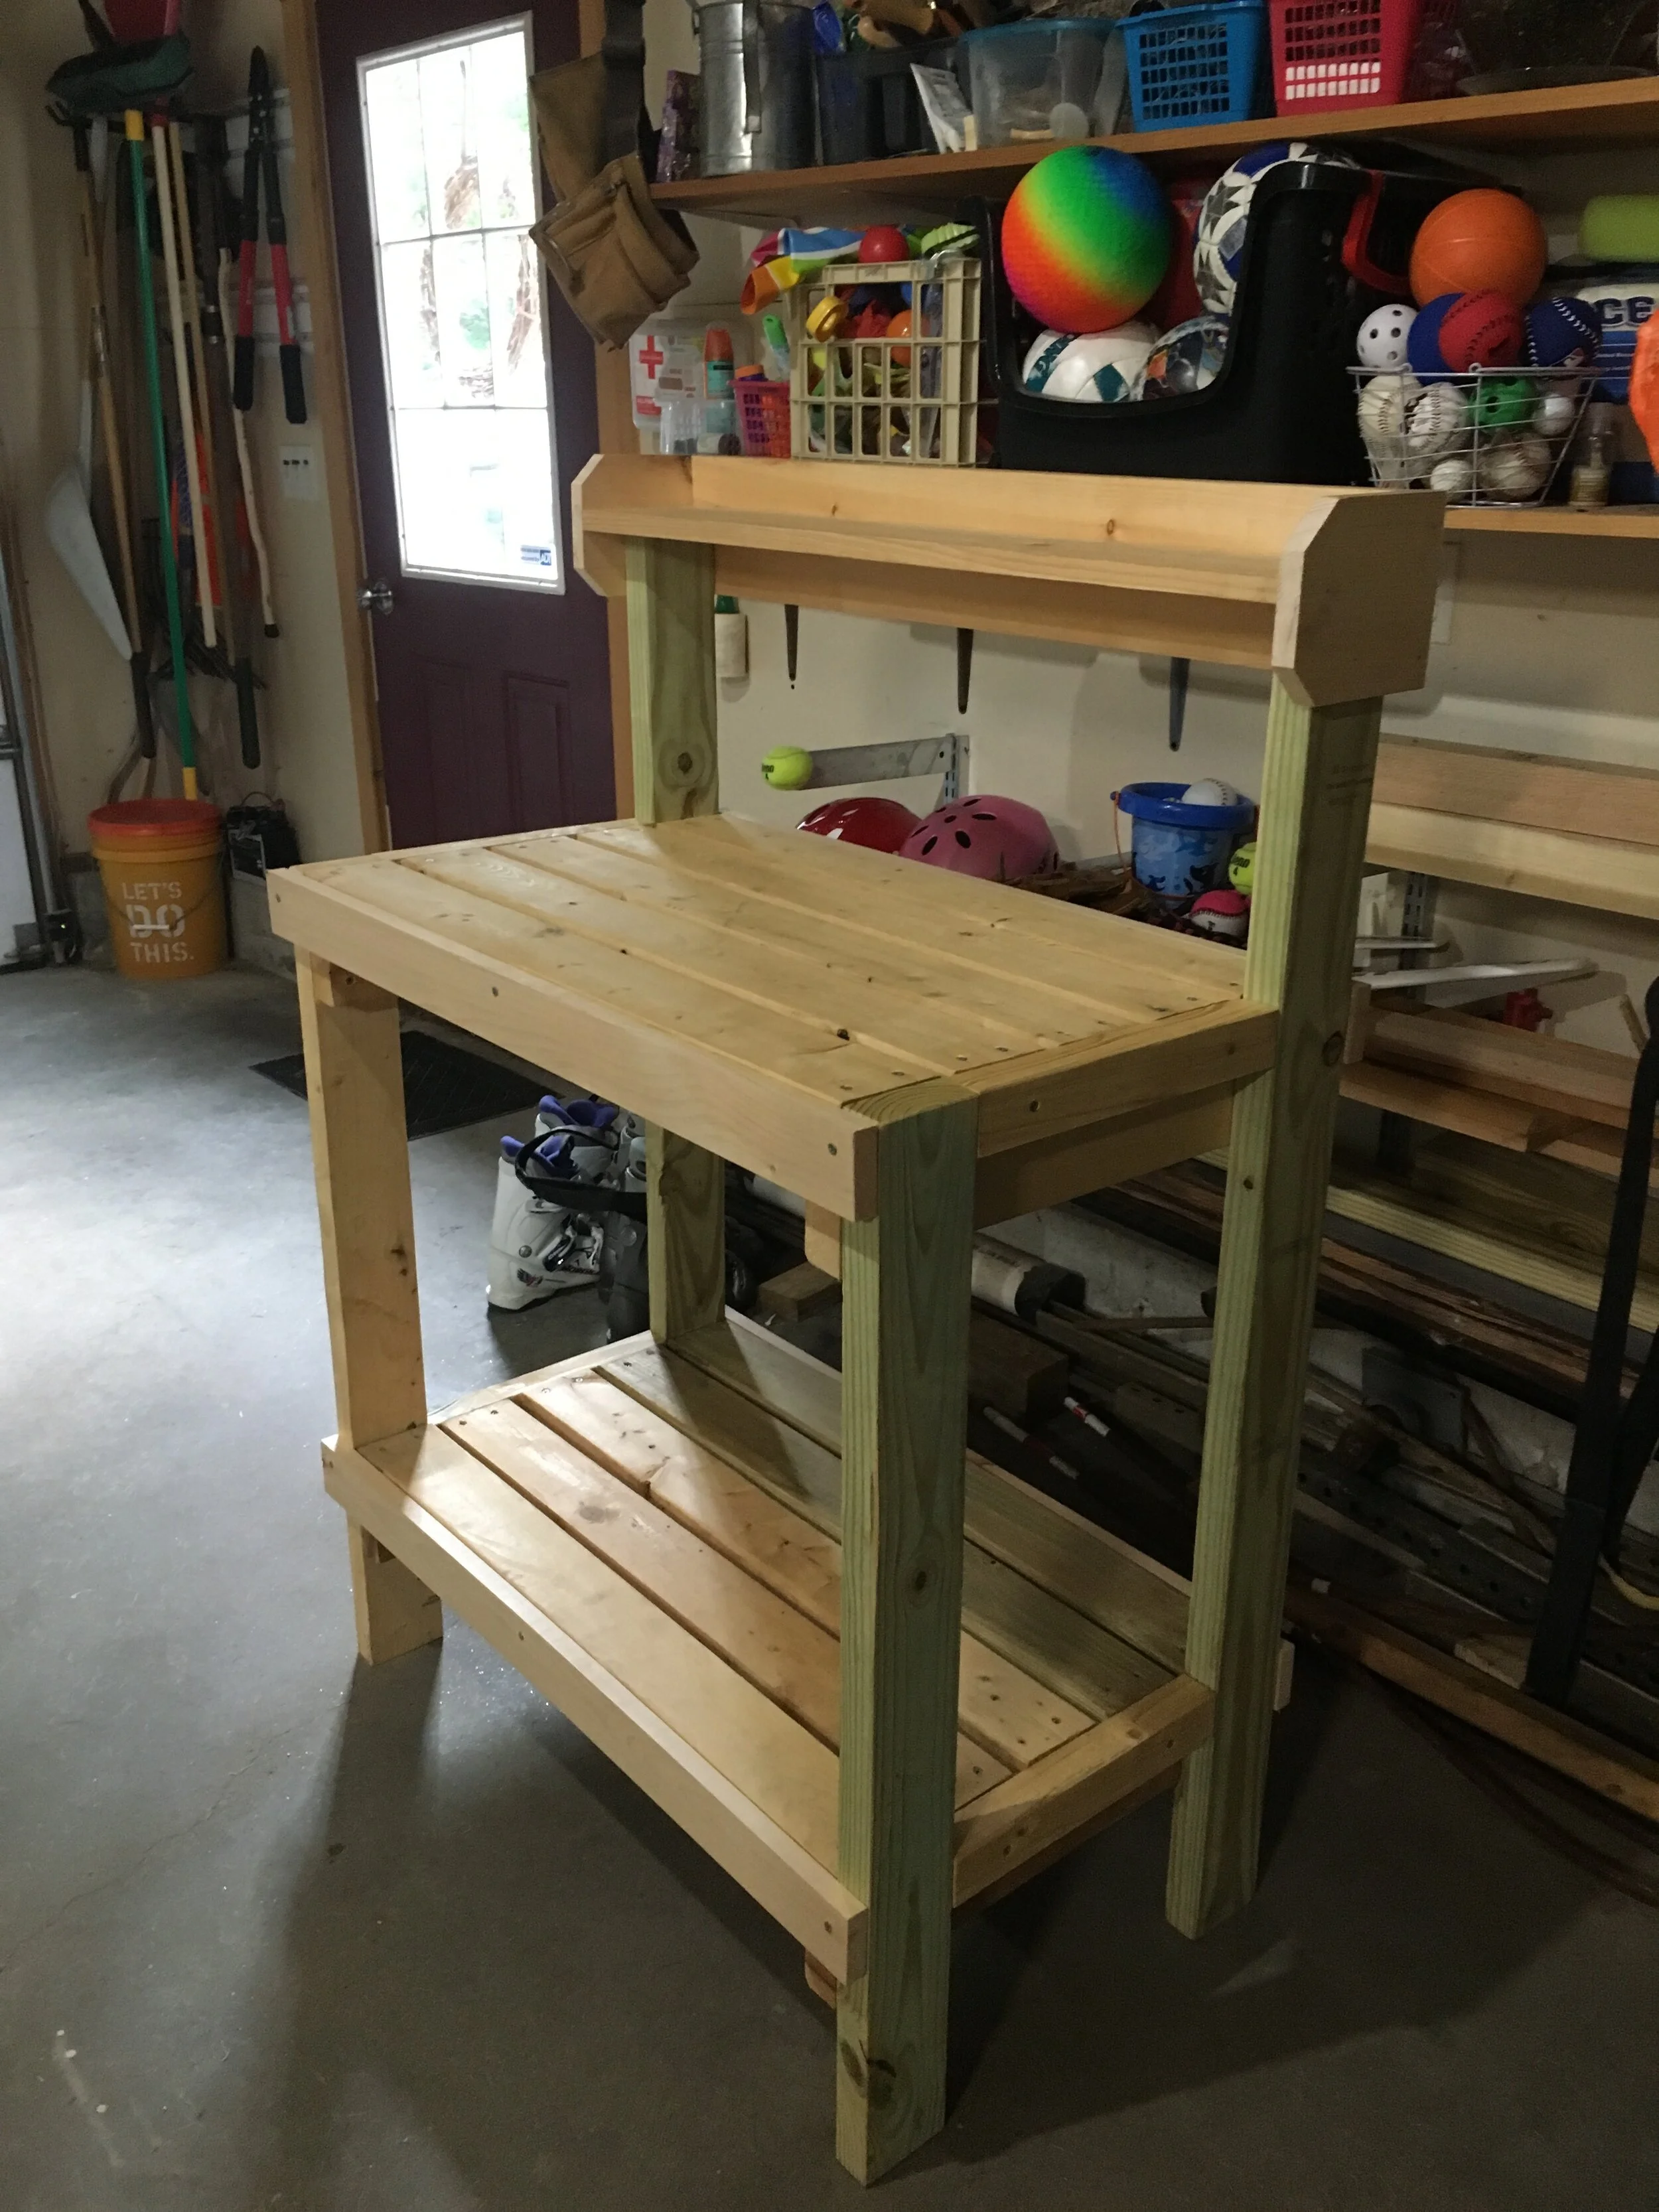
Then came time for painting - I chose to paint the whole potting bench in several coats of my favorite Valspar Stainblocking Bonding Primer/Sealer. This stuff has great coverage and really covers and seals well. My one regret was not giving all the wood pieces a single coat of paint before assembling - as once everything was assembled it was a huge pain to get in all the nooks and crannies.
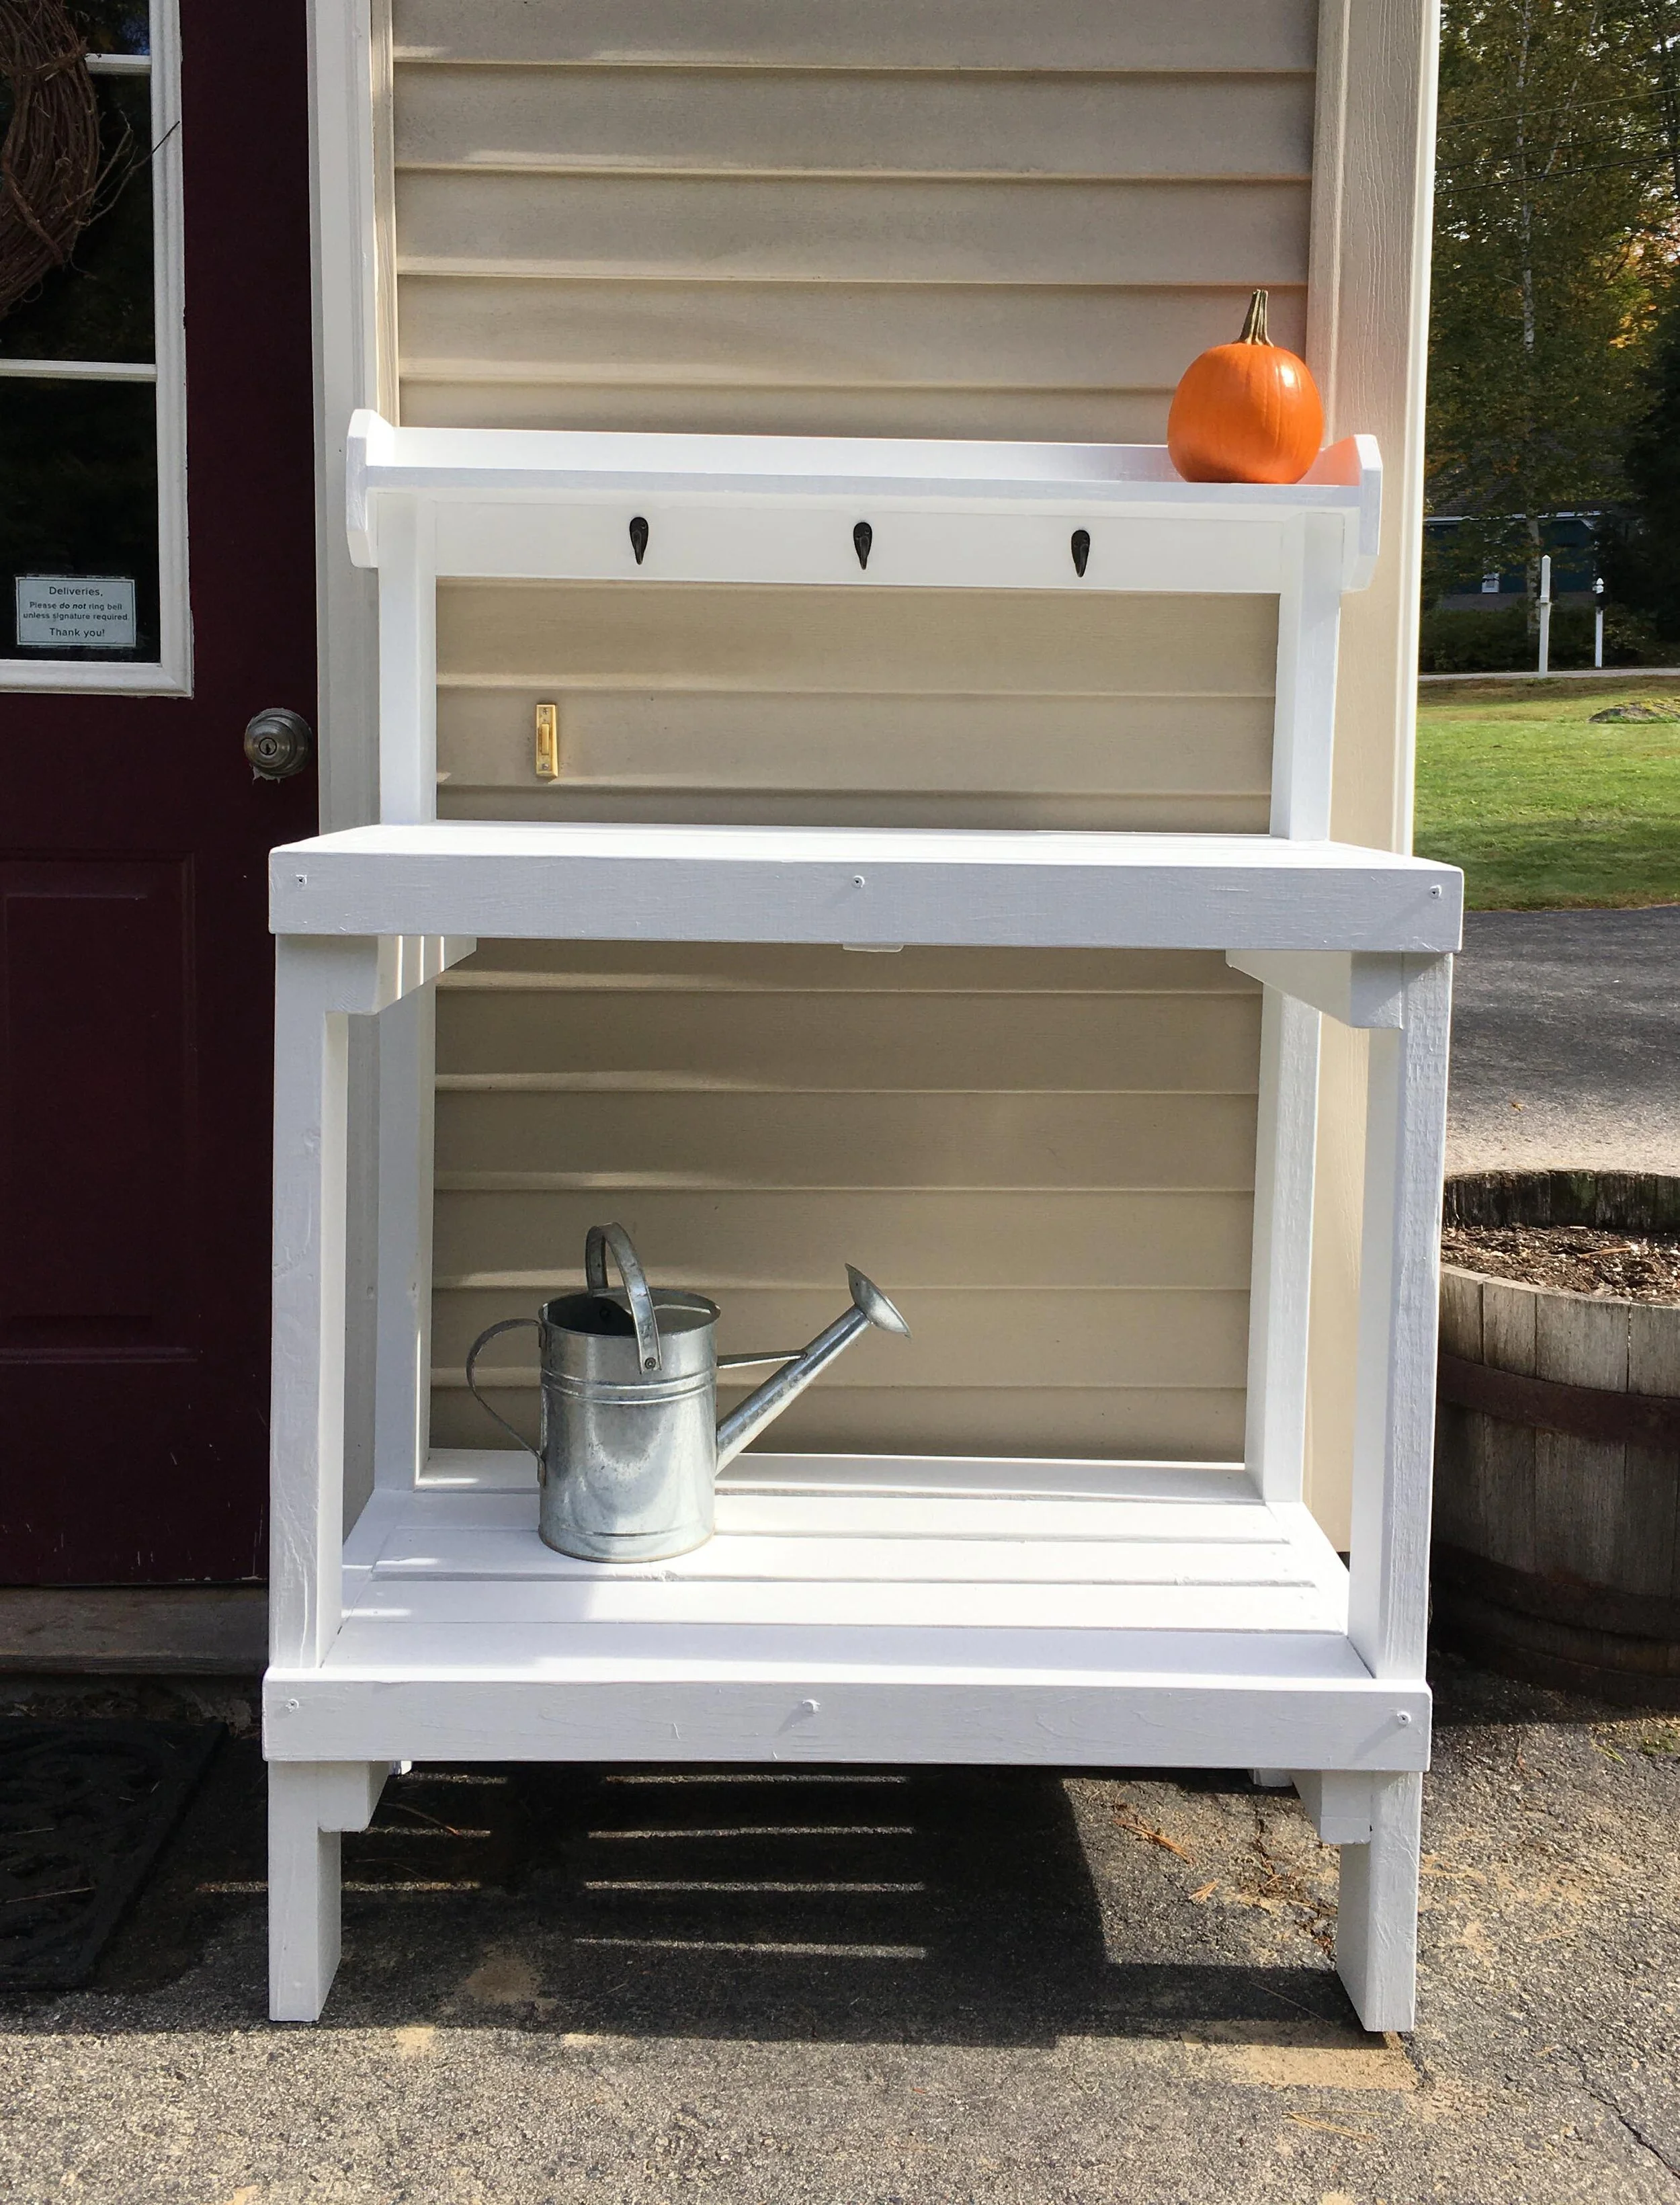
Finally I finished the project by adding a few little hooks underneath the shelf (very similar hooks linked here), from which I can hang tools or decor. I’m really happy with how this came out and how quickly it came together. I can’t wait to decorate it with some plants come next spring!
PS - I’m thinking this potting bench would also be great for parties and BBQ’s! It would be perfect on a patio or deck as a makeshift buffet table.
UPDATE: Spring, 2020
Just wanted to give a quick update after I made the potting bench last Fall: Over winter we decided to store it in our shed, just so we wouldn’t have to snow blow and shovel around it all winter, but as soon as the threat of snow passed in early Spring we brought it right back out. It’s been wonderful to have for planting and working on outside this spring, and due to the current Pandemic situation we’re getting more packages than ever so it’s great to have a designated spot for deliveries (and right in view of our security camera too).
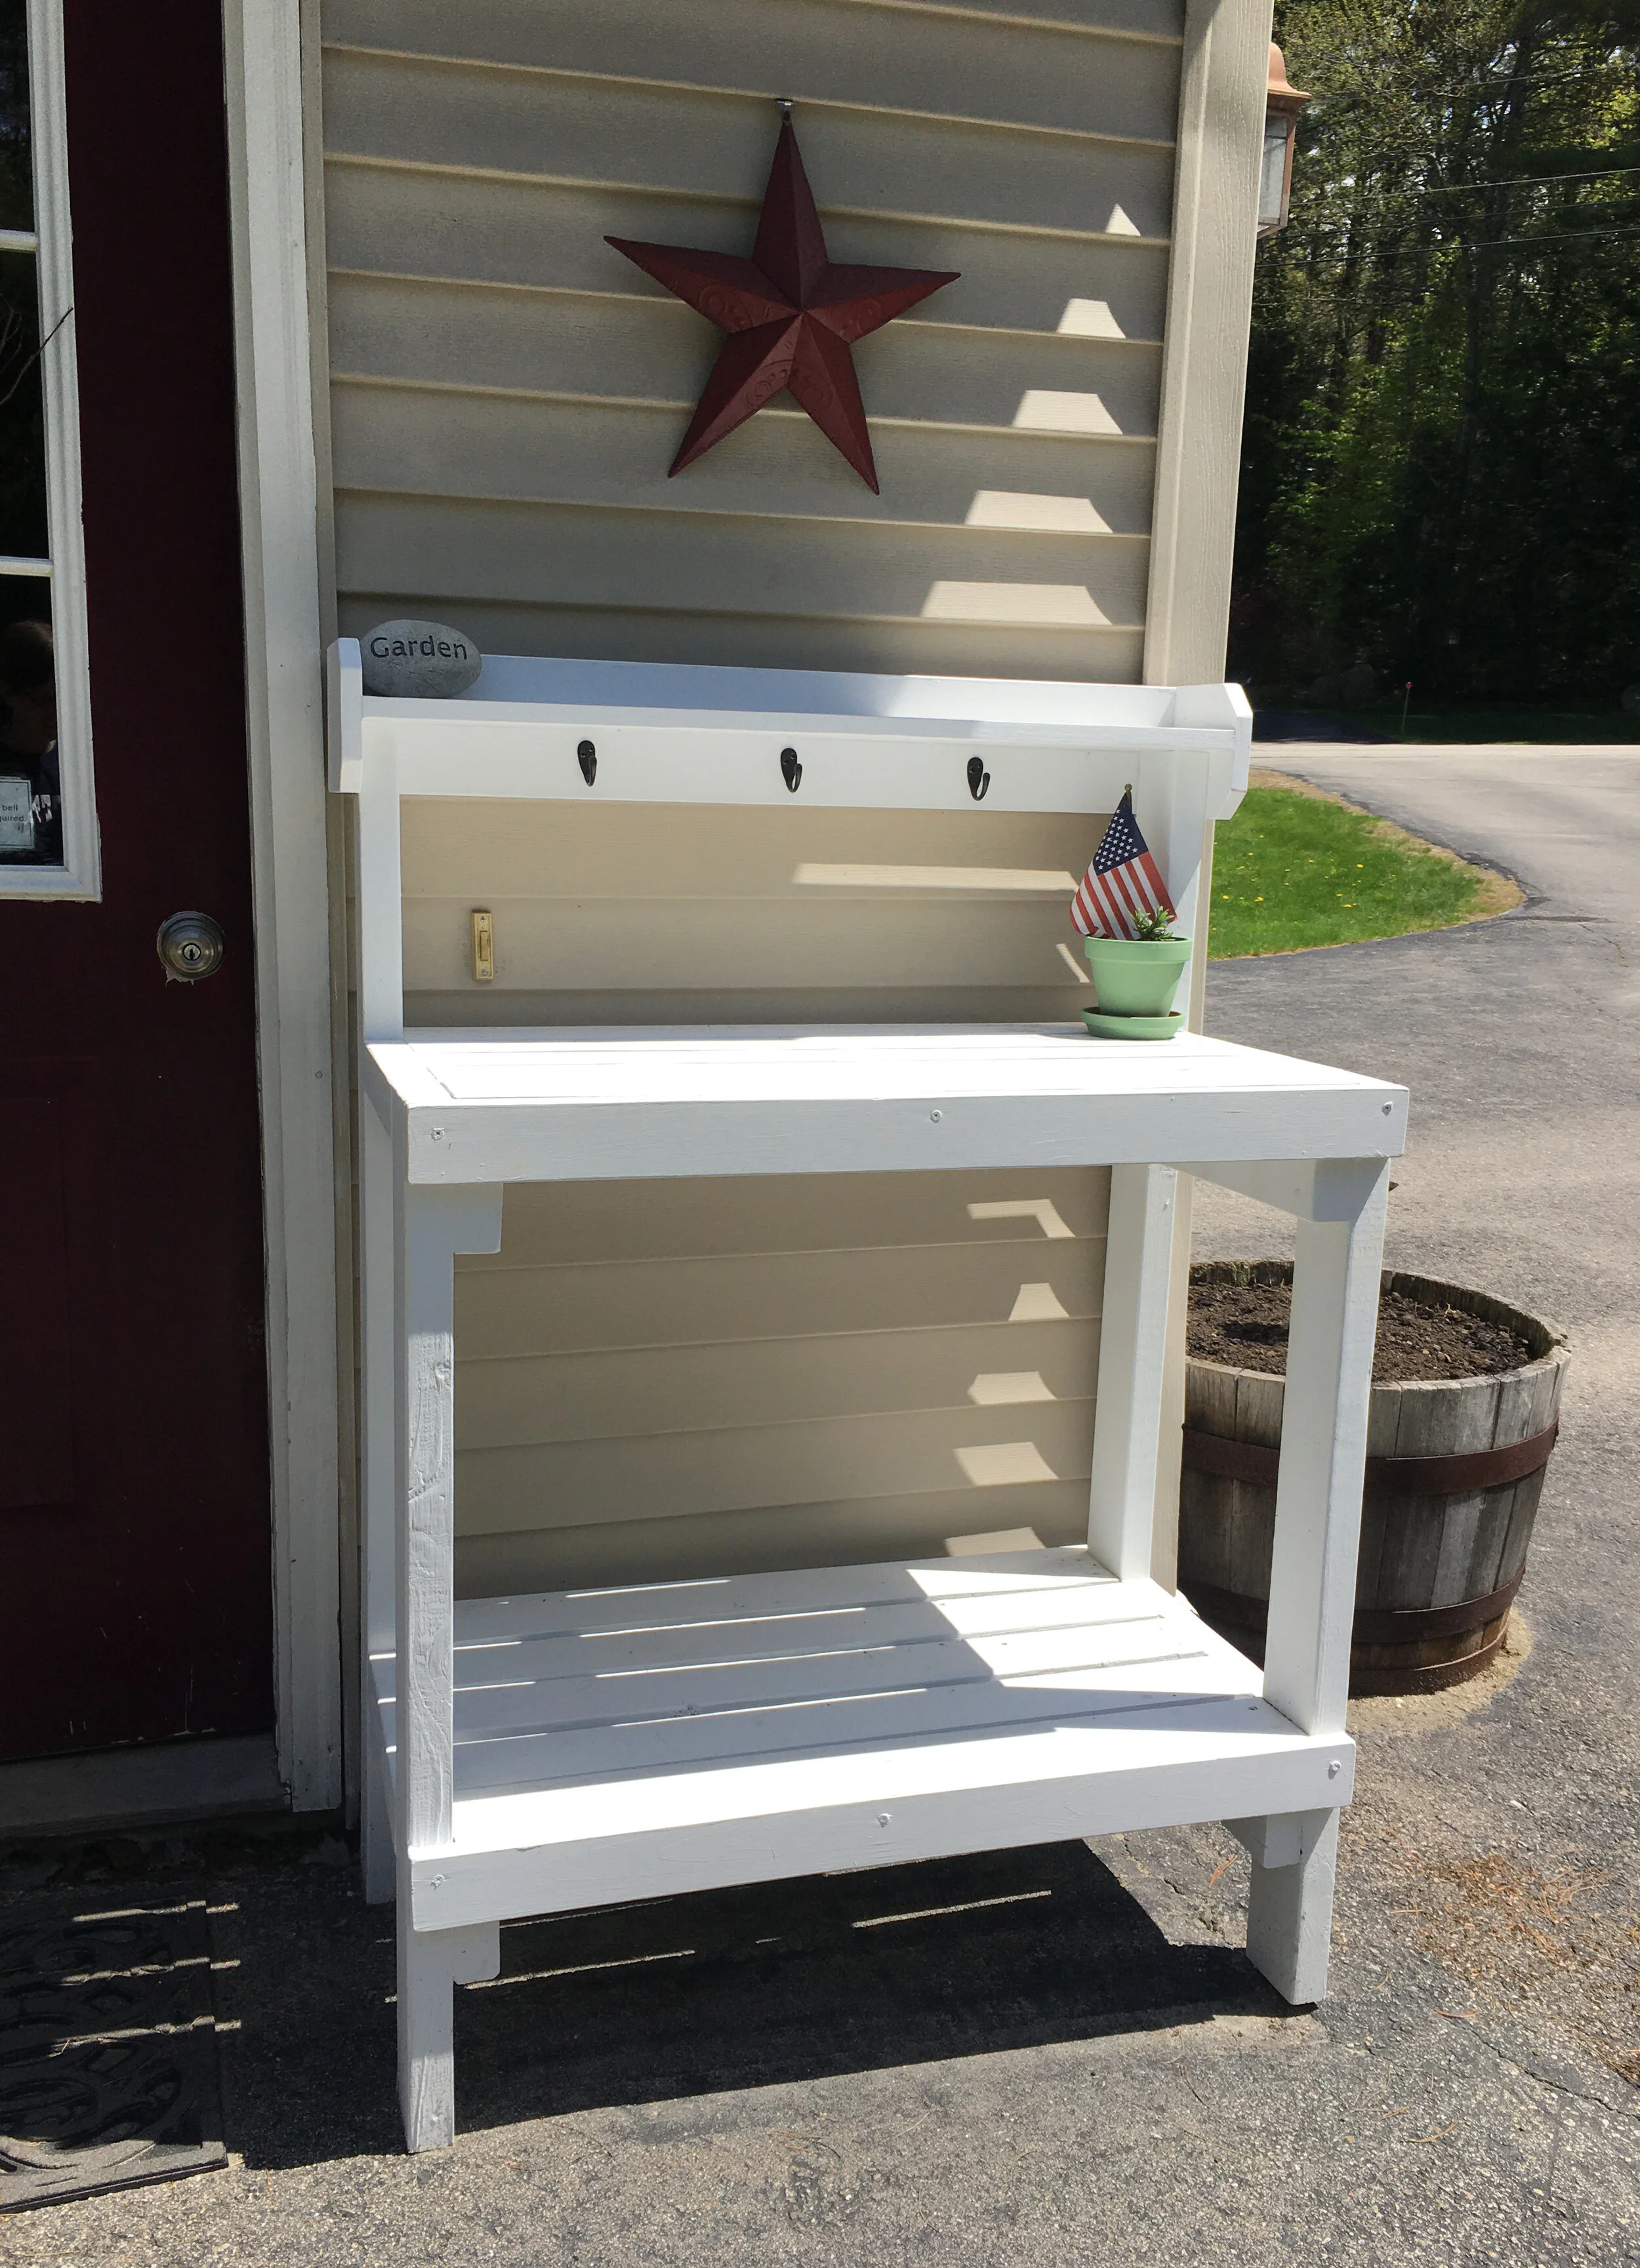
For decor right now I'm keeping it very simple, especially since the potting bench is utilized daily for mail - there's just a garden rock, a metal barn star (hung from a special hook that doesn't damage vinyl siding), and a small potted lavender plant with an American flag - all items we already had around our house.
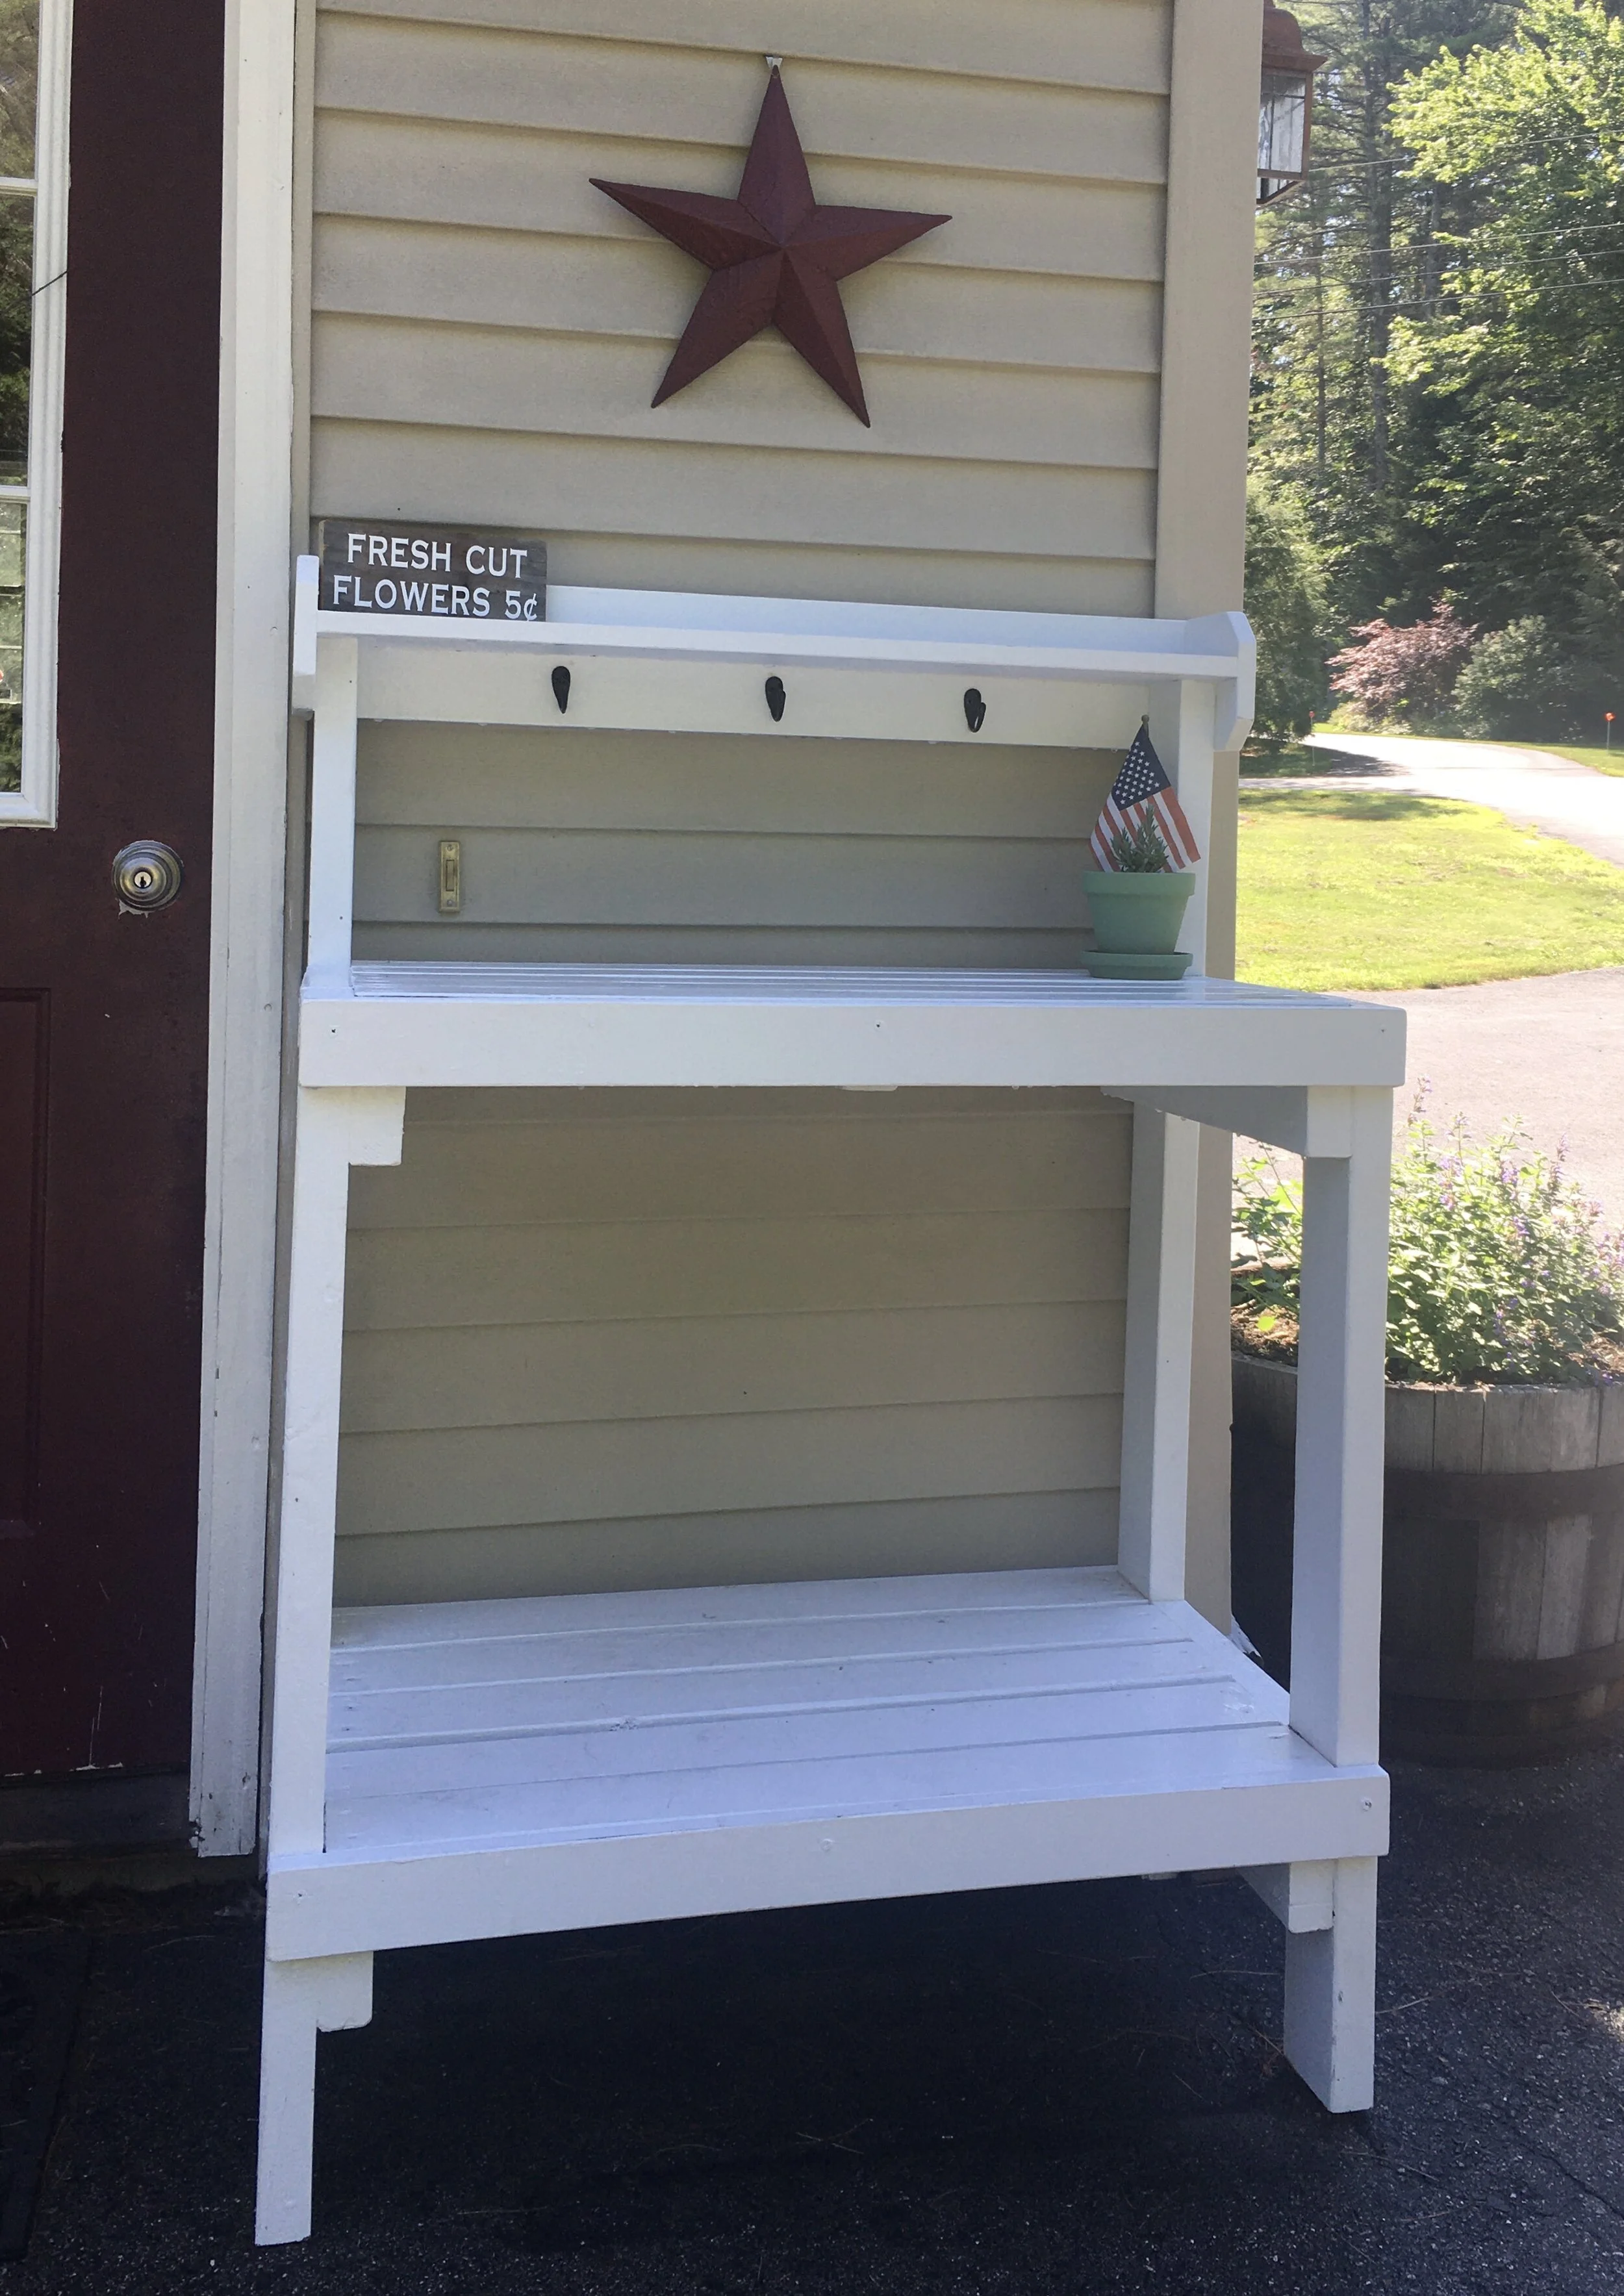
Summer, 2020 - sharing another little decor update for the potting bench:
I found this weathered piece of wood in our scrap bin and thought it would make a cute sign for the potting bench. I used my Cricut Machine to design and cut a stencil that said "Fresh Cut Flowers 5¢" and used it to paint the sign. I think it looks cute and it's a great finishing touch!