I'm a wife, stay-at-home mom, crafter, and blogger living in rural New England. As seen in Martha Stewart Living, Food Network Magazine, and more! | Tutorials, DIY, crafts, parenting tips, recipes, money saving tips, product reviews, local product features, New England living, intentional living, and more! |
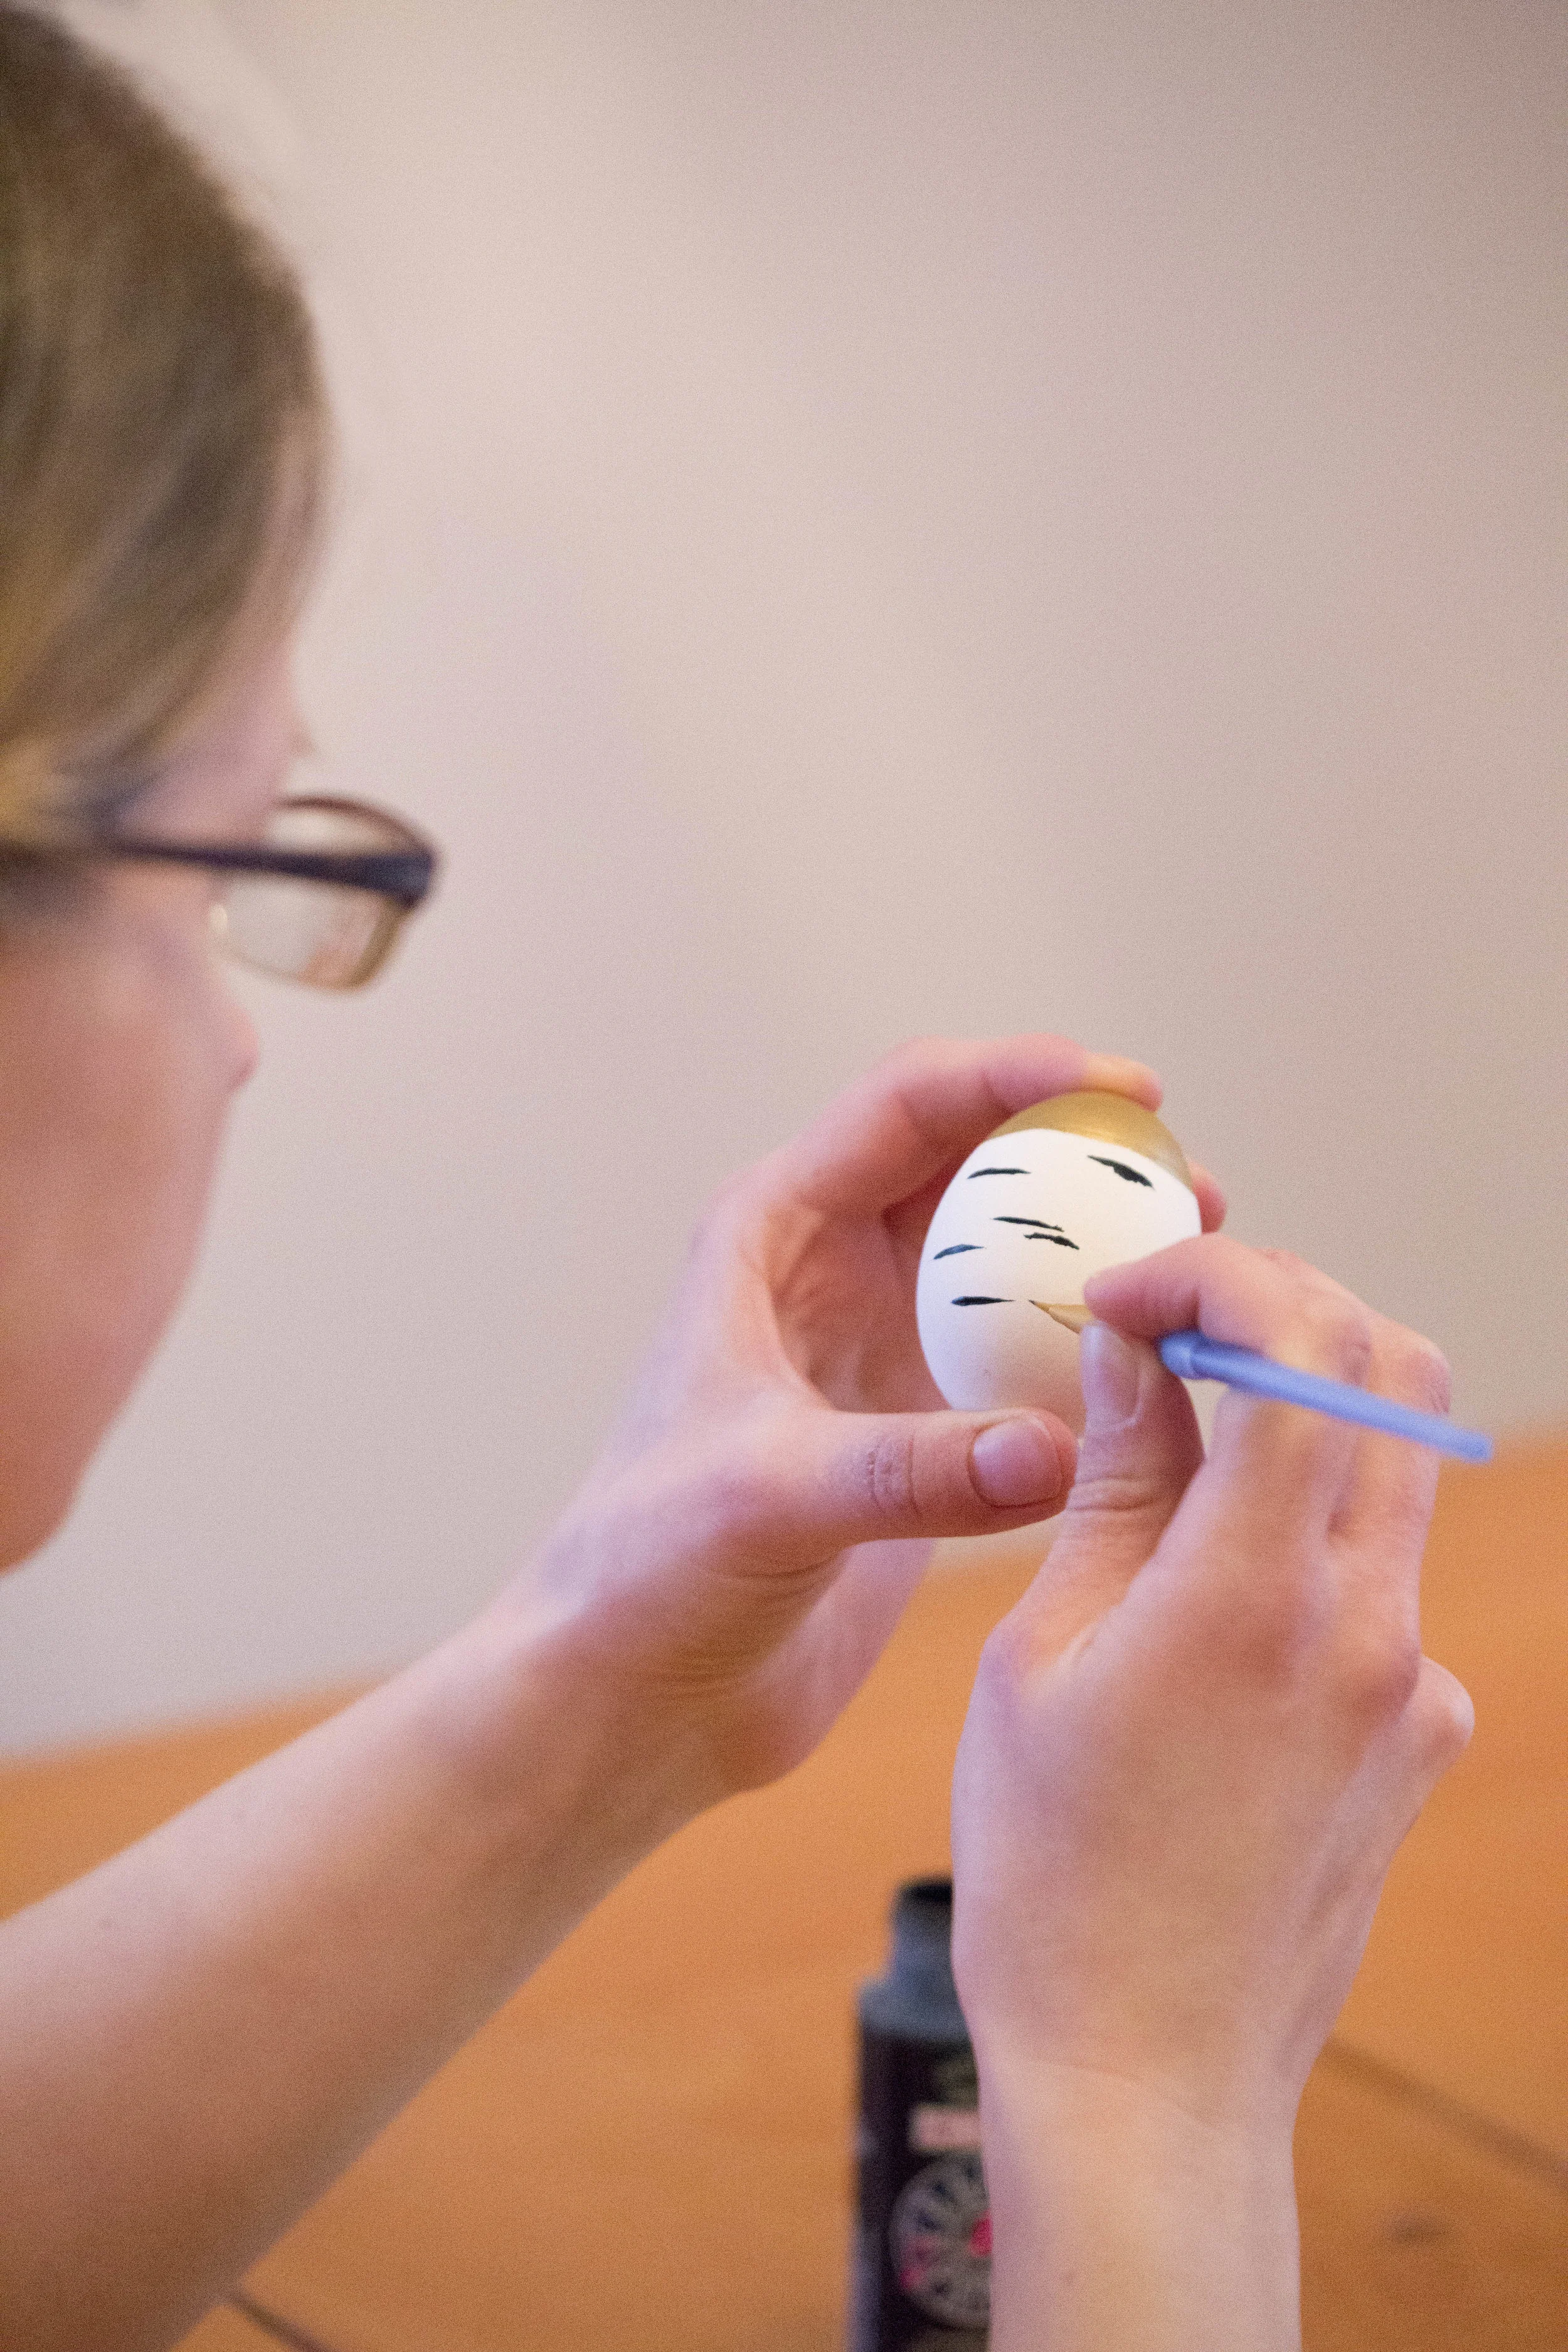
A few months ago, Food Network Magazine emailed me and asked if I'd be interested in designing a New Hampshire-themed egg for their Easter issue! I was completely blown away and honored for the opportunity. My New Hampshire egg design was a gold-dipped, faux birch bark egg - gold-dipped to represent our State House with it's golden dome, and the birch bark paint finish to represent our our state tree, the white birch. Fun Fact: My great-grandfather was a steeplejack and did the gold leaf on the New Hampshire capitol dome back in the 1920's! | This post contains affiliate links |
Creating one of these gold-dipped birch eggs for yourself is pretty simple! Here's the full how-to:
Materials:
faux egg (for the Food Network Magazine example and most of the photos in this how-to, I used an Eggnot, a fake ceramic egg - but you could also use a wooden egg. If you use real hardboiled eggs I would not recommend eating them after painting)
white acrylic paint (if your fake egg isn't already white to begin with)
paper cup
thin paintbrush
tinfoil to make a stand for the egg to dry on
How-to:
1. First, make a tinfoil ring to hold your egg while it dries between steps. Then if your egg isn't already white, paint white and allow to dry between coats. It may need several coats of paint.
2. Next shake the gold acrylic paint well and pour about half an inch of it into a small paper cup. Dip the top of the egg carefully into the cup. (I found it best to to do the gold-dip first, then paint the bark pattern after since sometimes the black lines were visible under the gold-dip.) Gold paint tends to be thick and you may have some swirling or thick drips after dipping. You can try to smooth these out a bit with a paintbrush but it usually looks cleaner if you just leave it as-is, even if you end up with a thick spot within the dip. After the gold dip, carefully place the egg in the tinfoil ring to dry.
3. Once the gold-dip is dry, use a thin paint brush to paint horizontal black lines on the egg, all the way around. Vary the placement and thickness of the lines a bit to mimic the look of birch bark. You may have to carefully hold the egg for a few minutes to let it air dry a bit before carefully setting it, gold top down, into the tinfoil ring to finish drying.
And that's it! While making them can be tedious with the drying time between steps, it's really quite easy. And in the event you don't feel like tackling this project yourself, I have a limited supply of painted Wooden Gold-Dipped Birch Eggs in my Etsy Shop!
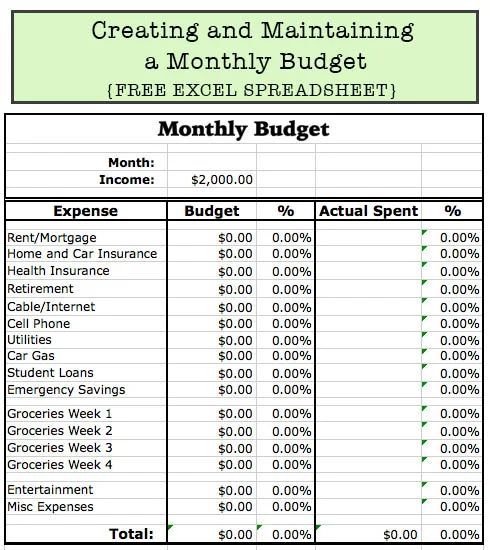
New Year means time for new Resolutions. Usually they boil down to a lot of the same things, and a big one for us is always saving more where we can. Every year everything gets more expensive - groceries, gas, clothes, healthcare, etc but our paychecks always seem to stay the same. I decided to compile some of my best blog posts on saving money and I hope it will help you jumpstart your savings too!
Hope everyone has a healthy, happy Christmas with friends and family. I'll be taking a little break from the blog and social media this week to enjoy time with our family and hope you'll be doing the same - it's important to unplug every once and awhile :)
Thank you all so much for all the orders this season - it's been my busiest yet and I am so thankful to all of you! Thanks so much again and Happy New Year!
Last call, folks! Orders received by tomorrow night (12/10/16) are guaranteed to ship in time for Christmas. After that I will do my best to get all orders out ASAP, but I can make no promises that they will definitely make it in time.
Please click the "SHOP NOW" button below if you would like to order anything. Thanks so much again for all your support!
Pssst! We'll be having a sale all next weekend for Black Friday/Plaid Saturday/Cyber Monday! Be sure to check here on Friday for the sale code - and if you want to get it Thursday night make sure to sign up for our Newsletter below ;)
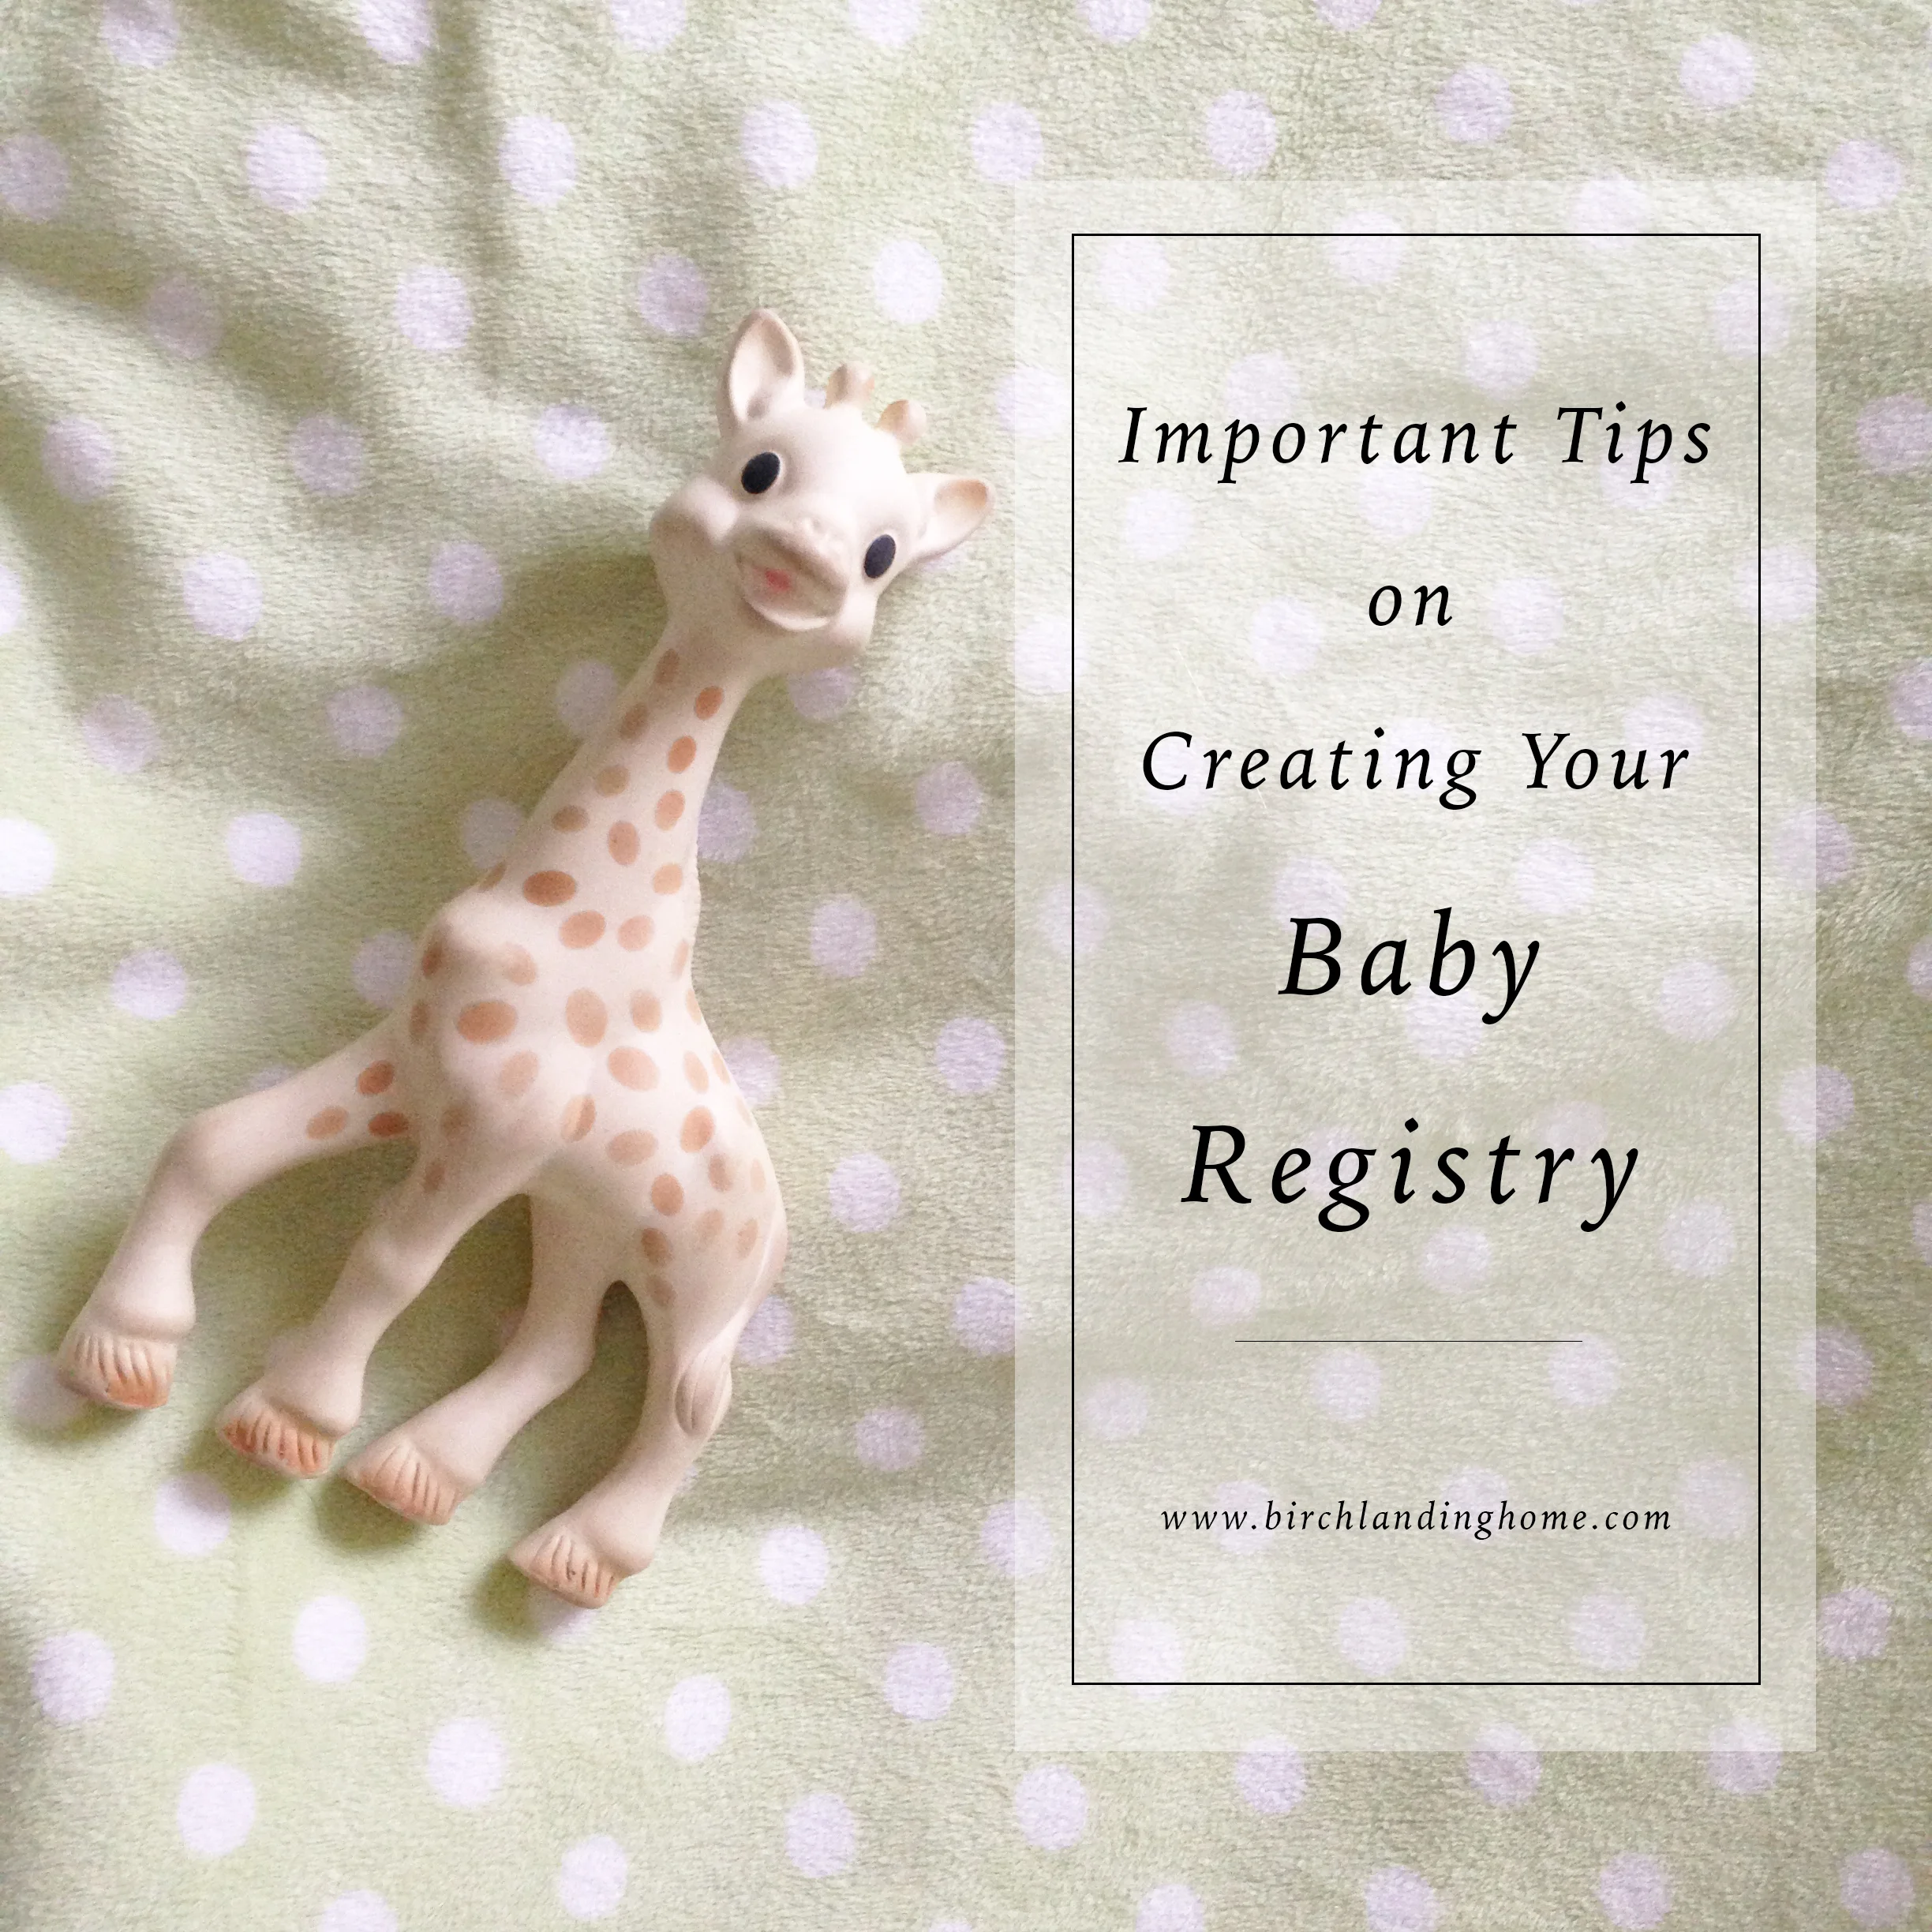
Creating a registry for your first baby is a lot of fun - and pretty overwhelming. A lot of people either end up registering for way too much stuff or not enough - so we're here to give you some tips to help find a good balance. | This post contains affiliate links |
Bring a Recently New Mom With You
If possible, bring a relative or friend who's had a baby within the last two years - but someone who won't be overbearing and force all their choices on you. This mom's insights will be invaluable as you navigate the overwhelming selection of Babies 'R Us. Show her the products that catch your eye and get her honest feedback on them - she'll think of things you haven't thought of (how hard something would be to clean, how often you'll actually use it, how quickly baby will outgrow it, etc). She'll also help you think of items you maybe hadn't thought of (like a carseat mirror, a mattress cover for your own bed, etc).
Less is More
As tempting as it is, don't put every single cute thing you see on your registry. Make sure to only put what you *really* need (plus a few fun things too of course). The reasoning is, there's a good chance family and friends will just buy a lot of the fun stuff on your list and overlook some of the most important items, leaving you to purchase the necessities.
Wide Variety of Price Points
Not everyone can afford shopping at Pottery Barn, or will be able to afford to buy you the $500 crib or $200 car seat. Yes, many baby essentials are expensive - but make sure you have items that everyone can afford on your list too. Think bottles, sheets, teethers, wipes, etc.
Think Beyond Newborn
Don't just register for newborn items - make sure to think ahead to what your baby may need their whole first year. Eventually they'll need a high chair, feeding items,
a push toy, etc. Make sure to think beyond the first three months and include some items for when they get a bit older.
Choose Products to Grow with Baby
If possible, choose items that do double duty and will grow with your baby. Carseats are a big one: you have the option of choosing an infant carseat (one with a handle that detaches from the carseat base) and then buying a toddler or convertible carseat later that year when baby outgrows it. -OR- you can choose a convertible carseat from the get-go, one that's good from around 4-70 pounds, so you just buy one carseat and you're good for the next six years or whenever it expires (yes, carseats do expire). Other items that you can choose to grow with your baby are convertible pack-and-plays, high chairs/boosters, and carriers.
Don't Register for Baby Clothes
Other than some necessities (side snap onesies for newborns, sleep sacks, etc), don't register for clothes. Why, you ask? The most practical reason is that clothing availability changes so often (sometimes a few times within a season) - so when you add a cute outfit to your registry today, there's a good chance it will be unavailable in a month or so. Another reason is that shopping for baby clothes is so special and enjoyable for your family and friends, you don't want to deprive them of that. And yes, you probably will end up with some outfits that aren't in your taste, but if it makes Great Aunt Madge happy it's worth it.
Politely let your family and friends know that contributions to your baby's savings account are welcome. It's important to start saving early and even if it's small, it's worth putting money away little bit, by little bit.
Something for You Too!
Don't forget Mama too! Ask for something practical that you need or that will help make things a bit easier. Maybe a gift card to a maternity shop so you can invest in some great nursing bras or nursing-friendly clothes. Or maybe a one-month subscription to a meal delivery service, because every new parent knows how rough that first month can be (and the last thing you want to do is drag your sleep-deprived self and a newborn to the grocery store).
I hope I gave you some helpful tips on planning your baby registry! If you're looking for some ideas on specific items to get, be sure to check out our Top Baby Must-Haves post.
Our little one made this Paper Pizza at story time at the public library the other day and I thought it was so cute I wanted to show you all. The story time lady read several pizza-related stories and then had the kids make their own paper pizzas to bring home. The kids really enjoyed this project and I think it would make a great activity for a pizza-themed kids' party.
They gave the kids paper plates and a brown crayon to color the "crust" (our daughter skipped this part), then a paper red circle "tomato sauce" to glue down, shredded yellow paper "cheese", as well as paper mushrooms, pepperonis, and meatballs. After the pizzas were done, the kids took them home in actual pizza boxes which was the perfect finishing touch to the project. These brand new boxes had been bought ahead of time at the local pizza shop for a few cents each.
I don't remember the actual books she read before the project, but I've linked some cute-looking pizza stories here (affiliate links):
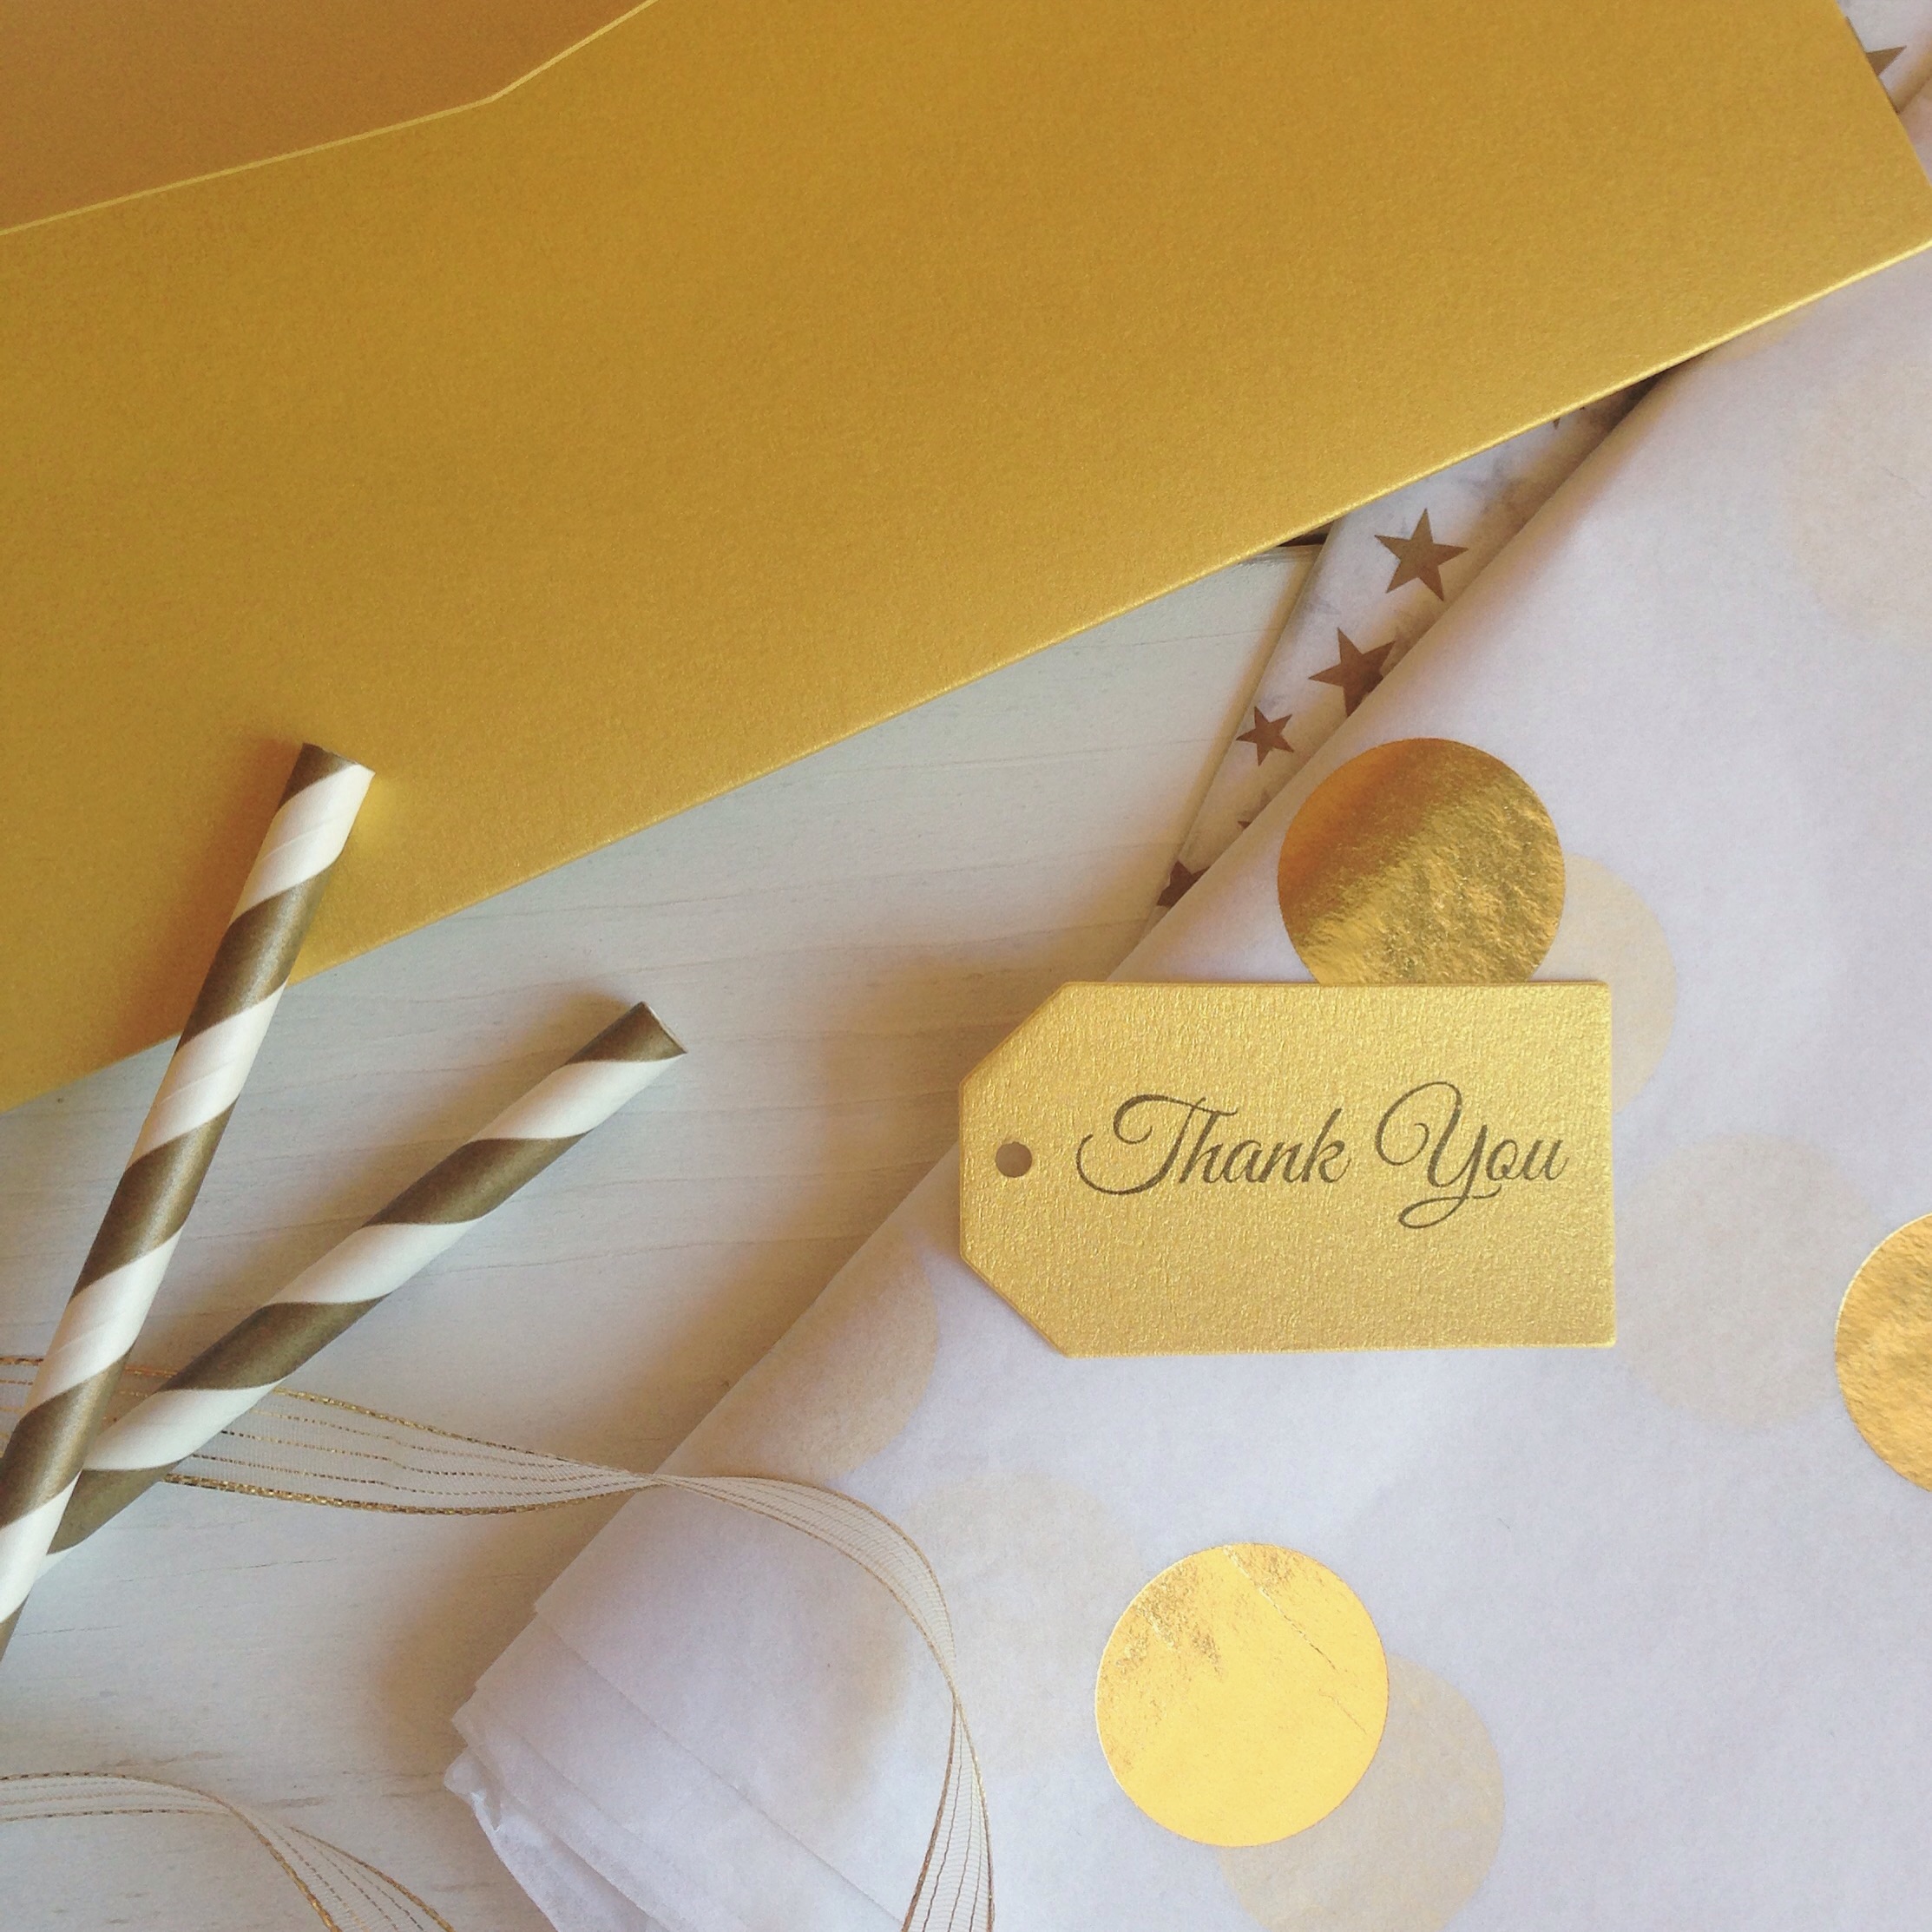
I just received some of the most beautiful party and gift supplies from Creative Wife & Joyful Worker and Essential Packaging, Inc. Now I really want to throw a party, STAT! They included ribbons, tissue paper, favor bags, gift boxes and bags, straws, seals, gift tags and more, all in a white and gold theme. Essential Packaging definitely has an eye for coordinating everything beautifully!
Thank you so much again, ladies! All the items are gorgeous and so luxe.