I'm a wife, stay-at-home mom, crafter, and blogger living in rural New England. As seen in Martha Stewart Living, Food Network Magazine, and more! | Tutorials, DIY, crafts, parenting tips, recipes, money saving tips, product reviews, local product features, New England living, intentional living, and more! |
Our kids’ playhouse is pretty special - it was built for them by their Grandfather and the door was built by their Dad. It’s a special spot that has gotten a lot of use over the years and is always a hit when they have friends over. For awhile now I’ve wanted to add a little flagpole but wasn’t able to find an affordable boat flagpole in the dimensions I needed so I decided to make one myself. | This post contains affiliate links |
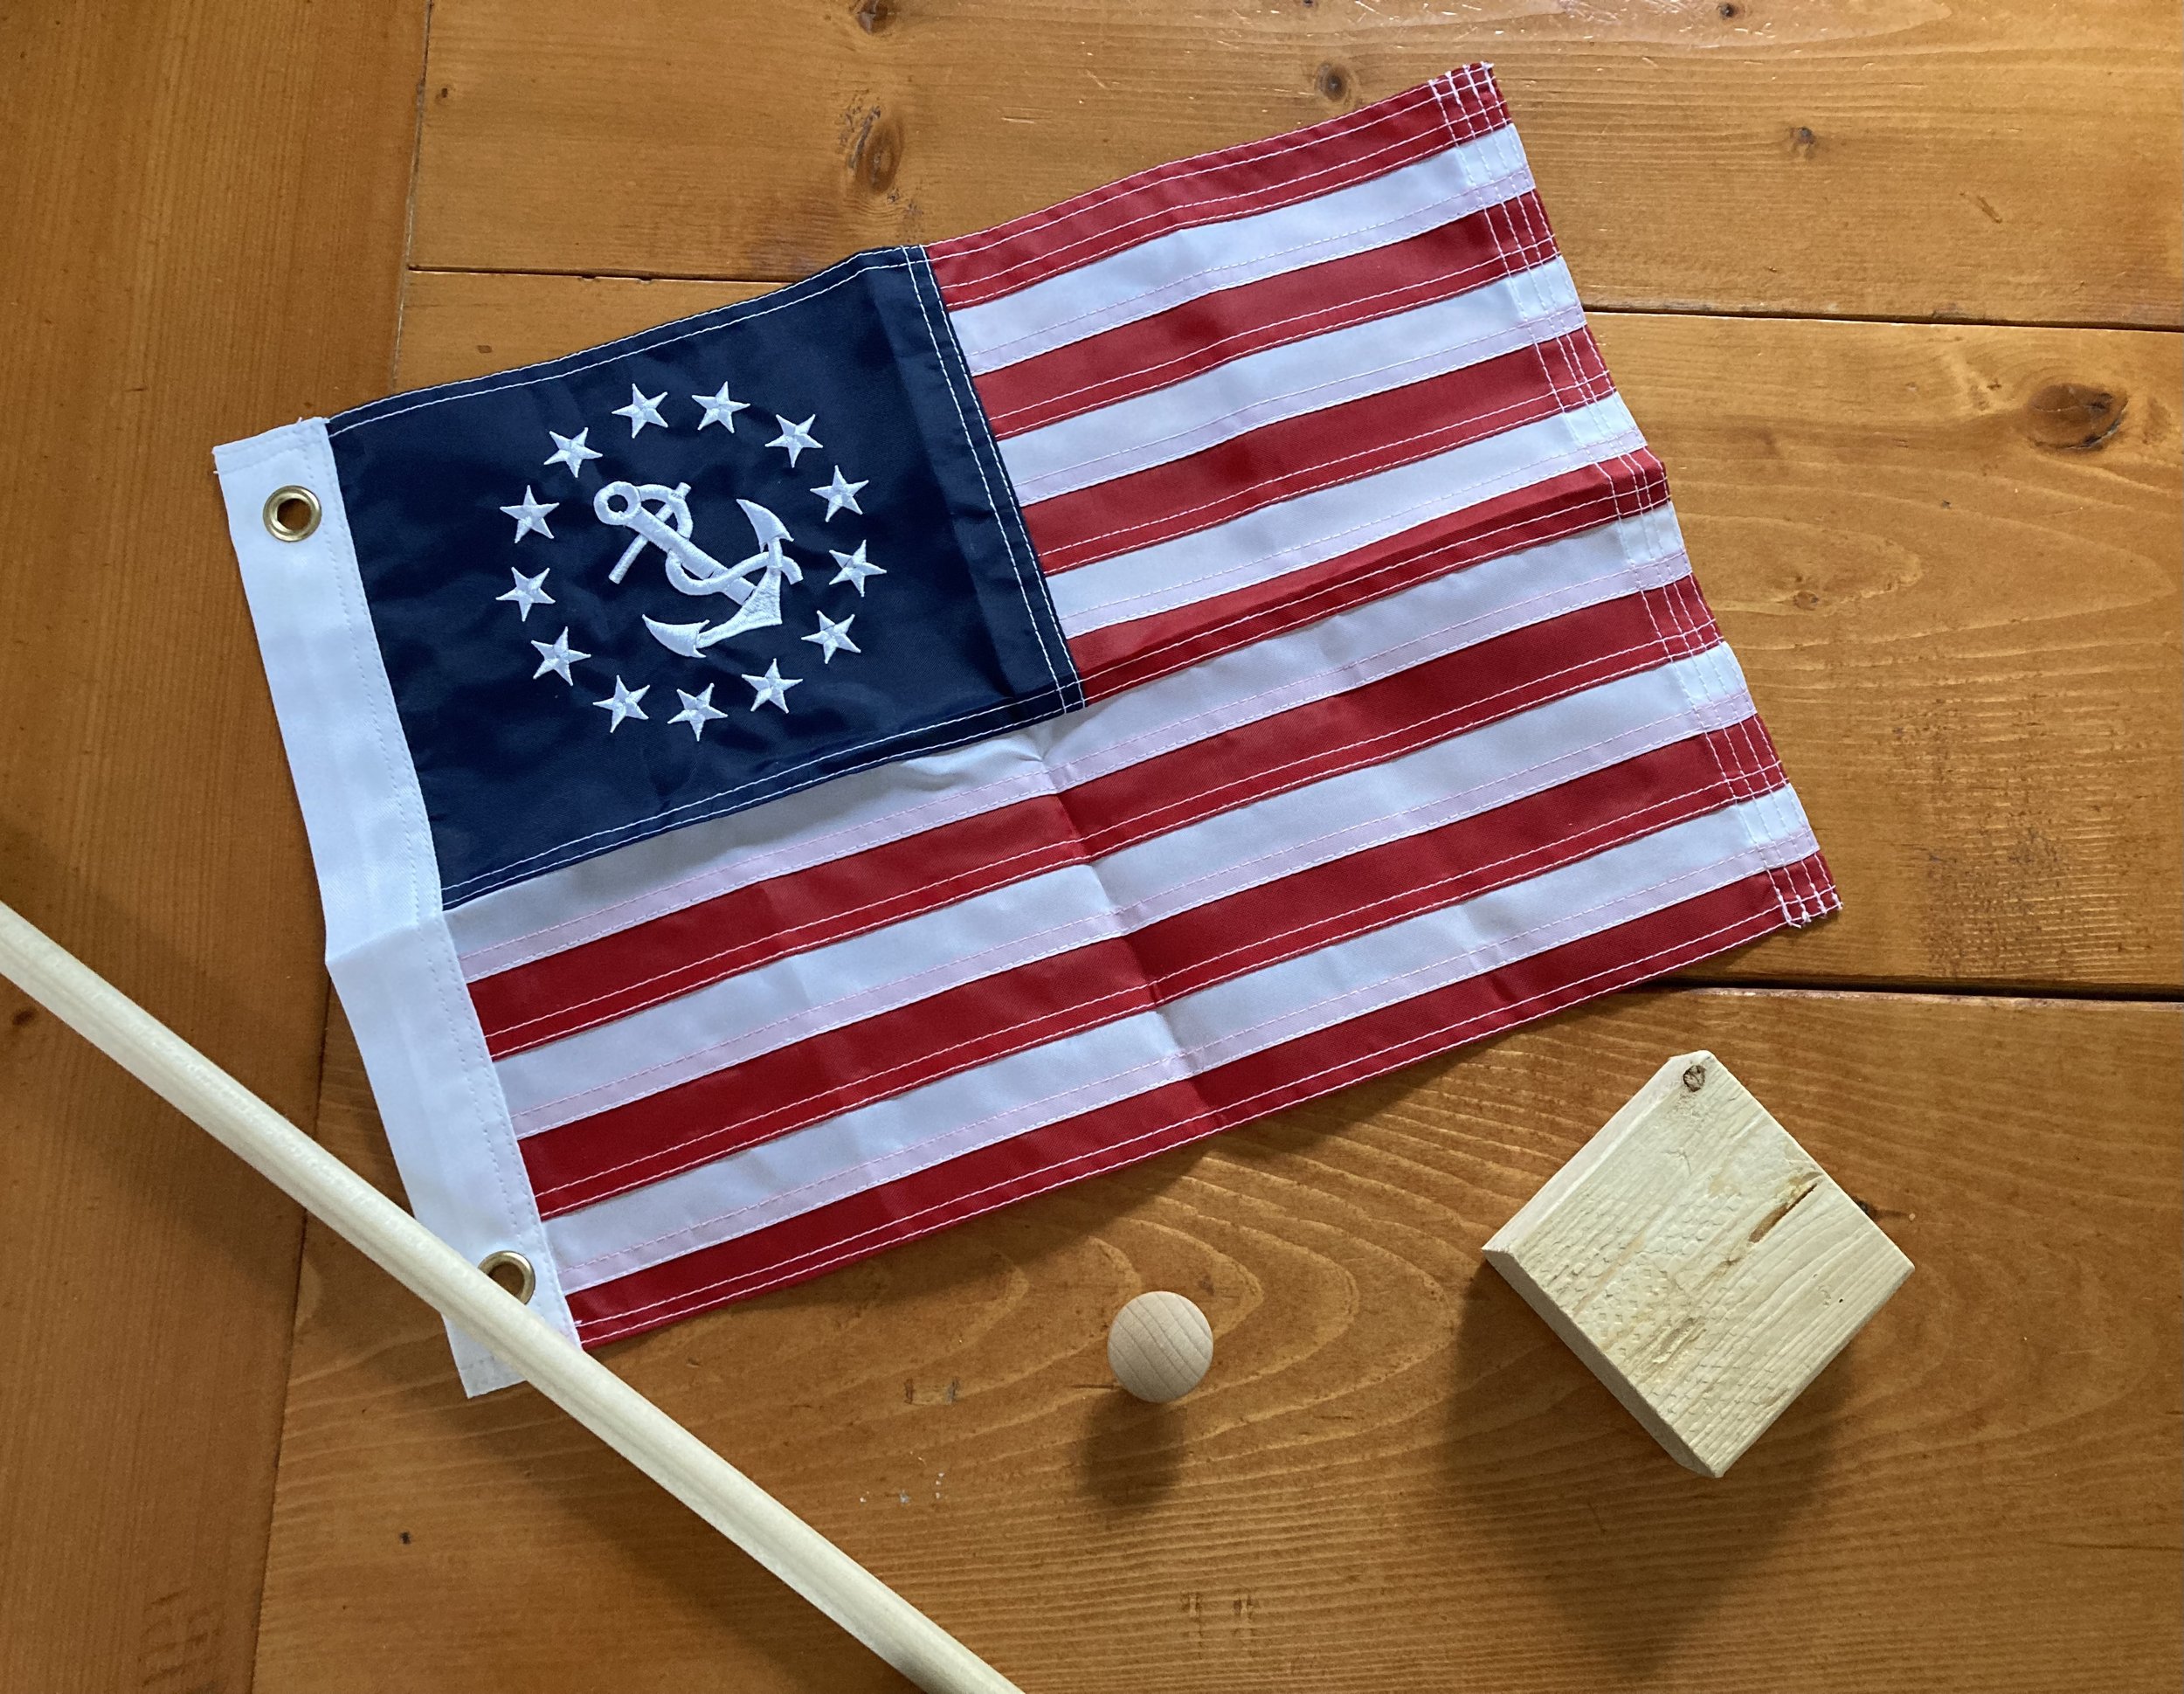
optional: you could use a boat flagpole and bracket kit if you wanted to make this quick and easy, but I was trying to make this project as inexpensively as possible and opted to make it myself with scrap wood we already had - I also wanted more control over the length of the pole and the angle which is another reason why I decided to make it myself.
How-To:
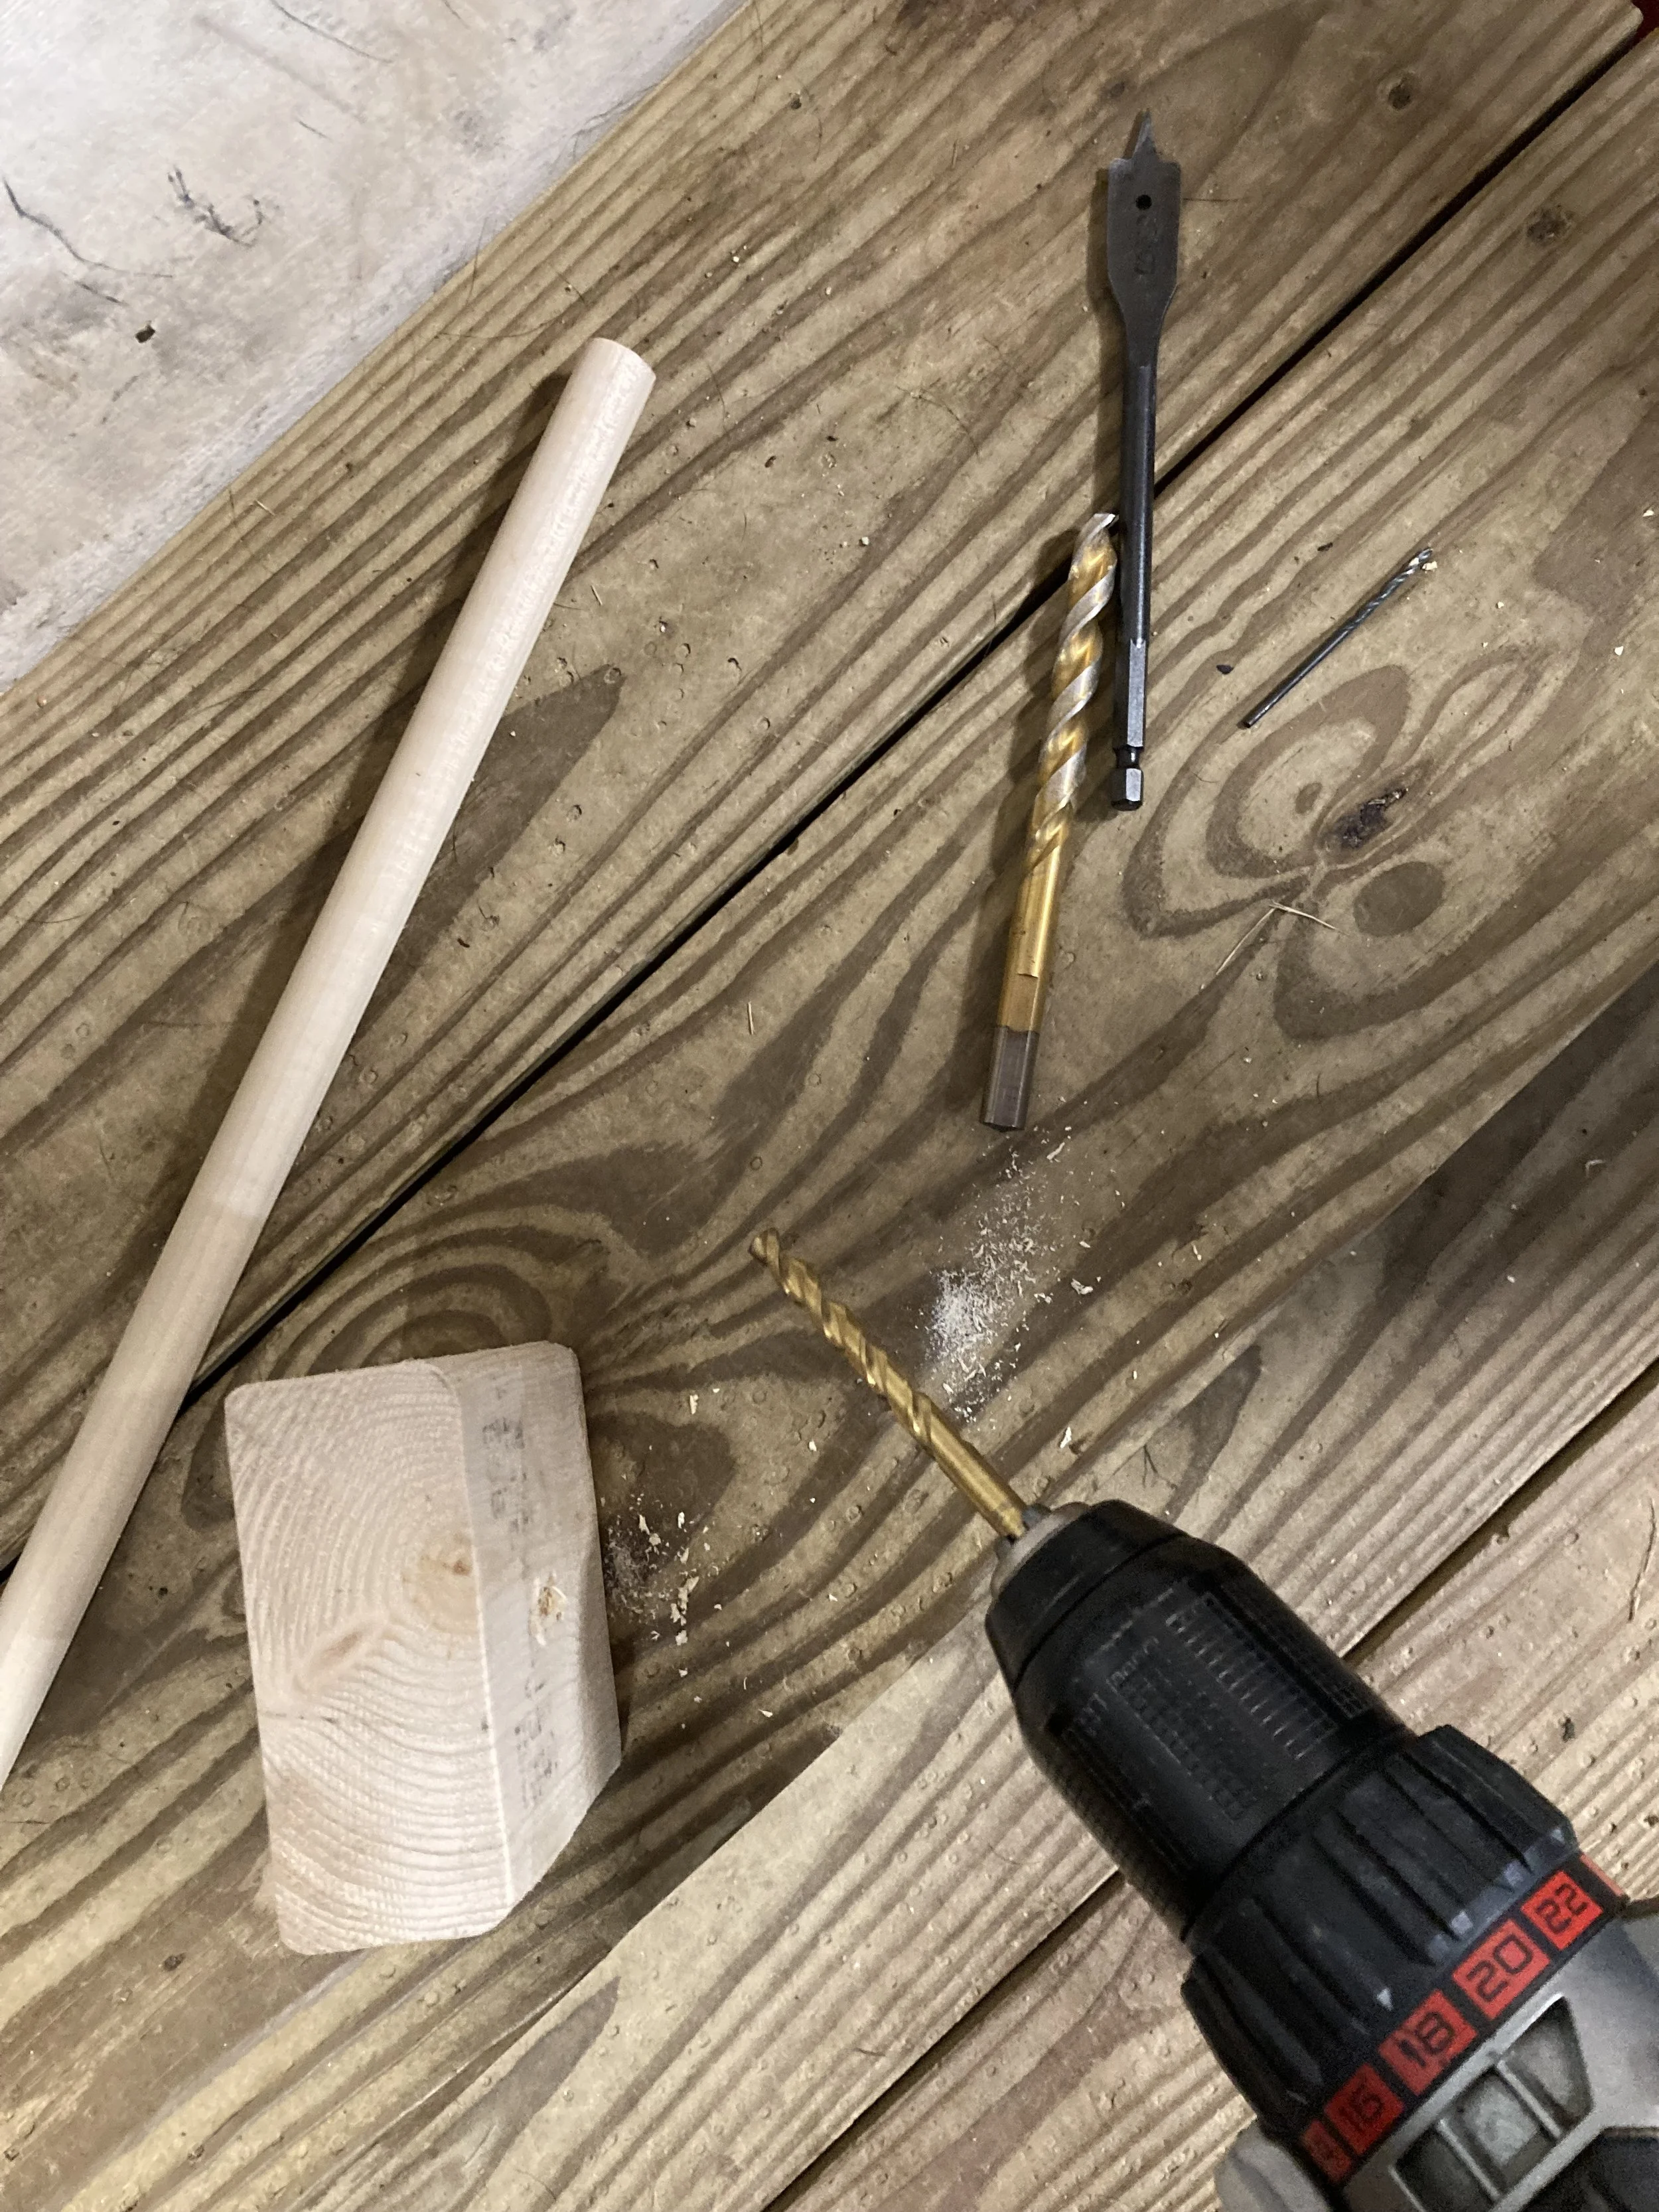
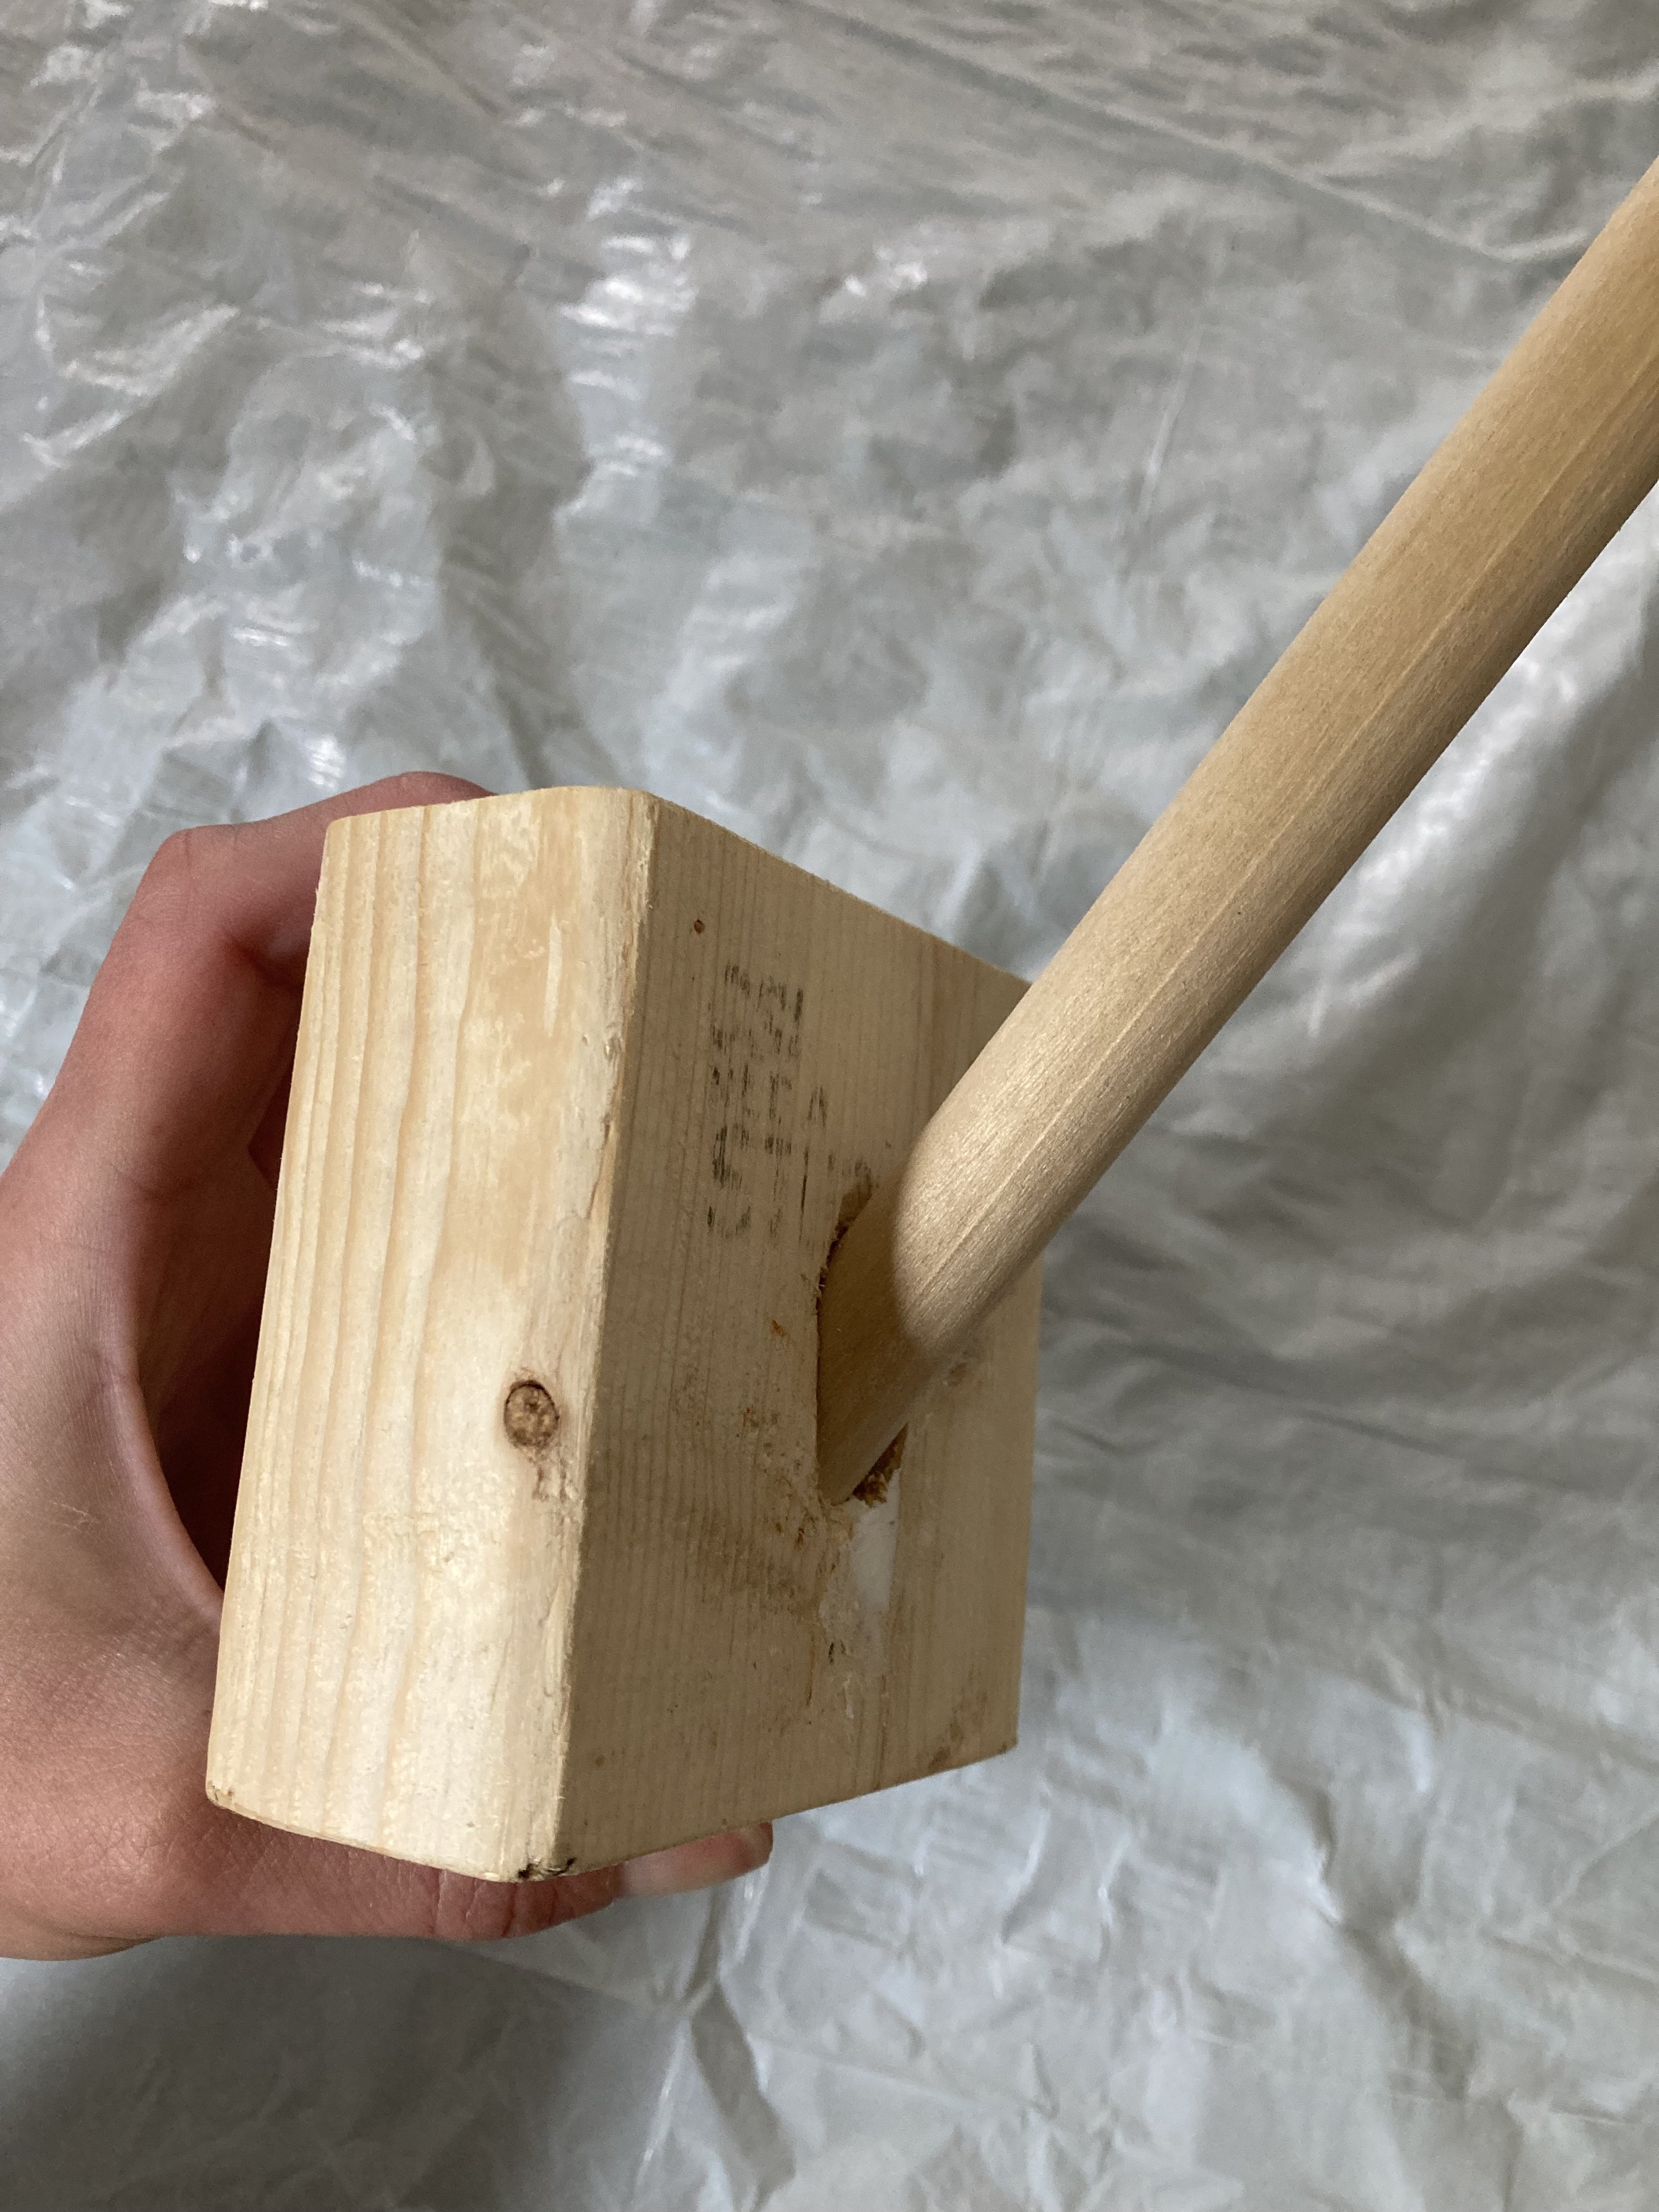
First, I decided on the angle of the dowel into the scrap piece of 2x4 and made a pilot hole at that angle with a small drill. Then I kept going up in drill sizes to make the hole the correct diameter. (Note: I do not recommend using a spade bit.. I tried that and it was terrible going in at an angle. We ended up borrowing a drill bit in correct final size to finish the hole.)
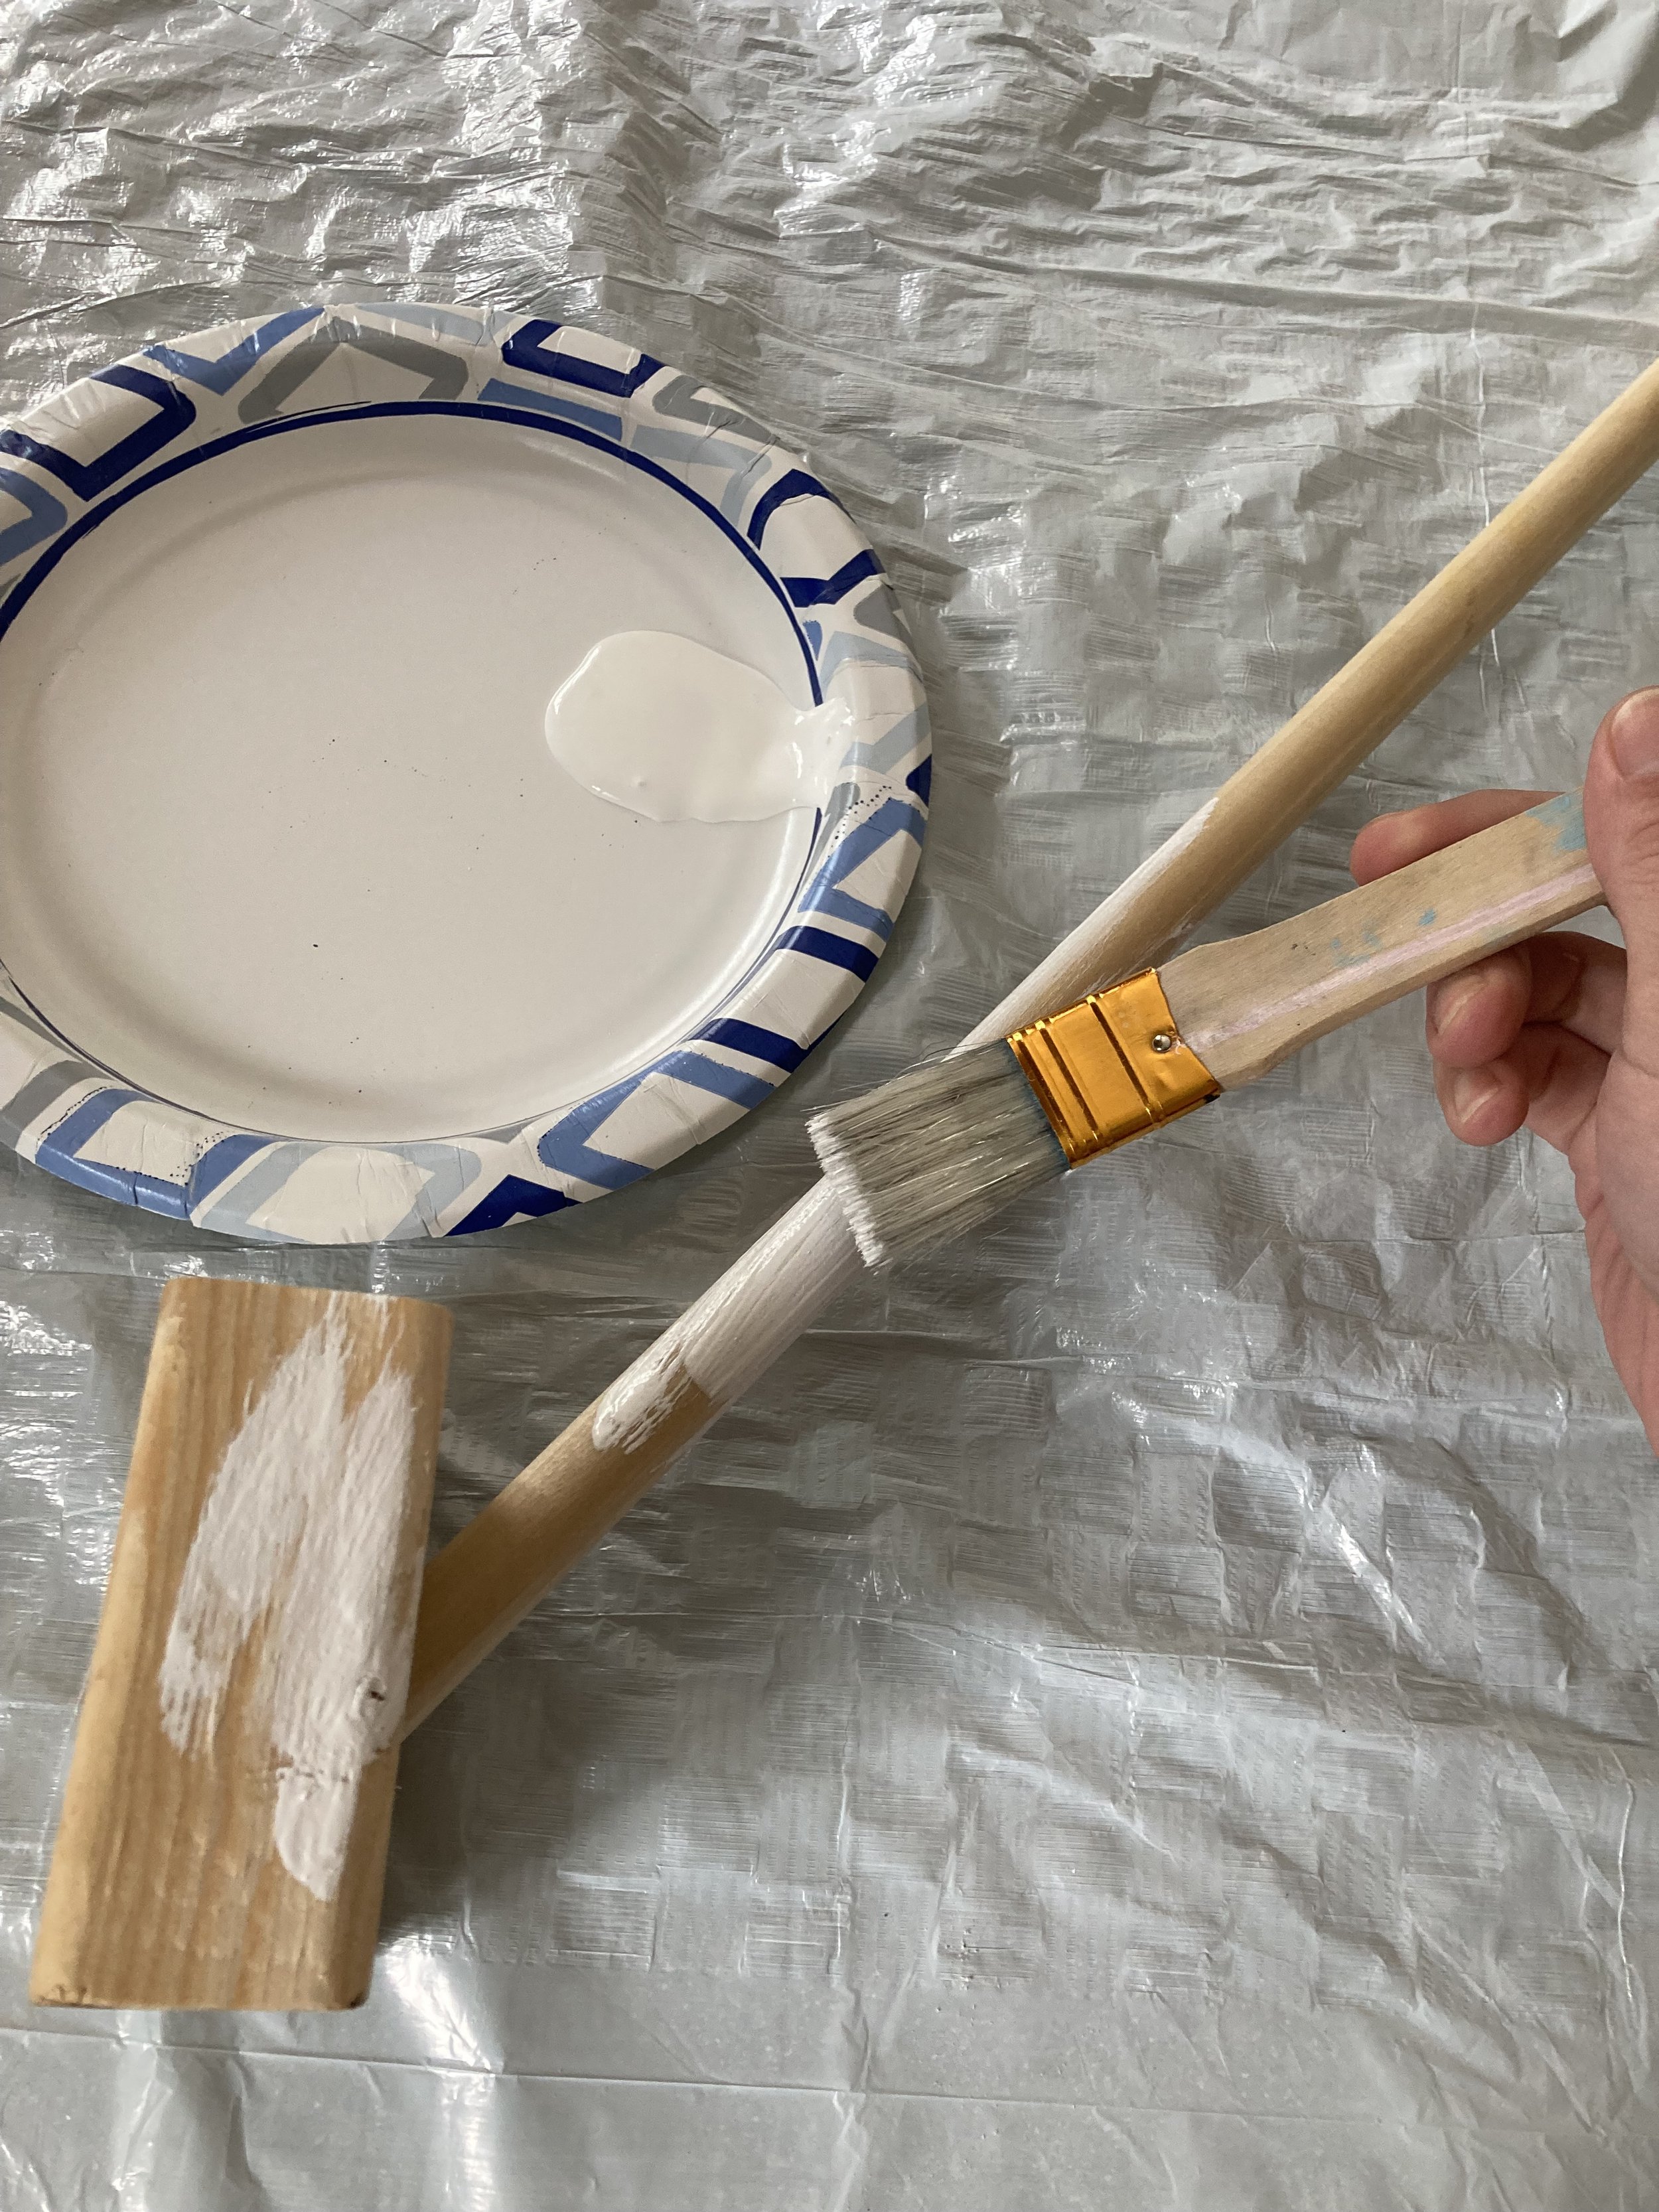
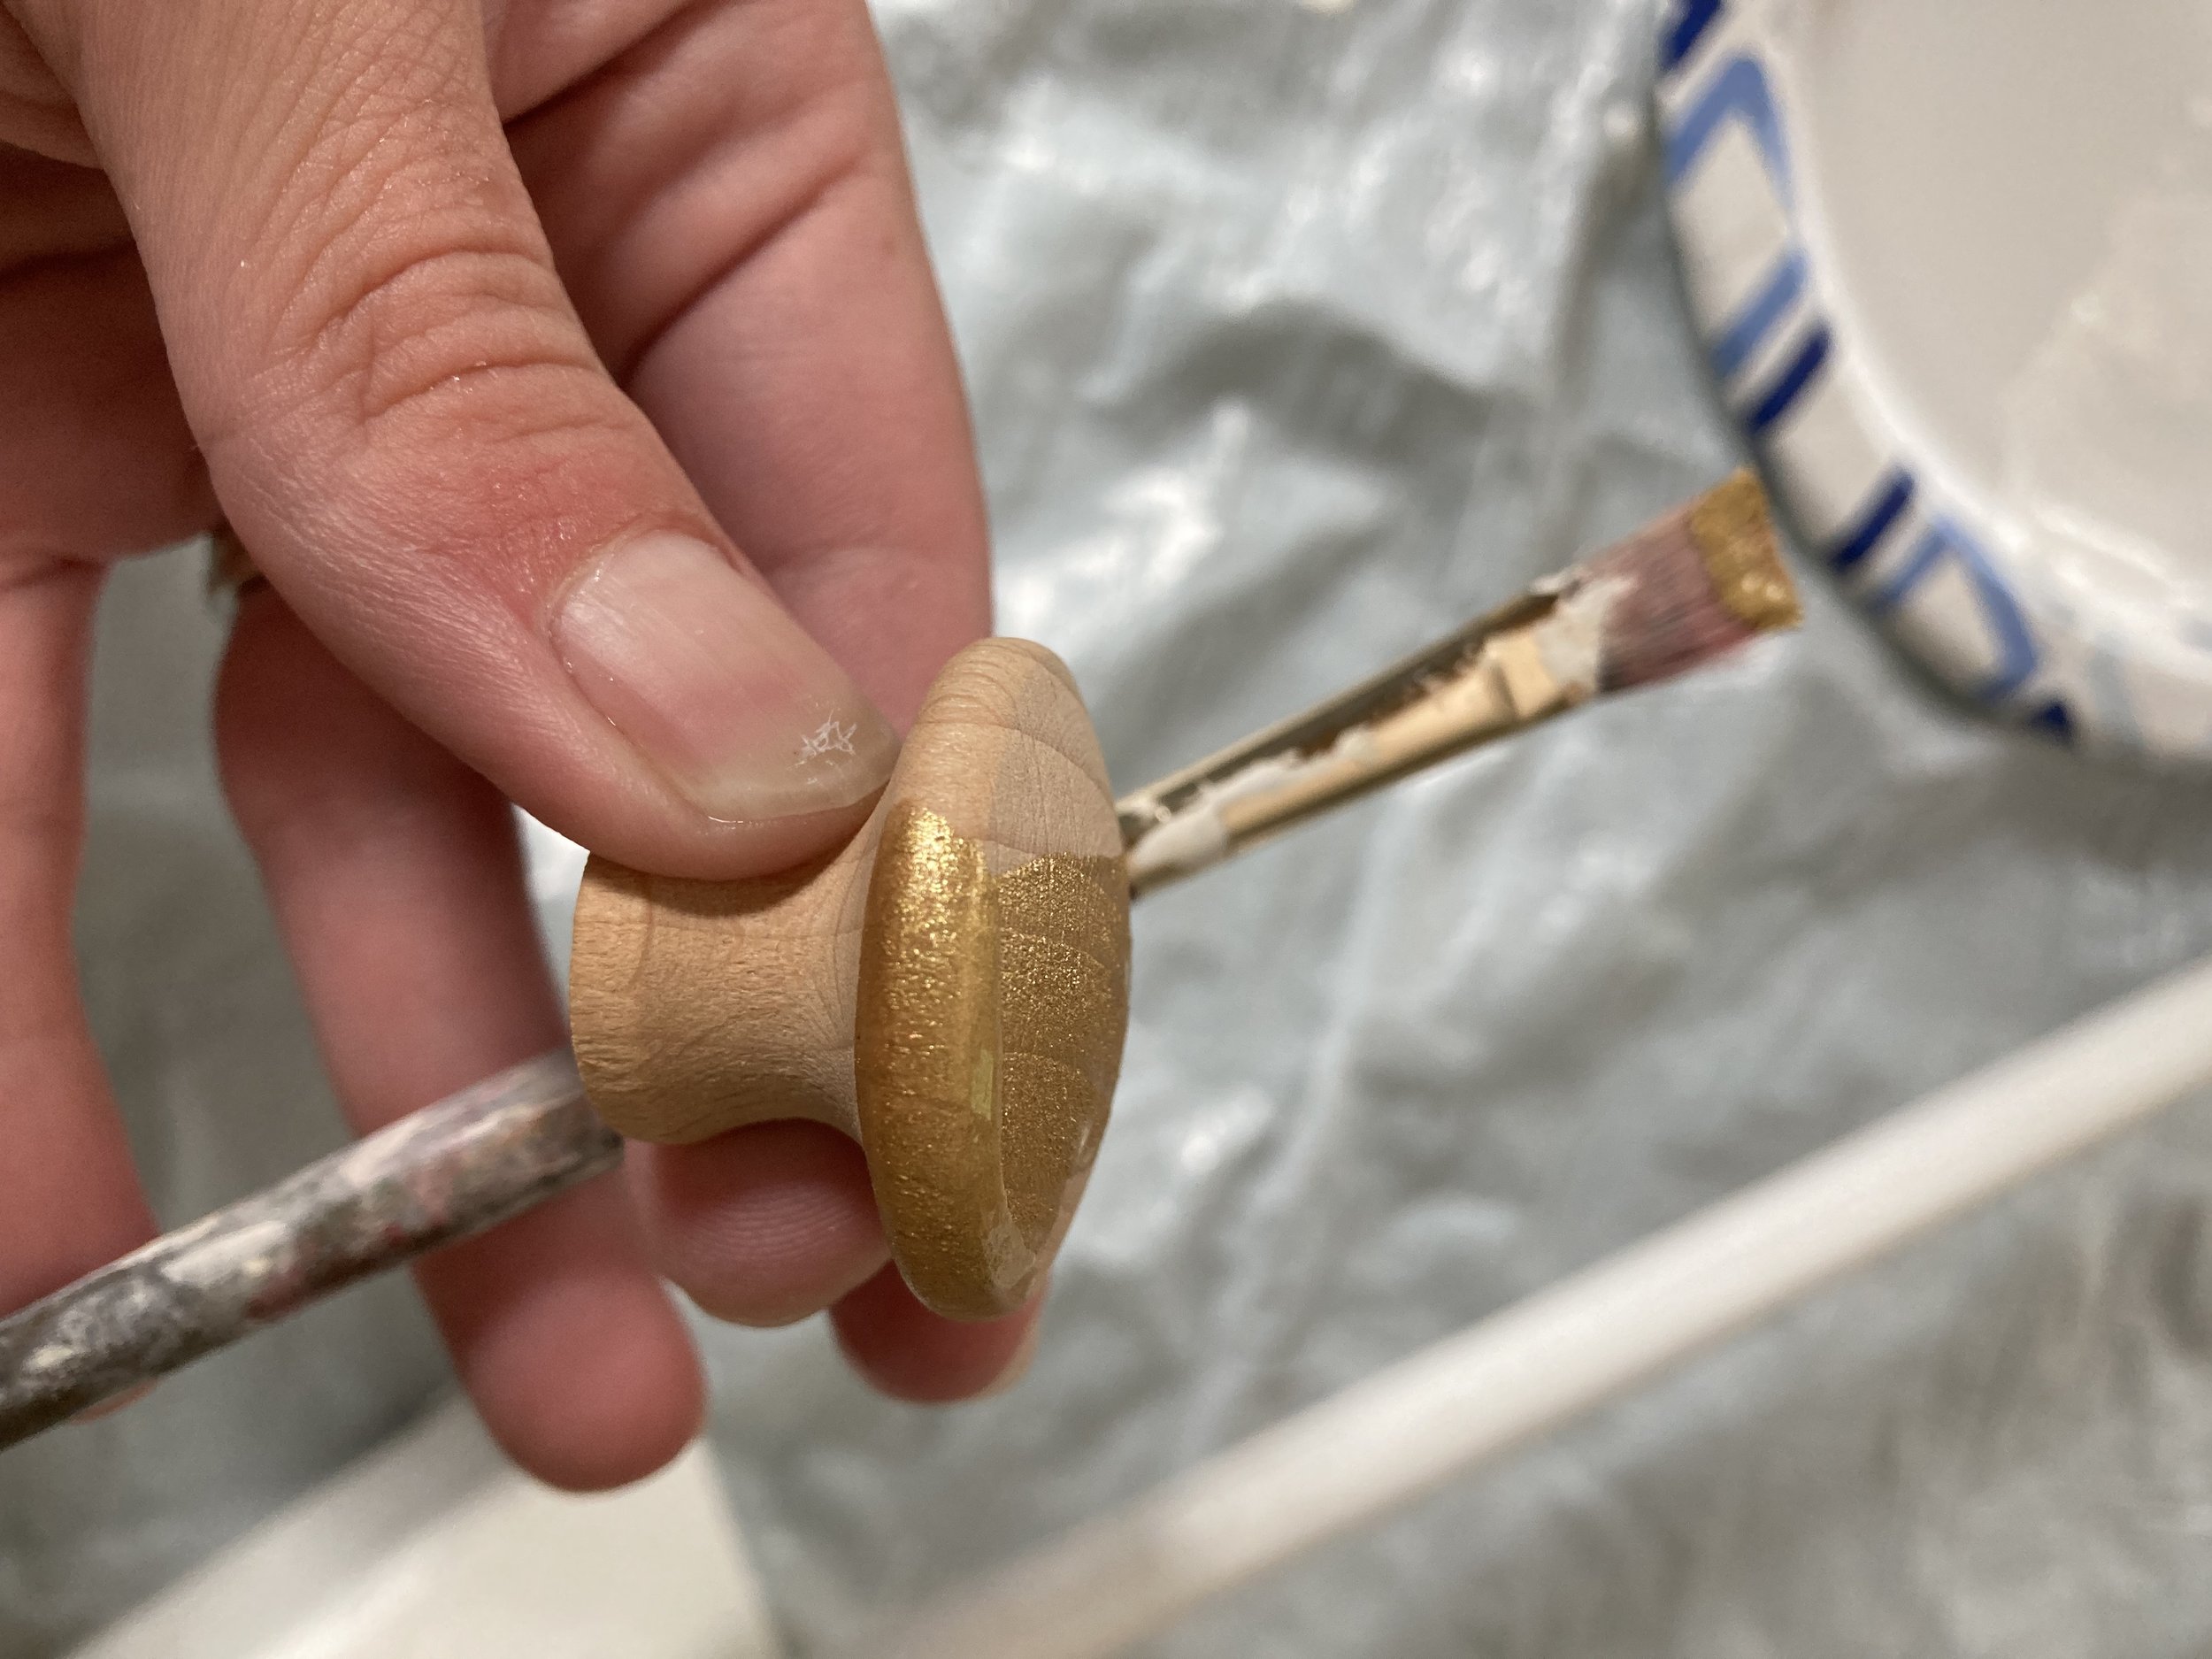
Once the hole was made I glued the dowel into it with some wood glue then painted it white with several coats of paint. While I was waiting for that to dry I moved on to painting the wooden knob with several coats of gold paint and then let that dry too.
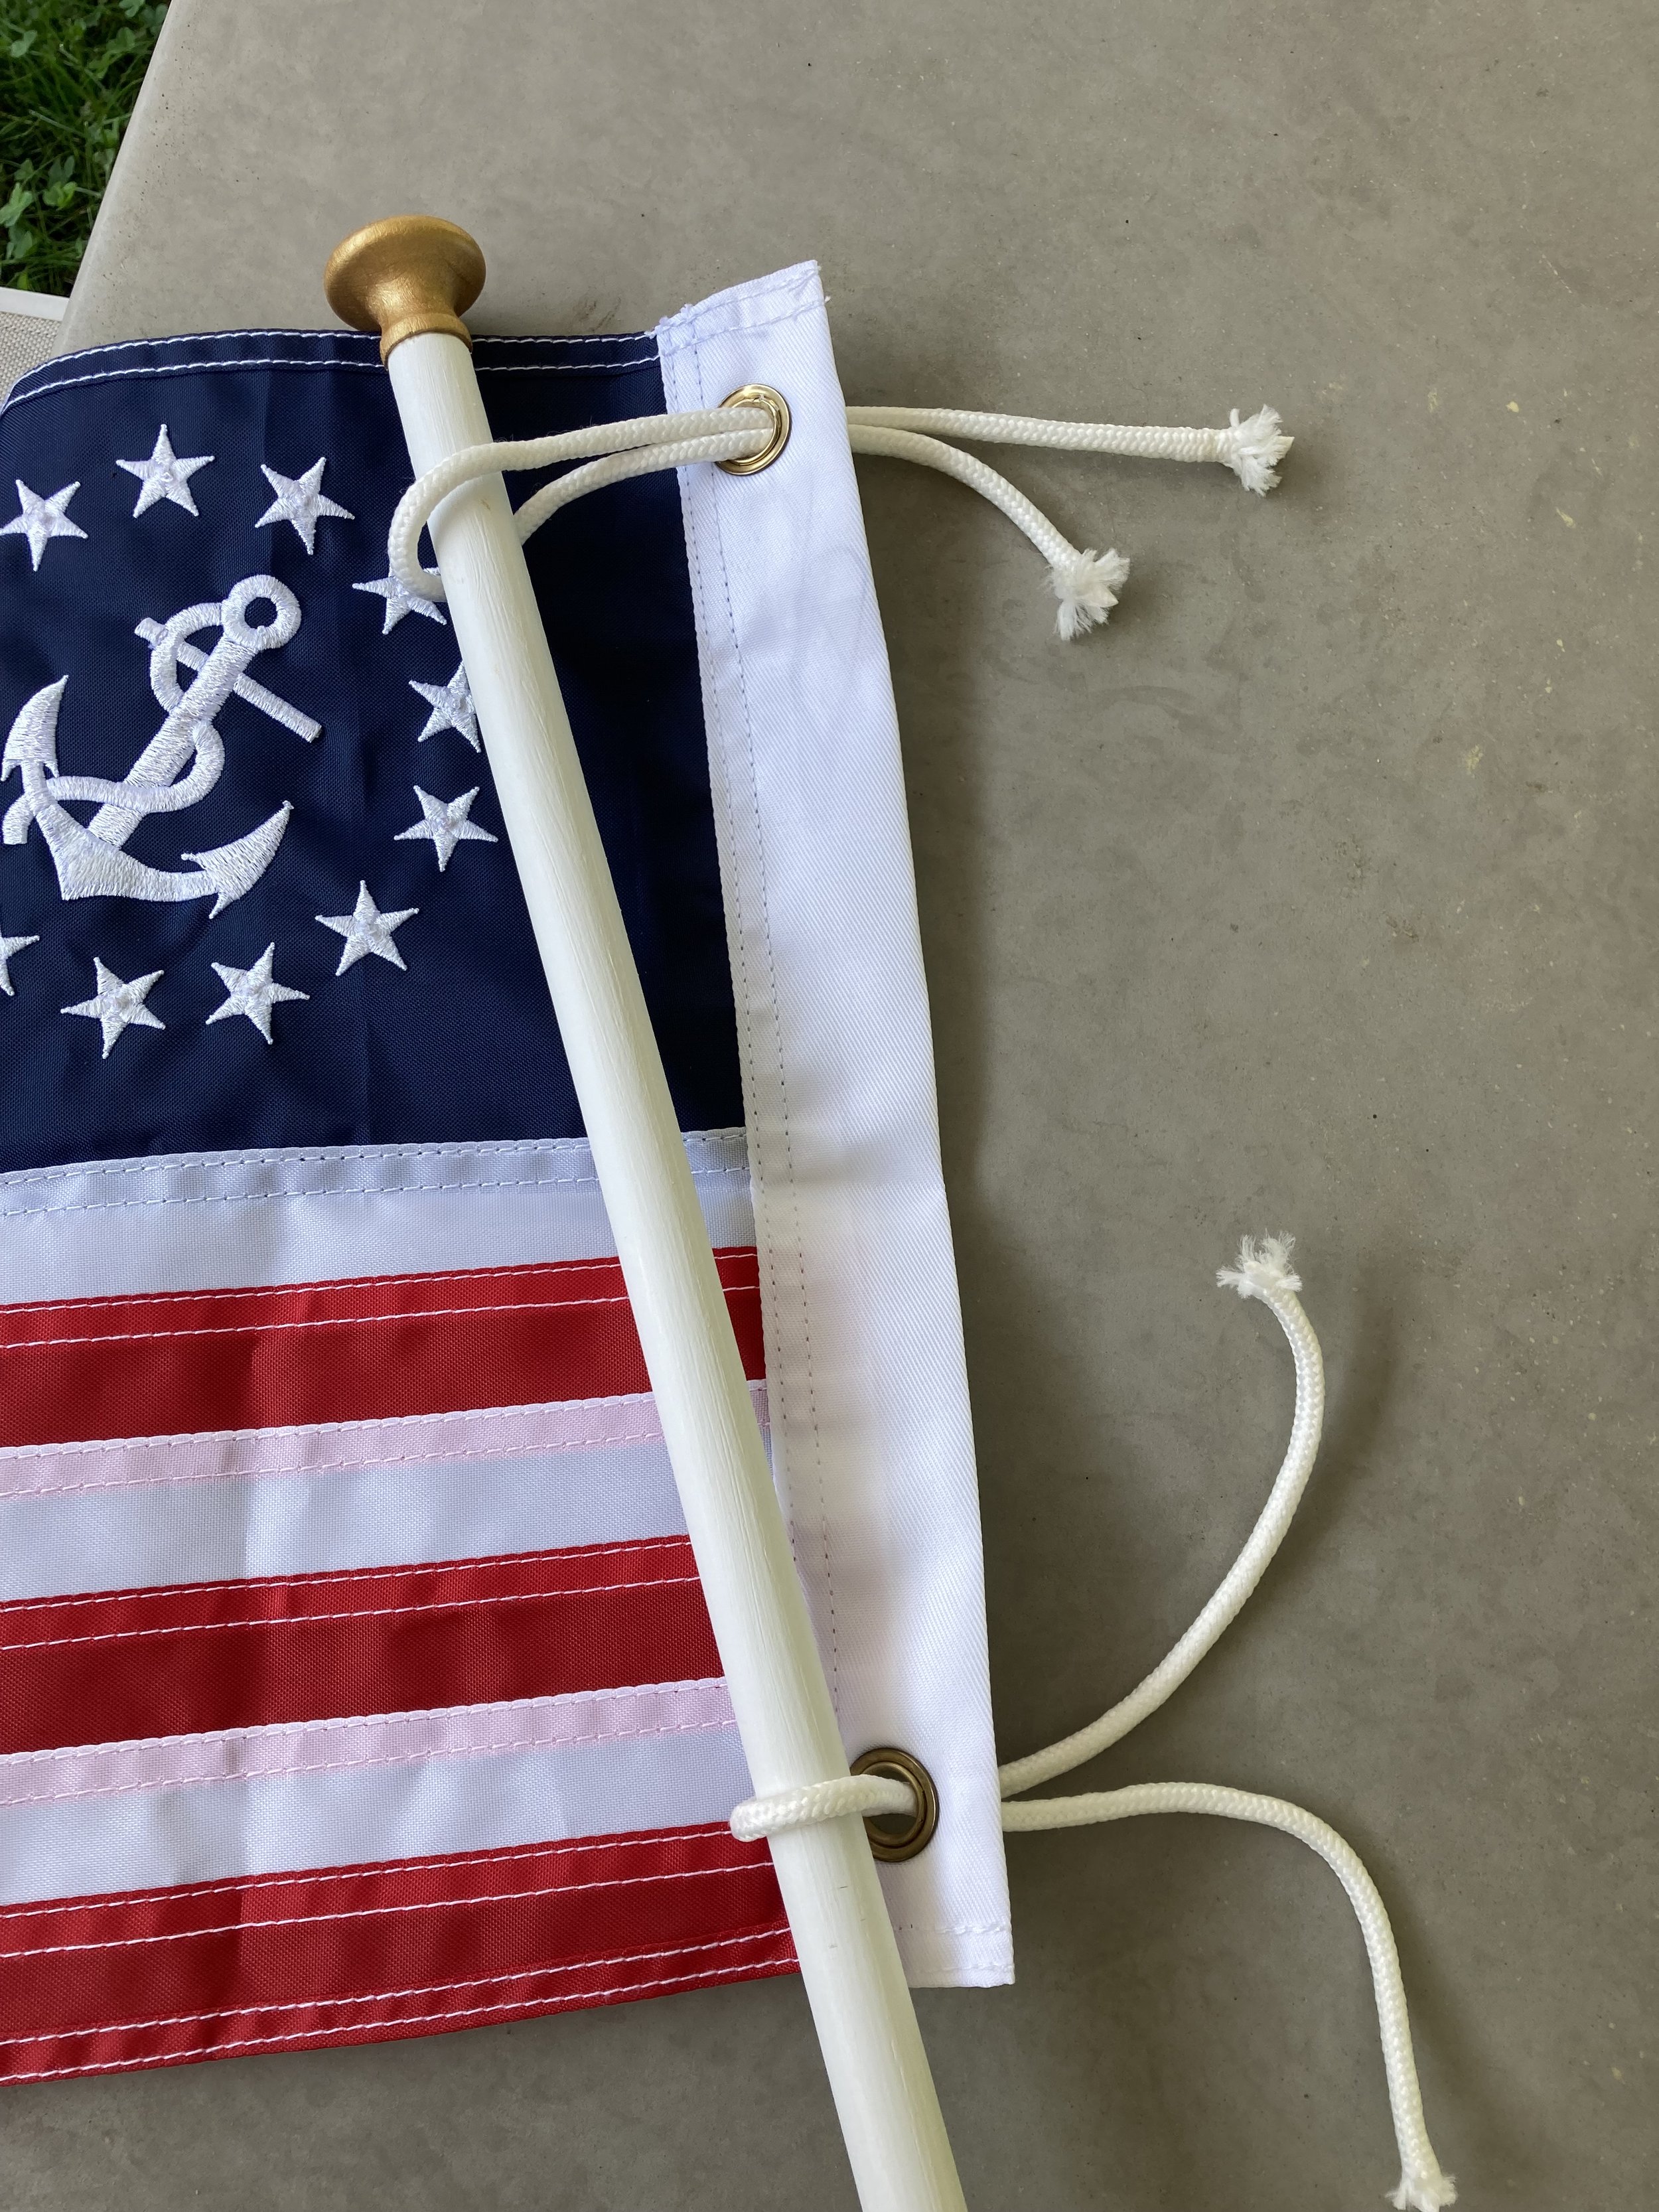
Next I drilled a small hole into the end of the top of the flag pole and cut some toothpicks down to fit inside the hole but stick out far enough to also fit into the hole in the wooden knob. Then I added wood glue and put the knob onto the end of the flagpole. (Note: Using toothpicks to reinforce this joining is key - if just wood glue was used it would be at more risk to break off, but the toothpick reinforcement going through really helps!)
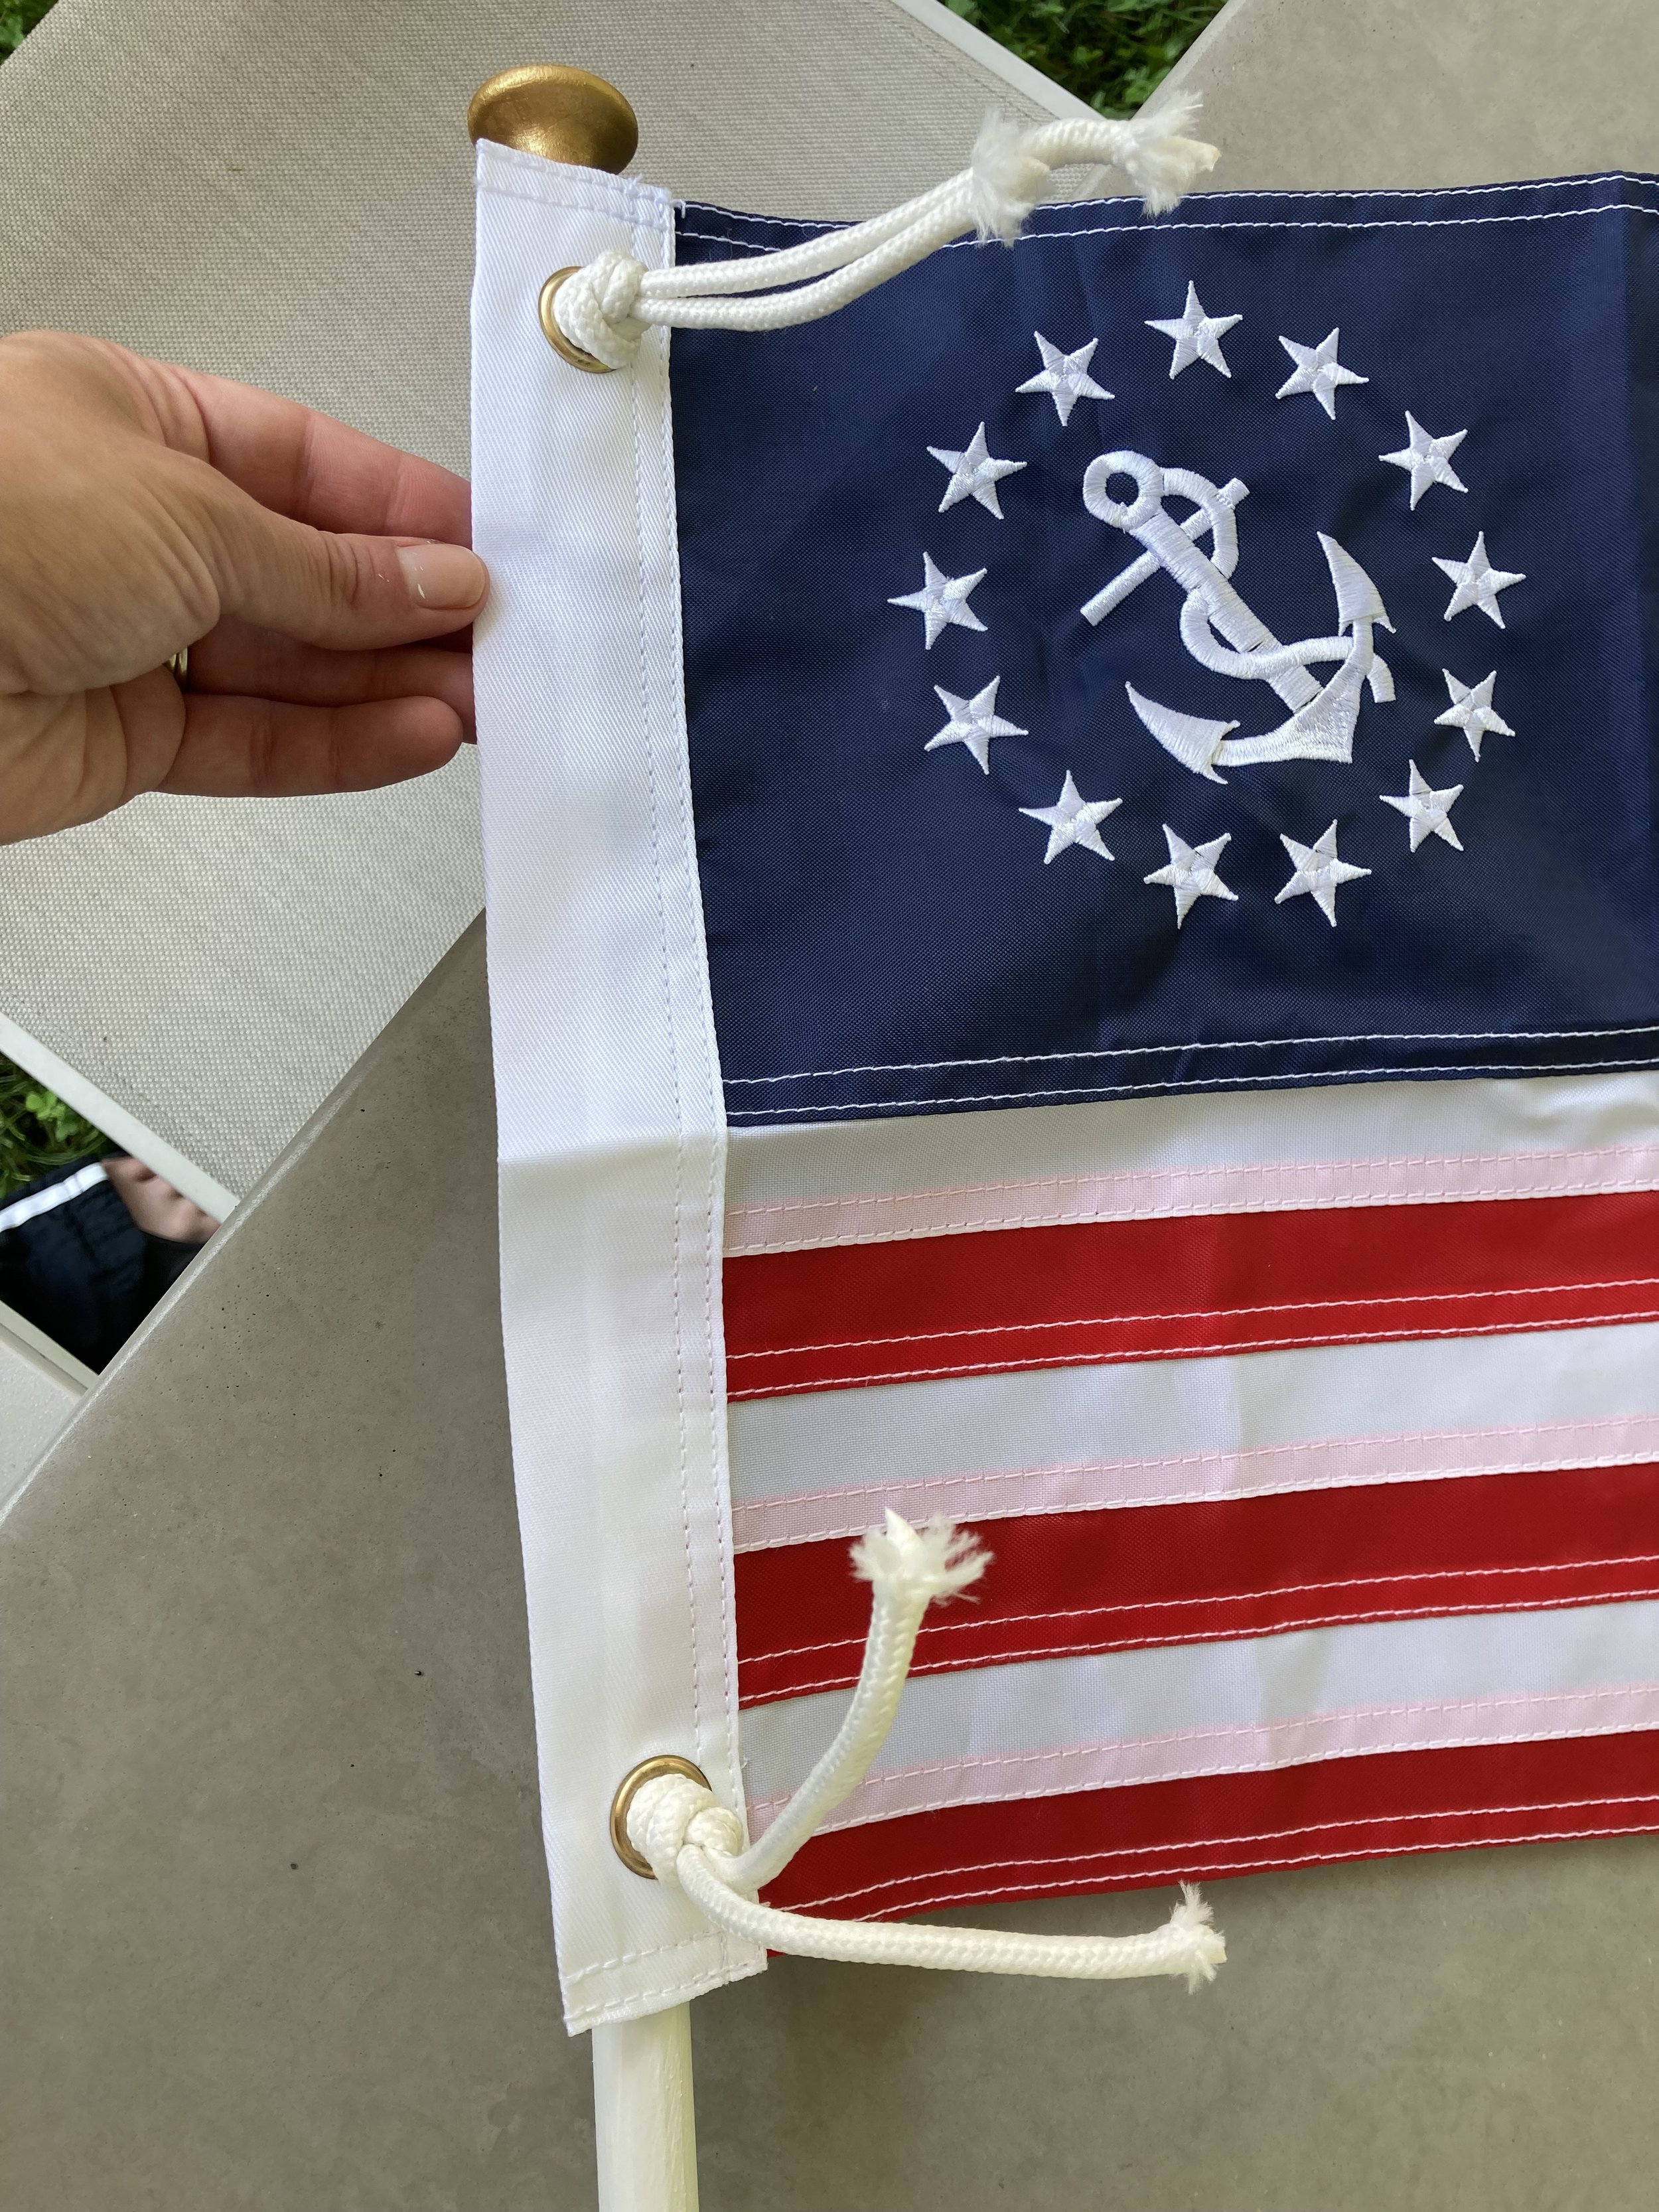
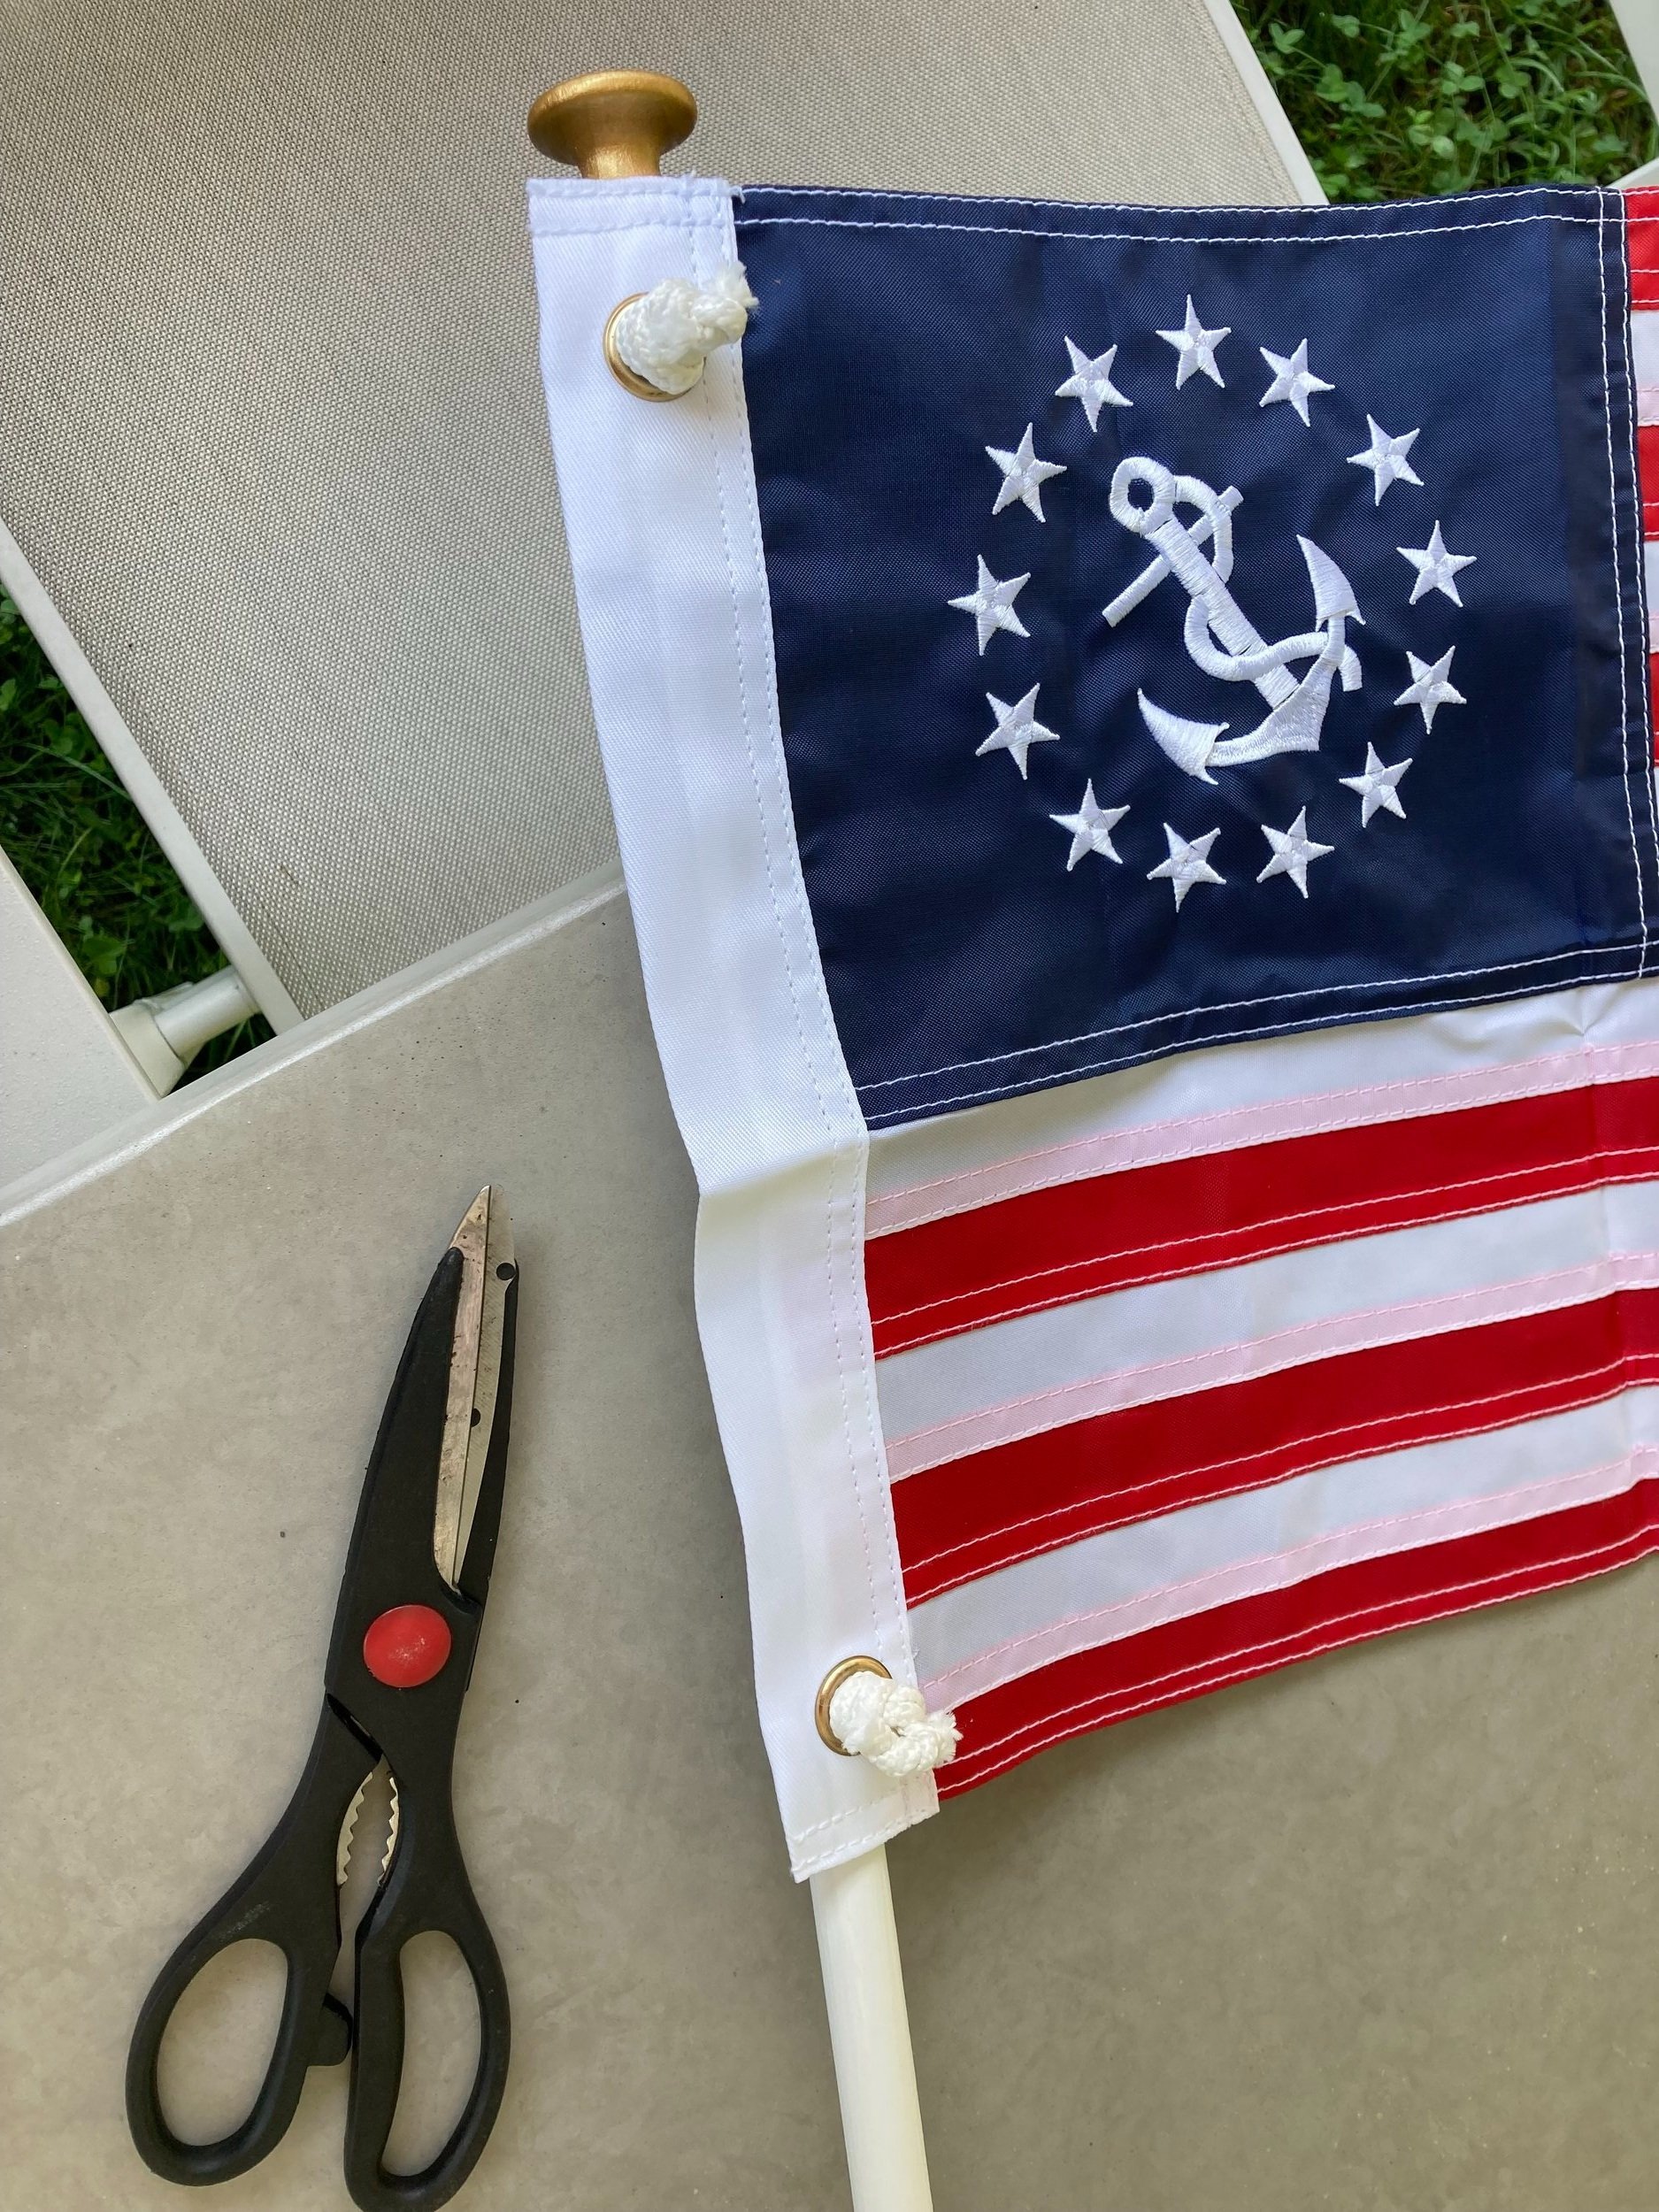
And now we can attach the flag! I just used some cotton clothes line rope to tie the flag to the flagpole. The wooden flagpole has enough grip and the flag is so small that we don’t have any issue with the flag sliding down or moving.
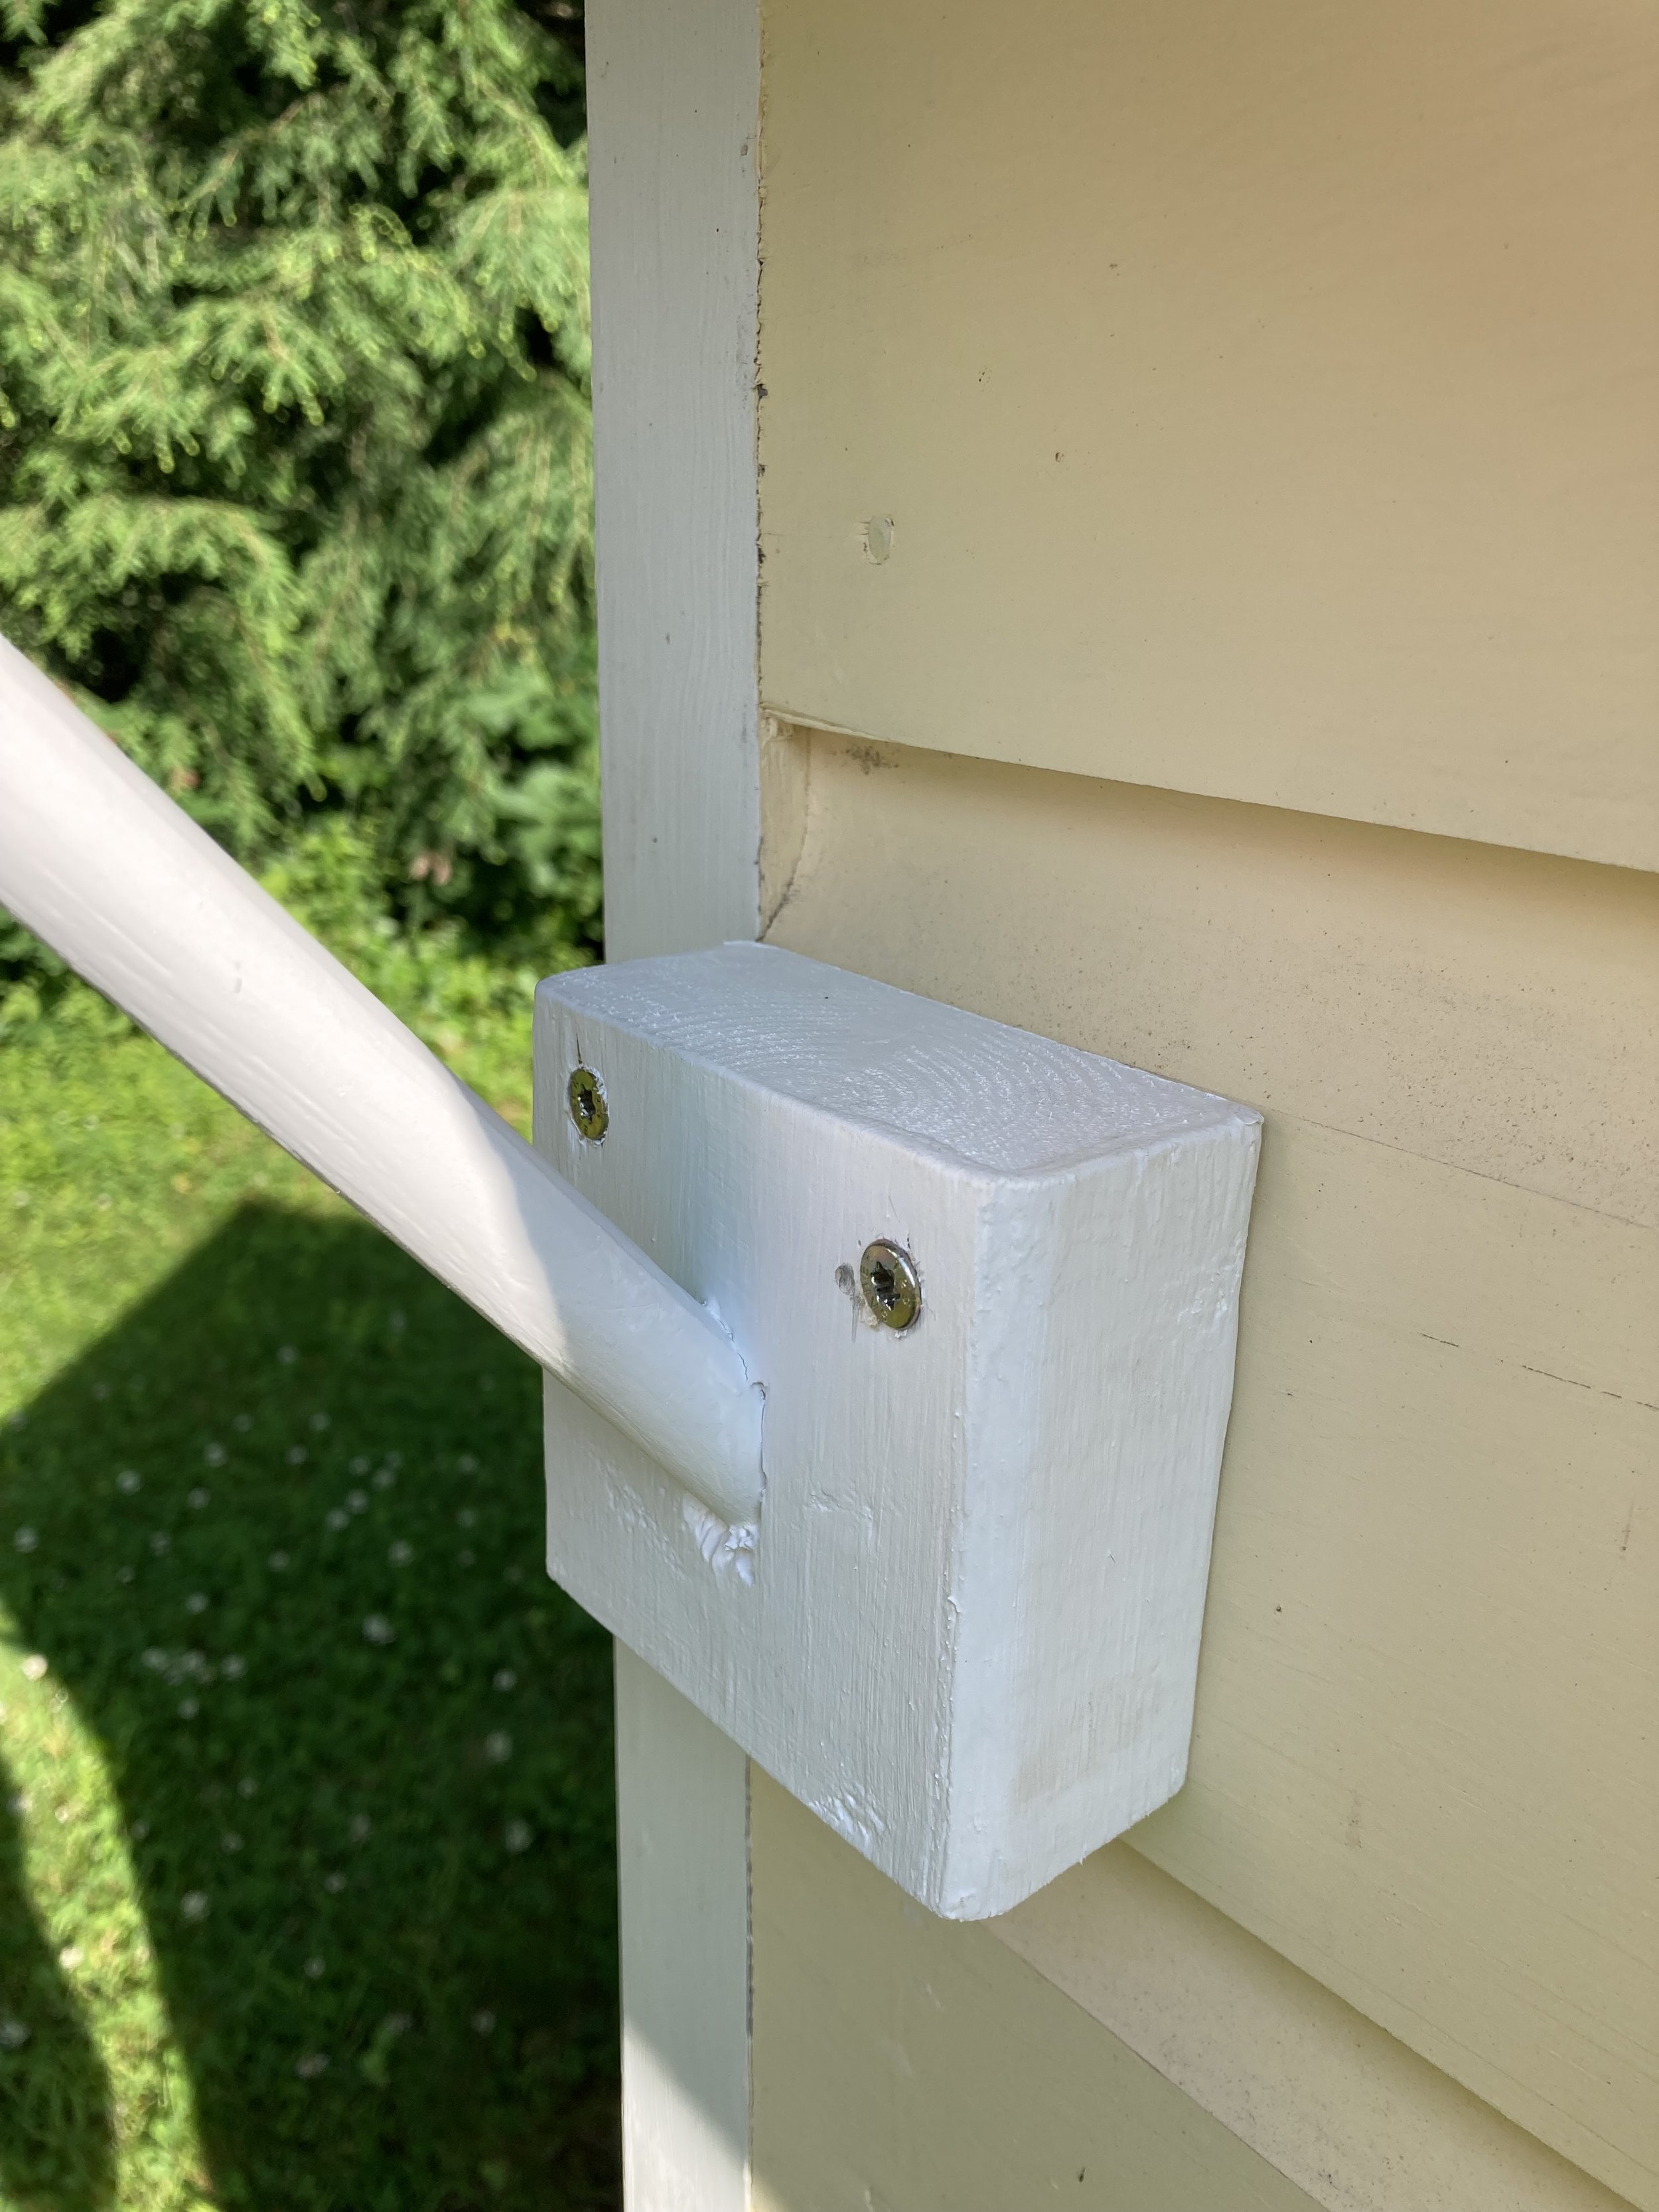
Now that your flag is assembled you just have to mount it. I screwed the base into the side of the playhouse then touched up the screw heads with white paint to help them blend in.
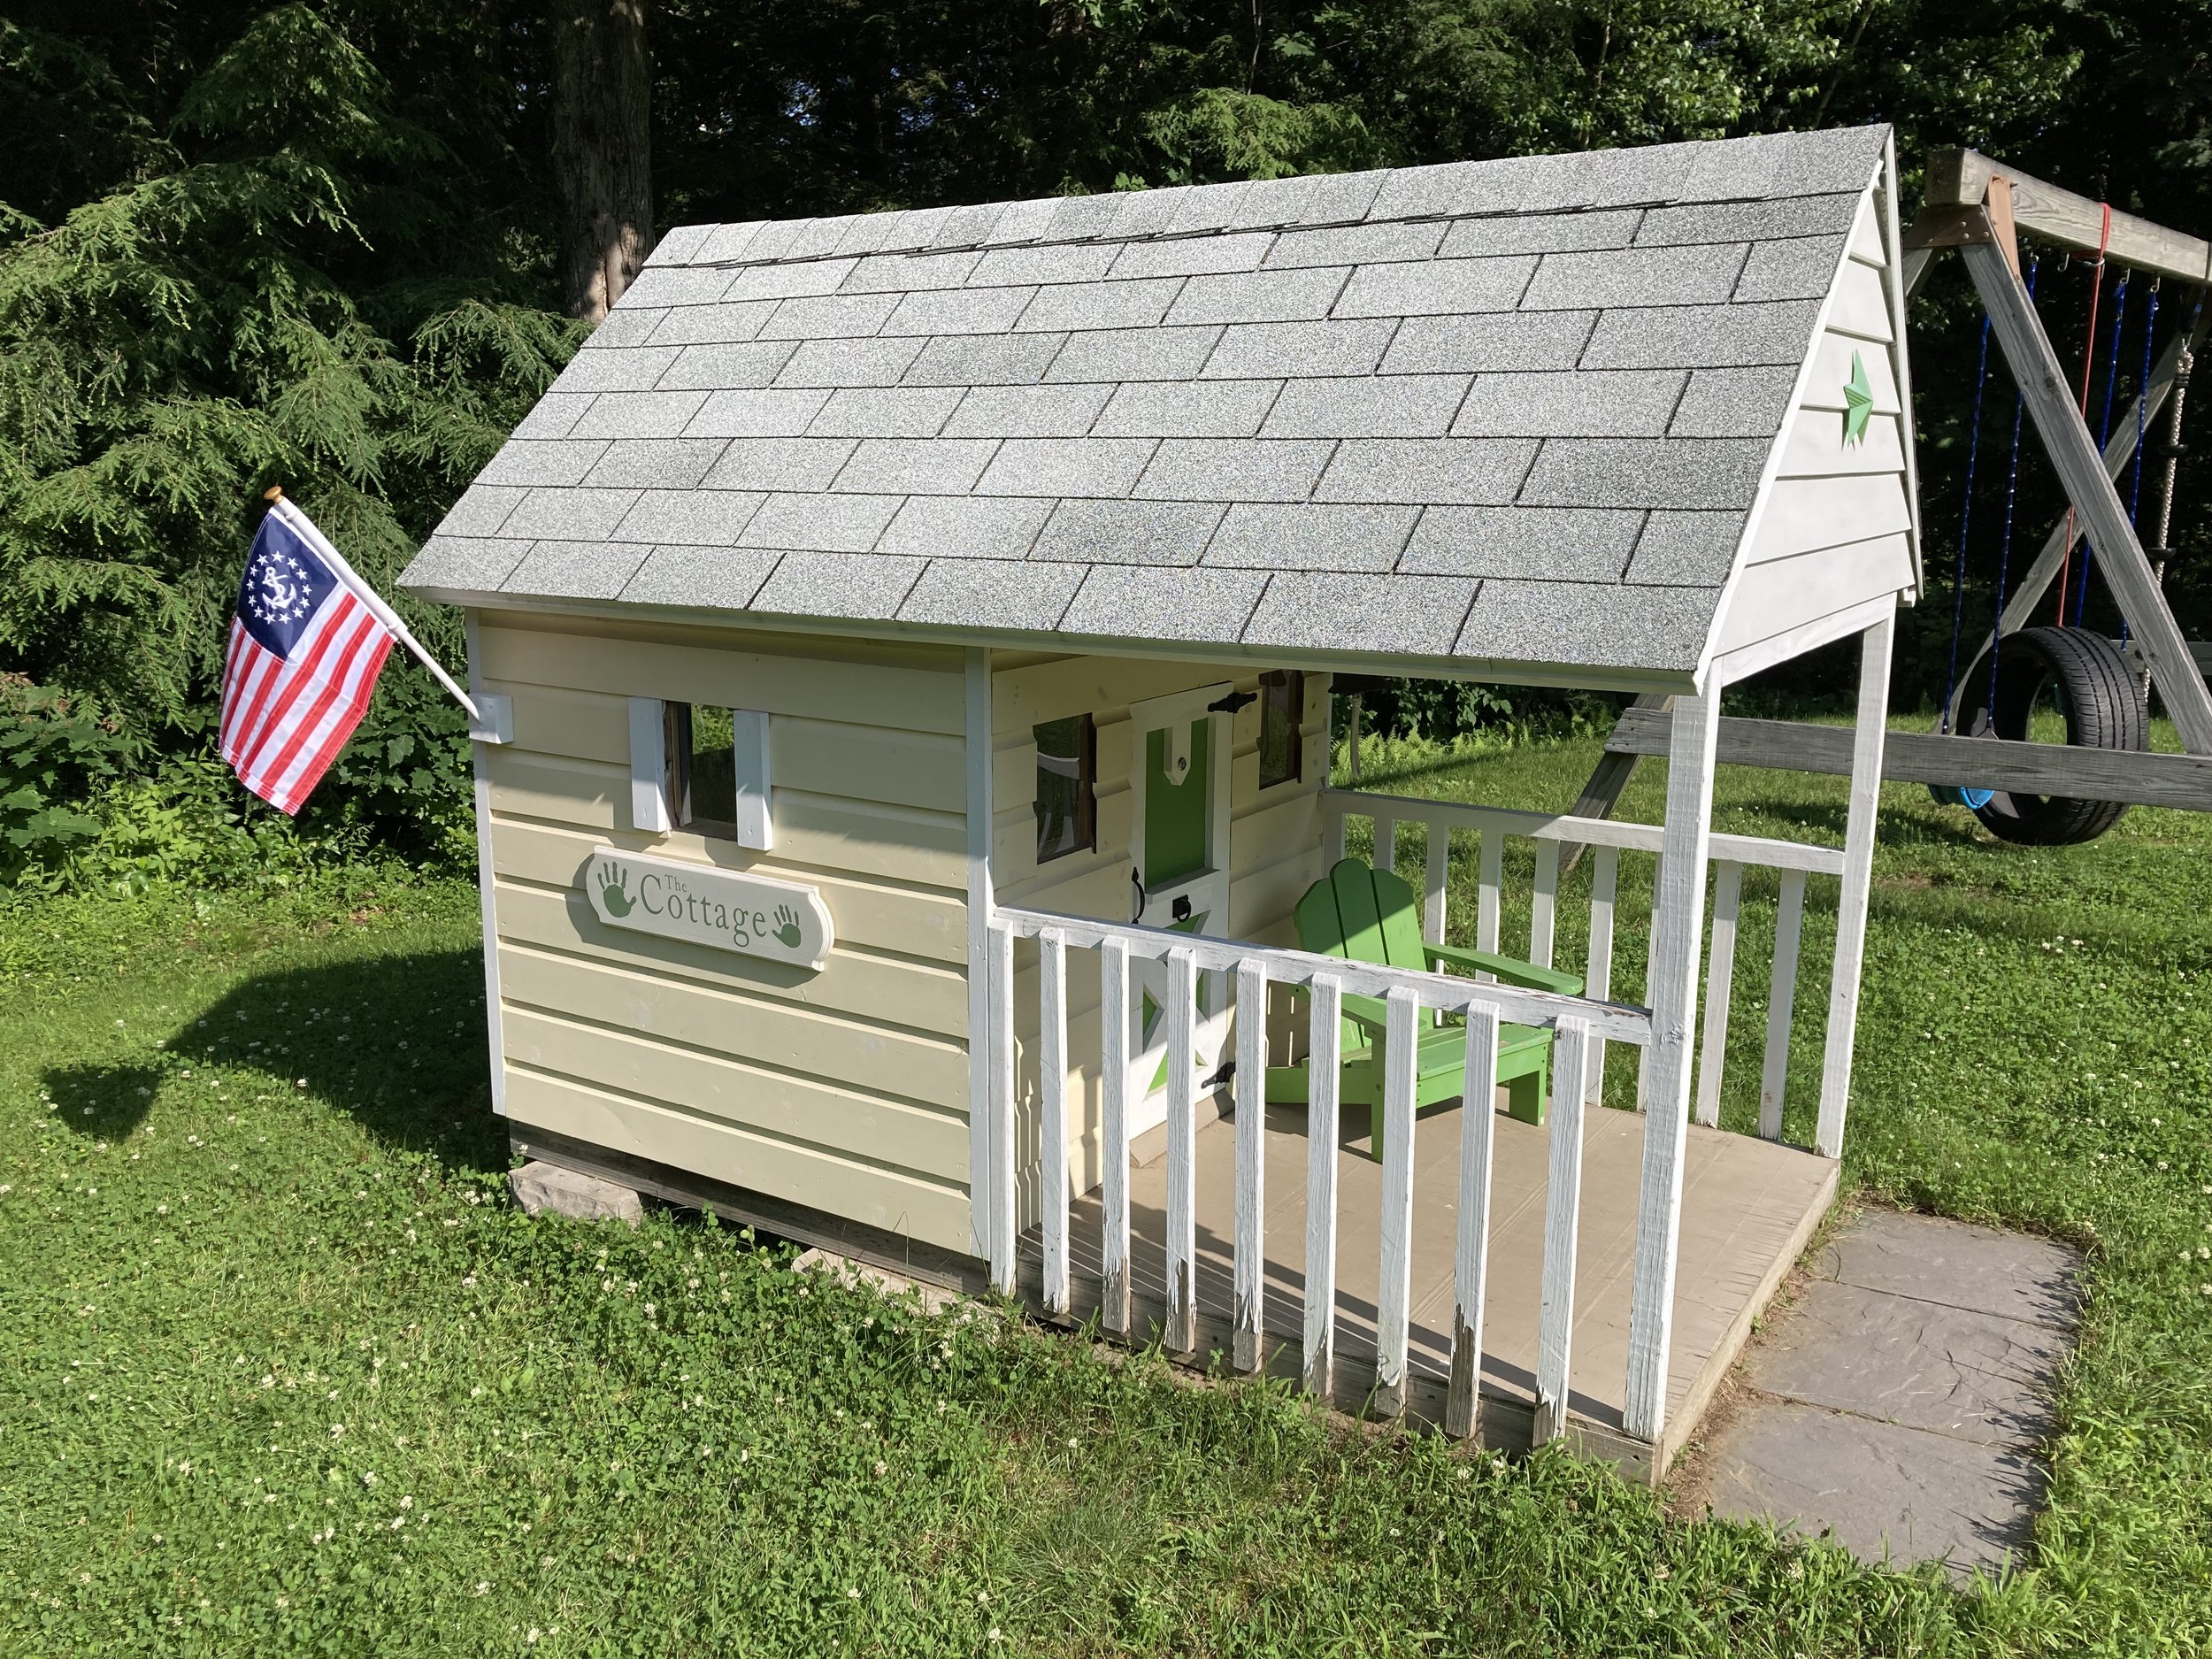
The finished product!
I will probably take the flag down come winter, as our harsh New England winters with heavy snow and ice would likely damage the pole but then I plan to put it right back up in the spring.
| "The Cottage" Sign - I made this a few years ago by making a stencil for the words using my Cricut and having the kids dip their hands in paint for the handprints. |
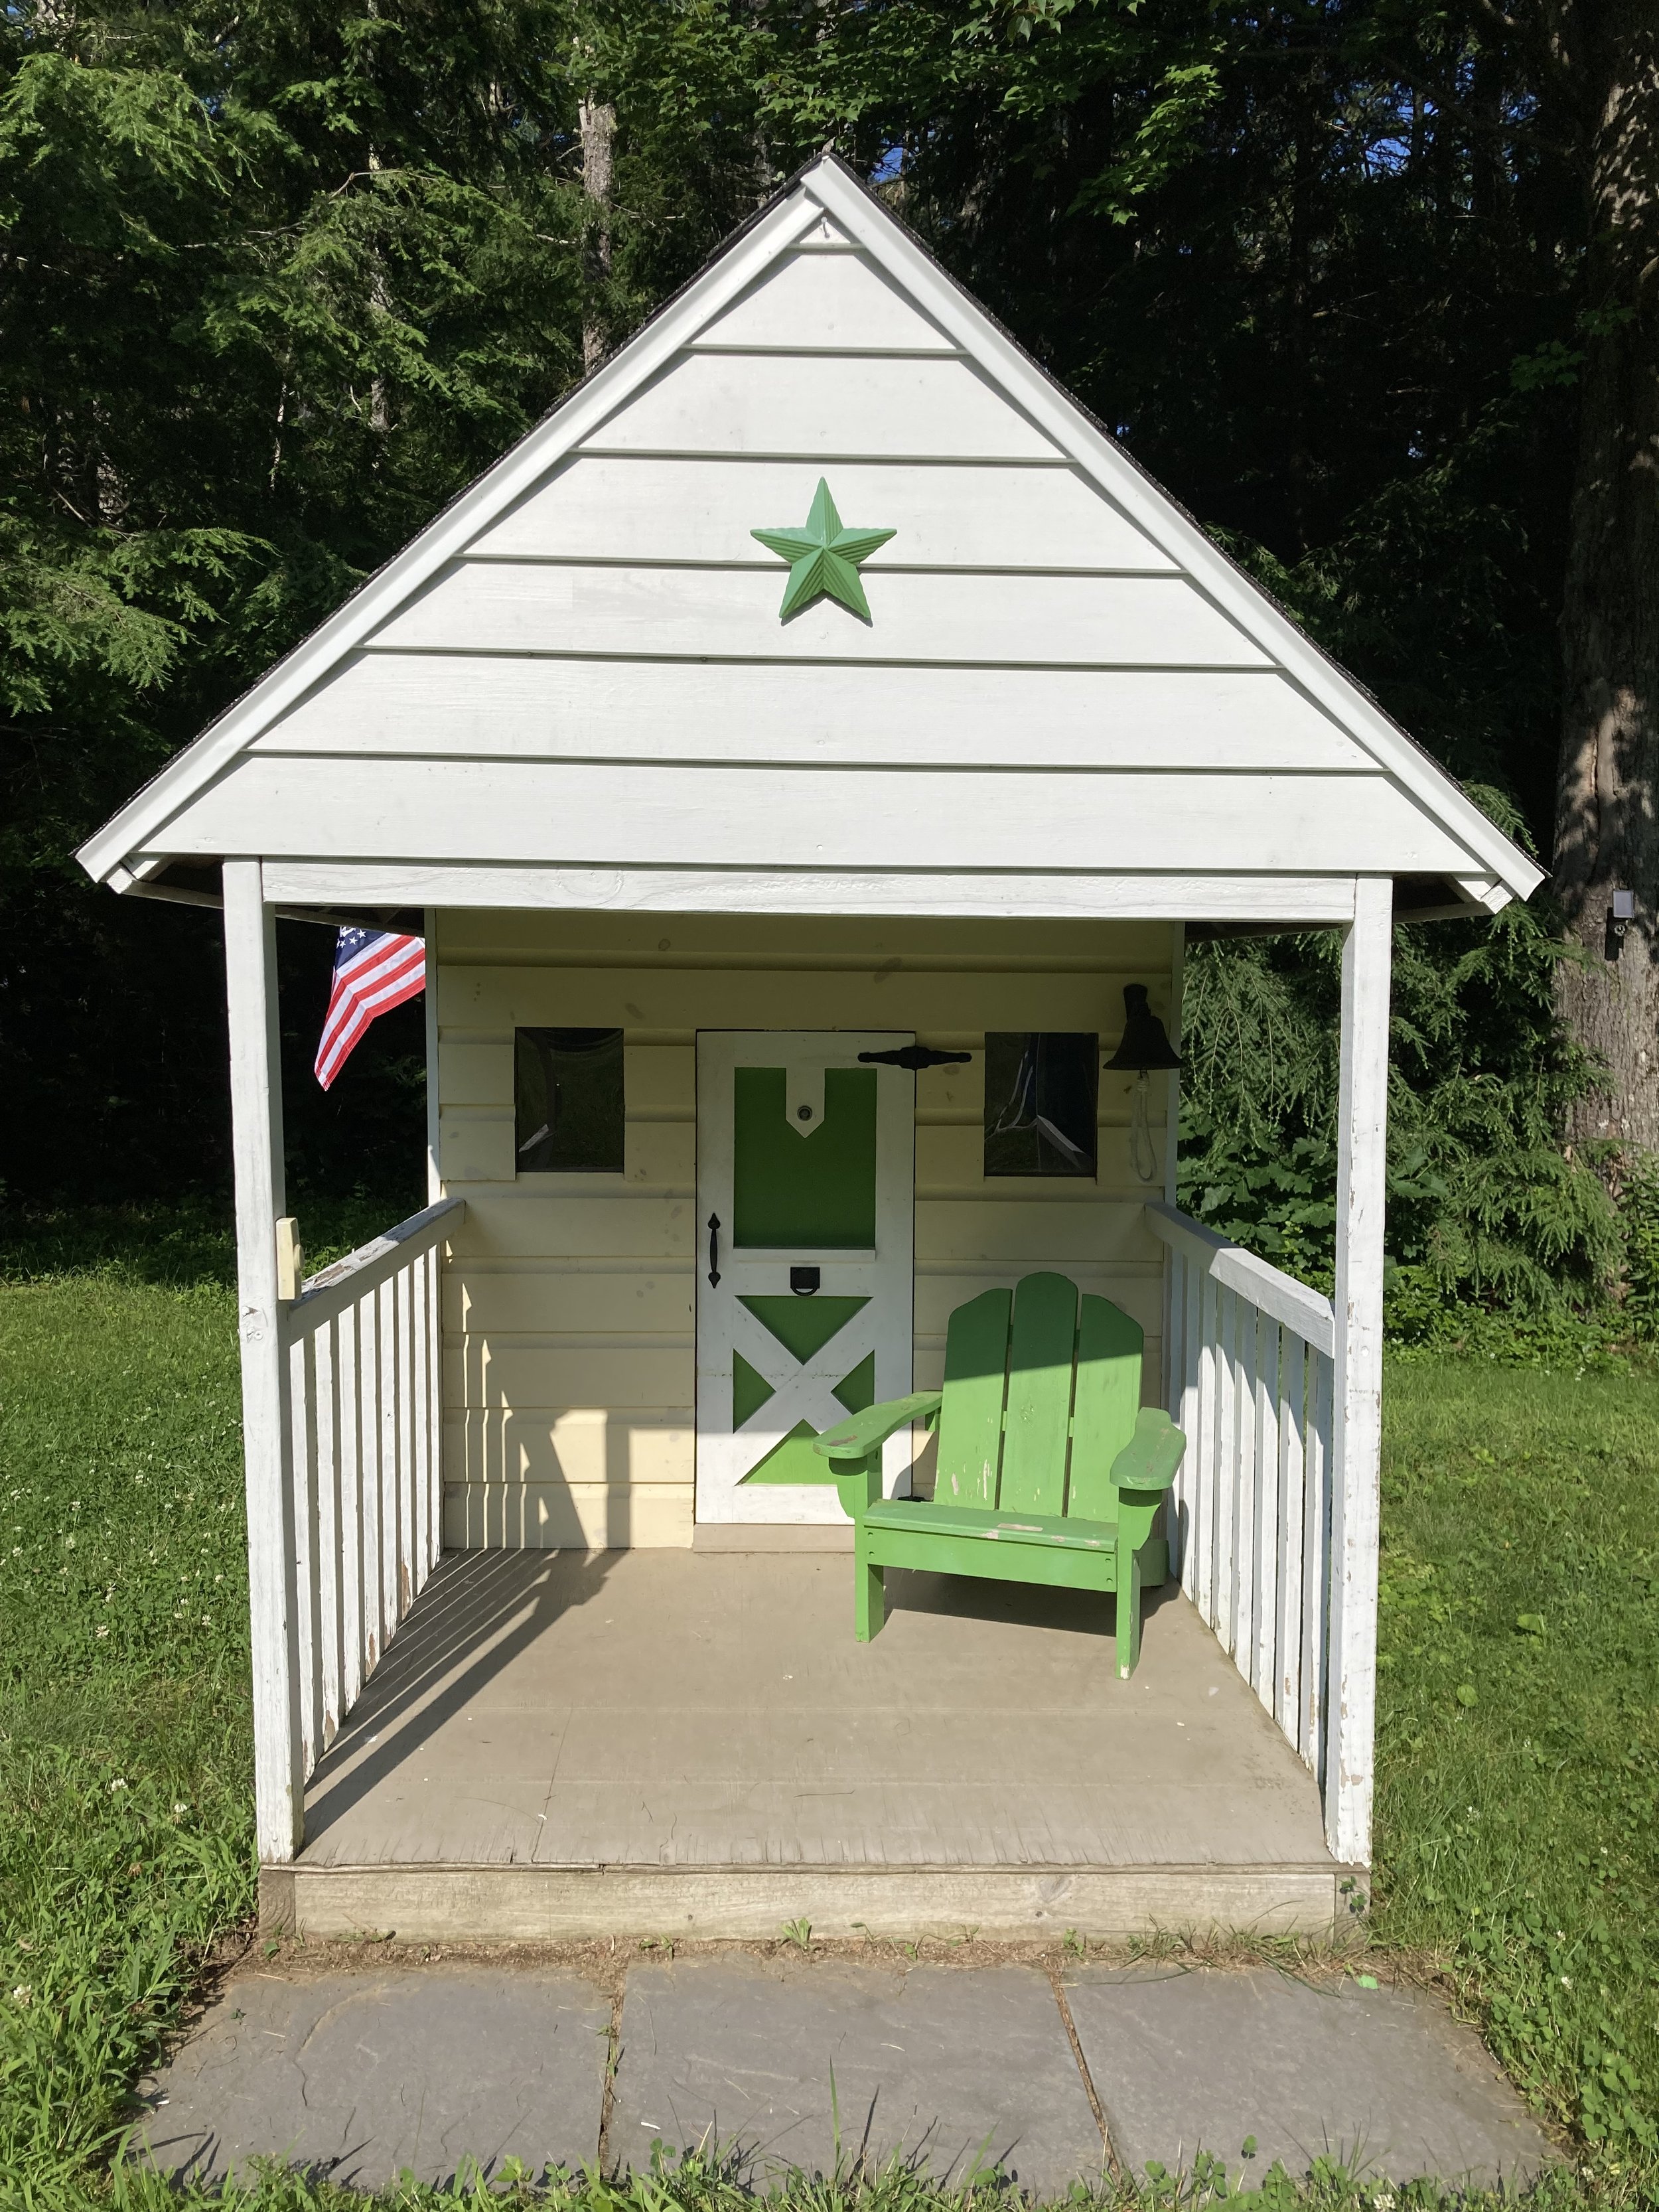
A few other Playhouse details…
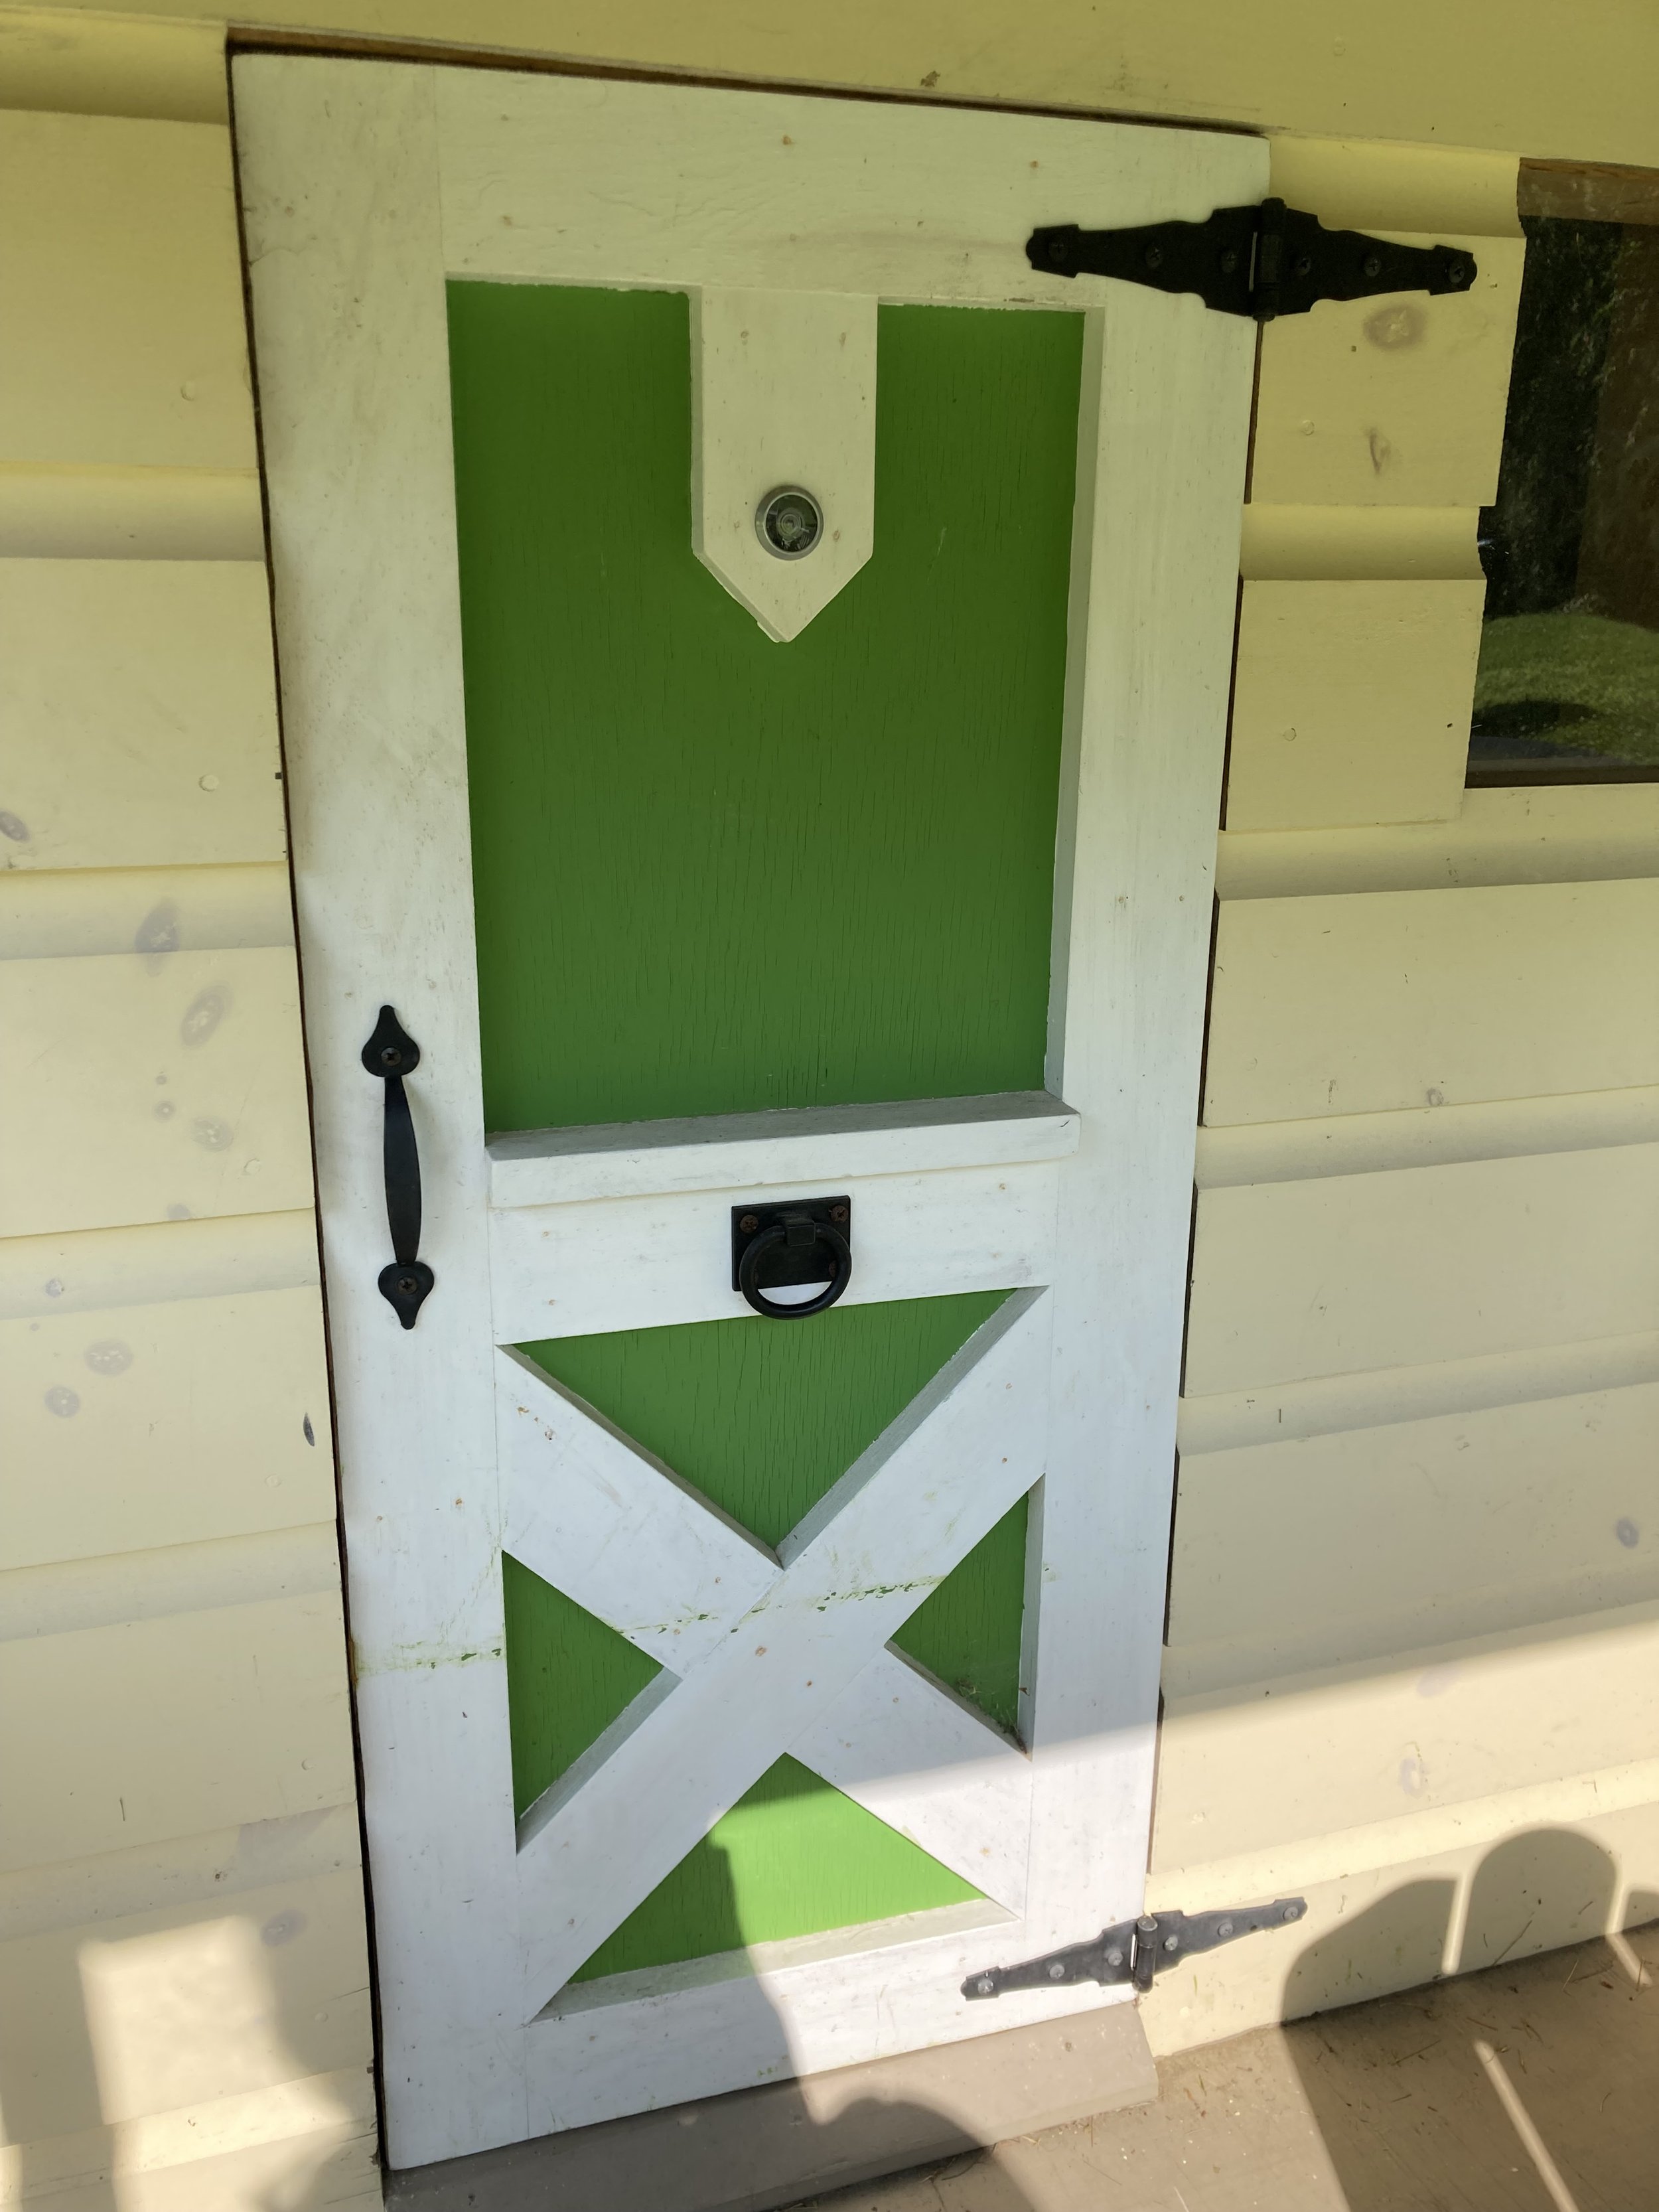
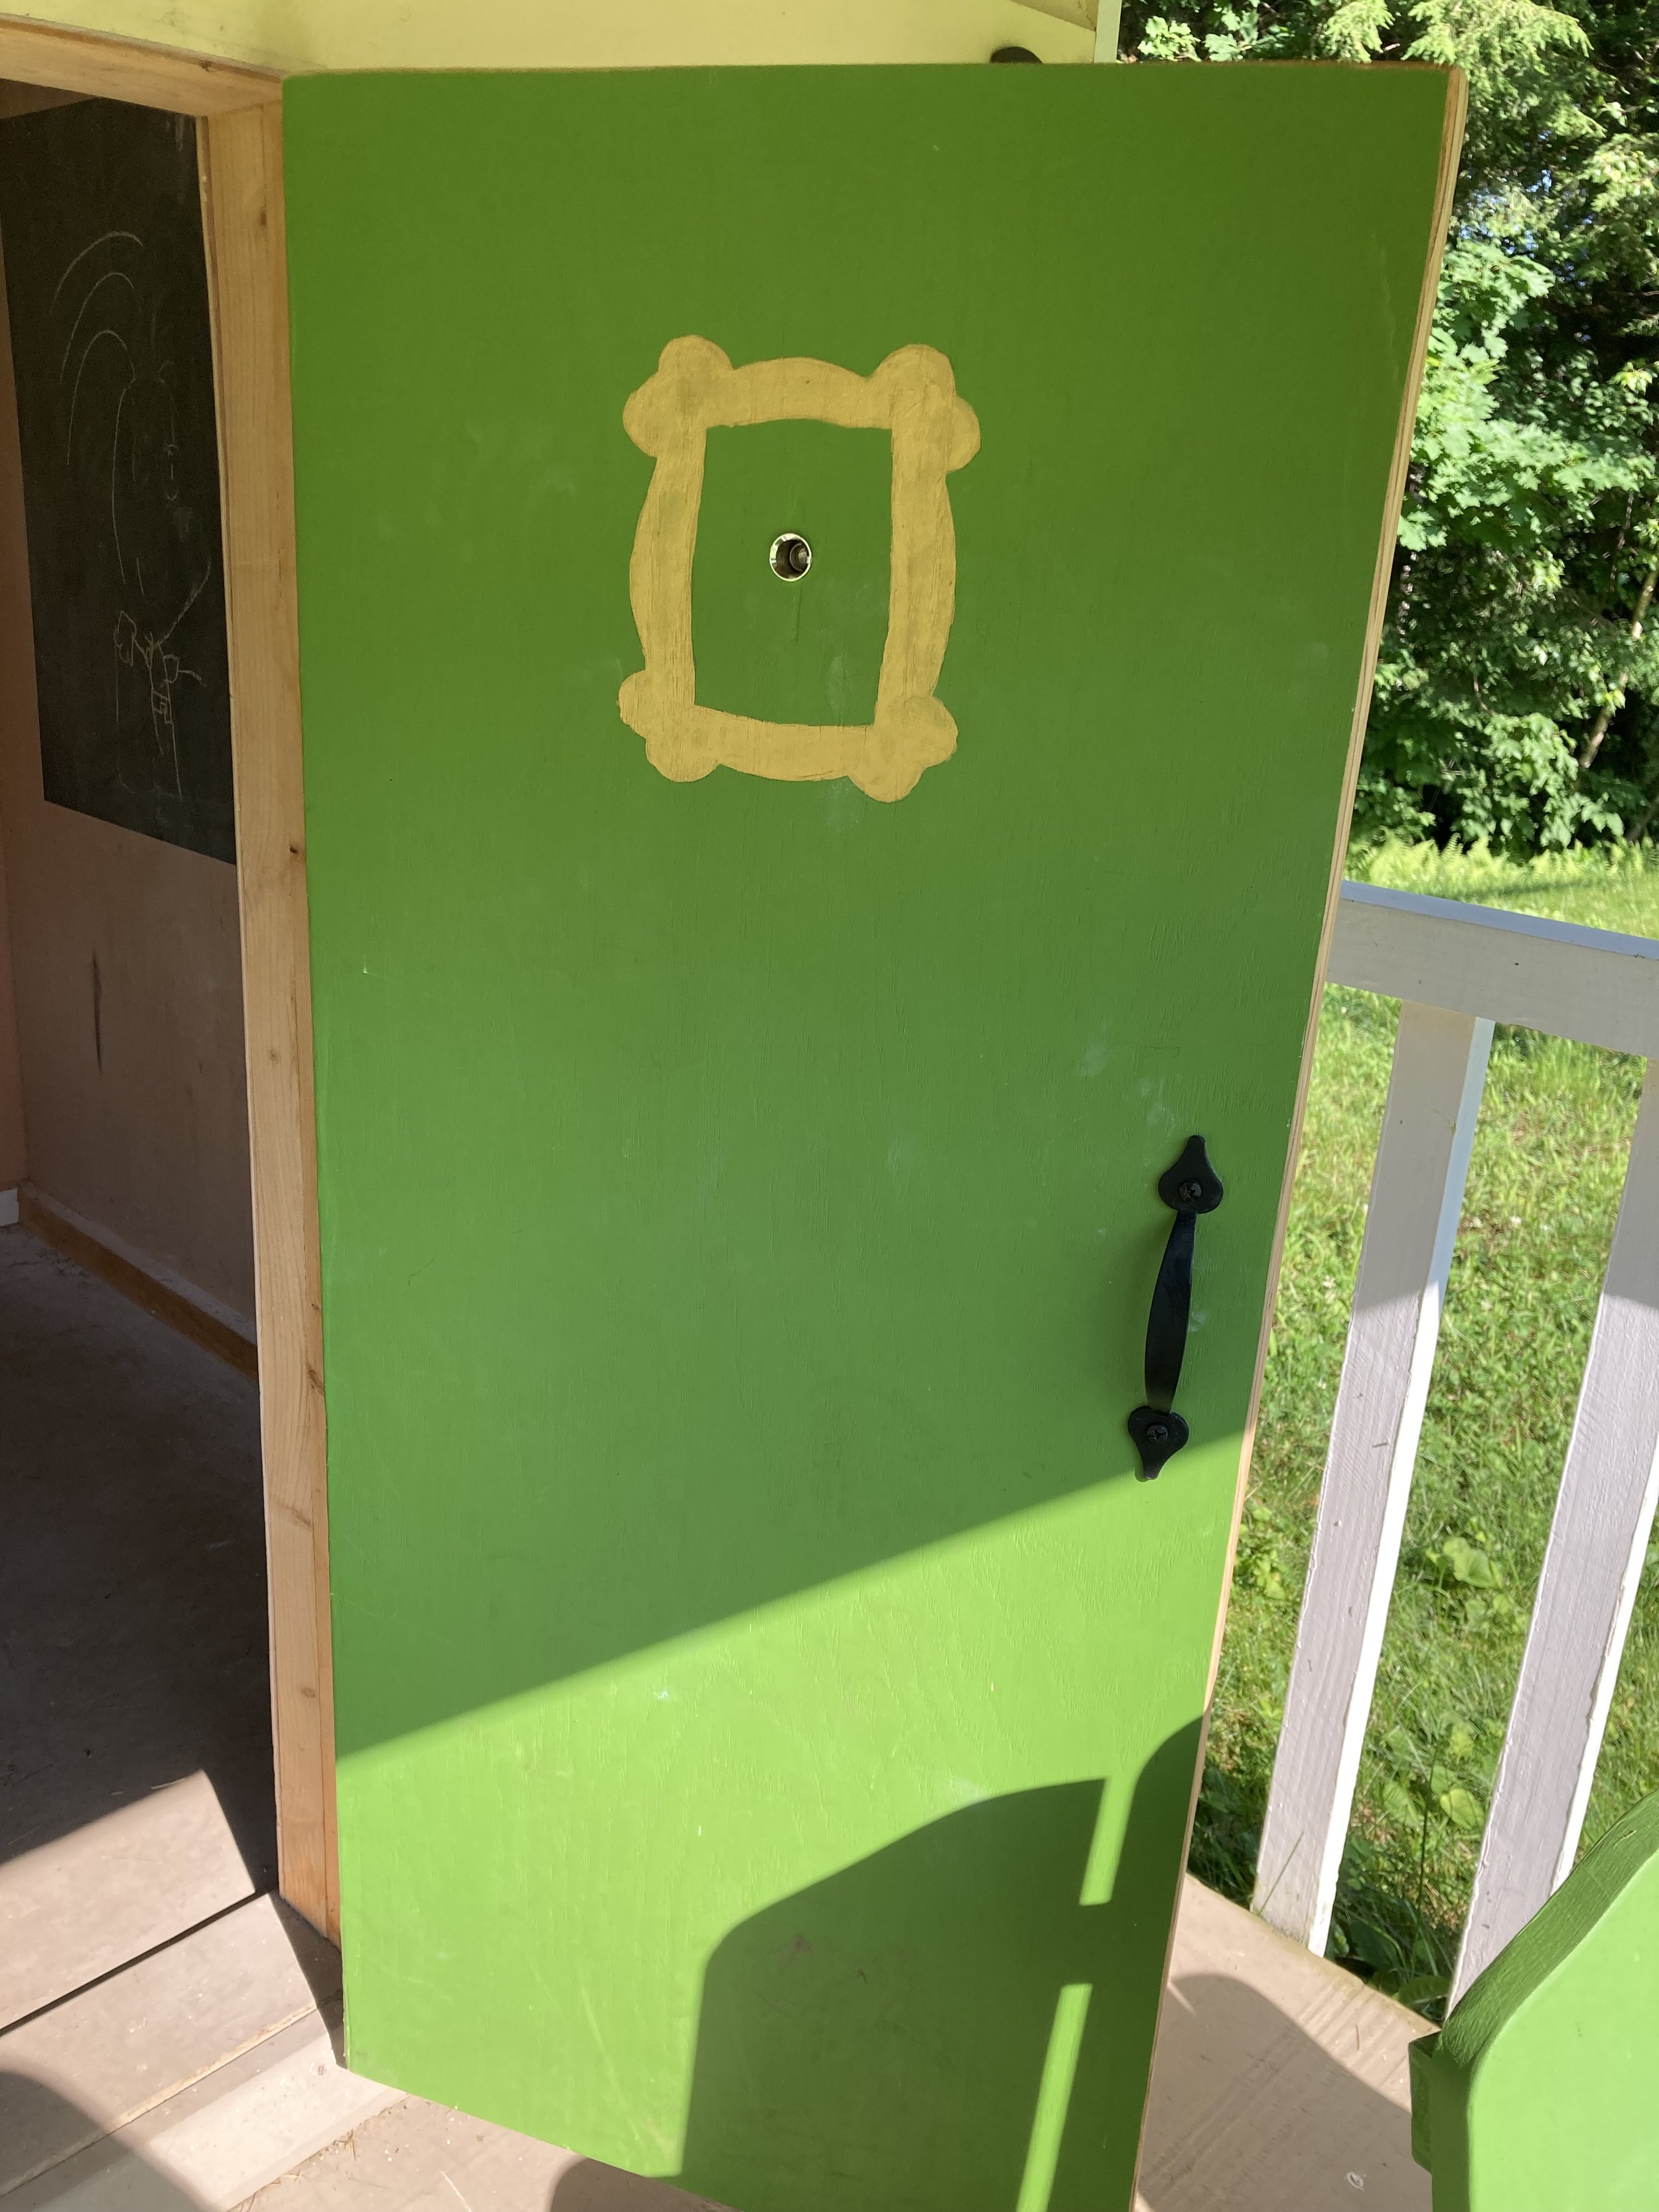
I just love the simple details of our little playhouse - my favorite being the amazing custom farm-style door my husband made for the playhouse.
| Similar Wireless Doorbell - we put the button on the porch post and hung the box inside the playhouse so the kids can ring the doorbell to be let in. | Similar Kid-Sized Adirondack Chair - we got a kid-sized adirondack chair at a yardsale and painted it the same bright green that we painted the door (the original chair was yellow!). |
| Peep Hole - We added a peep hole to the playhouse door too. The kids love looking through it to see who's ringing the doorbell. | "Friends" Reference - I just had to paint a gold frame on the back of the door around the peep hole, just like on the TV show "Friends." |
| Porch Bell - the kids always get a kick out of ringing it to call their friends in from around the yard. |
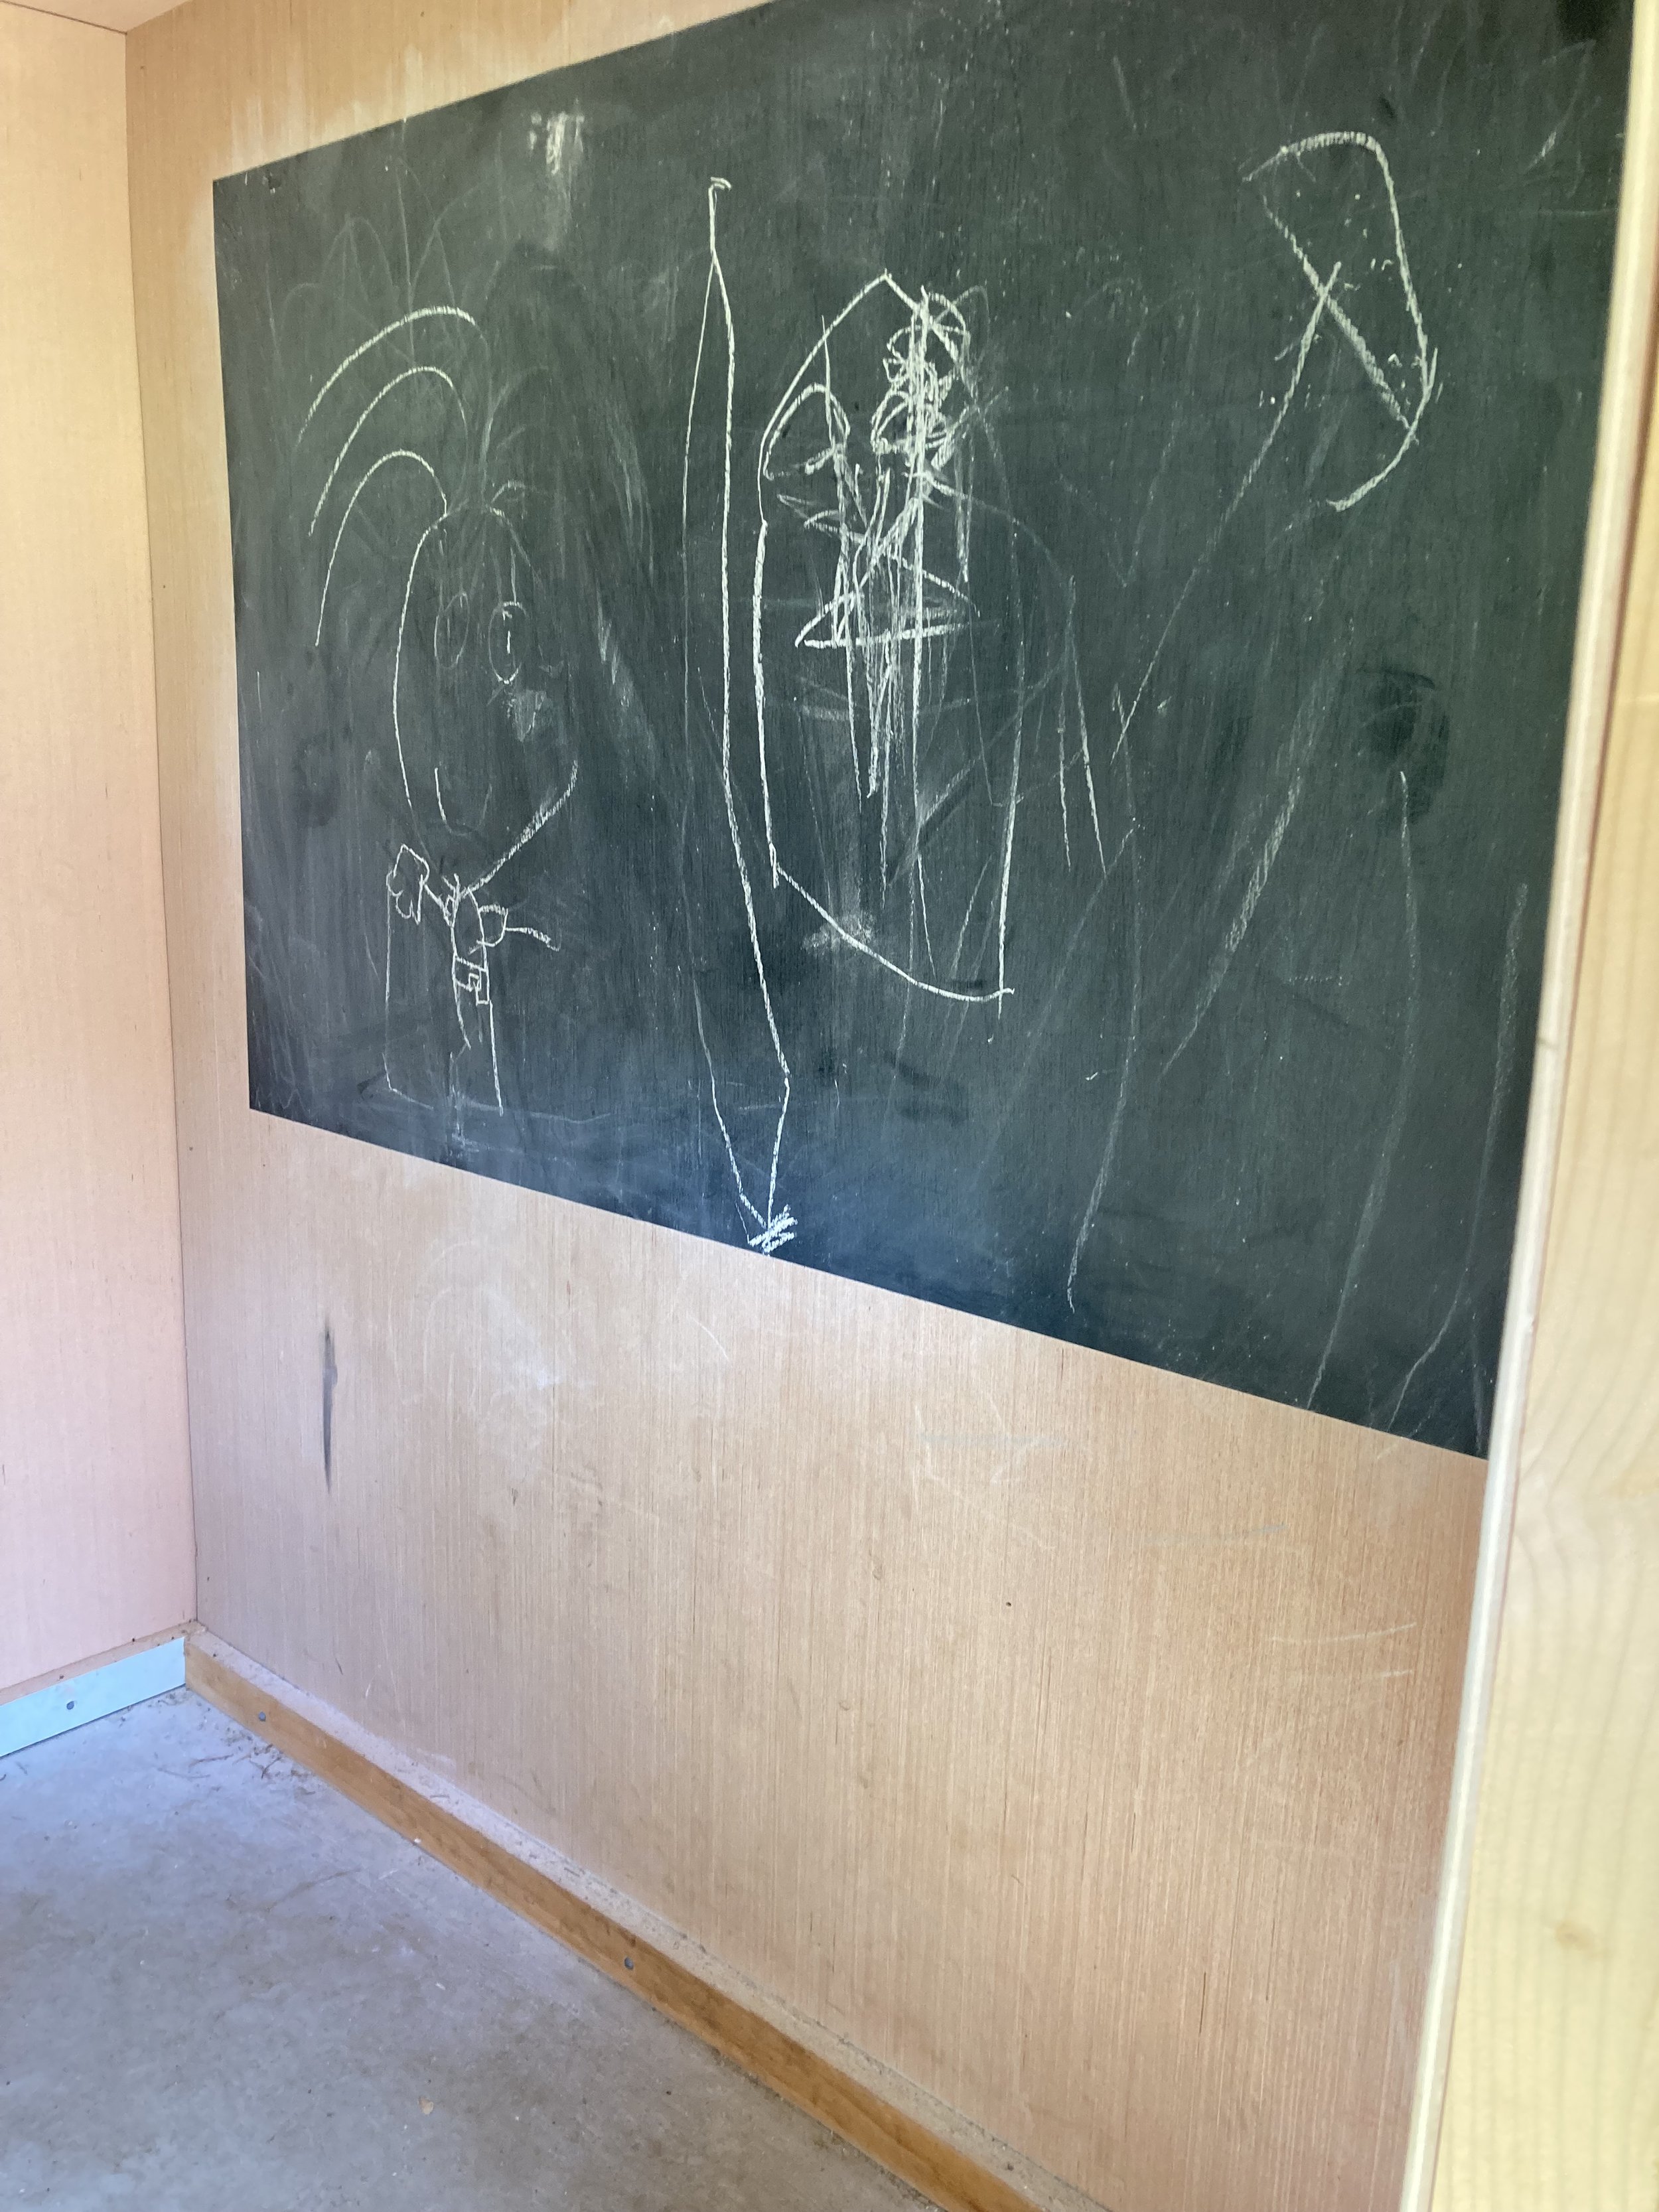
| Chalkboard - Inside the playhouse I painted one wall in chalkboard paint so the kids have a space to draw. We just keep the chalk and eraser on one of the windowsills inside the playhouse. |
PS - At Christmas we even decorate the playhouse with solar Christmas lights and a wreath!
Cyber Week is fast approaching and we’re joining in! Now through the end of November we’re offering 20% Off EVERYTHING in our Etsy Shop - yes, even the handmade items that rarely go on sale! Now is your chance to snag that item you’ve had your eye on or stock up on some stickers for stocking stuffers. Quantities are limited, so make sure to shop early ;)
We thought it would be fun to host a little 4th of July Giveaway for one of our New England Lakeside Baseball Caps! Head on over to our Instagram or Facebook to enter, giveaway ends July 6th at 5PM and one winner will be chosen at random and notified. Good luck!
HAPPY NEW YEAR! To celebrate everything is 15-20% off in our Etsy Shop (our biggest sale of the year), December 31st, 2021 through January 7th, 2022 - no coupon code needed. Wishing you all a healthy, happy, and prosperous New Year!
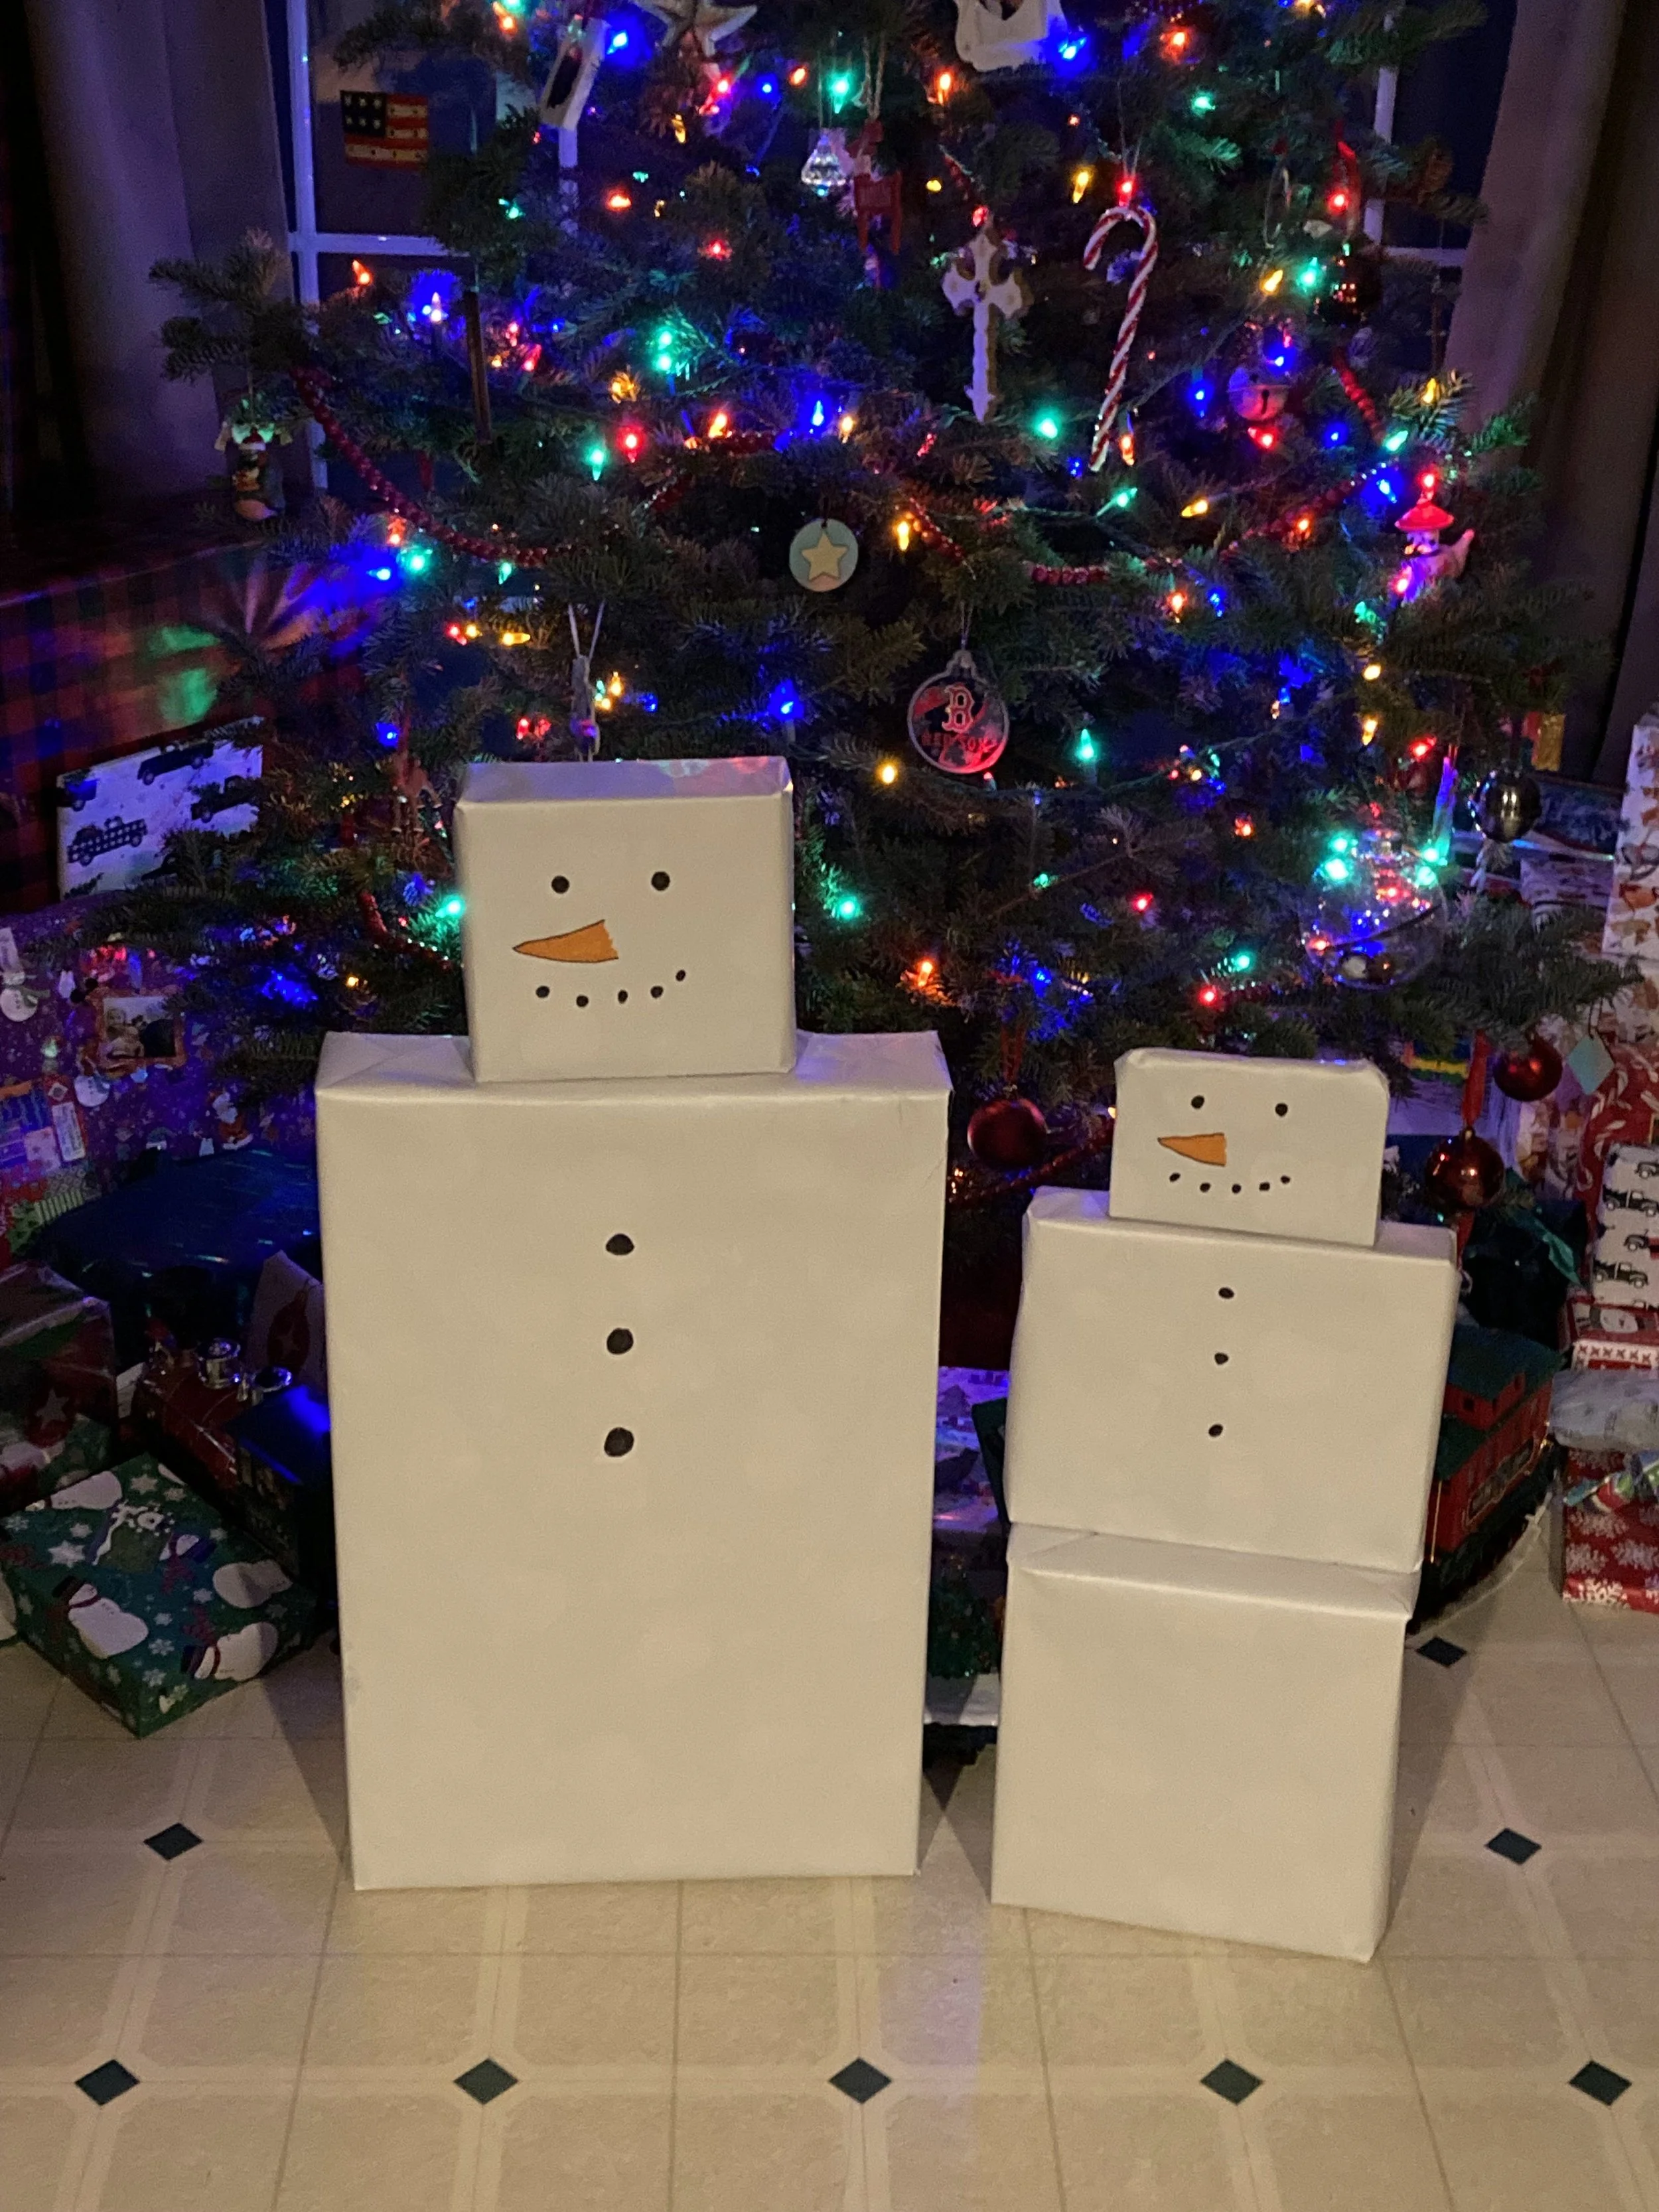
This year I was inspired by an old friend from high school - every year she makes themed “stacked characters” out of her family’s gifts. One year it was all Santas, another year all penguins, etc - complete with accessories! I thought it was such a cute idea and wanted to give it a try myself this year, but on a much simpler and smaller scale. So I opted to make each kid their own “present snowman” and they loved it! I think this has just become a yearly tradition in our family as well. | This post contains affiliate links |
To make the snowmen you don’t need to buy anything special - in fact I just used regular Christmas wrapping paper but wrapped the gifts inside-out so the plain white back of the wrapping paper was facing out! I chose 2-3 gifts for each child that stacked well on top of each other and wrapped them, white side facing out. Then I used a sharpie marker and orange colored marker to draw the face and buttons.
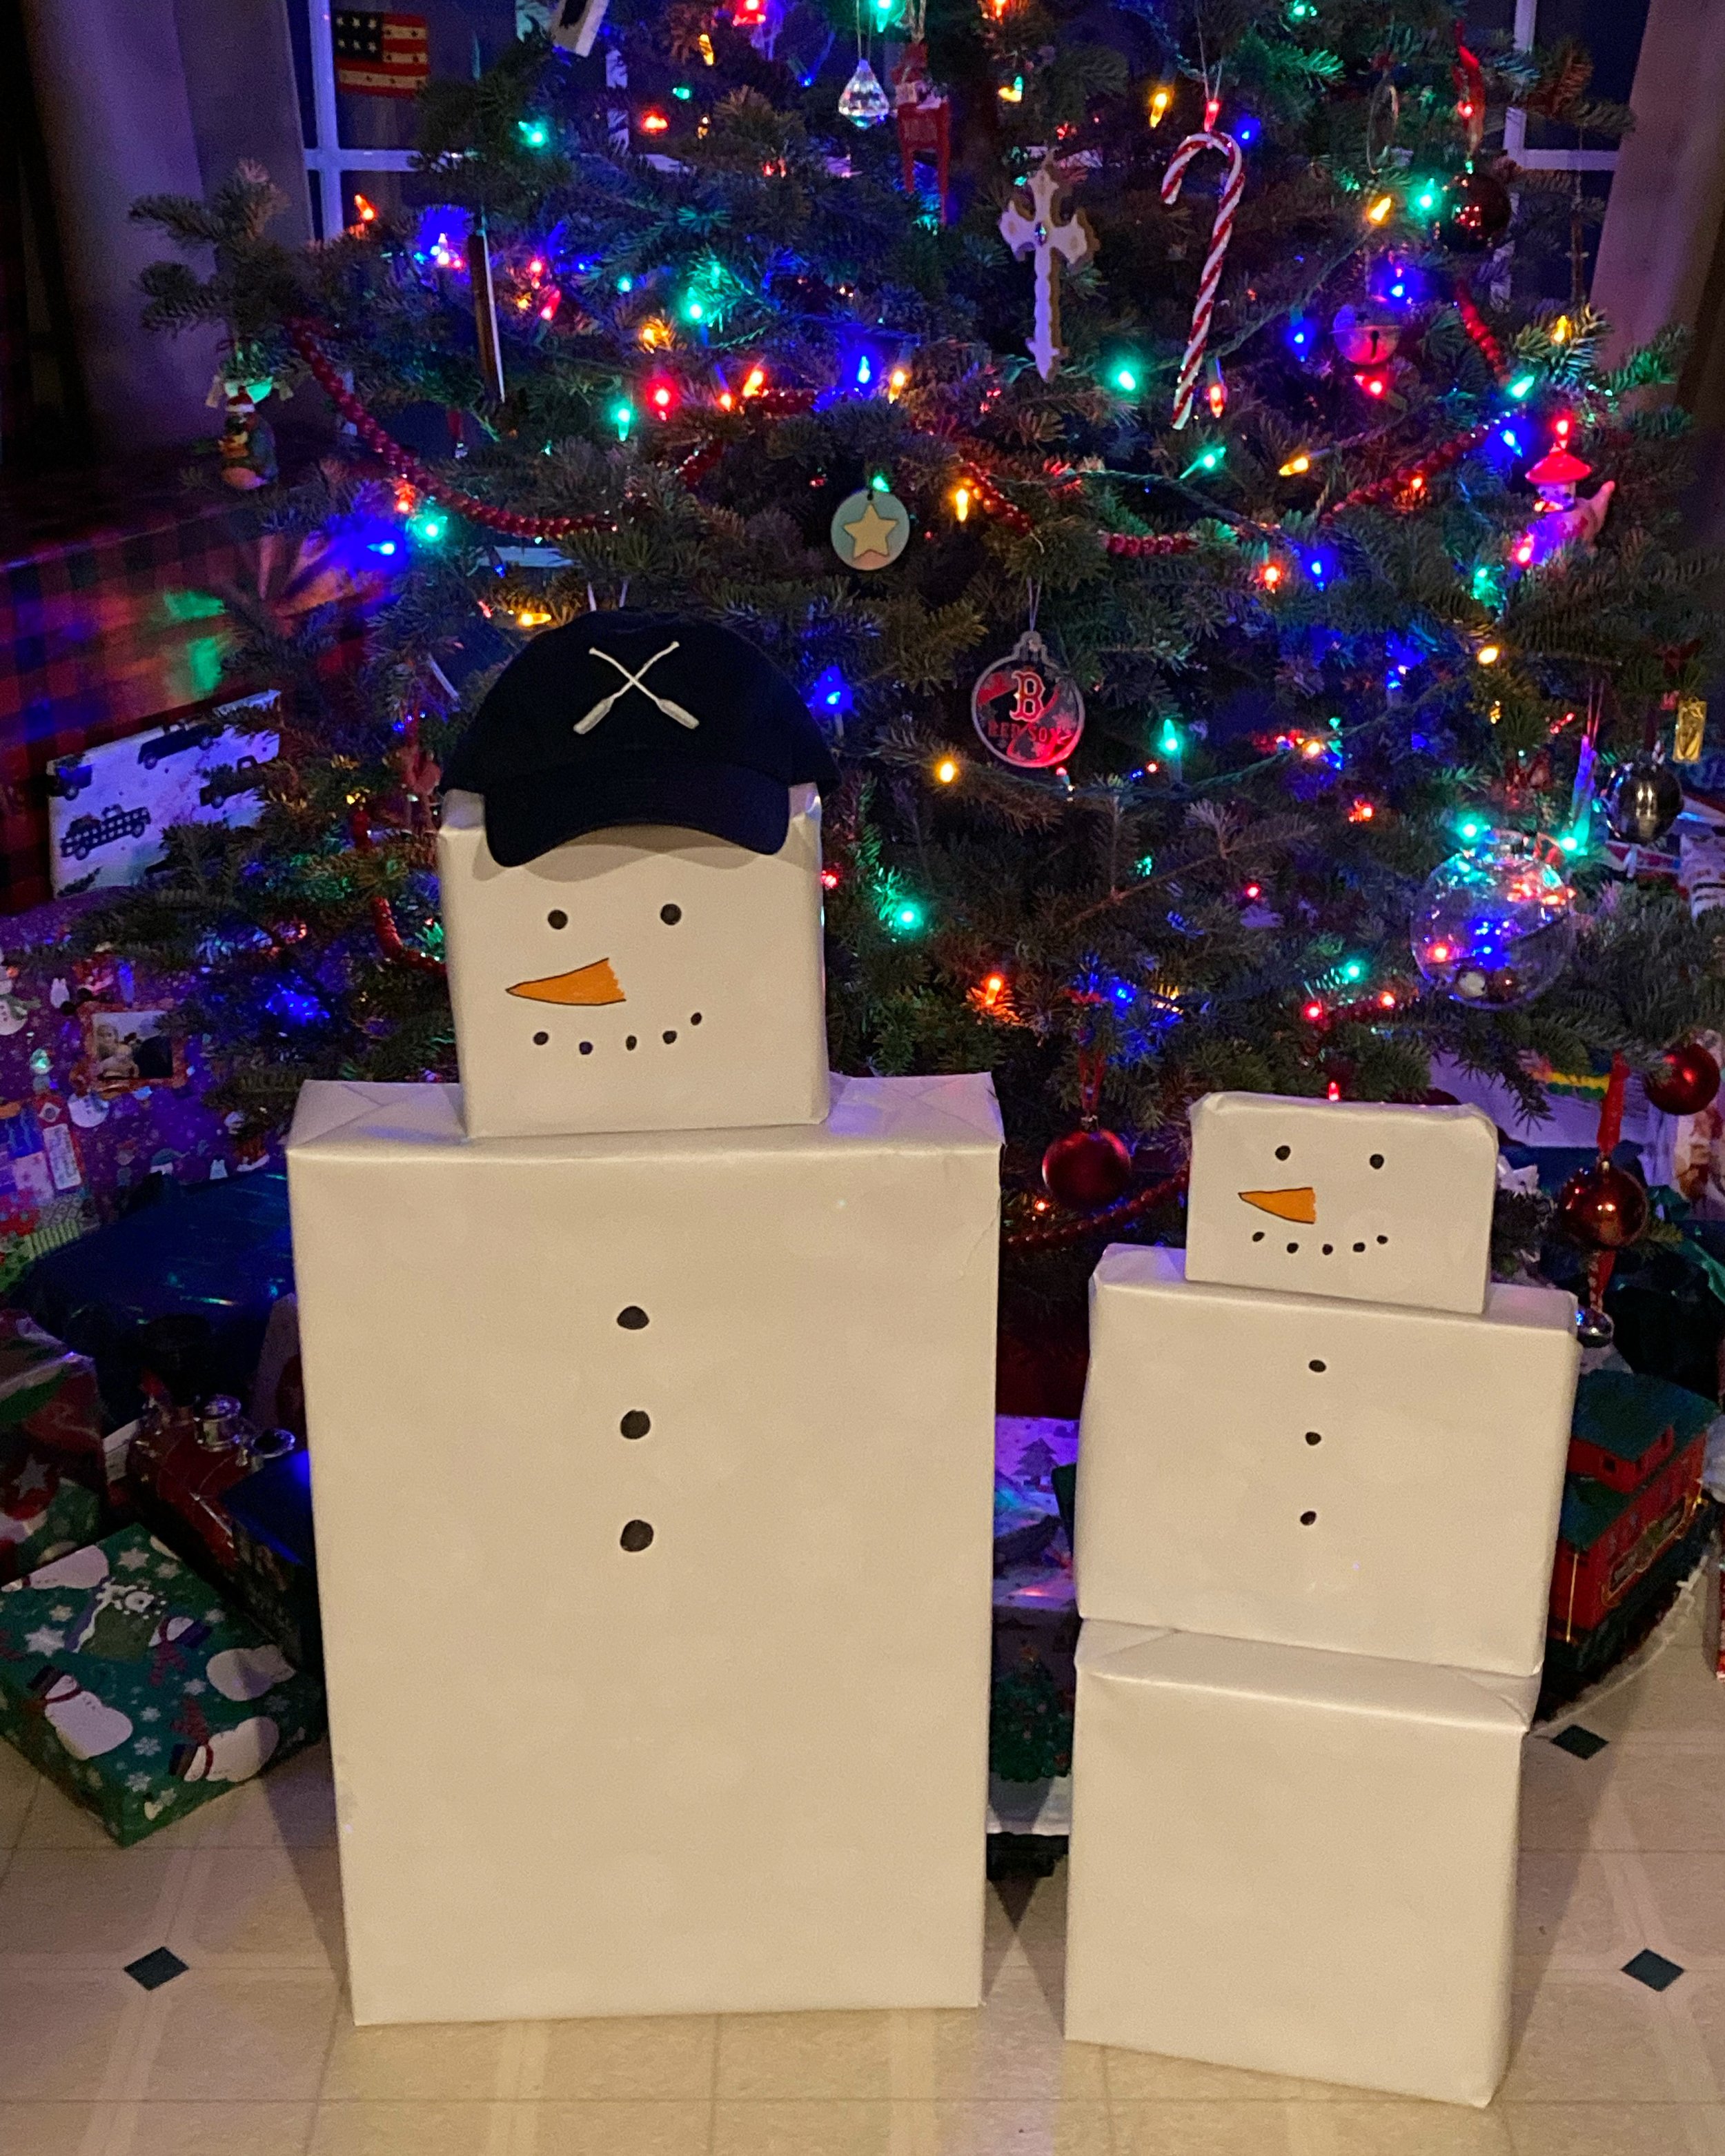
Our oldest daughter recently asked for one of our New England Lakeside Baseball Caps of her own so obviously we had to give her one for Christmas! The hat made the perfect finish for her Snowman and she got a huge kick out of it on Christmas morning.
This was such an easy and fun surprise and I hope you’ll give it a try too and make Christmas morning just a little more magical.
Just wanted to share this easy, cute homemade gift idea for anyone with small kids in a snowy climate - DIY Simple Snowman Kits! Since we aren’t able to get together with a lot of family and friends again this year (thanks Covid), we decided to make and send these little kits so our kids could “help” their friends make their own snowmen from afar. | This post contains affiliate links |
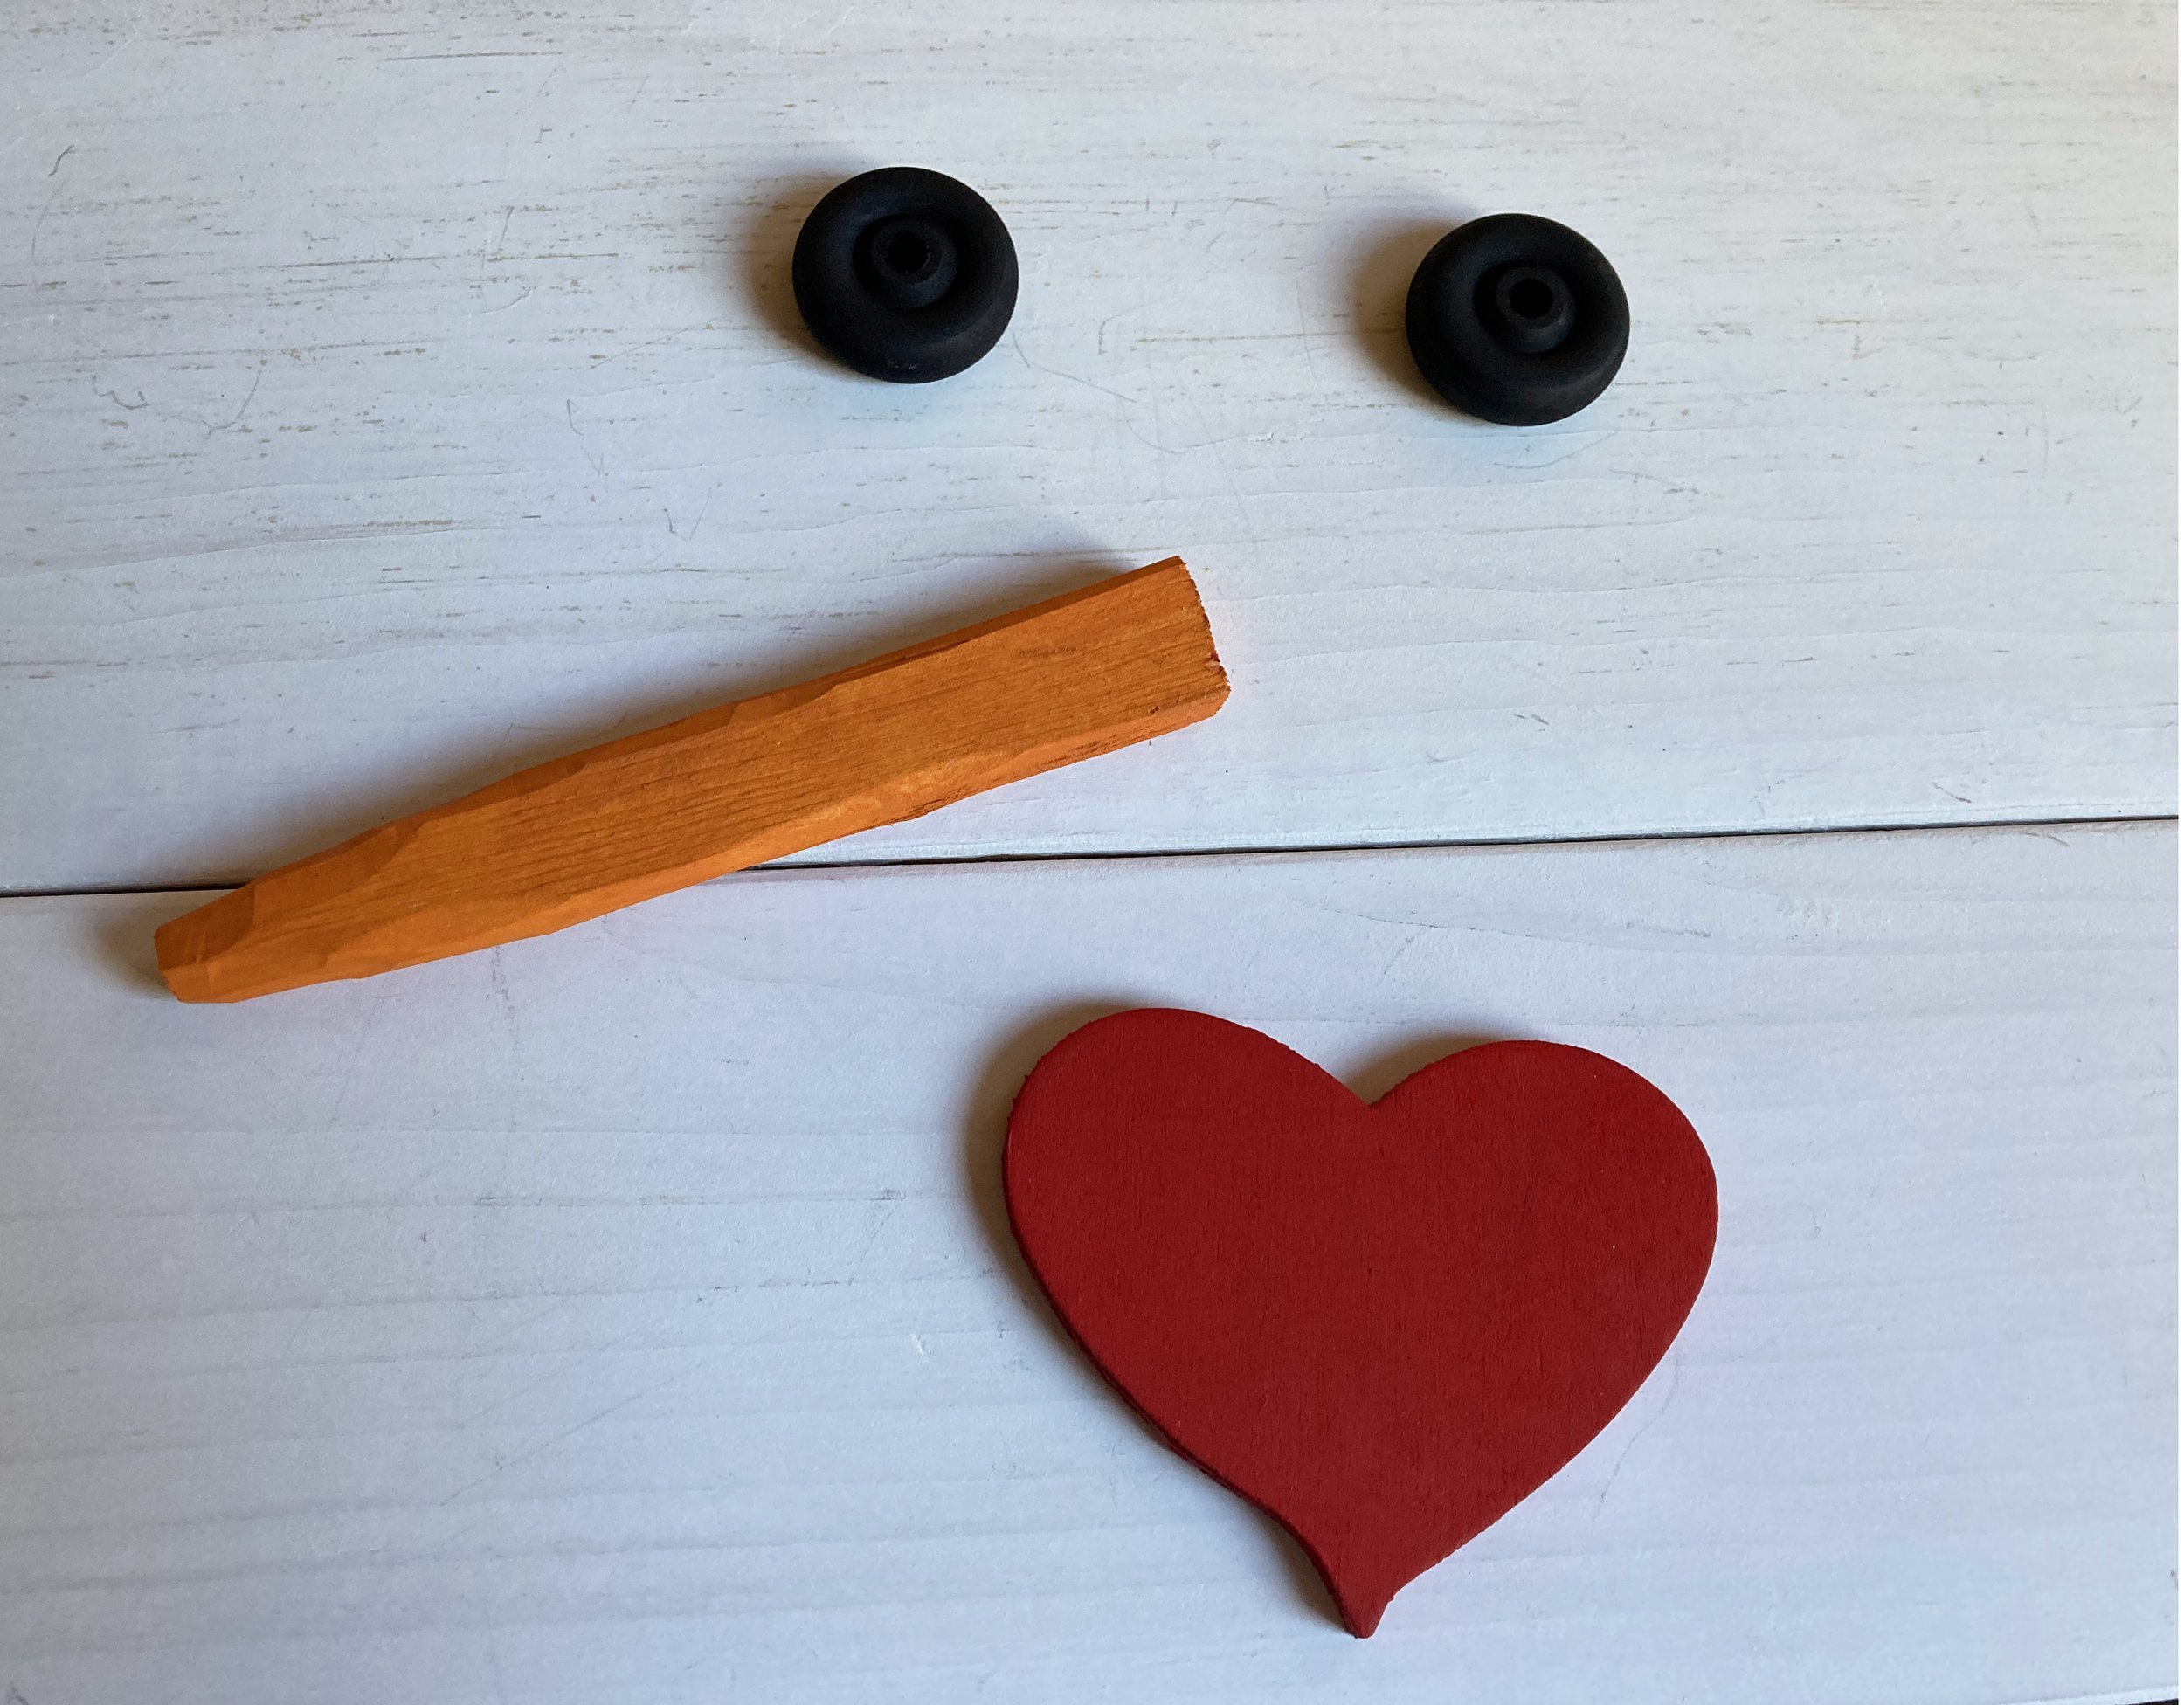
Really there isn’t too much to explain for this project — we gathered some basic materials, painted them, and then packaged them together before including a little note from the kids.
EYES: For the eyes we used wooden toy wheels from a craft store (similar ones linked) that we painted black - but you could use just about anything, including painted rocks or scrap wood. NOSE: For the nose I whittled down some pieces of scrap wood into a rough carrot shape, then painted them orange. HEART: For the hearts we glued together two layers of pre-cut balsa wood hearts we had picked up at a craft store (similiar ones linked), then painted them red. BUTTONS (OPTIONAL): We did not include buttons in our kits but you can include painted rocks, small pieces of scrap wood, or actual large buttons in your kits to be used as buttons. GIFT BAG: We packaged our kits up in some organza gift bags I had on hand (similar ones linked), but you could wrap them up in a number of ways including using a piece of fabric that could double as a scarf!
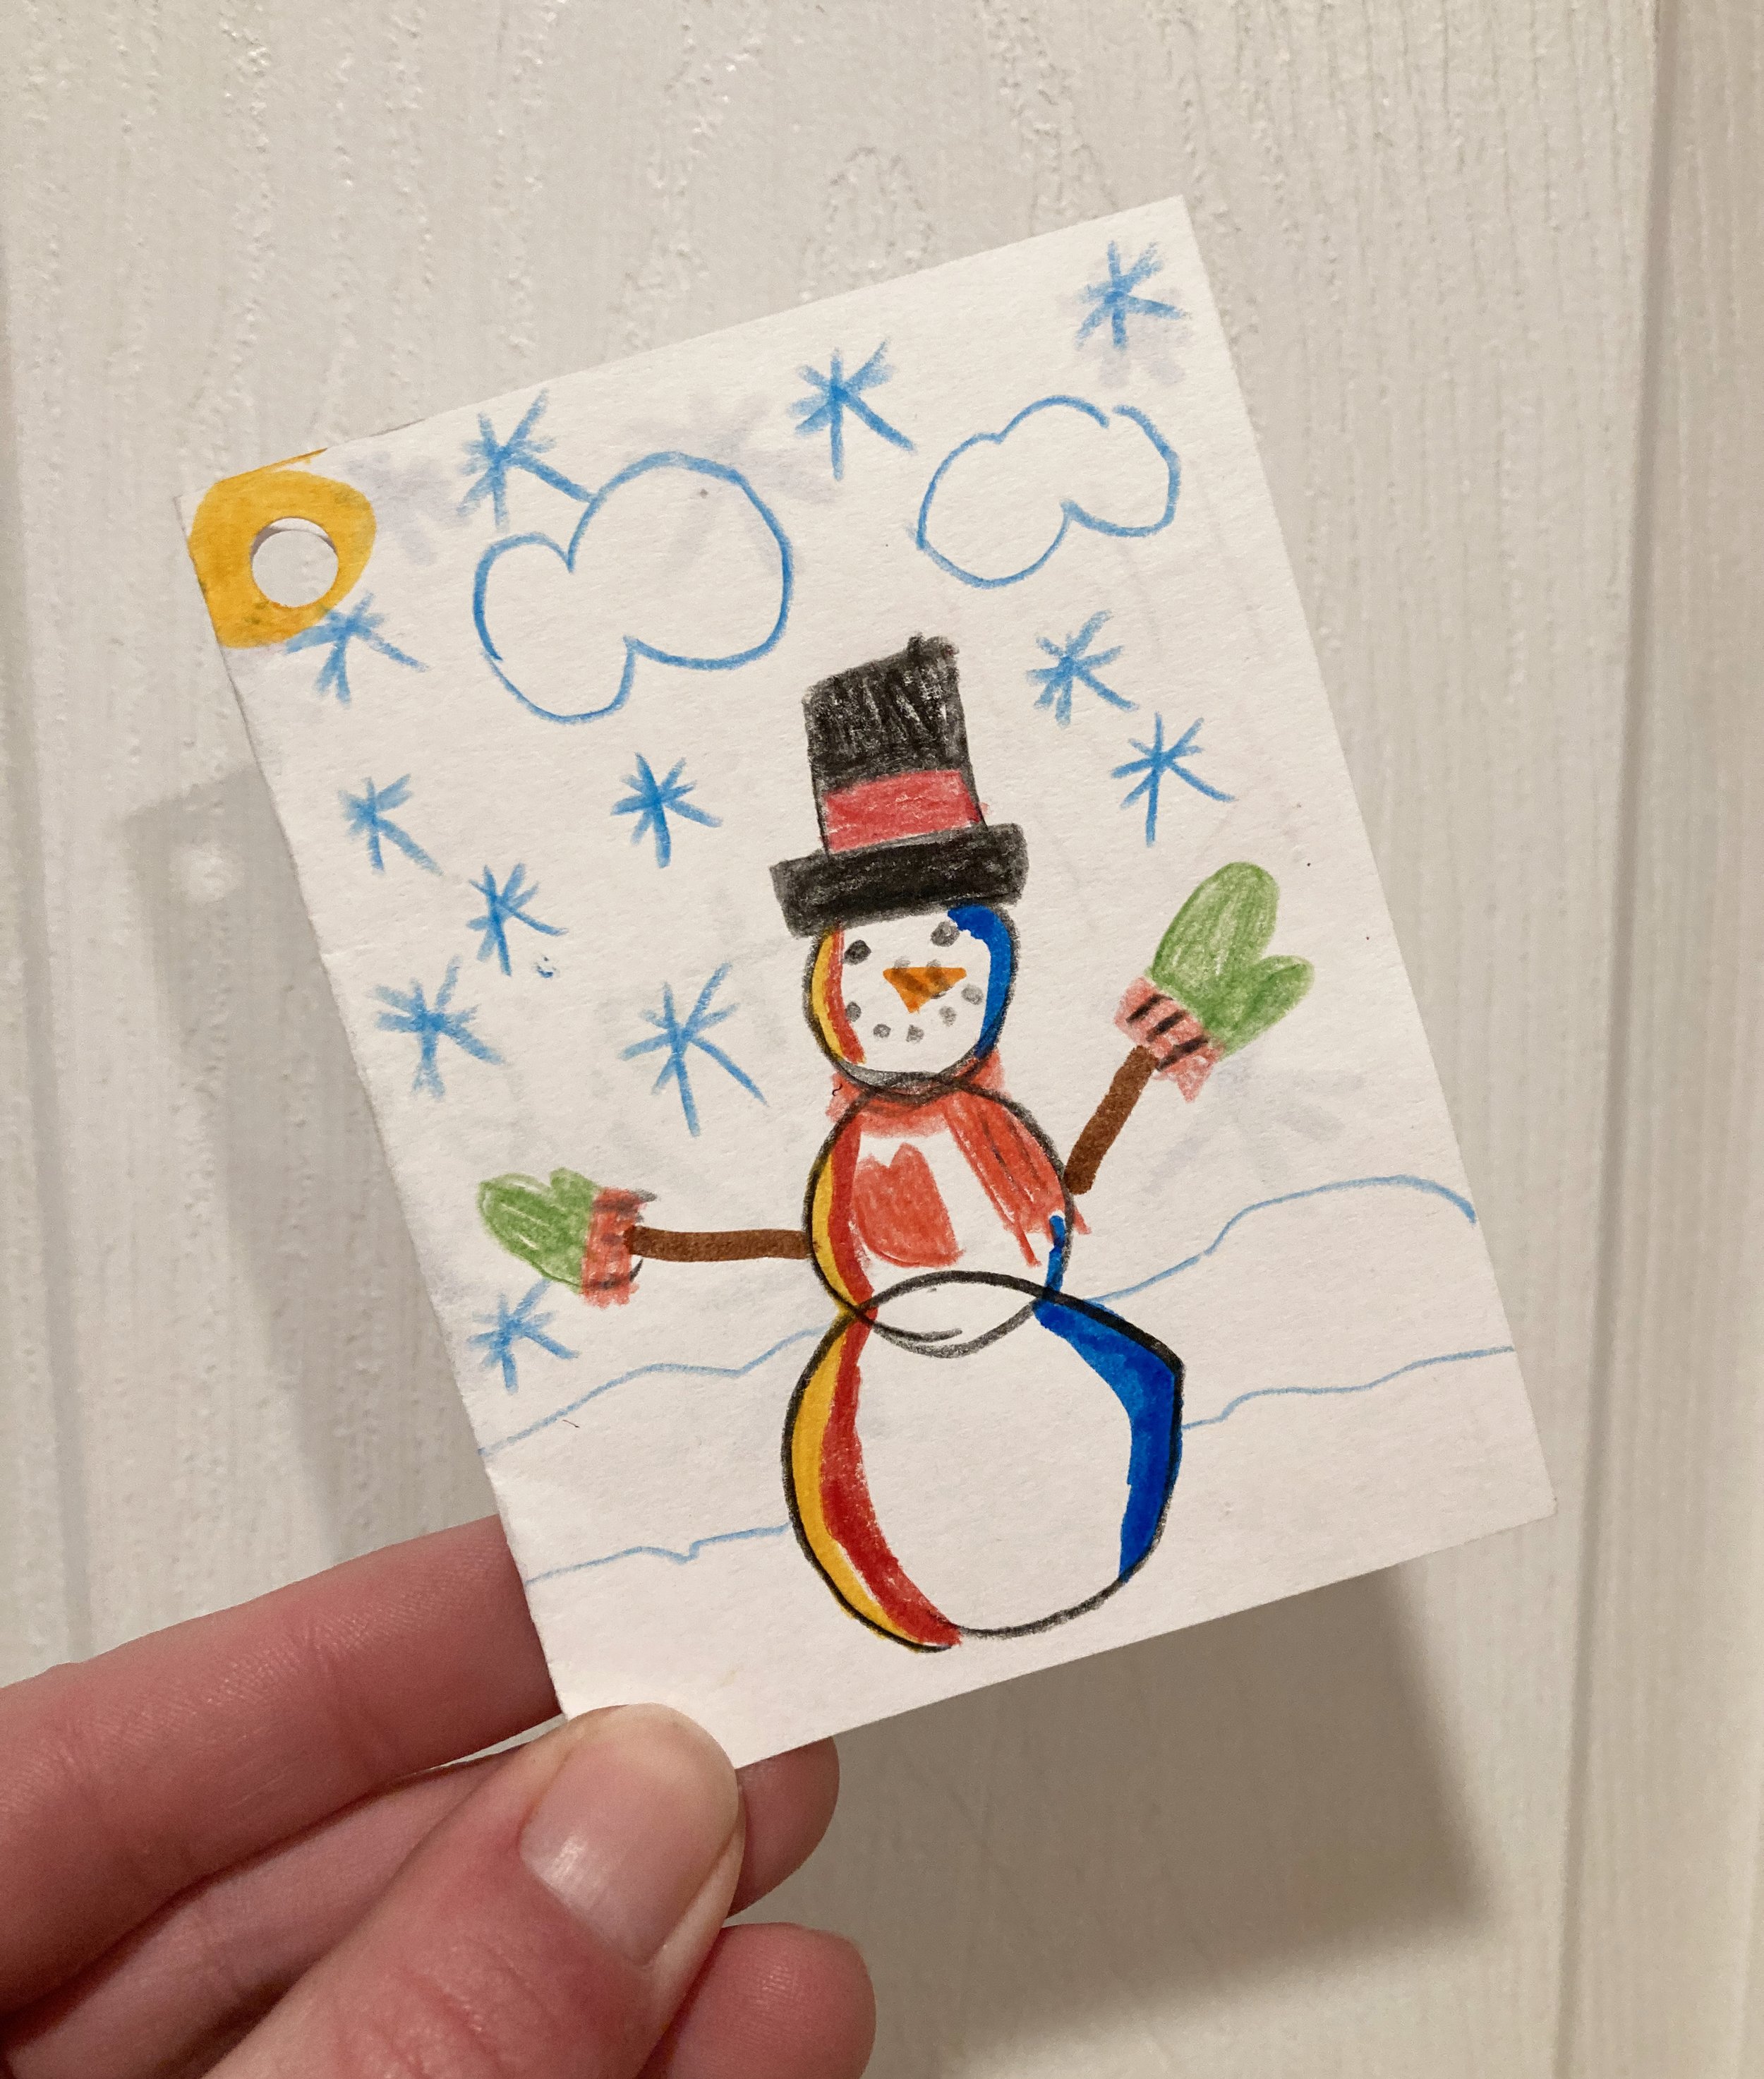
Then I had the kids make the gift tags and write notes to their friends - they loved coming up with special drawings and messages! Our friends really enjoyed getting these kits and I’m excited to see how their snowmen turn out. Hopefully these Snowmen supplies will be something they can reuse for future winters too! Just add snow… ;)
PS - I have a few kits left over listed for sale in my Etsy Shop if you would like to check them out. Just click the button below to shop:
I’ve teamed up with my friends Sewcialite and Sailormade to help you add a little bit of the coast on your tree and under it!
One lucky winner will receive a choice of hand-etched birch ornament from me, a holiday decoupage ornament kit from Sailormade, and 5 sheets of Shelly cane gift wrap from Sewcialite! This great giveaway is not to be missed, head on over to one of our Instagram accounts for details and to enter - this giveaway ends 12/5/21, so enter now!
Now through Tuesday November 30th, take 10-20% off everything in our Etsy Shop, no coupon code needed! At the moment we have a variety of great vintage finds, handmade ornaments, our new New England Lakeside Baseball Cap, and more! Quantities are limited and many of the vintage items are one-of-a-kind, so I recommend shopping early if you’ve had your eye on something.