I'm a wife, stay-at-home mom, crafter, and blogger living in rural New England. As seen in Martha Stewart Living, Food Network Magazine, and more! | Tutorials, DIY, crafts, parenting tips, recipes, money saving tips, product reviews, local product features, New England living, intentional living, and more! |
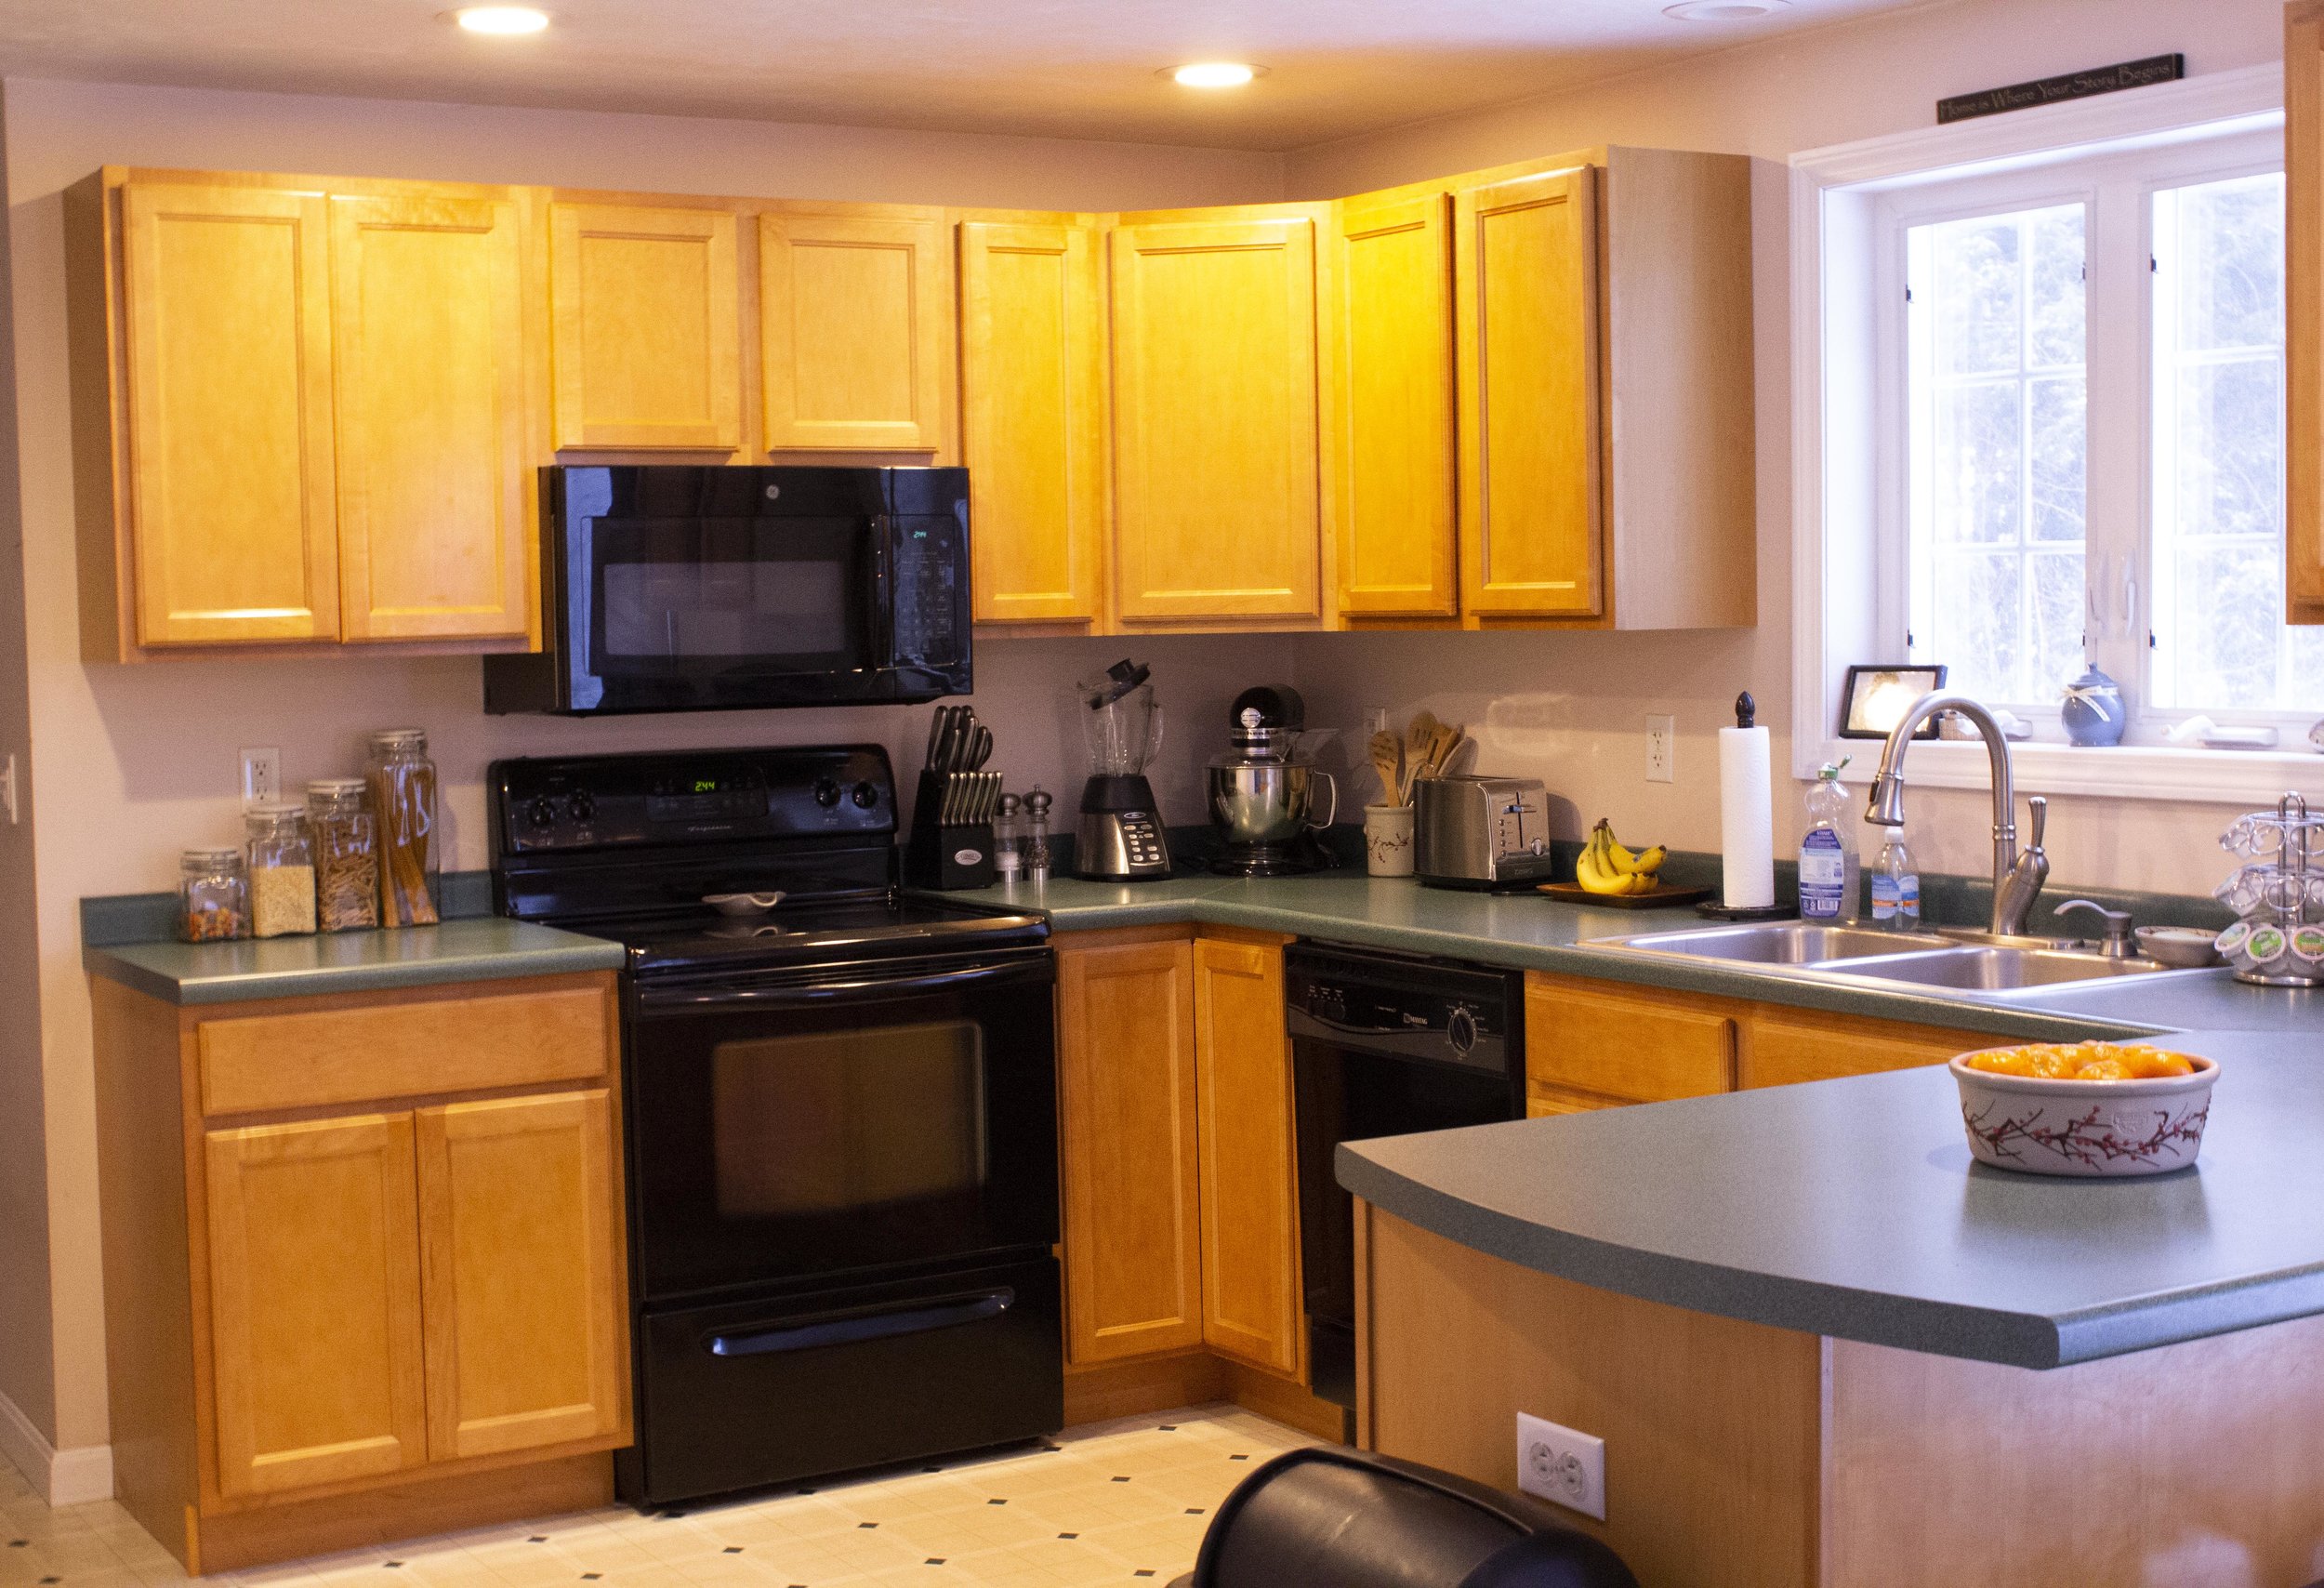
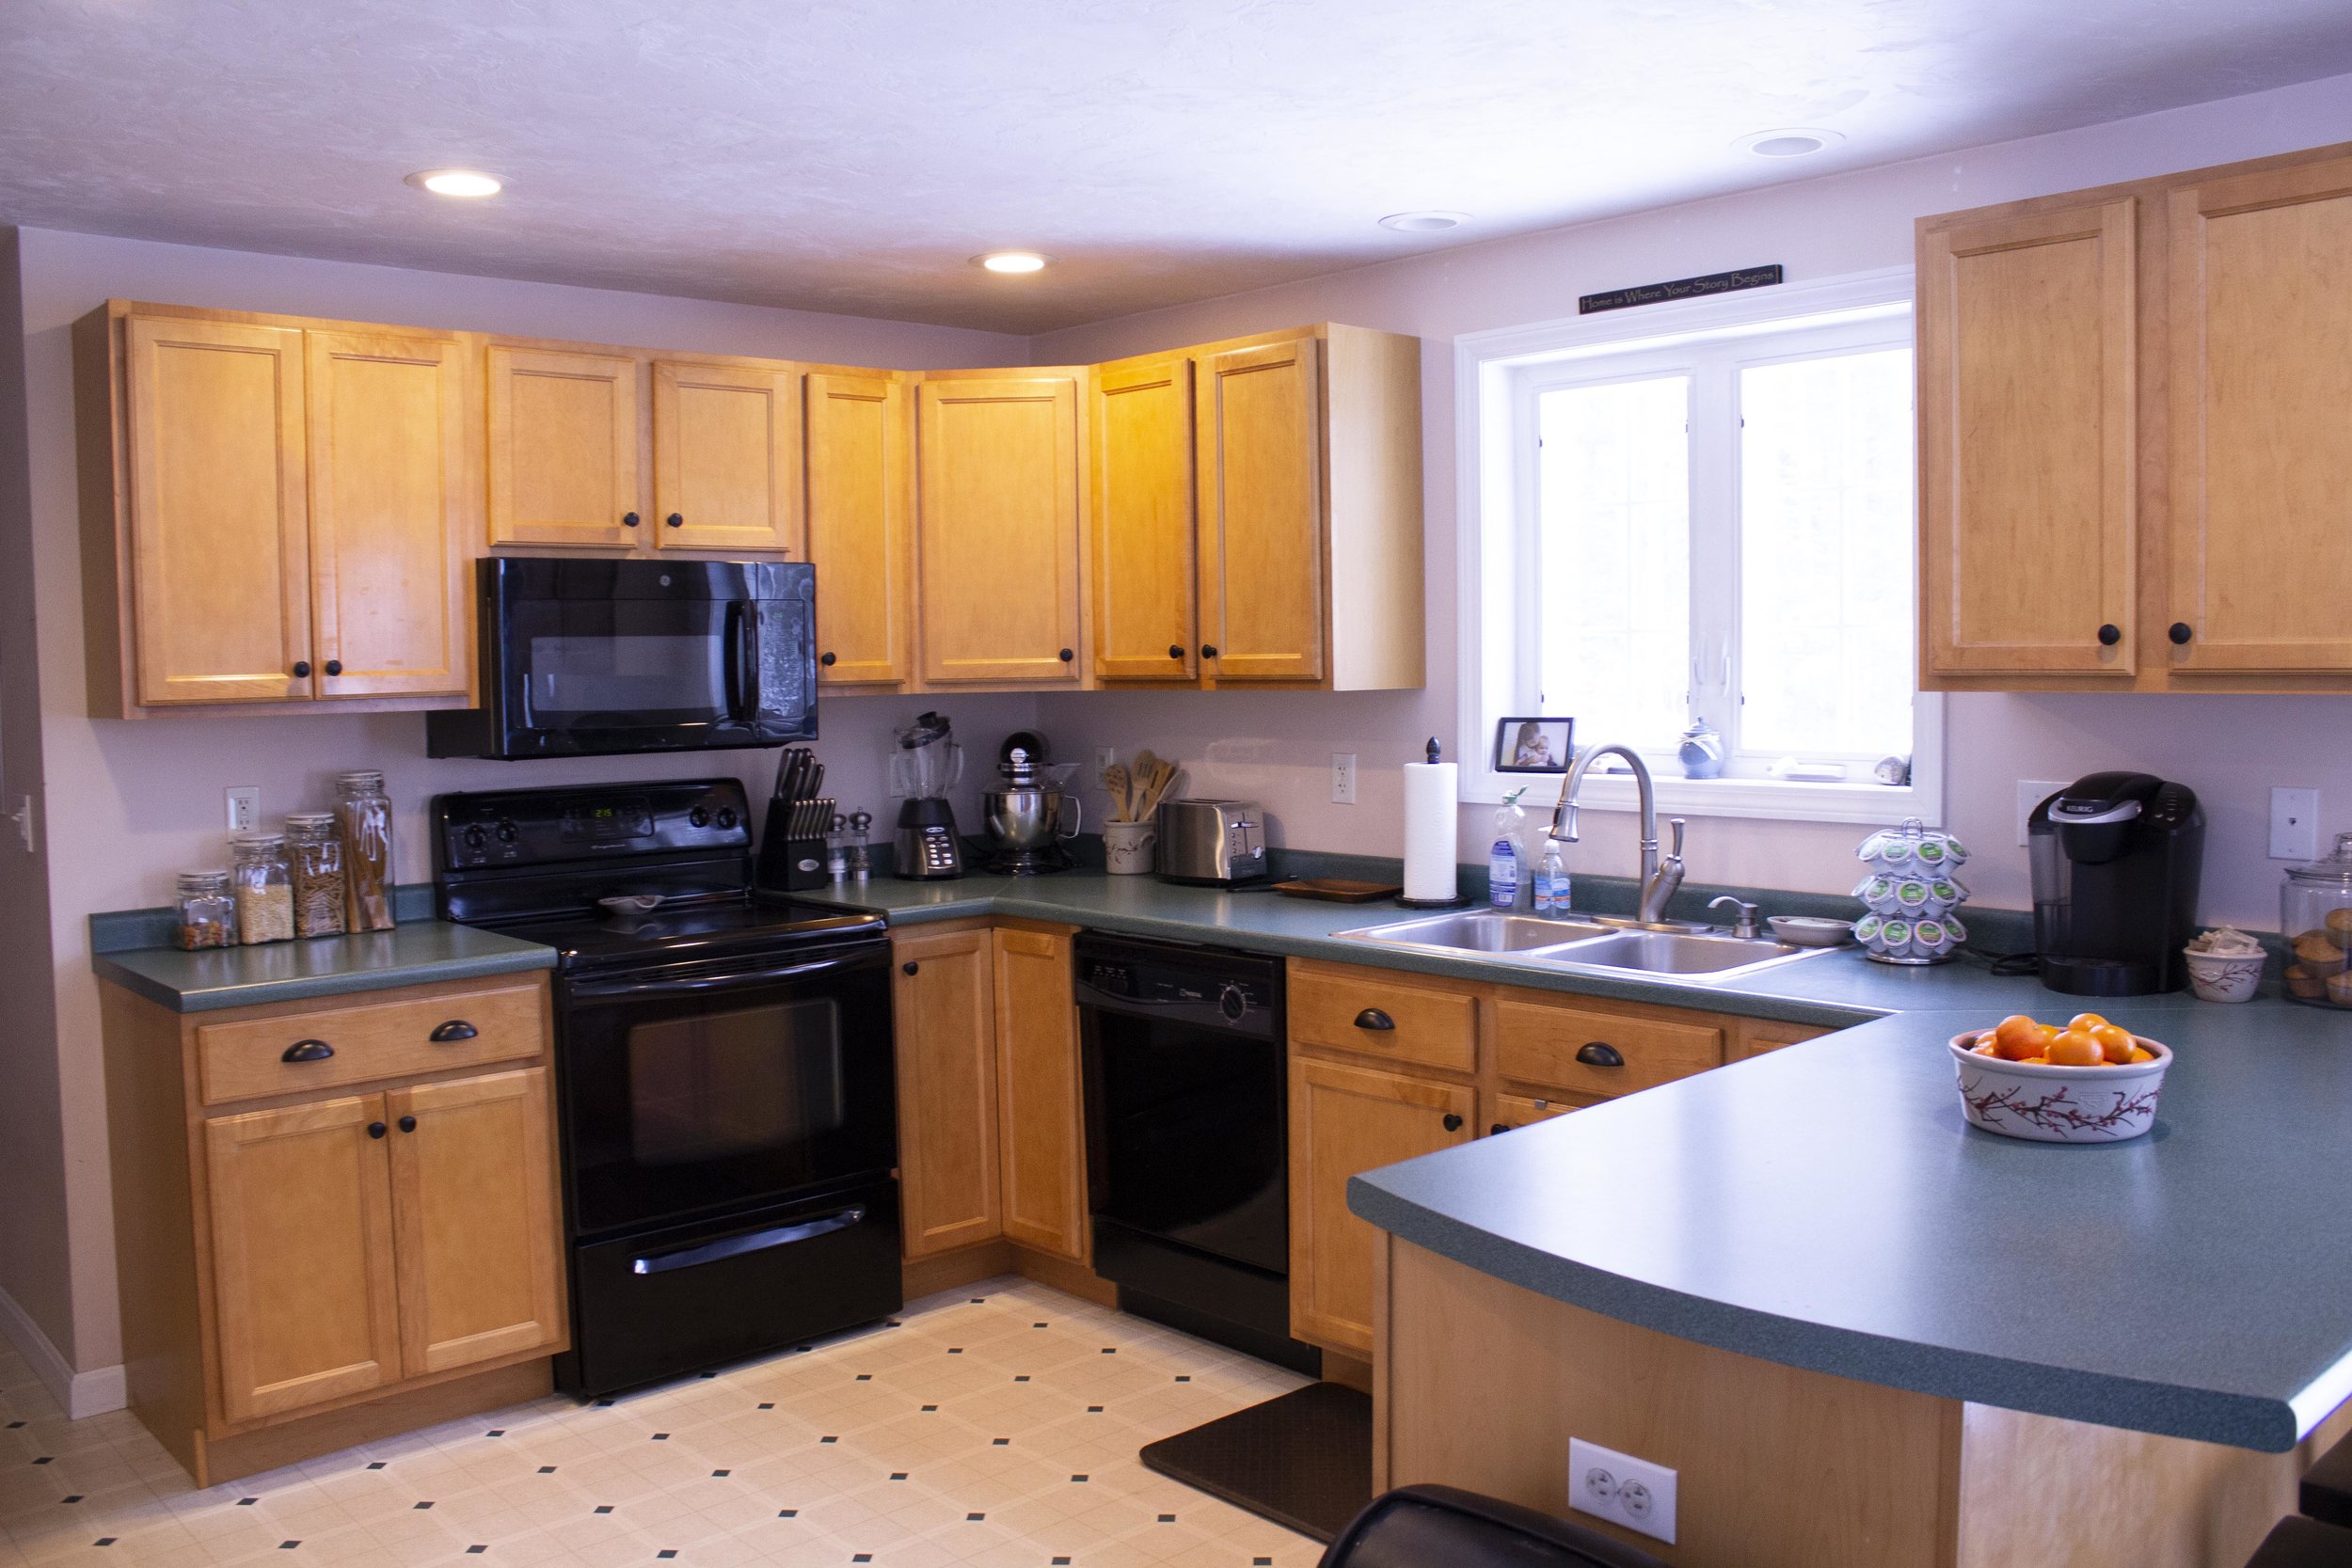
Our home came with a classic late 90’s “builder’s grade kitchen” - you know the type: honey-colored basic cabinets with no hardware and laminate counters. Someday we’d love to totally overhaul the space and paint the cupboards, trim them out, and install granite countertops - however all those things involve a lot of work and money and just aren’t in the budget right now. In the meantime we’re working on making small upgrades ourselves that will make the space look more finished. And what’s the easiest, budget-friendly way to update the look of your cabinets? Replace or install new hardware! If you’re installing new hardware on blank cabinets it can be a bit intimidating, so read on for my tips on installing for the first time. And don’t forget to enter our GIVEAWAY over on Instagram for a $50 Credit to Cosmas Hardware! | This post is sponsored by Cosmas Hardware and affiliate links |
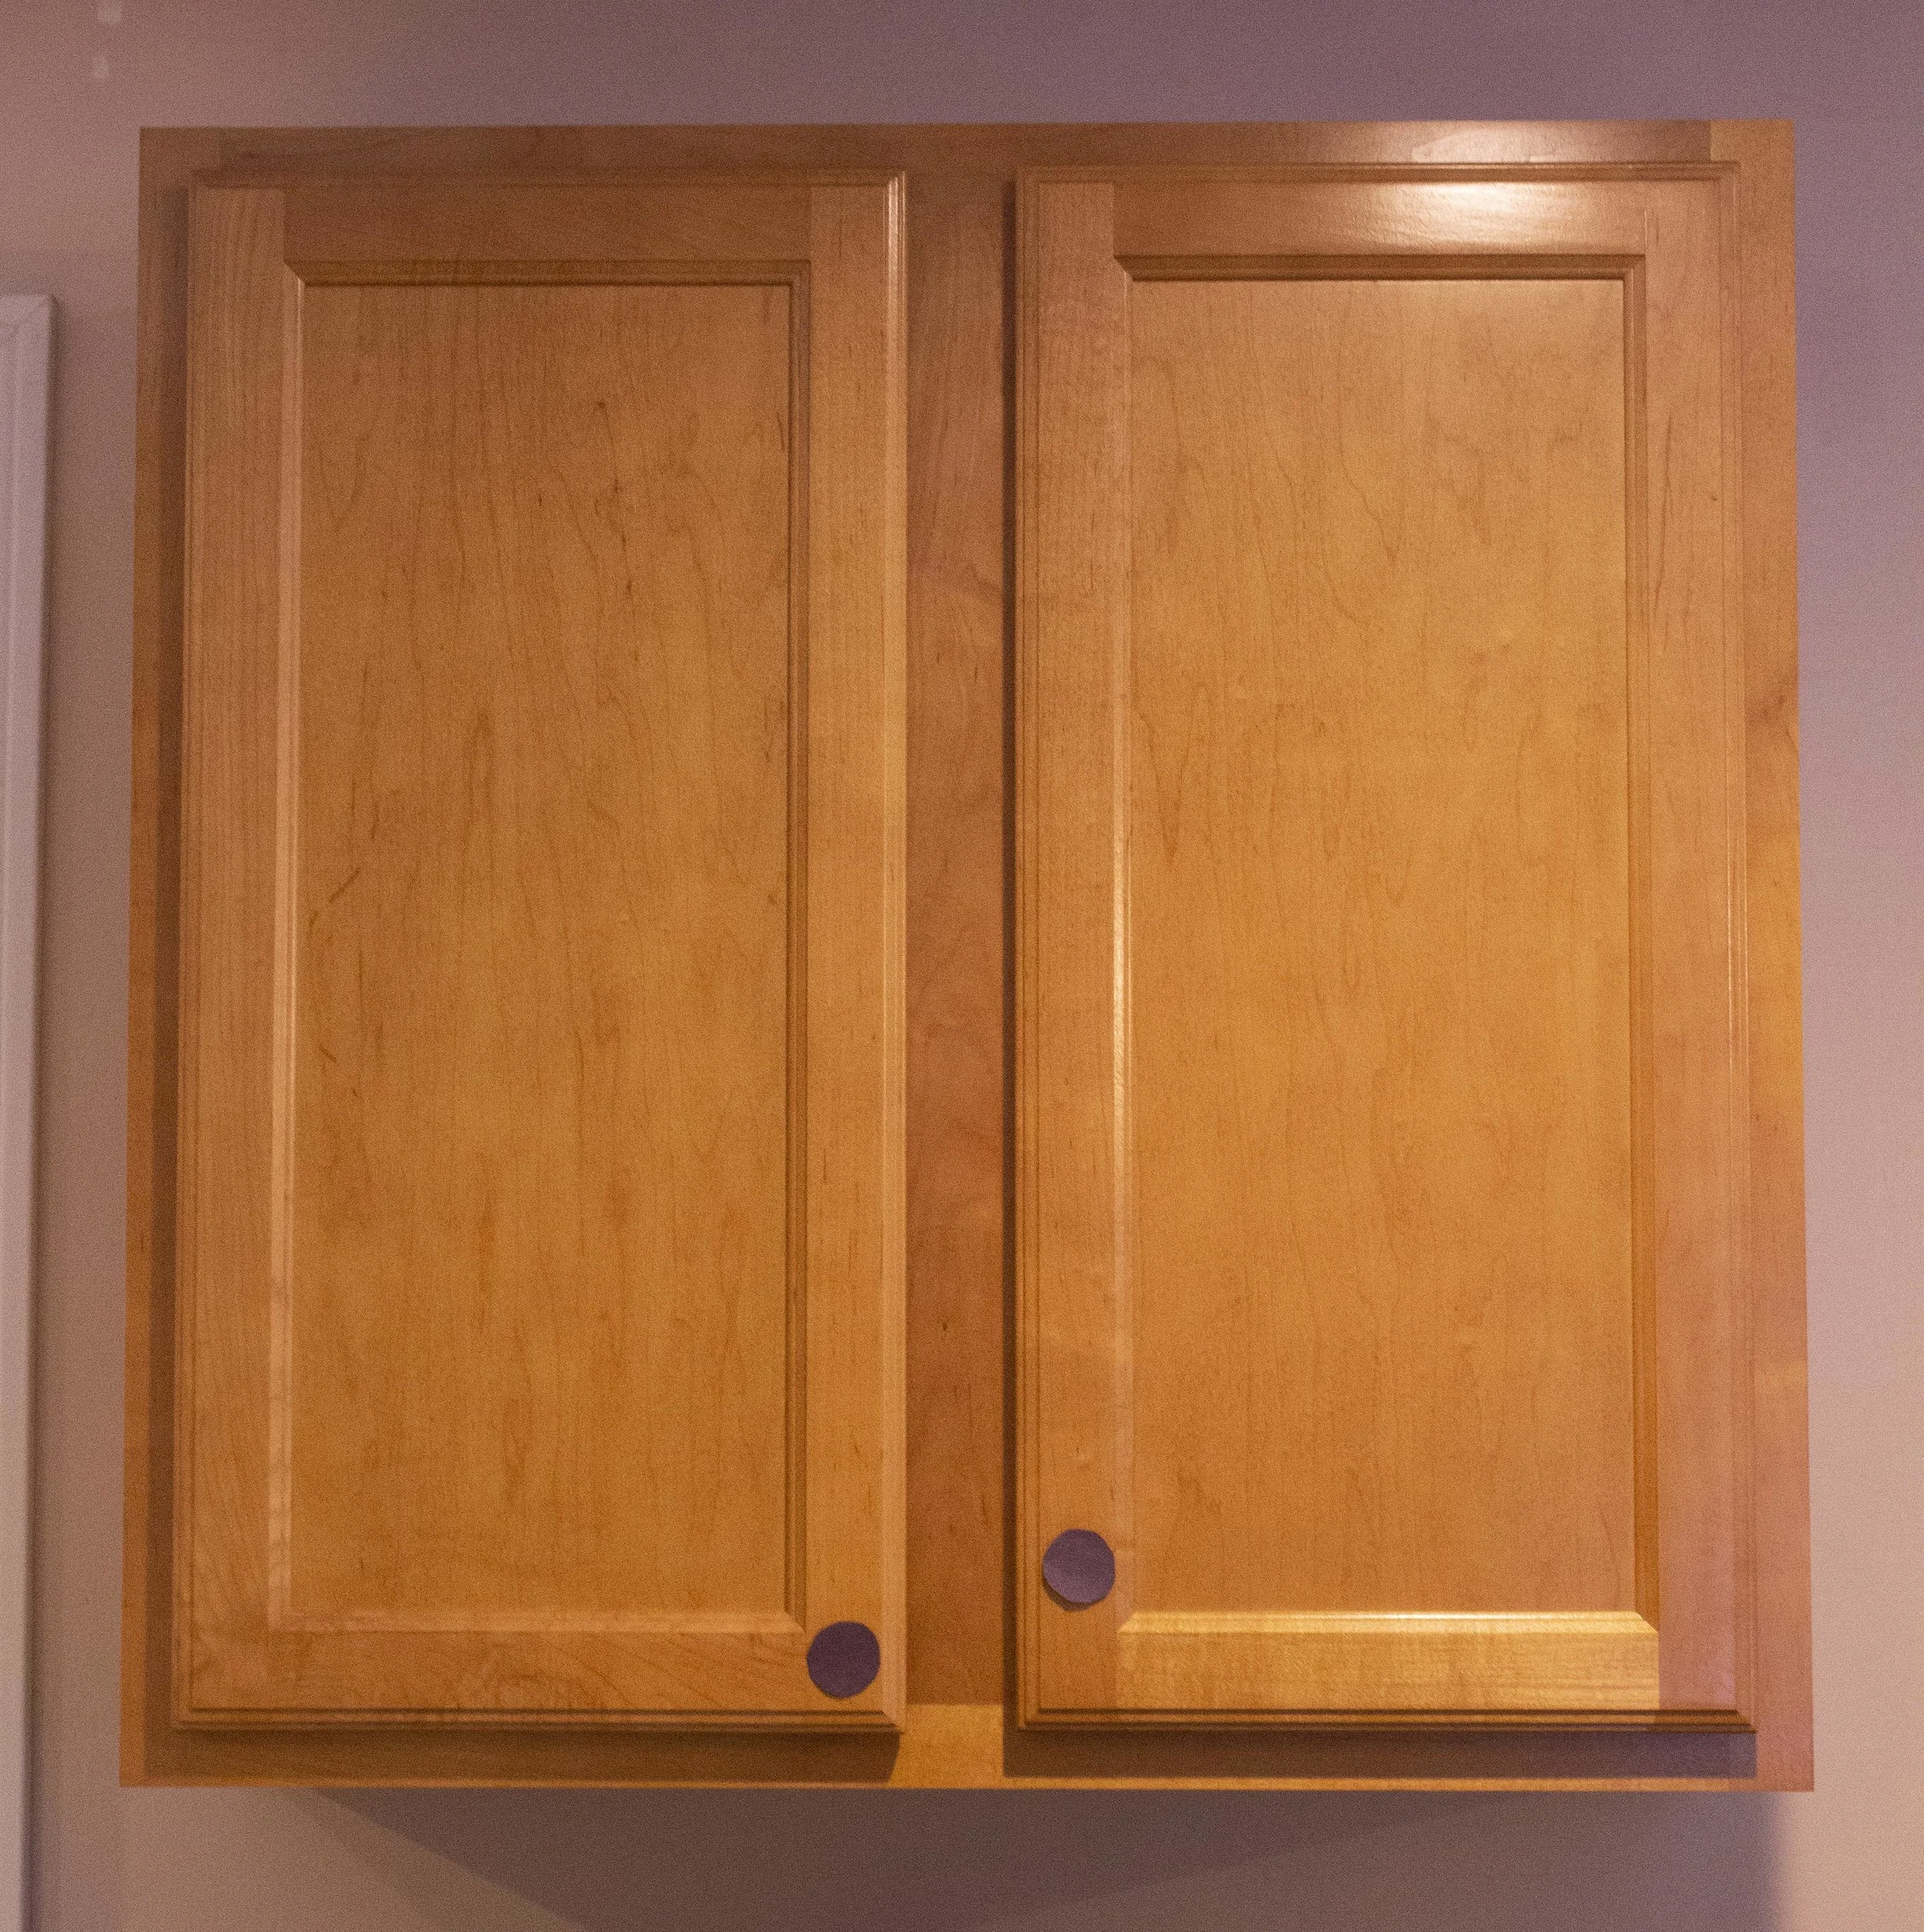
If you’re installing new hardware on a blank cabinet door, the first step is deciding hardware placement. I’m a very visual person so to help me decide on where things would go I first traced the hardware on a piece of black construction paper, cut it out, and taped them to the door and drawer fronts. This way I could step back and play around with the placement before I finalized it.
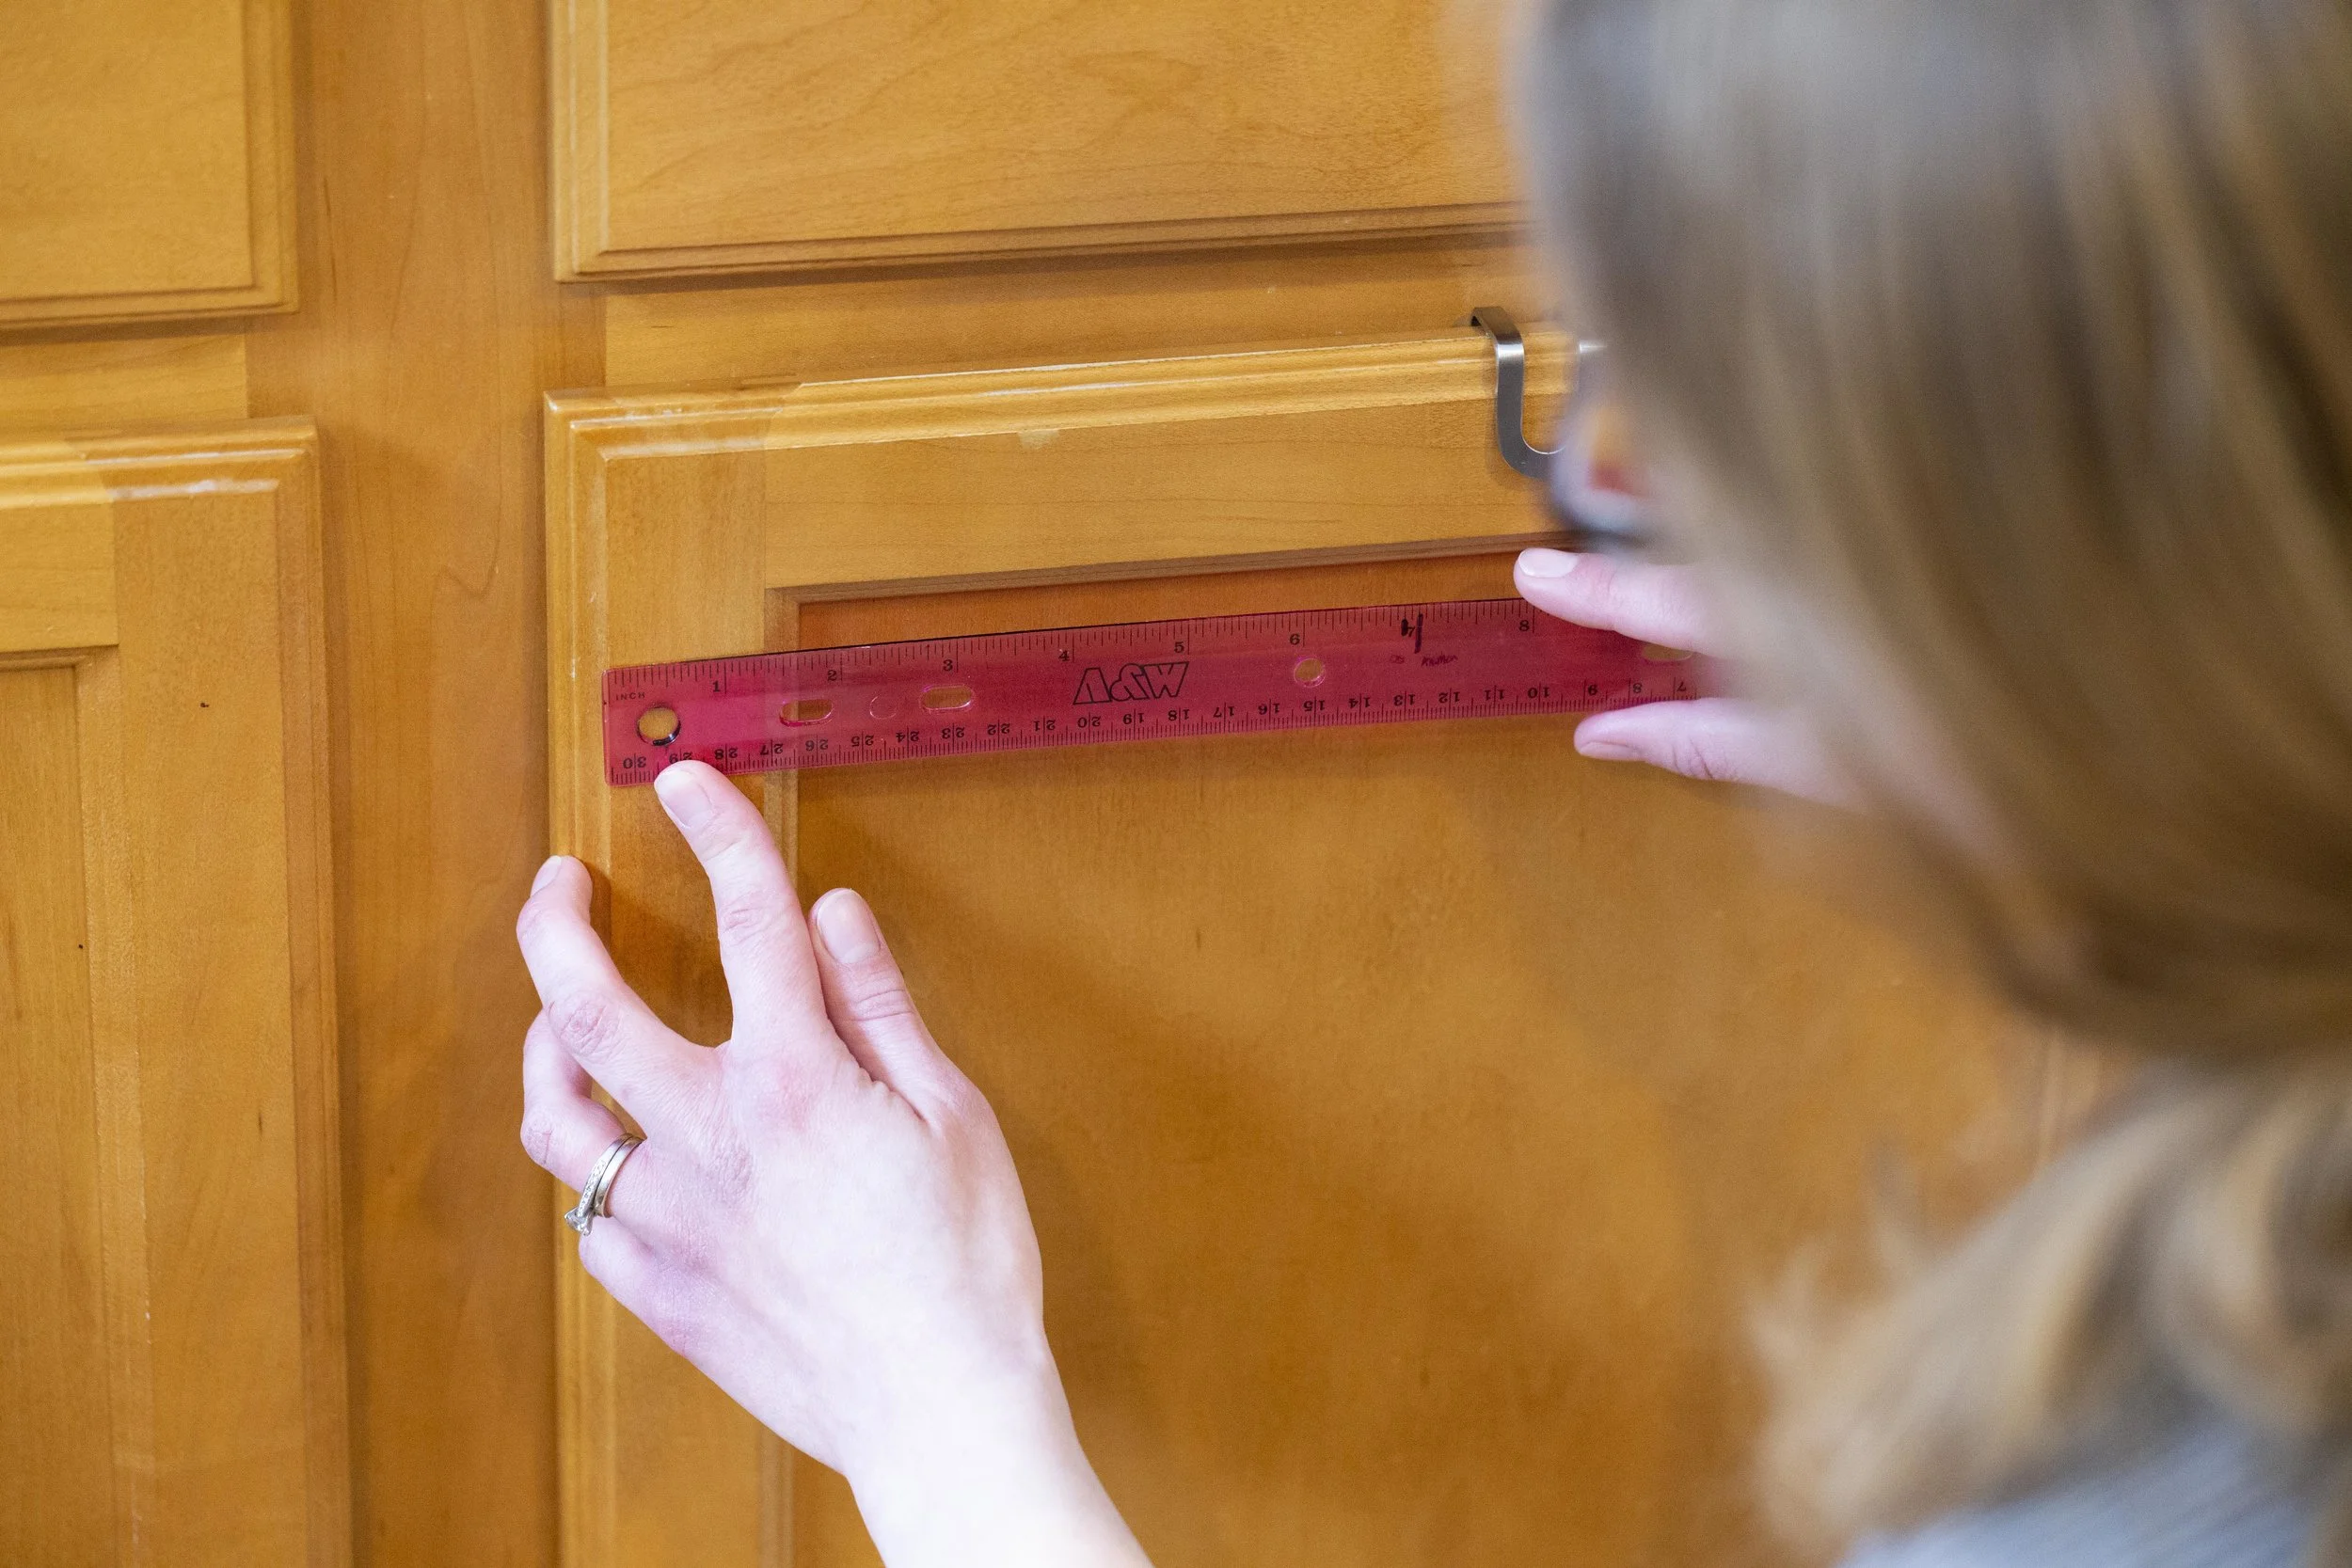
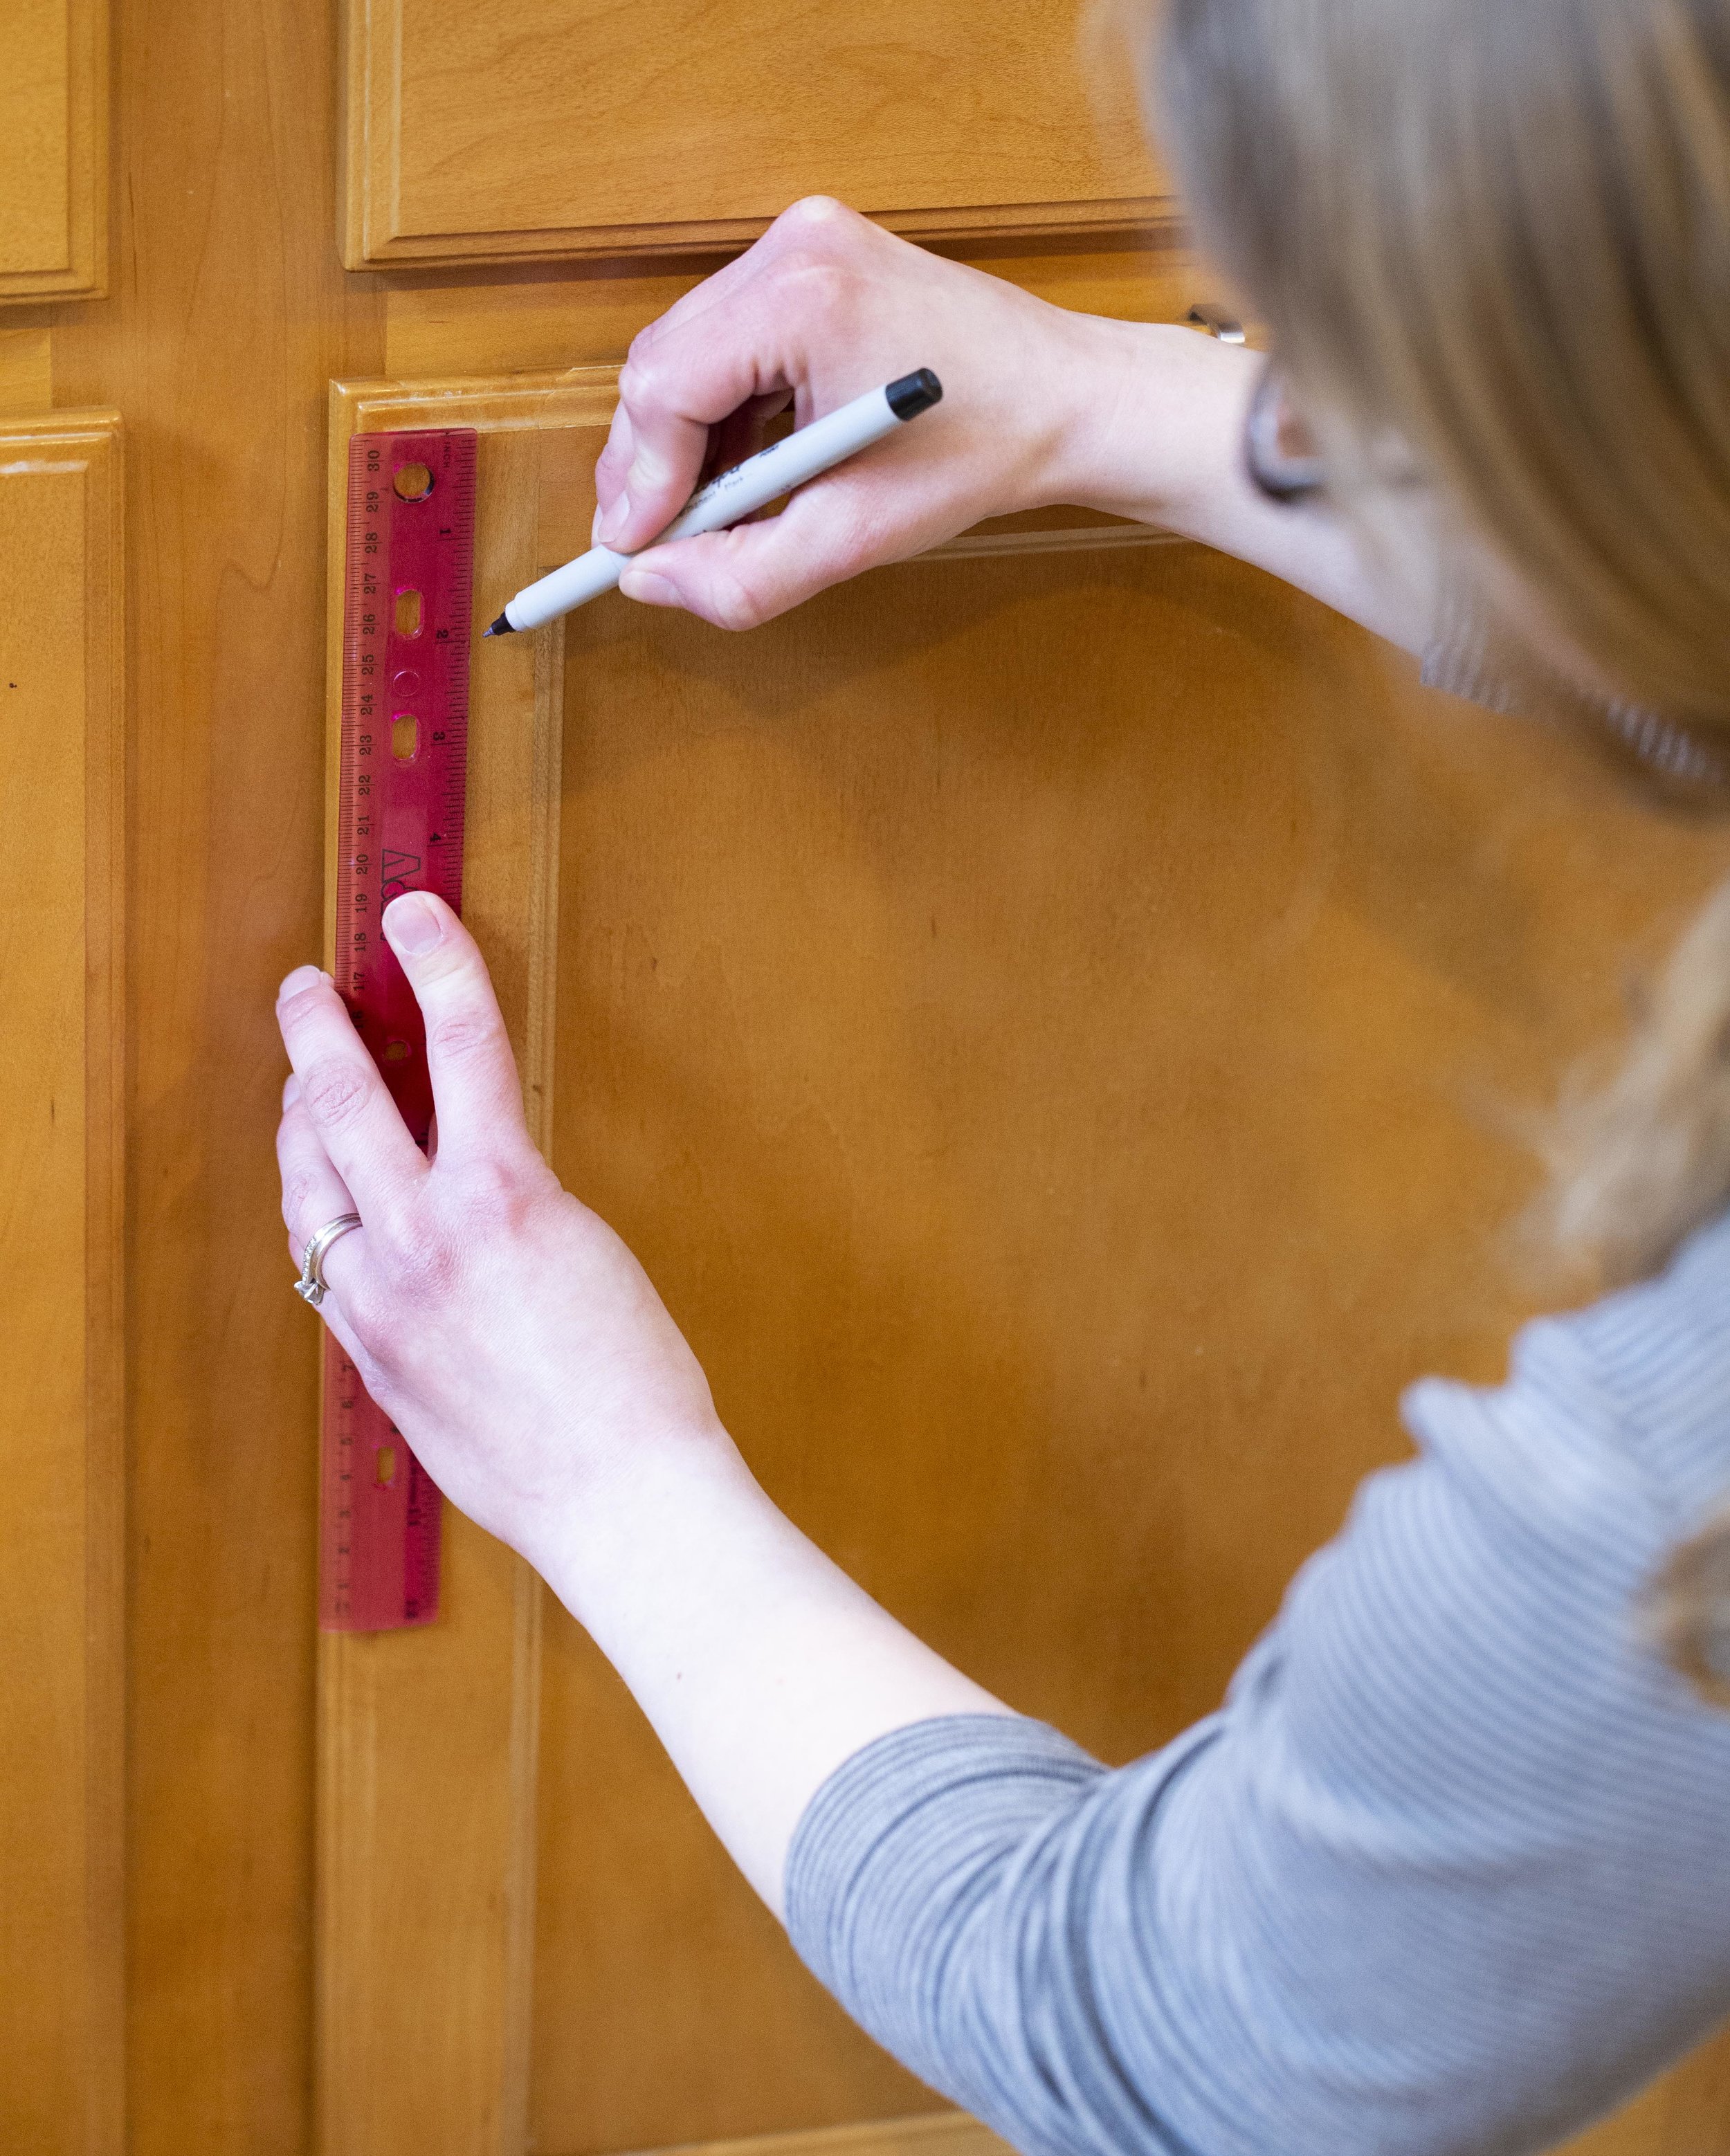
For our cabinets, we decided we liked the knobs two inches from the edge of the cabinet (not including the beveled edge). Once we decided on this placement, it was just a matter of measuring it out on all the cabinet doors so they were centered side-to-side on the trim piece as well as two inches in. Consistency is key to having uniform placement - and I made sure to measure multiple times in both directions before marking it with a pen
It’s important to measure the knobs on each door independently - if the doors aren’t hung evenly, it may look off initially but the hinges can be adjusted later so everything (the doors themselves as well as the hardware) will line up visually.
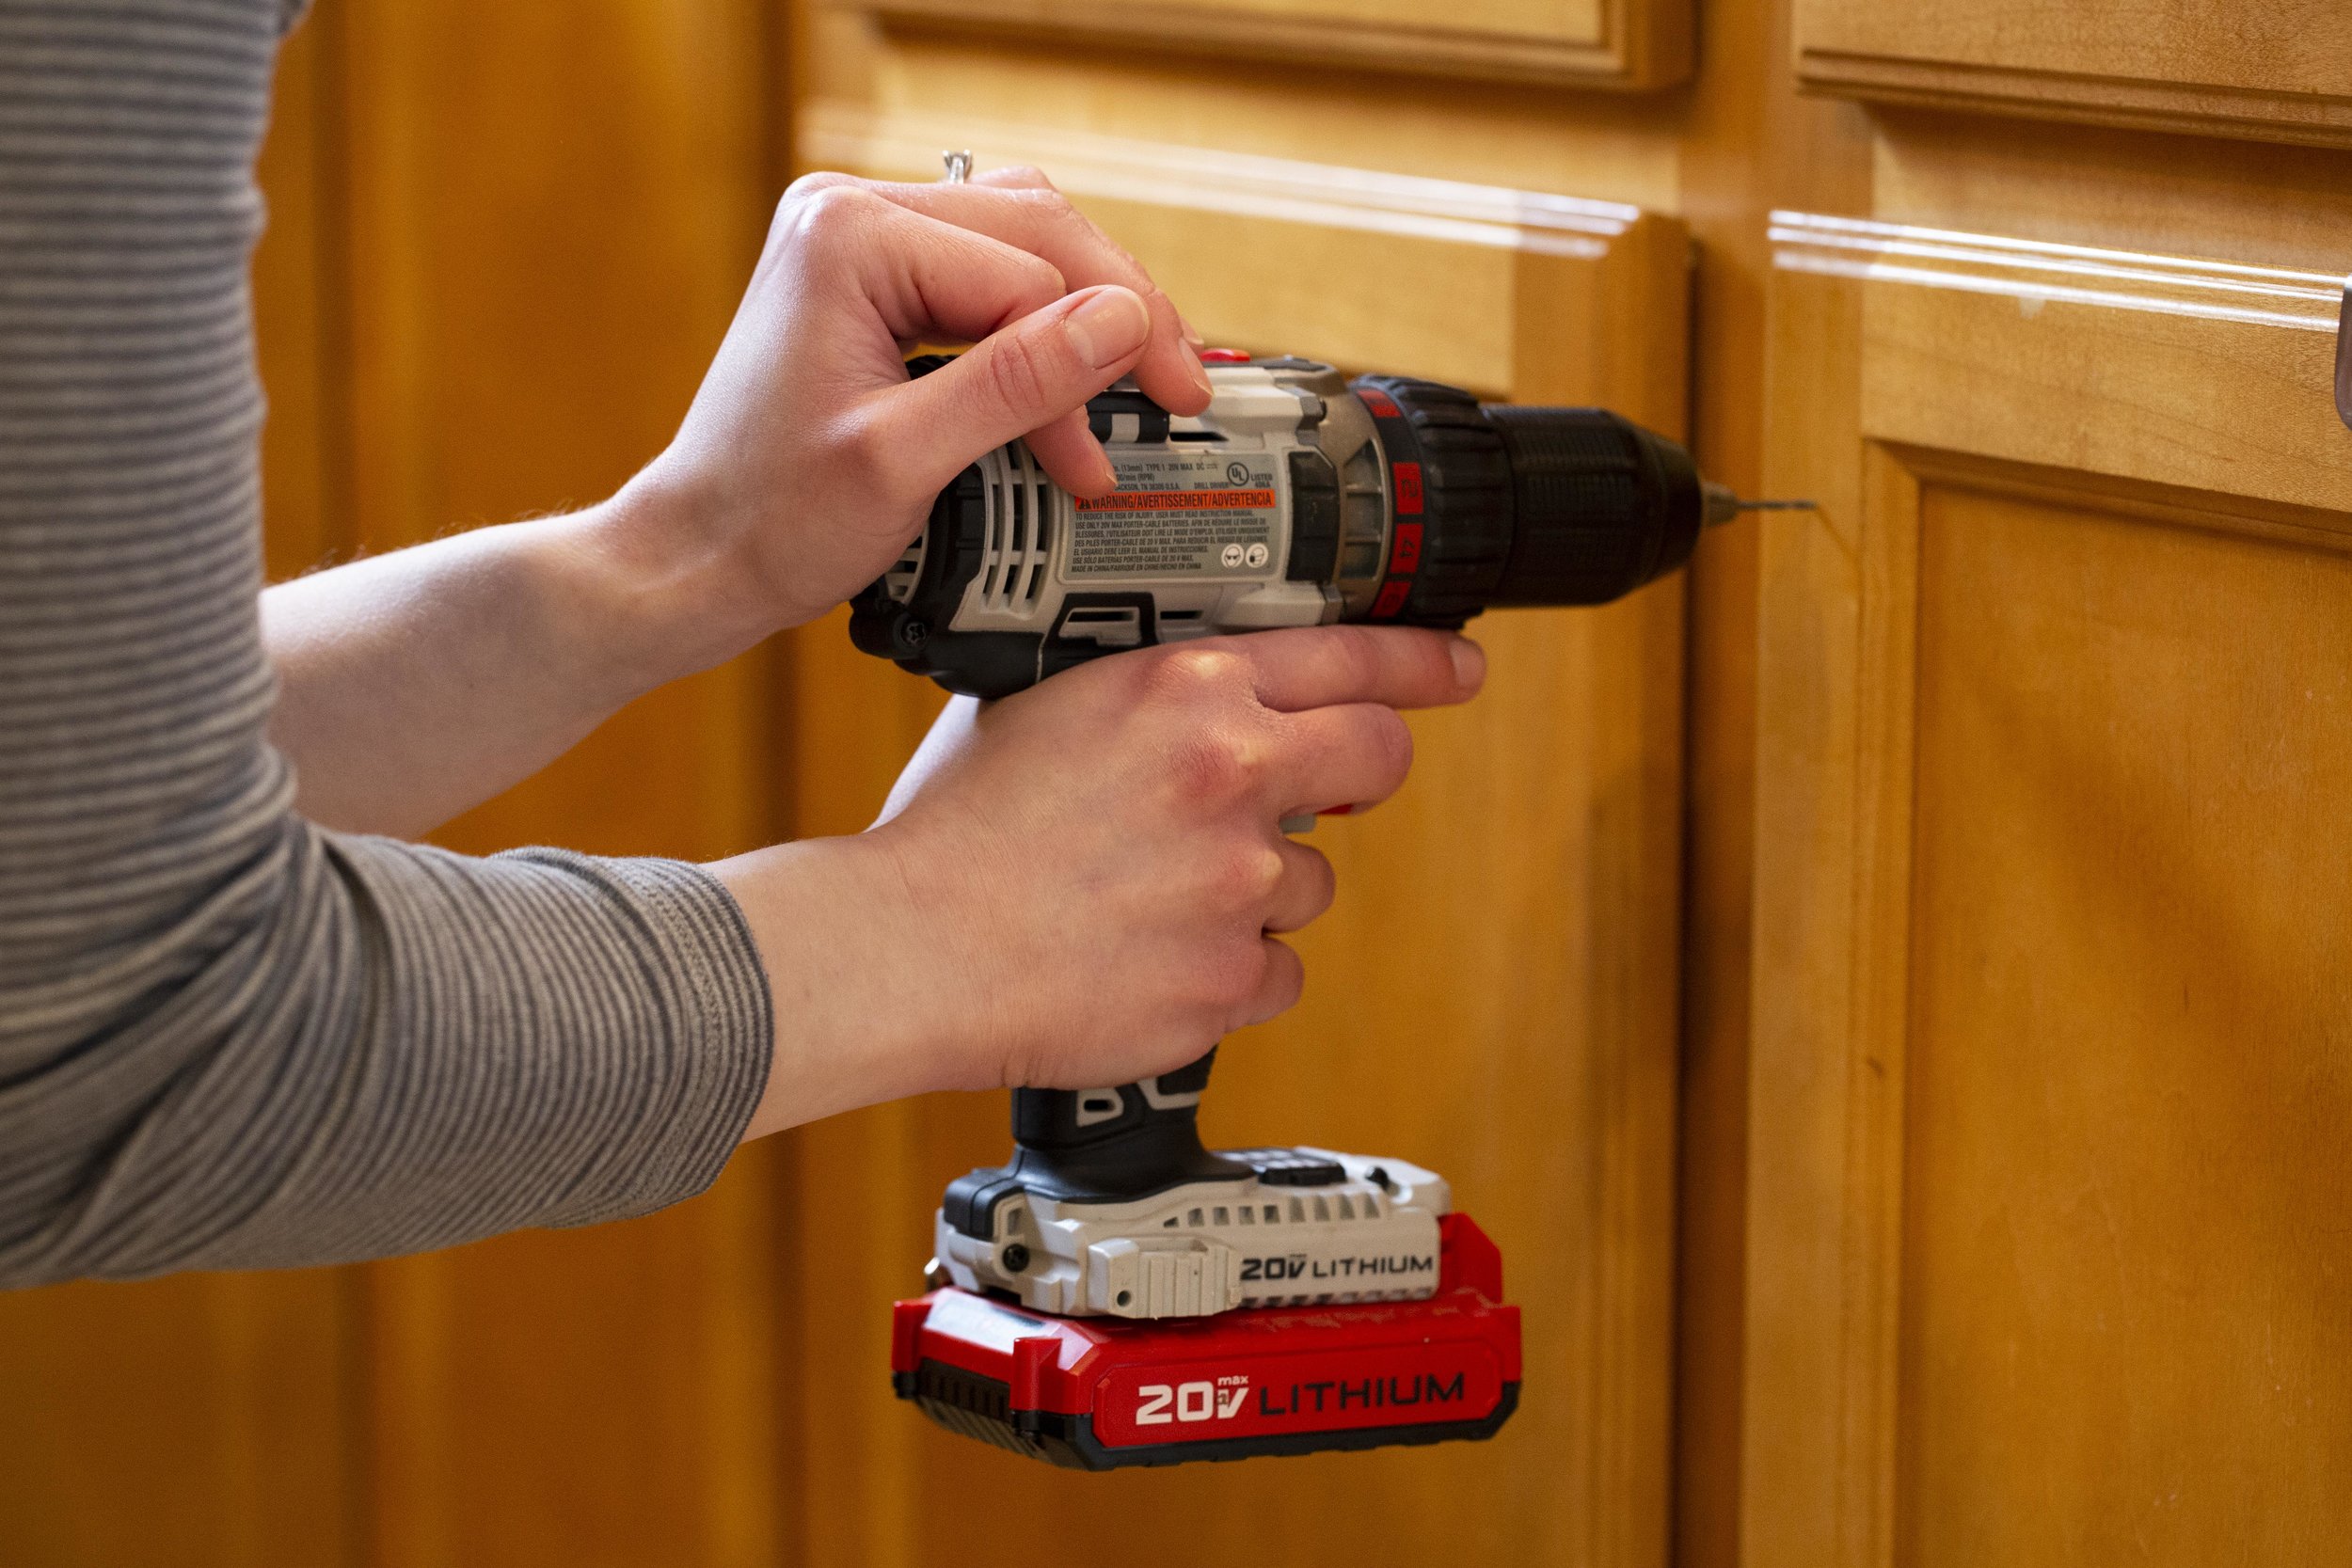
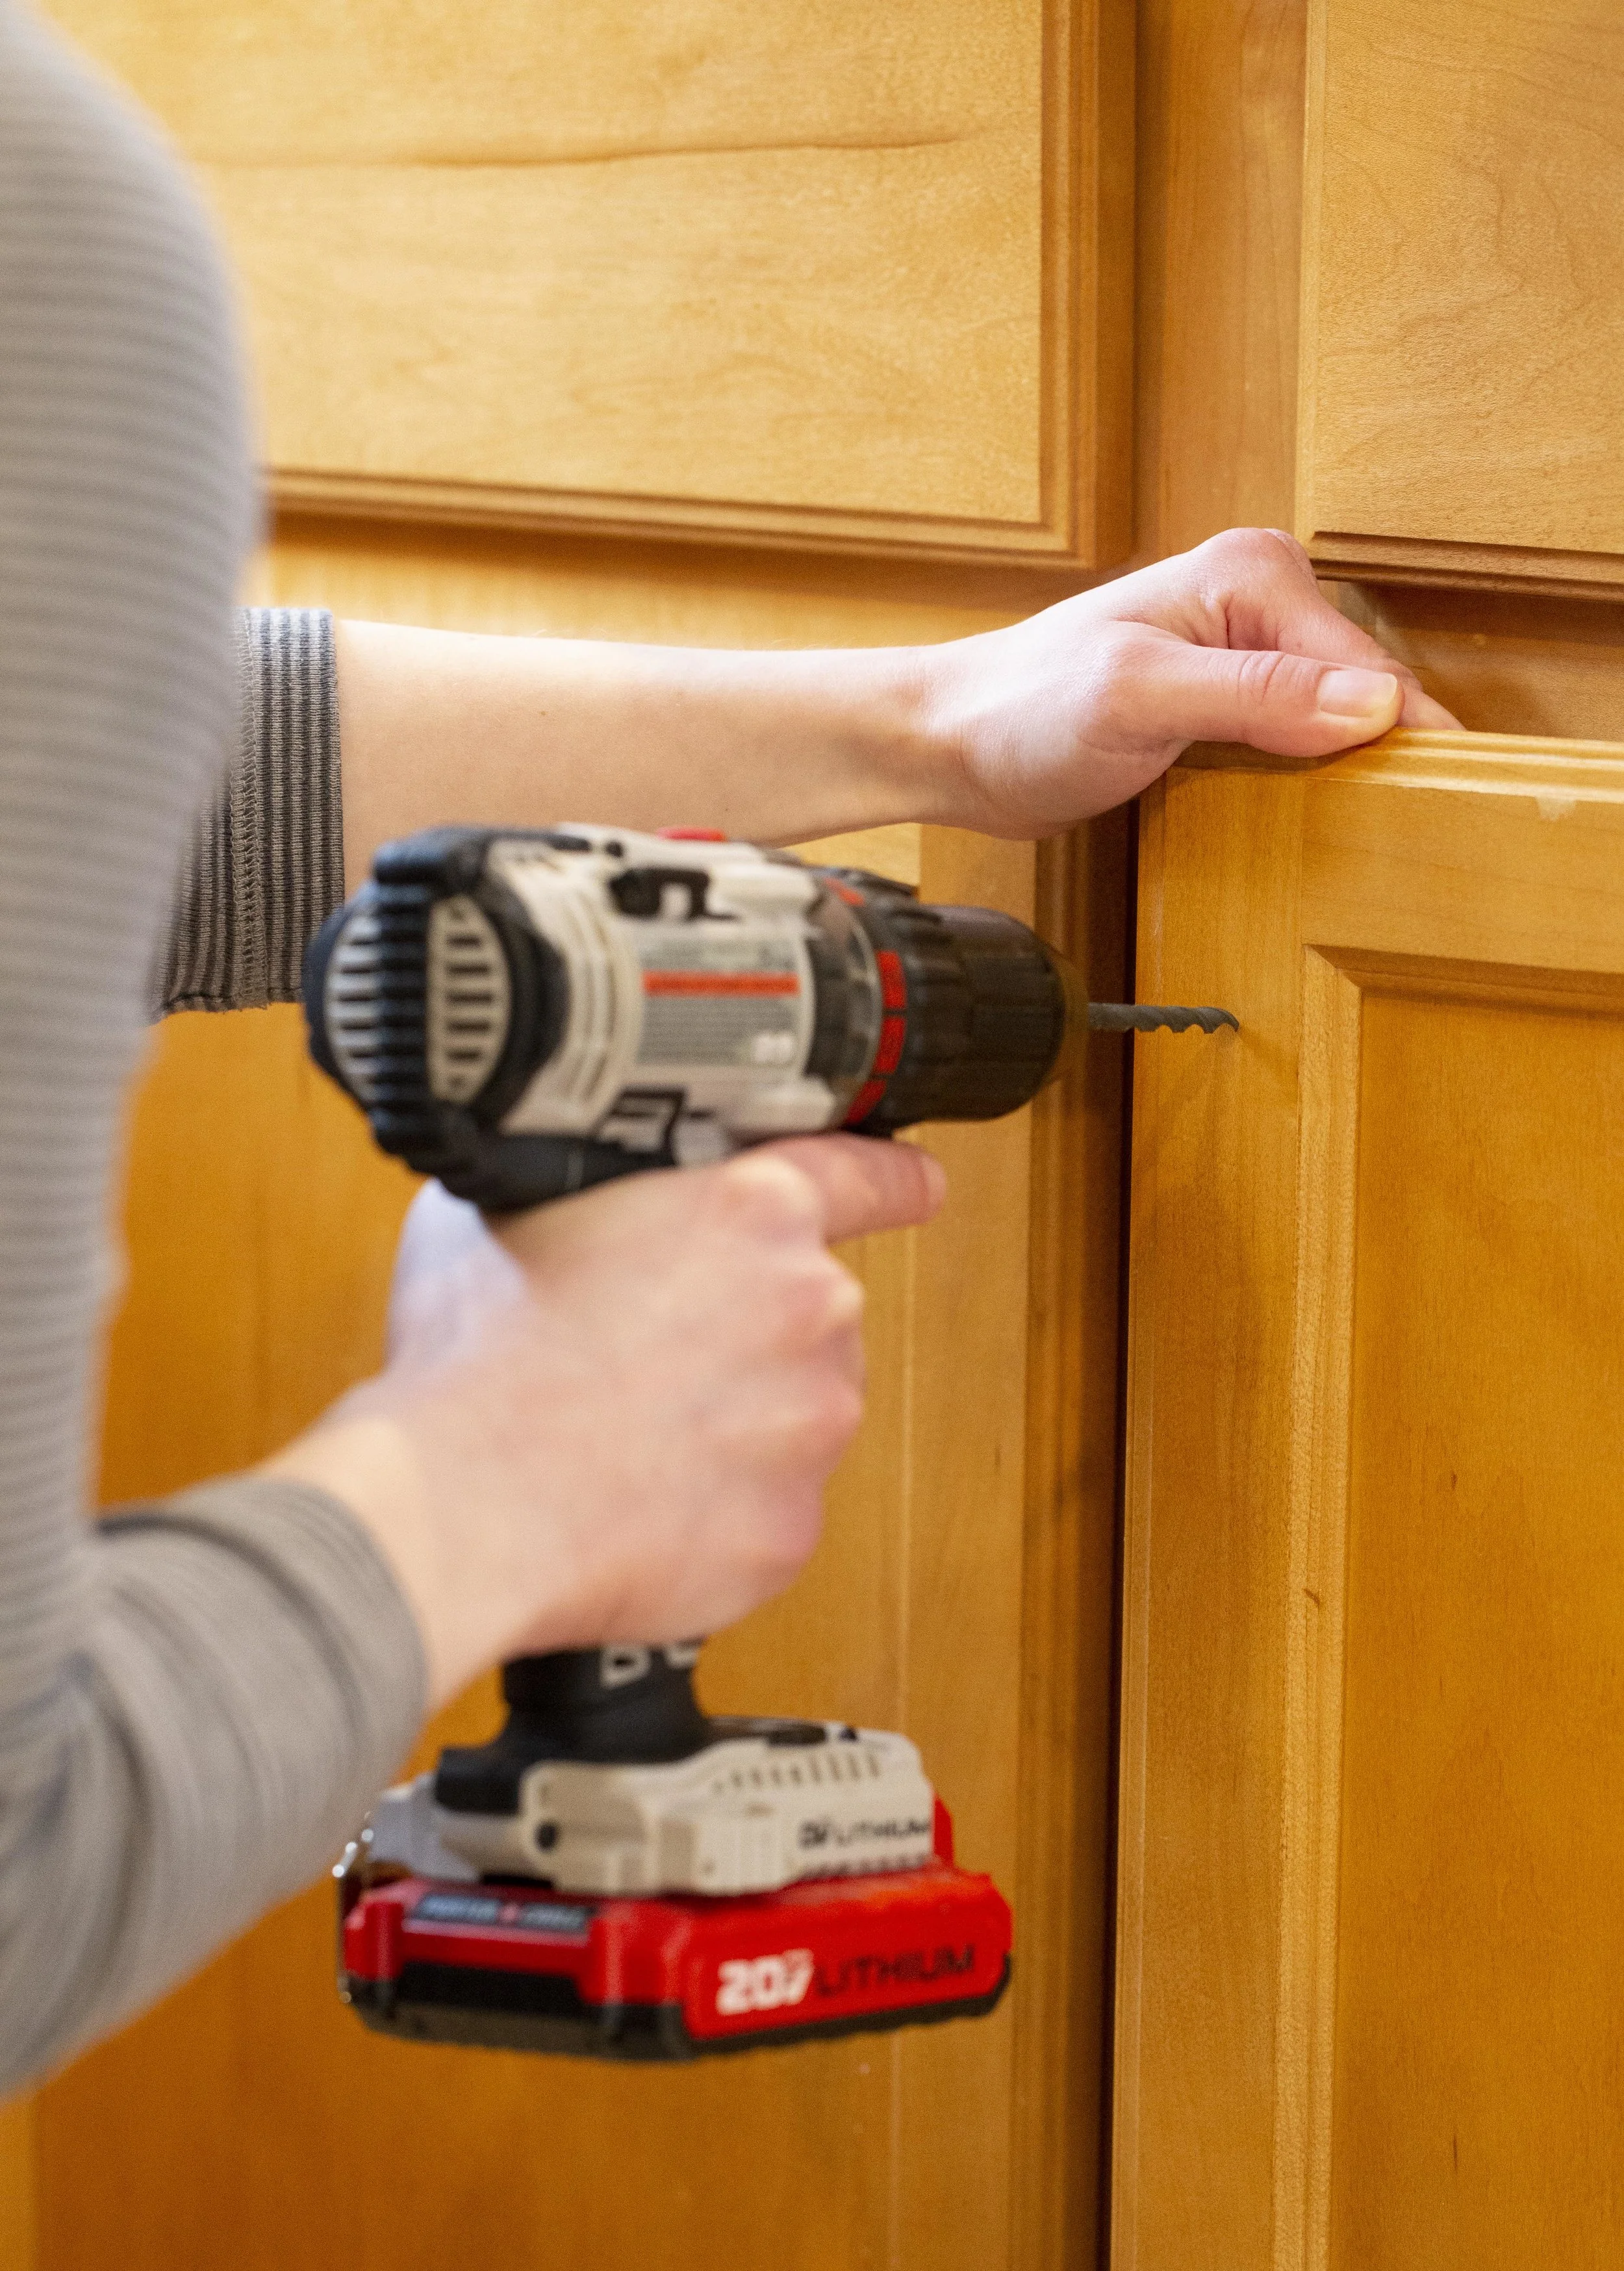
When it comes time to drill the holes, it’s important to make a small pilot (starter) hole before you drill the full size hole. There’s several reasons for this, but the two most important ones being that larger drill bits tend to “walk” when you drill on a smooth surface, and without drilling a pilot hole first you might end up off your mark. The other important reason is that pre-drilling the hole smaller first will help lessen the chance of the wood splitting. Be aware of what’s behind the cabinet front when you drill! Make sure you aren’t drilling into the cabinet frame or dishes that may be in the cabinet behind the door. For the larger hole you’ll want the drill bit diameter to be just barely bigger than the diameter of the screws that come with the hardware.
Once the larger hole is drilled, slide the screw in from the back and use a screwdriver to hold it in place while you thread the knob on snuggly.
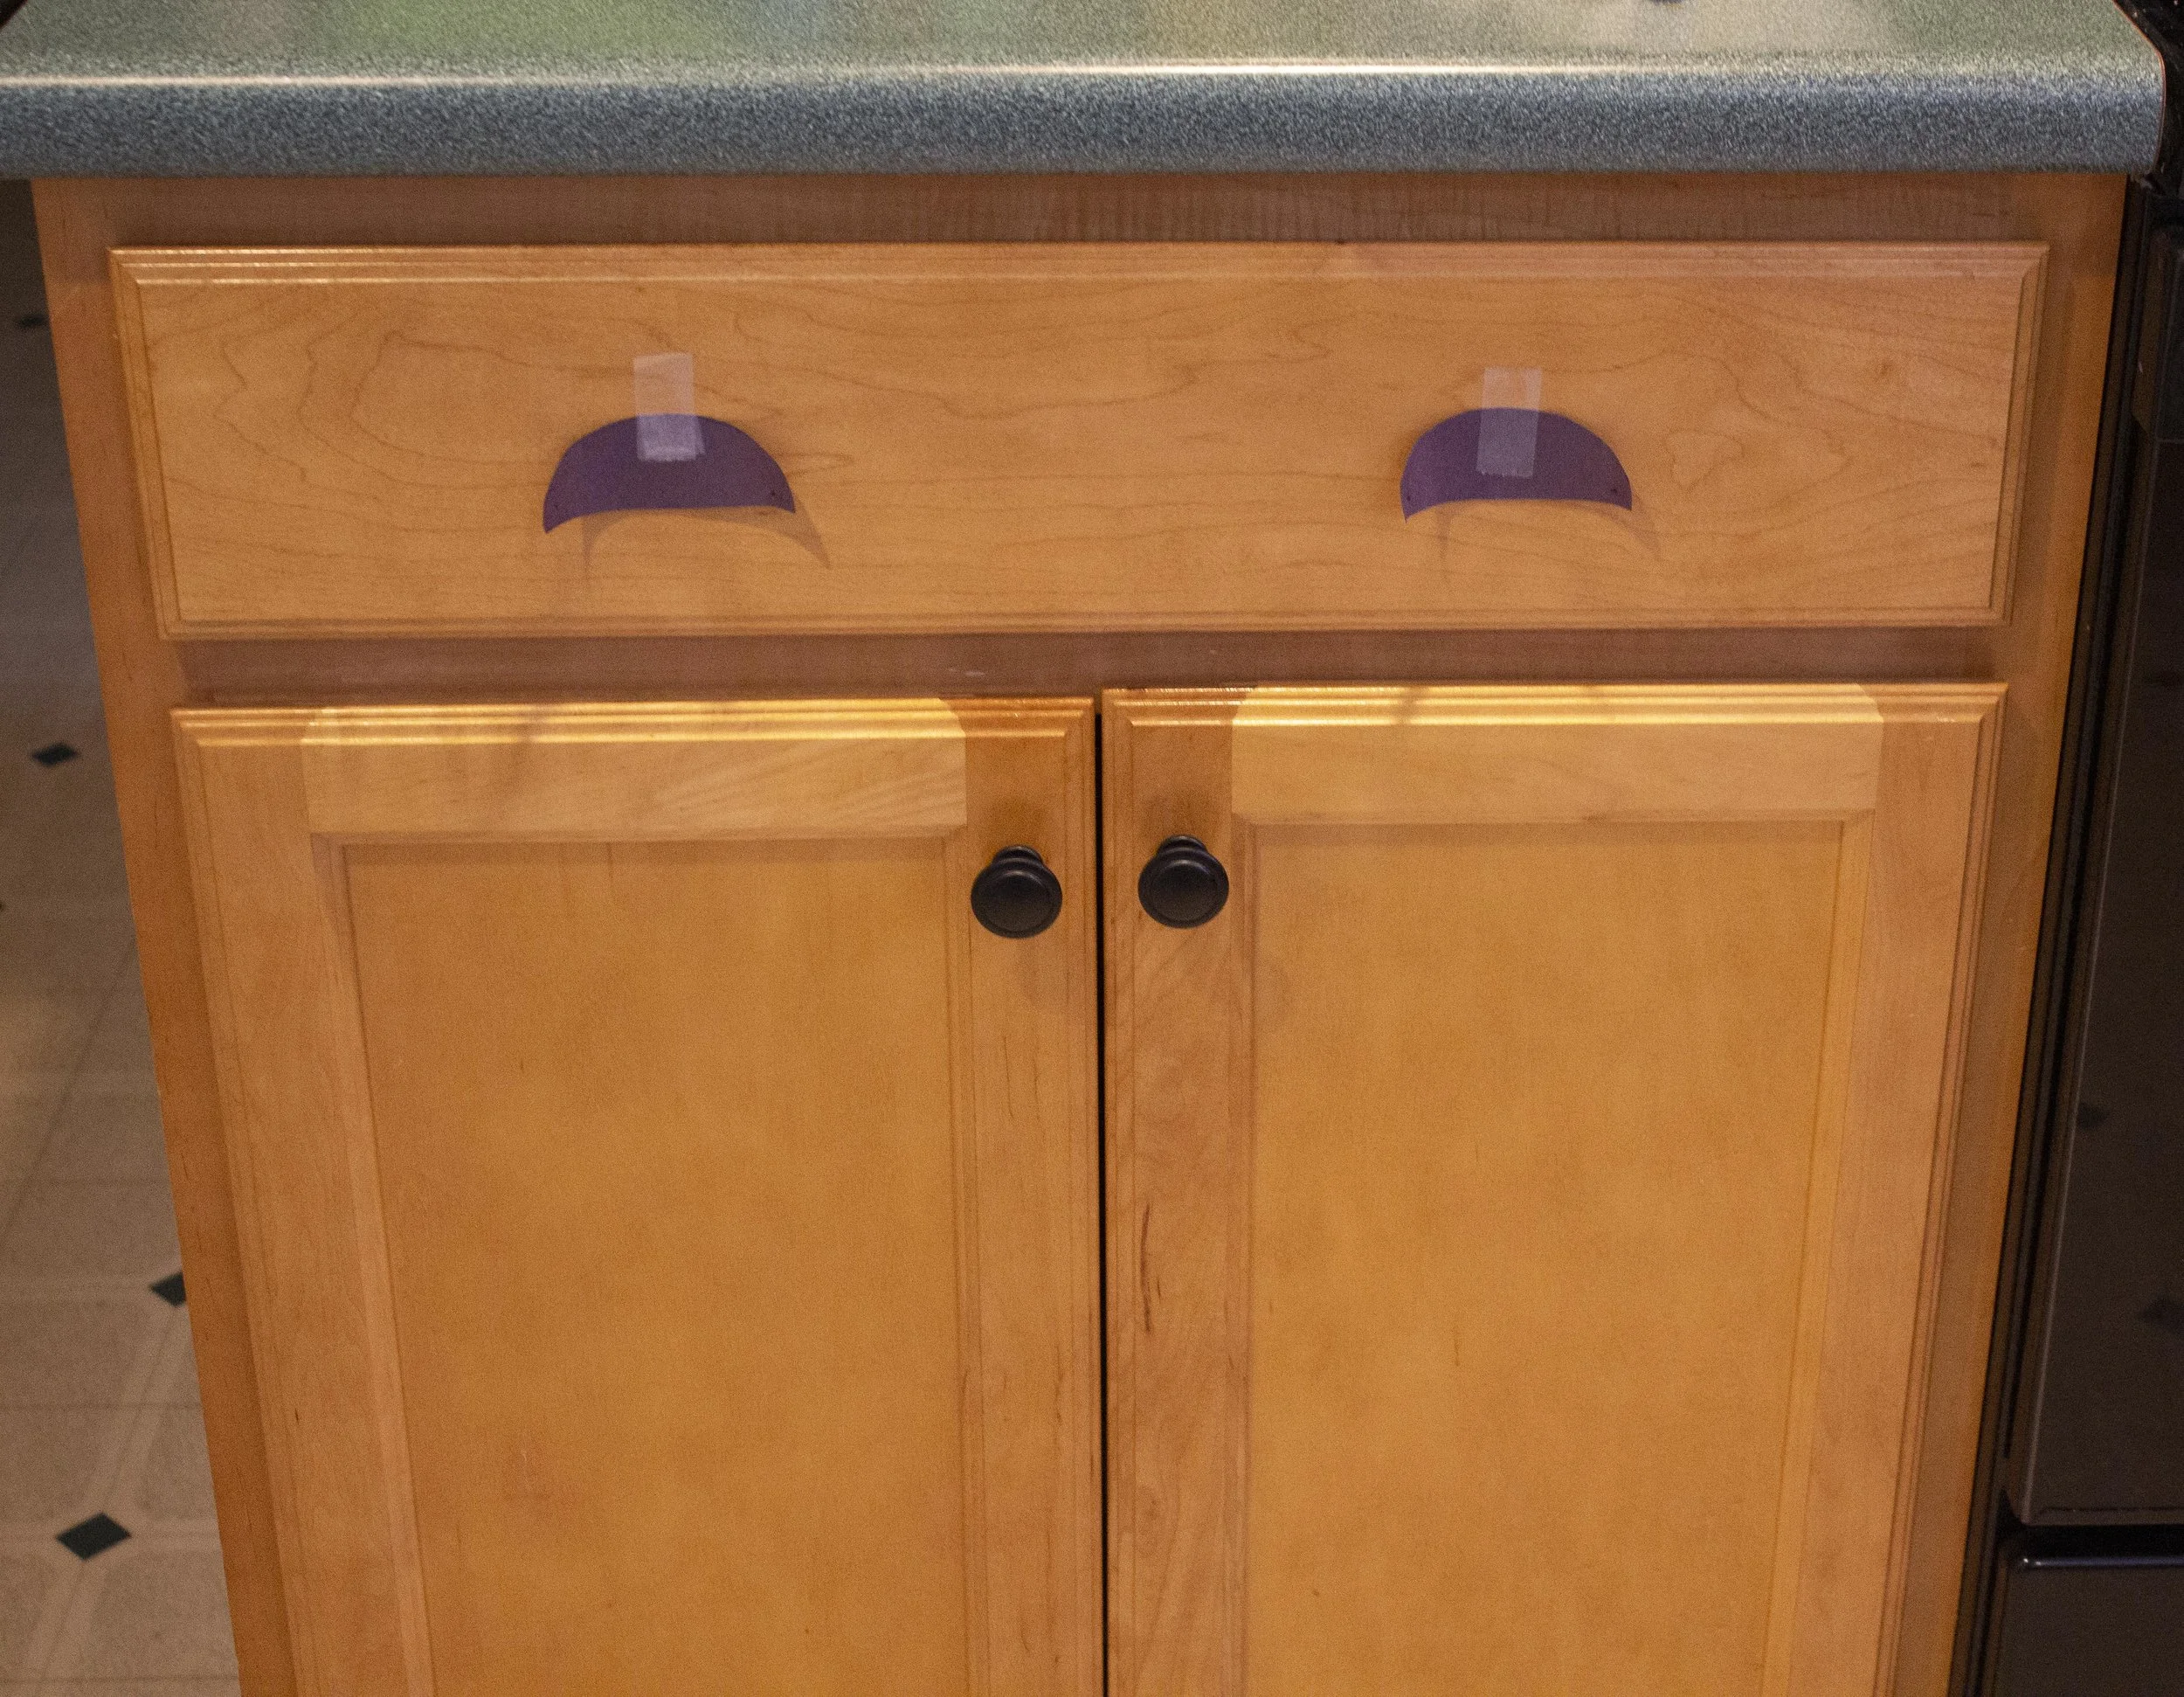
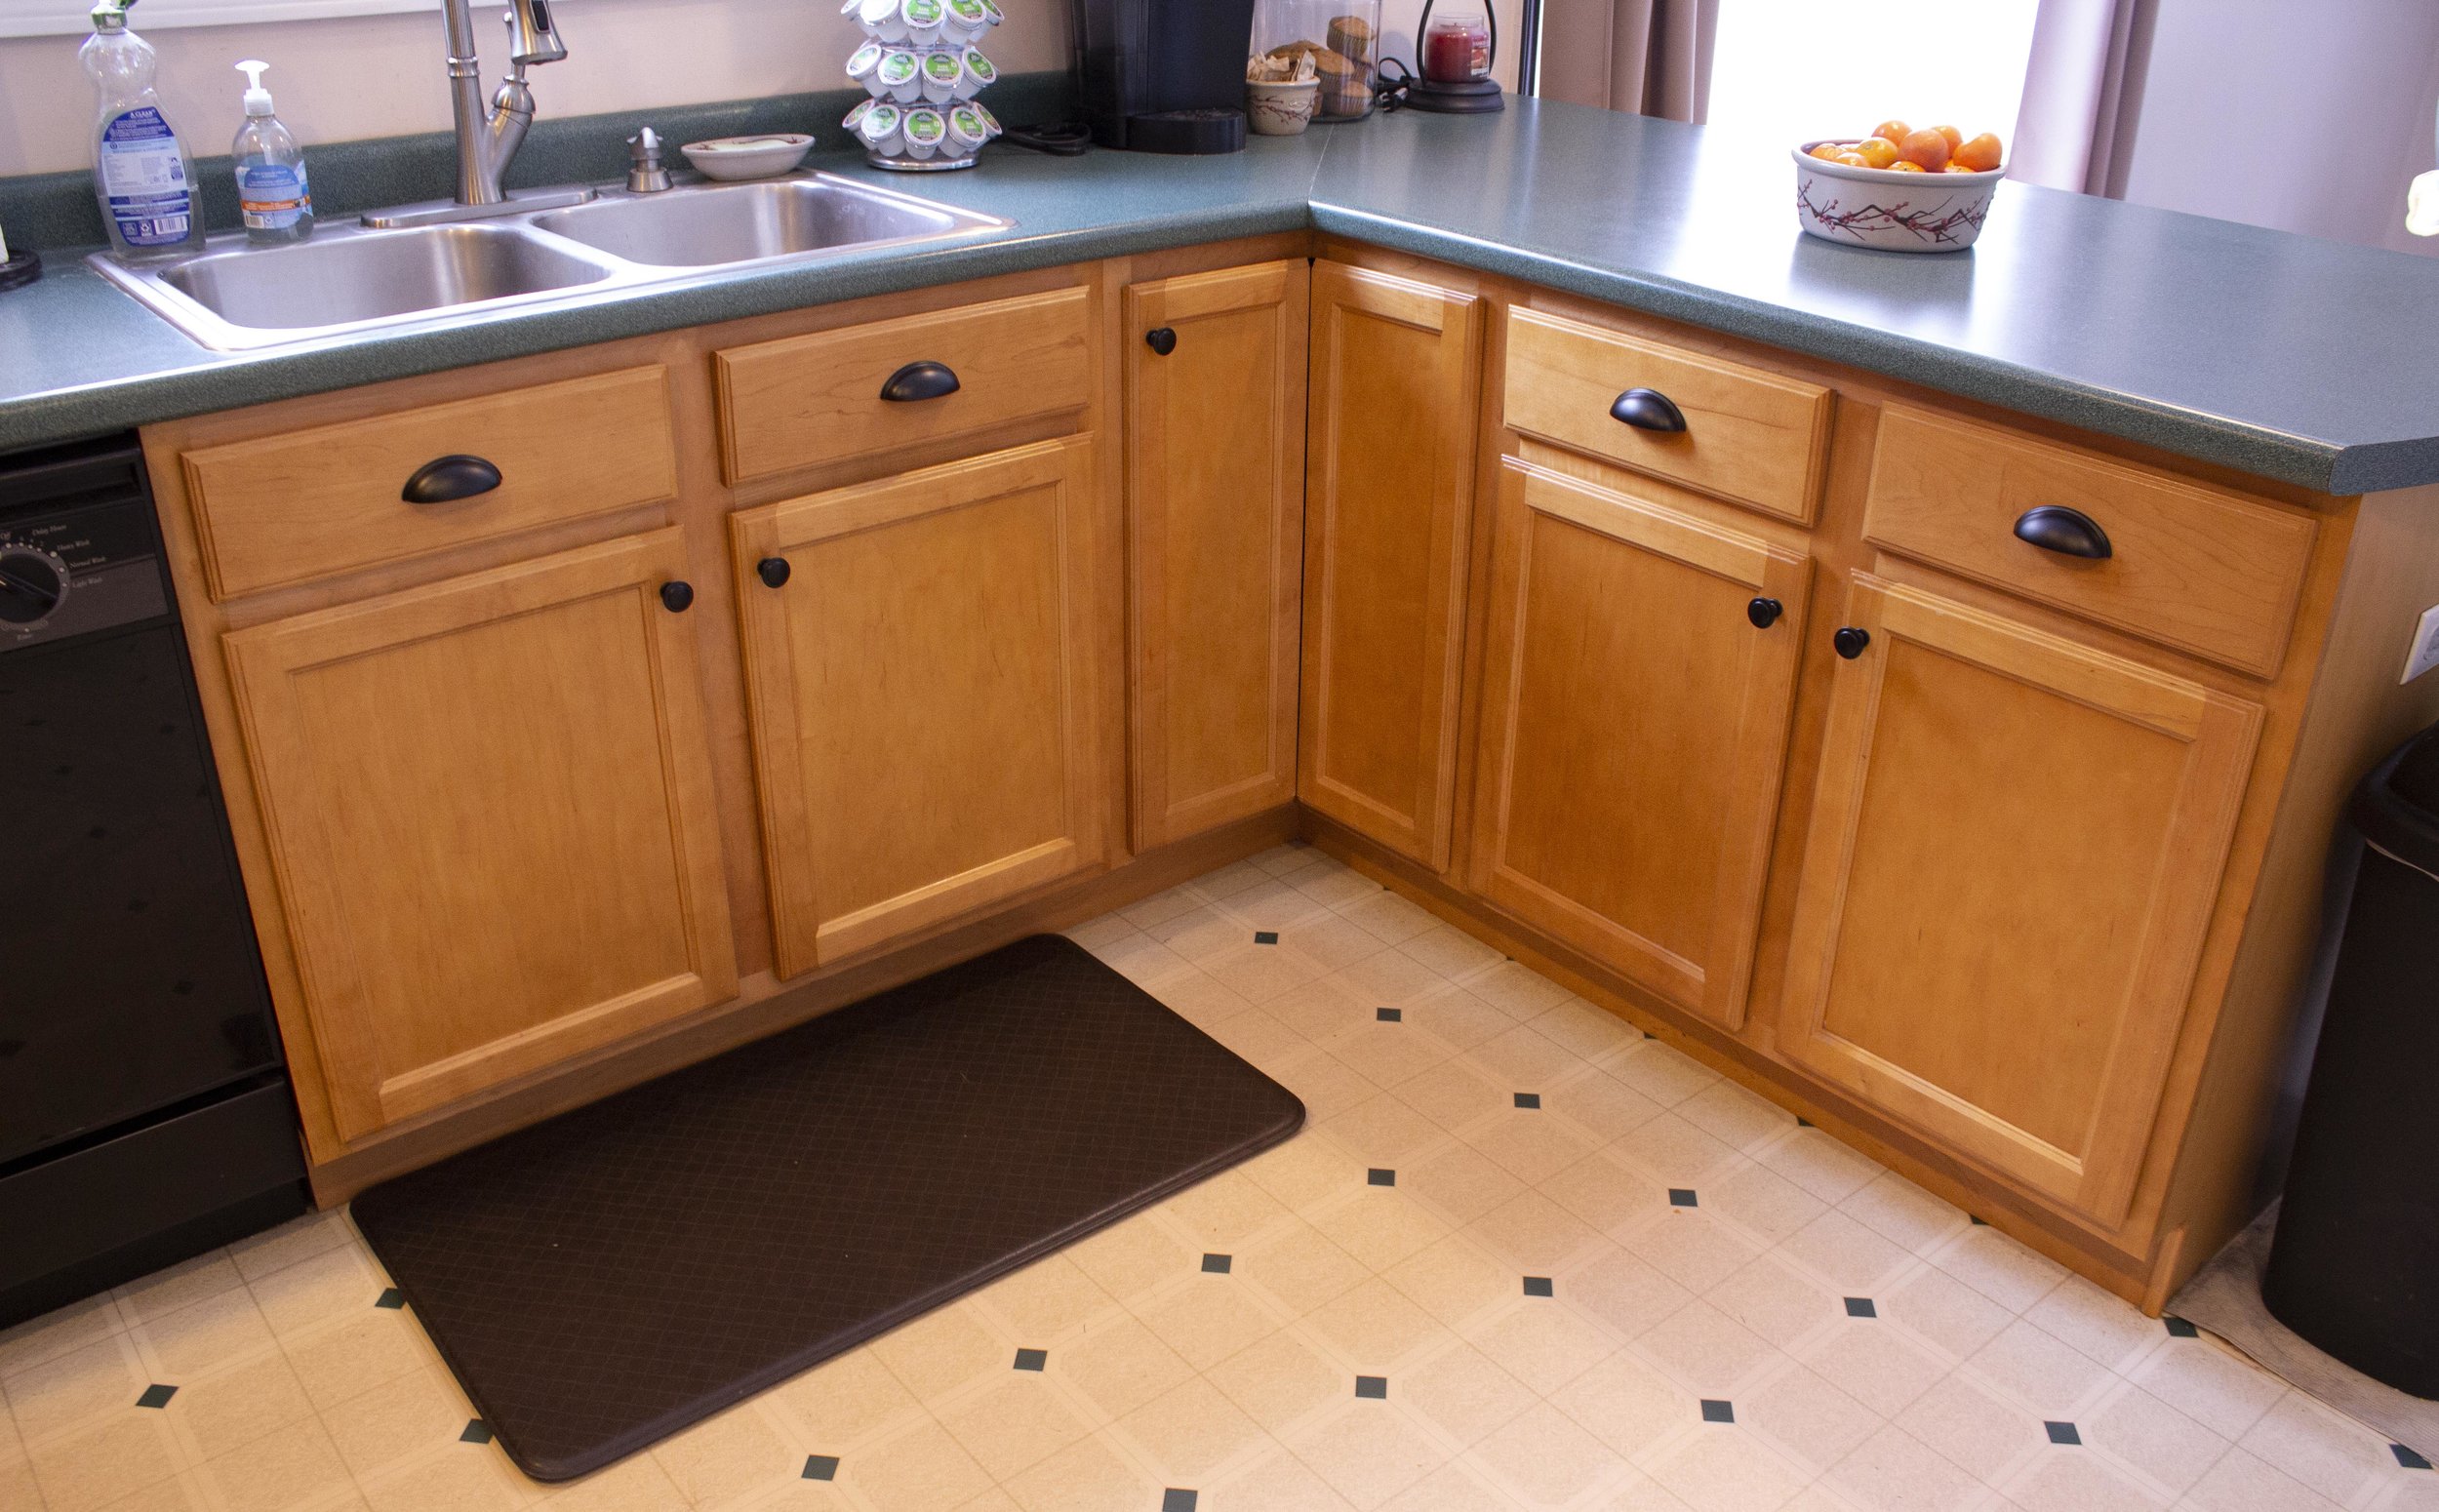
Deciding on drawer pull placement. (Note that while the lower cabinet knobs are each in the correct place, they look off since the cabinet doors are uneven - this can be fixed by adjusting the cabinet door hinges, which I did once I was finished installing all the hardware.)
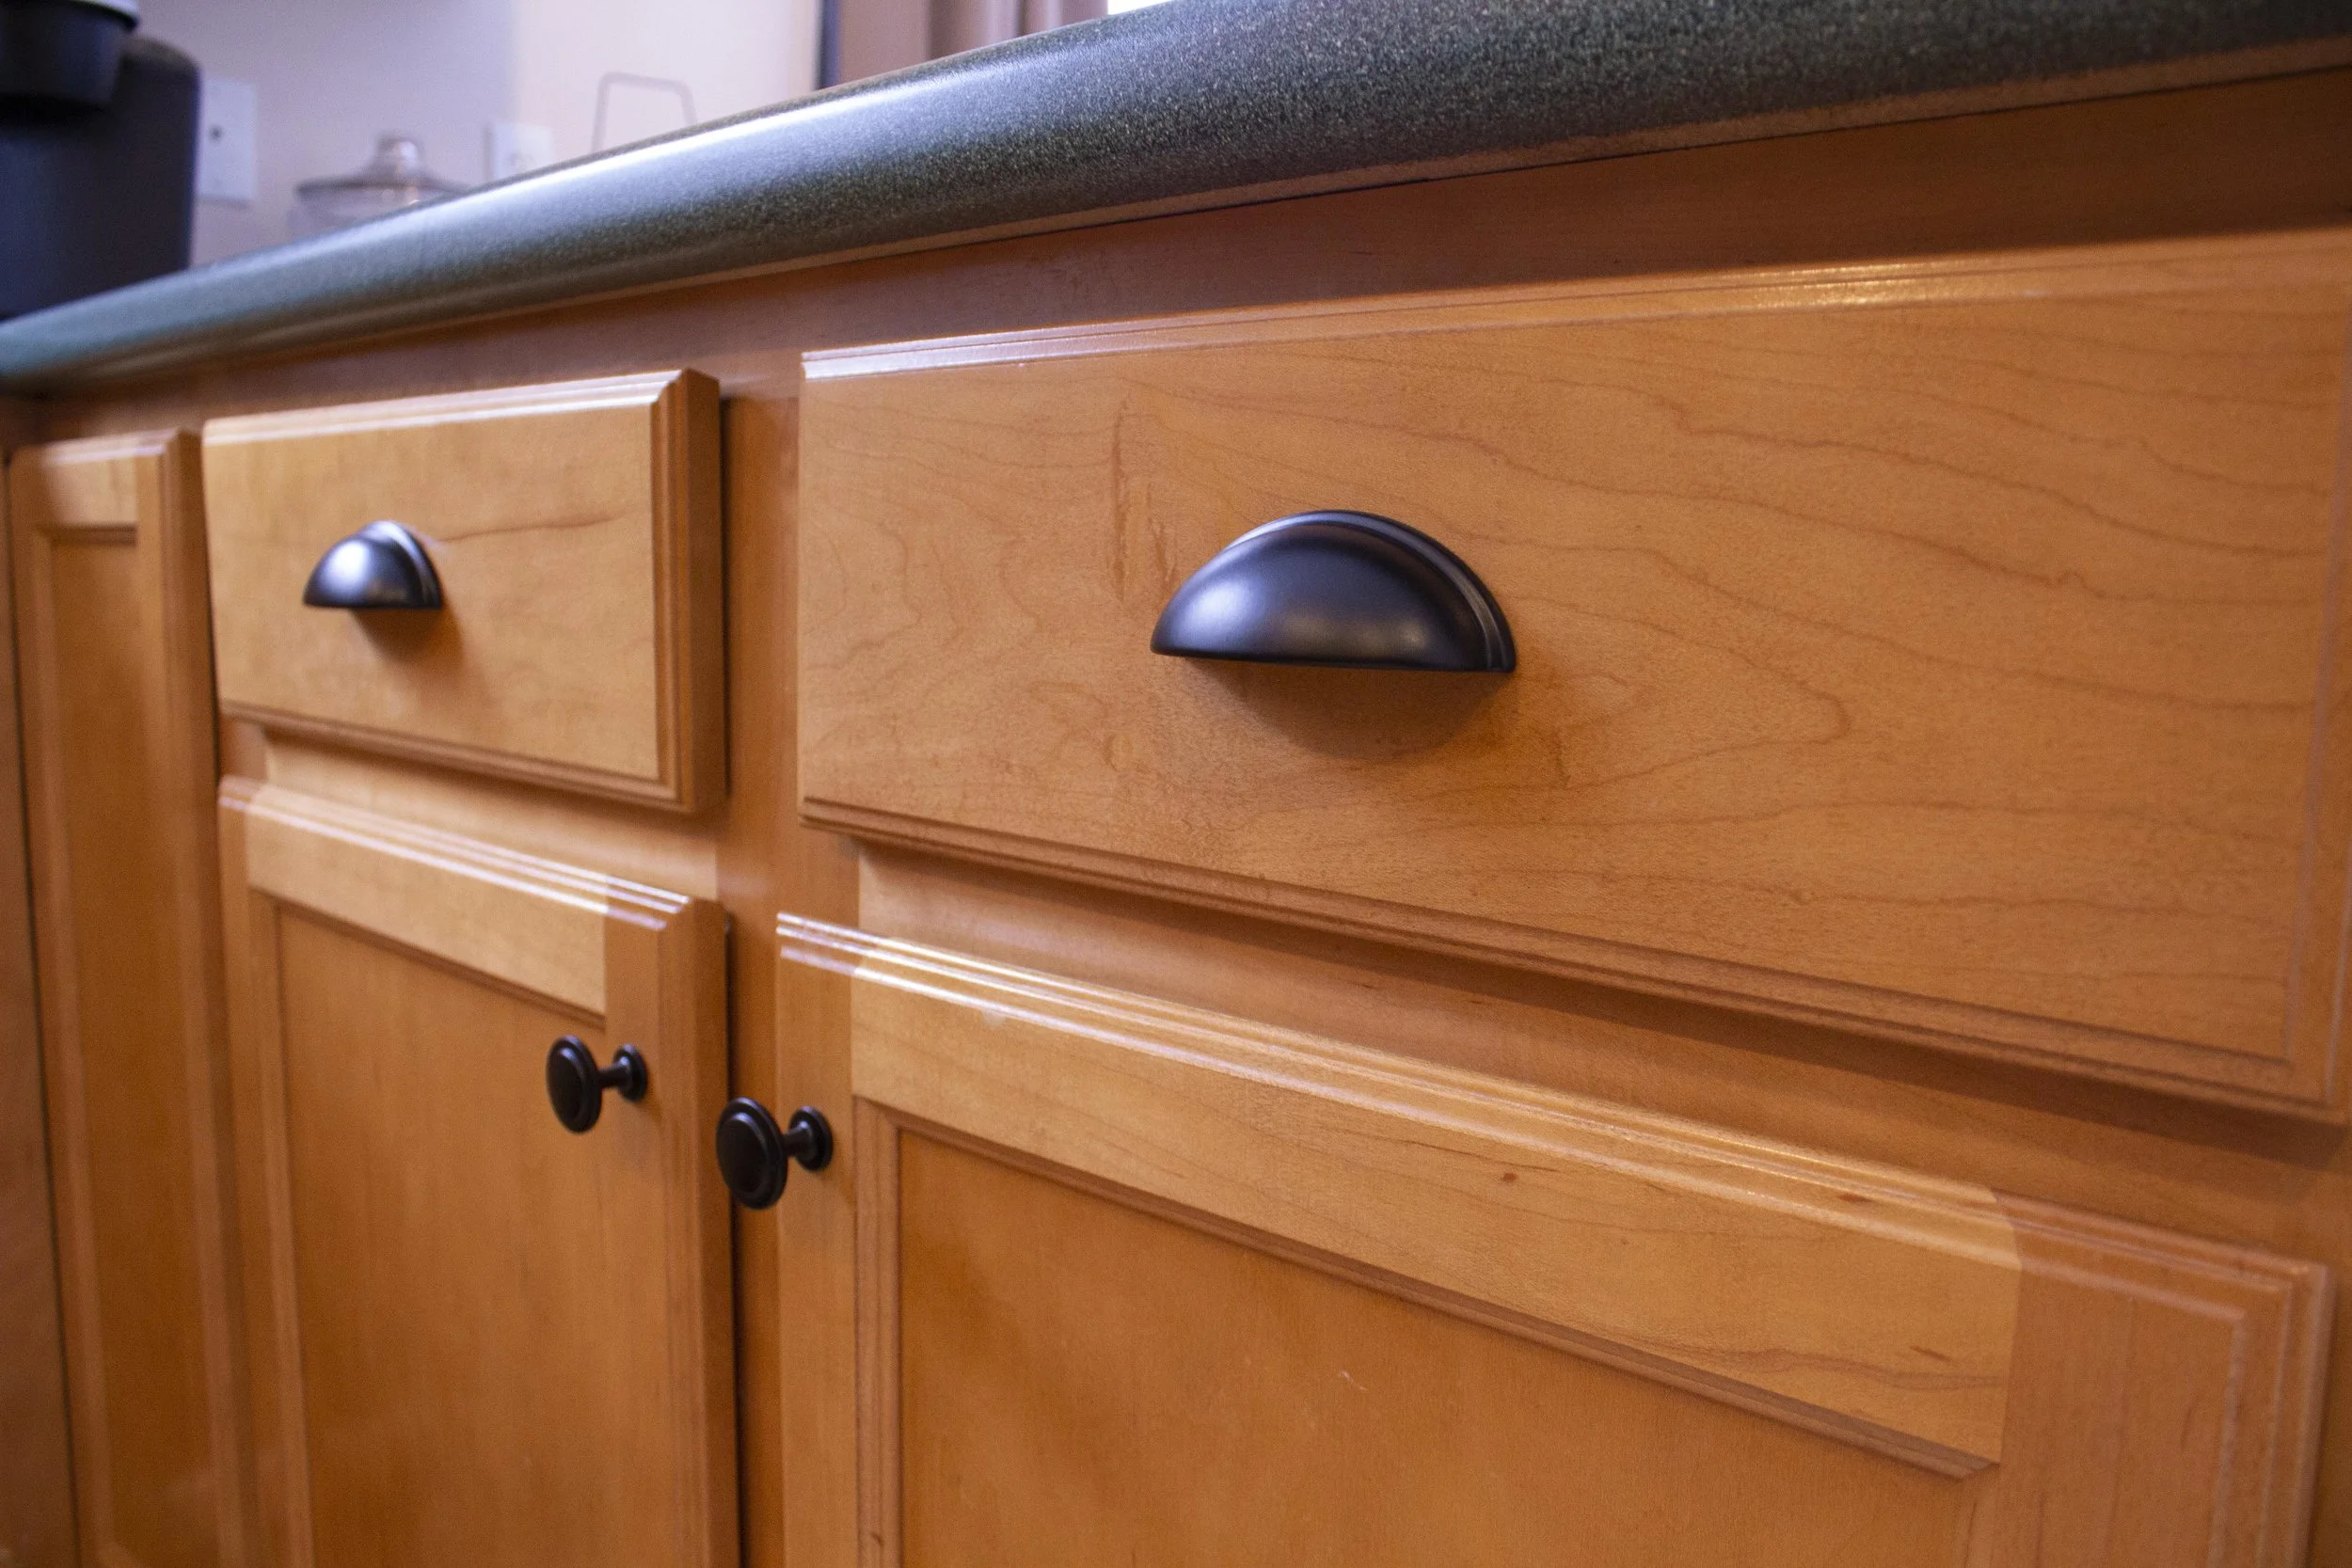
For the drawer pulls I followed a similar procedure as I did for the door fronts. One thing I had to keep in mind though is the drawer pulls I chose aren’t symmetrical top-to-bottom - the mounting screws are towards the bottom of of the pulls. Therefore, playing around with the placement of the drawer pulls was very important - the drawer pulls needed to look centered visually from top to bottom on the drawer fronts, even though that made for the screw placement to be slightly below center.
Once I liked the visual placement of the paper templates I carefully measured out the spacing on each side as well as down from the screw holes to make sure everything was accurate and even. These particular drawer pulls have screws 3” apart so I made sure that the spacing between the screw markings was accurate as well. (Once you get an idea of placement, you could also use a Cabinet Hardware Template here to help mark everything out.) In our kitchen the drawers are three different sizes, so this process needed to be repeated several times - on the shorter drawers I used one pull, and on the longer drawer I used two pulls.
After the hole placements were marked, I remeasured the spacings several times before drilling the pilot holes and then the screw holes. Then it’s simply a matter of screwing the screws in from the backside of the drawers with a screwdriver into the drawer pulls.
AFTER
And that’s it - the whole project took less than an afternoon to do and it really helps our kitchen look more finished. I just love how it came out! Once we replace our countertops with a more modern granite counter the space will really look sharp and the hardware will compliment it beautifully.
GIVEAWAY!
Head on over to our Instagram for details and to enter our Giveaway with Cosmas Hardware for a $50 shop credit so you can update the look of your kitchen too with the hardware of your choice!
- I received these items from Cosmas Hardware but all opinions expressed are my own. Please read our full Disclosure Policy for more information -
Disclaimer: Installing new cabinet hardware from scratch is something that most people can very easily do on their own and here I’ve shared my tips on the easiest way I’ve personally found to measure and install them. However, use your best judgement when installing your hardware - if you’re in doubt of your measuring or drilling skills, there’s no harm in consulting a professional before you tackle this or any project.
Just wanted to share a quick sneak peek of the beautiful knobs and drawer pulls from Cosmas Hardware I’ll be using in an upcoming blog post on how to install cupboard hardware yourself. We’ll also be giving away a credit to Cosmas Hardware too - so stay tuned!
Our young toddler has been behind on eating for awhile now. We’ve been working with a feeding therapist to get her more interested in self-feeding and used to textures, but we’re always looking for new ways to get her excited for mealtime. When Nûby offered to send some of their dishware we were excited to try them and give a lucky follower a chance to win all of these for their family! | This post contains affiliate links and an honest review on products provided by Nûby |
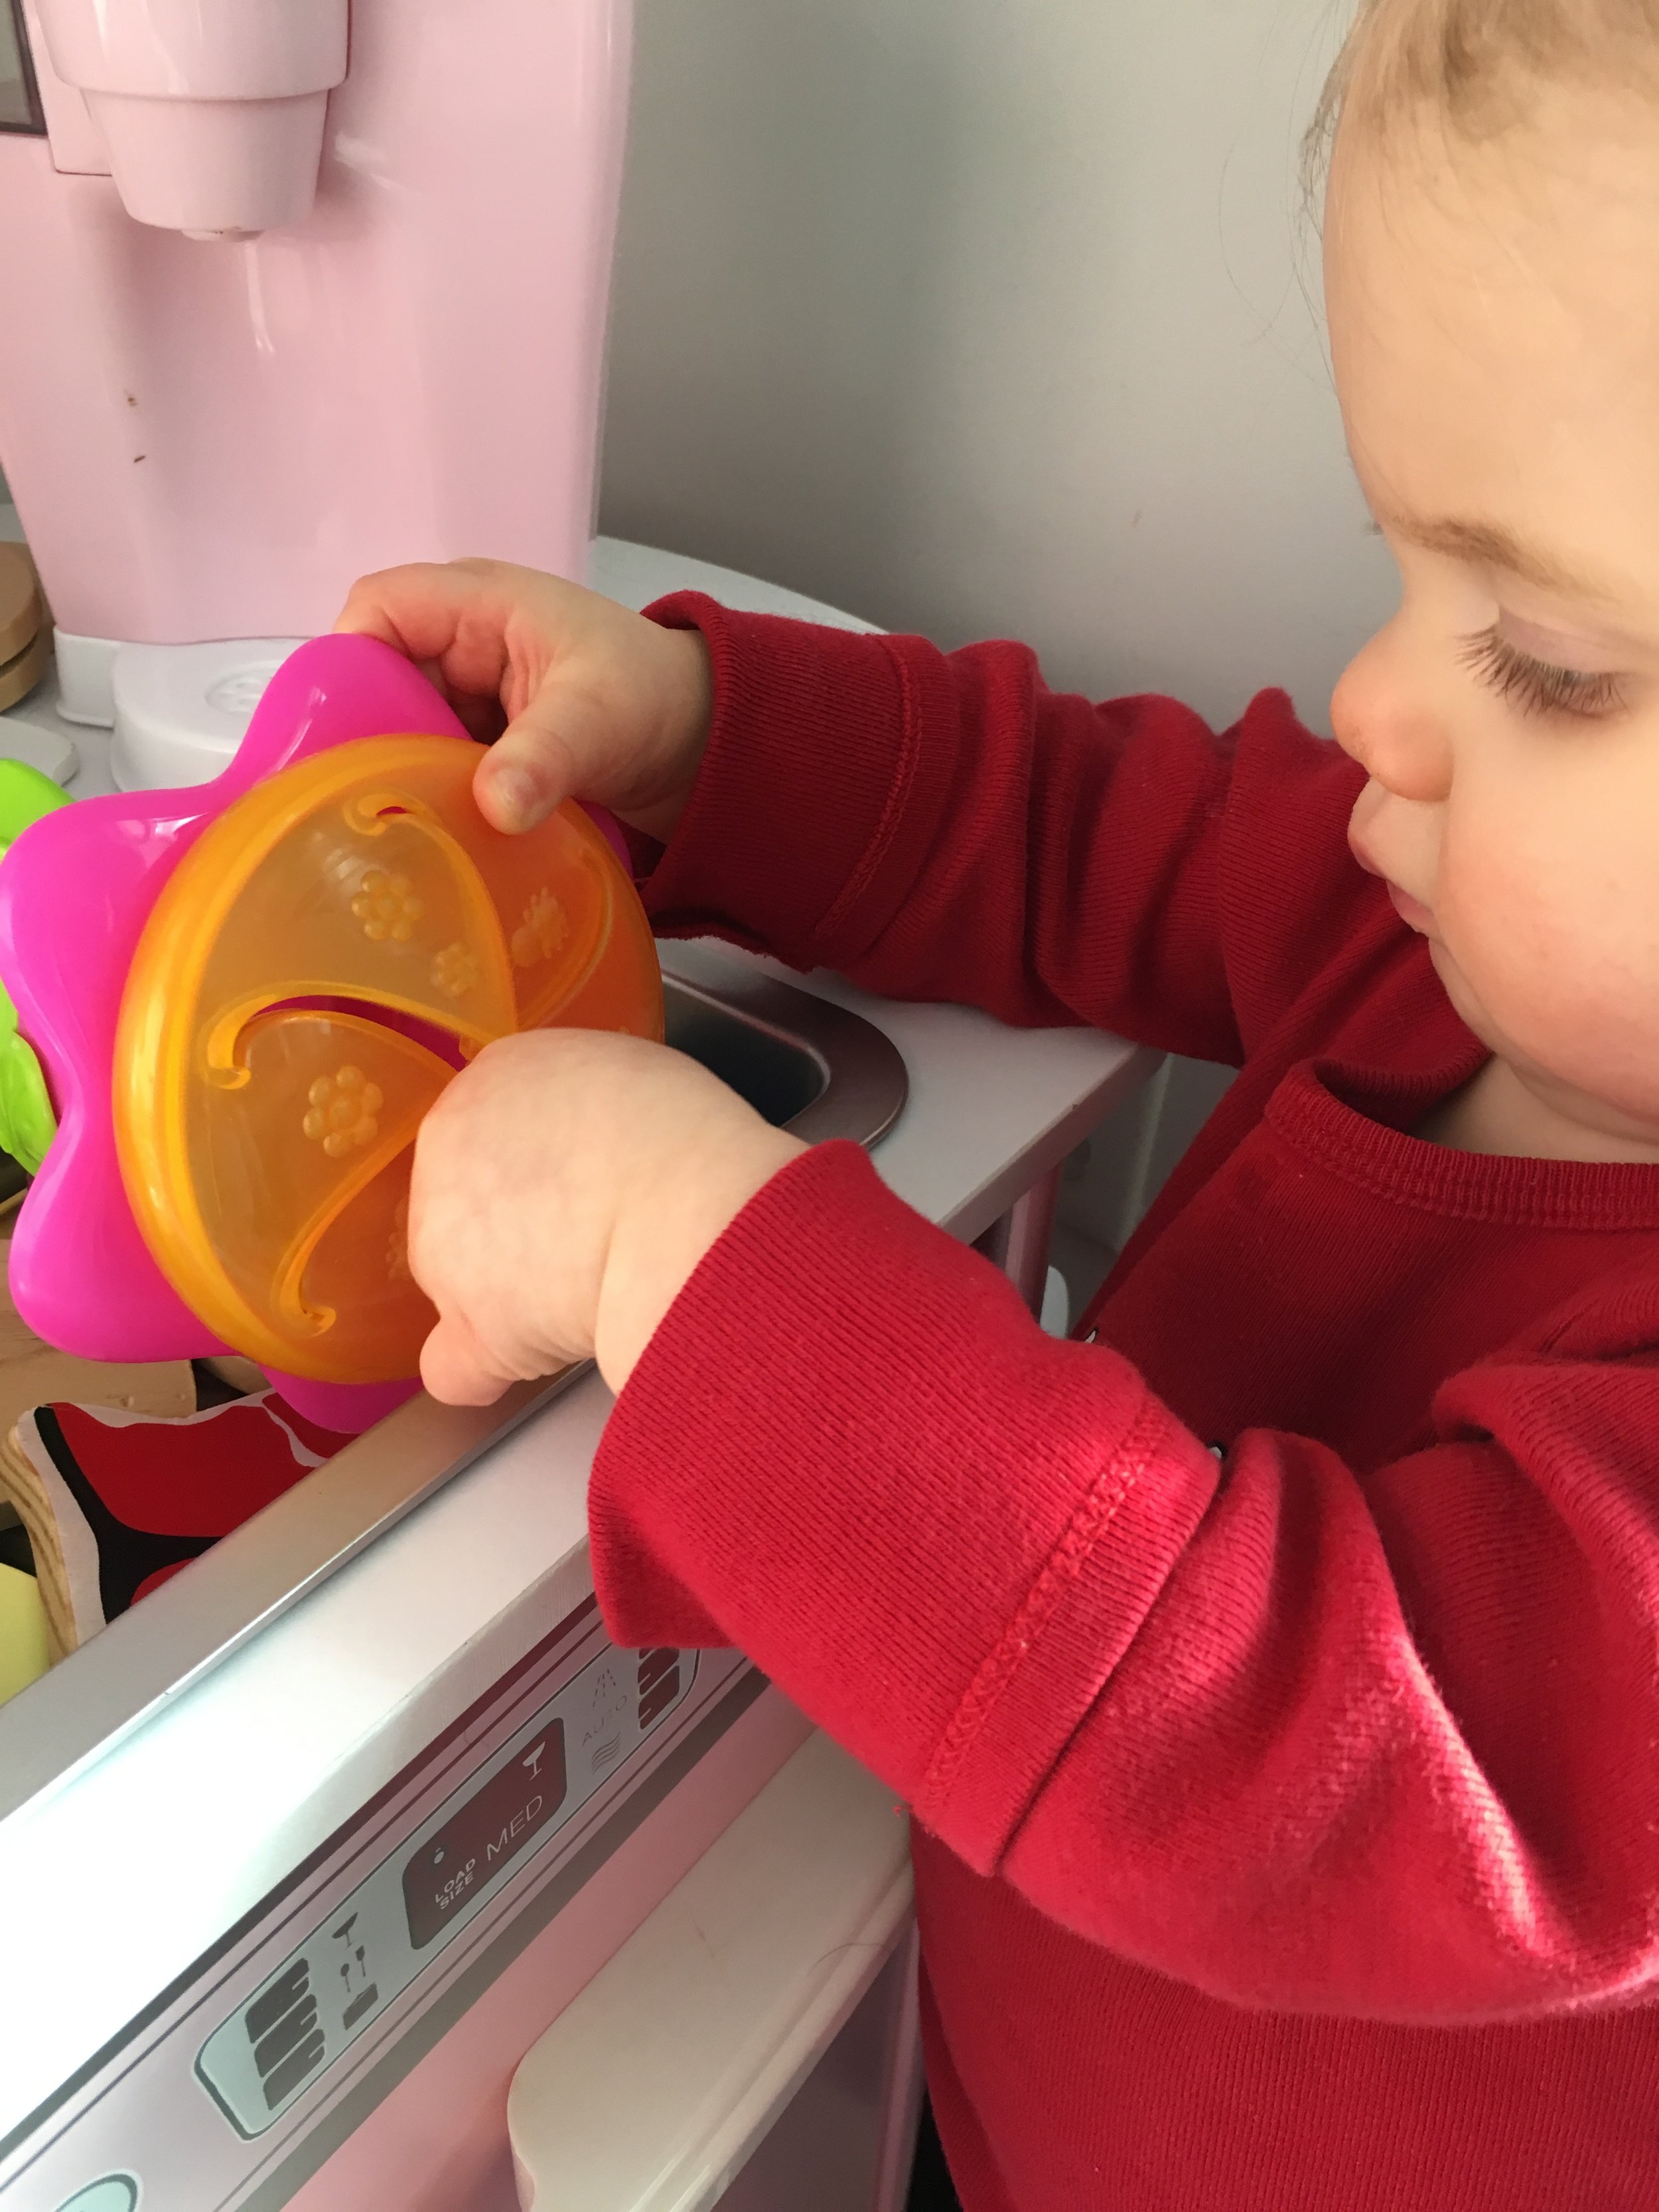
The Sure Grip Miracle Mat Section Plate has been a great addition to working on our little one’s self-feeding skills - it lays out the food in front of her, keeps it contained, and the best part is that it suctions to her tray - no more thrown or tipped over plates! With Nûby’s Stainless Steel Utensils with Easy Grip Handles, it gives her a great opportunity to feed herself like a big girl.
The Sure Grip Feeding Bowl also helps keep her food on the tray and off the floor! I love how these silicone dishes are BPA & PVC Phthalate Free, microwave/dishwasher safe, and one piece so they’re super easy to clean. The Sure Grip Feeding Bowl is a favorite to bring to restaurants since it fits easily in her diaper bag or lunch box and helps keep mealtime mess-free by staying put on the high chair tray or table.
Nûby’s Flower Child Snack Keeper is a great way to bring snacks on the go. Whether we’re at the park, playdate, or at home it keeps our little one’s snack within reach without spilling everywhere.
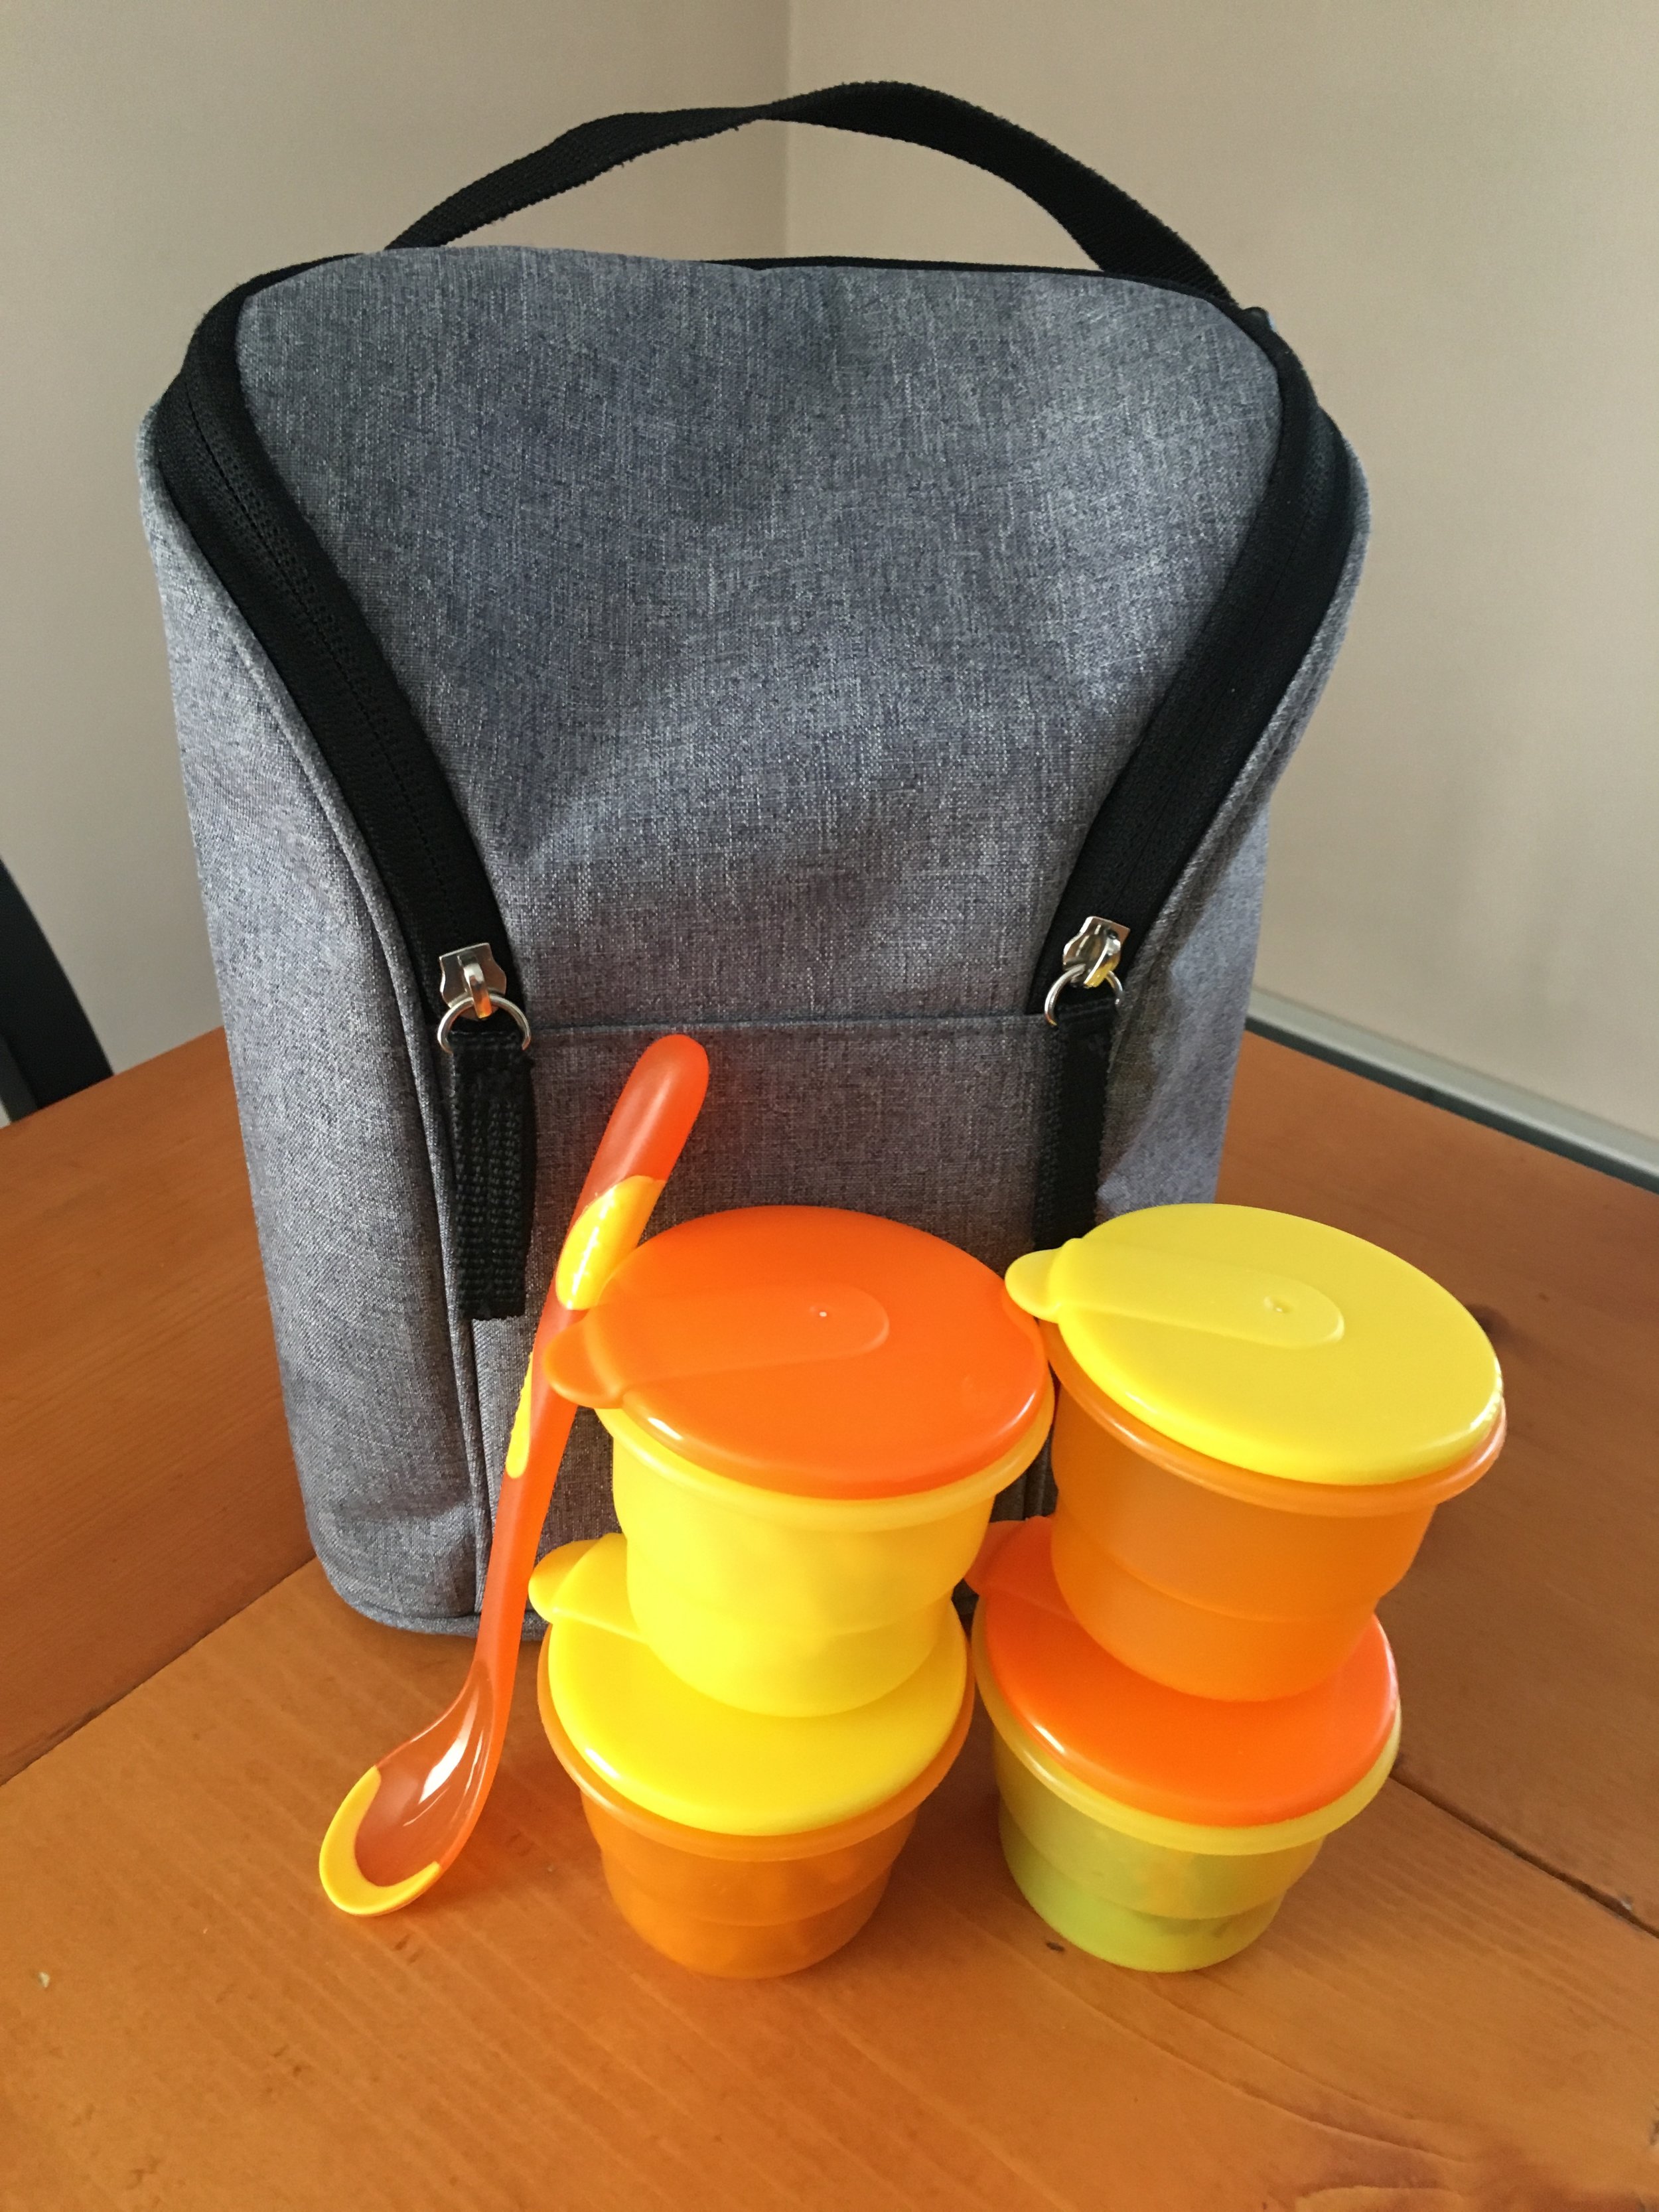
Nûby’s Storage Bowls with Feeding Spoon has been a huge help for us on the go! With our little one’s restricted diet, we always have to bring her food with us whenever we leave the house. These handy storage bowls are just the right size to portion out meals and snacks for her. They are also BPA-free, dishwasher, microwave, and freezer safe.
GIVEAWAY!
Giveaway ends 2/14/19 at 5PM EST.
Would you like a chance to win ALL the great Nûby products I shared about in this post? Head on over to my Instagram (@birchlandinghome) and look for this photo for details and to enter! Good luck!
We’re co-hosting one more GIVEAWAY before the holidays and it’s with our friends, Wolfeboro Candle Company!
Head on over to our Instagram for details and to enter! Winner will receive one of Wolfeboro Candle Company’s Wooden Wick Candles and one of our Hand-Etched Snowflake Ornaments.
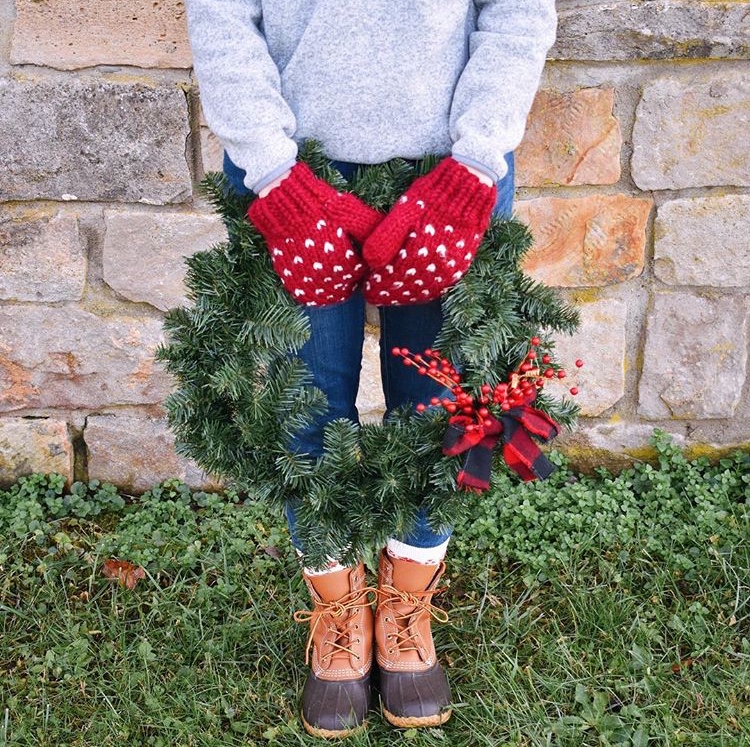
So excited to have teamed up with Samantha of S.Lynch Knitwear for a great giveaway over on our Instagrams. Winner will receive a pair of her cozy Fair Isle Mittens and a set of our Hand-Etched Snowflake Ornaments. Head on over to my Instagram for details and to enter - just look for the post with these photos - good luck!
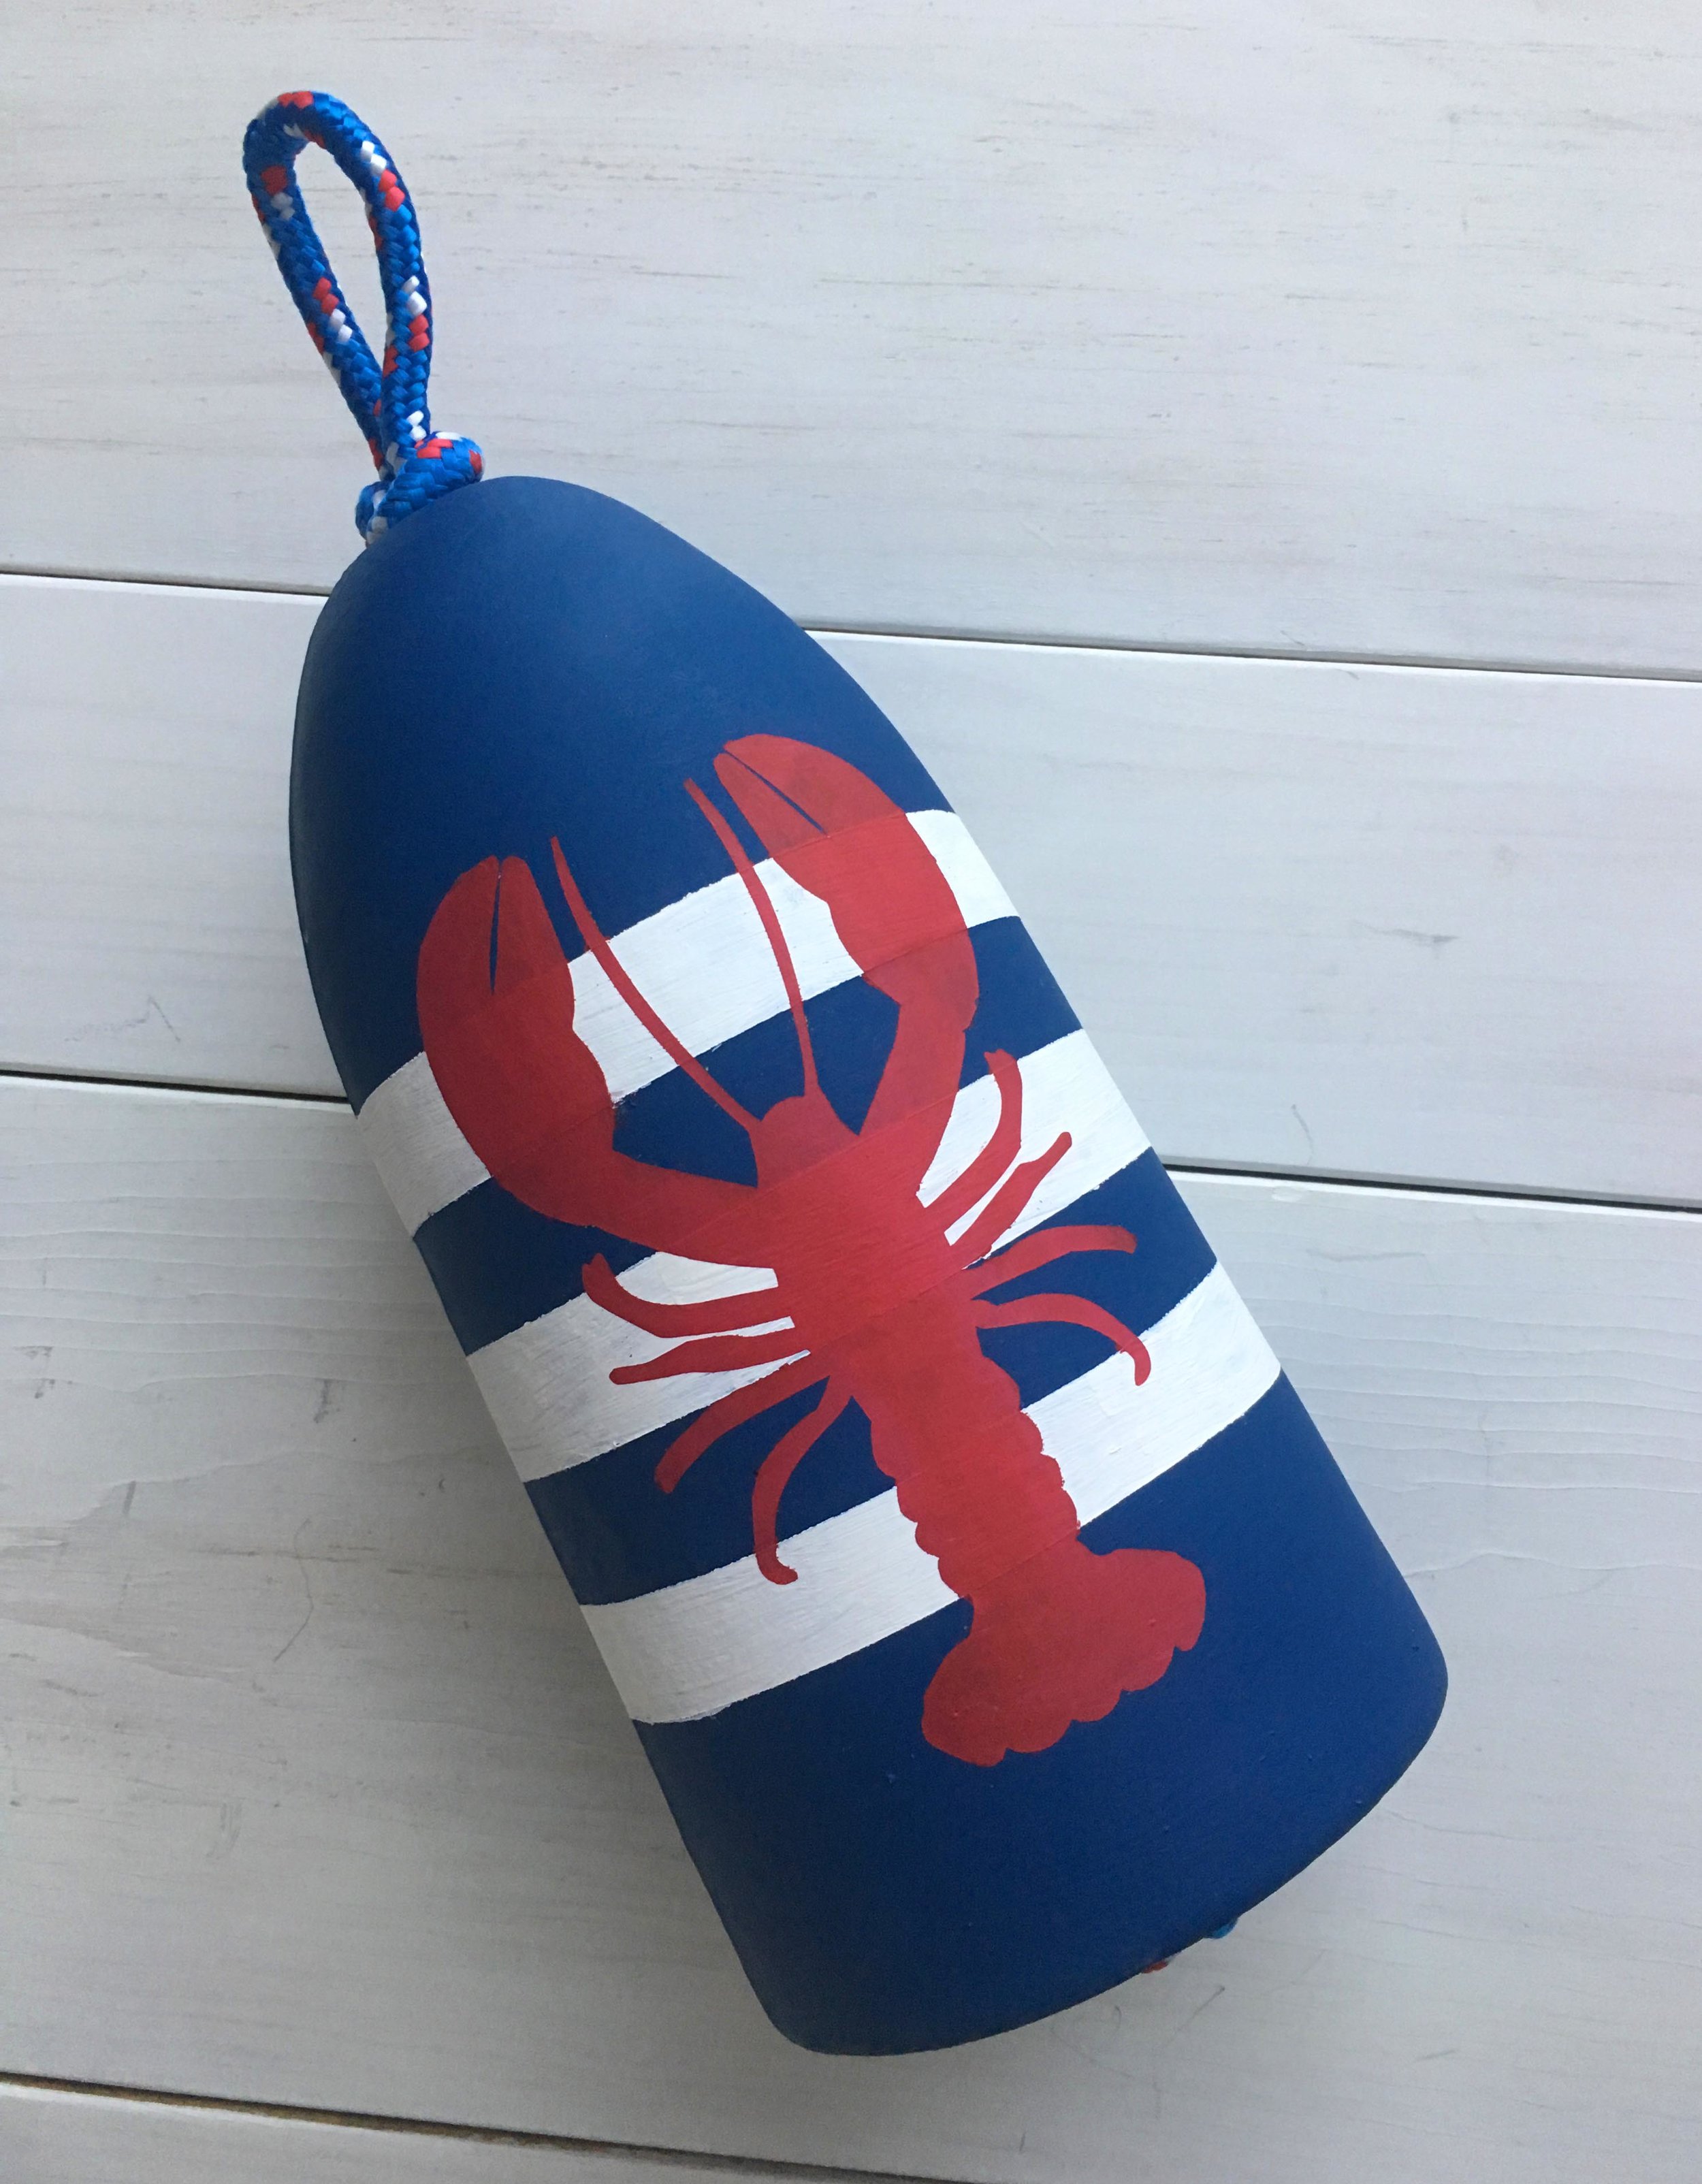
As a native New Englander, I definitely have a soft spot for nautical decor. After all, when we redid our older daughter’s room a few years ago, we gave it a Cape Cod theme! And you can’t get much more nautical than a painted buoy - it just adds that quintessential New England touch. That’s why I was so excited to find The Lost Buoy on Instagram and give our space some nautical flair. | This post contains an honest review of product provided by The Lost Buoy |
The Lost Buoy was started by Katie, who grew up in coastal Massachusetts and has many fond memories of beaches, lobster shacks, and exploring in her grandparents old Ford woody station wagon (really, does it get more New England than that?). Katie has turned all these memories and charm into a great line of coastal-inspired decor, clothing, paper goods, and even wedding accents.
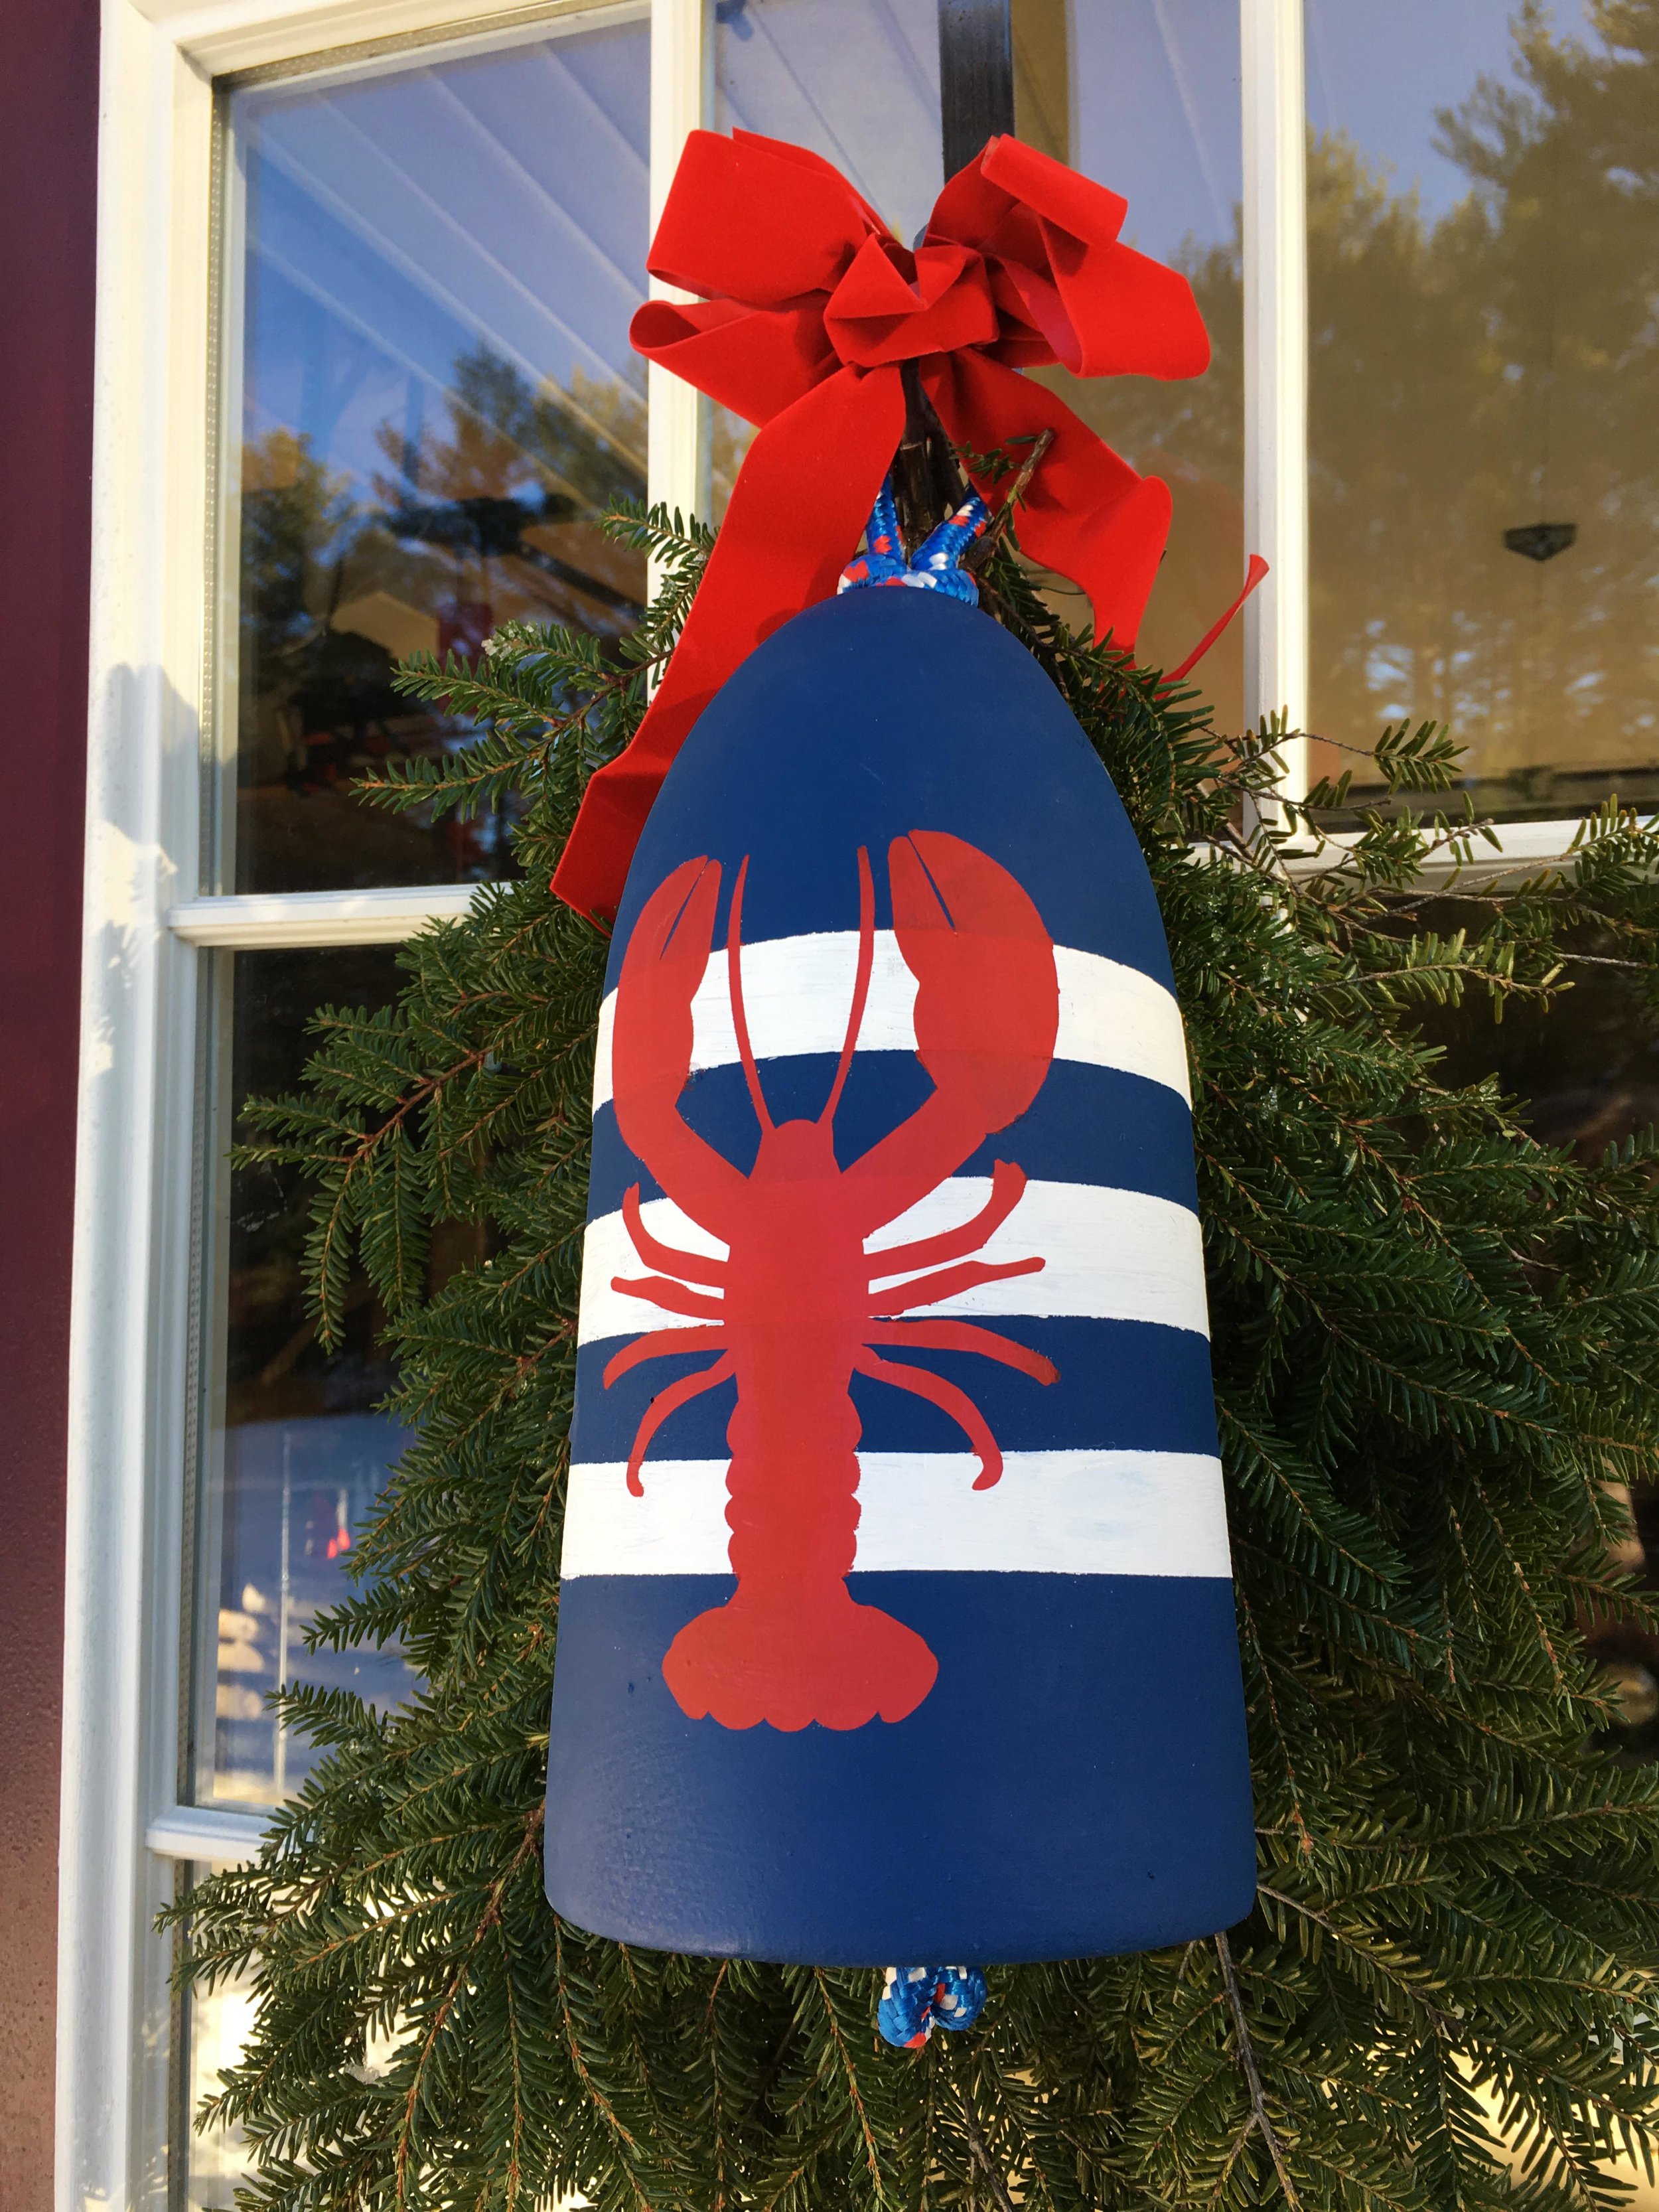
Katie was kind enough to send me one of her iconic Striped Lobster Buoys to add some nautical flair to our home. These lightweight, hand-painted buoys are cute in every room but I think I settled on having it add some coastal charm to our door for the holiday - there’s just something about Christmas greens and red lobsters - you can’t go wrong!
The Lost Buoy offers lots of great designs on their Decorative Buoys too - from different New England places, to nautical elements, and even custom color buoys to show your school spirit. And the wedding buoys would be perfect for anyone having a beachside ceremony.
The Lost Buoy definitely has something for everyone who loves nautical or preppy style!
Want a chance to win one of these beautiful buoys for yourself? Head on over to my Instagram for a chance to win a Decorative Buoy of your choice to compliment your home. Just look for this post and follow the directions to enter. Good luck!
As a mom of two little ones, I’m always on the hunt for a stylish way to haul our gear when we’re out and about - which is where Town and Country Tote comes in! They are the perfect solution for your diaper or work bag. | This post contains an honest review of product provided by Town and Country Tote |
Town and Country Tote is a small business that offers quality, Made in USA classic tote bags with a twist - these tote bags come in a variety of colors and patterns as well as a really handy durable canvas insert that organizes all your gear perfectly! I just love the variety of compartments in the organizer, and how it’s set up like it’s own little filing system with everything at your fingertips!
These classic tote bags are super versatile and would make the perfect diaper, work, or gym bag for both women and men. They also offer great personalization options which can machine embroider, hand embroider, or hand paint your monogram and/or coordinating stripes on the tote bag. These special details really set the bag apart from others and make it unique and beautiful as well as practical!
Want to win a Custom Tote Bag for yourself?
Go over to my Instagram (@birchlandinghome), like our Town and Country Tote post, follow both accounts, and tag a friend! Winner will get to choose a Classic Tote Bag with the personalization option of their choice - up to a $160 value!
- This post contains an honest review of product provided by Town and Country Tote, LLC but all opinions expressed are my own. Please see our full Disclosure Policy for more information -
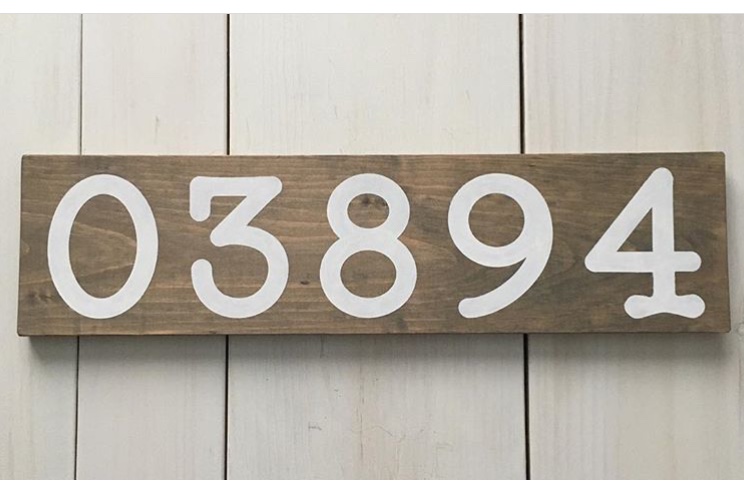
This week I’m hosting a Giveaway for one of our Custom Zip Code Signs! Entering is easy on Instagram, so please look for this photo on my account for details and to enter - good luck!