I'm a wife, stay-at-home mom, crafter, and blogger living in rural New England. As seen in Martha Stewart Living, Food Network Magazine, and more! | Tutorials, DIY, crafts, parenting tips, recipes, money saving tips, product reviews, local product features, New England living, intentional living, and more! |
My parents-in-law gave us an awesome old milk can and it took me a little while to decide what I could do with it. After some thought I decided to use it as a country-inspired house number display. | This post contains affiliate links |
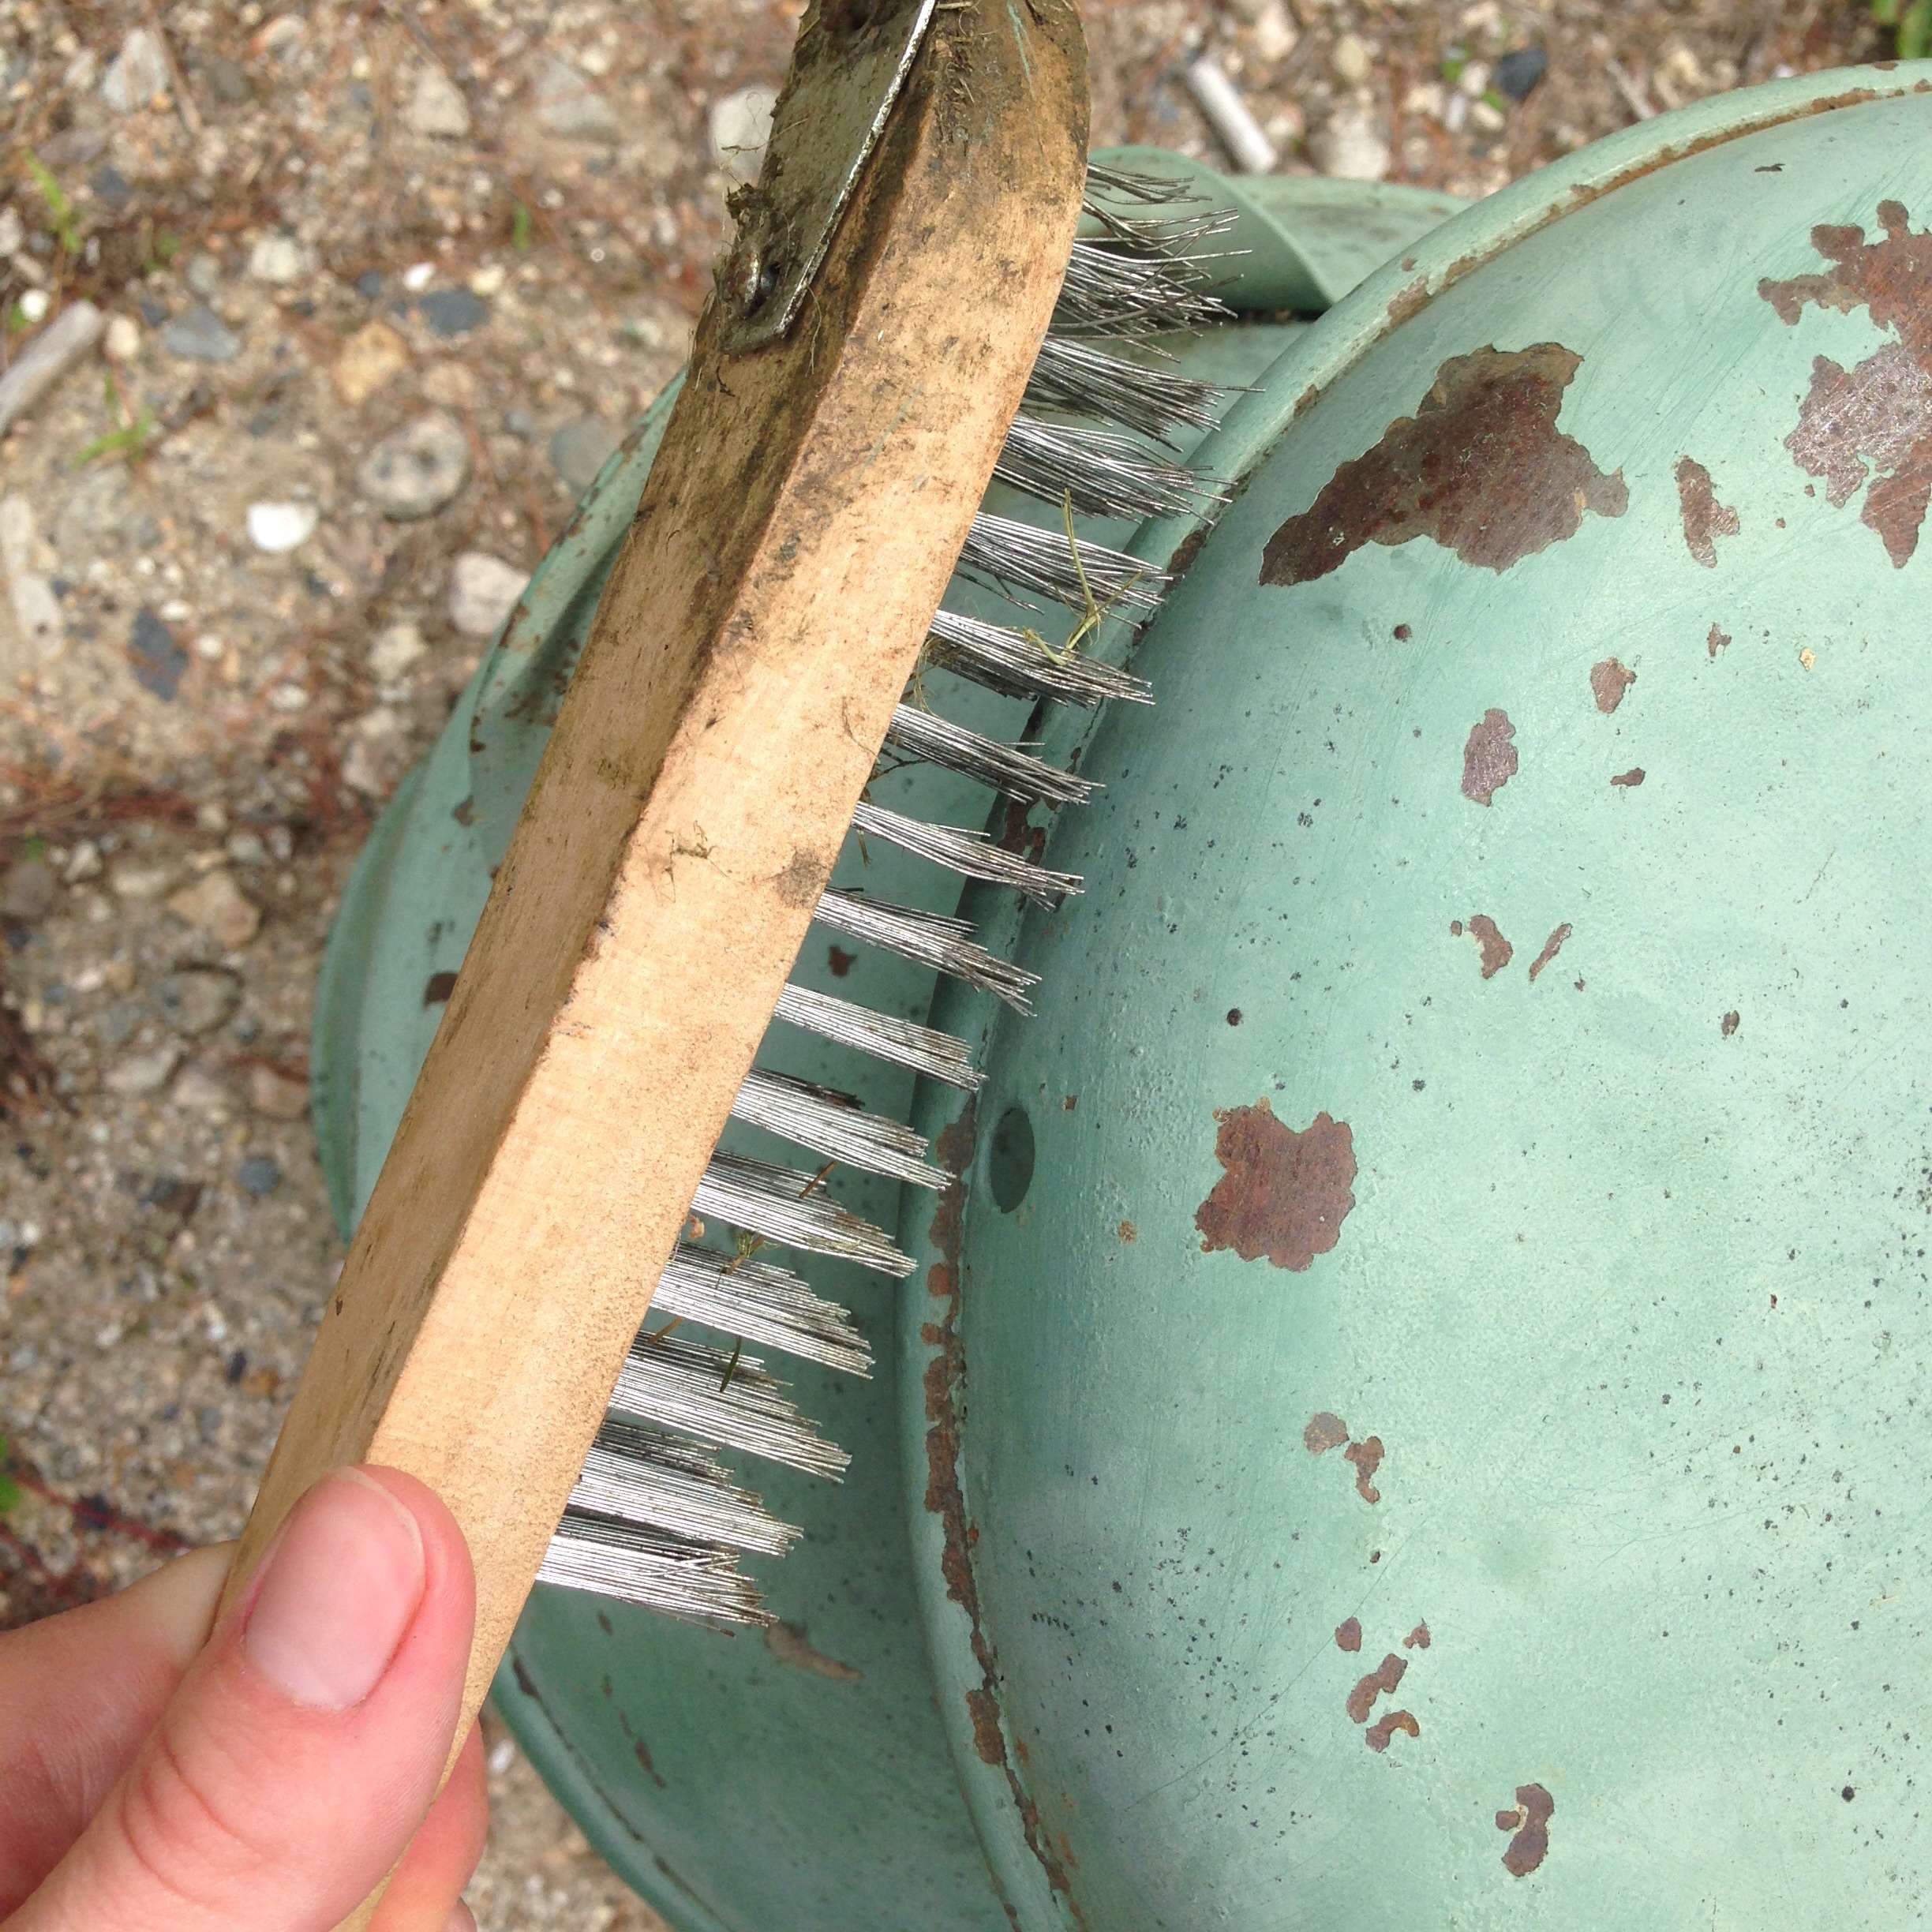
The milk can had already been re-painted at one point and while the green paint and the rust spots definitely gave it a nice patina, I decided to clean it up and repaint it to make it a little cleaner and kid-friendly.
First step was to clean up all the loose paint. I used a wire brush, metal scraper, and rough-grit sandpaper to clean it up and make a good base for the new paint.
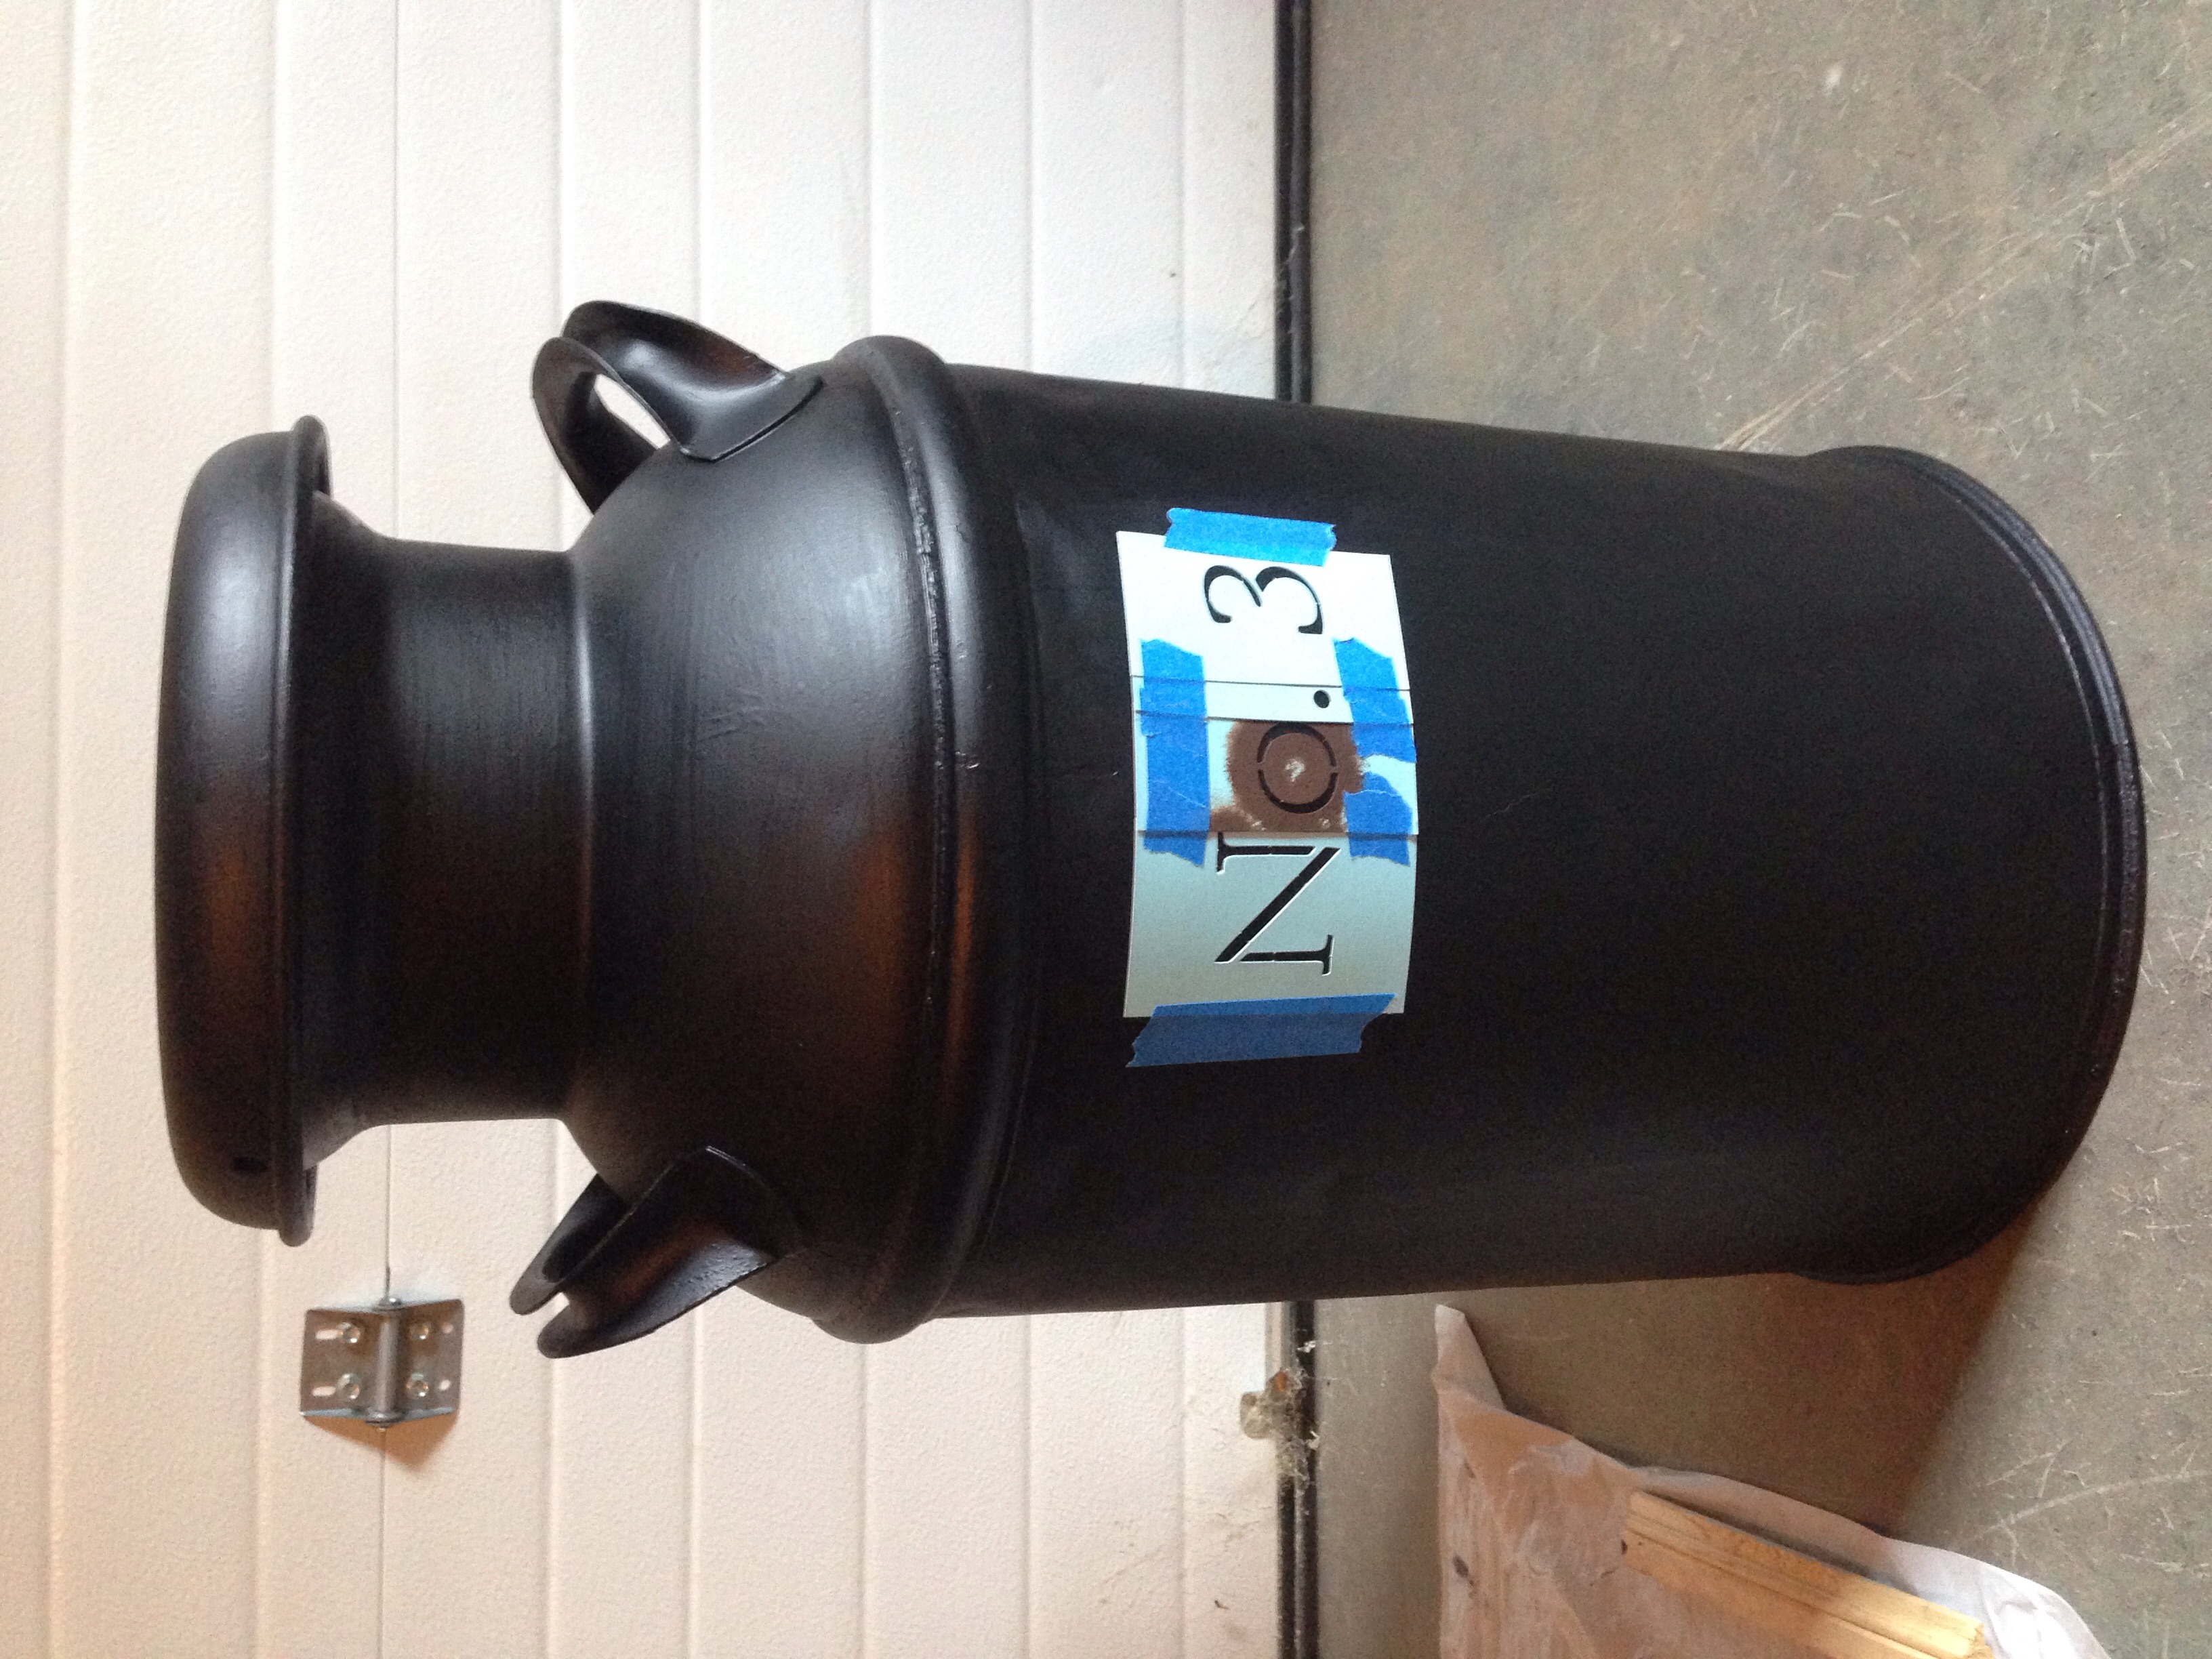
Once it was ready I used Rust-Oleum Professional High Performance Protective Enamel in matte black and gave it two coats, letting dry about 24 hours between coats. For the stencil I made a point to choose a font and size that looked like it belonged there - that maybe the farmer numbered all his milk cans and this was just one in the lineup. The stencils I used were from the Martha Stewart Monogram Serif Stencil Set, trimming the letters down and taping them together with painters tape. I had used the "o" previously for another project.. hence why it's brown.
I used white acrylic paint to stencil it and filled the gaps in the stencil with a small brush after. I think the milk can came out pretty cute and adds the perfect country touch!
I had to share this picture, I just love the sun that comes in the craft room in the morning. It makes you want to get started on some projects.. now if only a little one would let me get some work done ;)
This post will show you a simple technique to lay out gallery wall so everything is spaced the way you want, without the trial and error of putting a lot of nail holes in your wall. My example is very small-scale (only two photos), but this technique would work well for any size gallery wall.
Materials:
picture frames
paper
painter's tape
scotch tape
pen or marker
nails
hammer Also useful:
tape measure
level
How-to:
Cut paper to size of frames. I used computer paper since it was handy, taped together in order to make it large enough.
Next, lay your paper template over the back of the frame and feel where the hanger is. Mark were the nail would be with a pen or marker.
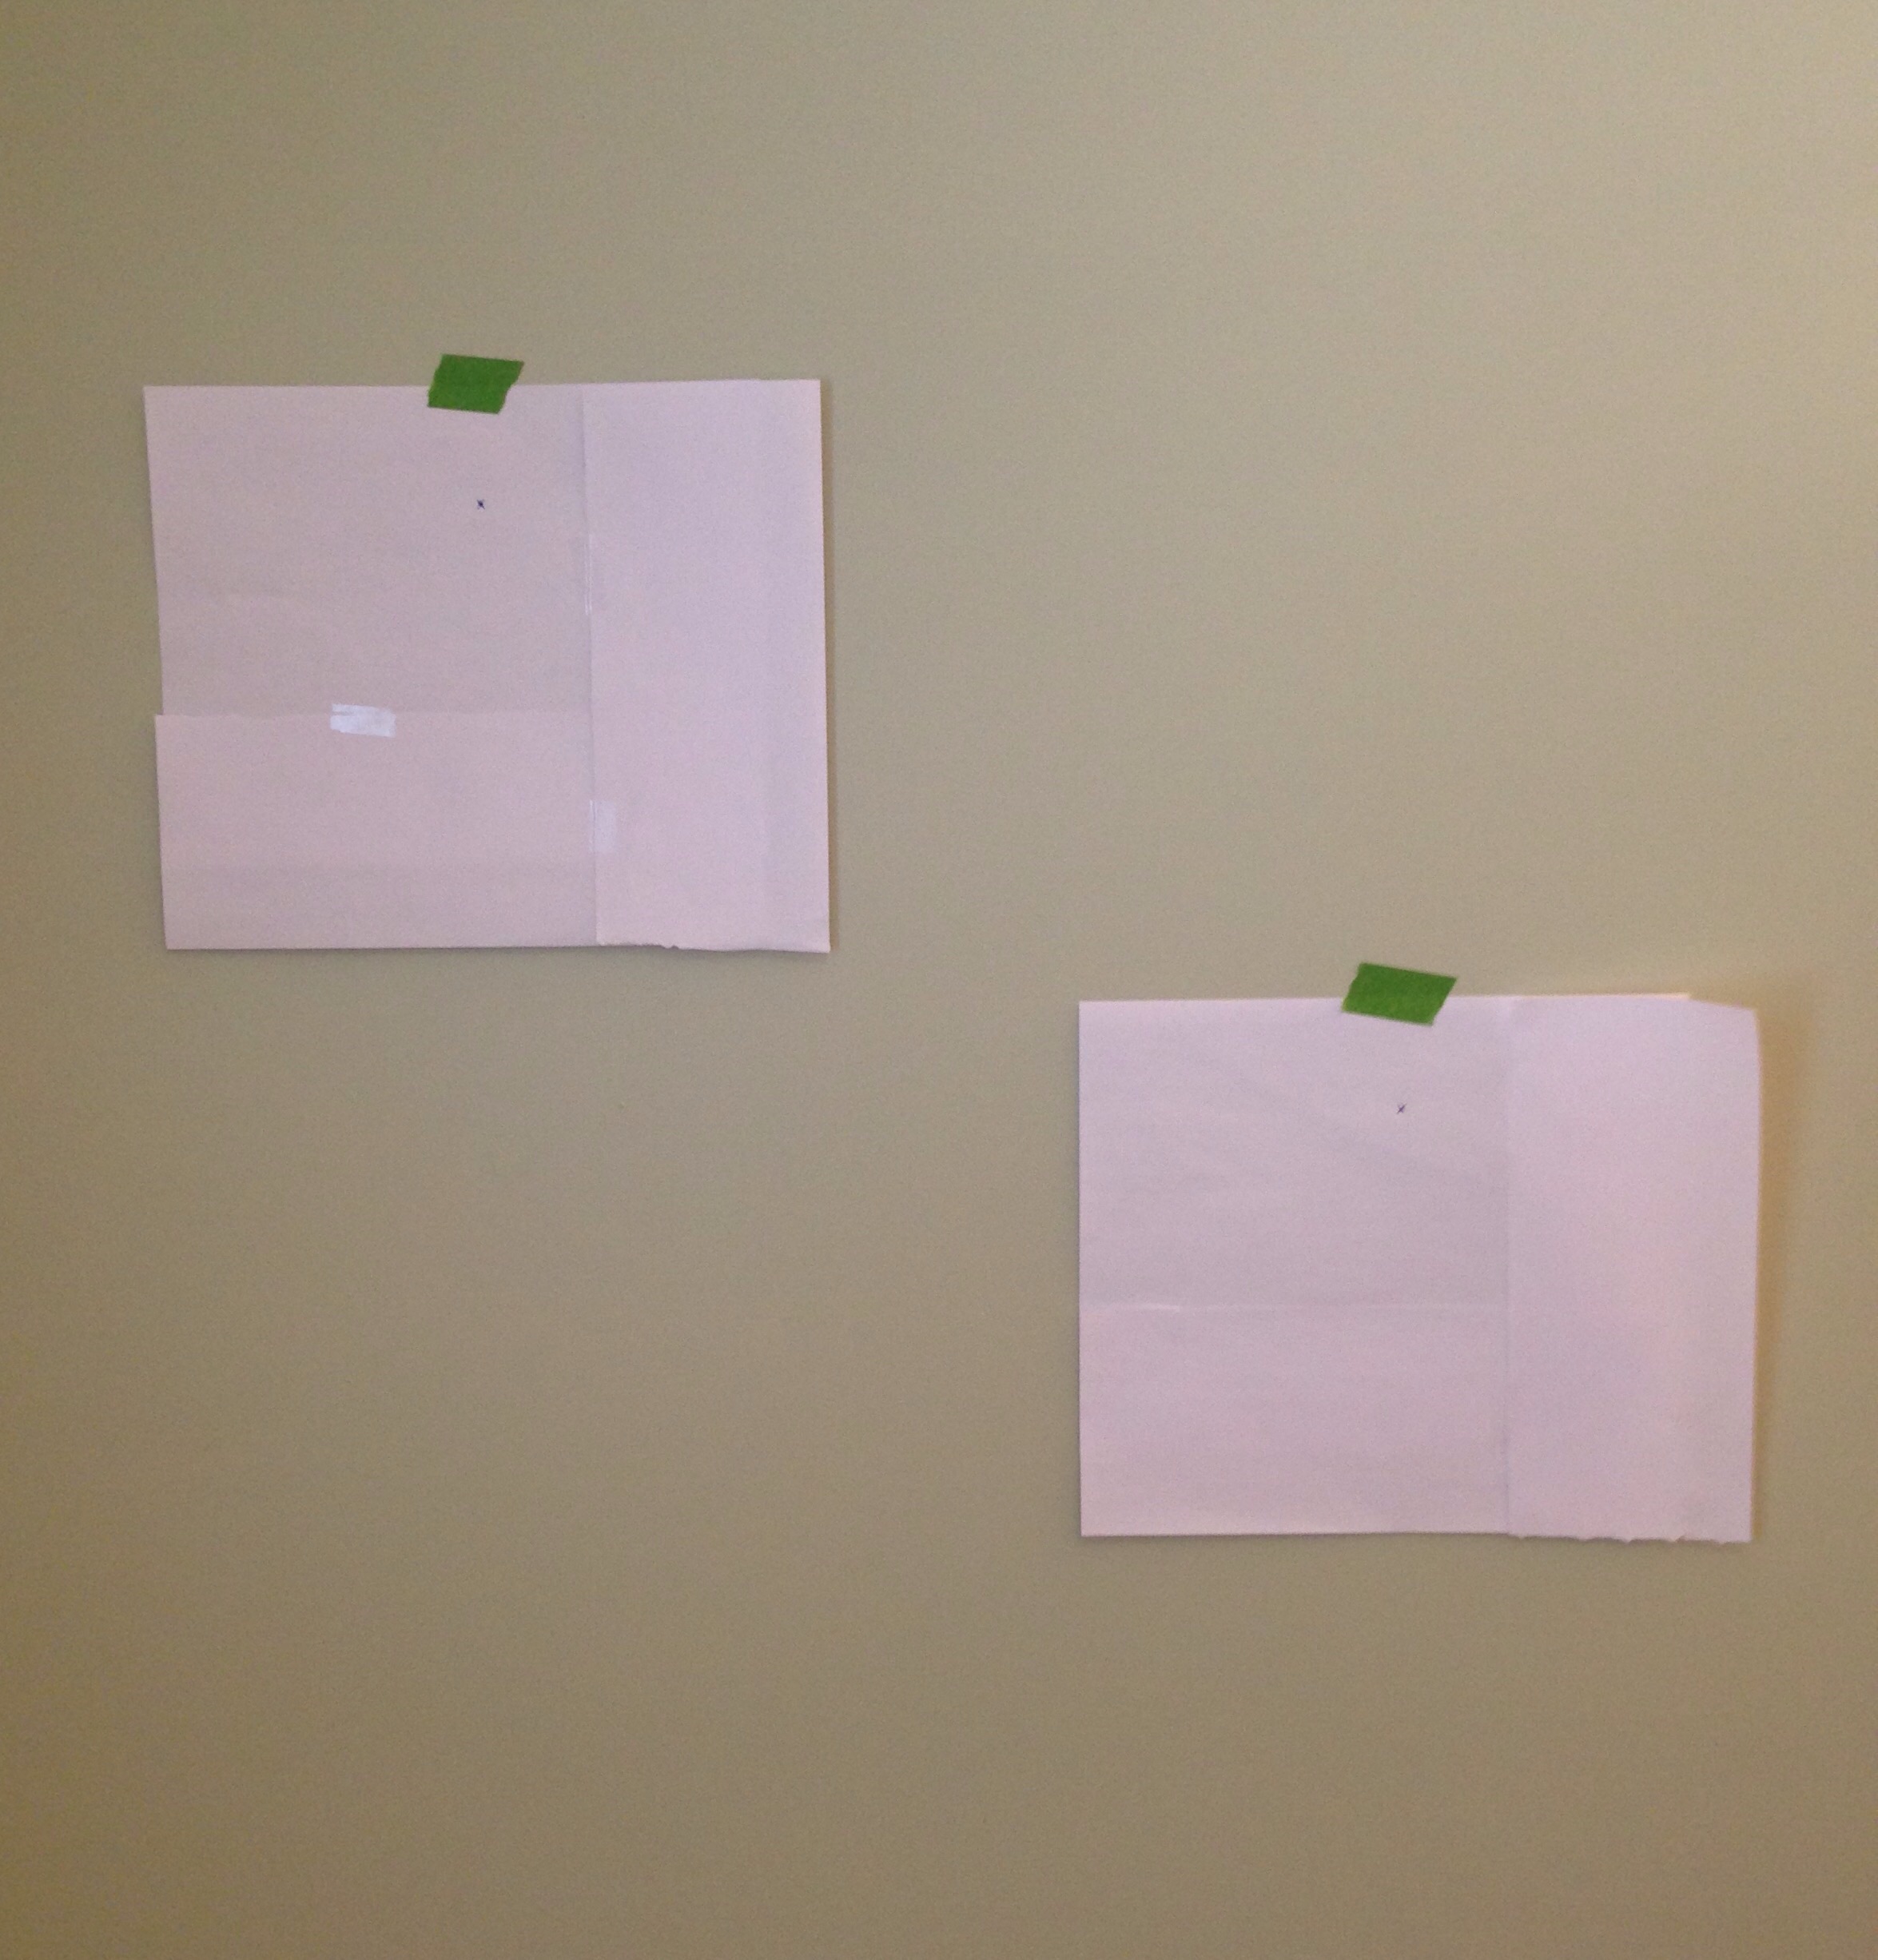
Now's the fun part - start laying out your gallery wall by hanging up the paper templates with painter's tape and moving them around until you're happy with the height, spacing, etc. Here is where a tape measure and level might be useful if you have large pieces to hang or want to get the spacing absolutely perfect.
Next nail right through your paper templates, where the marking for the hanger is. Then take down the templates, ripping the paper off around the nail.
Now hang up your photos, and they'll be spaced just the way you wanted them!
This tiny gallery wall is in our family bathroom - it will have black and white photos of our little one taking a bath and brushing her teeth. I can't wait for the photos to come in so I put them in the frames!
I've started to tackle one of my resolutions: going through my clothes and cleaning out the closets. I've already gone through my bureau and started on the walk-in closet, and it's refreshing to see the pile of stuff to go get bigger.
What may be more refreshing? Trying on the shorts and jeans I had tried on at the beginning of summer and wrote off as a loss to my post-baby body but they fit again - yes!
I may have a t-shirt problem though.. t-shirts from college, concerts, races, volunteering. I hardly wear them but I can't seem to bring myself to get rid of most of them either. I've seen ideas on Pinterest on turning t-shirts into a quilt and maybe that will be a future project.
I still have a long way to go to finish the great clean out of 2015 but the little one has been napping and sleeping horribly lately, not leaving me much time to get things done.
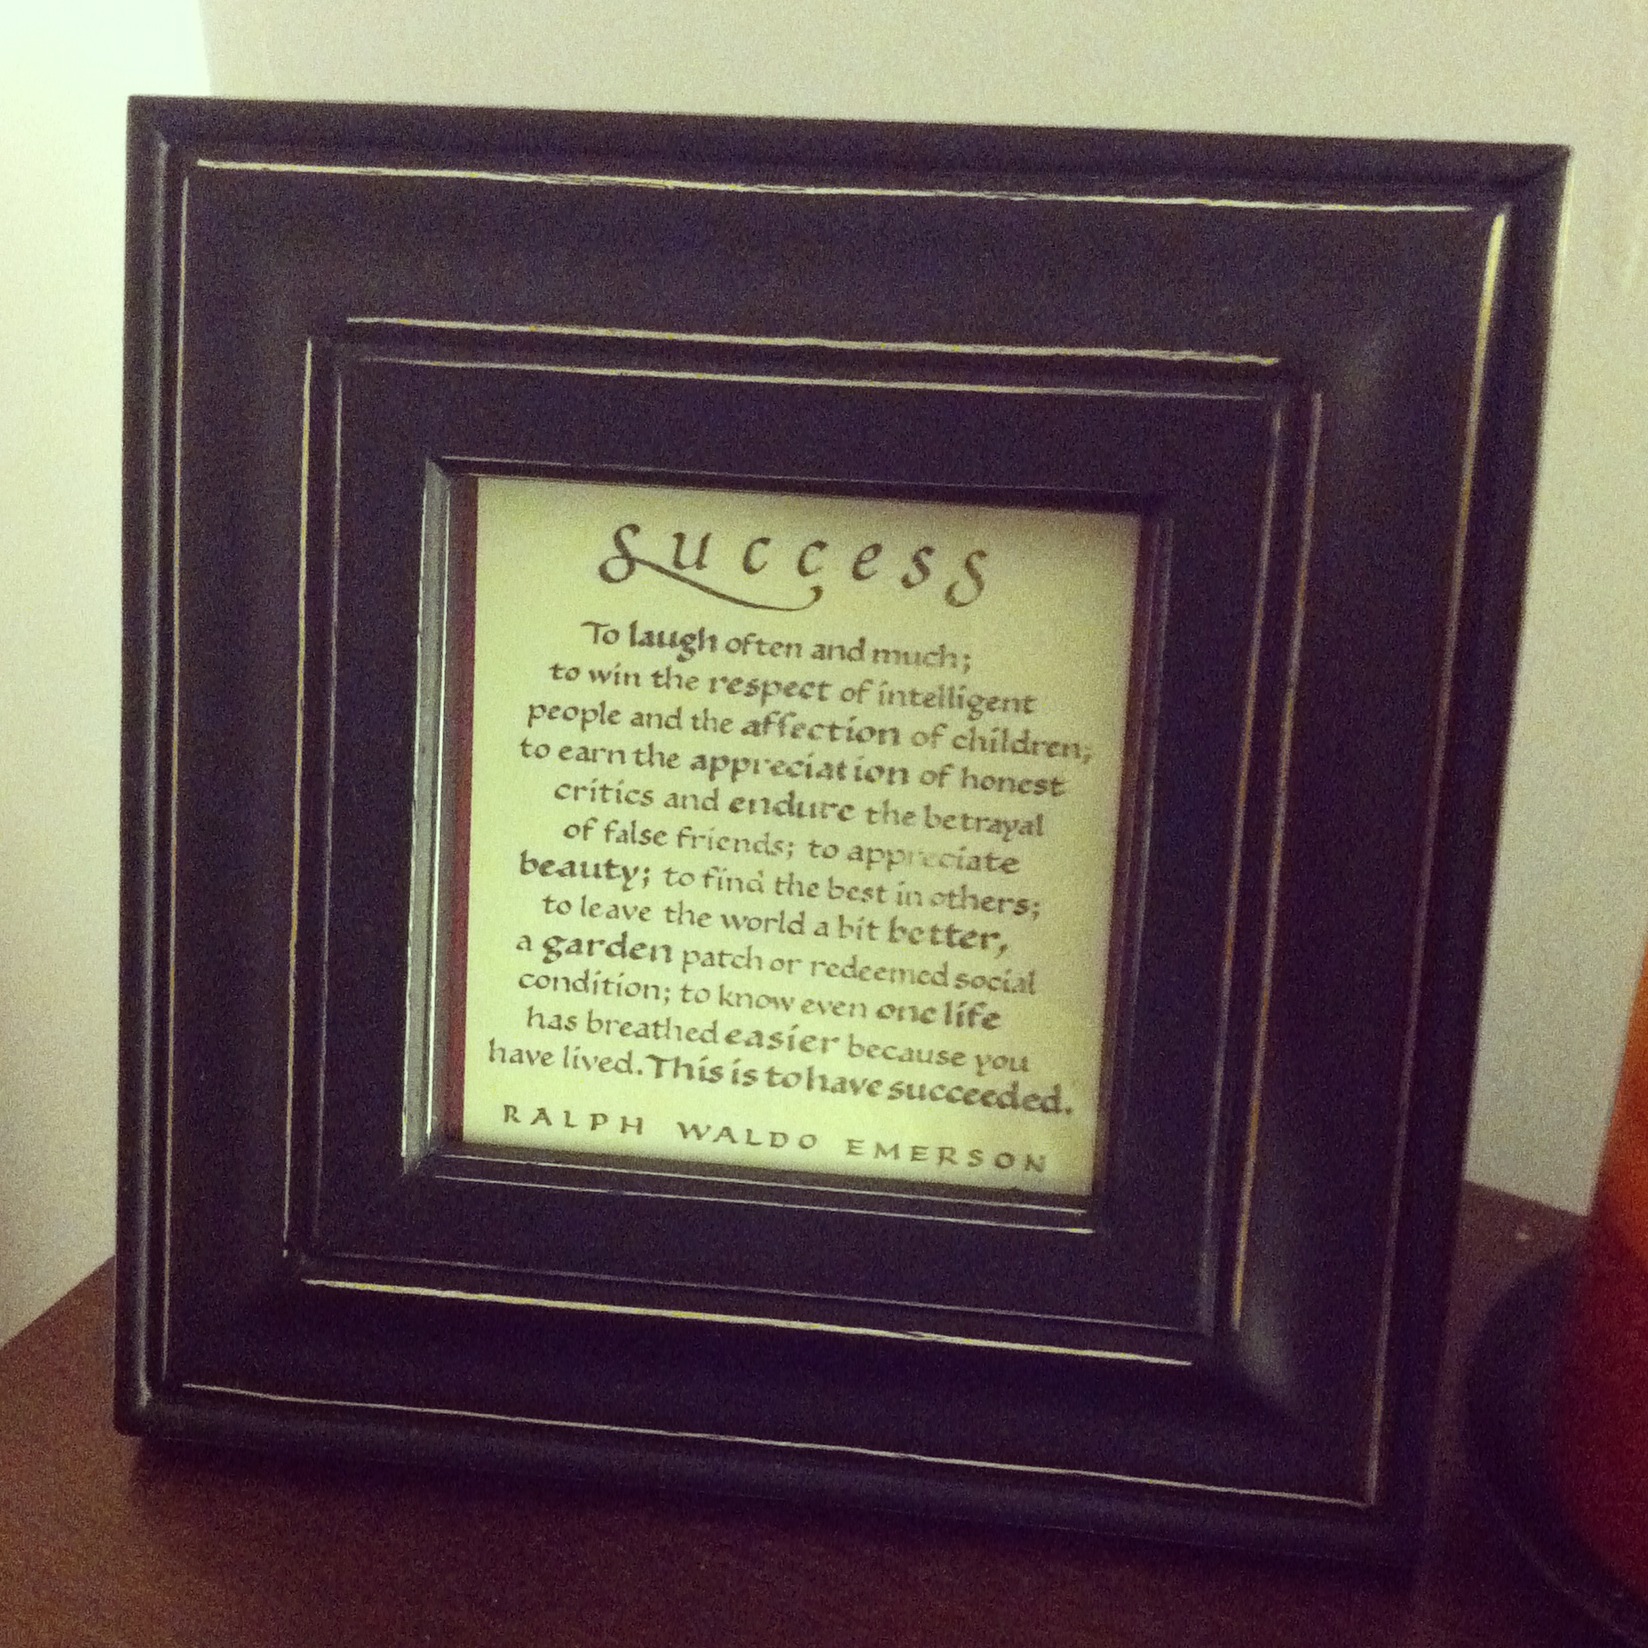
My Great-Aunt (who is now 97!), gave me this handmade card when I graduated high school. Though she hadn't made it herself, even then I thought the stamped Emerson quote was just beautiful.
Just about 10 years later I still had the card, and this summer I finally framed it with her signature safe on the back. It sits on my desk now, reminding me that success comes in many forms.
Success
To laugh often and much; to win the respect of intelligent people and the affection of children; to earn the appreciation of honest critics and endure the betrayal of false friends; to appreciate beauty; to find the best in others; to leave the world a bit better, a garden patch or redeemed social condition; to know even one life has breathed easier because you have lived. This is to have succeeded.
This week I was hoping to bring you a post on making pickles. I've never made them before and wanted to give them a try with all the cucumbers we've been getting out of our garden. Unfortunately I let the cucumbers get too big and they were all seeds - no good for pickles. Such a bummer, but I've learned my lesson. So, without the pickle post I decided to share the easy brick upgrade we did on our concrete walkway after we moved in our home.
When we first moved into our home there was nothing in front of it.. no bushes or anything substantial, just a plain white concrete walkway and a bark mulch bed with a few sad daffodils that had already gone by. It was so boring and even the walkway looked really unfinished.
The obvious solution to dressing up the existing "flower" (I use that term loosely here) bed was to get plants and bushes in there - but what about the concrete walkway? Luckily for us the previous homeowners had left behind a lot of bricks... A LOT. Some were stacked under the back deck, but there was also a small random brick patio that we had plans to disassemble anyways. There were sooo many bricks.. it was actually becoming a problem on where to store them and what to do with them.
While trying to figure out what to do I came up with the idea of inlaying them along the walkway to dress it up a bit - and though it was a little time-consuming, the whole process was actually really easy!
Materials:
lots of bricks (enough to line both sides of the walkway, plus a few extra)
edger
wheelbarrow
spade
rubber mallet
How to:
First I started hauling all the bricks to the front yard and laying them along the walkway to make sure I had enough (though we had so many I probably could have done this project twice!). I started laying them out at the front steps and put them end-to-end along the whole length of the walkway, along both sides. This way I was able to get a sense of how they fit and where I would need to do cuts (we were very lucky to have a pretty straight walkway, so the cuts needed were minimal). If you're thinking of starting this project from scratch, I would recommend measuring the length along both sides of the walkway, then head to your local home improvement center to see what they have for bricks, their sizes, and how much they cost. Once you decide on a brick you like, you can calculate how many bricks you will need.
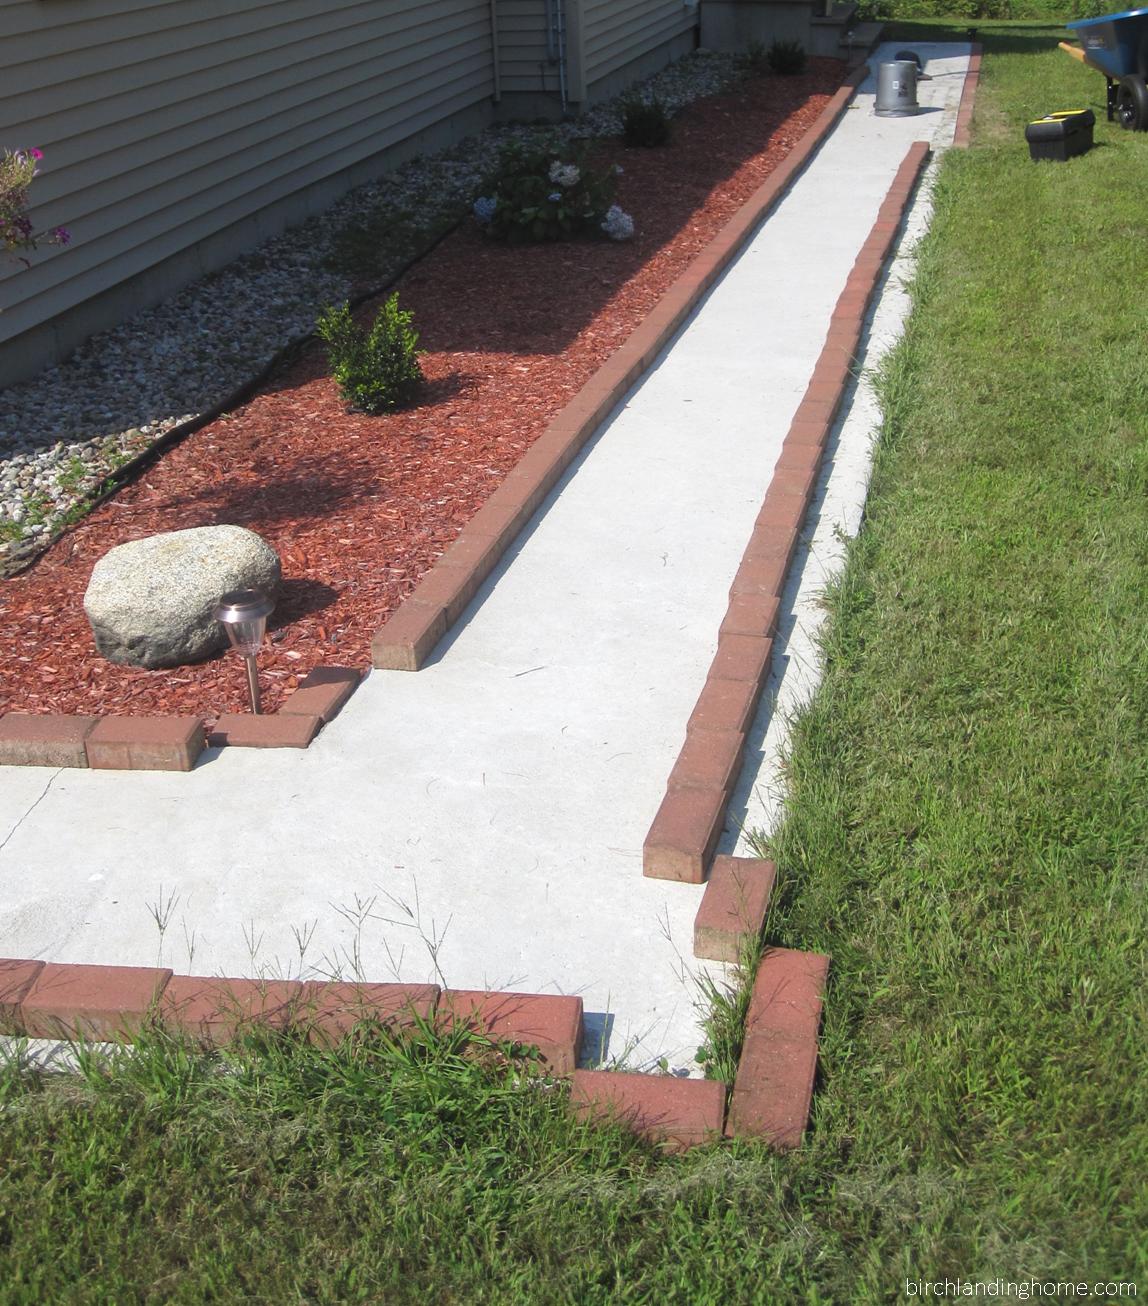
Laying out all the bricks. You can also see our first additions to the flower bed - some tiny boxwoods and hydrangea bushes. It's amazing how much they've grown!
After everything was all laid out, I started by using the edger along the side of the bricks to cut the edge of the "trench" they would be set in. I made sure not to get carried away and would only prep about two feet ahead of where I was. I would cut as I went along to compensate for how the bricks were sitting against the walkway.
Once the outside edge was cut, I would use the spade to dig out enough soil for a brick. Then I'd set the brick in and pound on it with the rubber mallet until it was even with the grass. Sometimes I would need to take the brick out and add or remove soil until it sat where I wanted it too.
I continued this process along the line, brick-by-brick until I got to corners or areas where the bricks needed to be cut. After tracing on the bricks where cuts would need to be and a quick trip to a local mason, they were cut and ready to be inlaid as well.
We have a really long walkway and I worked on this project at my leisure over the course of a week or two but probably could have gotten it done over a weekend if I had really set my mind to it. It's definitely made a huge difference to the curb appeal of our home.
The now-full flower beds look great next to the brick lined walkway.
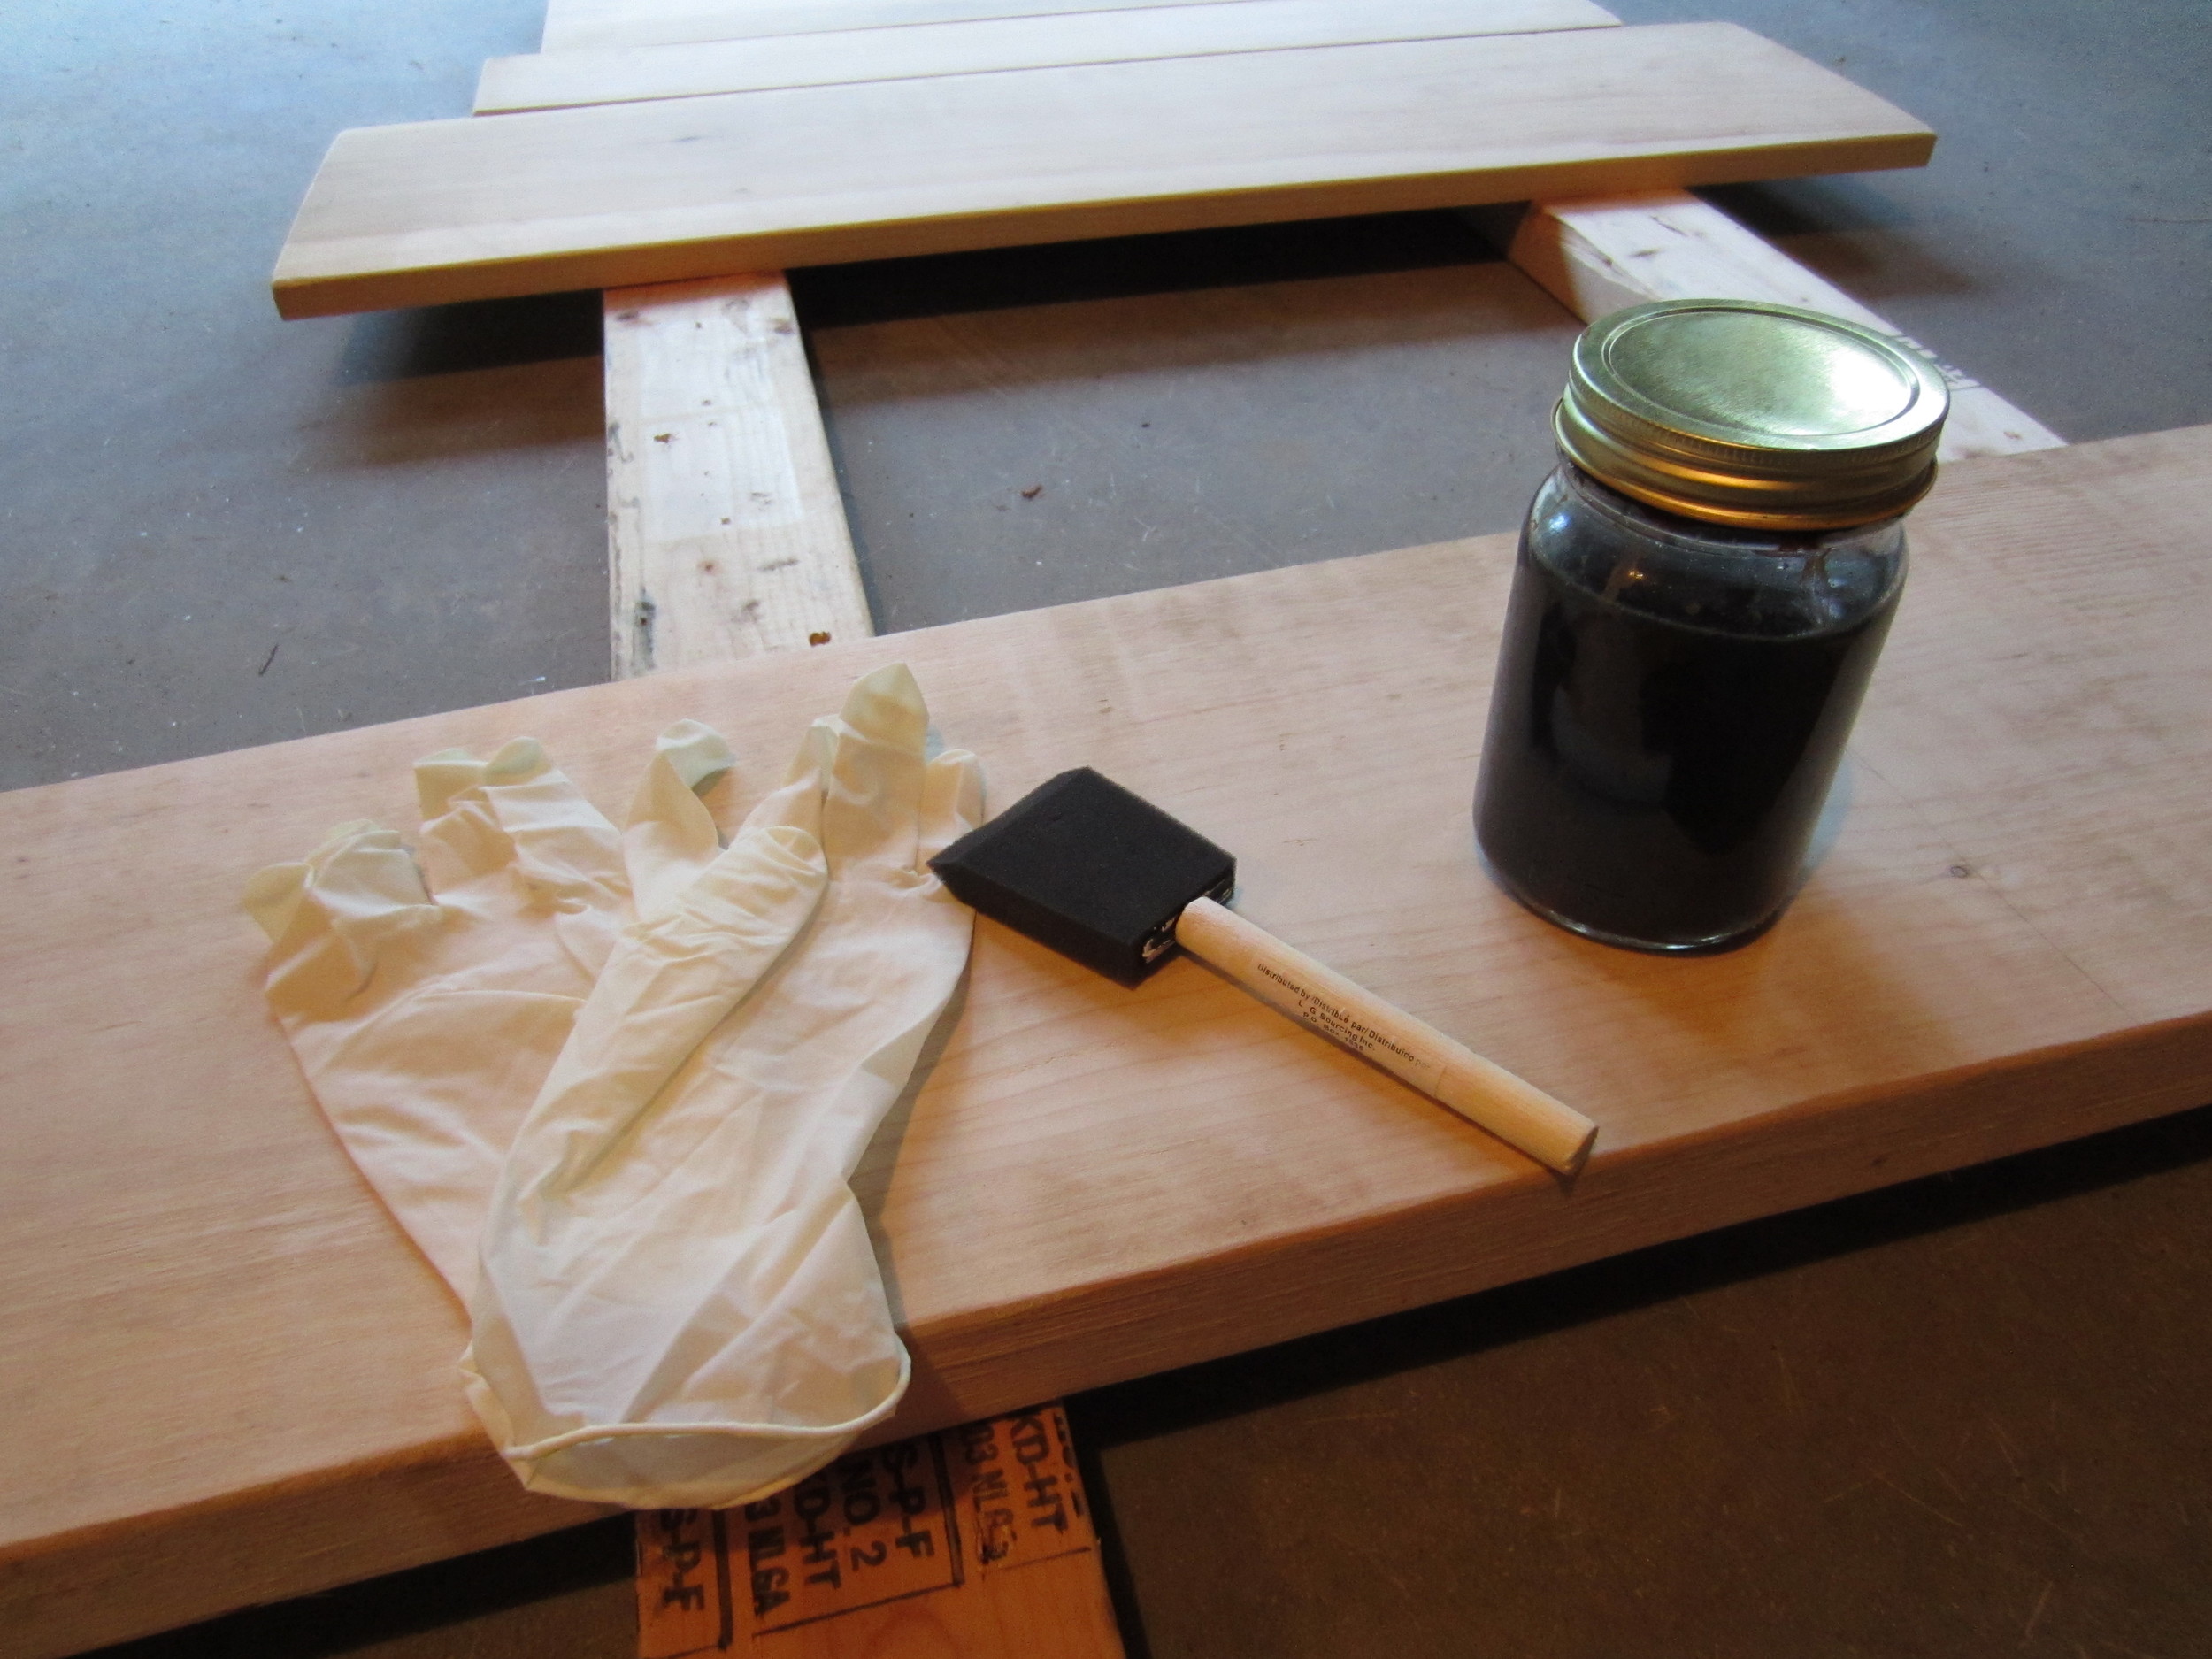
I'd heard that you can make your own stain using just steel wool and regular vinegar. I was intrigued and had to give it a try myself.
Materials:
glass jar
ball of fine steel wool
white vinegar
rubber gloves
sponge brush or rag
wood
How to:
Put a ball of fine steel wool in a glass jar and fill with white vinegar to about 1-2 inches from the top. Replace the lid and let sit for a few days until the steel wool has dissolved or nearly dissolved, giving the jar a shake once or twice a day.
Yep, that's it.* It's just that easy.
*I'd recommend leaving the jar on a paper towel and carefully opening and closing the jar before shaking it. We noticed that our jar built up quite a bit of pressure from the chemical reaction of the steel wool dissolving in vinegar and the pressure needed to be released a few times a day.
Two days later, after having been shaken up. Gross, huh?
Once the steel wool has dissolved, put on some rubber gloves, give the jar one last shake and start staining!
The stain is very deceiving at first.. when you initially put it on it just looks like you're putting dirty water on the wood - it doesn't look significantly changed. However, as it's exposed to the air and dries it rusts and gives the wood a beautifully rustic, warm color. Once it's completely dry, take a rag to rub the loose rust off - you're done!
After drying.
If you're using this process for a sign or something that won't be touched when finished I'd leave the wood raw like this. If you're thinking of using it for a table or something you will come in contact with, I'd strongly suggest sealing the wood to keep you from getting rust stains.
I didn't have a project in mind for this process, but I love how rich the color turned out! I think I'll be staining the edges of this board and turning it into something.