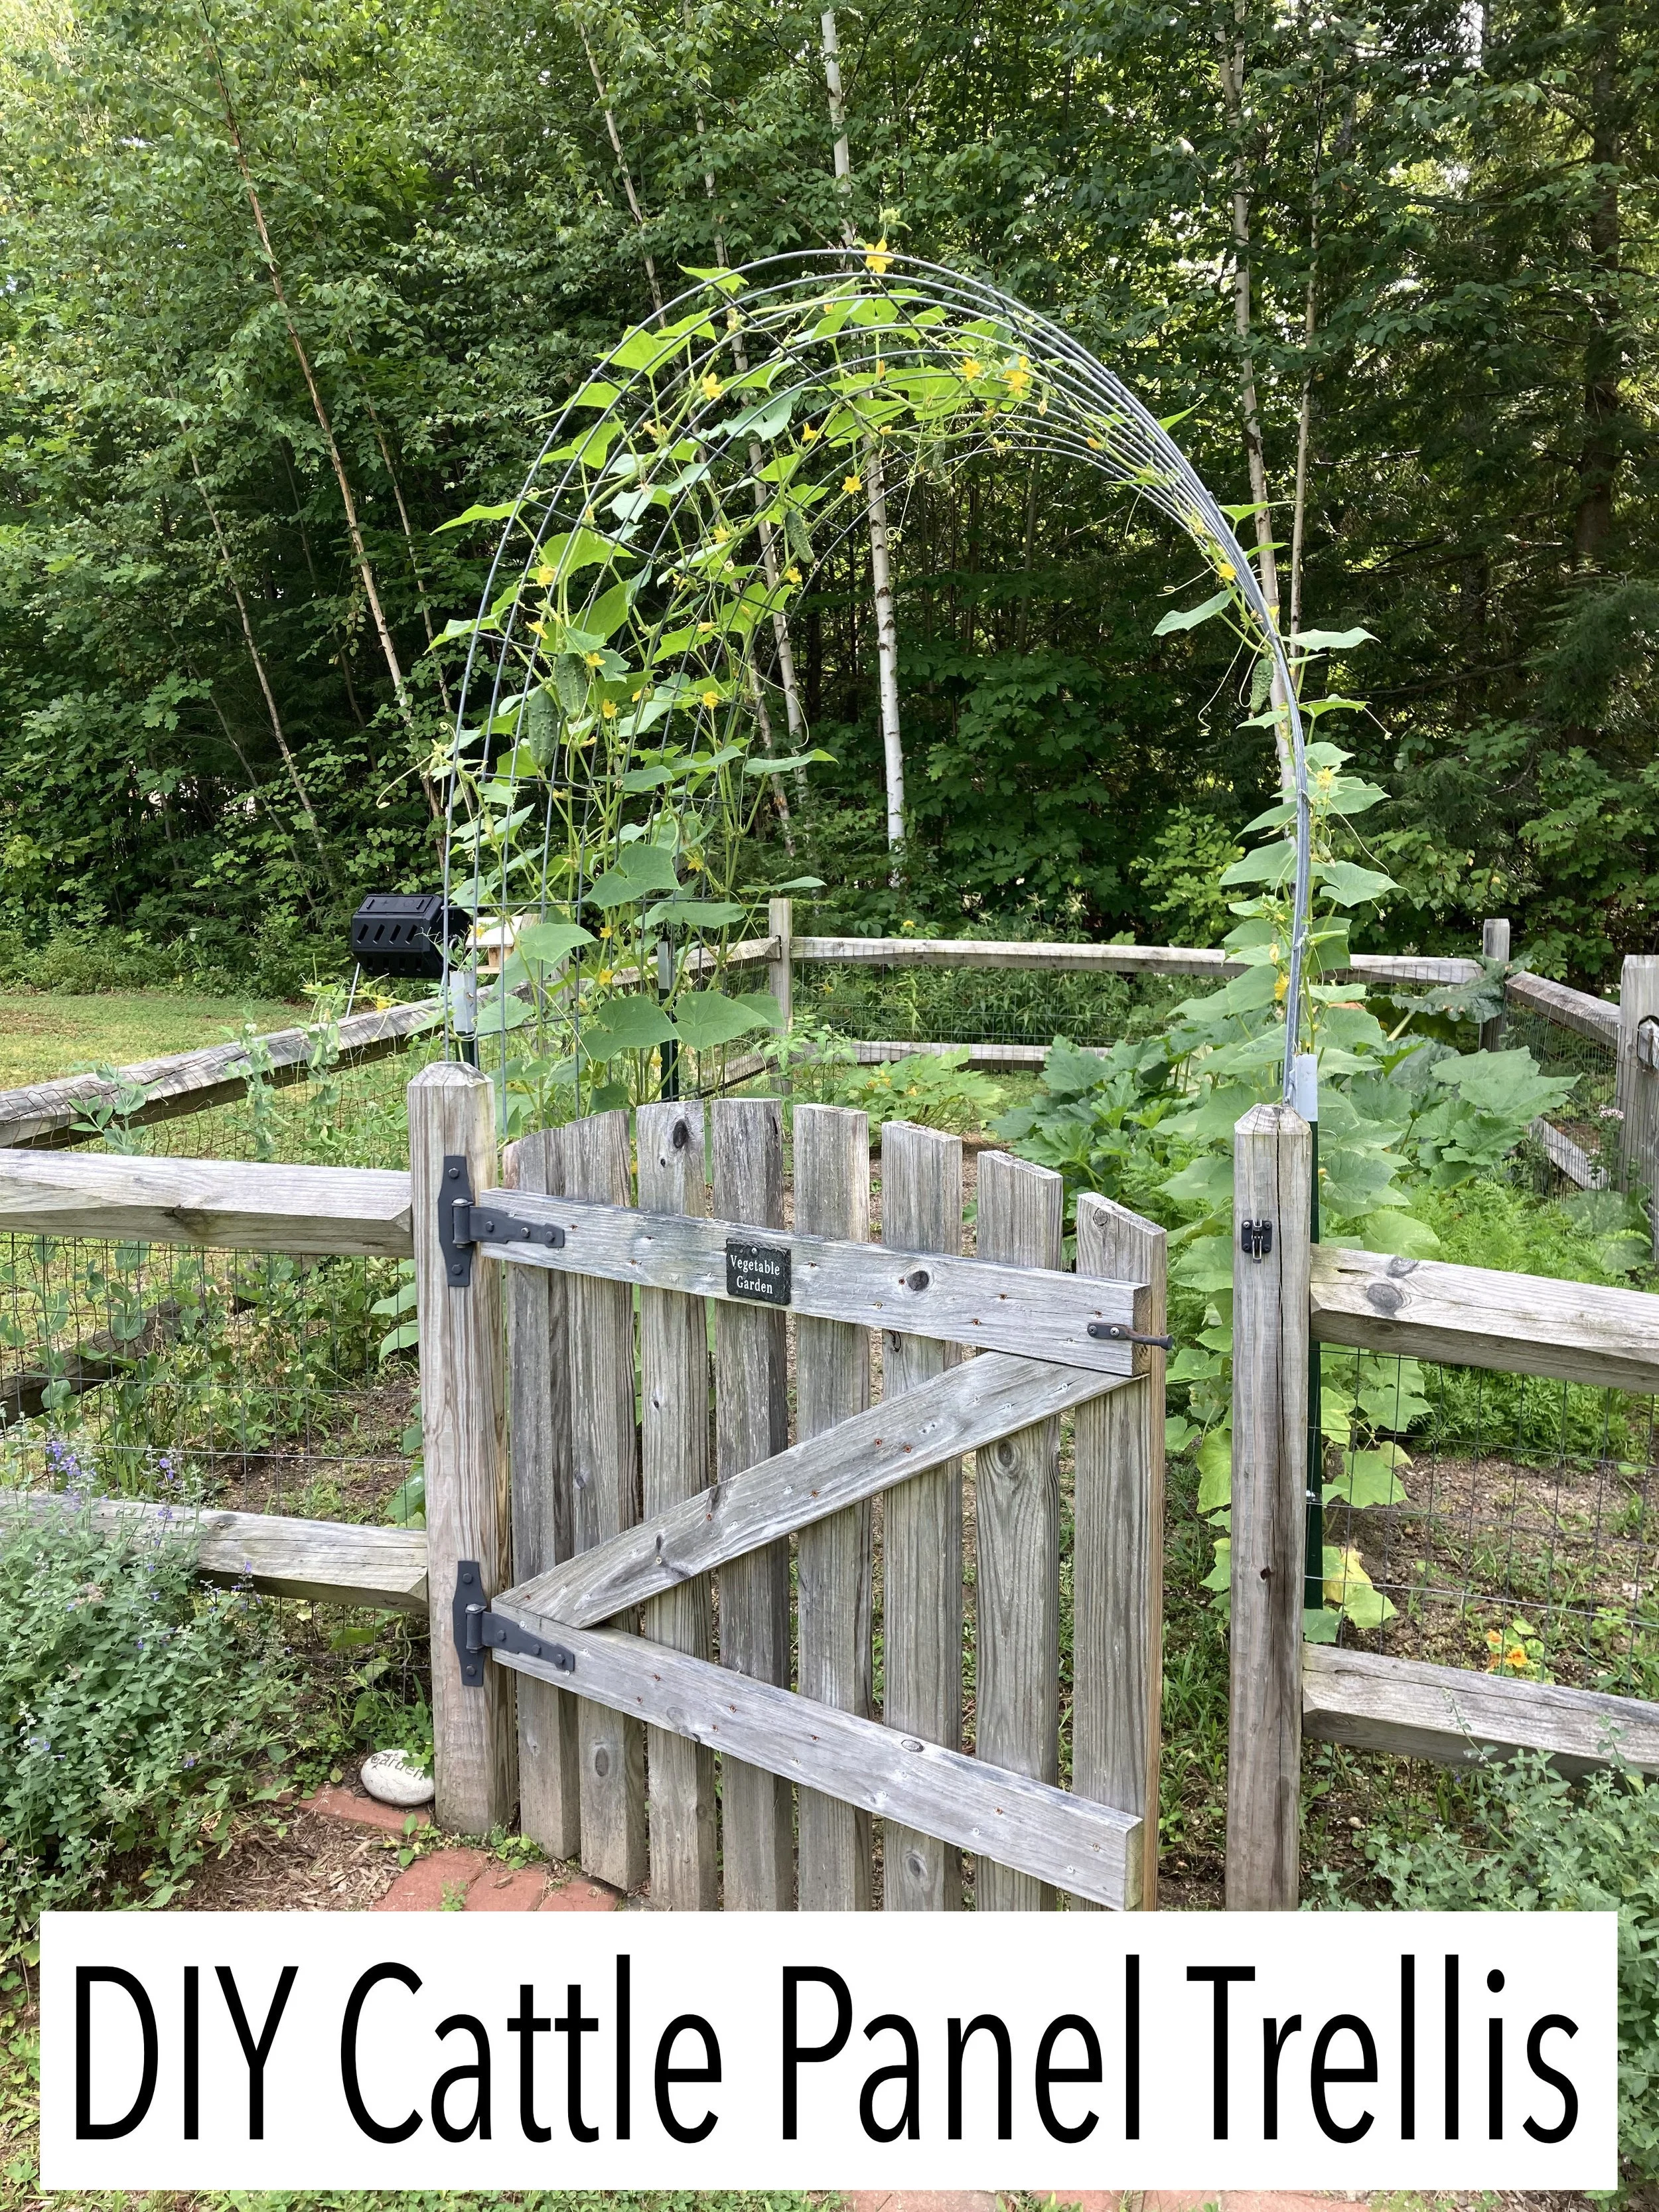
DIY Cattle Panel Trellis Arch

Last summer Pinterest blew up with DIY Cattle Panel Trellises and I decided I was going to jump on this bandwagon next season… And so here we are - it’s spring and I’m excited to get this set up and document my garden’s progress this year. | This post contains affiliate links |

- This post will show how we built our Cattle Panel Arch and I will also add progress photos to this post as our garden grows -

To make a Cattle Panel Trellis, you really only need a few things. We picked up most of our materials at a local Tractor Supply store but you could find these materials at other farm/garden centers too or order online. The trickiest part was getting everything home since the cattle panel is fairly large. Thankfully my father-in-law has a pickup truck and was able to pick up the items for us.

Materials:

How To:

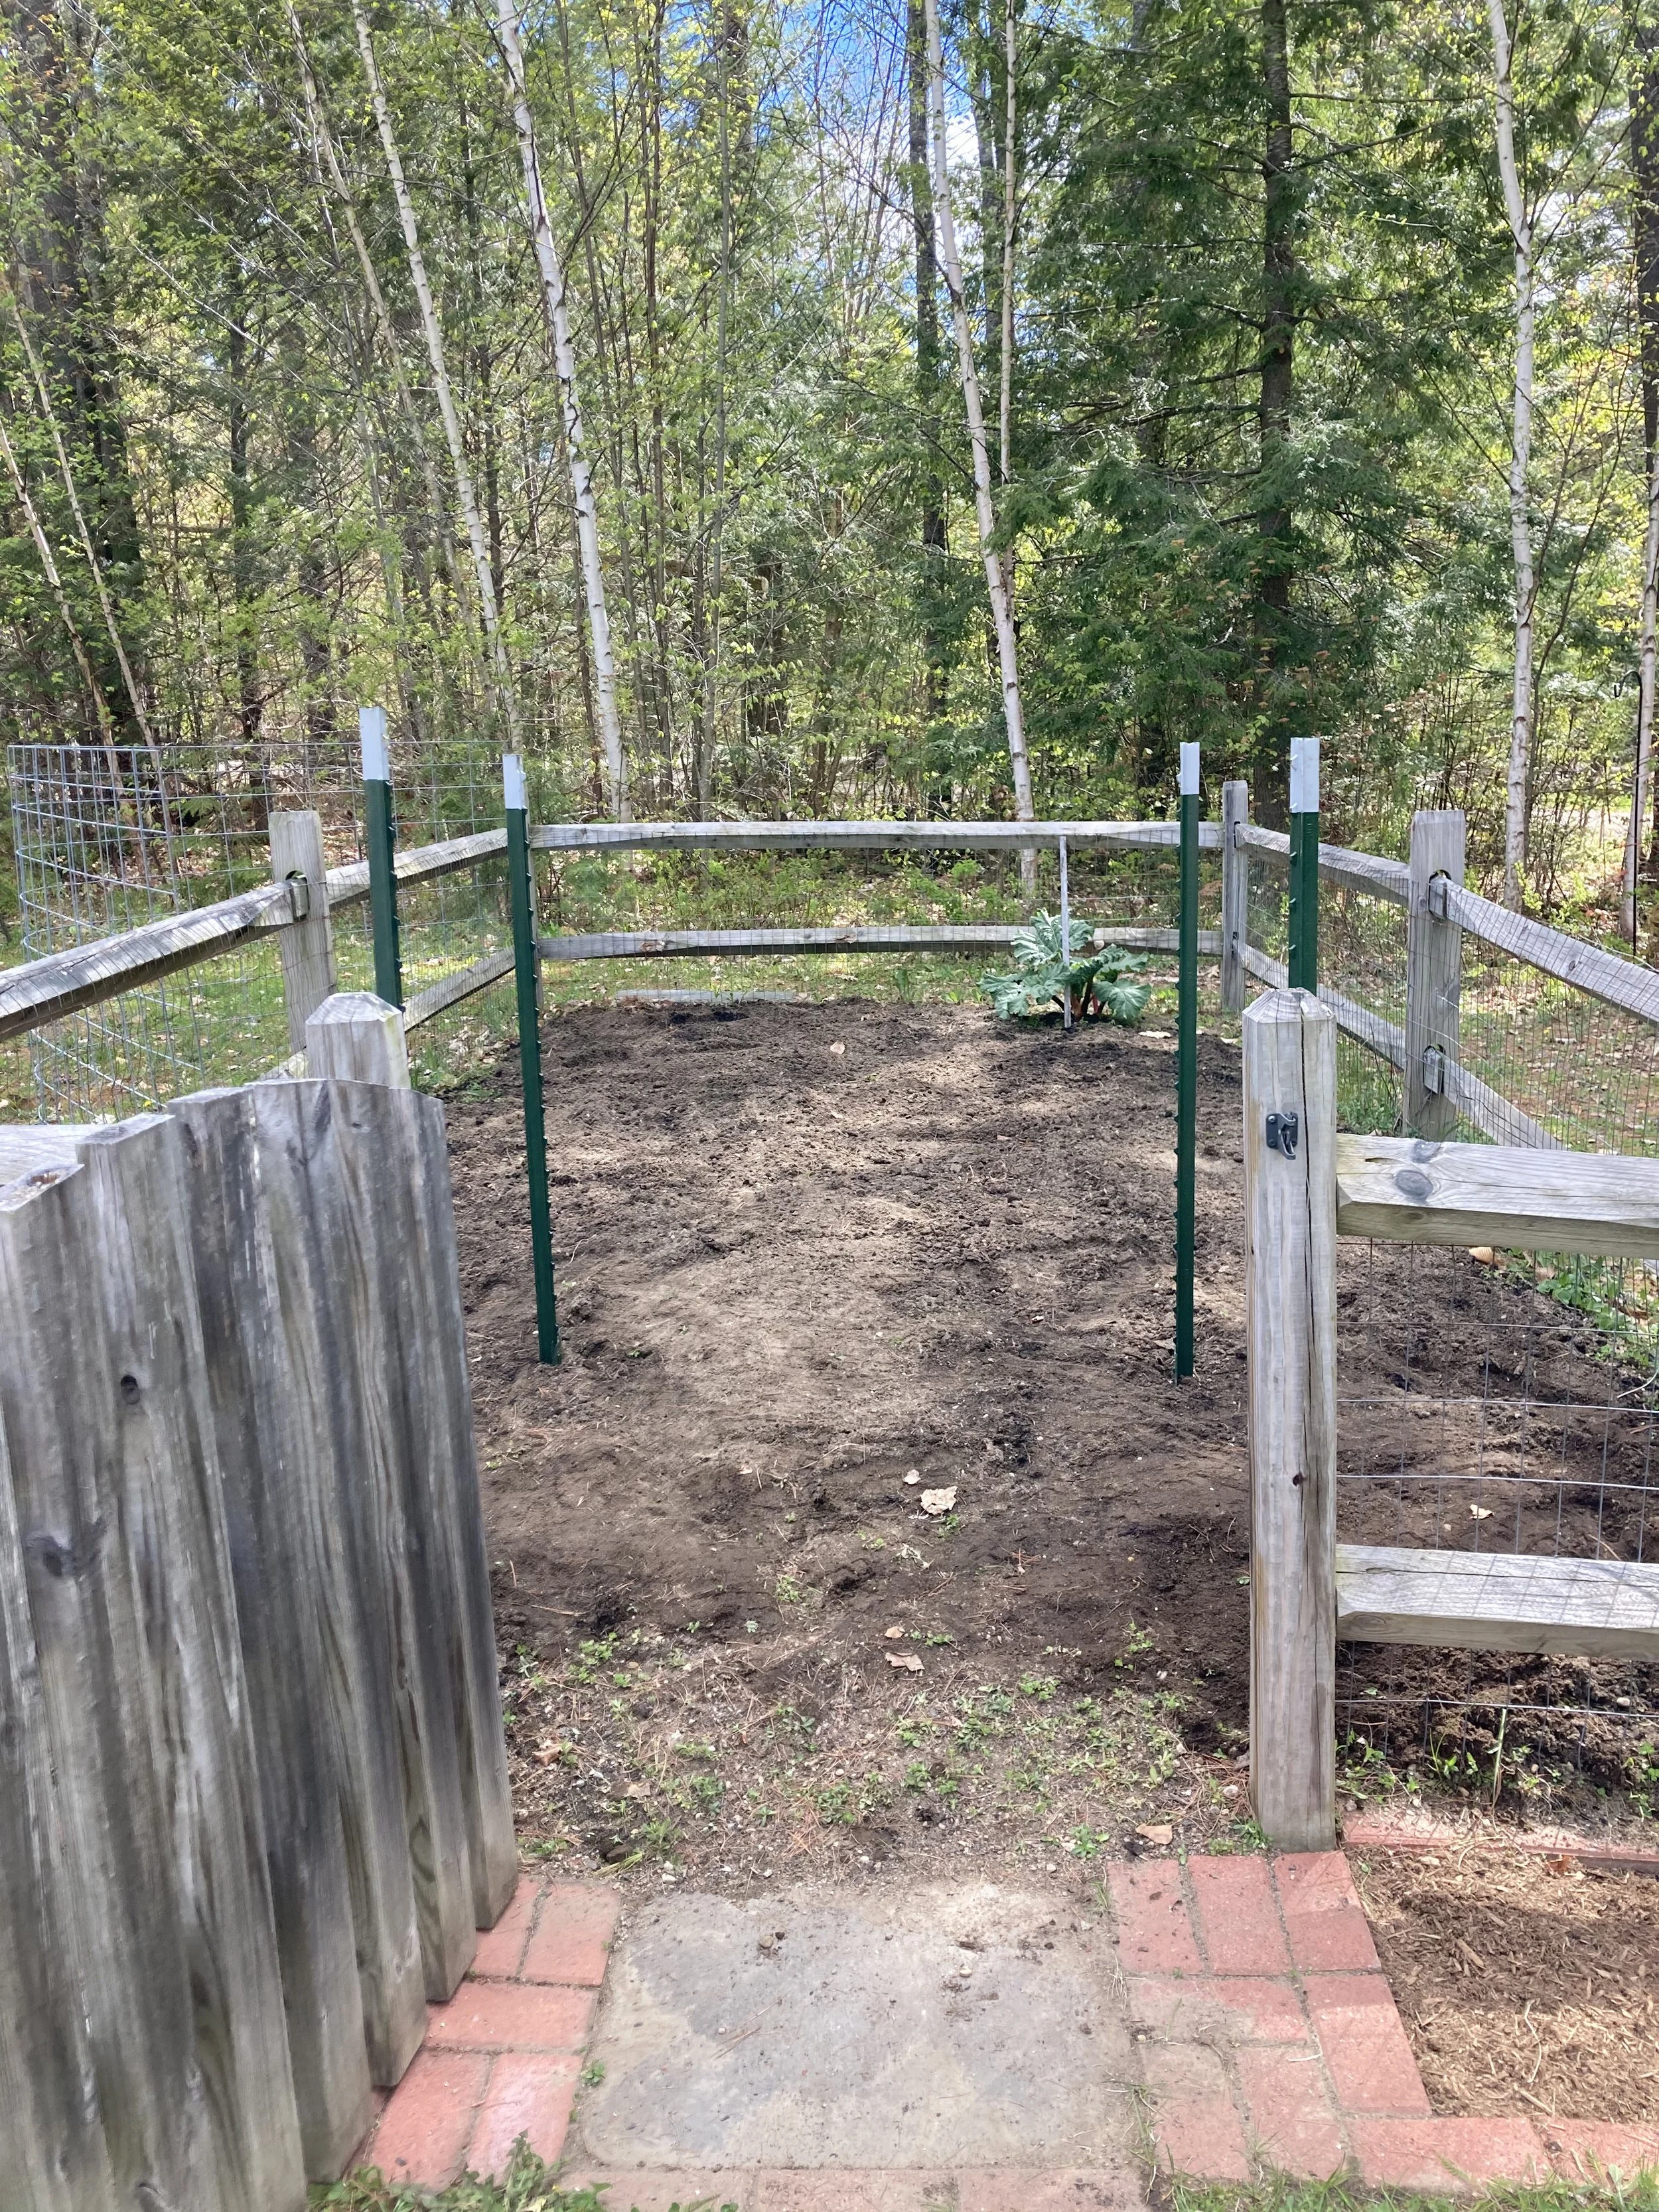
First, figure out where you want your arch to go. For us we put it just inside our garden gate to frame the entrance. It’s also on the north side of our garden so it won’t shade the other veggies too much.

Once you have it laid out and square, drive the t-posts in with a hammer or post driver until they’re deep and sturdy. This was easier-said-than-done with our rocky soil here in NH, so one post couldn’t go in quite as deep as the others but it was sturdy enough still.

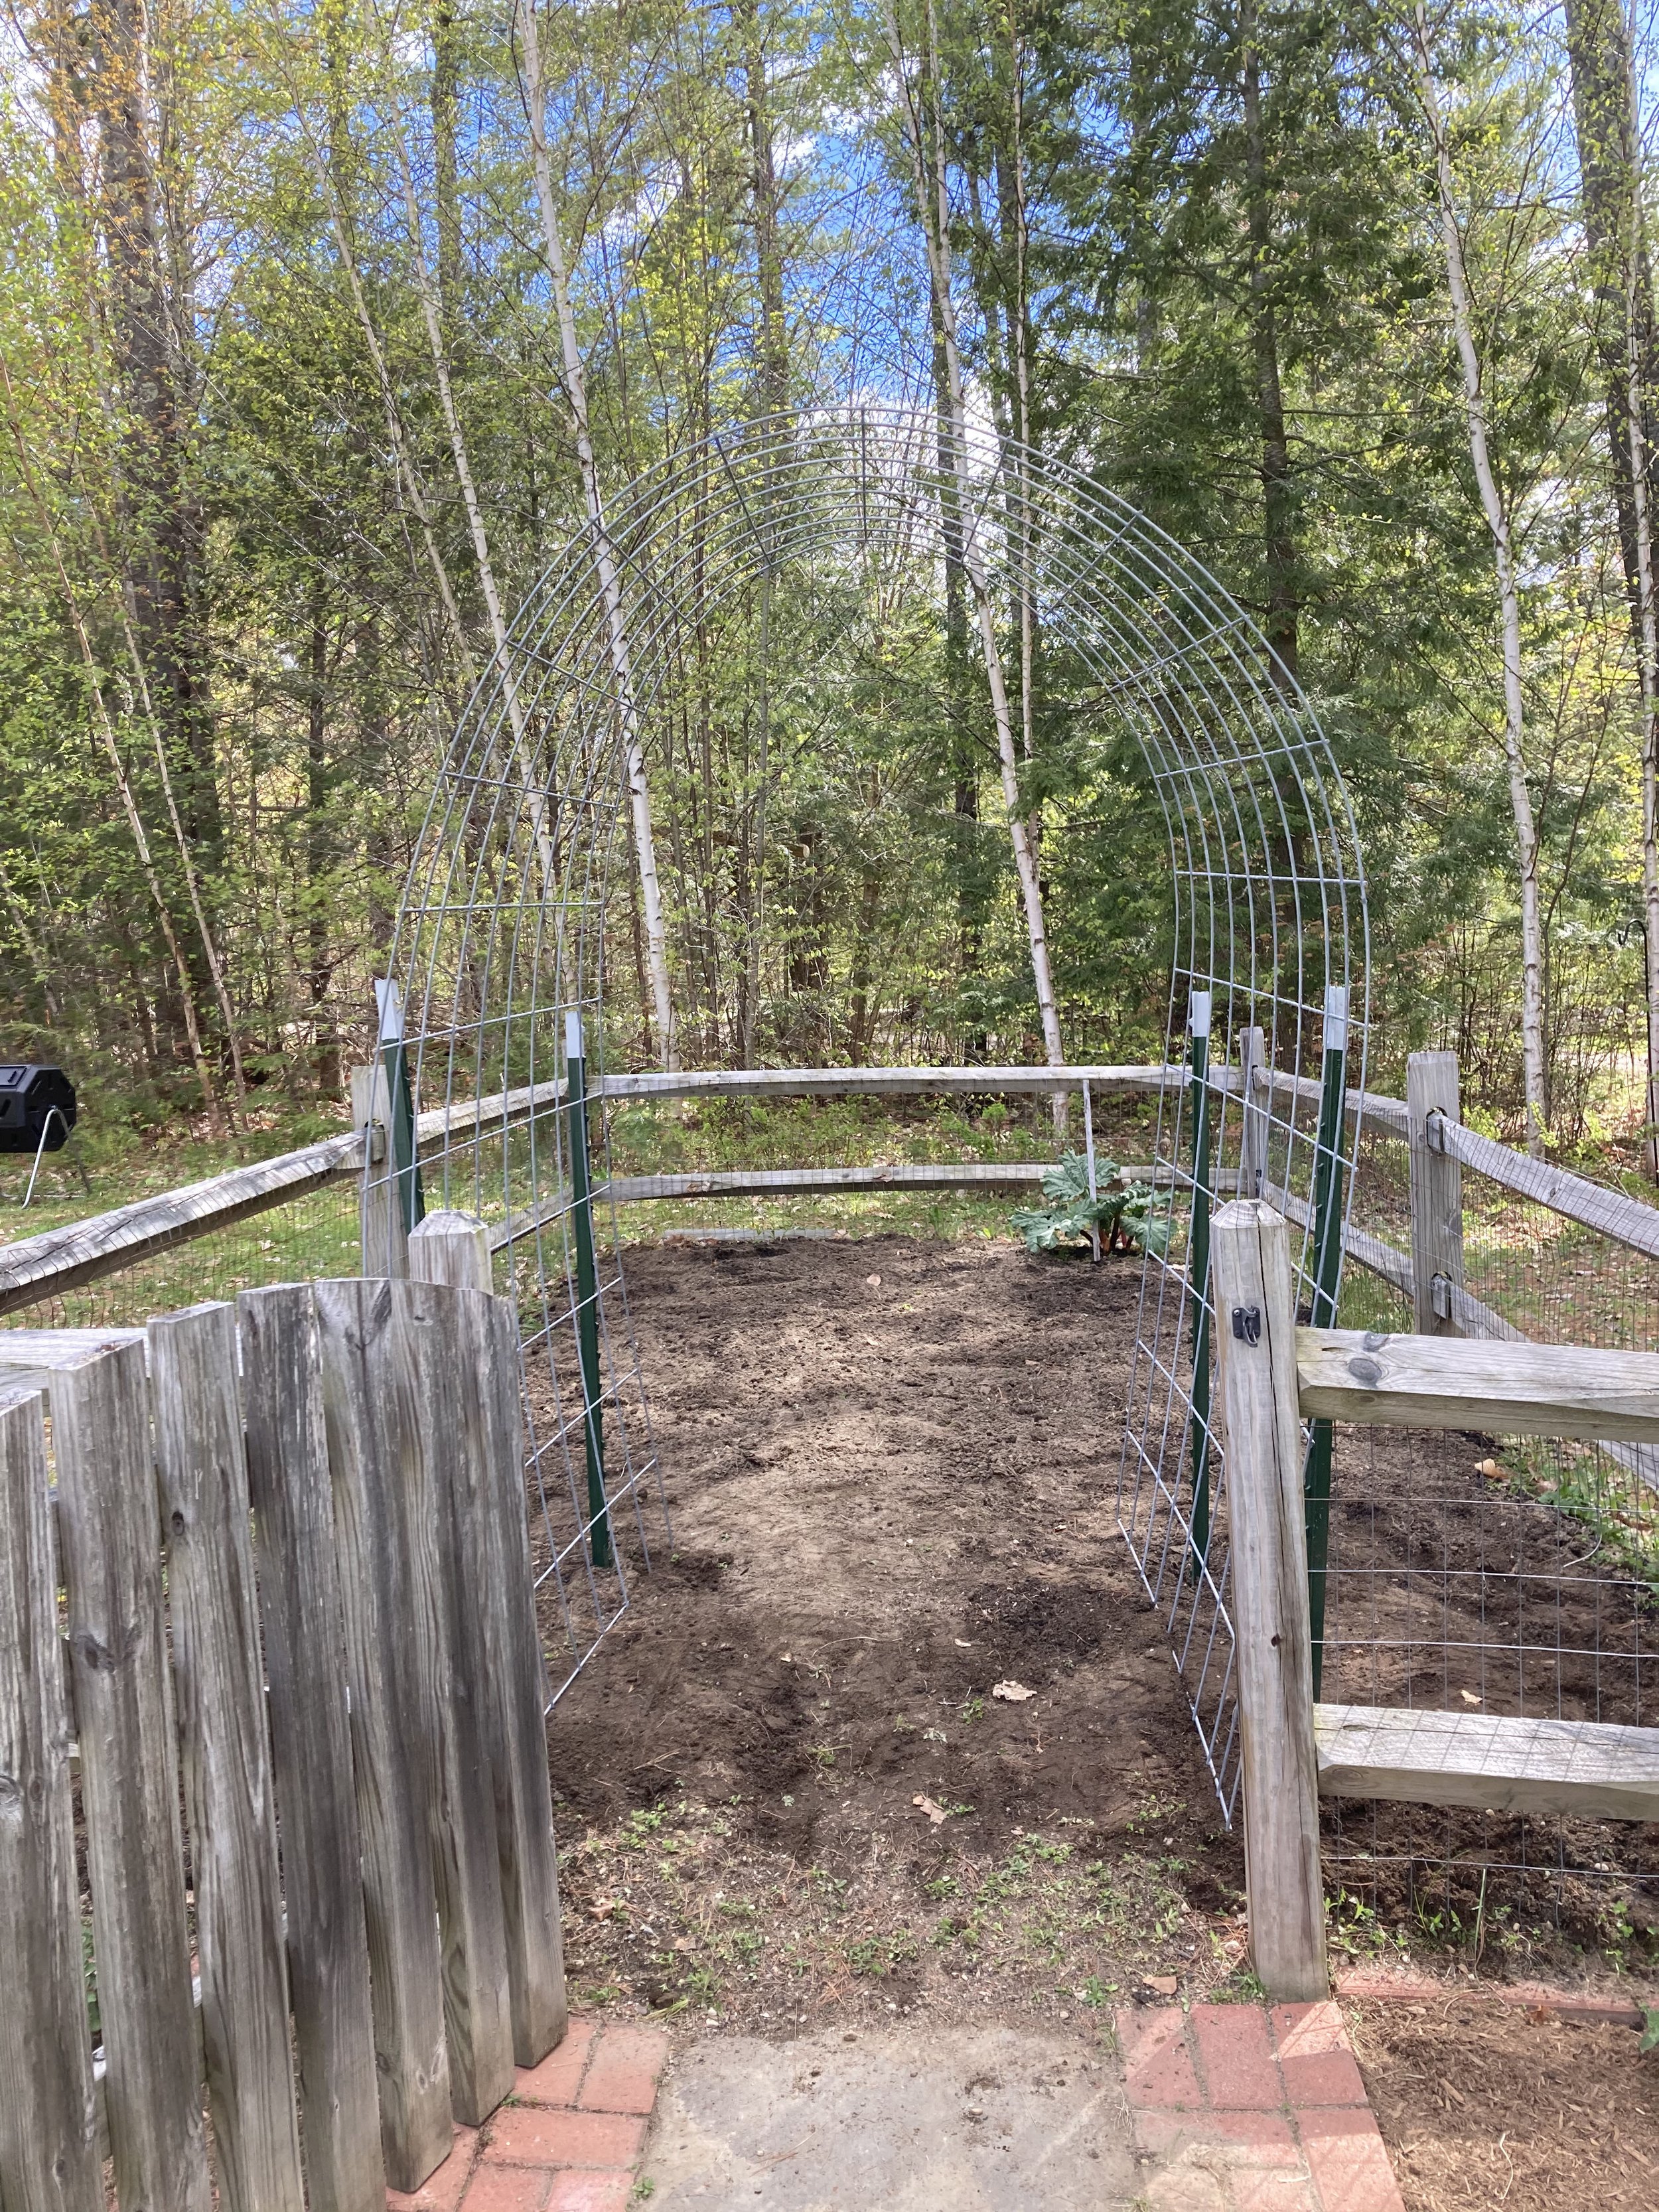
Next gently bend the cattle panel into a “rainbow” and set it inside the square you made. (Next year we might move our t-posts out a little wider to get a more gentle and less-tall arch, but this worked fine for us too as-is.)

Once you get it in place, secure it with hose clamps, heavy duty wire, or some rope so it stays in place.

Now you can plant! We planted ours with vining cucumbers, but you could plant just about any vining plant on these - including peas, squash, ornamental gourds, flowers, etc.

The vines do a great job climbing the arch on their own, but it’s a good idea to check them daily and gently guide the vines where you want them. There’s always a rogue vine that will try to go the other way! They will especially need some help being trained to follow along the top of the arch since their natural inclination will be to continue growing straight up rather than bending around the curve at the top.

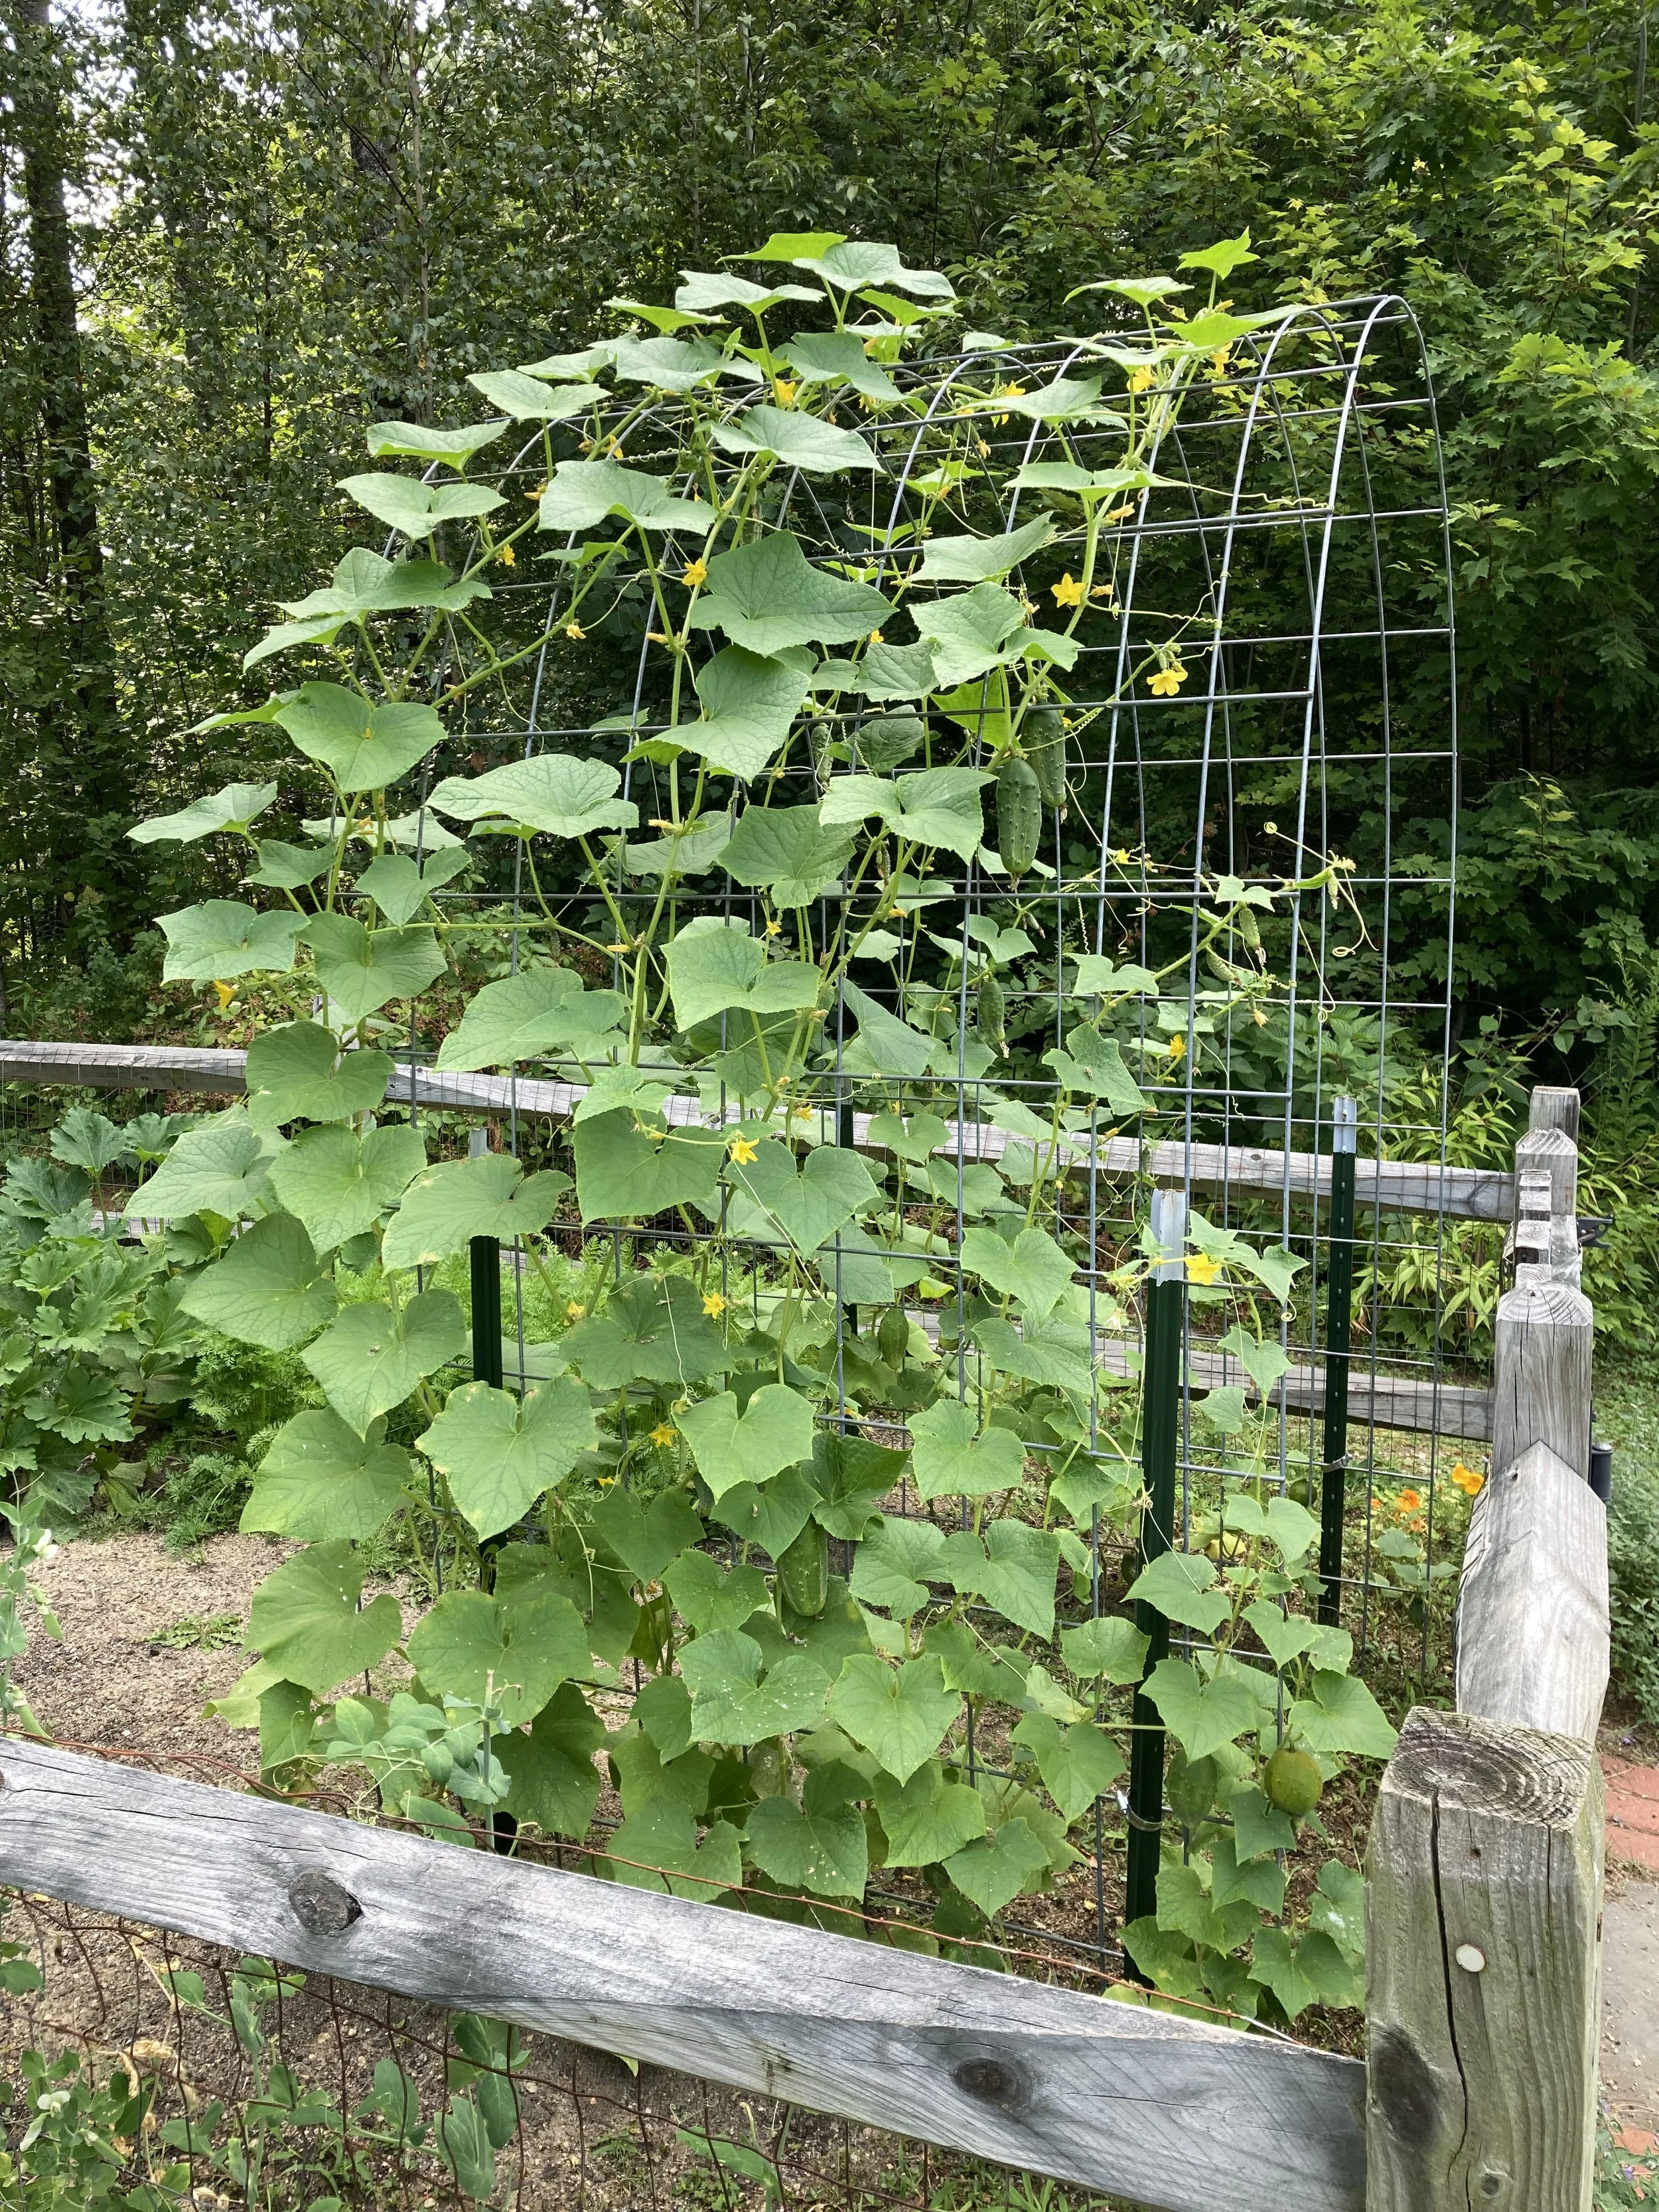
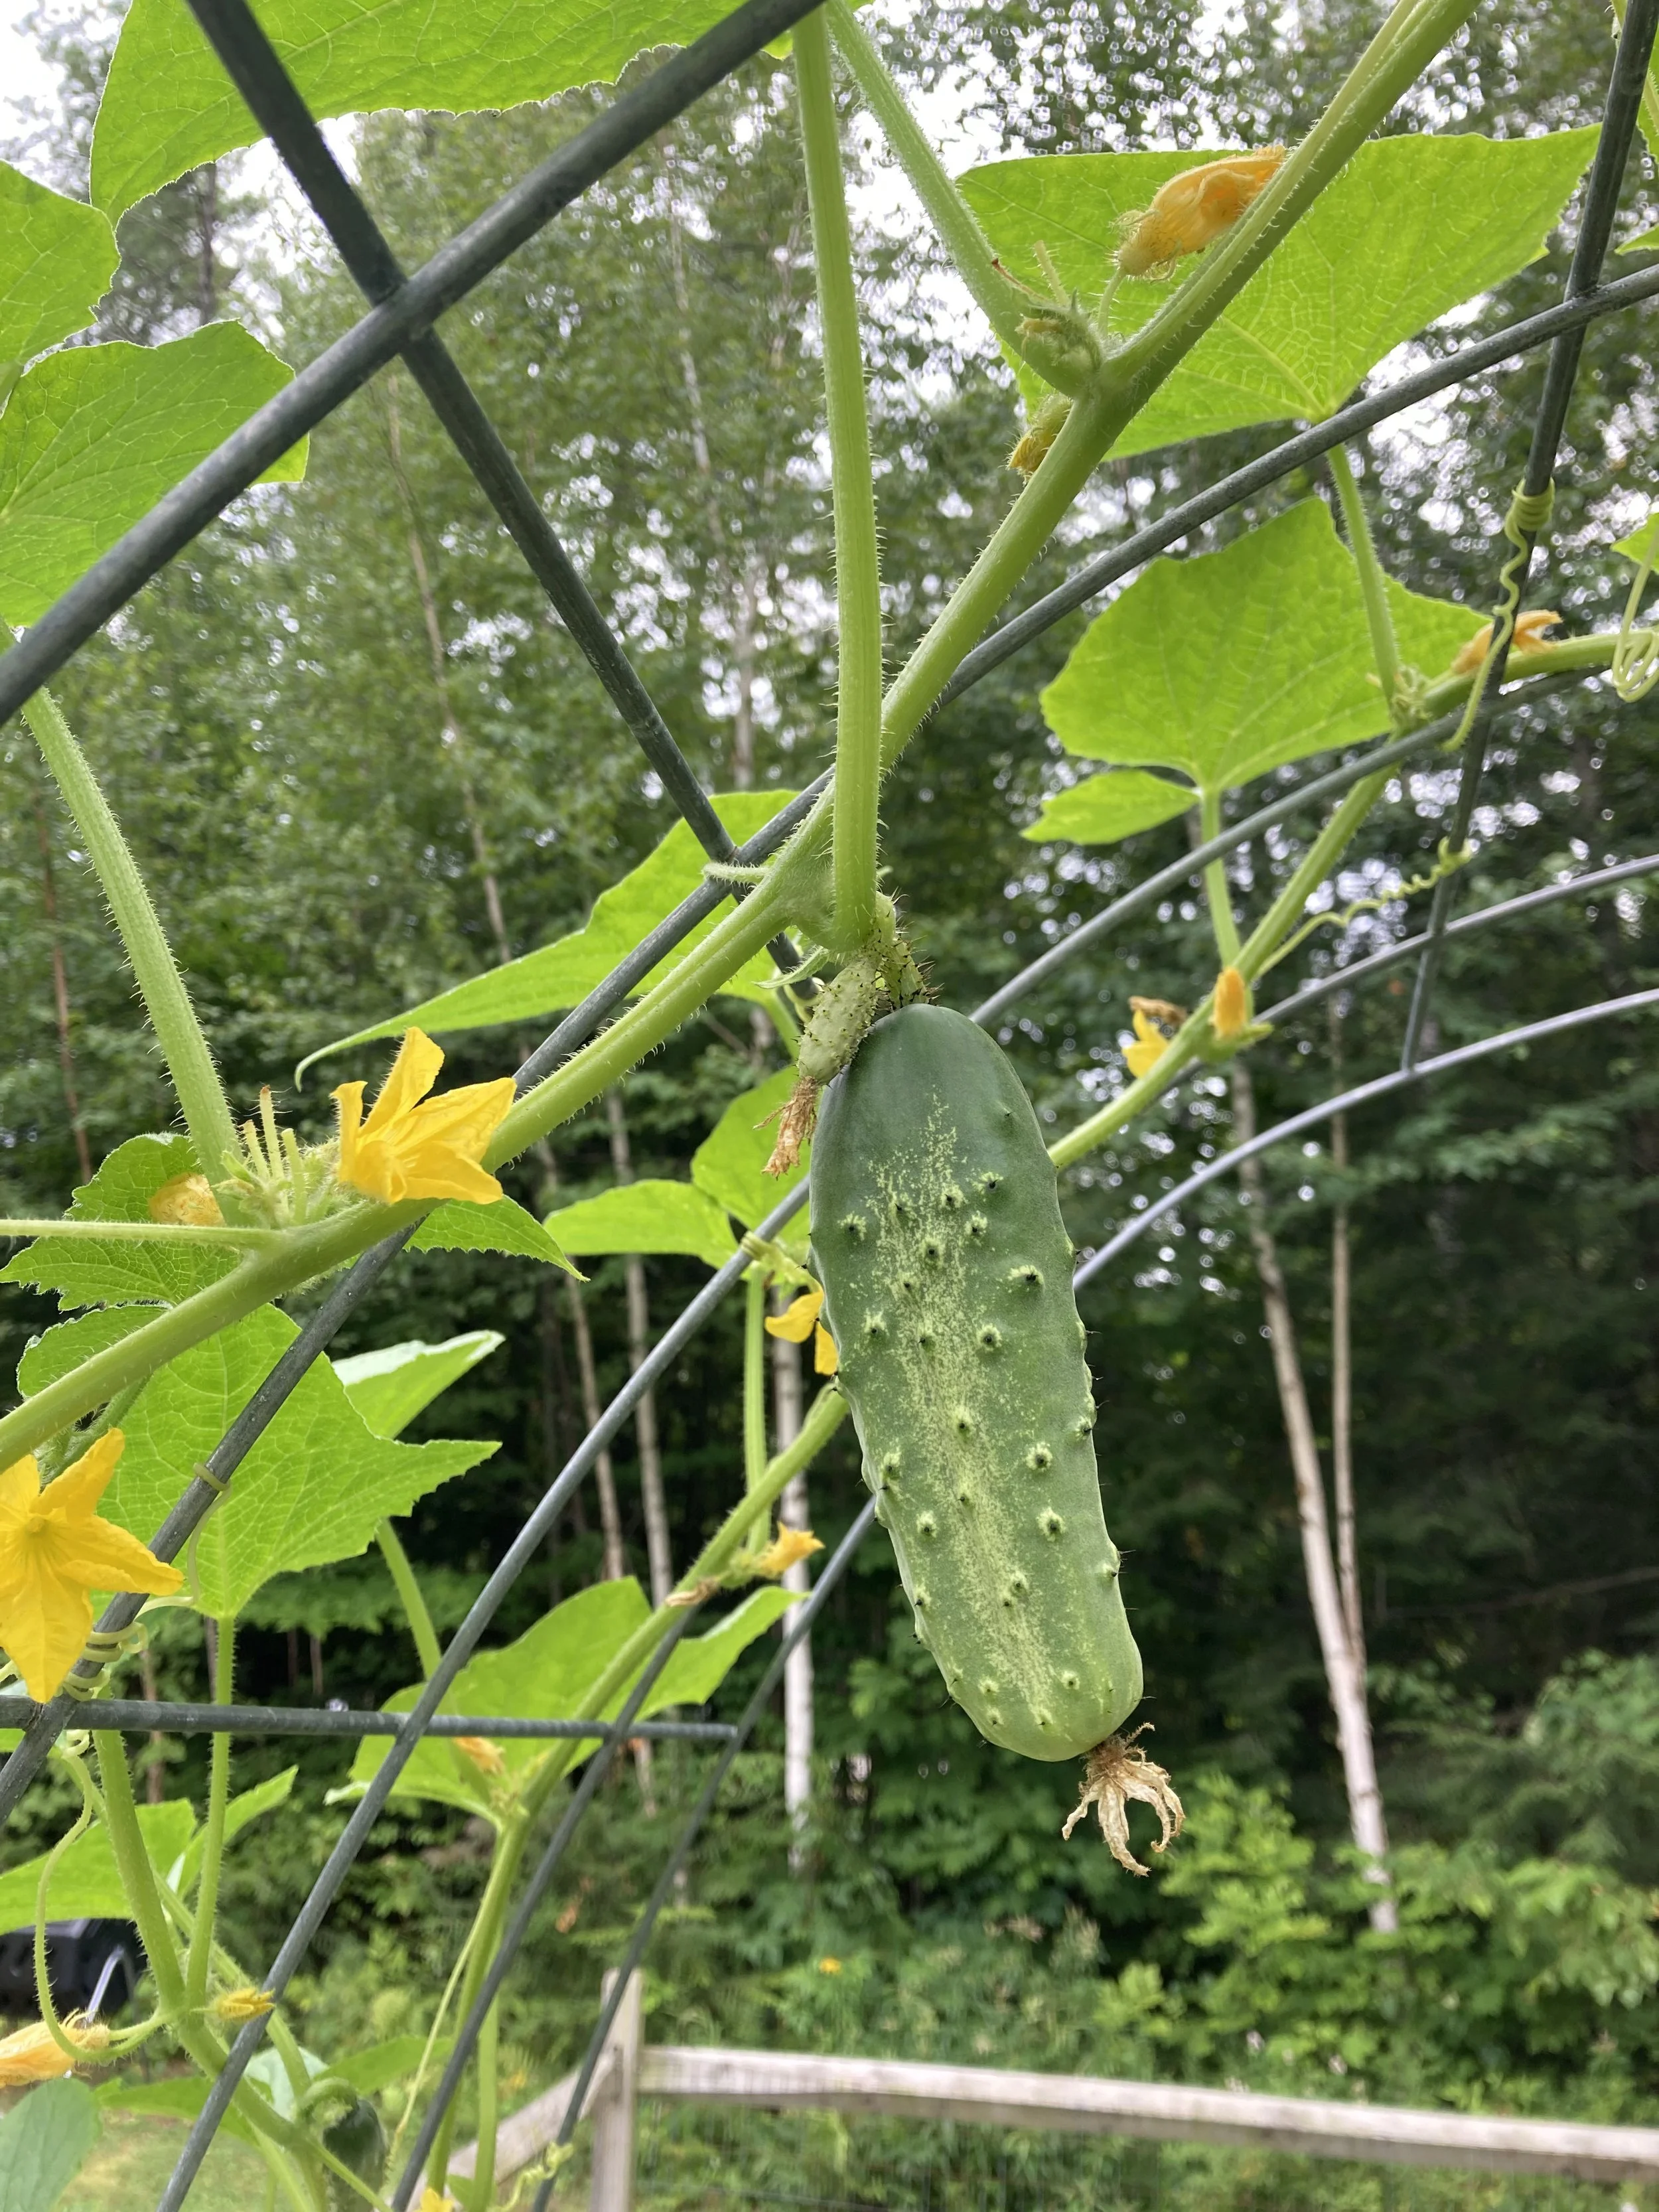
And that’s it! Overall it was a very easy project and one we will definitely continue with in the future. I also noticed a huge benefit for our pollinators too - the bees were able to reach the flowers easily and we had a bumper crop of cucumbers this year. They were also very easy to pick hanging down from the arch.

Good luck on your cattle panel trellis adventure!

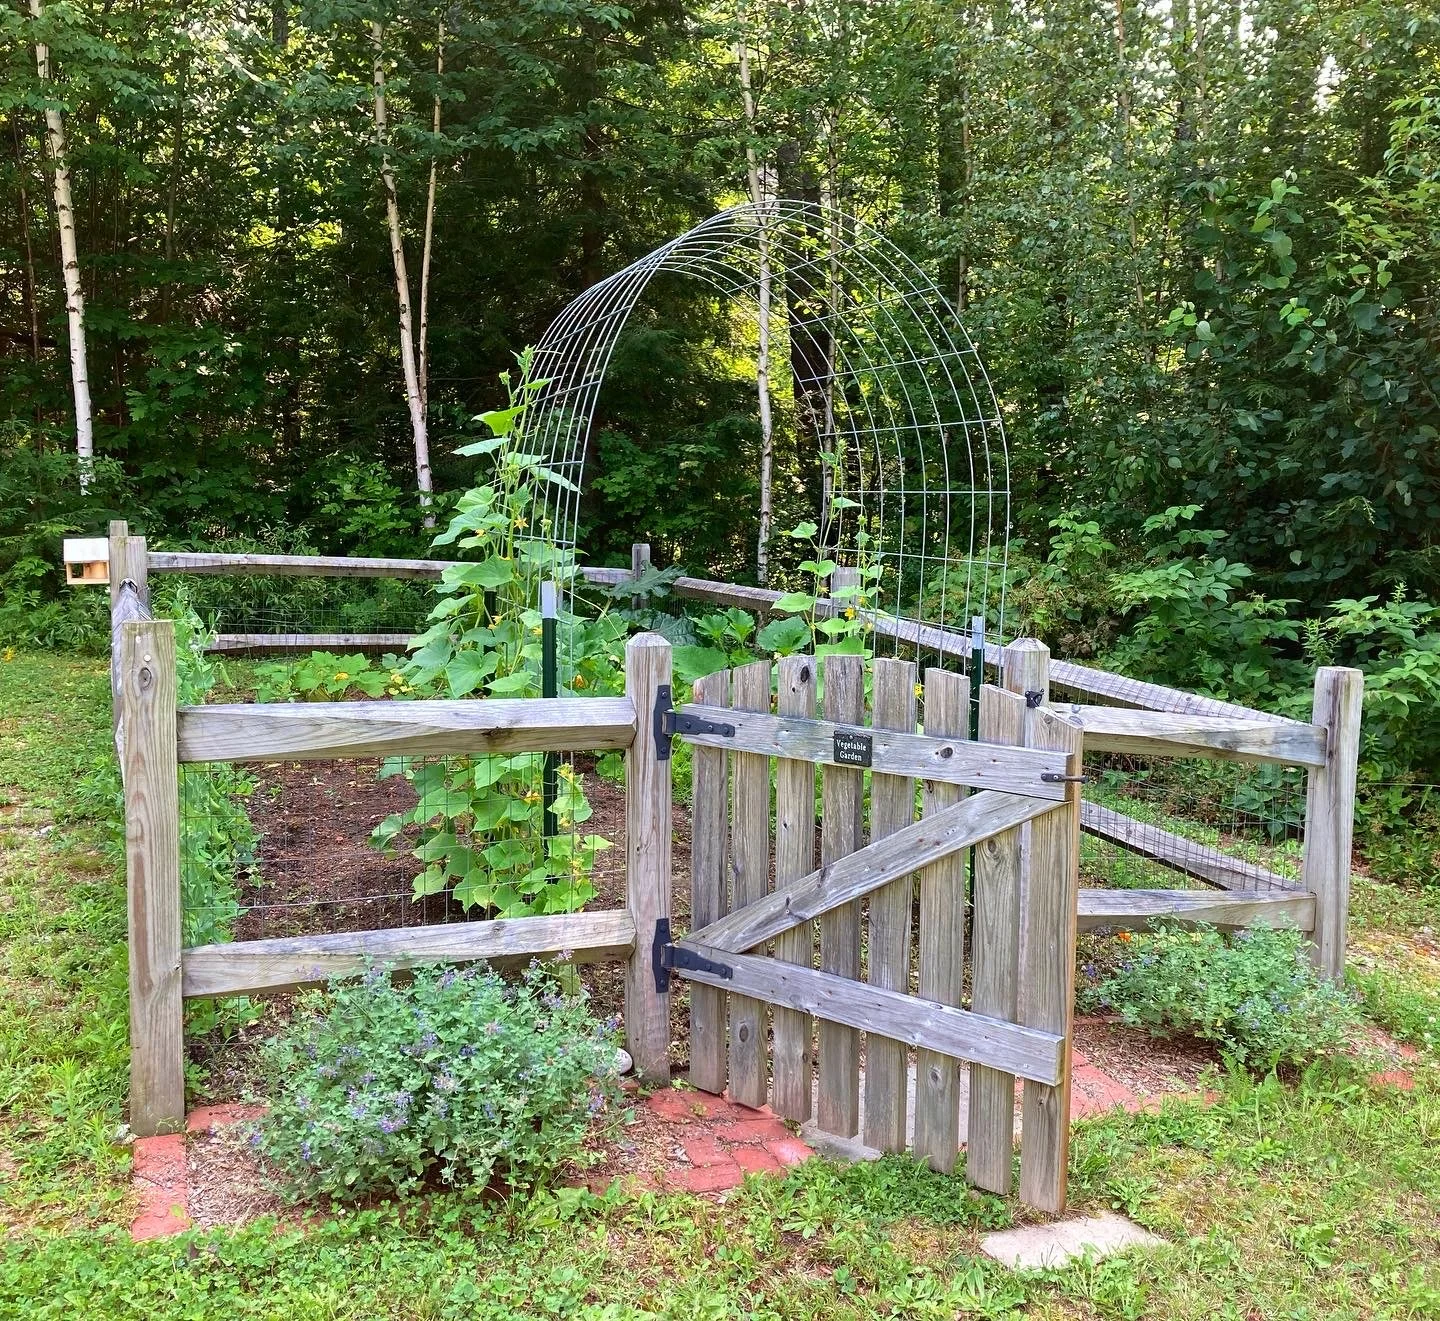
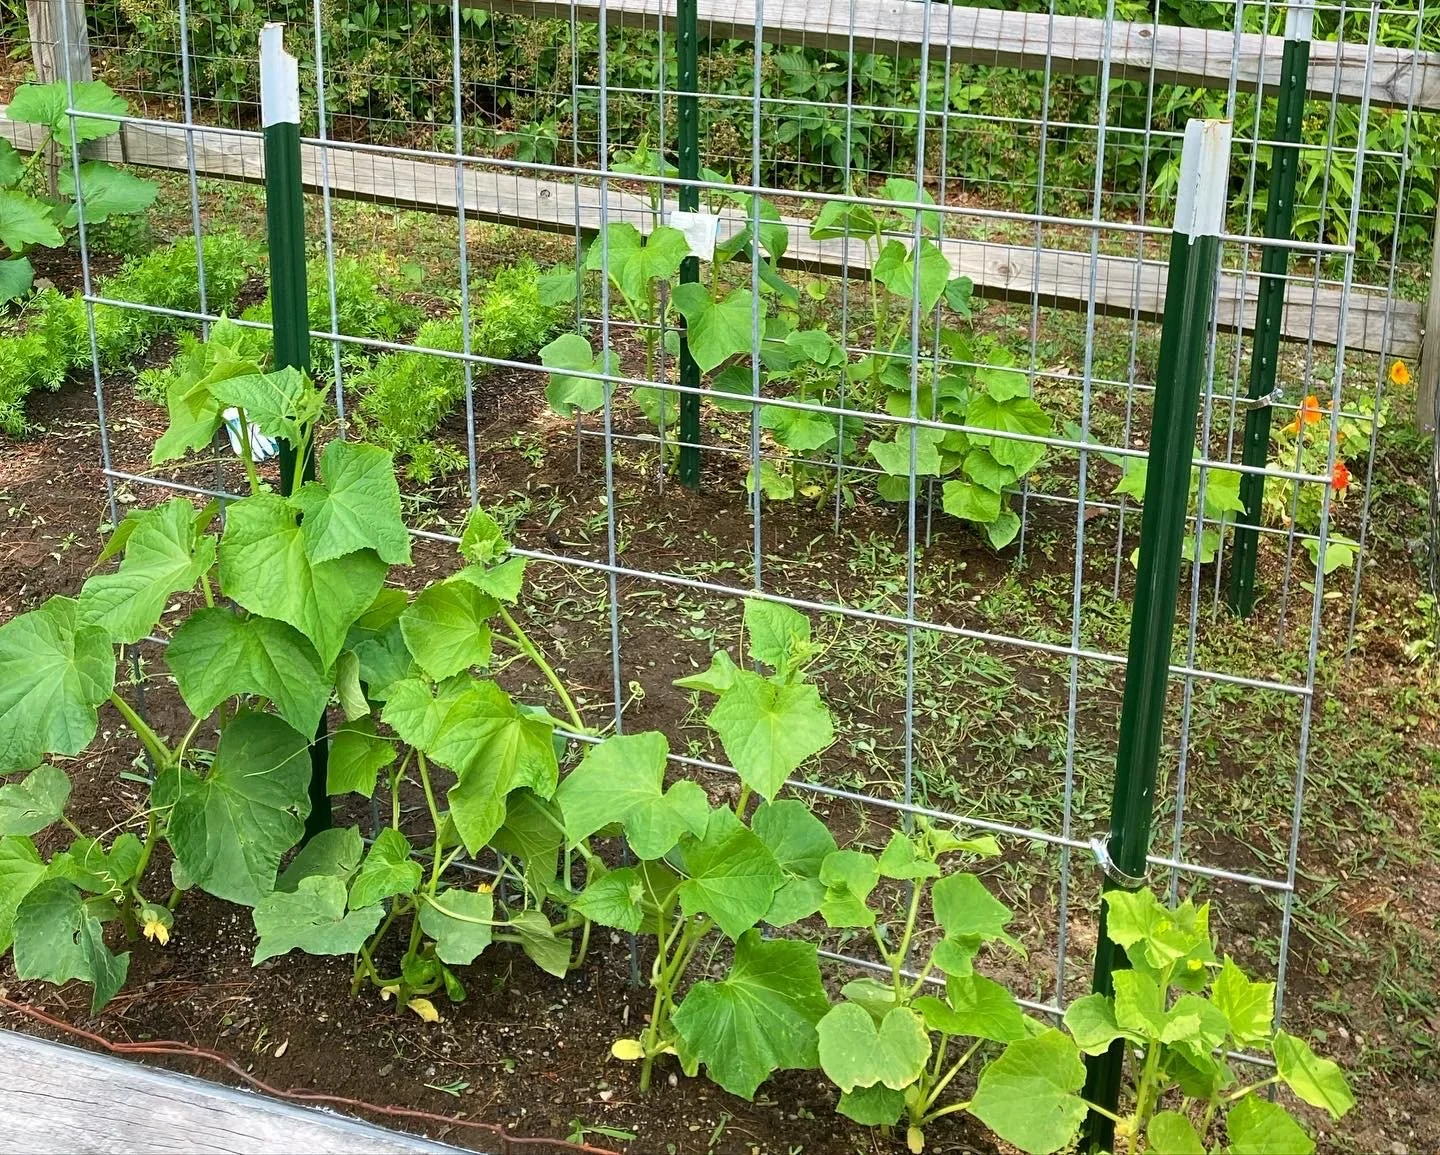
From earlier in the season, before the vines reached the top.

KEEP UP WITH BIRCH LANDING HOME
|  Etsy  |  Facebook  |  Instagram  |  Pinterest  |  Bloglovin'  |  Hometalk  |

Adding Pollinators to Our Gardens with Kind Bee Farms

Since we moved into our home several years ago we’ve been trying to establish more pollinator-friendly areas in our yard. We planted perennial flower beds wrapping around our house which are now well established, and we also have a veggie garden we plant every summer. One item that we’ve been wanting to add has been a solitary bee house to help make our space even more bee-friendly. Thankfully Kind Bee Farms was kind enough to send me one of their all-inclusive bee kits to try! | This post contains an honest review of product provided by Kind Bee Farms |

Adding+Pollinators+to+Our+Gardens+with+Kind+Bee+Farms
Adding Pollinators to Our Gardens with Kind Bee Farms

Kind Bee Farms is unique in that it's an all-inclusive bee experience - you don't just get the solitary bee house, but you get baby leafcutter bee cocoons to hatch too!

The whole kit is well packaged and thought out and comes with everything you need to get started. Since our kids will be home this year remote learning/homeschooling, we thought this would be a great project for science enrichment too.

Adding Pollinators to Our Gardens with Kind Bee Farms

Once you open your kit, you have the choice whether to let your cocoons start the hatching process inside or outside. We opted for inside so our kids could get to see them come out their cocoons - and don’t worry, letting these bees hatch inside your house isn’t as scary as it sounds! The cocoon box comes with a breathable window so you can see the process and keep them contained. Once 1-5 bees have hatched it’s time to bring the box outside, take the lid off, and put it in the loft of your bee house.

Adding Pollinators to Our Gardens with Kind Bee Farms

Once our bees started to hatch, we moved the cocoon box out to the bee house. We loved how the bee house looked on our potting bench but realized the afternoon sun was too intense here so we ultimately decided to hang it on our garden fence. This worked out well so our kids could keep a good eye on the bees too. These bees are non-aggressive so I’m personally not worried about our kids watching them up close.

IMG_2599.jpegAdding Pollinators to Our Gardens with Kind Bee Farms
Hello little bee friend!

Hello little bee friend!

We’ve had a few bees hatch over the last few days and I’m excited to see the rest of them hatch, move in, and pollinate our fall flowers and veggie garden!

Adding Pollinators to Our Gardens with Kind Bee Farms

Keep Up with Kind Bee Farms

End of Season Update: Ultimately we only had a few bees hatch and then they stopped… I was worried maybe a brief cool spell we experienced had done them in but after hearing back from Kind Bee Farms I found out that they unfortunately had some warehouse and processing delays due to COVID restrictions which affected their cocoon timing. They were kind enough to offer those who didn’t have a great hatching experience free cocoons next year which I thought was great customer service. I’m really looking forward to trying again next year and am sure we will have great results next time!


- I received this item for review from Kind Bee Farms but all opinions expressed are my own.  Please see our full Disclosure Policy for more information -   

KEEP UP WITH BIRCH LANDING HOME
|  Etsy  |  Facebook  |  Instagram  |  Pinterest  |  Bloglovin'  |  Hometalk  |