My parents-in-law gave us an awesome old milk can and it took me a little while to decide what I could do with it. After some thought I decided to use it as a country-inspired house number display. | This post contains affiliate links |
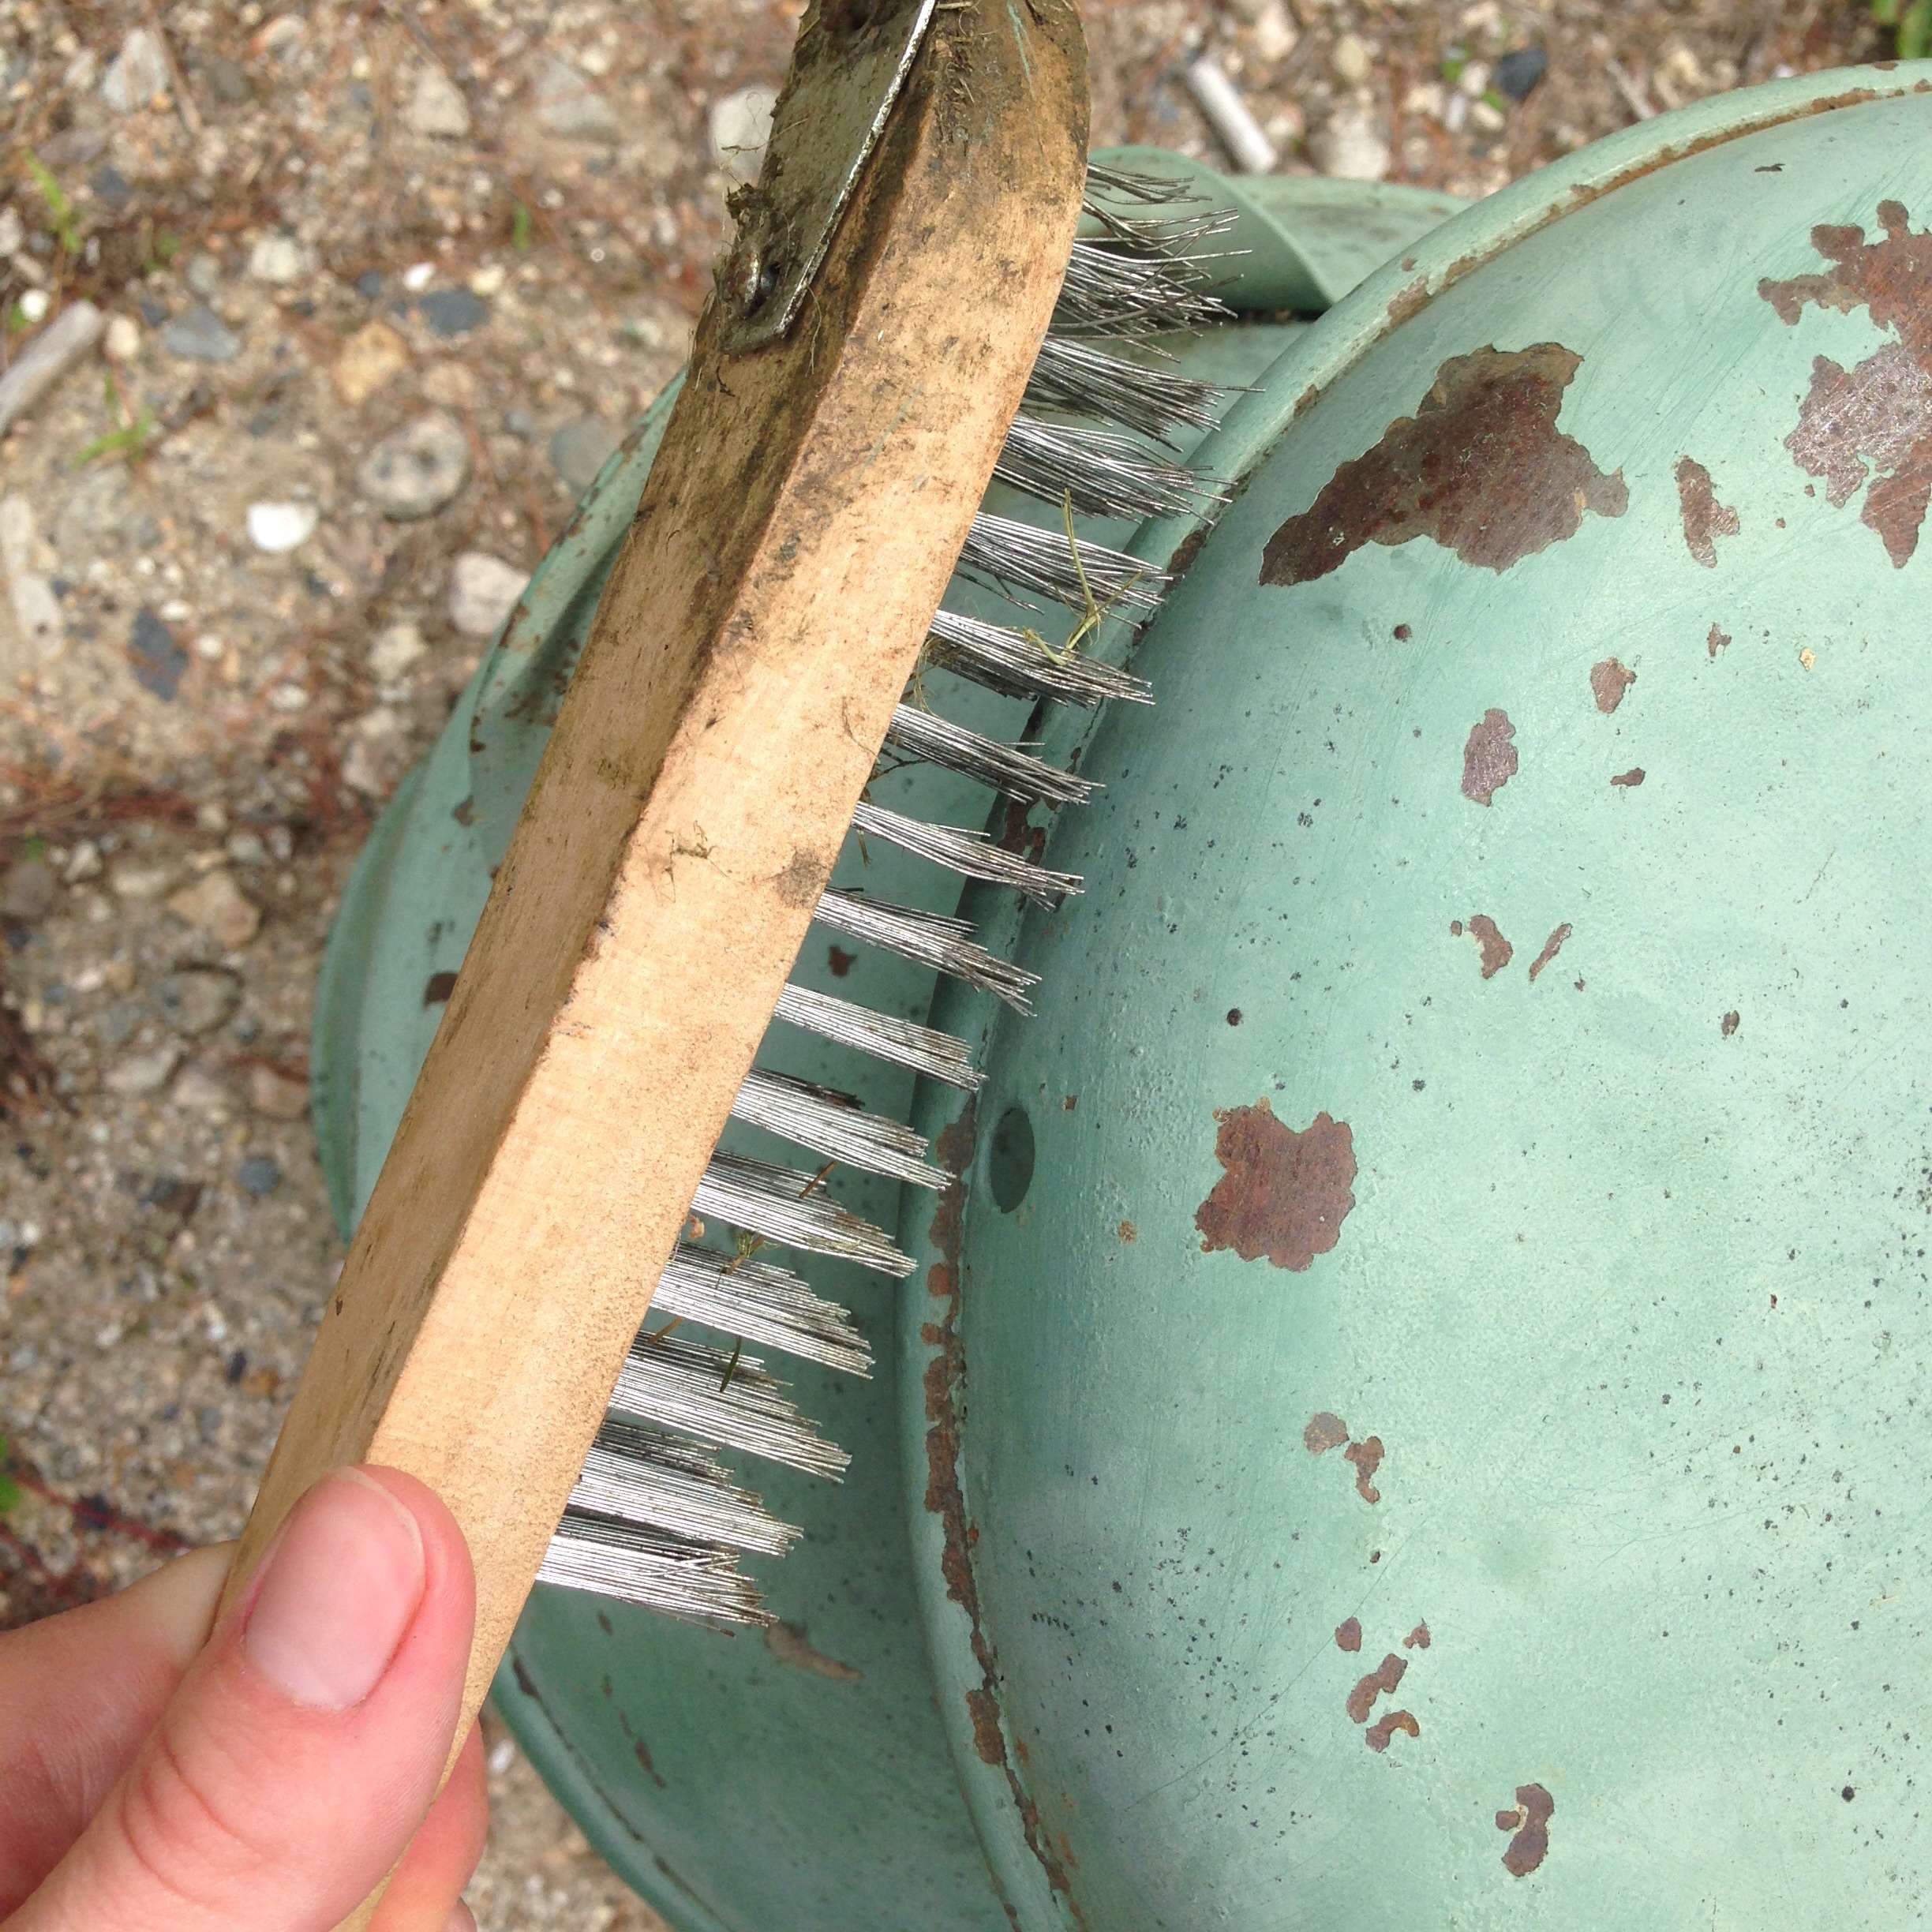
The milk can had already been re-painted at one point and while the green paint and the rust spots definitely gave it a nice patina, I decided to clean it up and repaint it to make it a little cleaner and kid-friendly.
First step was to clean up all the loose paint. I used a wire brush, metal scraper, and rough-grit sandpaper to clean it up and make a good base for the new paint.
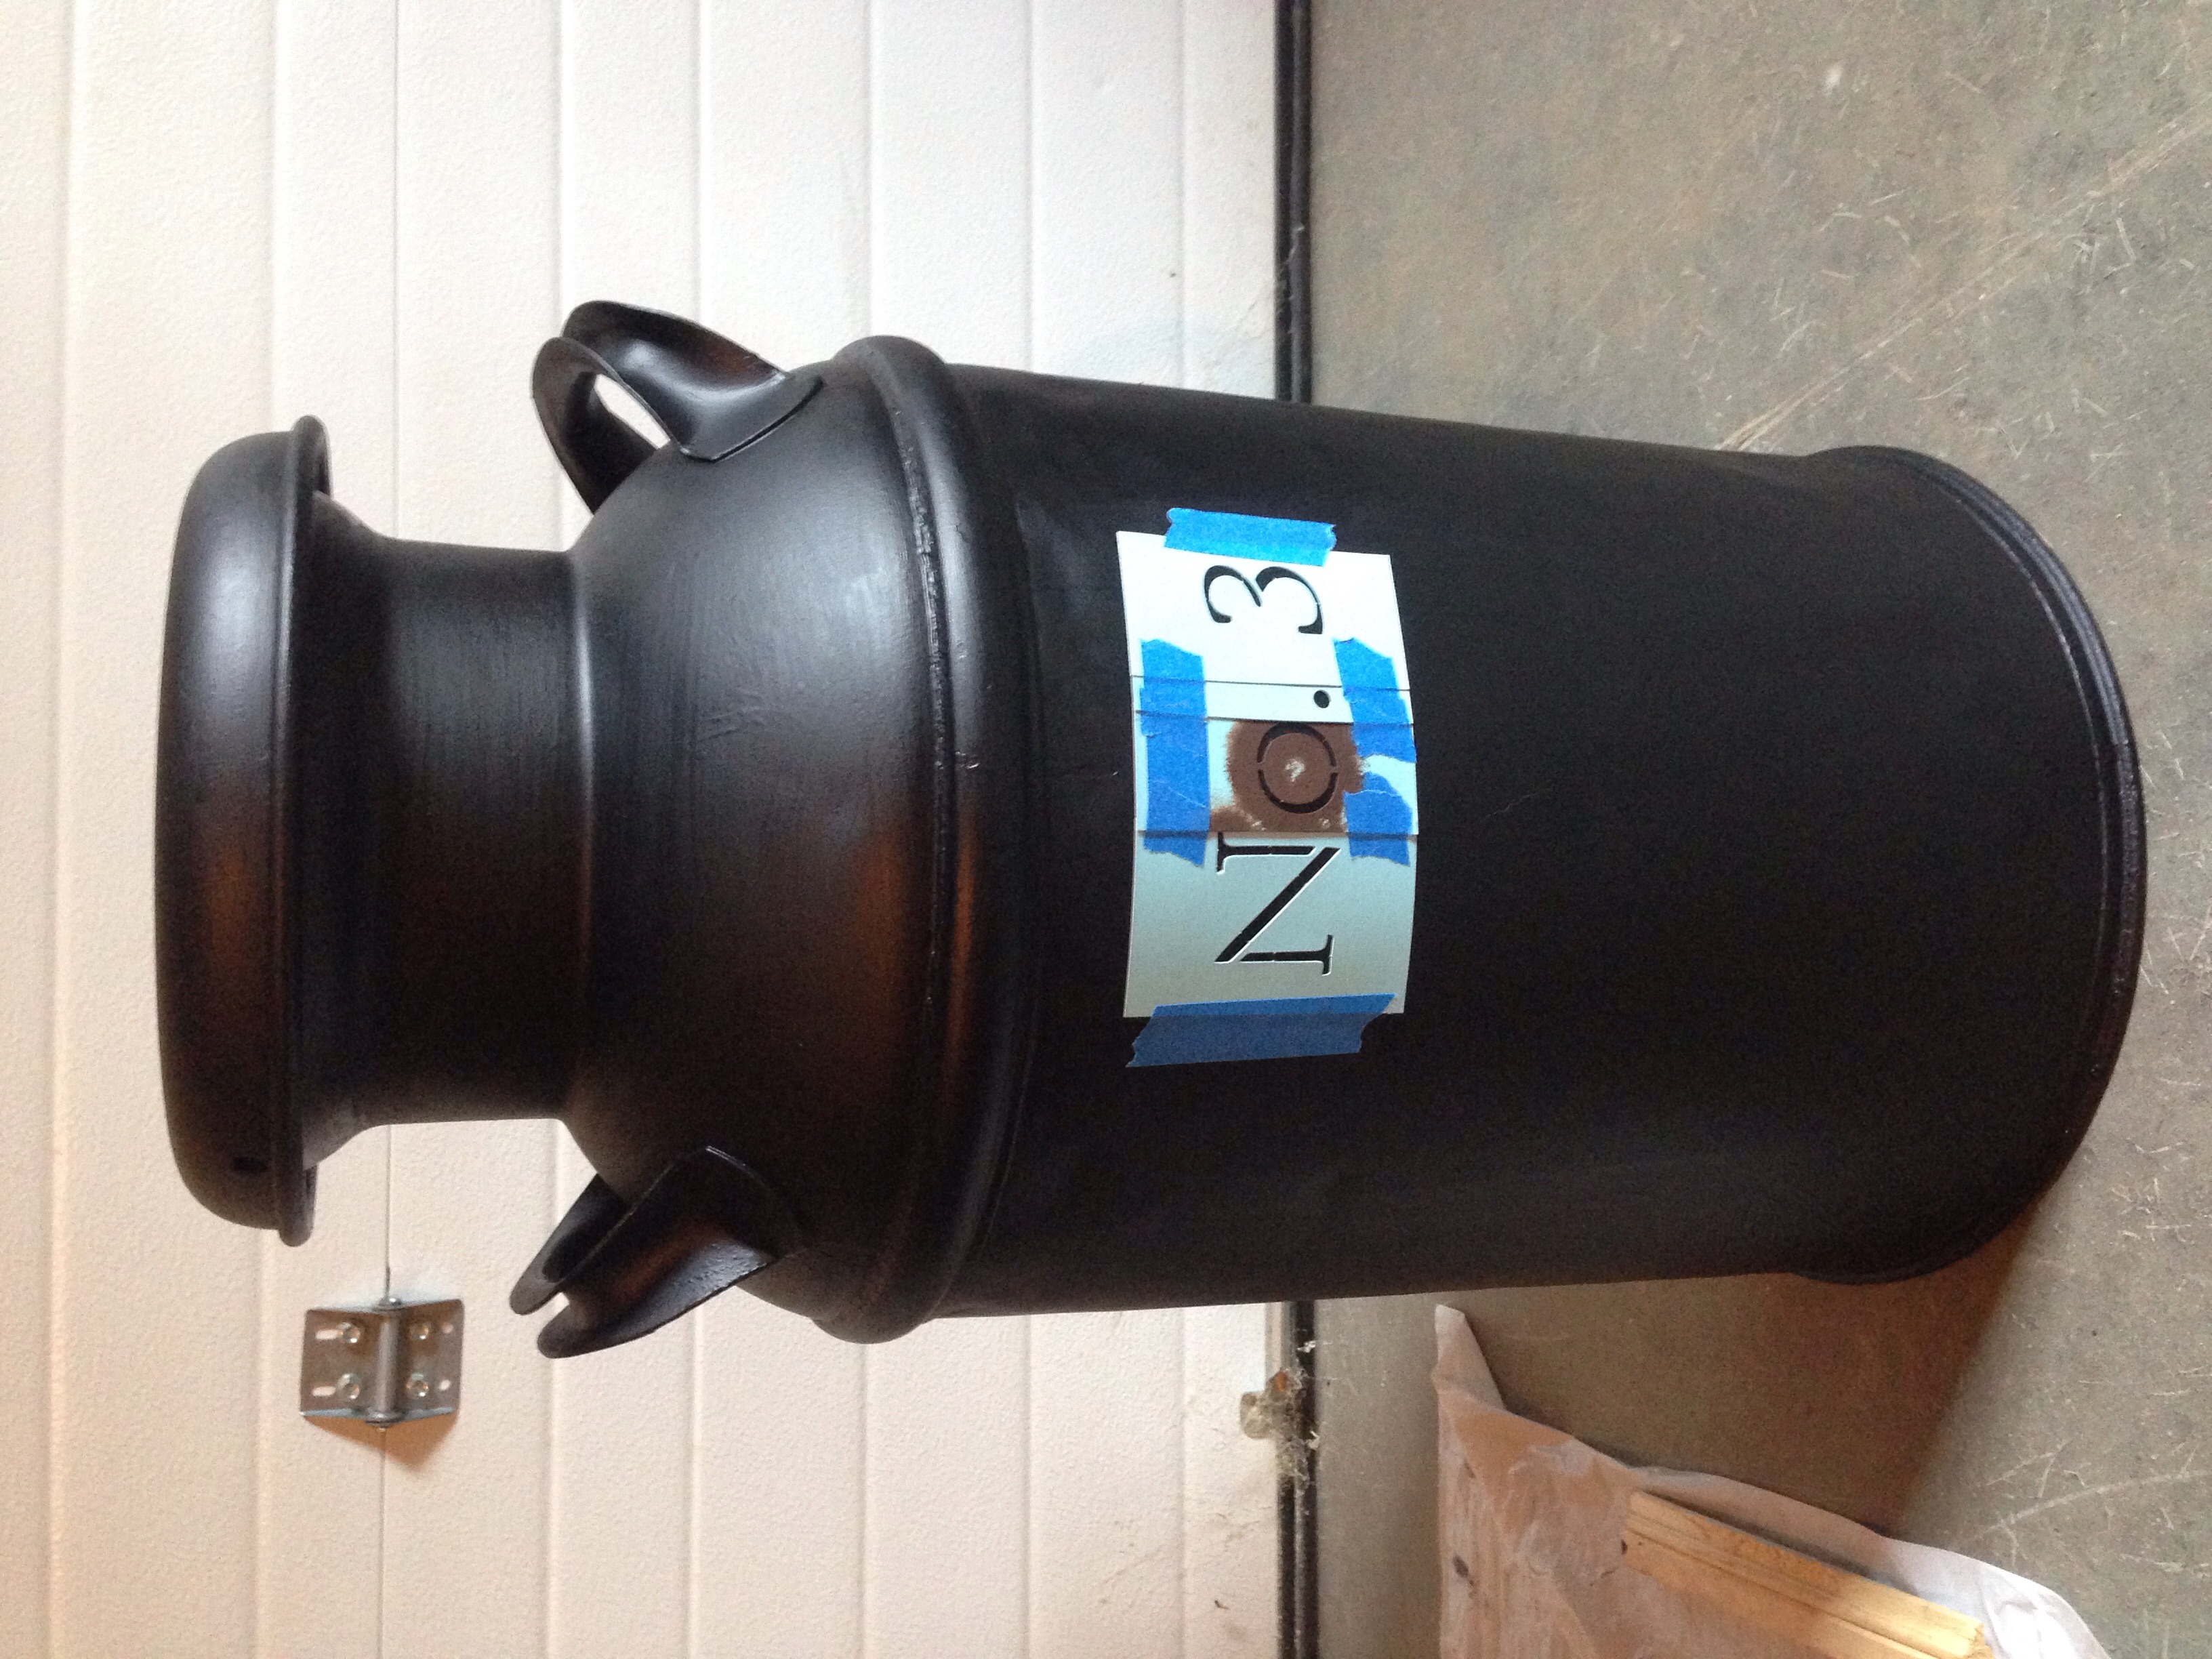
Once it was ready I used Rust-Oleum Professional High Performance Protective Enamel in matte black and gave it two coats, letting dry about 24 hours between coats. For the stencil I made a point to choose a font and size that looked like it belonged there - that maybe the farmer numbered all his milk cans and this was just one in the lineup. The stencils I used were from the Martha Stewart Monogram Serif Stencil Set, trimming the letters down and taping them together with painters tape. I had used the "o" previously for another project.. hence why it's brown.
I used white acrylic paint to stencil it and filled the gaps in the stencil with a small brush after. I think the milk can came out pretty cute and adds the perfect country touch!
KEEP UP WITH BIRCH LANDING HOME
| Etsy | Facebook | Instagram | Pinterest | Bloglovin' | Hometalk |
Ever notice that the silhouette of those Starbucks bottles are very much like an old-fashioned milk bottle? I'm sure the real reason is smart marketing, but an ever better reason is for you to turn that bottle into a milk bottle vase!
Materials:
- Starbucks glass bottle, with lid (which means you have to drink one of those delicious coffee drinks.. darn)
- white or cream acrylic paint
- cardboard
How to:
First drink a Starbucks (most difficult part of the job right here). Then remove the labels and wash the bottle thoroughly, inside and out. You should be able to get the glue residue and expiration mark off the bottle with a scrubby sponge and dish soap. Rinse the cap and save.
After the bottle has completely dried, squirt a decent amount of acrylic paint into it and replace the cap. Swirl and shake the bottle until the paint has completely coated the inside of the bottle, adding more paint if necessary.
Remove the cap and pour the excess paint back into your paint bottle.
Next set bottle upside down on the cardboard for about 30 seconds then pick straight up, set back down in a different spot, and repeat several more times until you seem to have most of the excess paint out and a nice even coat on the inside of the bottle.
Put bottle back upright to dry so the paint doesn't drip and pull away from the bottom and also so that air can get inside. At this point I brought it inside the garage to dry - didn't want any curious grasshoppers falling in!
Let dry about 48 hours.. it can take a surprisingly long time to dry due to the small opening of the bottle.
Once completely dry, place on a sunny windowsill and admire. (Note: this vase is for decor purposes only. If you put water in it for cut flowers the acrylic paint may start to lift off the glass after a while.. just something to keep in mind. You may want to consider using fake flowers.)
You could even dress these up a bit with some gingham or burlap ribbon. They are so easy to make and could be used for all sorts of things such as small centerpieces or accents for a bridal or baby shower.
KEEP UP WITH BIRCH LANDING HOME
| Etsy | Facebook | Instagram | Pinterest | Bloglovin' | Hometalk |